ccoyle
-
Posts
10,524 -
Joined
-
Last visited
Content Type
Profiles
Forums
Gallery
Events
Everything posted by ccoyle
-
 If anyone is interested in this kit, Model Expo currently has it on sale for $69.99, which is a good price.
 -
Bravo, Andrew!
-
BTW, if anyone is still thinking about trying a card model, this estate sale over at Paper Modelers still has a lot of models left to choose from. Personally, I'm trying very hard not to make a third purchase from this sale, because I already have enough kits to last me a lifetime. 😬
- 150 replies
-
- 11
-

-

-
Kit Review Harbor Tug WARATAH 1902 - HMV - 1/250 - CARD
ccoyle replied to ccoyle's topic in REVIEWS: Model kits
I'm not clear on what you are asking for. Did you order the laser-cut detail set but not the actual kit itself? Because the instructions come with the kit. -
Very striking! I enjoyed the sequence of photos showing the yard being hoisted. Cheers!
- 59 replies
-
- 1
-

-
- Billing Boats
- Le Martegaou
- (and 1 more)
-
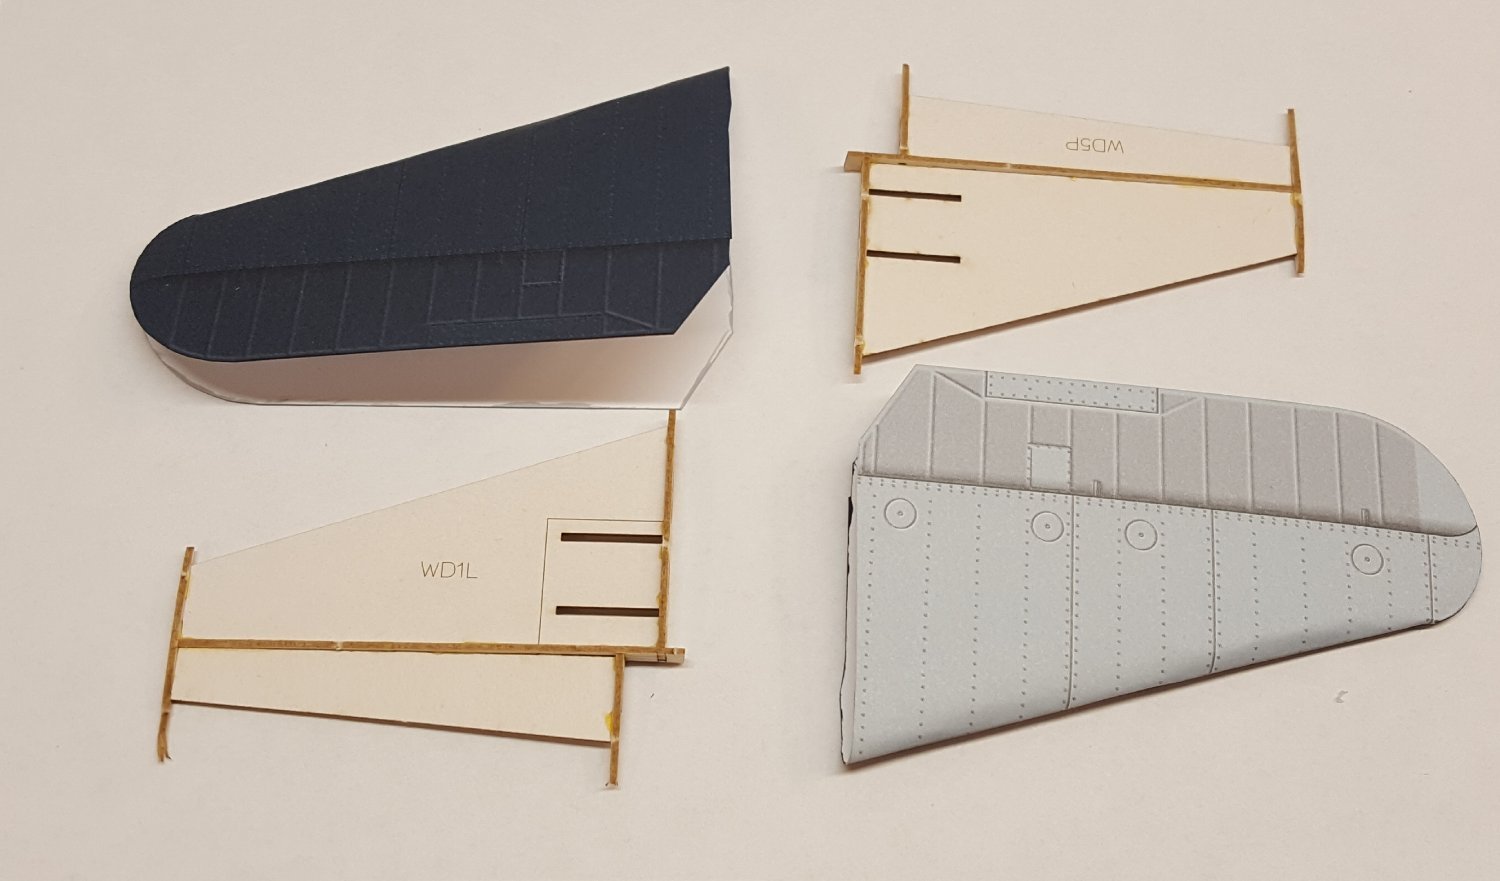
Sub-structure for horizontal stabilizers finished and skins cut out. I won't glue these together until I have the fuselage finished and can then better judge the spatial relationship between frames & skin. And first fuselage skin attached. Fit looks good so far. Dion, I'll have to look into your suggestion.

- 150 replies
-
- 18
-
-
Photo Reference Library
ccoyle replied to JSGerson's topic in Using the MSW forum - **NO MODELING CONTENT IN THIS SUB-FORUM**
The most likely reasons are no one has asked for one (or at least very few people have asked), and it would probably entail a not insignificant amount of work for an MSW staff member. On top of those two reasons, sharing photos gleaned from the internet often constitutes some form of IP infringement. -
Handsomely done, ECK!
-
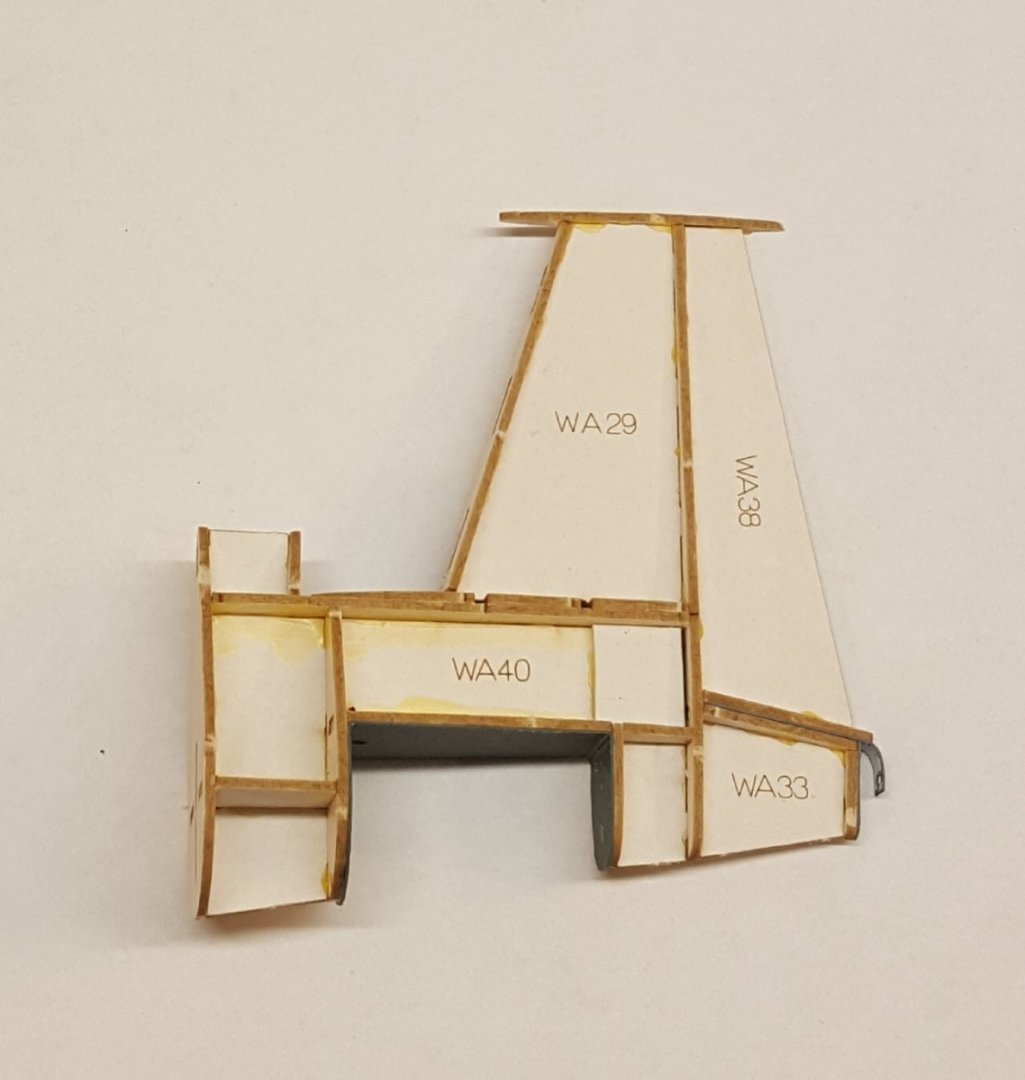
Finished the sub-structure for the empennage. There was quite a bit of confusion with this bit, because first of all I don't read Polish, which meant it took me awhile to catch on to there being different laser-cut parts for the options described back in post #28. I ended up using the wrong main profile former, which subsequently required some minor fixes. Also, the parts numbering system is unlike anything I've seen in any other publisher's kits, which again is very confusing for non-Polish speakers. But who doesn't like a challenge, right? 🙄😆 There's an inner skin that wraps around the tail wheel well, which I have added but didn't get a picture of -- cuz it's not all that interesting. Cheers!
- 150 replies
-
- 18
-
-
Welcome! Great intro!
-
Dude -- we have an entire continent's worth of indigenous workboat types that Chris hasn't touched yet, should he ever get the urge to try something different.
- 16 replies
-
- 4
-
-
- Ranger
- Vanguard Models
- (and 2 more)
-
I realized while working on the sub-structure for the empennage that the kit provides alternative internal parts for making separate control surfaces, so I need to make the decision about those real soon. I'm leaning away from the separate parts at the moment, since this is a presentation model, and separate control surface, despite their 'cool' factor, come at the cost of increased complexity and a greater potential for boogering things. Clean looks are more important on this model than extra detail.
- 150 replies
-
- 10
-
-
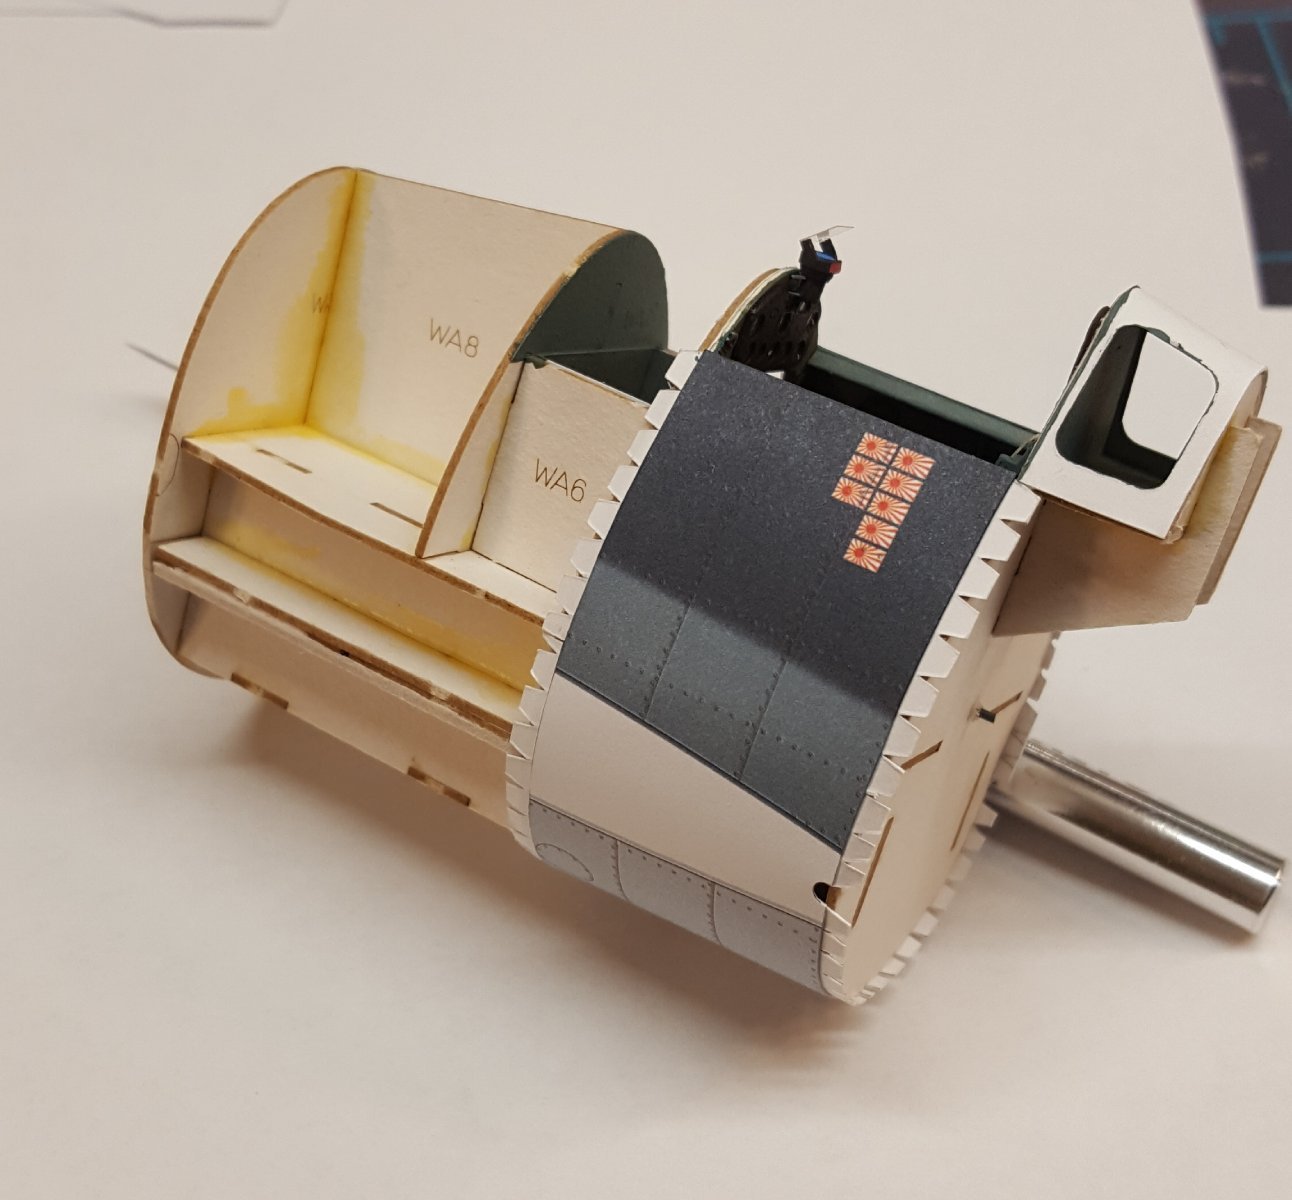
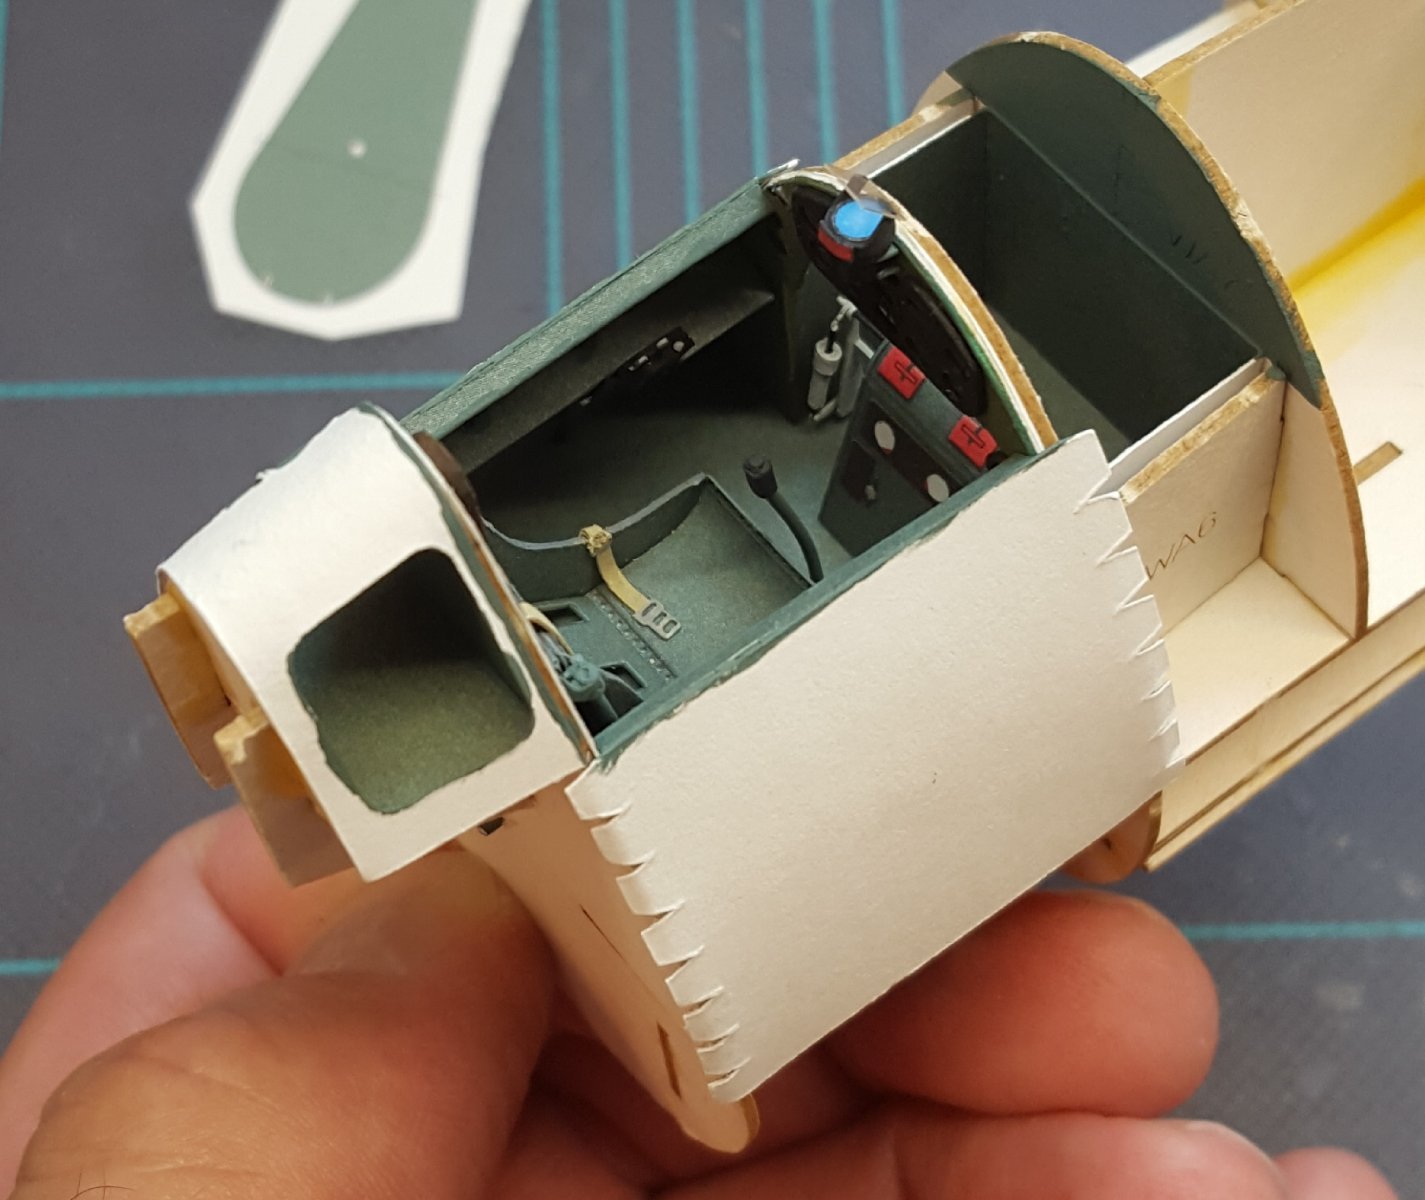
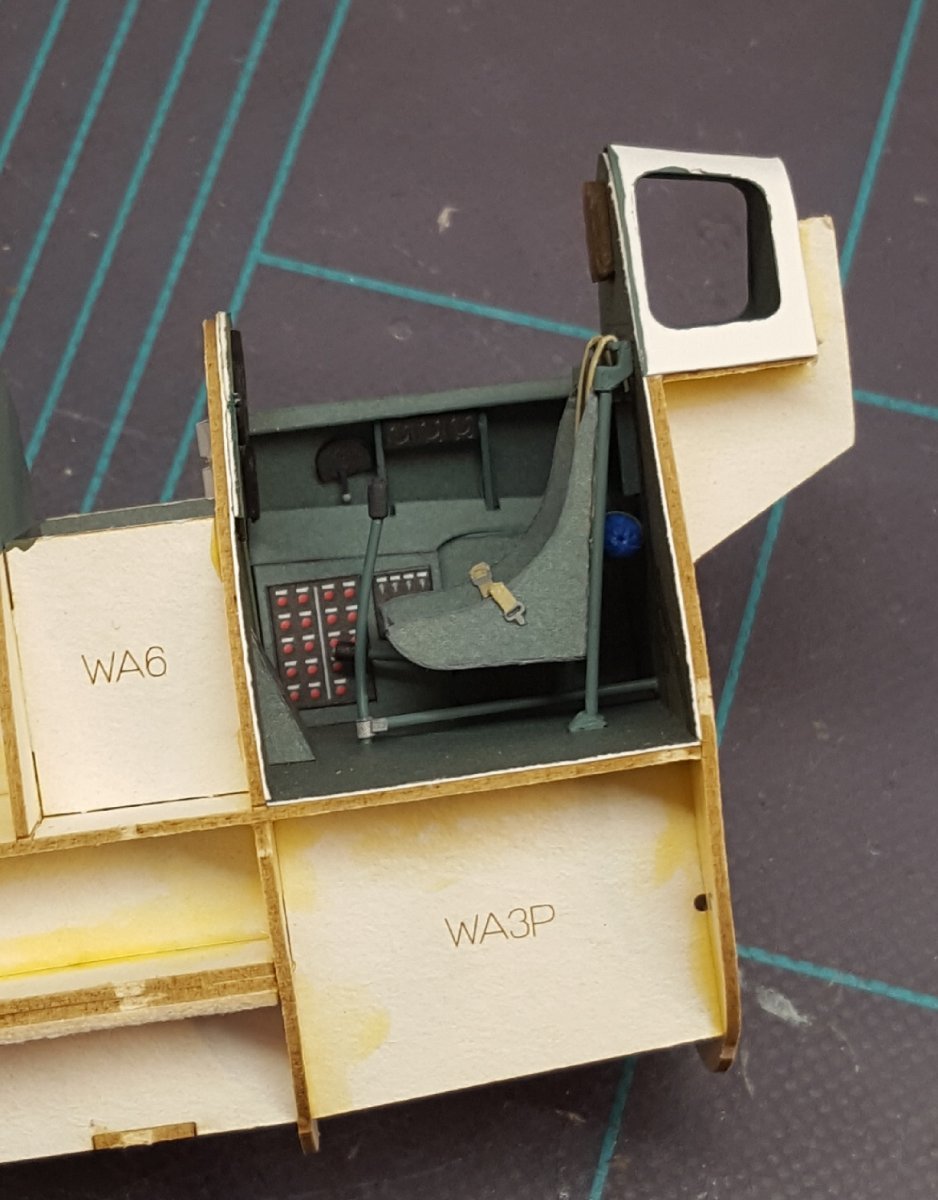
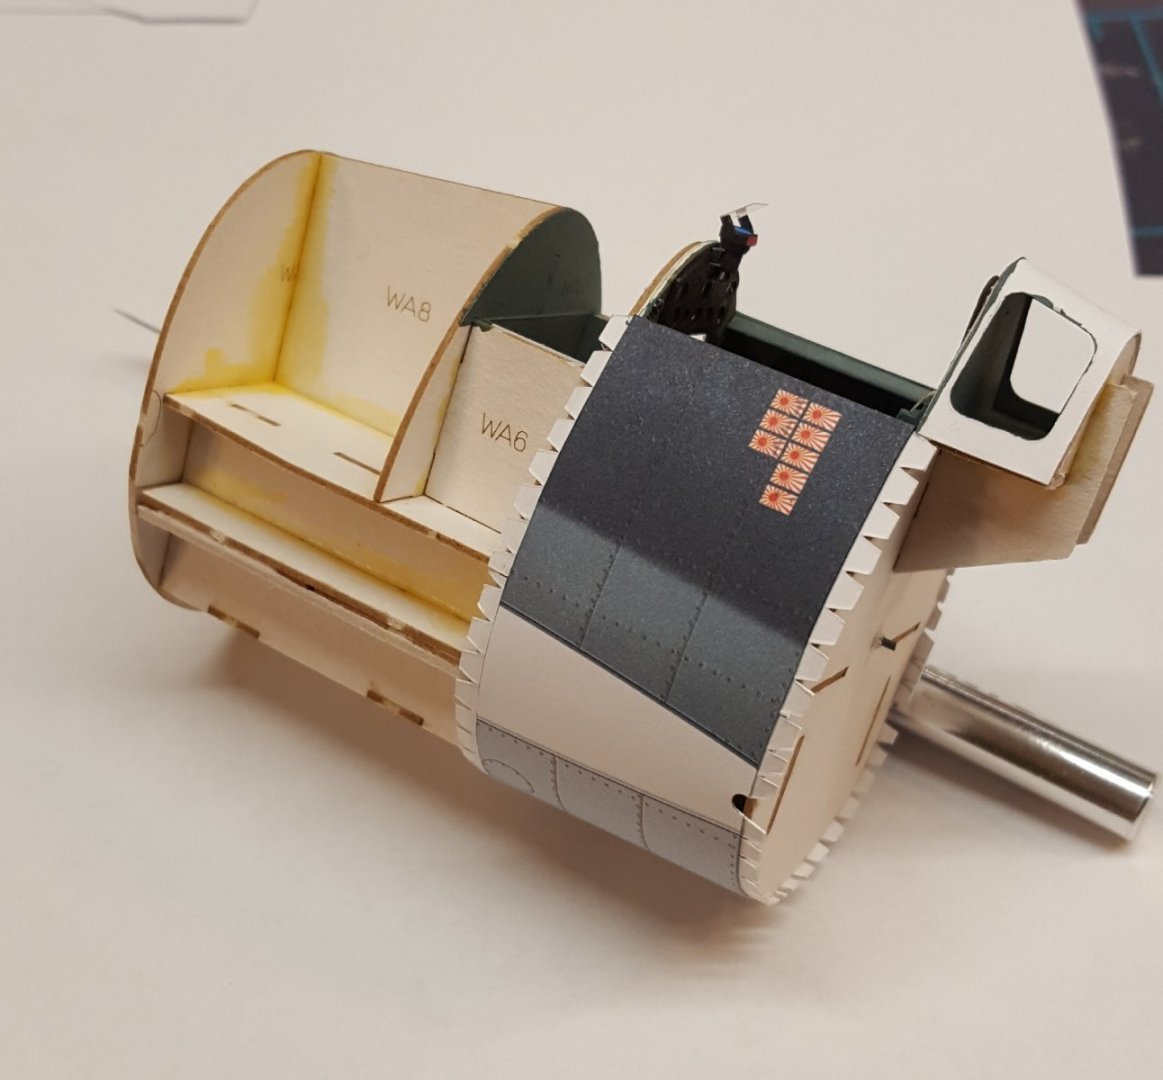
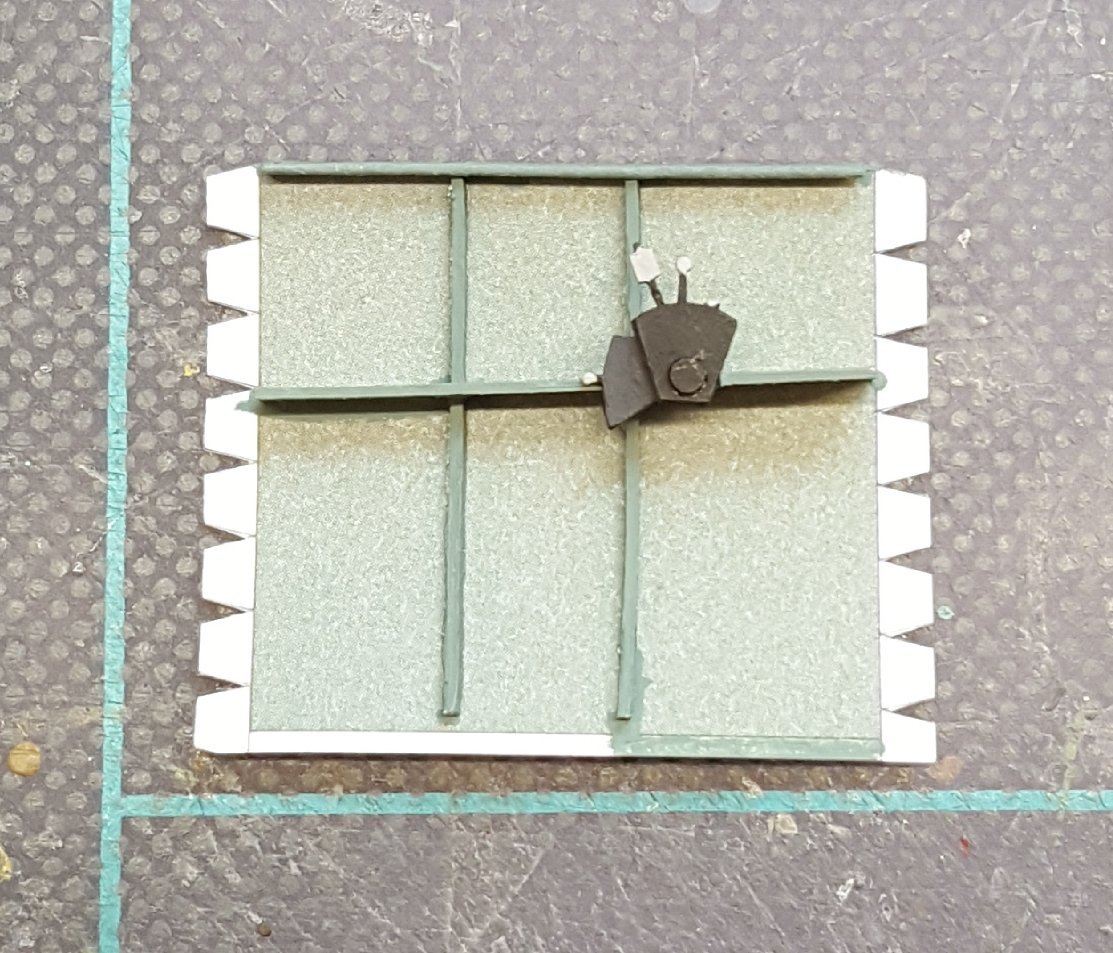
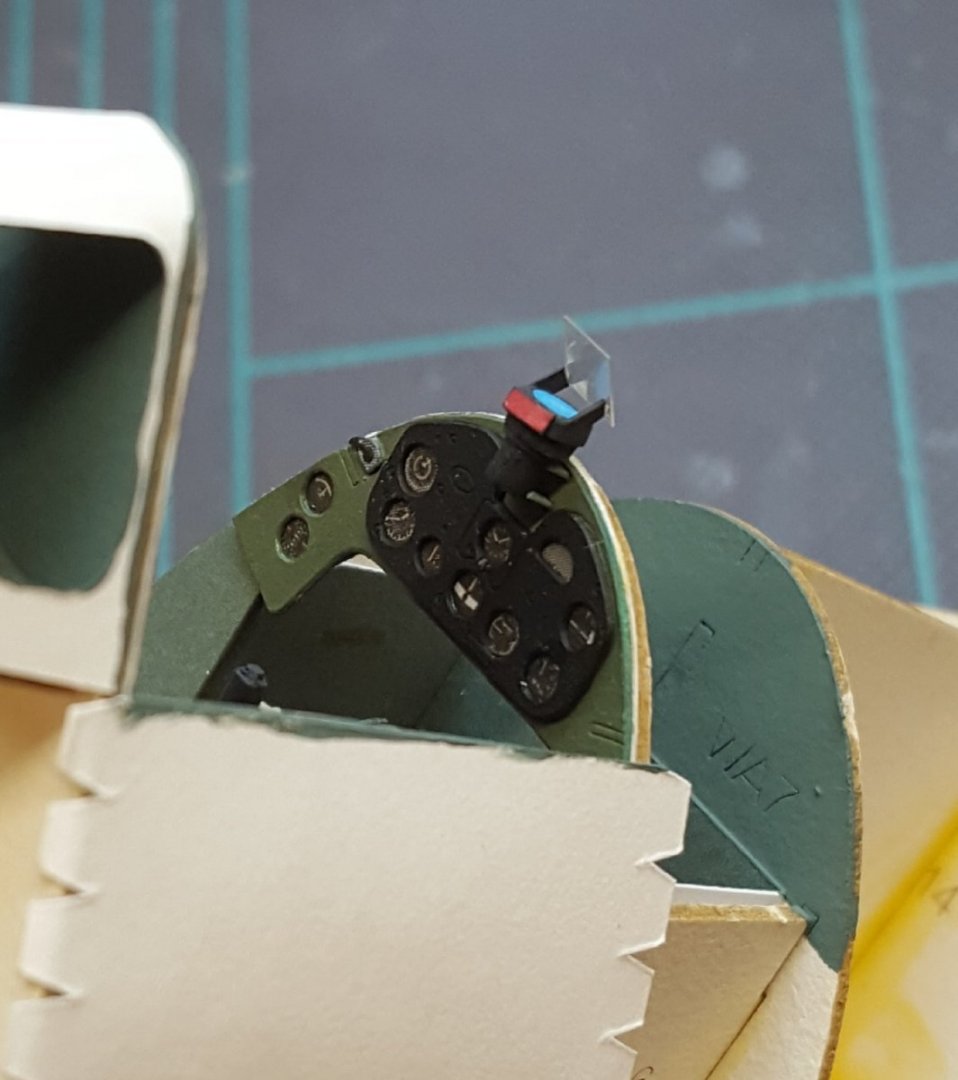
Cockpit is done now. First we have the port-side wall, which I'm fairly certain is way over-simplified, since it has only a single quadrant. Then the reflector sight. Laser-cut parts were provided for this, but -- believe it or not -- they were just too delicate. The sight was easier to make with the original card parts. And finally we have the port wall attached to the fuselage. As is usual with airplane models, much of the hard work done on the cockpit will subsequently evade much notice. Cheers!

- 150 replies
-
- 19
-
-
Totally depends on if you can live with yourself afterwards
-
Welcome aboard, Jim!
-
BTW #1: I noticed last night that I inadvertently glued the quadrant lever on upside down, but it was past bedtime, so I'll have to fix that tonight. BTW #2: I found out yesterday that the upcoming Card Army #3 kit will not be a Hellcat but rather a P-40. The F6F-5 will be Card Army #4.
- 150 replies
-
- 12
-
-
Keep at it, Andrew! This is more than acceptable work as a first effort. My first card models don't even exist anymore. 😬
-
So, is this a different kit than the 1/72 scale gunboat that was in development back in 2020? I'm just trying to figure out where this kit is in relationship to the other kits in the development pipeline. Would also really like to see some progress reports on those other kits! (hint hint)
- 216 replies
-
- 4
-
-
- masterkorabel
- ships
- (and 3 more)
-
Beautiful job -- congratulations! The case looks great, too. Cheers!
- 157 replies
-
- 2
-
-
- model shipways
- syren
- (and 1 more)