ccoyle
-
Posts
10,579 -
Joined
-
Last visited
Content Type
Profiles
Forums
Gallery
Events
Everything posted by ccoyle
-
Probably have more collector value. How much more I can't say.
-
 Looks great!
 -
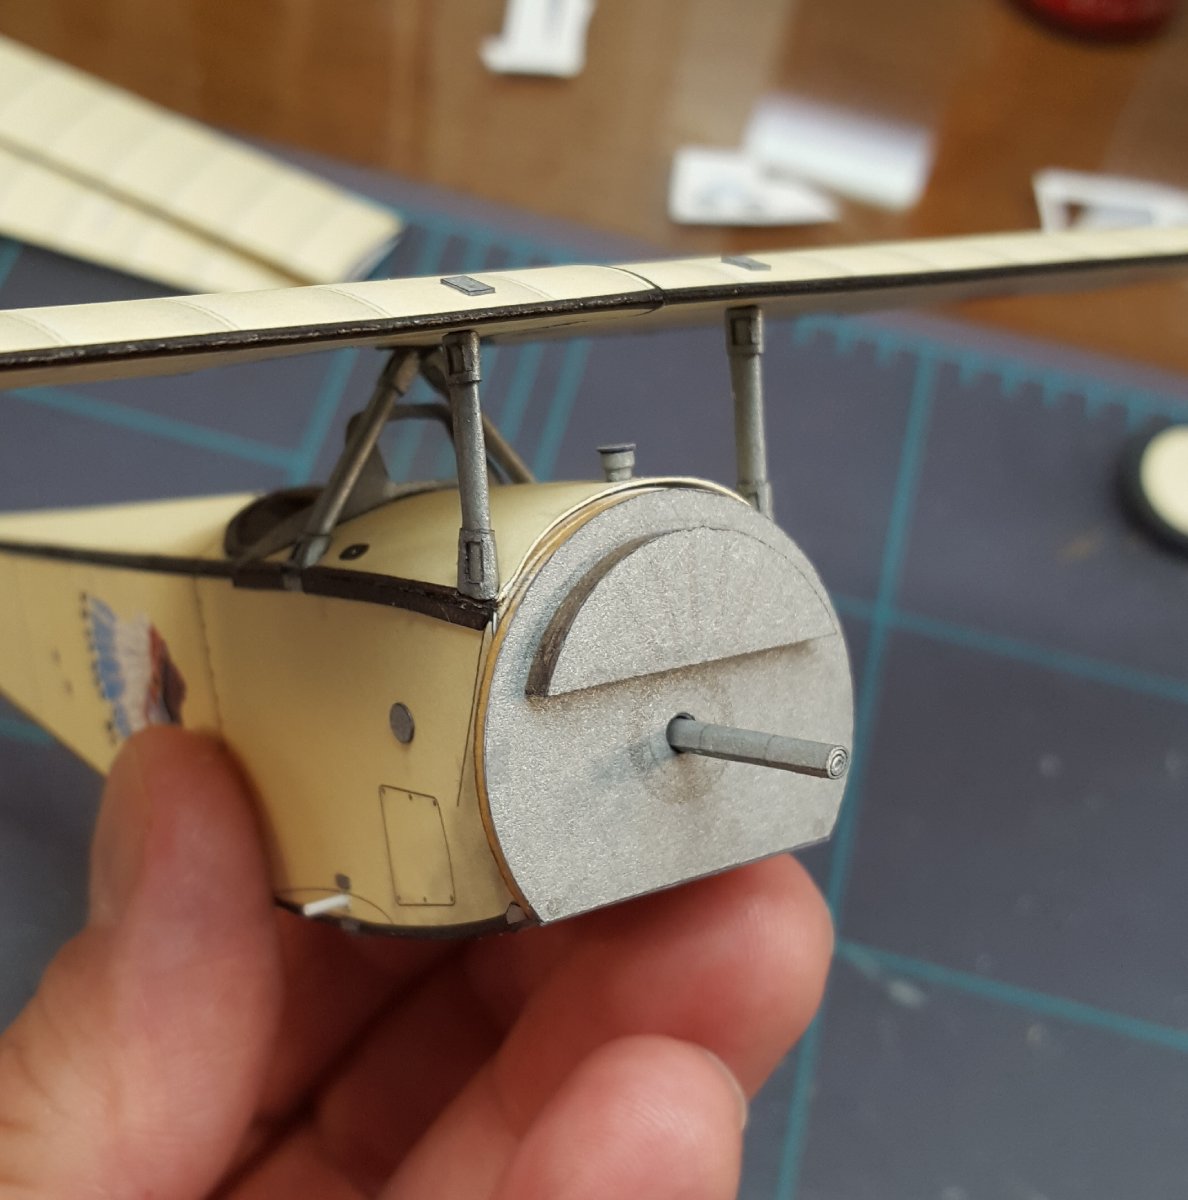
Test fit of top wing to cabane struts -- can't ask for a better initial fit. Feels quite solid.

- 98 replies
-
- 19
-

-
They are company markings. ^ = 1st Company < (pointing forward) = 2nd Company V = 3rd Company > (pointing backward) = 4th Company
- 95 replies
-
- 10
-
-

-
Have you tried listing it at any of the forums more dedicated to steel navy subjects? It's a shame it's not getting any traction here. Way, way beyond my abilities and budget, though.
-
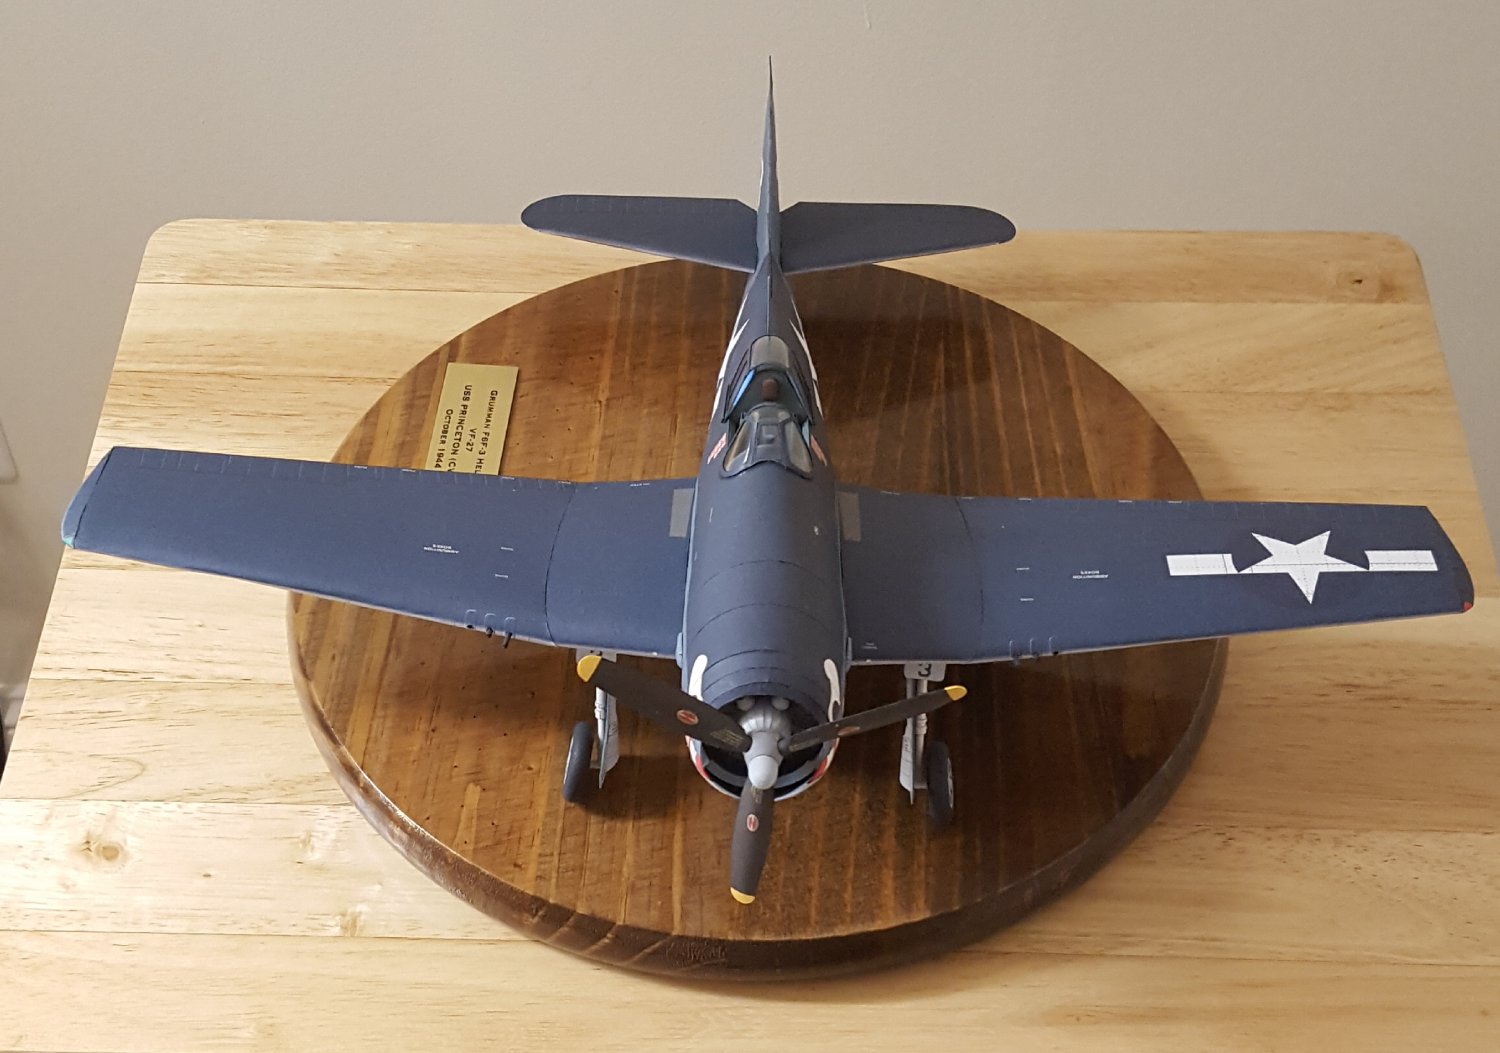
Check out the finished build logs here.
-
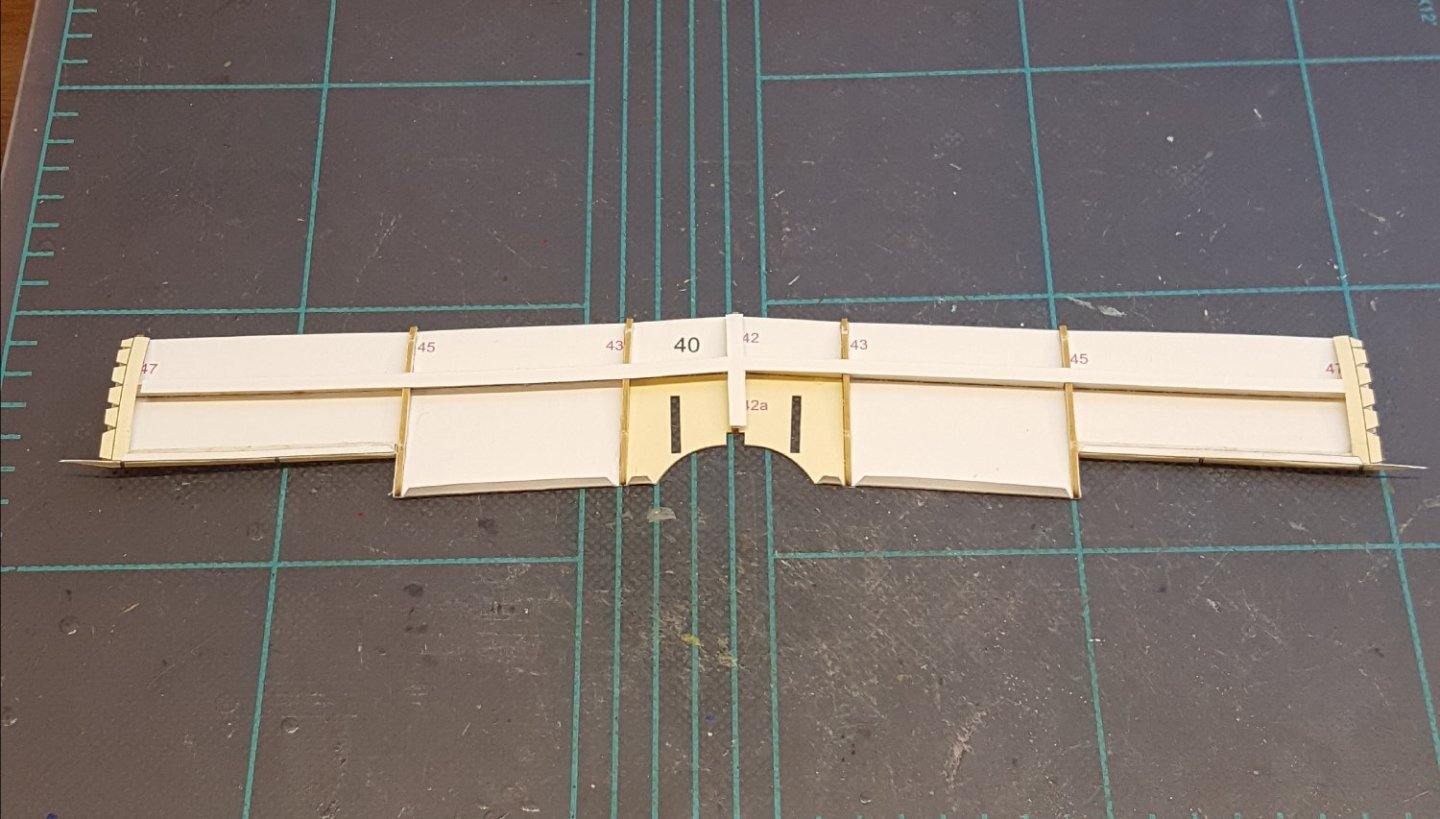
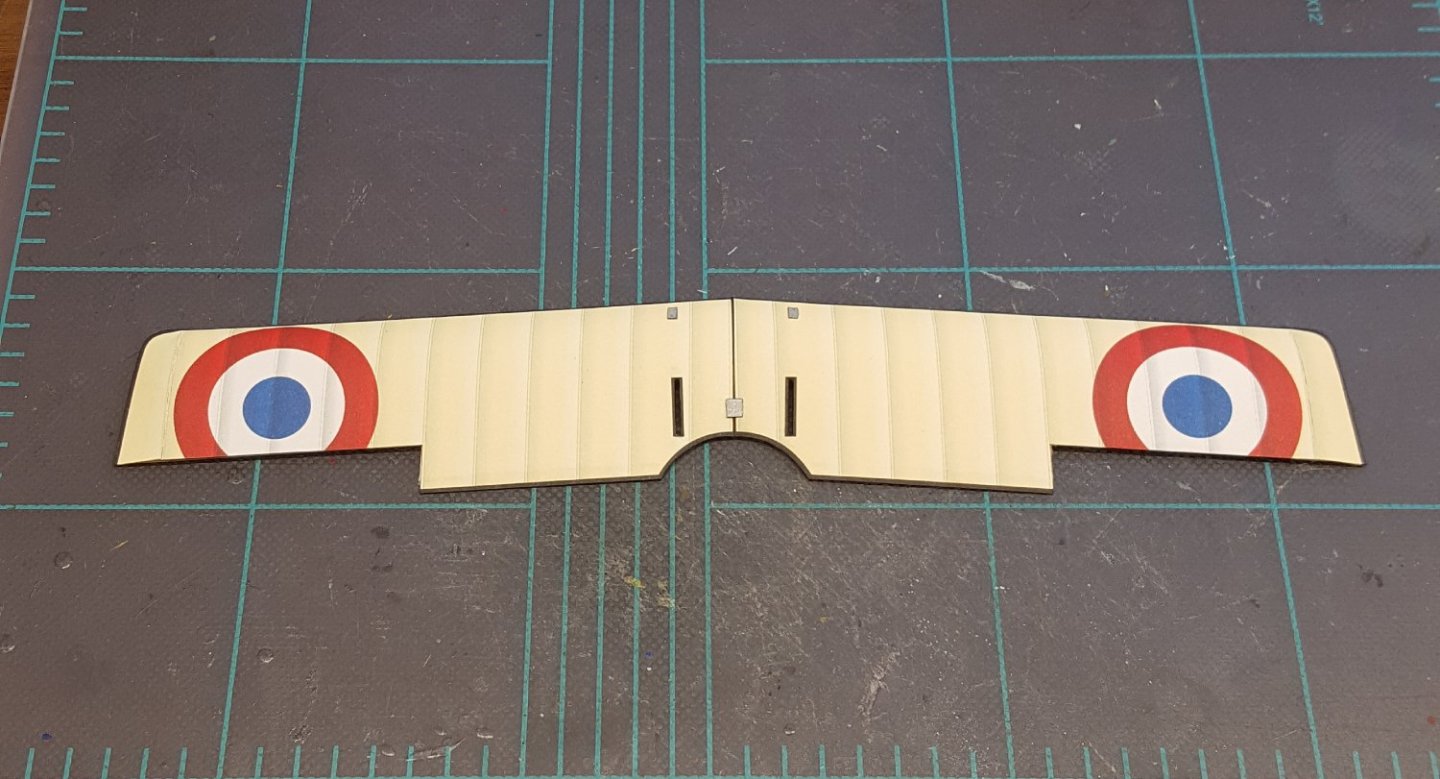
Fascinating side note: In the past year, I have finished eight models -- that's a real tear for me! On to the top wing! First the sub-structure -- very stout: And the outer skin: Wound up with one small part left over, but if I don't tell you what it is, you'd probably never figure it out on your own. 😉
- 98 replies
-
- 16
-
-
It's coming together nicely. I built the Modelik 1/100 scale card kit of HMCS Agassiz many years ago, but it didn't have the attractive Western Approaches camouflage that your model wears.
- 460 replies
-
- 3
-
-
- Finished
- Flower-class
- (and 1 more)
-
I've heard of Delaware and can find it on a map. 🤔 Kidding aside, welcome to MSW!
-
Pardon me if this got mentioned already, but for those who may not know, "Gimel" isn't a nickname but rather the third letter of the Hebrew alphabet. So, Sho't is "whip" in Hebrew, Kal indicates that it is powered by a Continental diesel engine, and Gimel indicates that it is the third variant after Aleph and Bet.
-
It is true that the AL kits are not the most recommended kits around here, but that doesn't mean they can't be built. I believe the new AL kits include photo-illustrated instructions, and the kits you listed fit the criteria for beginner kits. If you click here, you'll find a list of all of the topics on our site that have been tagged with 'Artesania Latina' -- scroll through the list and look for build logs of the kits you're interested in to see what you'd be getting yourself into. Cheers!
-
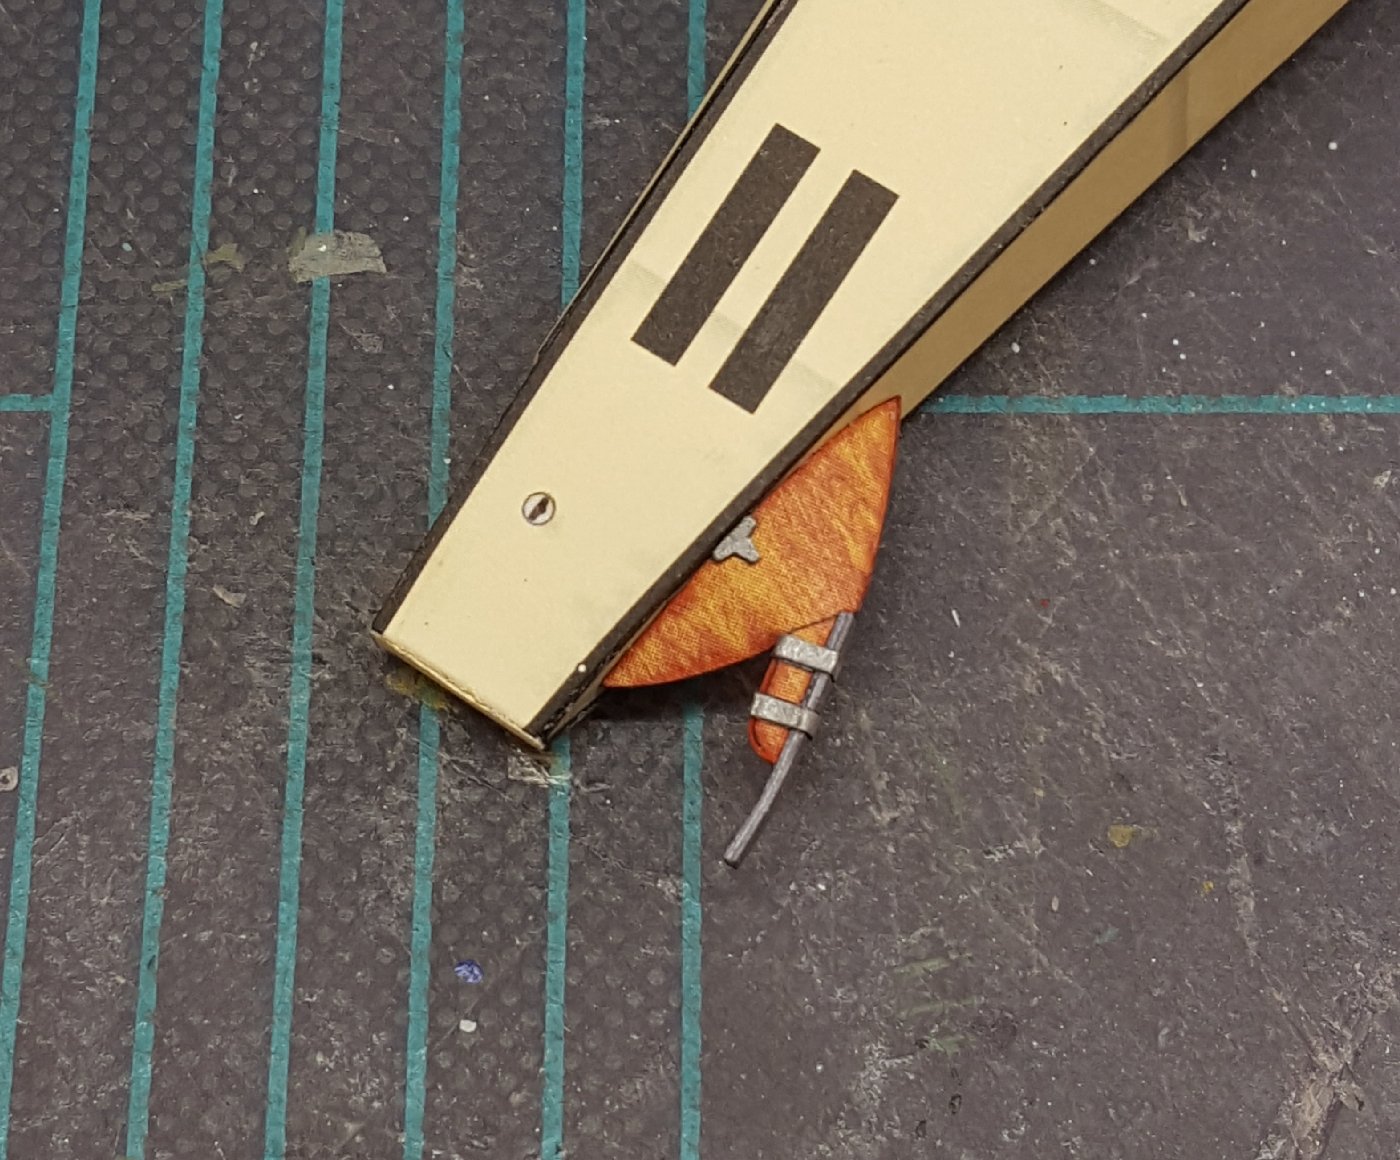
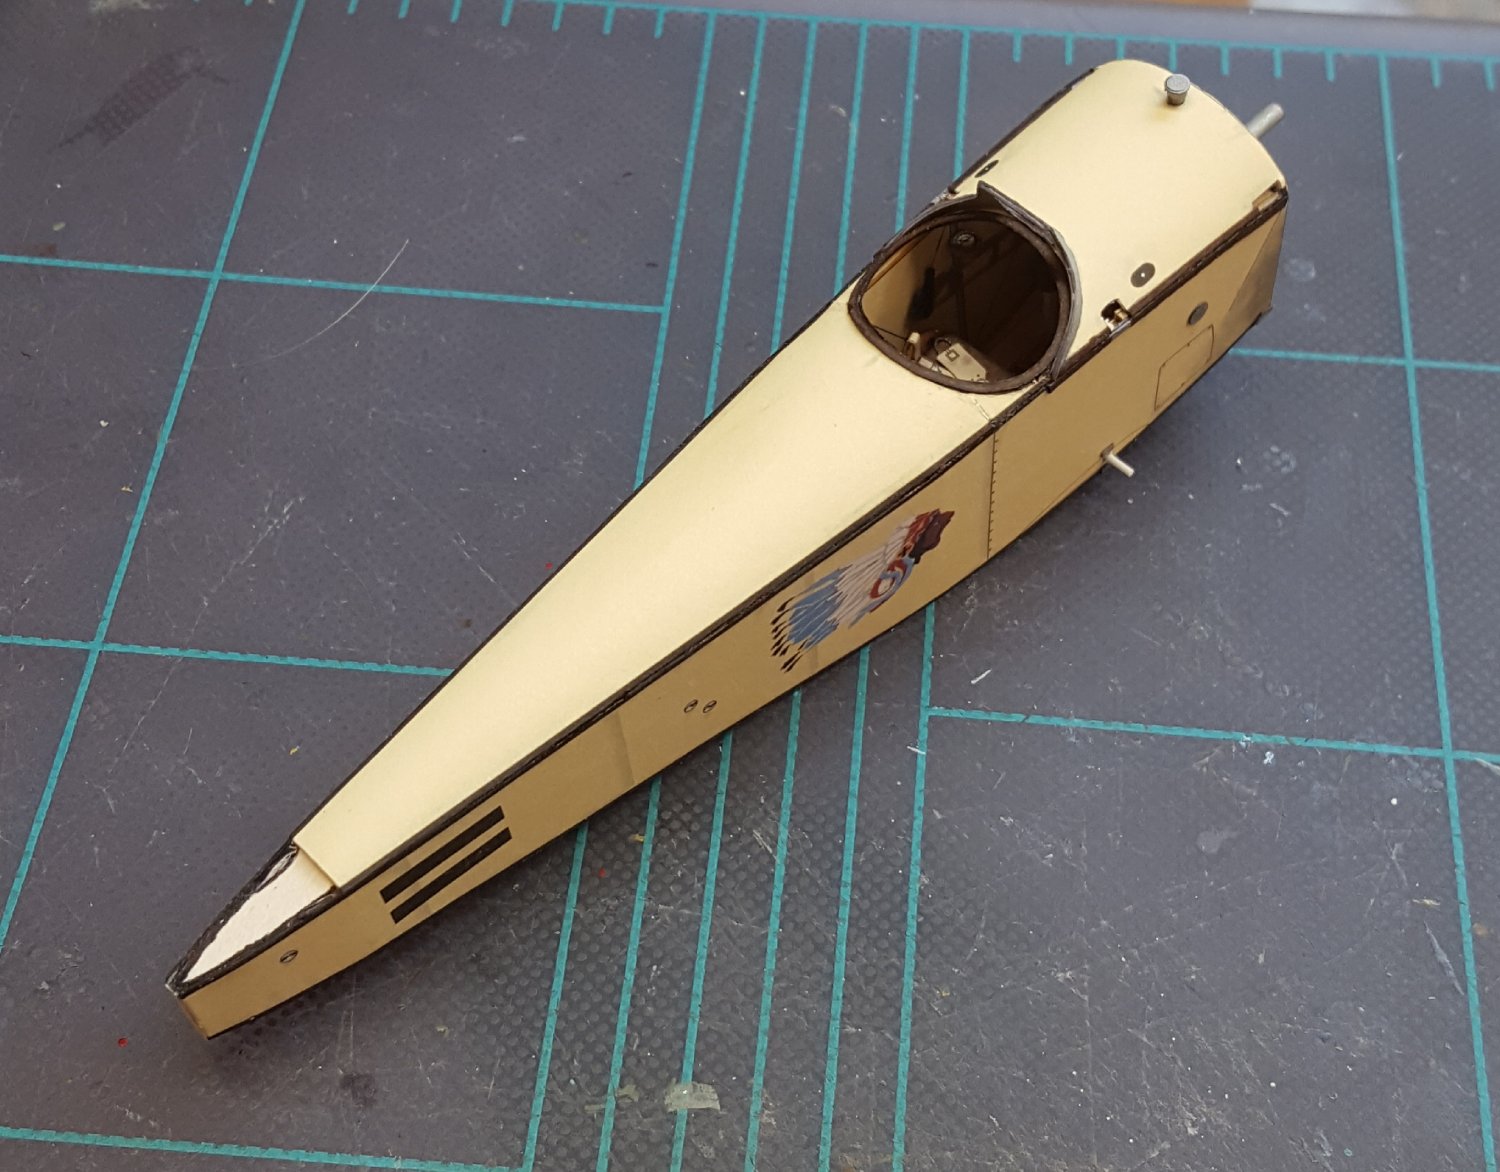
It's hard to see in this photo -- heck, it's hard to see in real life -- but twenty twenty-one parts were added to the fuselage between the last update and this one. Tiny, tiny parts.

- 98 replies
-
- 15
-
-
No, they bleed. You have to be careful about where and when to use them. With the black edging on this kit, the bleed is not a problem.
-
Fixed!
-
I got it at Hobby Lobby. I have taken to using the Evergreen Canopy Glue almost exclusively for card. One has to work rather quickly with it, but it grabs well, and excess glue can be wiped away with a damp brush. Fun story: Ironically, most of the skin seams are black. I have no idea why the French used those black edges as they did, but it makes edge coloring easy with a black Sharpie (I have also temporarily 'liberated' some of my wife's collection of Sharpie coloring pens for other edges). For the few edges that do require the very pale buff coloring, I just happened to have a long-unused bottle of cheap acrylic called "antique white" that is virtually a perfect match. So, ultimately, this kit required no custom edge color mixing.
- 98 replies
-
- 10
-
-