HOLIDAY DONATION DRIVE - SUPPORT MSW - DO YOUR PART TO KEEP THIS GREAT FORUM GOING! (Only 75 donations so far out of 49,000 members - C'mon guys!)
×


ccoyle
-
Posts
10,459 -
Joined
-
Last visited
Content Type
Profiles
Forums
Gallery
Events
Everything posted by ccoyle
-
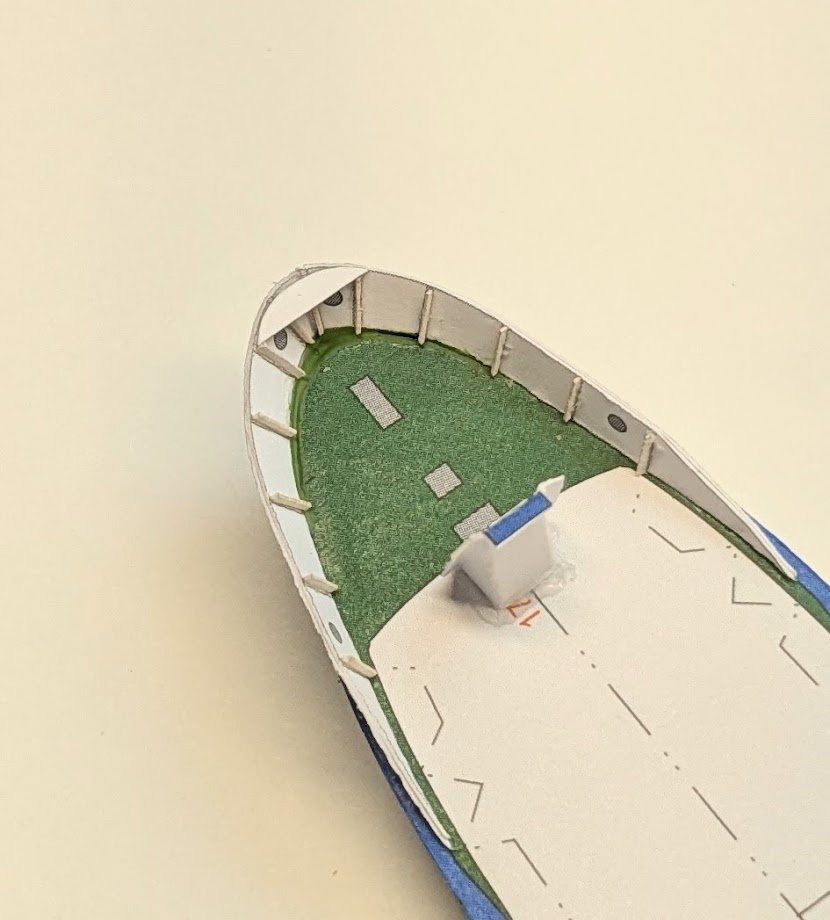
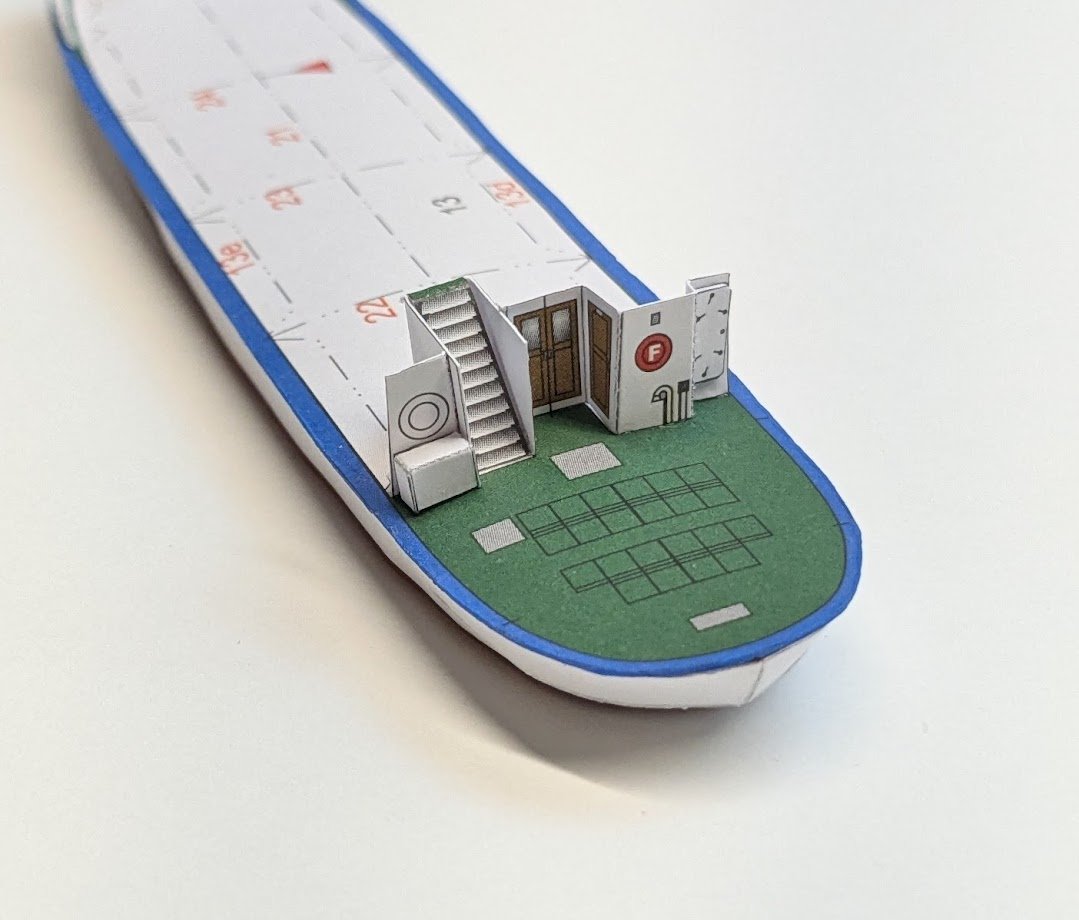
 I'm straying a bit off the beaten path here. The superstructure is another egg-crate structure to be placed atop the egg-crate hull. That just doesn't strike me as a sturdy building method, so I'm doing something a little different. I trimmed all of the fold tabs off the upper deck and glued it down to a 1mm piece of cardboard. This should provide very stiff edges that are less likely to produce the dreaded 'starving cow' effect, while still providing ample gluing area for the superstructure sides. Of course, I had to trim down all of the internal egg crate frames to allow for the thicker deck, and it remains to be seen whether everything will go together the way I imagine it will. Fingers crossed!
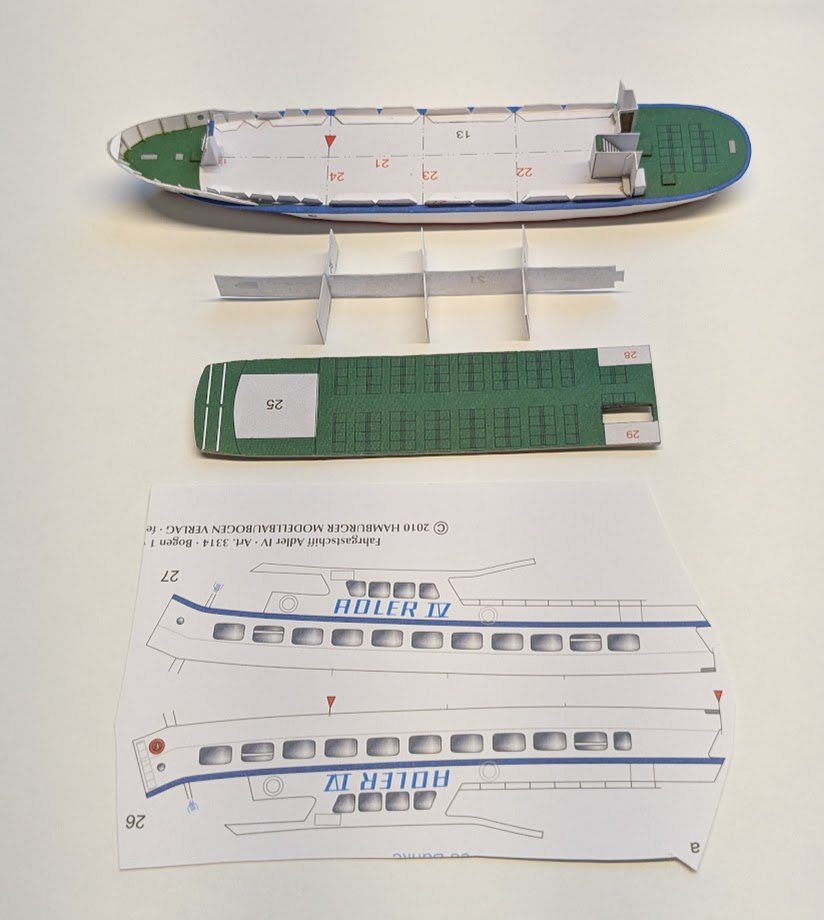
-
Handsomely done!
-
Welcome aboard!
-
Hi, Scrumpy. Your model does not look like the ones offered online, none of which (as far as i could find) are even named Bombay Star. To me, your model looks to be scratch-built by someone with at least a modicum of nautical knowledge, e.g., the deck furniture is positioned correctly, the rigging looks generally correct, etc. In fact, the model also includes chainplates that are secured to the inside of the bulwarks, rather than the outside, a practice that I believe became commonplace in the second half of the 19th century. As far as dating the model, that's anyone's guess.
-
Not for the red side -- you guys get coal. 😉

-
Welcome aboard!
-
Nope. There are no parts for internal structure, so unless one chooses to scratch-build, then there isn't even the option.
-
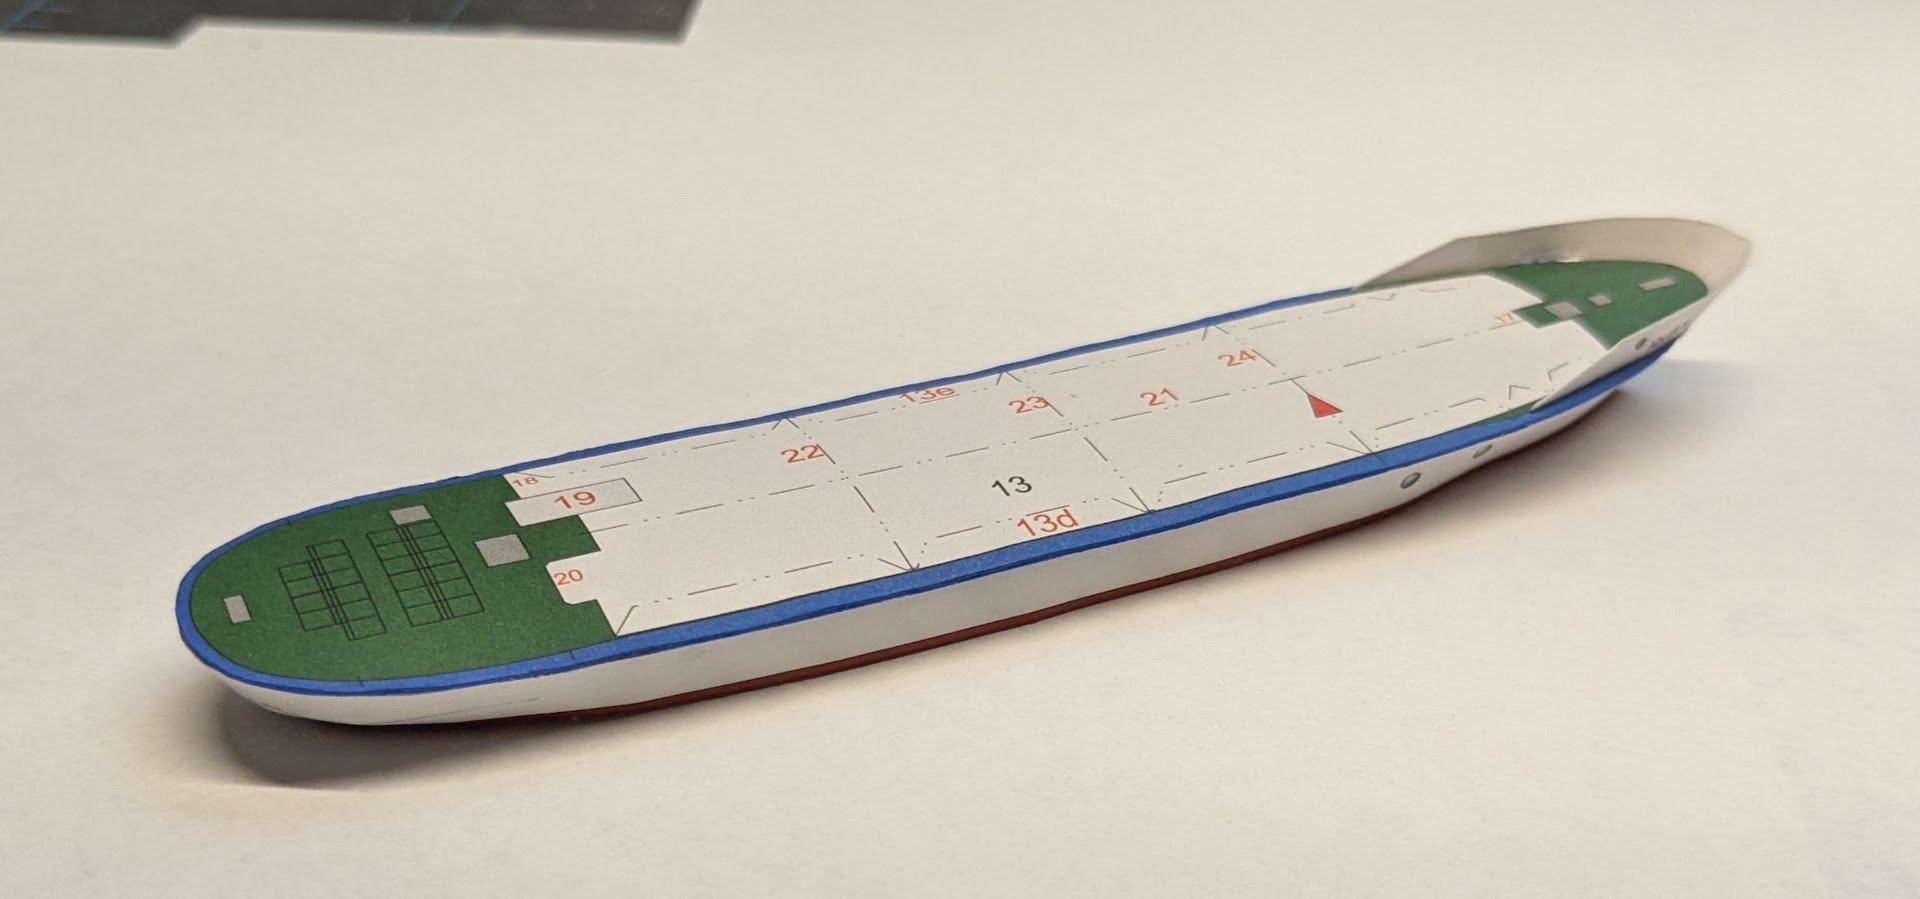
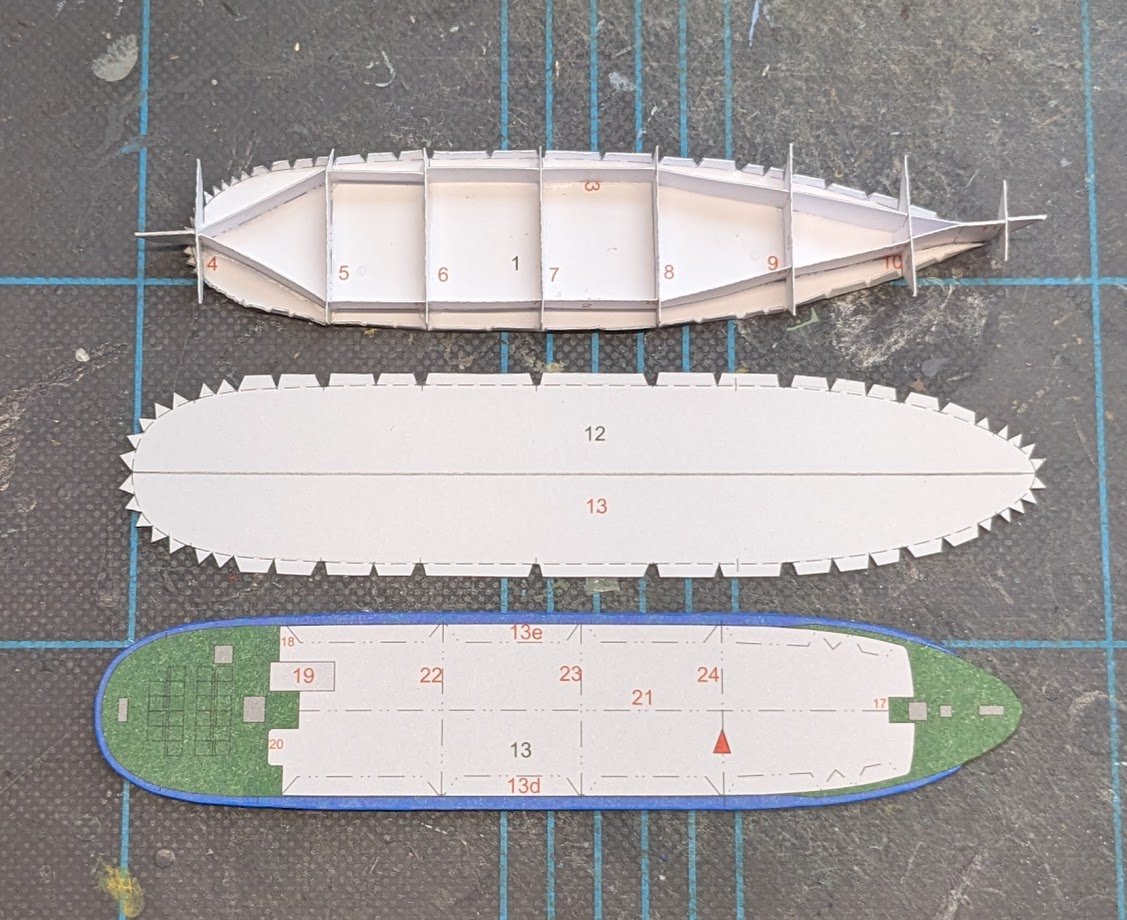
Zipping the hull up. I'm not entirely happy with the hull. These 'egg crate' style hulls are very tricky, IMO, to get just right. The best one I have done was for USS England, and that one doesn't really count, because I had a 3D-printed hull to use as a base.

- 18 replies
-
- 11
-

-
Sovereign of the Seas 1637 by Tuvok - 1:78
ccoyle replied to Tuvok's topic in - Build logs for subjects built 1501 - 1750
Welcome aboard, Tuvok, and thanks for sharing your work! -
Welcome aboard! We have a few finished President models around here, which you can find in this list (if you haven't looked them up already).
-
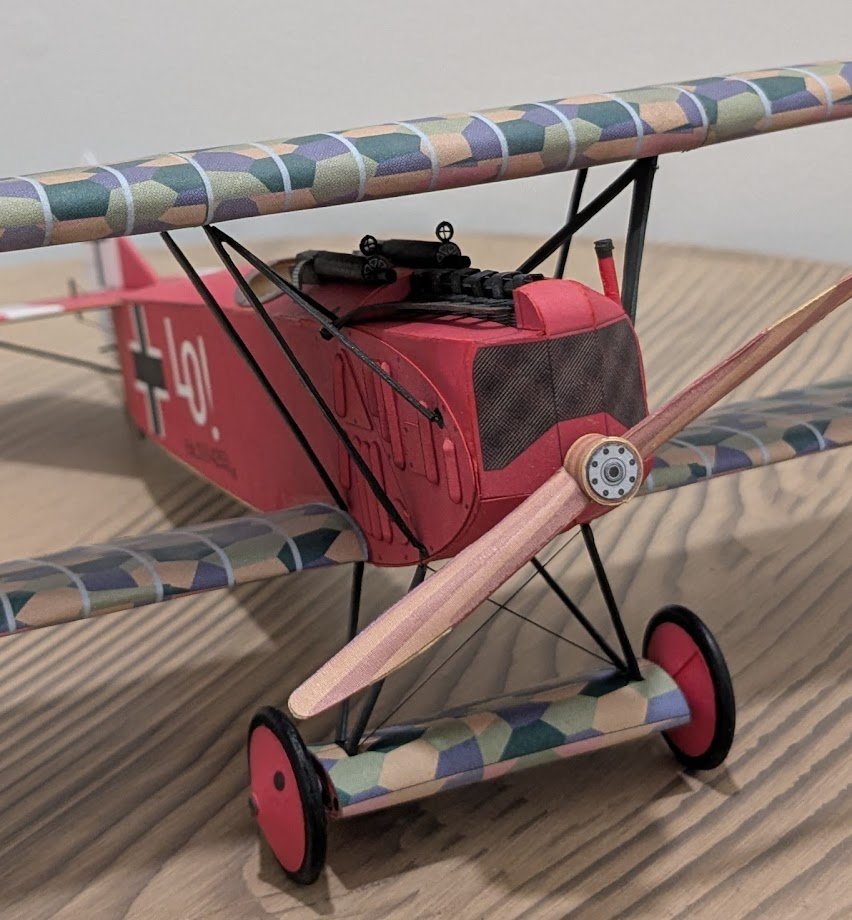
The joint between each strut and its wheel well is a real weak point of the design. Nobody will be looking at that part when she's sitting upright, so feel free to add some extra structure in there to stiffen things.
-
HMS Victory by ECK - OcCre - 1/87
ccoyle replied to ECK's topic in - Kit build logs for subjects built from 1751 - 1800
No, thanks! 😵💫😵💫😵💫 -
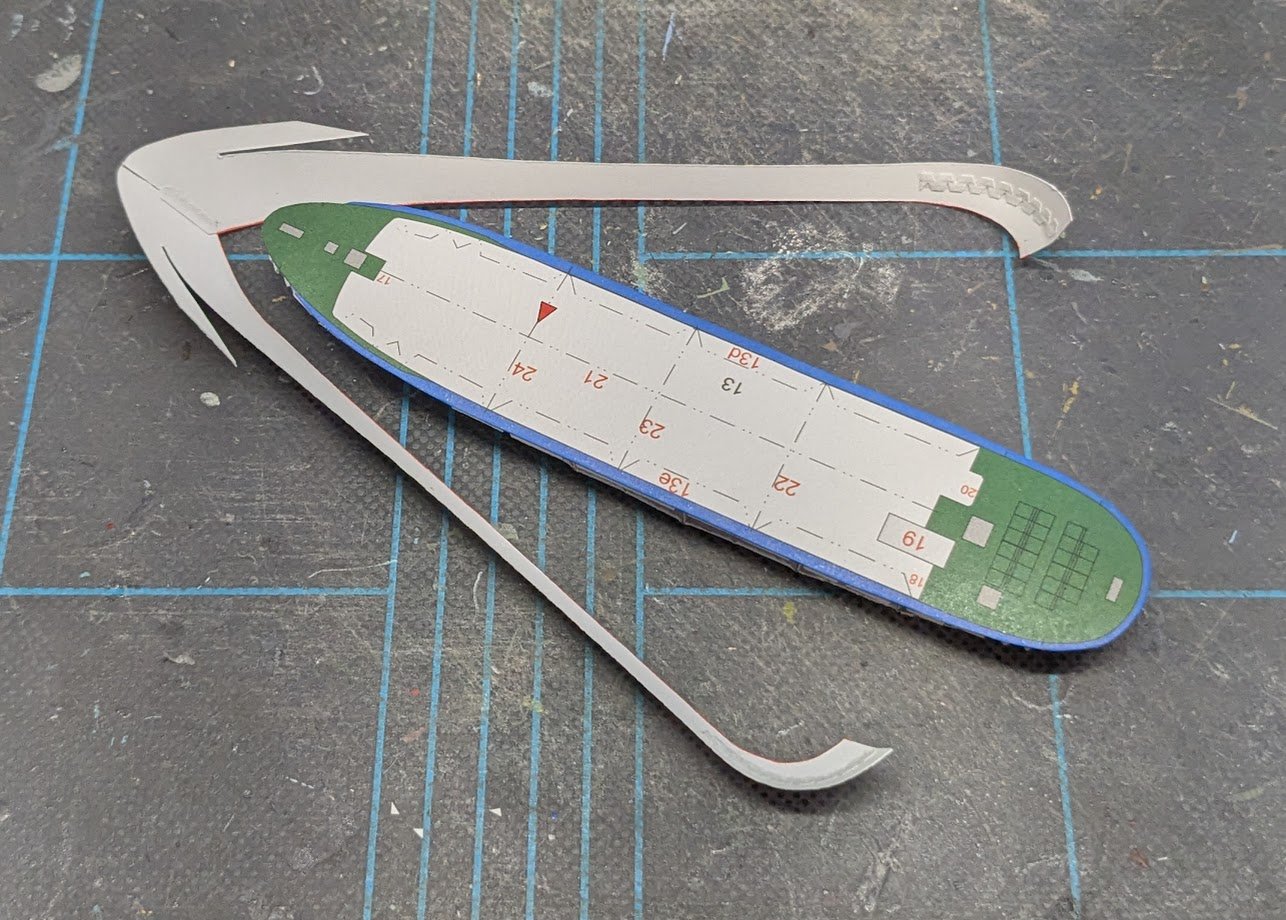
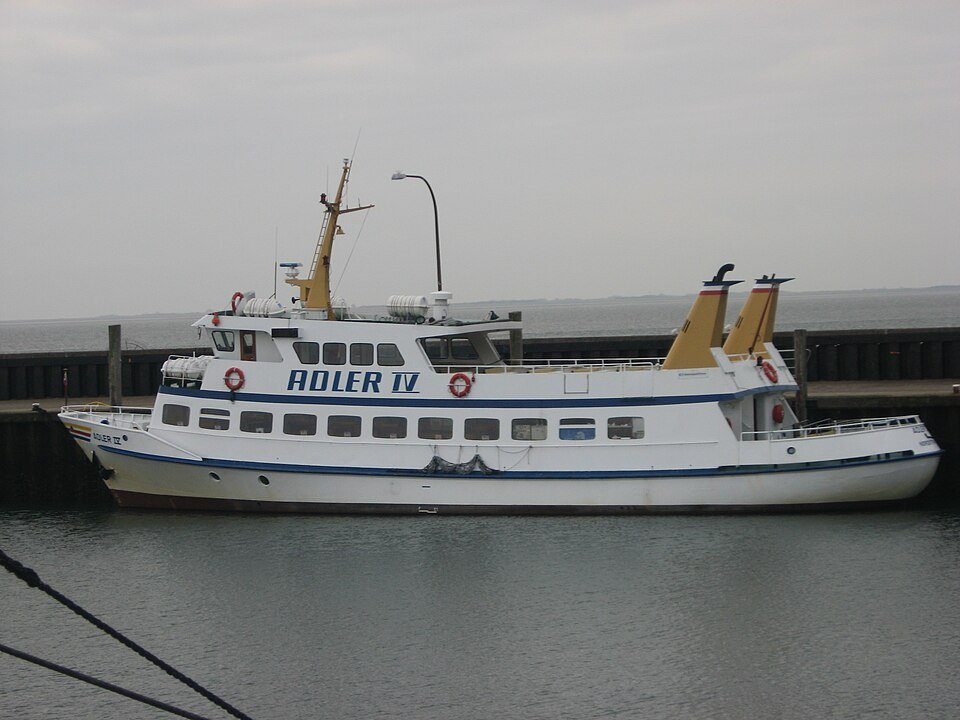
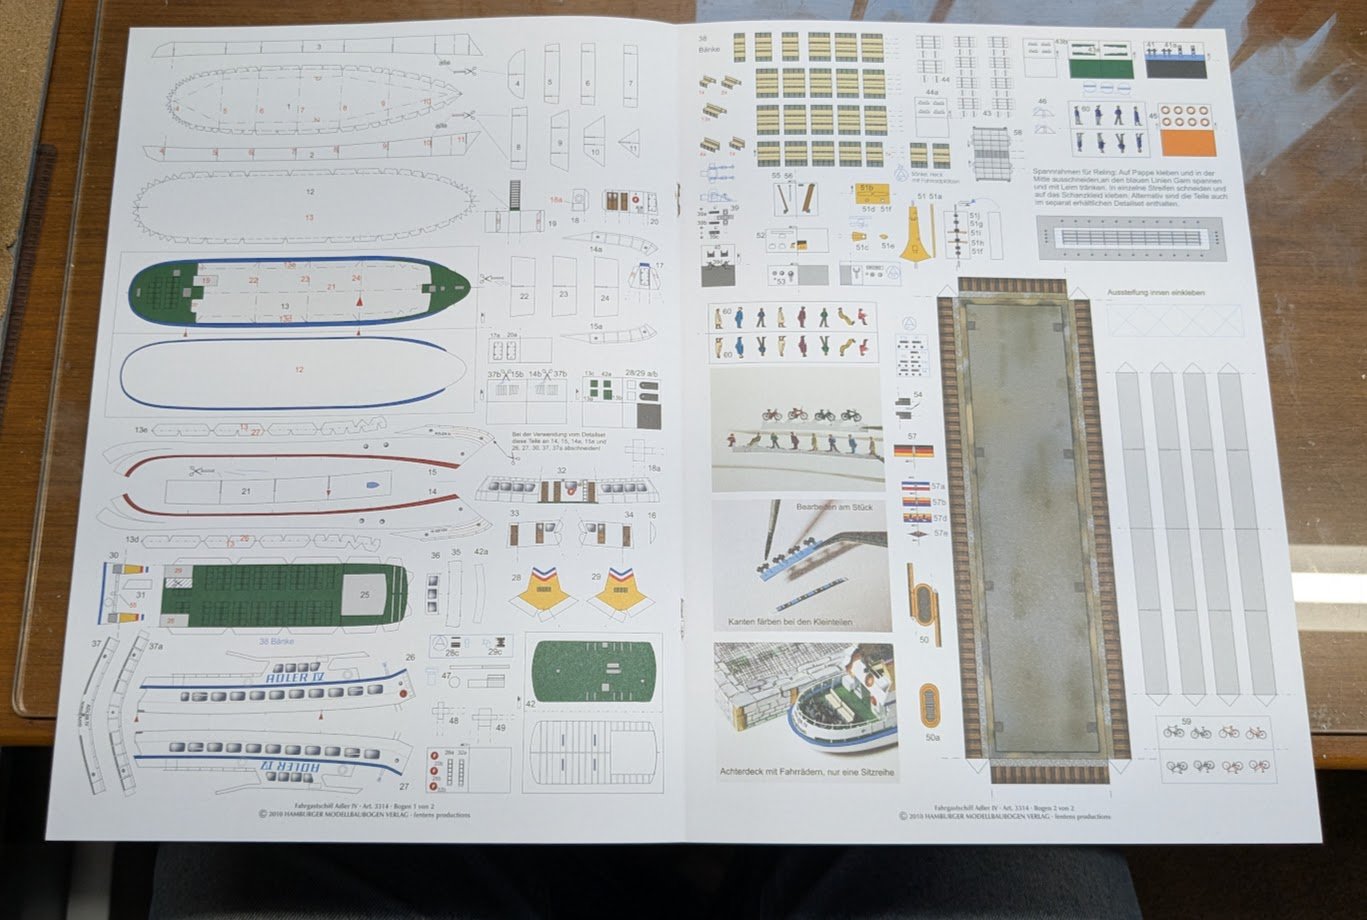
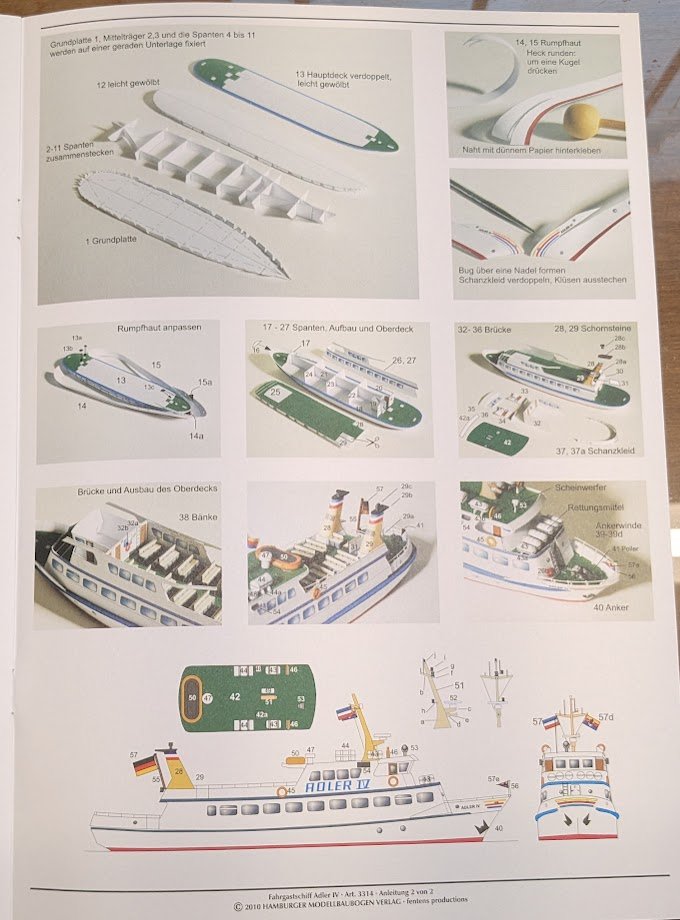
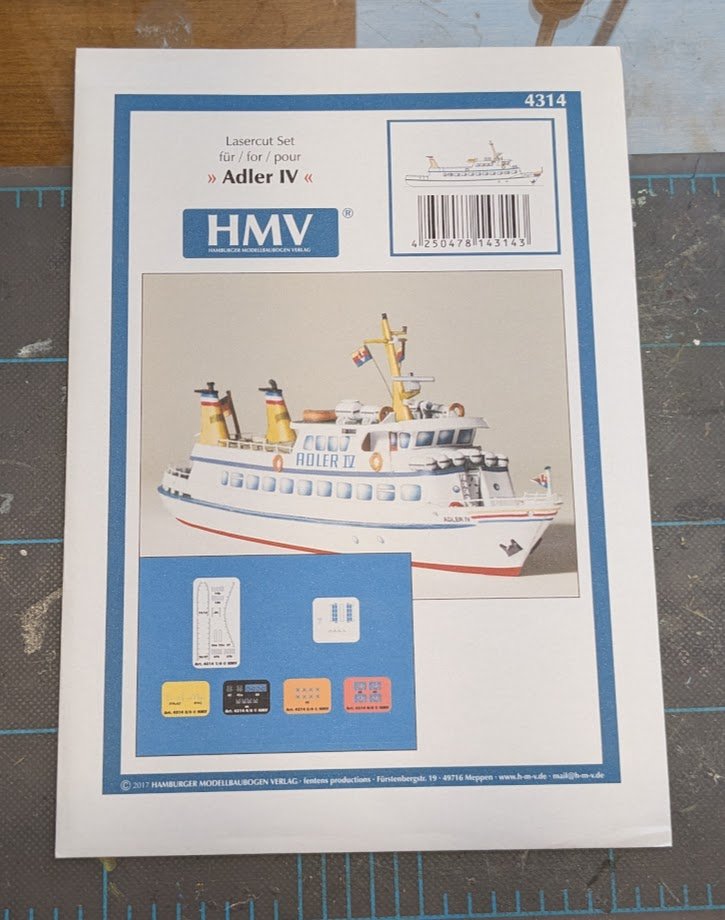
Hello, and welcome to another new adventure in card! This time around I will be building the Adler IV published by HMV. A little back story: When I was an exchange student living in Aurich, West Germany, in 1980, I had the opportunity to experience a Wattwanderung -- a hike across the mudflats between the mainland and the East Frisian Islands. We hiked over to Baltrum, had lunch, and then took a ferry back to the mainland. I don't remember the name of the ferry, and sadly I no longer have the photos I took that day, but I feel fairly certain it was a small ferry much like this one, perhaps this very ship or one of her sisters -- they remain in service down to the present and do operate in the area. Adler IV, launched in 1977 (courtesy of Wikimedia Commons) I have many HMV kits in my stash, but I have only completed a few of them. My early HMV efforts were more or less doomed from the start for one reason or another. One incorporated PE brass, which I decided I did not like working with. The other was simply "too much model" for a builder of my experience. About half of my current HMV inventory consists of civilian vessels, and a number of them are ferries and coastal excursion ships. Adler IV is the smallest of them. It seemed advisable to start small and then work through the incrementally more difficult builds. Adler IV is a small ship, only 104 ft long overall, so at 1/250 she'll be a small model, about 5" in length, with a small parts count -- there are only two pages of parts. Curiously, the 'diagrams' for this kit consist of a single one-page series of in-progress photos. I have the laser-cut detail set as well. Look for first cuts soon!

- 18 replies
-
- 15
-
-
Welcome aboard! Nope, no protocols, but I do recommend that you read the guidelines for both sites -- there are a few significant differences. You can read our guidelines by clicking here.
-
Welcome aboard!
-
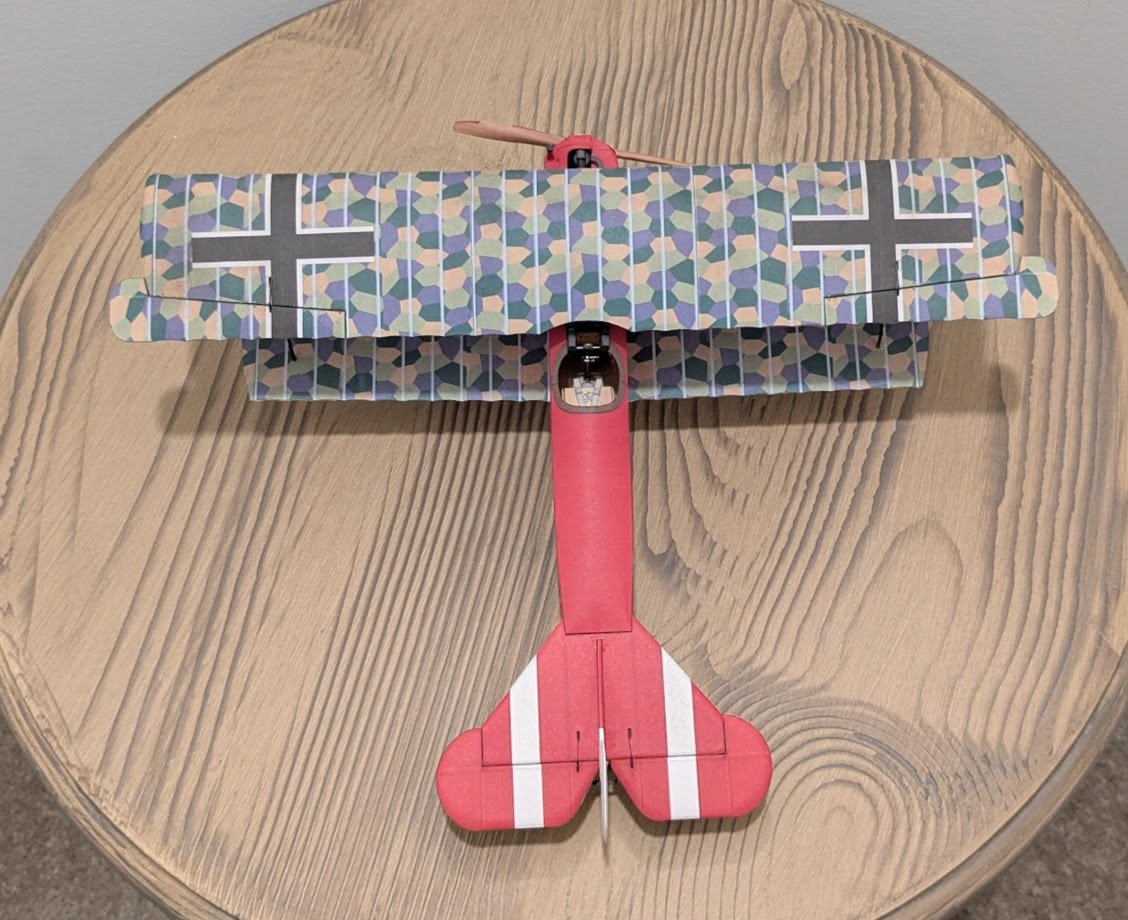
The Big Reveal! The last few bits went well enough. The only annoying part of the experience was when my AC kicked on and blew my tiny, fragile, and extremely light scratch-built gun sights onto the Carpet Monster. Happily, I was able to find them after several minutes of exasperated searching. I even found some tiny parts from previous models! In summation, this early Paweł Mistewicz design is, as usual, a very nice kit, albeit not quite as nice as Pawel's later, more evolved designs. Enjoy the pictures!

- 43 replies
-
- 28
-
-

-
Welcome aboard! Your Niagara looks very nice.
-
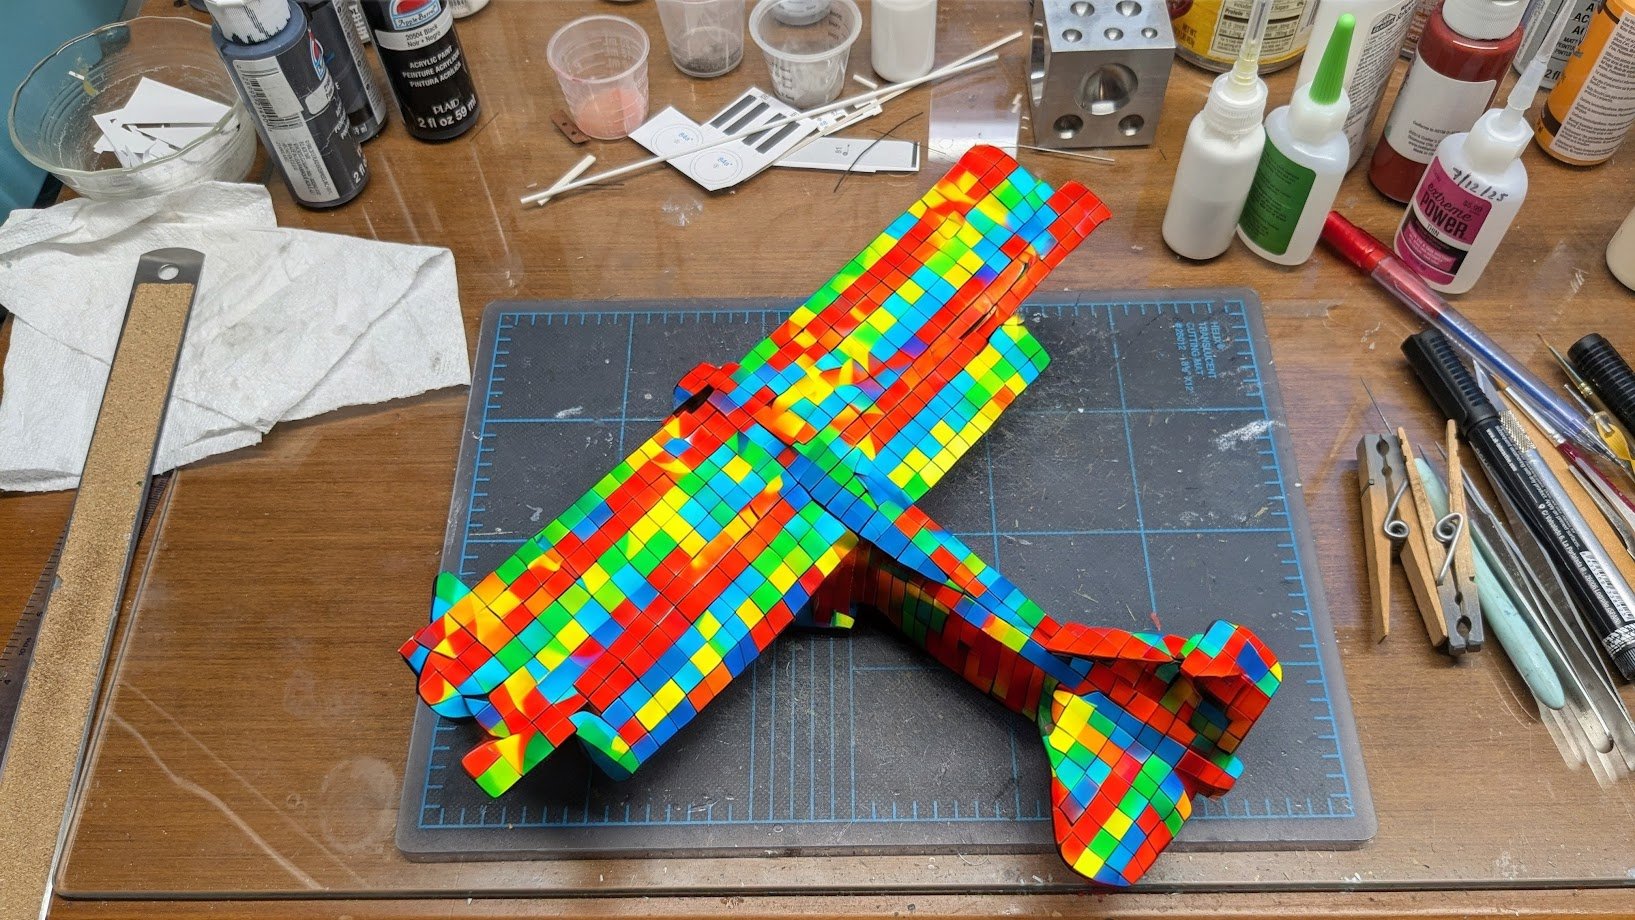
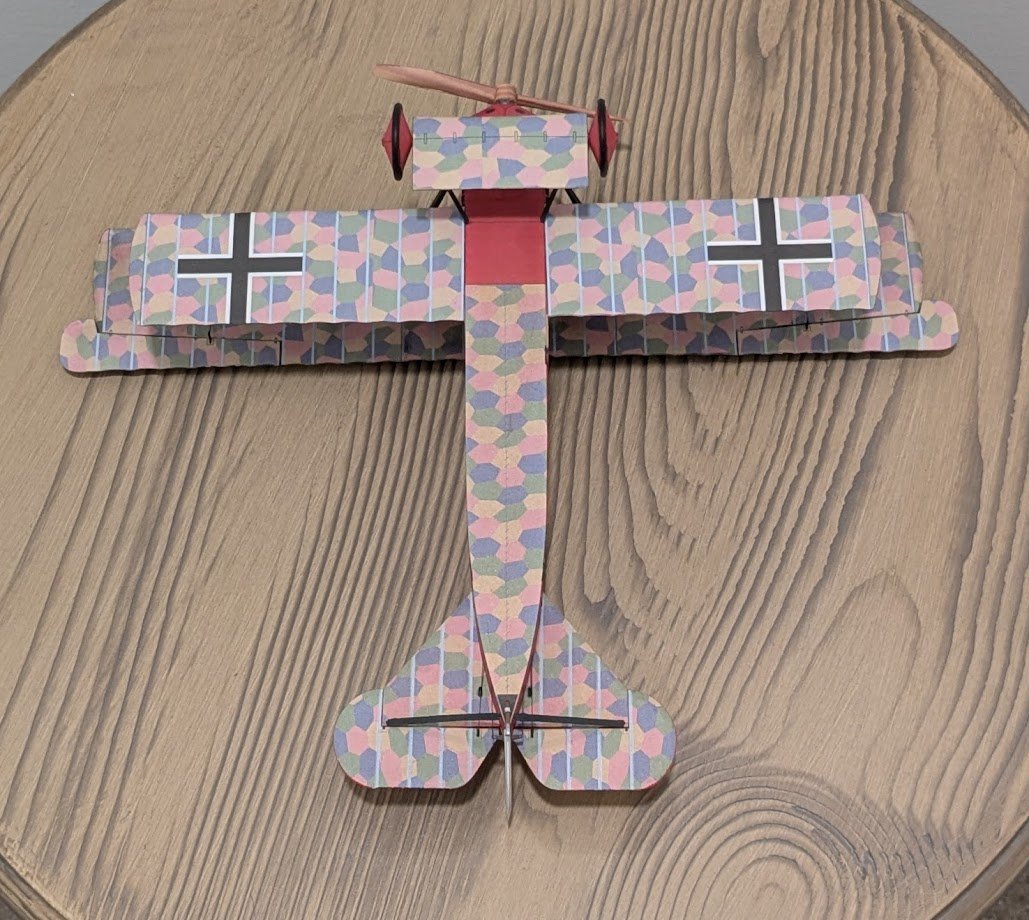
And now, just for fun . . . Several days ago I noticed that the photo editing software on my Google Pixel phone had changed, and today I received the email from Google notifying me of the update. Gee, Google, thanks for the heads-up, I guess? 🙄 Anyways, the updated software includes a new AI assistant. Well, of course this latest update demanded that we test the limits of what the fancy-shmancy AI can do, so I loaded the photo seen in my previous post and asked the AI to redo the photo in a cubist style. And this is the result: I dunno, but I'm thinking the new AI assistant is confusing cubism with a Rubik's cube. 😂 Color me unimpressed!

- 43 replies
-
- 14
-
-

-
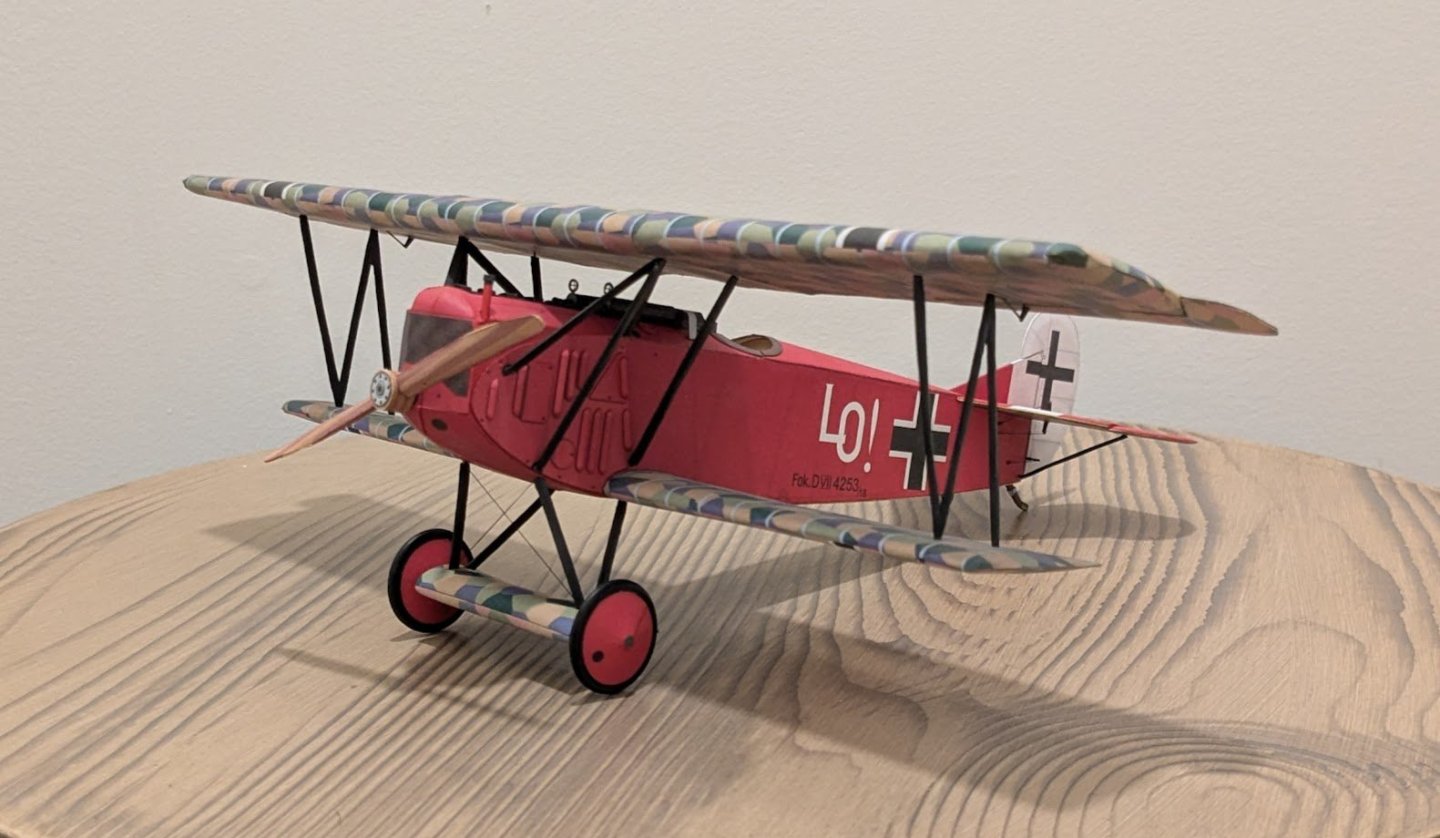
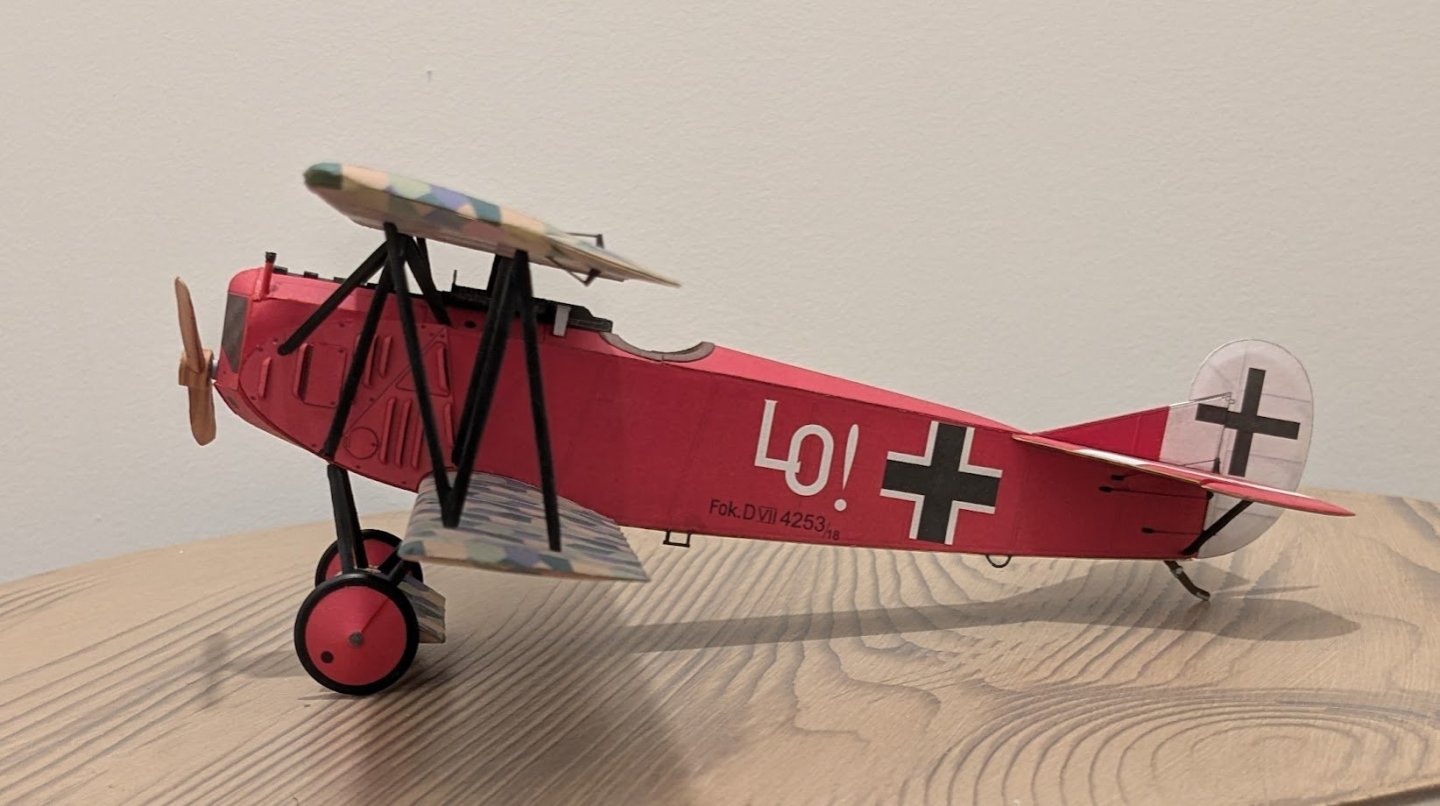
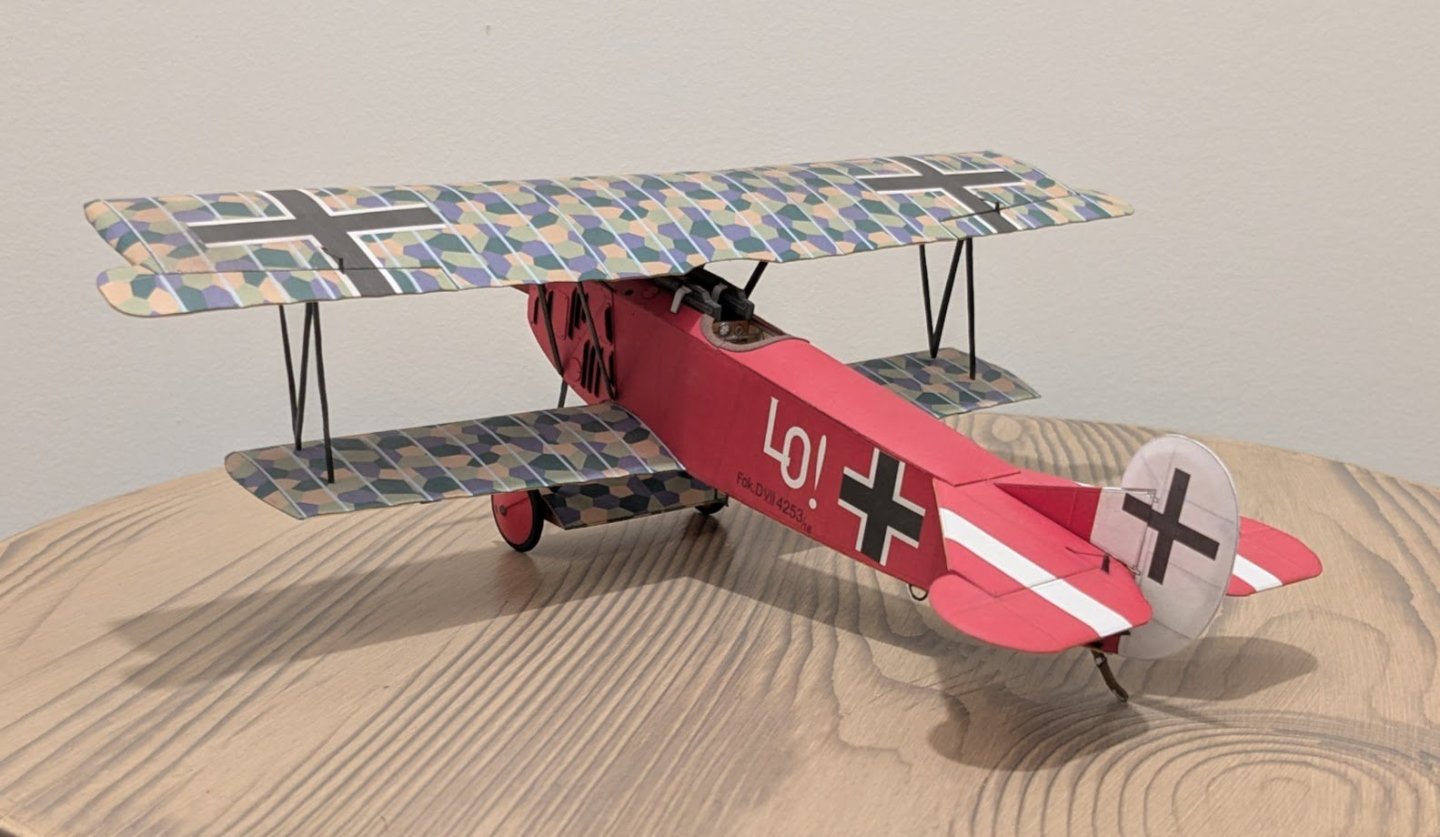
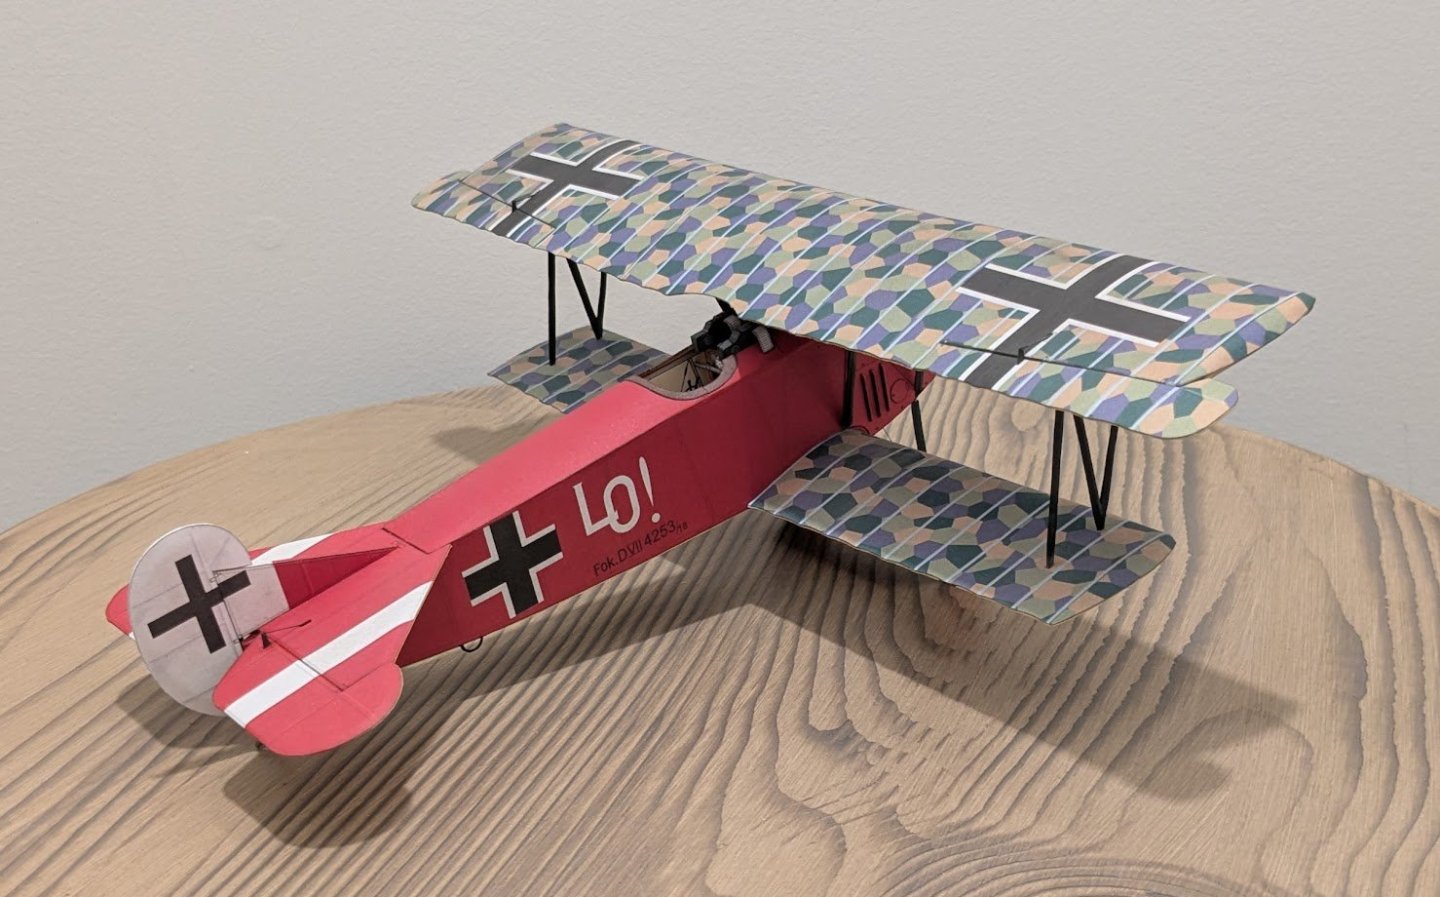
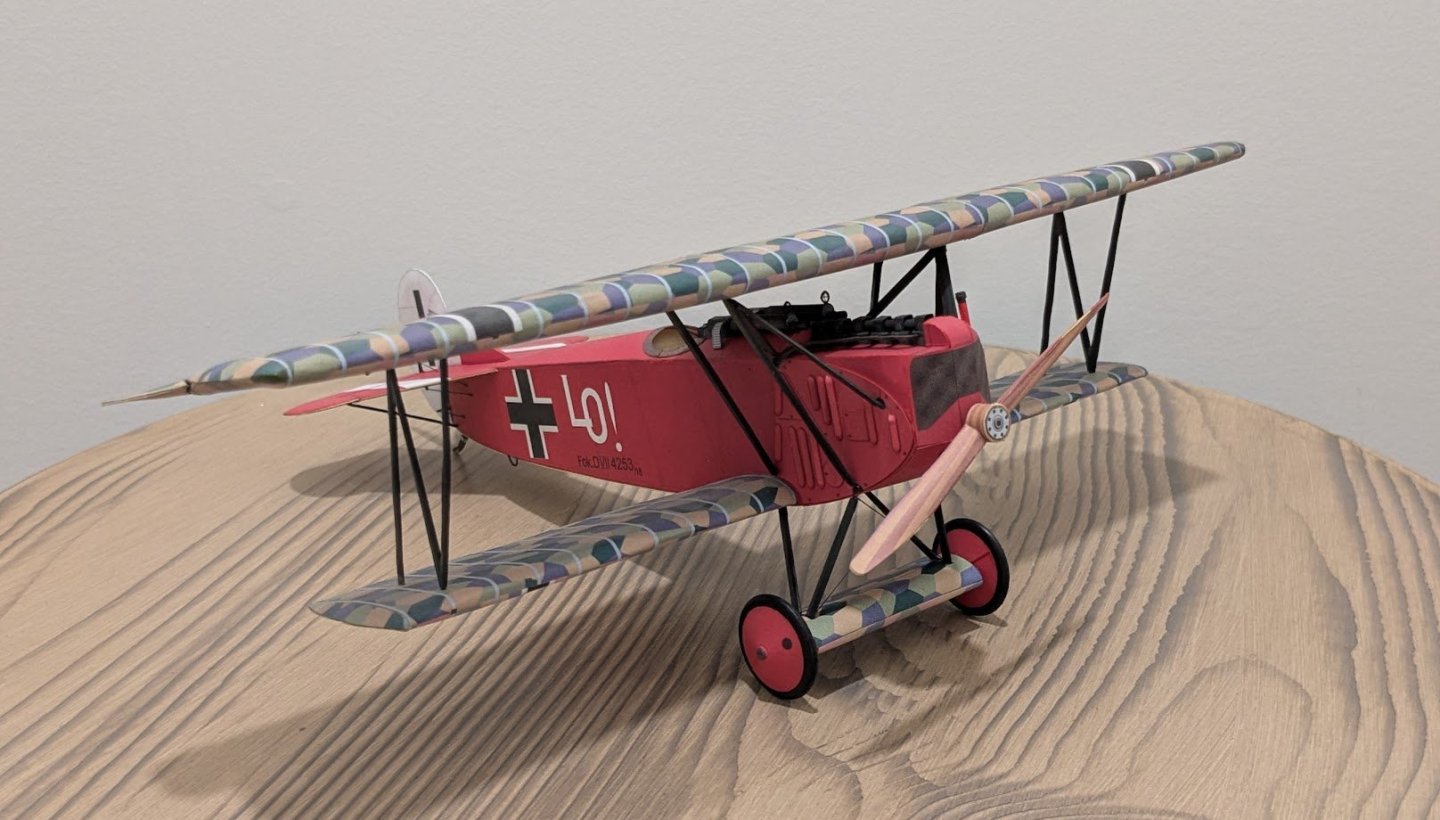
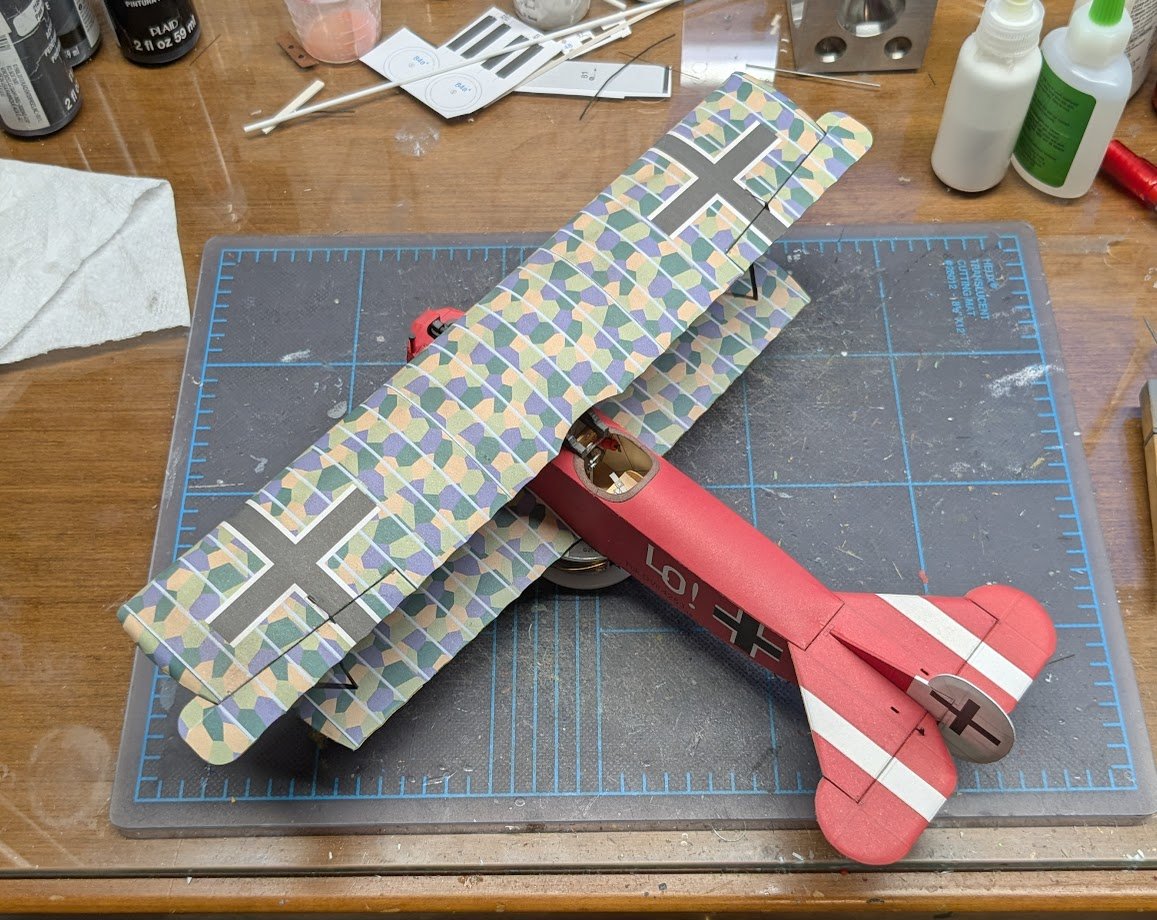
Getting close to the end now! Just the landing gear, propeller, and a little bit of rigging left to do.
- 43 replies
-
- 17
-
-
Welcome aboard!