HOLIDAY DONATION DRIVE - SUPPORT MSW - DO YOUR PART TO KEEP THIS GREAT FORUM GOING! (Only 75 donations so far out of 49,000 members - C'mon guys!)
×


ccoyle
-
Posts
10,459 -
Joined
-
Last visited
Content Type
Profiles
Forums
Gallery
Events
Everything posted by ccoyle
-
 Odd. All of my parcels from WAK have just shown up in the mail box. 🤔
 -
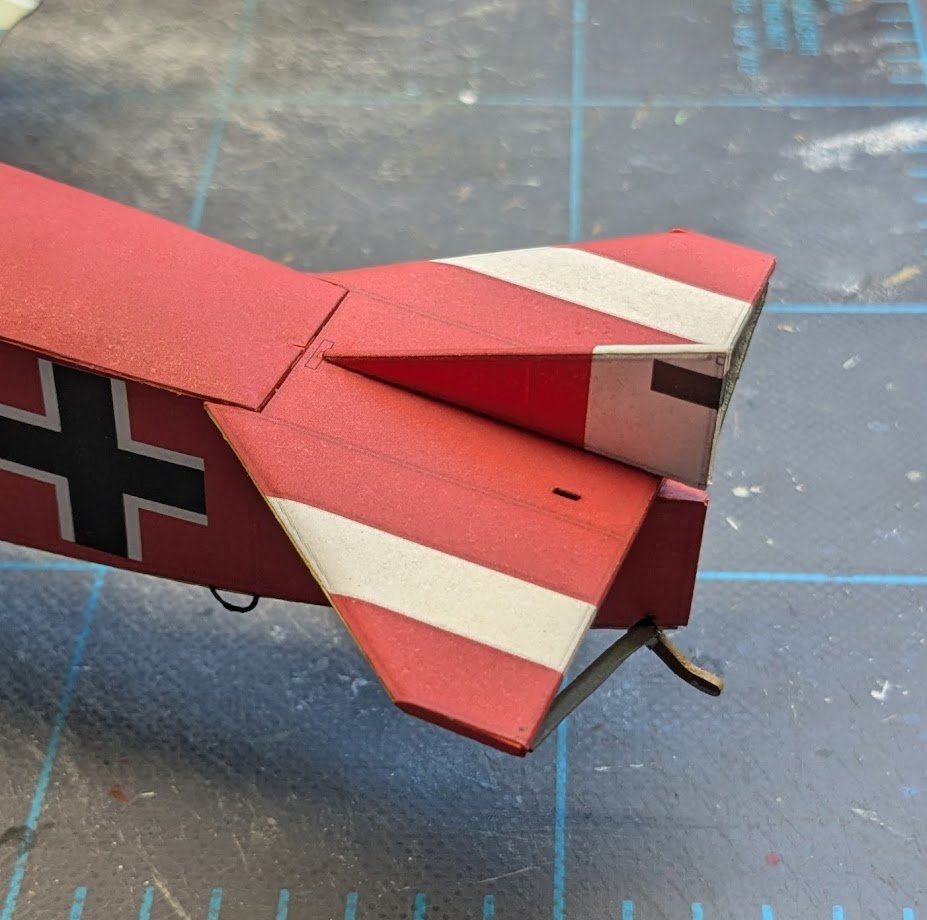
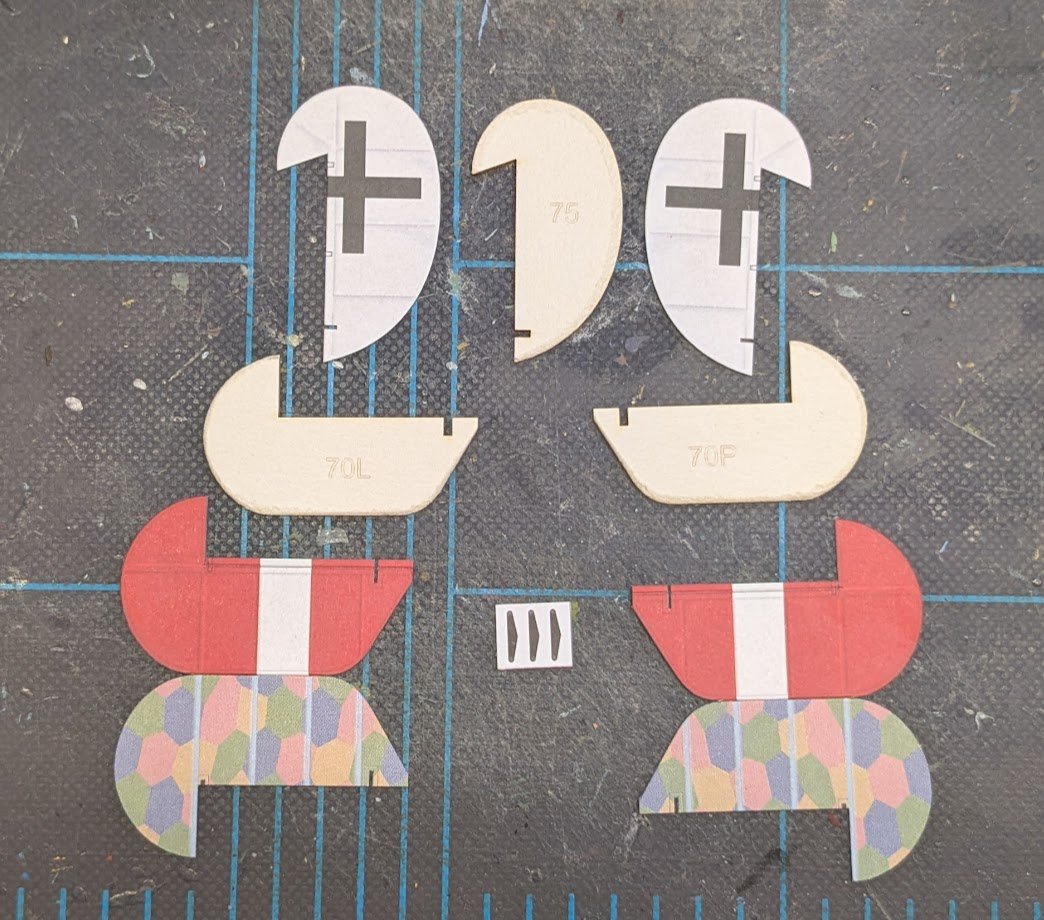
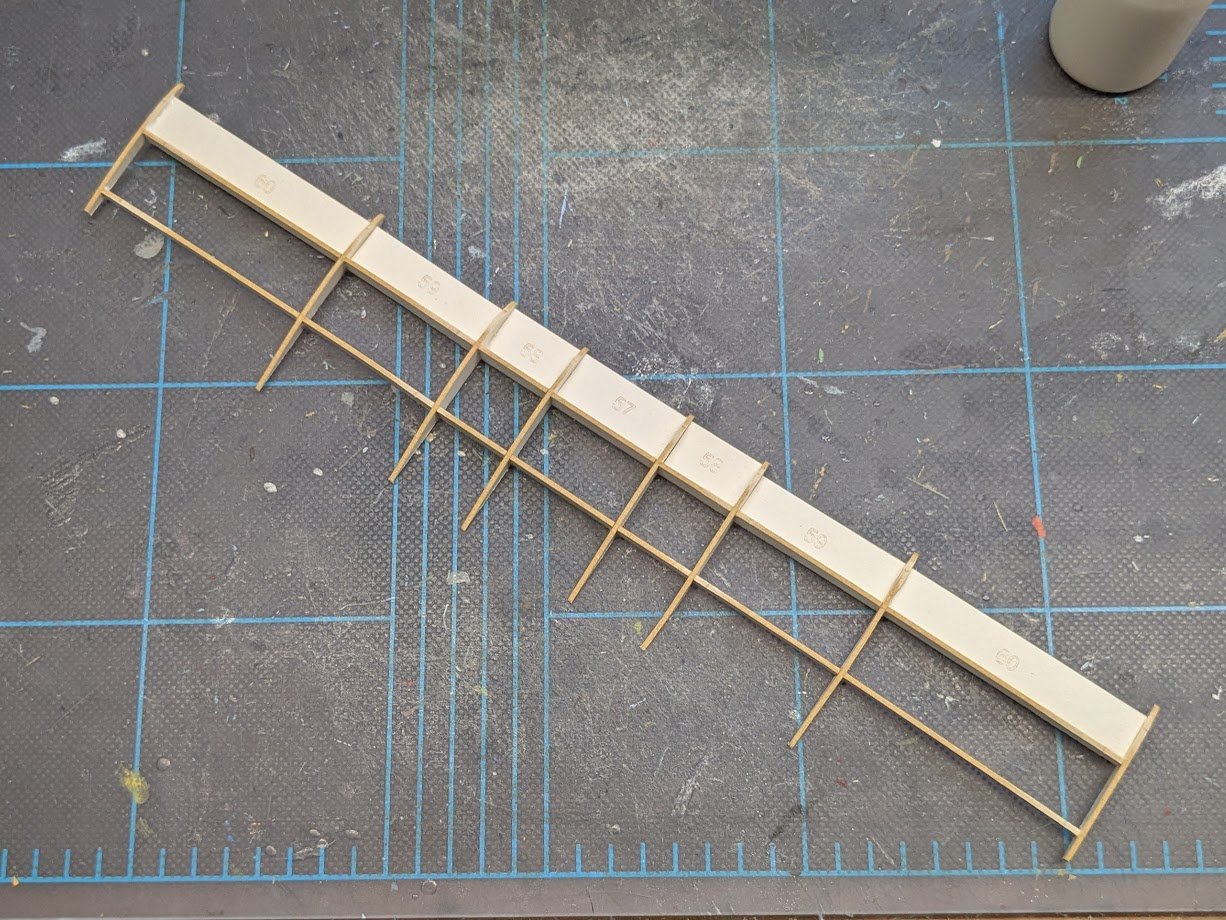
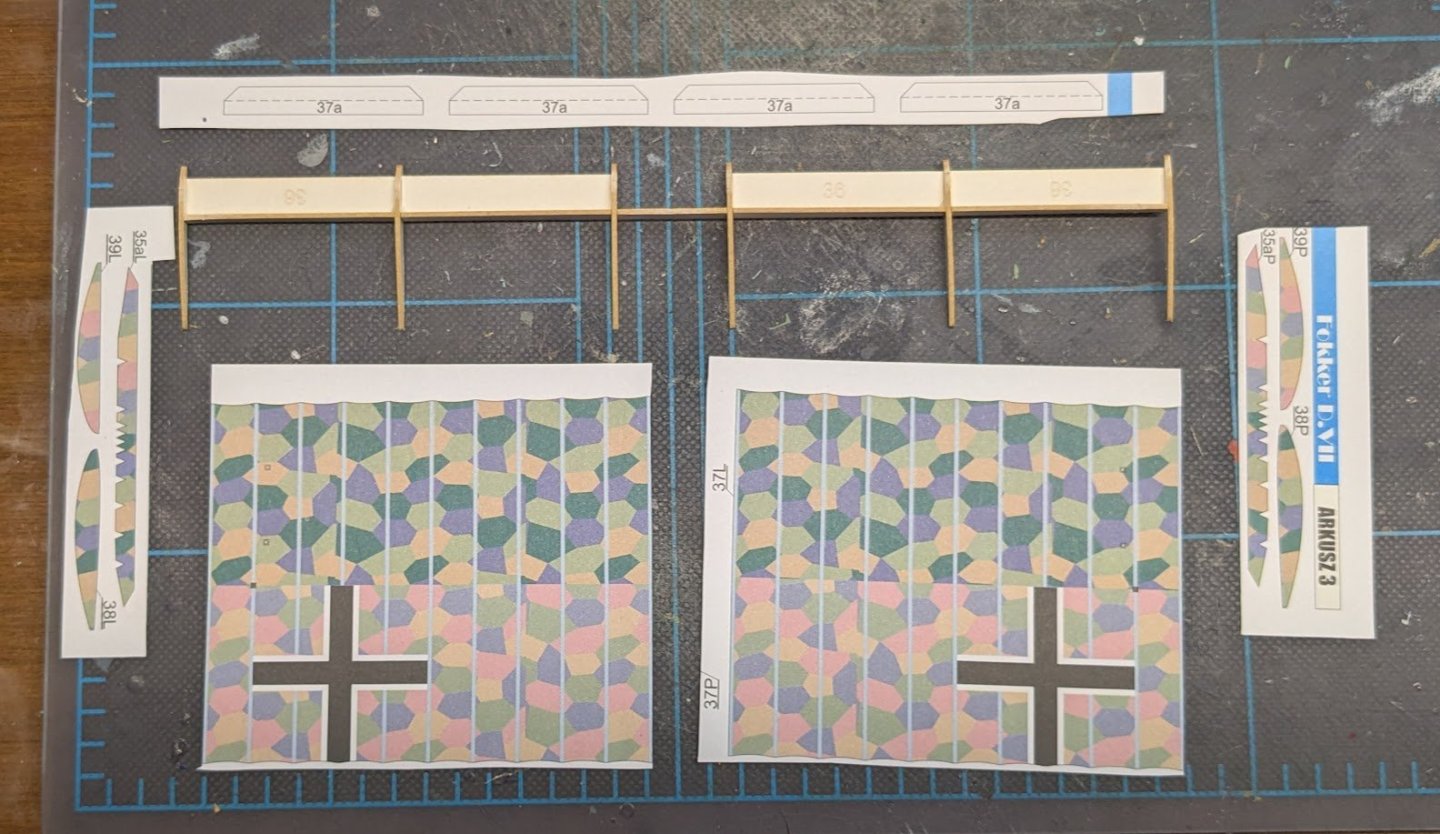
Things are moving right along now. The vertical and horizontal stabilizers have been added, along with the struts for the latter. All of the parts for the rudder and elevators have been cut out and prepped.
- 43 replies
-
- 15
-

-
What, not even with spam spam spam spam spam spam spam baked beans spam spam spam and spam? 🤔
-
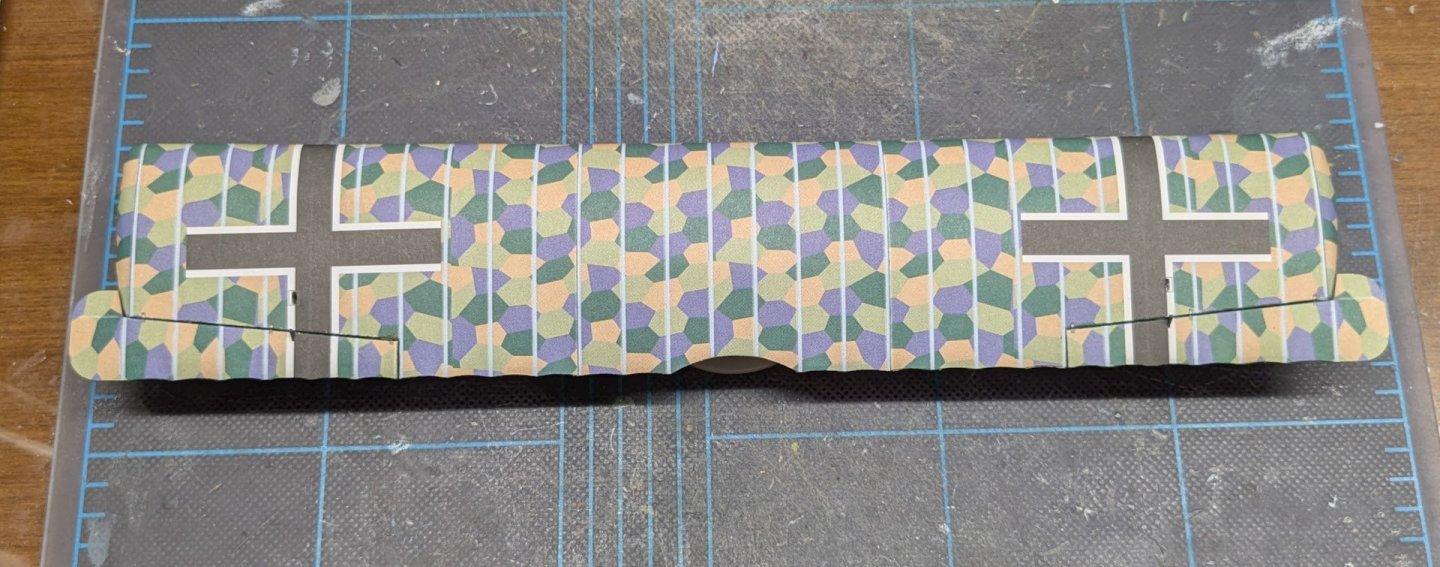
The top wing took several days. You won't believe what happened! I was cutting out the skins one evening when suddenly . . . . . . I got bored. 😮 Yeah, weird, right? So that was it for that particular night, but the task is finished now. First a shot of the framing: This is pretty substandard framing by Kartonowa Kolekcja standards, so I added a strip of scrap card atop the two spars to stiffen everything properly. The main skins were not difficult, and lozenge camouflage does a fantastic job of um, well -- camouflaging any tiny mistakes. The biggest issue was with the wingtip pieces -- these ended up being too small to pinch together neatly. I tried filling the gaps with pieces cut from the kit's spare color swatch, but I didn't like the look of the repair, so instead, I filled the gaps with layers of glue and later painted them with AK colors. You can't really see anything in this shot, but I think the repairs turned out okay. That's it for now!
- 43 replies
-
- 16
-
-
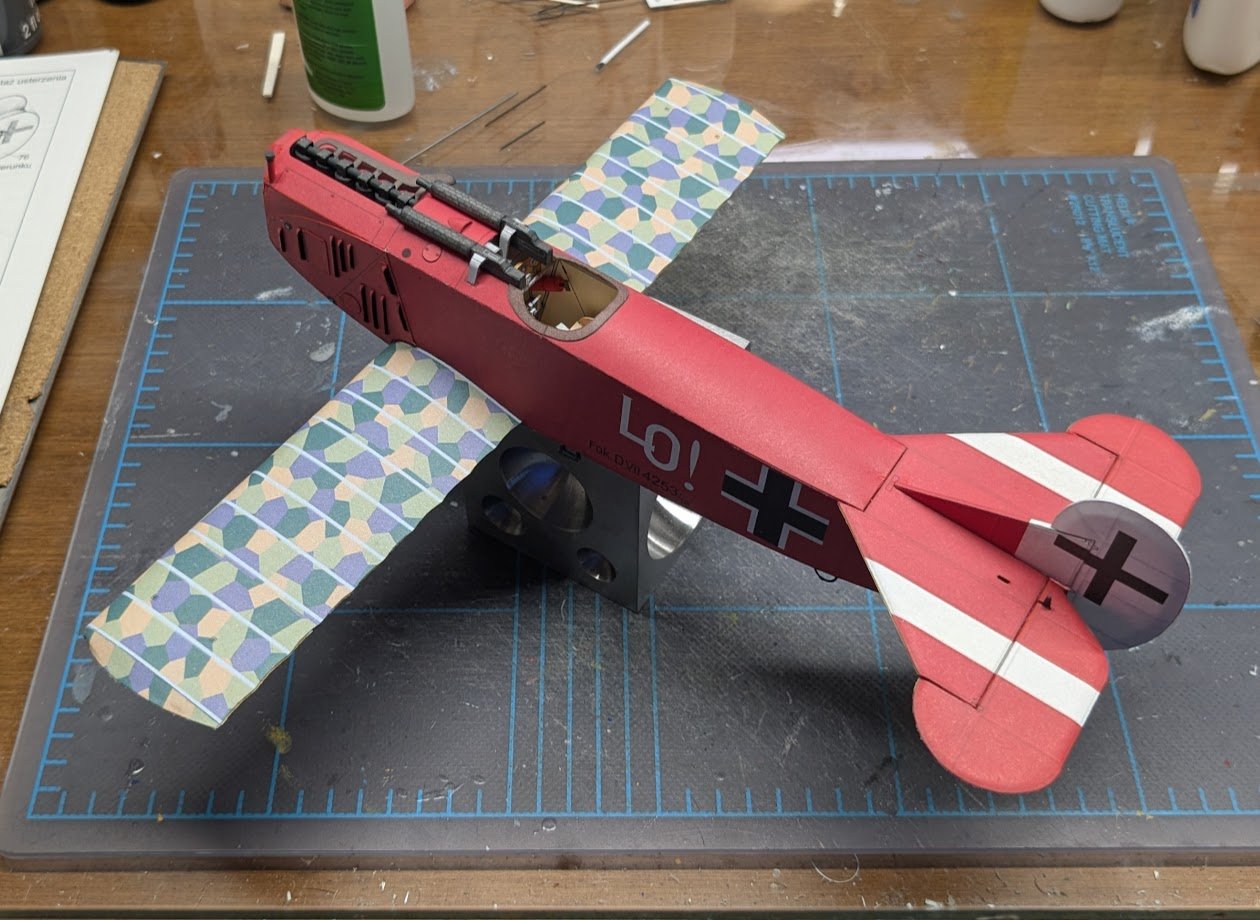
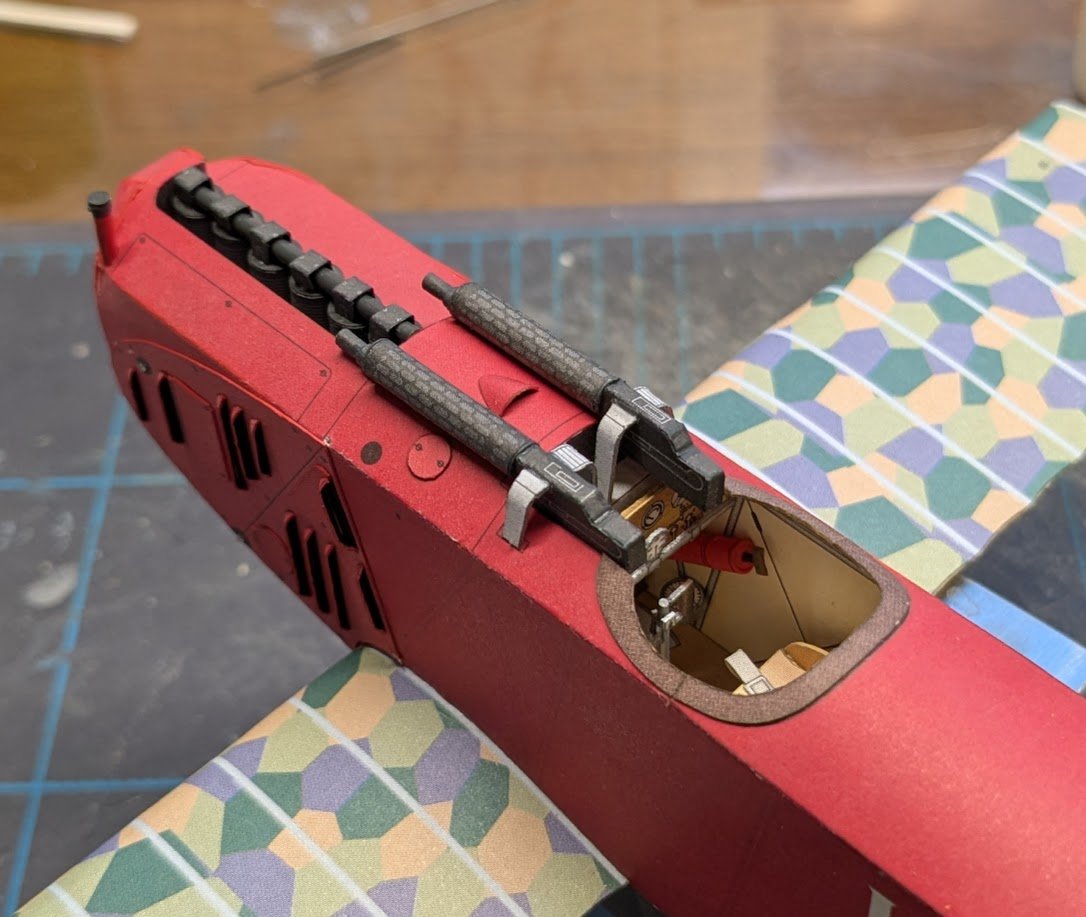
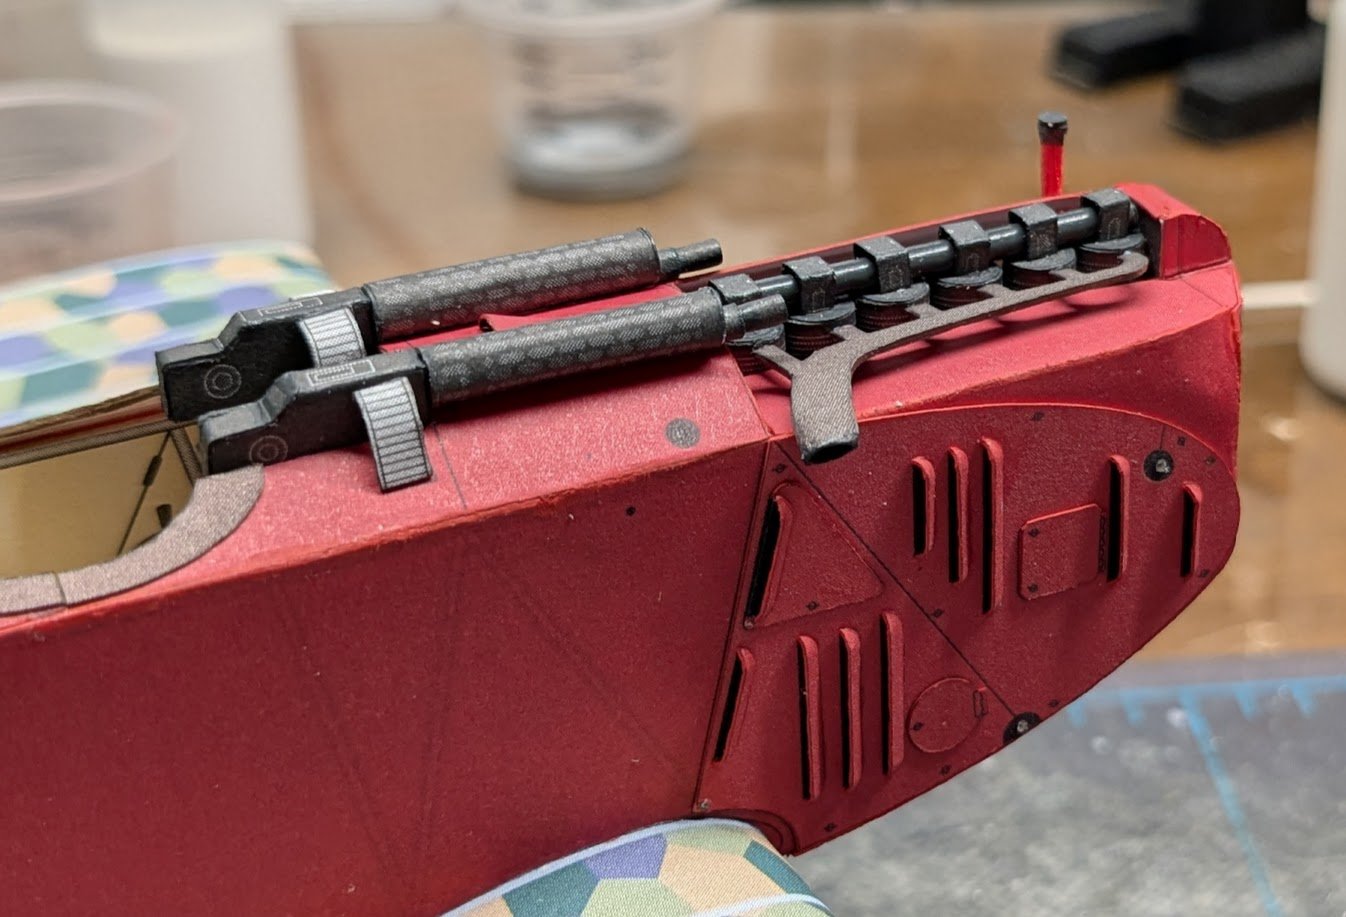
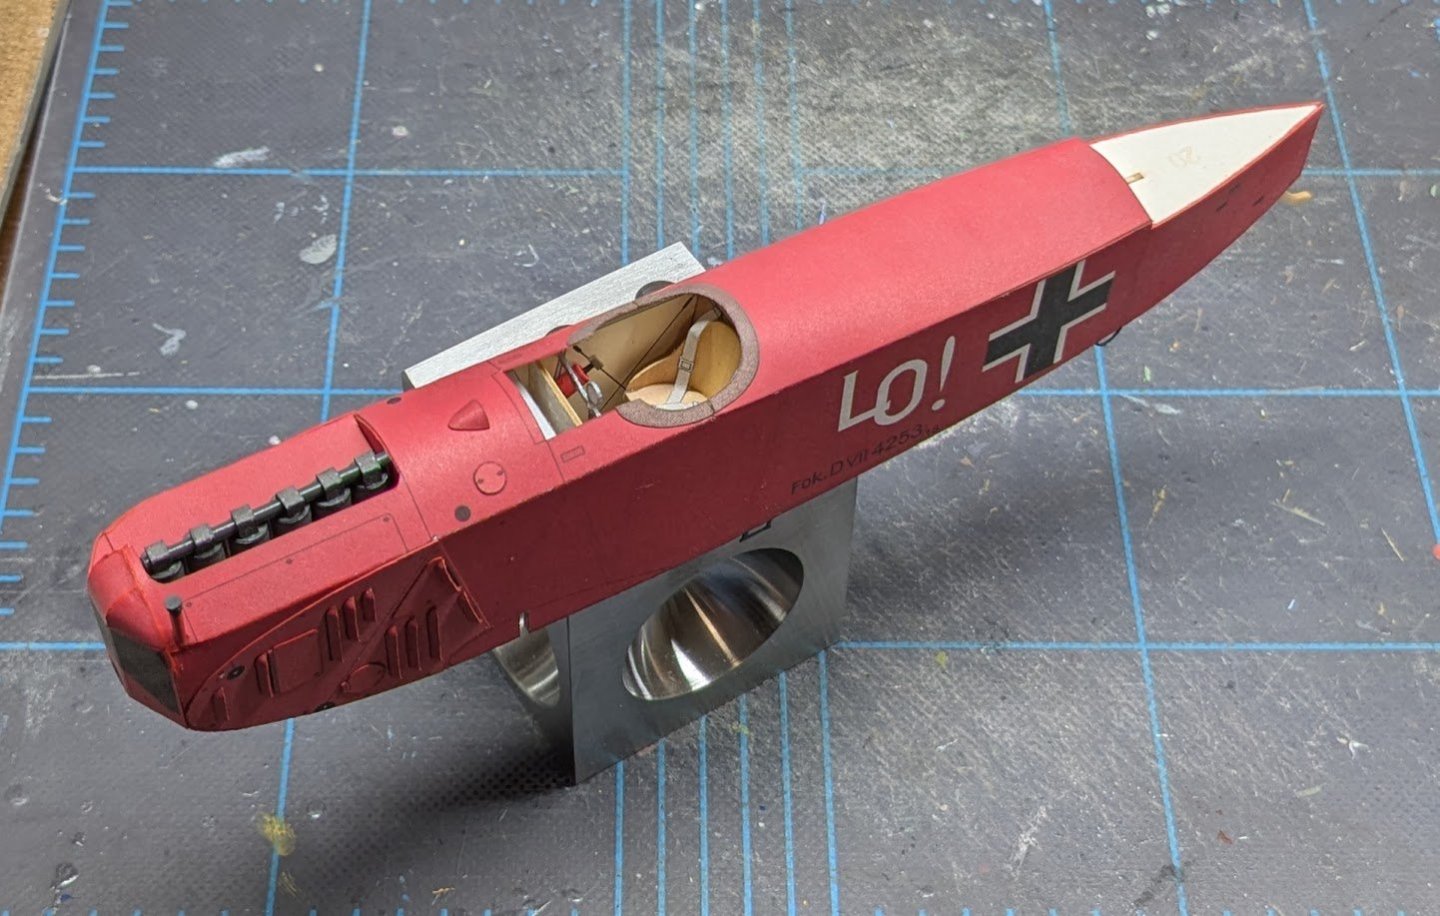
The Fokker is armed! I left off the gun sights for now -- they are delicate, so they'll be added toward the end. I also added the exhaust pipe. The stock part is a flat piece, but with some careful shaping I managed to add some flare to the end of it. That's it for now!
- 43 replies
-
- 17
-
-
You're doing a great job! Seeing all those issues brings back memories -- hope my log helped a bit.
-
The Germans may have lost, but at least they lost with amazing fashion sense!
-
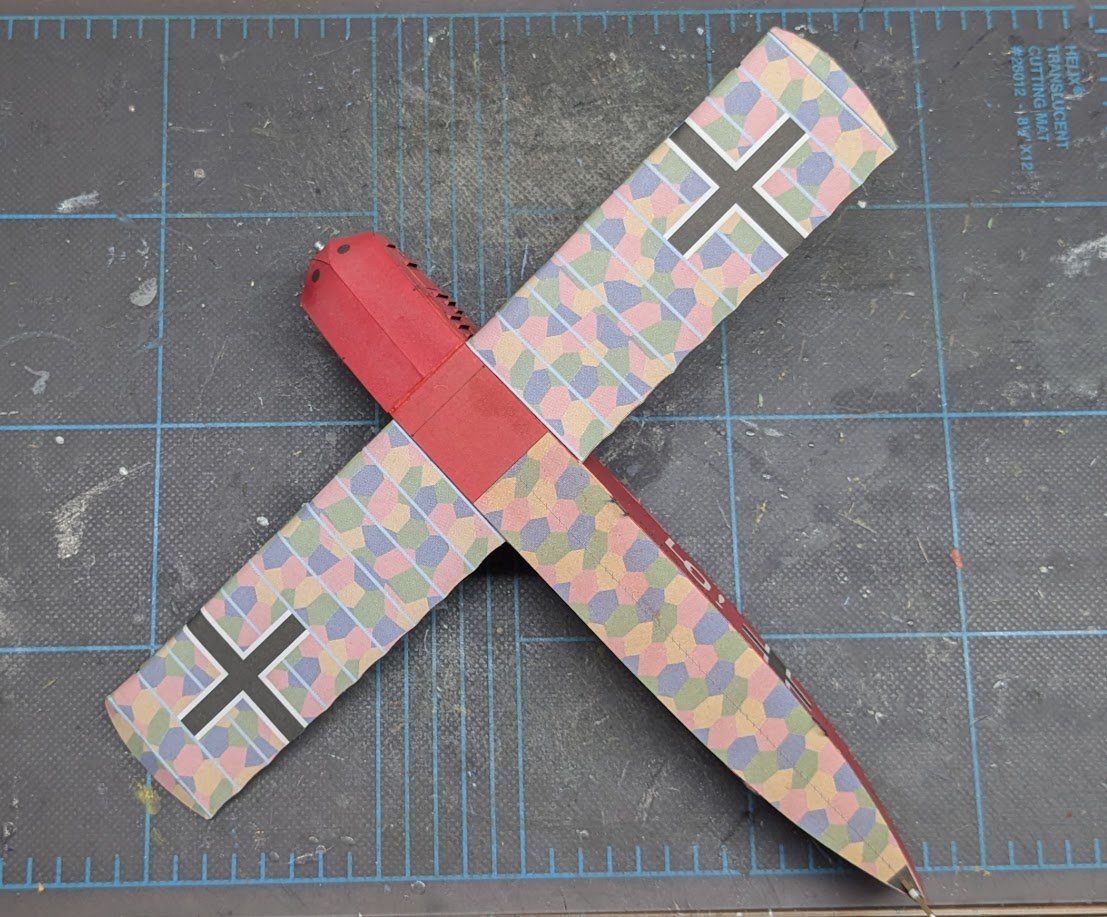
The lower wing had to be mated to the fuselage before the lower fuselage skins could be added. That's done now, too.
- 43 replies
-
- 18
-
-
Hello, @gemes.attila Please note that posts to MSW must be made in English. Also note that Michele has not visited the site since October of 2022, so an answer to your question might not be immediately coming.
-
Wow, I got an entire wing built today! Of course, there's a whole 'nother wing to build, so let's not get too excited. BTW, the wing framing for this kit is significantly less rugged than in Pawel's later designs.

- 43 replies
-
- 14
-
-
Welcome aboard! Wooden ship builds are categorized by year of launch, so your Bluenose will go in the "Kit build logs for subjects built from 1901 - Present Day" sub-forum. That's where you'll find the new topic button. Make sure to read the "starting and naming your build log" pinned topic at the to of the sub-forum. Cheers!
-
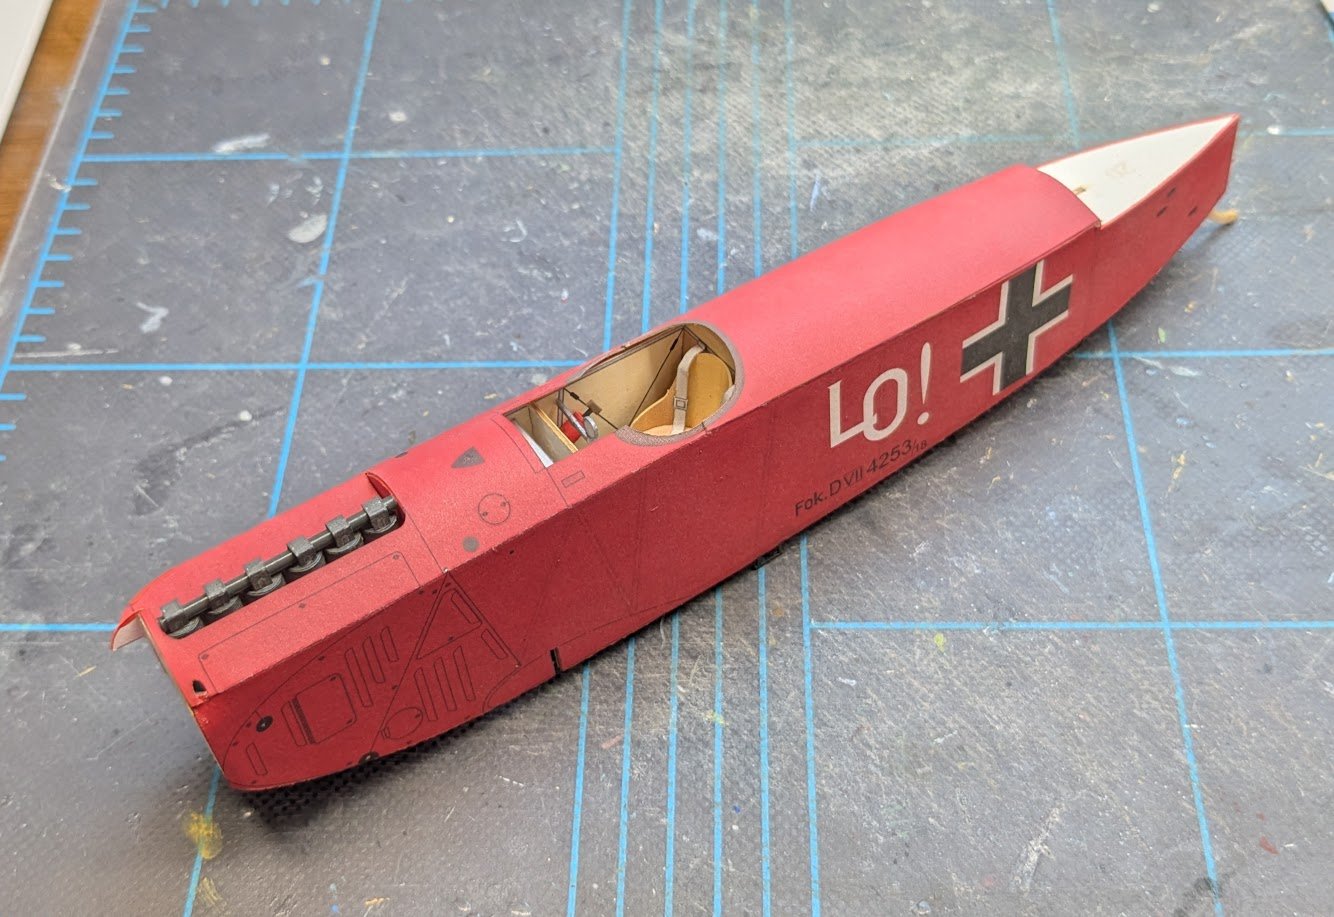
Fuselage is done. Not bad for a week's work. Remember what a week's worth of work looked like on the Halinski Zero? 😂
- 43 replies
-
- 13
-
-
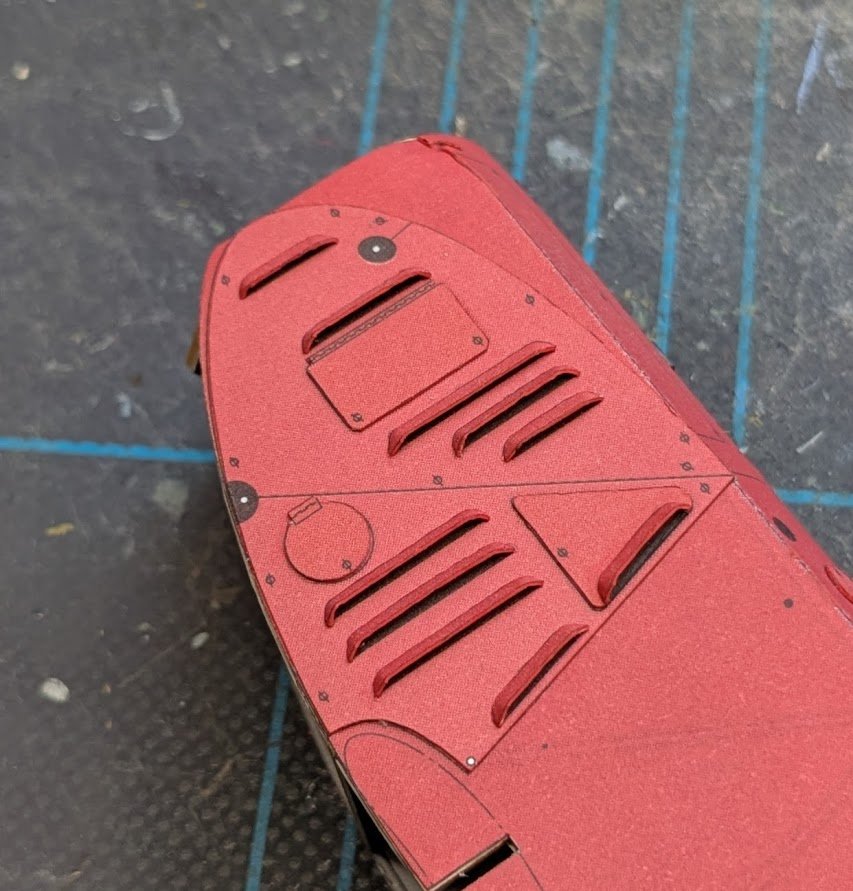
Half of the louvers are done. The other side will be harder, cuz I have to remember not to squish anything on the finished side!
- 43 replies
-
- 15
-
-

-
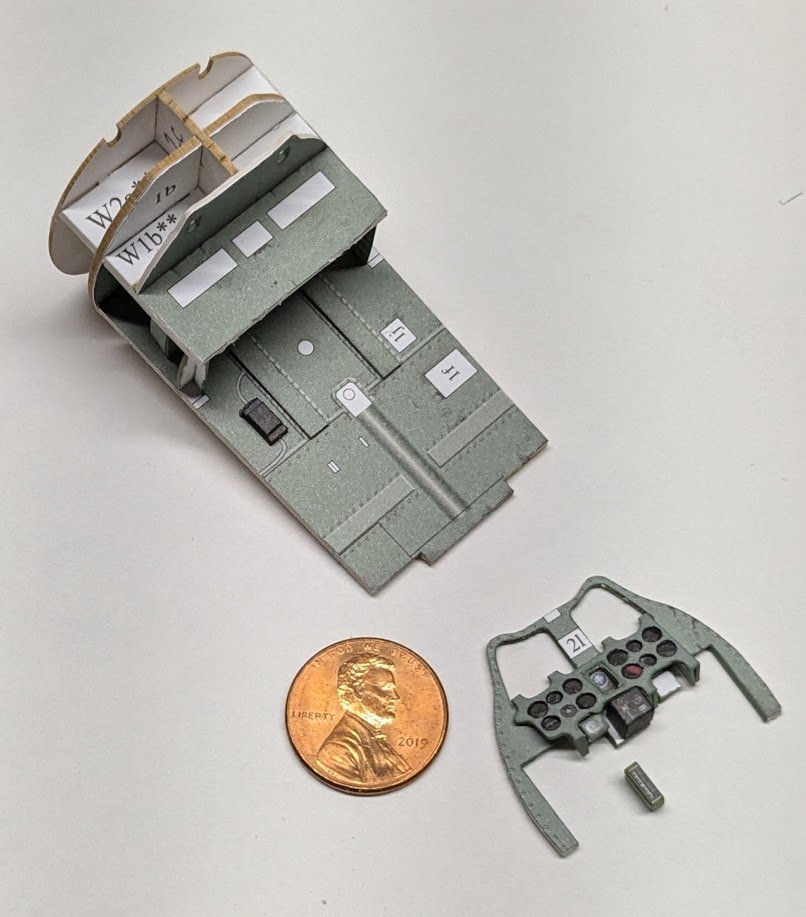
Skinning the Fuselage The top deck of the fuselage behind the cockpit is a separate skin. To better position it, I added some joiner strips along the edges of the fuselage framing. The sides and top went on without too much difficulty. There are alternate parts for doubling the engine compartment sides -- those will be next, along with the louvered vents.
- 43 replies
-
- 13
-
-
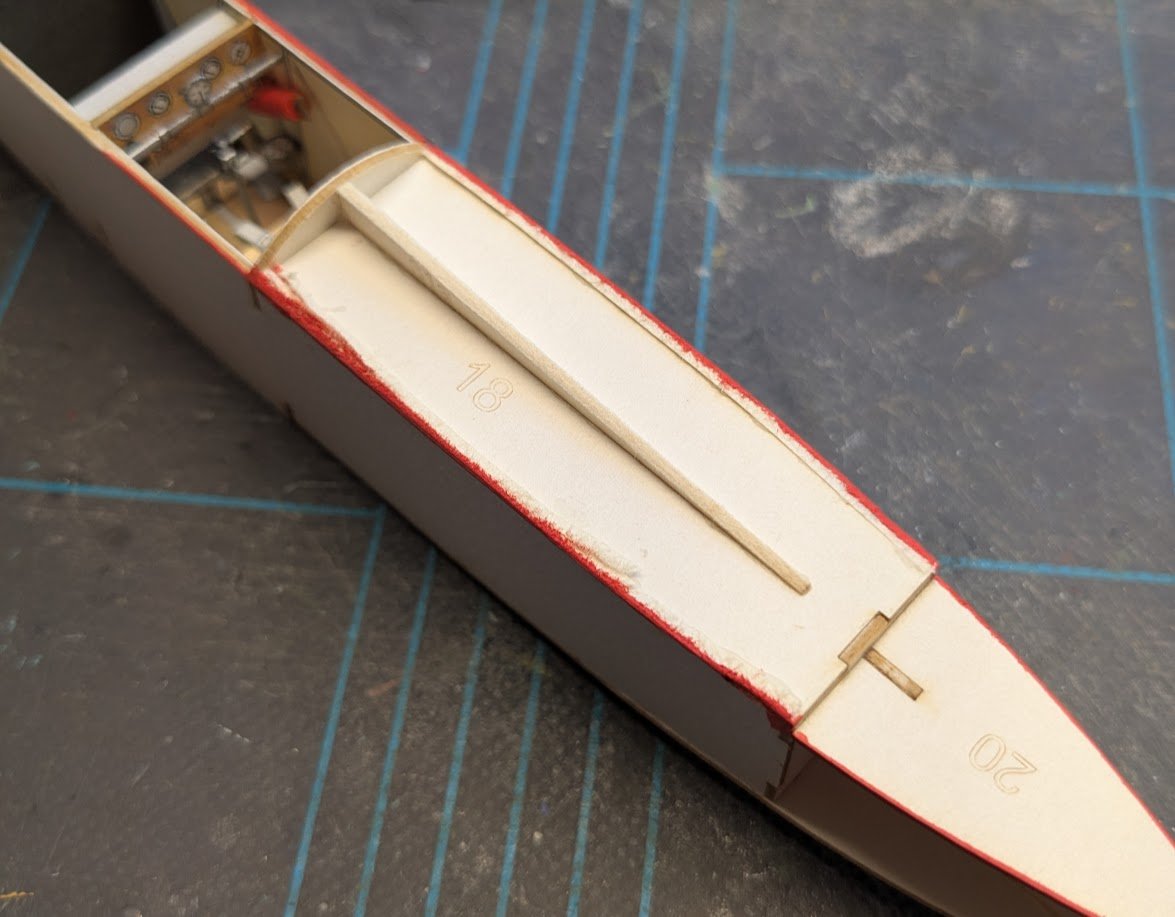
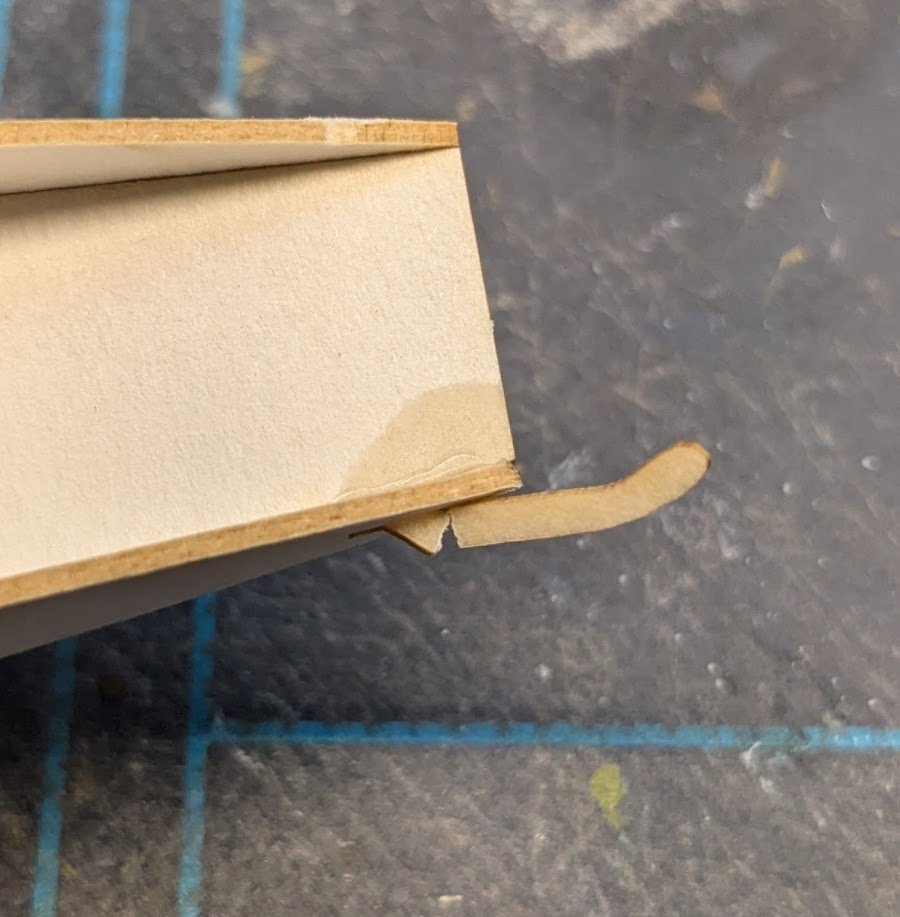
The tail skid is part of one of the aft fuselage frames. It's a part that just dangles out in space and begs to be broken off repeatedly, so I soaked it in thin CA to stiffen it. It made no difference. 😑 I'll let you imagine which "special word" involuntarily escaped my lips when this happened. It was either: !@#$ @#$! #$!@ or $!@# I won't tell you which one it was!
- 43 replies
-
- 16
-
-

-

-
Did you at least get a satisfying "ka-pwing" out of the tweezers?
- 288 replies
-
- 7
-
-
-
- Card
- Pre-Dreadnought
- (and 3 more)
-
Yeah, that's your typical machine stitching -- very ill-suited to scale modeling. I agree that making another is the right option.
- 44 replies
-
- 2
-
-
- Nave Egizia
- Amati
- (and 1 more)