HOLIDAY DONATION DRIVE - SUPPORT MSW - DO YOUR PART TO KEEP THIS GREAT FORUM GOING! (Only 75 donations so far out of 49,000 members - C'mon guys!)
×


ccoyle
-
Posts
10,459 -
Joined
-
Last visited
Content Type
Profiles
Forums
Gallery
Events
Everything posted by ccoyle
-

Vanguard afficianadios...... Cutter Alert vs Brig Adder
ccoyle replied to bigcreekdad's topic in Wood ship model kits
You can access your title for editing via post #1. Look for the three dots in the upper right corner. -
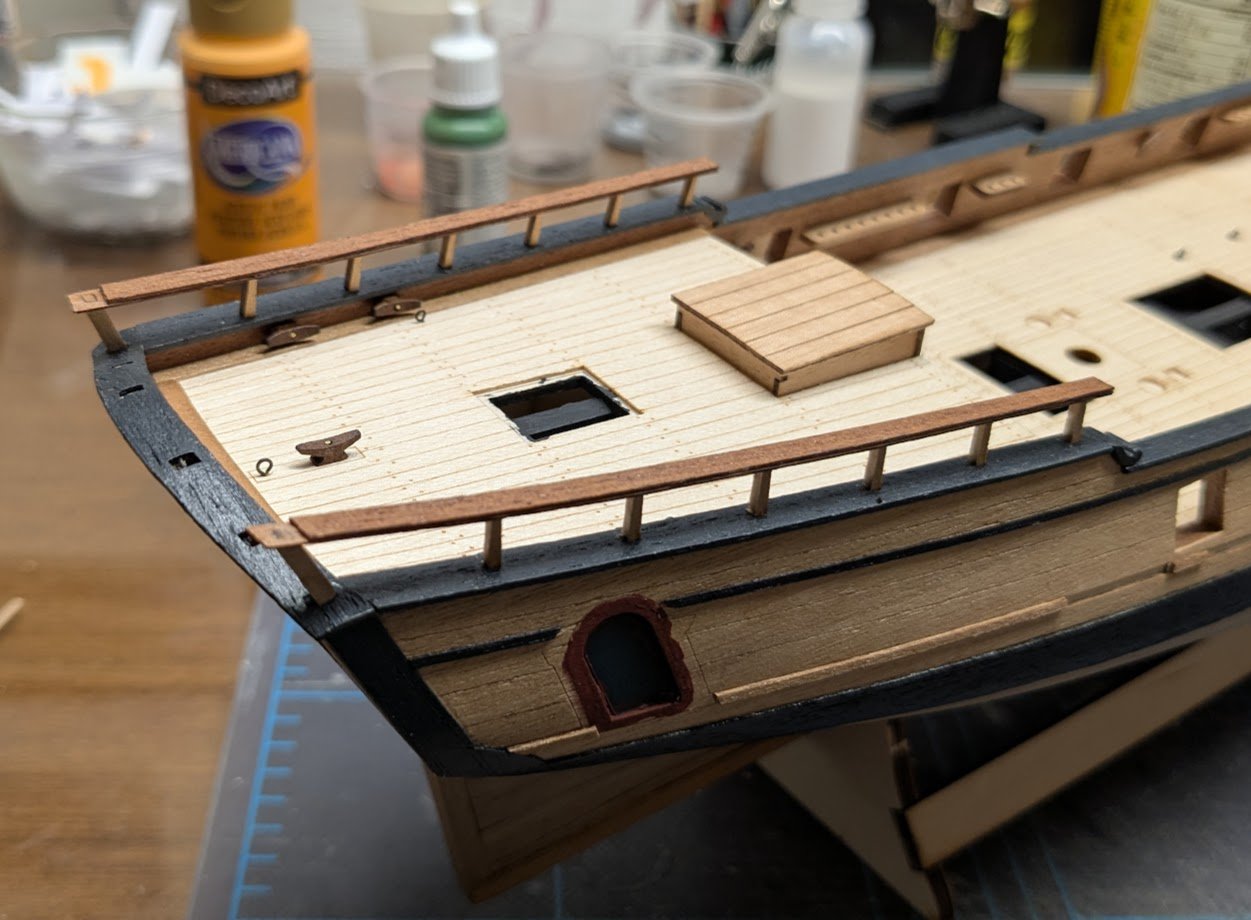
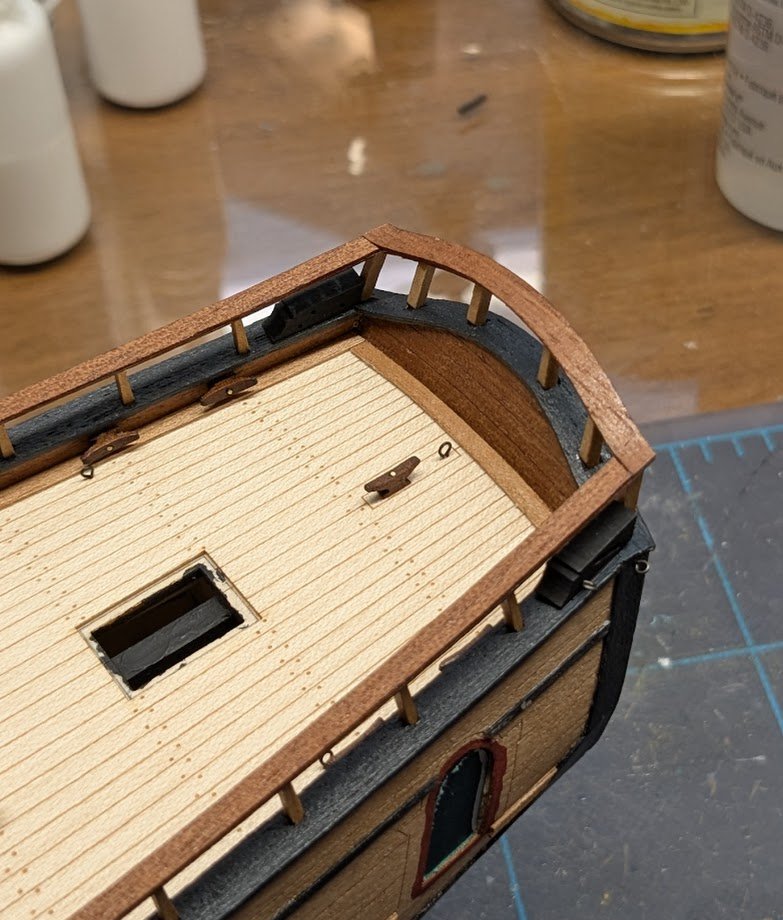
The quarterdeck rails . . . . . . and taffrail are now done.
-
We expect a photo. Because without a photo, did it actually happen? 🤔
-
Welcome aboard! As the author of that article pointed out, there are exceptions to the general rule. I hope your project turns out to be one of the exceptions! Cheers!
-
Your dhow demonstrated that you have the skills needed to complete either of those. Which one appeals more at a visceral level?
-
A pity we never got a celluloid sequel to M&C in which to flesh out Dr. Maturin's character -- he was the far more interesting of the two protagonists throughout the series of novels, e.g., physician, polymath, revolutionary, spy, deadly assassin, and, as the man who somehow managed to win the affections of Diana Villiers, an inspiration for average-looking guys everywhere.
-
A bit more progress. I'm not a huge fan of the brass moldings supplied in the kit (heck, I'm not a fan of PE brass in general) -- if they're not left bright, then they need to be prepped, shaped, primed, and painted before adding them. After that there is still the risk of chipping paint off of them. Following the construction sequence in the instructions takes us to the quarterdeck railings next.
-
That made me chuckle! We've seen your card ships, though, so we know you have the chops for this medium. Planes are just a little different in their construction -- it takes a few tries to get the hang of them. I think you have done quite well on this one! Cheers!
-
I will work on Phoenix until I can no longer resist the urge to build another card model. I have some ideas about what project to do next, but I can never be 100% certain until I actually start cutting.
-
It's the Amati/Victory Models kit designed by Chris Watton, manufactured under license by Model Shipways. Be aware that since you have the MS version, you're going to get MS off-the-shelf fittings instead of their Amati counterparts.
-
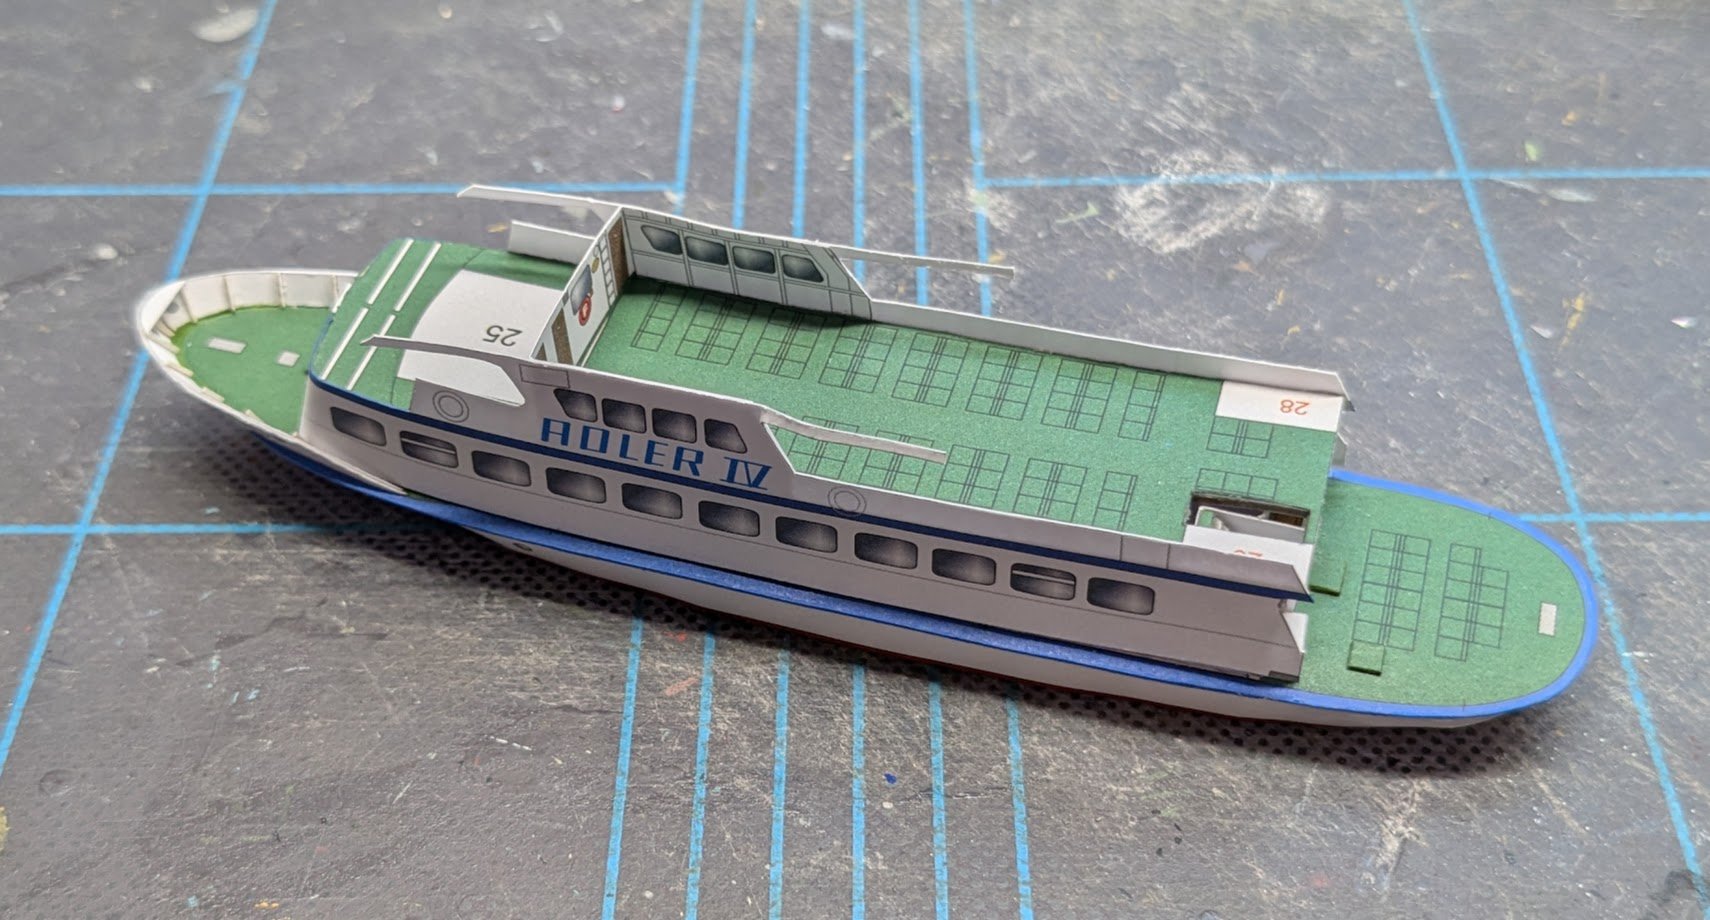
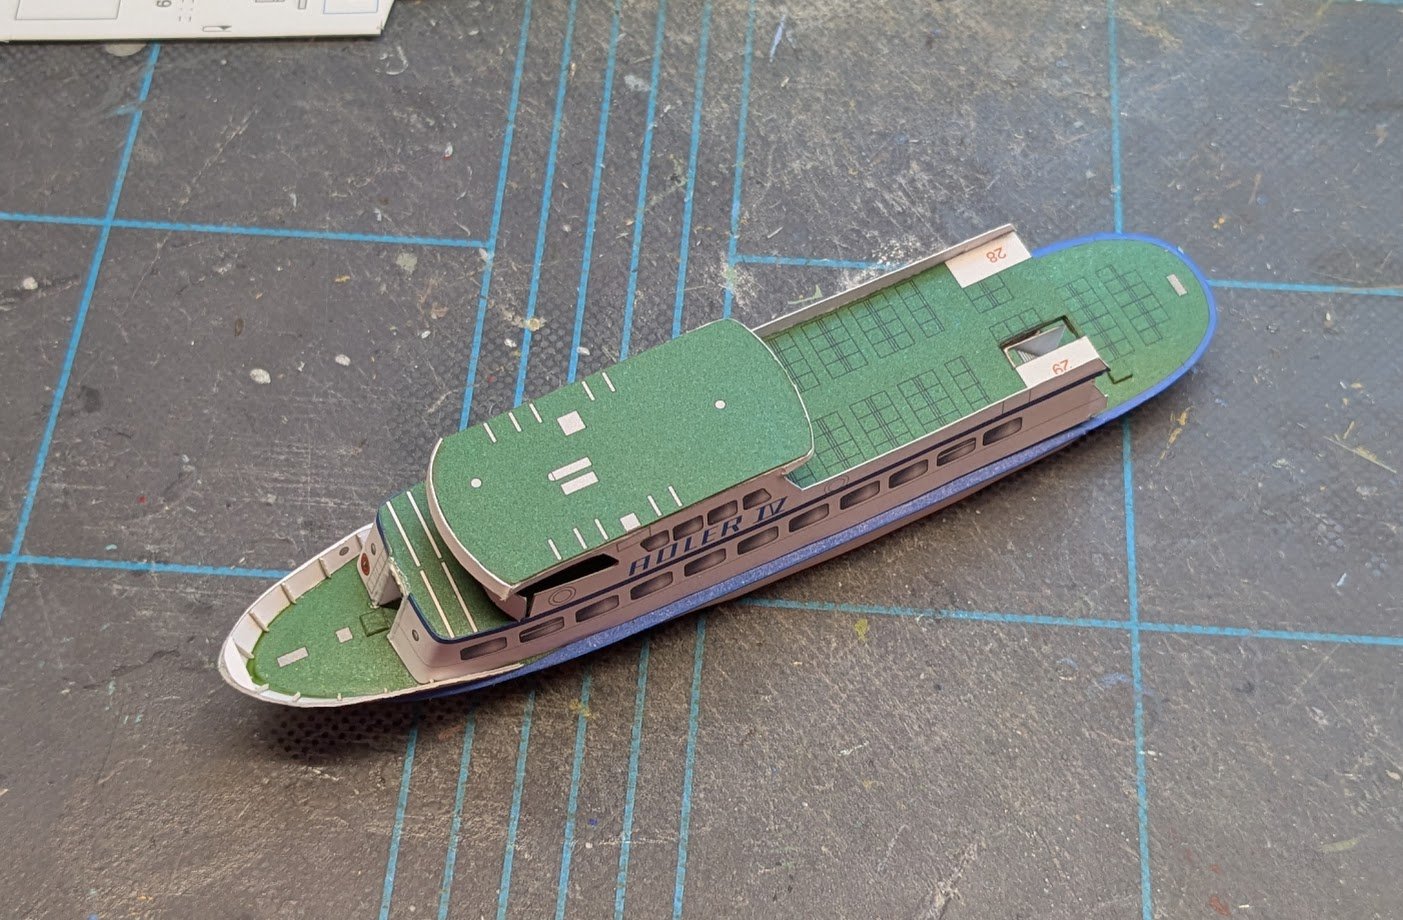
I have come to a decision. Here is the hull thus far: I know that some of you will think that this looks great so far, but when I look at it, what I see are nearly a dozen construction errors and fit issues. My latest flub was adding the roof over the sun deck without first adding the benches that go beneath it. I tried adding one afterward, but without success. I could simply choose to omit those benches, but that would be just another glaring shortcoming added to a lengthening list of shortcomings. In the final analysis, the first modeler one has to please is himself. Since each problematic step of the construction shrinks the remaining will to push on, I have decided to suspend this build -- I have too many other projects awaiting my attention, so I can't justify more frustration with this one. So, this model will take its place on the Shelf of Shame, where it will remain mostly invisible due to its small size. In the meantime, I have decided to return to work on Phoenix. See ya there!
- 18 replies
-
- 10
-

-

-
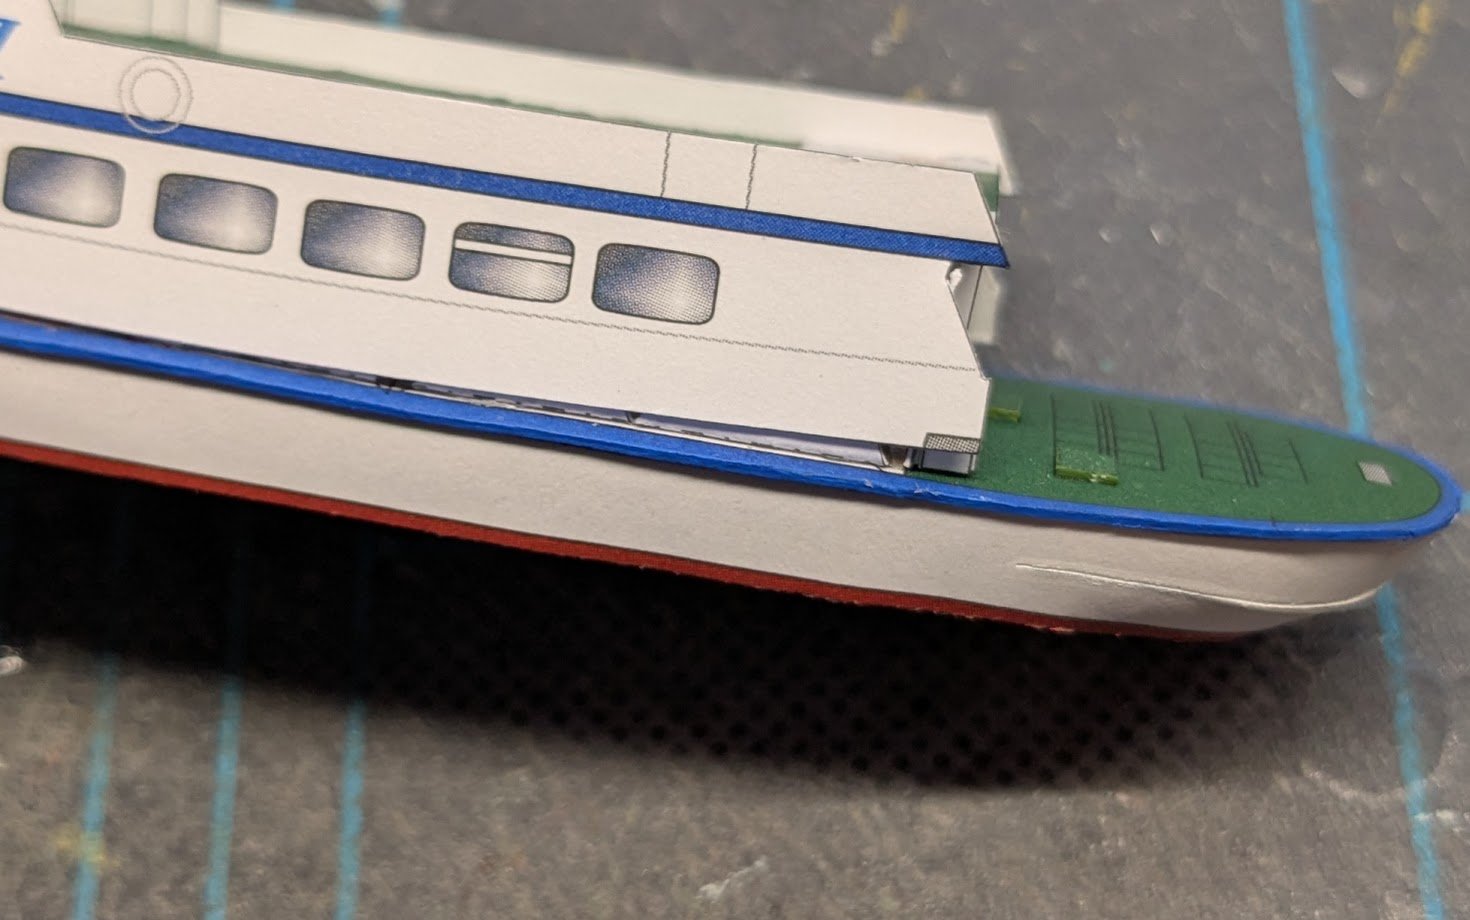
State of Play Well, I'm thinking long and hard about this model. Point of fact is that it is proving to be much more of a challenge than I anticipated -- I wasn't expecting the need to formulate so many solutions for such a small and 'simple' project. Among the issues have been: fit (some of these issues are undoubtedly due to my attempt to create a more solid hull structure) lack of clarity in the 'diagrams' (which as mentioned consist of only a few photos) print registration (these are often tiny, but they are there, and they affect the cutting out of parts, which in turn affects fit) very unsightly 'fixes' (these are entirely on me) subject matter fidelity (minor differences between model and subject -- could be due to refits made on the subject vessel over nearly 50 years of service, or could be design concessions aimed at simplifying the build process) As usual for any model kit, every minor issue contributes to a declining 'fun factor' for a build, and the question is always, "Is the diminishing fun factor enough to merit suspending the build?" I don't know if I'm quite to the point of suspension yet, but I'm thinking about it. If I do decide to put this one on the shelf of shame, the comforting fact is that I'd only be out less than $20 for the kit and laser-cut parts, so not a big financial loss.
-
Congratulations on a fine finish!
-
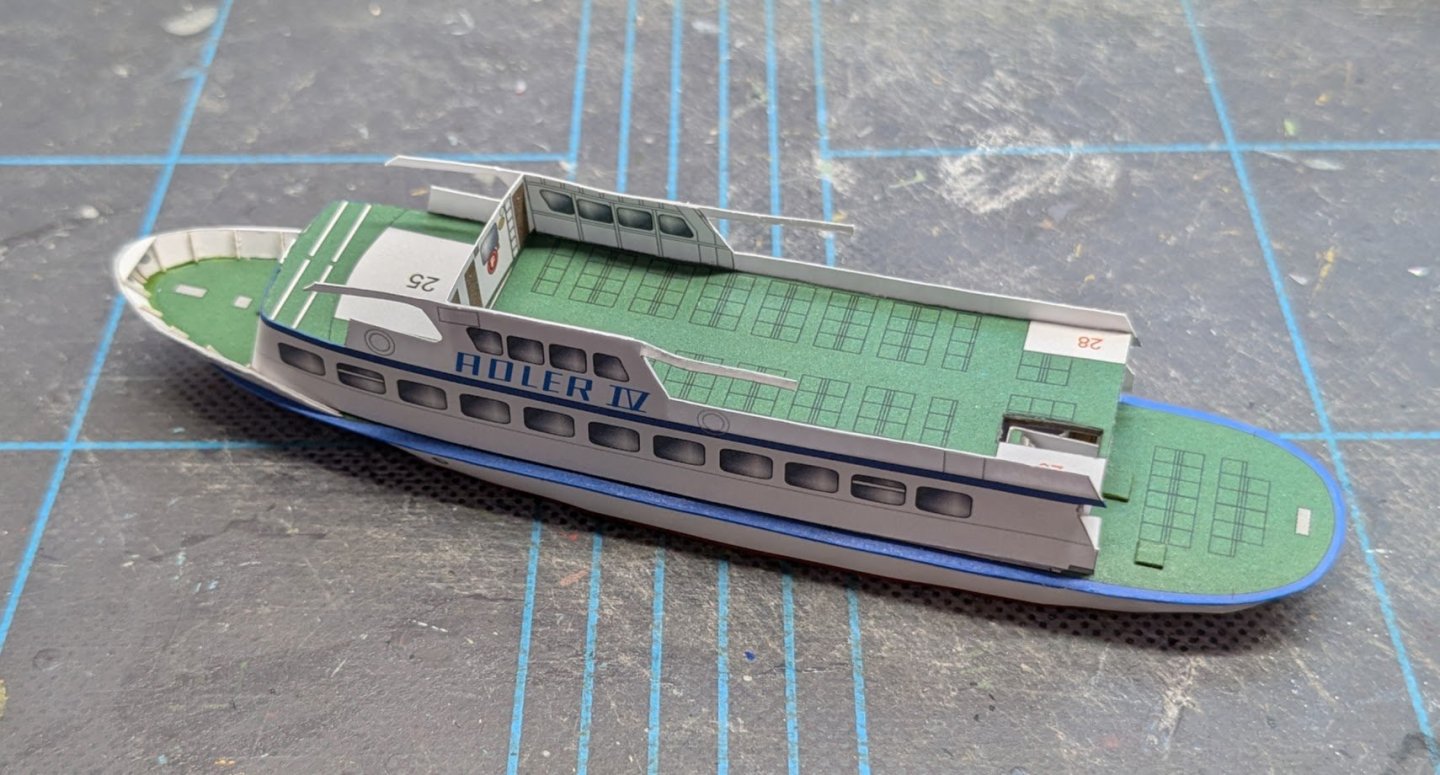
Superstructure assembled and test-fitted. A slight fit problem at the back that will need to be addressed before moving forward. Stay tuned!

- 18 replies
-
- 13
-
-
Siggi, your model is simply gorgeous in every way!
-
Welcome aboard! First of all, your smack looks very nice. I built one as my first wooden model about 25 years ago back when it was still being produced by Midwest Products. I have also built a CLC boat, their Sassafras 12 kit, which you can read about here. It was a fun project, and I'd probably do another one but for the fact that I don't have space to store it. You can resize your photos by double-clicking on the inserted image to bring up an image editing window. Lastly, there is a ship modeling club in your area, the South Bay Model Shipwrights. Check them out! Cheers!
-
Interesting. That's the first thing I noticed when looking at James' photos. I do think the look could be improved if your printer could use a serif font -- the sans serif font looks far too modern. Italics would probably also help improve the look, since the writing on the real carriages leans a bit. Example below: SPIT FIRE vs. SPIT FIRE
-
And that should be a huge red flag to any potential buyers. I'm not familiar with the kit myself, but I do know that what you have observed about the lack of finished builds is true. If a kit is truly as great as its manufacturer claims it is, then it seems fair to expect that there ought to be at least a couple of finished builds of it online somewhere, especially when one considers how long the kit has been on the market now.