HOLIDAY DONATION DRIVE - SUPPORT MSW - DO YOUR PART TO KEEP THIS GREAT FORUM GOING! (89 donations so far out of 49,000 members - C'mon guys!)
×


Krelis
-
Posts
87 -
Joined
-
Last visited
Content Type
Profiles
Forums
Gallery
Events
Everything posted by Krelis
-
 In my opinion Chucks planking instructions should raise an interesting debate, namely what we want our model to look like. Chuck finds his inspiration in contemporary models, I asked him yesterday, he explained to me that his method is a model planking technique in the strictest sense and has nothing to do with actual "real world" planking techniques. In the real world there are no planks wide enough to allow for the amount of spiling required in his method. Of course, Chucks models look absolutely great, but in my eyes more than perfect, where at least my - beginners - strife is for real world authenticity, I mean, whats the point of making everything above the waterline look absolutely real up to the smallest detail, while the other half the ship (the under water section) is a fiction? Thanks, Jan [Edit Jan B., 8 March 2015: following Chuck's and others remarks hereunder I have been searching the Internet again to check real life planking pictures and my conclusion is that Chuck is - of course - very right, so Chuch and other responders: thanks for this lesson in planking and modesty!]
- 1,051 replies
-
- 1
-

-
- cheerful
- Syren Ship Model Company
- (and 1 more)
-
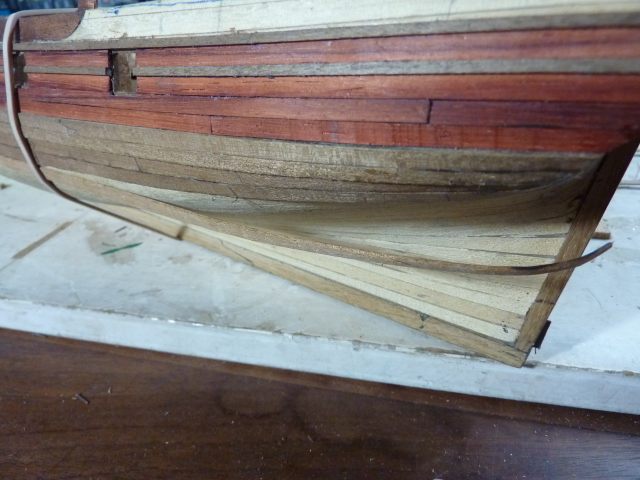
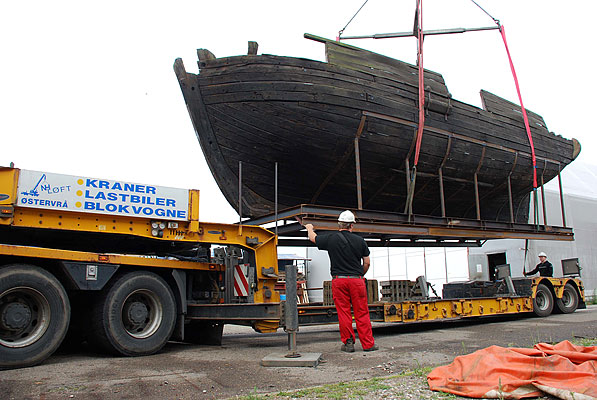
Nenad, thanks for the compliment, hereunder a picture I ran into last week of another boat with planks moving up, without stealers though and with all planks ending either at the bow or under the whales. Still lots of room for improvement on my planking methods, also have to review my conclusion I gave in a previous post that planks should have their natural run, that is not per se the case with real world planking
-
I always wondered about the compactness of these boats, now I know, its the consequence of the Scottisch licensing system. You have 10 metre and under and over 10 metre. Absolutely great model by the way, I keep getting back to these pictures.
-
I have a bit of a spreading hull syndrome myself...nice little boat!
- 83 replies
-
- 1
-
-
- bounty launch
- model shipways
- (and 1 more)
-
According to at least some legalization of pot worked out well for the state of Colorado http://www.huffingtonpost.com/art-way/colorado-and-marijuana-le_b_6397664.html...sorryto see your blog suspended, like your work, should go for a country with proper tenant protection, e.g. Netherlands, but there you again have this marijuana issue ;-)
-
Pen Duick 1898 by Mfelinger - 1:20
Krelis replied to Mfelinger's topic in - Build logs for subjects built 1851 - 1900
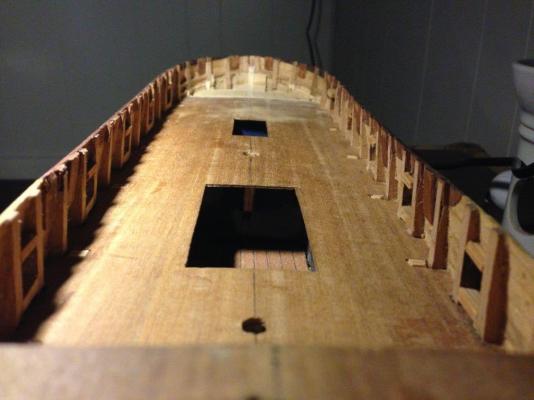
So many great topics here on msw, the unconditional urge to make things absolutely perfect, as with this deck, incredible, humbling and inspirational, thanks for sharing the techniques, experience and perseverance -
Dan, the Swan 42 you mention in your first post, is there a blog somewhere? I can not find it. thx, Jan B. Btw: nice build!
-
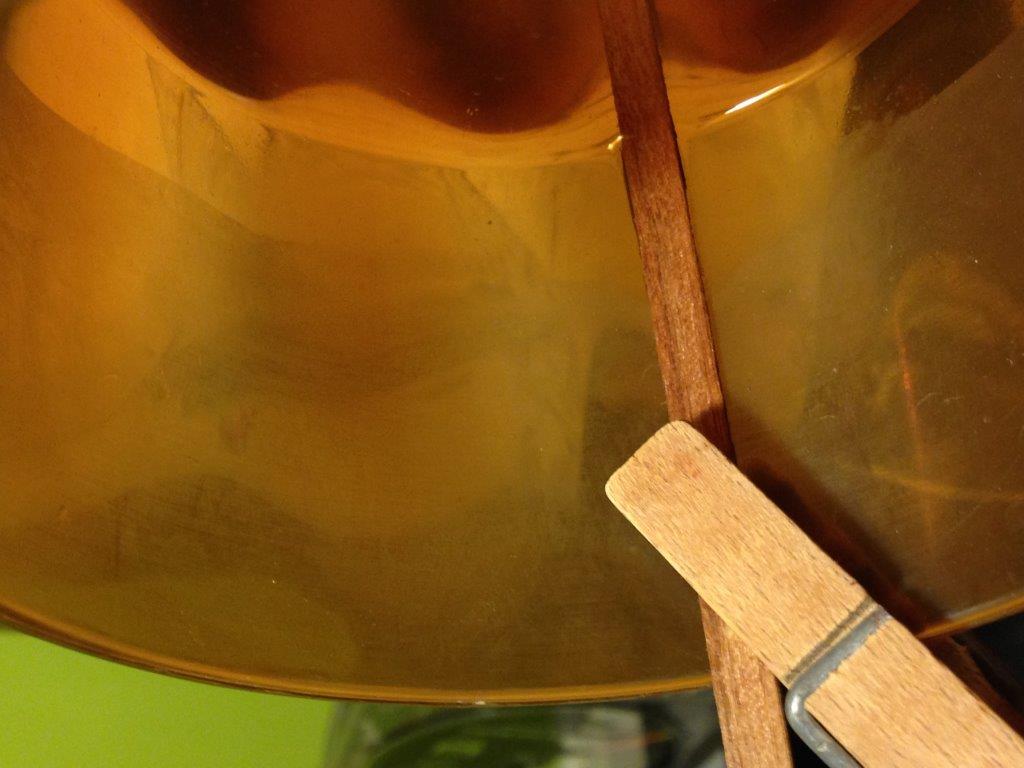
The kit does not provide planking of the inner bull warks, with all the corrections I have done to them I need some cover up . Woodstrips are not for sale in Curacao let alone walnut woodstrips, I did however buy 3 years ago a package of Billing Boat Annegre strips, but those will not contrast with the deck planking.. I therefore bleach them and then stain with Minwax Special Walnut The rather peculiar result, with treatment the wood has become a bit "grainy"


-
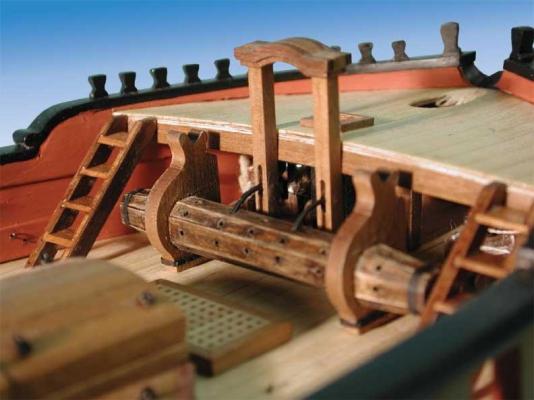
I think i will go for a full hight deck as in this picture
-
The standard fore deck is blocking the way between the soon to be hawse holes and the projected wind lass. Demolition Tool: the Dremel 561 Cutting Bit, is to wood what a thermal lance is to steel, but hard to control.


-
Windlass Rigging
Krelis replied to BareHook's topic in Discussion for a Ship's Deck Furniture, Guns, boats and other Fittings
Mike you are right, an explanation which I found on the internet was "Because they look so good with a rope around them.", that turned me off a bit -
Windlass Rigging
Krelis replied to BareHook's topic in Discussion for a Ship's Deck Furniture, Guns, boats and other Fittings
I do not think that an in depth analysis of the origins of the use of term "niggerhead" would add to the discussion, The word was used in a contemptuous way, fitting to the time. -
Windlass Rigging
Krelis replied to BareHook's topic in Discussion for a Ship's Deck Furniture, Guns, boats and other Fittings
Interesting the Morgan windlass picture. I found another informative link, http://model-ship-plans.com/Clippers/Windlass%20and%20Forecastle%20Arrangement.html, with full description of the topic. On letting go it states: "With the ship at anchor the strain on the cable was taken by the turns on the windlass barrel which was prevented from unwinding by a heavy iron plate ratchet (pawl) from another strong post, which dropped by gravity into an iron cogged rim around the middle of the barrel. Sometimes there were up to three of these pawls of varying lengths above one another. The windlass thus could only operate normally in one direction, bringing the cable aboard and not letting it go. When a ship was coming to anchor an estimate had to be made beforehand of the approximate length of cable required and this was brought up from the cable locker. The end of the cable was led over the top of the windlass barrel from aft with two complete turns and then forward through the hawse pipe and shackled to the anchor ring. The full length of required cable had now to be pulled around the windlass drum and laid along the deck in long loops until the turns around the windlass were at the end of the required length, or as nearly so as could be estimated. When the anchor was let go, the cable along the deck would run out until it was stopped by the turns around the windlass, which were left slack to avoid a sudden shock. Any additional length required had to be eased around the drum by means of long hooks, and additional hooks with two prongs were hooked onto links of the cable and attached to an eyebolt on the centre pawl bitt to help ease the strain on the windlass when riding at anchor" -
Windlass Rigging
Krelis replied to BareHook's topic in Discussion for a Ship's Deck Furniture, Guns, boats and other Fittings
model with messenger line, looks 'logical' to me.
-
Windlass Rigging
Krelis replied to BareHook's topic in Discussion for a Ship's Deck Furniture, Guns, boats and other Fittings
I suppose the windlass could also be used with a messenger line to connect with the anchor cable? That would allow for dropping anchor without the windlass burning up -
Marc, thanks a lot. best. Jan B.
-
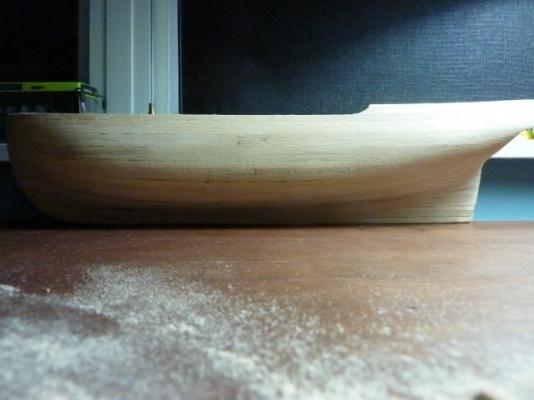
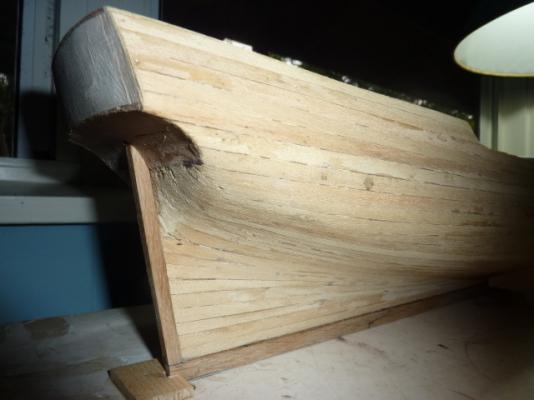
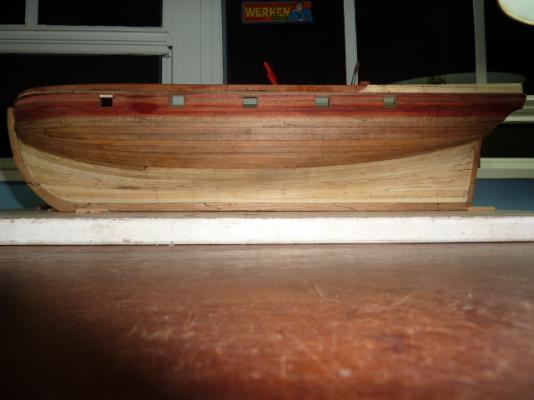
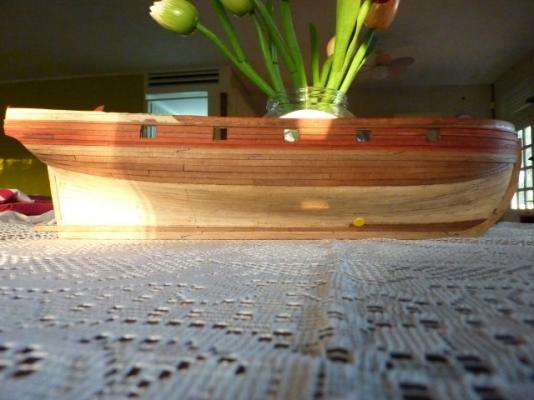
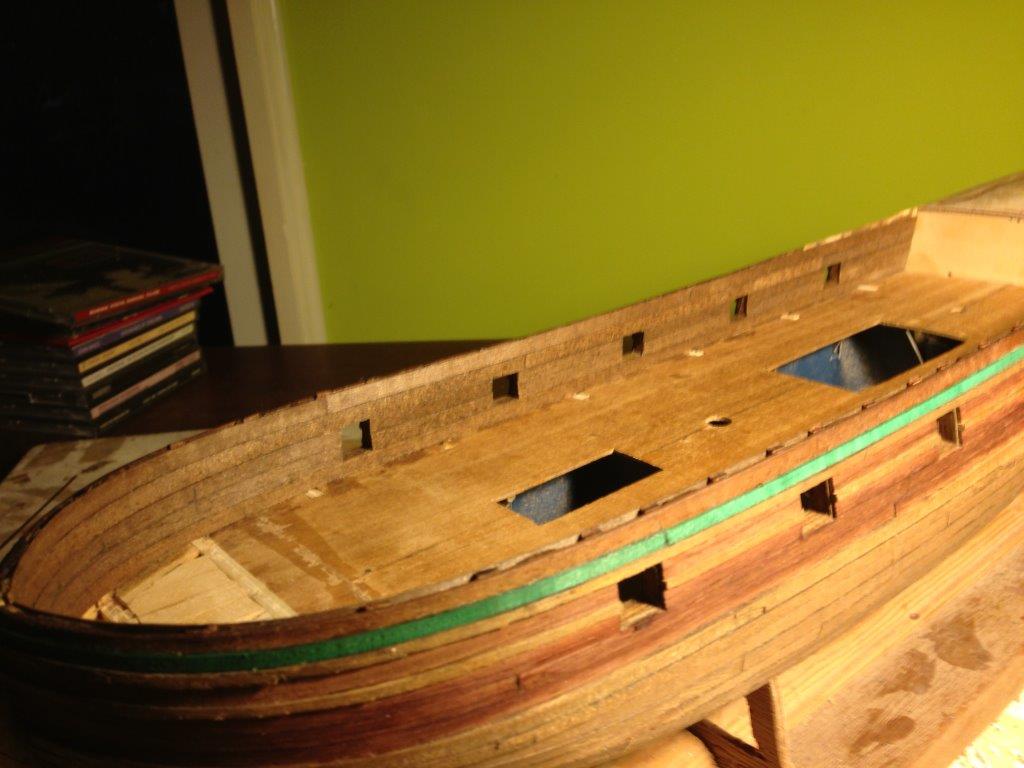
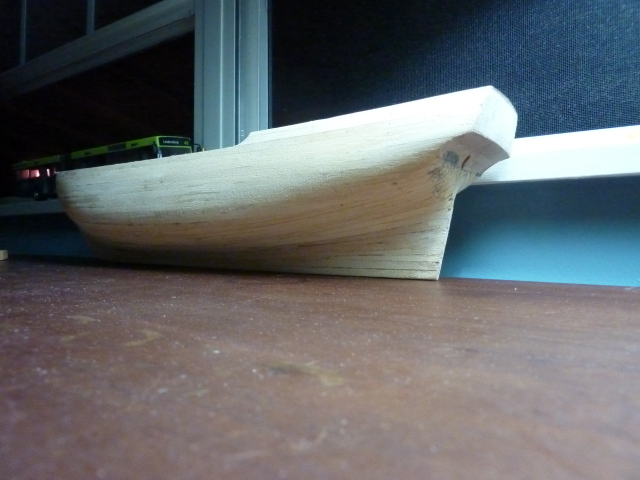
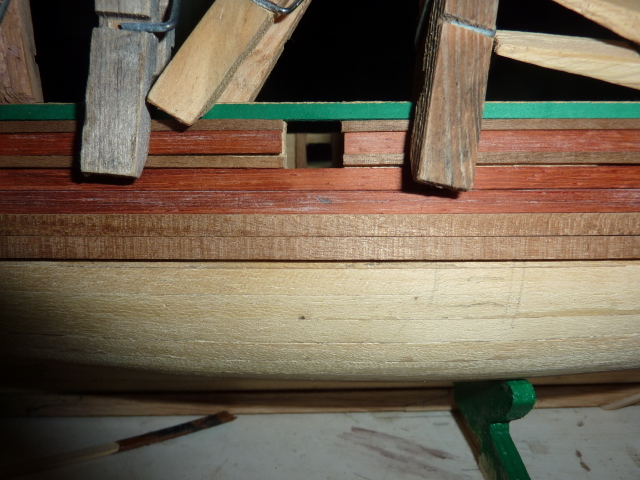
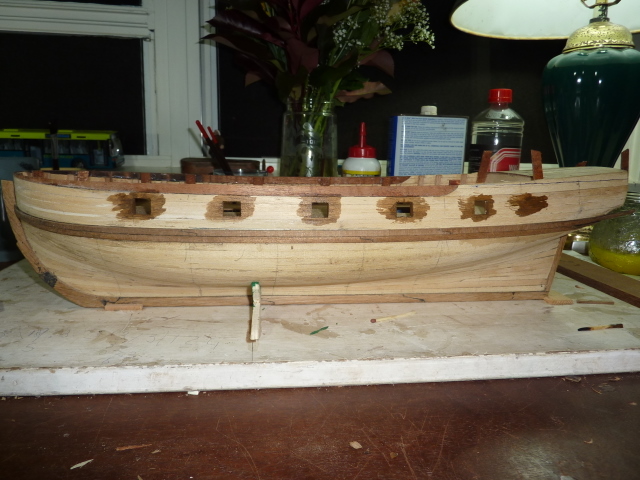
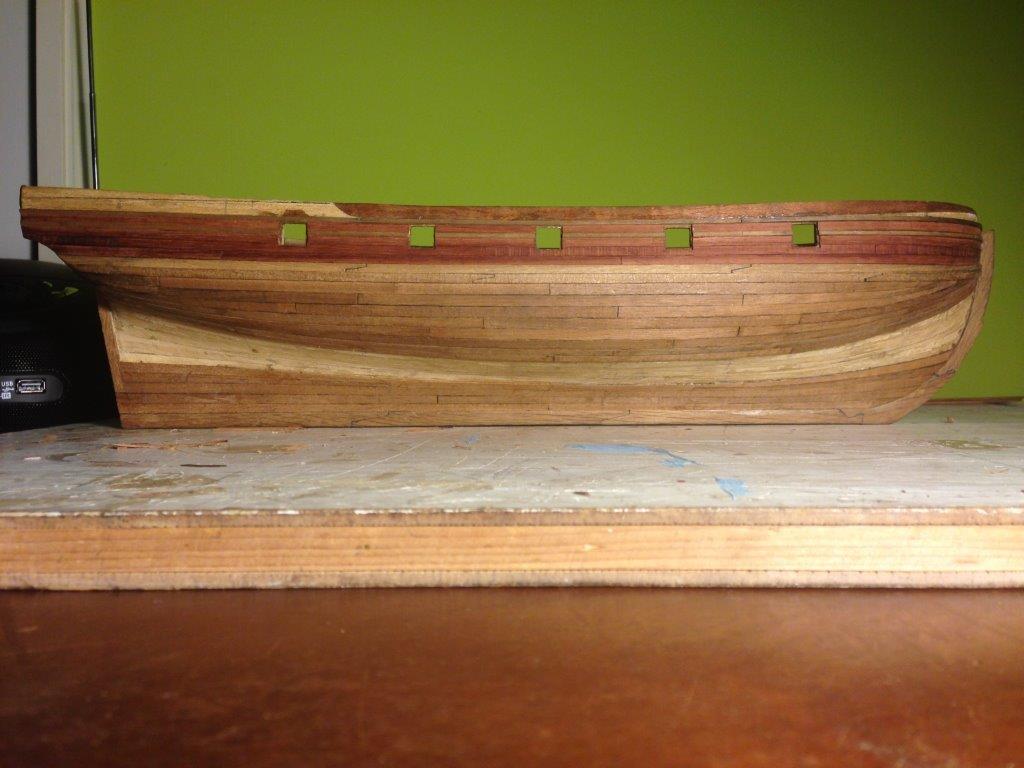
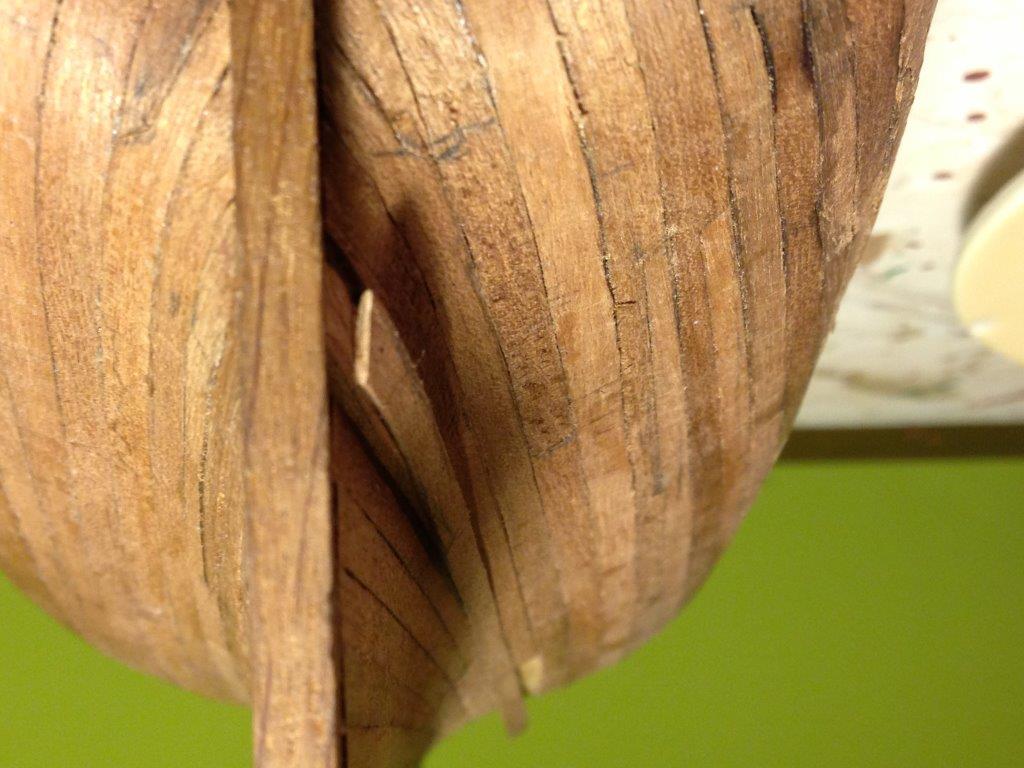
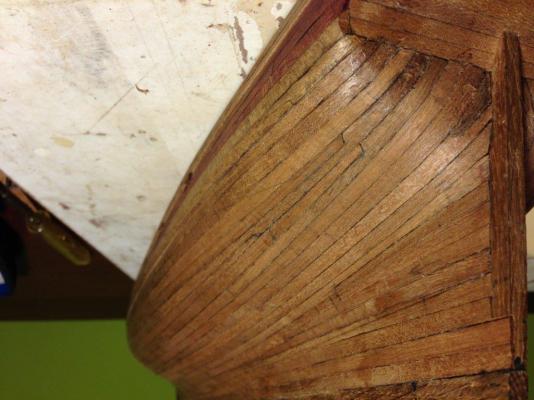
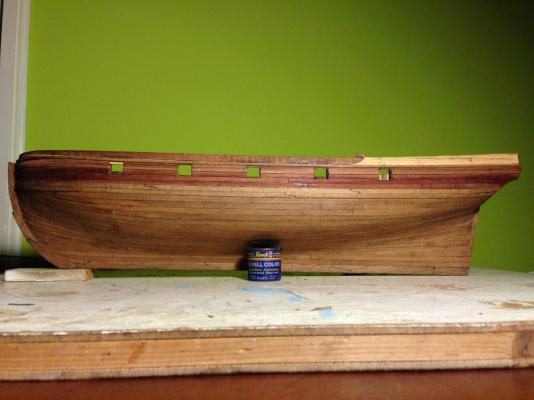
last plank "hung". Will sand and treat the hull once the entire casco is finished. Modifications from the original out of the box model are the "buttock" behind instead of a flat stern (a modification I would not recommend), the false keel and stems, and the heightened bullwarks.
-
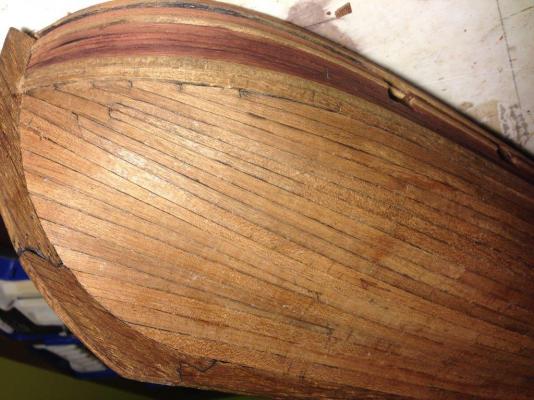
Planking finished port side below wale...

-
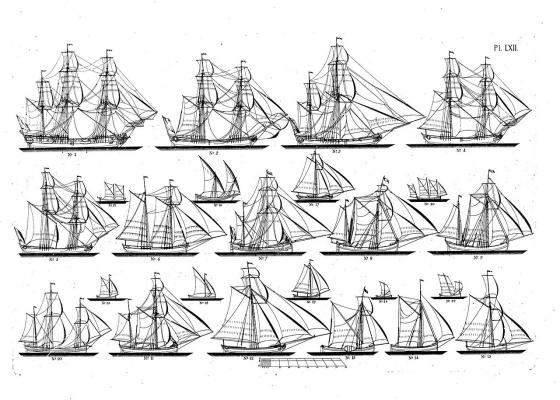
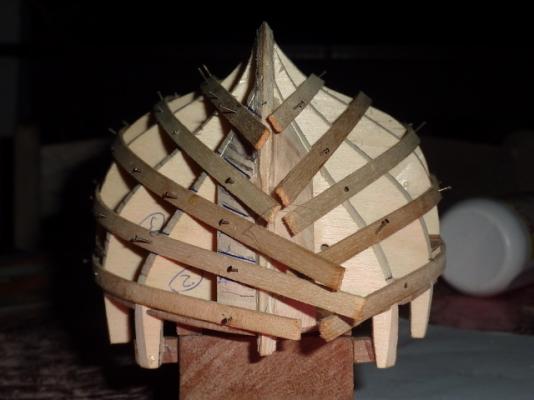
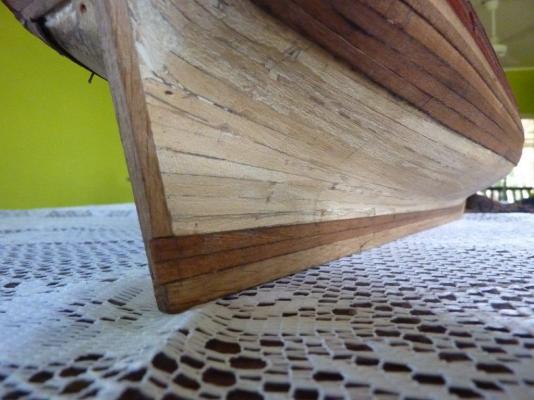
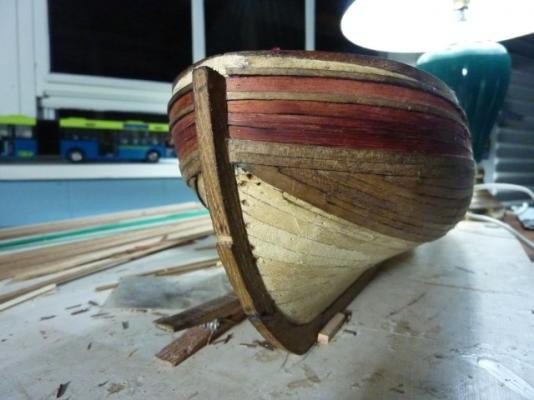
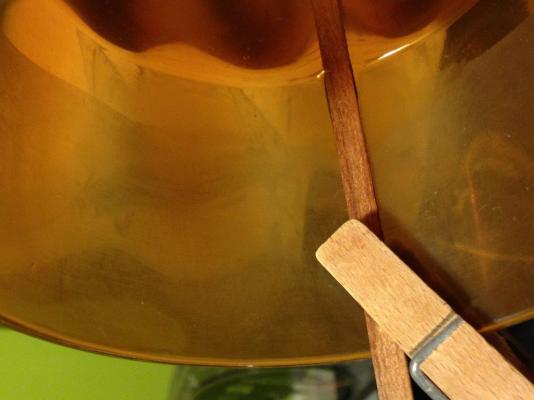
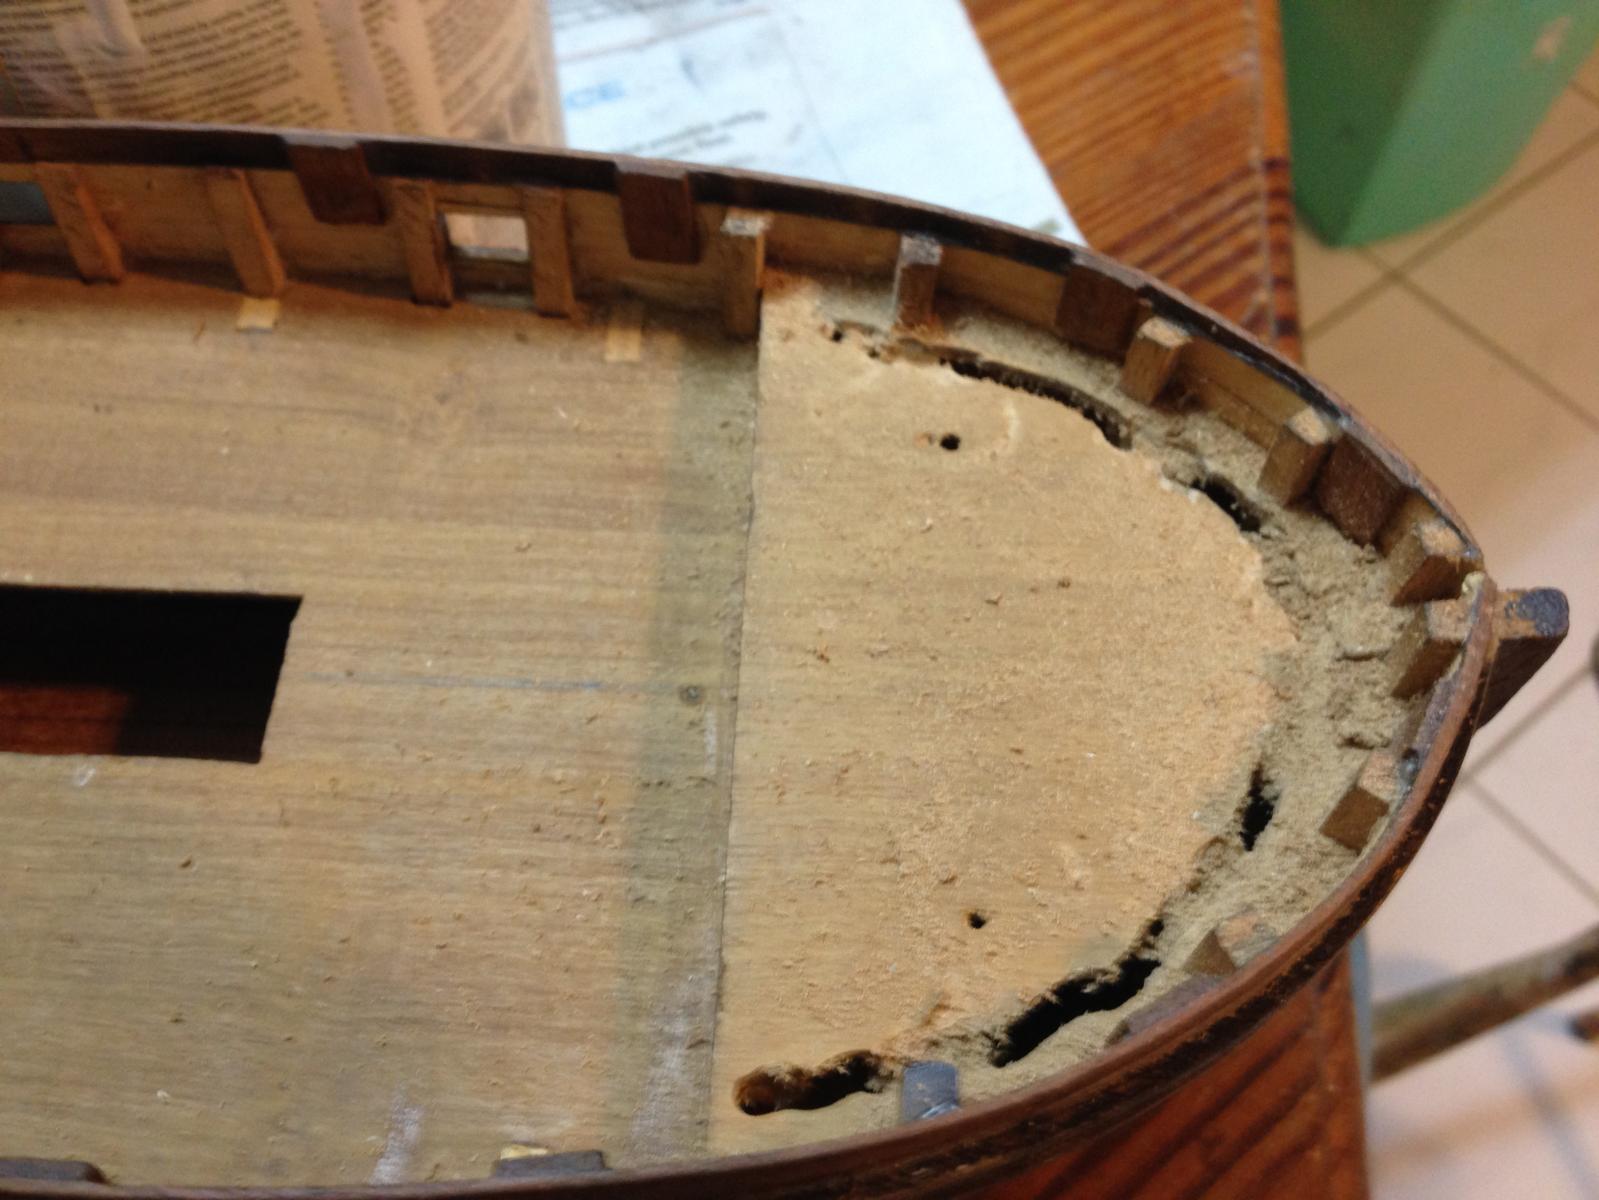
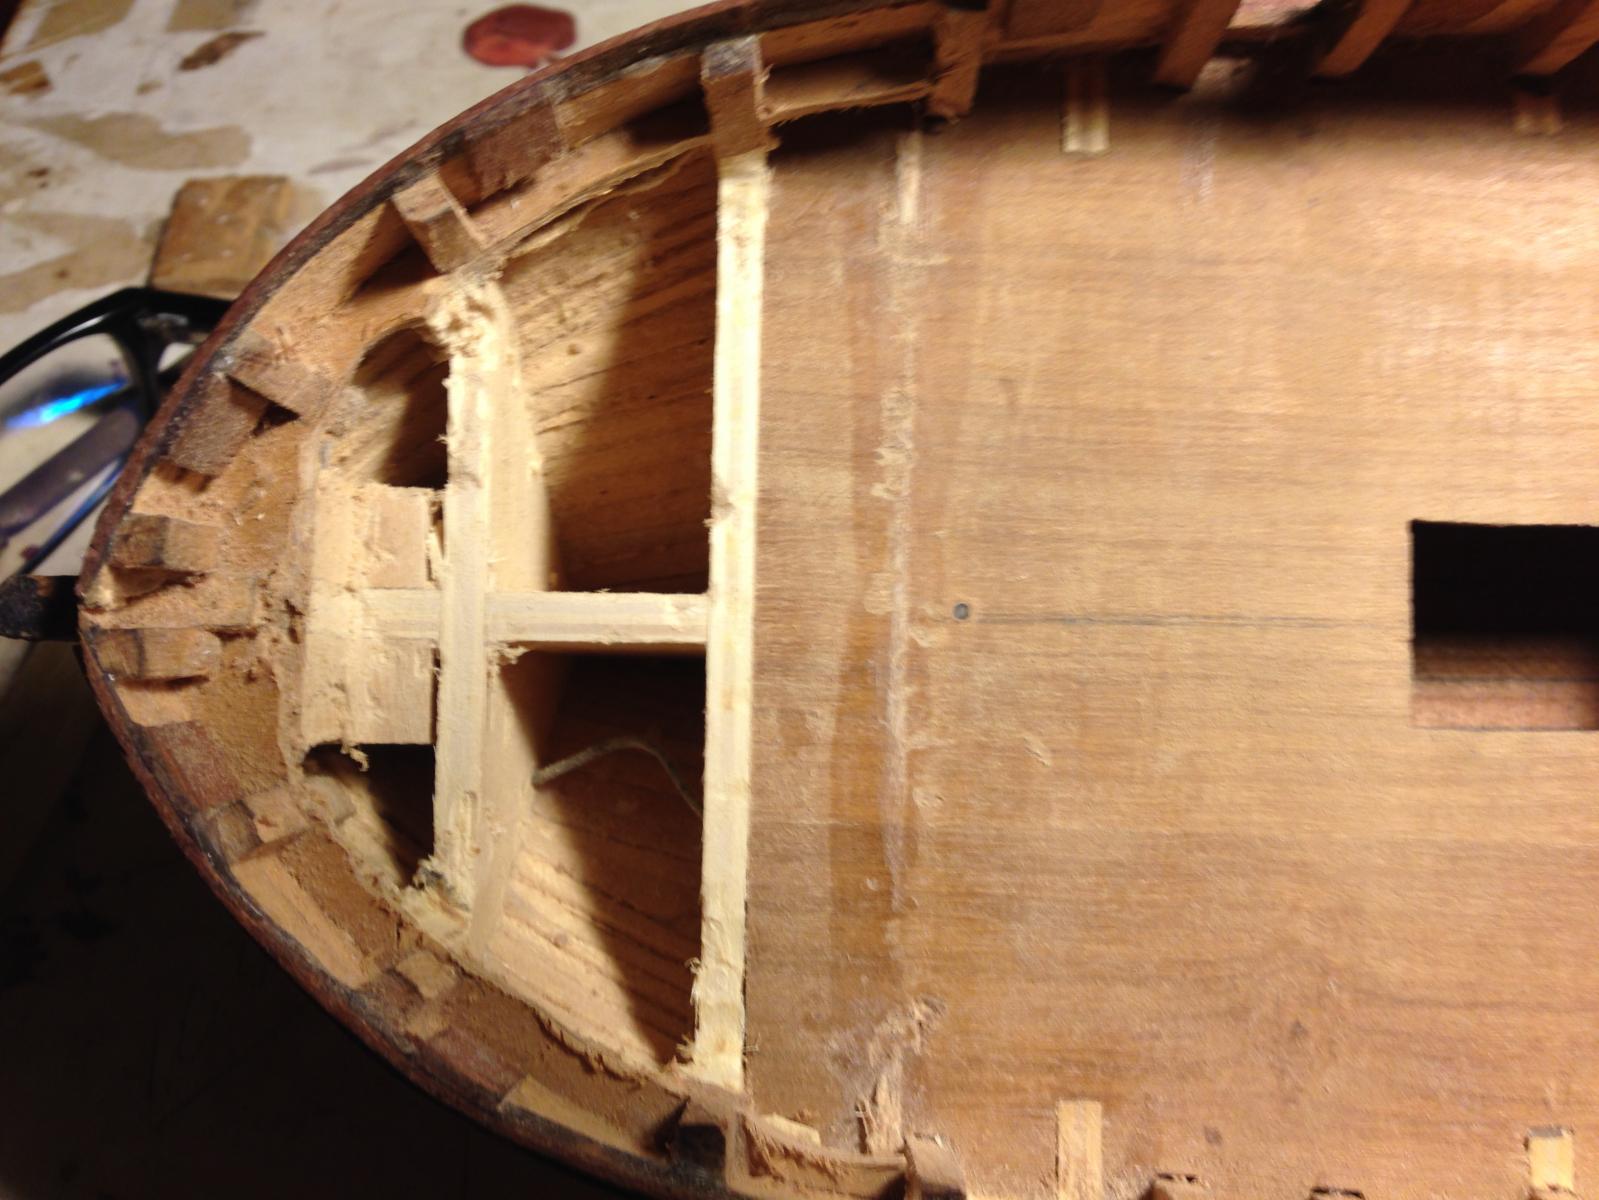
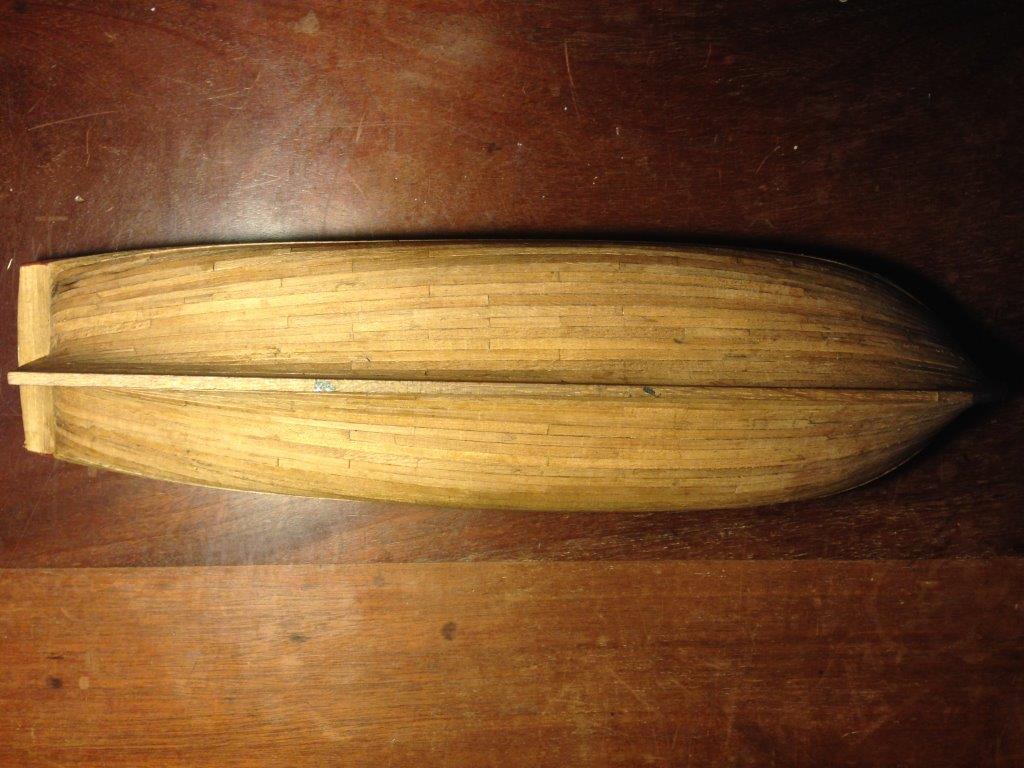
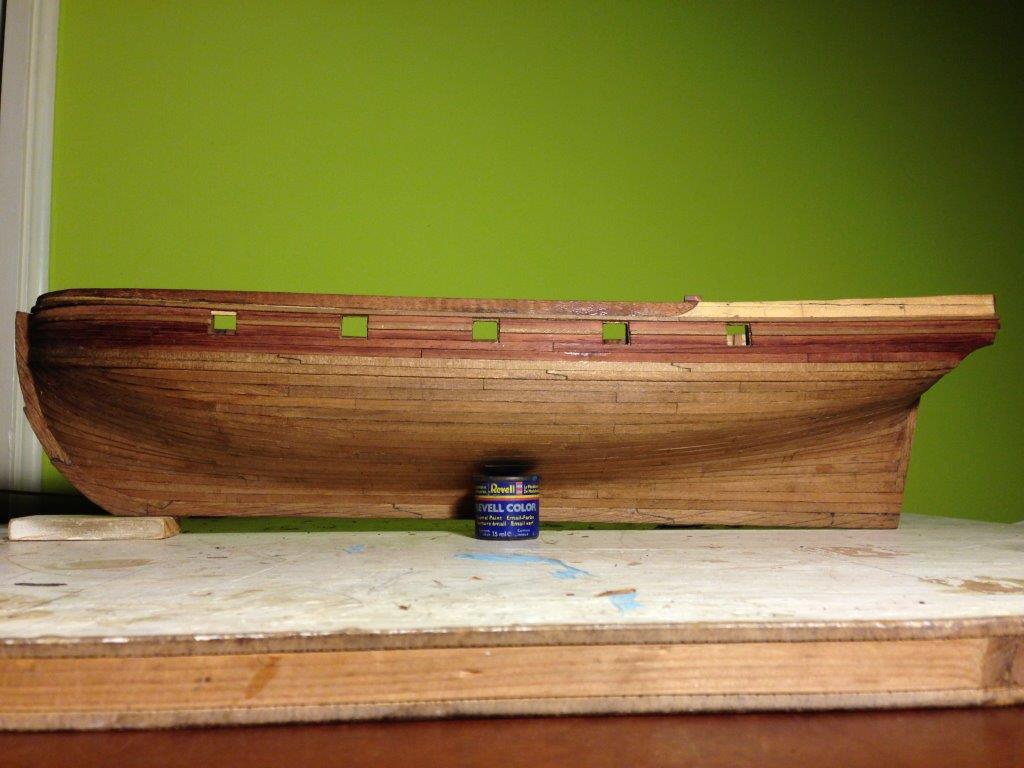
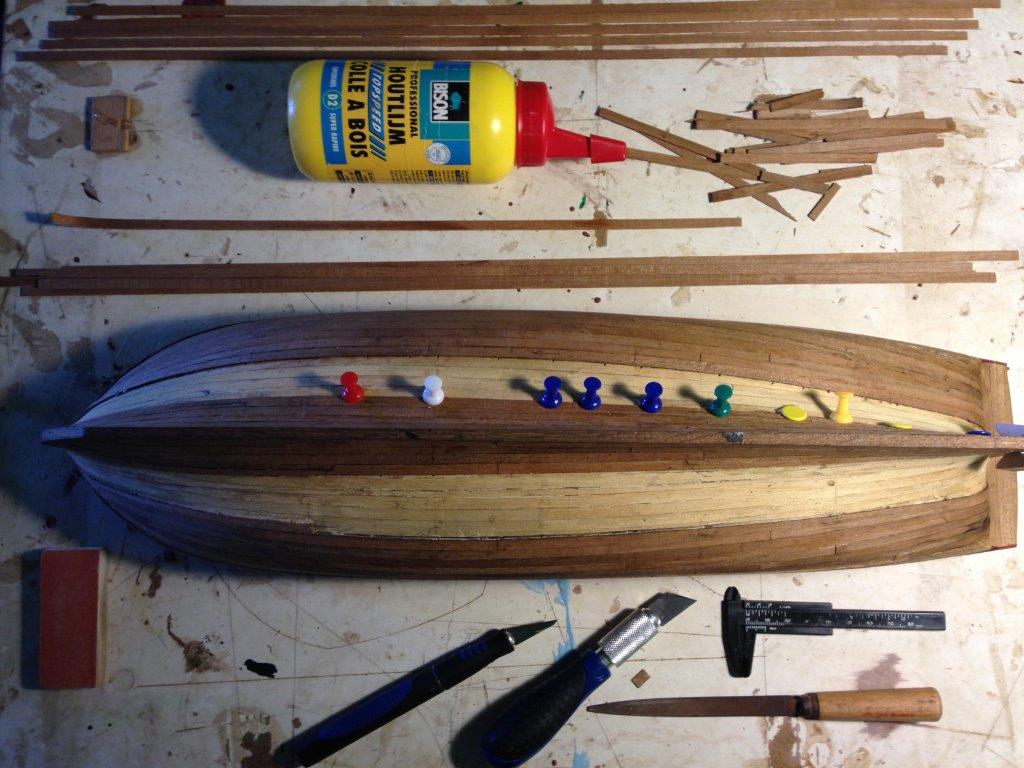
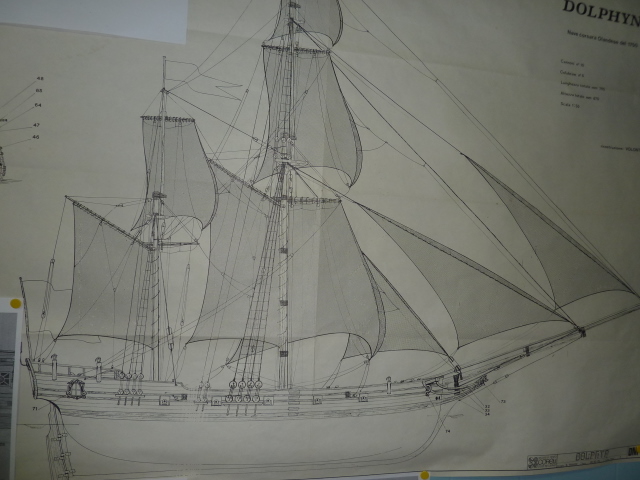
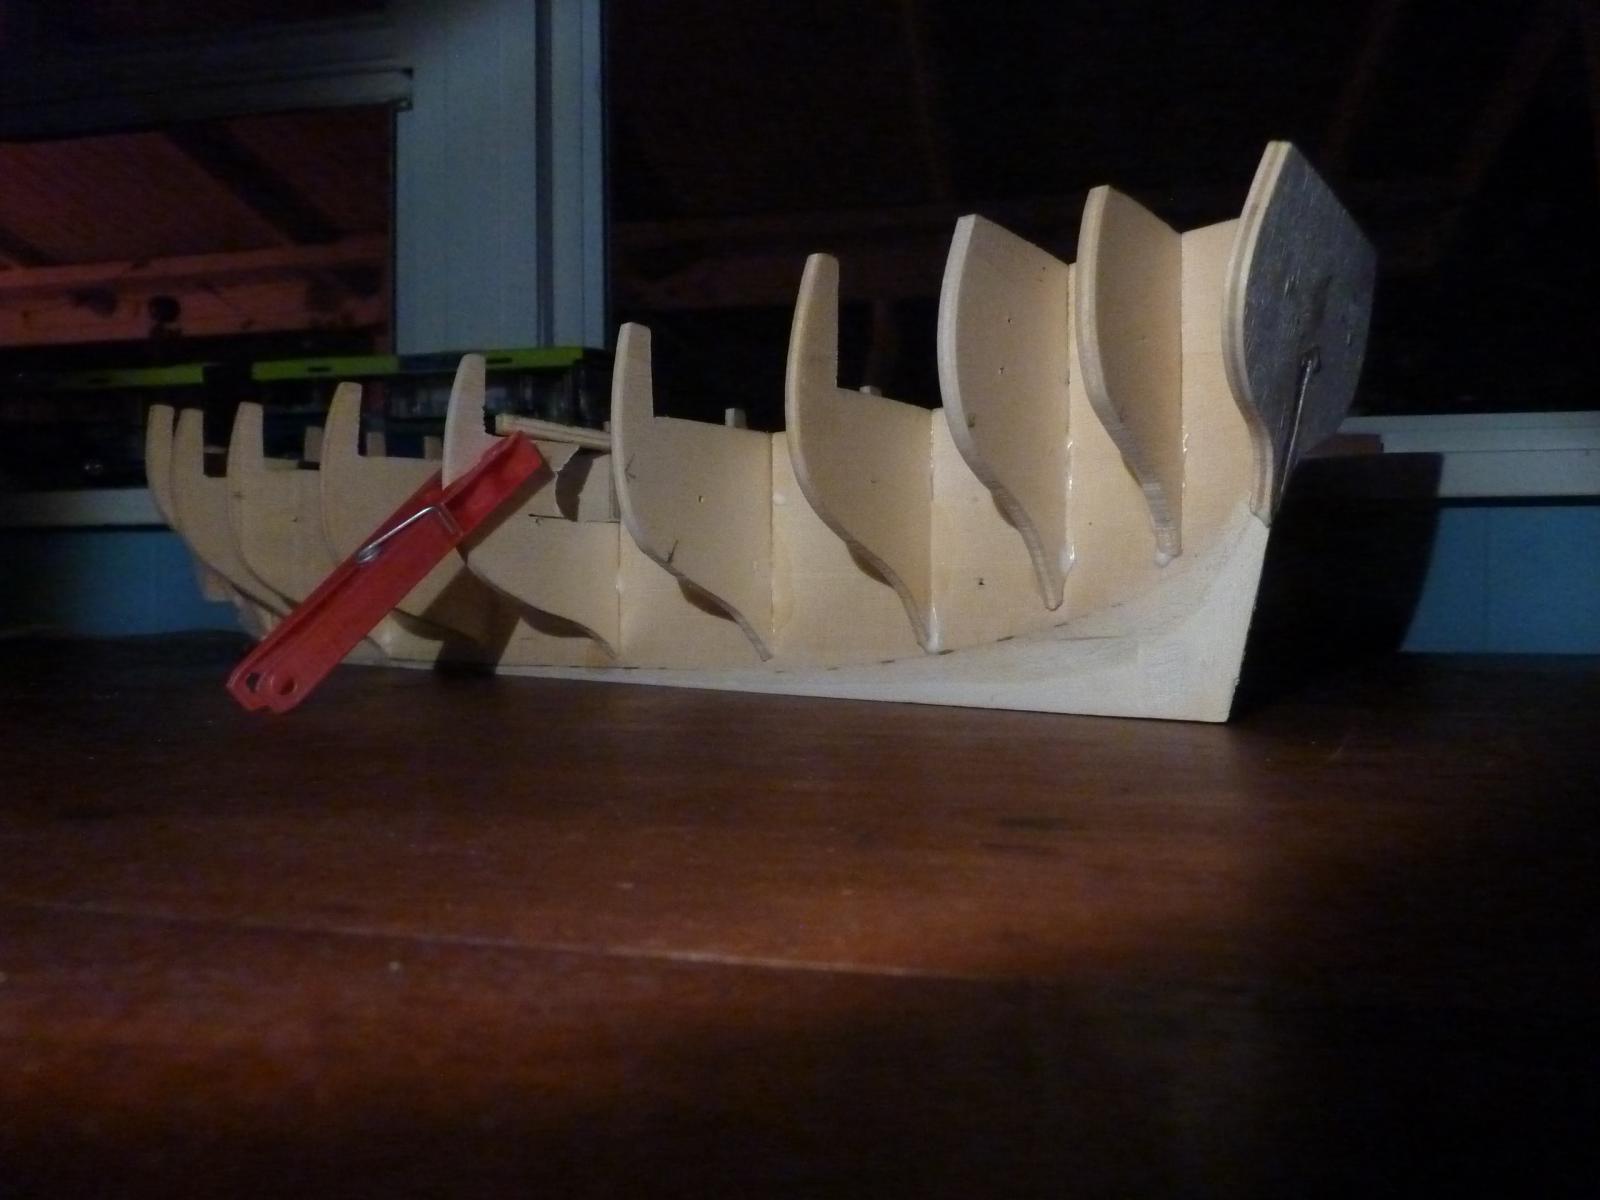
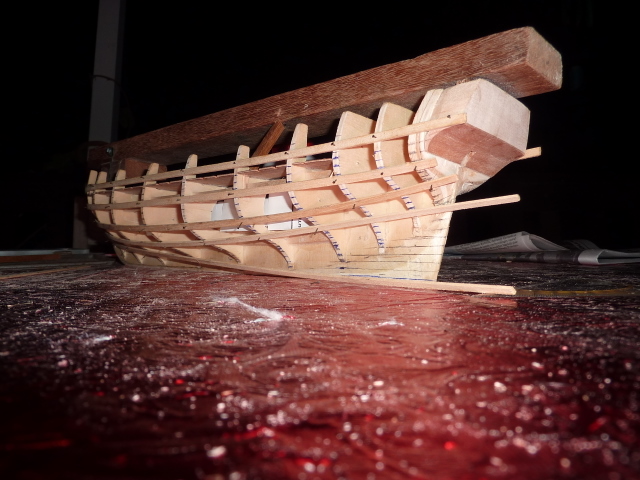
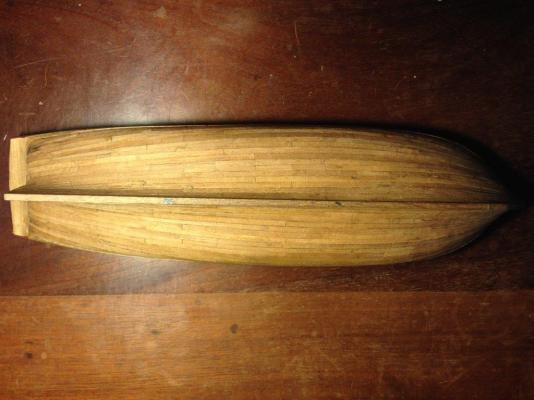
In 2010 I started a blog on this first build. The blog continued for perhaps 6 months when model ended up behind cupboard doors next to the Christmas tree decorations and a pile of books on boat building and rigging. Last week the hull found its way back to the building board for final stage of planking. . After three years of abstinence I had to get it all back in my fingers again; wood bending and cutting, doing all the checks before application of glue, getting it right My old MSW account and blog are gone, but I still got the pictures: Purchased by my dad somewhere in the eighties The instruction drawing, the big white area pretty much sums up the Corel planking instructions; must have left my dad with a huge question mark above his head and perhaps explains why it took a next generation to muster the courage to add glue to the various components - with inspiration derived from internet, especially MSW. I suppose Corel must have taken note of the work of Frederick af Chapman. Fredrik Henrik af Chapman http://en.wikipedia.org/wiki/Fredrik_Henrik_af_Chapman the Ketch, no. 3 in Chapmans' Architectura Navalis Mercatoria, published in 1768. The book contained 62 illustrations of ships and smaller vessels, both Swedish and foreign designs. Some of these were Chapman's own designs, but many were also types that he had seen during visits to foreign countries. Everything from large warships to small fishing vessels were represented (Source: wikipedia). Set up of frames Solid Surinam hardwood handle keeping everything in check [ Many planking instructions suggest you should divide the space over the frames evenly according to the number of planks and then taper and hang the planks accordingly,thats what I did with the first layer of planking. Its wrong. With 5 mm planks the planks decide how they run, they are too narrow to allow for spiling, only with wide enough planks (planks which allow for spiling) the planker may devide the space according to his will looks like its made of match sticks But add filler and sand it all down, and youre ok.. with first layer, that is addition of false stems and keel (not included in kit), made from oak Problem: the instructed planking scheme for the second layer does not match the dimensions of the first layer as defined by the frames, I therefore find it necessary to heighten the bull warks therewith altering the the side profile / the run of the gunwale. And commence planking of second layer, I then find this picture on the internet... A revelation: planks do not necessary end at the bow but may turn upward and form "saddlebags" underneath the whales. Saddlebag After completion of the saddlebags (the segments which require dropplanks) I commenced at the keel with the lower concave sections (the sections which require stealers). . I let the first planks envelop the stem The two sections meet at the one plank which connects straight and free from bow to stern Another important find is that all you need for woodbending is a glass of water and a candle Stick the end of the wood in the glass, and let it soak until its wet about 3 cm above the water, then you know its soaked enough...then hold it above the candle and bend it, you will feel the wood give in. Dont overbend it, you cant bend it back. If the wood burns easily it probably means you did not soak long enough. If the wood dries up on the outside while heating use a brush to keep the wood wet on the outside of the bend. Do not only bend the wood but give it the right twist at the same time.. to ensure stress free gluing... for each and every plank.. [to be continued]