HOLIDAY DONATION DRIVE - SUPPORT MSW - DO YOUR PART TO KEEP THIS GREAT FORUM GOING! (Only 51 donations so far out of 49,000 members - C'mon guys!)
×

trippwj
-
Posts
3,156 -
Joined
-
Last visited
Content Type
Profiles
Forums
Gallery
Events
Everything posted by trippwj
-
 You are too kind, Sjors! Sarah - to avoid cluttering your build, I am going to add some info to my build log on the masts and yards. That work for you?
- 160 replies
-
- 2
-

-
- harriet lane
- model shipways
- (and 1 more)
-
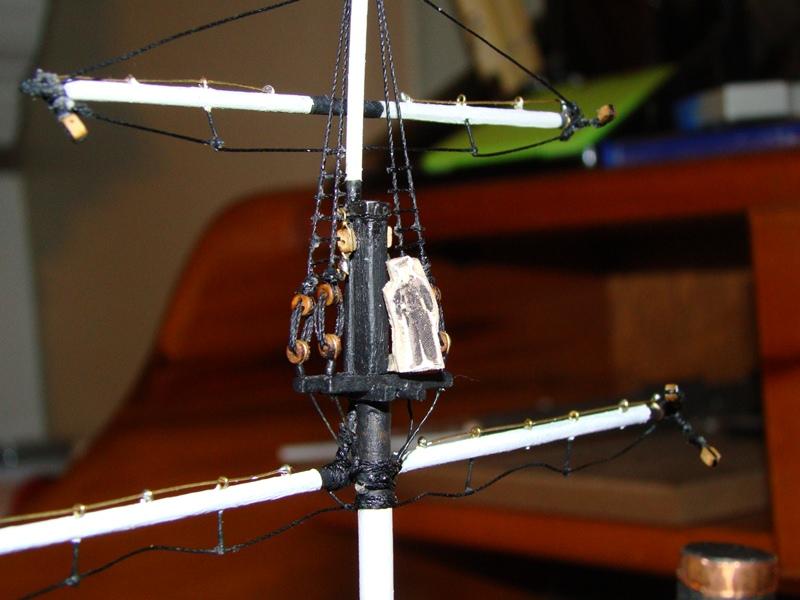
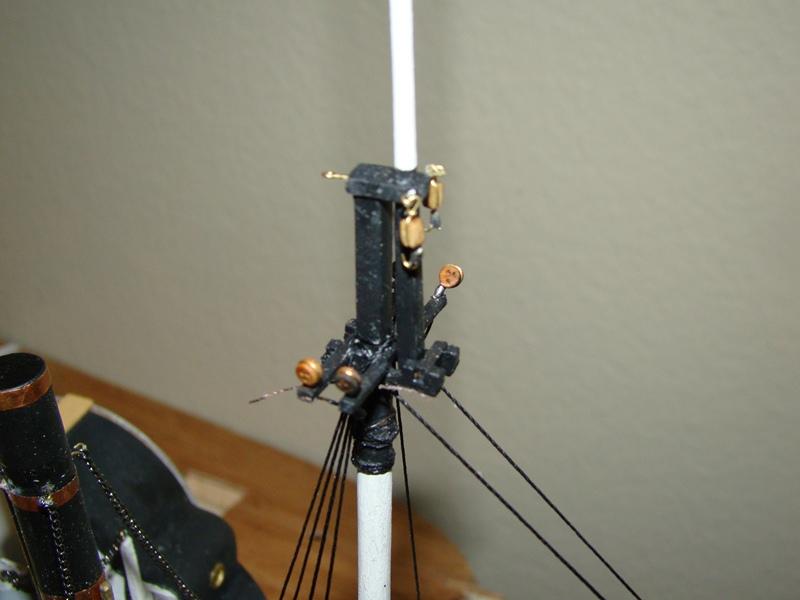
The instructions are rather generic - a couple of drawings in the instruction book, the plans sheet, but since it is at such a small scale (1:144) and the topmast and top g'lant yard are very small diameter, the detail can get lost or overwhelm the spars. tapering the topmast is a very delicate operation since it starts so small.
- 160 replies
-
- 2
-
-
- harriet lane
- model shipways
- (and 1 more)
-
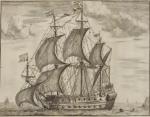
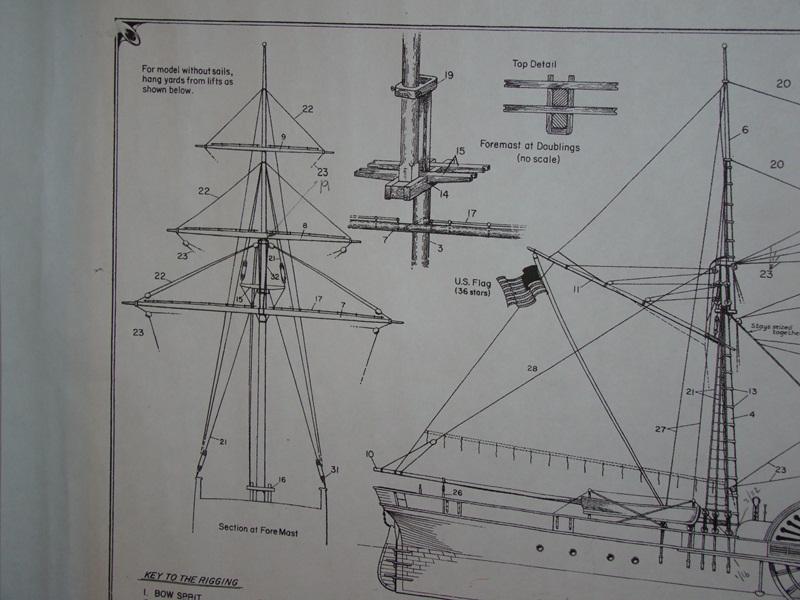
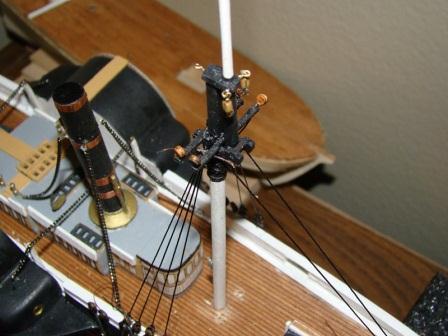
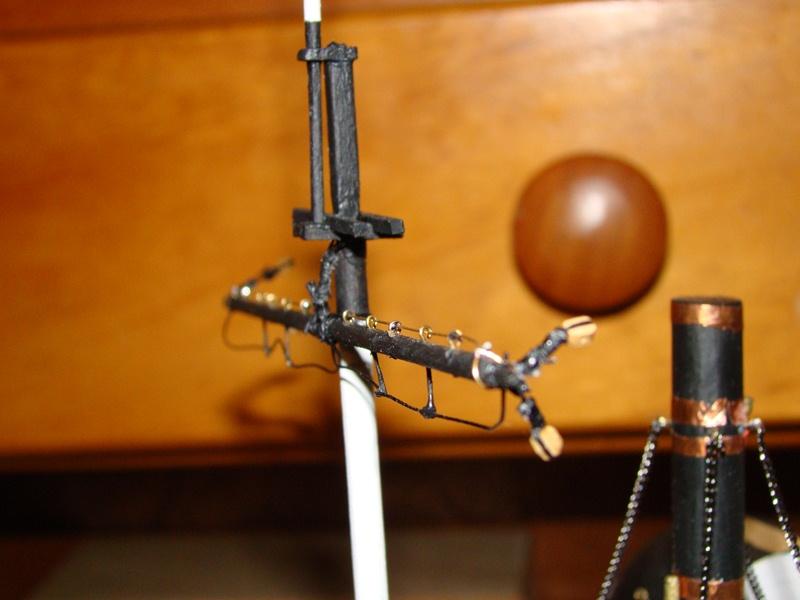
Dang - no pressure here I used a couple of books to figure out the taper and arrangements - Underhill's Masting & Rigging The Clipper Ship & Ocean Carrier, Murphy & Jeffers Spars and Rigging from Nautical Routine, 1849 and Biddlecombe's The Art of Rigging. Each is a good reference for different aspects of the masting and rigging. Let me pull some info together and will post a bit later this morning concerning tapering etc. As to the boom rest - the fore mast is completely square rigged so no boom rest nor gaff. Only the main mast is rigged with a boom rest and gaff driver (spanker). Here are a couple of pictures that may hel slightly. I will go back and get the info on tapering and fittings a bit later today. Rigging as shown on the plans sheet Rigging the bowsprit from Underhill

- 160 replies
-
- 2
-
-
- harriet lane
- model shipways
- (and 1 more)
-
Thanks, Andy - will give that a try. Those are about 1:29 scale give or take?
-
Looking for a source for either shipyard or nautical (19th to early 20th century) figures. My model is 1" = 32" scale = figures would ideally be between 2" & 2.25" in height. Any idea where I can find some? Many thanks!
-
Hmmm...can rule out tug boats and clipper ships right off the bat...very pretty vessel, Anja - gonna need to do some pondering to find this one!
-
Hmmm...from Popeye to Alice's Resturant! Nice recovery, Augie!

-
Absolutely beautiful job - boat and painting!
- 55 replies
-
- 1
-
-
- 18th century longboat
- model shipways
- (and 1 more)
-
Looks really good, Frank! Not bad for a non-seamstress!
-
I do, actually, have another column in the spreadsheet where I track the purchase price. Also, and probably fortunate that my better 3/4 is not on MSW, I have a "Slush fund" - each paycheck I have a fixed amount put onto a stored value prepaid credit card - that's mine for books, tools, supplies, wine, song, etc. Once it's gone, it's gone (until the next paycheck, at least). Also got some great deals on books via the NRG book sale. Time now for one last purchase there!
-
Congratulations, garward - the detail and realism are amazing!!!
-
Very nice job on this! In answer to the hatchet question, the harpoon line would be afixed to the loggerhead (that post in the stern), and in most cases that would also be where the hatchet would be found.
- 515 replies
-
- 1
-
-
- artesania latina
- whaleboat
- (and 1 more)
-
That is a sharp looking build so far - amazing how much individuality can be put into these kits!
-
42 rocker - Glad it is of use to you! I like the MacGregor books - he covers a variety of aspects of different types of ships. I started listing the downloaded files as I would stumble across the same document again and again and wound up downloading multiple copies - since some were upwards of 30 megabytes, it quickly ate up drive space!
-
Thanks for reposting this one, Sjors - I had somehow missed it on MSW 1.0!!! Nice work on the planking.
-
Got my new MS Emma C. Berry. Now to balance the work across the three builds!
-
Very nice work on those, Sjors!
-
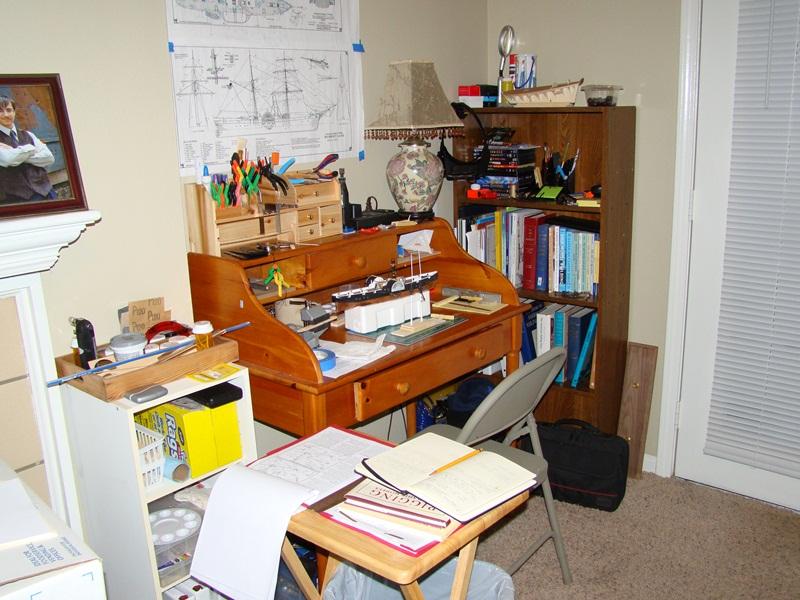
Augie - thanks! The little one (Cricket) is a doll. Craig & Yves - have been studying your logs getting ready to start this one. Tim & Bob - I utilized the most effective set of logical points and reasoning in a detailed conversation with the overseer. Even tried having Cricket do her "sad puppy dog eyes". Finally got special dispensation to begin work on the EC Berry, HOWEVER - at a cost. You wouldn't think that a person with over 300 skeins of yarn waiting to be knit into something would need more...oh, well, it is a reasonable sacrifice! Started work on the building board today. Look for some poictures tomorrow (probably). Now I need to find some more space at the shipyard for the in-progress builds. This little corner is getting crowded!!!
-
Augie, Anja & Sjors - thank you! It took awhile, but i like the way it turned out! Adam - appreciate the idea about the beads. Haven't done anything the past week but hope to get back to her this week. Joshukr - welcome aboard!!! Thanks for stopping by. Which kit is that you are holding in your avatar?
-
This is very interesting to me - will be taking notes! Thanks for the detailed explanations.
-
Craig - Off to a great start! Look forward to the next frame as well!
-
Sir - (you do out rank me, you know!) - See the scroll work thatBob has done on his Constitution is one good example of working with Styrene. See http://modelshipworld.com/index.php?/topic/423-uss-constitution-by-bob-riddoch-model-shipways-scale-176/page-3
-
Sir - She is looking sharp, Sjors. I like the head rails as well. Have your thought about using styrene for the trim (does it need to stick out) or is it just decoration (painted/decals)? Have a great day!
-
Looking very good, popeye - nice looking yacht! Have you seen the article by Erik Ronnberg at http://www.afanews.com/articles/articles/fitz-henry-lanes-yacht-america-from-three-views-vessel-portrait-or-artistss-concept#.UTFrIzfld8F ?
-
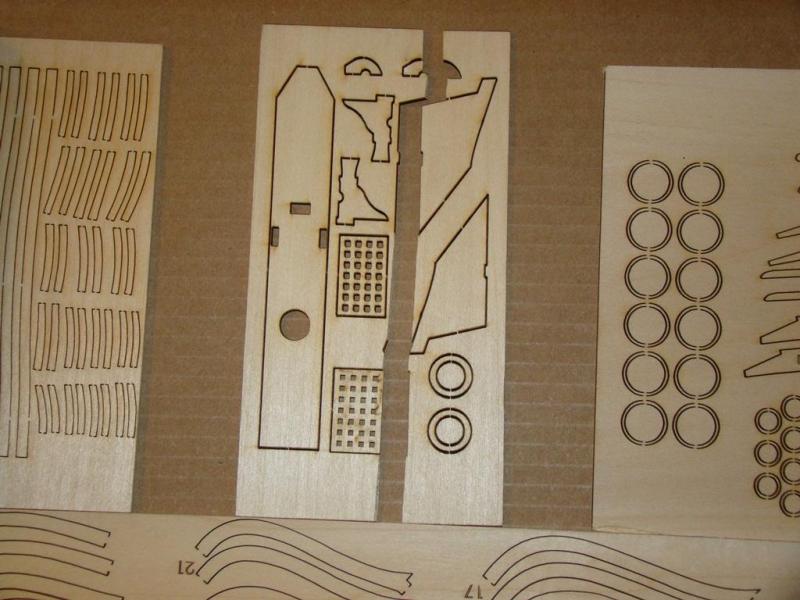
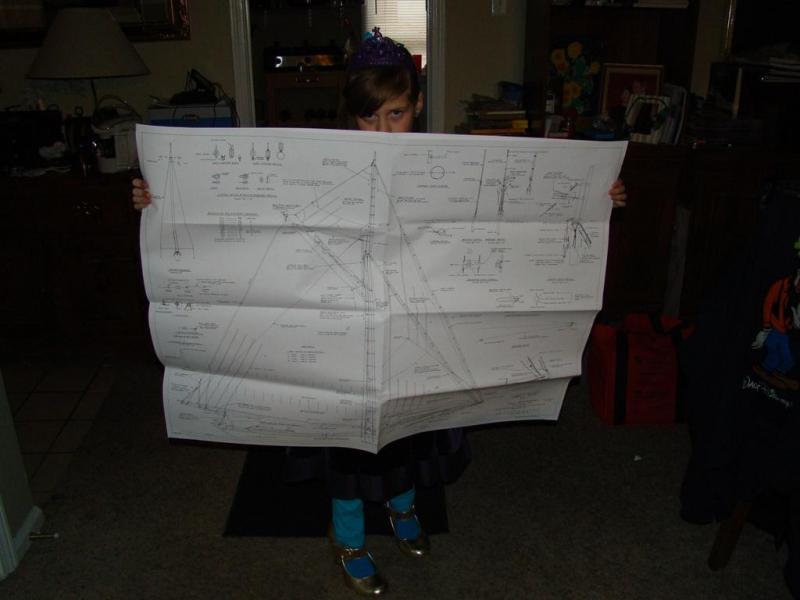
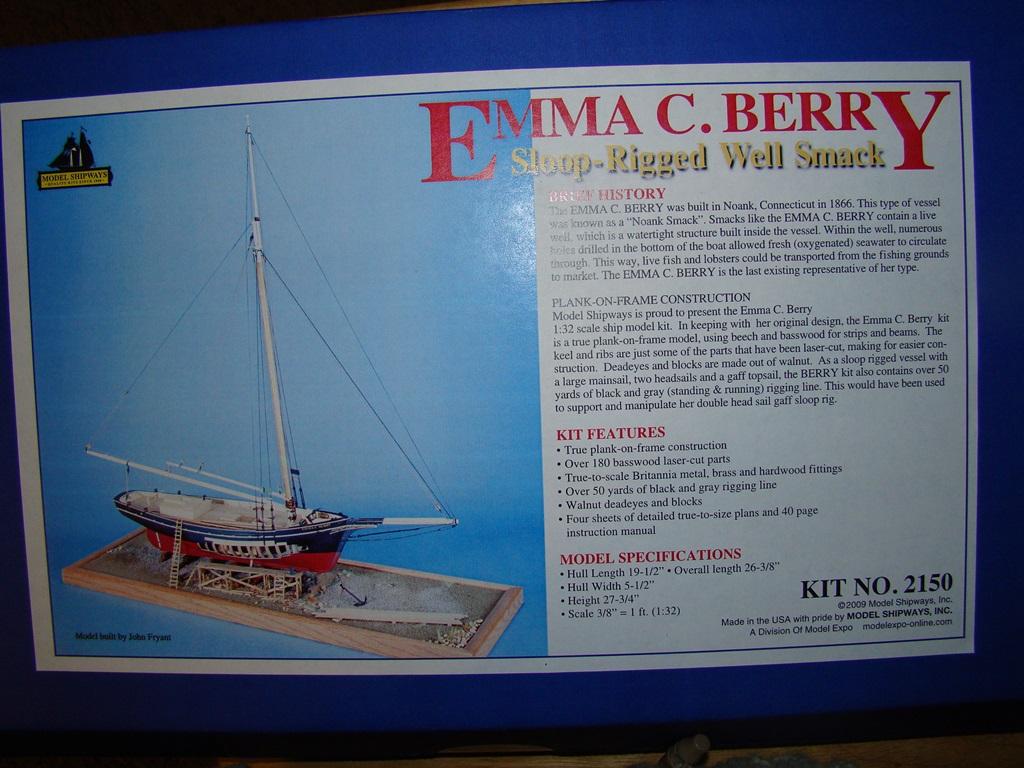
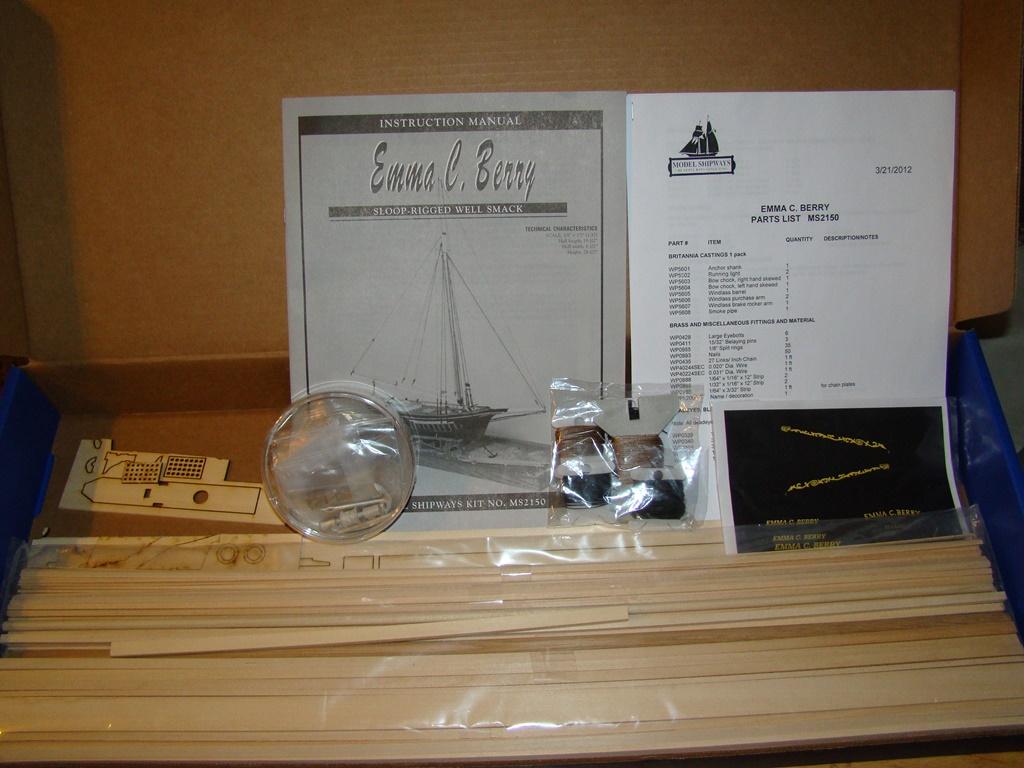
Greetings. The next build for the PHTS Shipyard has arrived. Attached hereto are photo's of the kit and contents. We will need to hold off on laying the keel for at least a short while, as the Shipyard Overseer has issued a management directive that states we must launch at least one of our current builds (either the Harriet Lane or the Ranger/ Detector) prior to beginning this one. Looks like we need to put in some overtime!!! The box cover Instructions and contents Laser cut pieces Looks like one broke - believe it is a part of the windlass. Will check into what it is supposed to be and decide how to handle. My junior apprentice showing the size of the 4 sheets of plans. Looking forward to starting this one!