HOLIDAY DONATION DRIVE - SUPPORT MSW - DO YOUR PART TO KEEP THIS GREAT FORUM GOING! (Only 20 donations so far - C'mon guys!)
×


Jeff-E
-
Posts
699 -
Joined
-
Last visited
Content Type
Profiles
Forums
Gallery
Events
Everything posted by Jeff-E
-
Looking good Keith, thanks for sharing your method I use a similar method for tying my blocks.
-
Great job on the side windows, big improvement on the blobs supplied. The window looks OK to me the centre frame is following the line of the rubbing strake.
-
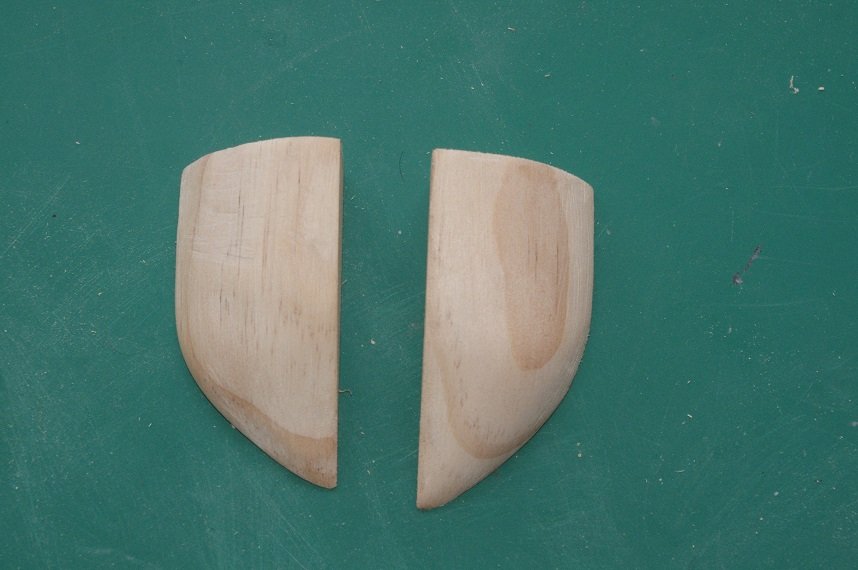
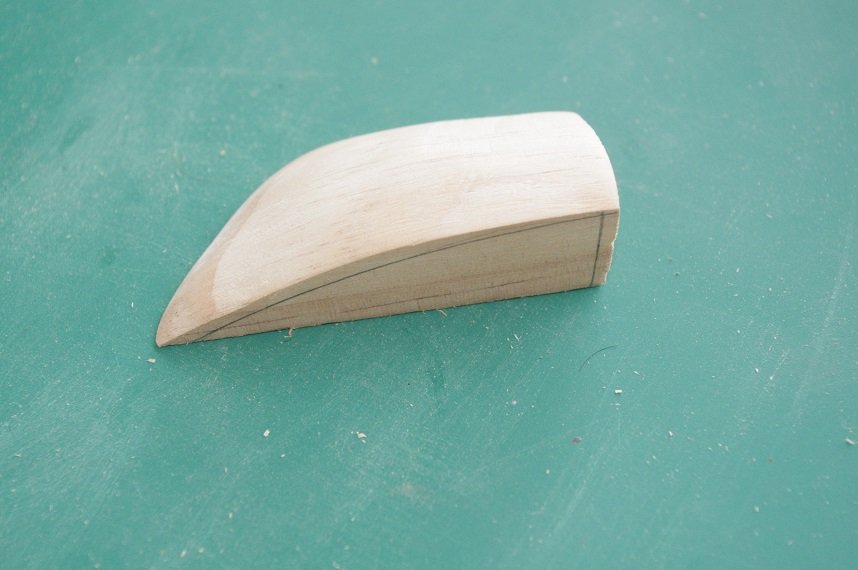
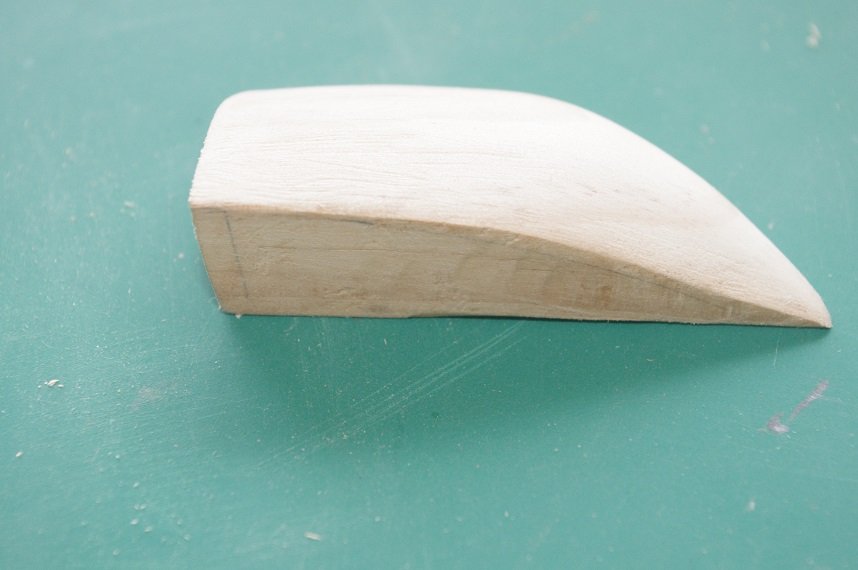
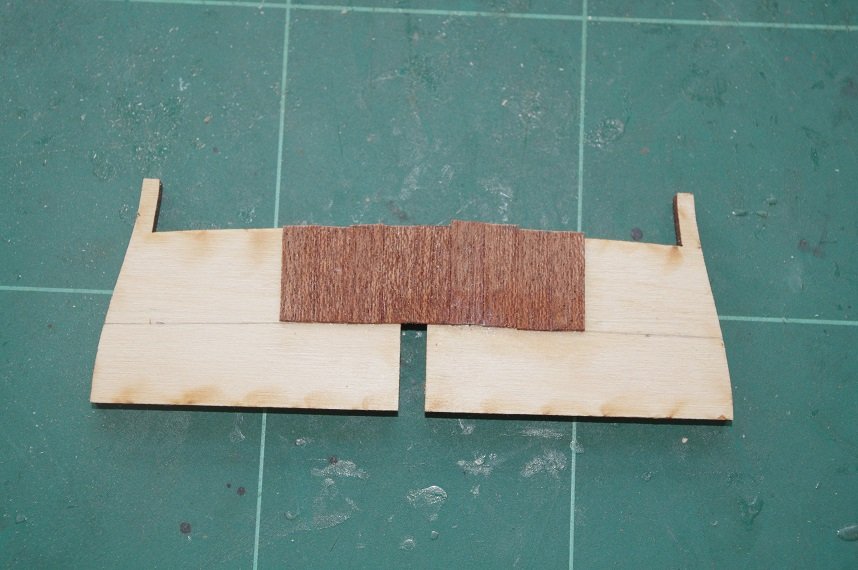
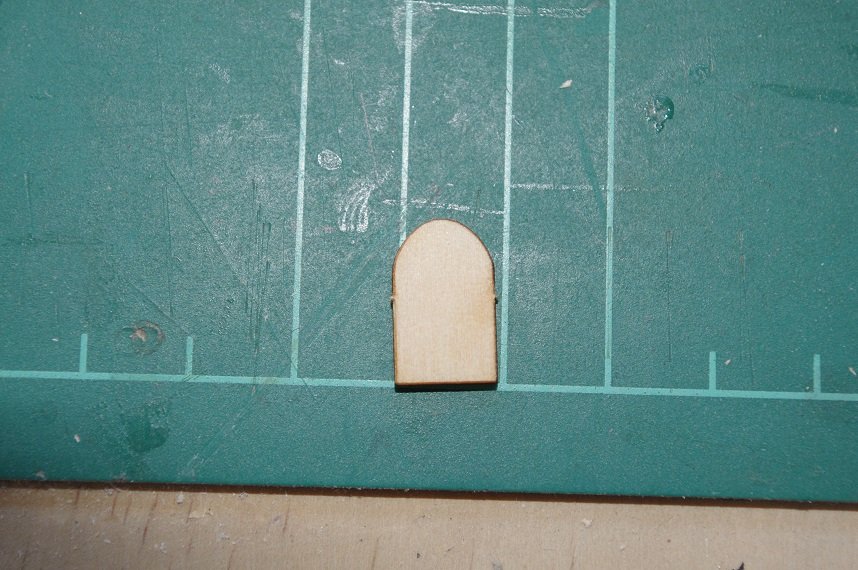
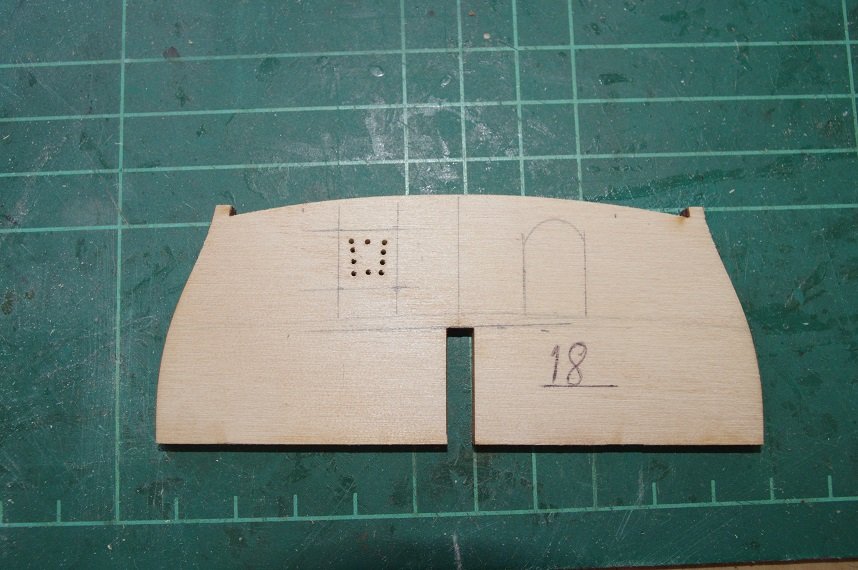
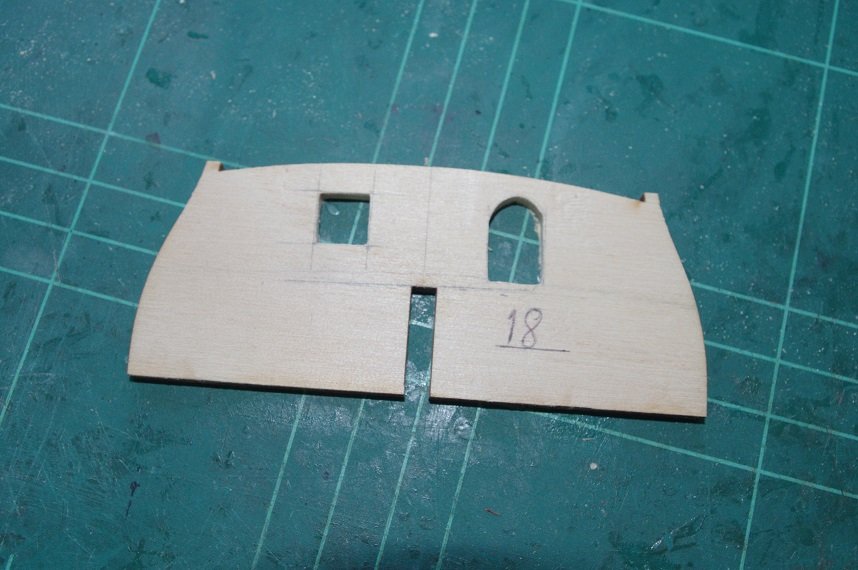
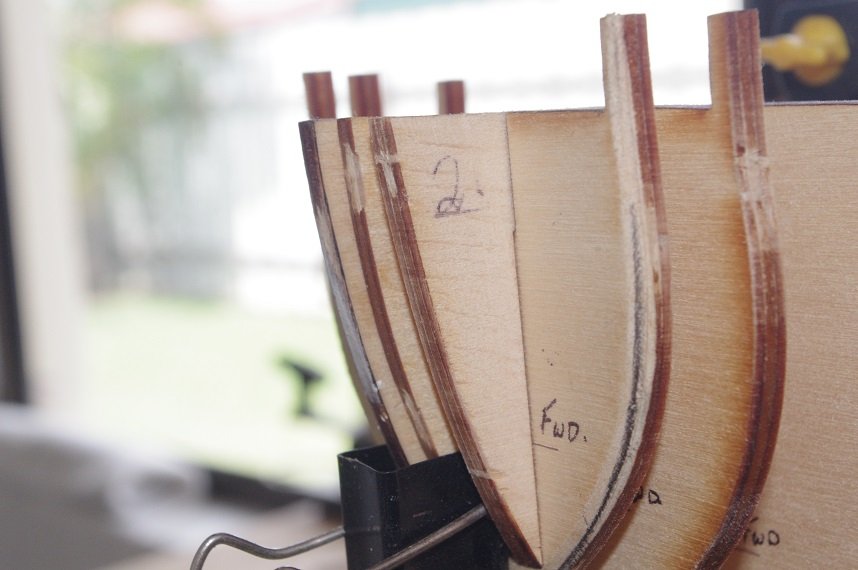
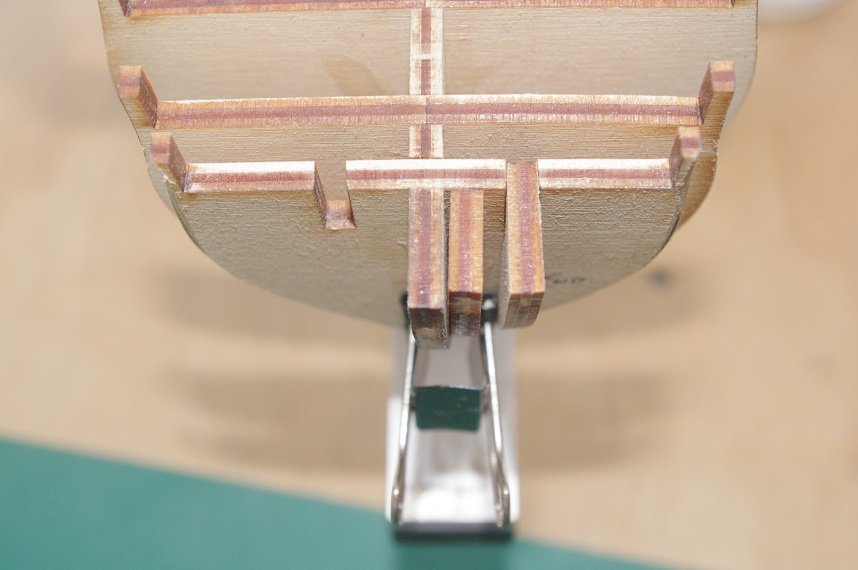
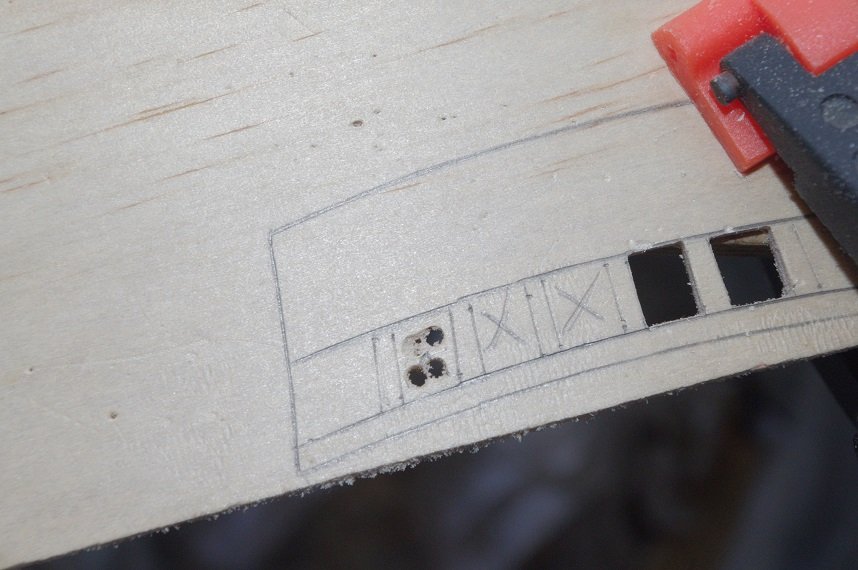
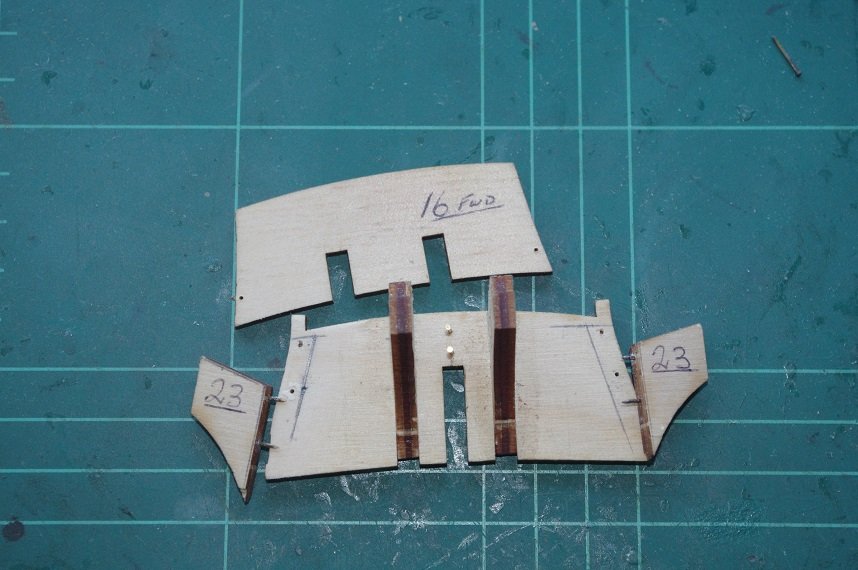
Yes it is starting to look like something resembling a ship! Thank you Scott. Yes it does, lucky it isn't or she would be on the bottom in the state she is in. Yes, I plan to use some of the ply strips that were in the slots on the bulkheads and false keel and position them about halfway between the bottom of the slot for the mast and the deck and maybe have some at the bottom of the slot to form a 'step' for the mast. Does the Endeavour have the mast holes cut into the deck so that you can use them for a guide to drill your blocks? Hello All, I have shaped the bow filler blocks roughly to the shape I want them with a chisel, rasp, smooth file an sandpaper. As can be seen by the pencil lines on the last two photos they are still a bit oversize but I will leave them like that until they are glued to the model and then fair them into the bulkhead. LIke they say it is easier to take material off than to add it on! The instructions don't call for bulkhead 19, which sits in between bulkheads 3 and 4 at the front of the main deck, to be planked at all, probably because the windlass sits in front of it and they think it won't be noticed but I think parts of it will be seen so I am going to plank it with 0.5mm sapele strips. This is much easier to do off the ship. It will be sanded and painted red ochre when finished. For part 19 which is the aft cabin bulkhead the instructions call for it to be lined with 0.5mm mahogany and 2 doors, which are 2mm thick, to be painted black and glued to the bulkhead. I think this would not look very nice at all so I have decided to fit one door recessed into the port side of the bulkhead and cut a window into the starboard side, both just off the centre line as access ladders to the quarter deck will be fitted next to the port and starboard bulwarks and there a cabins on either side under the quarter deck. The doorway and window was marked out and holes drilled so that the waste could be cut out and then the edges were cleaned up with a file. This bulkhead will also be planked with 0.5mm sapele and painted. Thanks for looking and the likes All comments welcome.


-
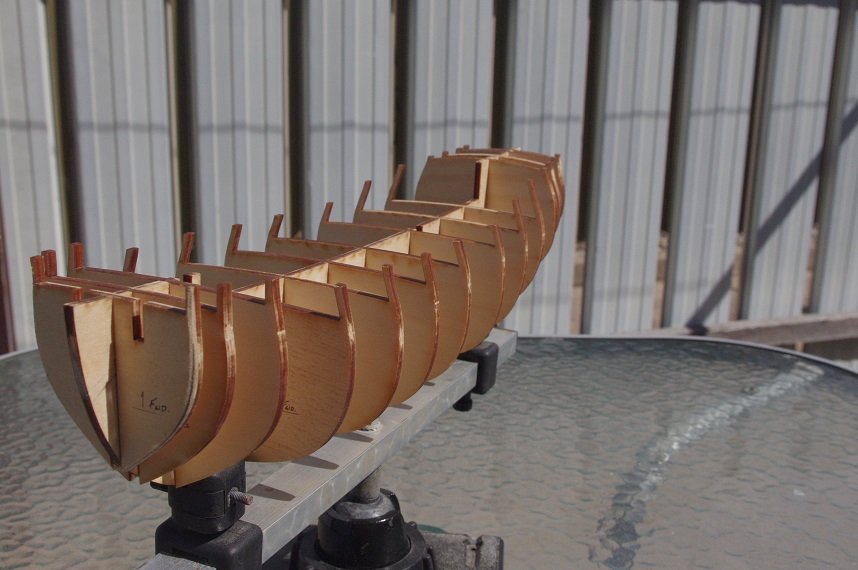
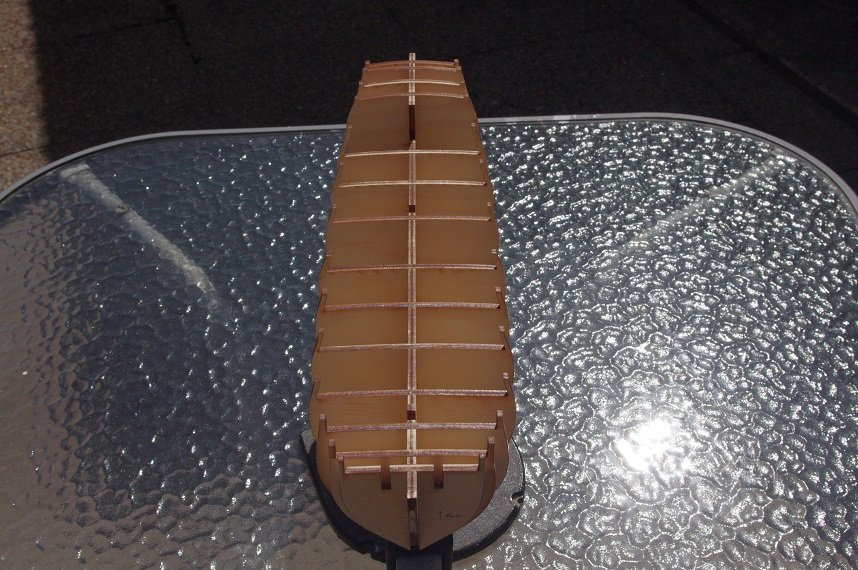
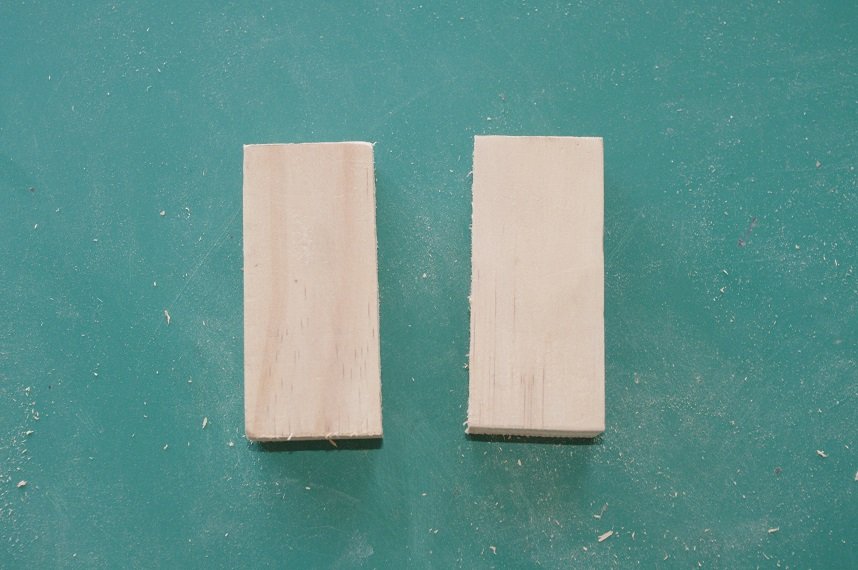
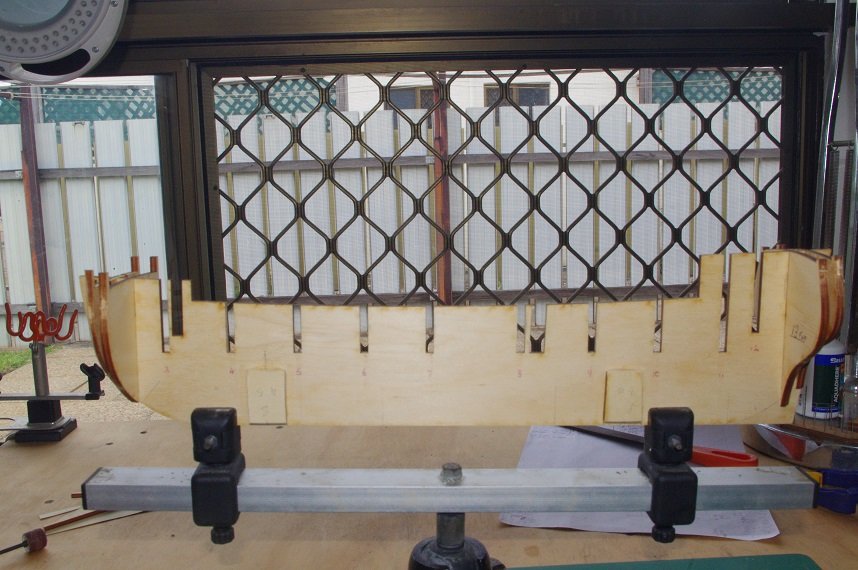
Thanks Cabbie, I haven't settled on what I'm going to use yet but I have ordered a bottle of Micro Klear and I will see how that works when it turns up. Thanks Scott, I am fairly happy with them. Hello All, The main 14 bulkheads have all been glued to the false keel. There are two half bulkheads, parts 18 and 19 which fit at either end of the main deck still to be fitted but they need some work done to them before they are glued on. The kit supplied 4 bow filler pieces which are to be glued to bulkhead one, one into the slot in the bulkhead and the other to the false keel. Because of the shape of the bow I don't think there will be enough support to give the planks a nice smooth curve around the bow so I am not going to use these parts and I will shape my own bow filler blocks from 19mm pine. Thanks for looking and the likes All comments welcome.
-
Beautiful and precise work as usual Danny, sad to see this will be your last model but happy to hear that your grandson going to carry on with it.
- 29 replies
-
- 5
-

-
- hmw
- Hamburg Harbor
- (and 2 more)
-
The glass turned out really well, I will definitely order some. The painting looks great too!
-
Very nicely done Scott, a big improvement on the supplied ones. Will be watching to see how the glass turns out.
-
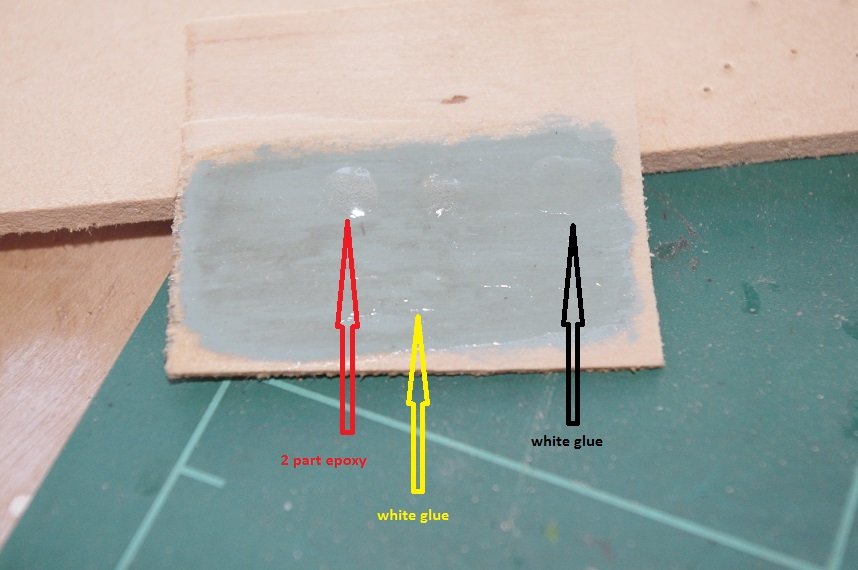
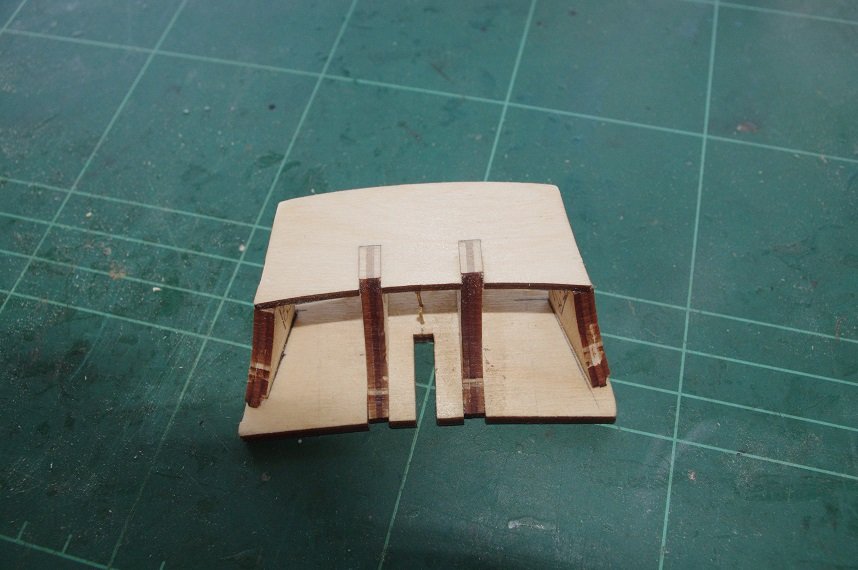
Thanks for the suggestion Keith, I did consider using acetate but I want to keep the transom thickness as close to 4mm as I can, which it will be when these parts are glued together. Thanks for that Scott I looked it up and did find it at BNA models so will order some when I think of what other supplies I want from them to make the postage worthwhile. Meanwhile I did a little experiment with white glue ( which dries clear) and two part epoxy on a piece of scrap. May be a bit hard to see in the photo but the 2 part epoxy is the clearest however it is a bit harder to smooth out and get rid of the air bubbles. Anyway something to think about as there is no rush. The horizontal frames have been fitted to the window frames and I am fairly happy with how they turned out. The frames and the inside edges of the frames have been painted white. The transom has also been assembled. The transom has also been painted duck egg blue where the window openings are located. I think it will look OK when the transom is completed. All comments welcome. Thanks for looking and the likes.
-
Beautiful work! You should be very proud of the result.
- 40 replies
-
- 2
-
-
- finished
- master korabel
- (and 2 more)
-
Thanks very much Keith, I'll listen out for it! Thank you Mugje, yours turned out very nicely too! Thanks very much Grandpa Phil.
- 86 replies
-
- 4
-
-
- pickle
- caldercraft
- (and 1 more)
-
Thanks Scott, I was planning to paint behind the windows a light blue and then give it a few coats of gloss clear, but I might look into getting bottle of that, is it available in locally?
-
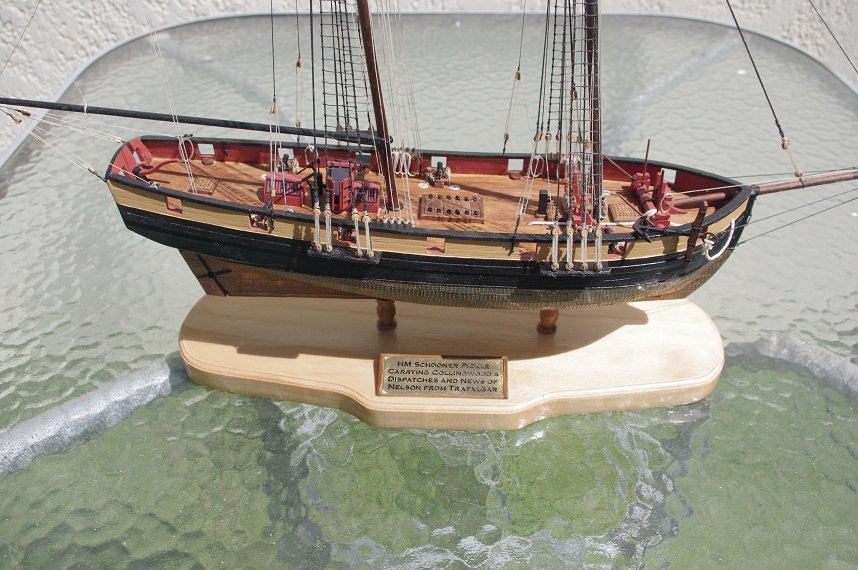
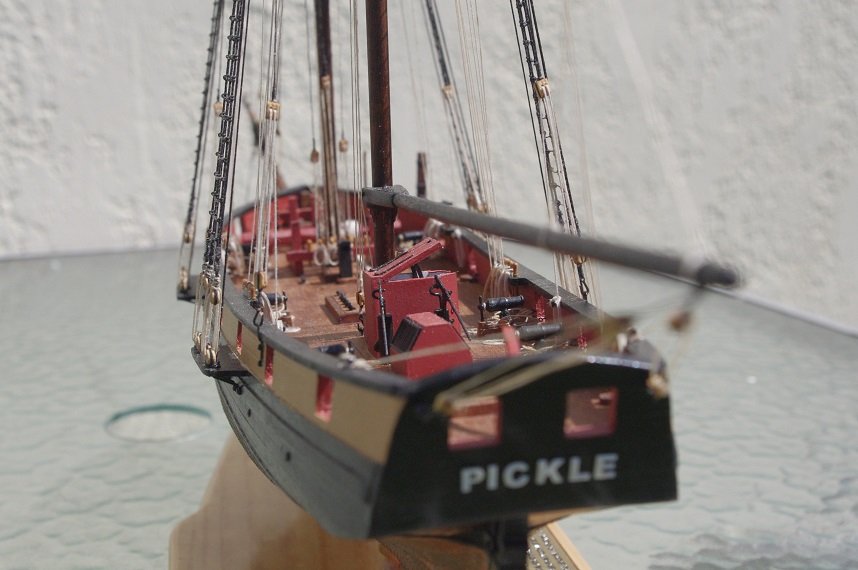
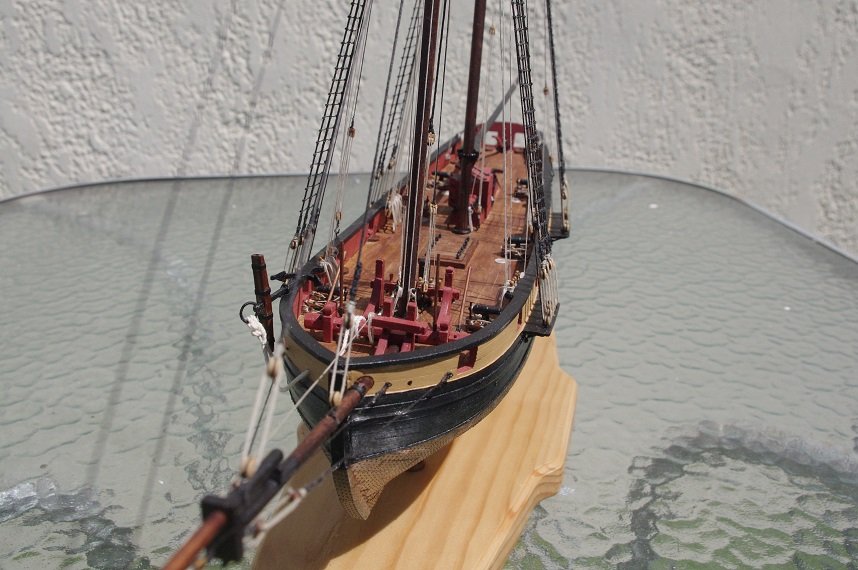
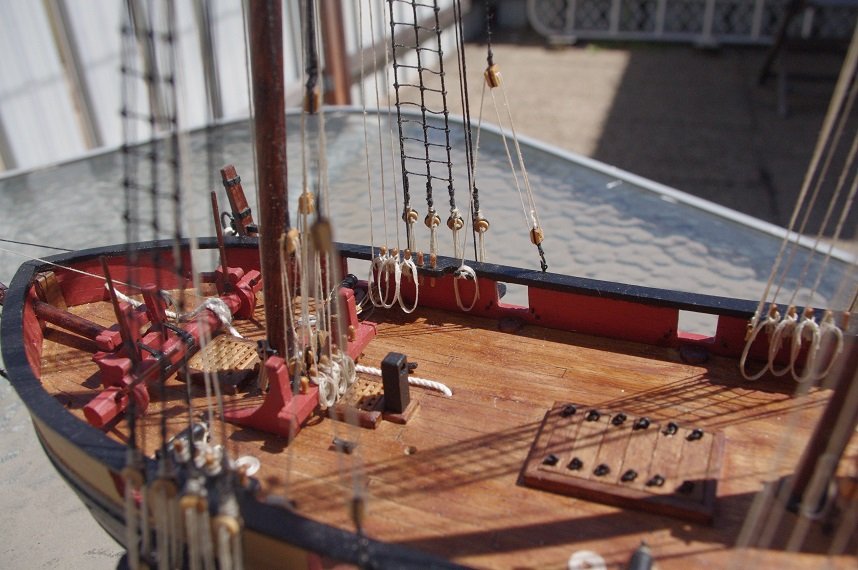
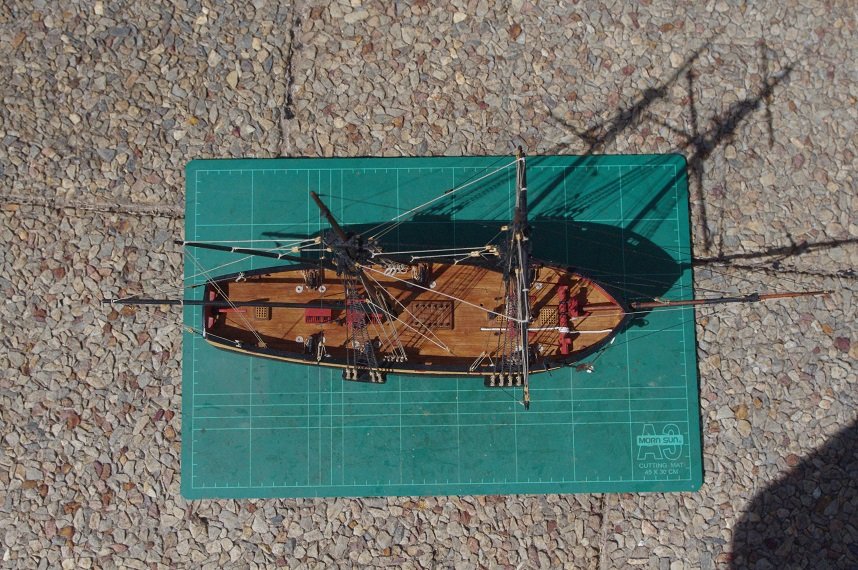
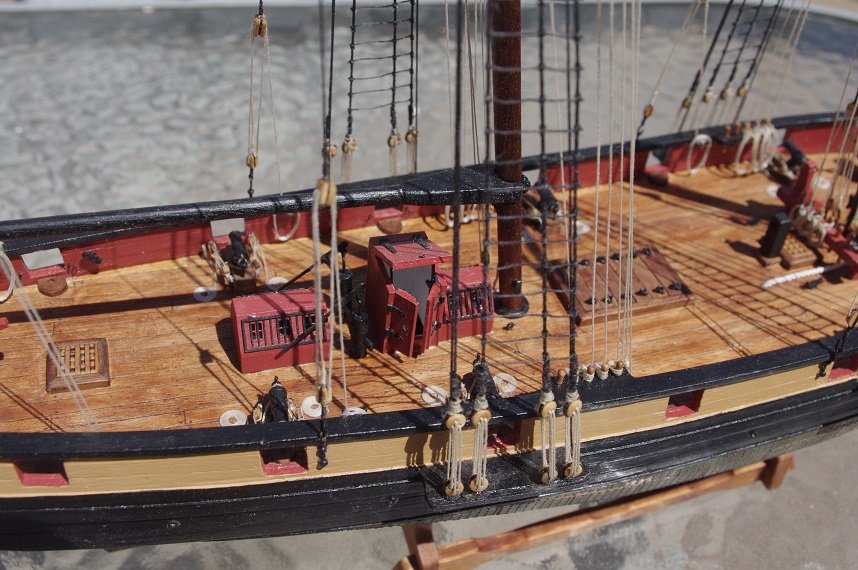
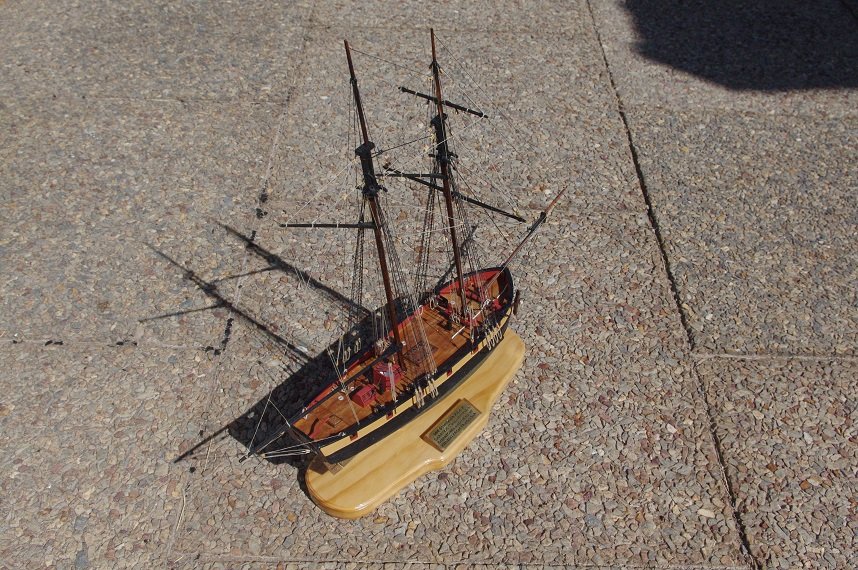
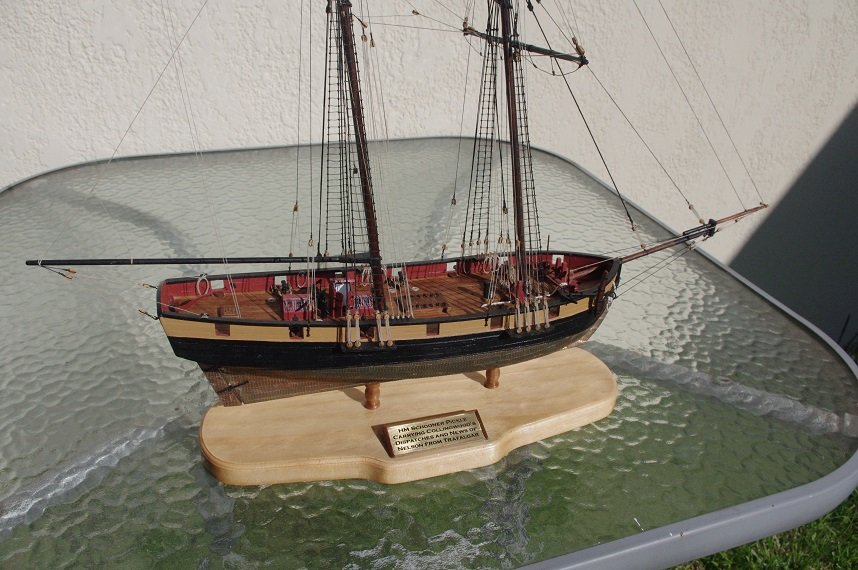
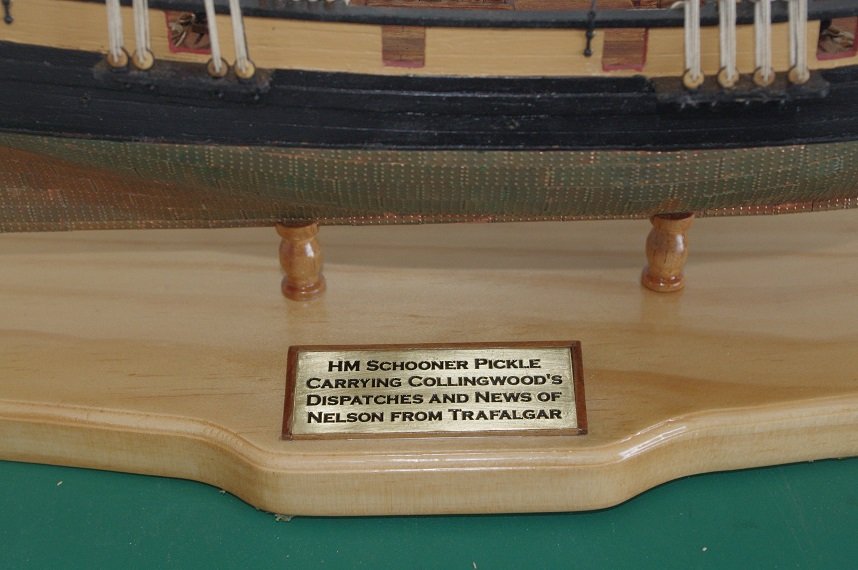
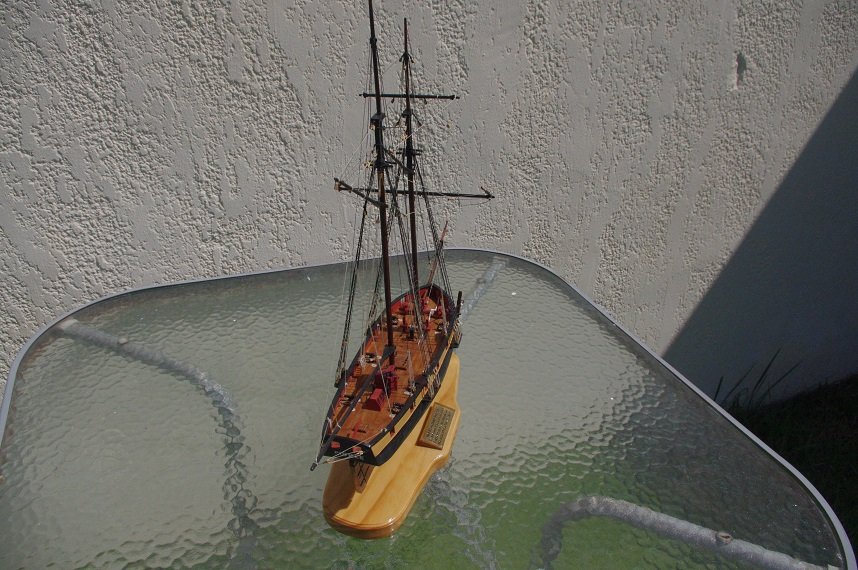
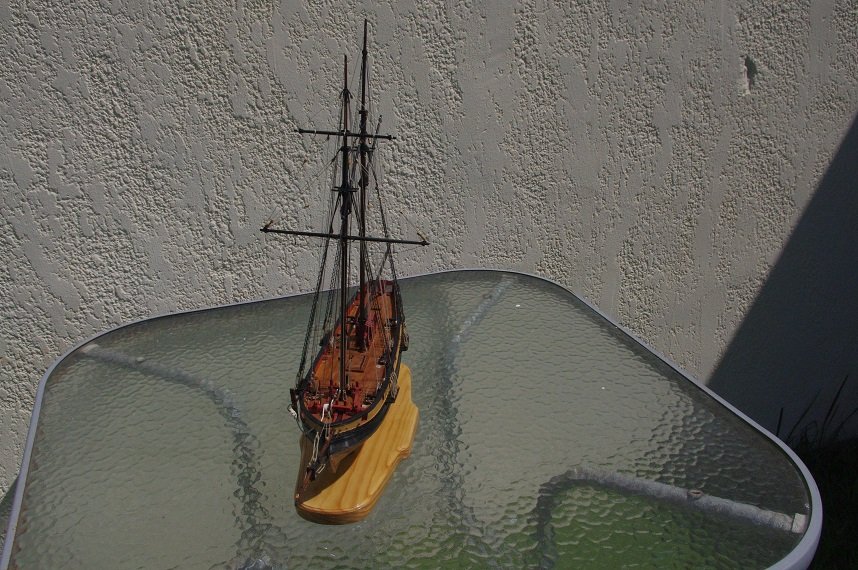
Hello All, The display base has had it's final coat of varnish and the Pickle has been mounted on it. I am calling this model finished. As you will notice the ship's boats have not been fitted, this is just a personal preference because they would have been stowed on the starboard side between gunports 3 and 4 and I feel would upset the balance of the deck. They won't go to waste, one will be used on the Supply and will be used on another build. I have enjoyed building this kit and highly recommend it to anyone wishing to build a small scale schooner especially those contemplating their first build as the building instructions are very comprehensive and when used in conjunction with the plans make the building and rigging process easy to understand and enough material is supplied to cover any small mistakes or lost parts. Anyhow enough waffle, below are some photos of the finished model. I apologize for the mixture of photos taken inside and outside but I was trying to get some in a good light, don't know if I managed it! And a few more..........

- 86 replies
-
- 4
-
-
- pickle
- caldercraft
- (and 1 more)
-
Thanks Scott, the Perseverance looks like a nice model of our early ship building history. I didn't realise she was built here. I look forward to watching you build her when you start.
-
Thanks Keith, I was a bit worried about the thickness of the styrene rod but once the transom is planked and some decorative strips are added that should give them some depth and they should look OK. I can understand you not using it on the Victory's stern they are time consuming to cut and fit neatly into place.
-
Very neat planking job Scott, those thin planks can be awkward to get them to lay as you would like them to.
-
Great start, Tom. Those deck pieces in your last photo look horrible, looks like they got wet at some stage.
- 135 replies
-
- 2
-
-
- billing boats
- half moon
- (and 1 more)
-
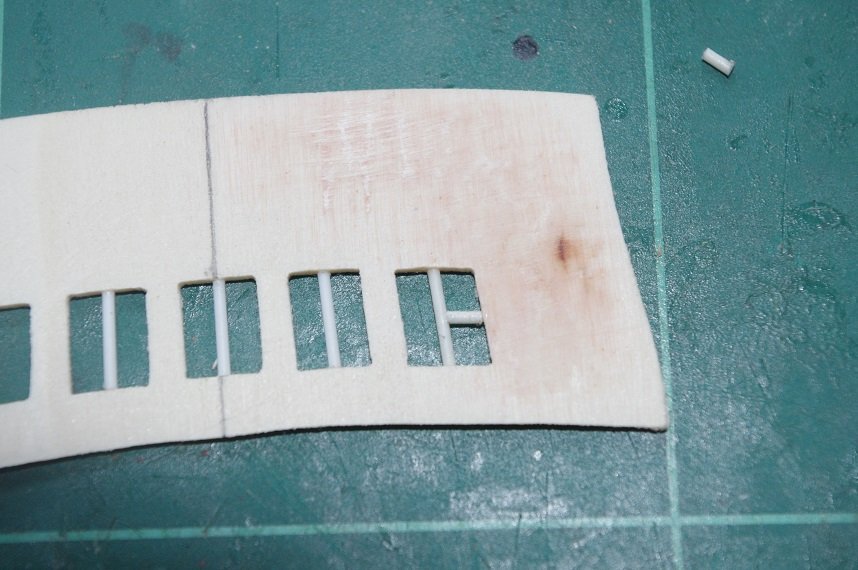
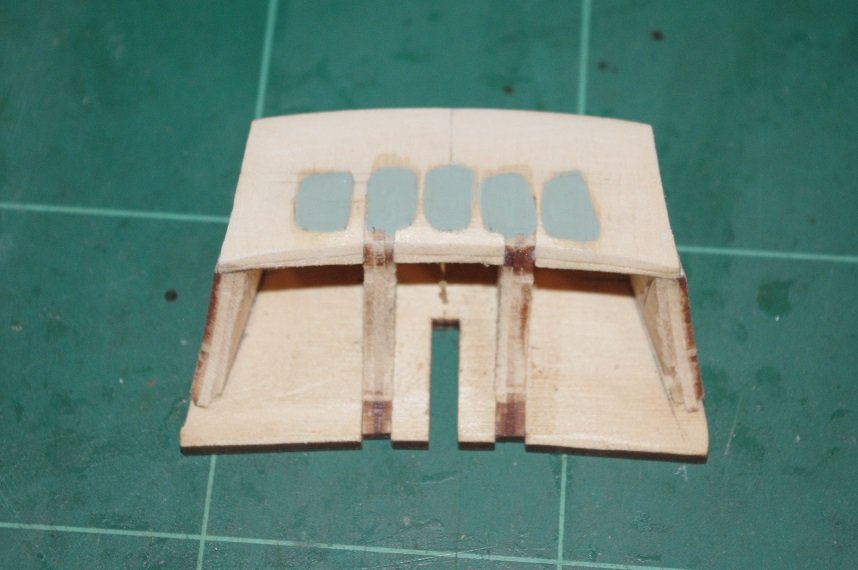
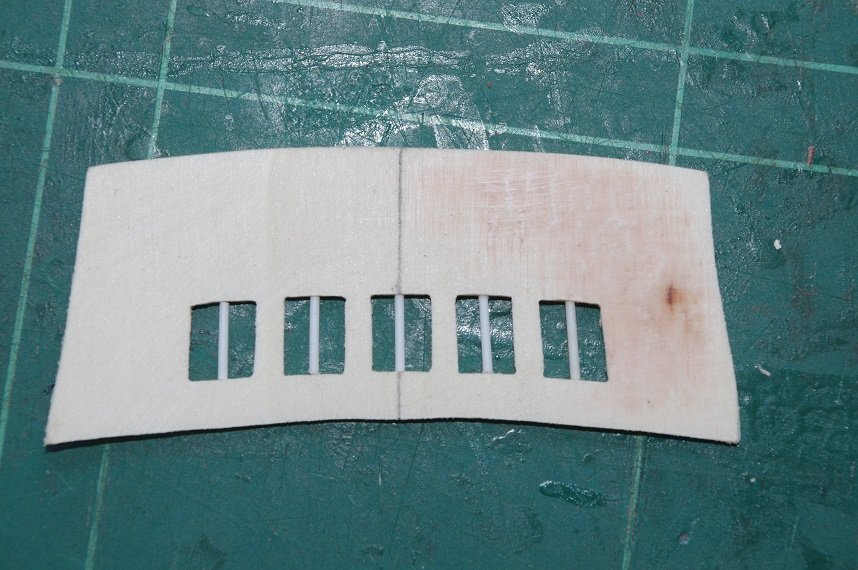
Hello All, The rest of the stern windows were cut out and the part cut from the ply sheet. The part was reduced in thickness from 2mm to 1mm by carefully shaving off 1 layer of ply and then sanding it to size. The vertical frames for the windows were then fitted. These are made from 0.87mm styrene rod. Thanks for looking and the likes. Comments always welcome.
-
Yes I think it would be, looking at plans in the british maritime museum website the section under the quarter deck was divided into what looks like sleeping quarters for the officers on the starboard side and storerooms on the port side with what looks like the captain's day cabin and dining room in the centre which would have windows to let the light in, any way that's what i'm going with.
-
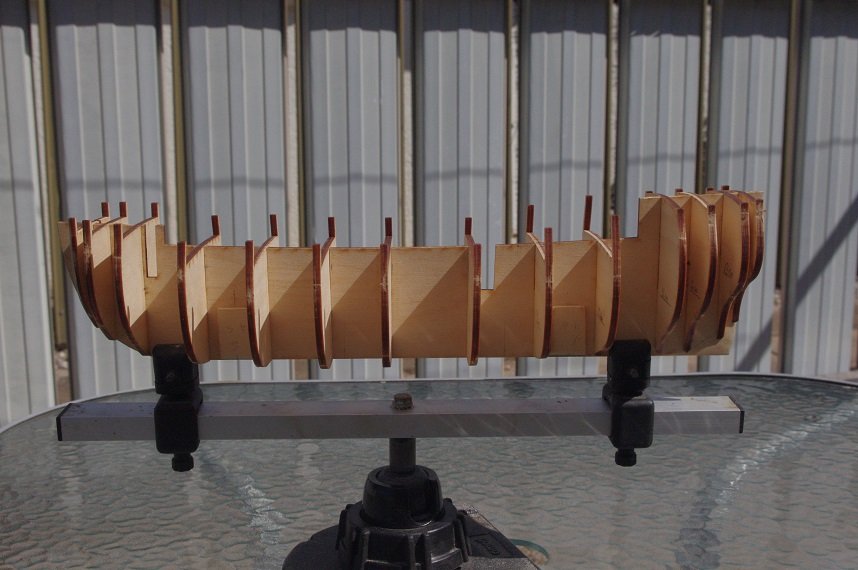
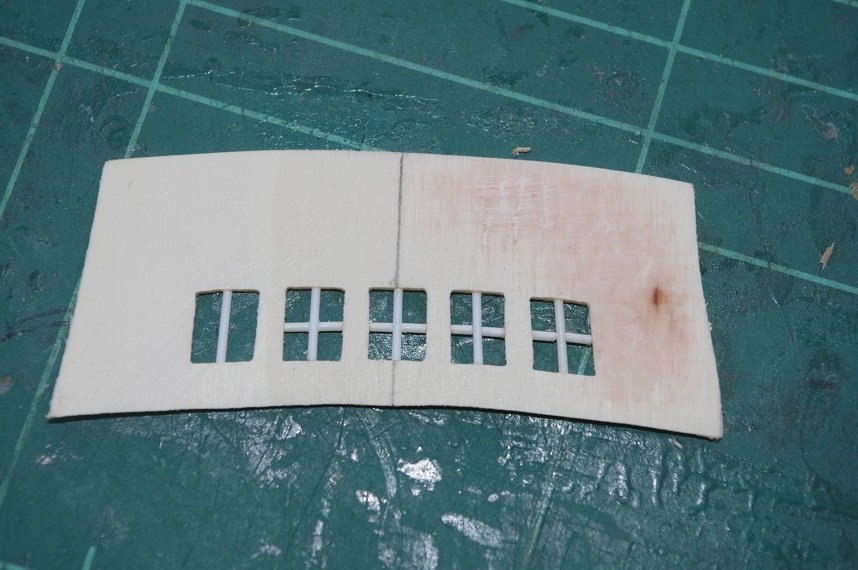
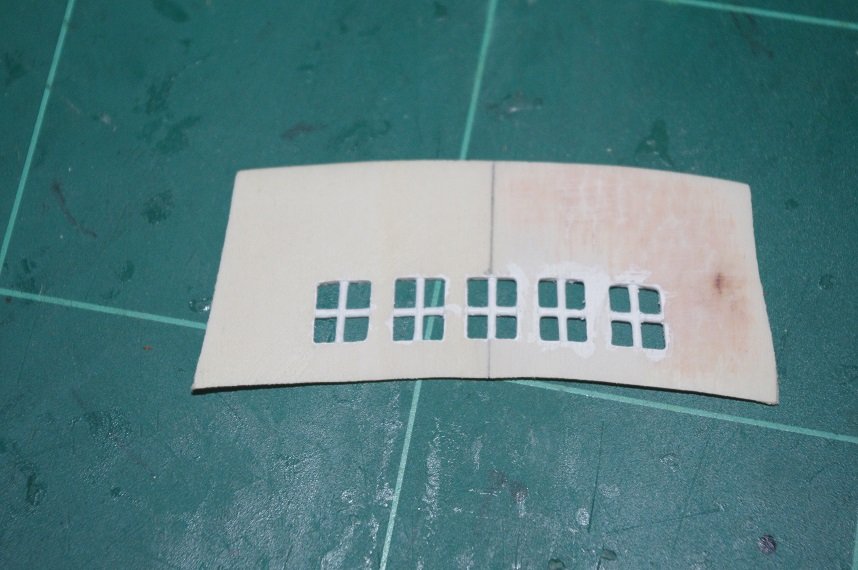
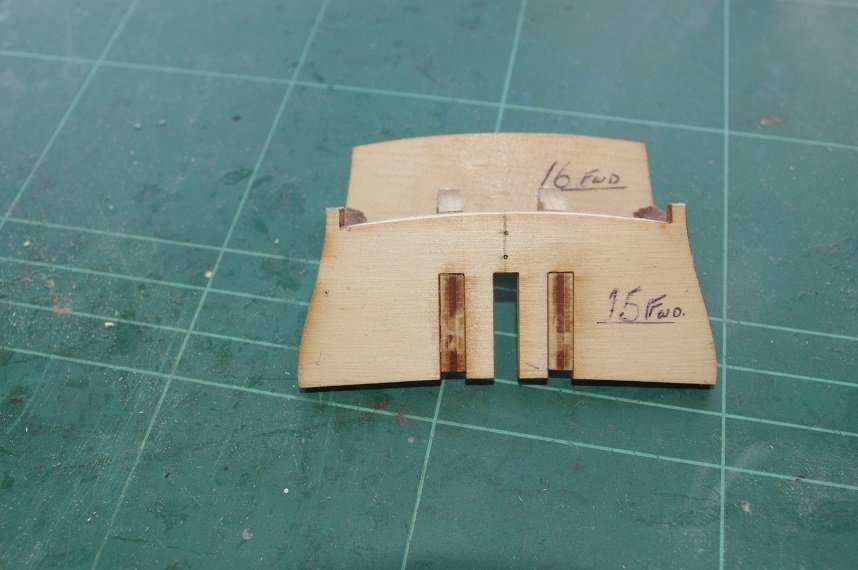
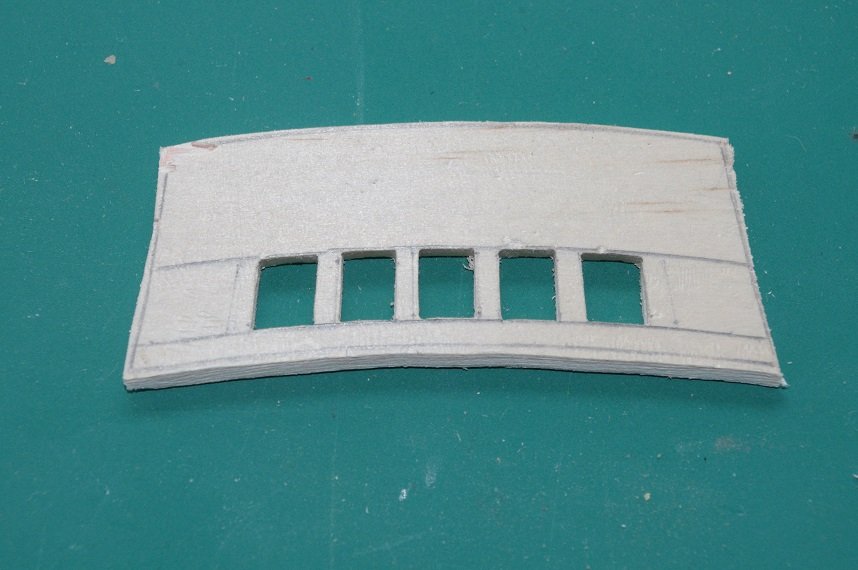
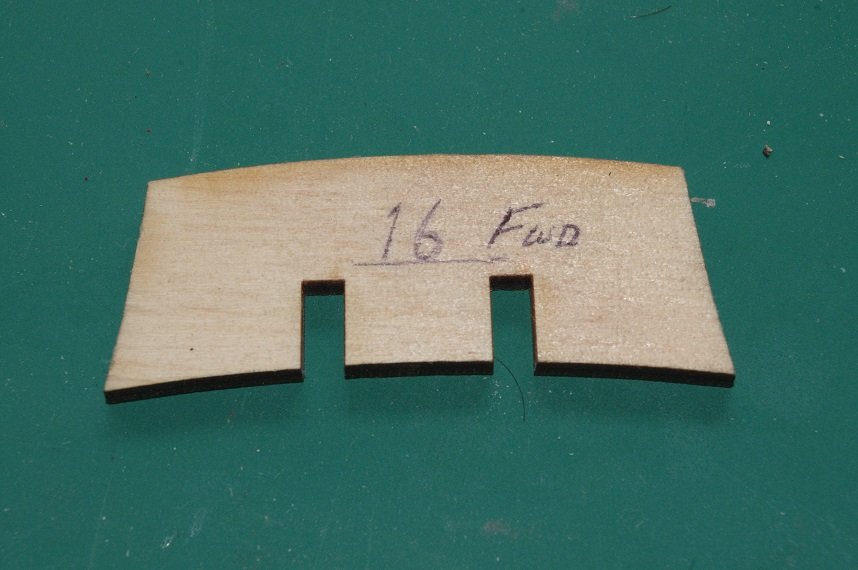
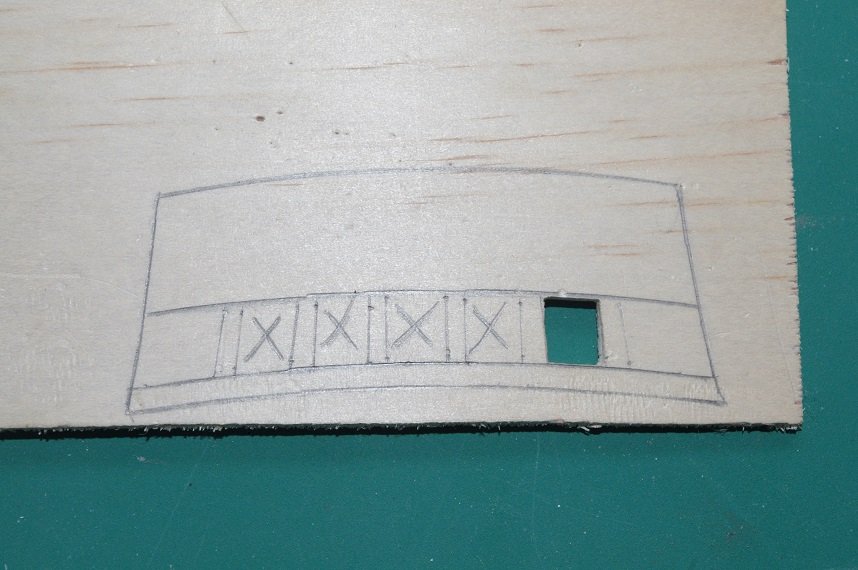
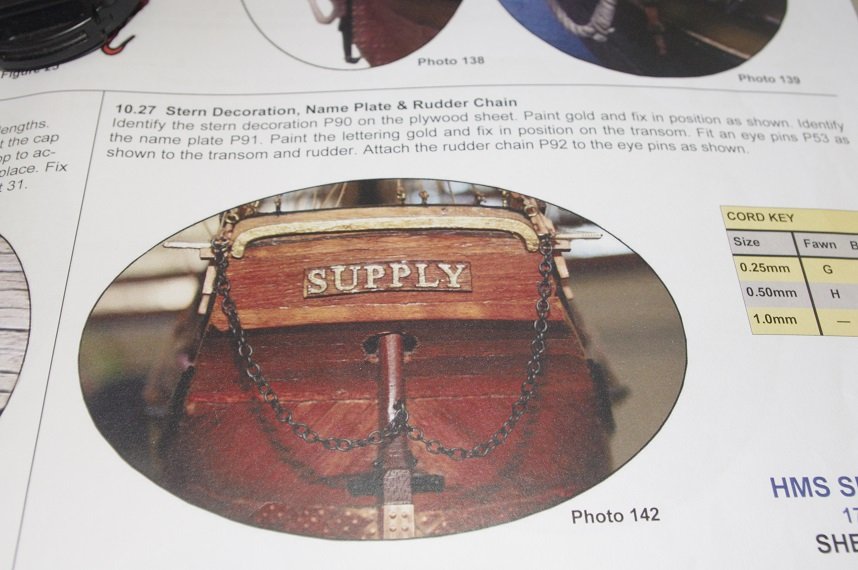
Yeah your right Keith, I have been one of those who jumped in to early, just to keen to get started but found out the hard way later on! Hello All, Two more bulkheads have been glued to the false keel. While waiting for the glue to dry I turned my attention to the transom area this is made up of 6 parts, 2 bulkheads and 4 supporting pieces which give shape for the counter planks to sit on. 2 of the supports fit into slots in both parts but the outer ones just sit flush onto the face of the bulkheads so they were drilled and doweled with 0.75mm brass nails as this area has to be faired into the deck and other stern bulkheads and I did not want them separating when the filing and sanding starts. The instructions call for the transom to be planked with 0.5mm mahogany and supplied nameplate to be affixed to it with a piece of decorative timber around the top. Which looks OK but after doing some research and looking at a couple of paintings of the ship I am fairly sure that it had deadlights (stern windows) and I have decided to fit them, my first thought was to cut them straight into part 16 but the two slots for the support pieces would interfere with at least 2 of the windows so I marked the shape of part 16 onto a piece of 2mm ply and drew on where the windows would go making sure they were below the line of the quarter deck. The windows are 6mm wide and 8mm high, once they and the part are cut out I will reduce the thickness of the ply to 1mm and the thickness of part 16 to 2.5mm so that when they are glued together along with the inner planking it will give an overall width of 4mm (the original thickness of part 16). Thanks for looking and the likes All comments welcome.
-
Very nice work Eamonn, I love the serving on the stays and deadeye strops.😊
- 1,039 replies
-
- 1
-
-
- ballahoo
- caldercraft
- (and 2 more)
-
I can never get the tail end of the lines to hang properly to look any good so I cut them off and make them separately which sometimes I am still not happy with but yours look great.