HOLIDAY DONATION DRIVE - SUPPORT MSW - DO YOUR PART TO KEEP THIS GREAT FORUM GOING! (Only 20 donations so far - C'mon guys!)
×


Jeff-E
-
Posts
699 -
Joined
-
Last visited
Content Type
Profiles
Forums
Gallery
Events
Everything posted by Jeff-E
-
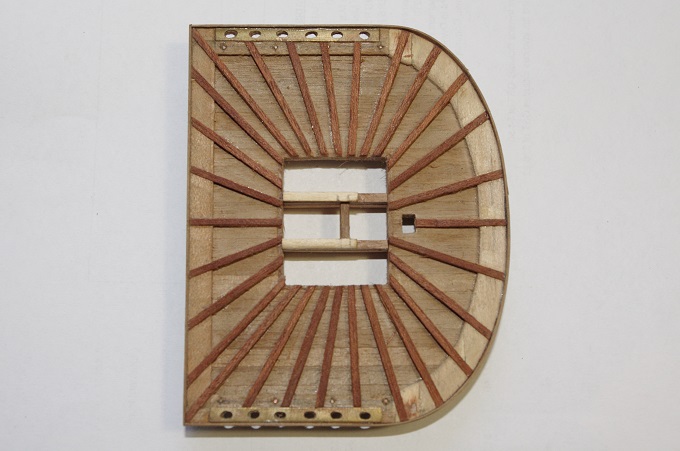
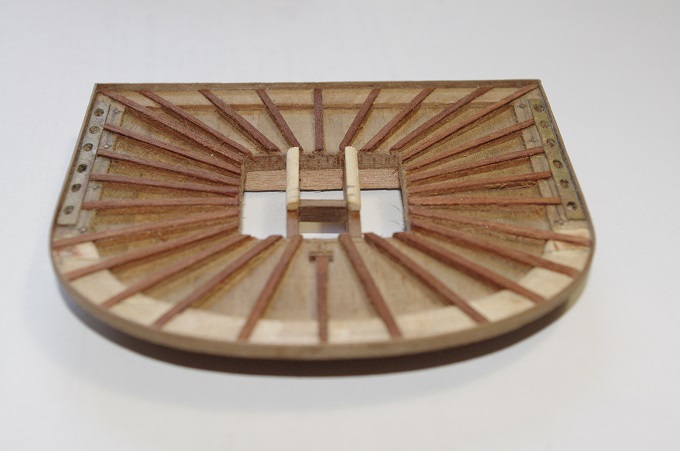
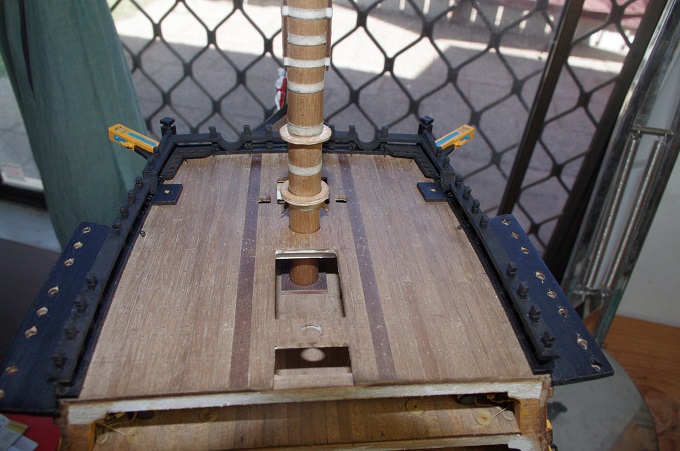
Hi All, Some more progress has been made on the model over the last few weeks, the fighting top has been completed. the first pictures show the stiffening timbers these were made in two parts the first being of 2 x 2mm walnut which was fitted inside the edging and trimmed off at the lubbers hole the second piece was 0.5 x 3mm Tanganyika which was laid over the top of the first piece and extend to the outer edge of the top. these were then trimmed and sanded to suit the lower pieces. Two bolsters were also added to support the lower shrouds, these were made from 4mm square lime filed down on one side to form a quad piece. Lastly an edge was glued around the top this was made from 0.5 x 4mm walnut strip.
-
The edging was fitted and then filed and sanded to shape. The trestle trees have also been fitted and eyebolts attached for the blocks that will hang beneath the top. That's all for now I will post some more updates soon.

-
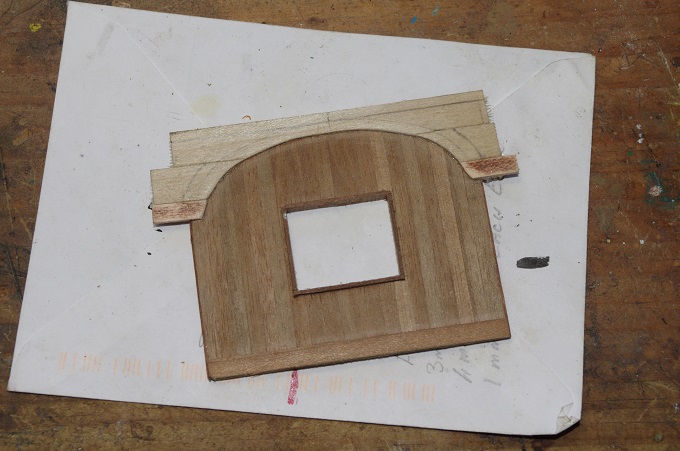
The front edge was shaped from two 10 x 2mm strips glued together so that the radius of the front of the top would be covered. The sides were made from 6 x 2mm walnut and the futtock supports from 3mm brass strip. Six holes were drilled through each of the futtock supports and the side edges for the futtock plates to go through.
-
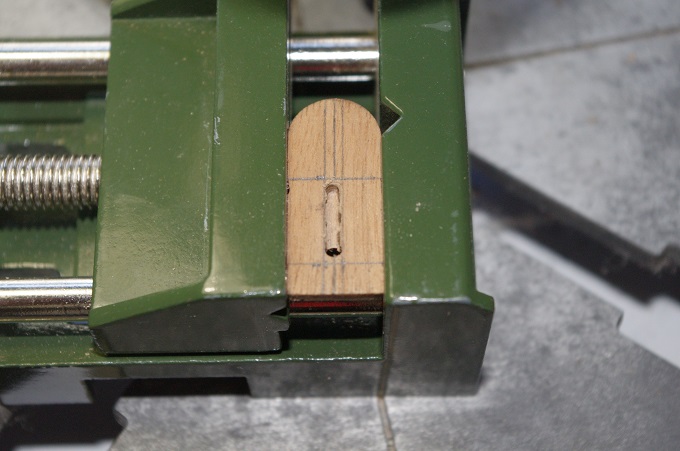
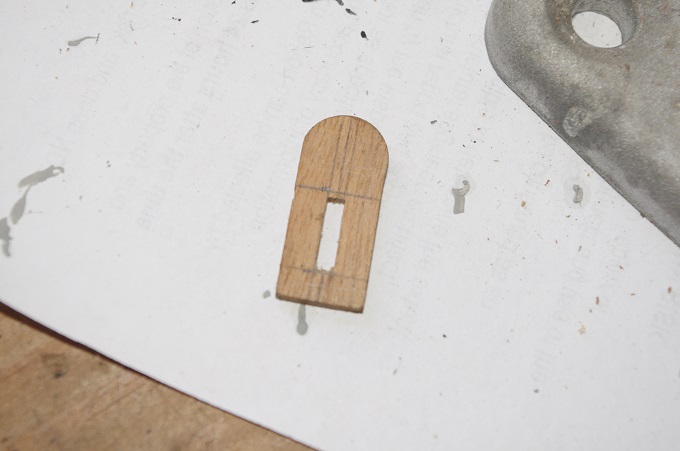
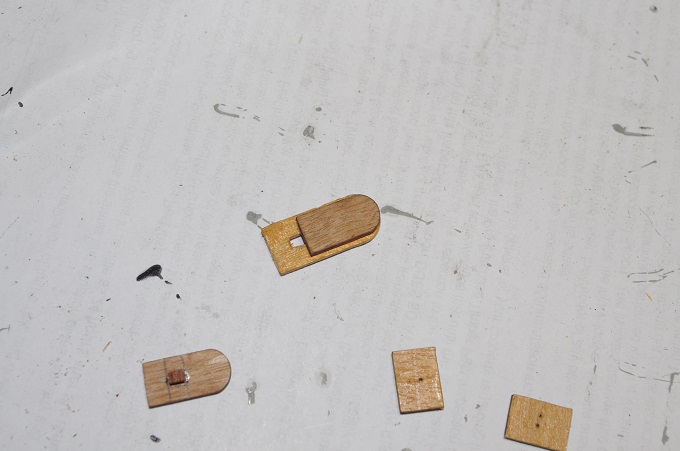
Some more work has also been done on the fighting top. The lubbers hole has been lined As I want to add futtock shrouds to this model, they are not provided for in the kit, an edge had to be made for the top to accommodate the futtock plates and the futtock plates themselves had to be made. The plates were made using a simple jig and 0.75mm brass wire bent around a 5mm deadeye and then soldered together and filed flat. As the following photos show..


-
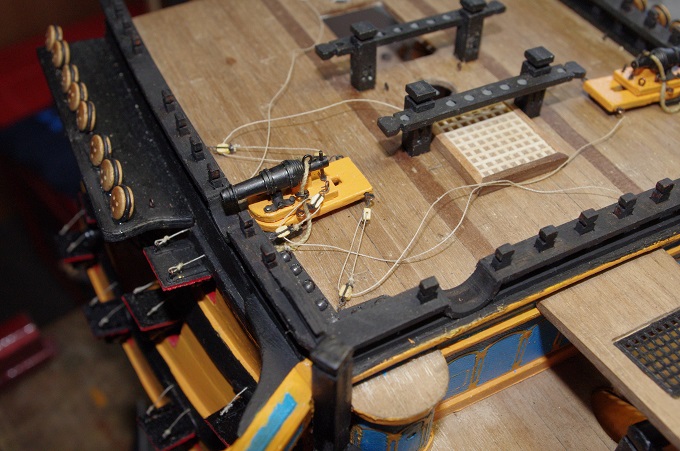
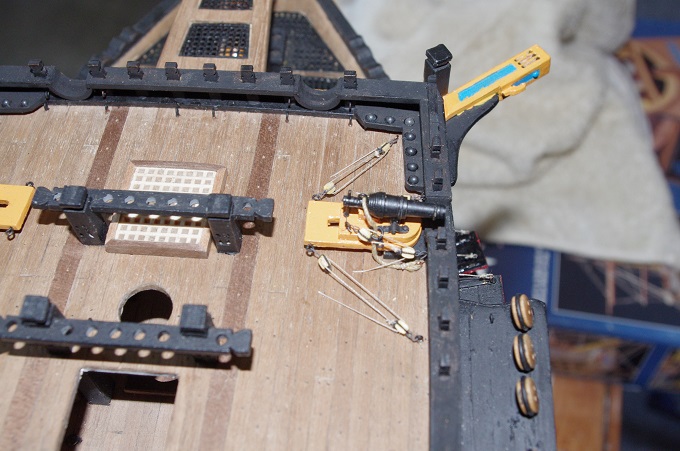
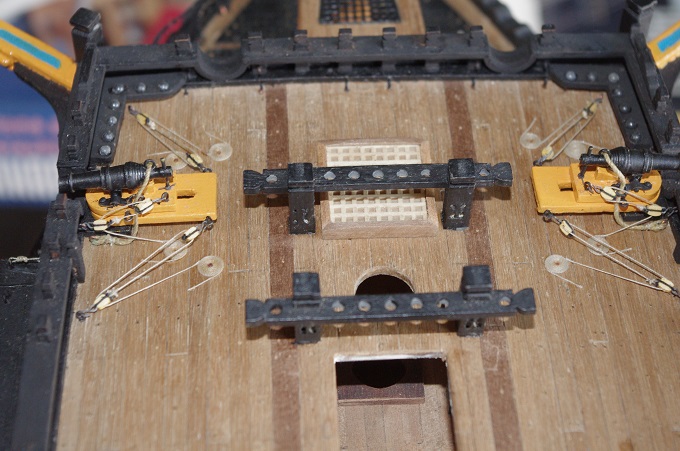
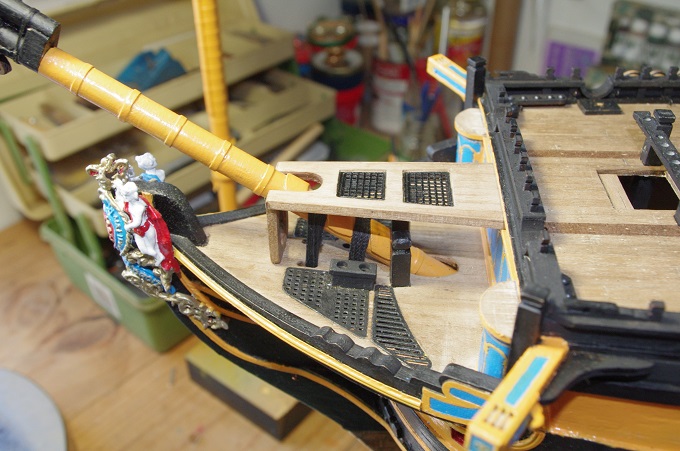
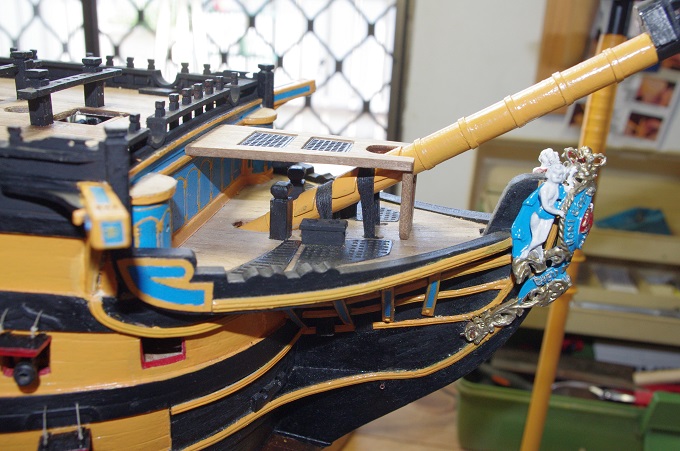
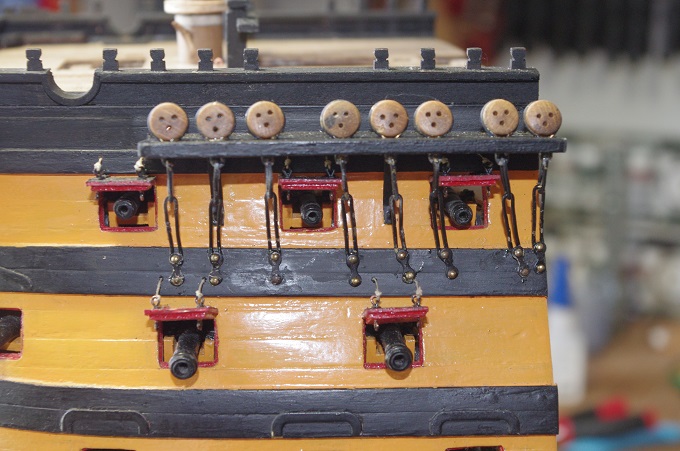
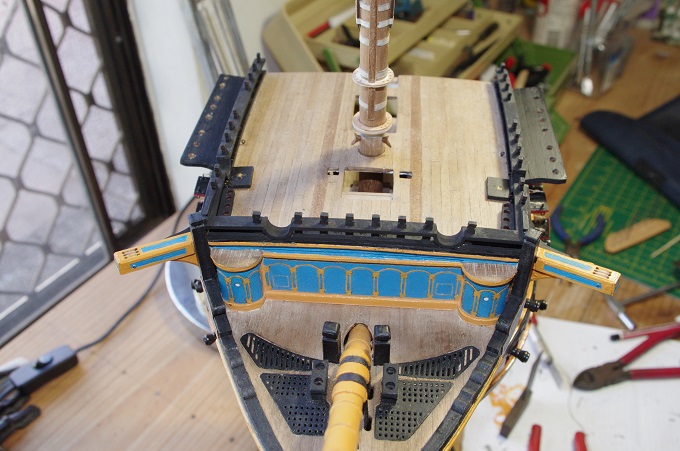
Hi All, The carronades have been fitted to the fore deck and rigged. The blocks I used were 2mm single blocks and 0.10 rigging cord. The hooks are made from fuse wire the same as the lower deck guns. The forward grating has also been fitted I will fit the other two later as I still need to touch up some paint on the lower deck..
-
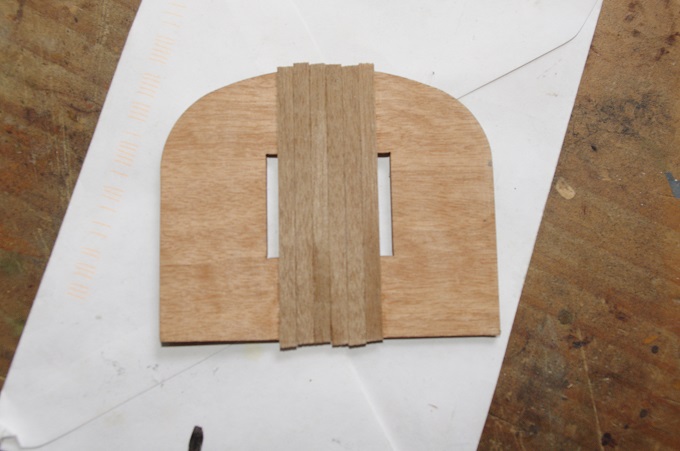
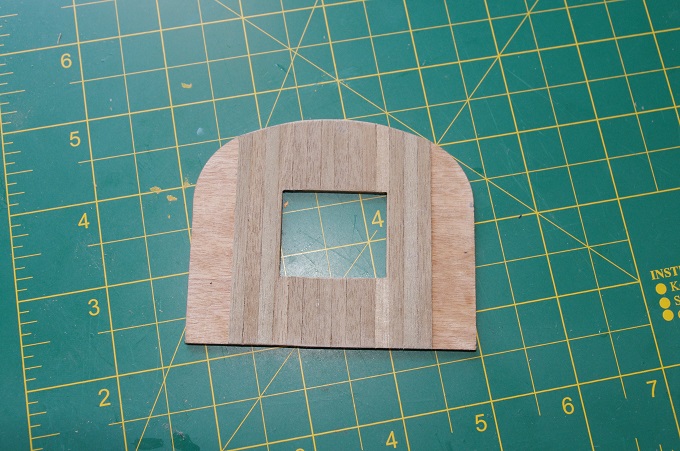
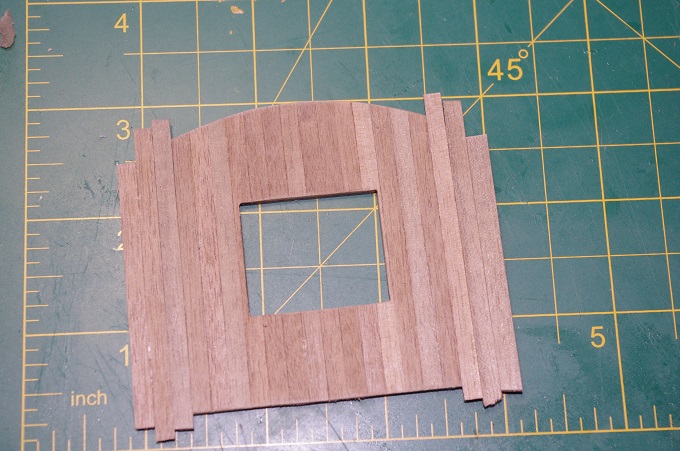
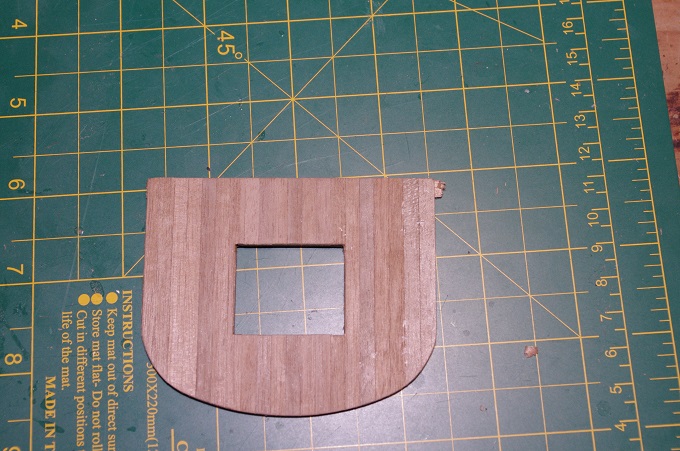
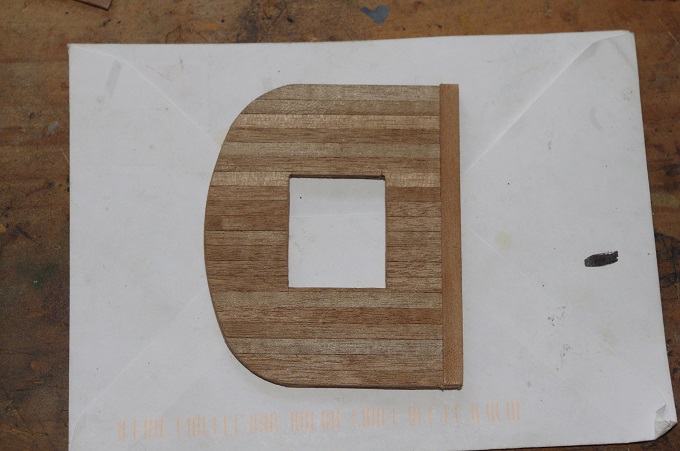
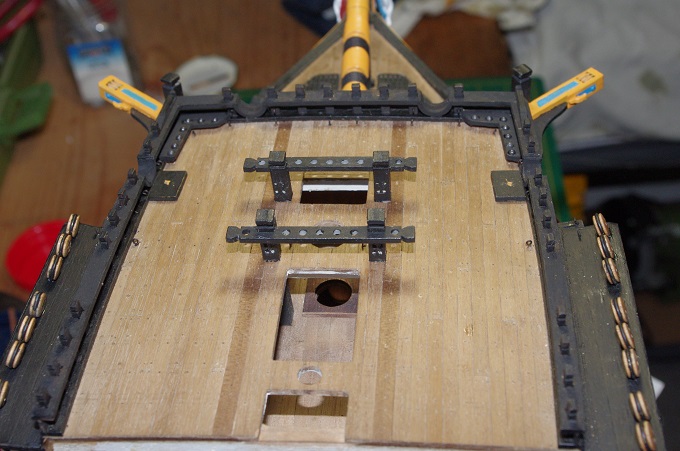
I have also done some more work on the foremast and started to make the fighting top. The base of this part is pre-cut ply it was then planked with 0.5 x 4mm walnut. I realised after I'd finished that I had planked it wrong , the planks in the front and rear of the lubbers hole should have gone across the deck instead of lengthways. It is a small mistake and will be covered by other parts and paint so I wont be changing it. The rear edge plank was also fitted. That is all for now I will post some more soon.
-
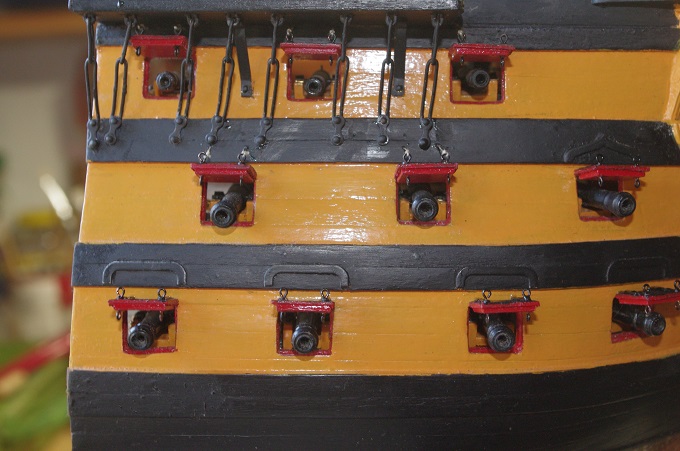
Hi All, Another small update. The gunport lids all rigged an the marines walk has been fitted.


-
Hi Slog , Very nice work. You have made some good progress since I last looked in. Those prop tubes look machine made well done
- 244 replies
-
- 5
-

-
- borodino
- dom bumagi
- (and 1 more)
-
The topsail sheet bitts and main topbowline bitts have also been fitted to the fore castle deck along with the bases for the carronades. I have also fitted the remaining gunport lids to the middle and lower gun decks. I do have some more pictures to post which I will upload shortly

-
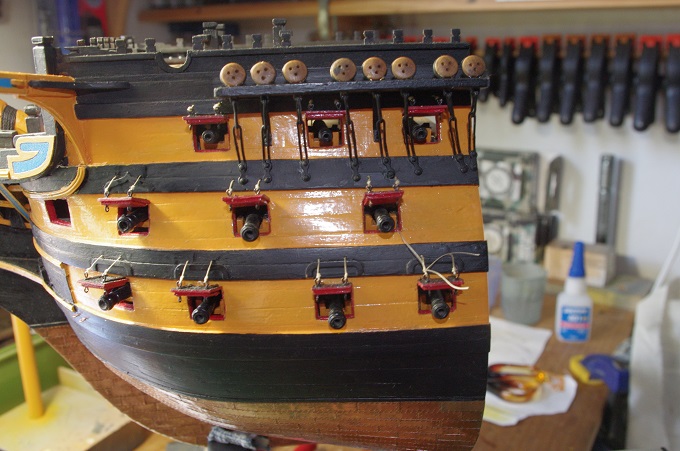
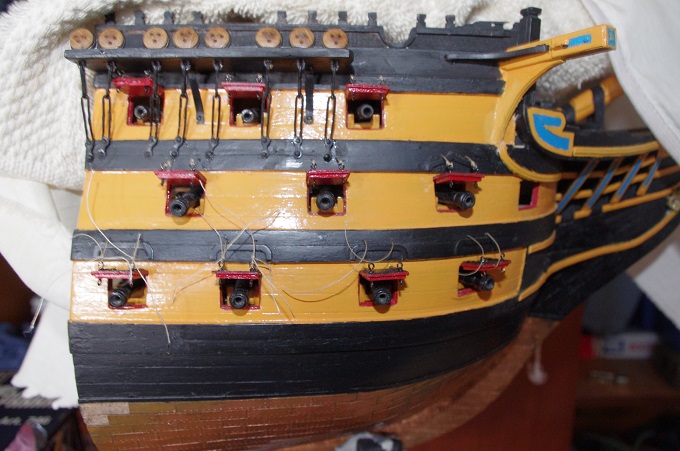
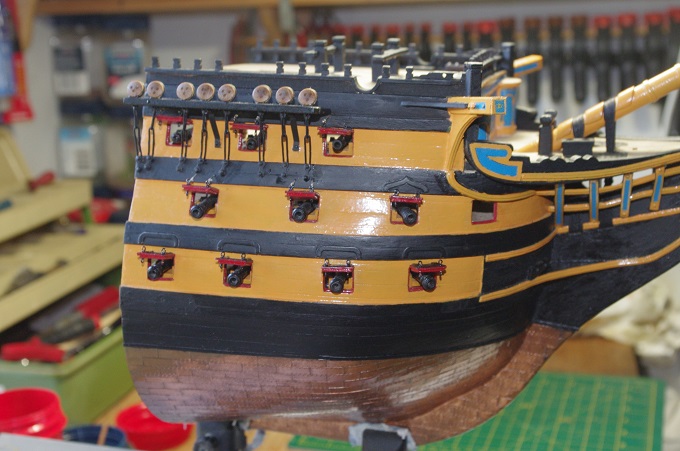
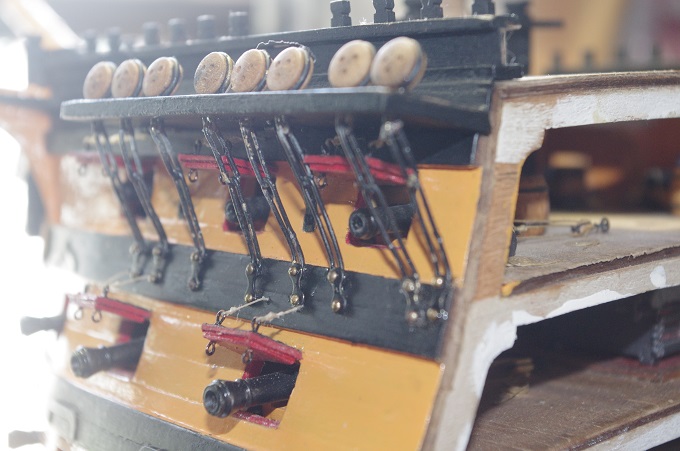
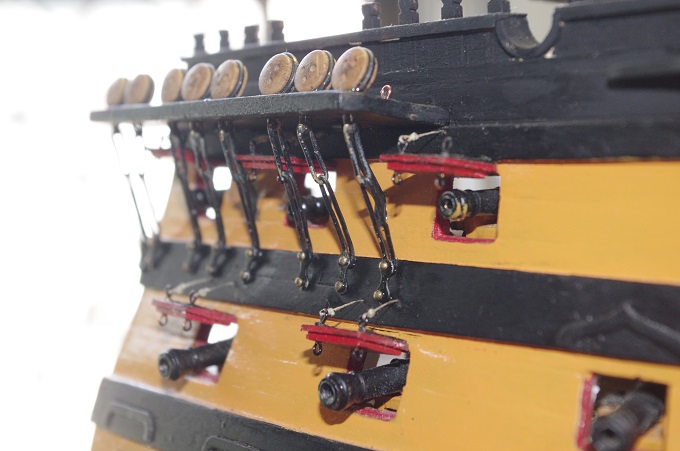
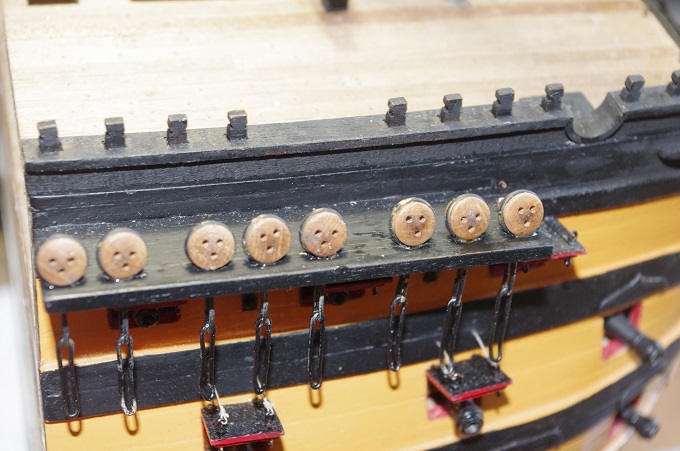
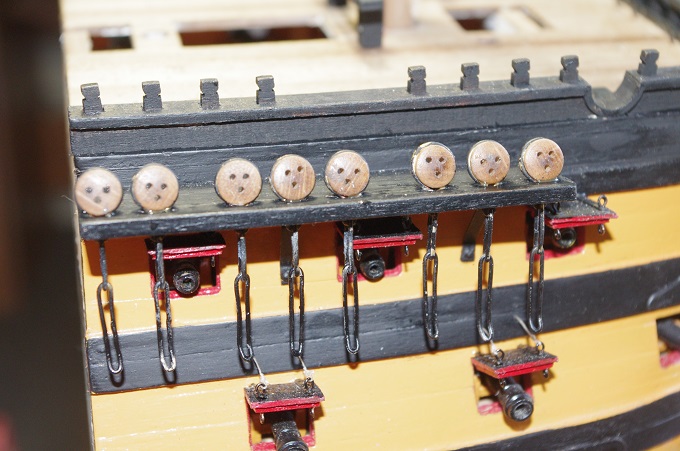
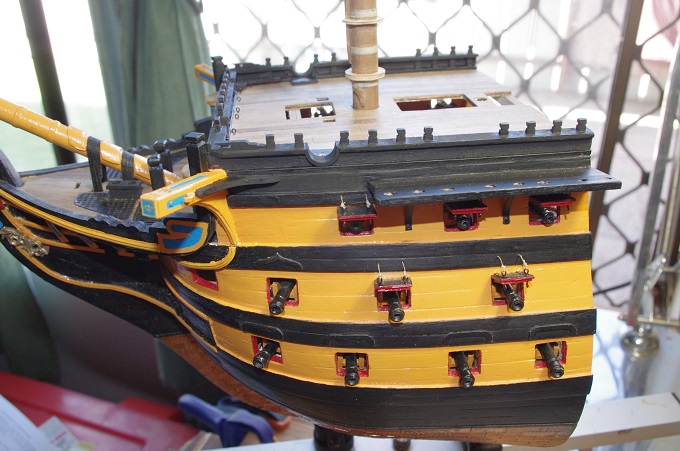
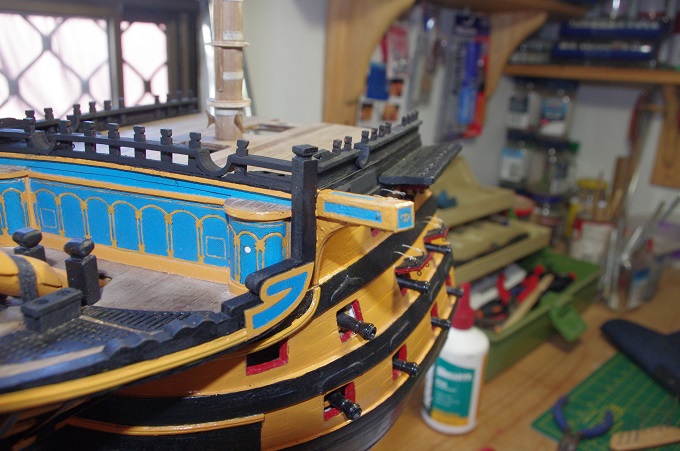
Hi All, Some more progress has been made, the chains have been fitted to the hull. Please note that the dog bones shown attaching them to the hull are not the kit supplied ones, as these were about twice as long as the ones shown. Some touch up painting still needs to be done. Sorry for the couple of out of focus shots.

-
Two words Brian. Beautiful work
-
The carronades have also been completed with the breech ropes fitted prior to their installation That is all for now I will post some more progress soon. It is a long weekend up here this week so I hope to get a bit done.

-
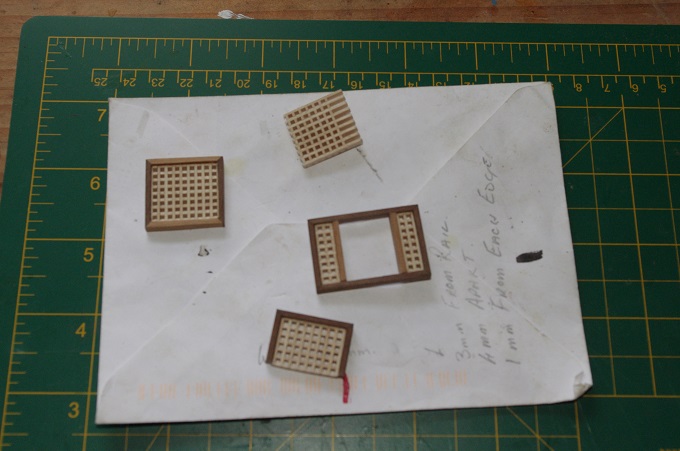
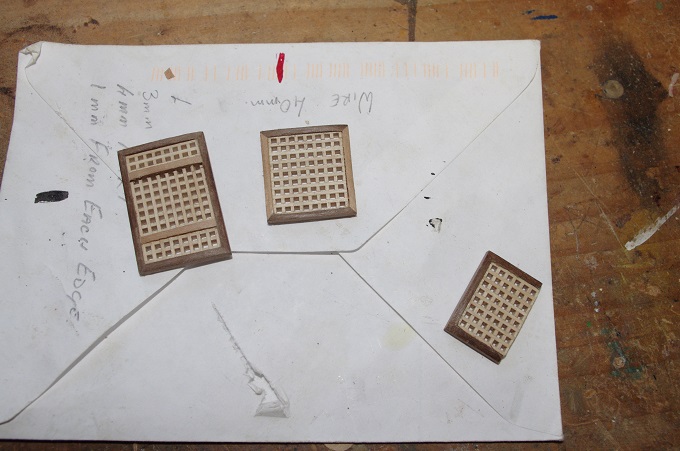
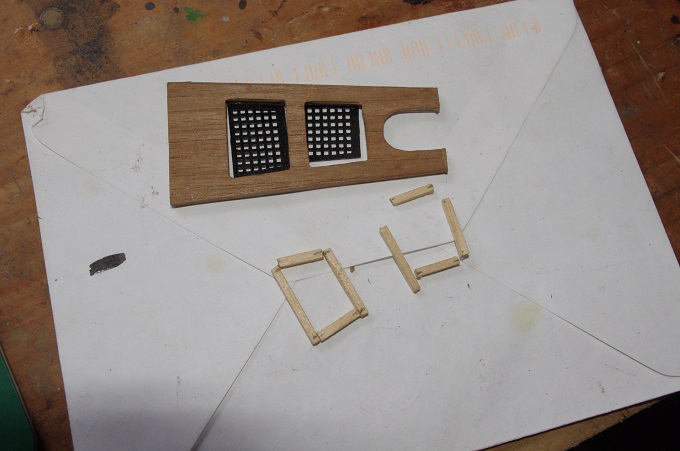
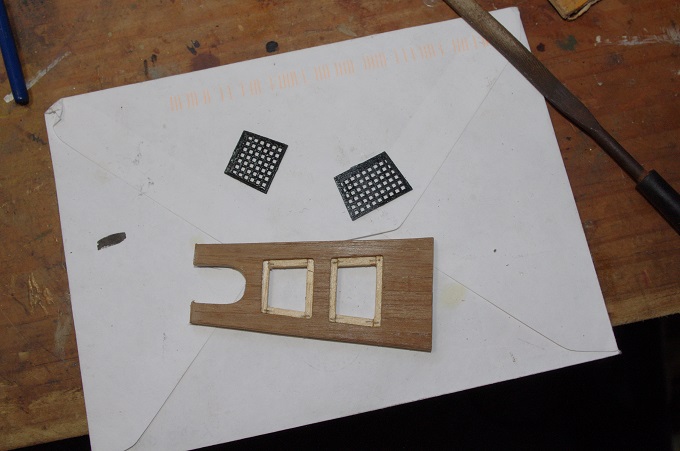
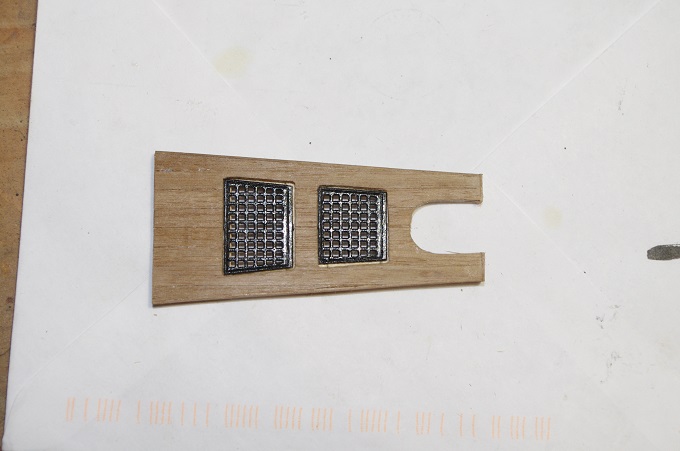
I forgot to mention in the previous post that the main top bowline bitts have also been fitted. I have also completed making the gratings for the foredeck. These were very easy to make with the kit supplied strips and the surrounds made from 2 x 3mm walnut. The Marines Walk has also been made. The base is pre-cut ply which was planked wit 4 x 0.5mm walnut strips, the two gratings are form thin photo-etched ply the same as the beak head deck gratings, however they were too small for the holes they had to fit into so a frame was made from 2 x 2mm samba and the gratings were glued to this.
-
Hi All, The chains have been fitted to the channels, they may appear too long in the photos this is because they are hanging straight down but once they are pinned against the hull with the dog bones they are the right length.

-
Hi Slog, Thanks. They were fairly enjoyable to make and I am quite satisfied how they turned out.
-
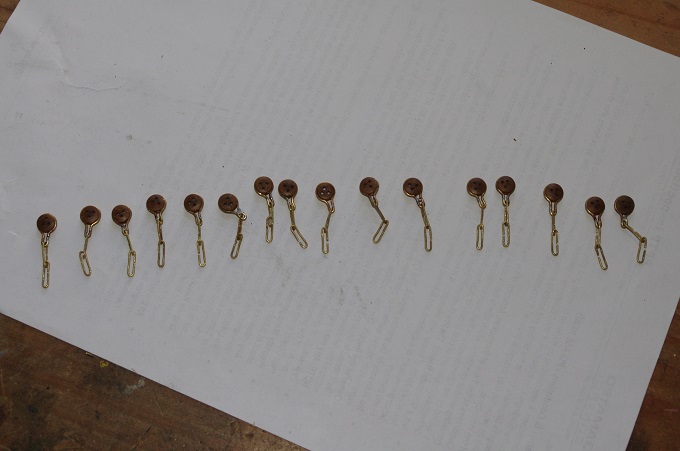
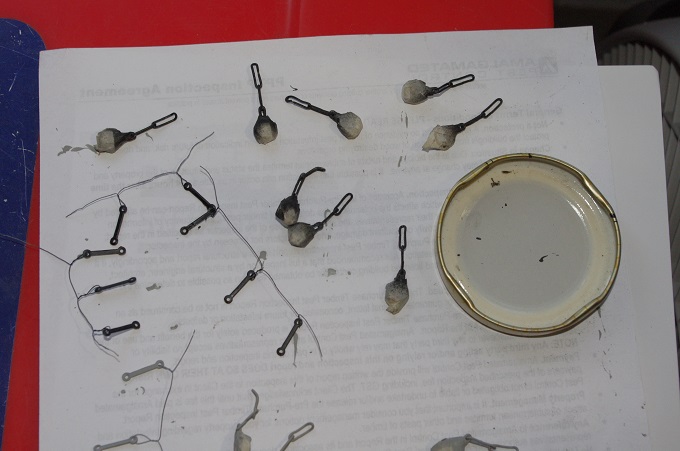
After they were all made they were dry fitted to the model and a slight bend was put into the lower chain so as it would sit flush against the hull when fitted. The deadeyes were masked up and the chains were primed and painted black. I will post another update soon.

-
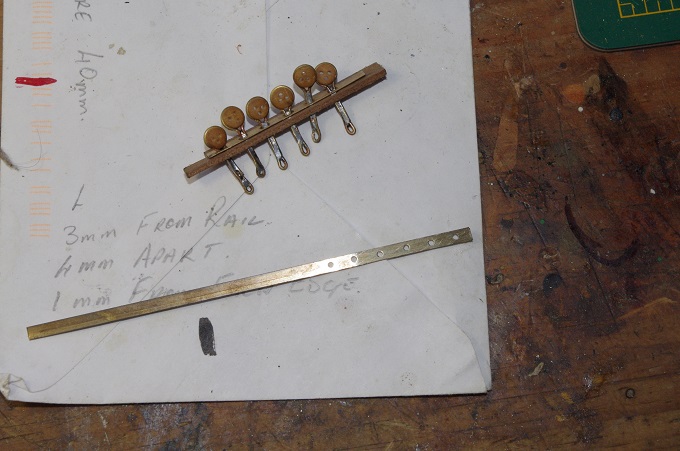
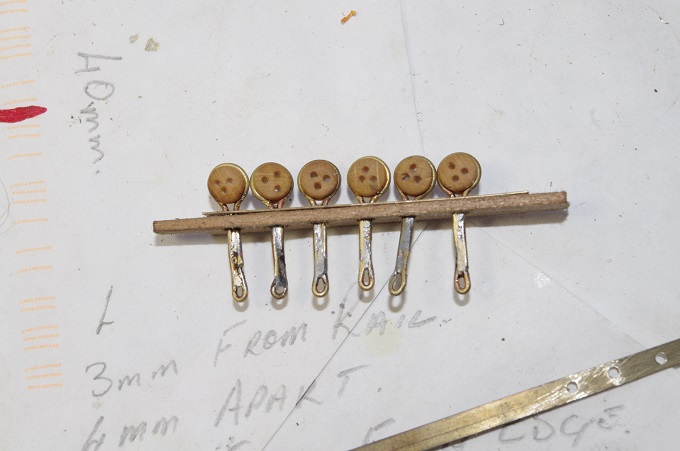
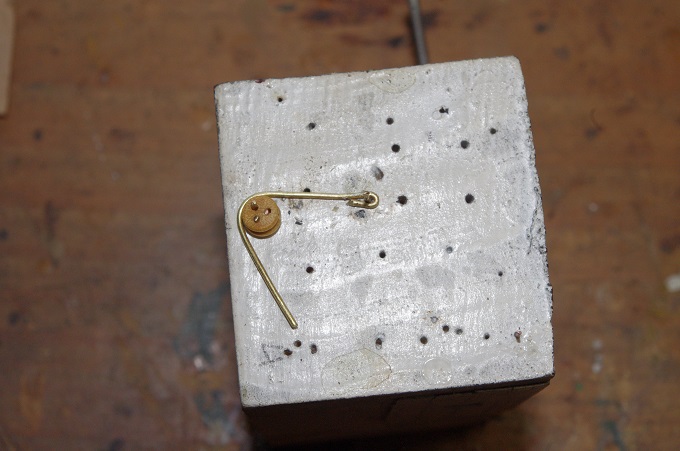
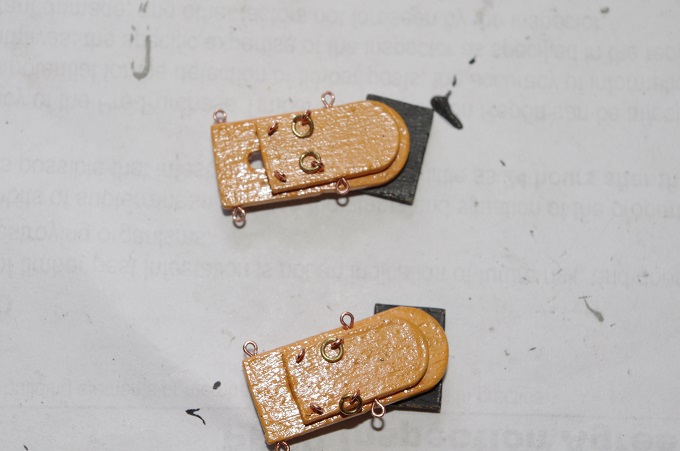
Hi All, I have made a start on the lower deadeyes and chains. A strop was bent around the supplied walnut deadeyes, which are of good quality. The strop was made from 1mm brass wire. I made a simple jig to make these so they were all the same length, I thought I had taken pictures of it but I can't seem to find them. I can describe it however, the dead eye was pinned to a block of wood through two of the holes and another pin was nailed into the block approximately 8mm from the base of the deadeye, the wire was bent around the deadeye and the pin and crimped together with pliers at the base of the deadeye. The two ends were then soldered together. The first two photos show the jig for bending the chains , the last photo shows the completed strop which will fit into the holes in the channels


-
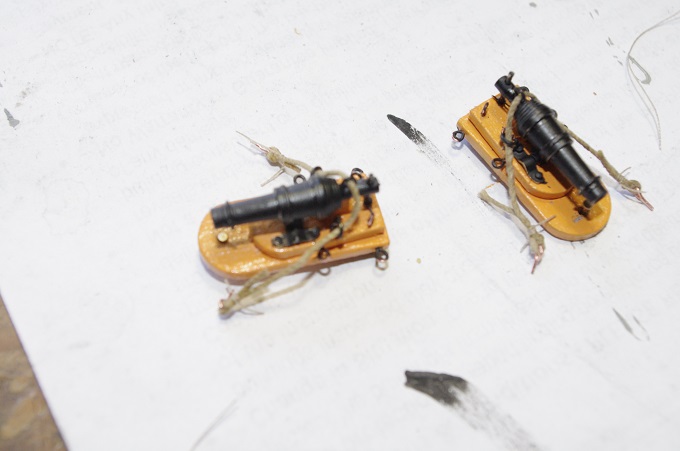
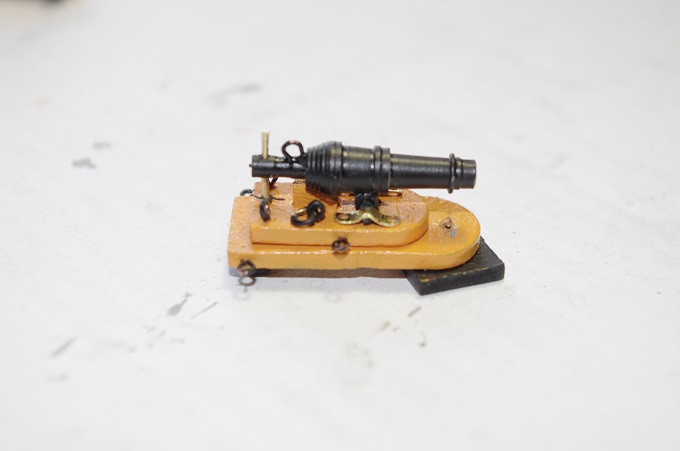
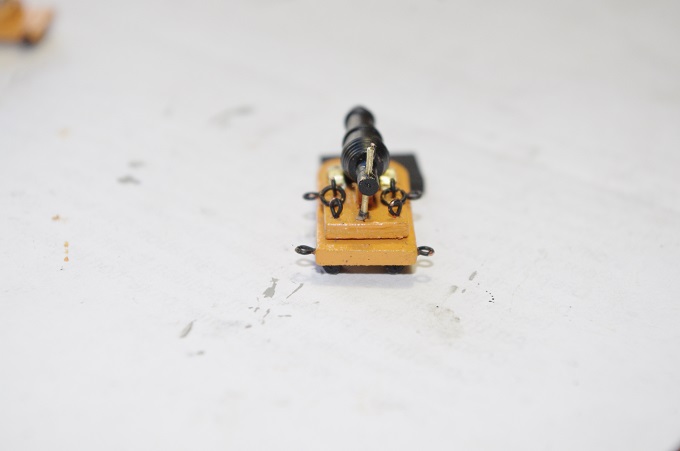
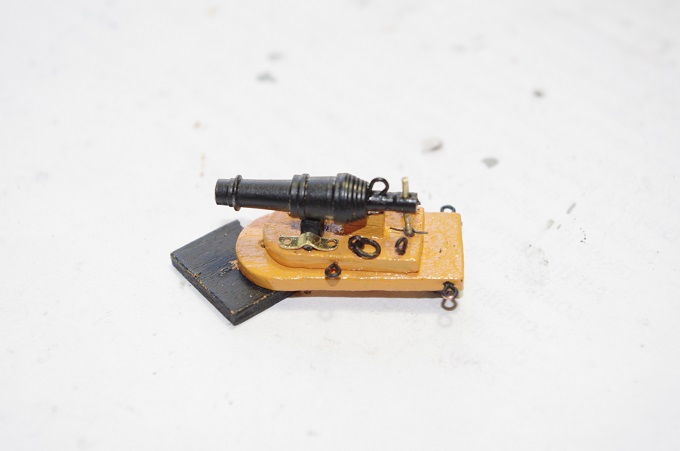
The carronades have been fitted to their carriages. The trunnion caps still have to have bolts installed into the mounting holes and the paint needs to be touched up. That's it for this update I will post some more soon.
-
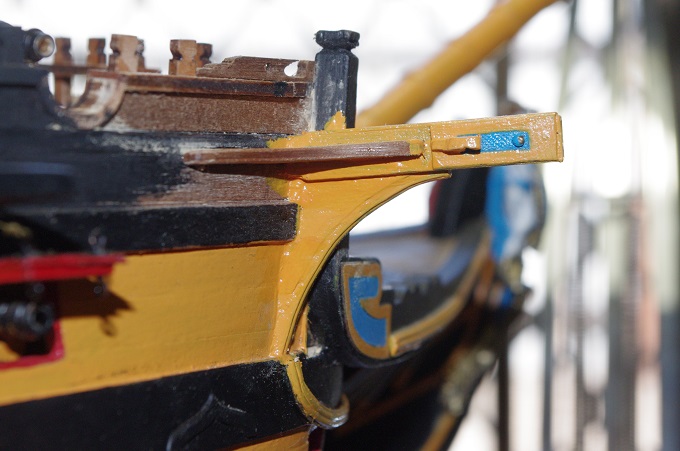
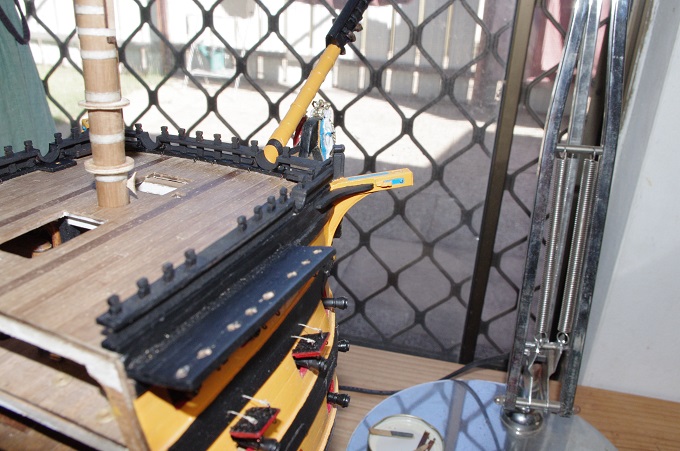
I have also painted the catheads and completed painting the rails black. In the photos you will notice the foremast fitted, it is only a dry fit to make sure the cleats on the mast are in the right location and are not hitting the deck. The bases for the carronades have also been fitted .

-
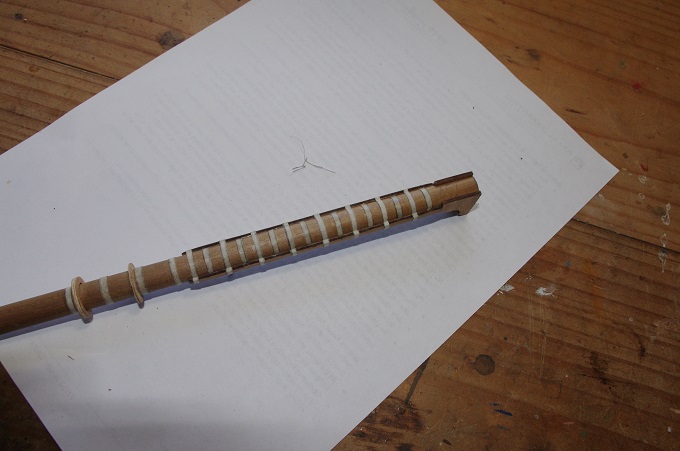
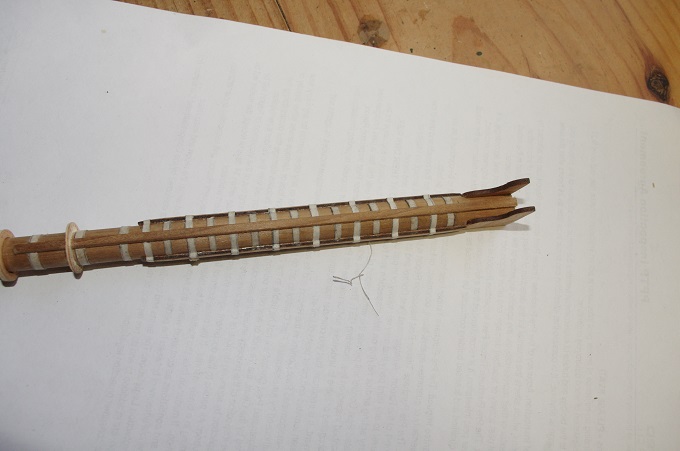
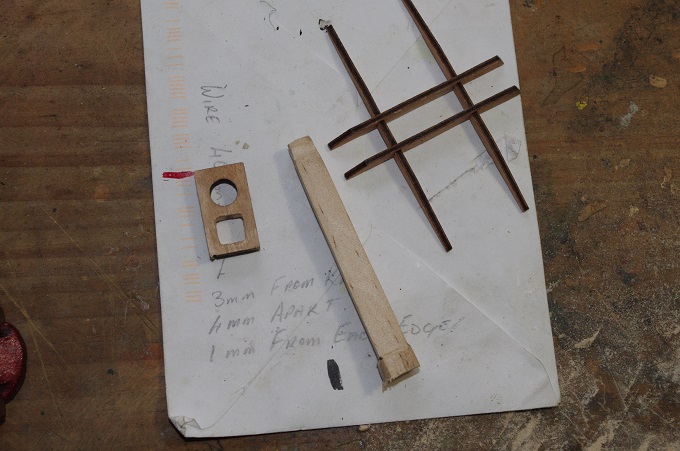
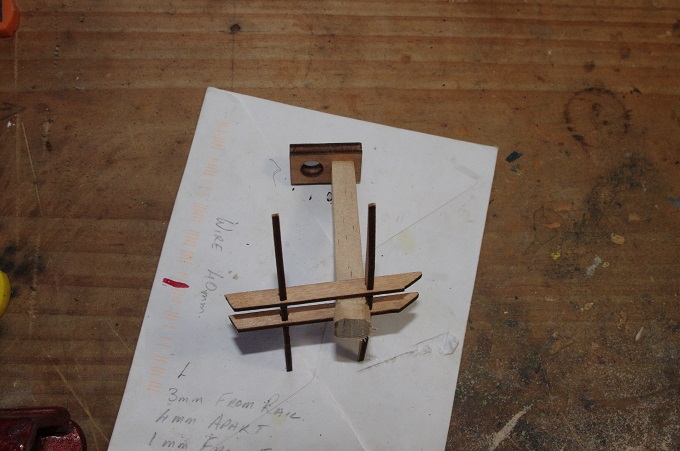
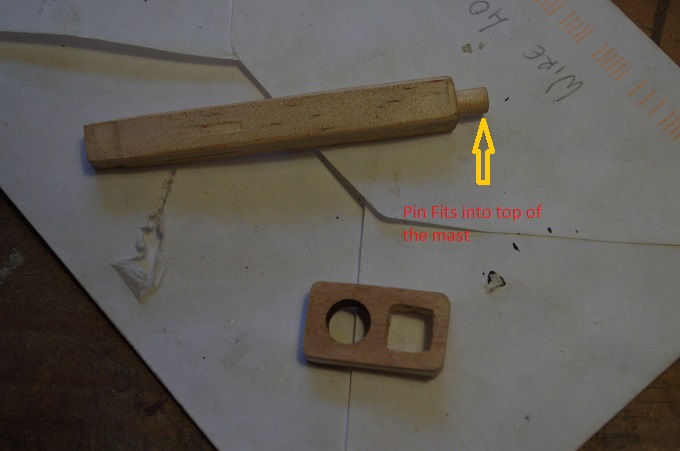
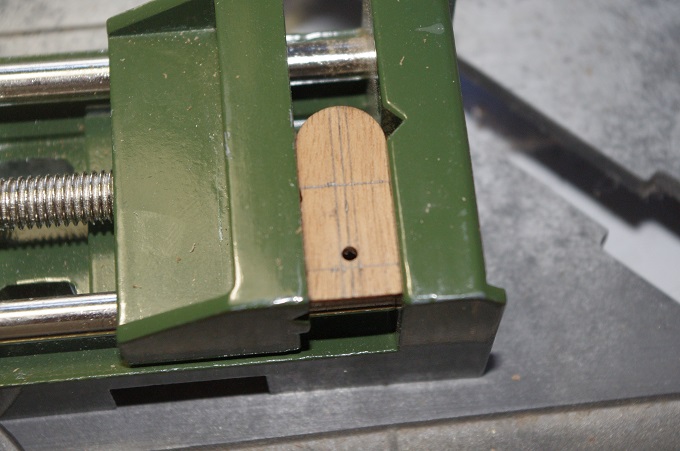
Hi all, With yet another mod to the kit I have made two cleats to fit onto the mast just below the boarding pike racks these are for the fore yard truss pendants to belay to. They were made from 1 x 5mm Walnut, The crosstrees have also been assembled, this was fairly straight forward as they were pre-cut parts which only required minimal clean-up. The mast top and cap can also be seen in these photos, the cap is a pre-cut part and still requires some shaping on the corners, the mast top was made from a piece of 12mm pine dowel which was squared and tapered to the correct dimensions. A smaller square was filed on the top of it to accommodate the cap and in the final photo you will see that a dowel pin has been turned on the lower end to fit into the hole in top of the mast. The dowel was turned down on my new Proxxon wood lathe which I am very happy with
-
Some more work has been done on the carronades. The carriages have been built with a couple of modifications from the kit supplied parts. Firstly a slot was cut in the lower carriage and a small block glued to the upper half to allow the gun to recoil when fired. As the guns will be fully rigged all the necessary eyebolts were also added. That is all for this update I will post some more progress soon .

-
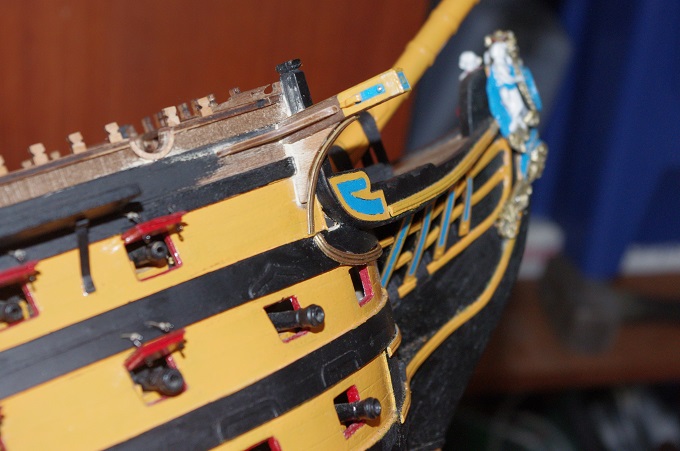
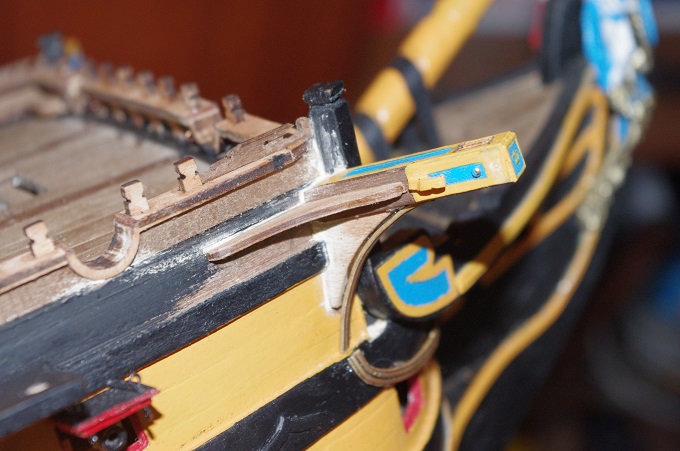
Hi All, The lateral supports and the moulding which fits over the vertical supports have been fitted. The moulding was done in two pieces because of the complexity of the bend it would be almost impossible to do a neat bend out of one piece of this material. The following photos show them fitted to the starboard side


-
Hi Don, Very nice work, I am impressed with how the upper deck turned out looks great.
- 44 replies
-
- 1
-
-
- king of the mississippi
- artesania latina
- (and 1 more)
-
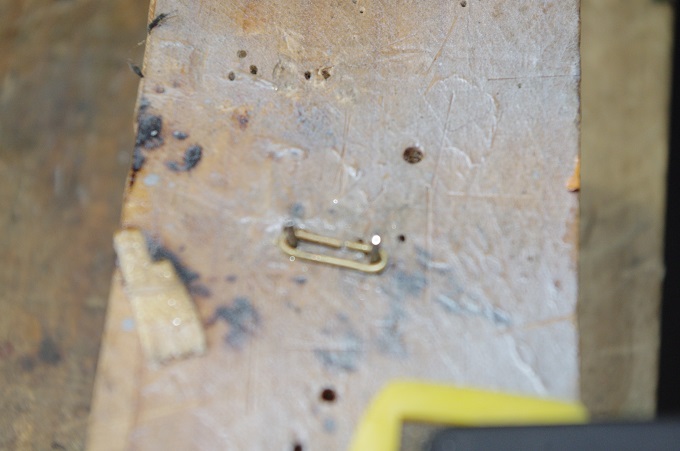
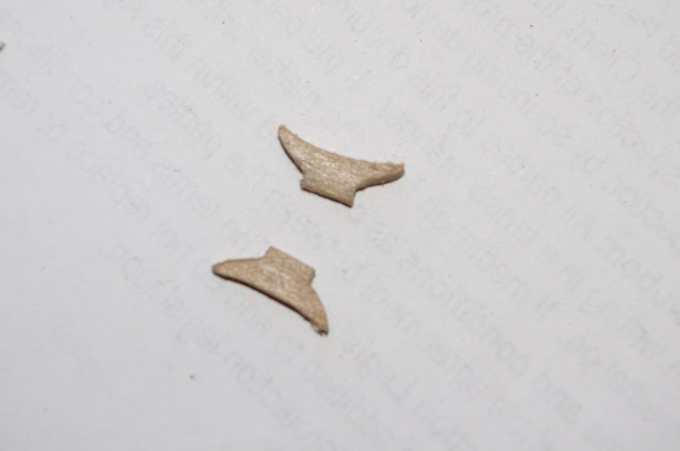
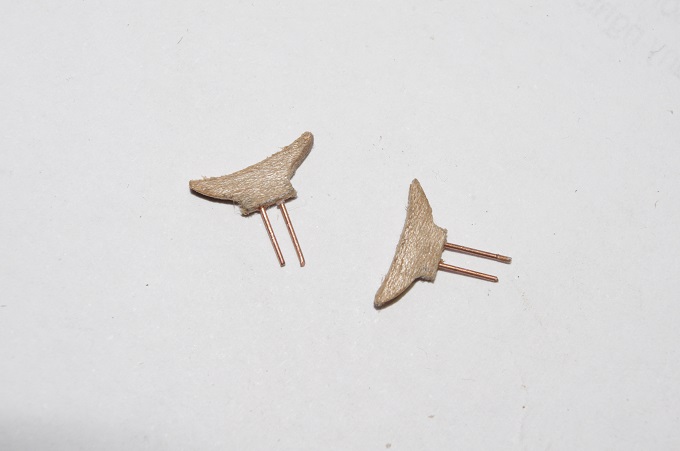
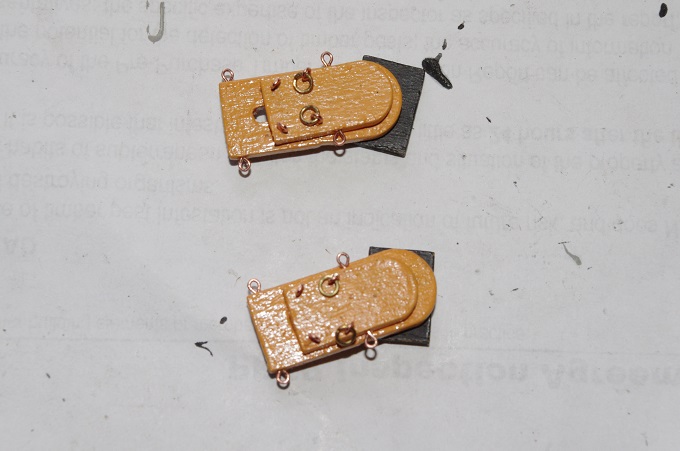
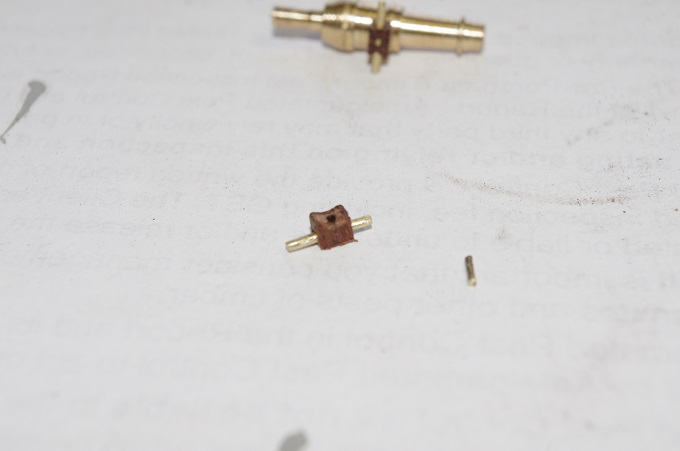
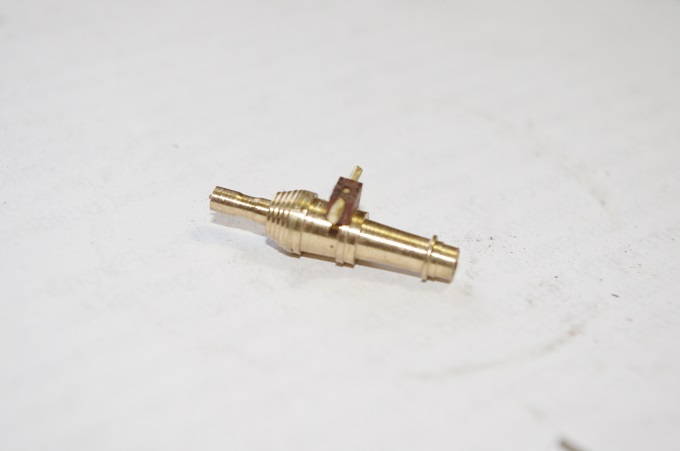
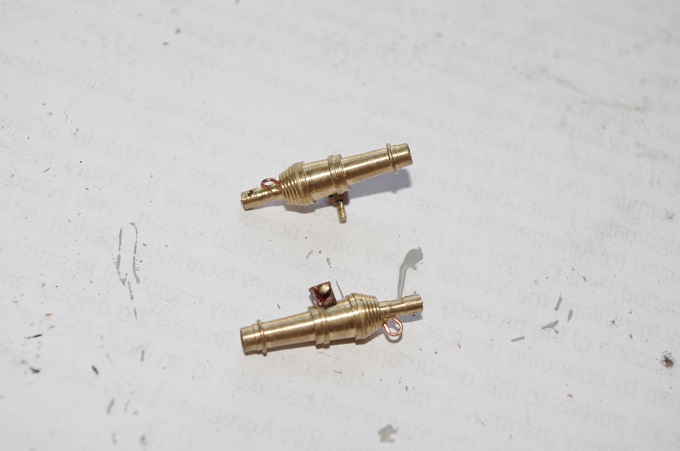
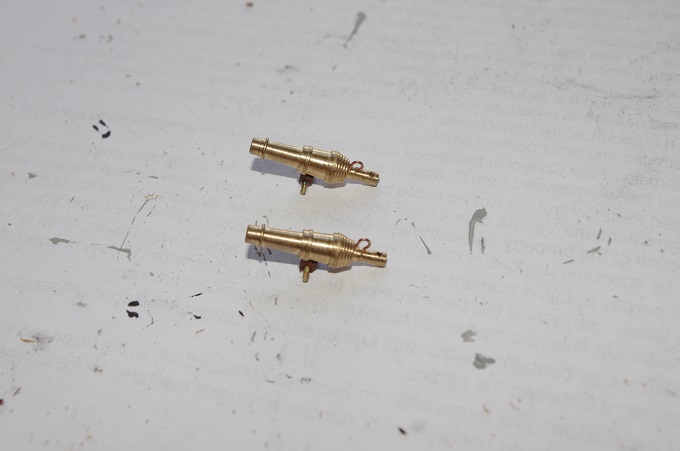
The other little side project I have been working on is the carronades for the forecastle deck. The first job was to drill two hole in each carronade barrel, one for the height adjusting screw and the other to take the ring for the breech rope. A trunnion also needed to be made to mount the carronade onto the carriage as none was supplied this was made form some 2 x3 mm walnut with a hole drilled through it and sme 0.75mm brass wire inserted in it. The first two pictures show the trunnion and the last two show the trunnion and breech rope rings. That is all for this update , will post some more progress soon.
-
The mast bands have also been completed and I'm quite happy with the result. I think they will look quite good once painted. The next job on the mast will be making the crosstrees and the mast top.