


rafine
-
Posts
2,932 -
Joined
-
Last visited
Content Type
Profiles
Forums
Gallery
Events
Posts posted by rafine
-
-
Thanks, Rusty. Procrastination sounds good to me. Certainly sounds better than all those treenails.
Bob
-
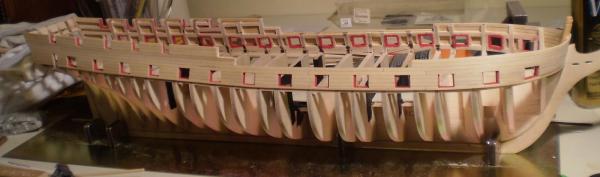
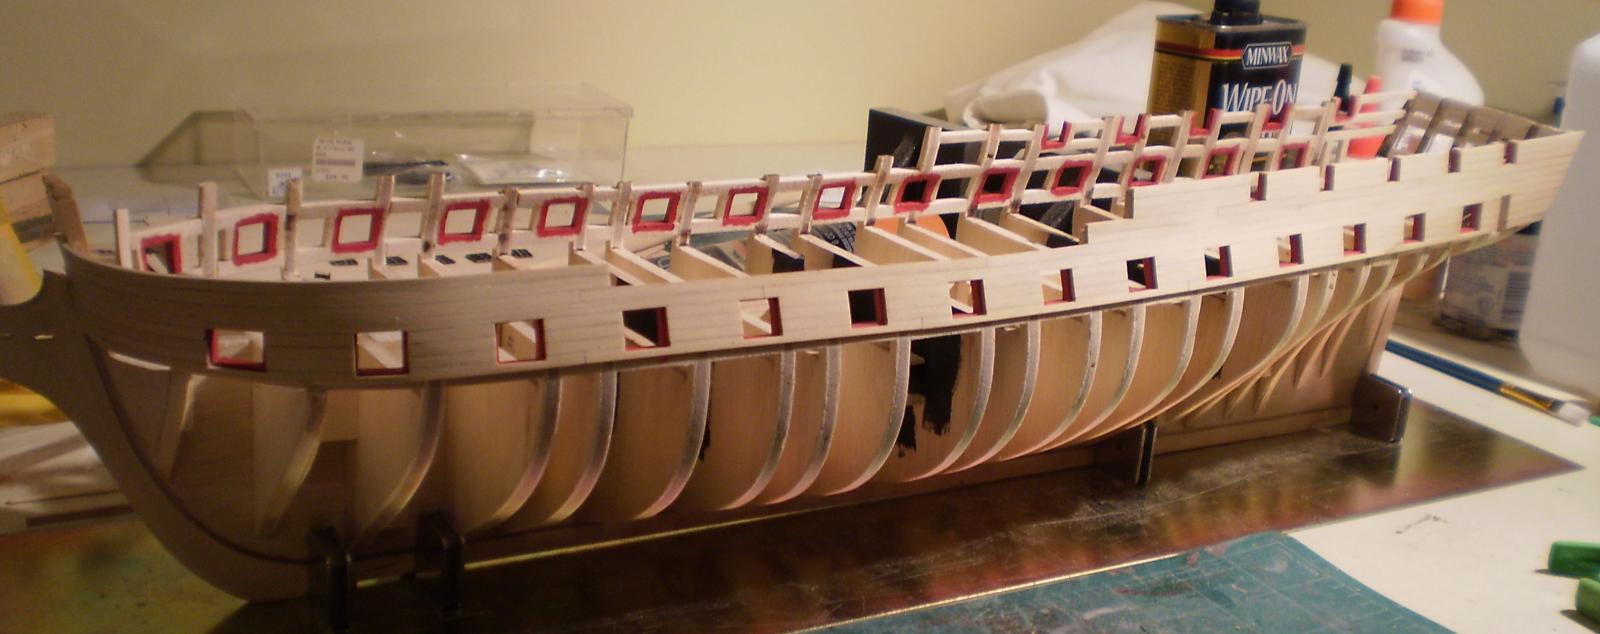
The starboard side upper hull planking is now done. This entailed the same buildup of the bulkhead arms as previously described and followed the same methods as for the port side.
It is my intention to next do three areas: the upper and lower counters; the remainder of the planking to the wales; the wales. I still haven't decided about treenailing.
Bob

-
Congrats, John. A really lovely looking little gem.
Bob
-
-
-
-
I love the crows feet, Hamilton. I've found them to be a real pain to do, but you've got it just right.
Bob
-
For what it's worth Rusty, my similarly non-expert opinion is the same as Grant's.
Bob
-
Many thanks to all for your generous comments. They are appreciated.
Patrick, the wales will be painted. Other areas ( transom, windows, some trim) will probably be painted as well. I will leave as much natural wood as looks right to me.
In my usual fashion, I'm going to leave the treenail decision for later.
Bob
-
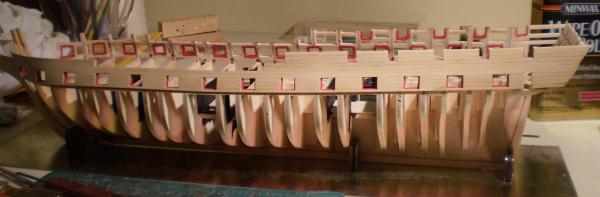
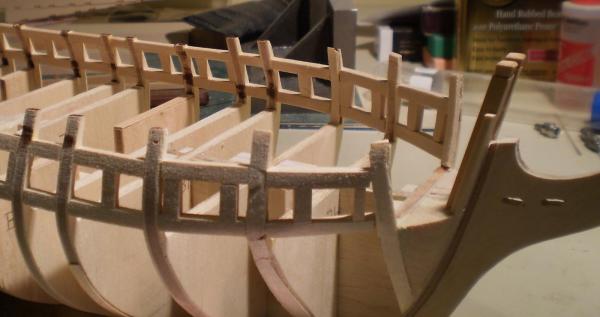
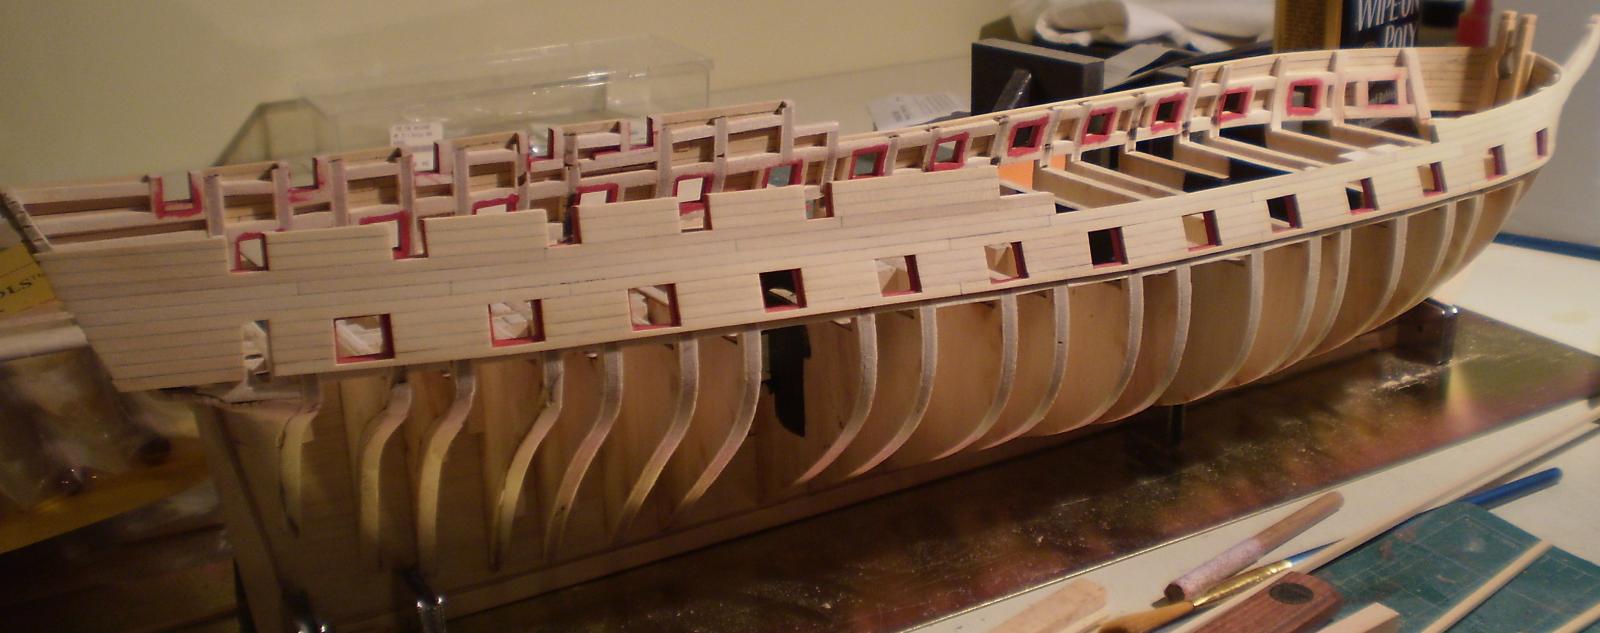
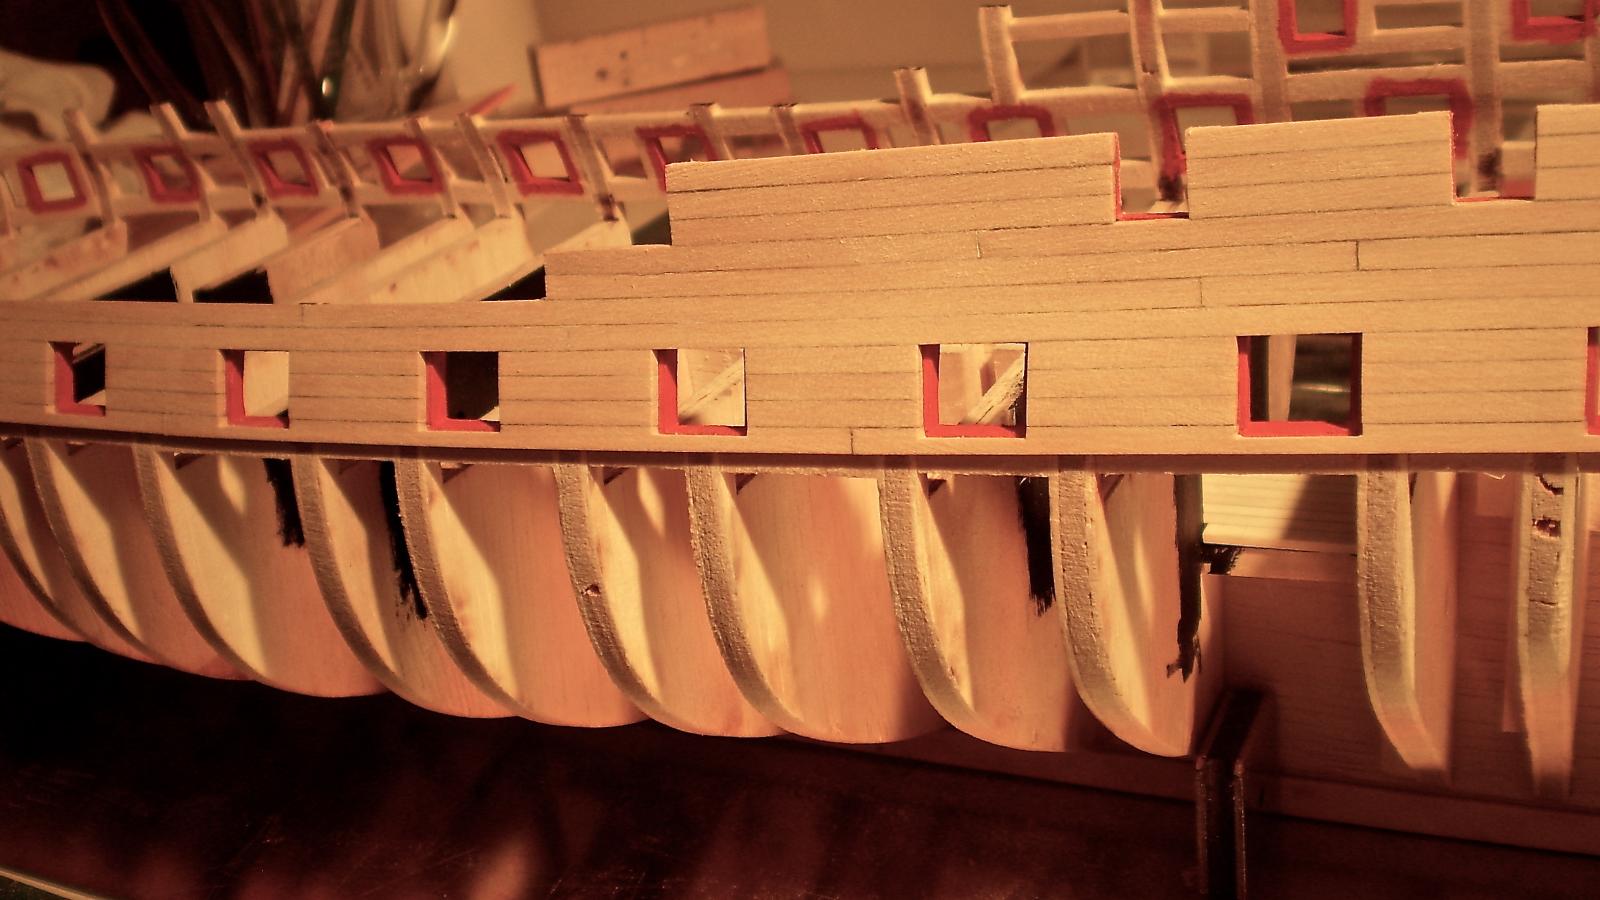
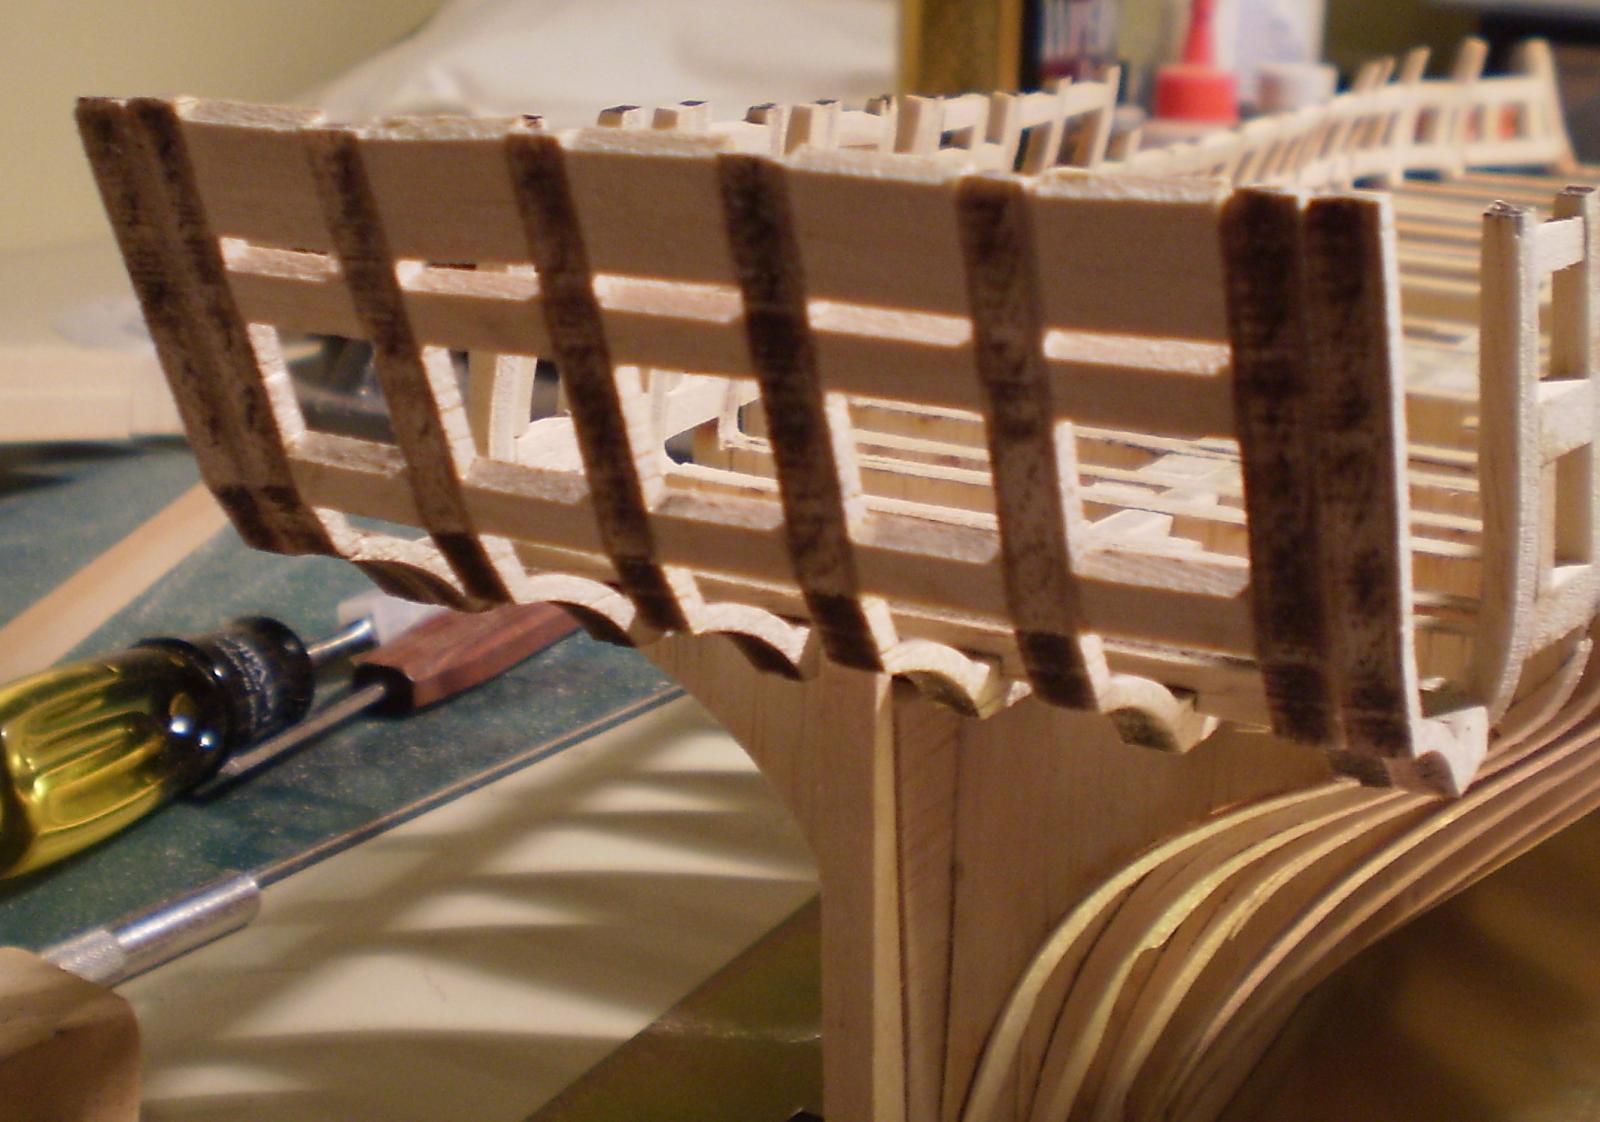
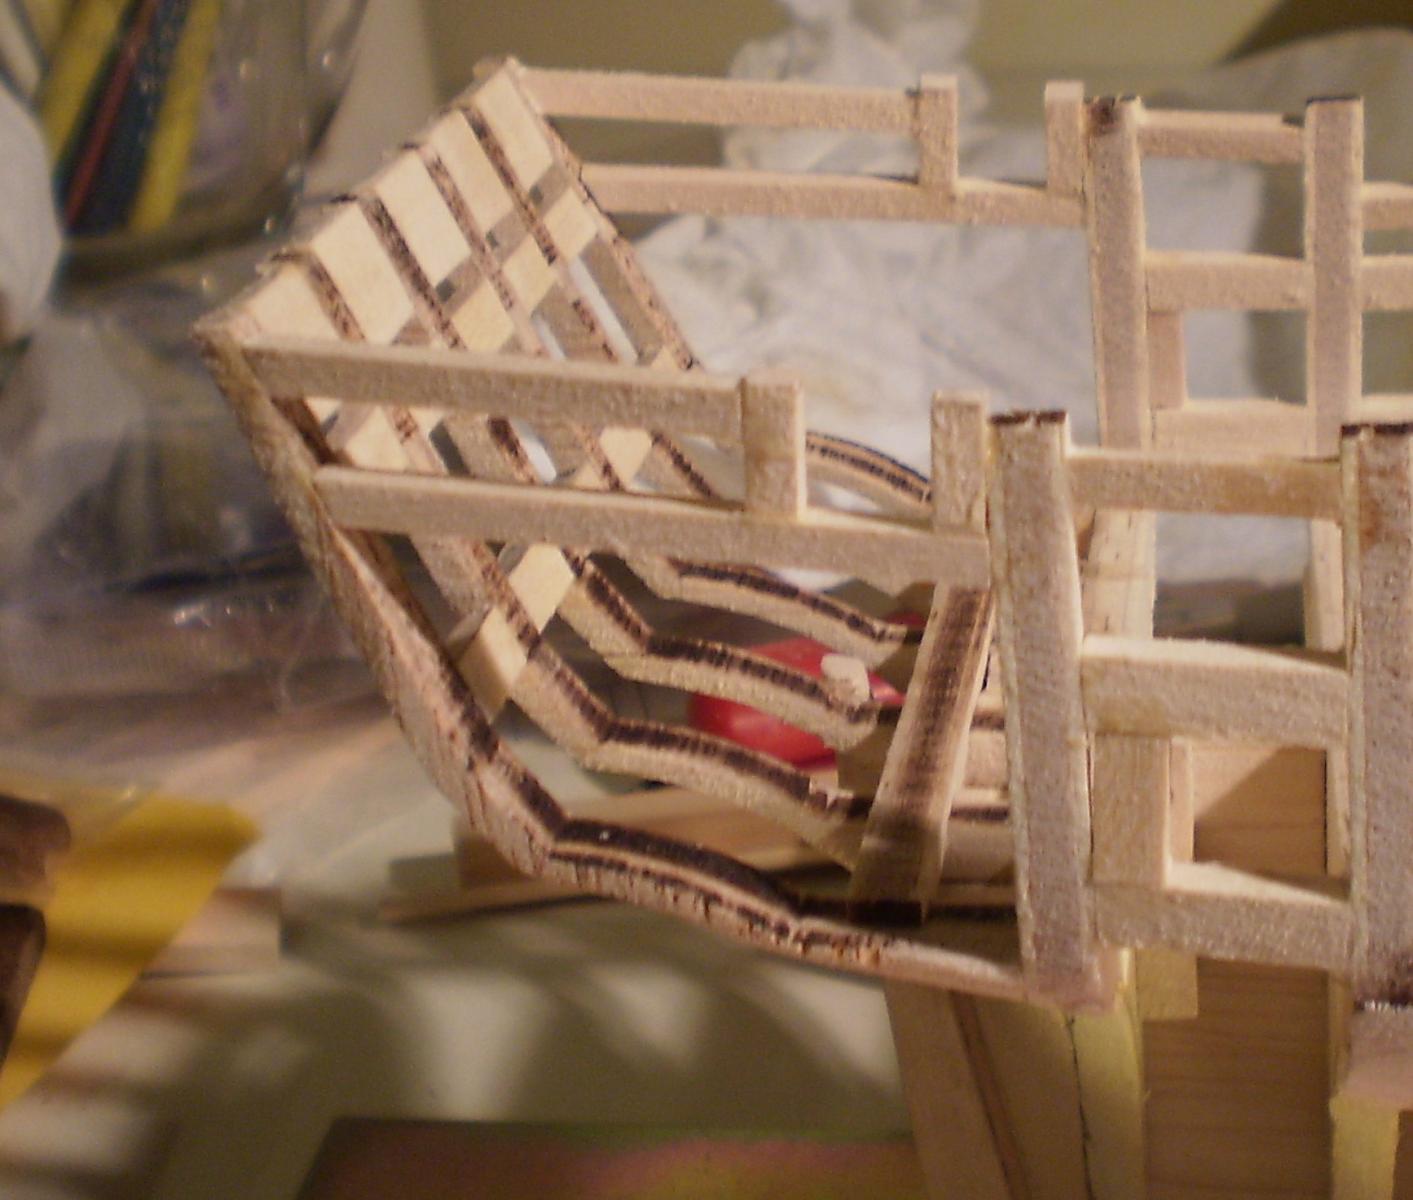
I've now done the upper hull planking on the port side. The planking is boxwood with caulking simulated by using pencil on one side and one end of each plank. The planking that I've done has only been rough sanded to this point and no finish will be applied until the planking is complete.
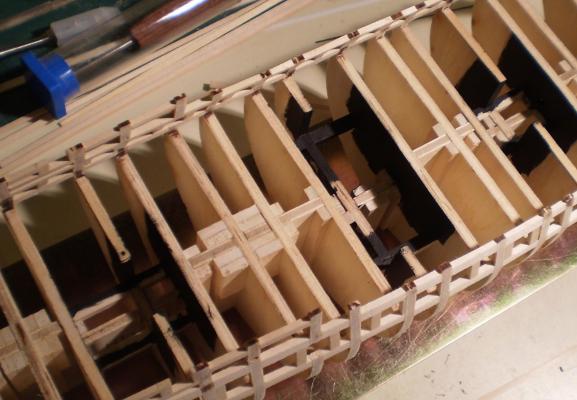
All was going pretty well until I got to the planking of the quarterdeck area. The kit then hit me with yet another unpleasant surprise. The bulkhead extensions (or arms?) turned out to all be too short ( as well as of varying sizes, which I already knew). This required a lot of fiddly work to increase the height. My use of isopropyl to remove unsatisfactory work is now nearing record proportions. The good news is that the previous adjustments that I made to the defective framing parts has resulted -- at least so far-- in pretty good looking lines. The true test for that, of course, will come in the lower hull. I'm also pleased with the modification that I made to the bow framing and the knight heads.
Now it's on to the starboard side. Hopefully, it will be a little easier, having figured out the problems on the first side. I'm also debating with myself about tree nailing. At this scale, it's beyond my ability to do real treenails, but simulated ones, using filler, may be possible. The question is whether they would be worthwhile even if possible.
Bob


-
-
Really nice work on those cheeks, Thomas. I've never been able to carve them like that.
Bob
-
-
-
Hamilton: I don't have any photos and don't have the model anymore. The Unicorn framing provided an approximation of the hull shape and in those days I wasn't quite as concerned as I would be today.
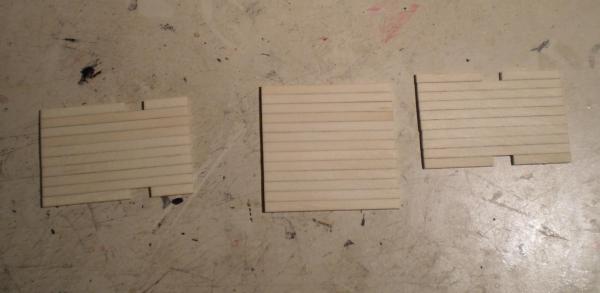
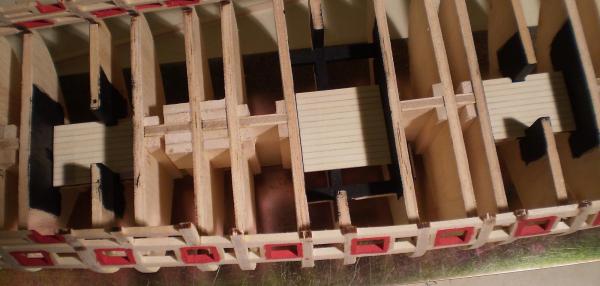
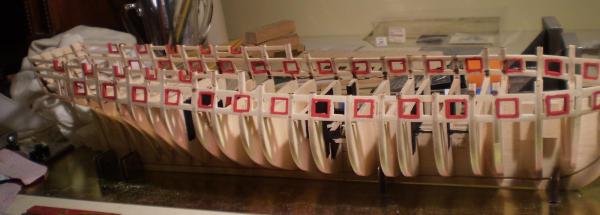
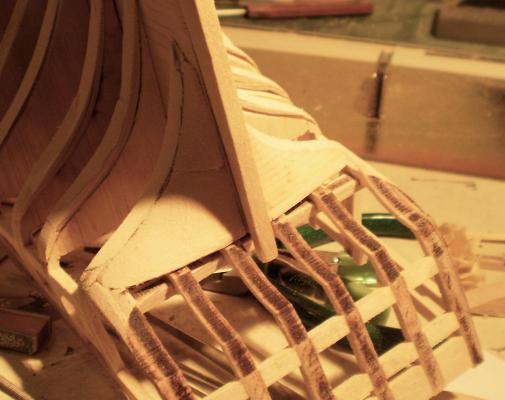
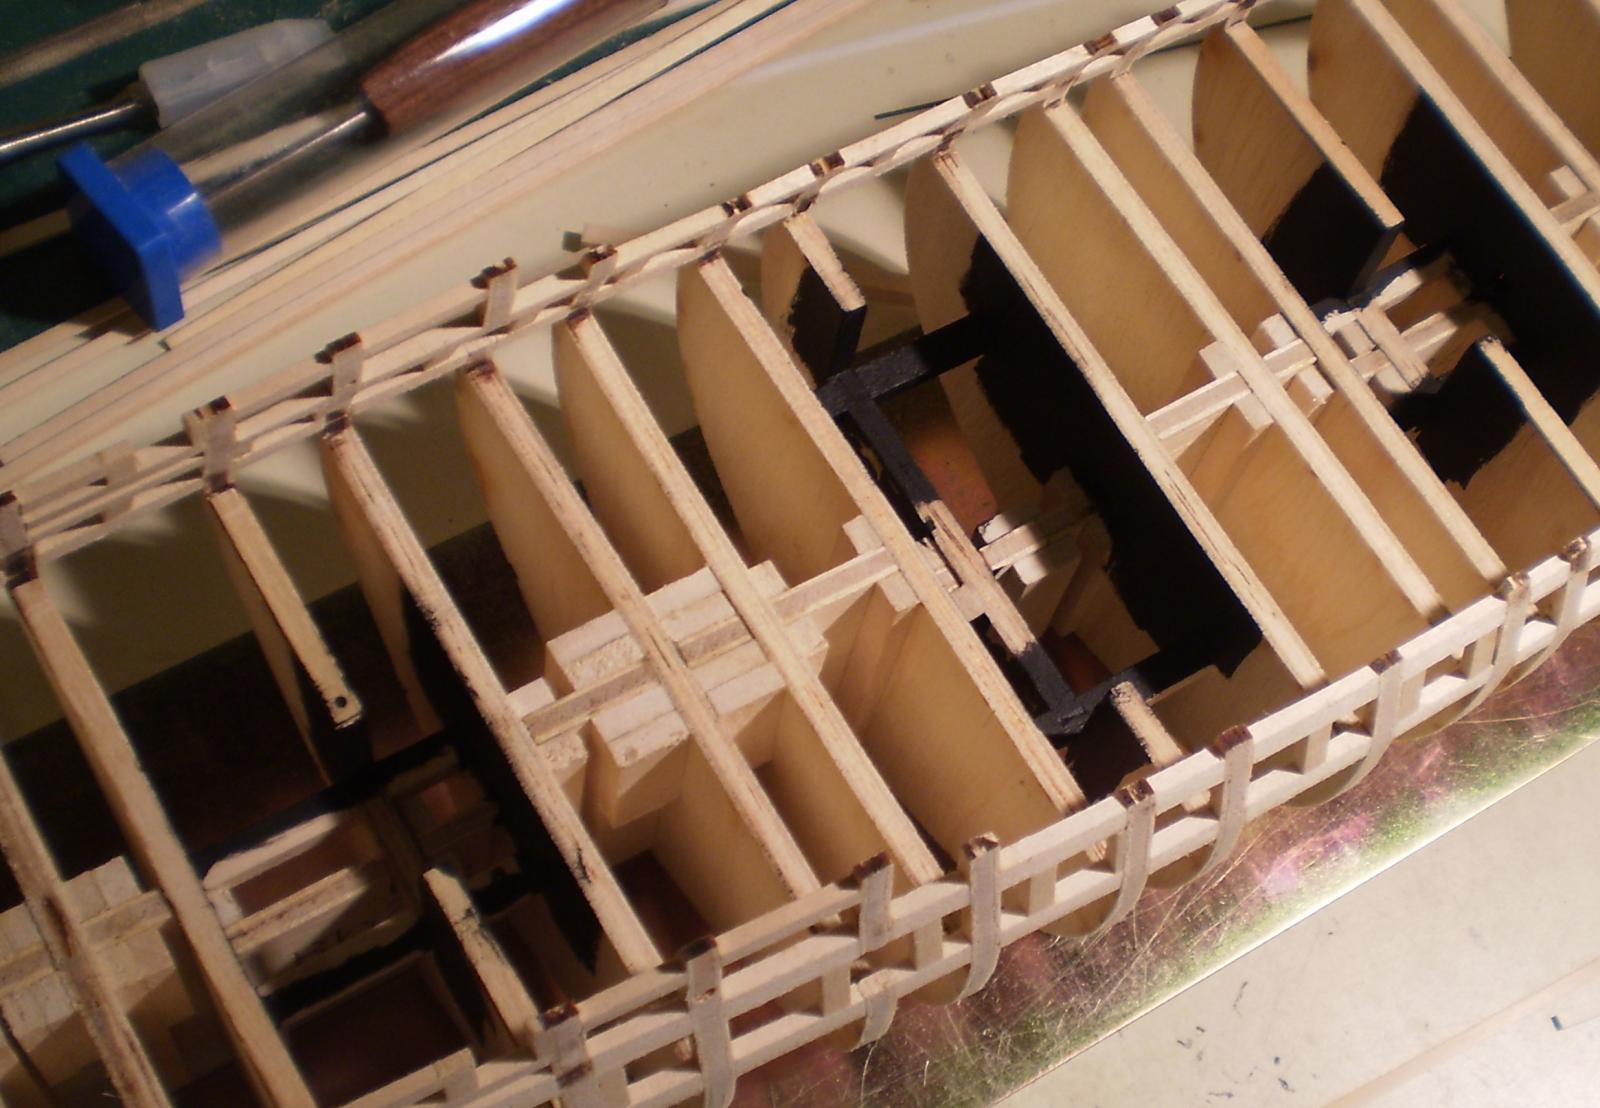
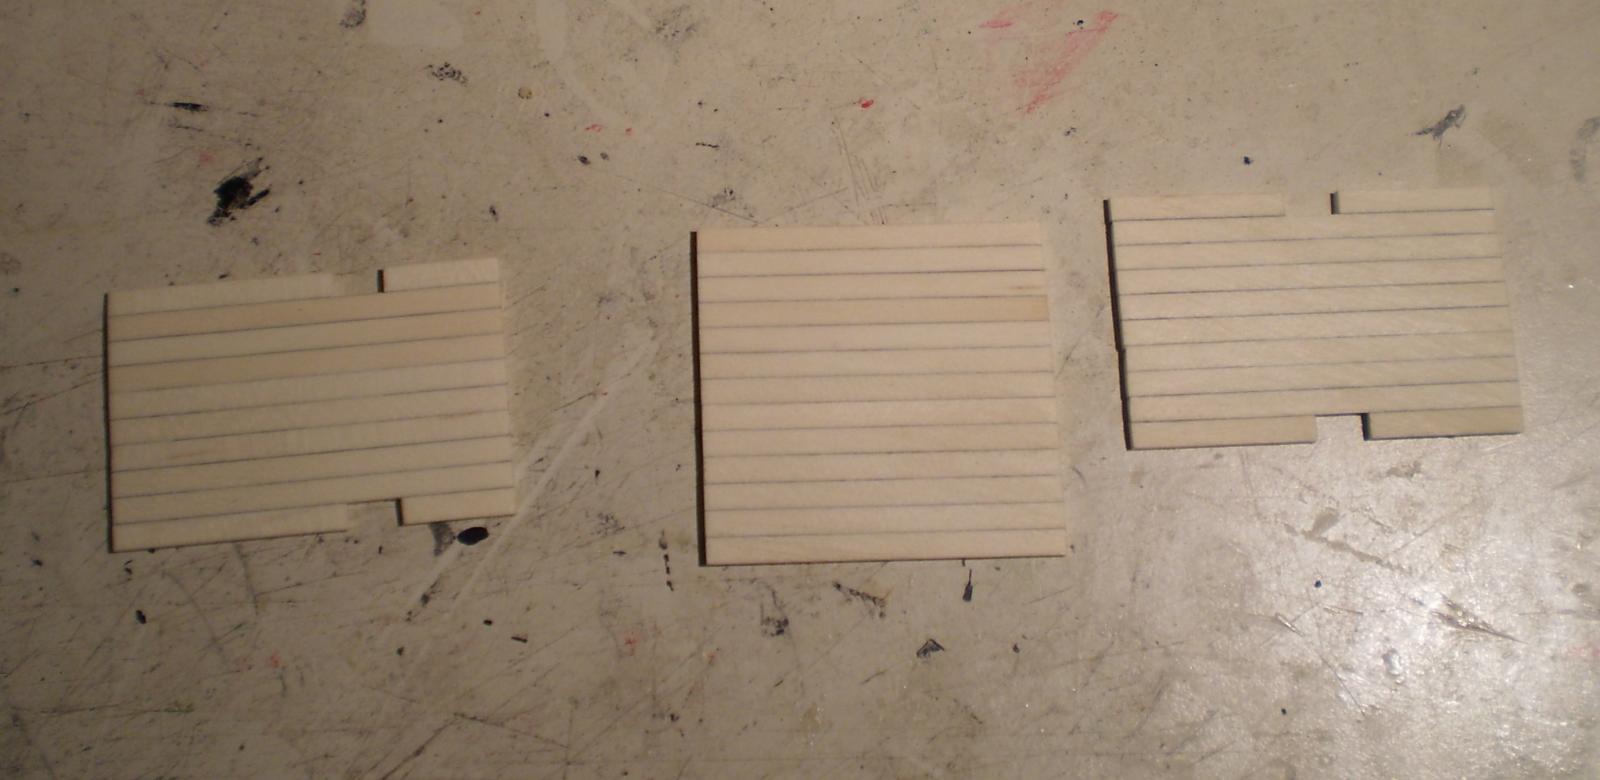
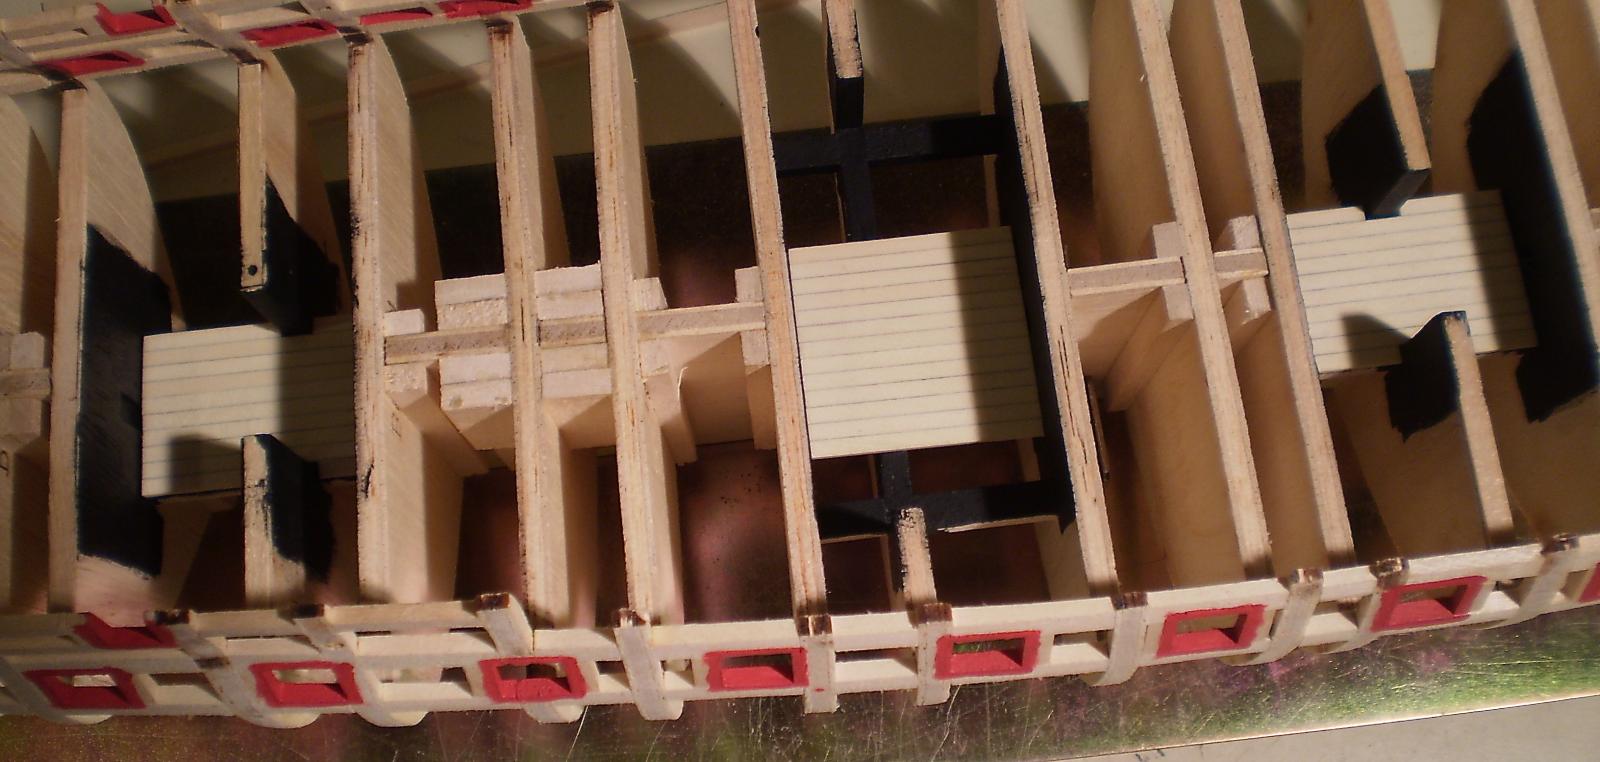
Back to Essex. I did a few easy things prior to planking. First, I added some additional framing at the stern to frame the doors to the quarter galleries. I'm considering showing the great cabin in some level of detail and also scratch building the quarter galleries. This framing will allow me those options down the road. Next, I painted the area of the lower deck cut outs with Pollyscale engine black. I then made and installed the sections of lower deck planking to fit the cut outs. The deck planking is holly (as will be all of the deck planking). The caulking is simulated by pencil on one edge of each plank. It's finished with Wipe On Poly. Lastly, I painted the inside and edges of the gun ports with Pollyscale AT&SF red.
I've decided to begin the planking with the upper outer hull. Full speed ahead!
Bob
-
Thanks very much, Hamilton. Interestingly, many years ago I used a Corel Unicorn kit as the basis for a Blandford, also using the AOTS book. I've just looked at your log and yours is much better than what I came up with. I'll definitely follow from here on.
Bob
- Old Collingwood and hamilton
-
 2
2
-
Thanks all for the continuing interest and encouragement. I'm really hoping that with the completion of the framing the major issues will be behind me and more enjoyable times are ahead.
Sam, the knight heads should be at the correct height. I've pretty much concluded to begin the planking as you did, working up from the gun deck.
Barehook, the window pieces are so fine that there really is almost nothing to plane or sand.
Bob
-
Sam, I have no doubt that you will use your best efforts to correct the situation and, hopefully, so will Model Expo. As those who have been following my log know, I'm committed (foolishly, perhaps) to slugging it out with what I received. I wouldn't recommend that approach to anyone who hasn't started yet.
Bob
-
Keep the faith, Sam. That's what I'm doing -- just fighting my way through.
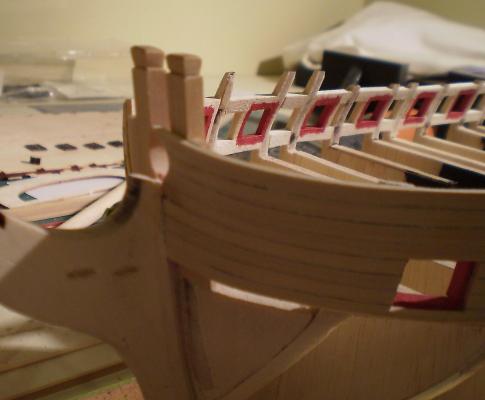
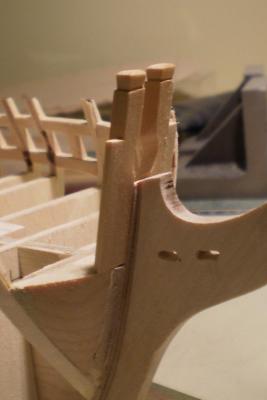
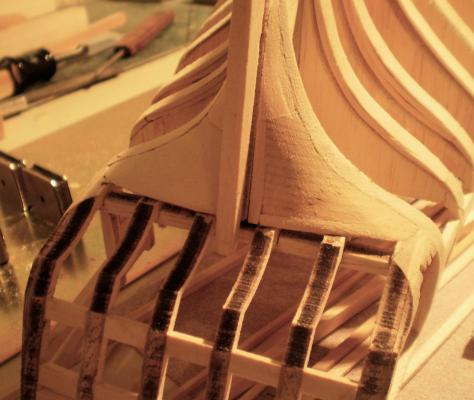
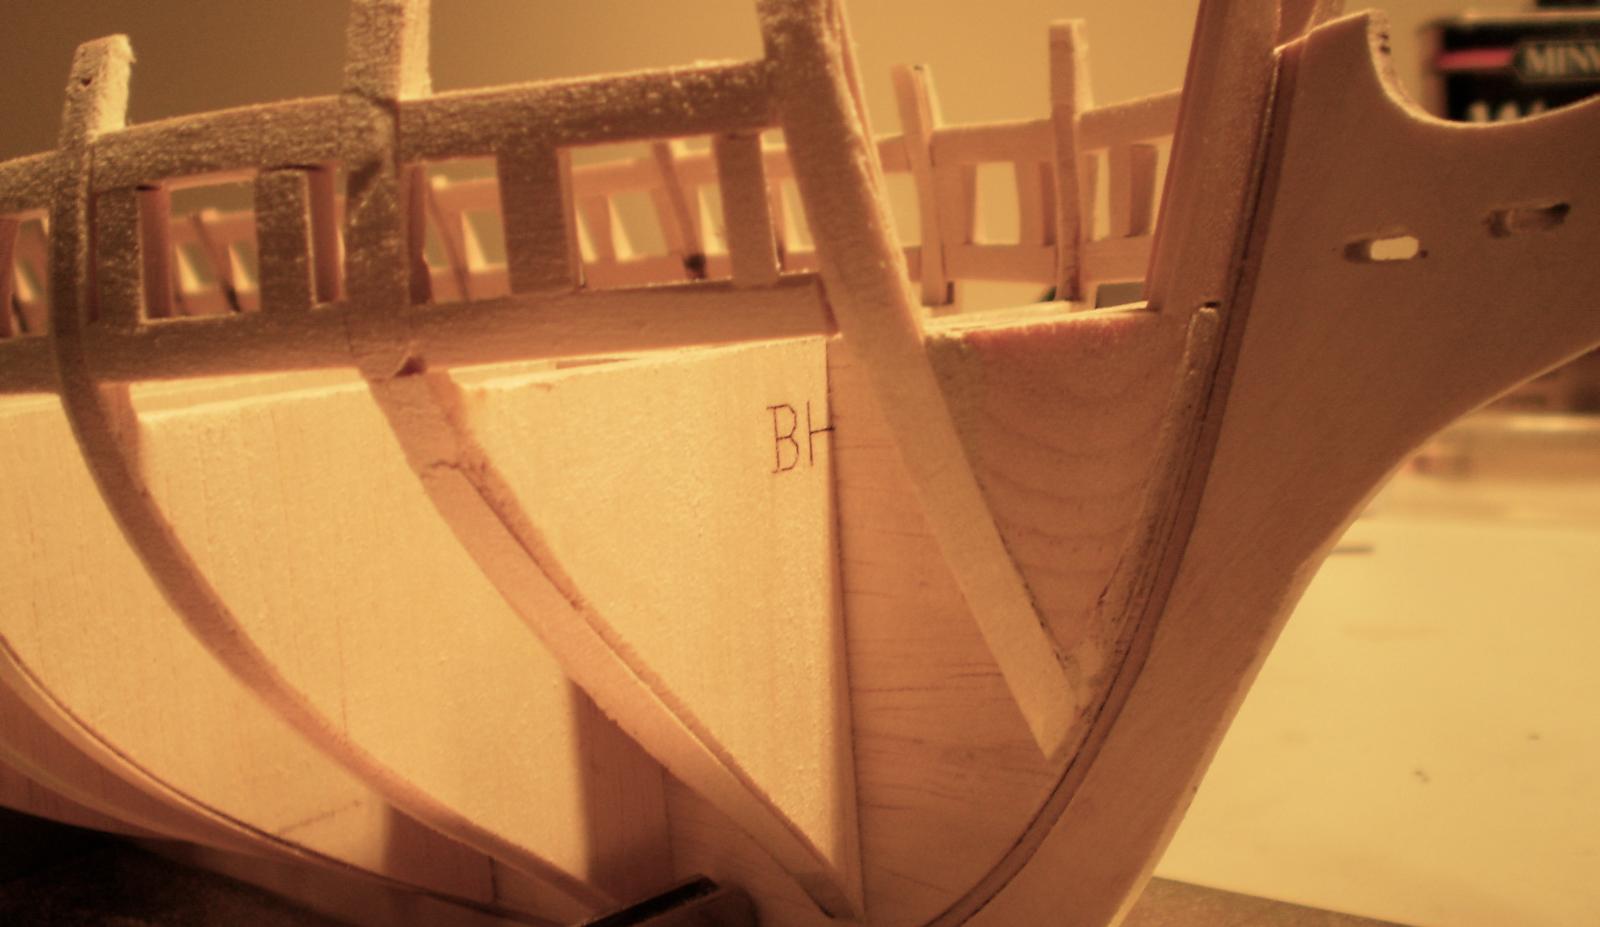
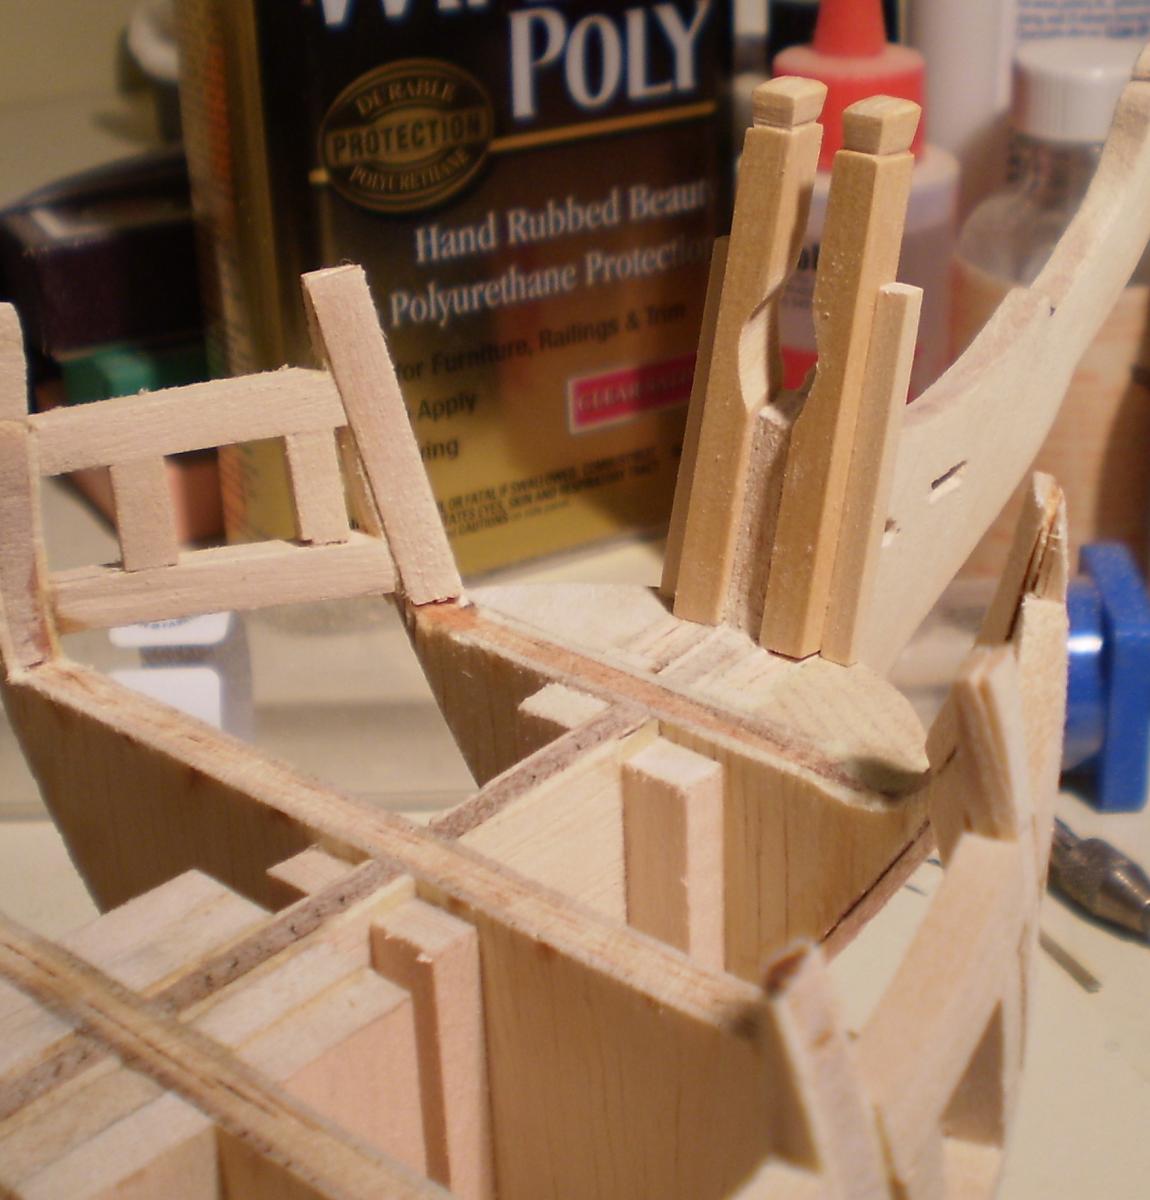
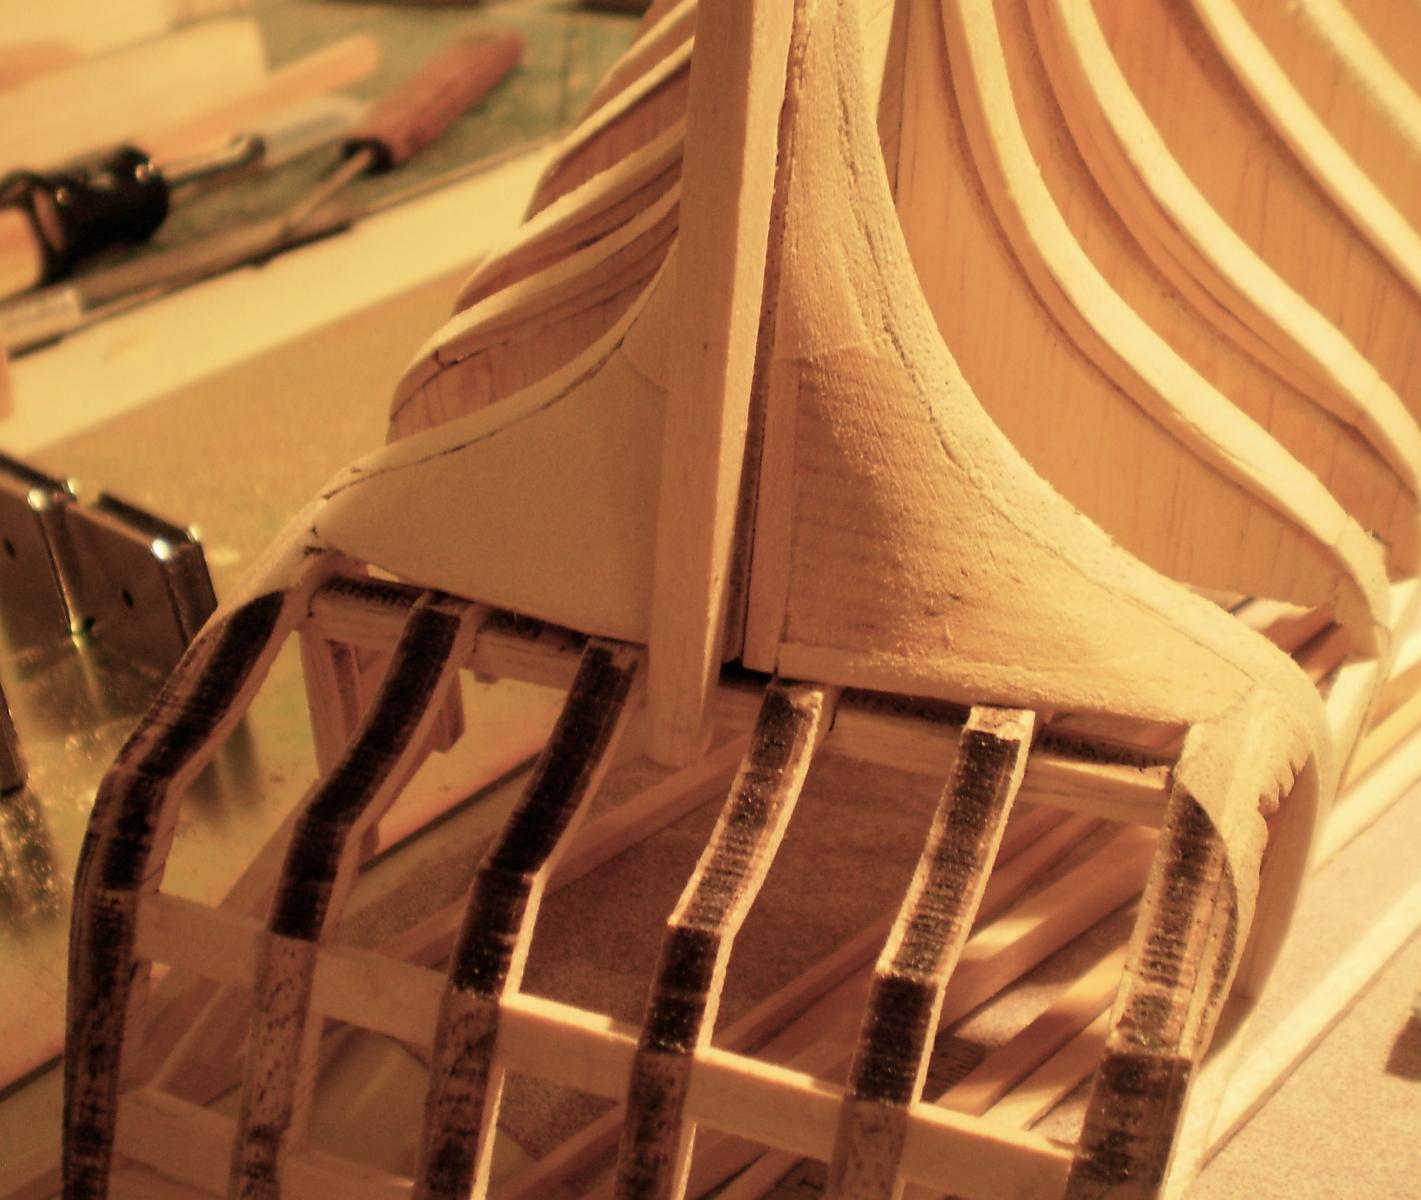
I returned to the bow to make and add the bow filler blocks. While doing them, I redid the fairing and refined the shaping. I think it looks better and works better. I also made a decision with regard to the bow arrangement. I didn't feel comfortable with the kit set up of the knight heads and the bow planking. The kit shows the knight heads as stand alone items, spread wide apart and without any covering hull planking. Since they are extensions of the bollard timbers, it would seem that they would be close to the stem and the planking would cover them up through the forecastle. I decided to to follow the Takakjian drawings in AOTS which show them this way. I cut down the keel former and the bow framing parts and made the knight heads from boxwood, filed out the opening for the bowsprit and attached them to the former. I also added strips to them to aid in attaching the inner planking.
Now, it's time to do some planking. I just haven't decided yet which planking to start with.
Bob


- Blue Ensign, fatih79, BareHook and 4 others
-
7
-
Very nice job on the planking, Wes. I've never tried the dye, but it seems to be working well for you.
Bob
-
Welcome back, Remco. It's been too long.
Bob
-
-
-
Thanks, John.
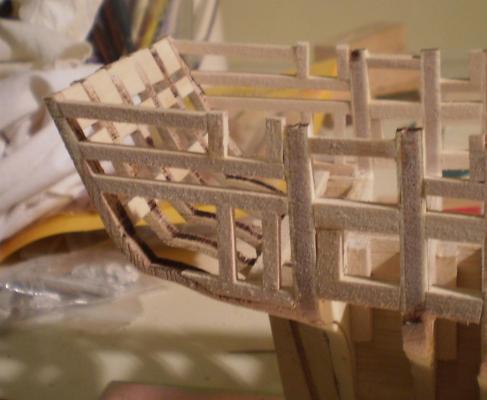
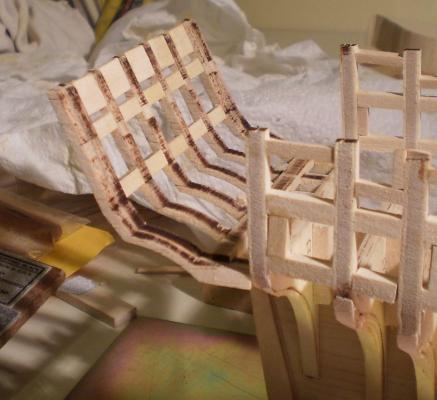
I've now added the stern frames and stern filler blocks. At the risk of sounding nit picky, this went alright, but with the prospect of trouble down the road, as a result of a few issues: first, I found the stern drawings confusing and inconsistent with the prototype photos in the manual (i went with the photos--I think); second, the frames were a little thicker than 3/16" which required some sanding to get them to fit into the spacers provided to supposedly ensure the proper spacing of the frames to allow for installation of the stern windows. I foolishly assumed that once the frames fit in the spacers that the windows would be no problem. That was a big mistake. The windows ( which are nice laser cut items) are too wide to fit between the frames. This wouldn't be a big problem, except for the fact that the frames are so thin at this scale that very little sanding is possible. When I get to window installation, I'll have to enlarge the space between the frames or scratch build new windows.
The filler block material is not provided, so i used some basswood I had on hand. The work is straight forward for anyone who has done it before. I didn't follow the 2 piece pattern shown in the photos, but made continuous blocks.
I now need to do the bow filler blocks and probably clean up the shaping of the bow as well.
Bob


USF Confederacy by Augie & Moonbug - FINISHED - Model Shipways - 1:64
in - Kit build logs for subjects built from 1751 - 1800
Posted
The framing looks great Augie.
Bob