rafine
-
Posts
2,932 -
Joined
-
Last visited
Content Type
Profiles
Forums
Gallery
Events
Everything posted by rafine
-
 The castings look great (as does your build!). I missed out on the first run of castings and will have to wait until they are back in stock. Bob
- 642 replies
-
- 1
-

-
- winchelsea
- Syren Ship Model Company
- (and 1 more)
-
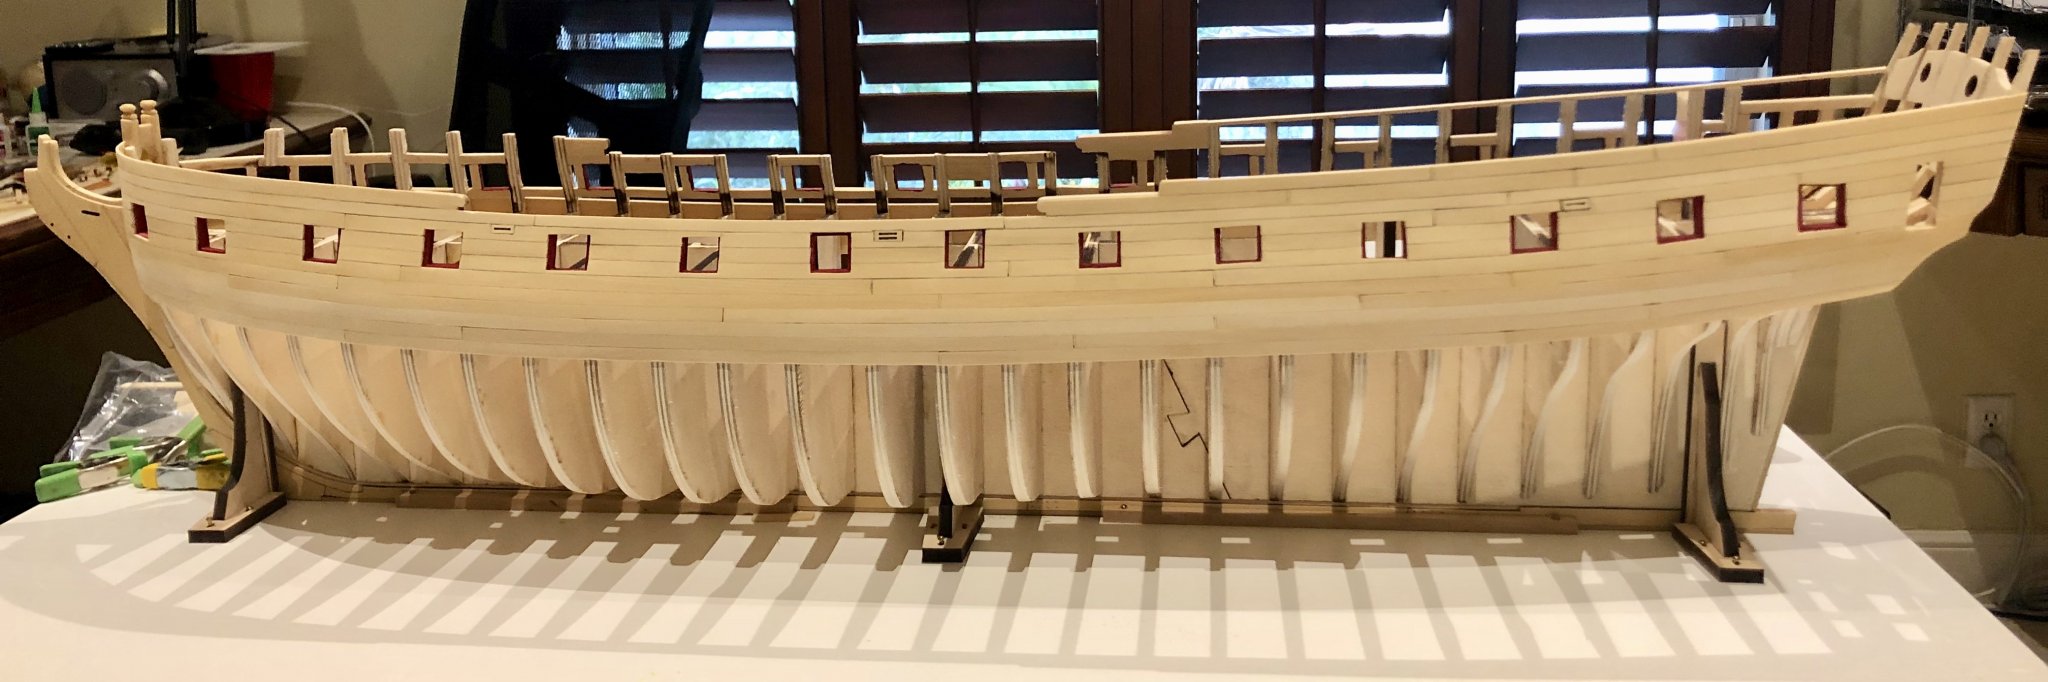
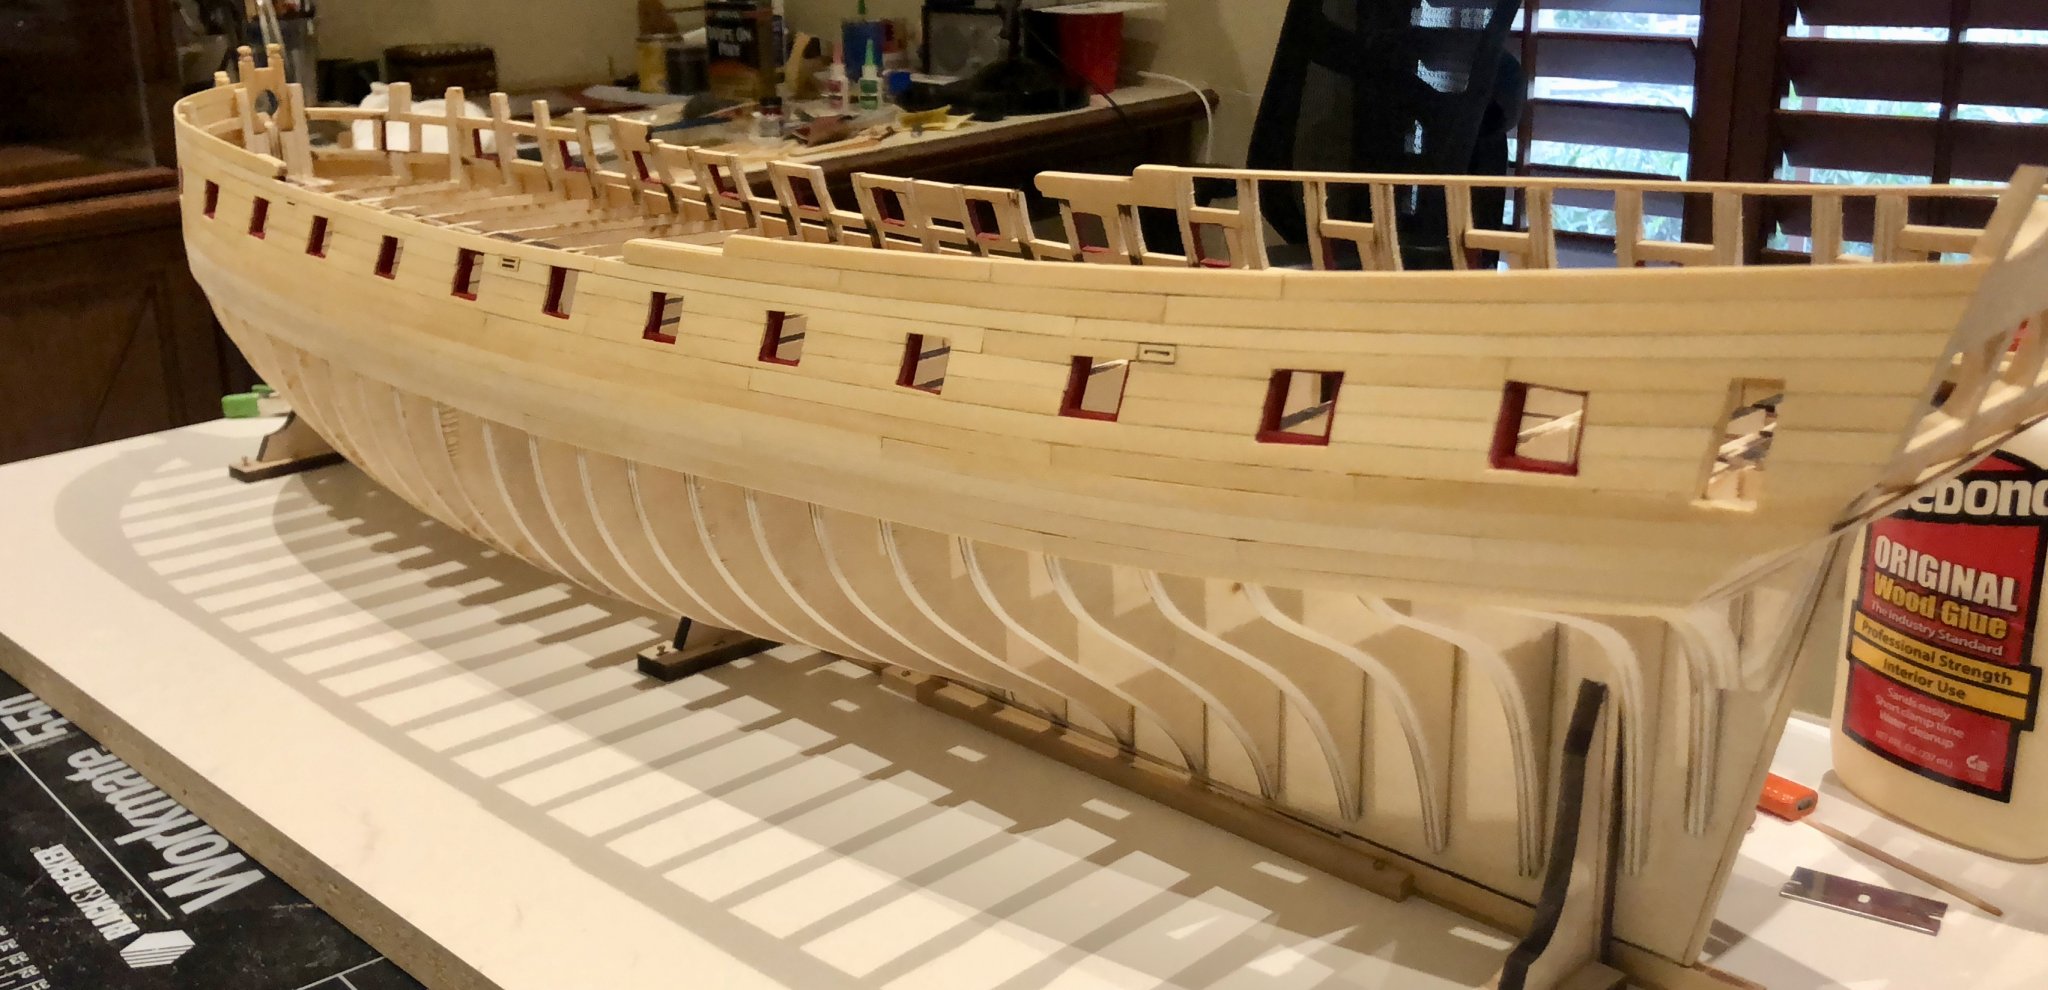
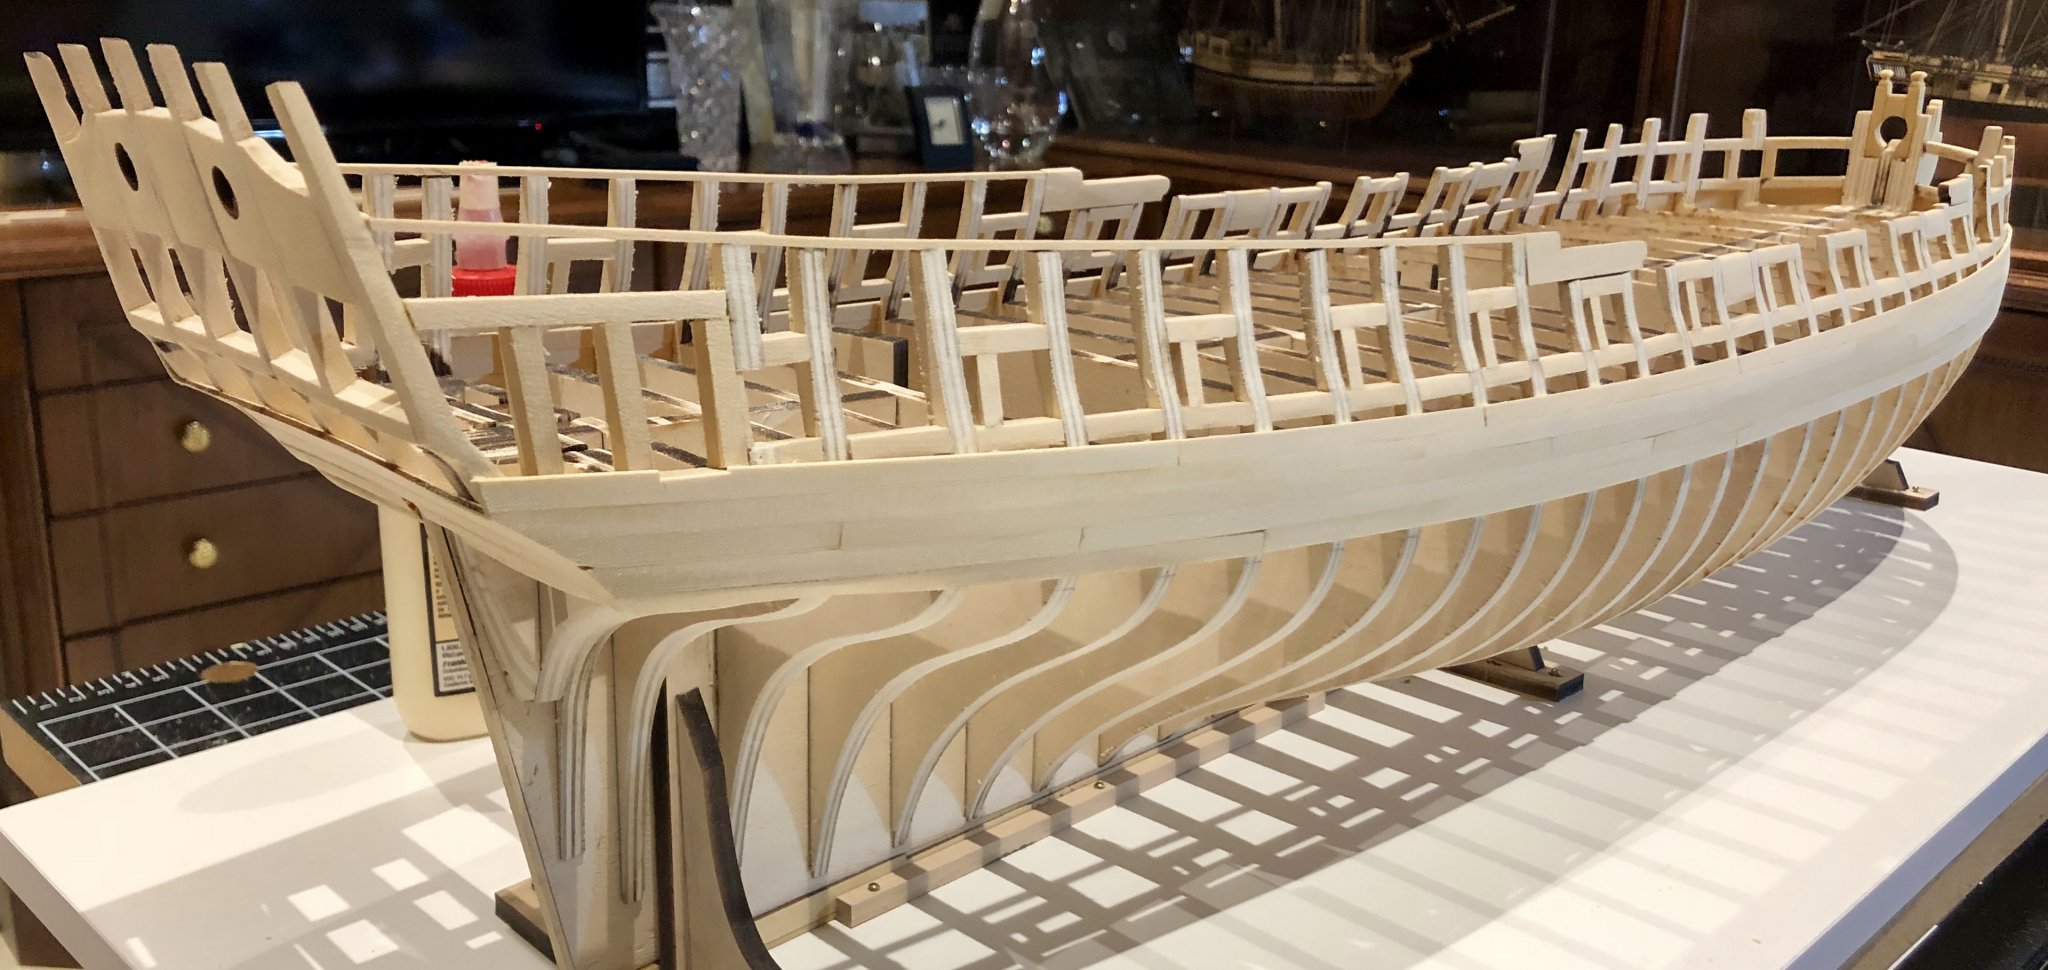
The horde (seven children and grandchildren and two dogs) have left my house. Time for a post. I have completed the port side upper planking. Remarkably, at least to me, after making a few small adjustments to the framing, the planking worked out as it was supposed to, using the planking widths called for in the plans. I must admit that I chickened out on the tabs at the gunports. All in all, although I'm not entirely satisfied with the result, I am not really dissatisfied with the overall appearance of the planking. I will try to do a bit better on the starboard side. The photos show the planking after sanding and the application of a coat of Wipe-on Poly.


-
Thanks so much Joe, Rusty and the "likes". Sorry for the delay in responding. Both work on the model and keeping up with the posts have been slowed by a houseful of family company for the holidays. Bob
-
Fantastic work Chuck. BTW, one more vote for the painted roof. Bob
- 1,784 replies
-
- 3
-
-
- winchelsea
- Syren Ship Model Company
- (and 1 more)
-
Thanks so much Chuck, Jeff and Elijah for the kind comments and also to the "likes". Bob
-
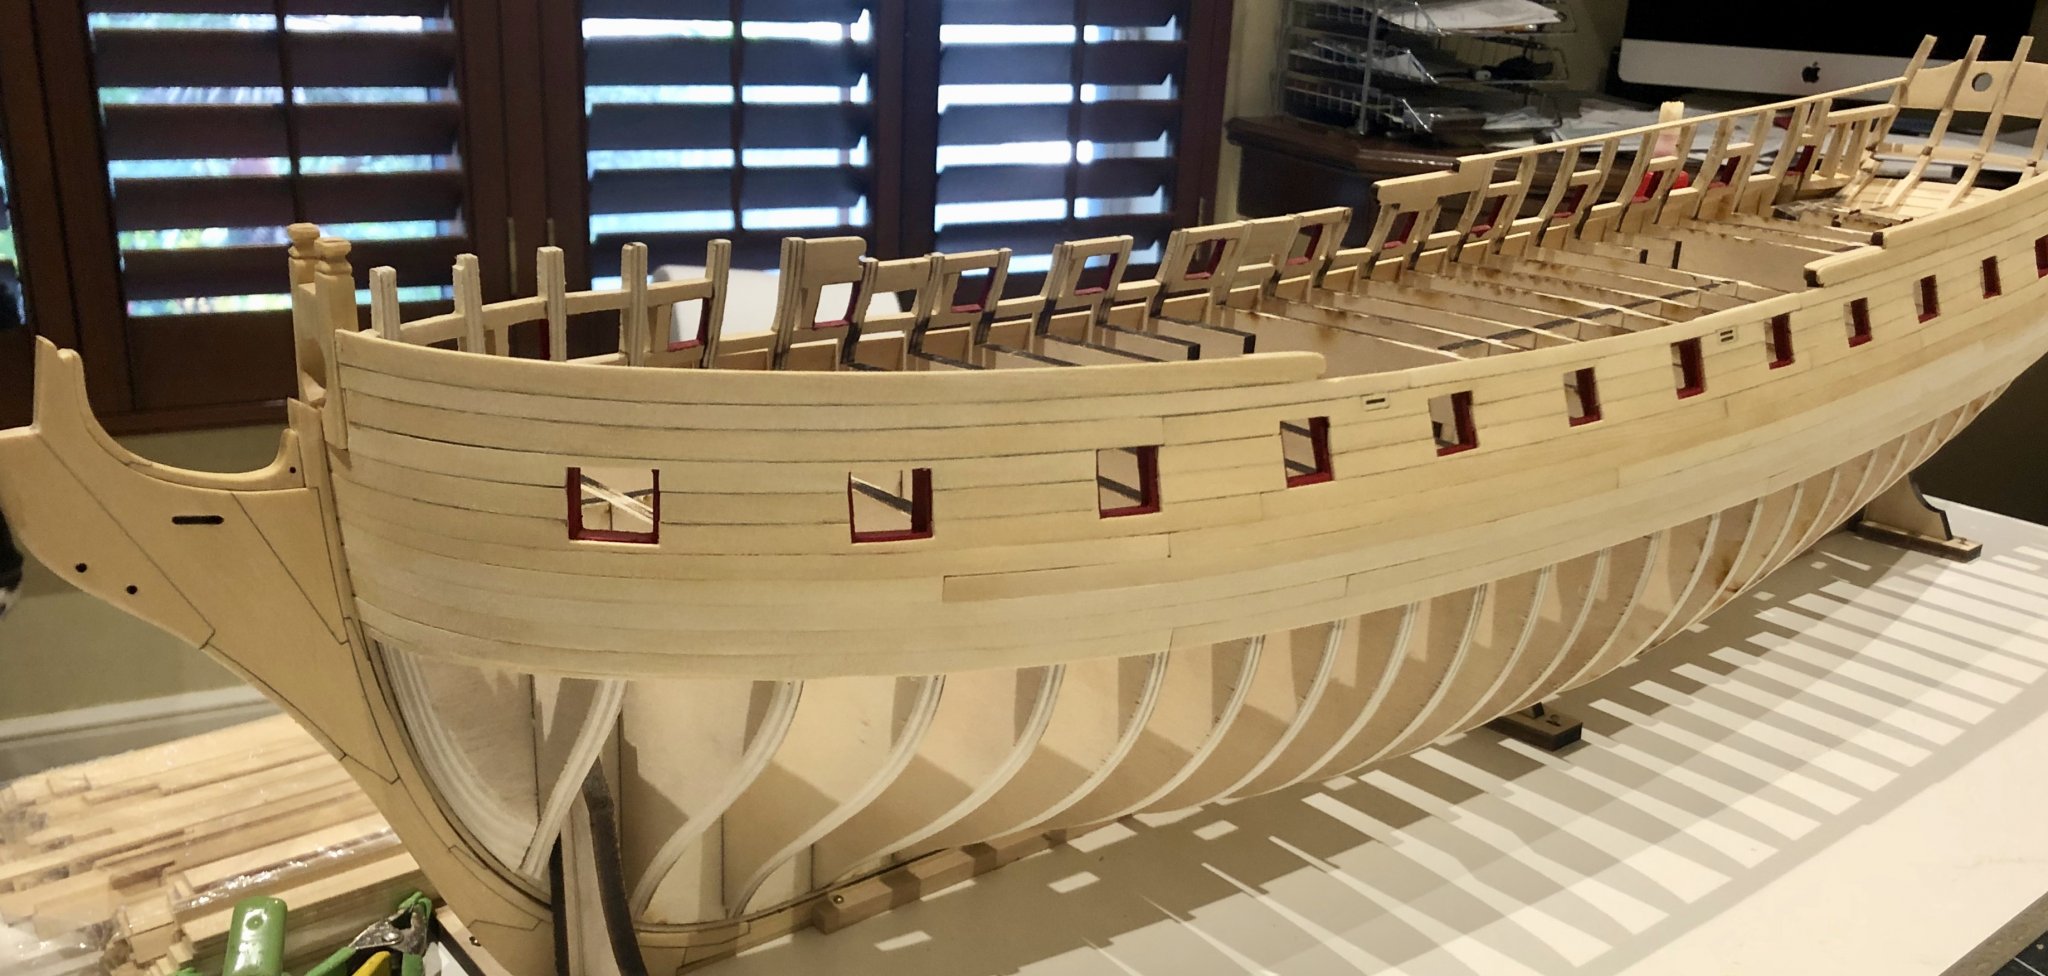
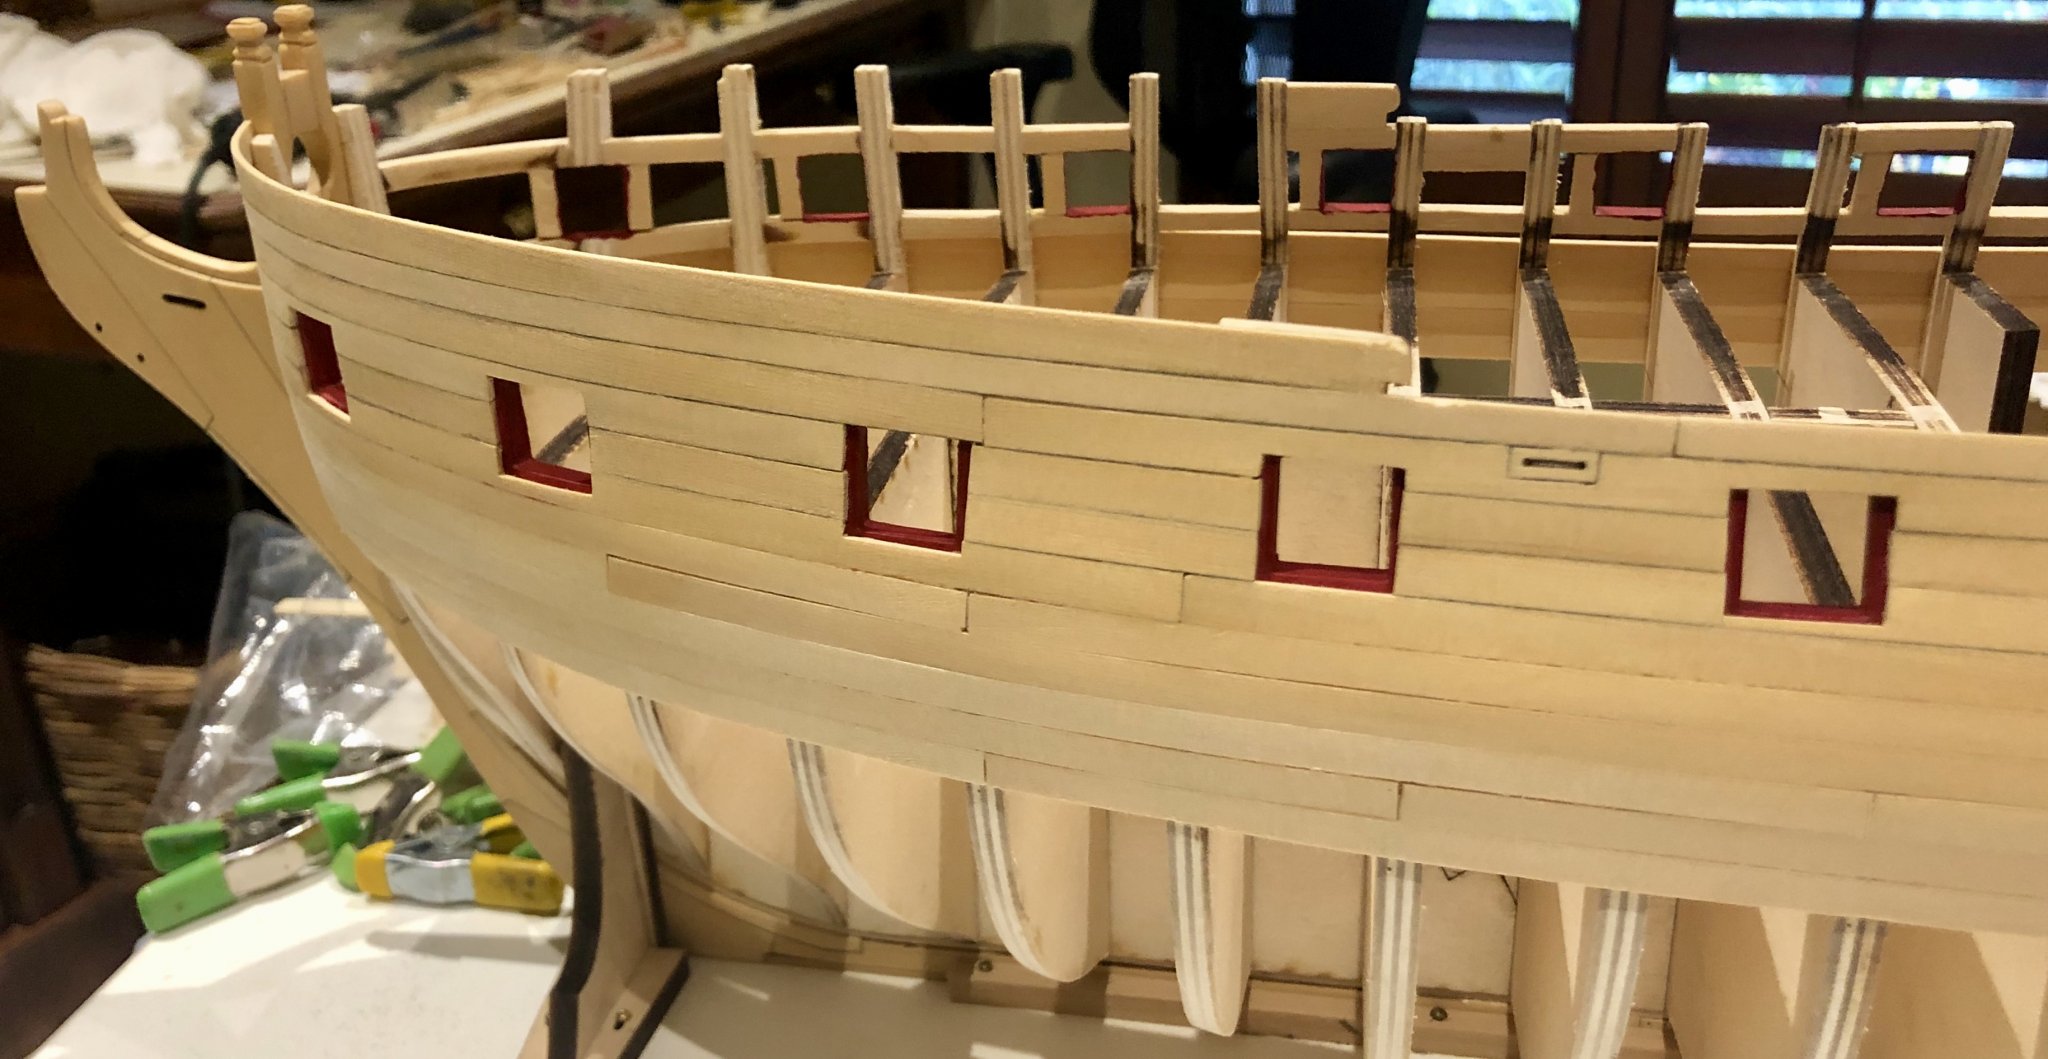
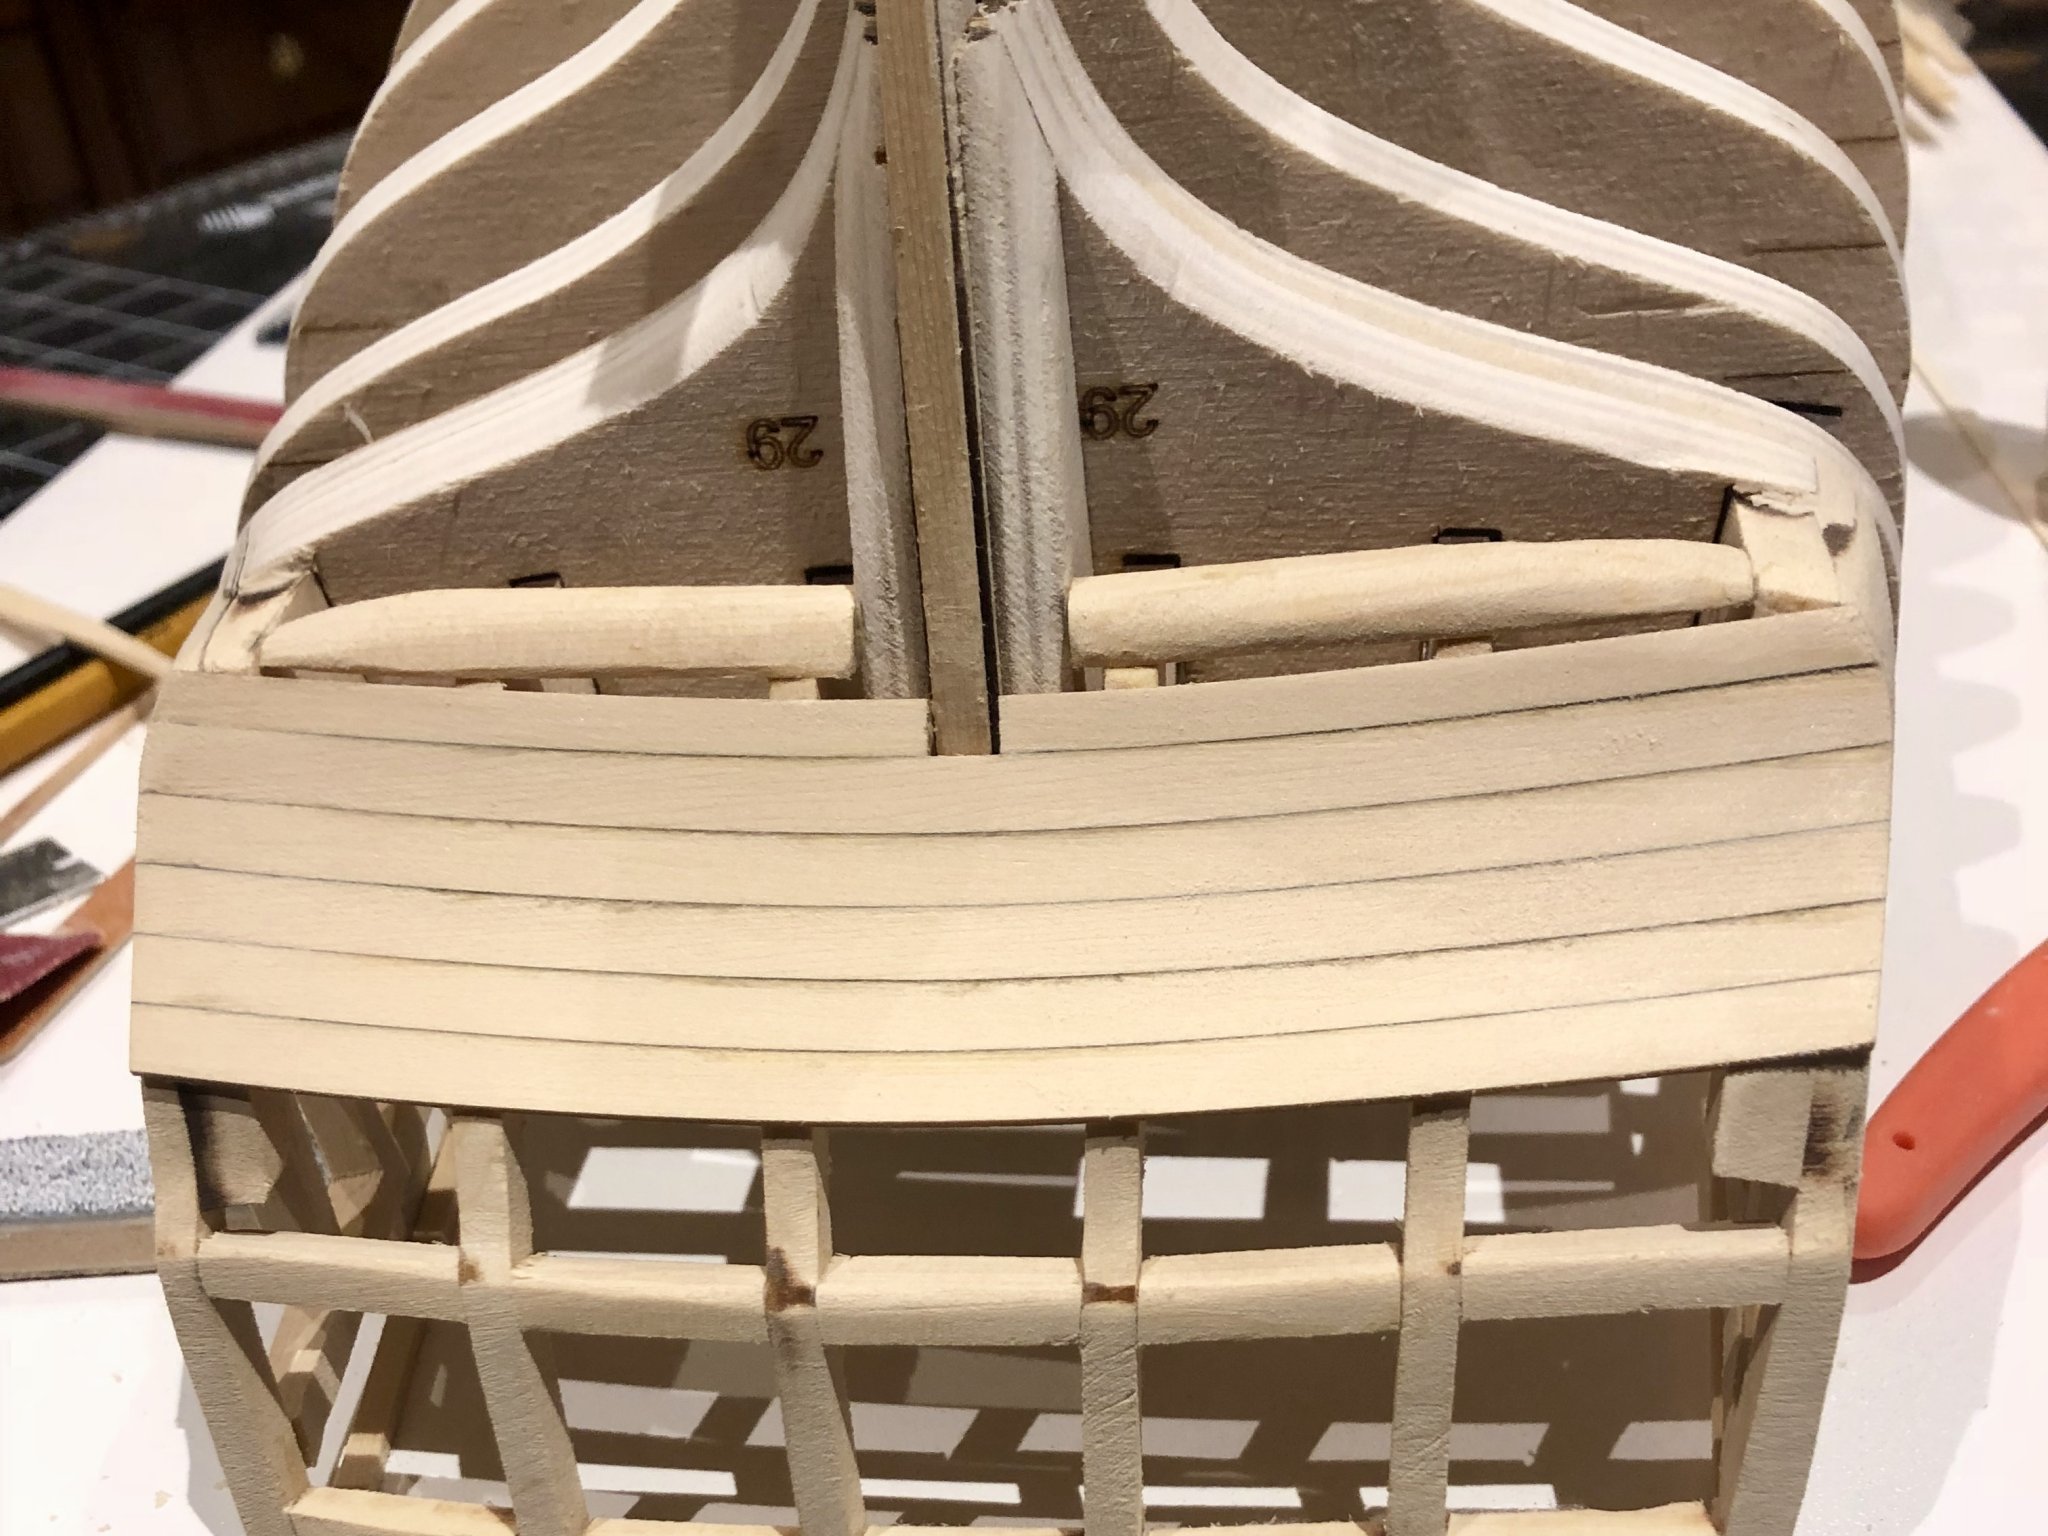
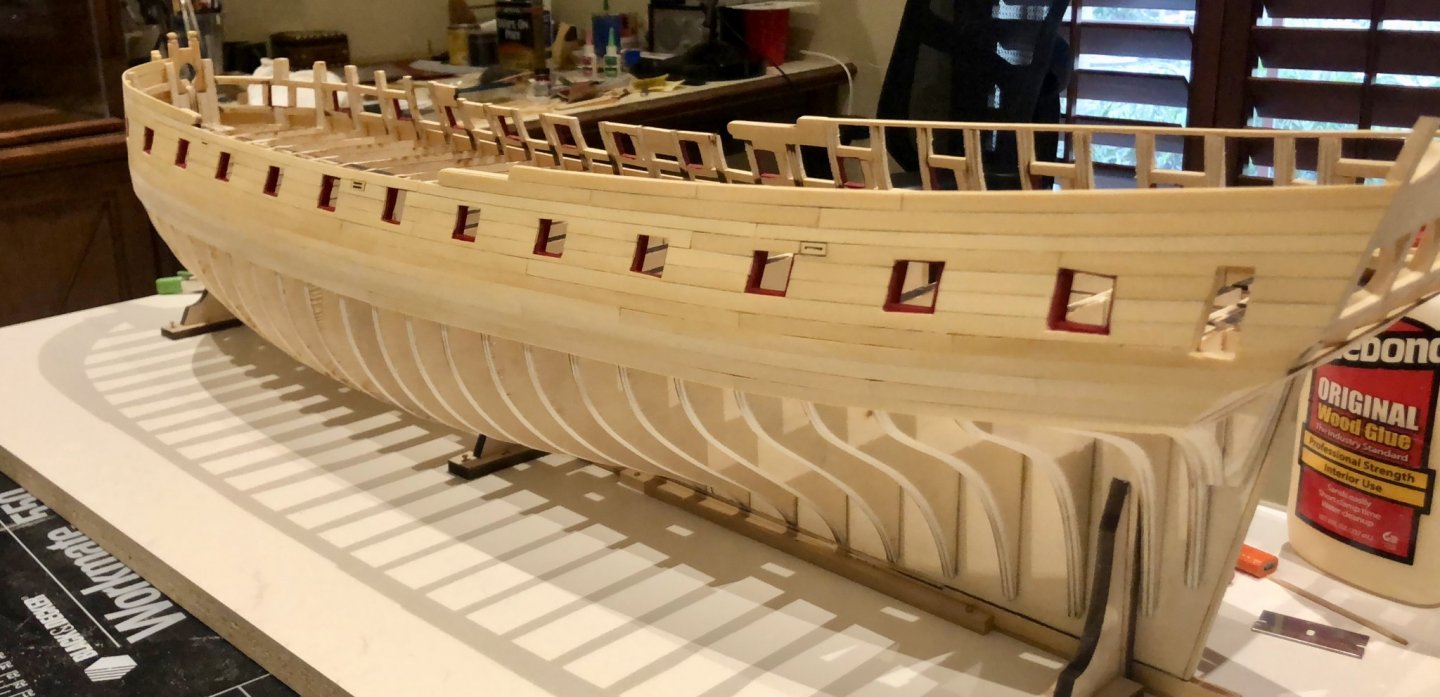
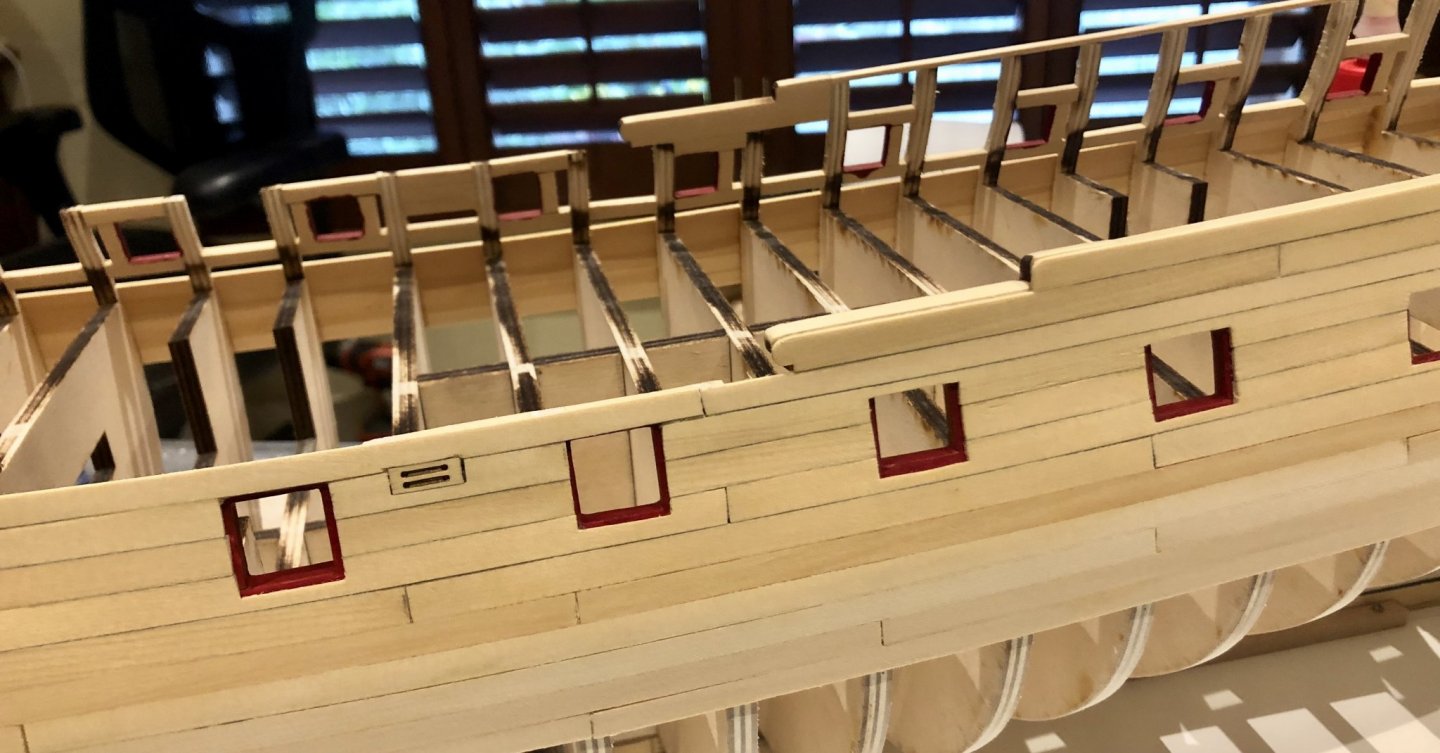
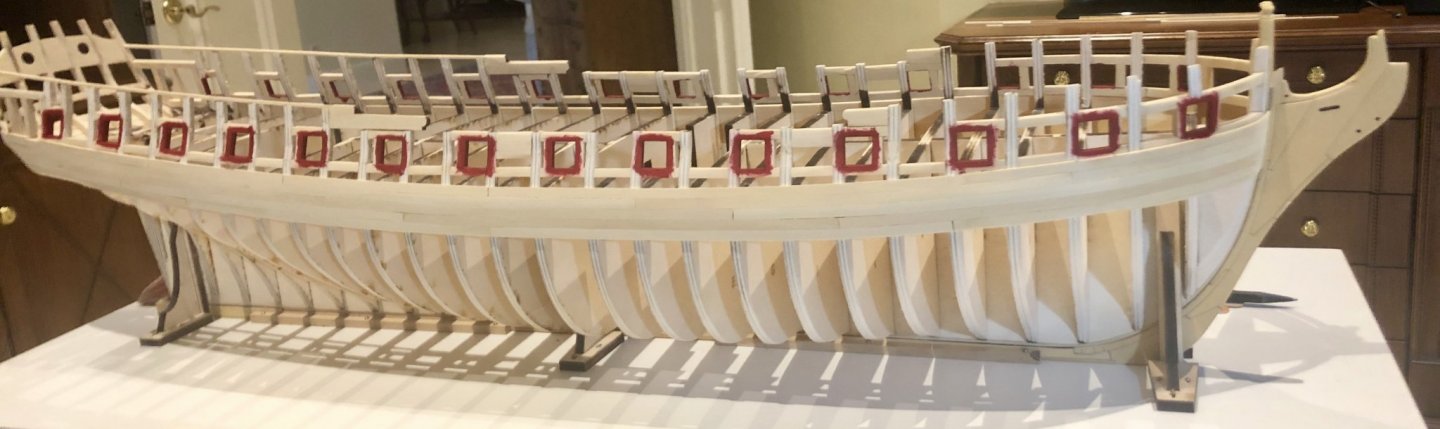
It's been a while since I lasted posted on Winnie. A good bit of progress has occurred. To begin with, I completed framing at the stern with the addition of the horizontal filler pieces and final fairing. I then added the lower counter planking, using the laser cut pieces. After that, I did the first layer of planking for the wales and black strake. The wale planking was begun by using a batten to mark the line of the bottom of that planking. Lastly, I painted the gunports red, in preparation for doing the upper planking.. The upper planking will be the next order of business.. Bob

-
Thanks so much Bob, Nils and the "likes". I'll finish up in a few months. Bob
- 78 replies
-
- 1
-
-
- medway longboat
- Syren Ship Model Company
- (and 1 more)
-
Thanks so much Nunnehi, Geoff, Art, Jeff, Grant and Dave for the nice comments, and thanks also to the "likes". Grant, worse than the feeling of frustration was the feeling of utter stupidity. Art, I've been working on Chuck's Winchelsea. Bob
- 78 replies
-
- 4
-
-
- medway longboat
- Syren Ship Model Company
- (and 1 more)
-
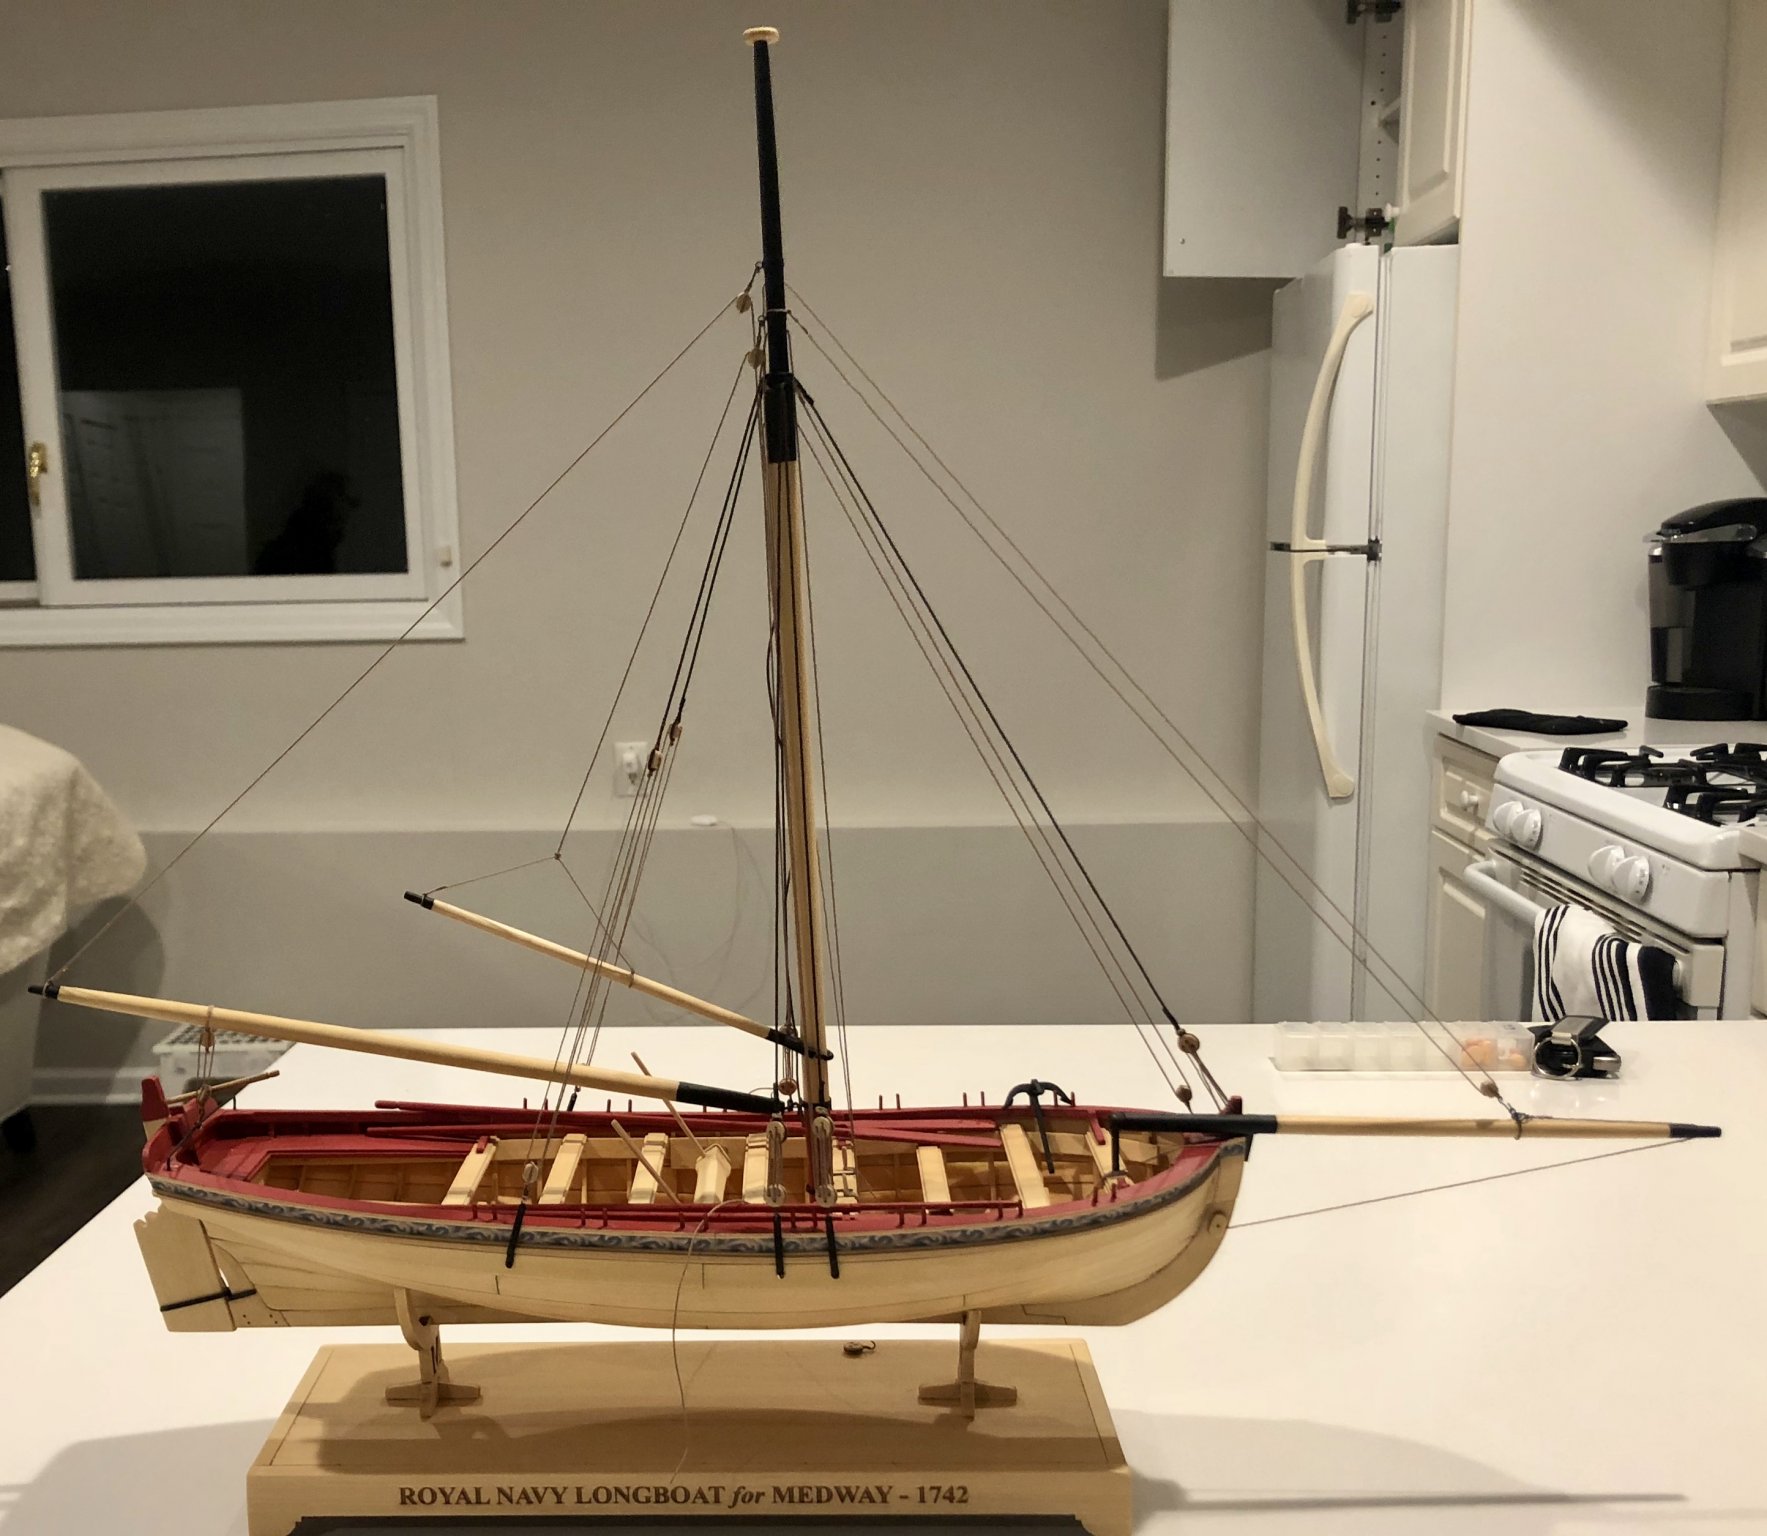
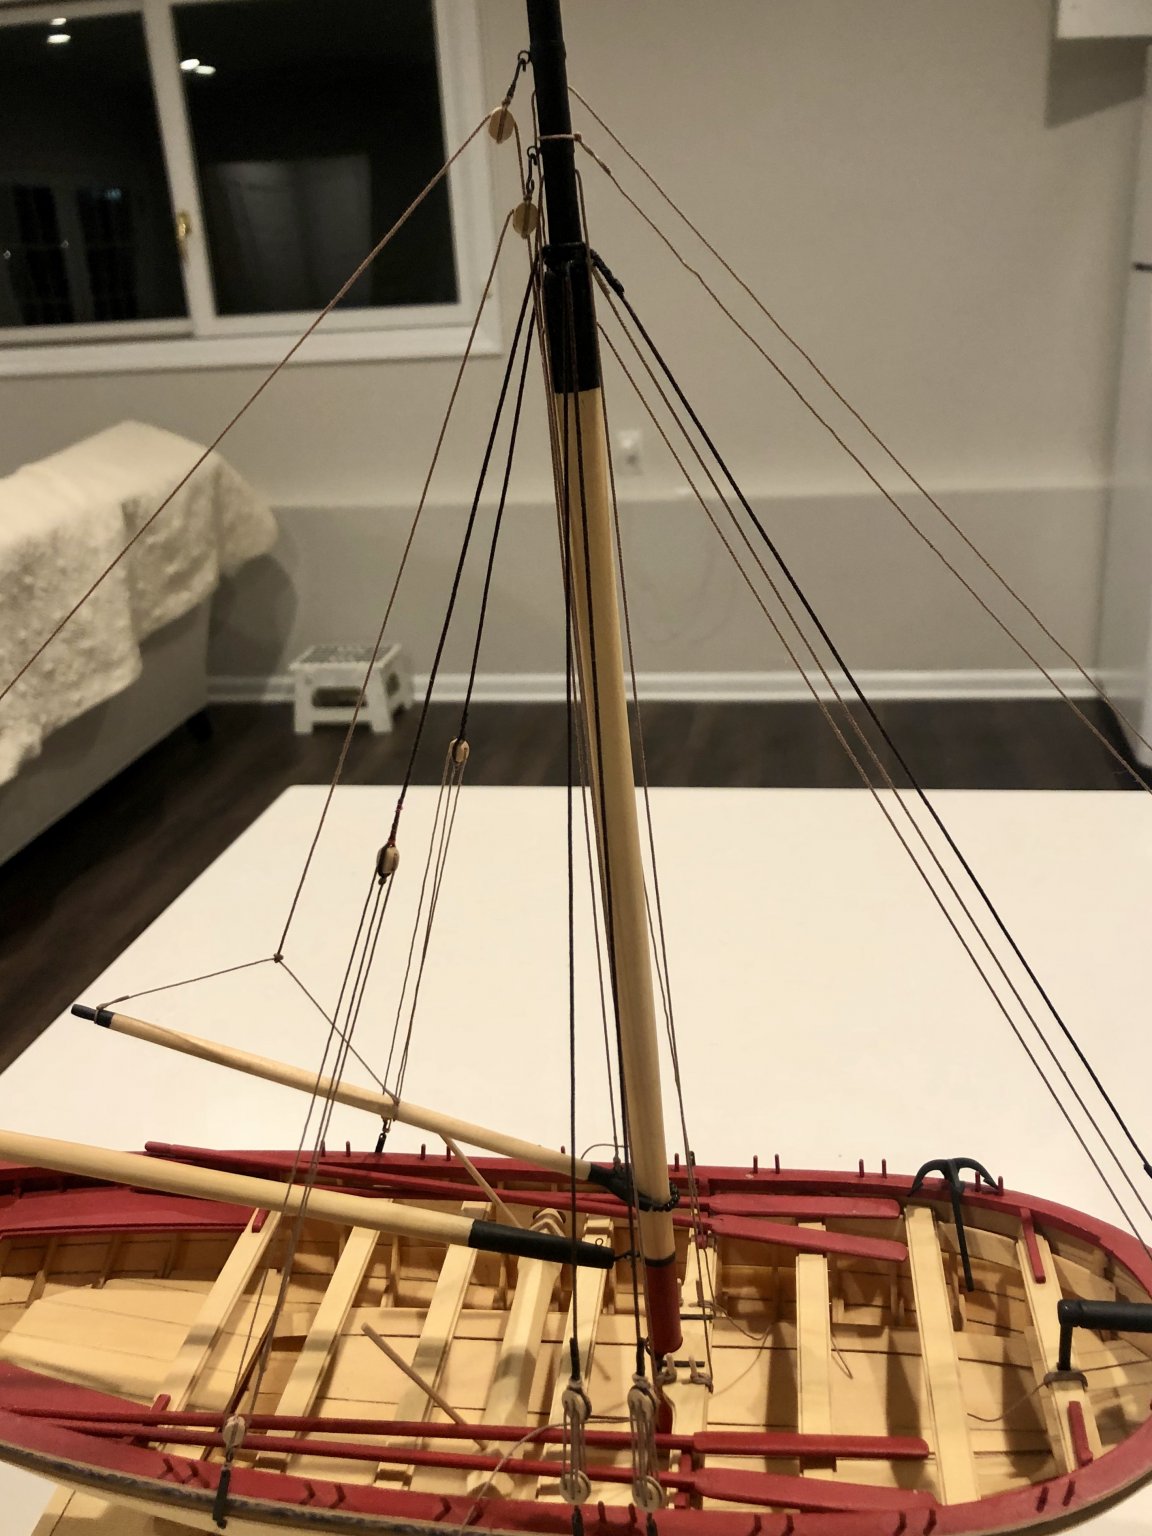
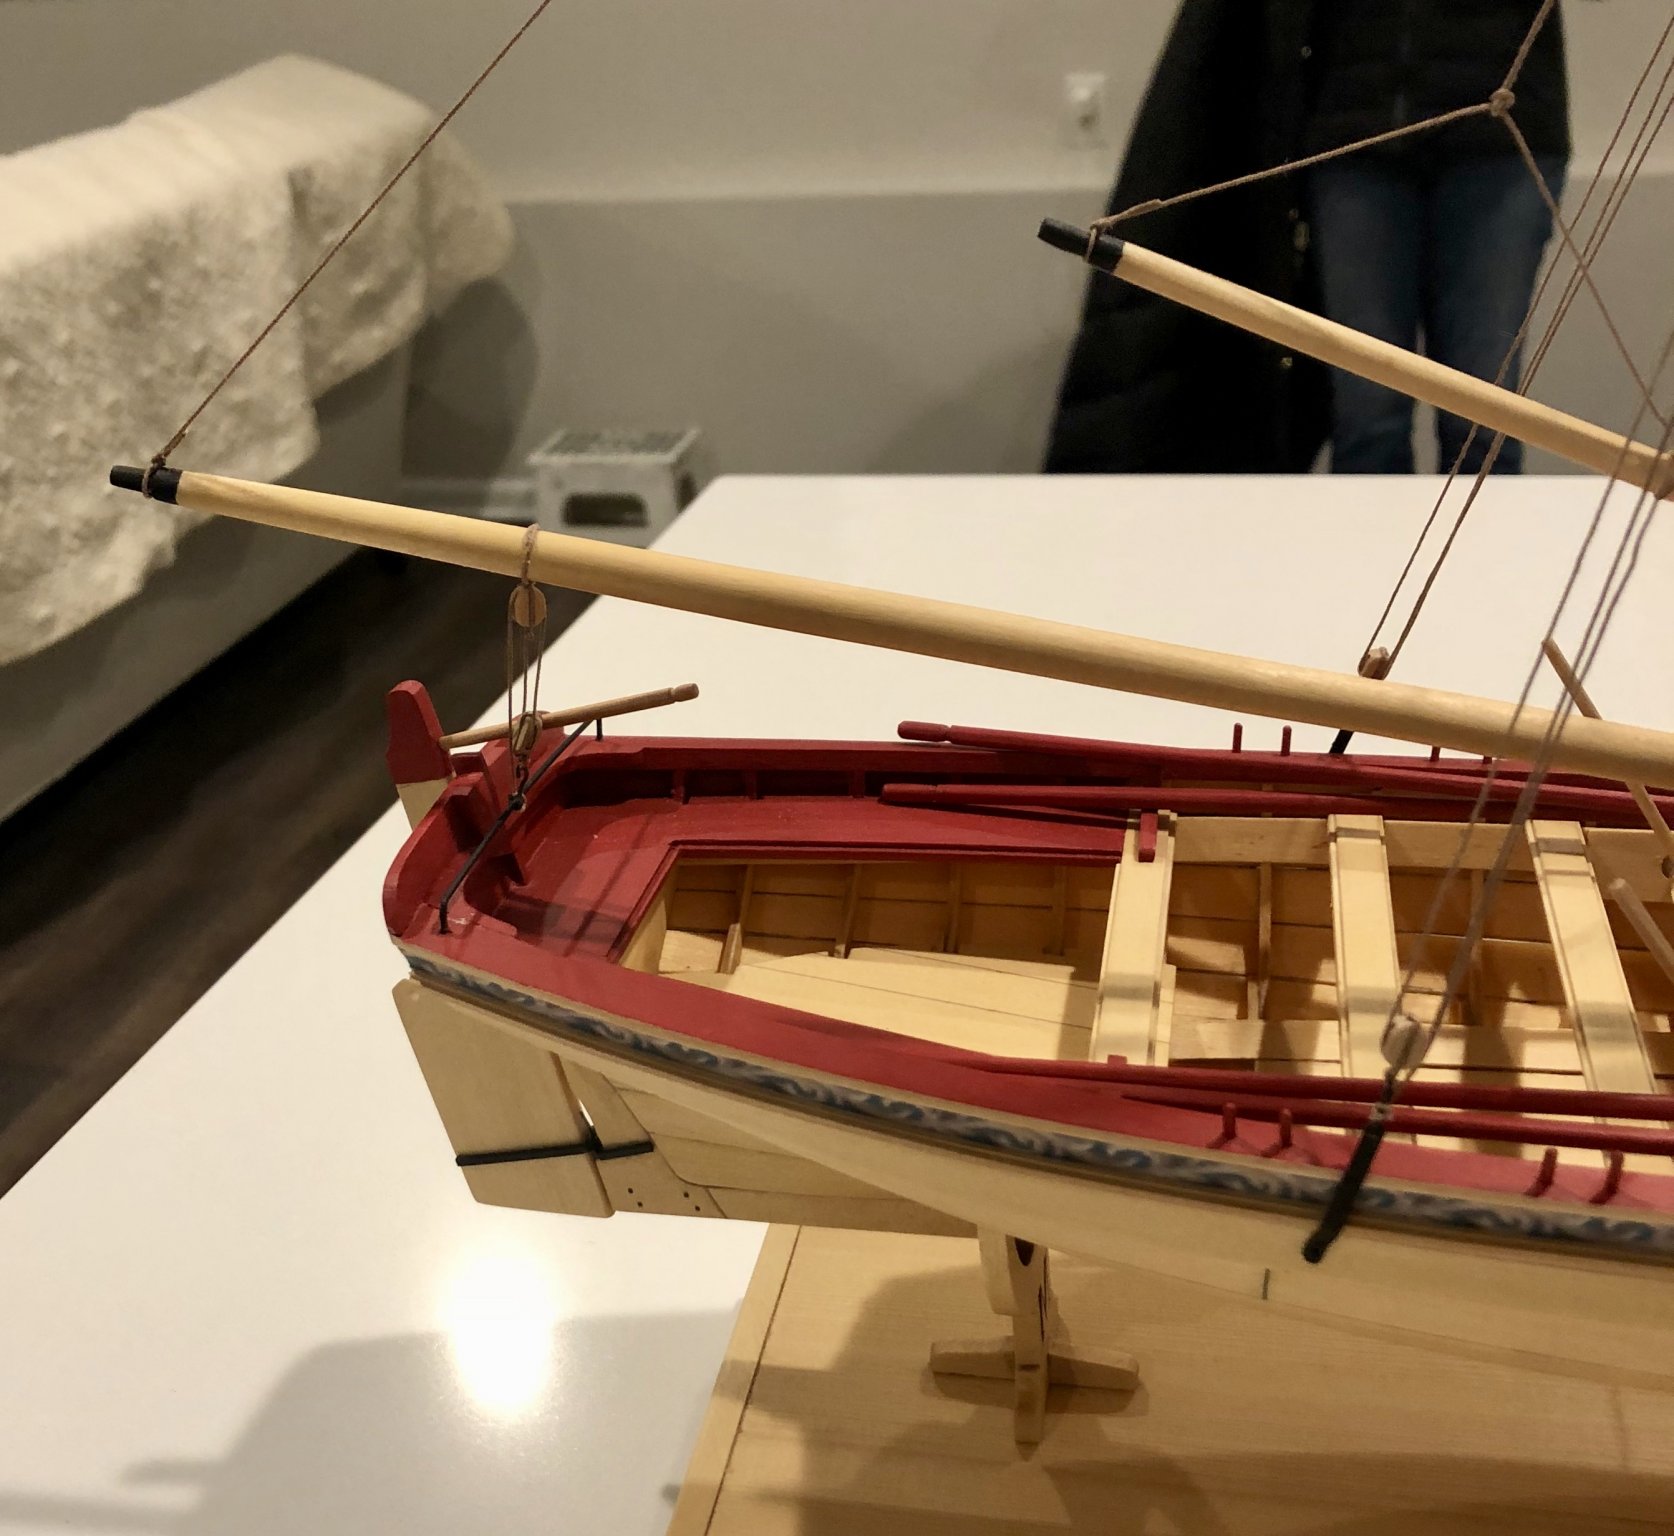
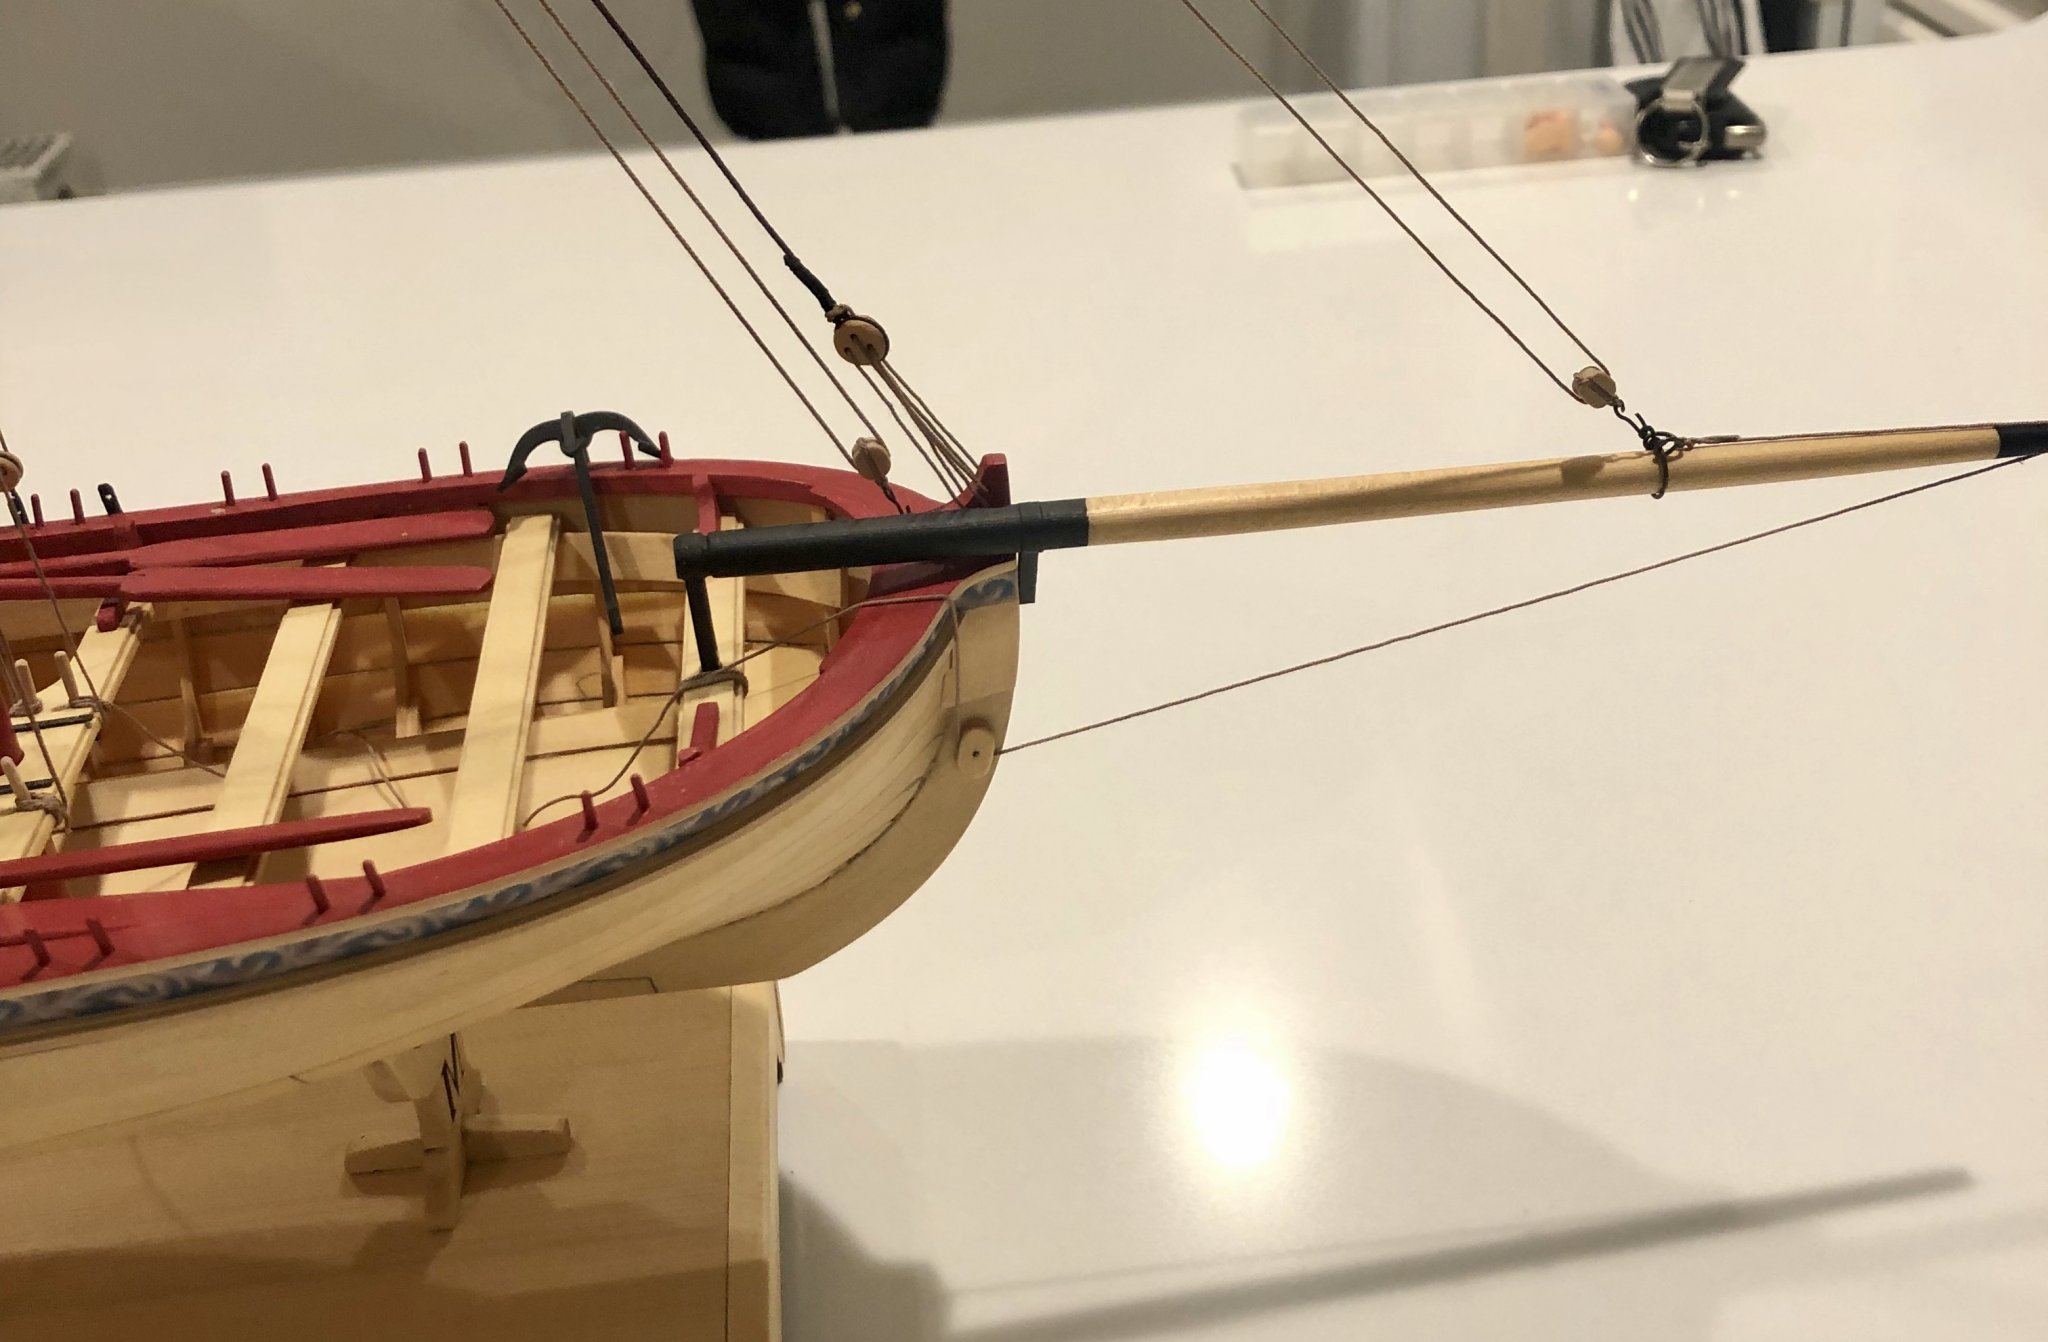
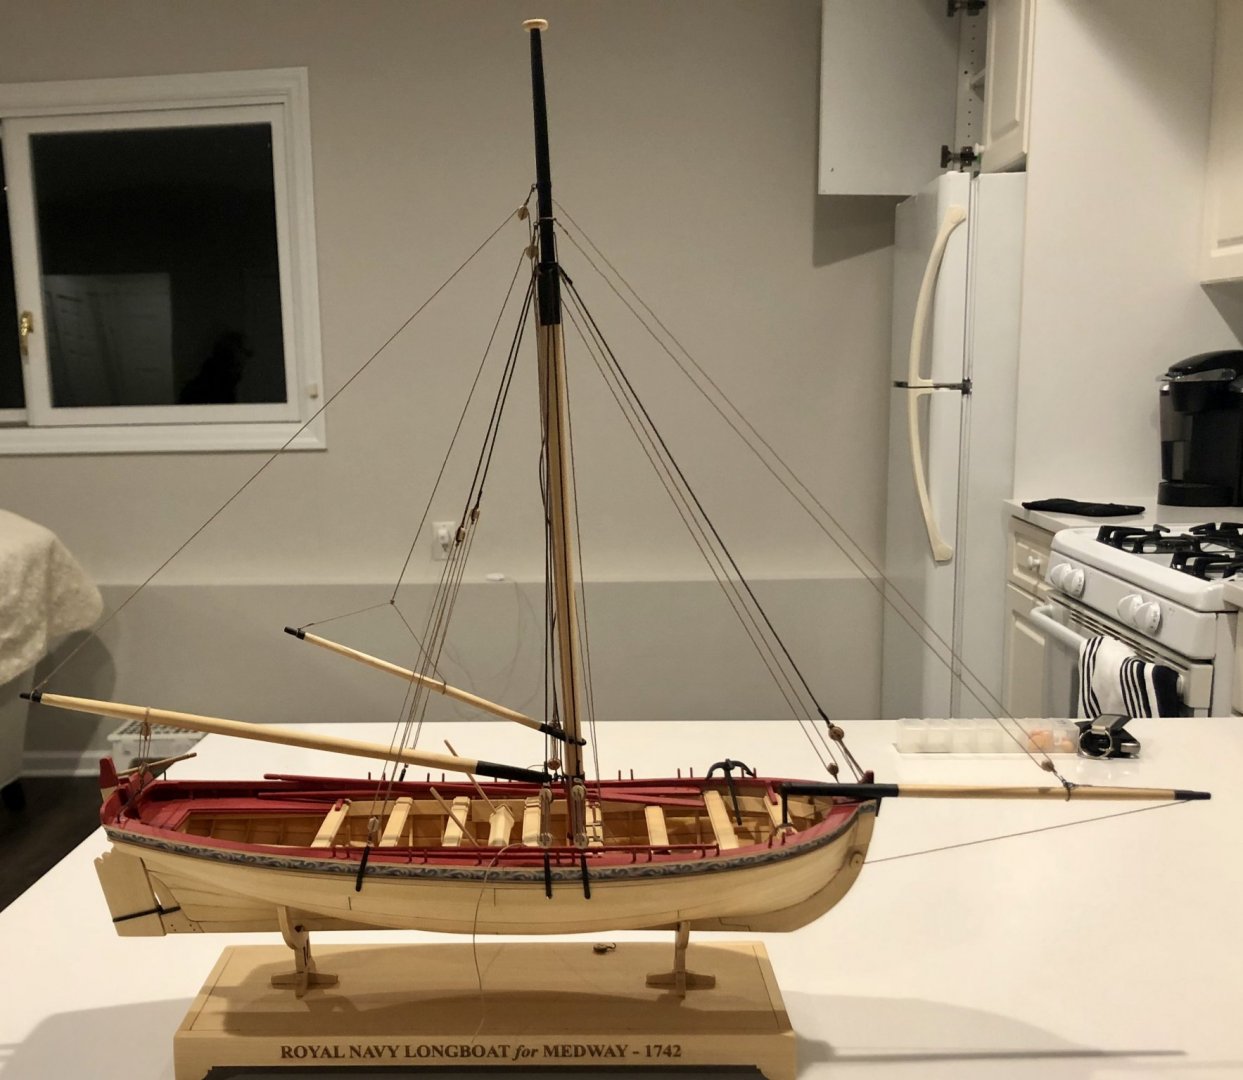
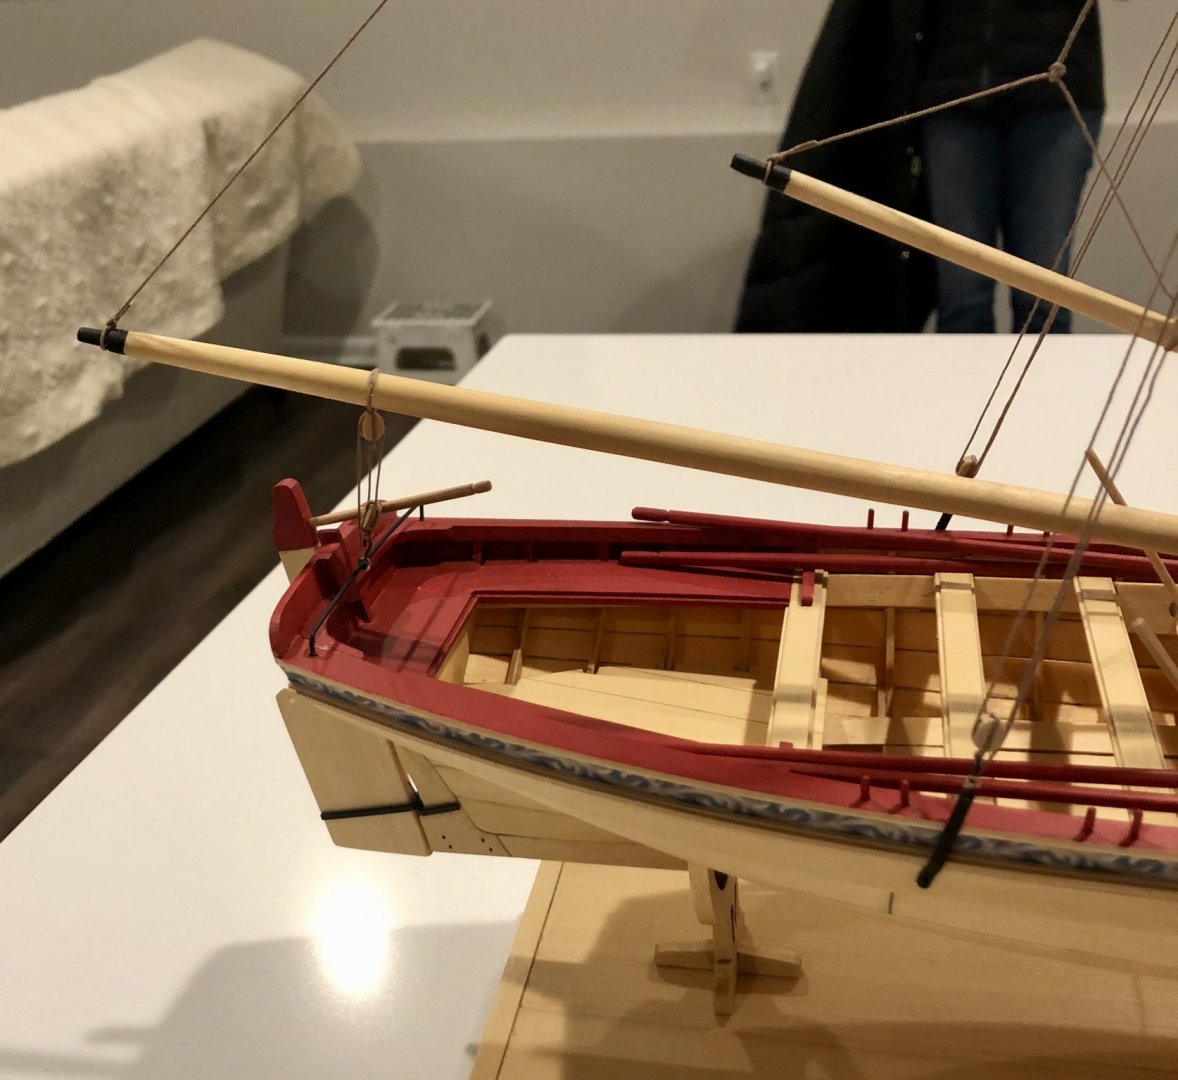
As anticipated, we returned to New Jersey for Thanksgiving. While there, I got a great deal of the rigging done. I probably would have finished, but for discovering that I was 1 deadeye short (probably lost in transport between Jersey and Florida at some point). That means that completion will have to wait for our next trip north, which isn't likely to be until late spring or even summer. In the meantime, I also have to get 1 deadeye. In any event, the attached photos show the model in it's almost completed state, lacking 1 shroud, final tying off of some lines and rope coils. Bob


- 78 replies
-
- 17
-
-
- medway longboat
- Syren Ship Model Company
- (and 1 more)
-
Chuck, I am finding the horizontal filler pieces at the bottom of the lower counter to be very confusing. I cannot find them on the plans at all, and they are shown only on a couple of pictures in Chapter two with no explanation about them. Could you please provide some guidance? Thanks. Bob
-
Absolutely beautiful. Hard to imagine doing it as well, or even close. Bob
- 1,784 replies
-
- 2
-
-
- winchelsea
- Syren Ship Model Company
- (and 1 more)
-
Looks great Rusty. If you've enjoyed the exterior fairing, wait until you get to the interior-- even more fun. Bob
- 642 replies
-
- 5
-
-

-
- winchelsea
- Syren Ship Model Company
- (and 1 more)
-
Thanks so much Dirk, Jean-Paul and the "likes". Always appreciated. Bob
-
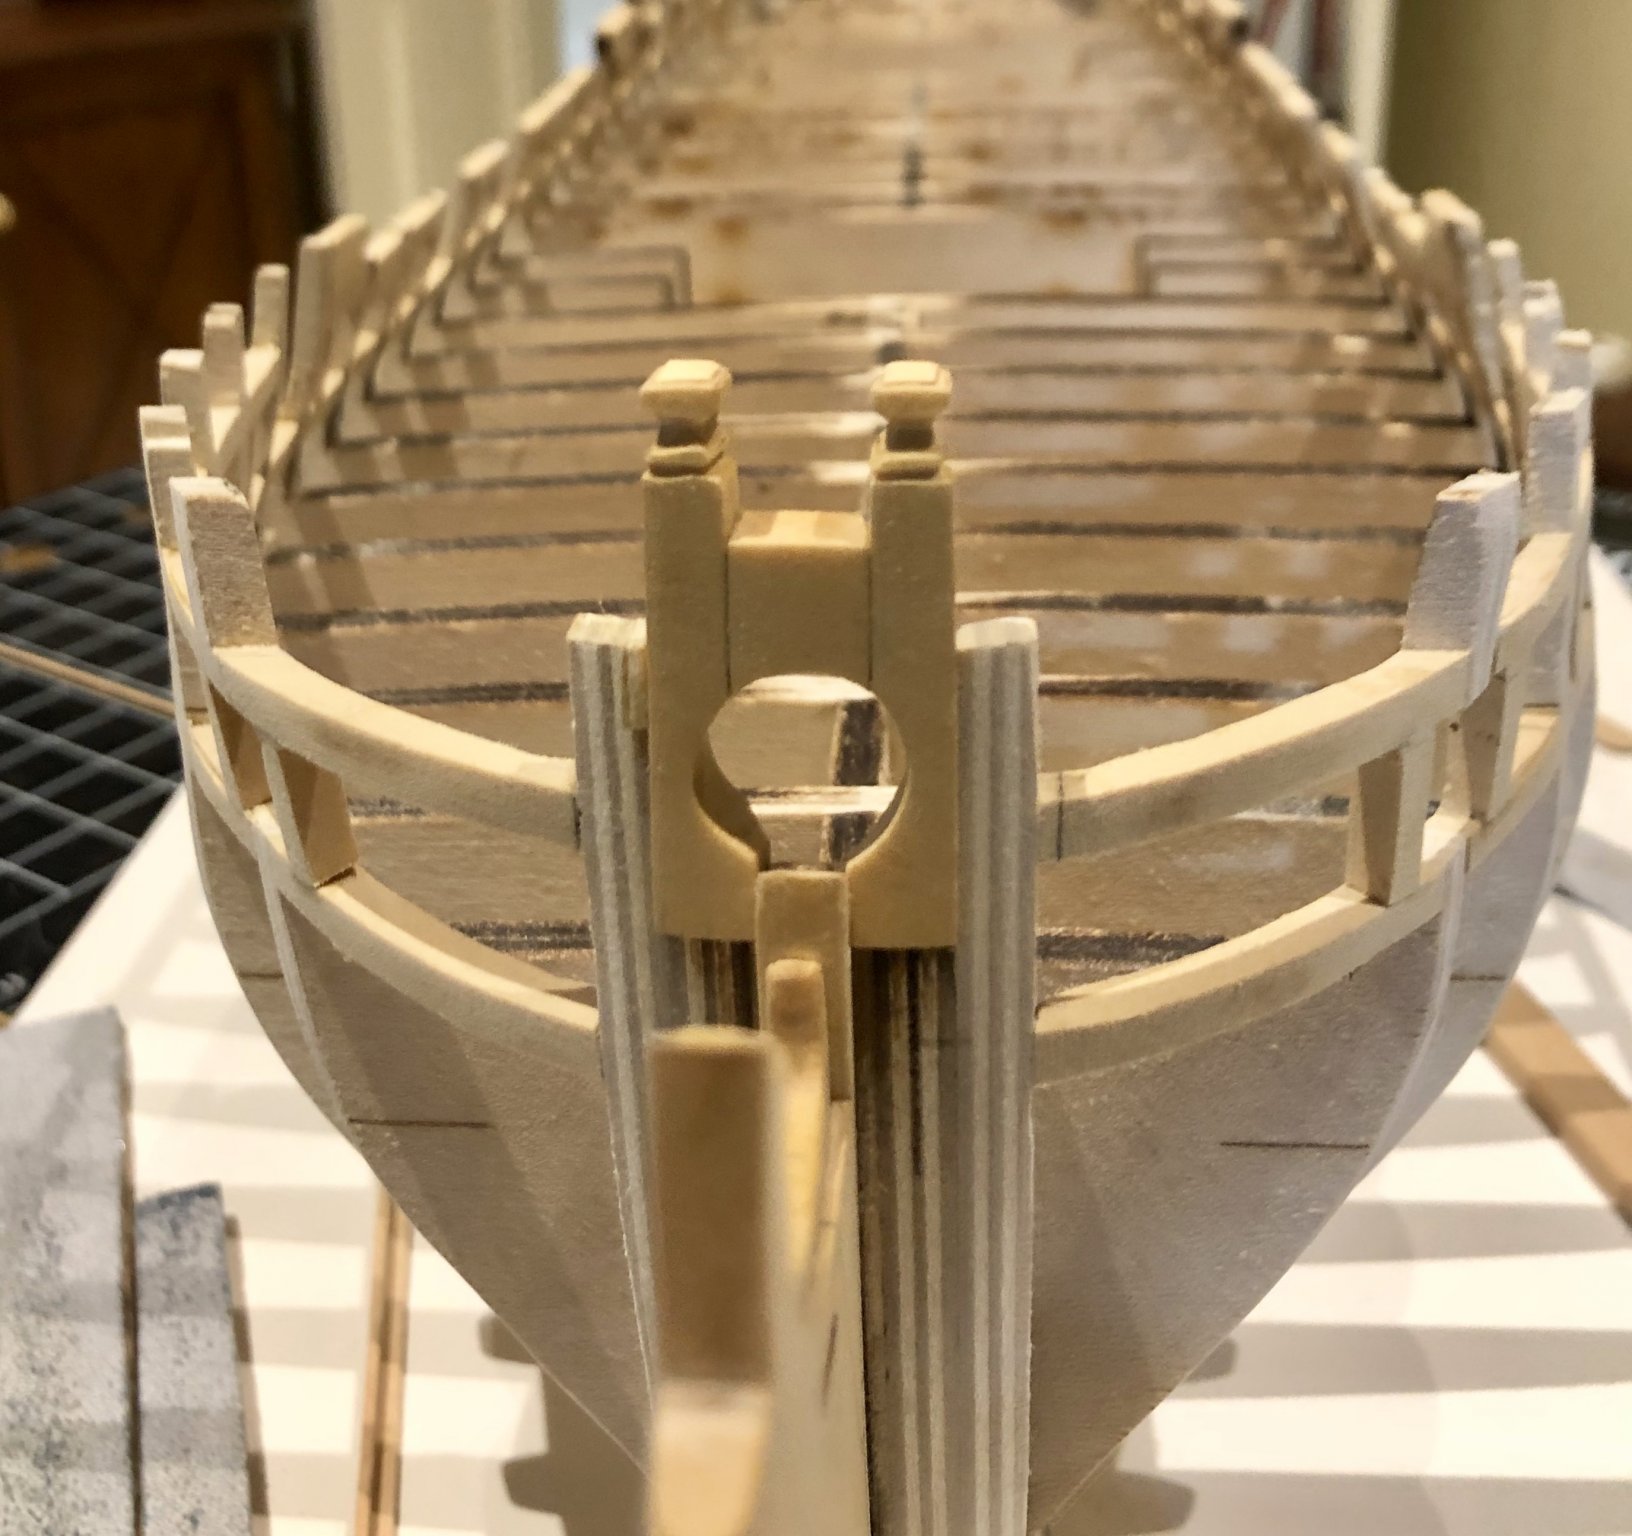
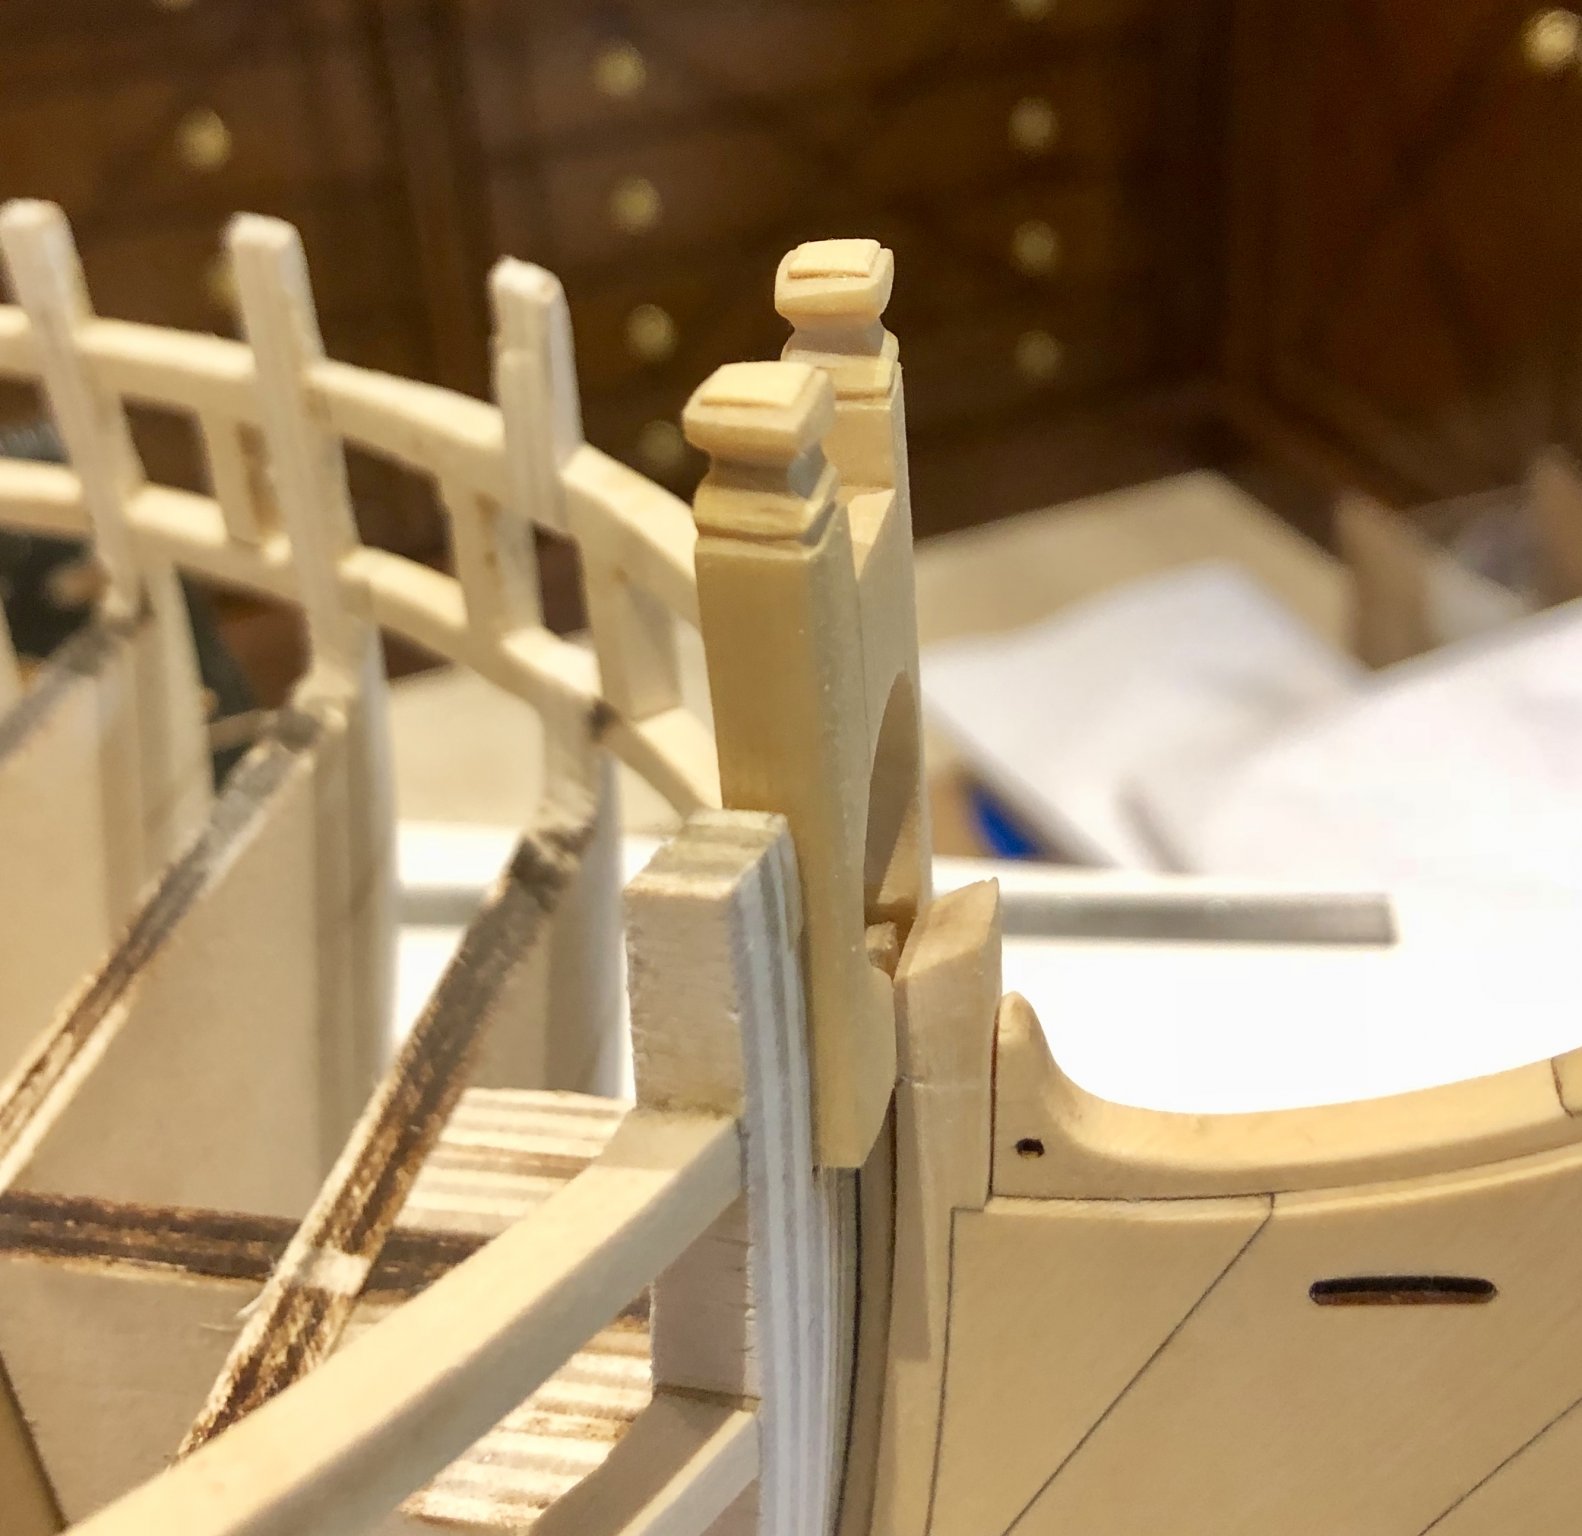
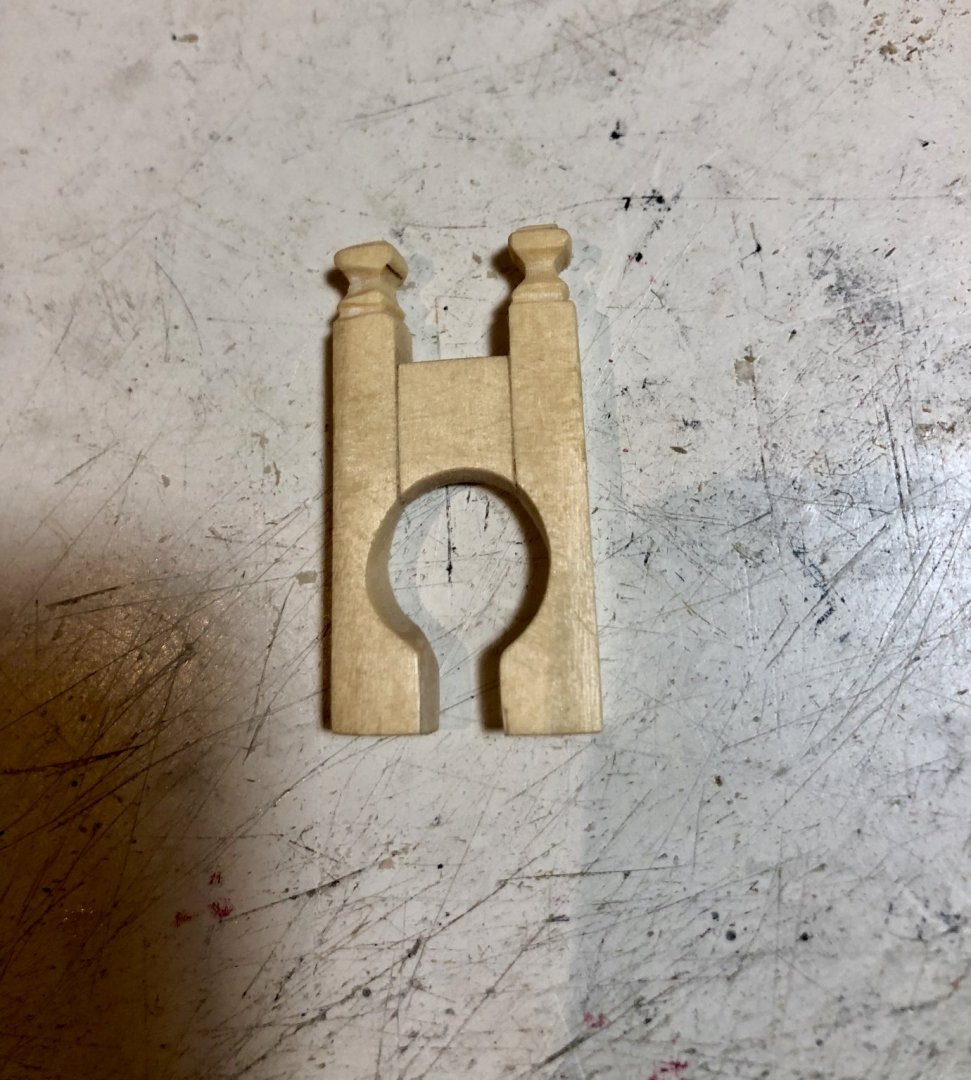
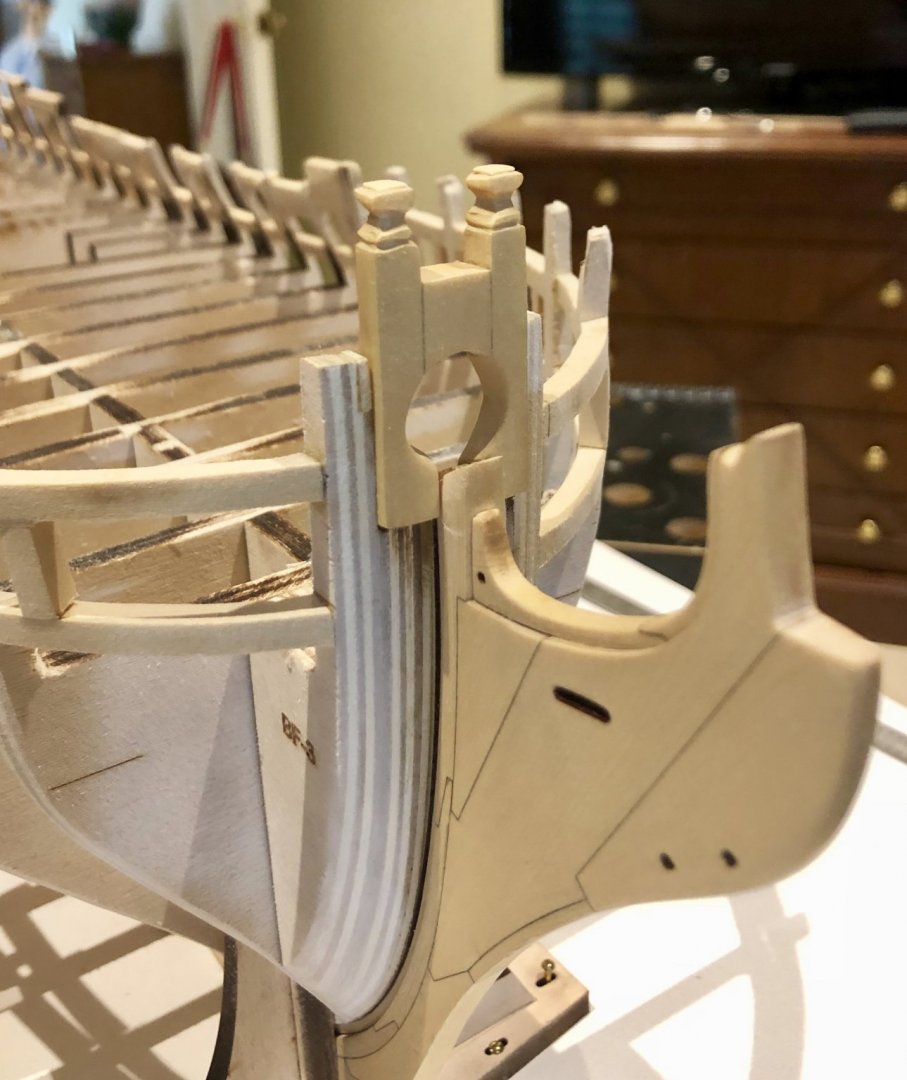
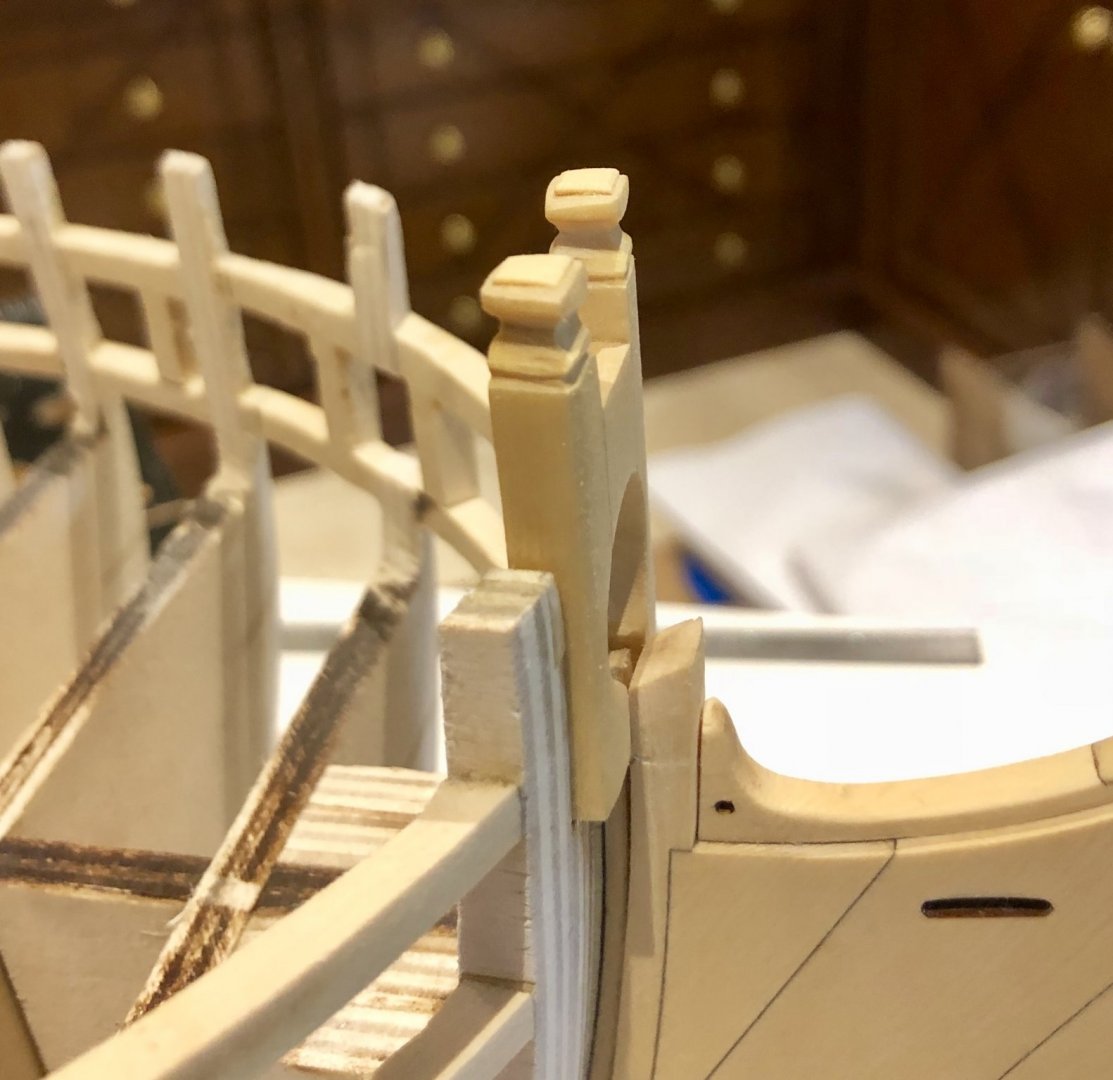
Before doing the bollard timbers, I started fairing the interior of the bulwarks, as suggested by Chuck. As much of a pain as the hull exterior was to fair, the interior seems even worse. Using chisels, a Dremel sanding drum and sandpaper, I started at the bow and continued back about halfway, before deciding that was enough for now. I then moved on to the bollard timbers. It is fortunate that Chuck has provided a number of extra blanks in the laser package, as I needed all of them. Even then, my work was hardly perfect. Little errors would occur and be exposed immediately by photography. What you will see are the best that I came up with. Bob Bob


-
Thanks so much Rusty, Matt and the "likes". Much appreciated. Bob
-
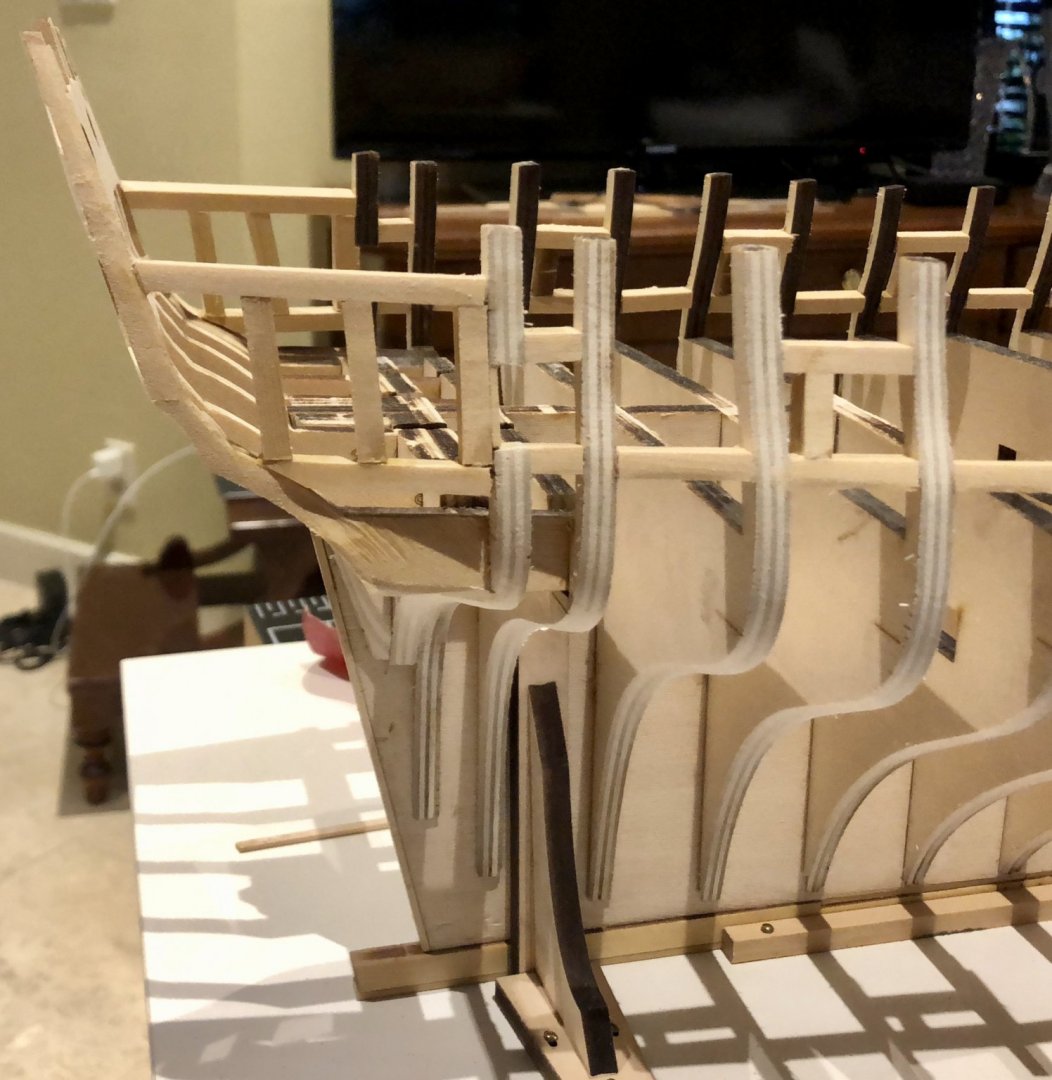
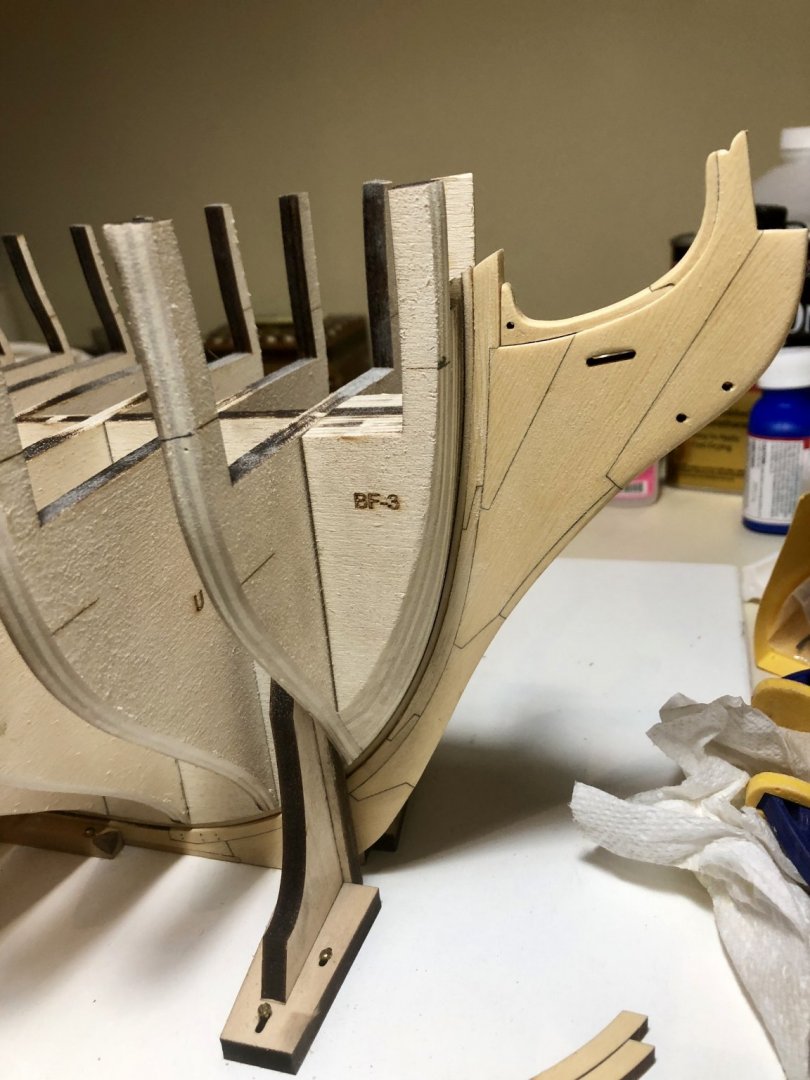
I completed the basic framing this week by doing the stern framing, the quarter gallery framing, the stern planking filler, the quarter deck sheer strip and the laser cut hance pieces. Although the planking filler wasn't mentioned at this point, it seemed an appropriate time to add it. The laser cut window guide pieces certainly made the stern framing construction easier. I was not happy or satisfied with the shaping and fairing at the counter and under the stern framing, but decided to leave it until I get to the counter planking, when the correct shaping become should more apparent, and I can make adjustments accordingly. Now, it's time to tackle those tricky looking bollard timbers. Bob


-
Thanks so much Joe. I wouldn't worry about getting left in the dust. I'm more likely to get lost in my own sawdust. Bob
-
Thanks so much Chuck, Rusty, Mike and the "likes". Good tip Mike. Bob
-
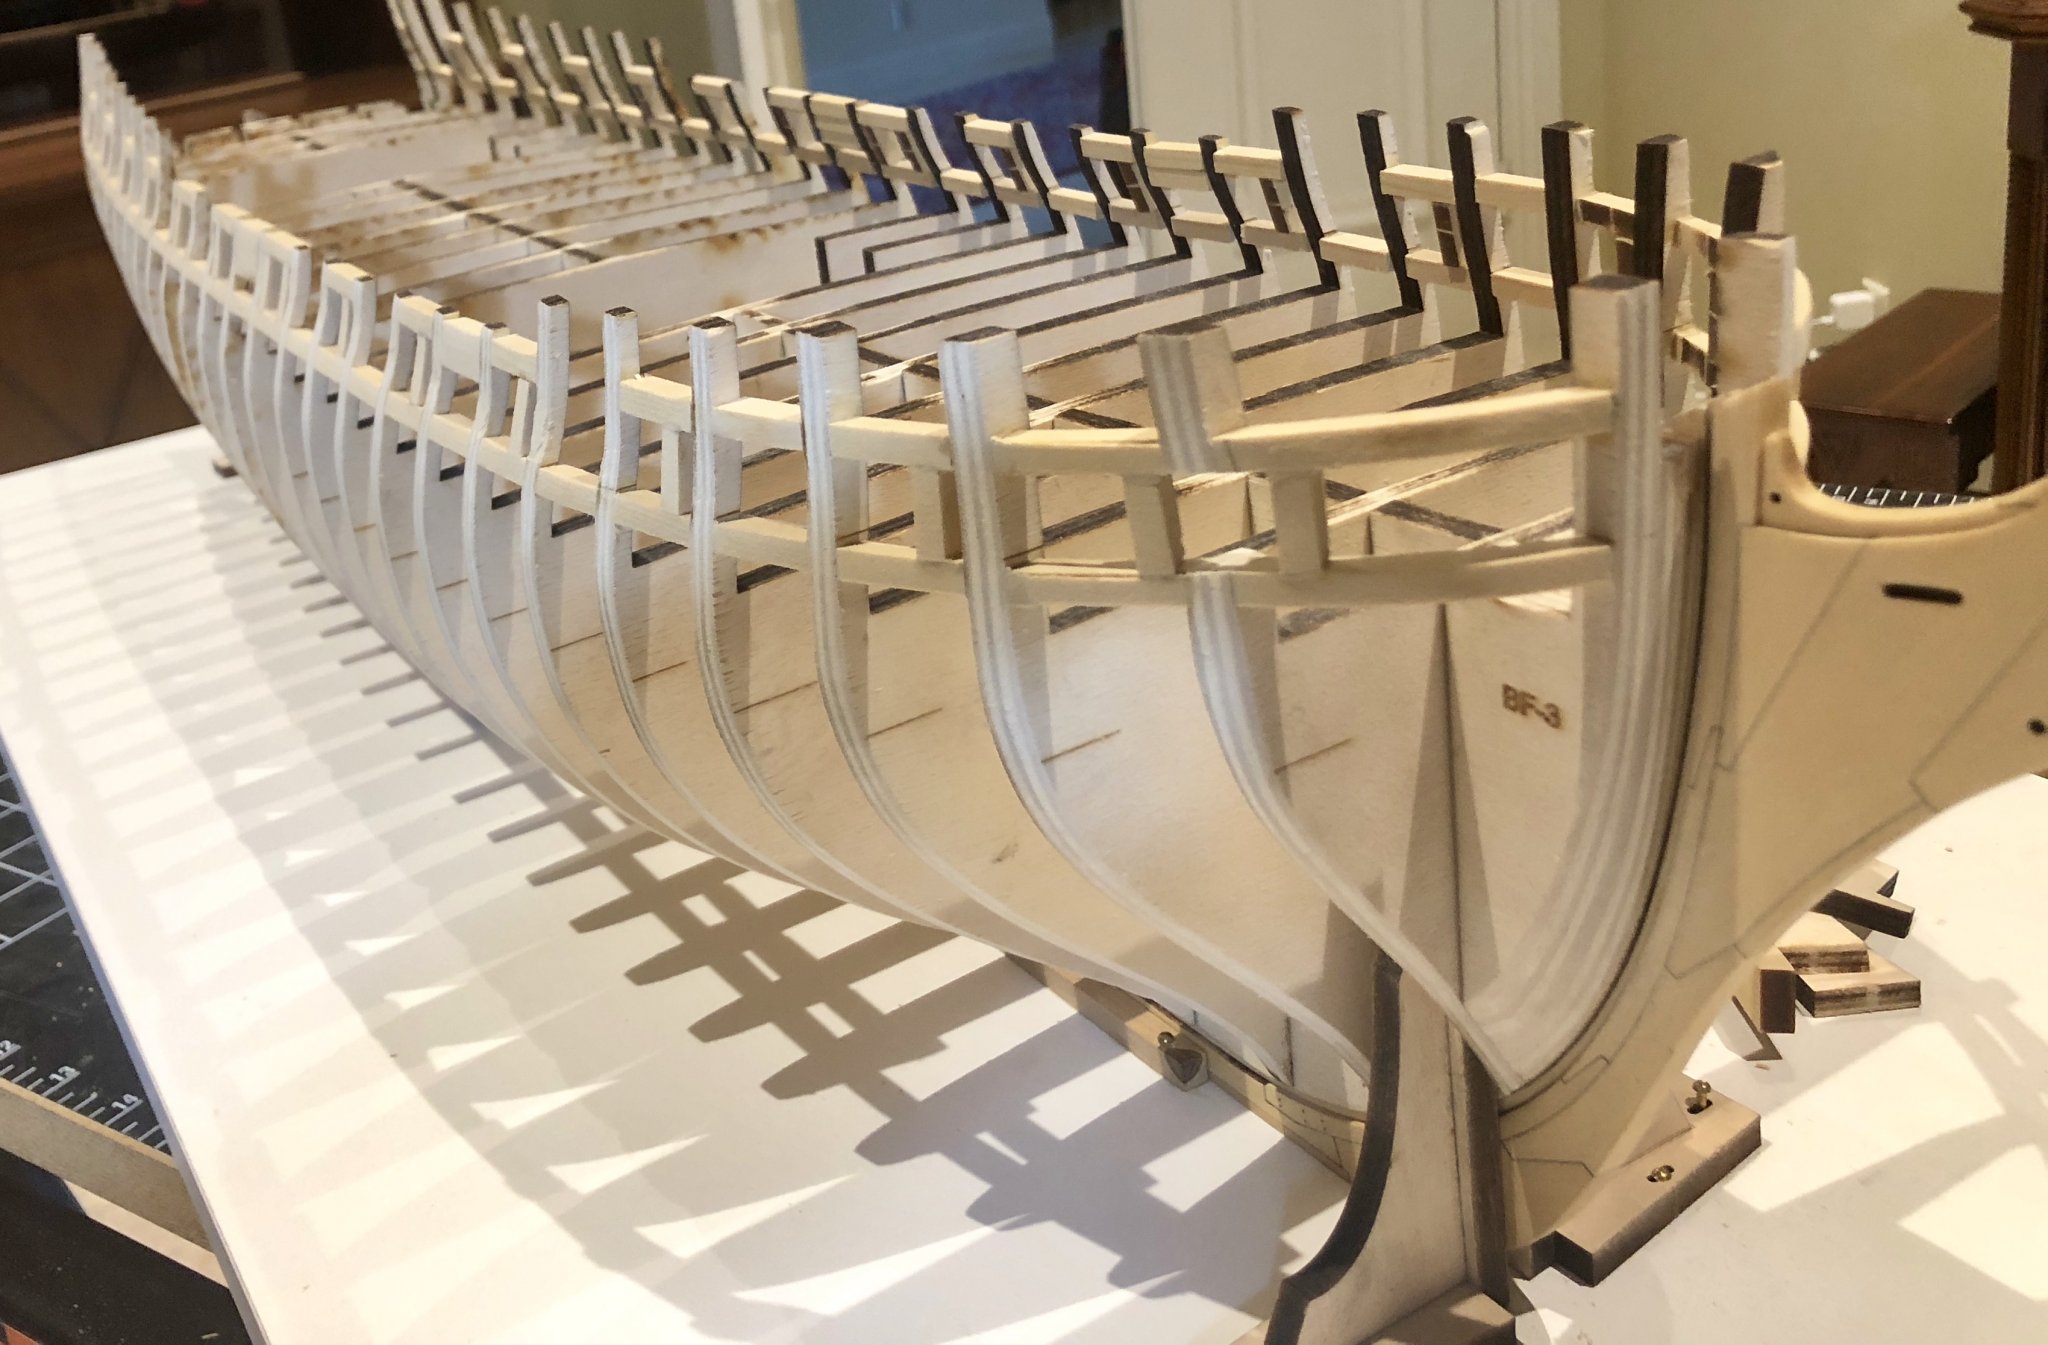
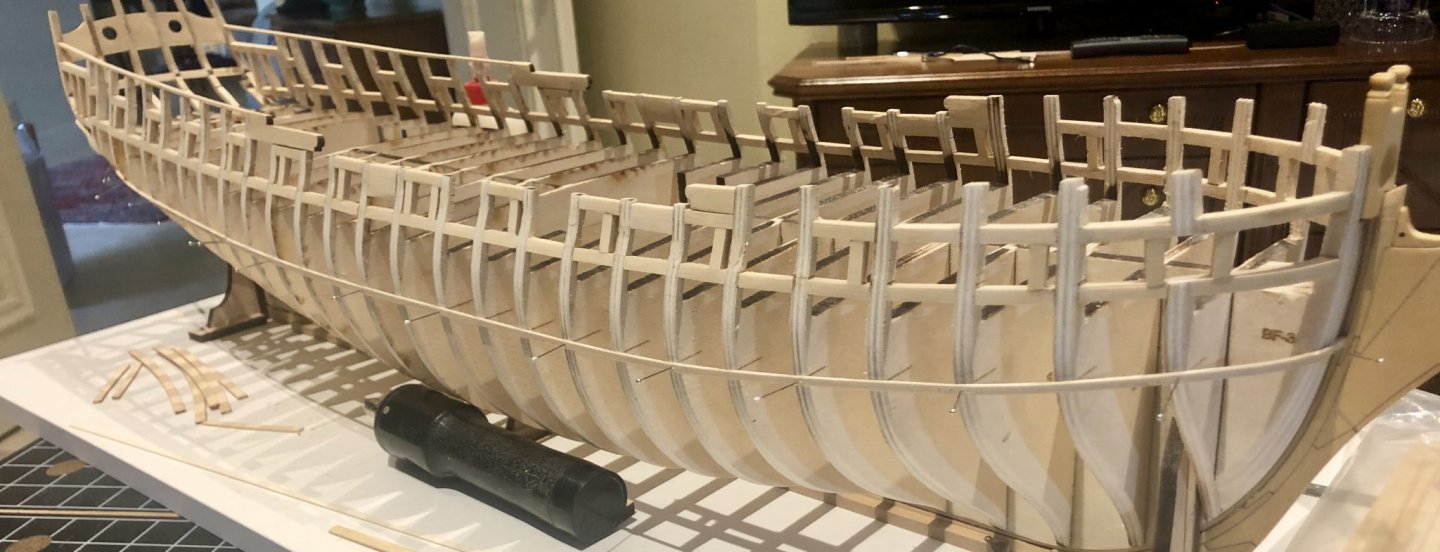
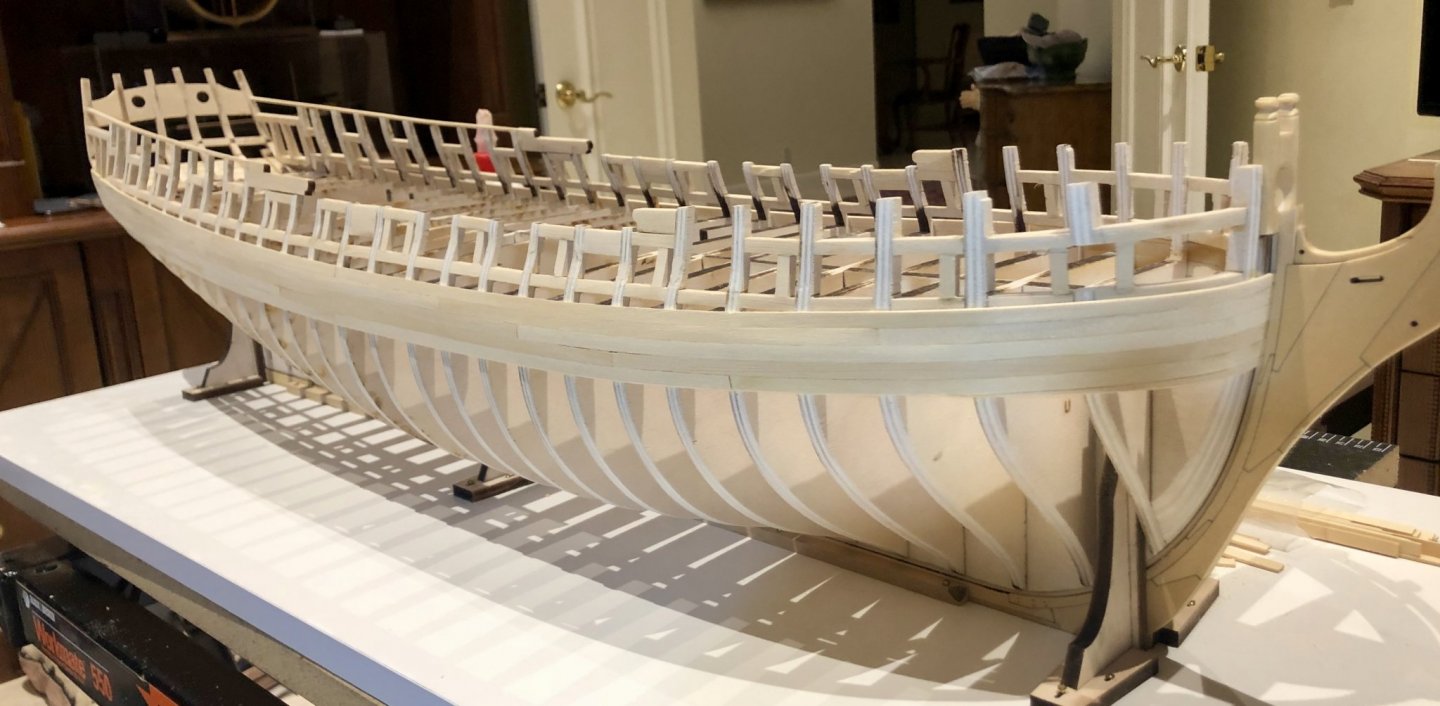
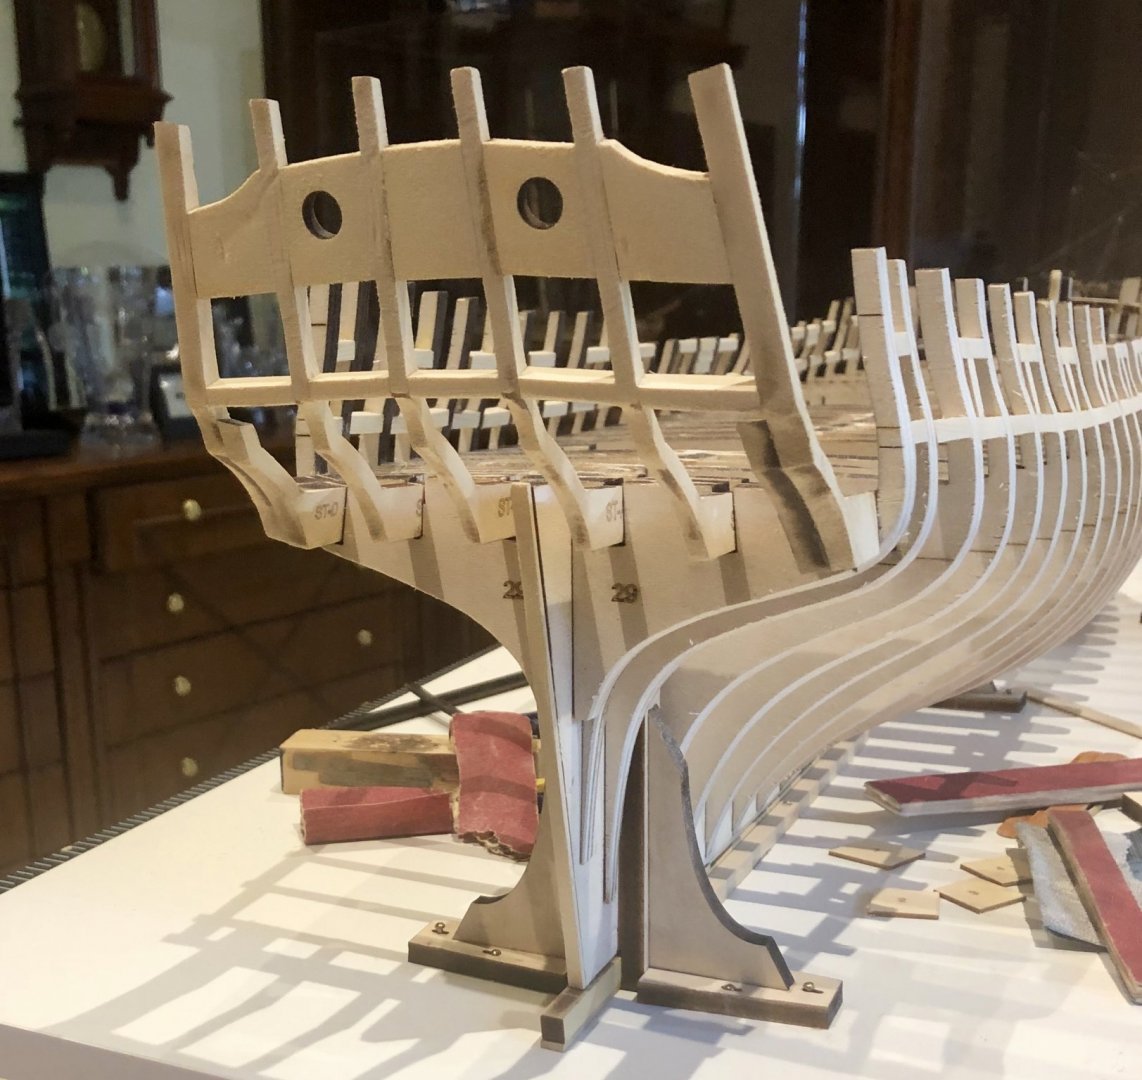
Moving along. I've done the gunport framing and faired the upper hull area again. The only tricky part of the framing was making sure that the lower sill pieces followed the line that was set earlier by the batten. The ports were set, as suggested by Chuck, using spacers for both vertical and horizontal dimensions. Sawing out the bulkheads went fairly smoothly. After completion of the framing it was time to sand the exterior fair again. I've done so much sanding on this hull, I feel like I have sandpaper attached permanently to my hands. Now, it's on to the stern framing. Bob


-
Thanks Chuck. Thanks also for the "likes". Bob
-
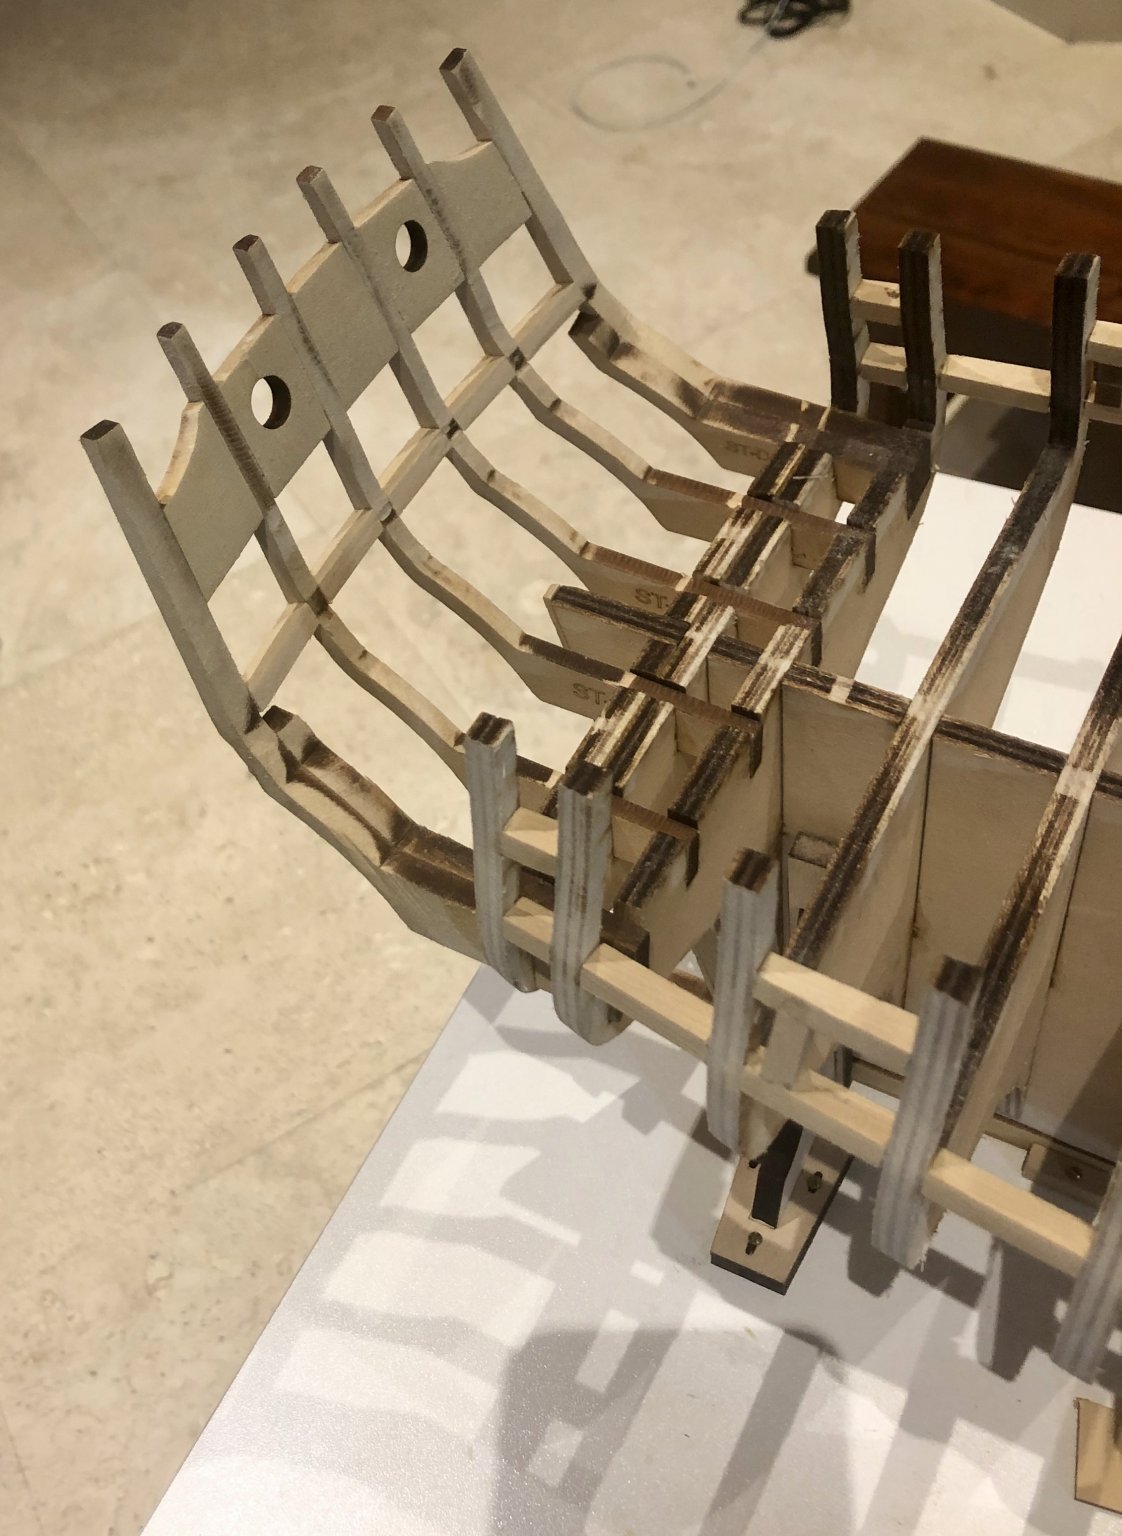
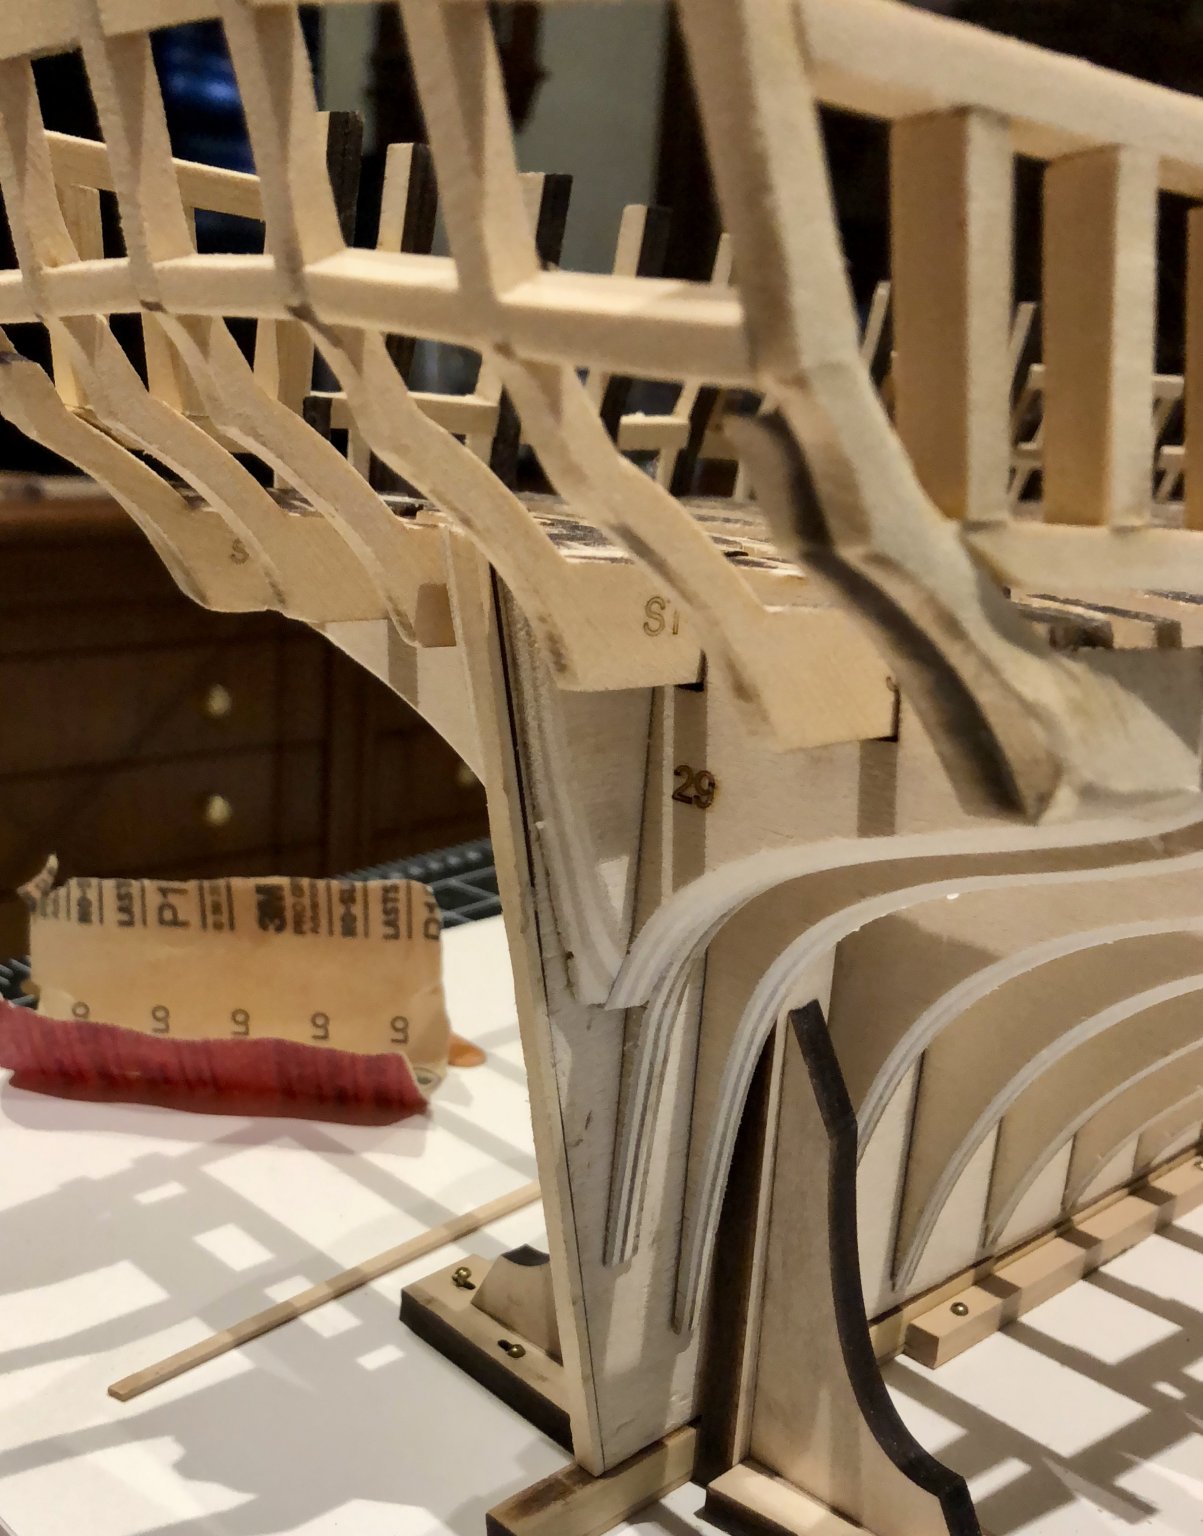
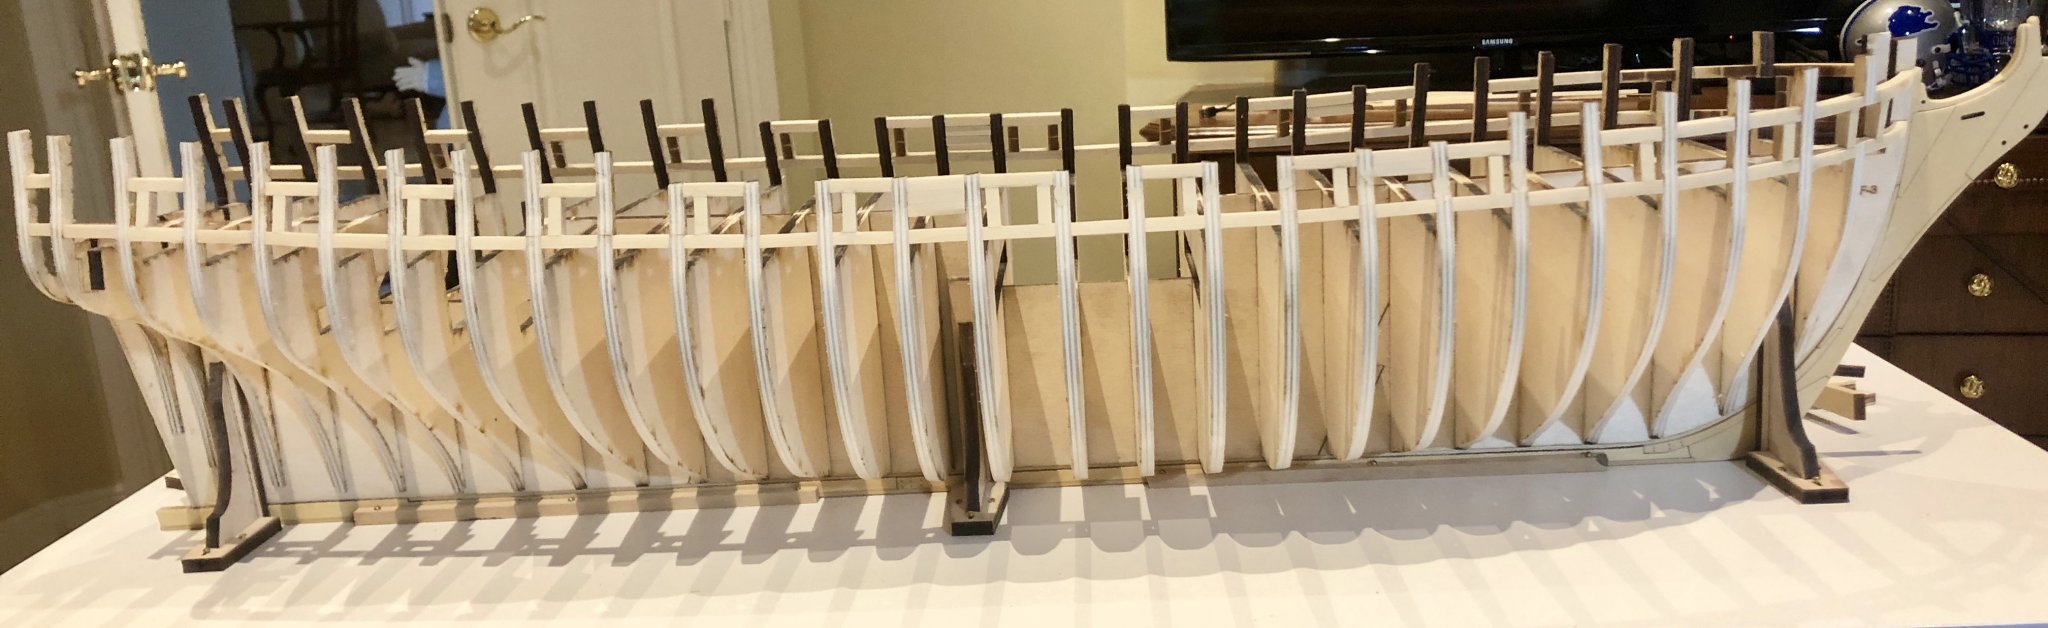
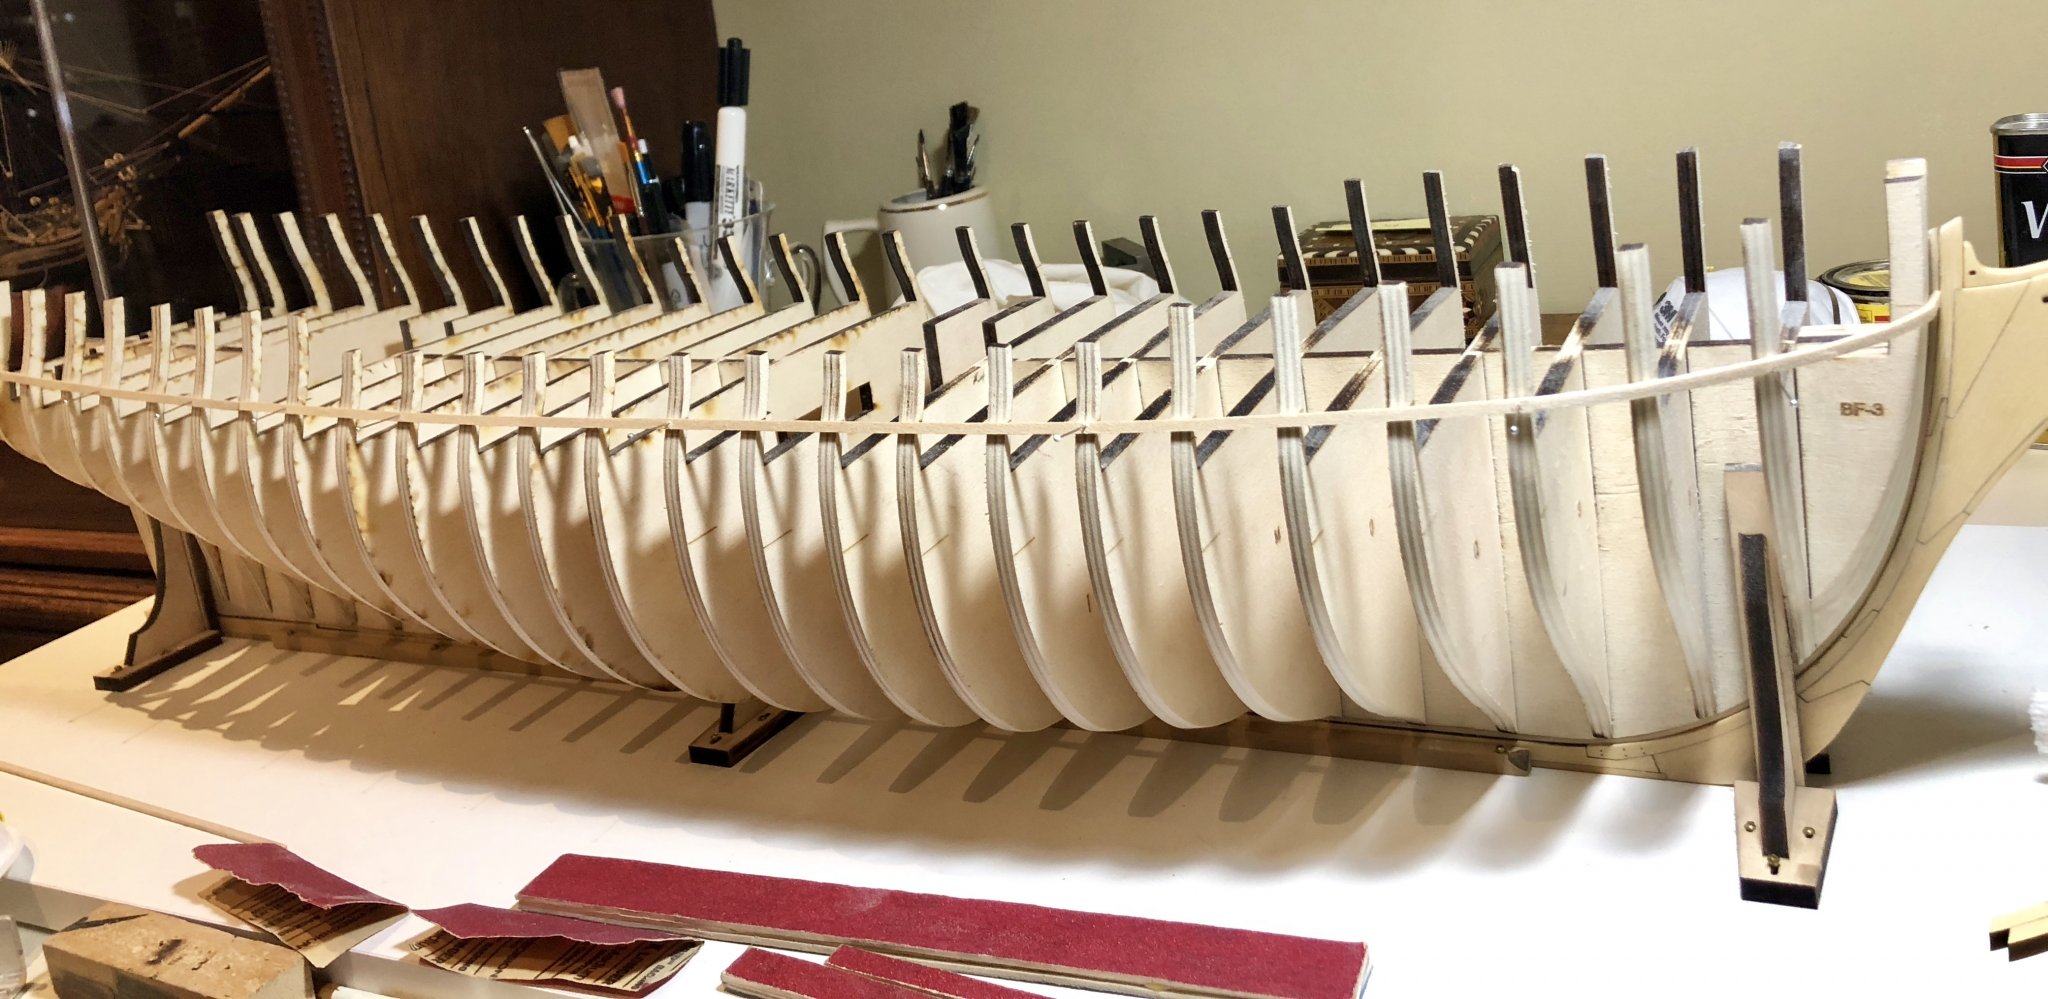
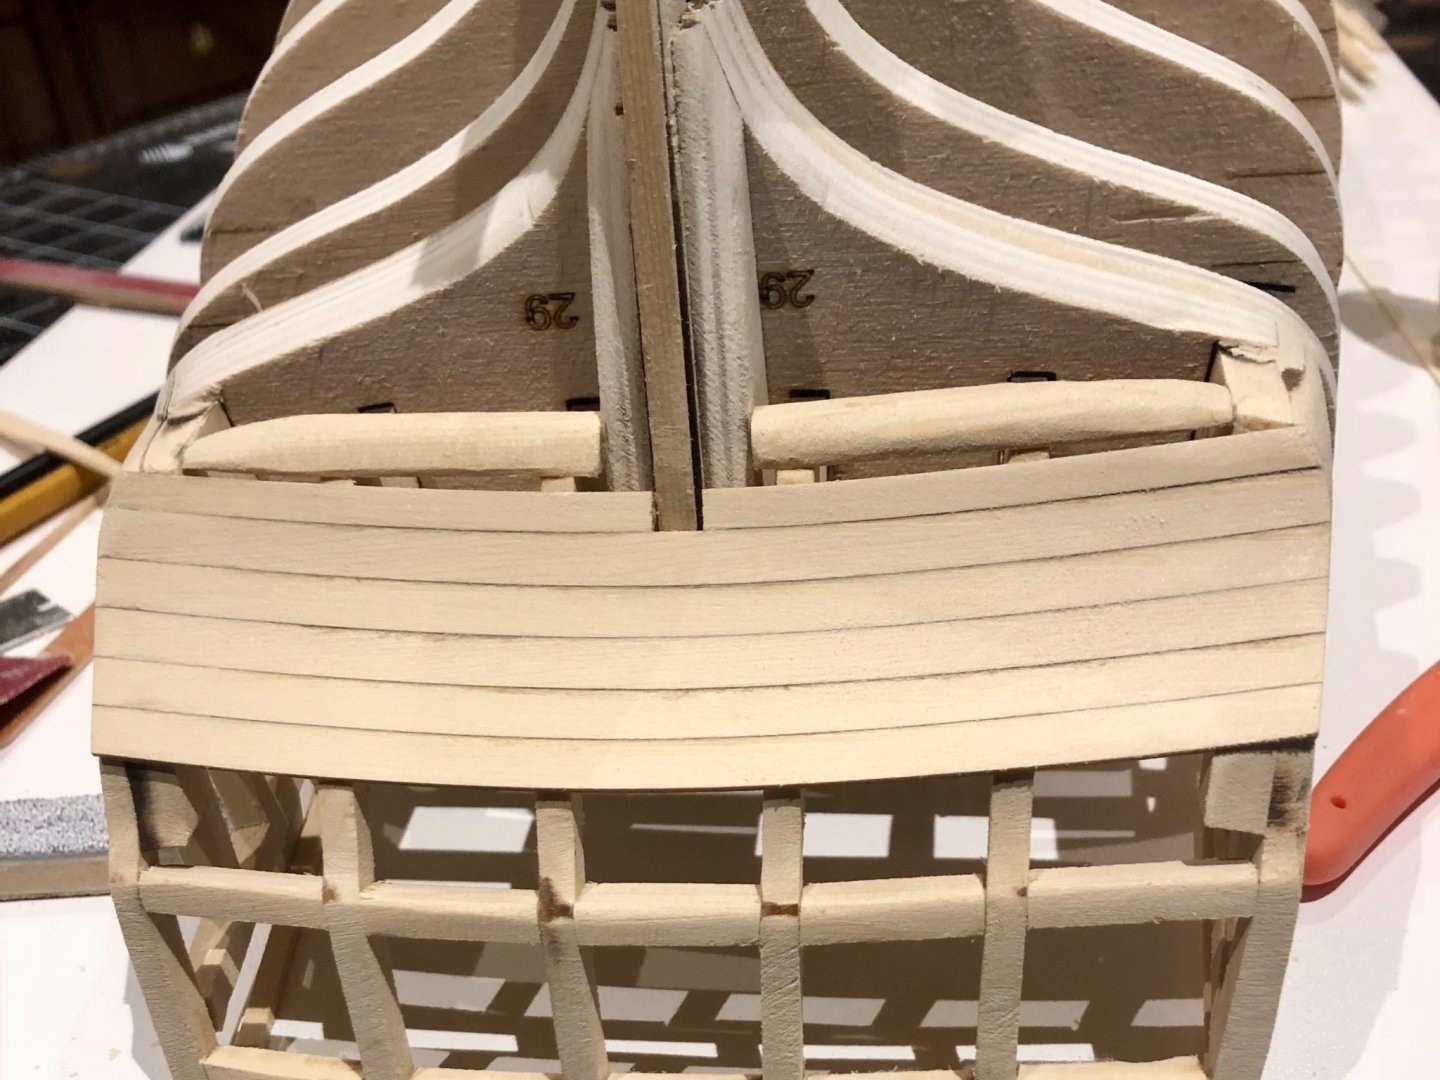
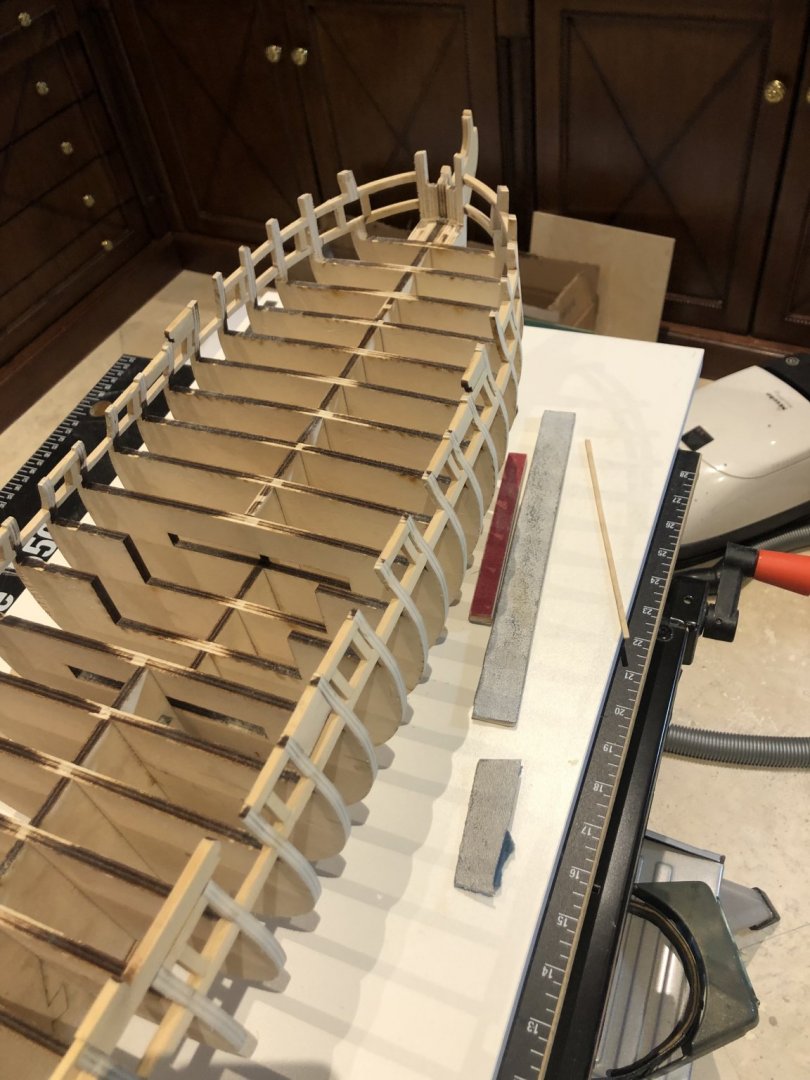
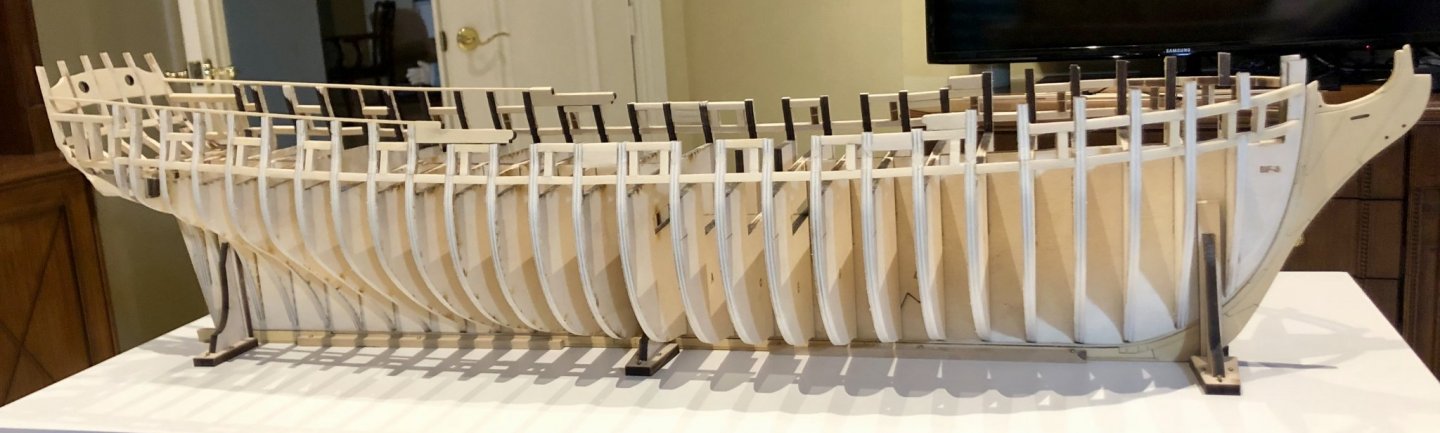
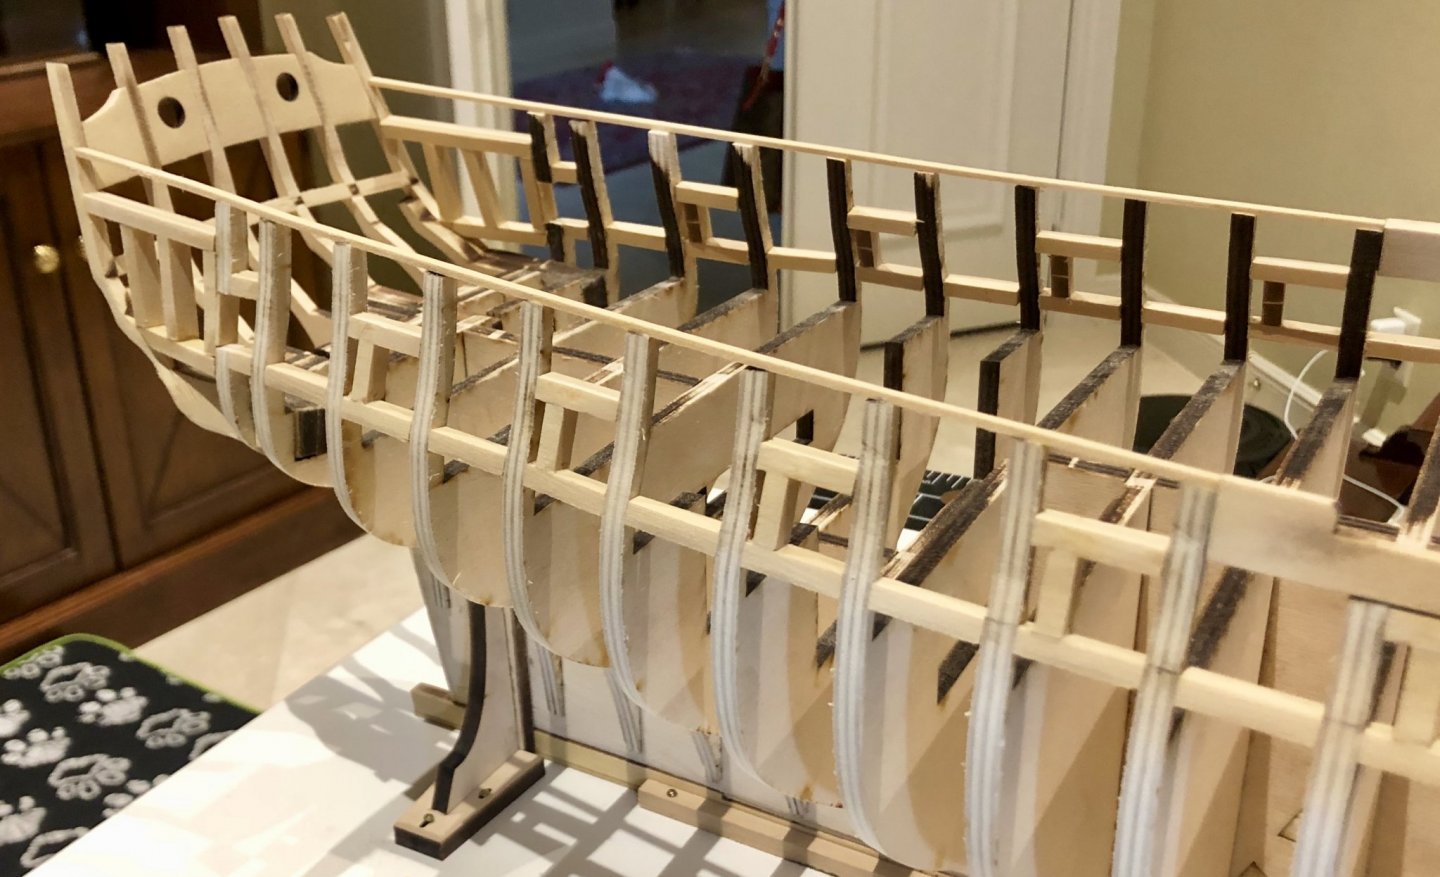
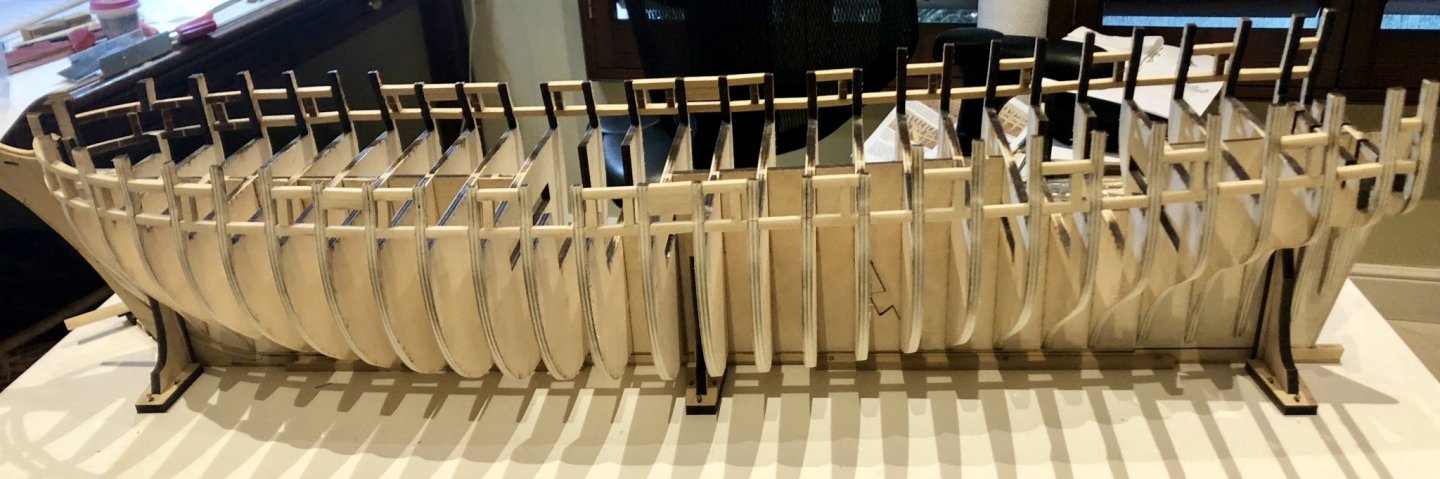
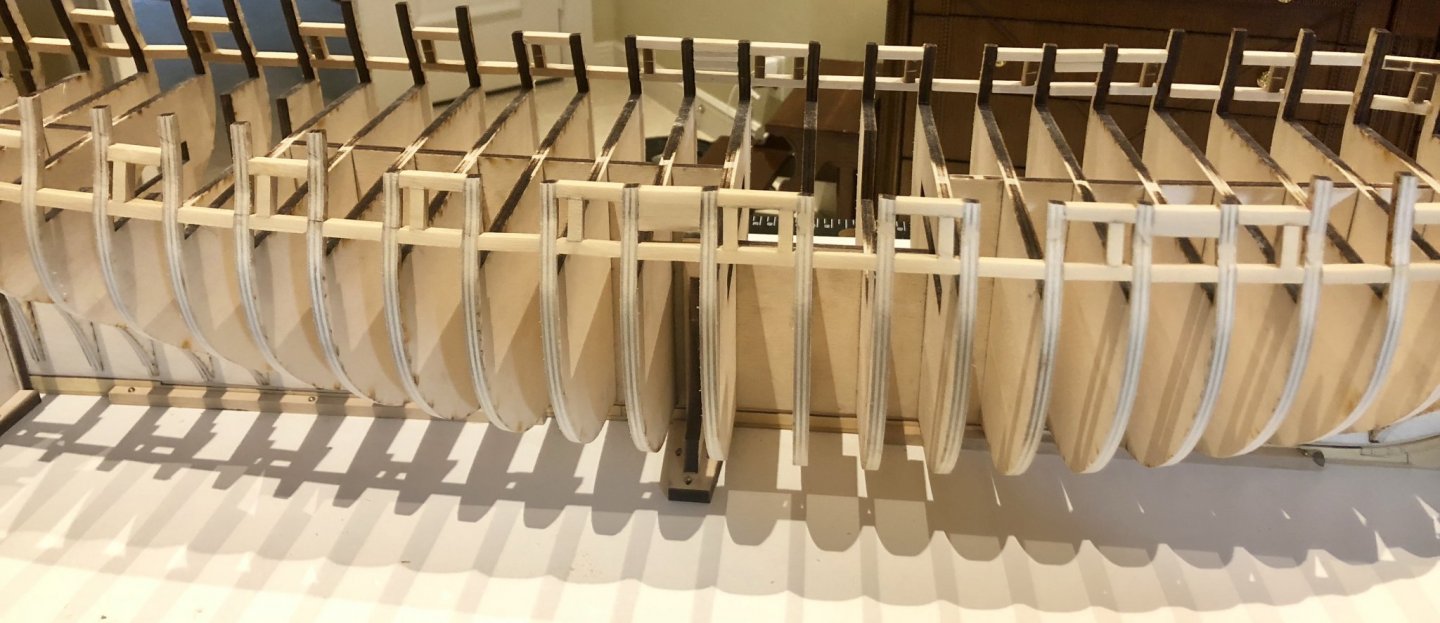
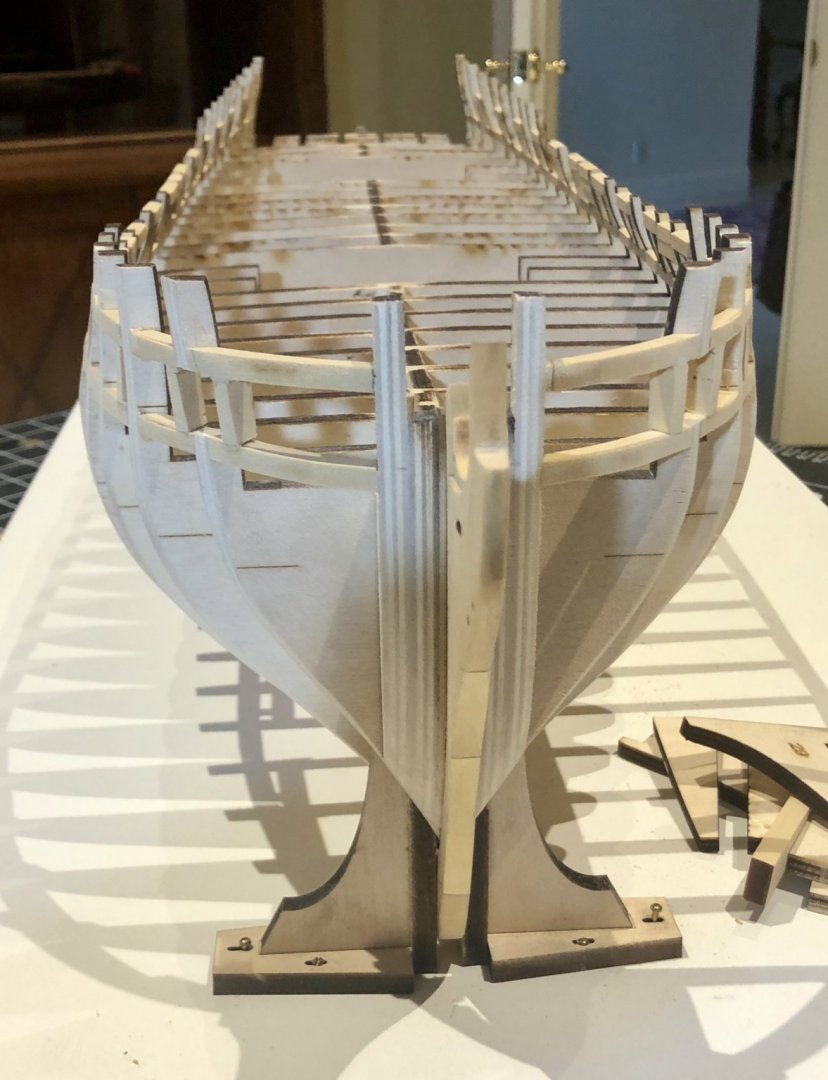
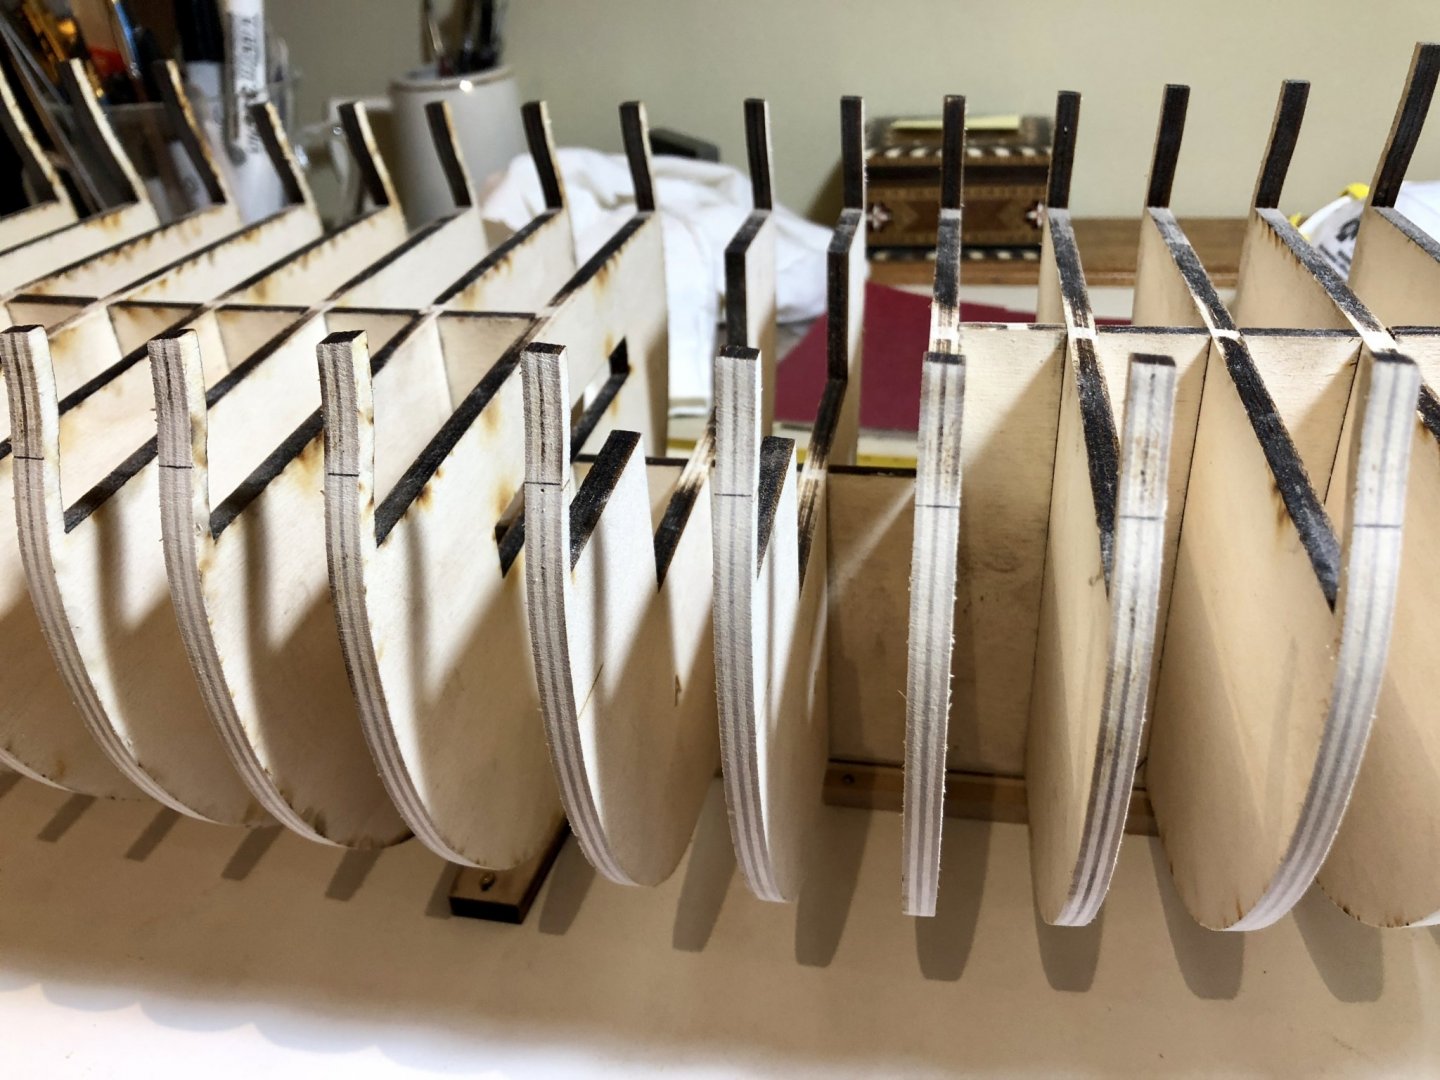
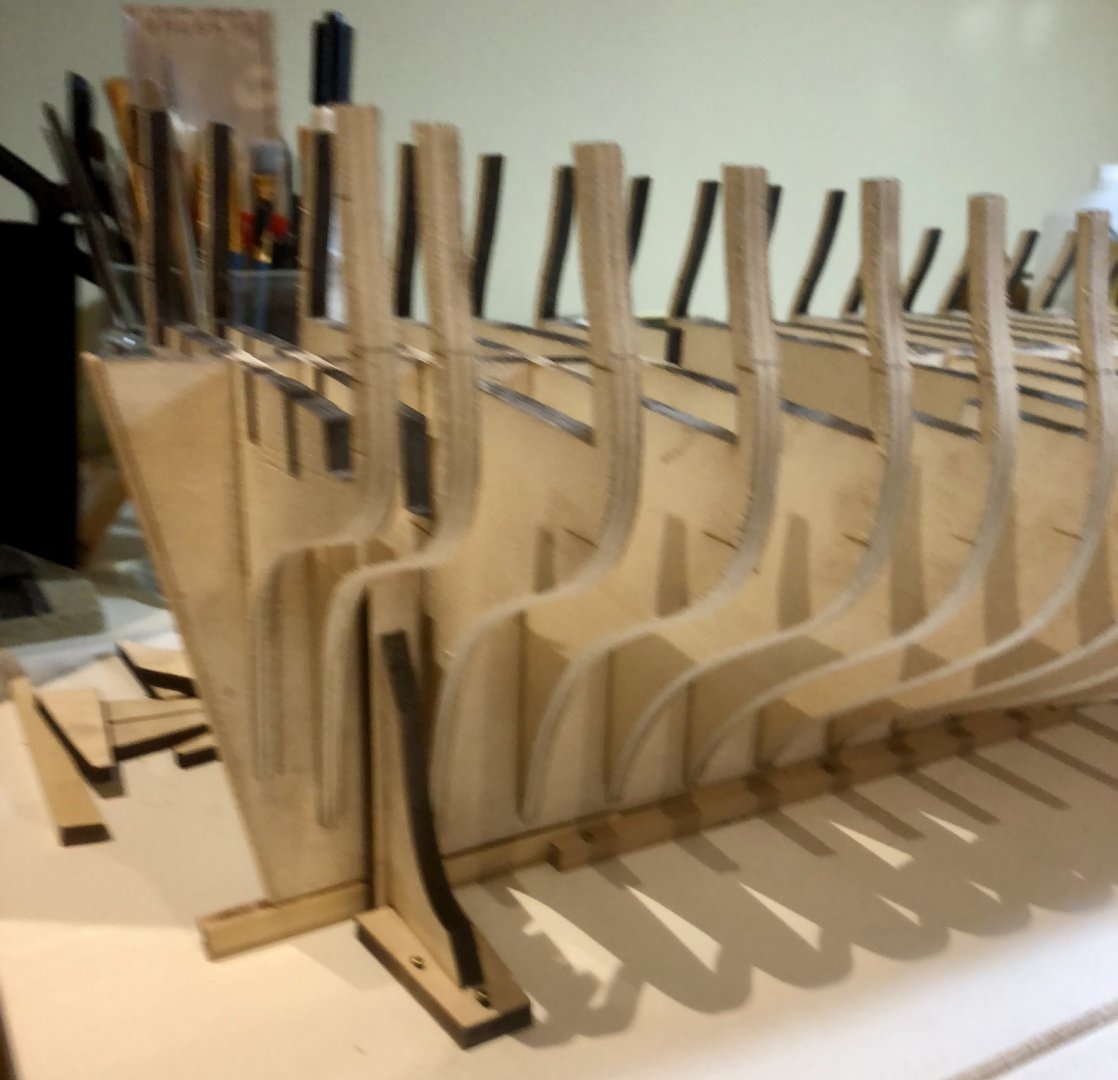
I have spent the better part of 10 days fairing the hull. It has been hard work. Some observations: 1) This hull is a monster. Not only is it large, it is very heavy.I have often worked in my lap in the past. That is barely possible here. 2) There are a very large number of bulkheads ( a very good idea), and they are relatively wide, providing a large surface area to be sanded. It simply takes a lot of time. 3) I have faired the hull well enough (I think) to run a fair batten for the gunport framing, but I likely will do another sanding of the the full hull when I do the fairing of the gunport framing and add the stern framing. Chuck: I have a question going forward. The laser cut parts for the curved forward portion of the port framing are not the same length for the top and bottom, seemingly contrary to the plans and the model. Am I missing something? Bob

-
Thanks so much Bob. Sorry for the delay in responding. Bob
-
A beautiful build of one of my favorite models. I've thoroughly enjoyed watching you do it. What's next? Bob