rafine
-
Posts
2,932 -
Joined
-
Last visited
Content Type
Profiles
Forums
Gallery
Events
Everything posted by rafine
-
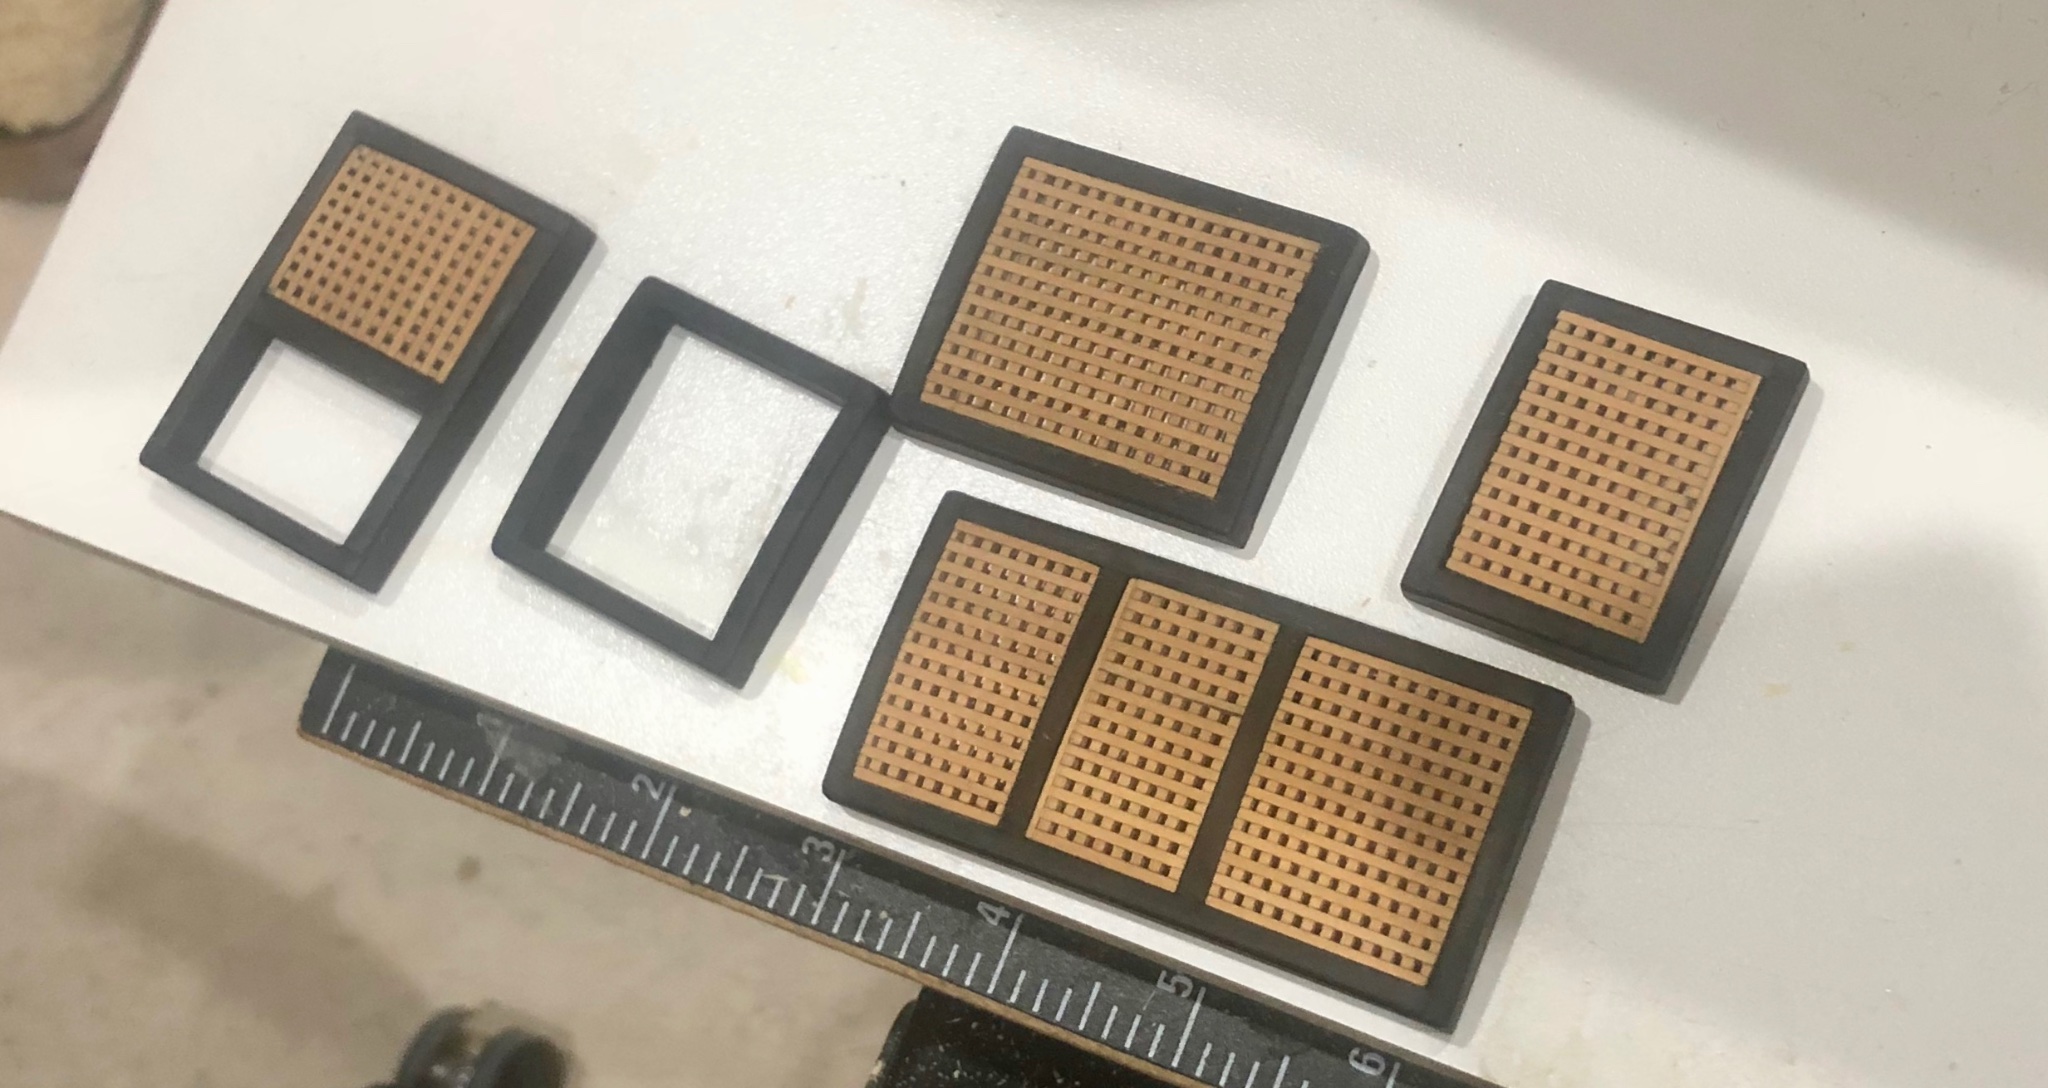
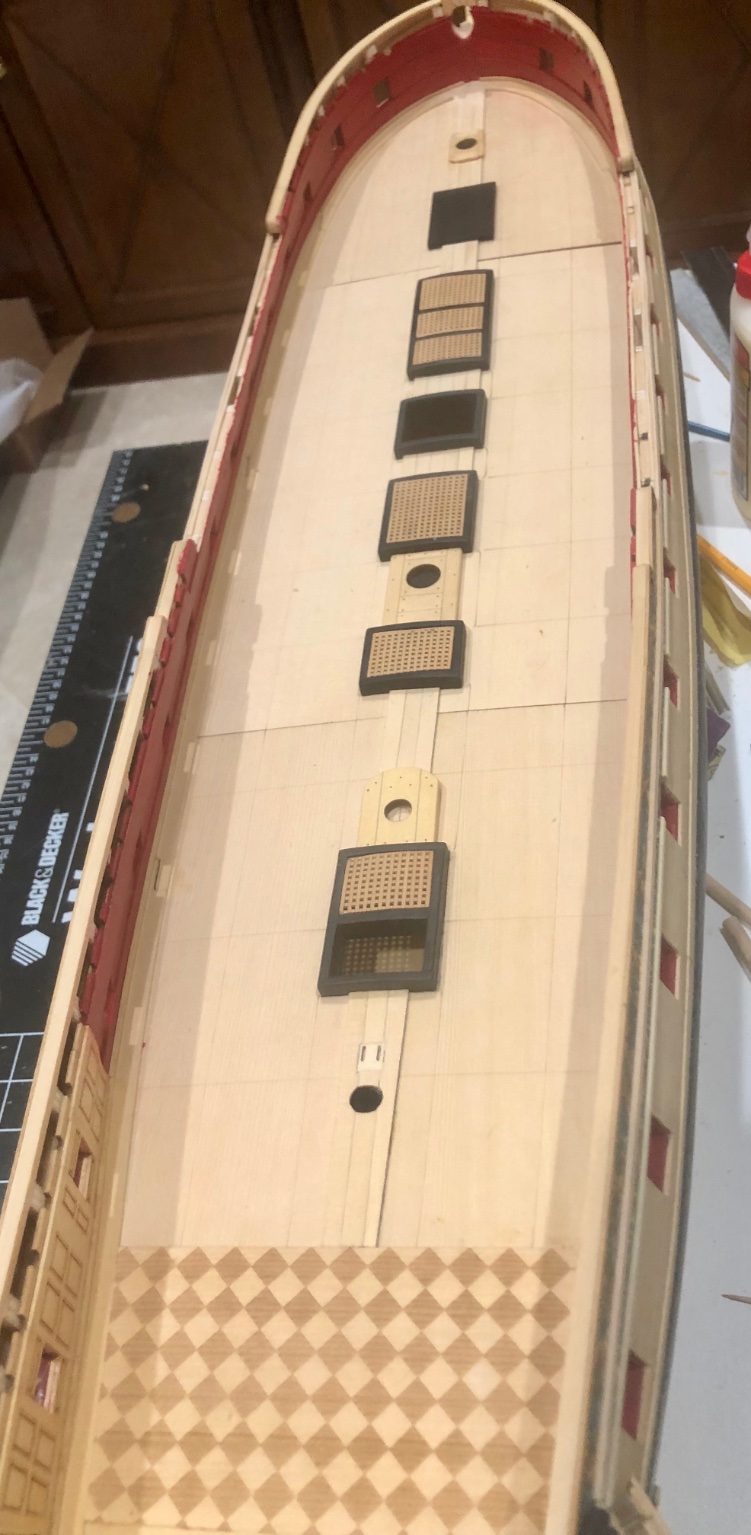
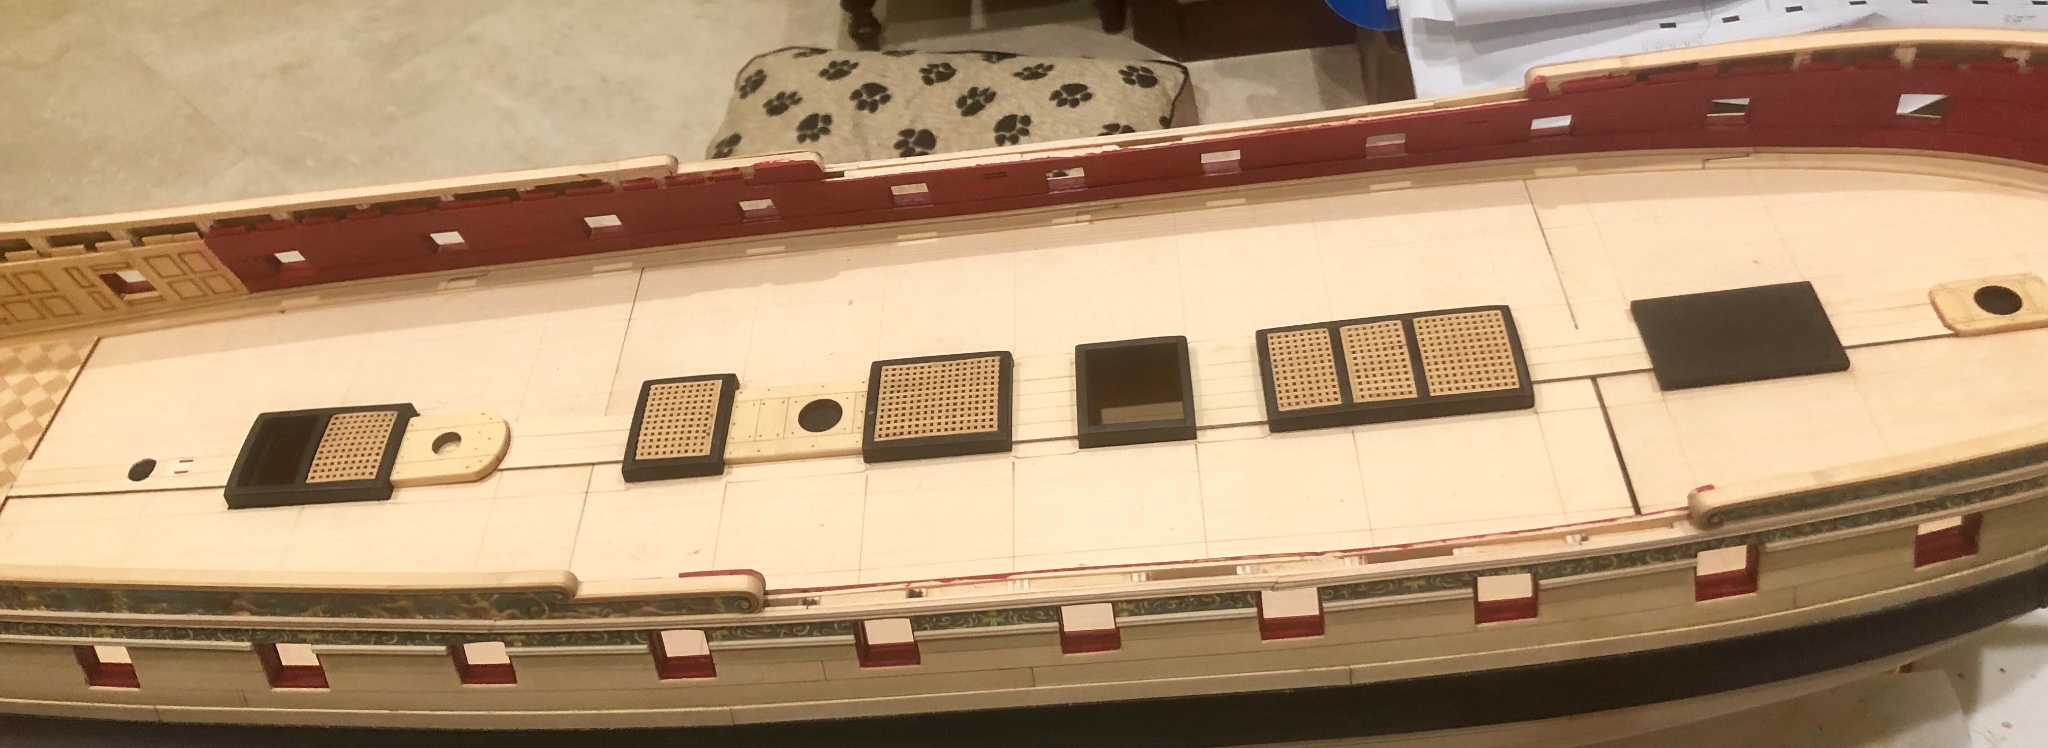
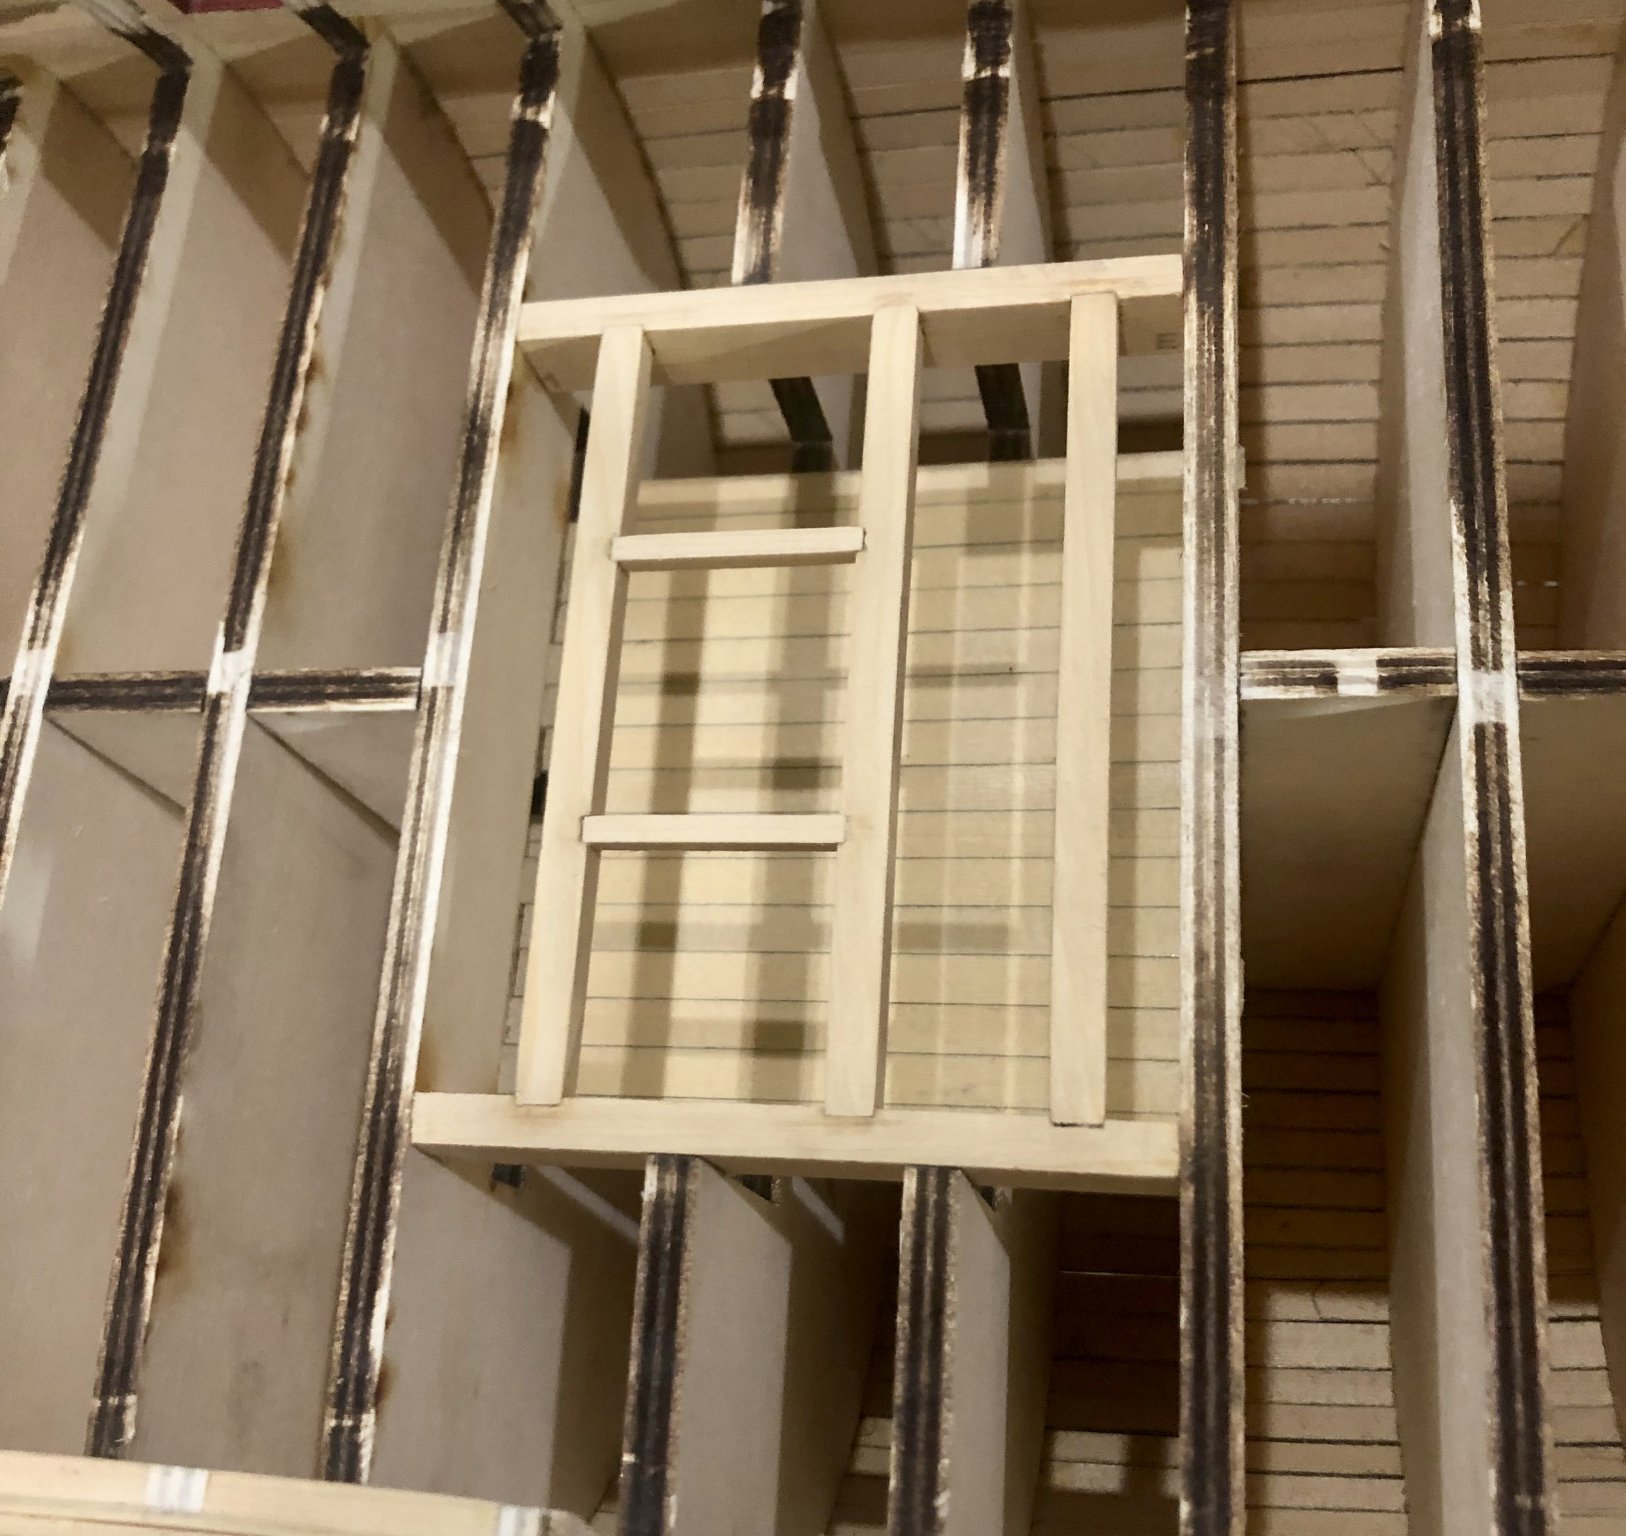
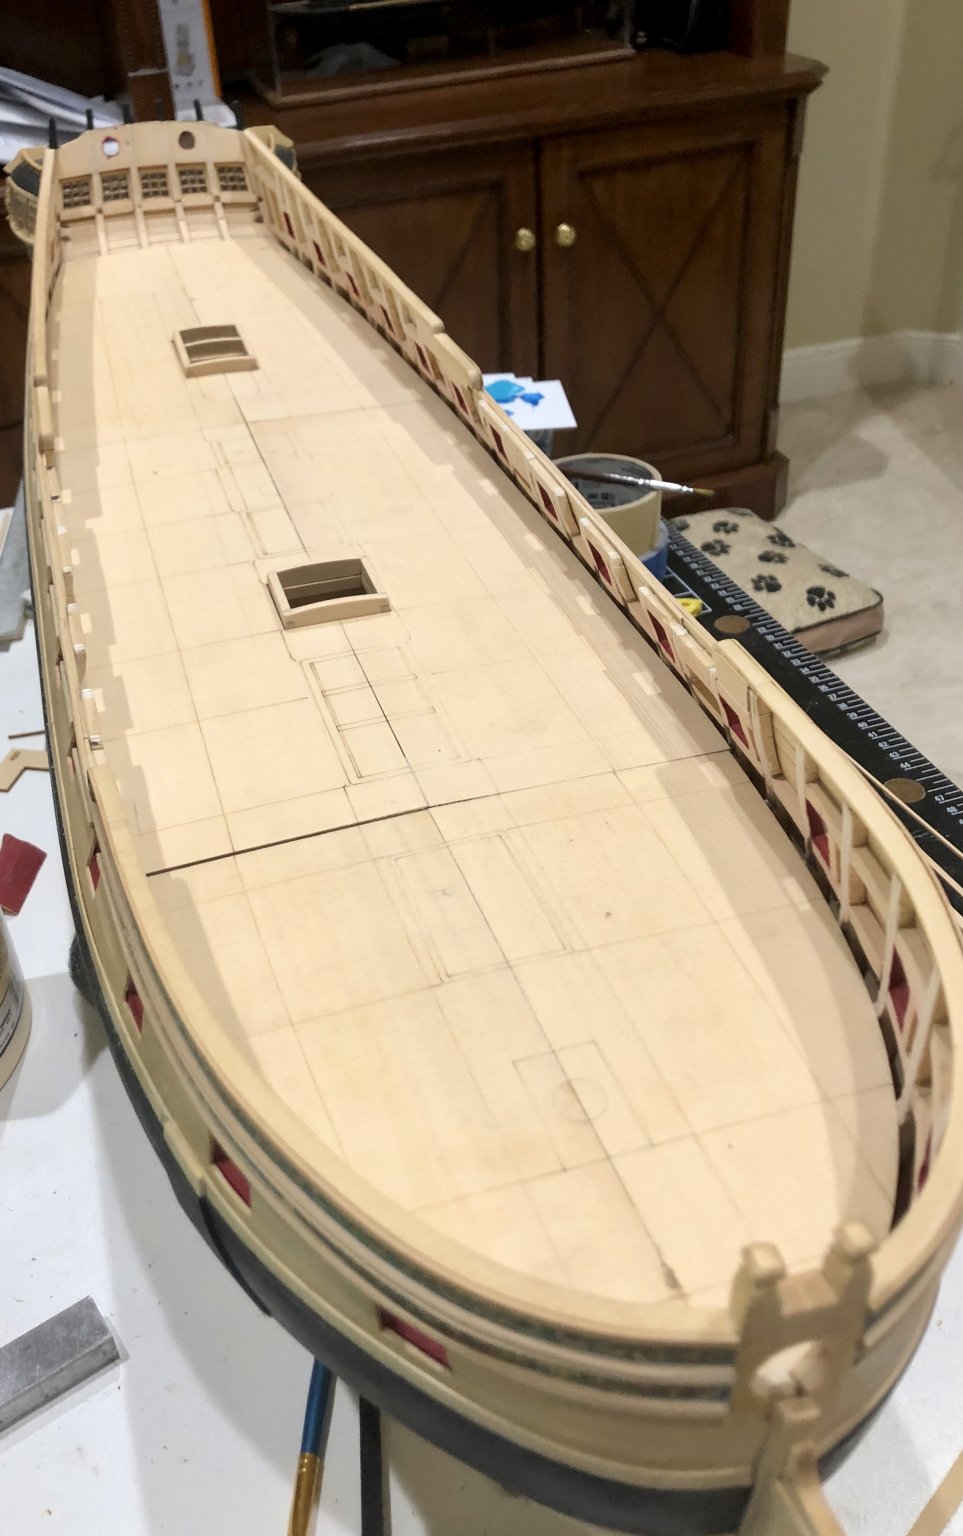
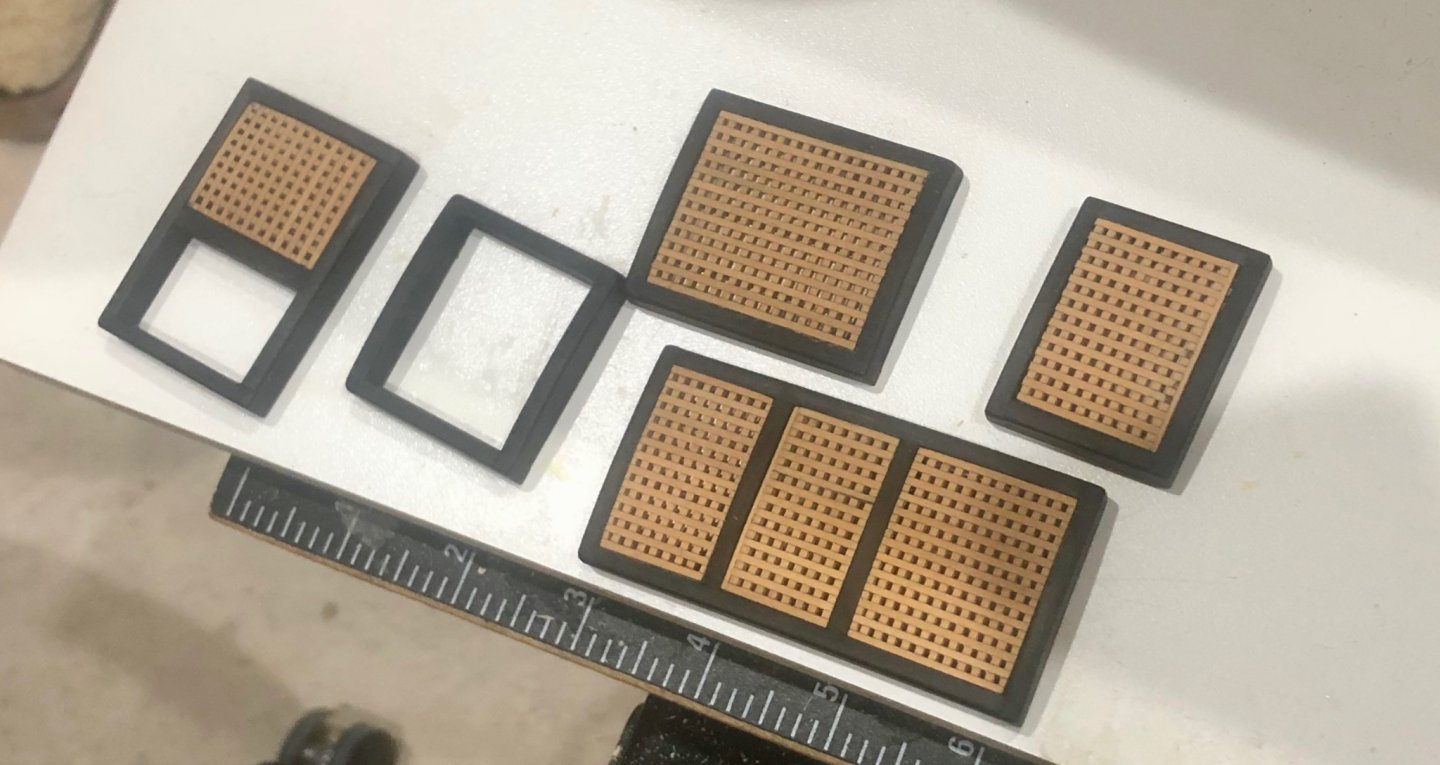
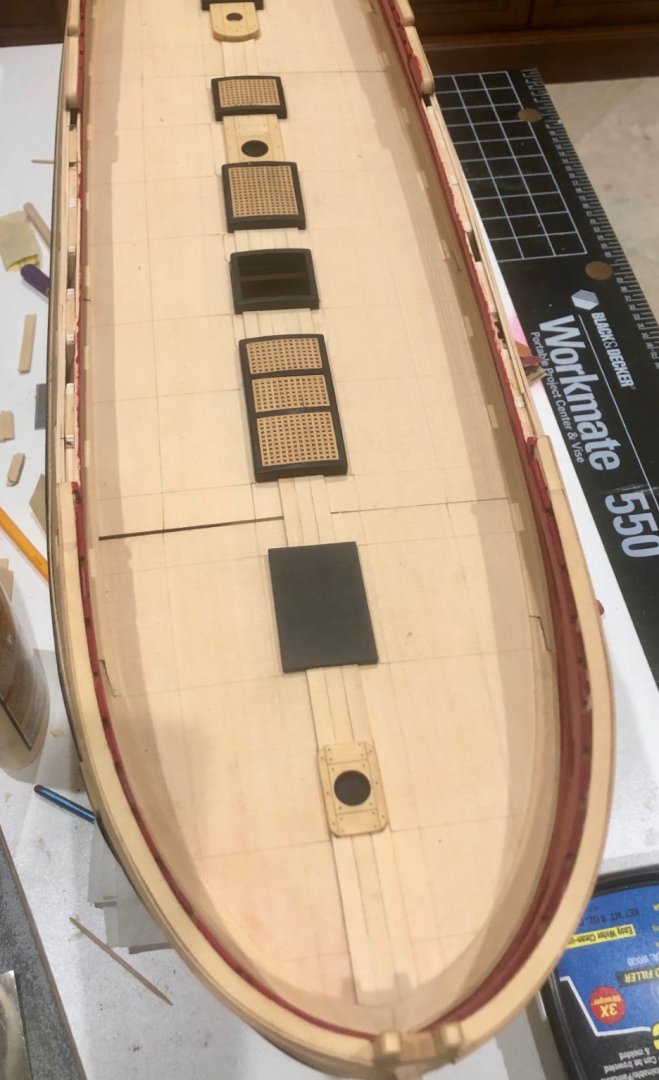
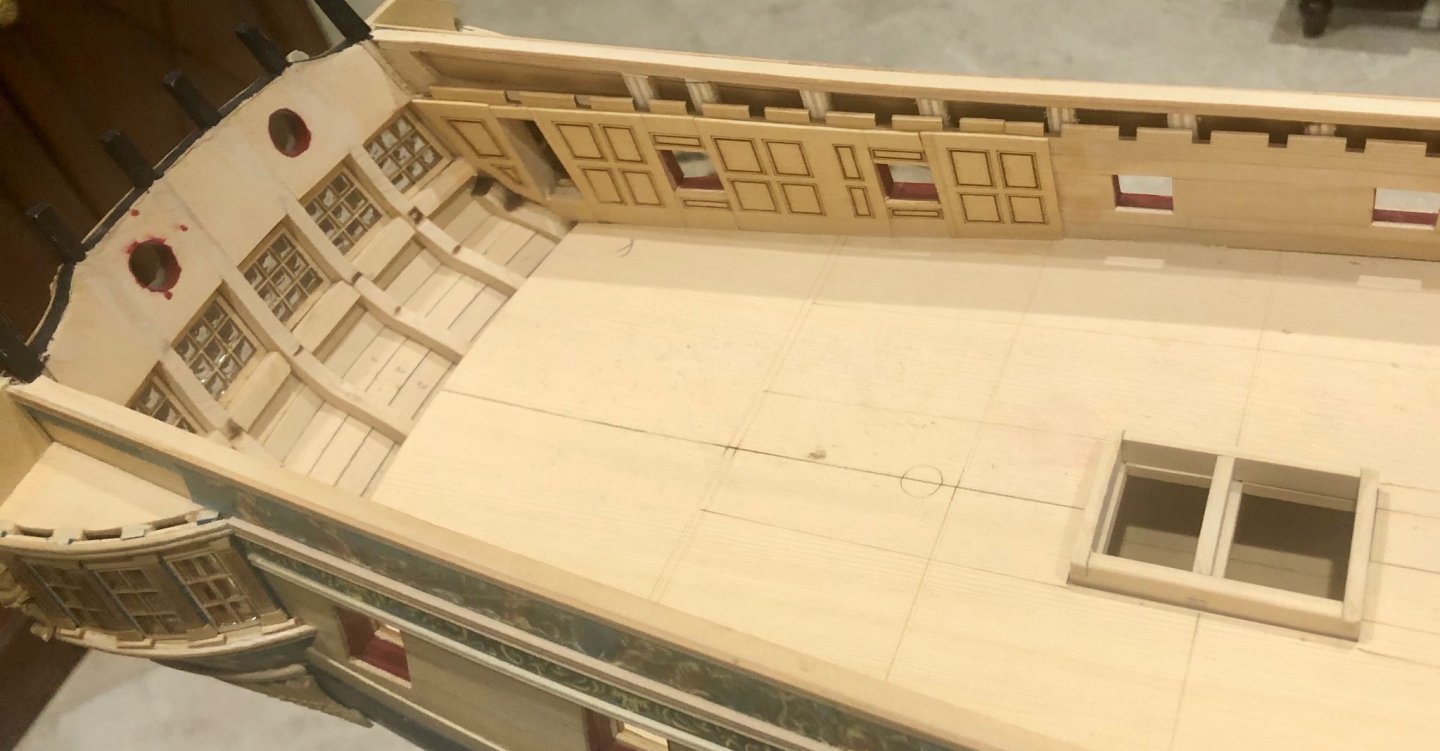
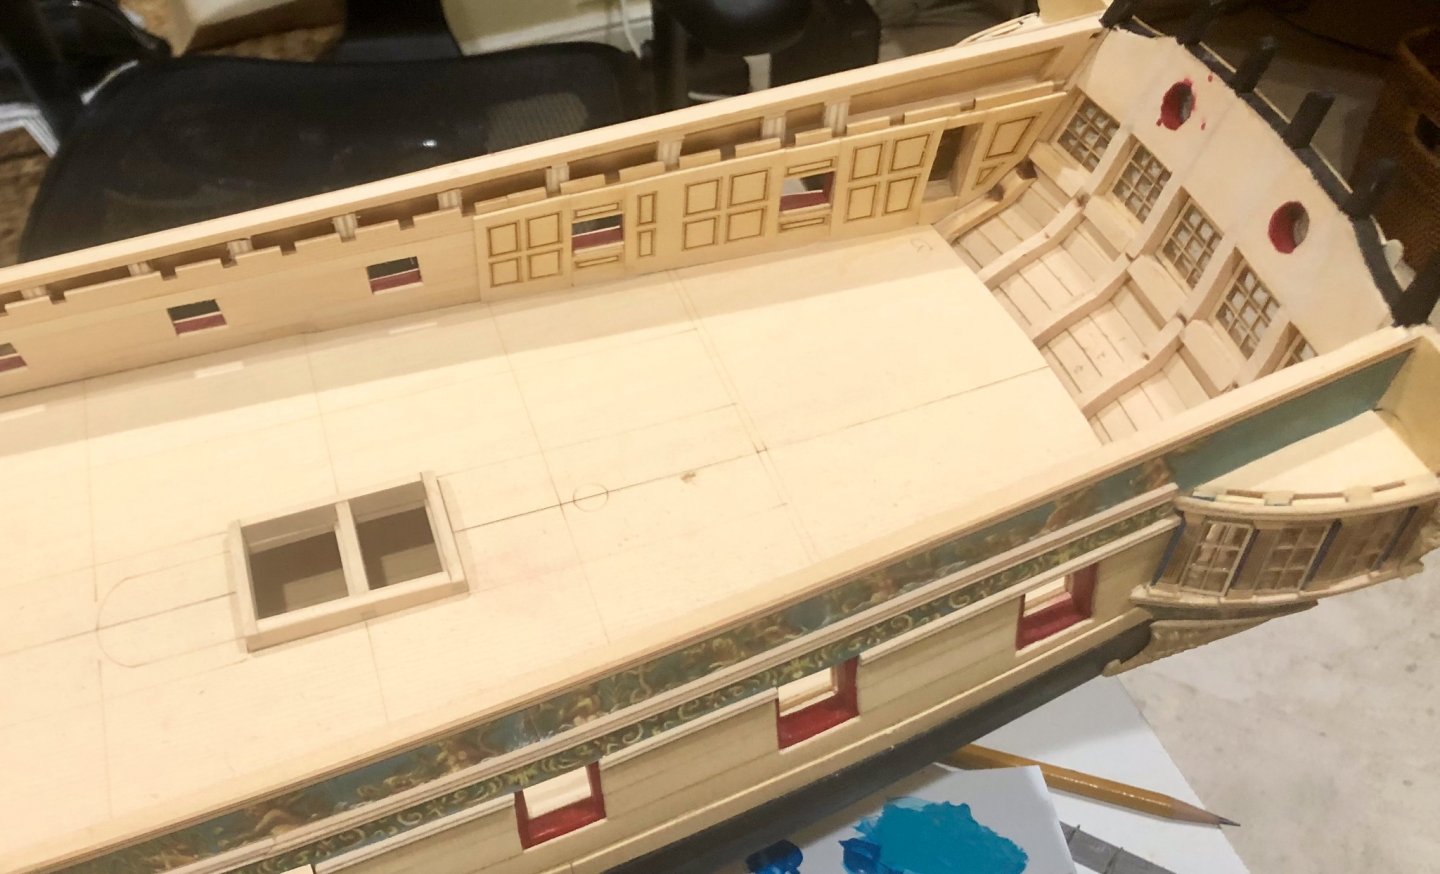
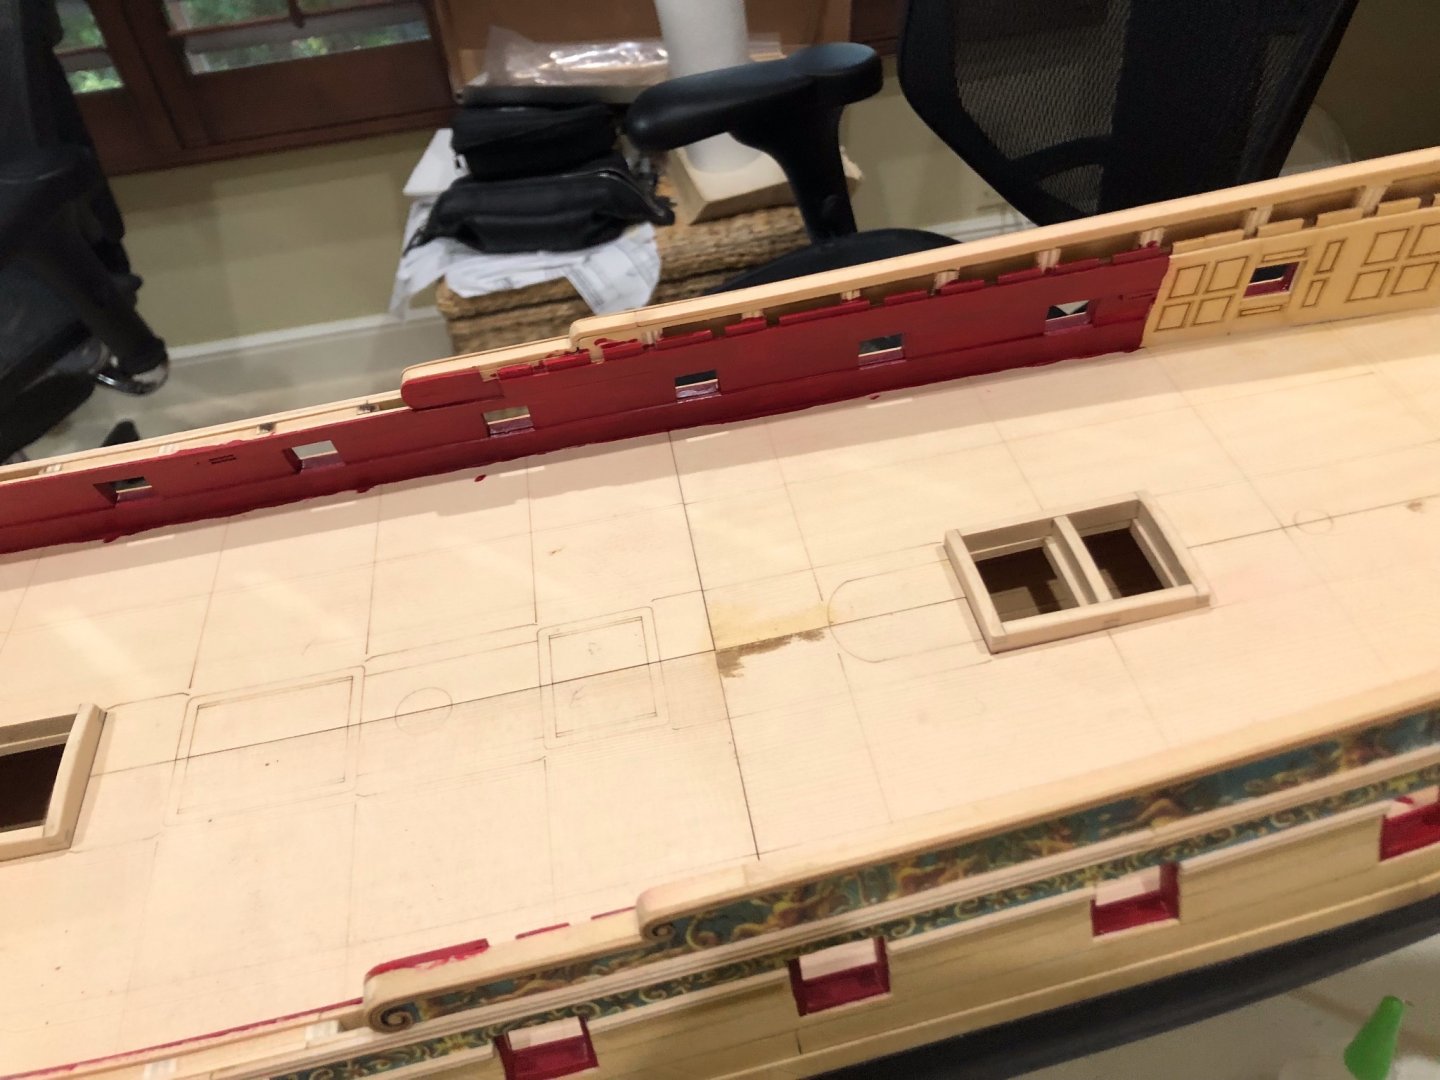
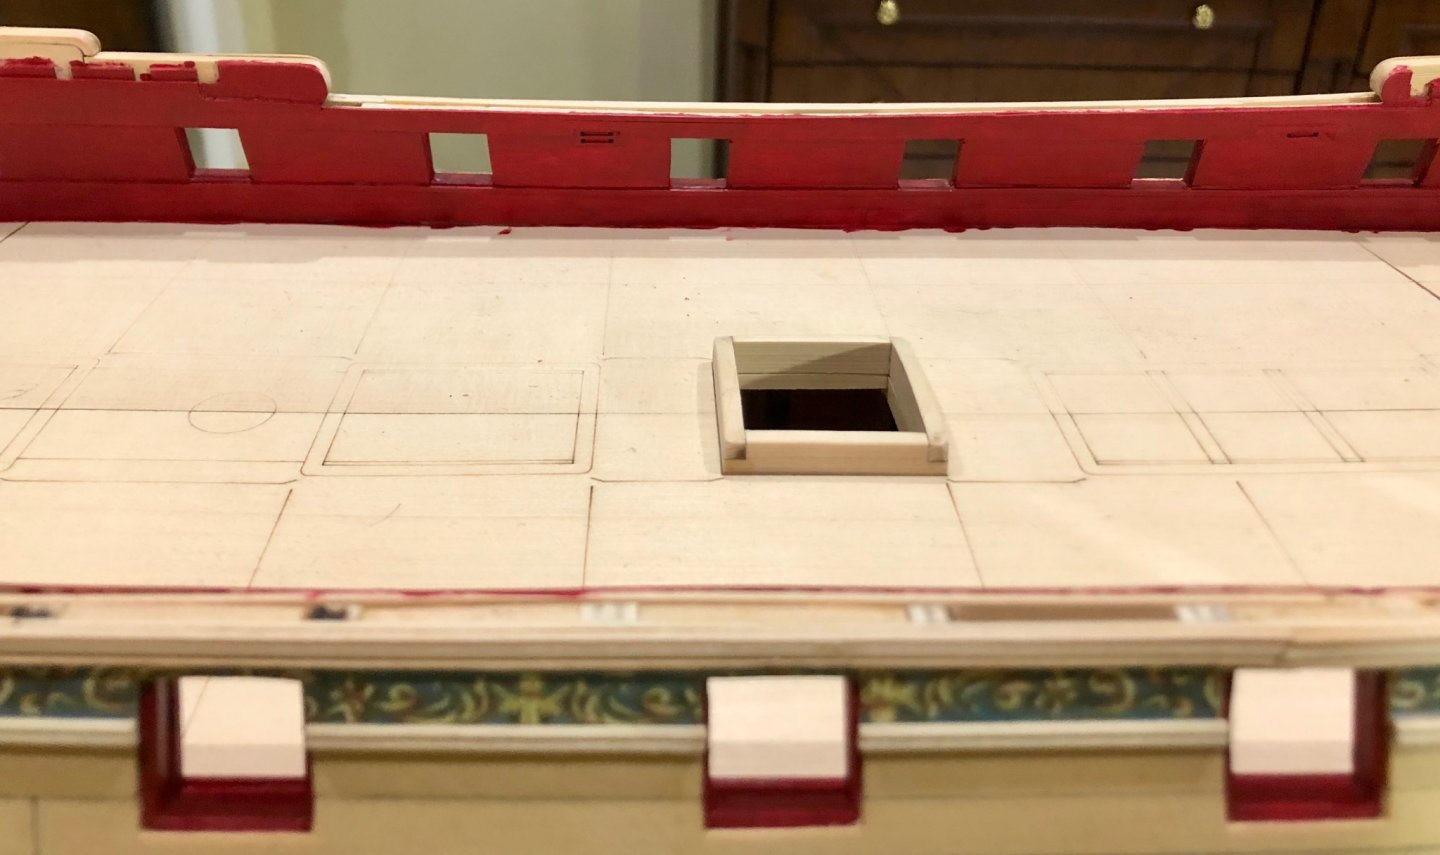
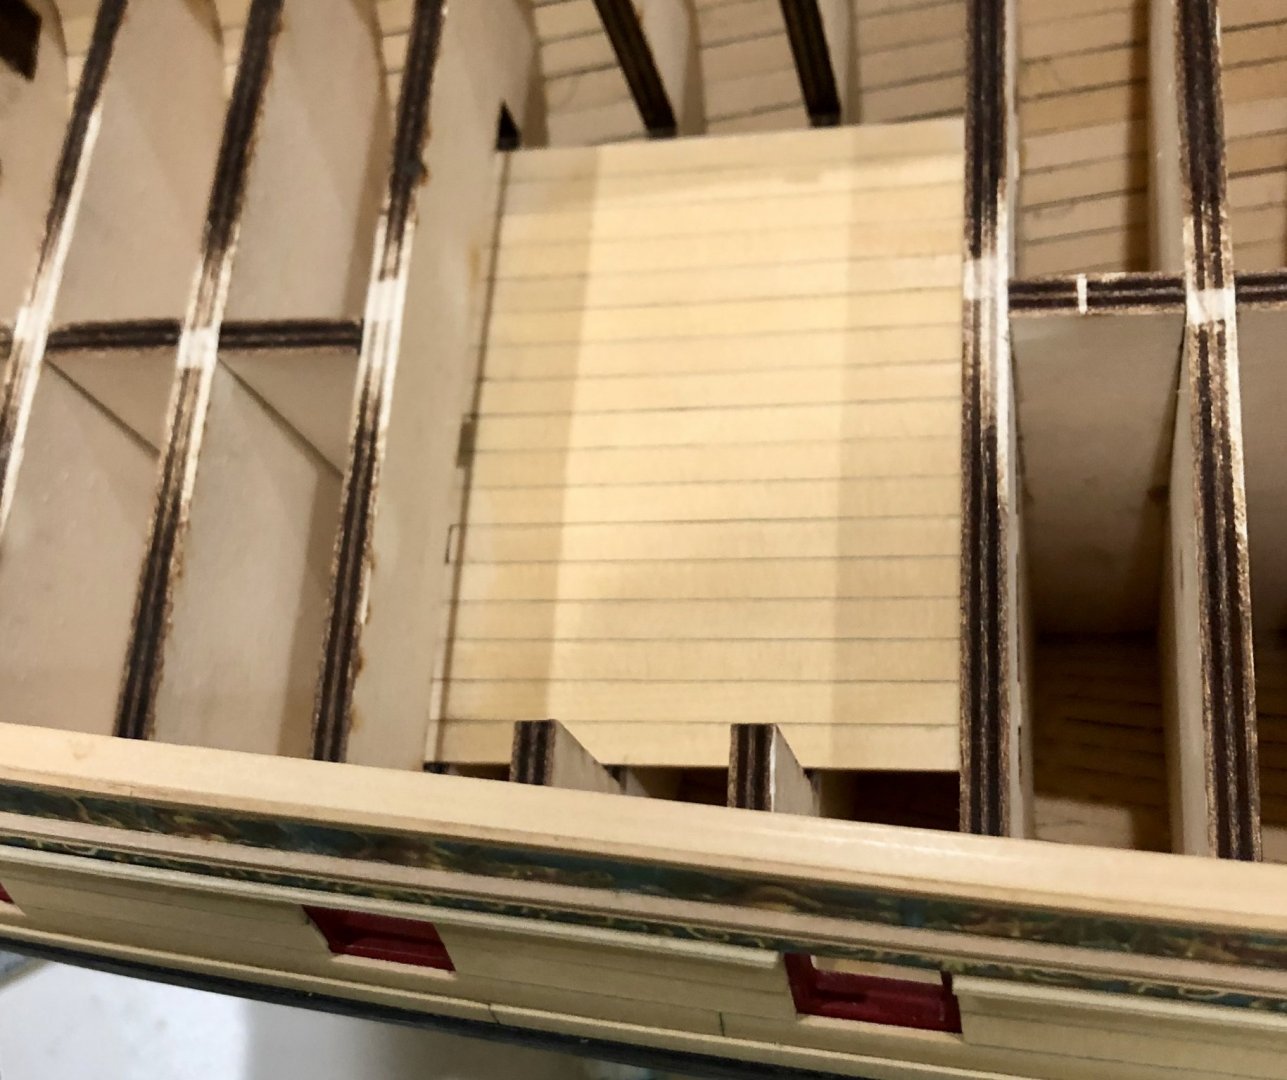
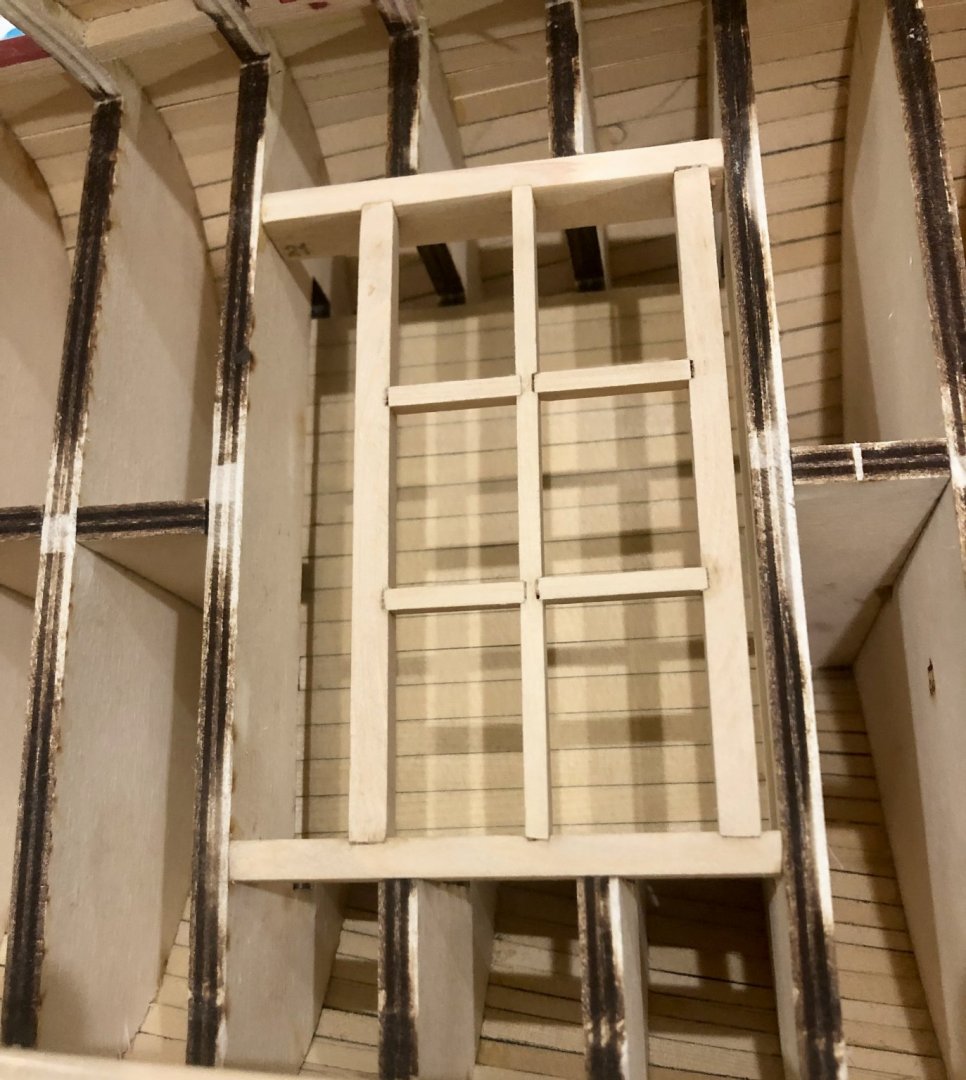
 After my modeling malaise earlier this year, I now seem to want to build Winnie all the time now. The latest work has been to make up and mount the coamings and gratings, the partners, the stove base and the center deck planking .The coamings, partners and stove base were done using the laser cut parts. The gratings were made from the boxwood grating kits. The bolts in the partners were simulated with black monofilament. I began the planking with the strakes between the coamings and partners. I am now continuing the planking working outward. Bob


-
Thanks so much Bob and the "likes". Bob
-
Thanks so much Chuck, Ron, Don and jean-Paul for the generous comments and thanks also to the "likes". Always appreciated. Bob
-
Really nicely done. Bob
-
Thanks so much Rusty and the "likes". Bob
-
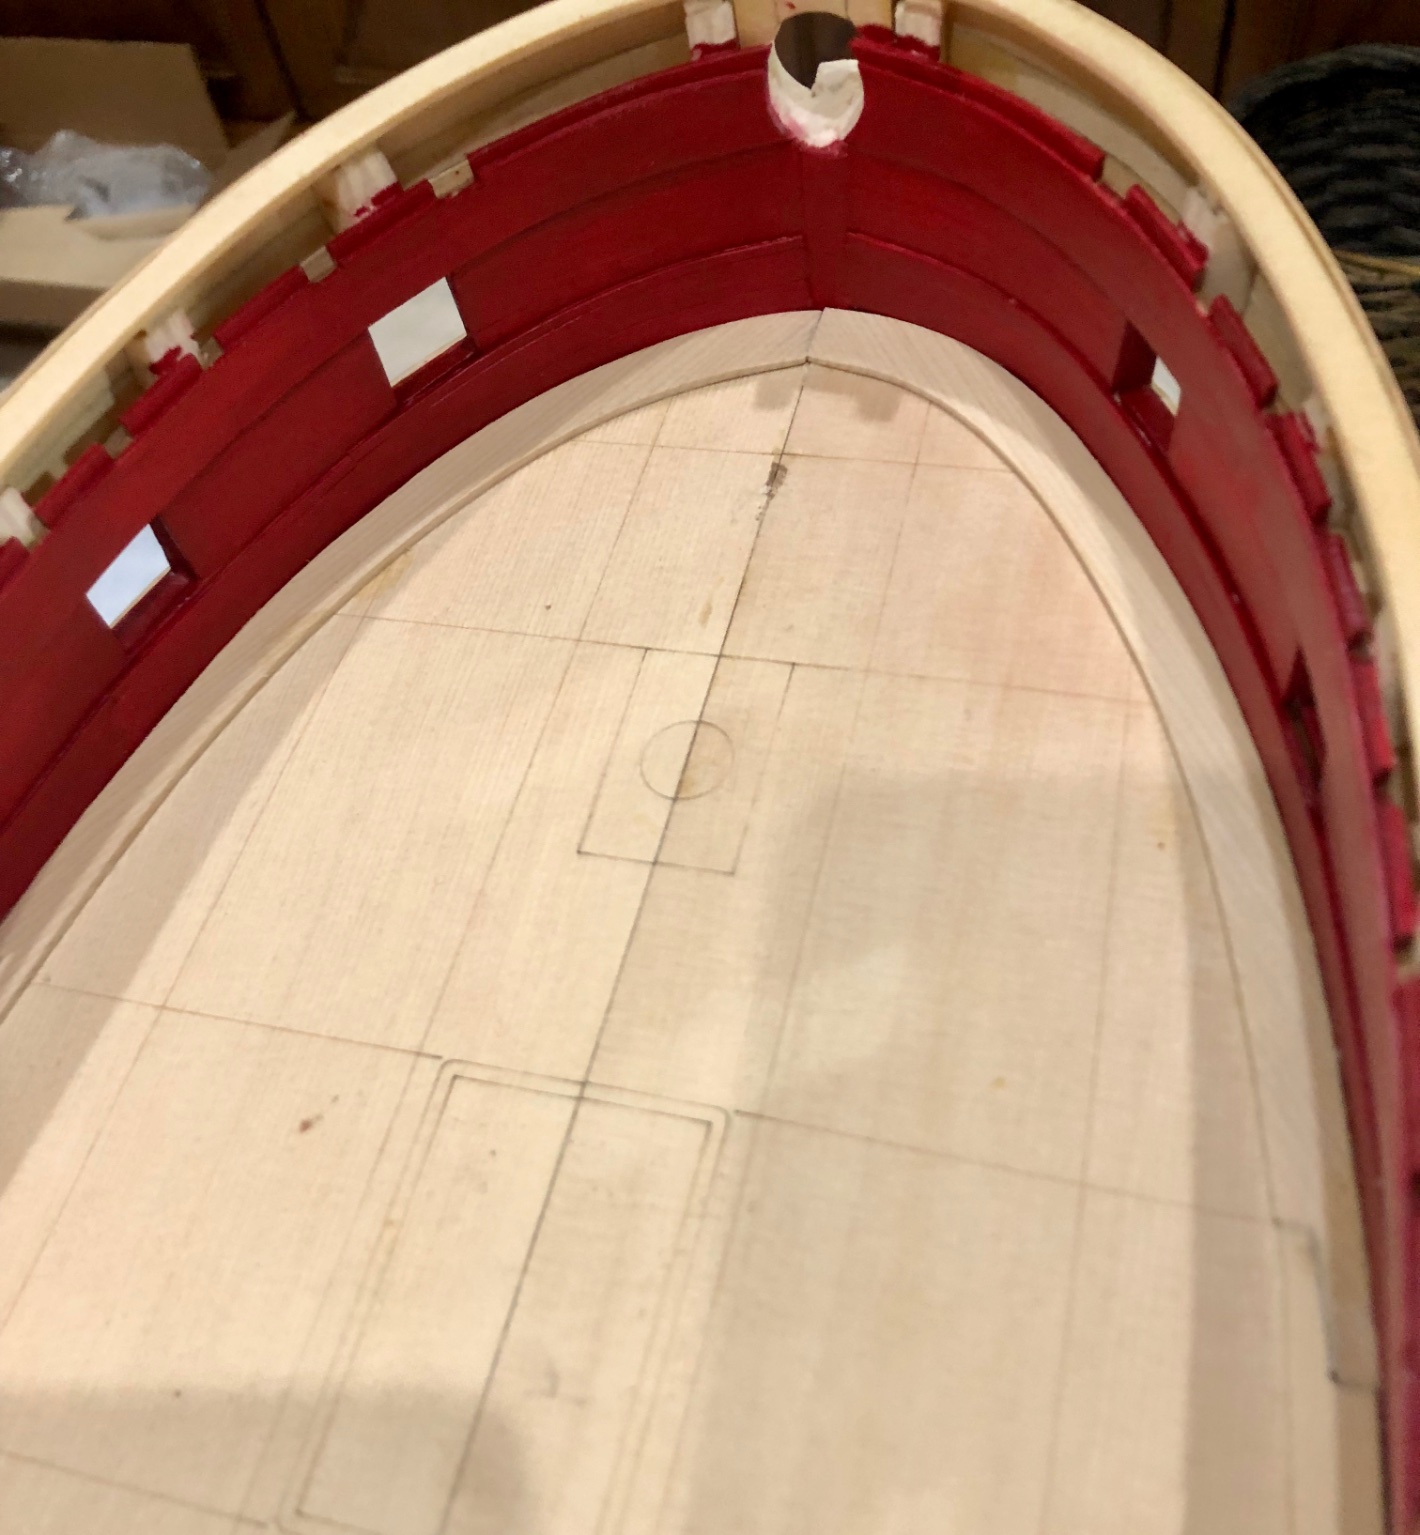
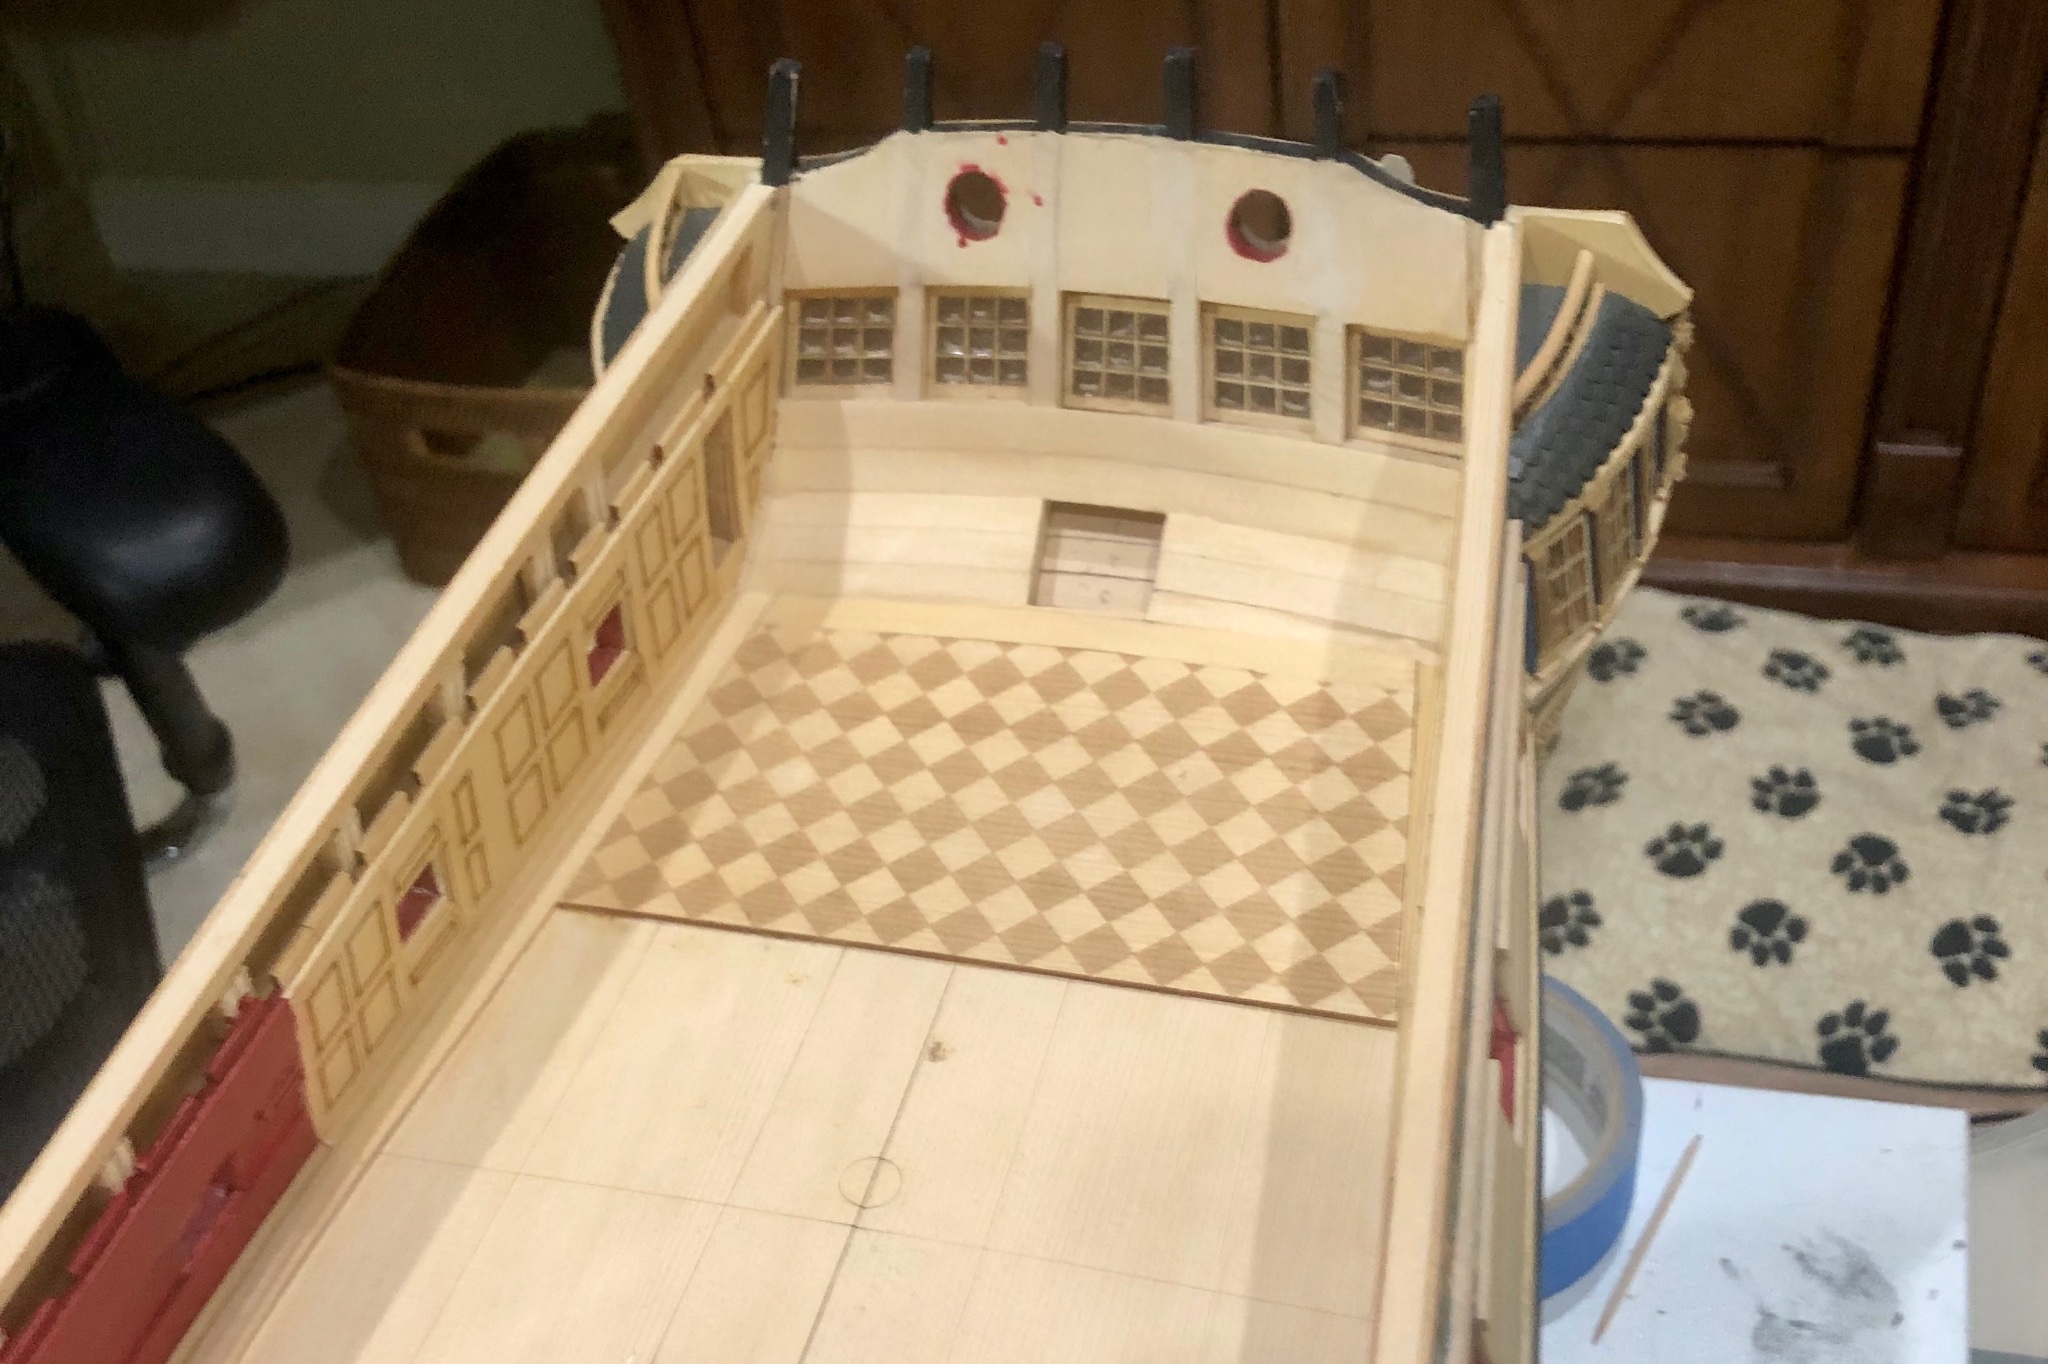
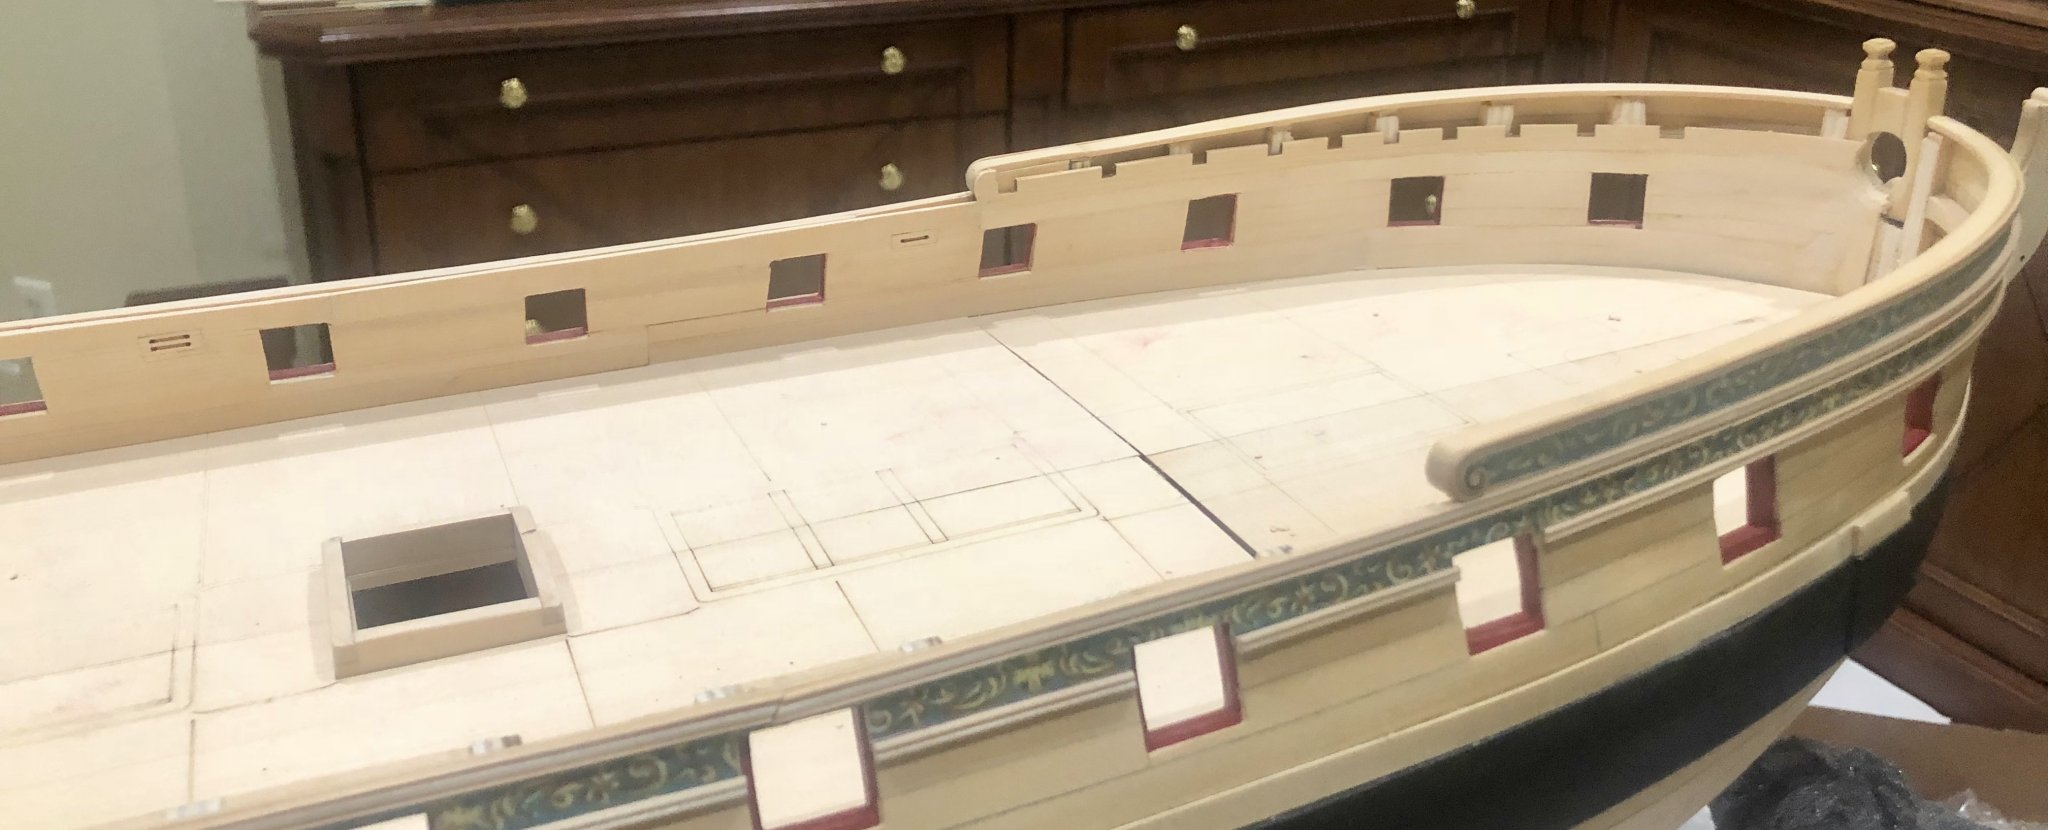
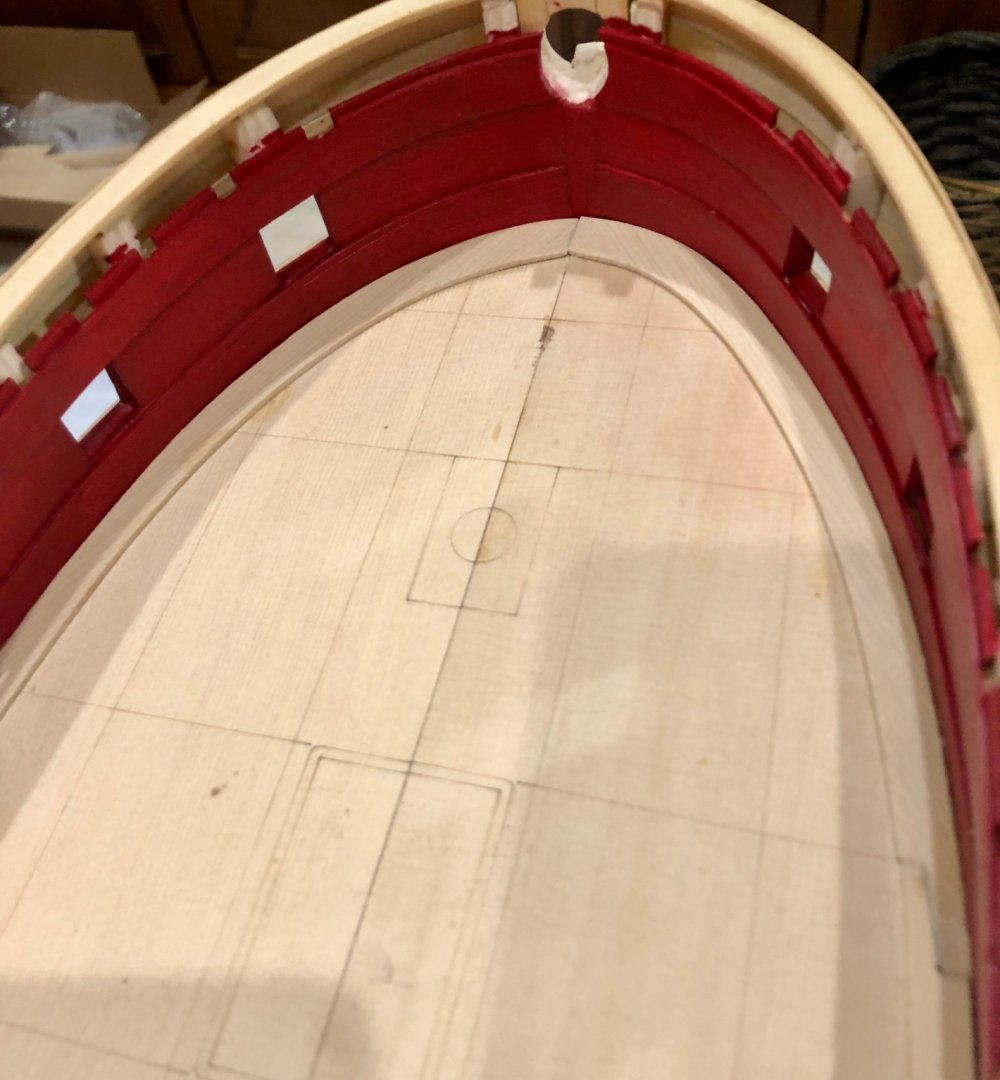
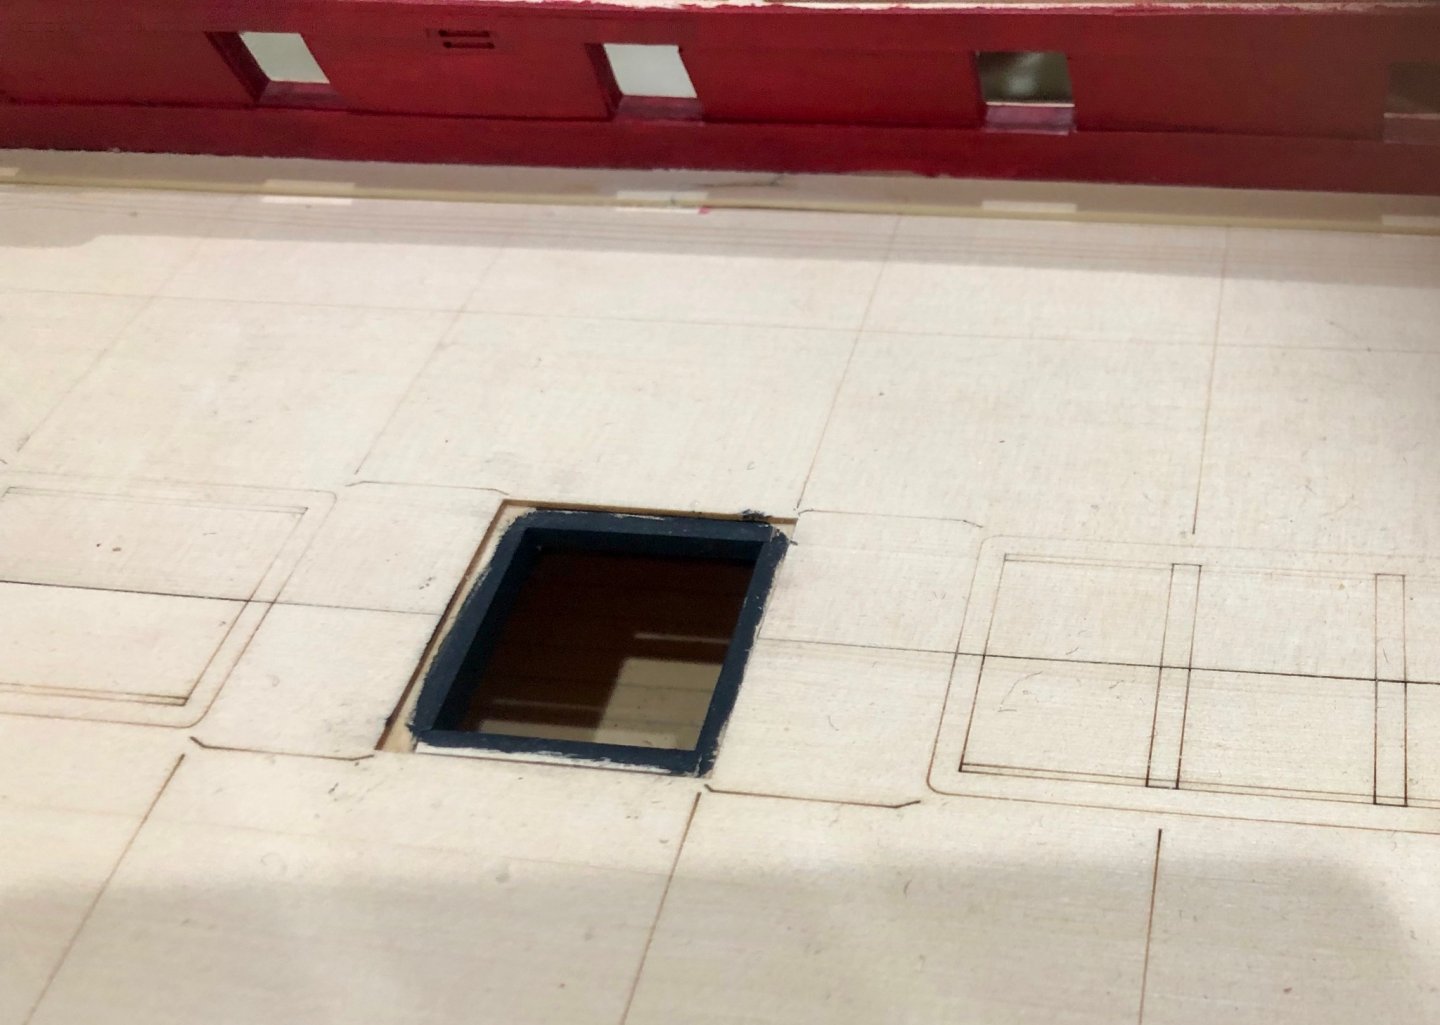
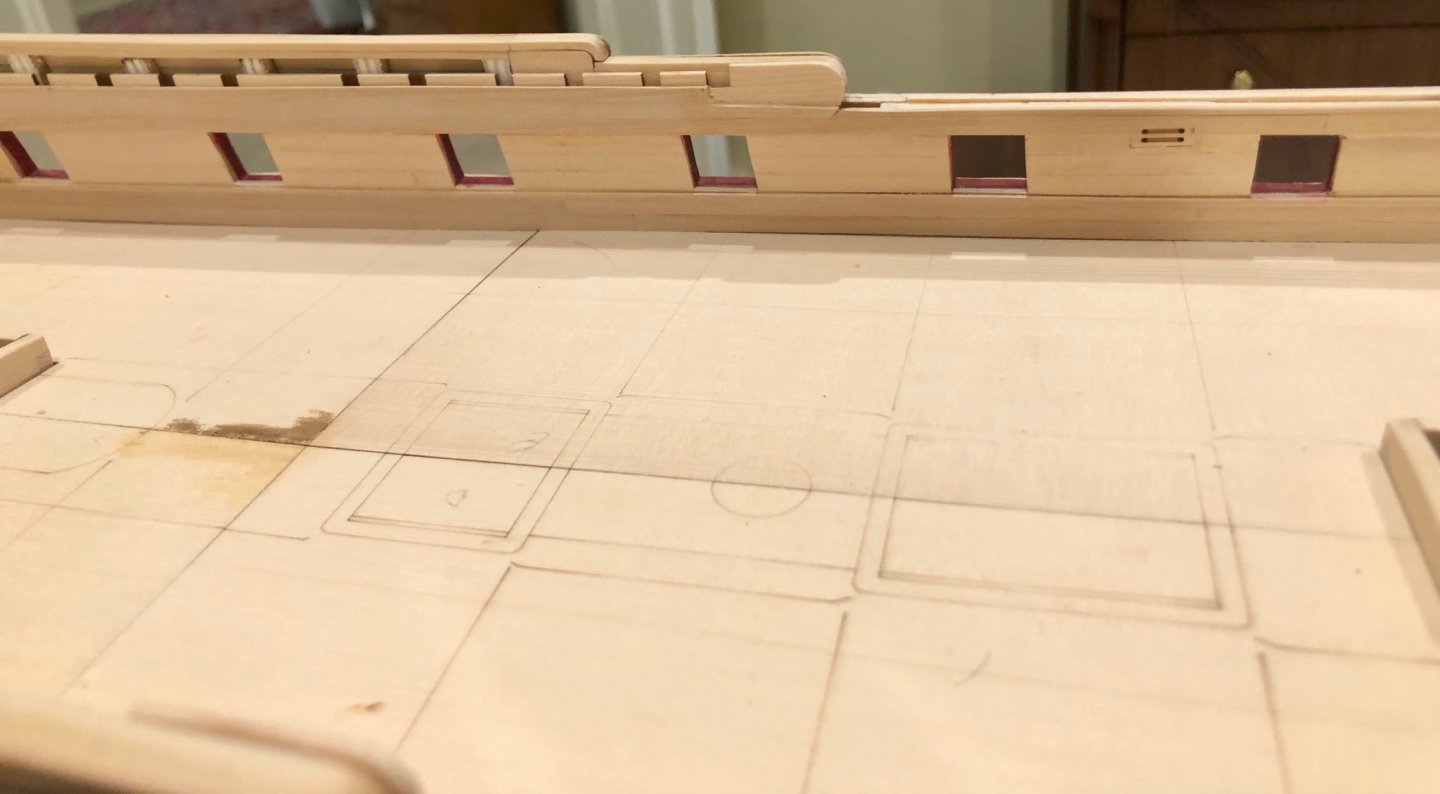
I have now added the inner counter planking, using the laser cut pieces, I then made up the margin planks, using the templates and cutting in the scarph joints. After mounting the margin planks, I made up and mounted the waterways, using square strip wood sanded to a quarter round shape. Lastly, sanded the checkerboard floor to size and shape and glued it in place. Next, I will do the coamings and gratings and the other deck parts. Bob


-
Wayne, I built a fully rigged Essex from the MS kit, using the AOTS Essex as the primary source for the rigging. My build log is on this site and is referenced in my signature. Bob
-
Thanks so much Rusty, OC and the "likes". I appreciate the generous thoughts, but more and more my struggles with Winnie make me feel that my best modeling is behind me. Bob
-
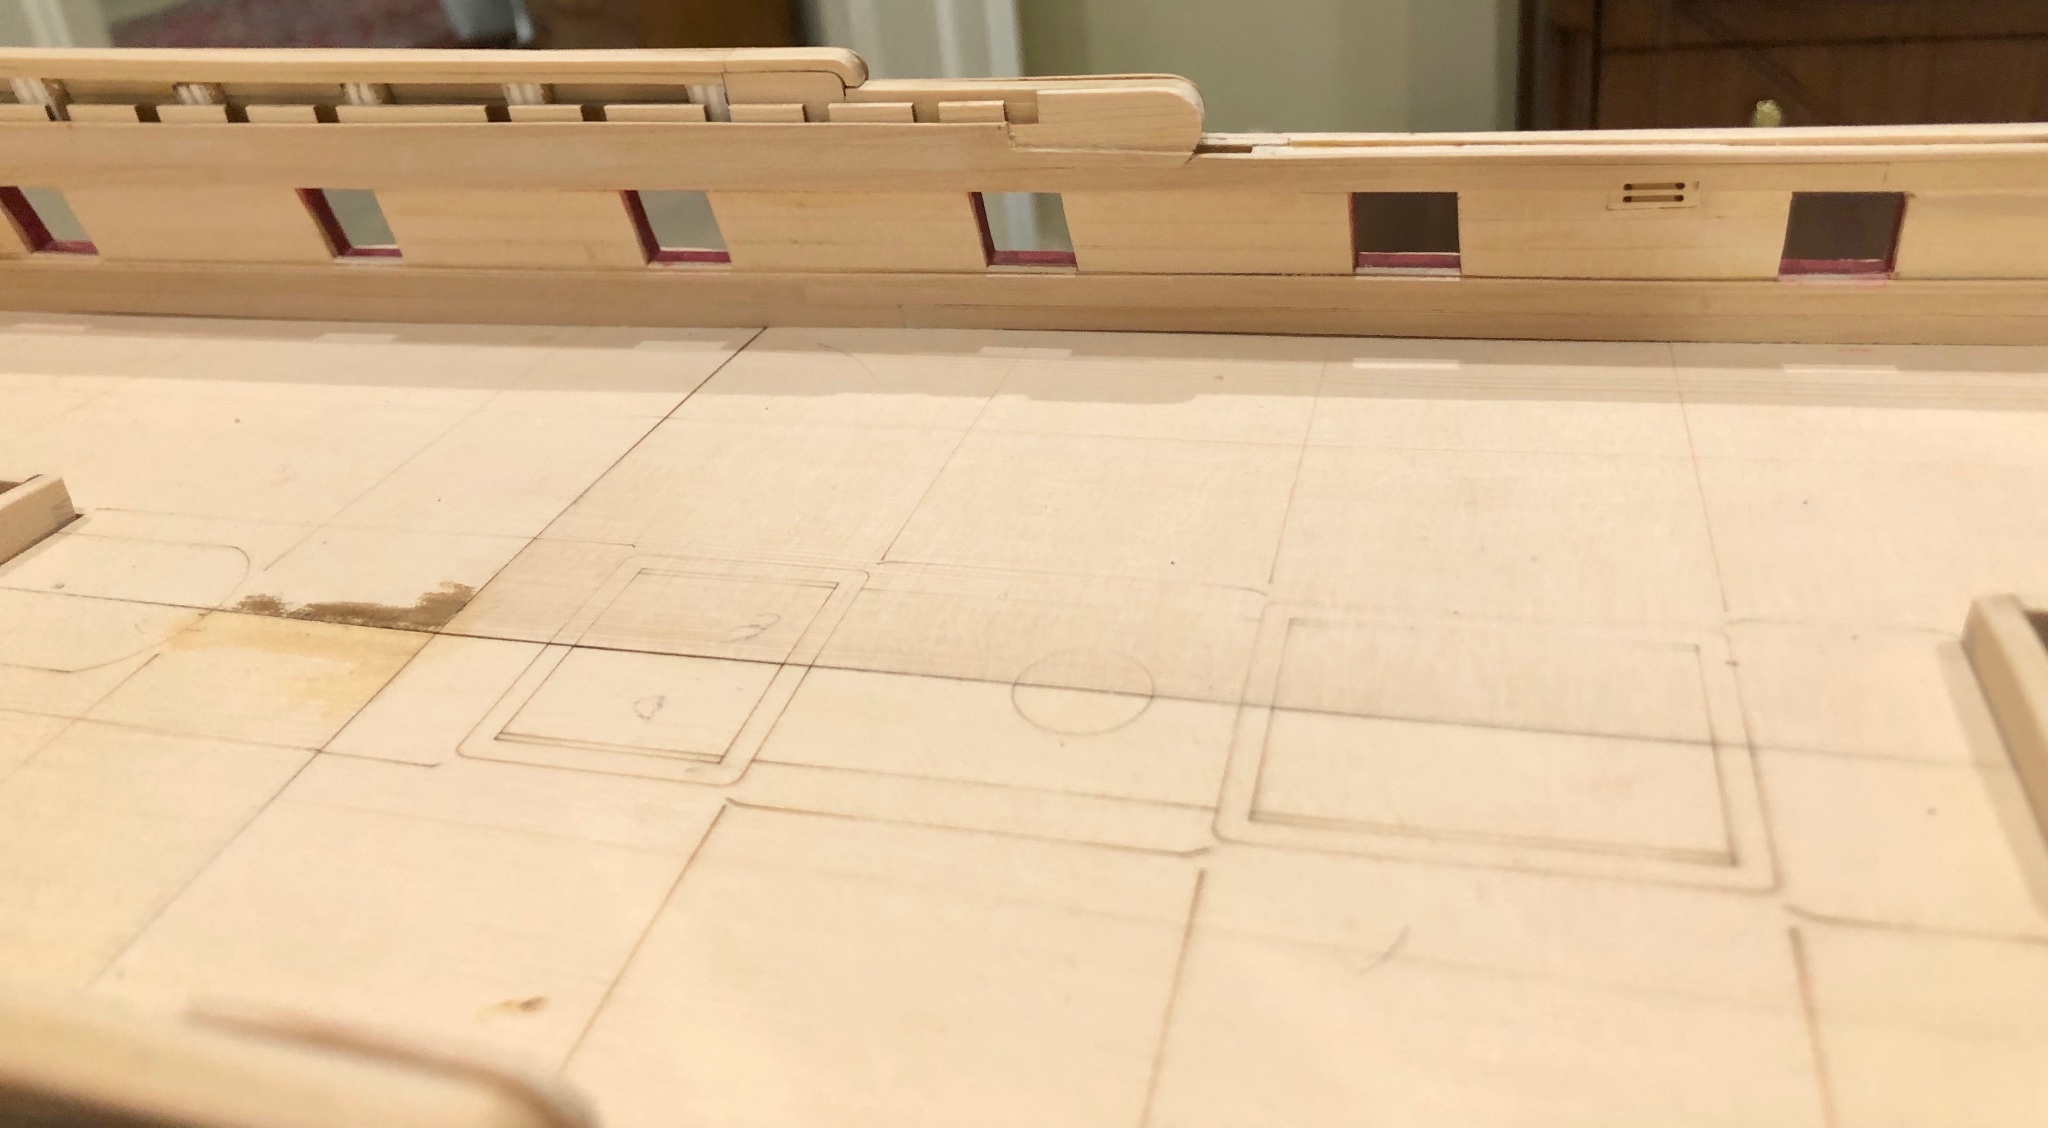
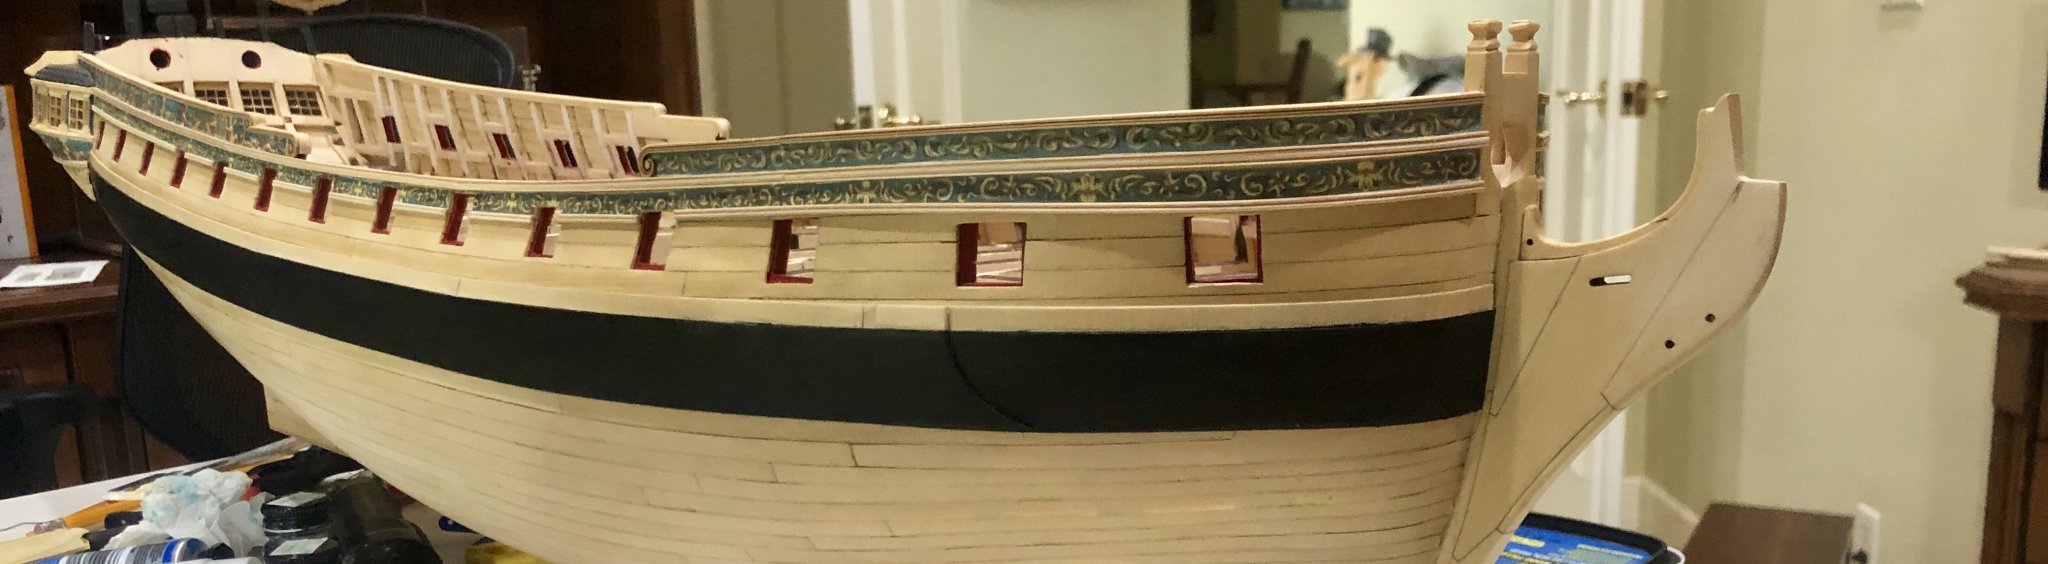
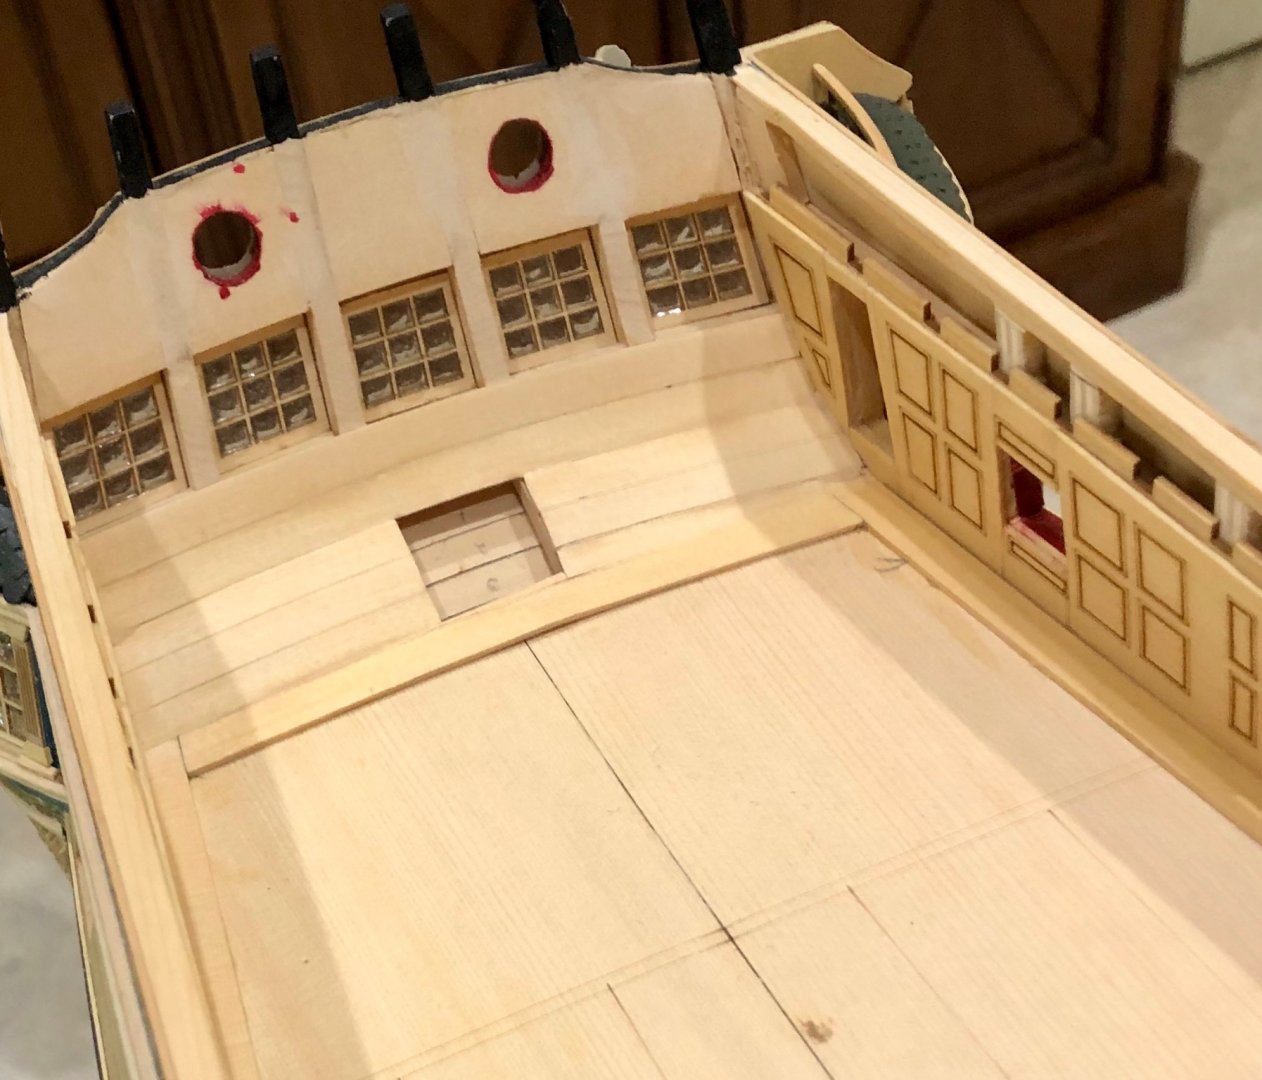
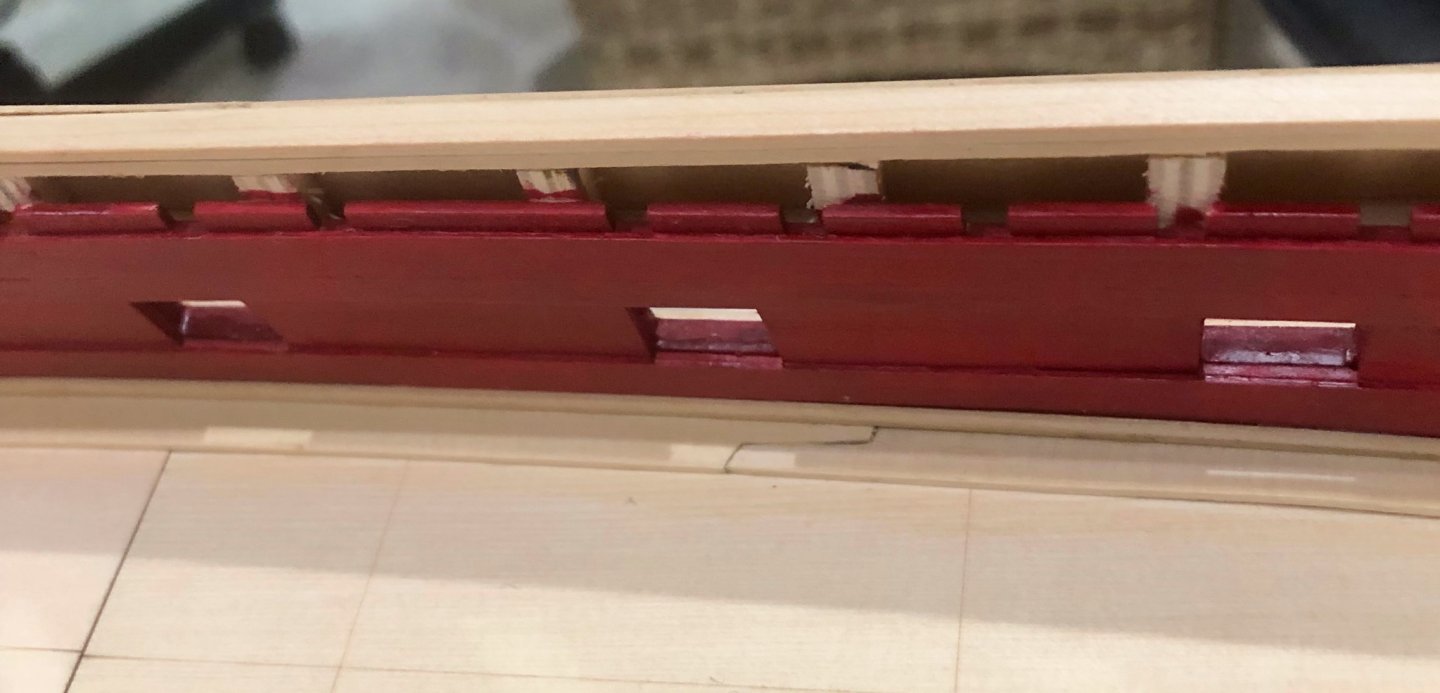
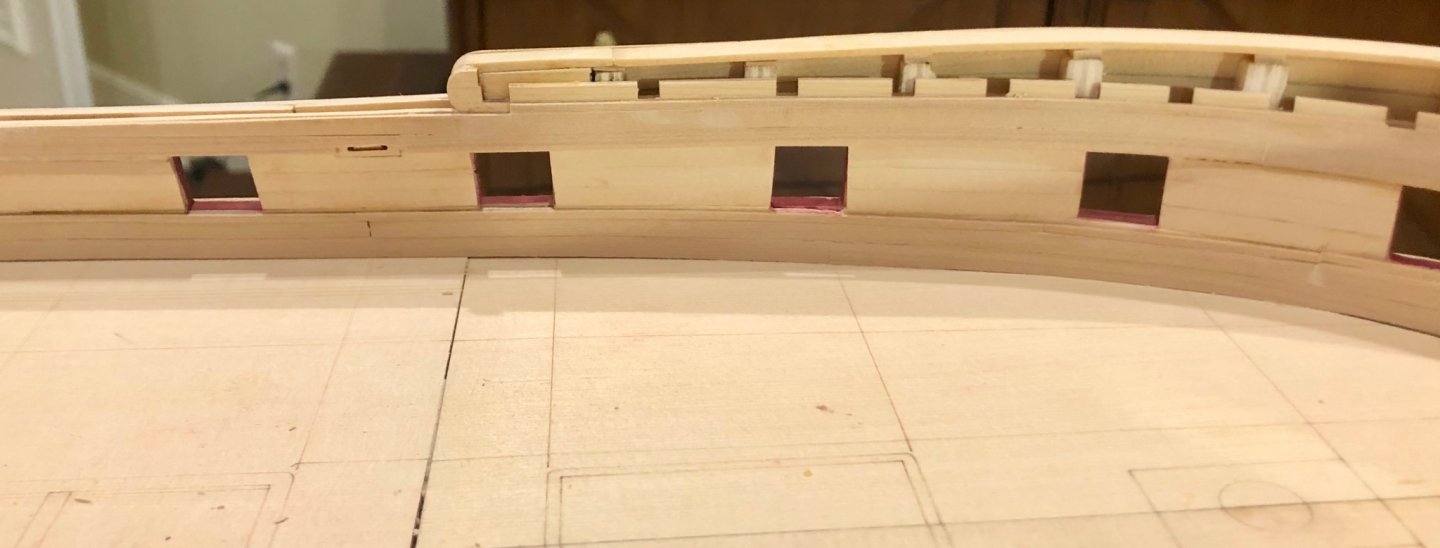
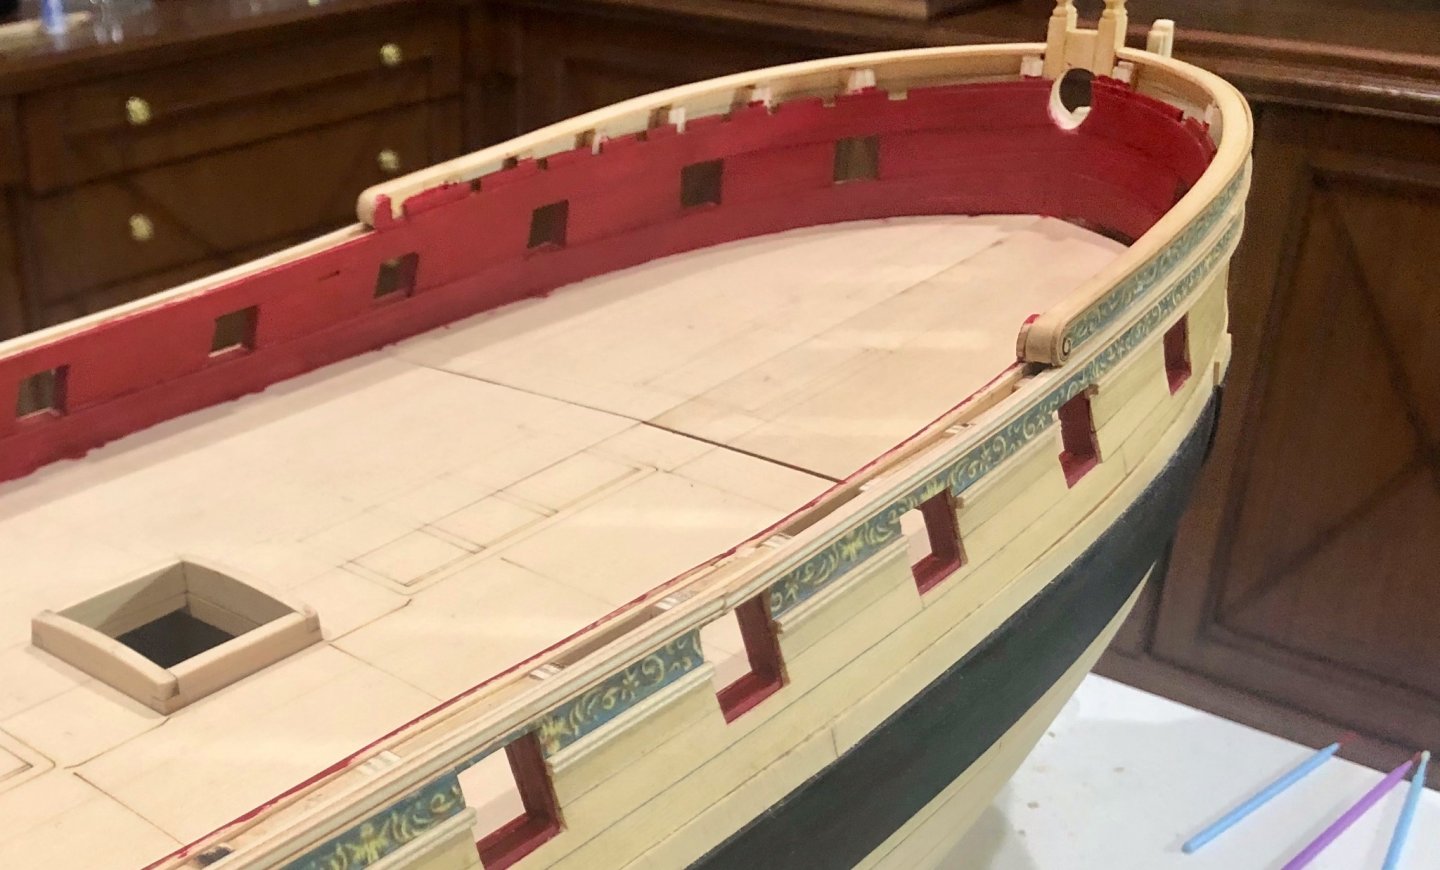
I've been continuing with the part four work. First, I did the cabin paneling, using the laser cut parts. This required some fiddling, but I believe turned out okay. Then, I added the second layer of planking above and below the ports. Lastly, I painted the bulwarks red, using Modelmaster Insignia Red acrylic. On reflection, I wish that I had changed the sequence and done all of the planking and painting before the cabin paneling. I found the masking for the painting to be unexpectedly difficult. I did one other item: I completed and mounted the quarter gallery roofs. Next, I will do the margin planks and the inner counter planking.
-
Beautiful work JJ. Bob
-
US Brig Syren by Gahm - Model Shipways
rafine replied to Gahm's topic in - Kit build logs for subjects built from 1801 - 1850
Remarkable work Thomas. Bob -
Thanks so much OC, Rusty and Matt for the generous comments and thanks also to the "likes". Rusty, lots of rain, no golf, so more modeling. Bob
-
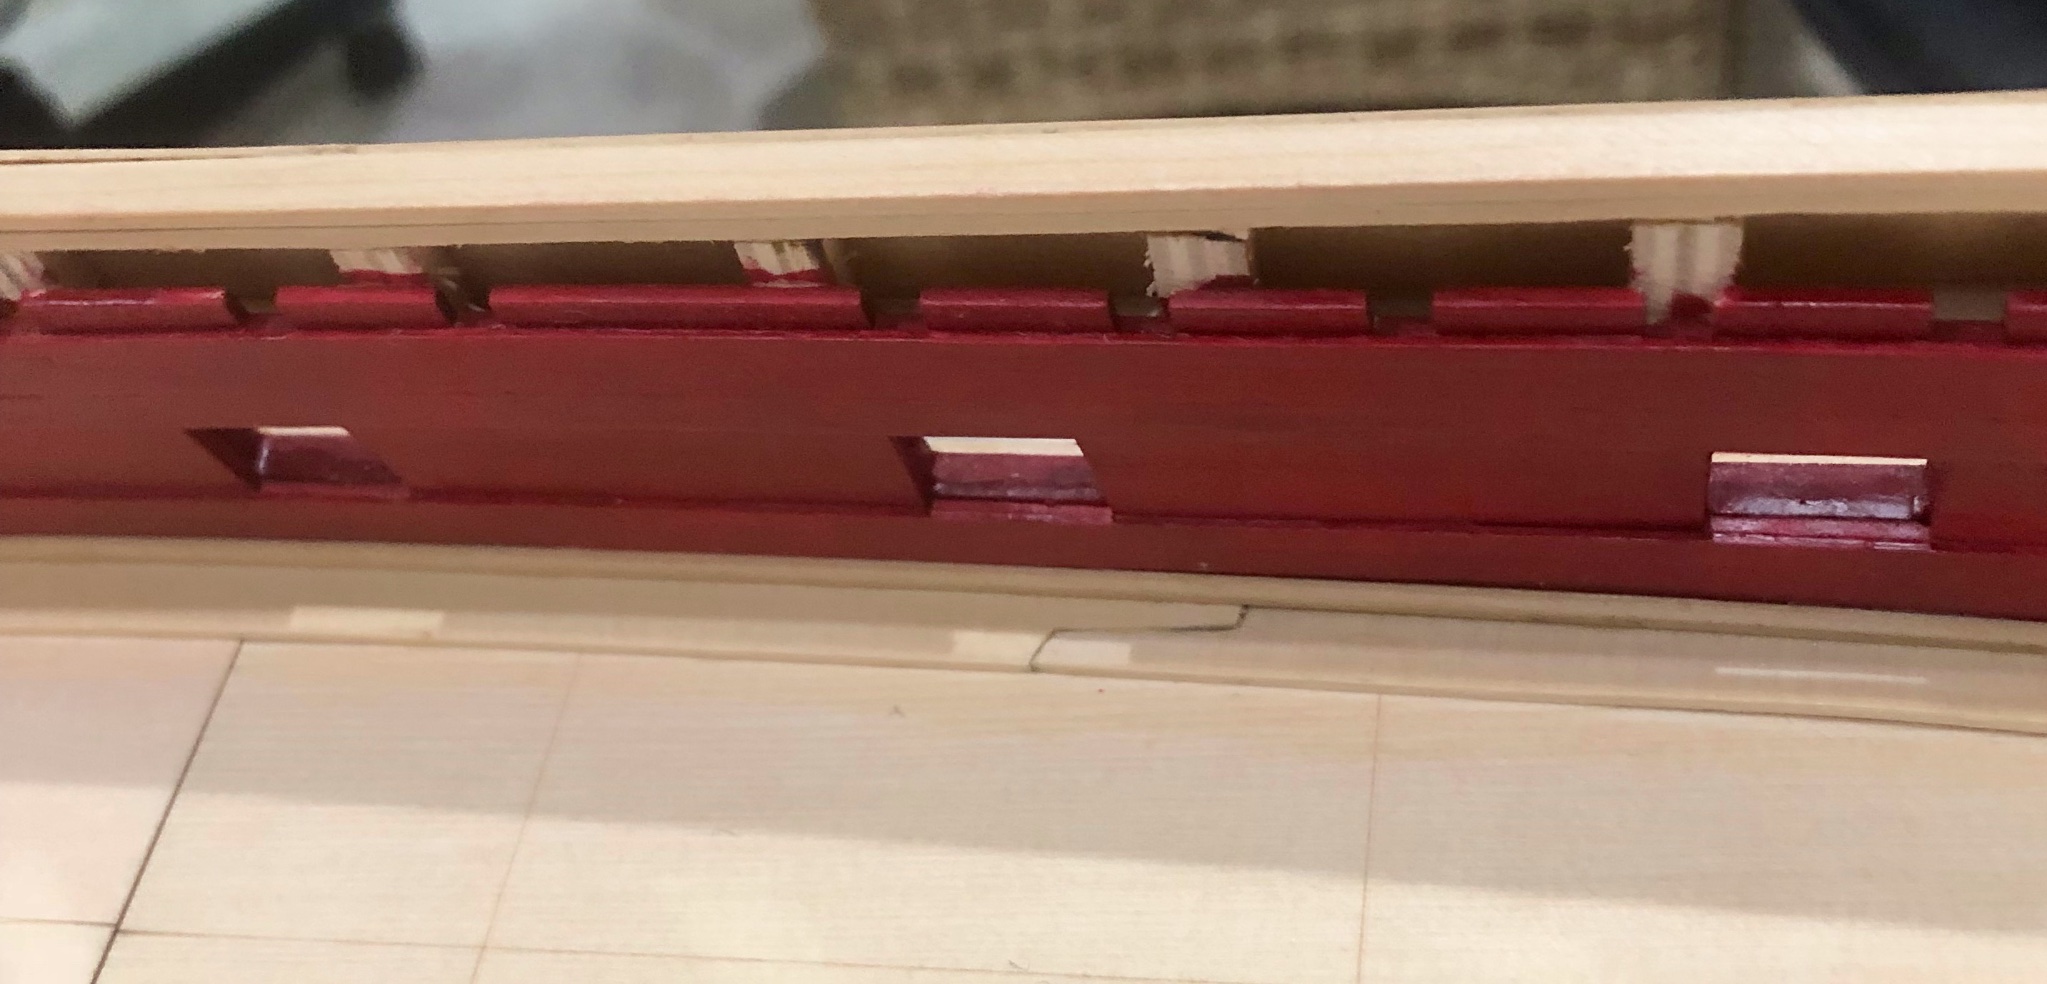
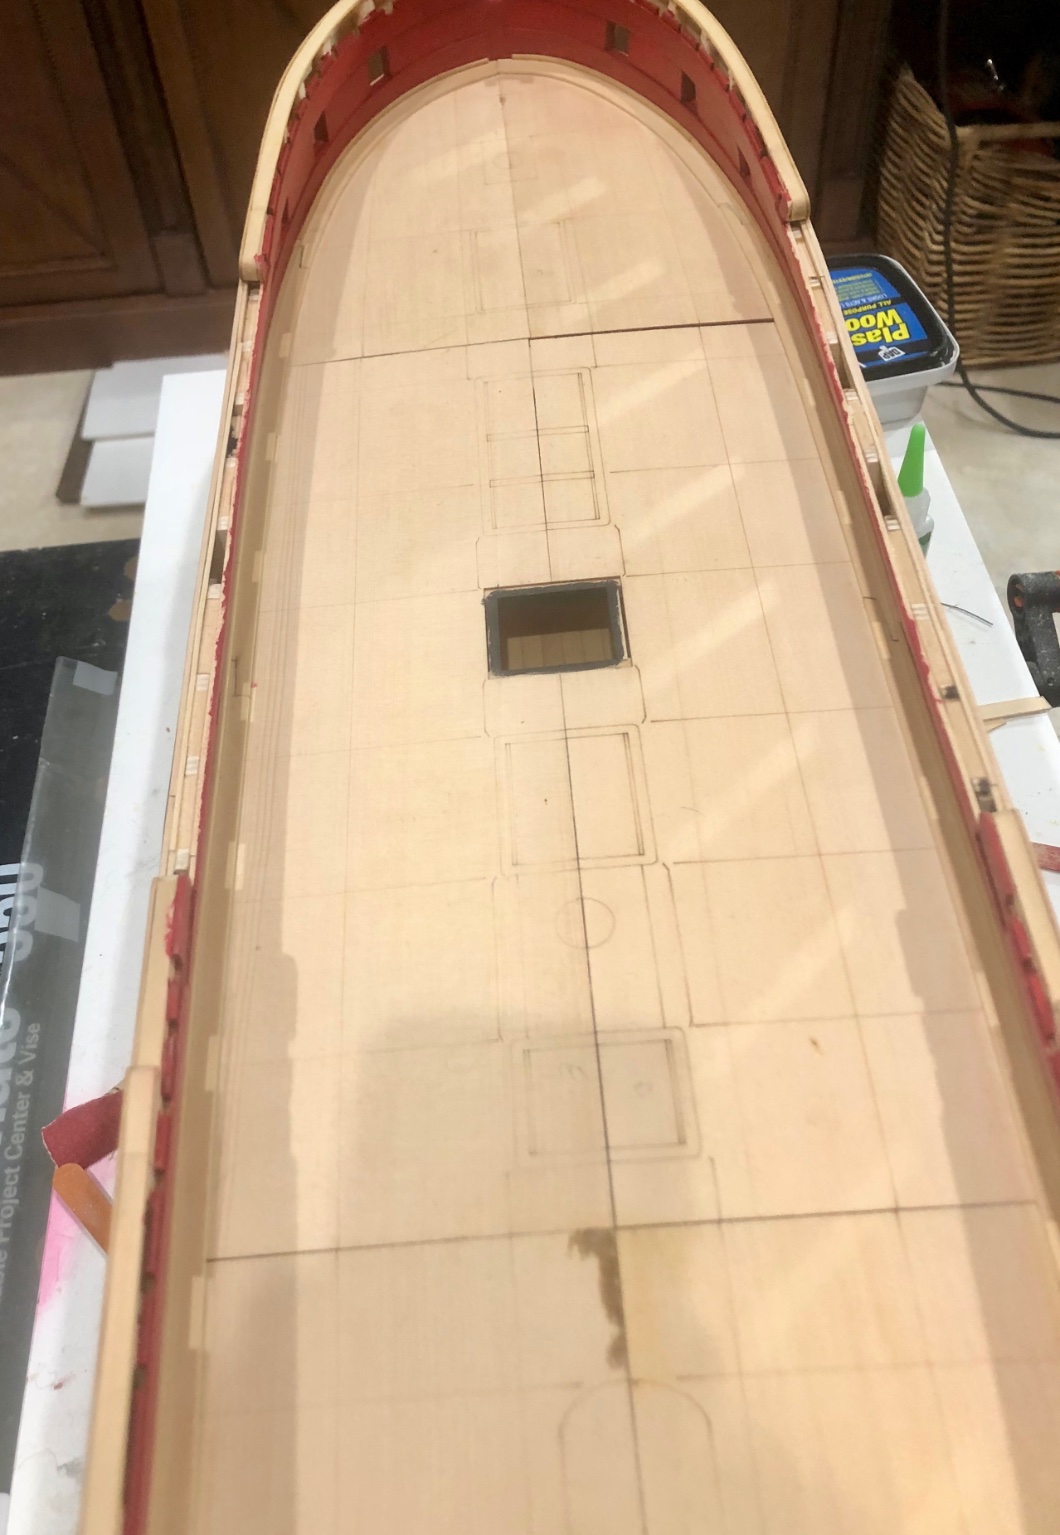
I was fortunate enough to get part four parts from the first batch. They arrived three days after ordering, on my birthday (81, for anyone interested). A nice birthday gift to myself. I was eager to go and have done the following so far: the sub-deck planking; the beams and carlings; the false deck; and the first layer of the bulwark planking. I also made up the two coamings that go over the sub-deck openings, just to see how they looked. Although my installation of the false deck doesn't look particularly neat, all of the laser etched lines and the center line match up perfectly, and there should be no problems later on. I've also tested the deck clamps for the future fit of the deck beams and they should be right on. Now, it's on to the cabin paneling, the second layer of bulwark planking and the bulwark painting. Bob


-
Great looking work. Bob
-
Thanks Ben and the "likes". Thanks Jim. I've used CA Uncure in the past, and I think that I will stick with my decision to leave it. Bob
-
Nicely done Fred. Bob
-
Thanks so much guys for the comments and the "likes". Chuck, I feel stupid and careless, but it's on pretty good with CA and probably not worth the risk of trying to get it off. Bob
-
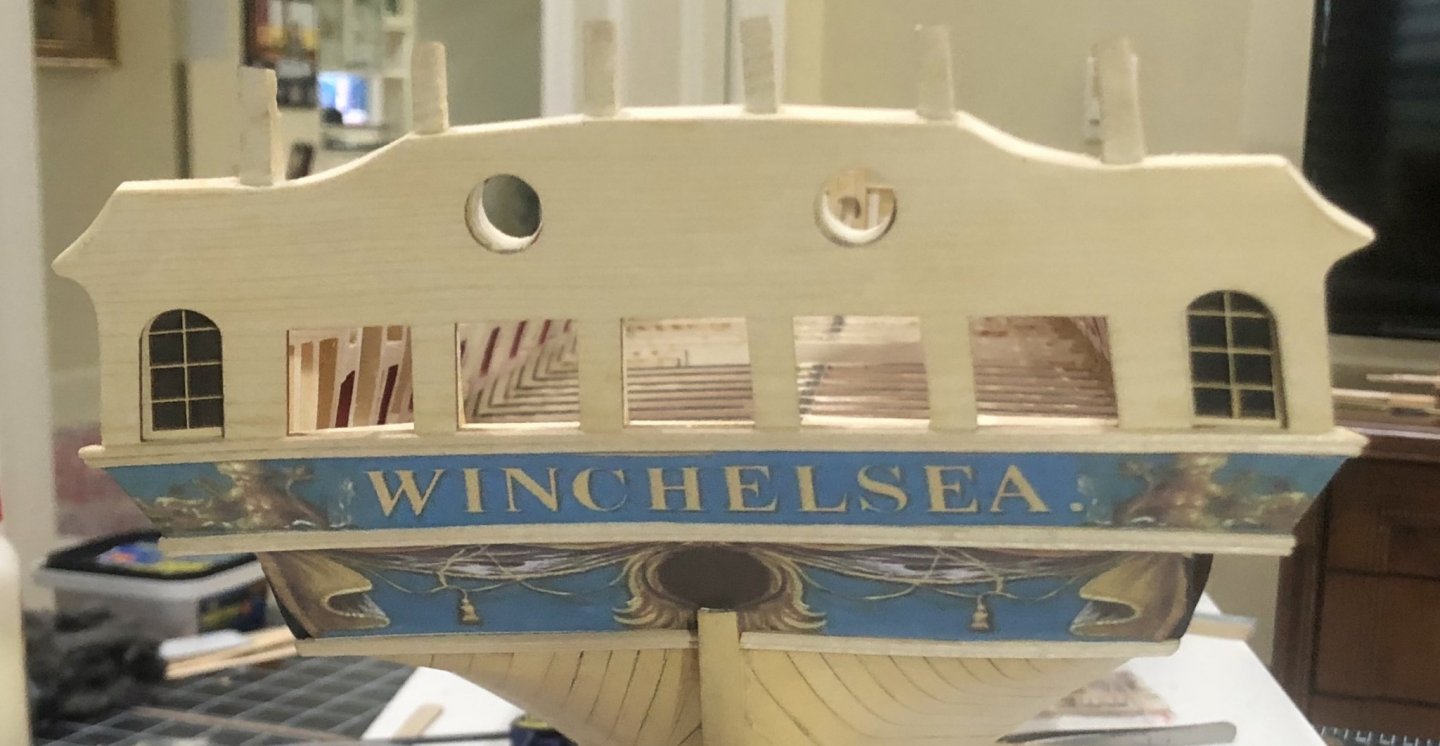
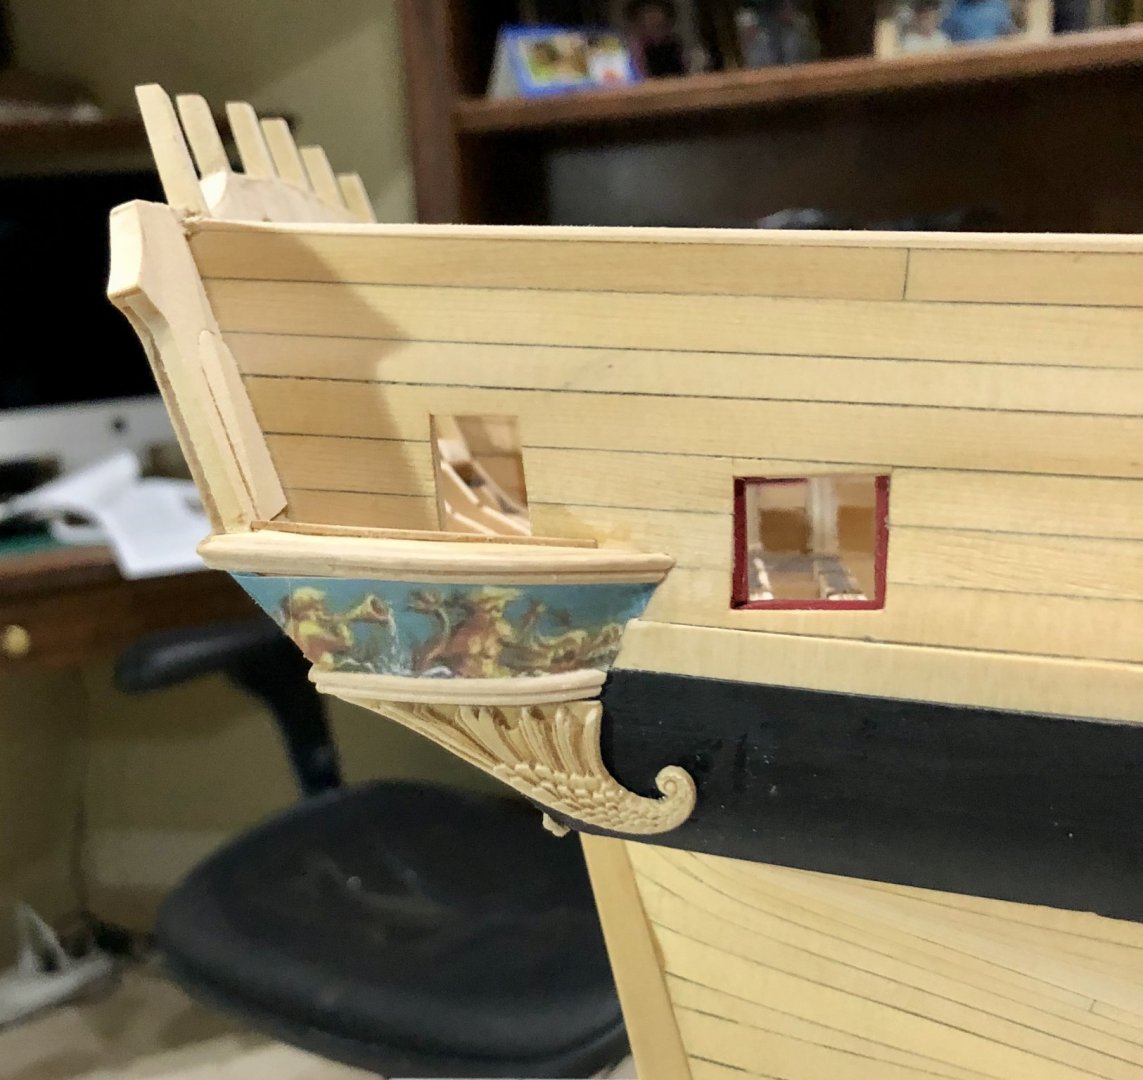
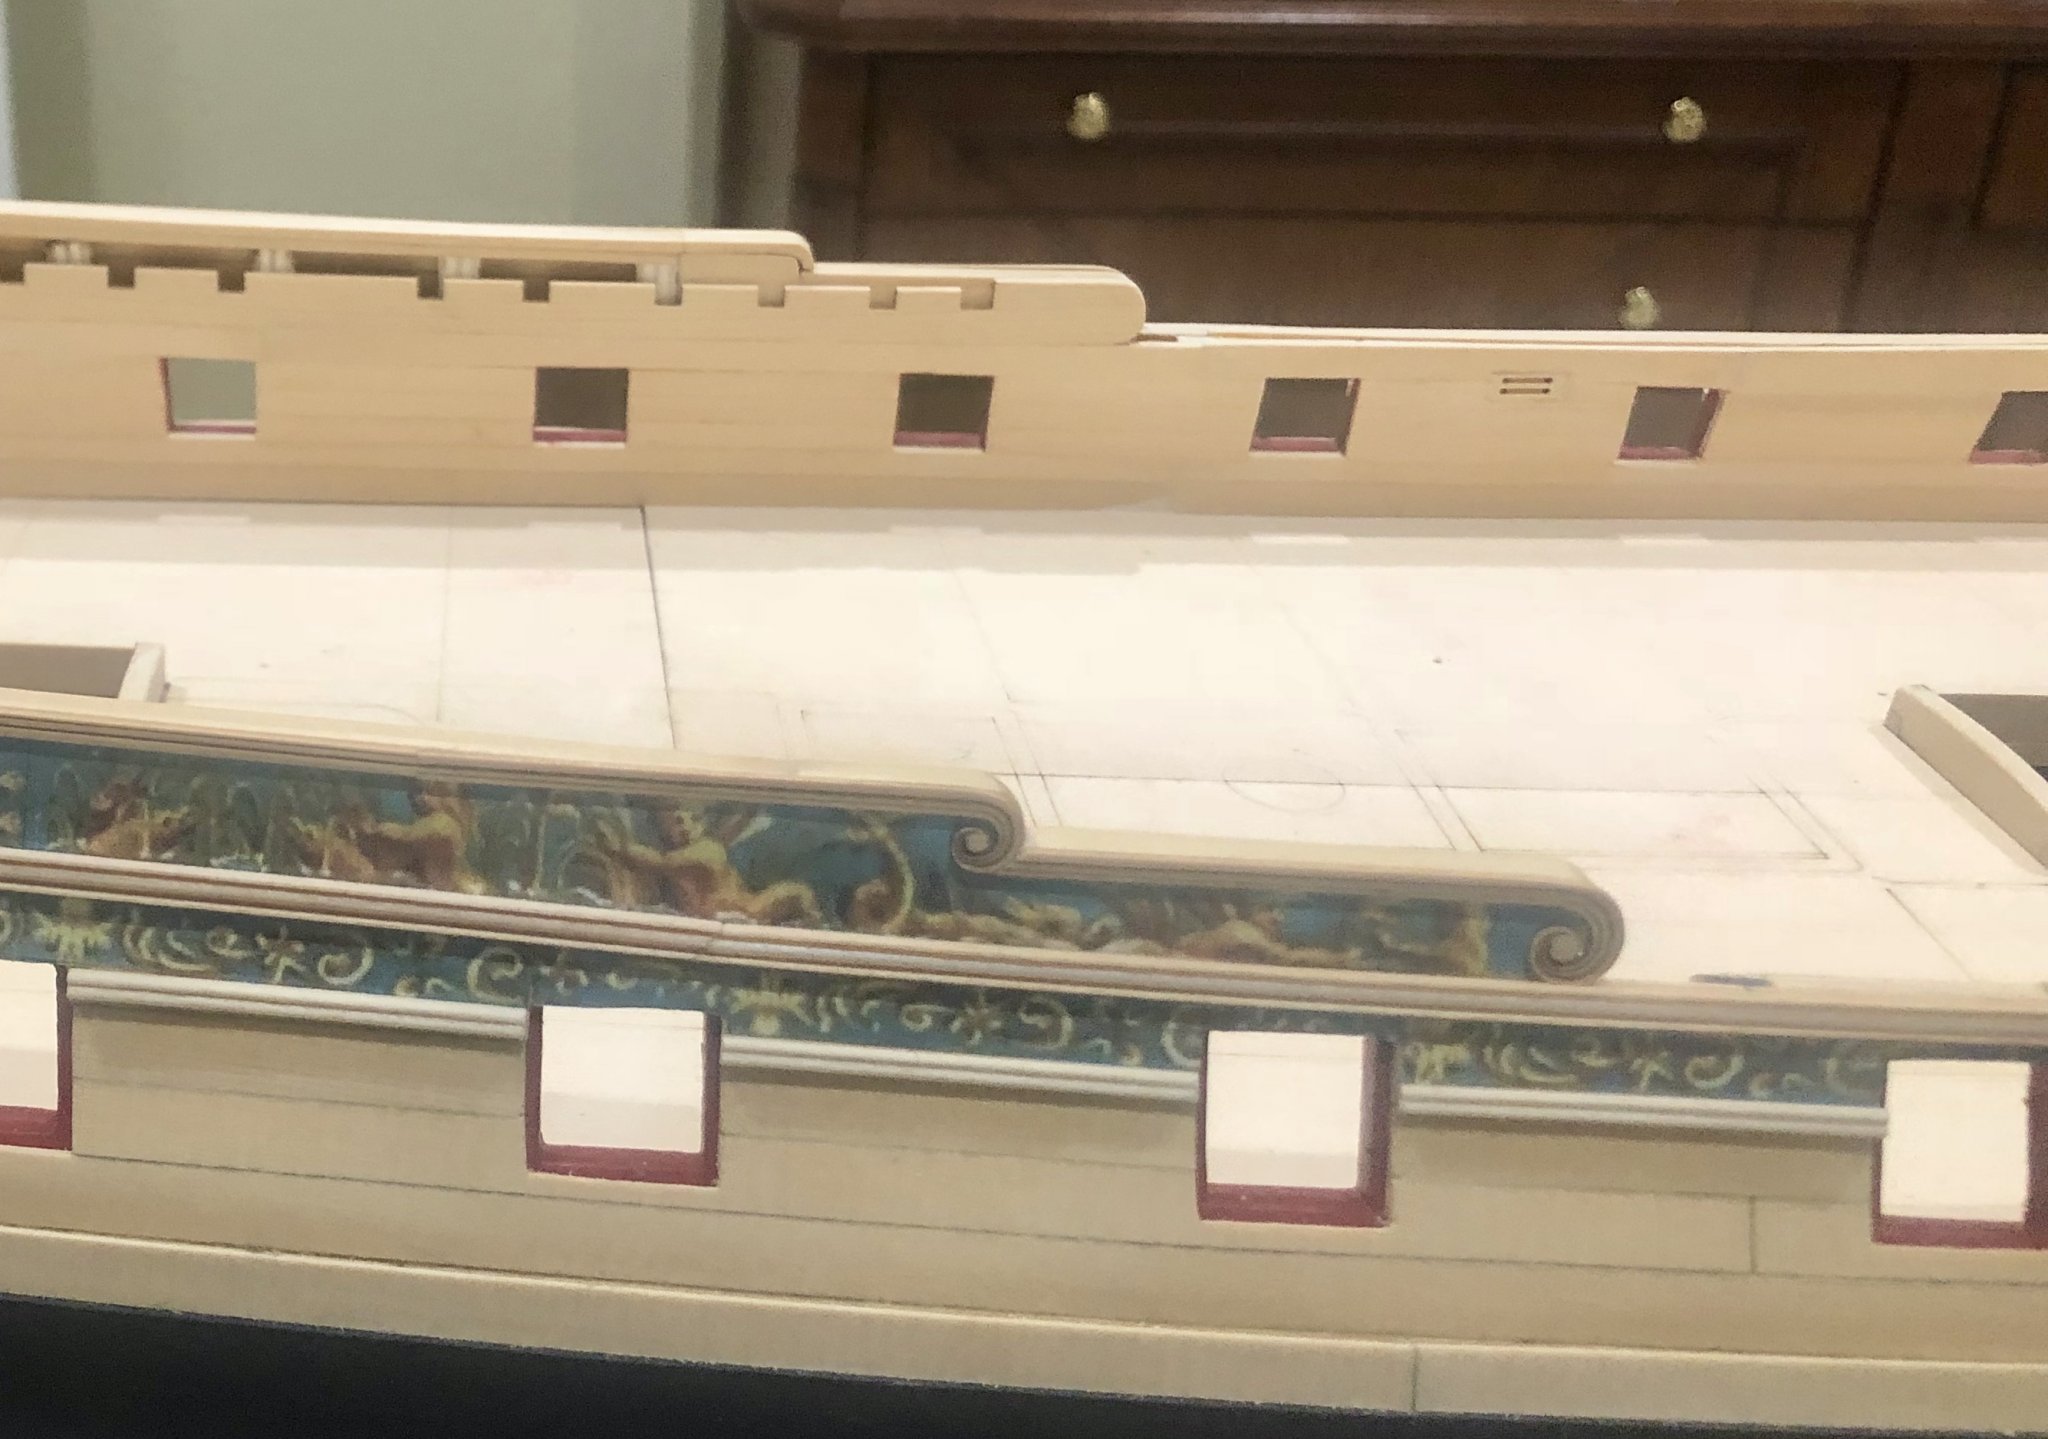
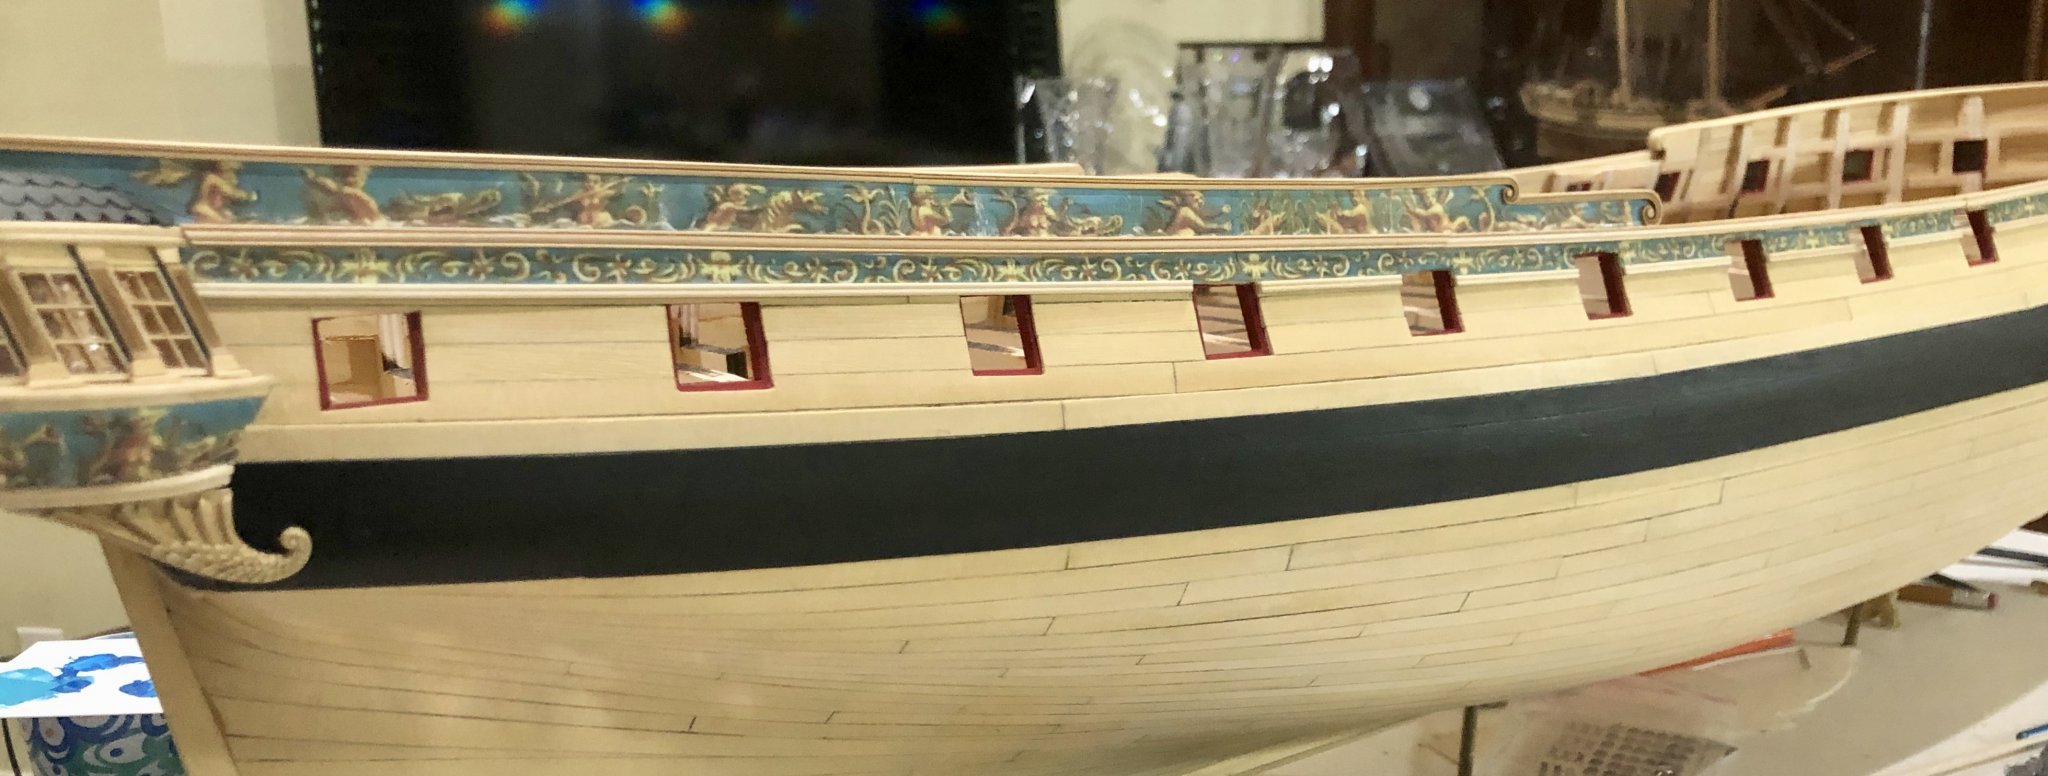
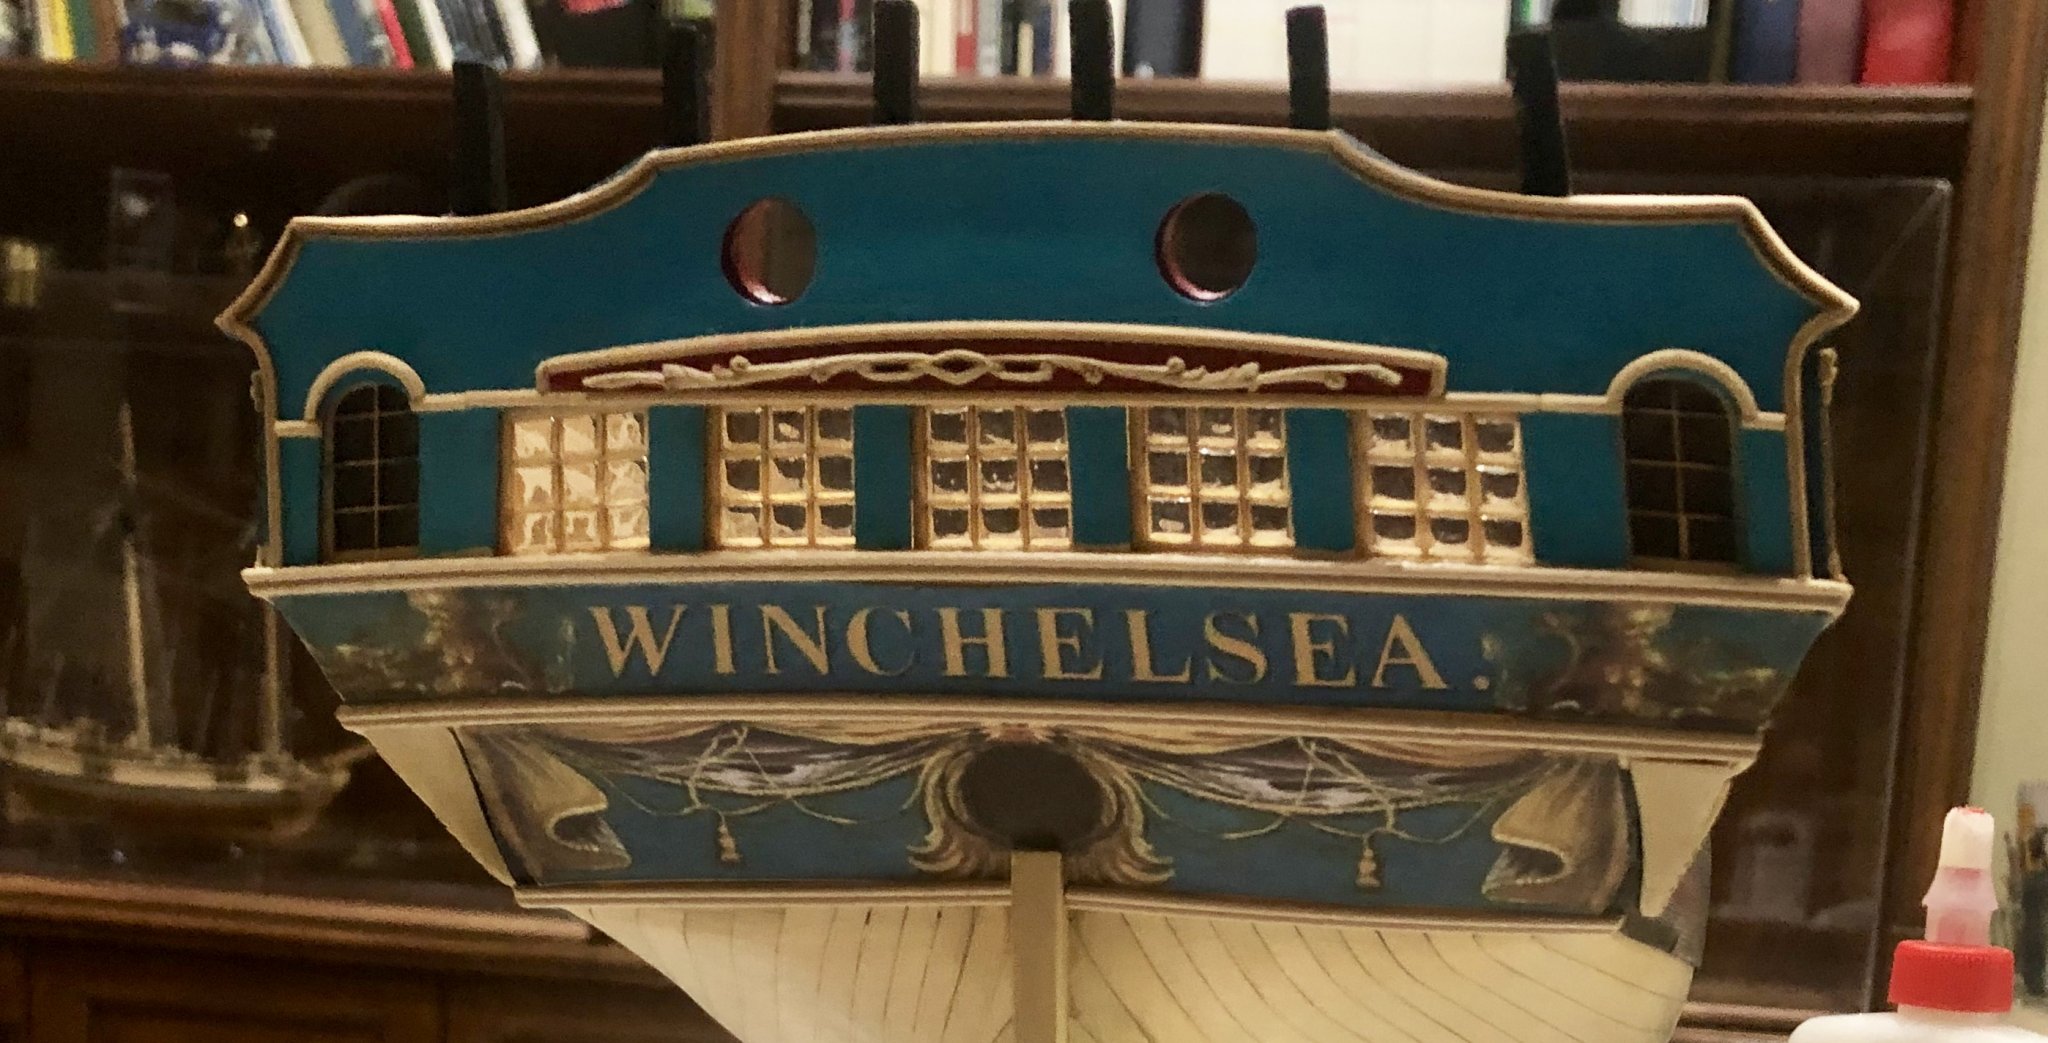
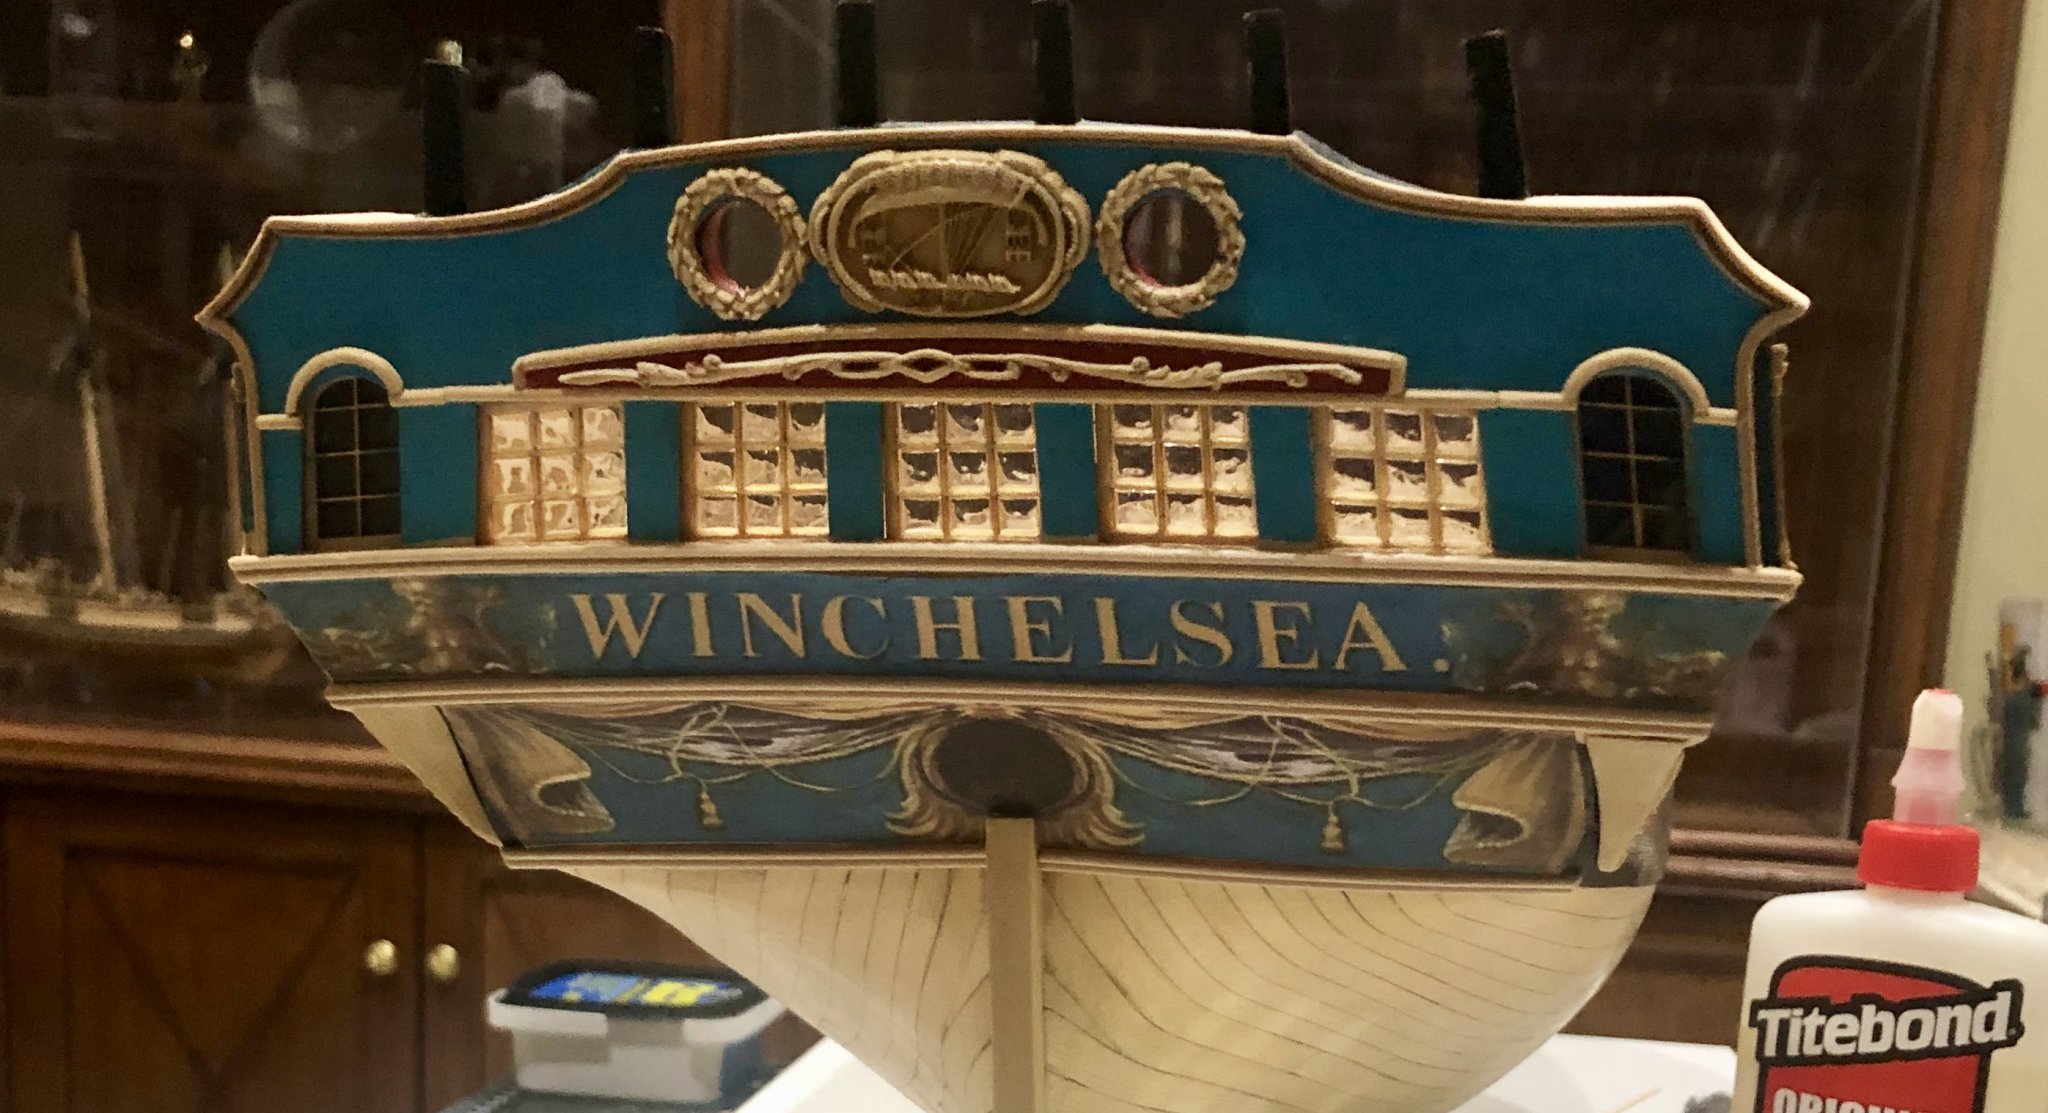
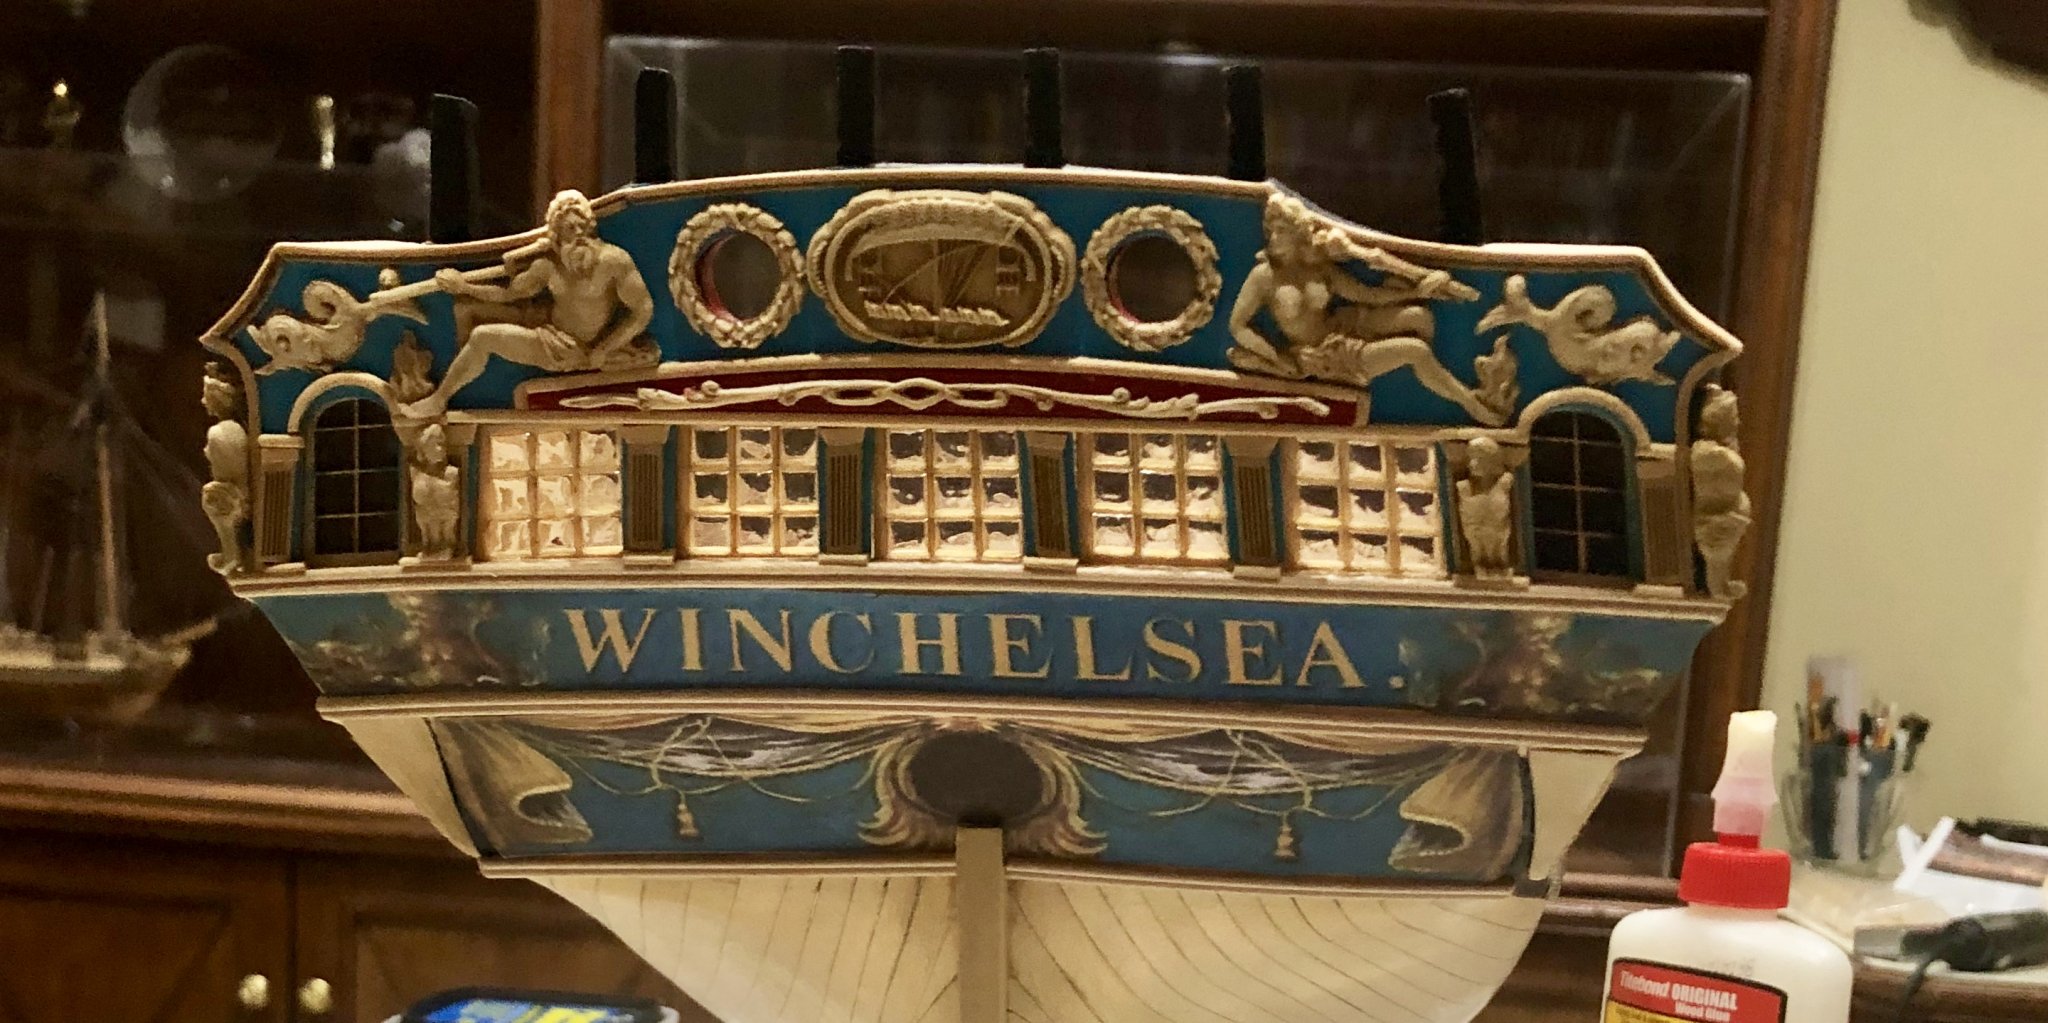
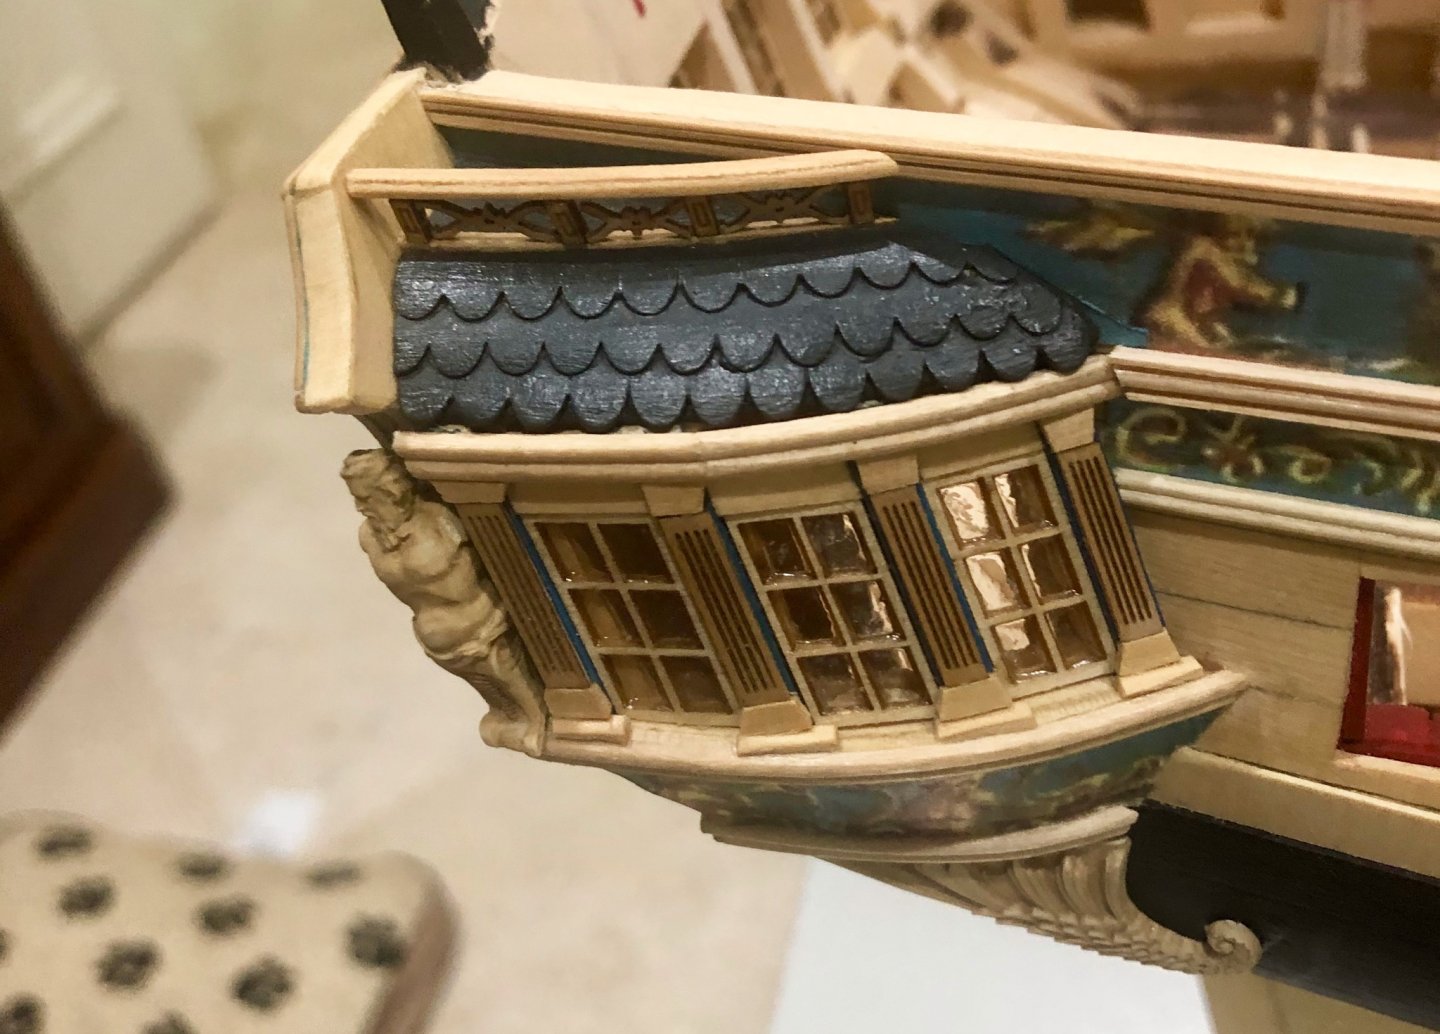
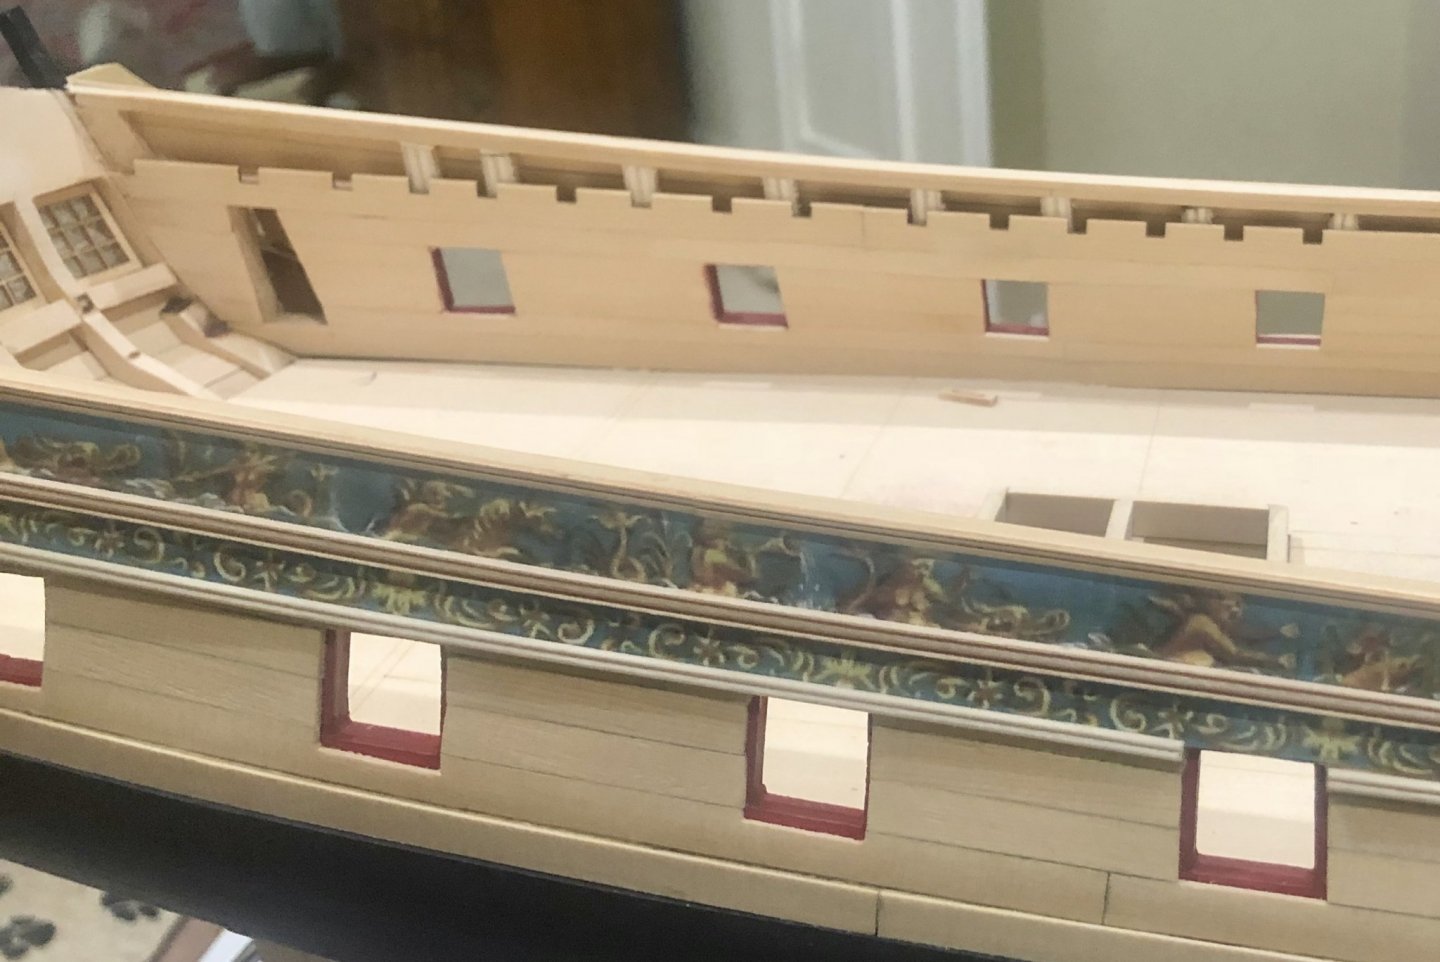
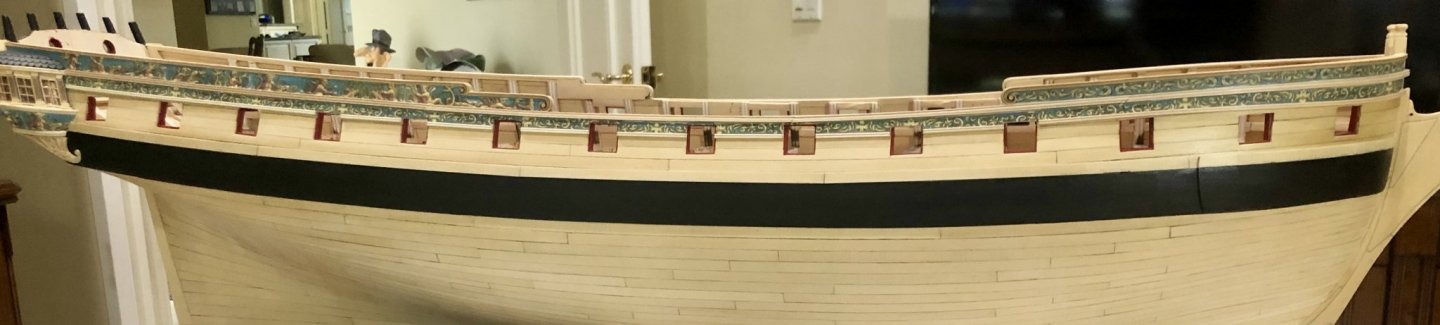
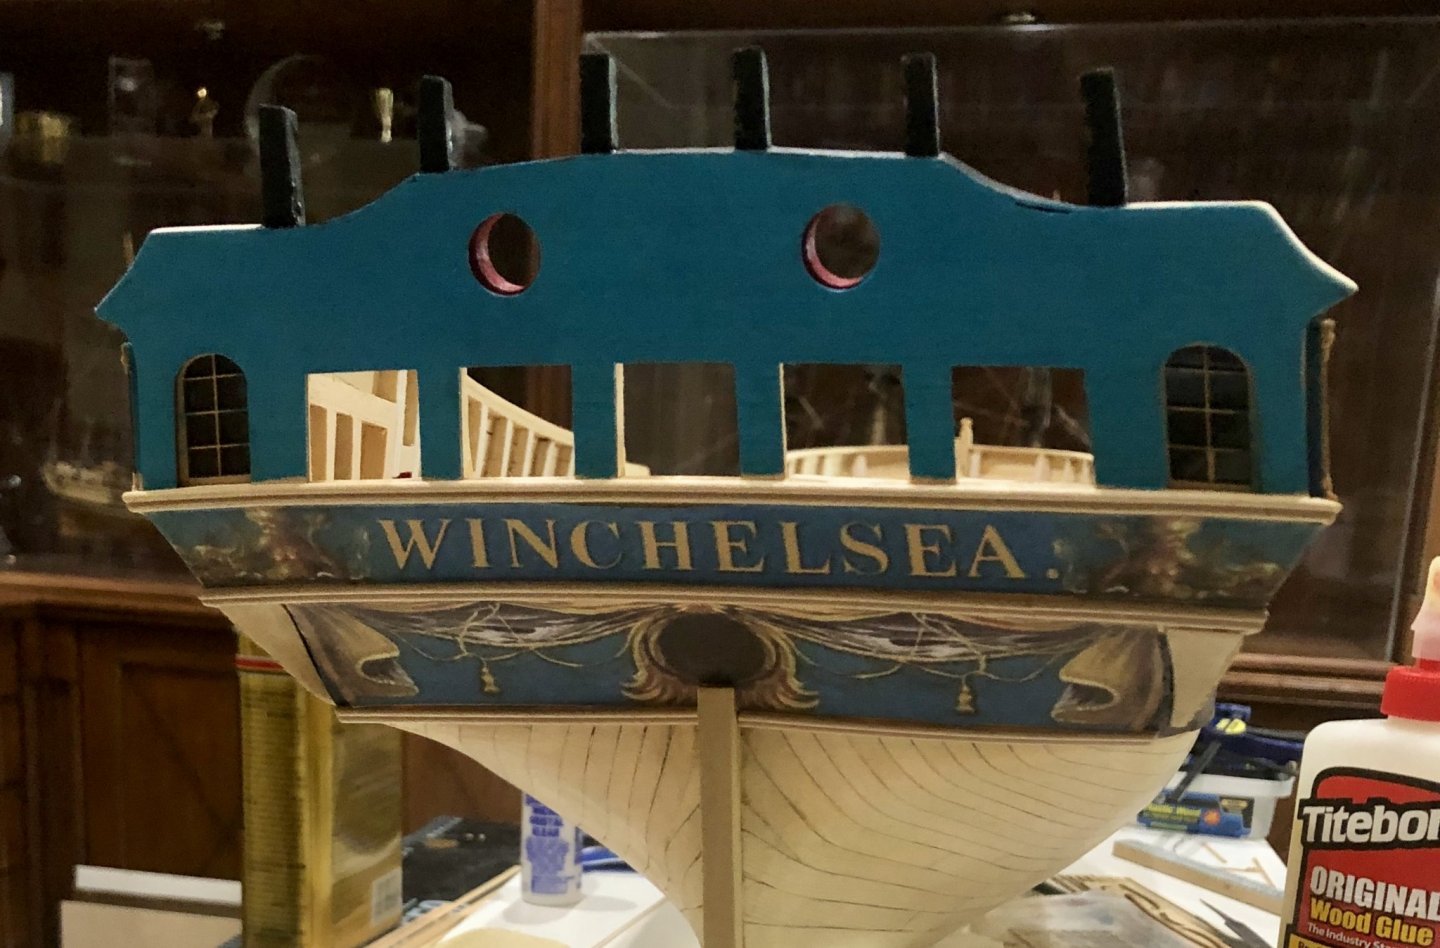
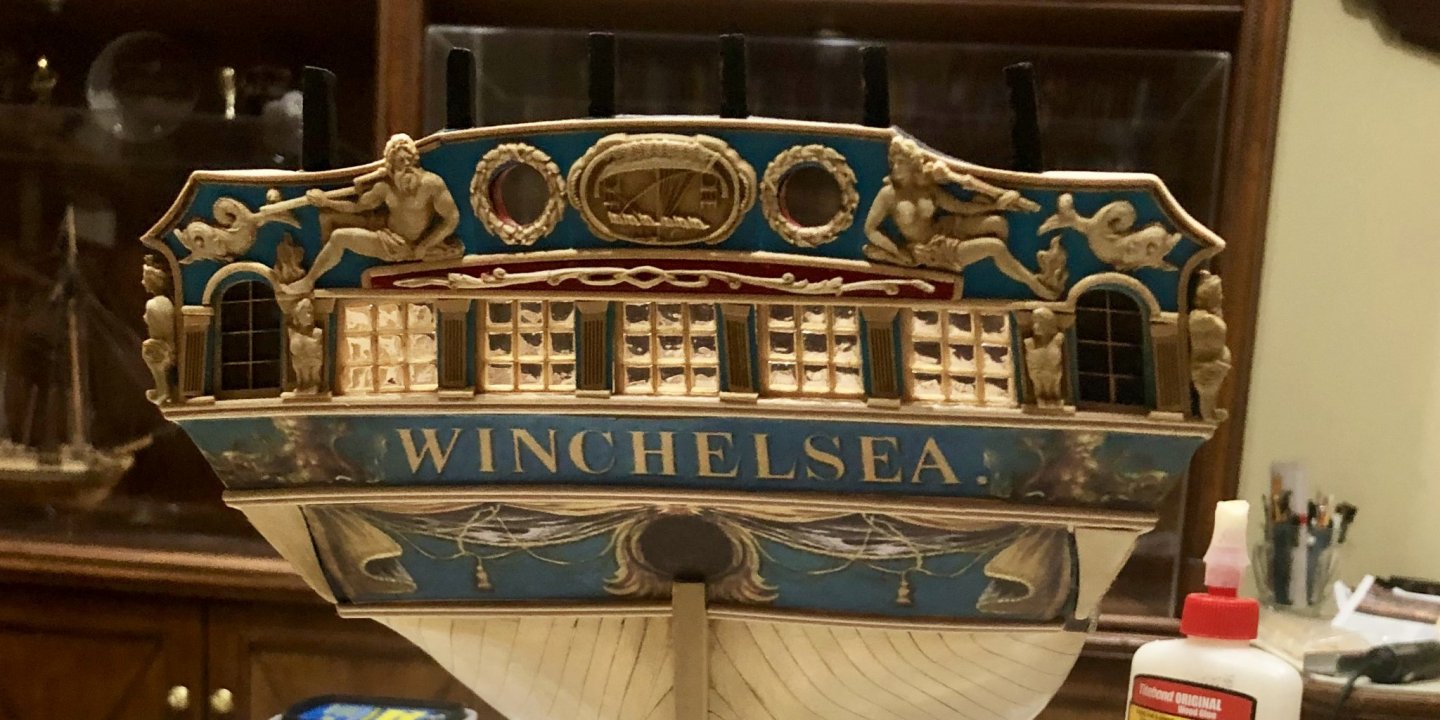
I've now completed all of chapter three with the exception of the fancy rail on the Q gallery roofs. I've decided to leave that for later, to protect them. The work completed included the moldings and friezes on the hull sides and the remaining work on the transom: painting; moldings; the cove; window frames and glazing; the castings; and the fluted columns. Let me start by saying that after all of the hull planking, this was fun to do. The hull moldings and friezes were relatively straight forward. The laser cut scrolls were a godsend. Thank you, Chuck. I applied Wipe-on Poly to the friezes, as well as the moldings, and I like the result. Moving to the transom, I chose to paint the transom, rather than use the printed paper piece. I first used cerulean blue, but didn't like the color match to the friezes, and started experimenting. What I finally came up with was teal, tinted with cerulean blue, which I found to be a much better match to my printouts. After painting, I added the upper edge molding, using the laser cut pieces. Next, I mounted the window frames and glazed them with Micro Kristal Klear, as I had done with the Gallery windows. I then made and mounted the cove and the connecting moldings above and to the side of the outer false windows. At this point, I cleaned up, shaped and tinted the castings, using fruitwood gel stain. The castings were then mounted , in the order suggested by Chuck. I think that they look great. Another big "thank you" to Chuck for providing a beautiful way to do something that would otherwise have been impossible for me. The transom was completed by making up and mounting the fluted columns, using the laser cut parts and strip wood. It seems that I will now need to take a pause until the Chapter Four parts and printout are available. I don't mean to be pushy, but any idea when that will be, Chuck? Bob


-
Thanks so much Ken, Thomas, Don, Bob and the "likes". Always greatly appreciated. Bob
-
Thanks so much Rusty, Sjors, Fred and the "likes". Bob
-
Fred, it's turning out great. I am the poster child for inaccuracies requiring adjustments in future work, so I know exactly what you're talking about. Bob
-
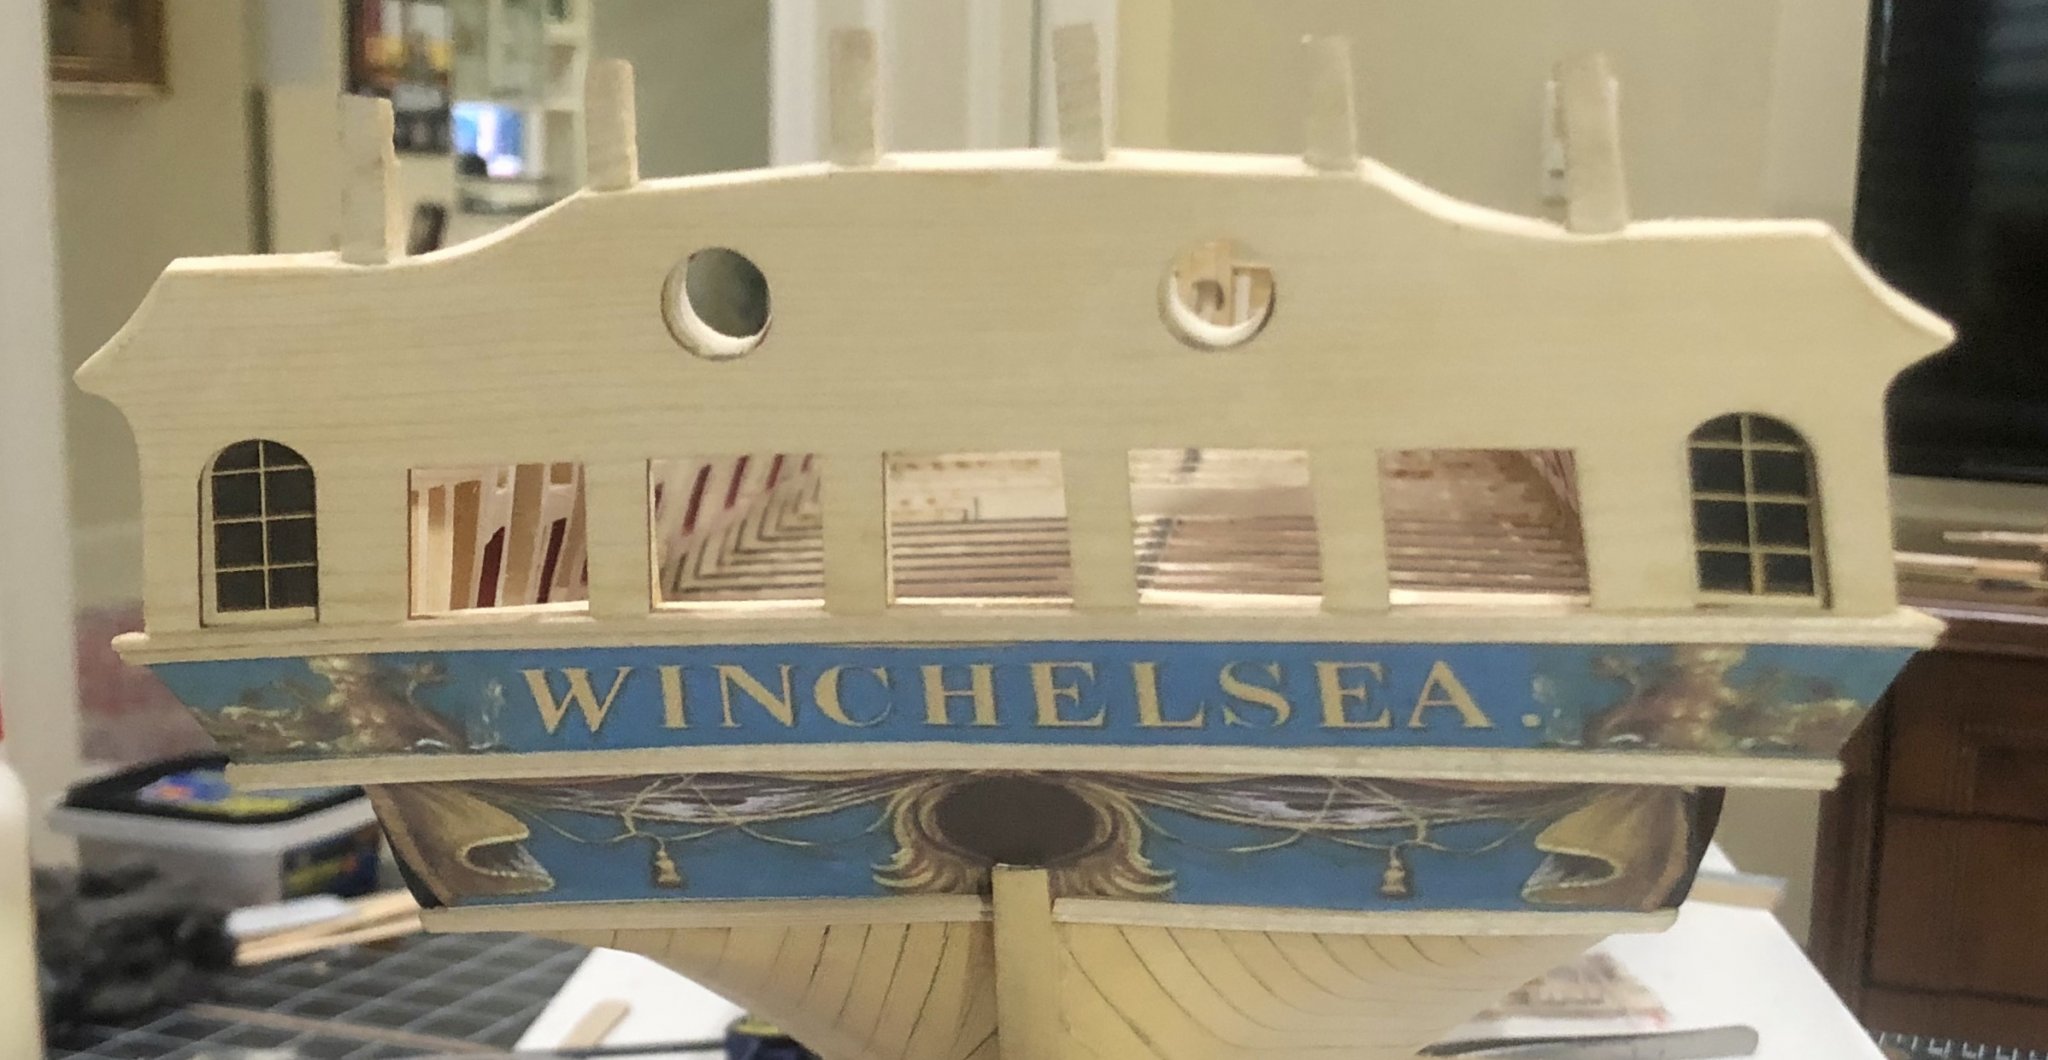
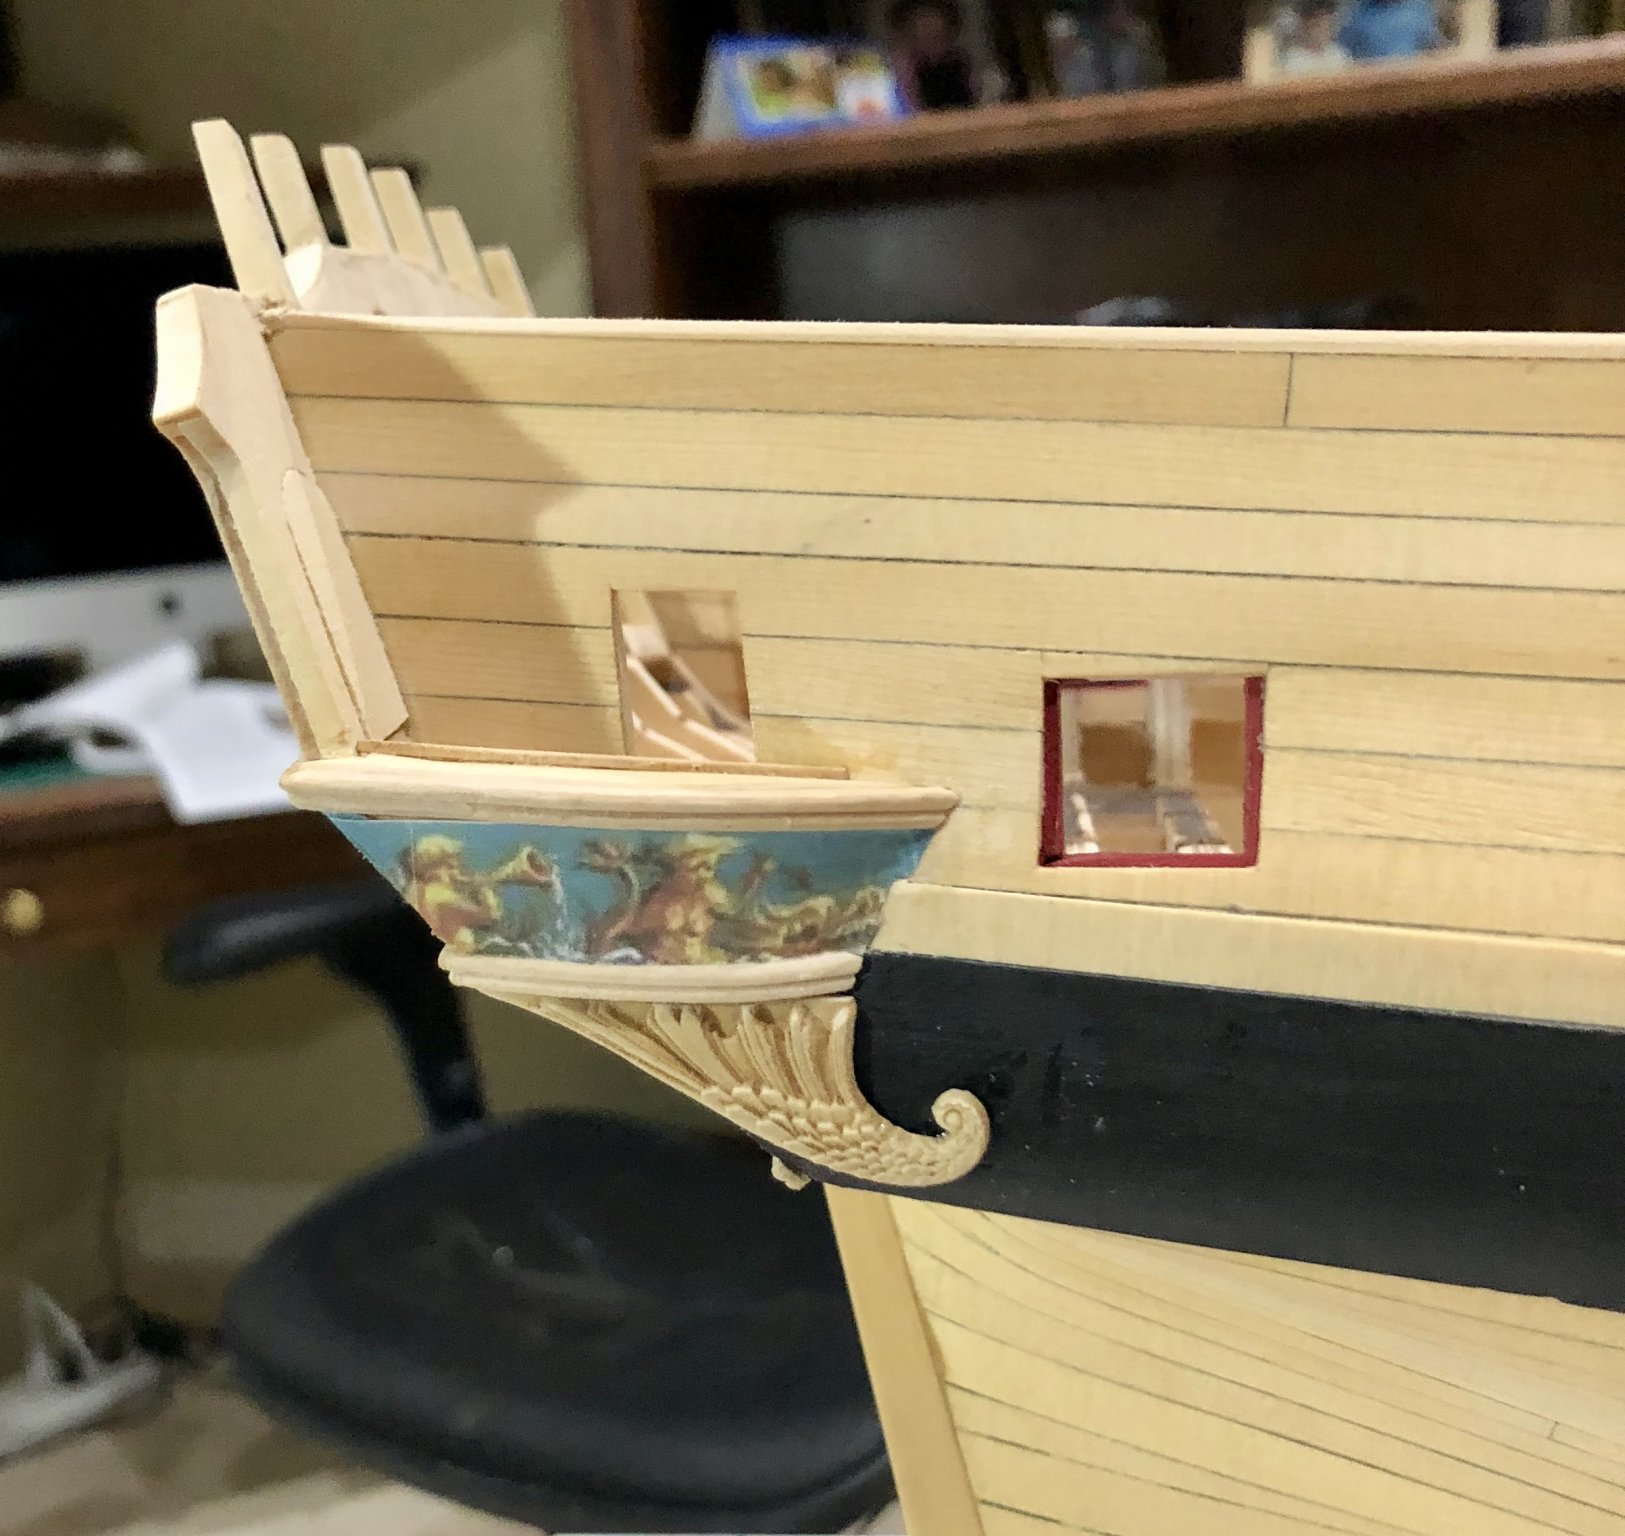
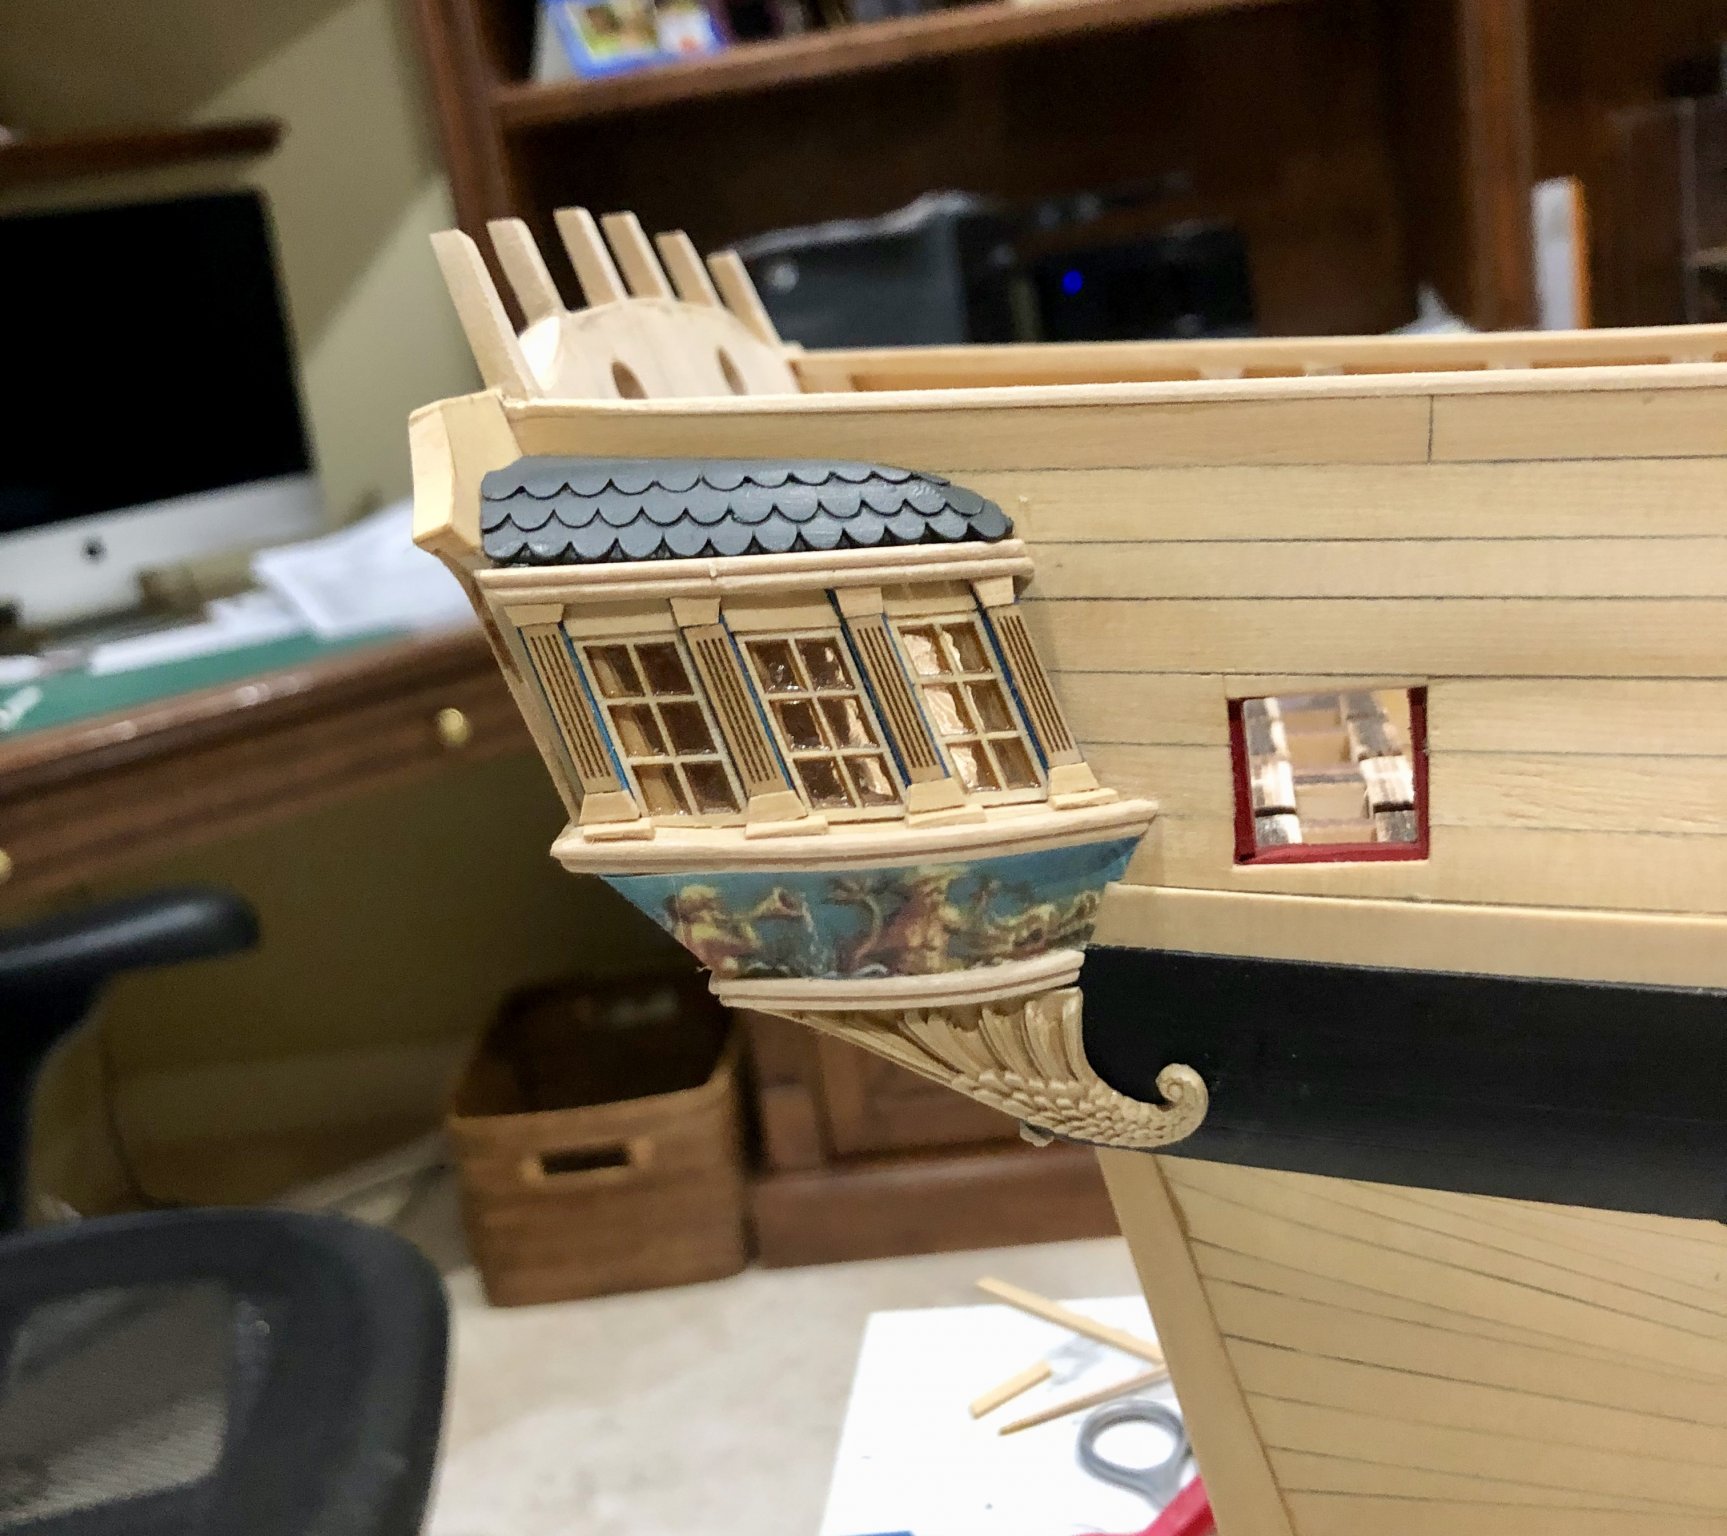
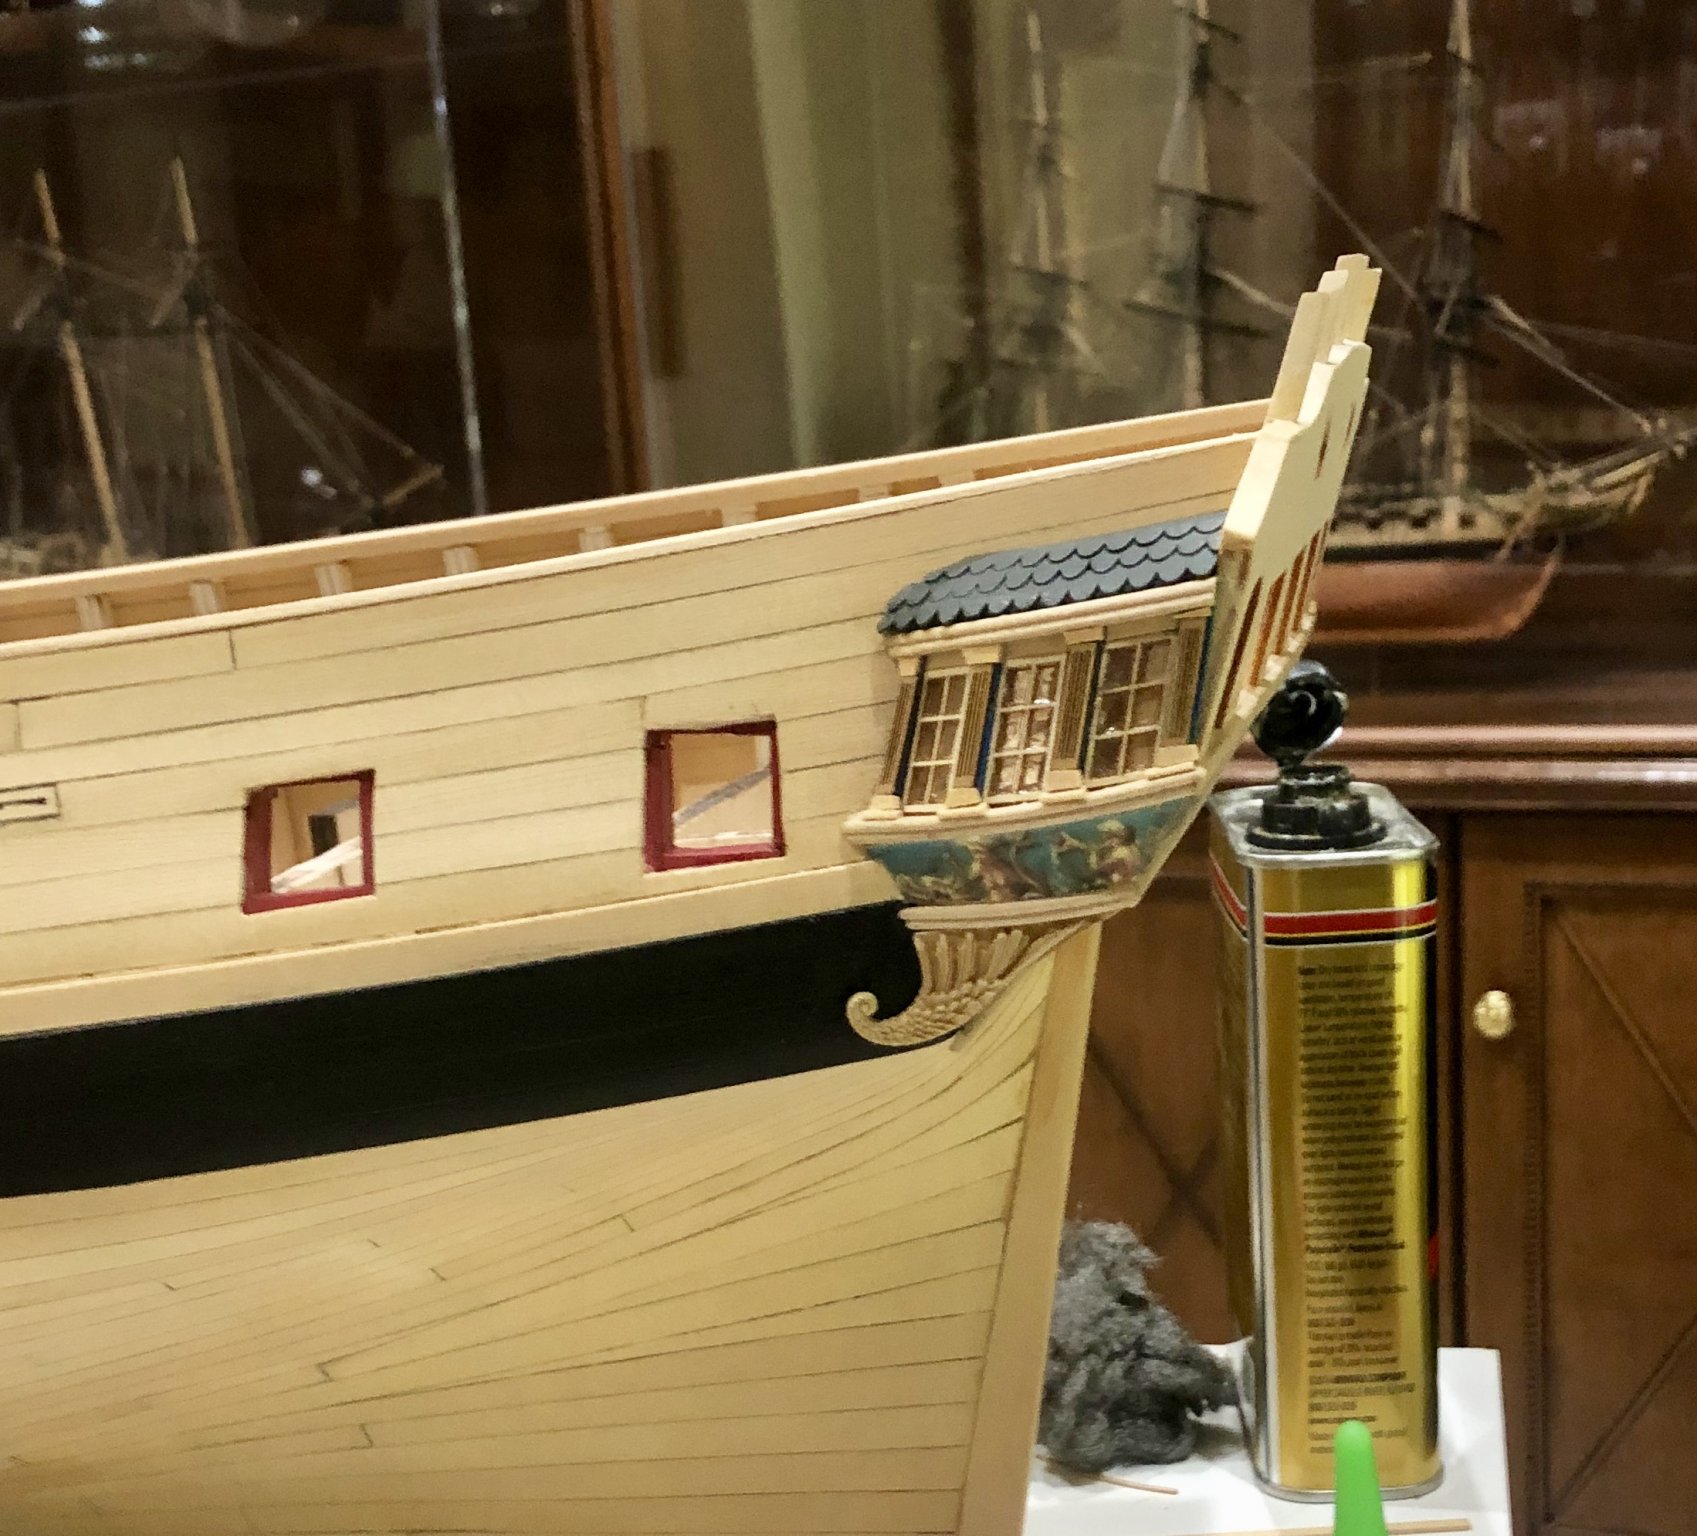
Finally, some long overdue progress. First, I added the moldings and friezes to the transom. I don't know what happened during my download of the friezes, but I found that I had to adjust the sized redo the downloads. Now they fit. I then framed the quarter galleries, using the laser cut pieces, and put on the moldings. The outer part of the uprights was painted, using Winsor& Newton cerulean blue acrylic.The windows were added, using Micro Krystal Klear for the glazing, rather than the laser cut acetate. I like the look better and it greatly strengthens the window frames. Next, I added the fluted columns, using the laser cut pieces and strip wood. The friezes were glued in place and the drops added. I have the resin casting set, and applied fruitwood gel stain before mounting, as Chuck has suggested. The last work was to make up the roofs, using the laser cut pieces and shingles. The shingles were painted with Polyscale grimy black, which is a dark gray. The roofs are not yet permanently mounted. Now, it's on to the hull side moldings and friezes. Bob ,