HOLIDAY DONATION DRIVE - SUPPORT MSW - DO YOUR PART TO KEEP THIS GREAT FORUM GOING! (Only 44 donations so far out of 49,000 members - C'mon guys!)
×


rafine
-
Posts
2,932 -
Joined
-
Last visited
Content Type
Profiles
Forums
Gallery
Events
Everything posted by rafine
-
 Very nicely done. Bob
 -
HMS Naiad 1797 by albert - FINISHED - 1/48
rafine replied to albert's topic in - Build logs for subjects built 1751 - 1800
Another wonderful piece of work Albert. Bob -
Great to see you back at it Rusty. We've missed you and your beautiful Cheerful. Bob
- 310 replies
-
- 3
-

-
- cheerful
- Syren Ship Model Company
- (and 1 more)
-
Thanks so much Nils, Jason and the "likes". Jason, the mast pin arrangement is shown in both the kit plans and AOTS. I agree that the more usual fittings would probably be cleats. Bob
-
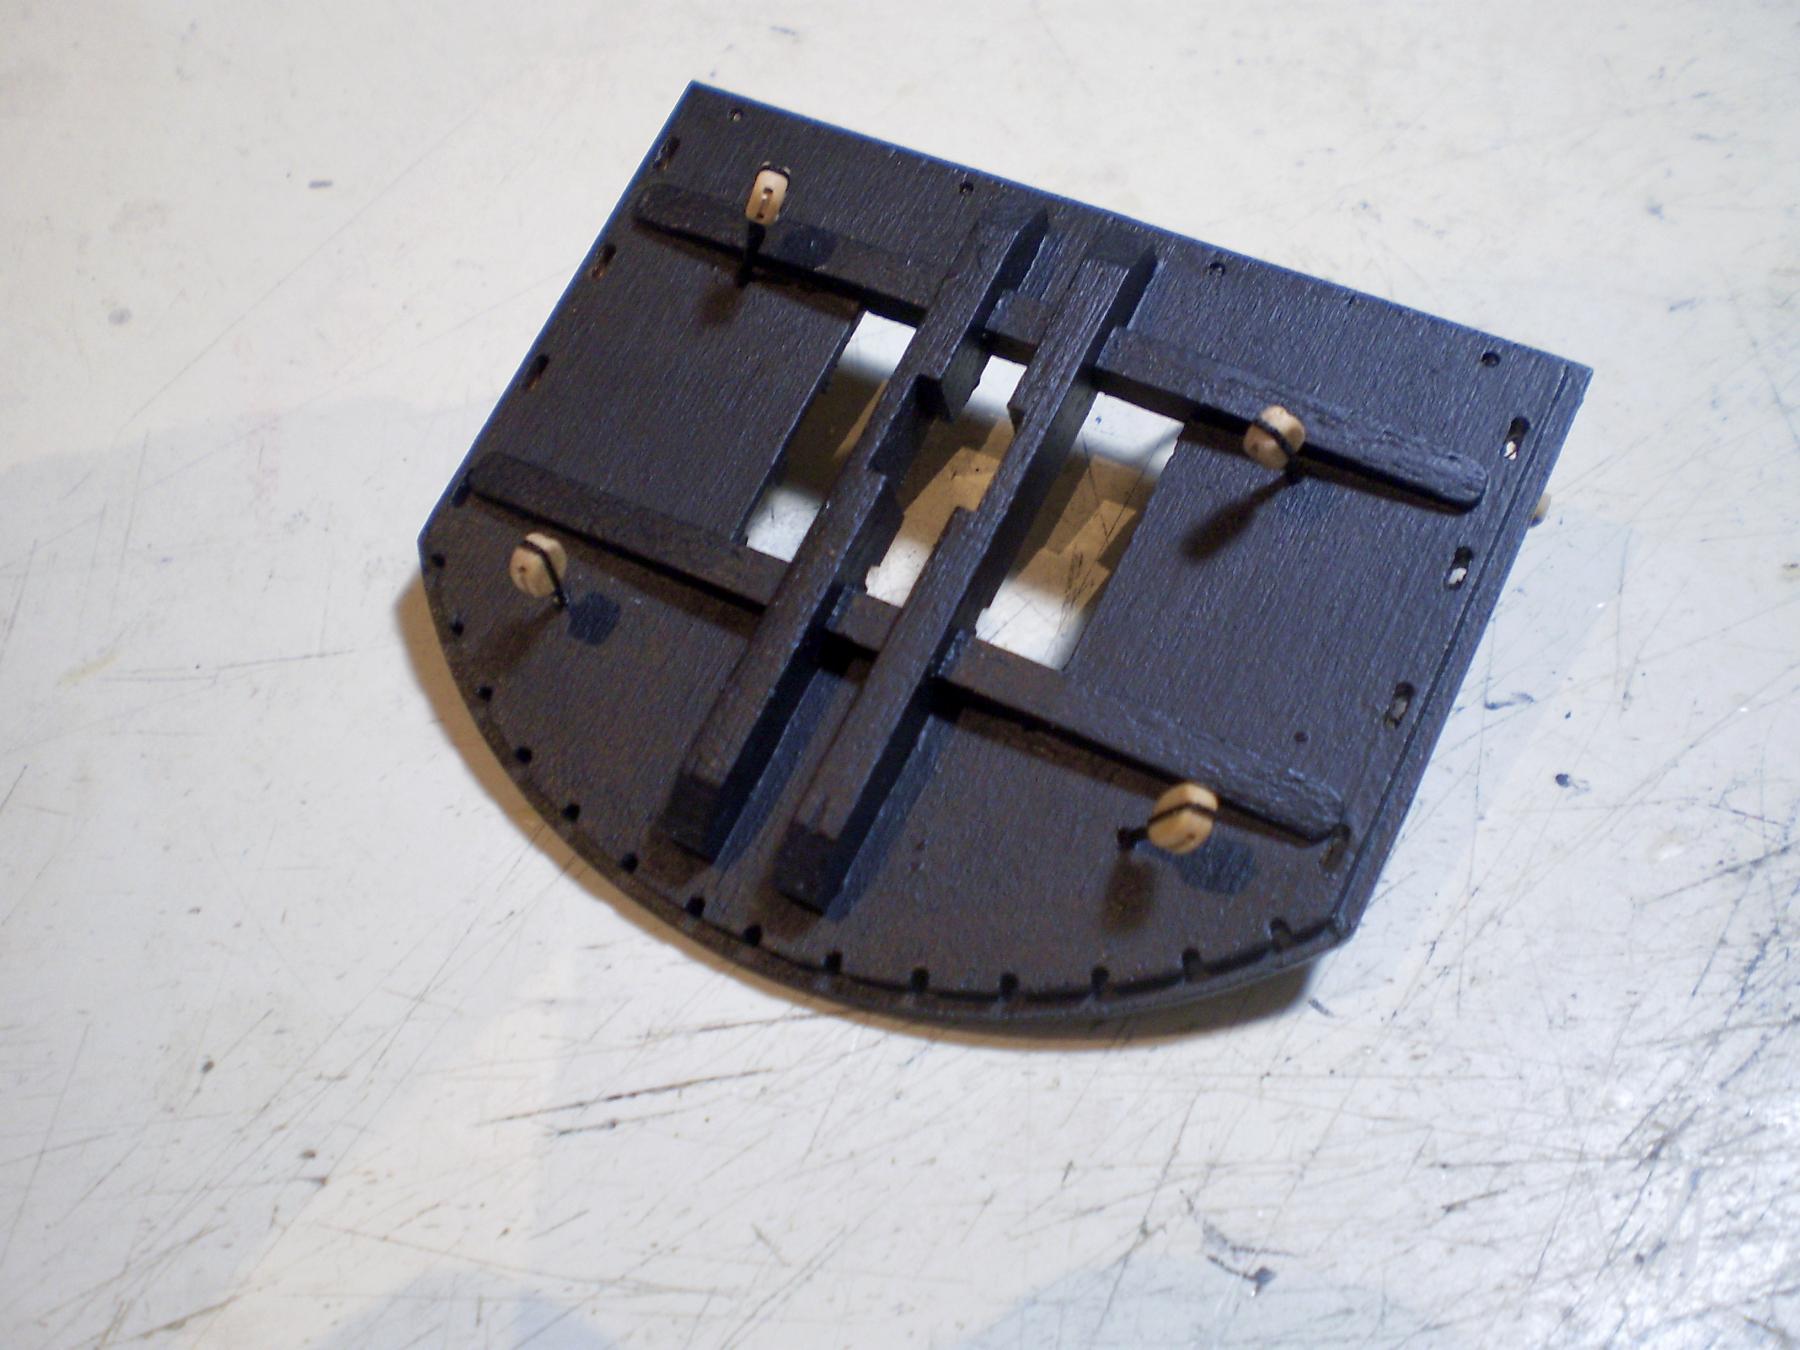
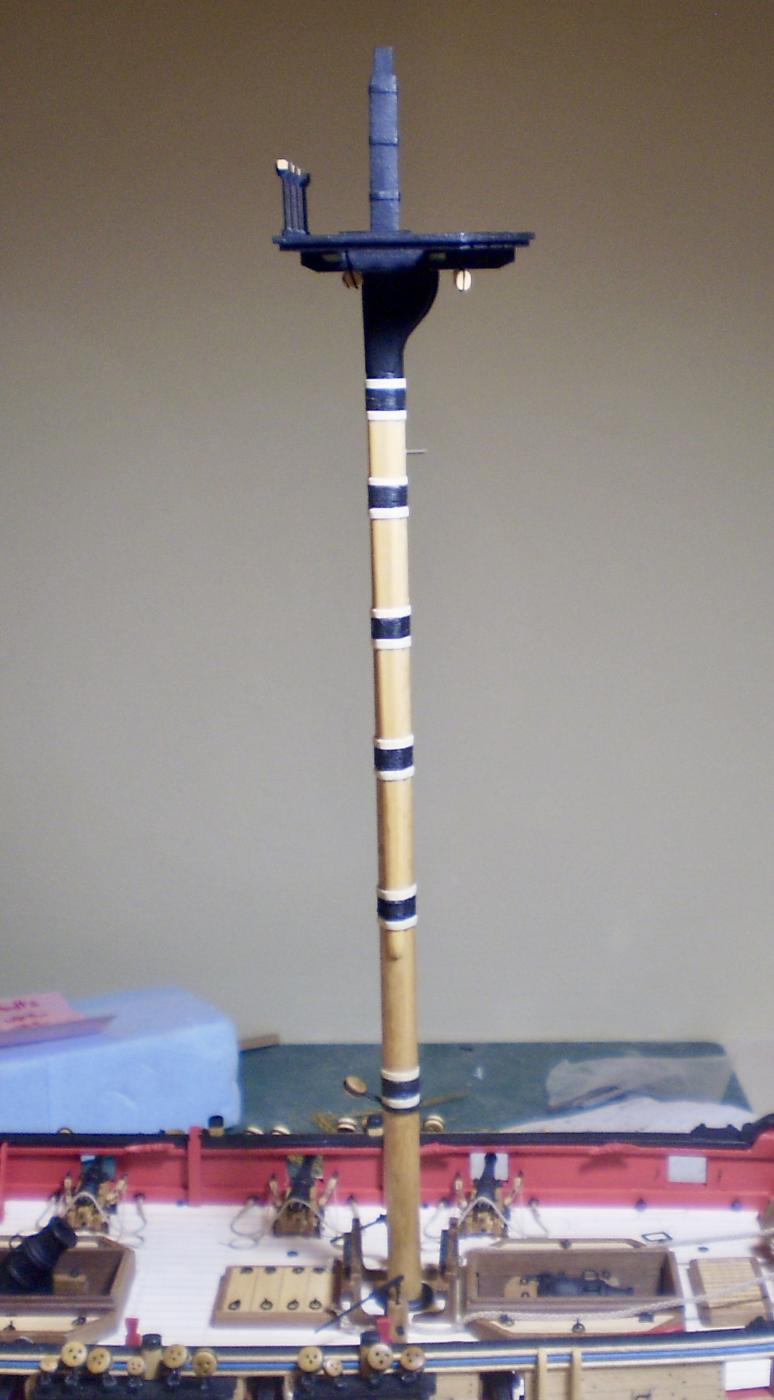
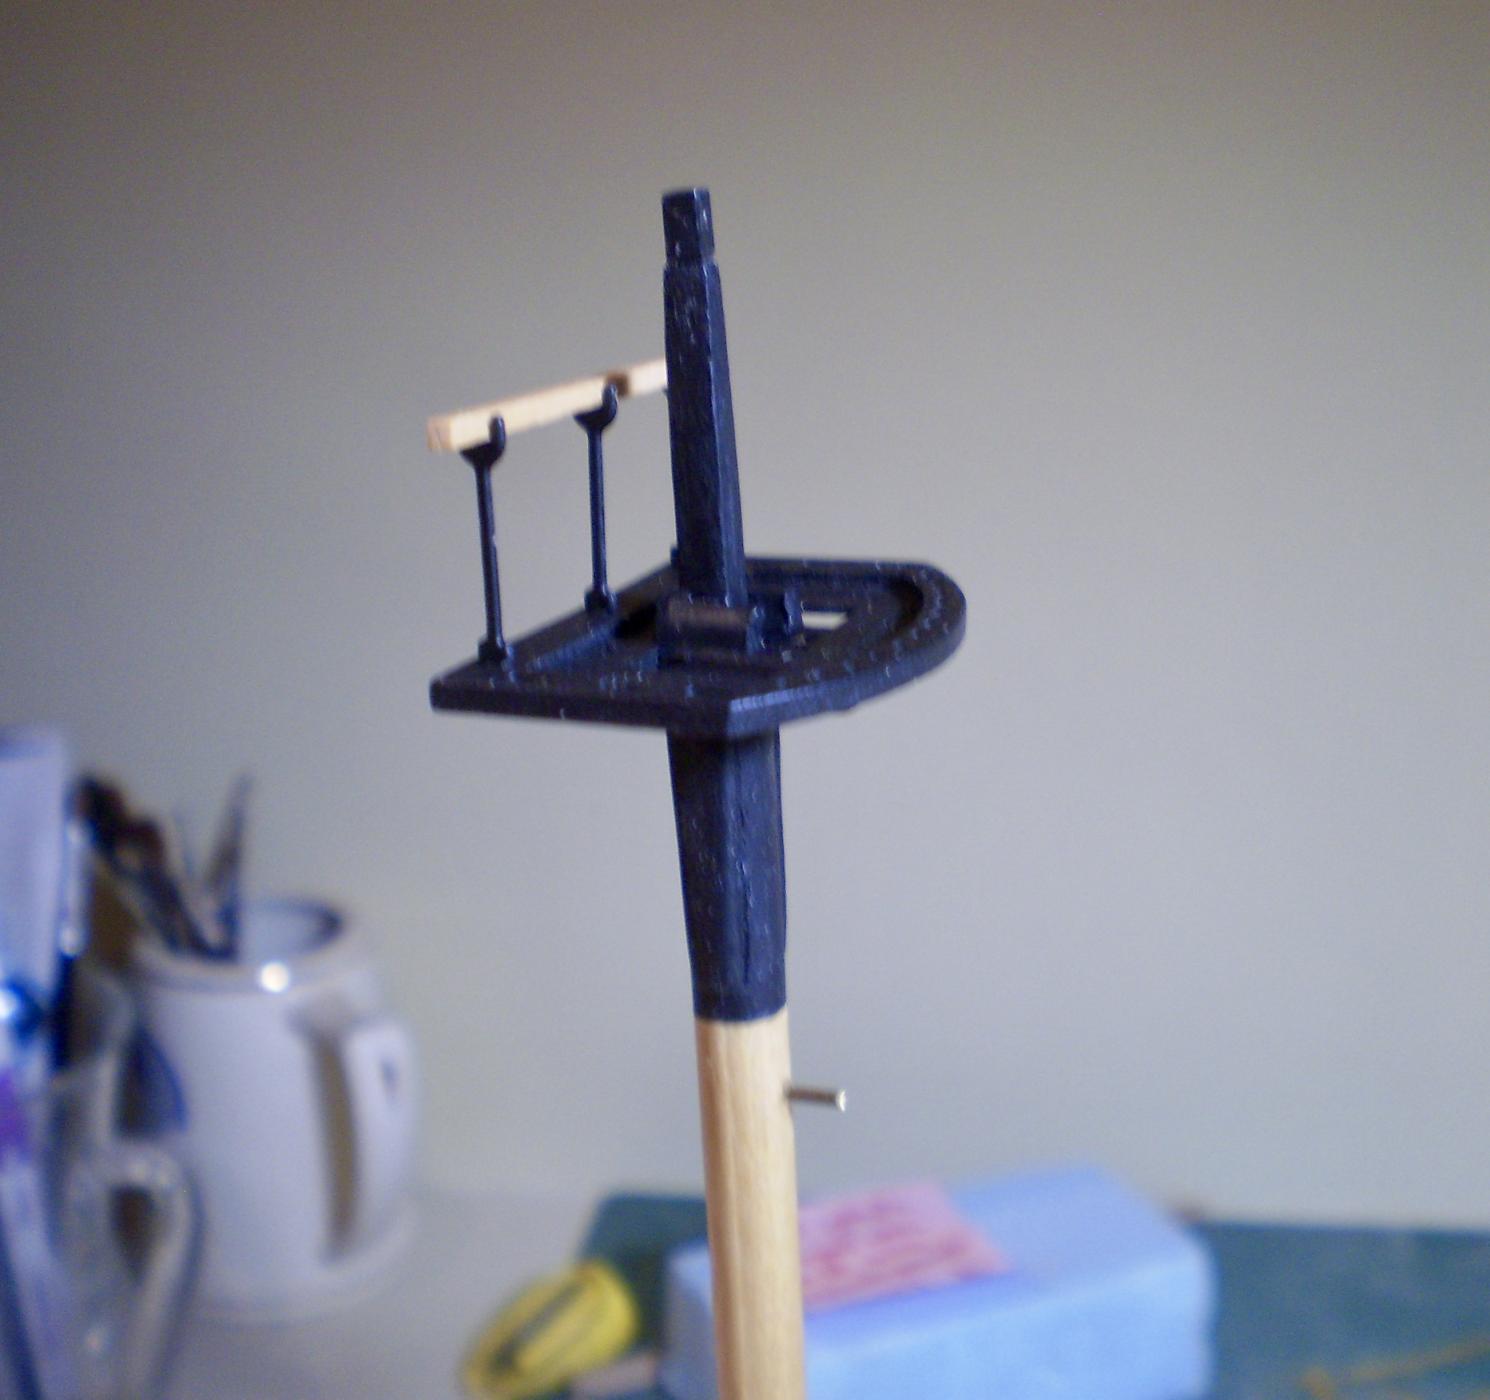
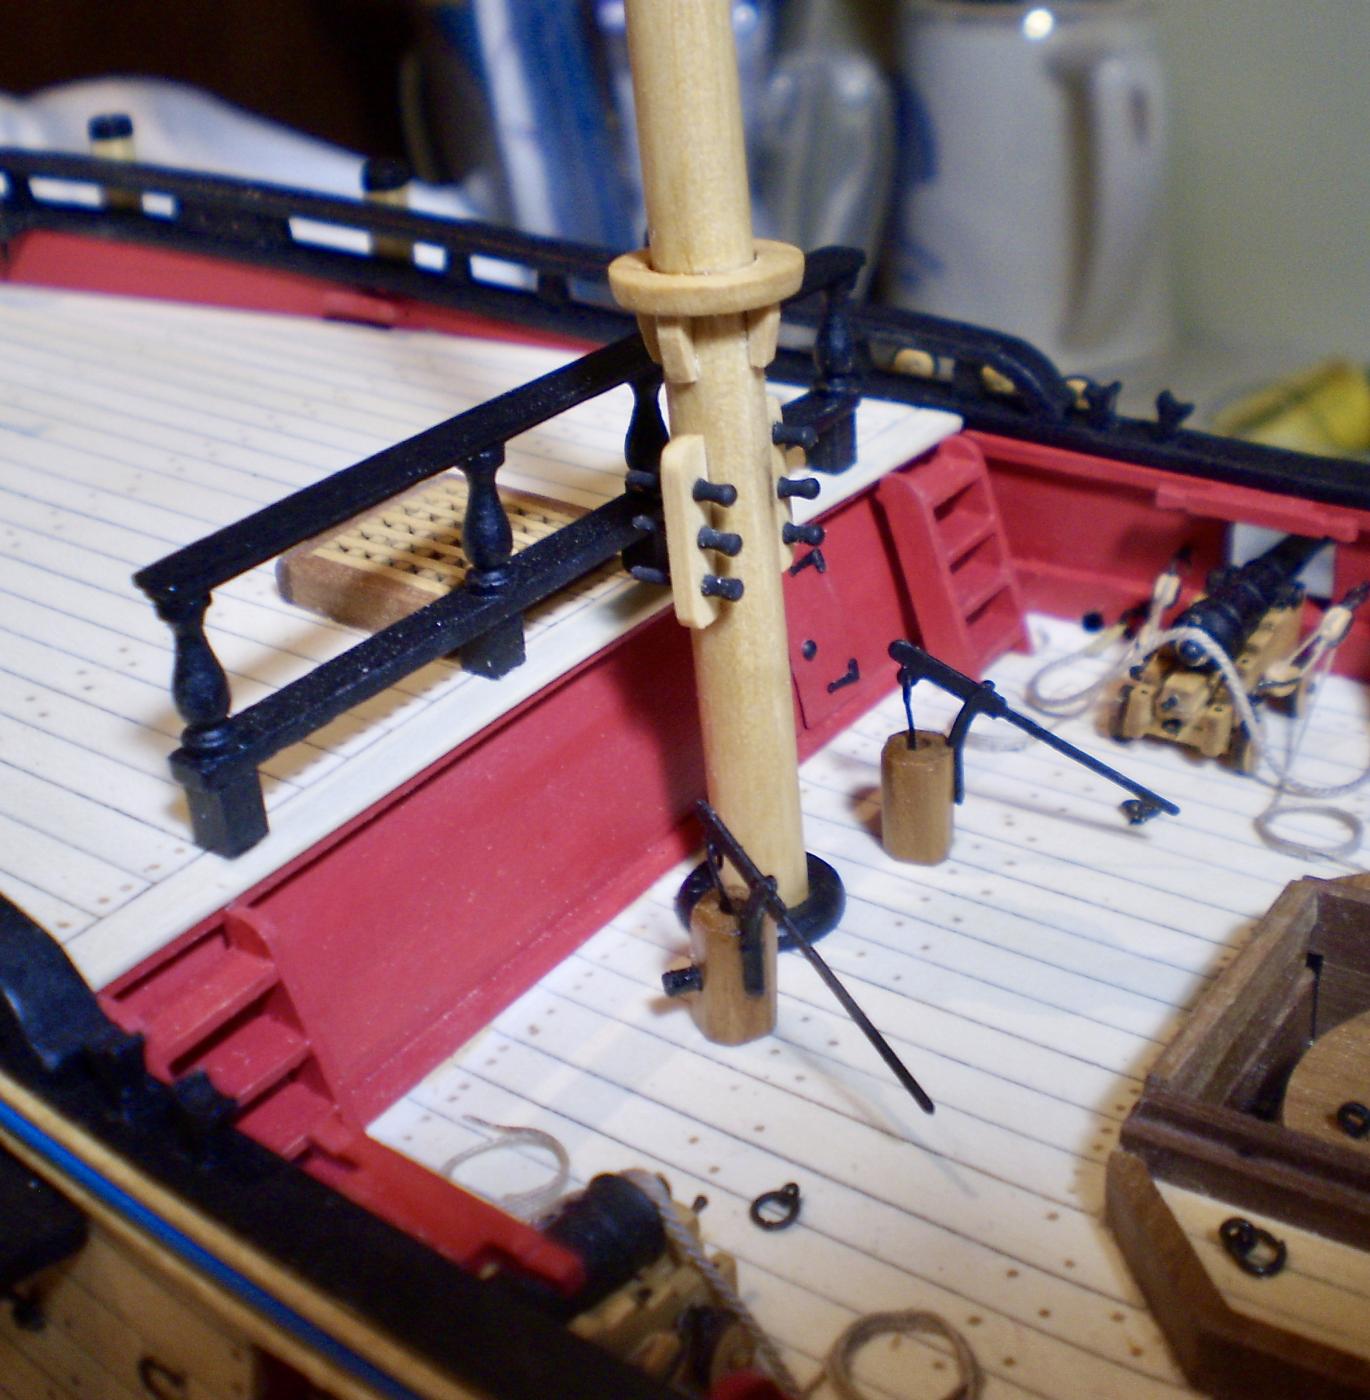
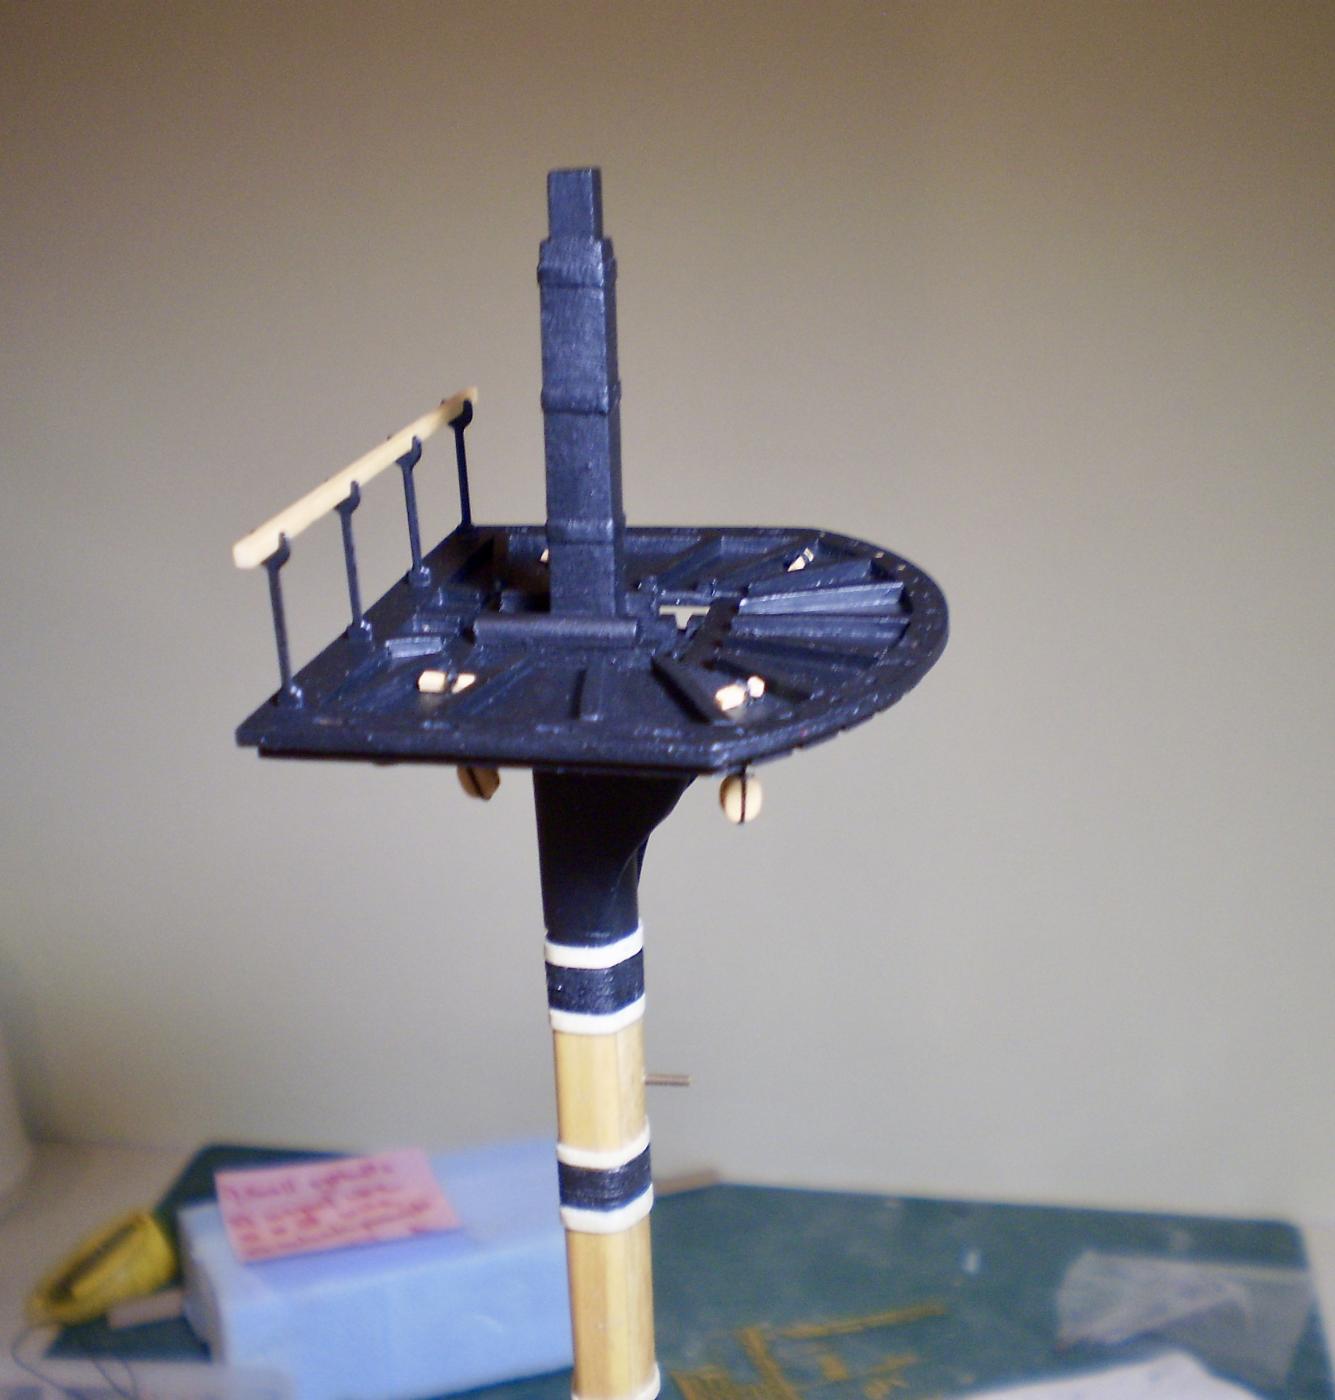
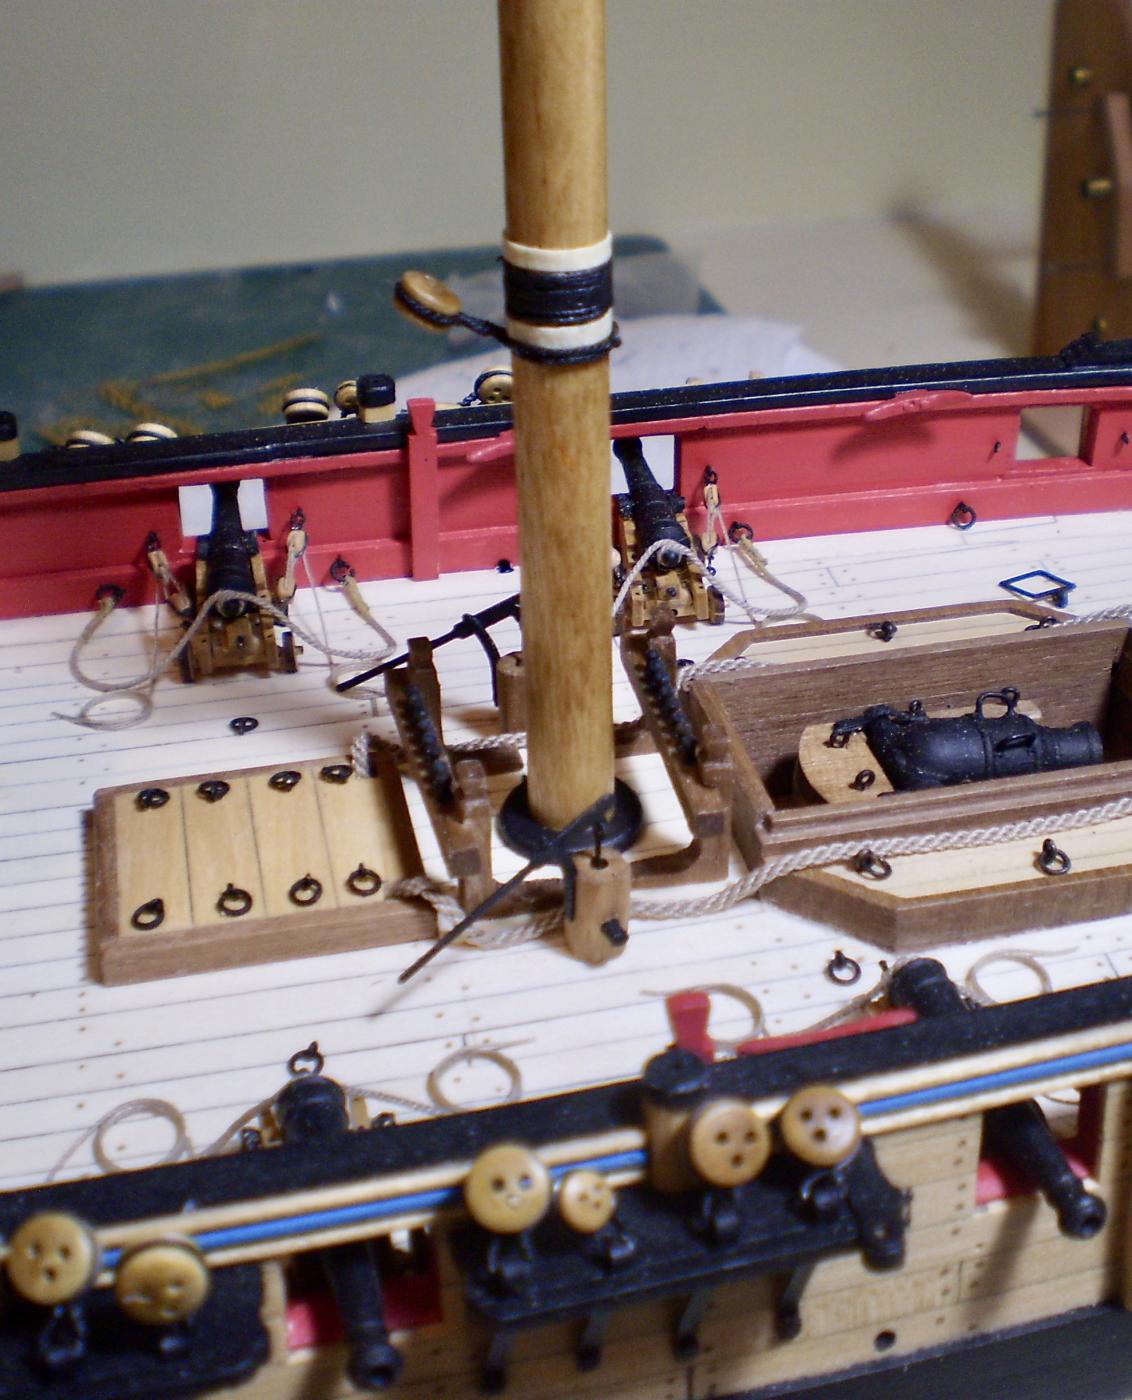
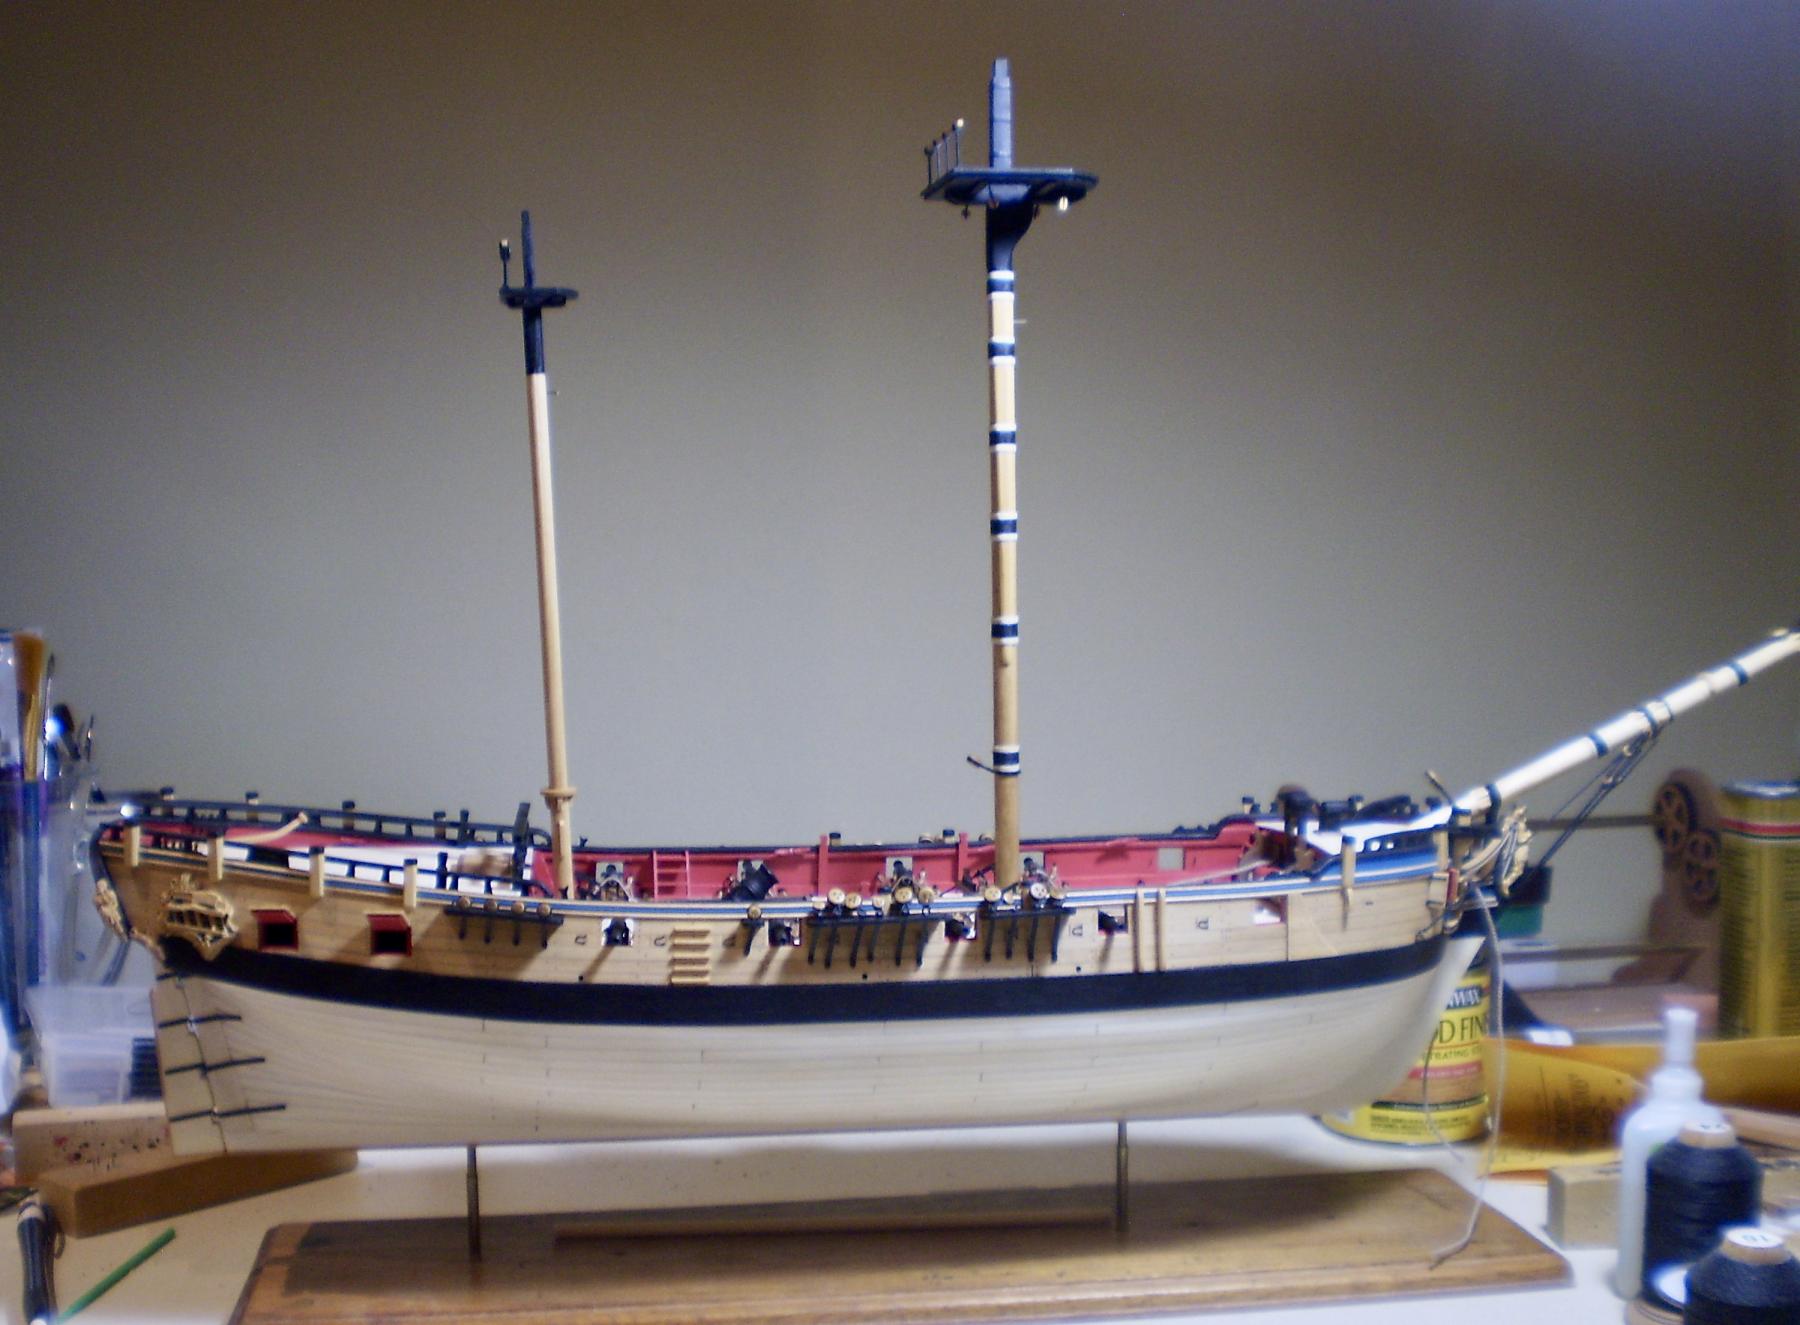
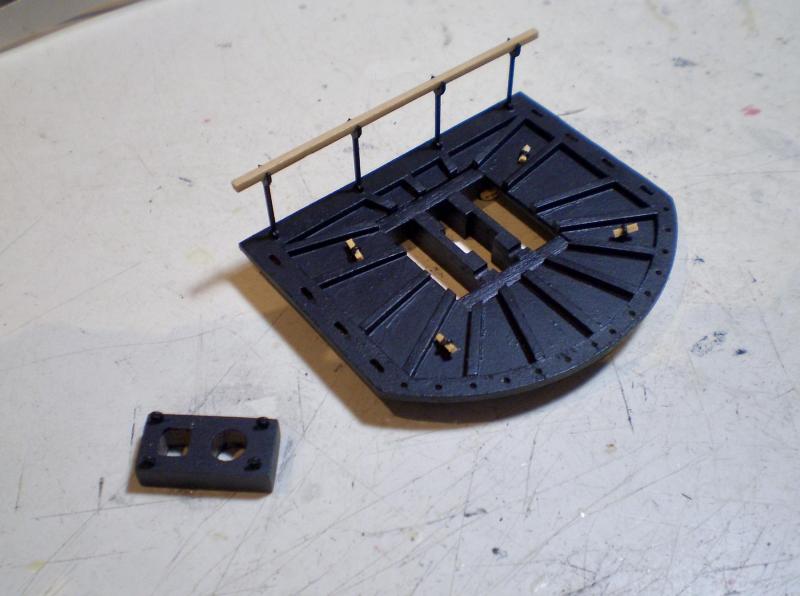
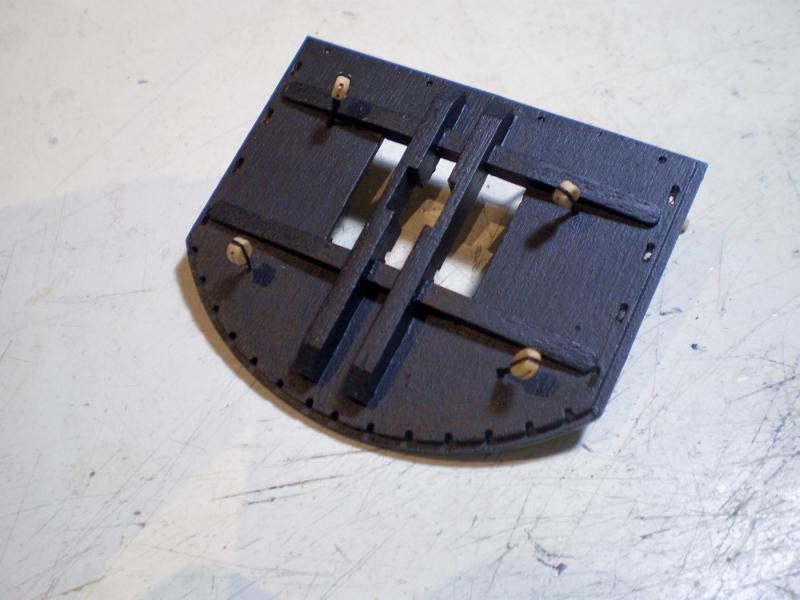
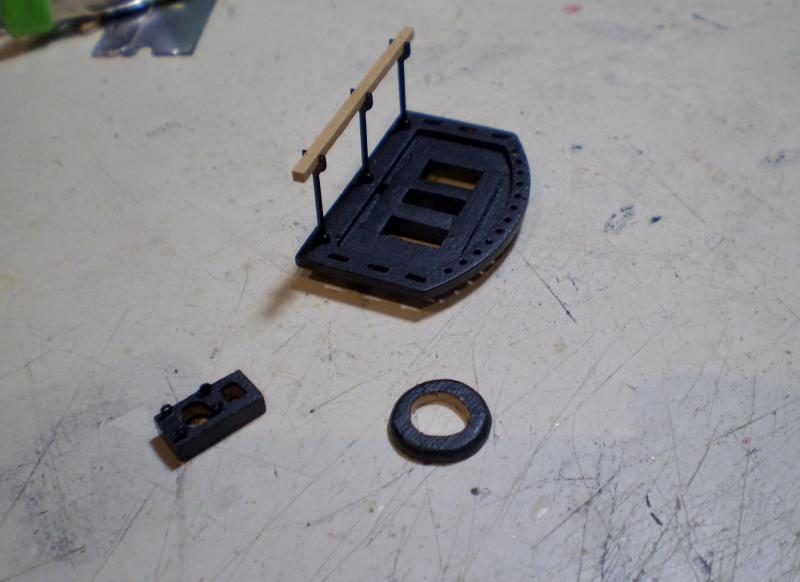
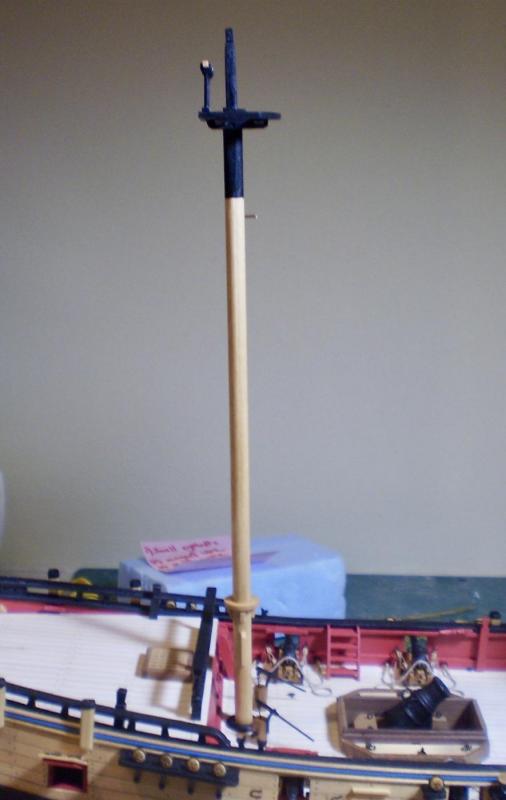
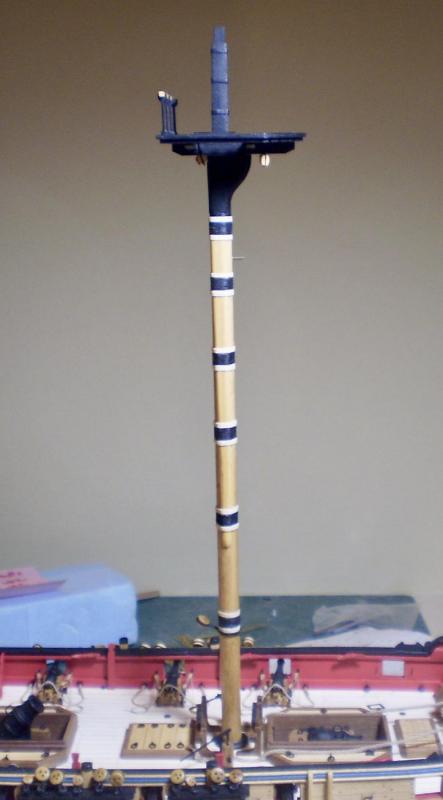
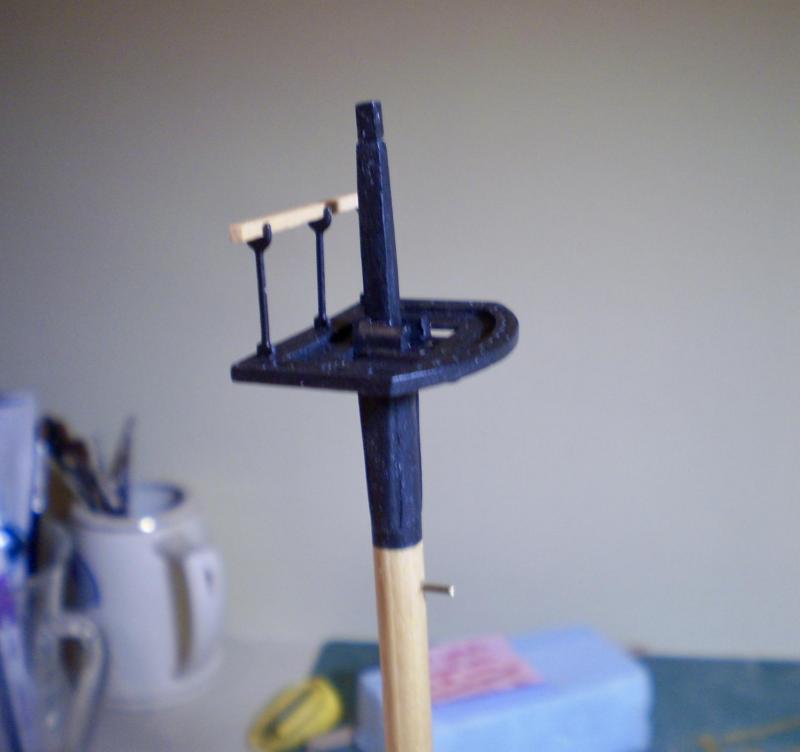
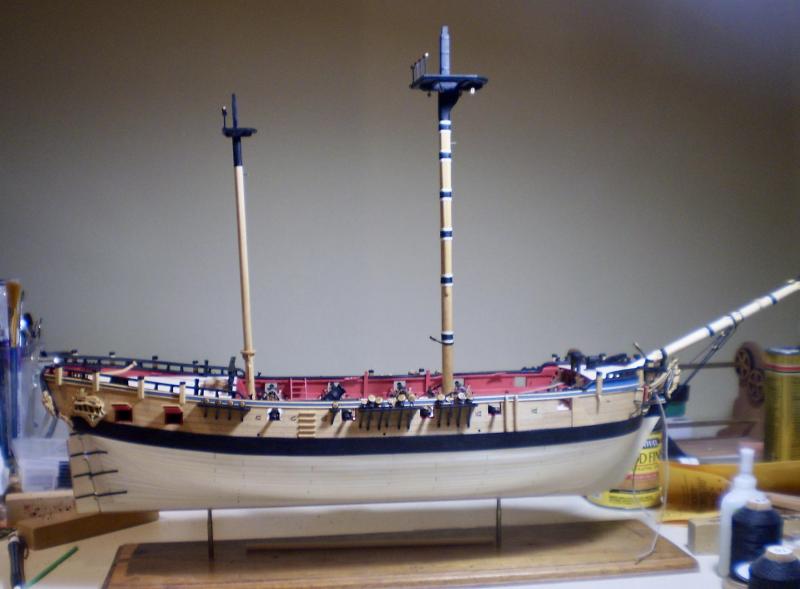
Both lower masts and their tops have now been made and mounted. A busy ten days. The mizzen is the simpler the two. The mast was made from a piece of dowel, squared at the upper end with a square tenon added. The lower portion was shaped to fit the enclosed hole in the hull former. Boxwood strip cheeks were added below the head on areas filed flat. The boom saddle was drilled and cut from boxwood sheet and it's brackets cut from boxwood strip. The mast pin rails were cut from boxwood strip with holes drilled for the pins. These were pinned and glued to the mast. The top, trestle trees and crosstrees were made using the kit parts, with the exception that the railing was made from boxwood strip. The mainmast is more complex. The starting point was again a piece of dowel, squared at the upper end with a tenon added, and shaped at the lower end for the mounting hole. The upper cheeks were cut from boxwood sheet. The extended cheeks were cut from boxwood strip and sanded to shape. Both portions of the cheeks were added to area of mast that were sanded flat. The wooldings were added using black line with paper bands. Paper bands were also used on the mast head. The top, trestletrees and crosstrees were again made using kit parts. Mast coats for both masts were cut and drilled from boxwood sheet and painted black. I also made the caps for both masts from boxwood sheet, but these won't be added until later. For both masts, the dowel portions were stained golden oak to match the boxwood parts, and then finished with wipe-on poly. The heads, upper cheeks and tops were painted black. Brass mounting pins for the lower yards were added. The masts were glued in place ( I know that some choose to leave the masts loose to allow for adjustment during rigging, but I prefer the stability provided by gluing). The top assemblies were added after mounting the masts and bolsters then added. You will see that I added only the deadeye for the lower end of the mizzen stay and the blocks for the spritsail braces under the main top at this point. The blocks are held in place by boxwood toggles. Bob


- 563 replies
-
- 21
-
-
Thanks so much Nils and Don. Nils, all of the head work was done using laminations ( a technique you seem to know well ). Easy to get perfect color separation that way. Bob
-
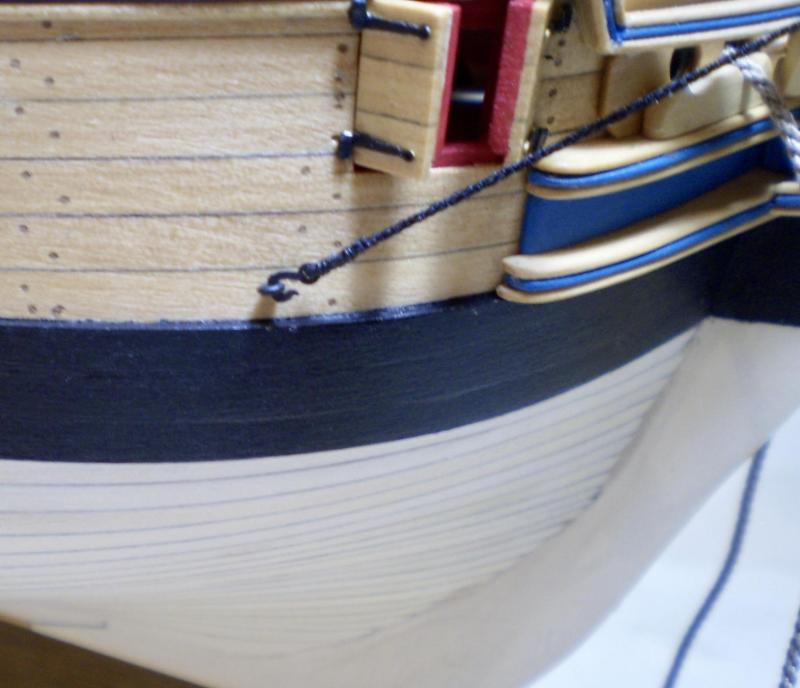
Rigging for the bowsprit consists of the gammoning, bobstays and shrouds. They are now complete. As previously indicated, the deadeyes are from the kit and the line is from Syren. The hooks attaching the shrouds to eyebolts in the hull are the lack plastic ones from Syren. Line sizes are from the table in AOTS. In cases where the the size falls between the Syren sizes, I round up or down to the nearest size, but tend to go smaller in cases of doubt, rather than larger, because I prefer a lighter look to the rigging. Work is now underway on the lower masts. Bob


- 563 replies
-
- 34
-
-
Denis, I really love watching you come up with all of the details. They're making this a great model. Bob
-
Thanks so much Don. If you promise not to tell anyone else, I'll share my secret with you. I cheat. The tenons are separate pieces of square strip wood that are pinned and glued in place. Bob
-
Thanks so much Thomas, Red and the "likes". Thomas, I believe that the dowels are beech.. Bob
-
Thanks so much Dirk, Nils, Denis and the "likes". You're so right about the stay collar Denis. It was hard enough doing it first.I can't even imagine what it would have been to do it with the bowsprit in place.
-
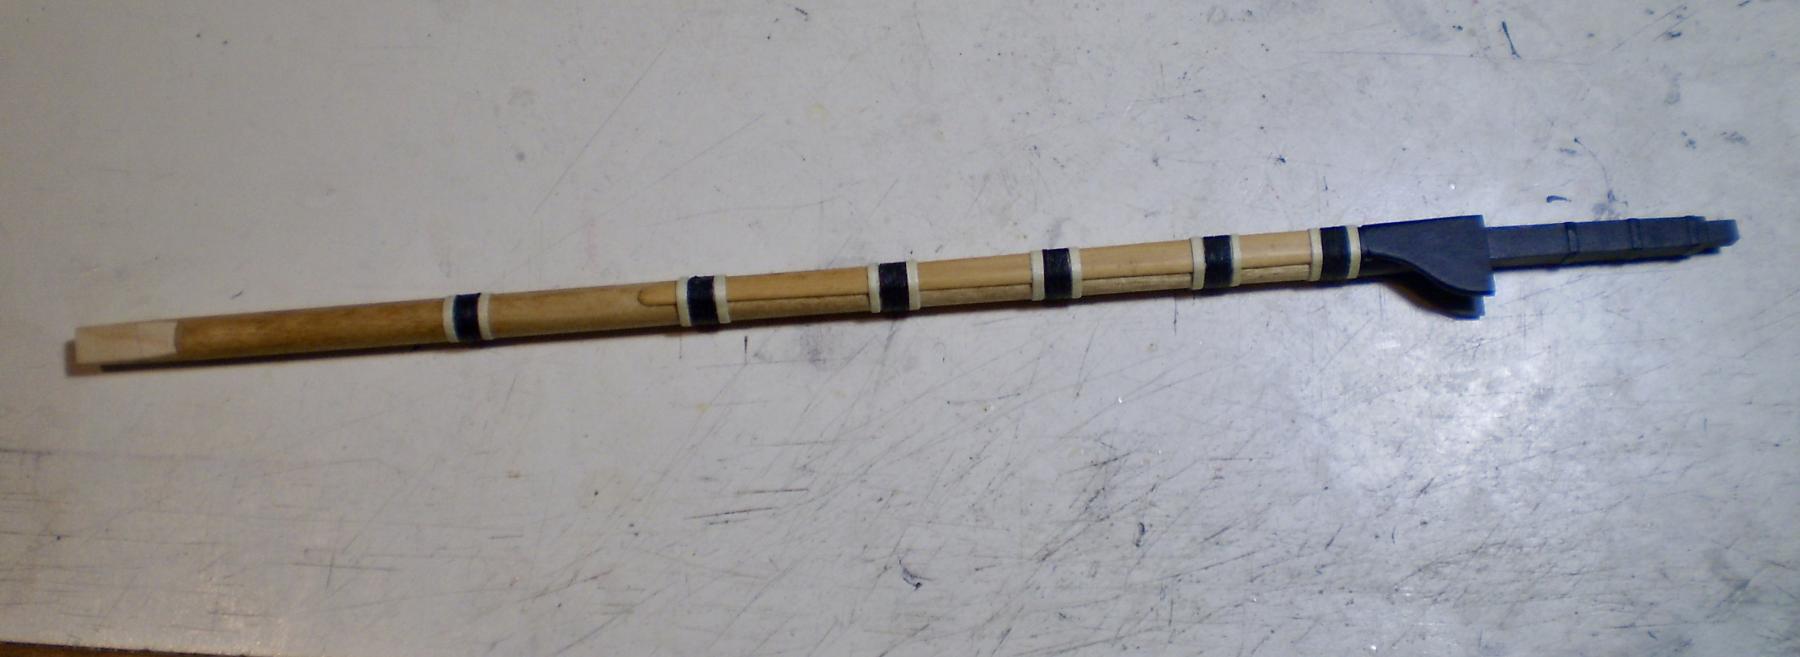
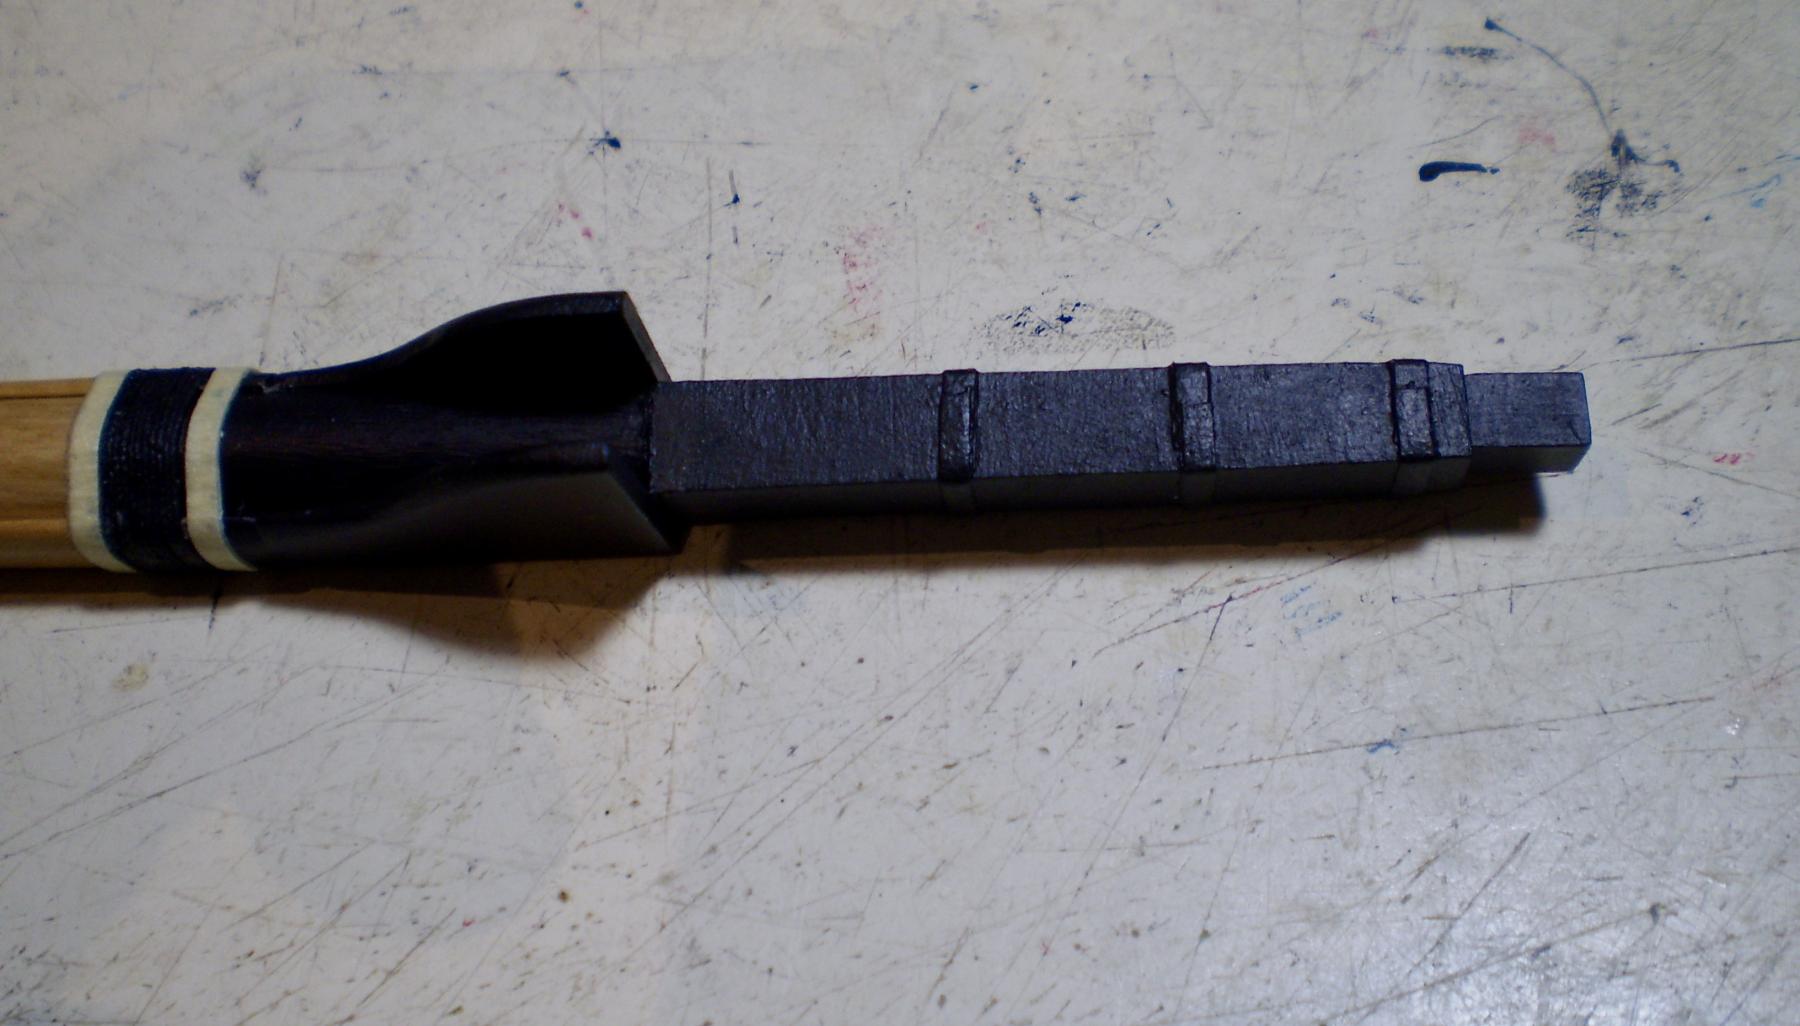
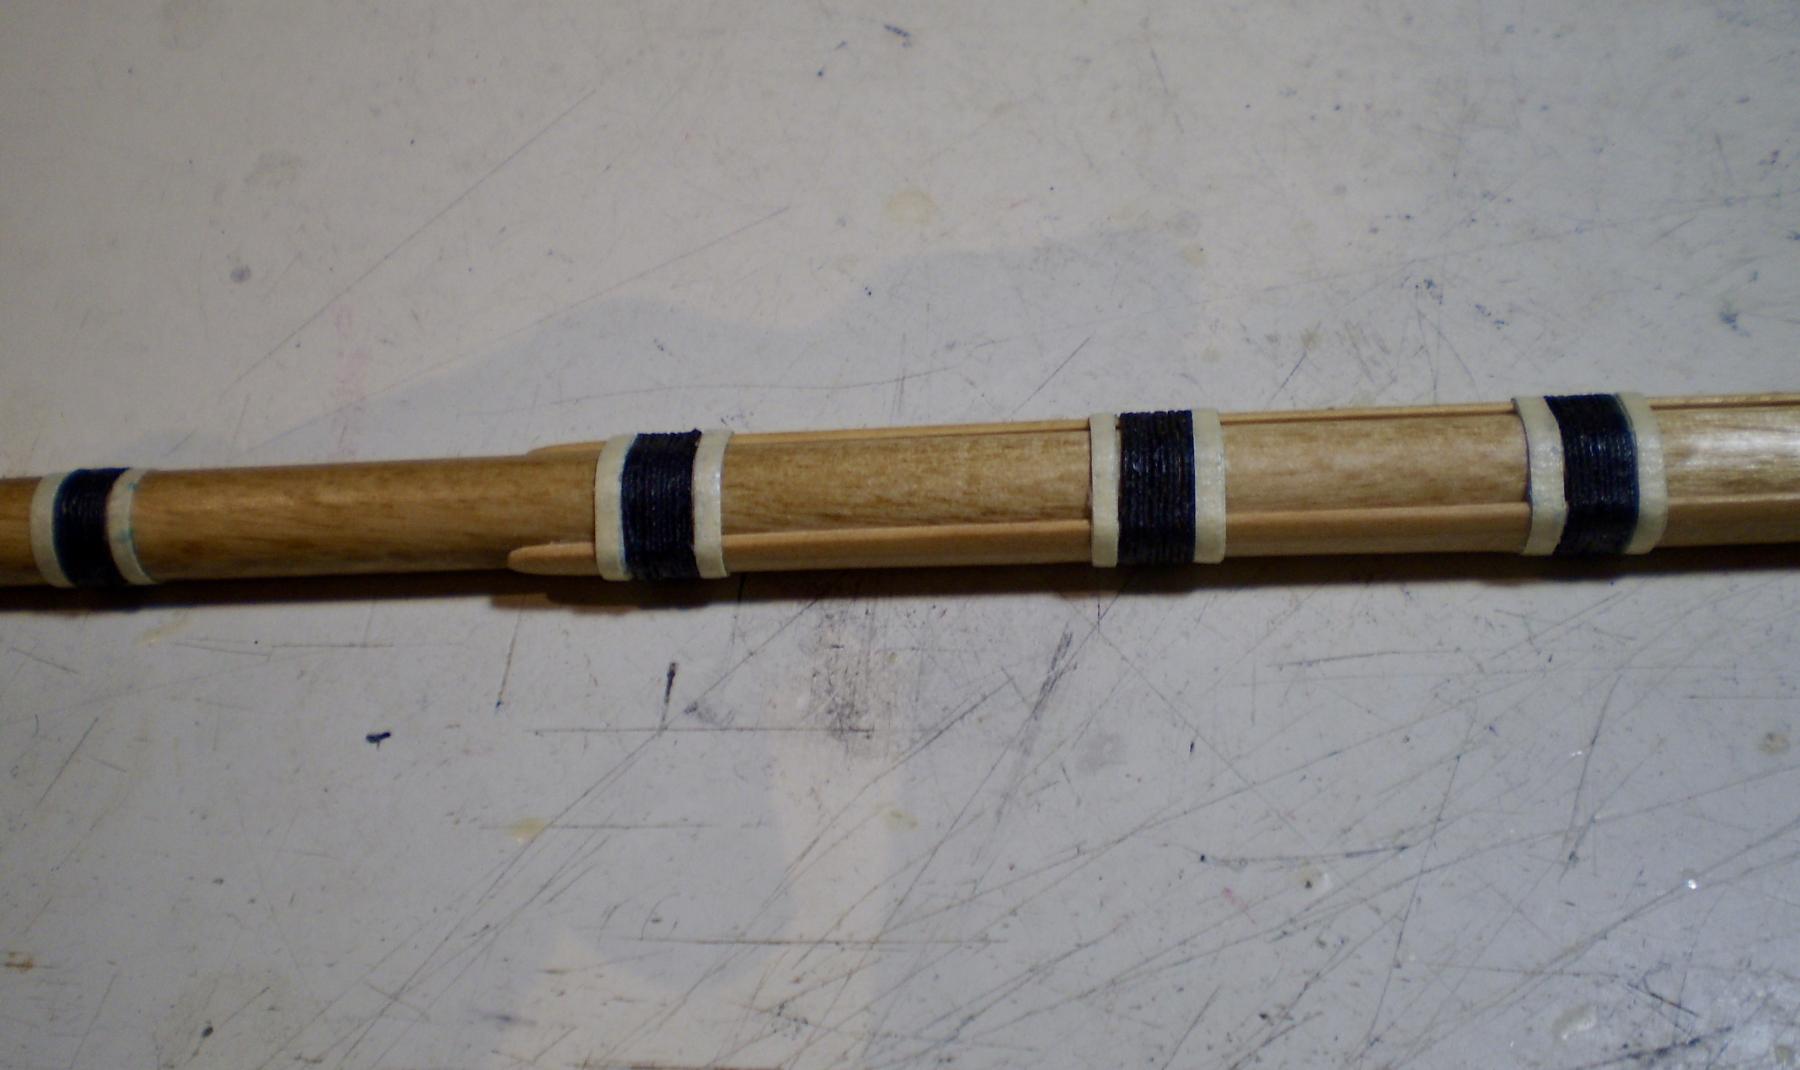
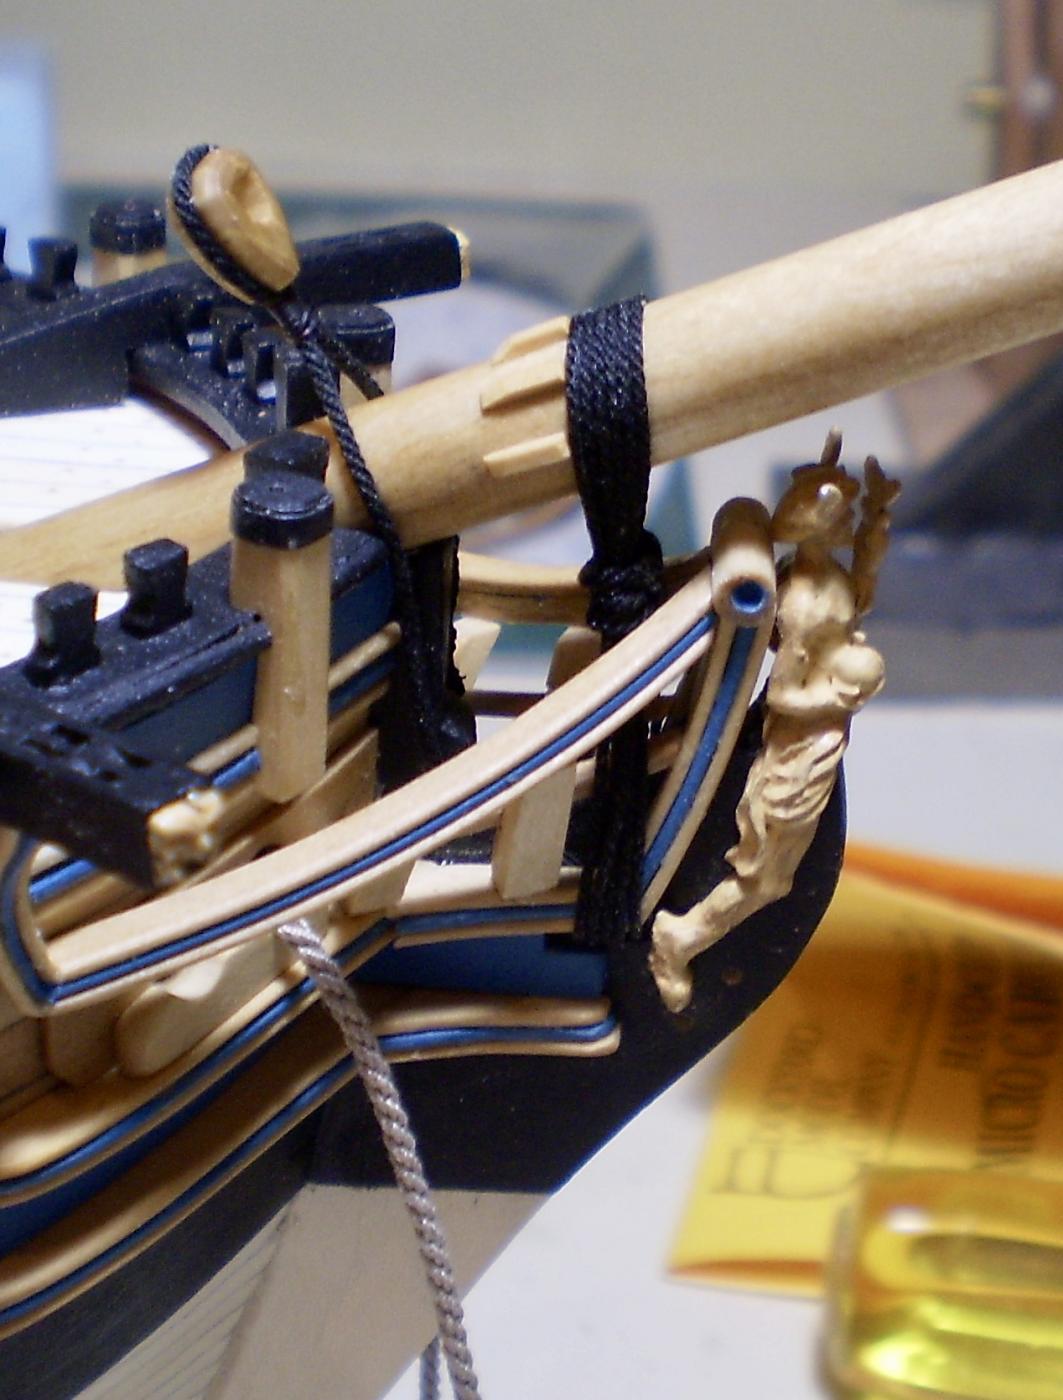
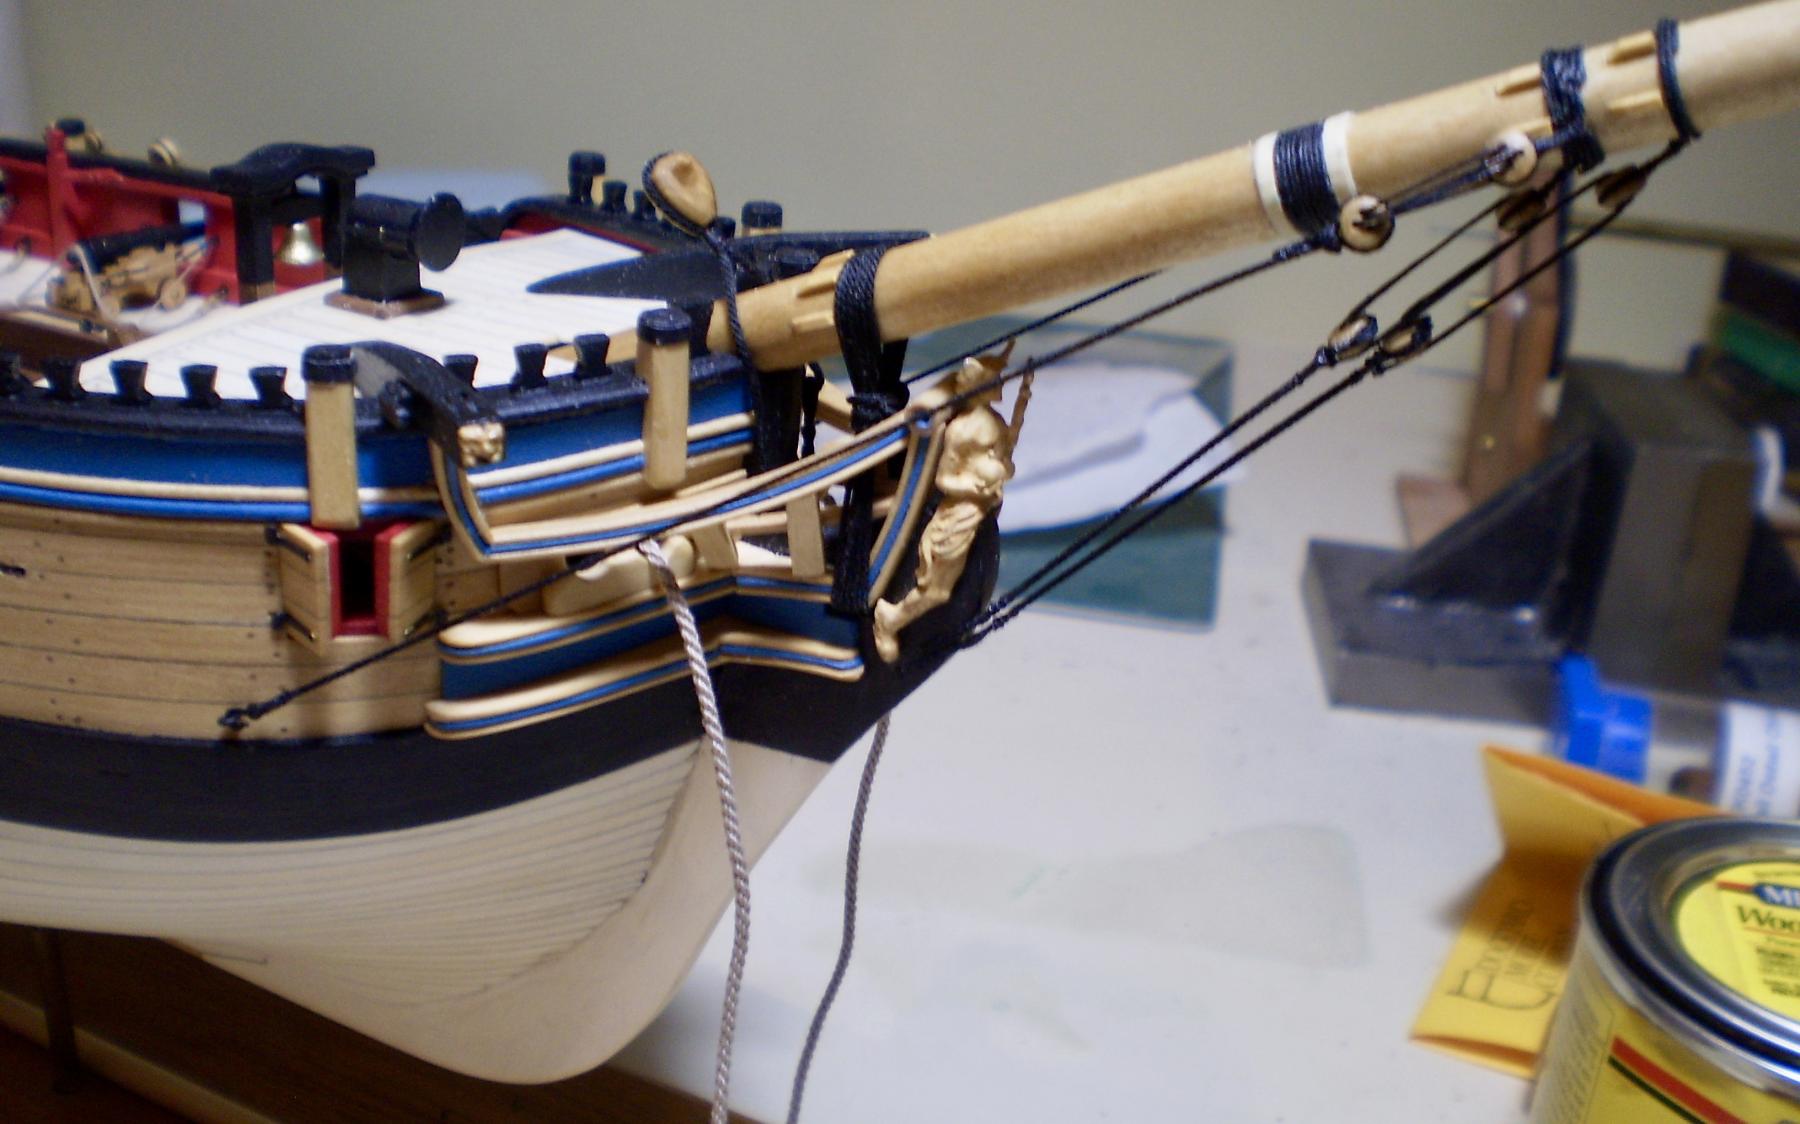
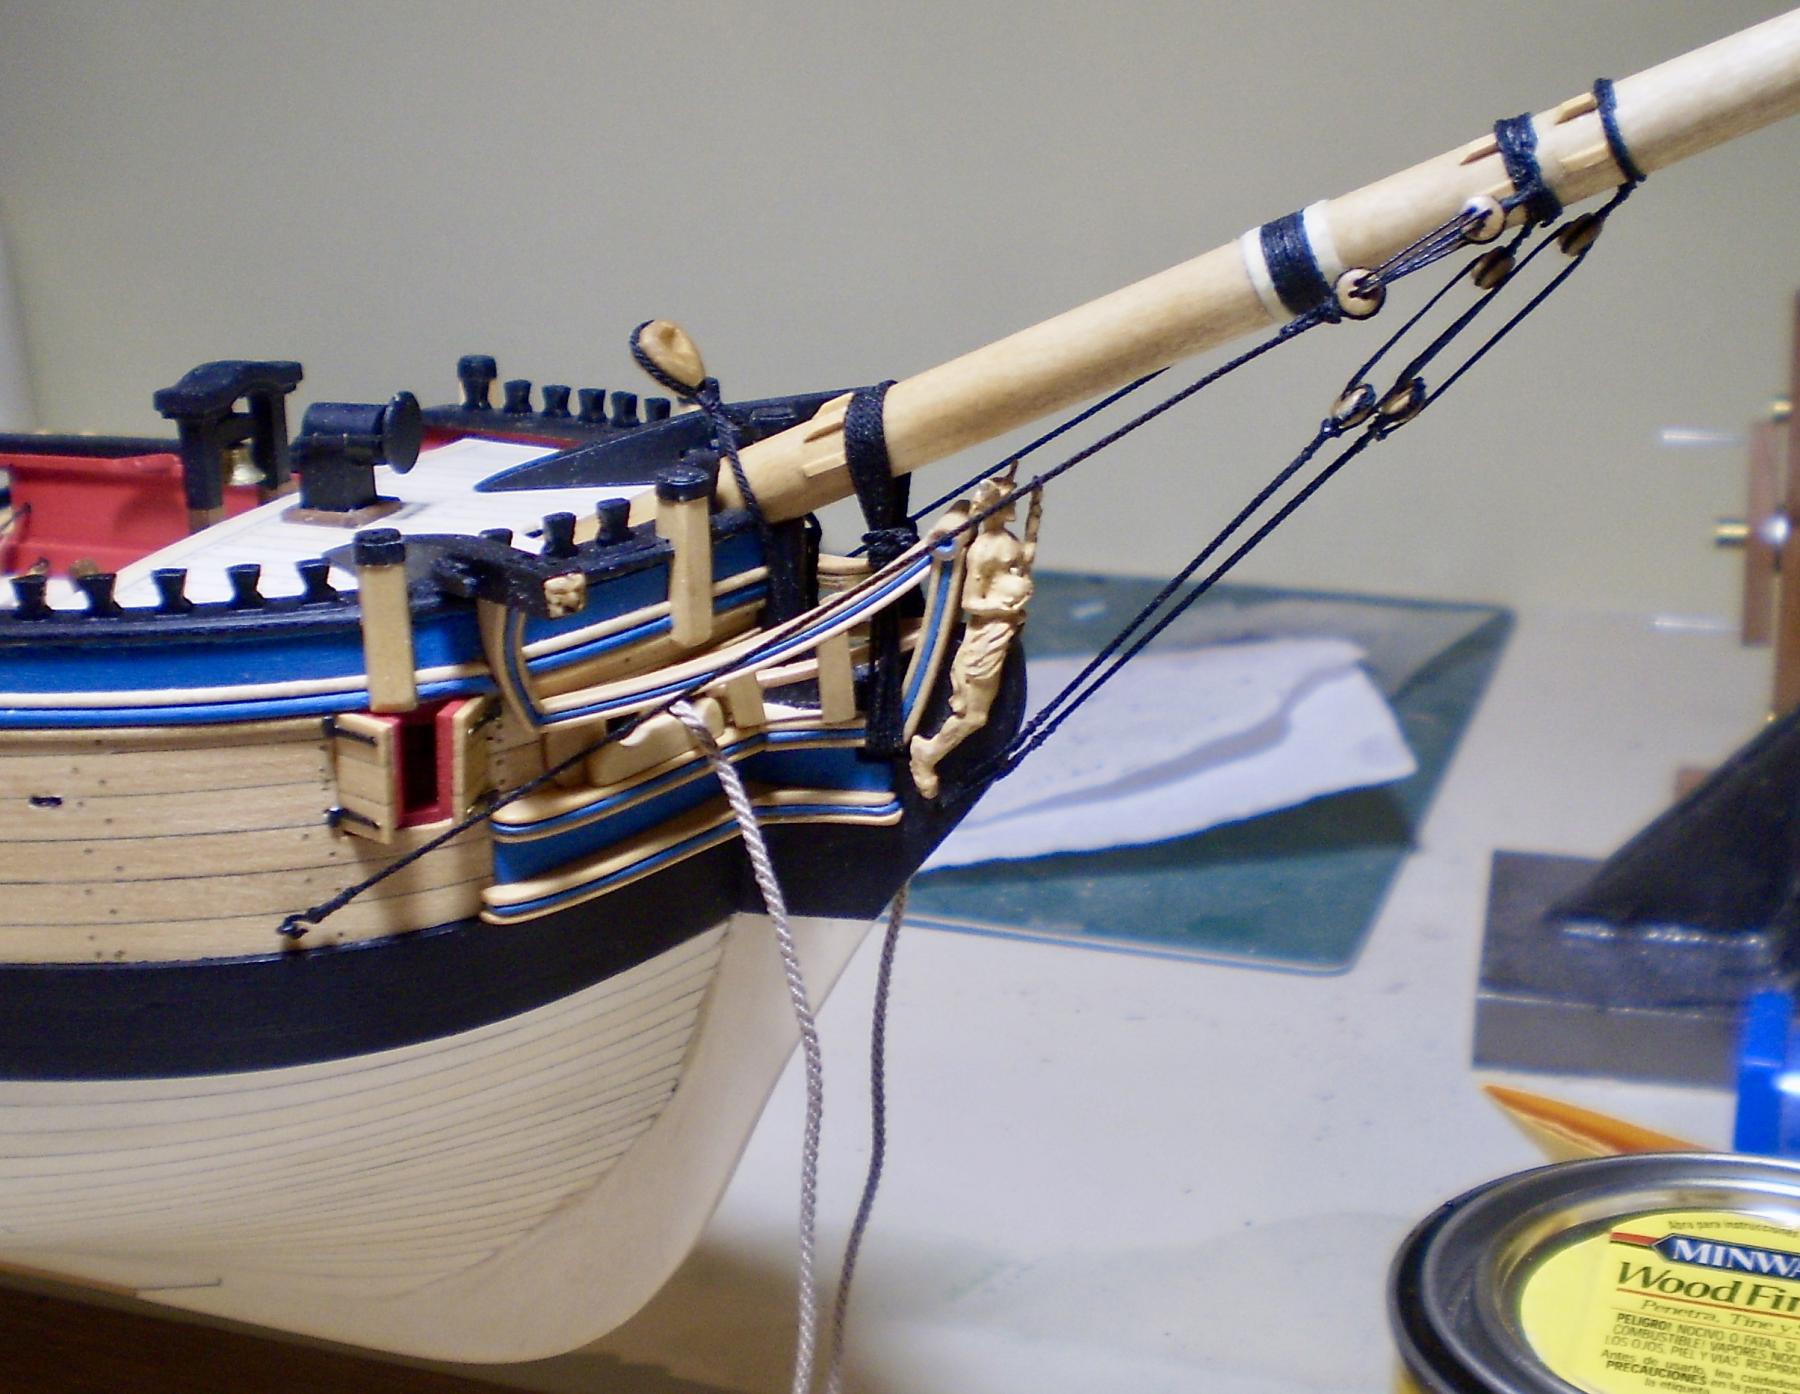
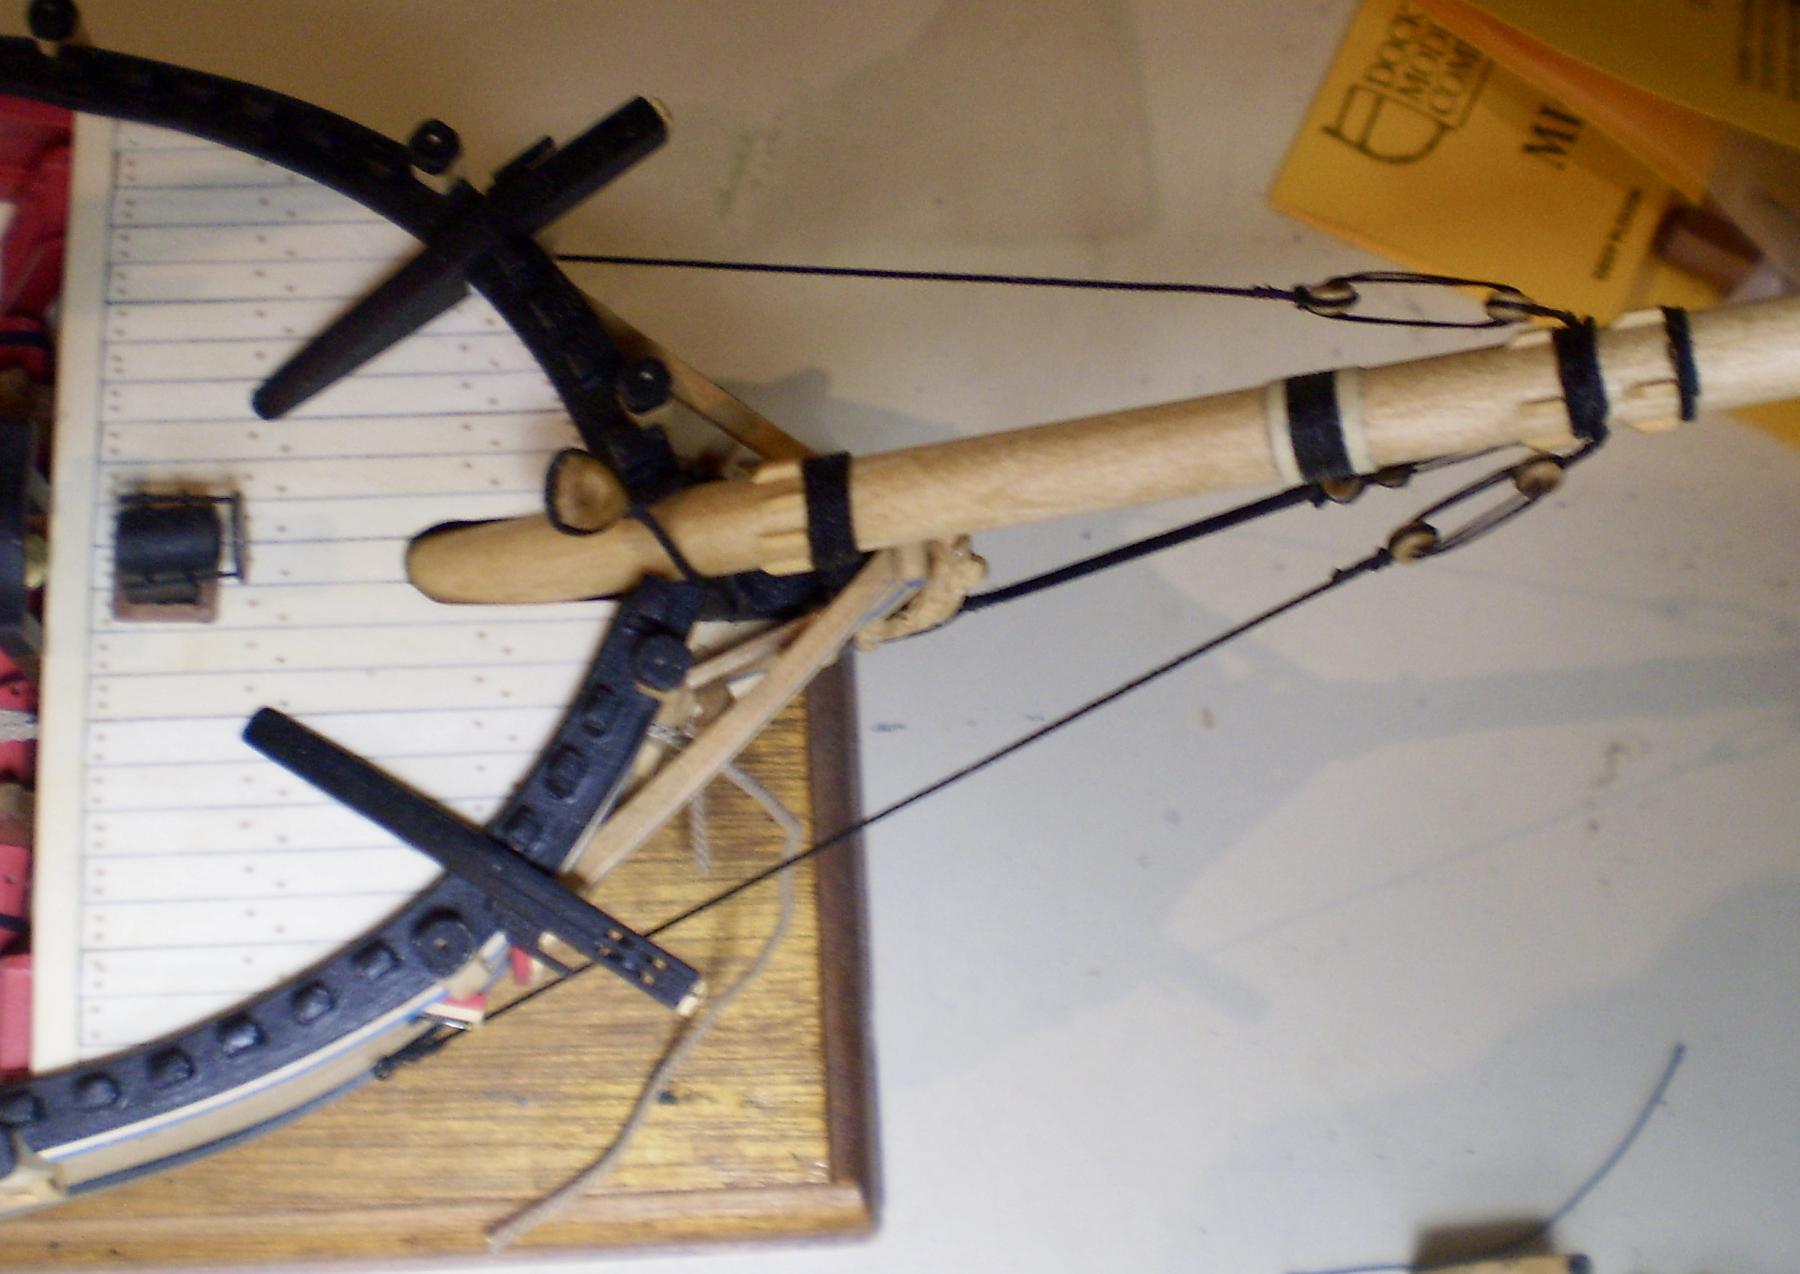
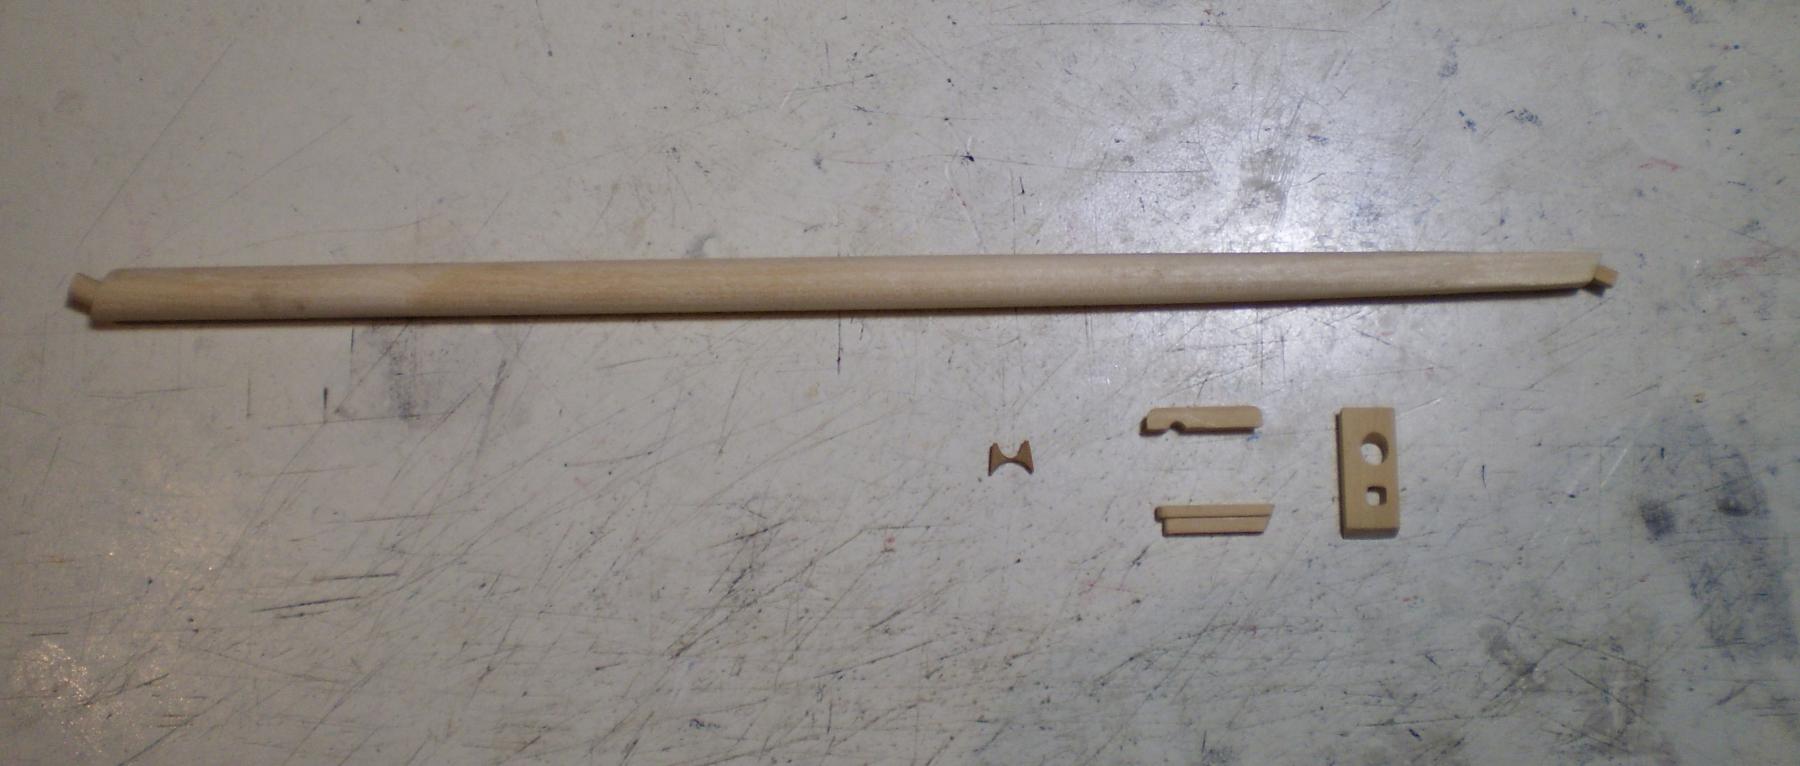
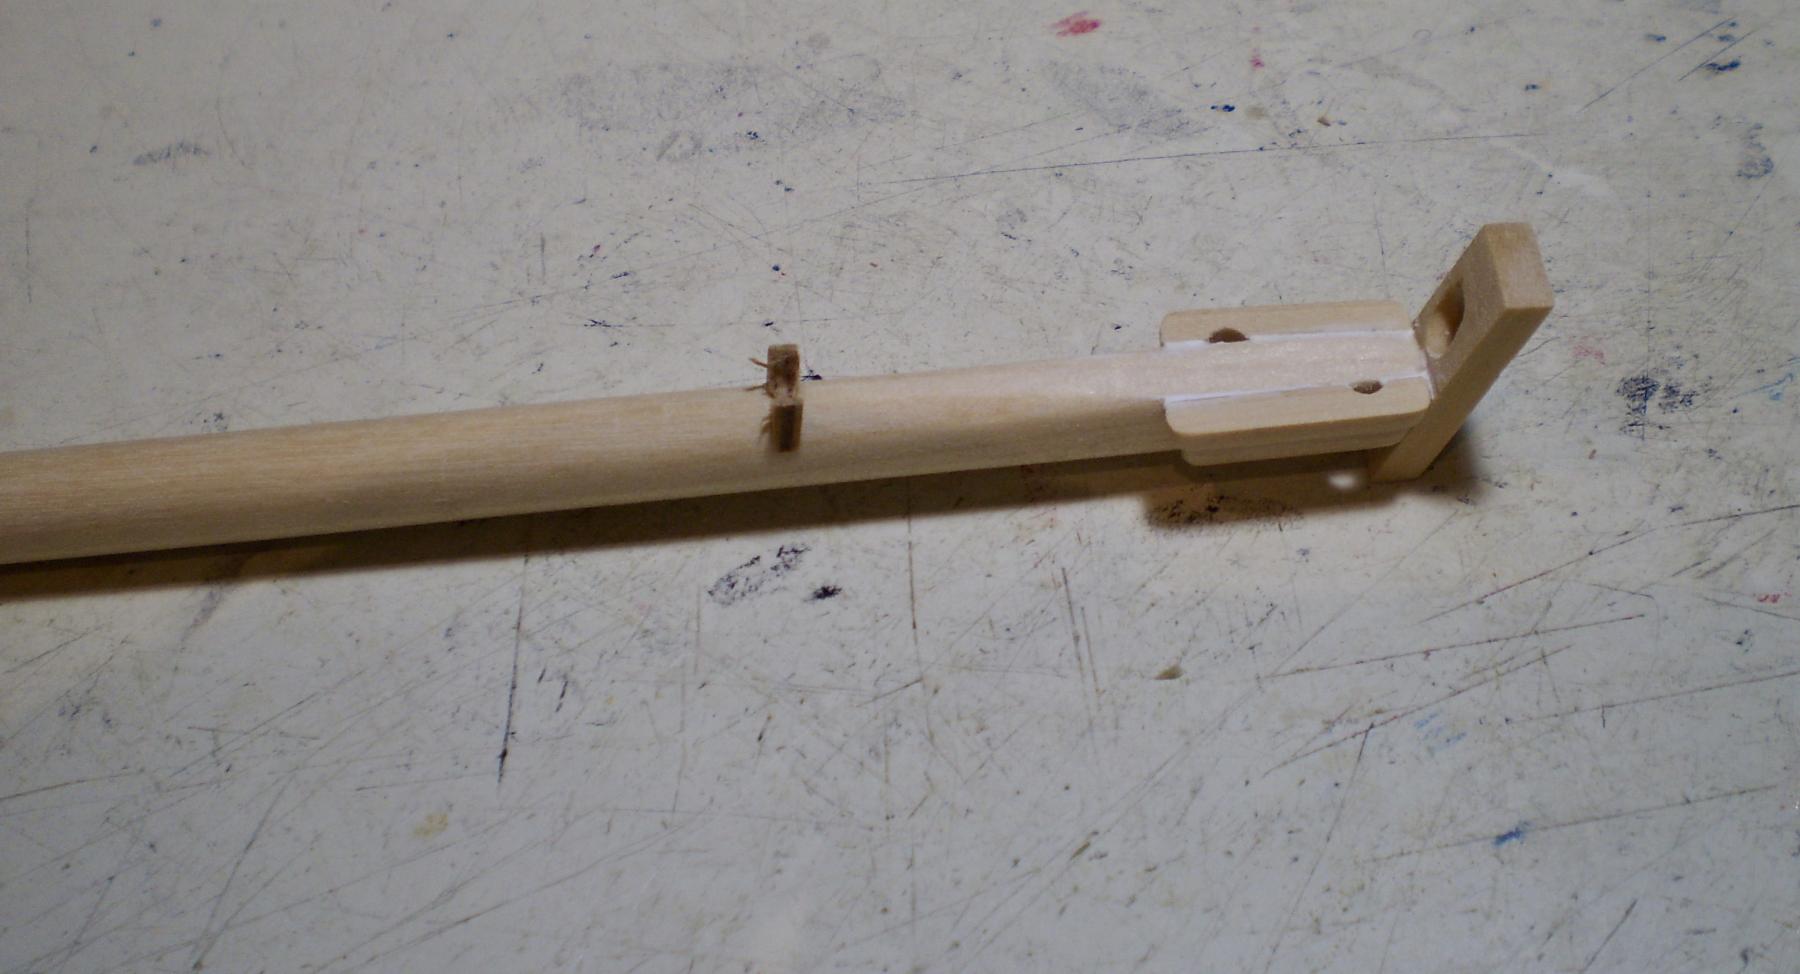
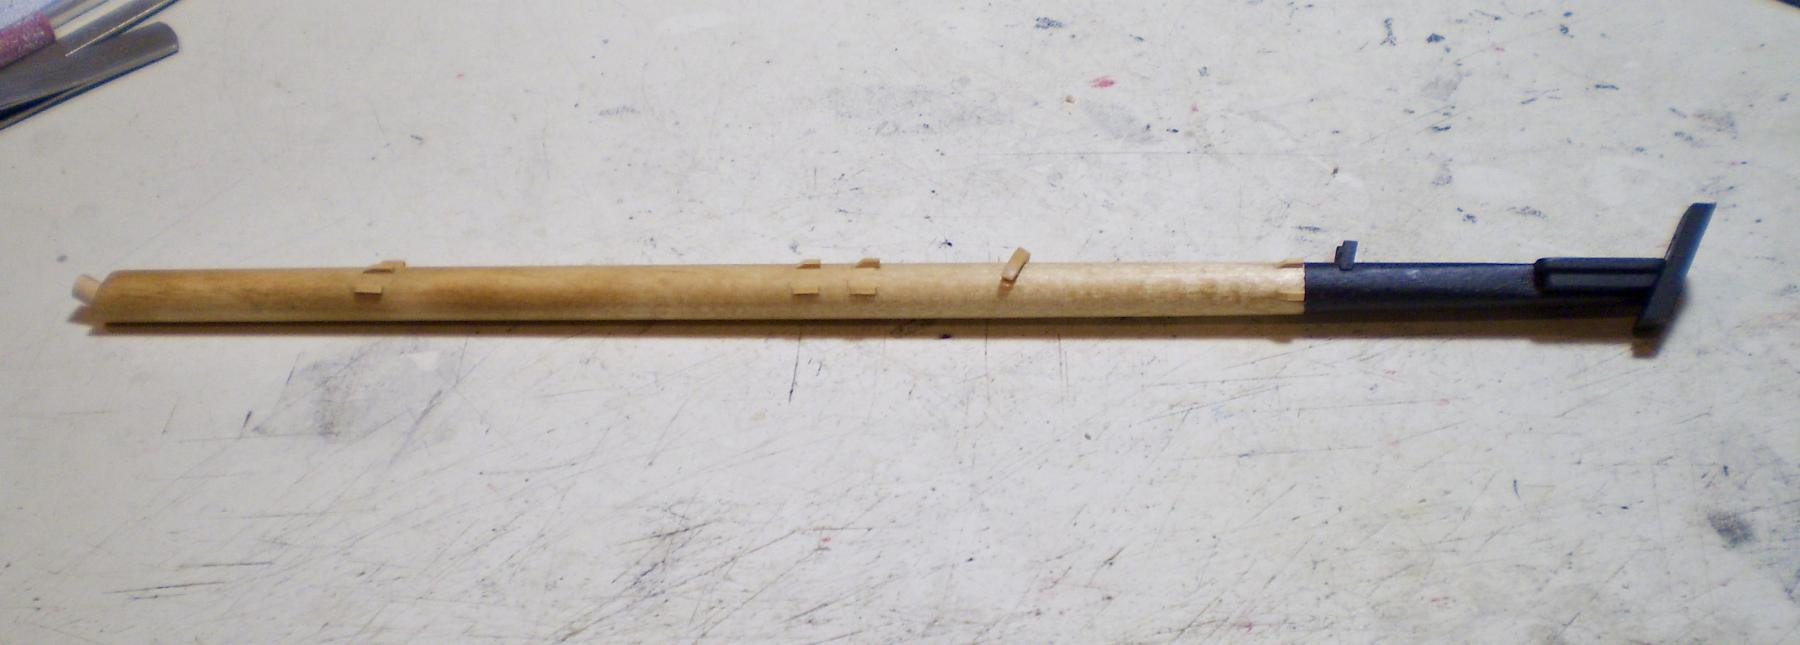
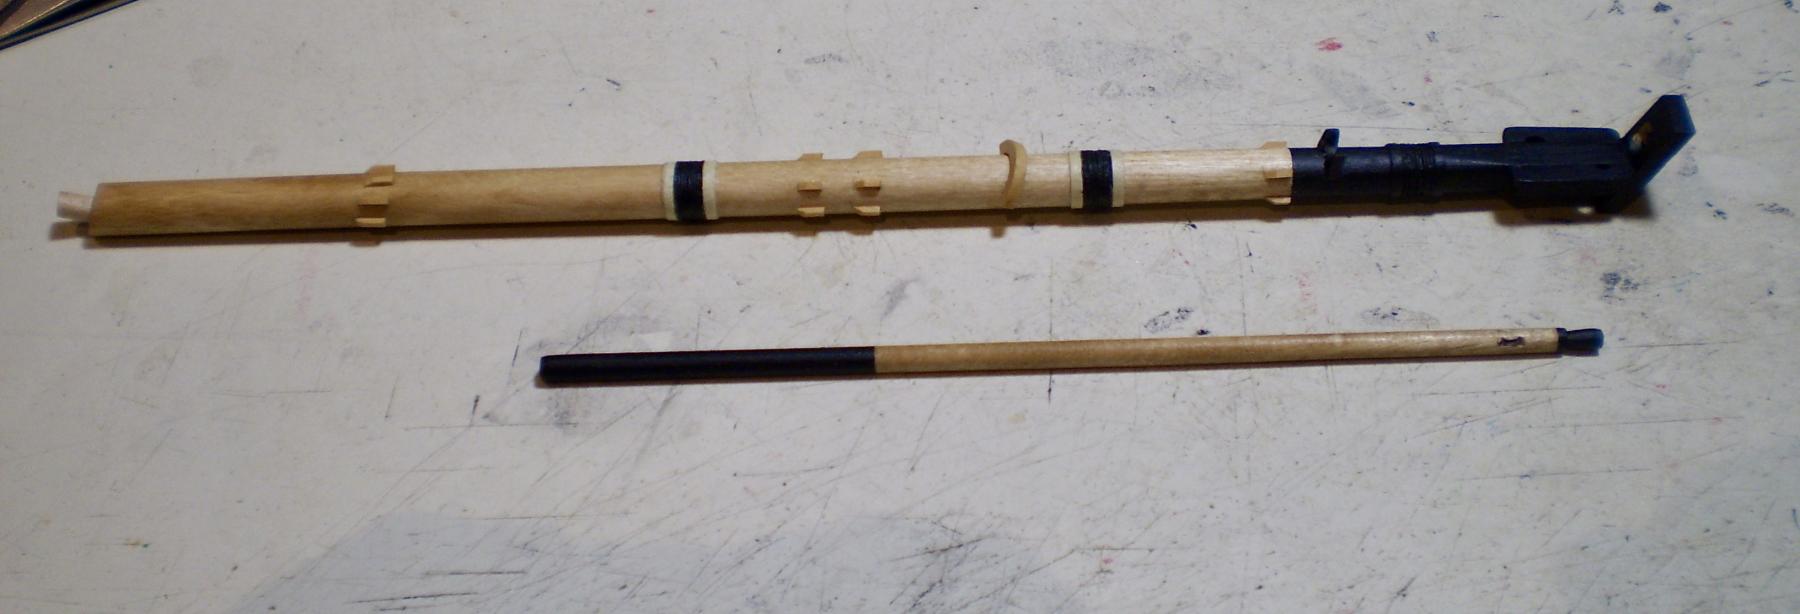
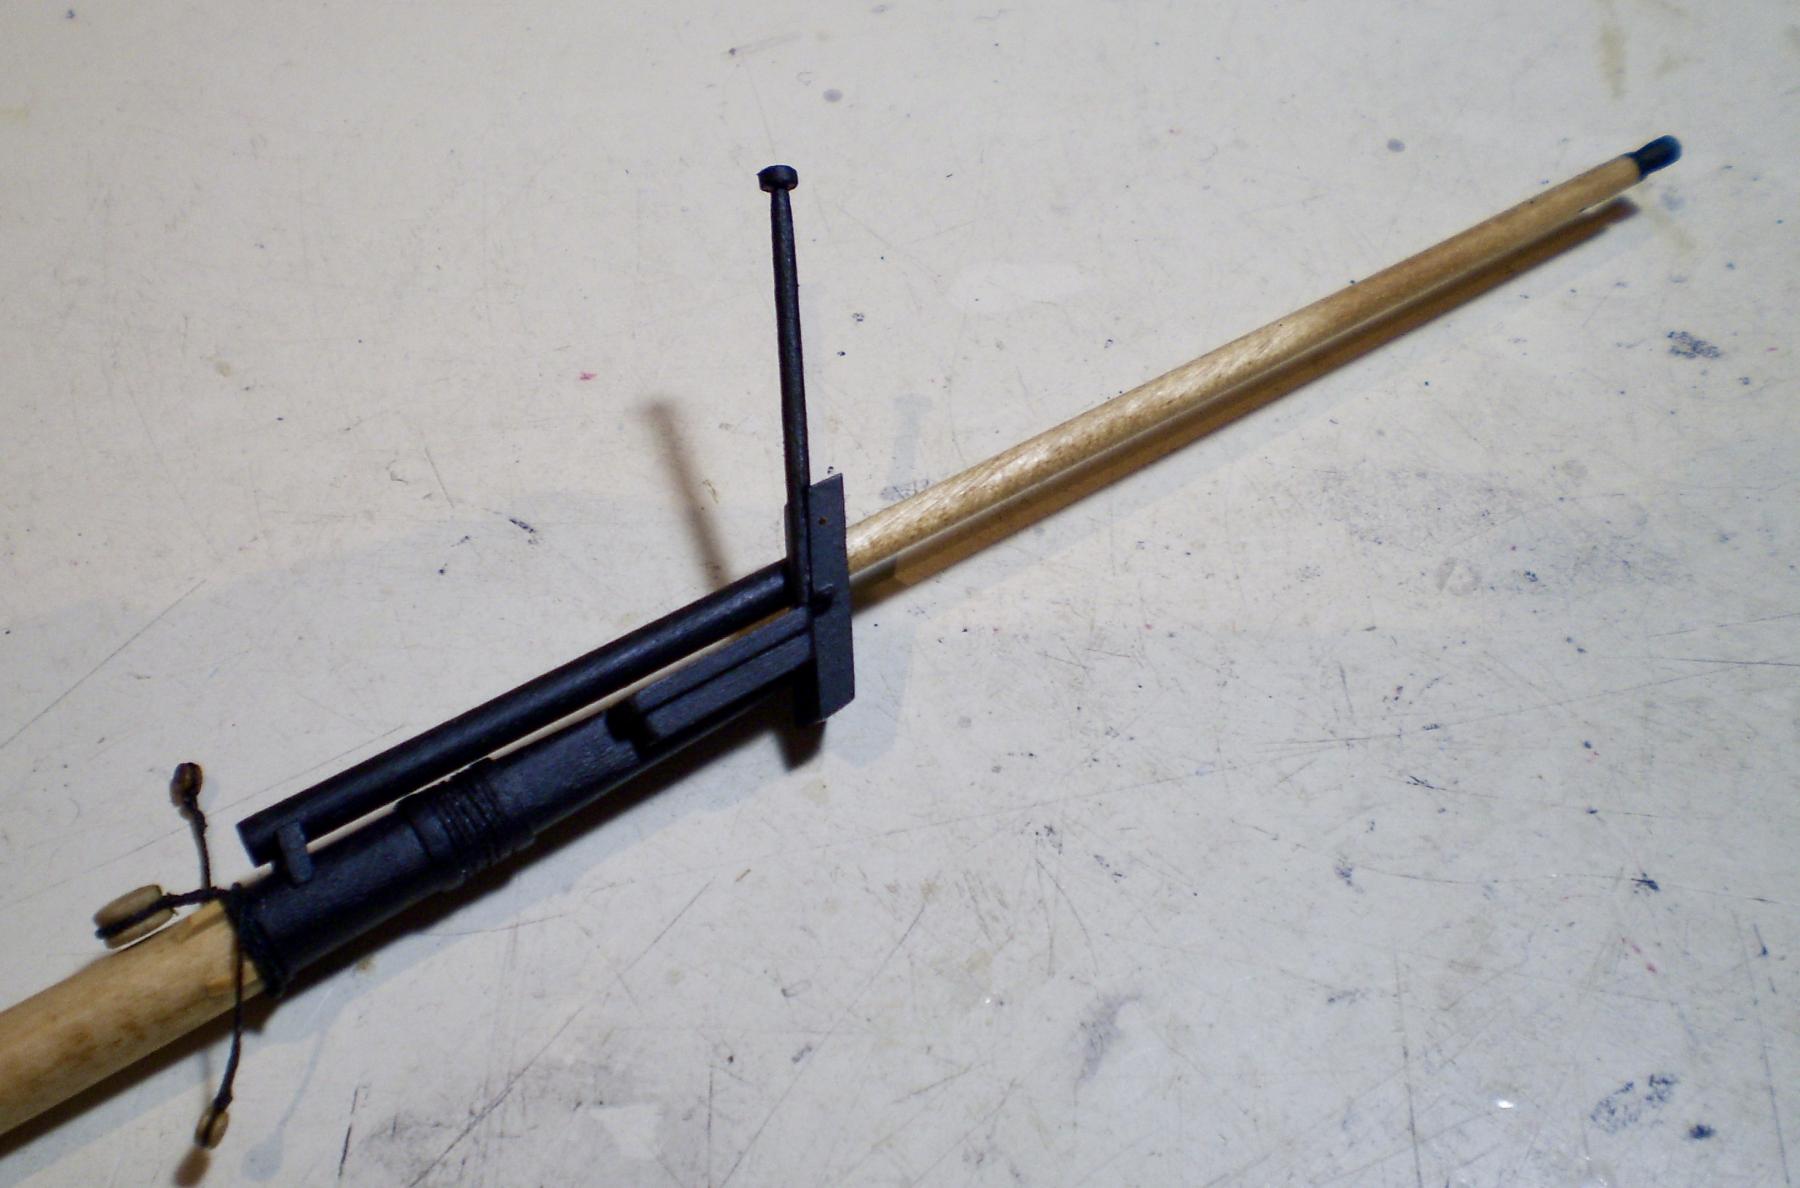
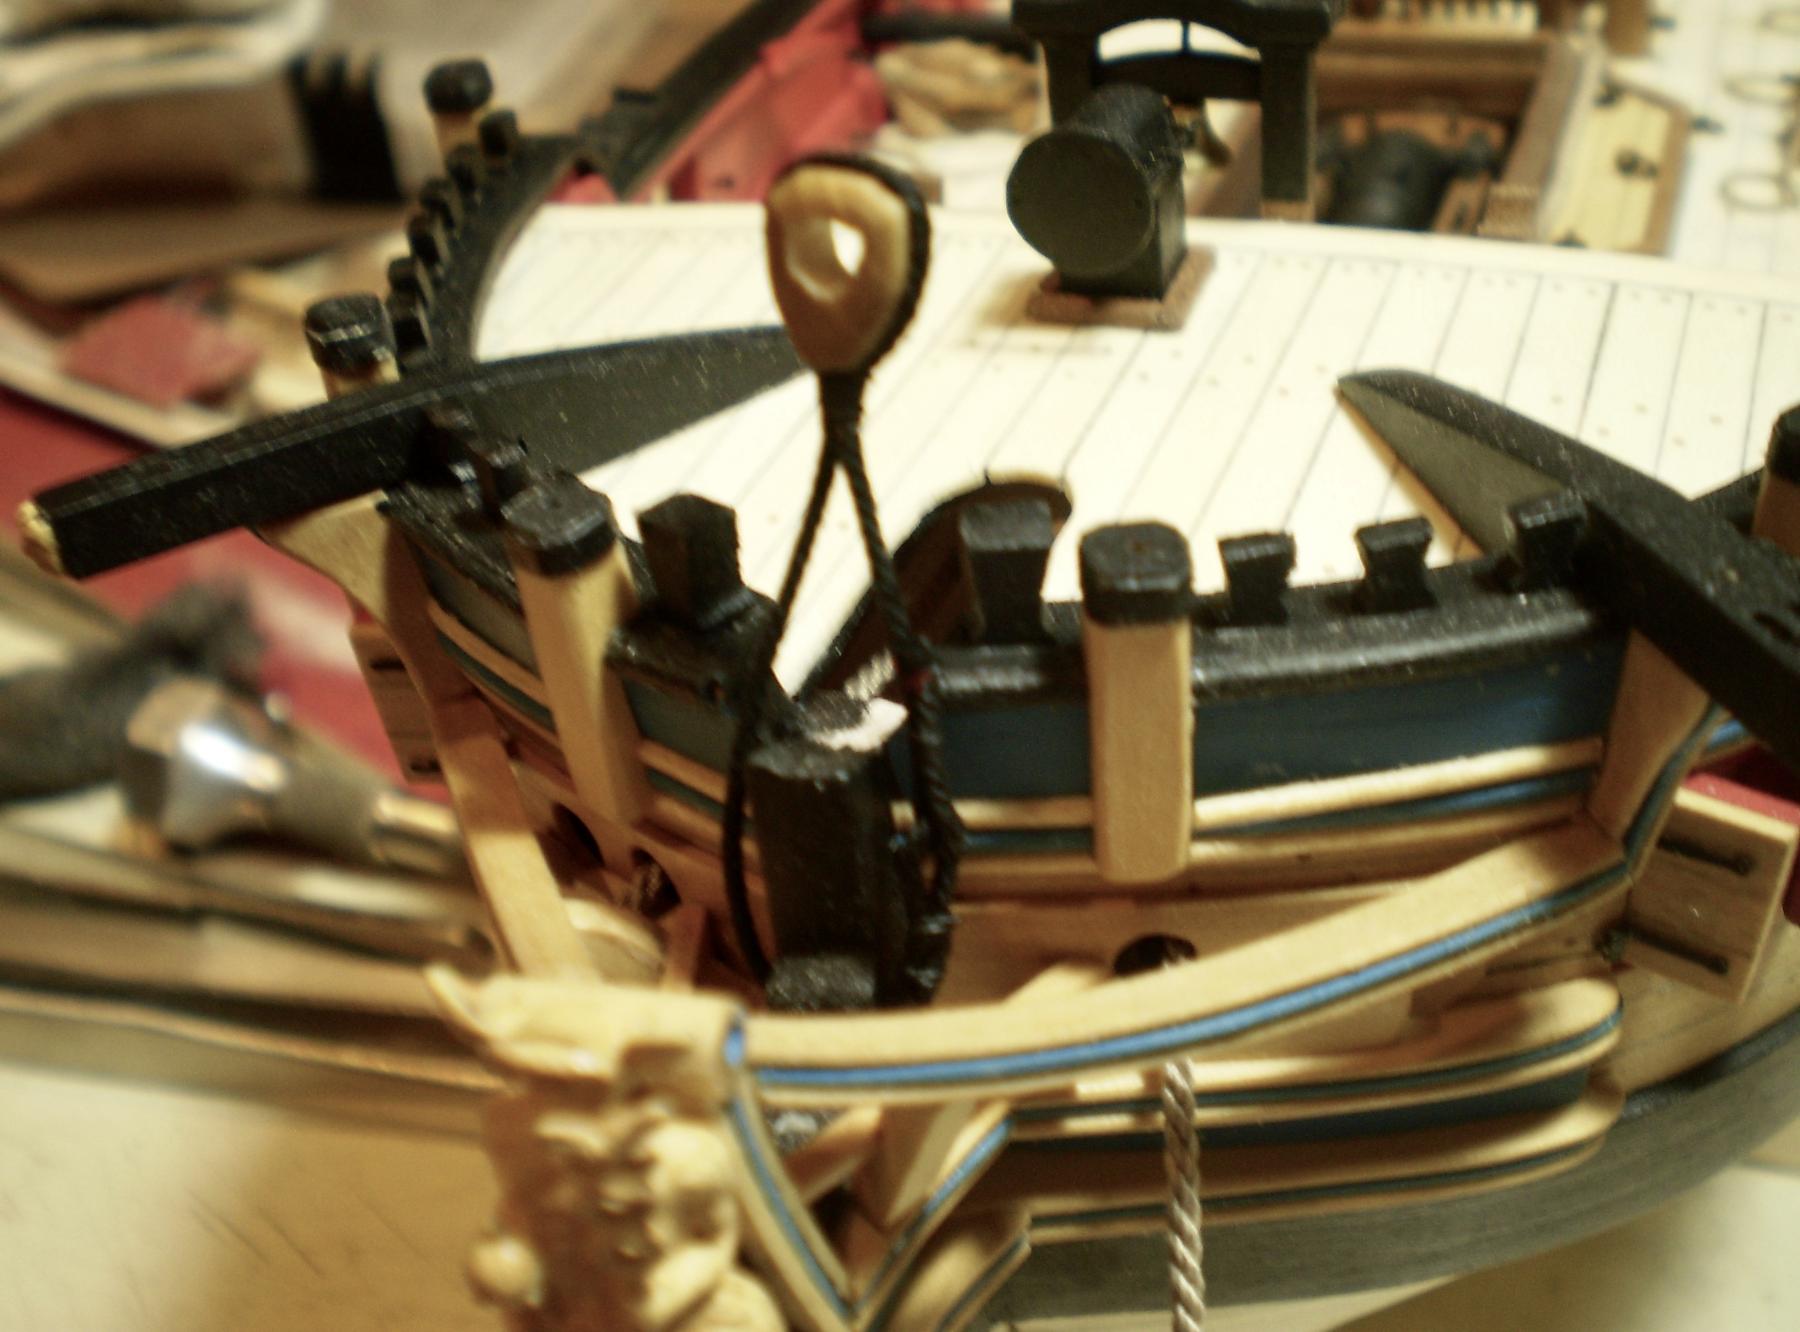
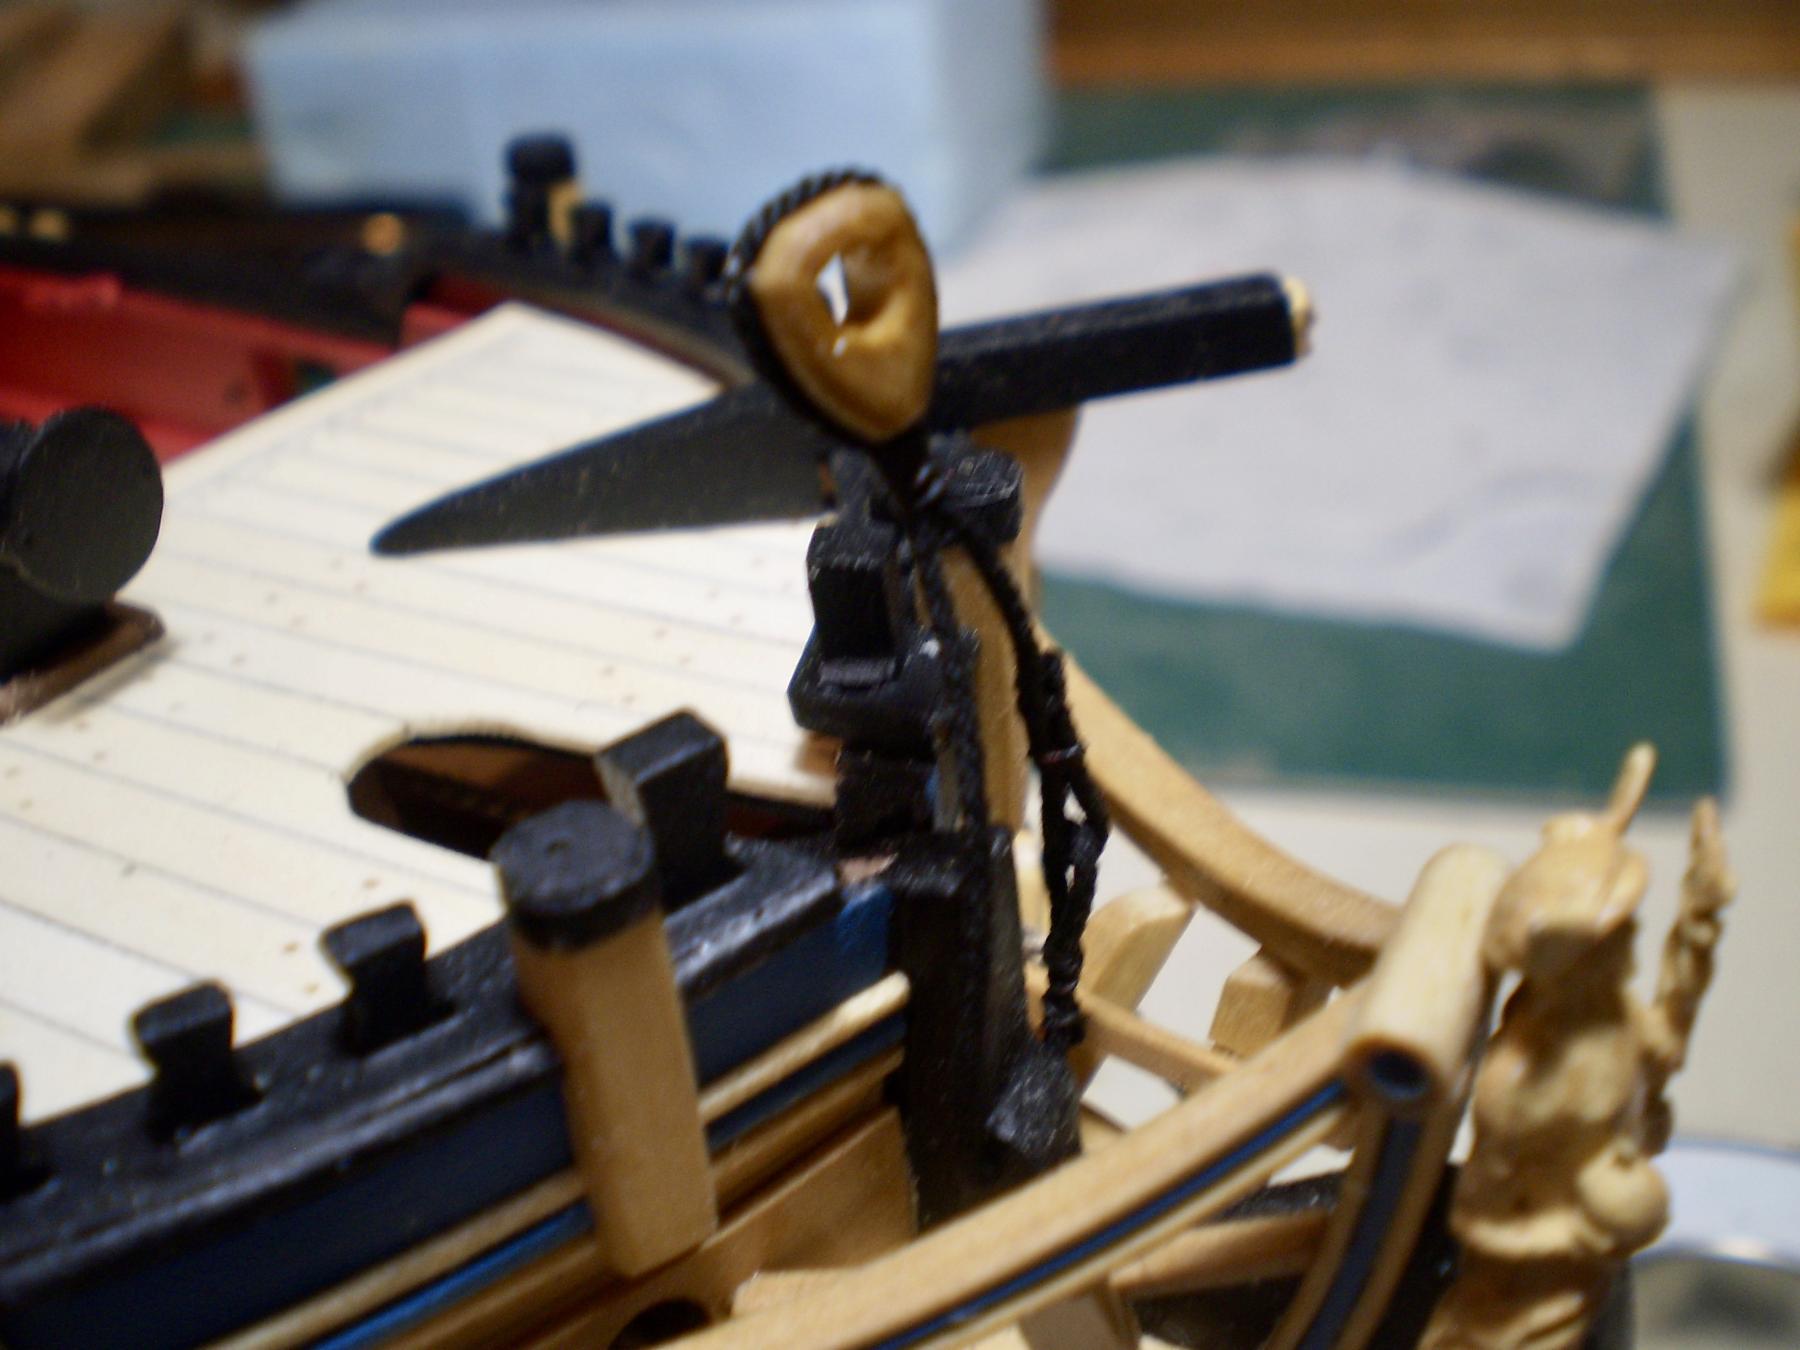
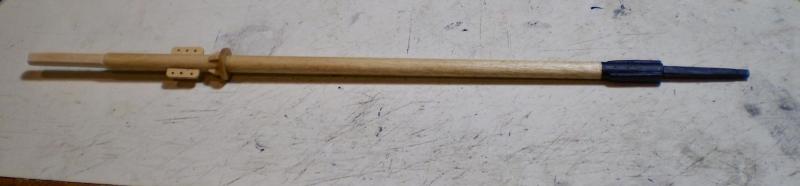
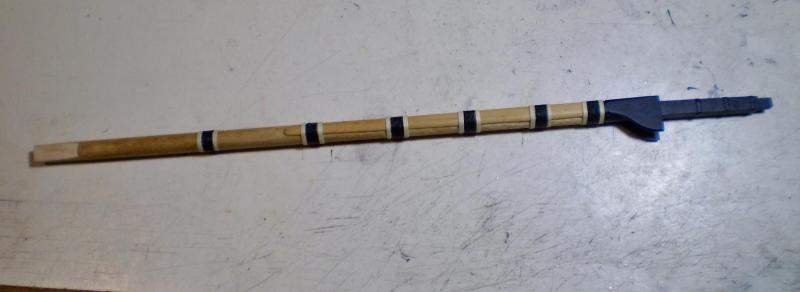
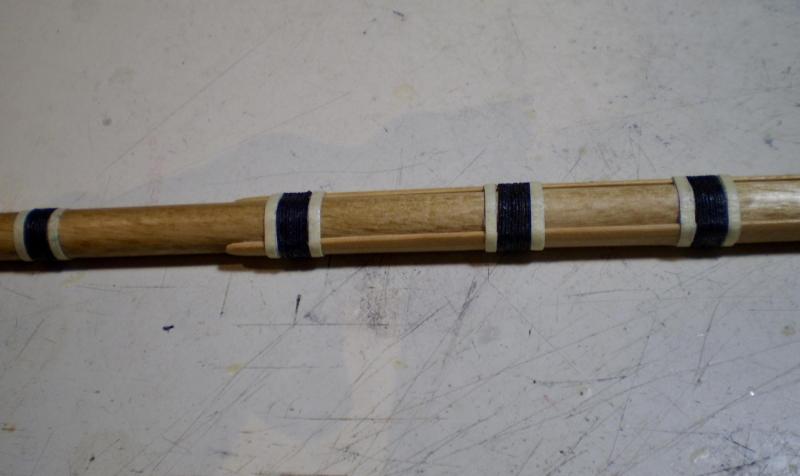
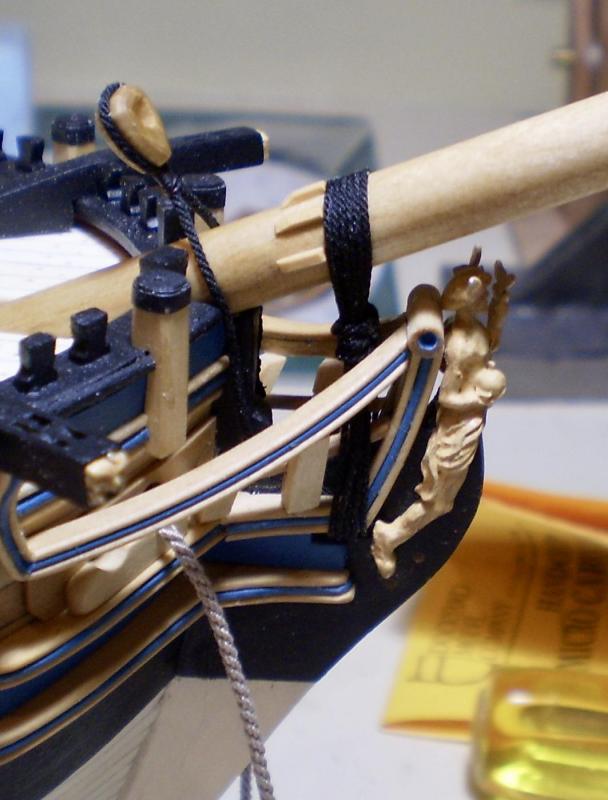
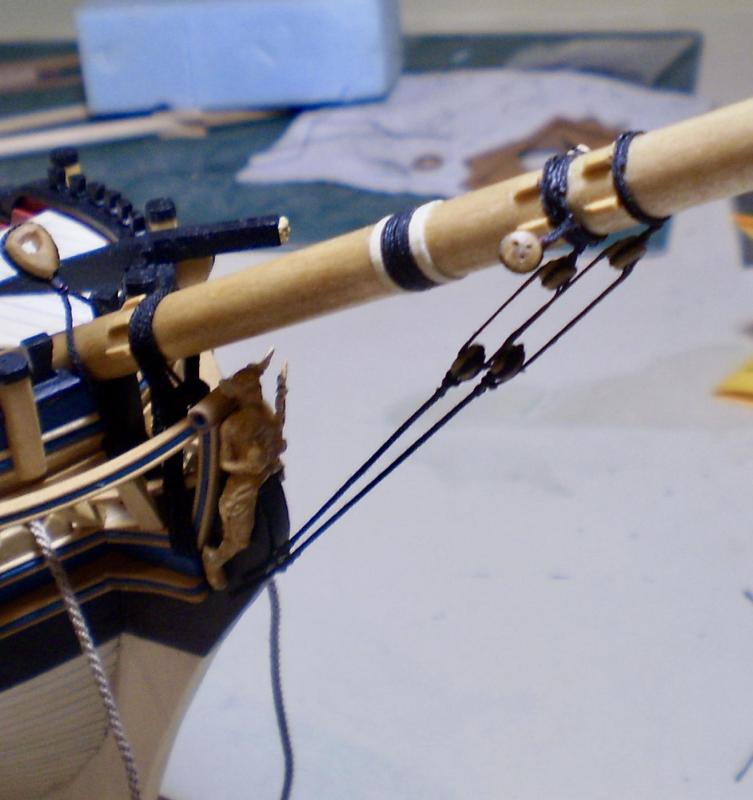
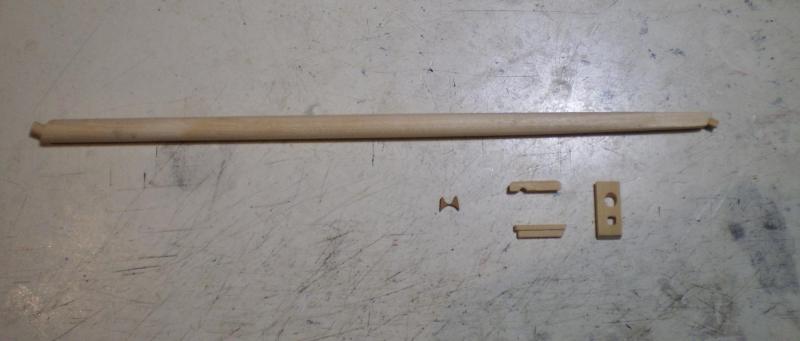
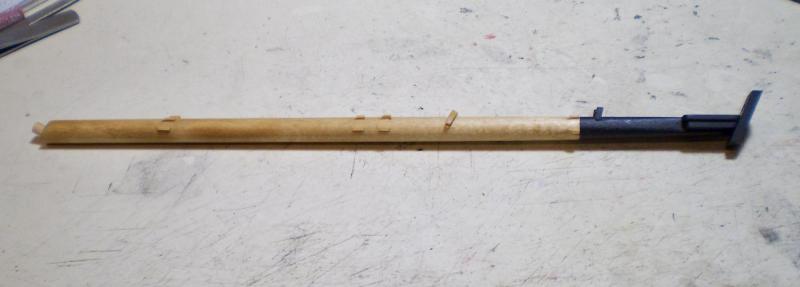
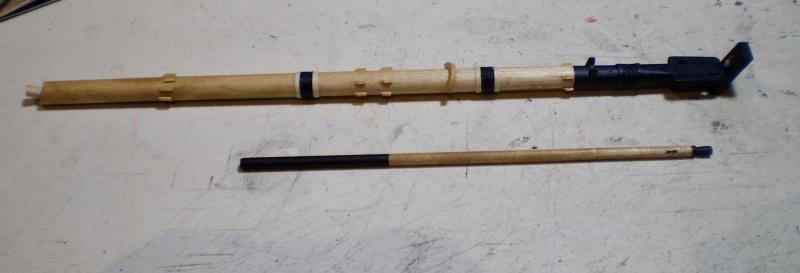
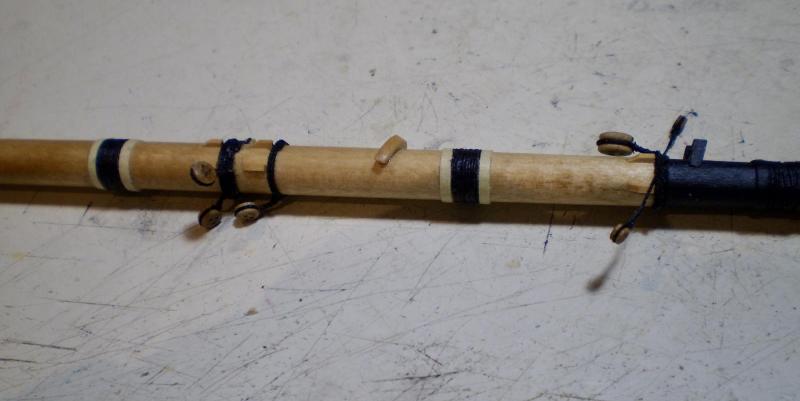
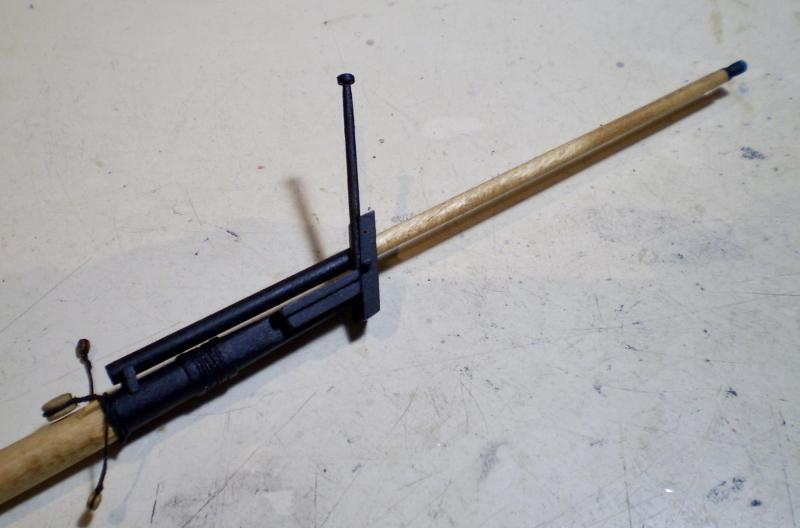
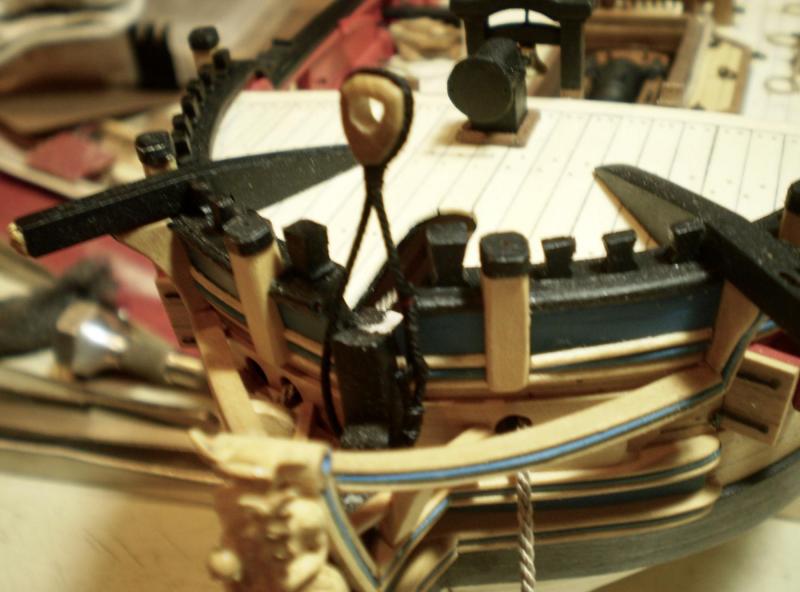
Masting and rigging is now underway. All of the masting and rigging work will be done using AOTS and Lees as the primary references. Rigging sizes will be based on the tables in AOTS. I've begun by making up and mounting the bowsprit and jibboom. The bowsprit was made from a piece of dowel. The dowel was tapered, then the fore end was filed square.Tenons were cut into both ends. The cap was made from boxwood strip, as were the bees and bee blocks. I chose not to use the kit parts for any of the bowsprit construction. Lastly, the jibboom saddle, the spritsail yard saddle and the various cleats were made from boxwood strip and added. The bowsprit was finished with golden oak stain and wipe-on poly and the fore end painted black. Next, I did the wooldings, using Syren line and paper hoops. I then added the dead eyes for the bobstays, the shrouds, the main preventer stay and the spritsail fixed lifts. The deadeyes are from the kit and all of the rope is Syren. The jibboom is a dowel, tapered, with the rigging stop filed in. A simulated sheave for the jib rigging was drilled and cut in, as well. The jibboom was also stained golden oak, with the ends painted black. After mounting the jibboom to the bowsprit, the ensign jack was made from dowel, painted black and mounted to the cap. Finally, holes were drilled in the cap for eyebolts and the first two were added. Before mounting the bowsprit-jibboom assembly to the hull, I did the mainstay heart and collar. This was a testy task for aging eyes and hands, with the seizings done in very tight quarters. Bob


- 563 replies
-
- 28
-
-
Grant, I know nothing at all about fibreglassing a hull, but I can certainly see that you have thoroughly researched and thought the process through. The preparation shows in the work you've done. Bob
- 339 replies
-
- 4
-
-
- dumas
- Chris-Craft
- (and 3 more)
-
US Brig Syren by Gahm - Model Shipways
rafine replied to Gahm's topic in - Kit build logs for subjects built from 1801 - 1850
A fabulous piece of work, Thomas. I truly envy your skills with metal. Bob