HOLIDAY DONATION DRIVE - SUPPORT MSW - DO YOUR PART TO KEEP THIS GREAT FORUM GOING! (Only 24 donations so far out of 49,000 members - C'mon guys!)
×


rafine
-
Posts
2,932 -
Joined
-
Last visited
Content Type
Profiles
Forums
Gallery
Events
Everything posted by rafine
-
 Very nice work on that planking Sjors. Bob
 -
Thanks so much Joe, B.E. and the "likes". I've become a big fan of lamination, both as an alternative to scraping, and to masking for painting. Just another by-product of aging. B.E., I'm not sure if I will doing anything more about the scuppers, but you've got me thinking. Bob
-
Thanks so much Joe. It was a fun build and I still enjoy looking at it in it's case in my workroom. Bob
- 103 replies
-
- 2
-

-
- picket boat
- model shipways
- (and 1 more)
-
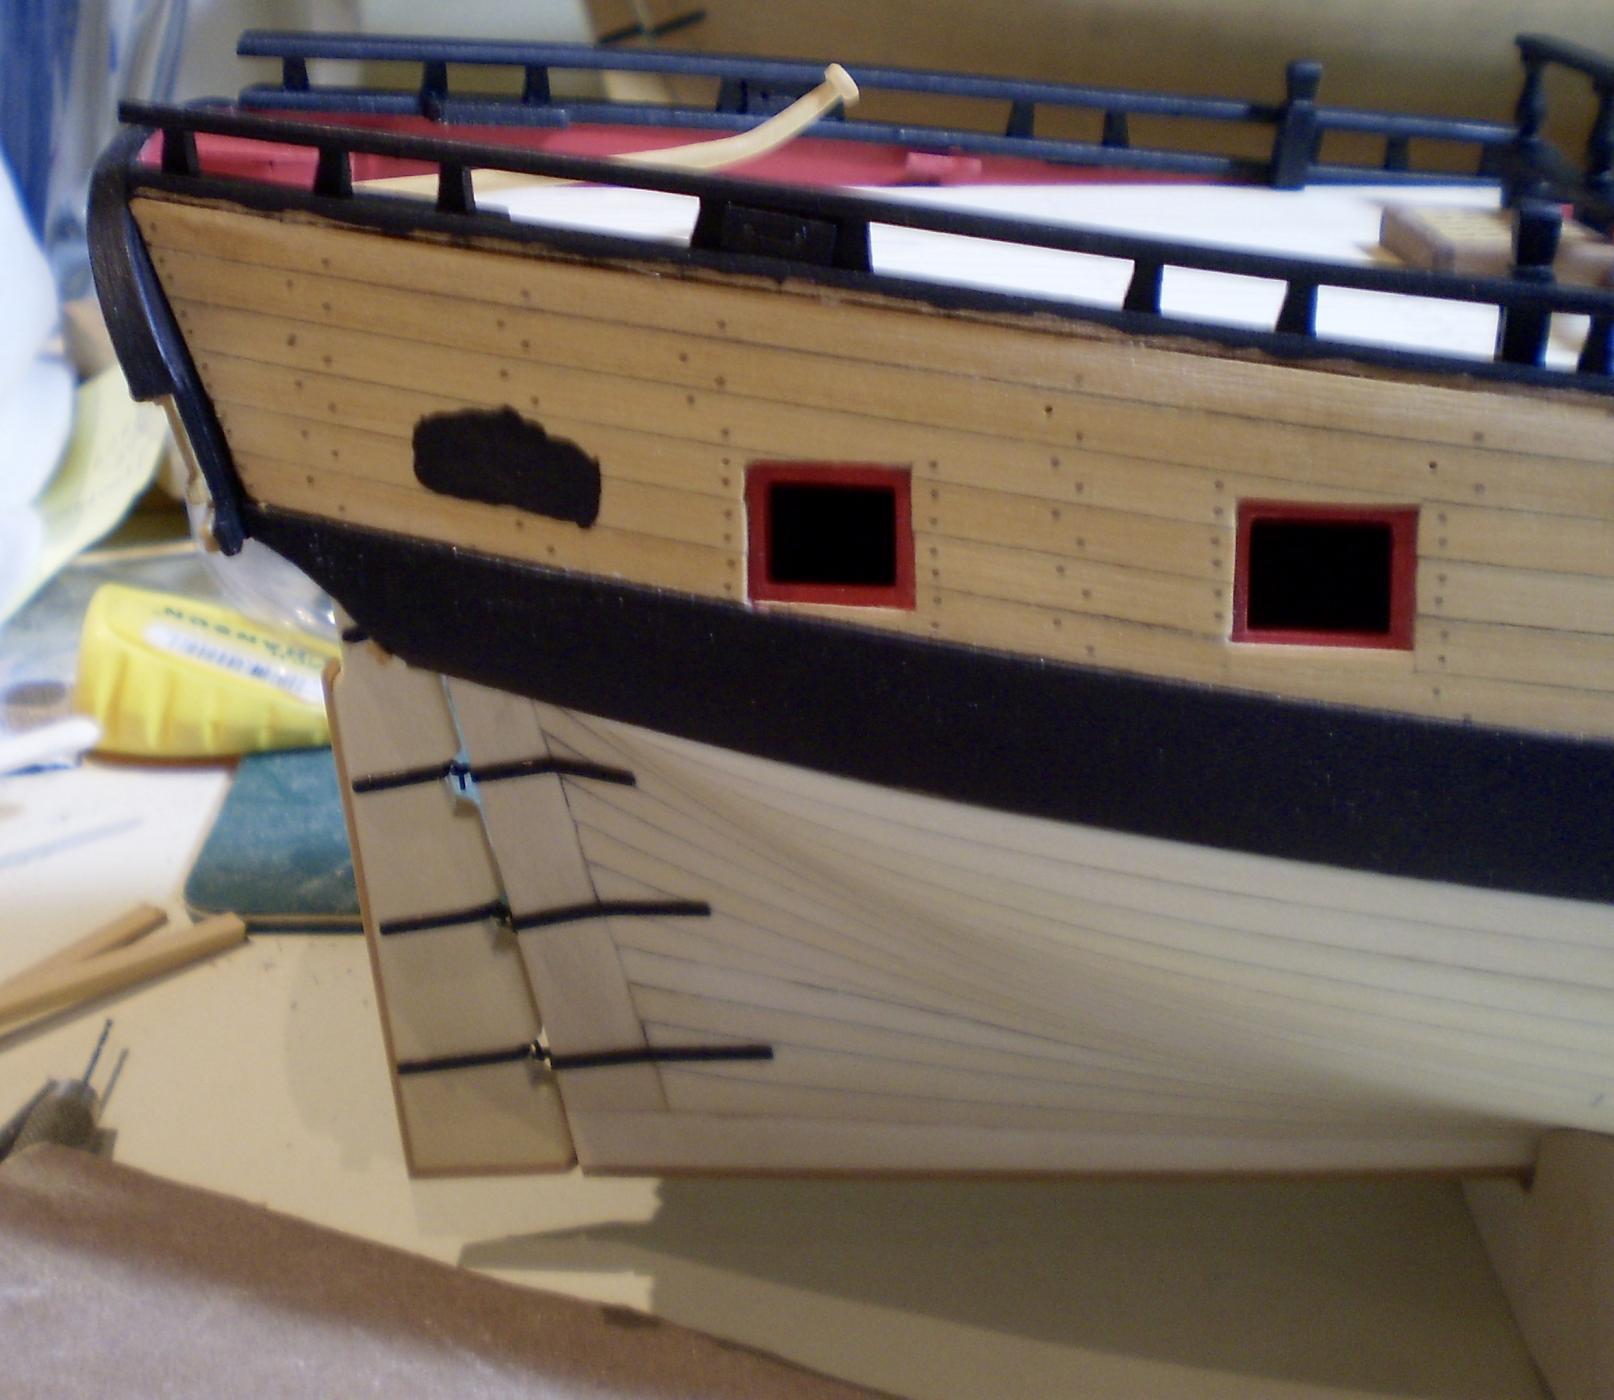
Thanks so much Nils, Don and the "likes". Don, I have to admit that doing the sweep ports this way was the result of having forgotten to drill the holes much earlier when I should have. I was reluctant to do it at this point, and forced to find an alternative. All in all, I'm happy with the result. Bob
-
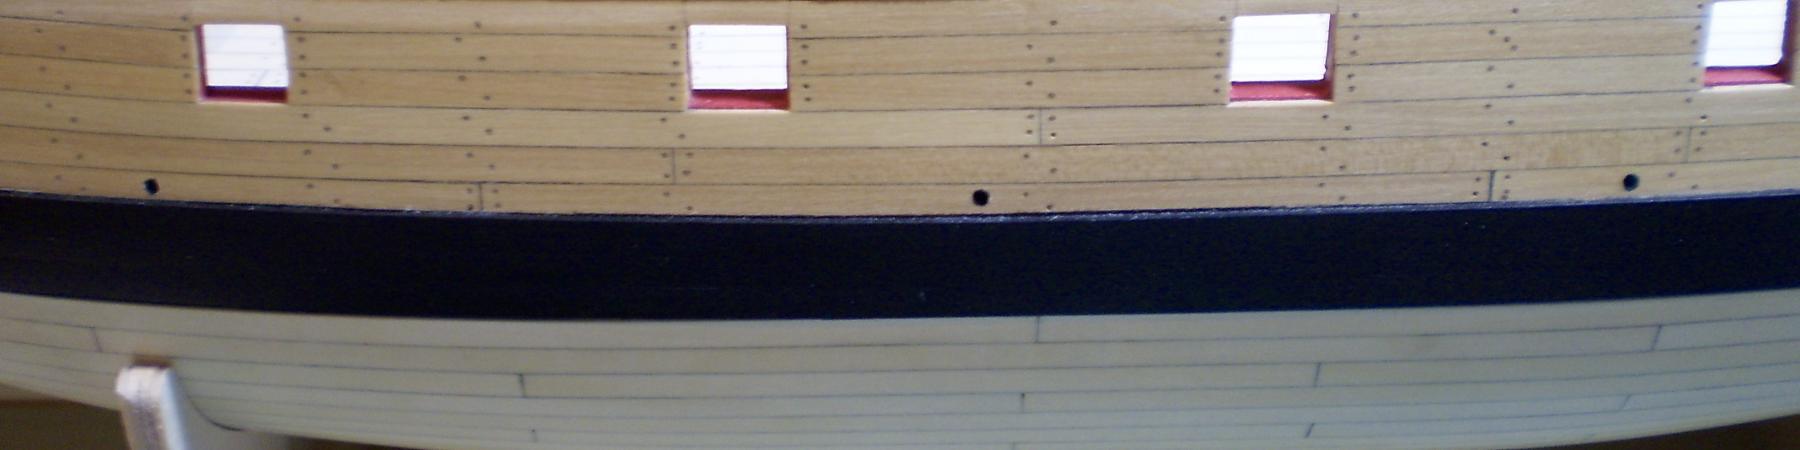
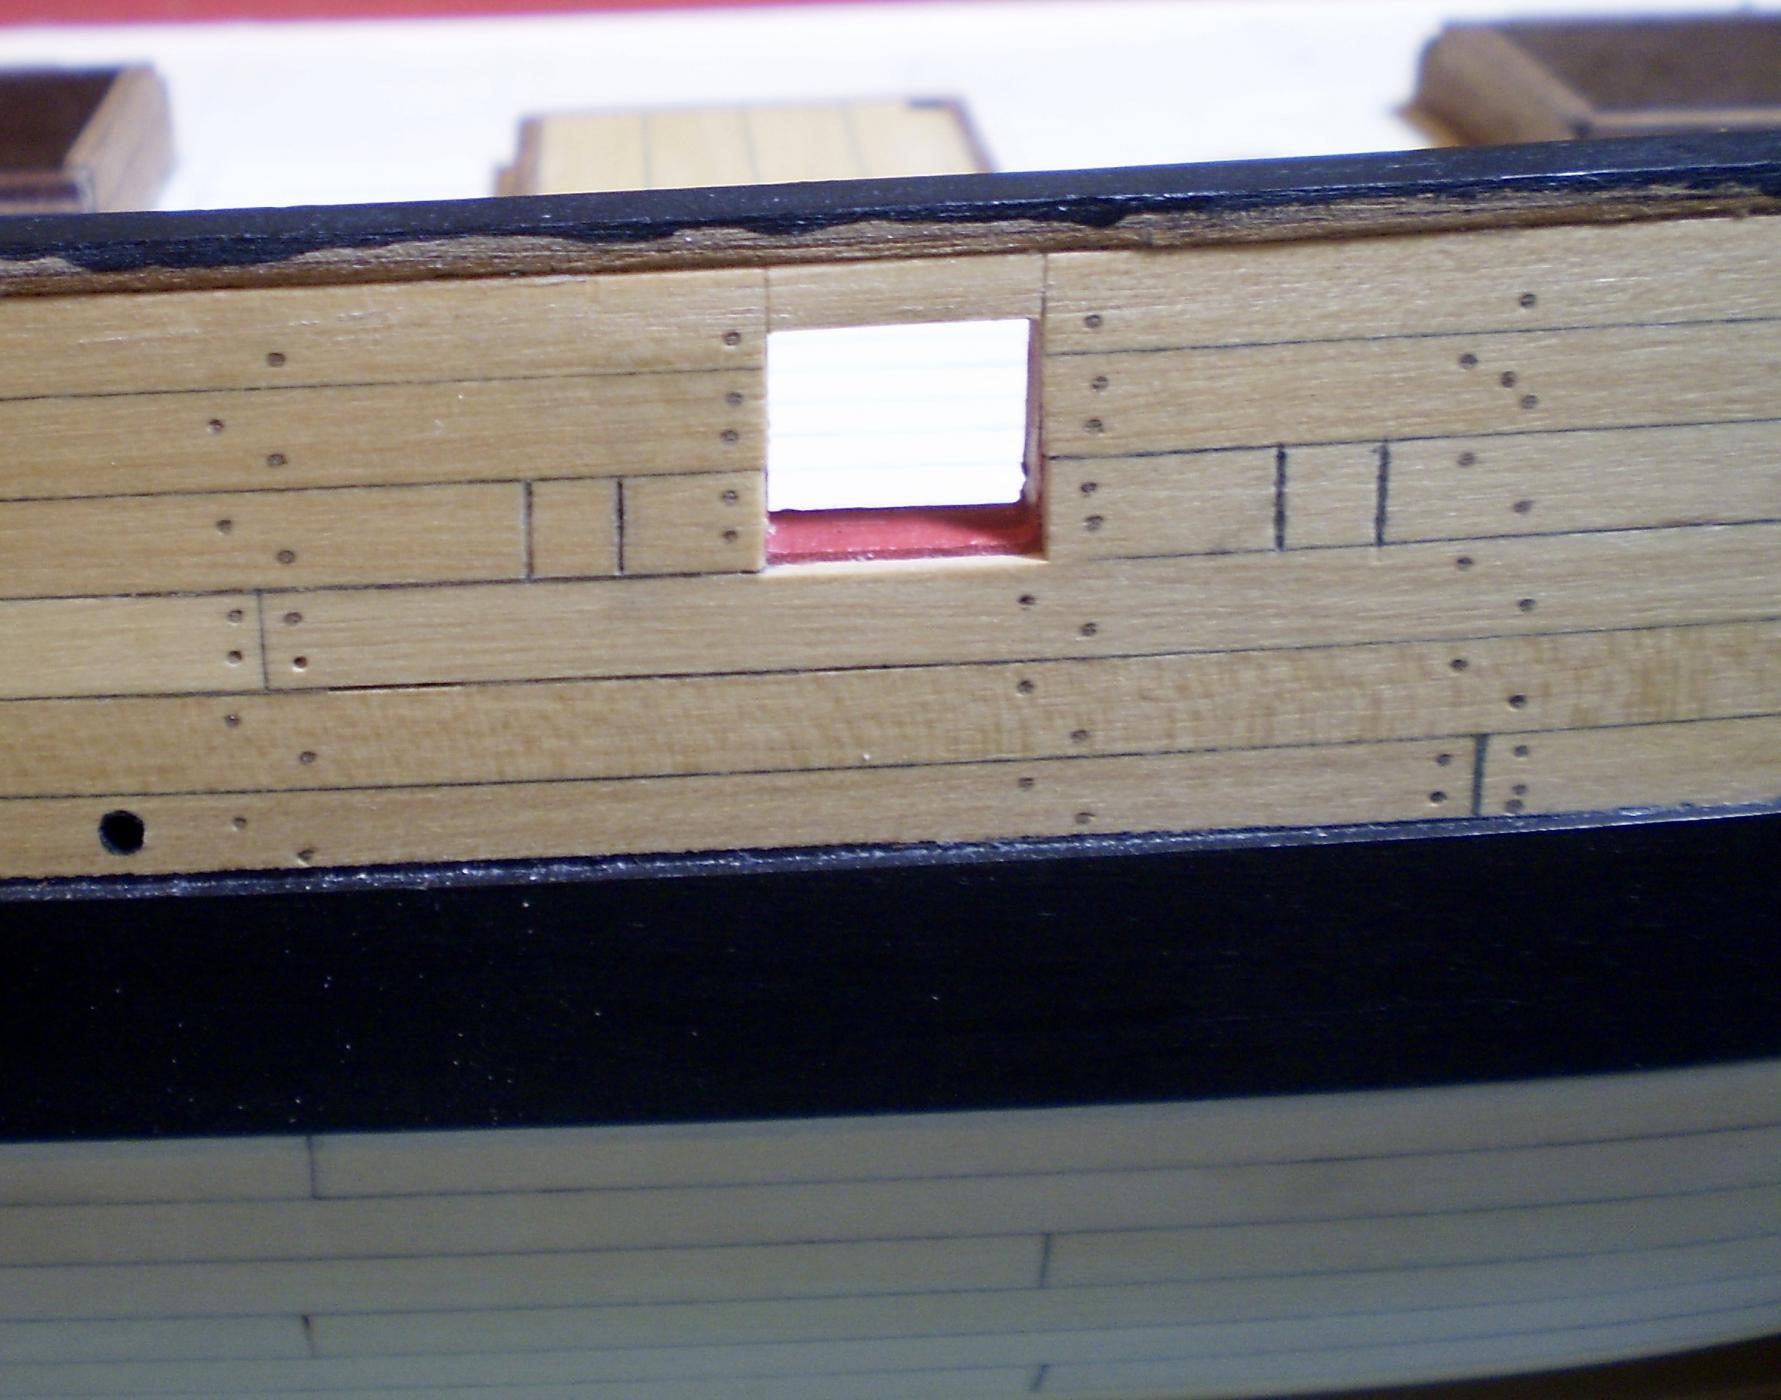
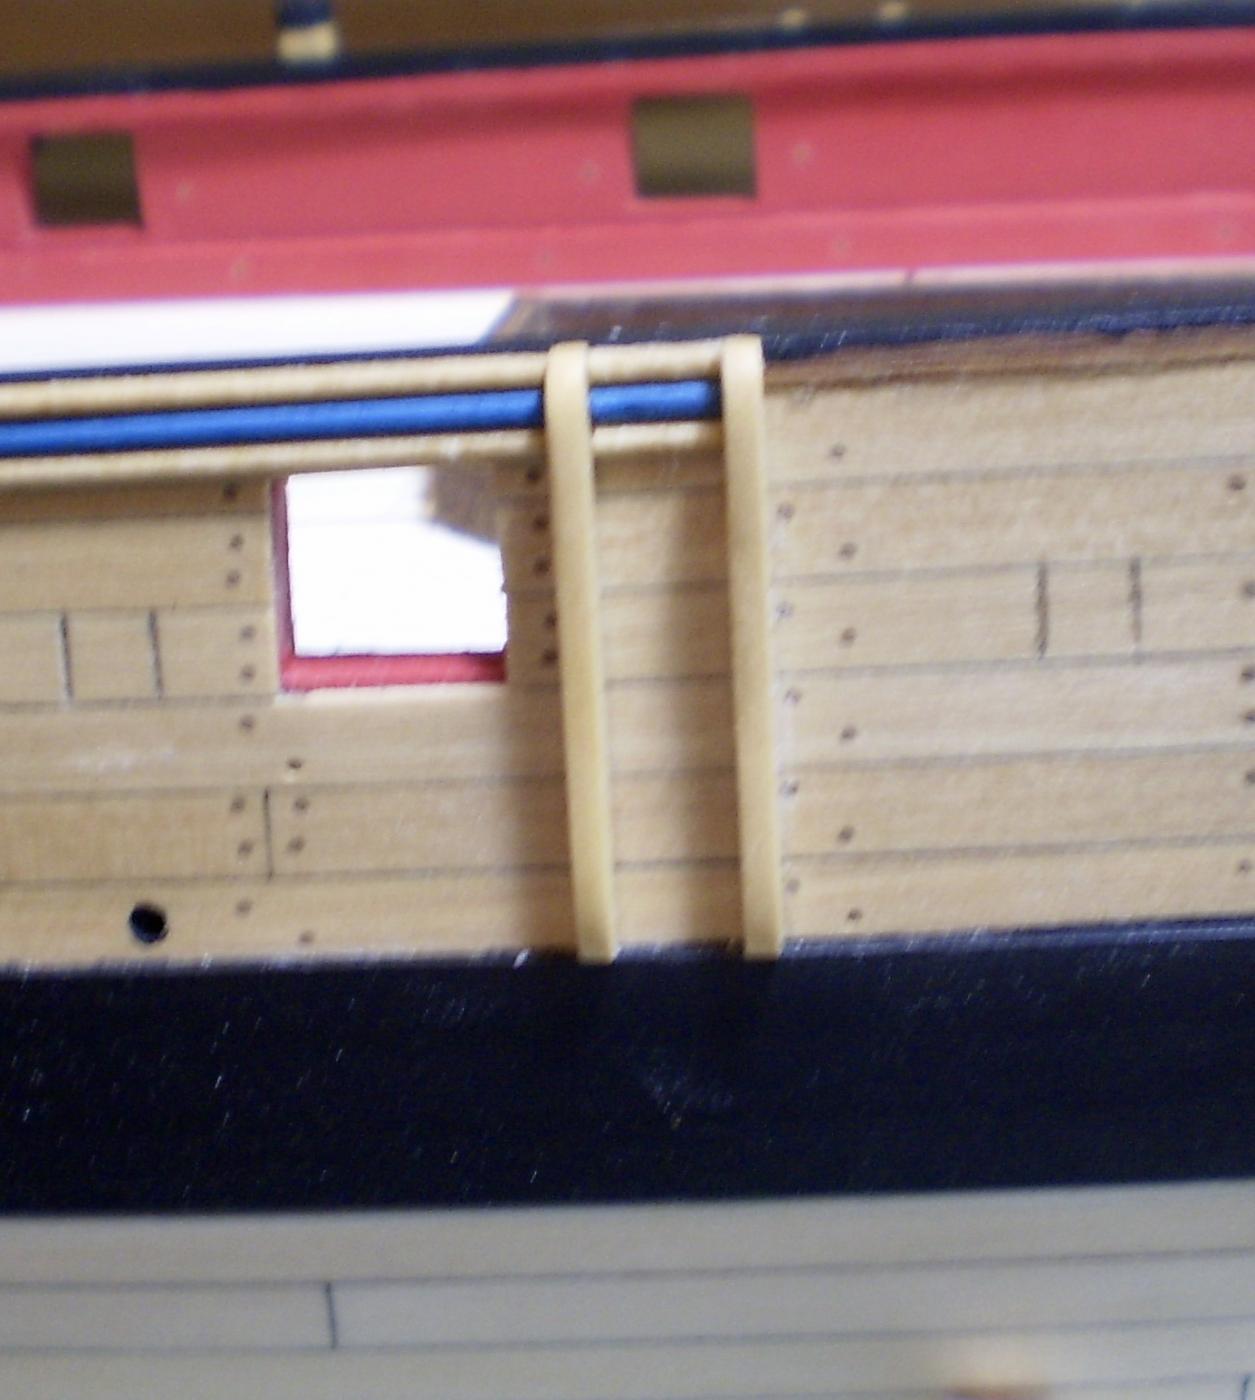
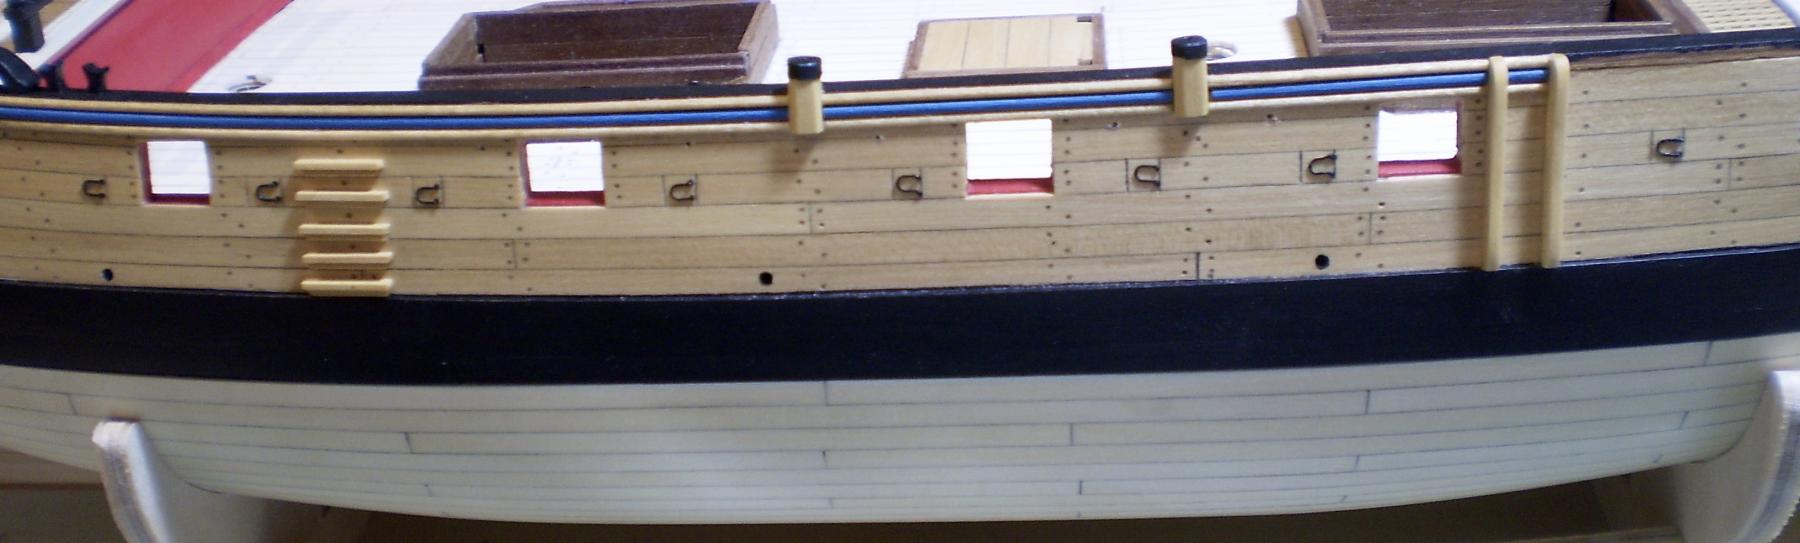
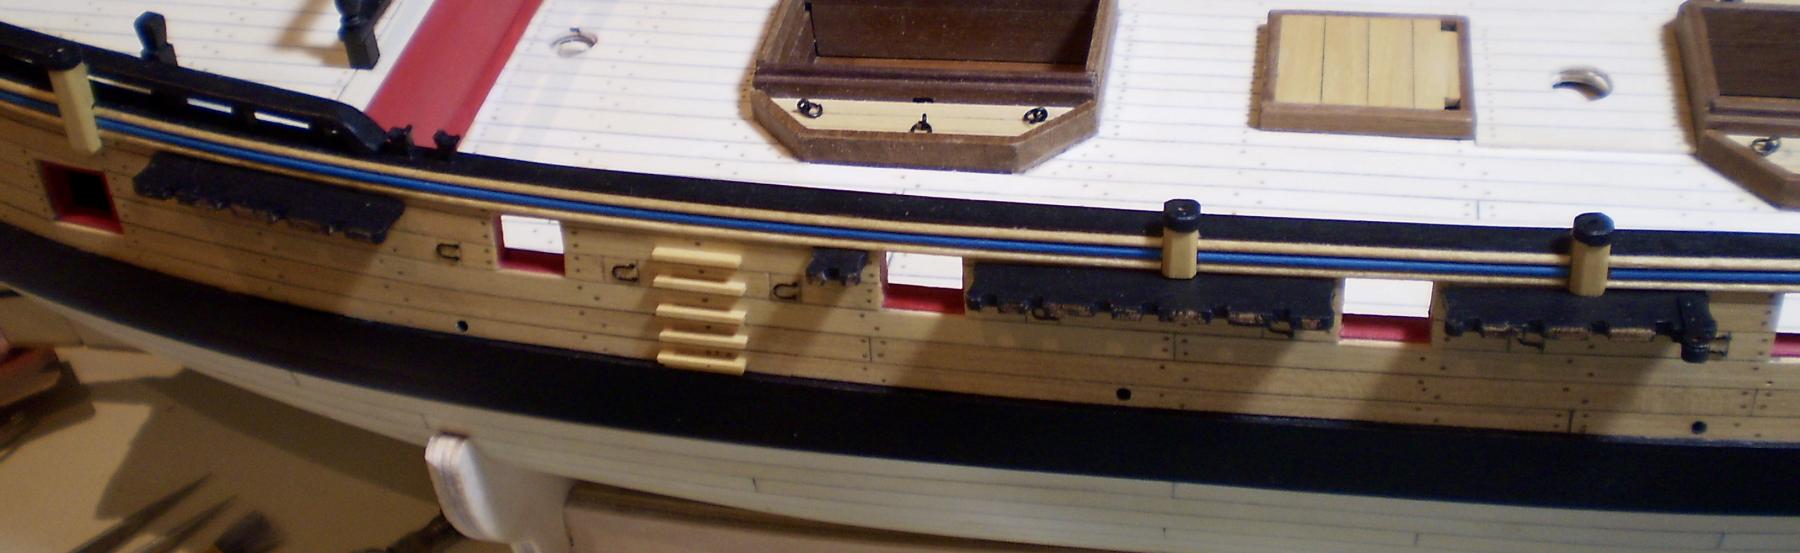
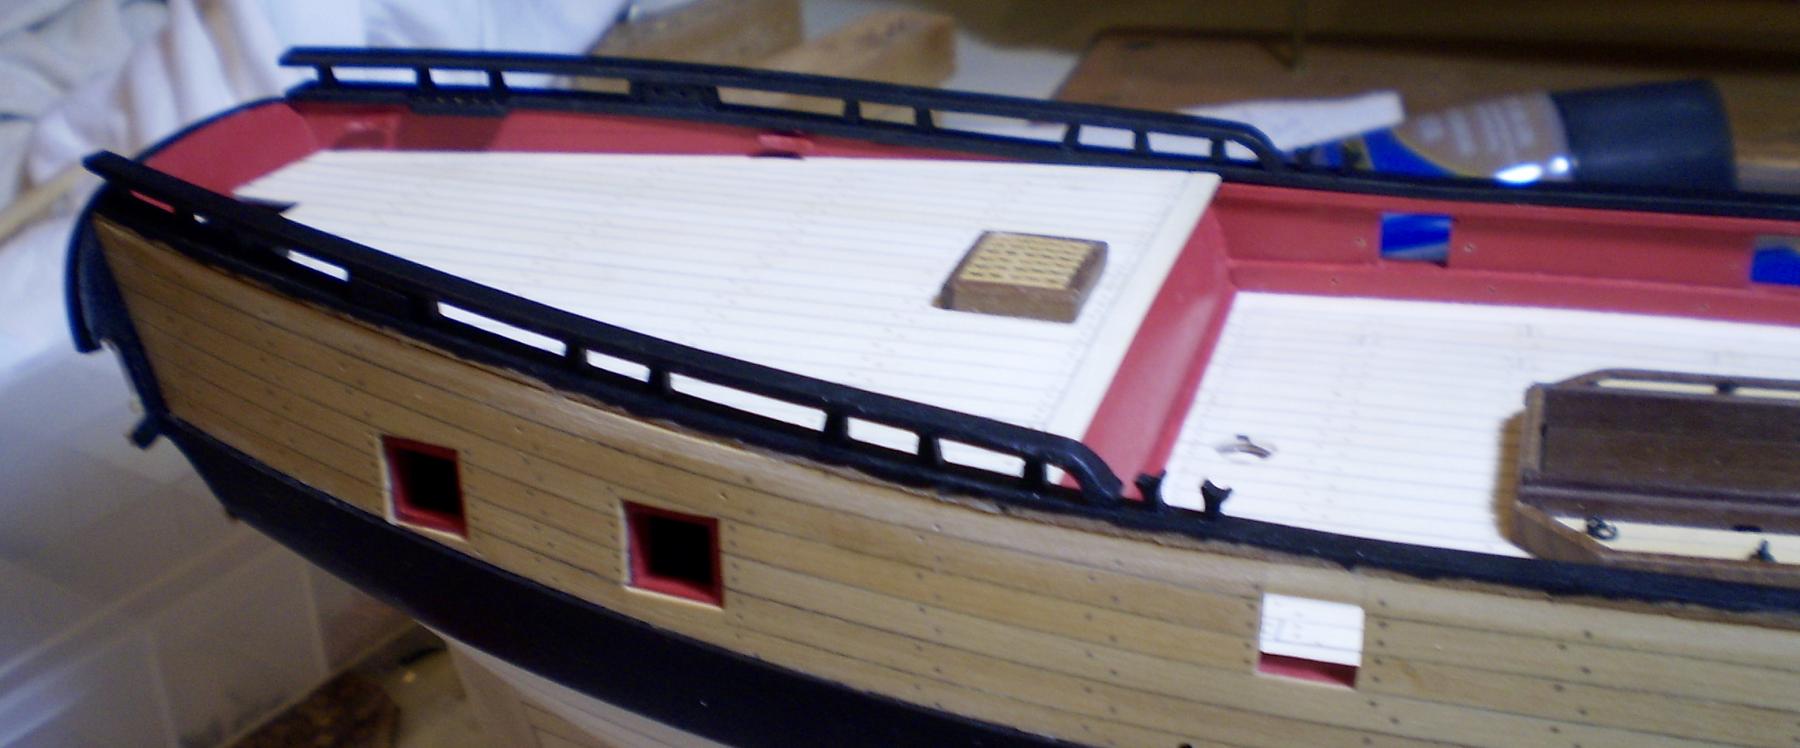
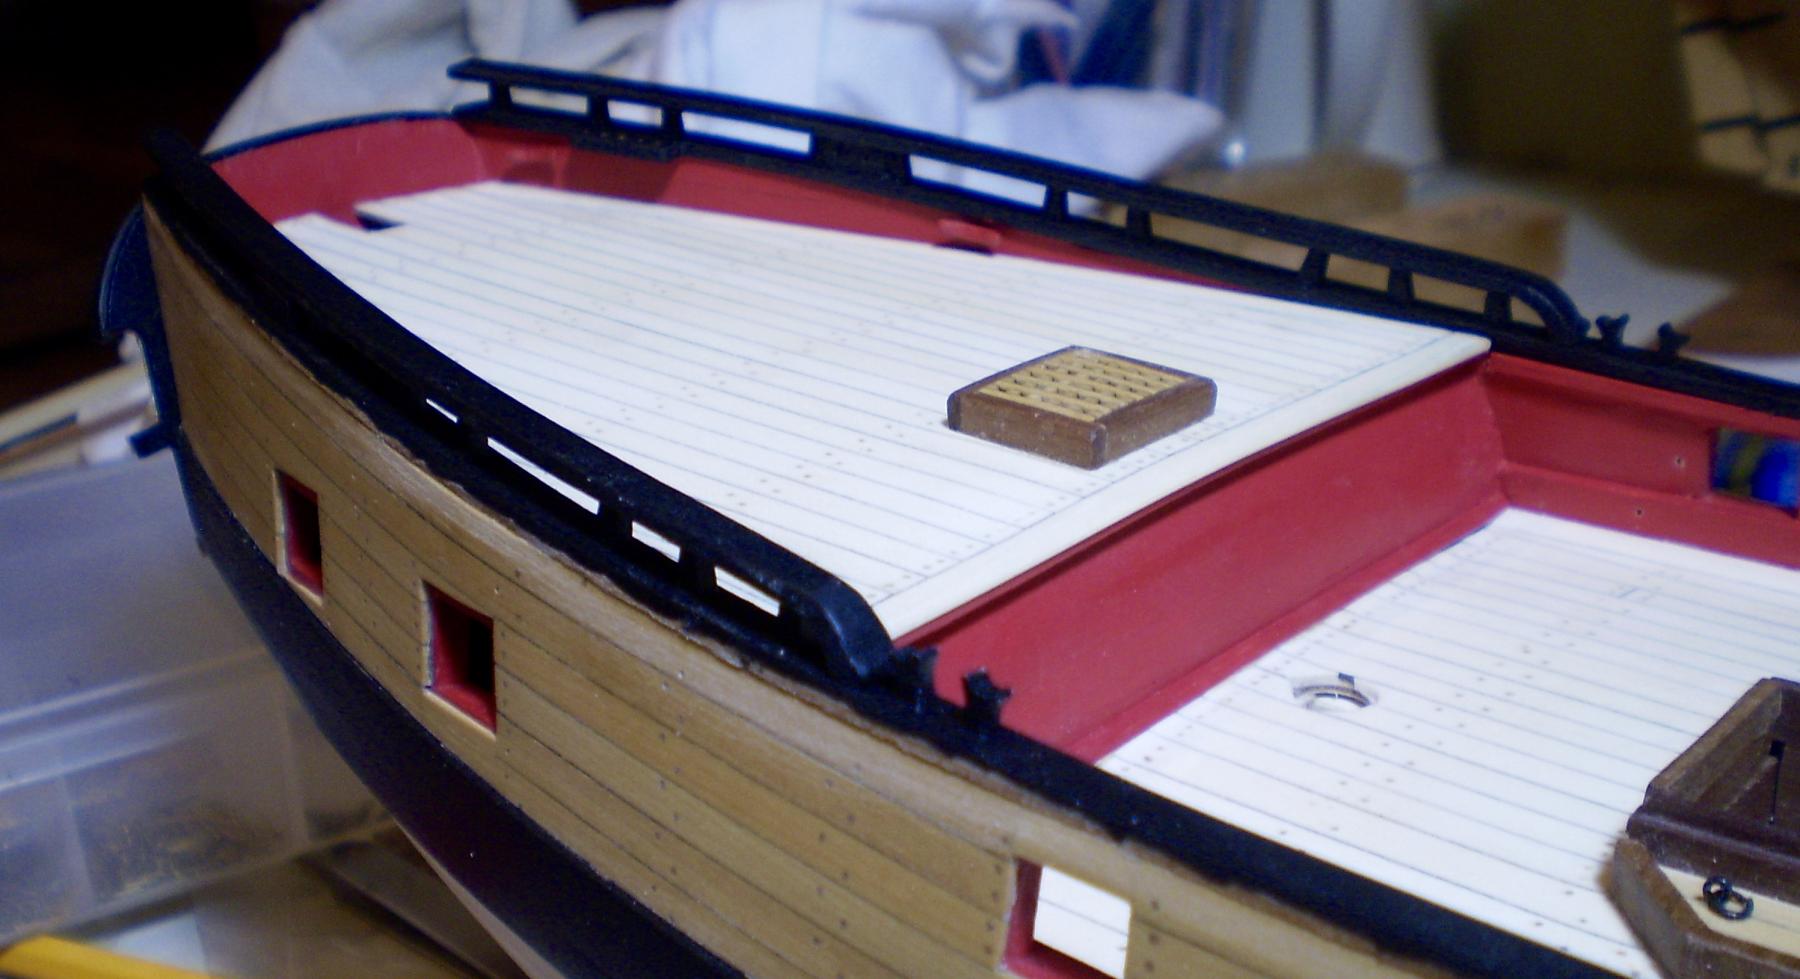
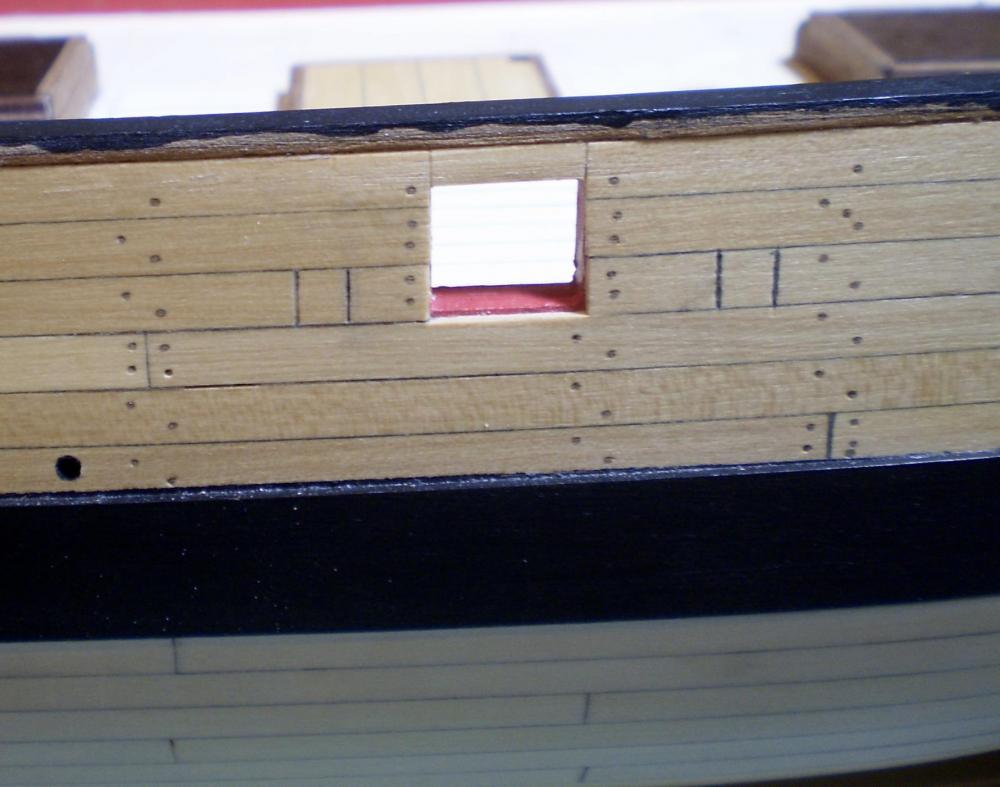
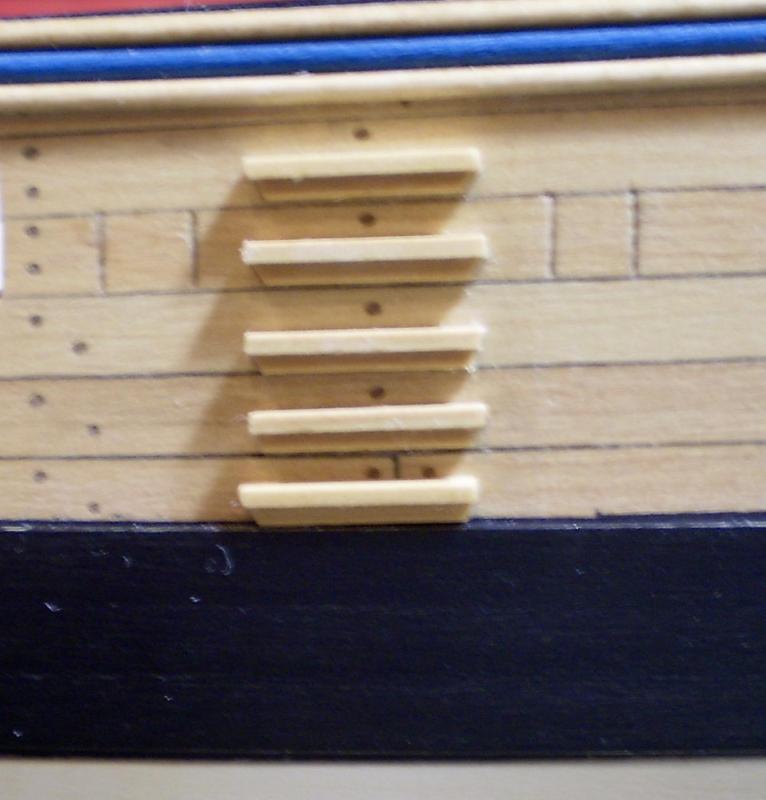
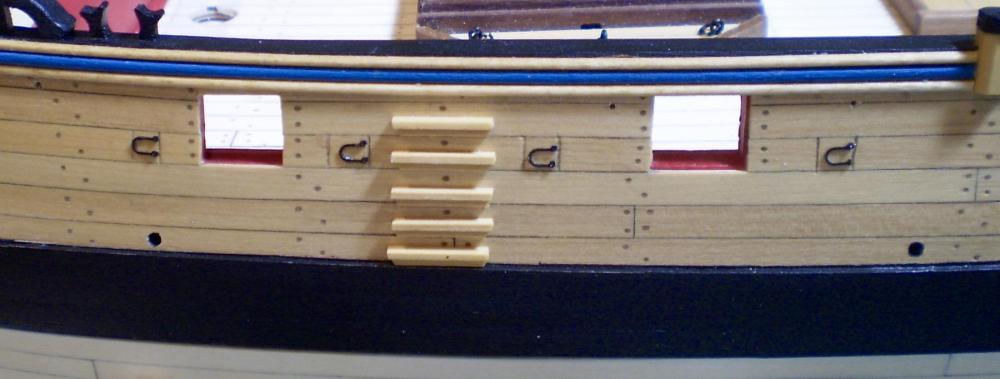
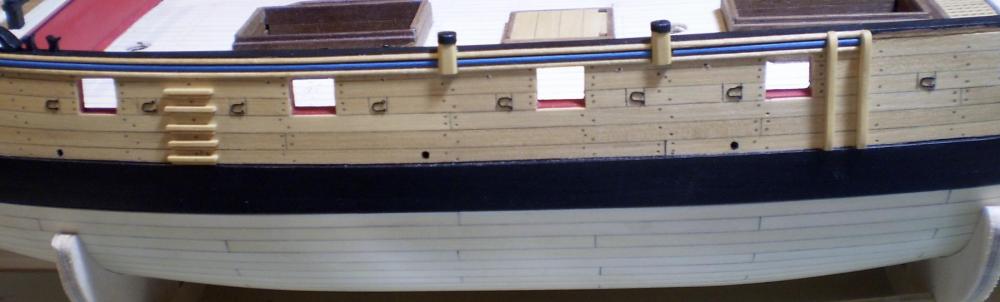
This has been a busy week. I've done the detailing of the midship area of the outer hull. This involved doing the scuppers, the sweep ports, the entry steps, the fenders, the swivel gun mounts, the channels and the sheer molding. The scuppers are merely holes drilled from the outside that do not go all of the way through. The interior of the holes was painted graphite with a toothpick. The sweep ports were scribed in, the scribed lines colored with a pencil and then sealed with Wipe-on Poly. The hinges from the kit PE set were painted black and glued in place with CA. The entry steps were made from boxwood strip ( a piece of 1/32" square and a piece of 1/32" x !/16" ). The fenders are boxwood strip shaped to the hull. The swivel mounts are boxwood strip made as described for those at the quarterdeck. The sheer molding was made as previously described and continued to the fenders. The channels are the kit parts, painted black and pinned and glued to the hull. Bob


- 563 replies
-
- 23
-
-
US Brig Syren by Gahm - Model Shipways
rafine replied to Gahm's topic in - Kit build logs for subjects built from 1801 - 1850
That's a big WOW for the wheel Thomas, both for the kit and the great work you've done on it. Bob -
Really well done Sjors. That is a whole lot of gun ports to cut and line. I get tired just thinking about it. Bob
-
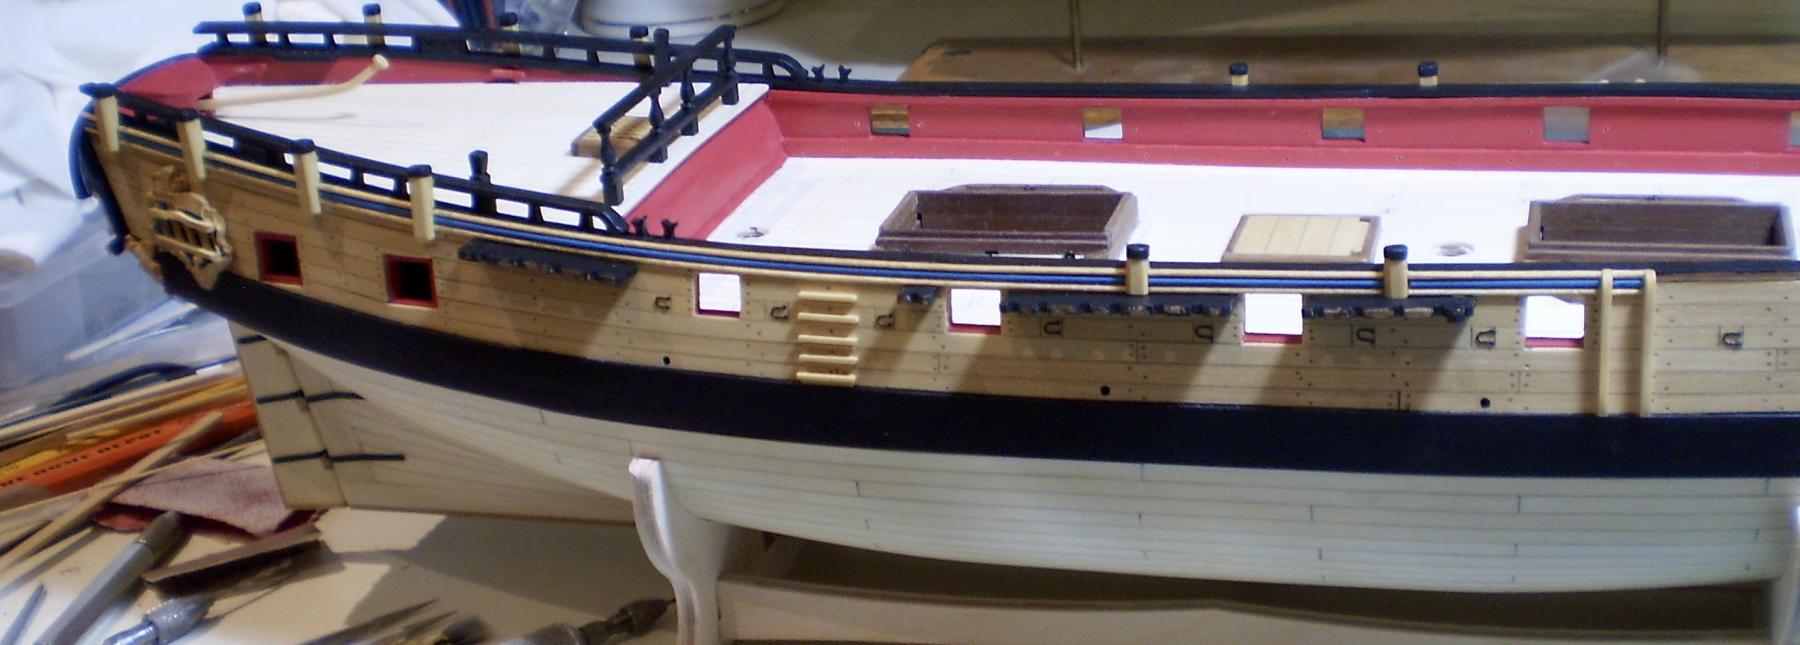
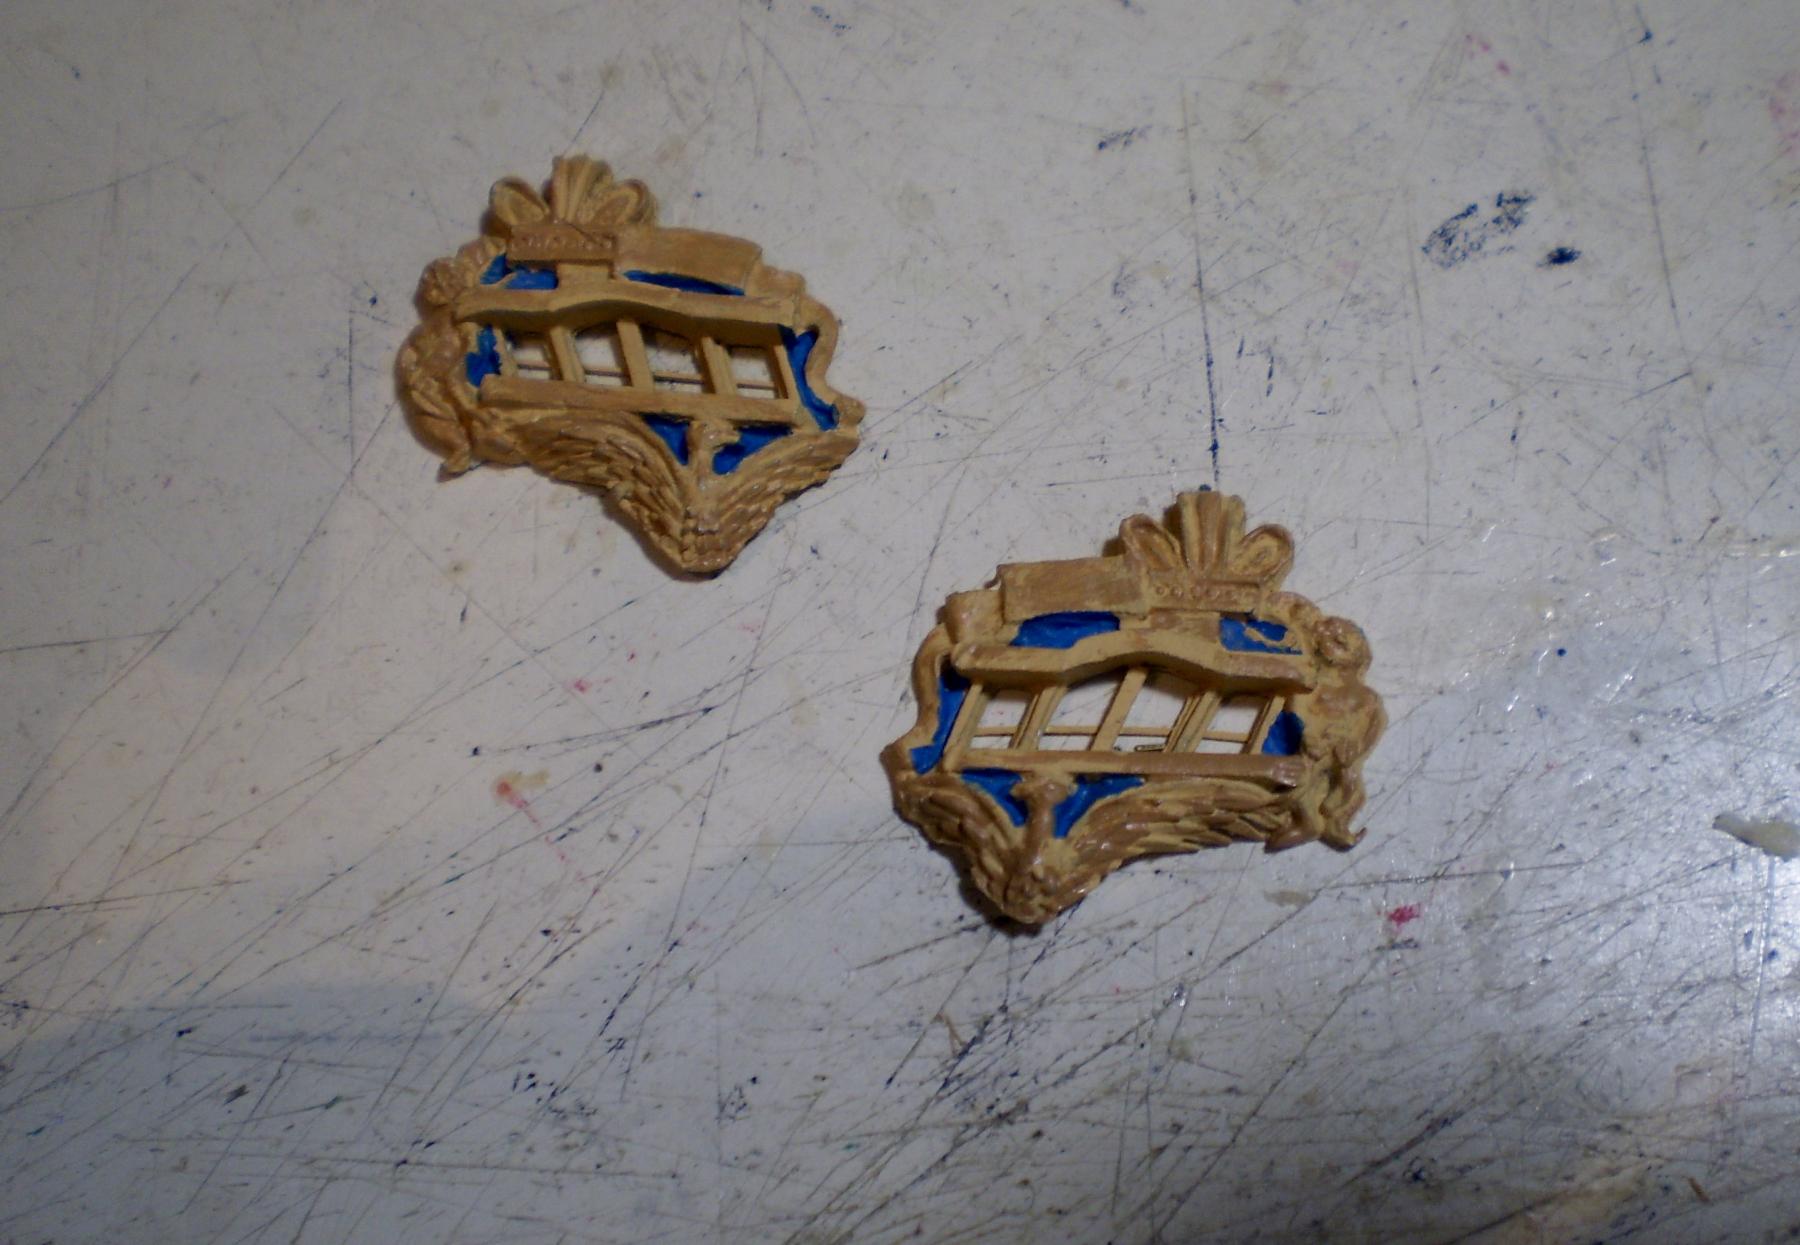
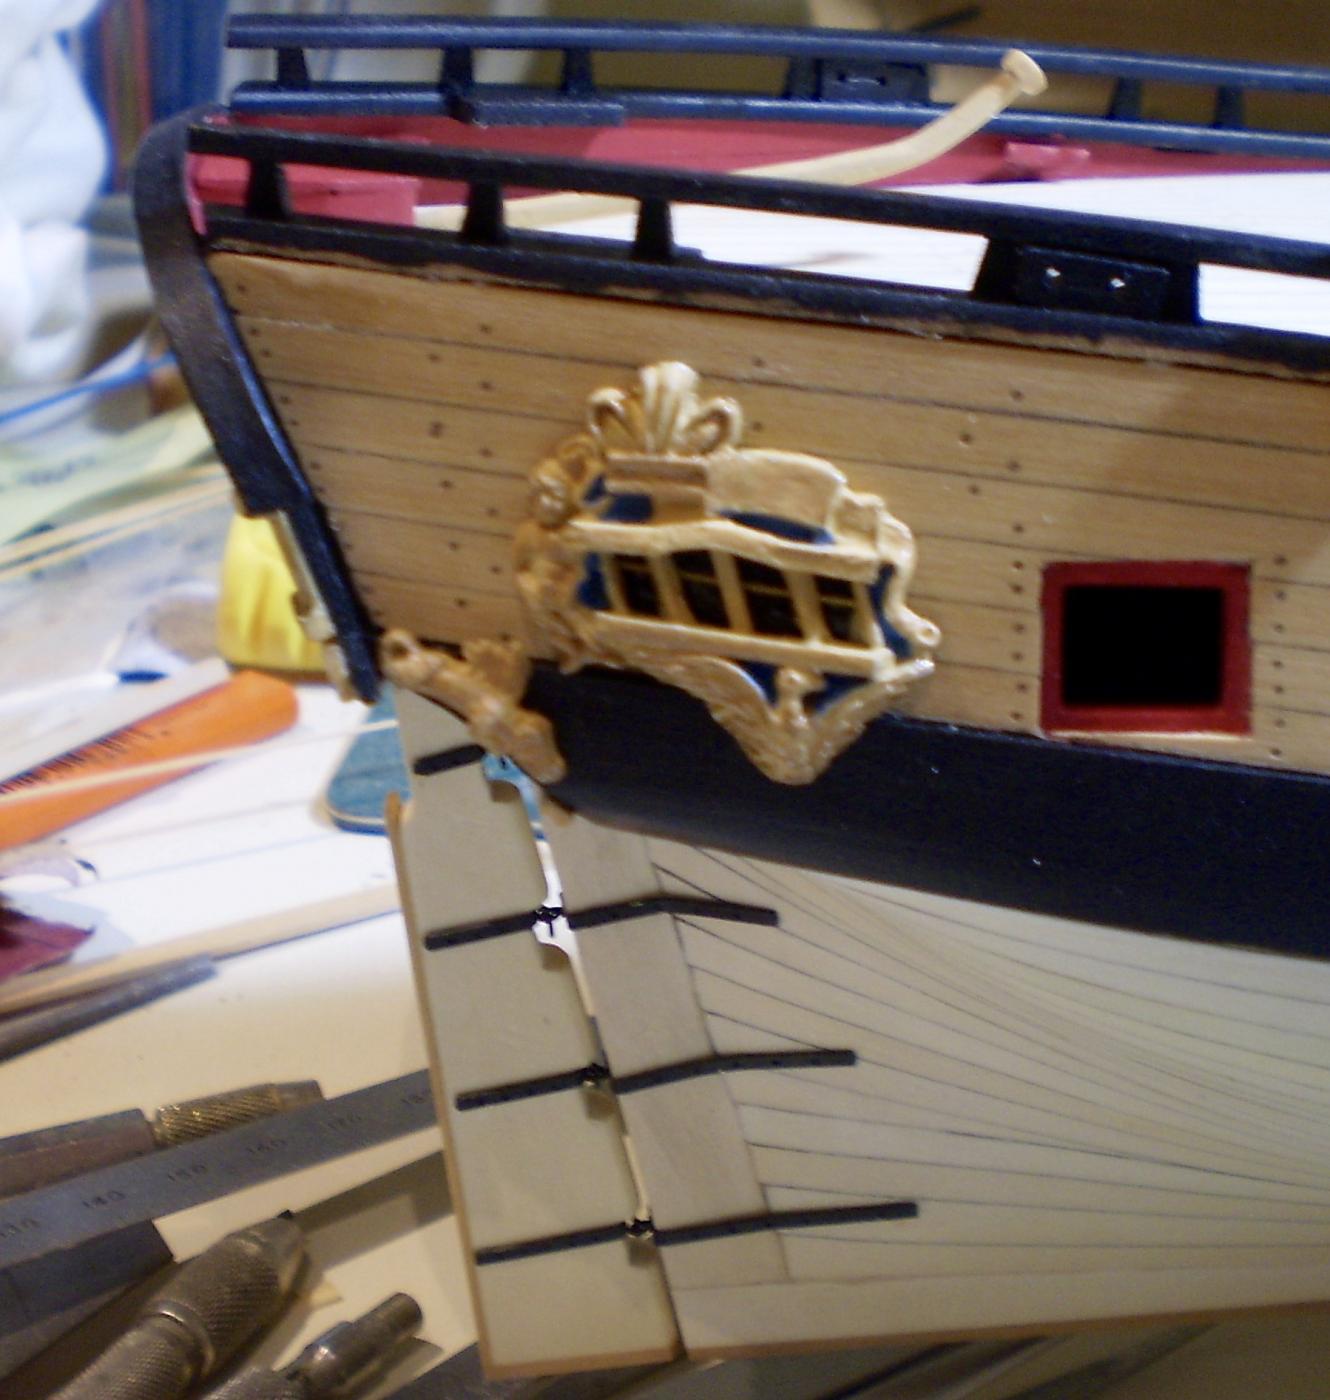
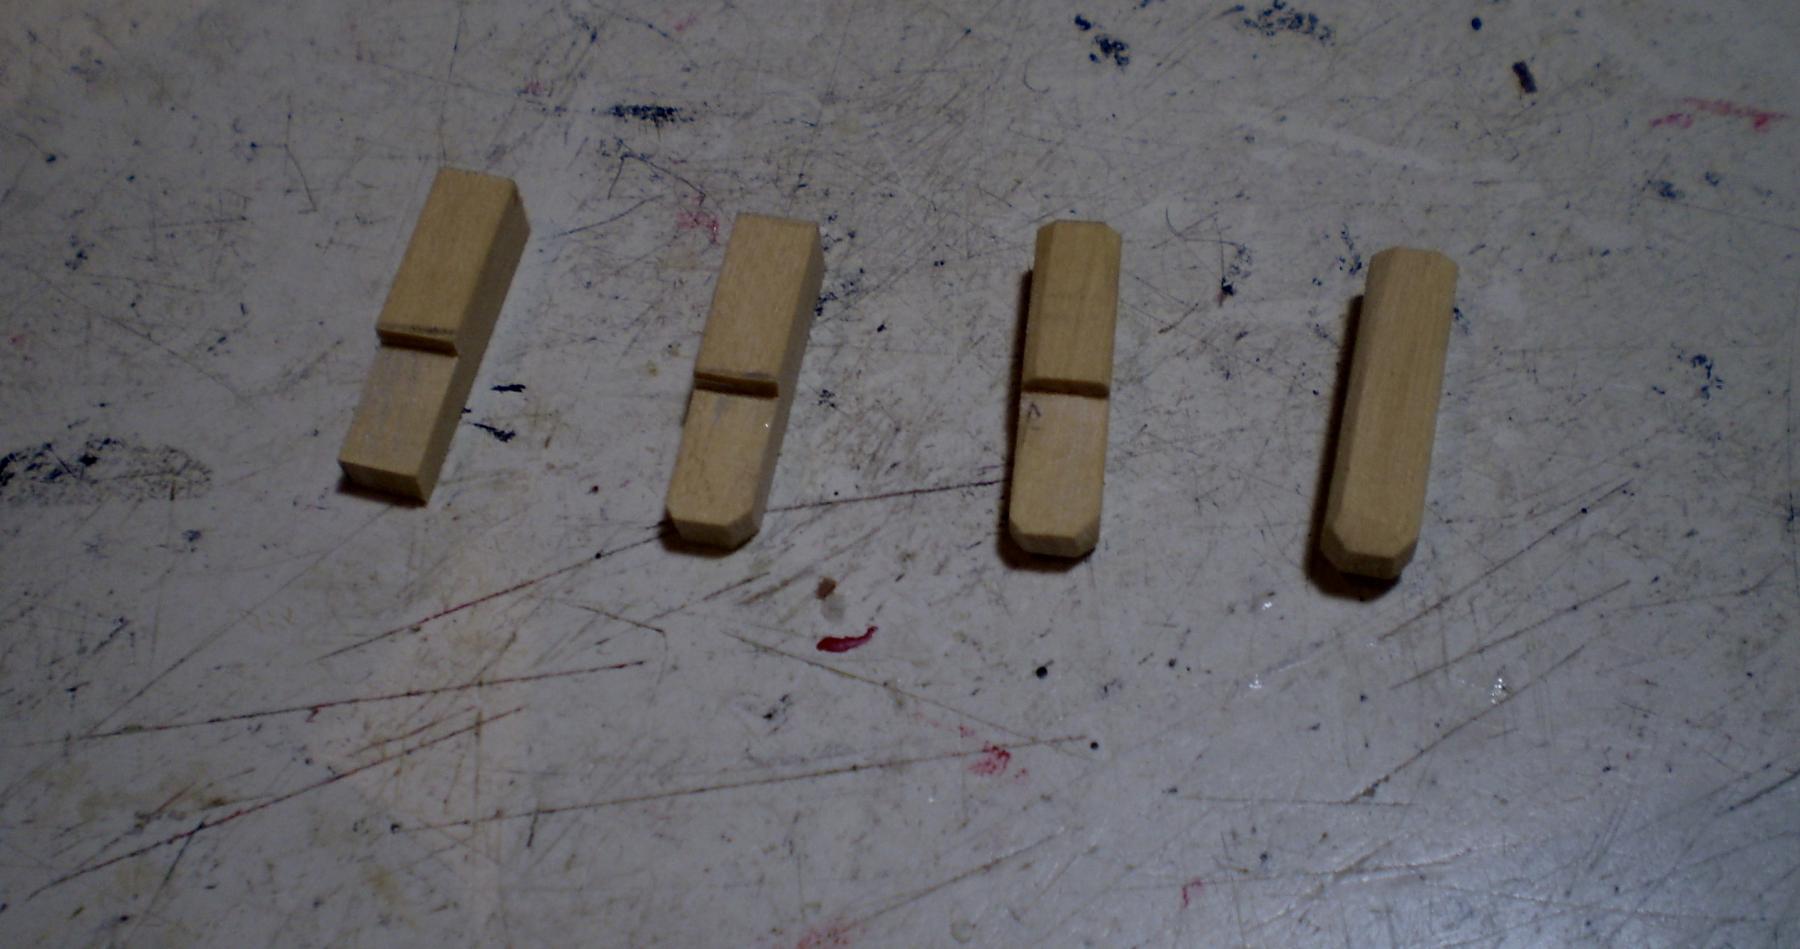
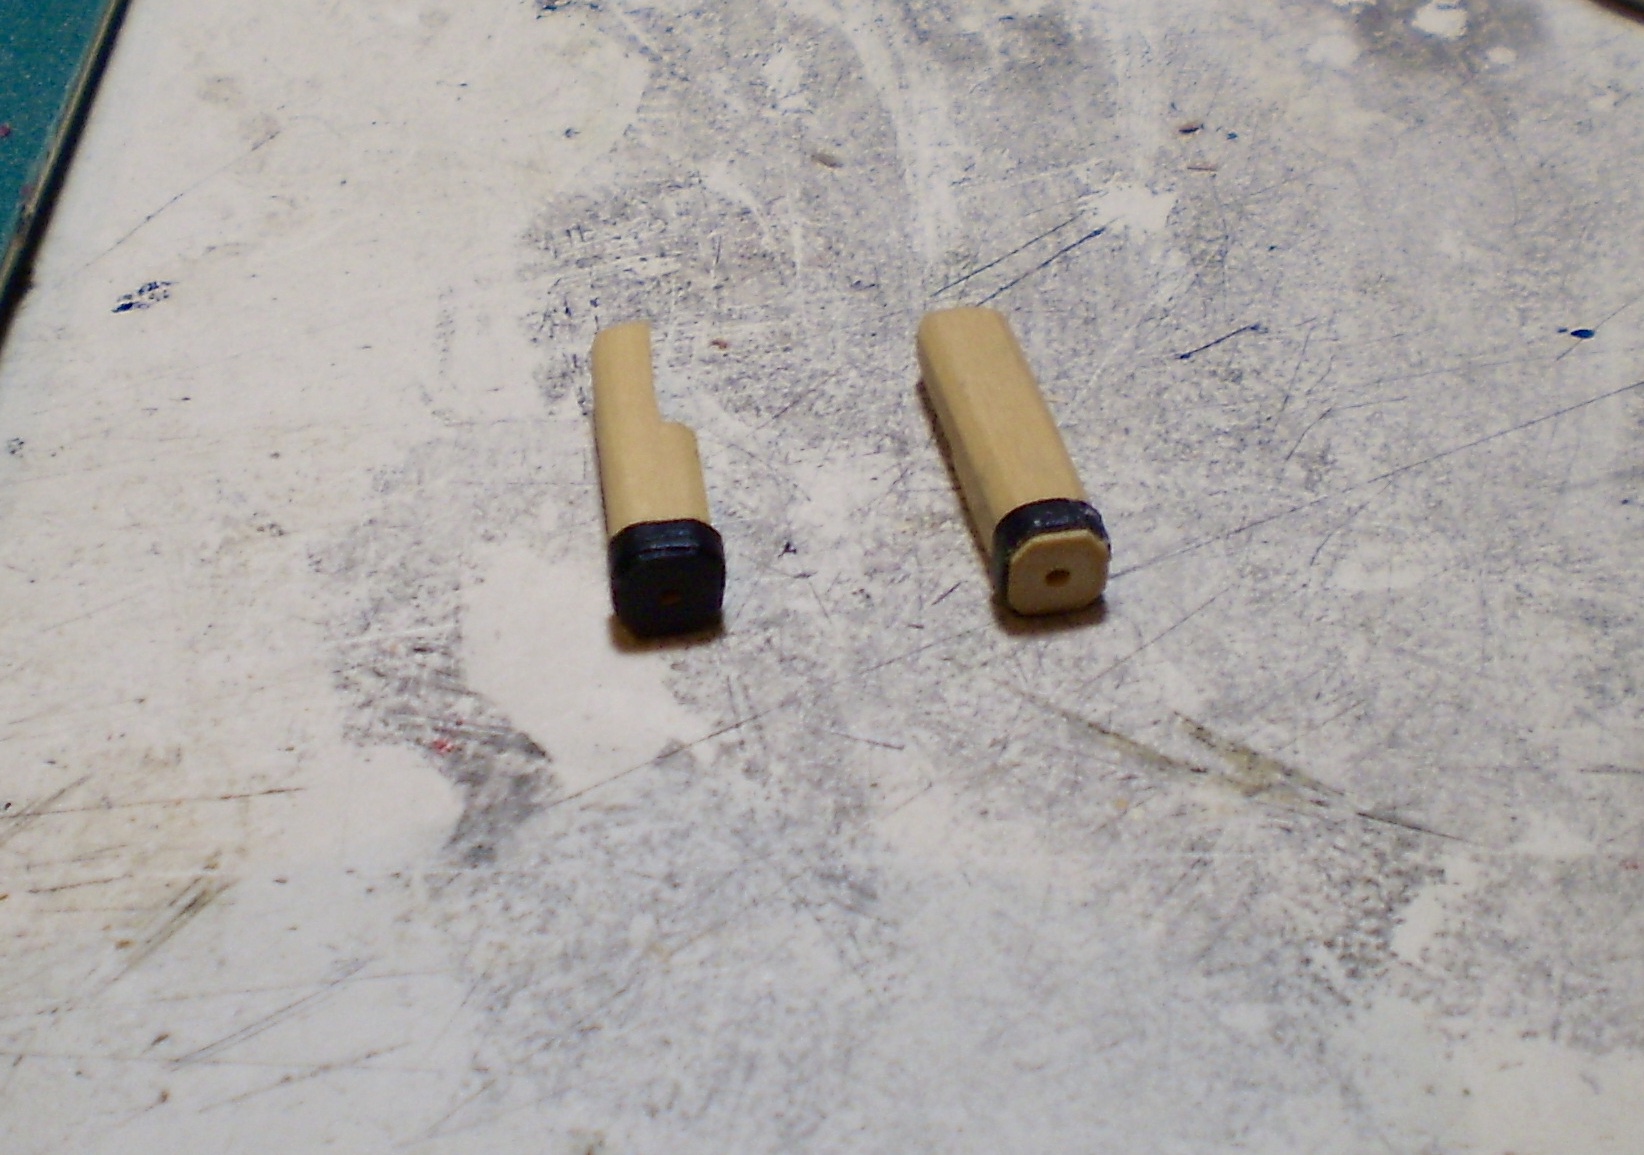
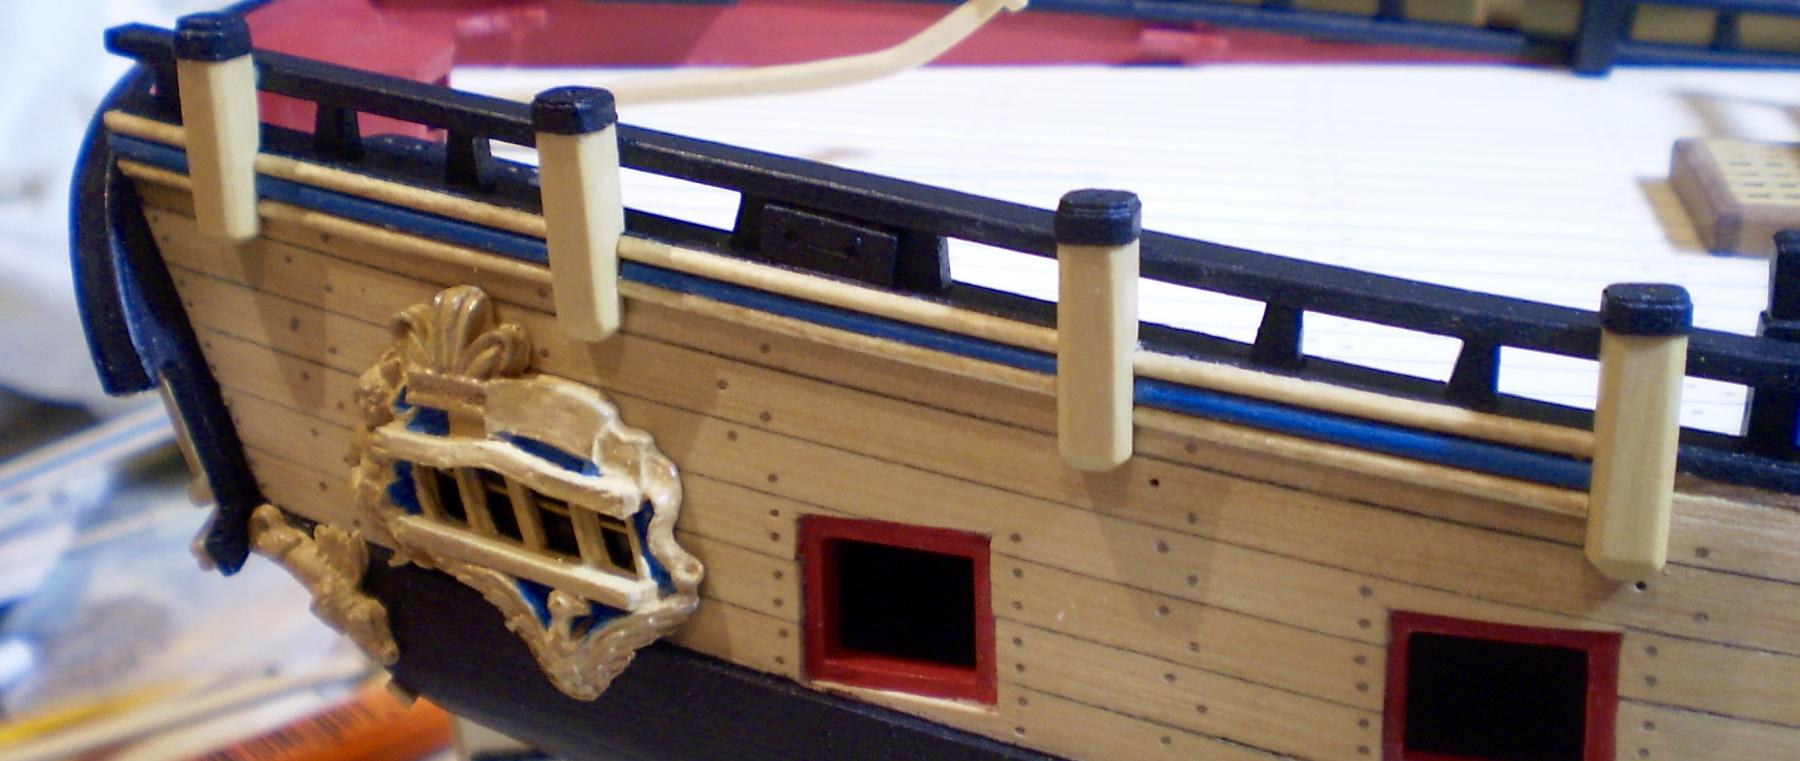
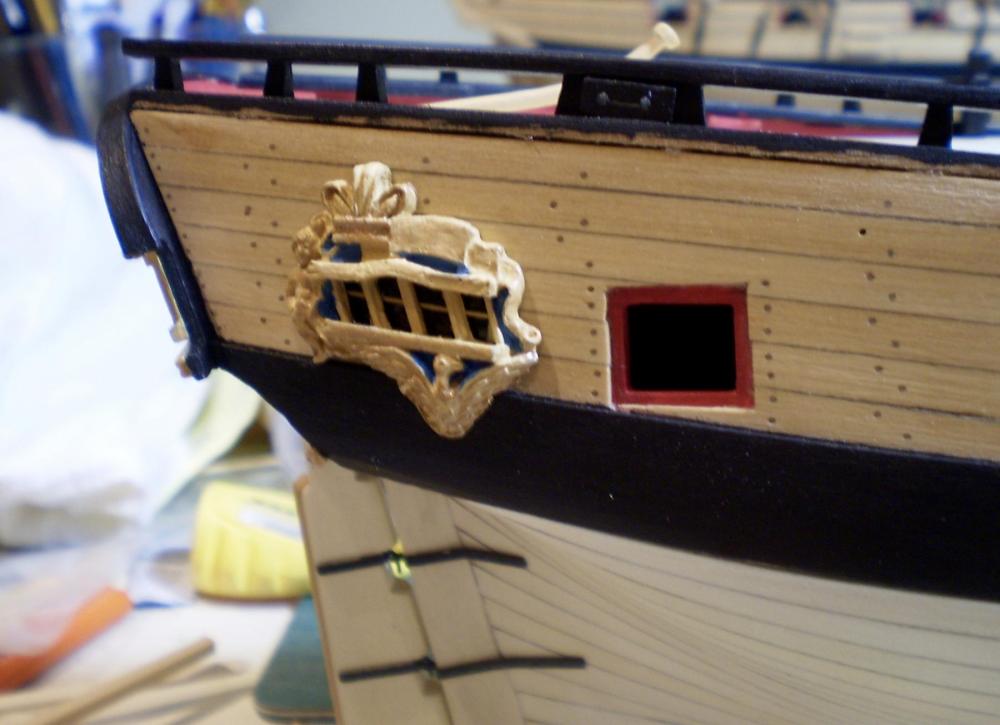
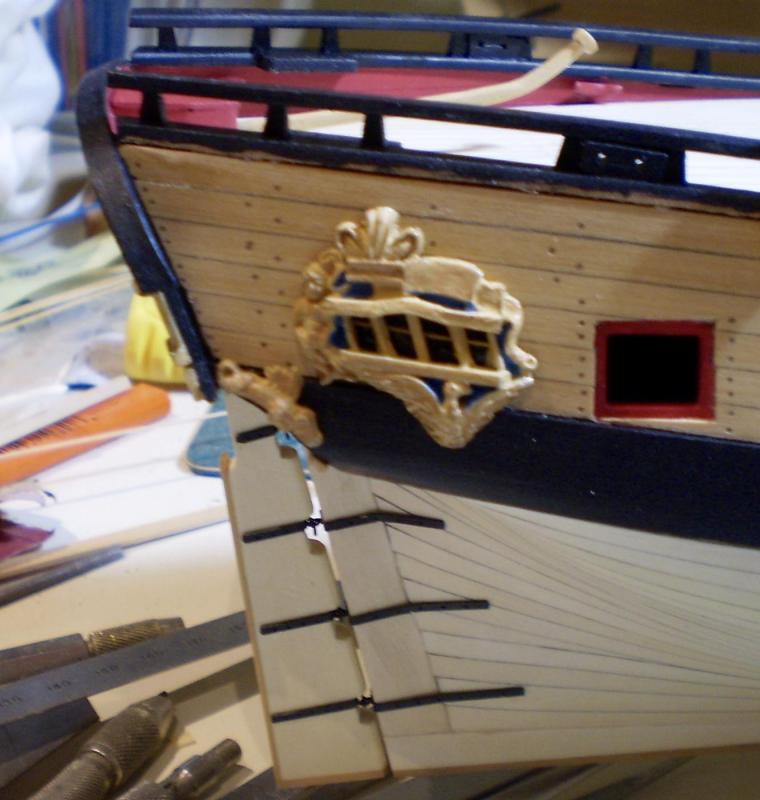
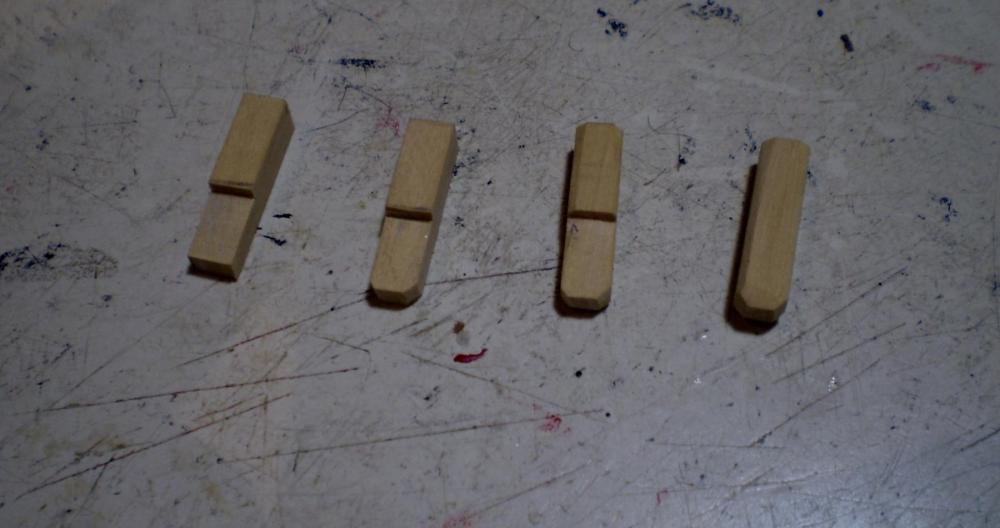
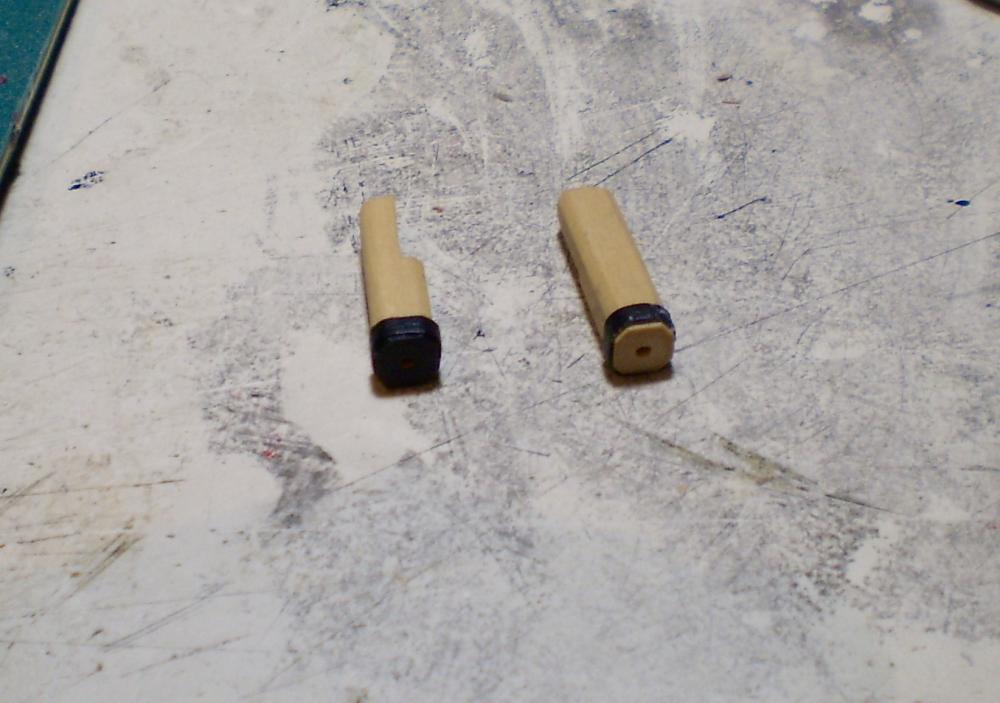
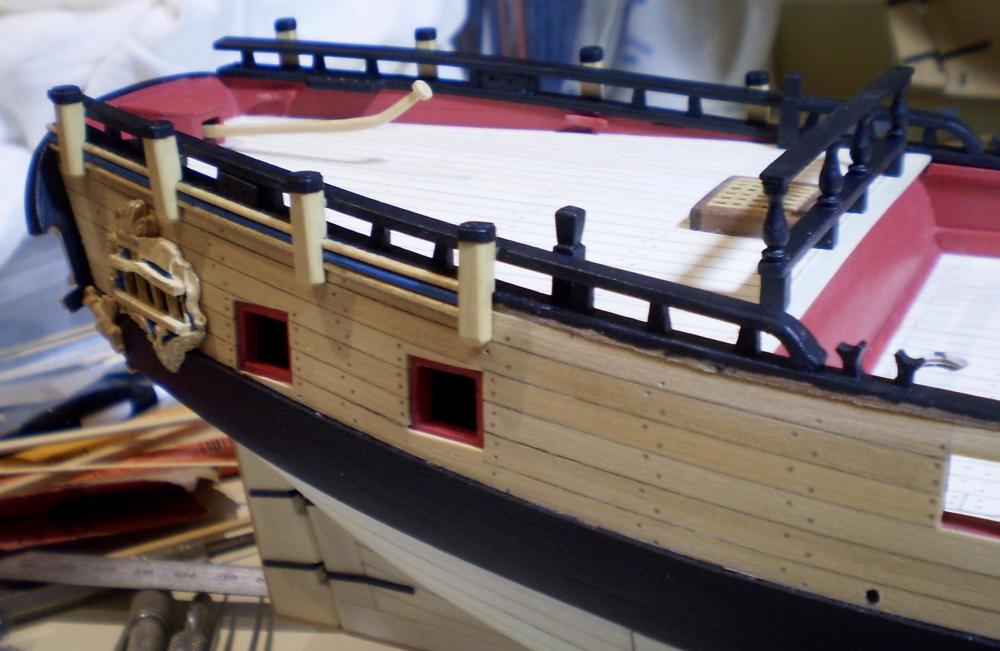
Work on the aft area is now complete, except for items that won't be added until much later to avoid damage. This has involved doing the quarter badges, the lower finishing figure, the aft swivel gun mounts and the first part of the sheer molding. The quarter badges are the kit castings, with the addition of more window framing to more closely match that shown in AOTS. I painted them to match the transom, using Pollyscale B&M blue, Floquil buff and Modelmaster wood colors. They were mounted over an area painted black and Micro Kristal Klear was used for glazing after mounting. The lower finishing figure is the kit casting painted with the same buff and wood colors. The swivel gun mounts are made from boxwood strip, notched to fit over the hull and sheer rail, and then shaped with files. The metal band at the top was done with black painted paper. A hole was drilled in each for the gun mounting and the top of each was painted black. After gluing the swivel mounts in place on the hull, I then began work on the sheer molding. My procedure here was somewhat different, and requires explanation. Firstly, I did not use the kit's metal strip for the molding, but went with wood. Secondly, rather than using a scraper to create the molding shape in a single strip of wood, I chose to use three separate half round wood strips to create the molding shape.This allowed me to paint the middle portion B&M blue cleanly and without any difficulty, while leaving the upper and lower portions natural wood. Thirdly, rather than mounting the molding first and then notching the swivel mounts to fit over it, I chose to cut and fit the molding strips with the swivel mounts in place. I have found that this provides neater joinery and avoids having to cut neat and complicated notches. The swivel guns themselves, and the port lids will be left off at this point to avoid the almost inevitable damage that would occur with them in place. I will now start to move forward with the hull detailing. Bob


- 563 replies
-
- 24
-
-
Thanks so much Sjors. Nothing miraculous about dust free -- a vacuum does wonders ( when I remember to use it ). Bob
-
Thanks so much Hamilton, B.E. and the "likes". Hamilton, it does seem that you have a full plate "under the bench". B.E., you can't envy my work -- you're my gold standard for clean, precise work. Bob
-
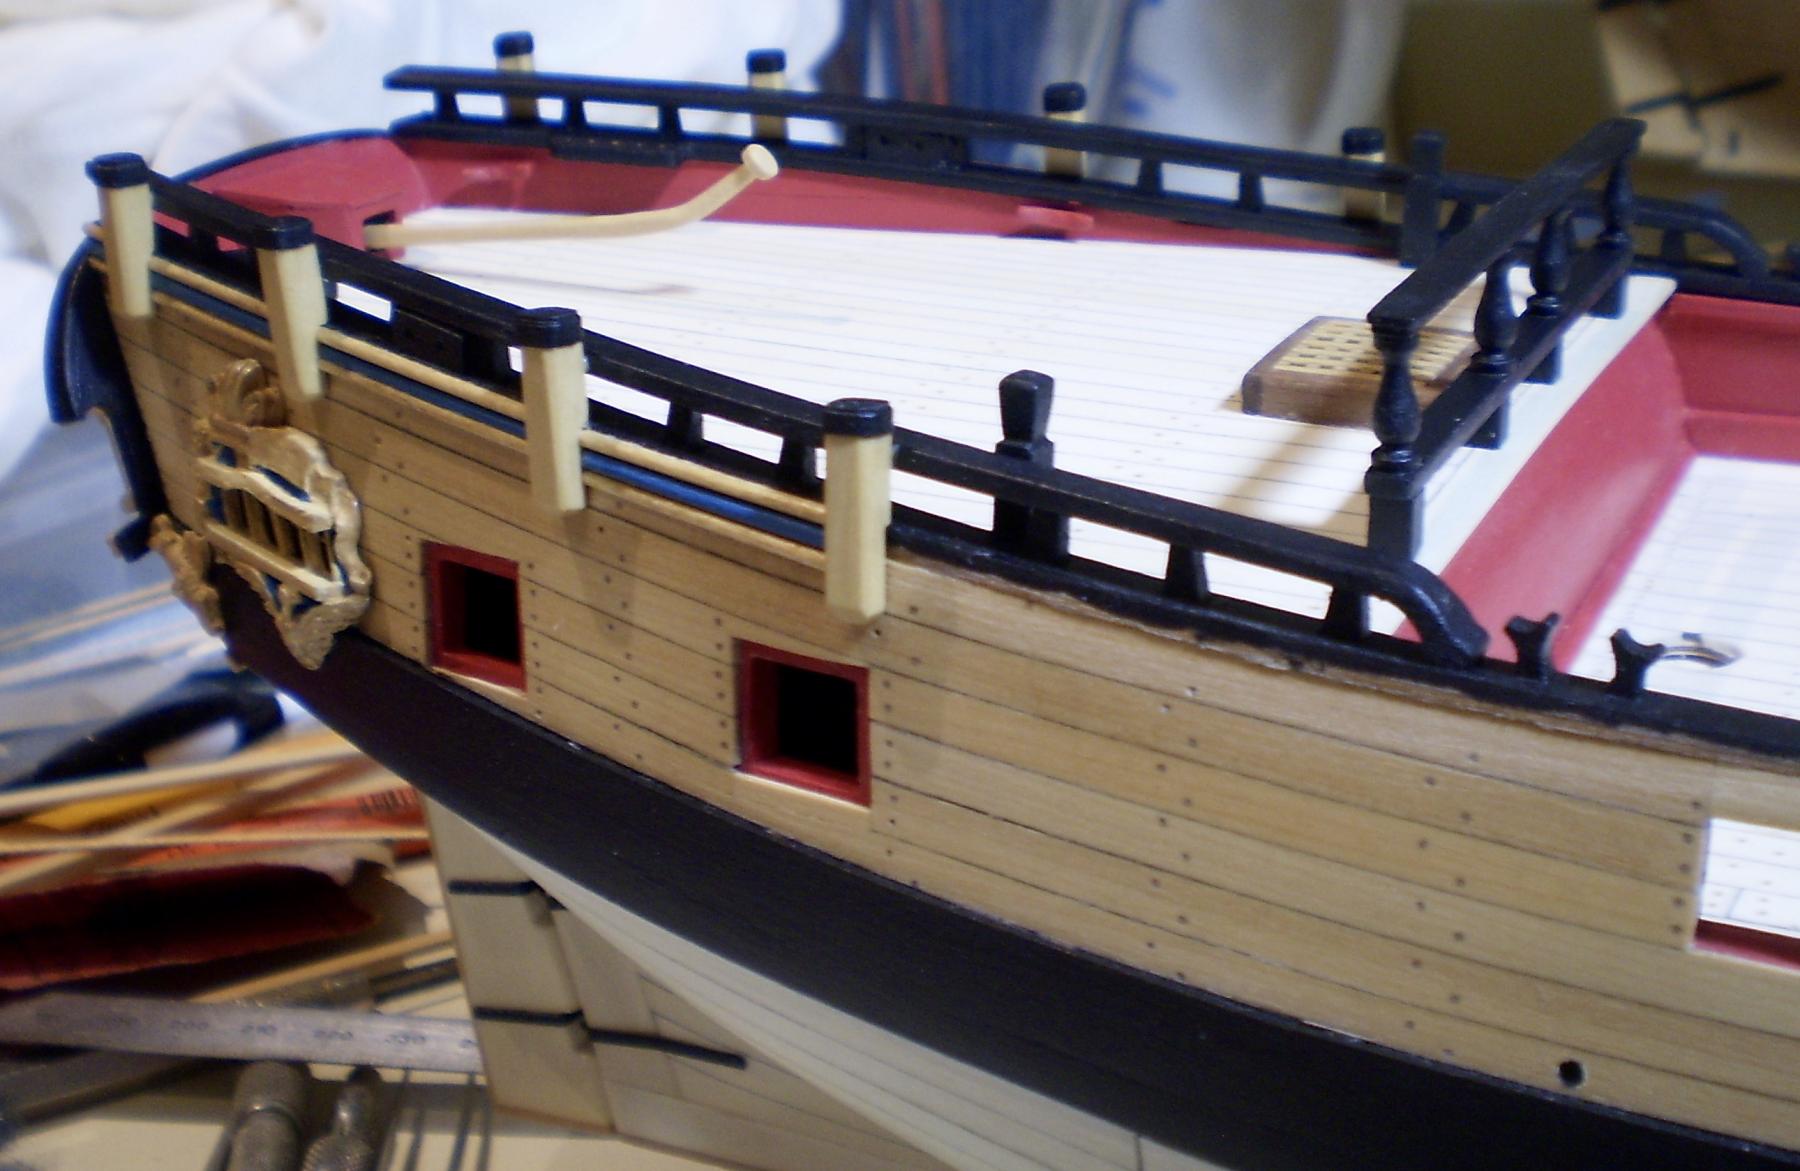
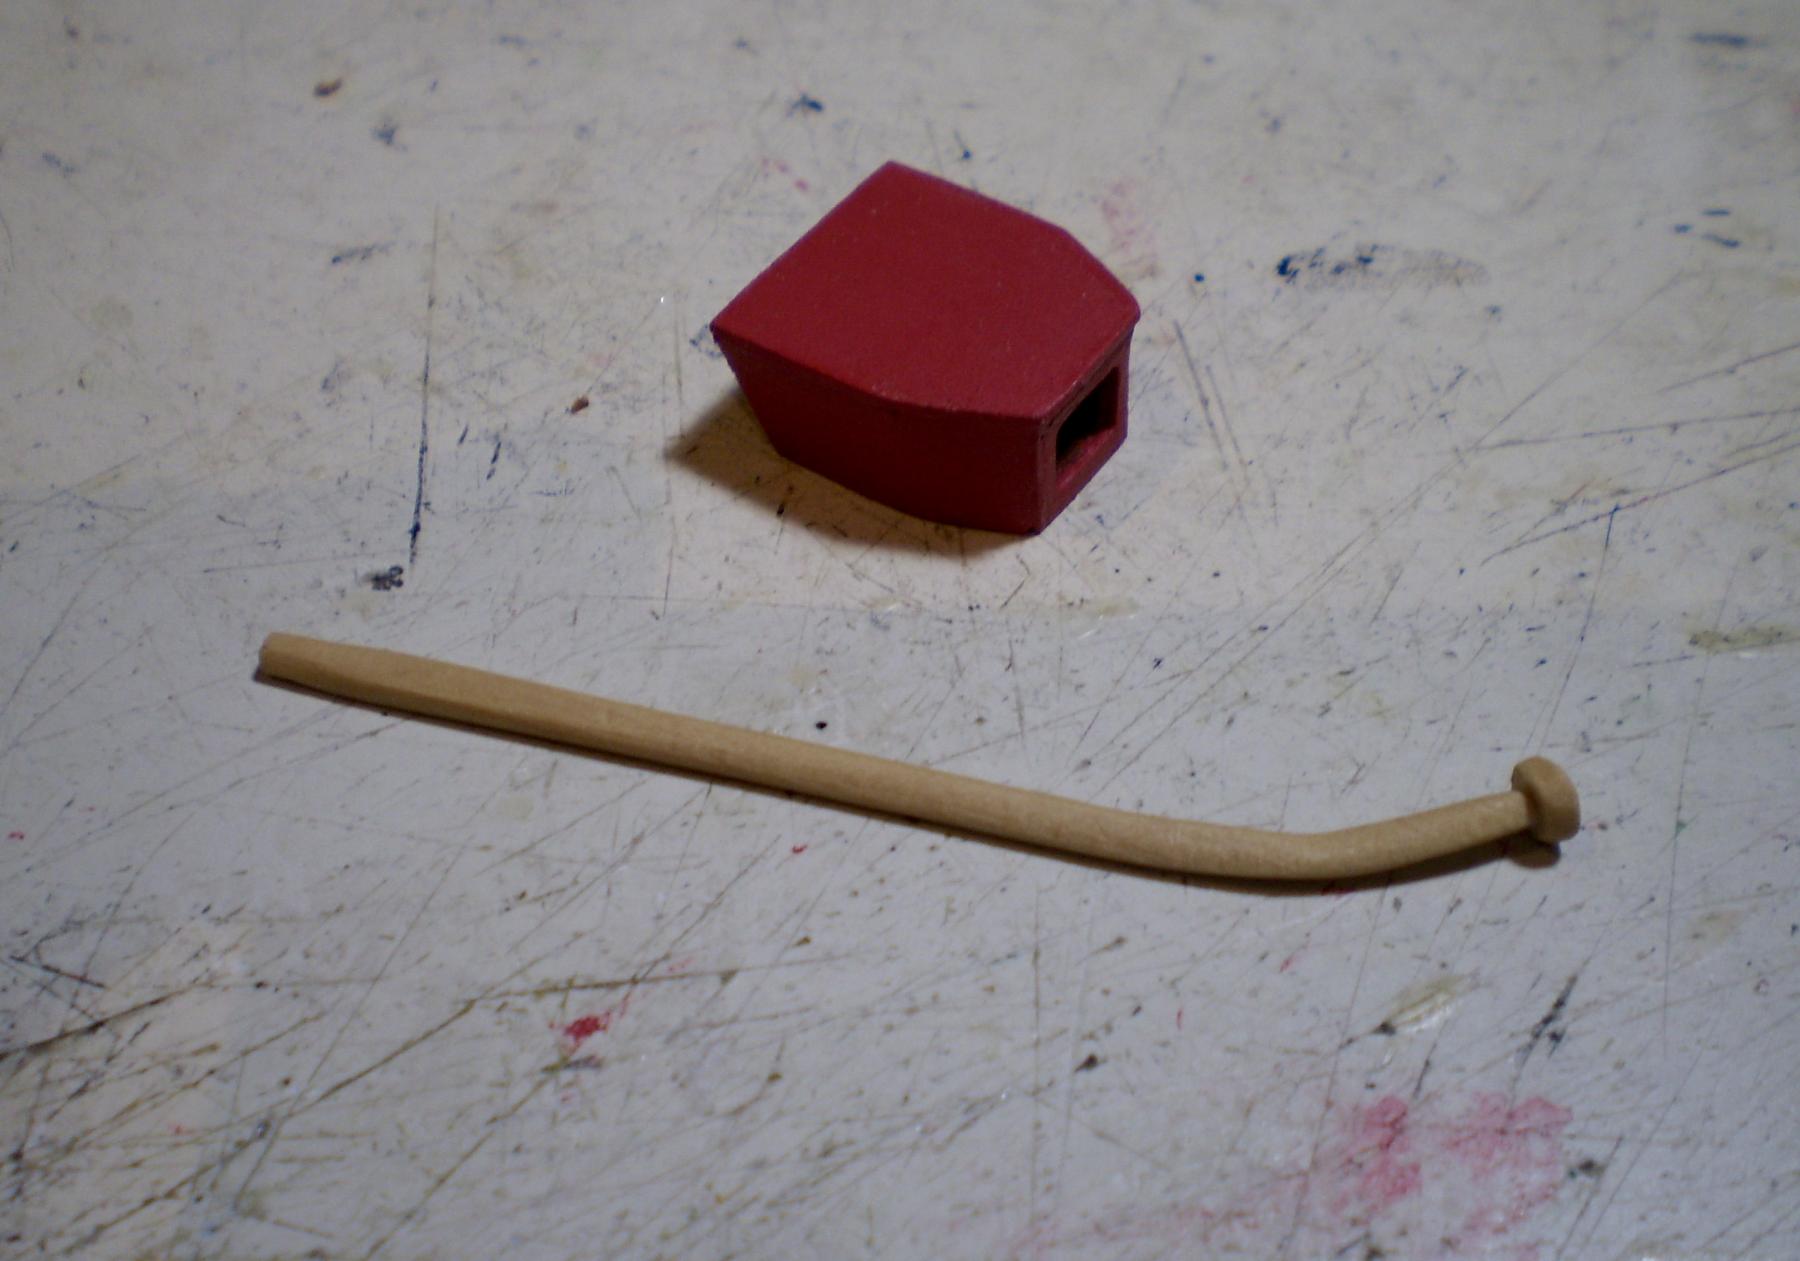
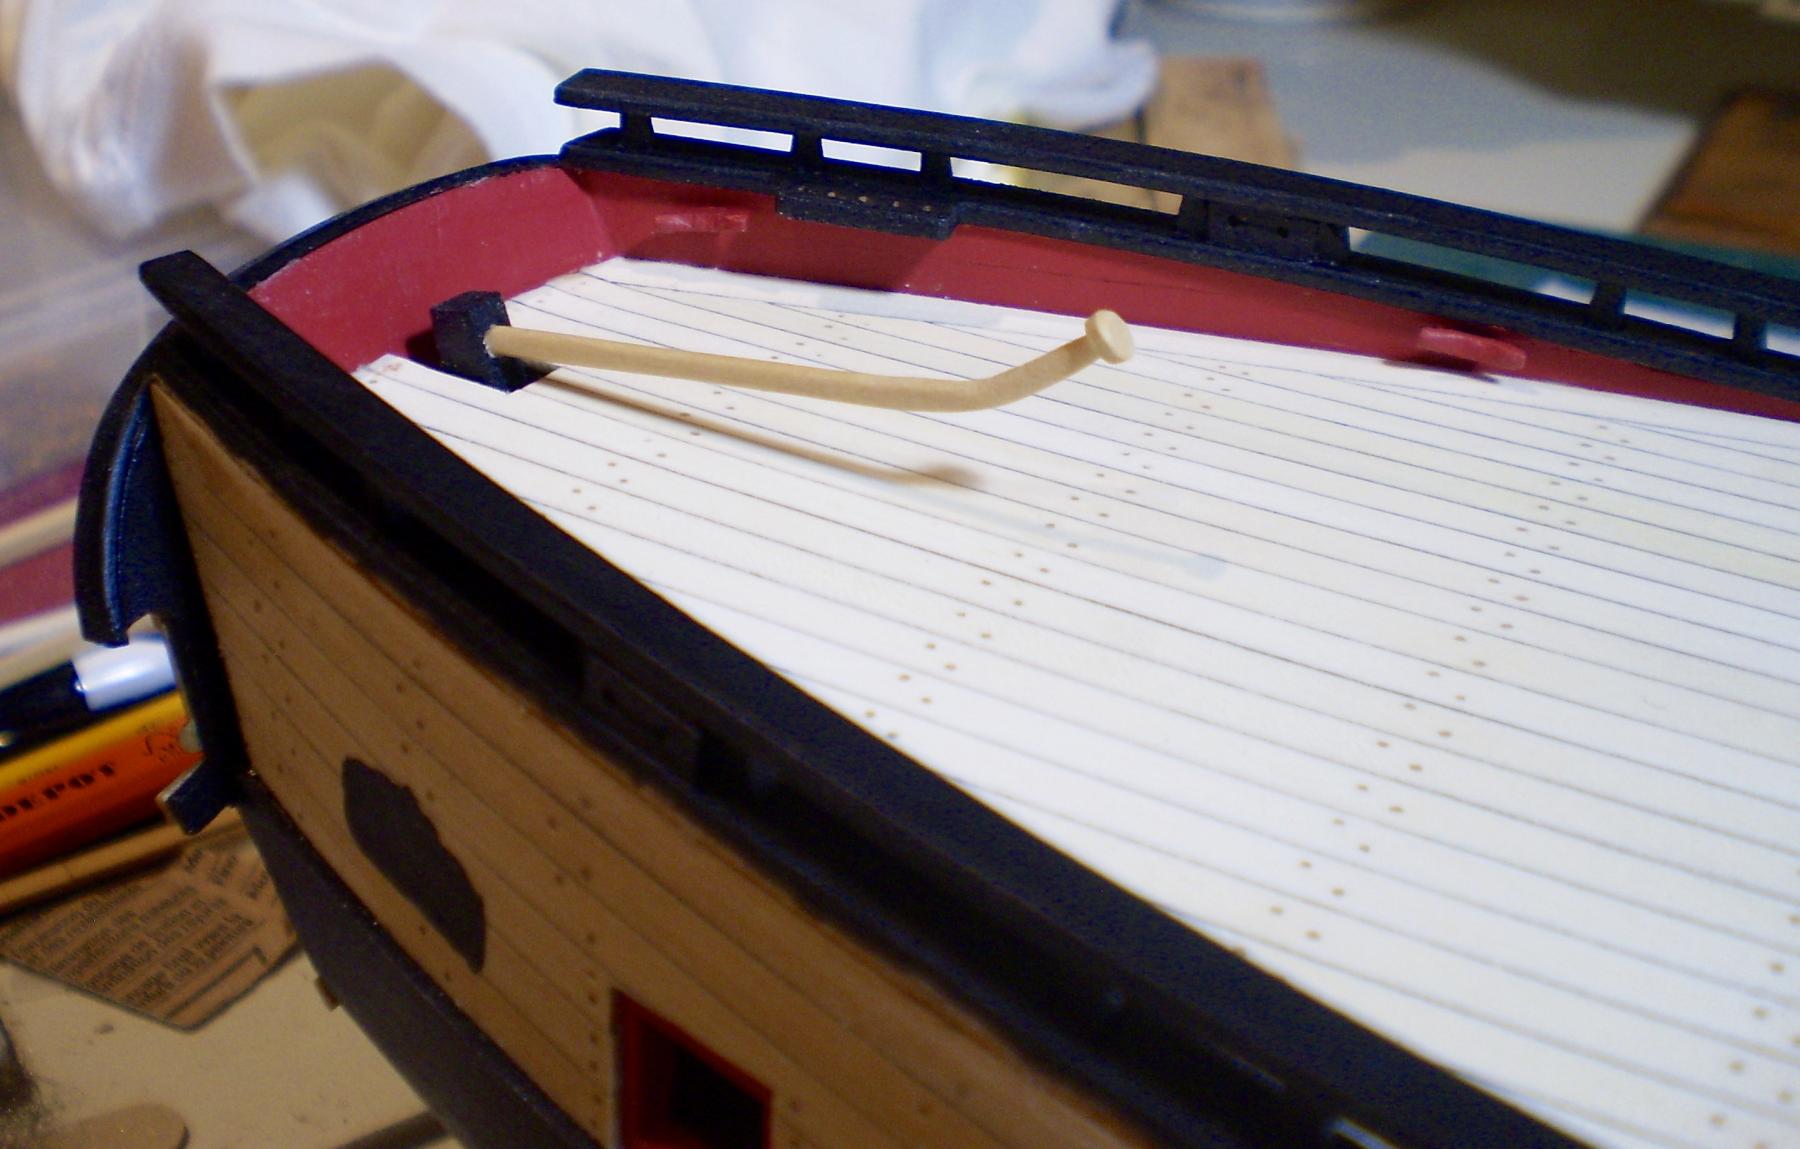
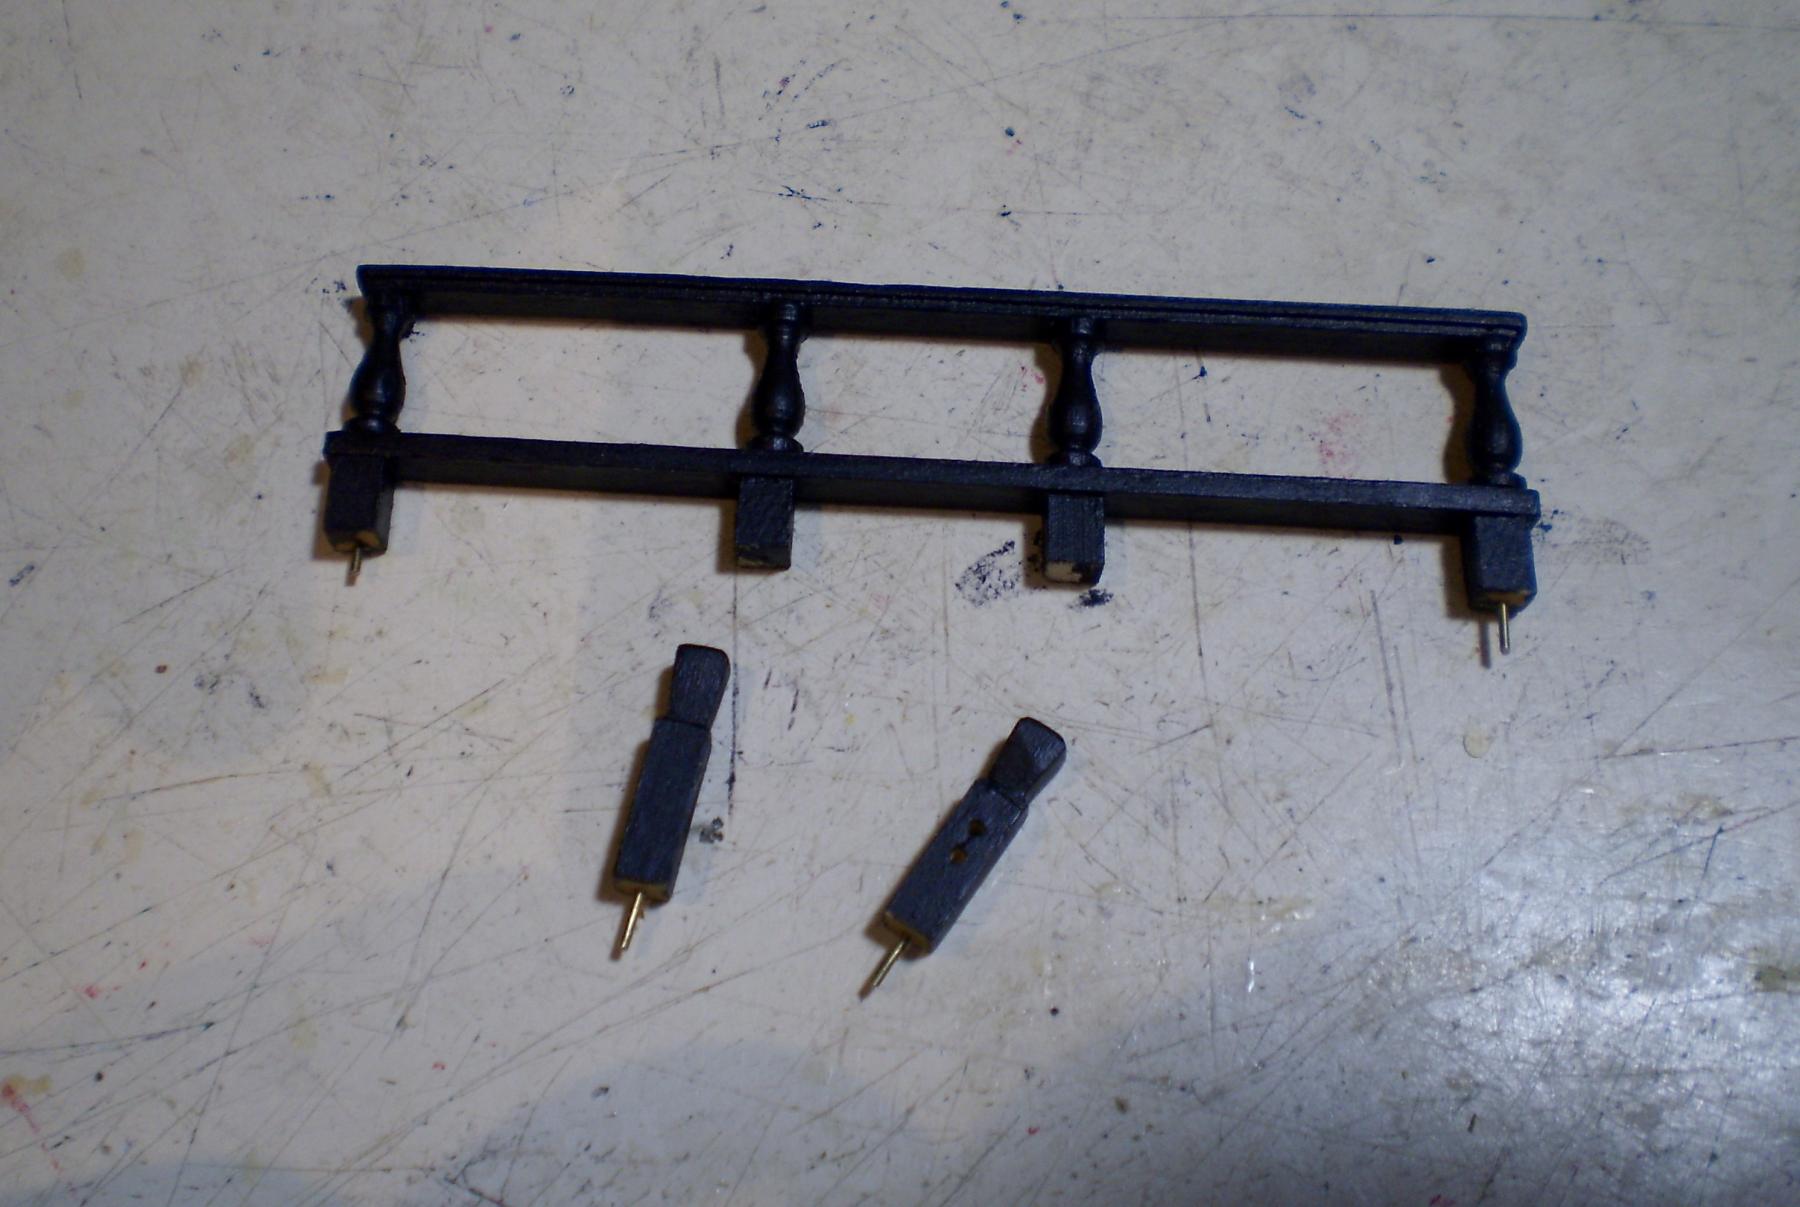
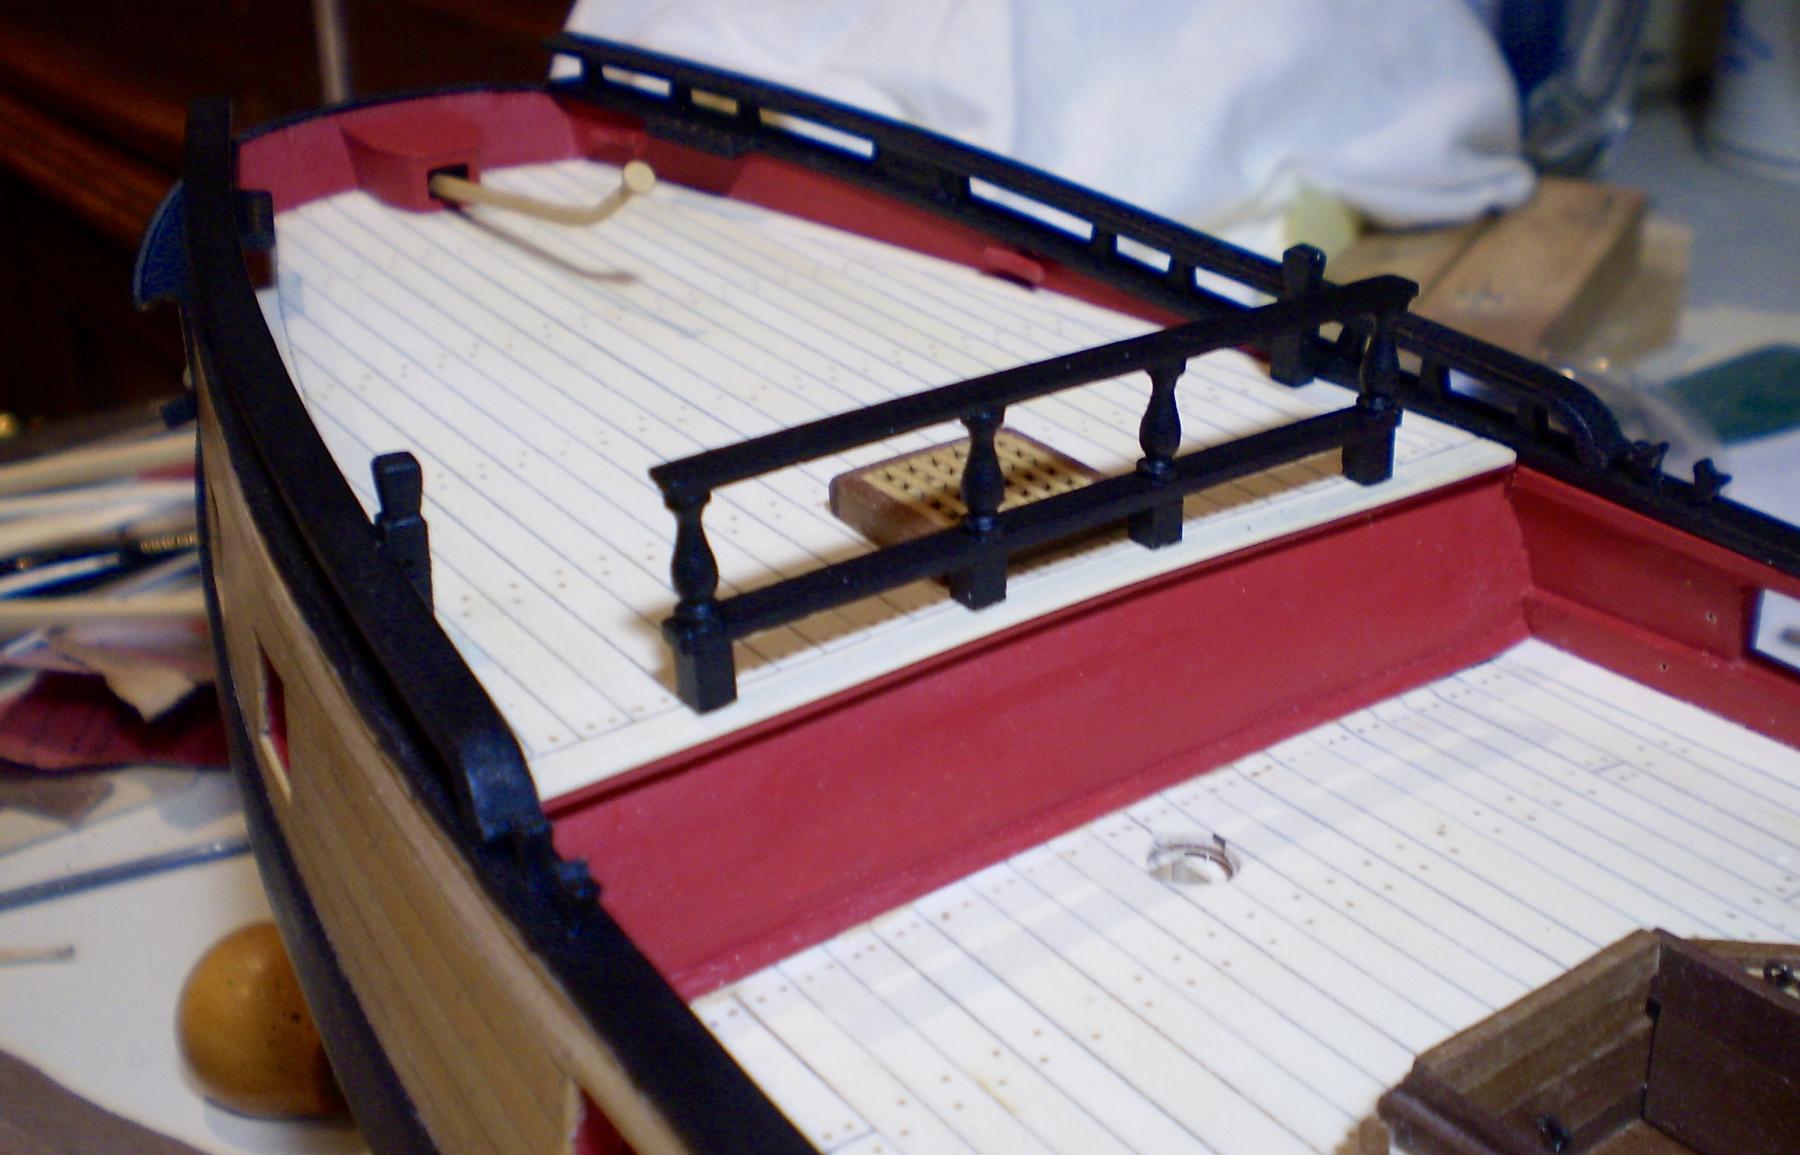
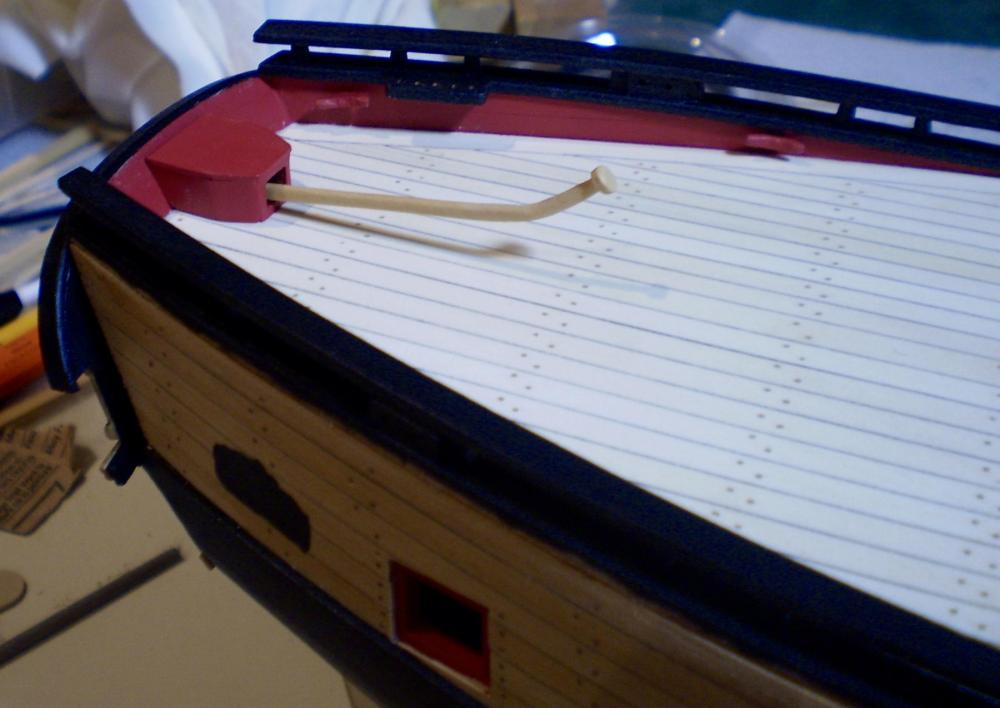
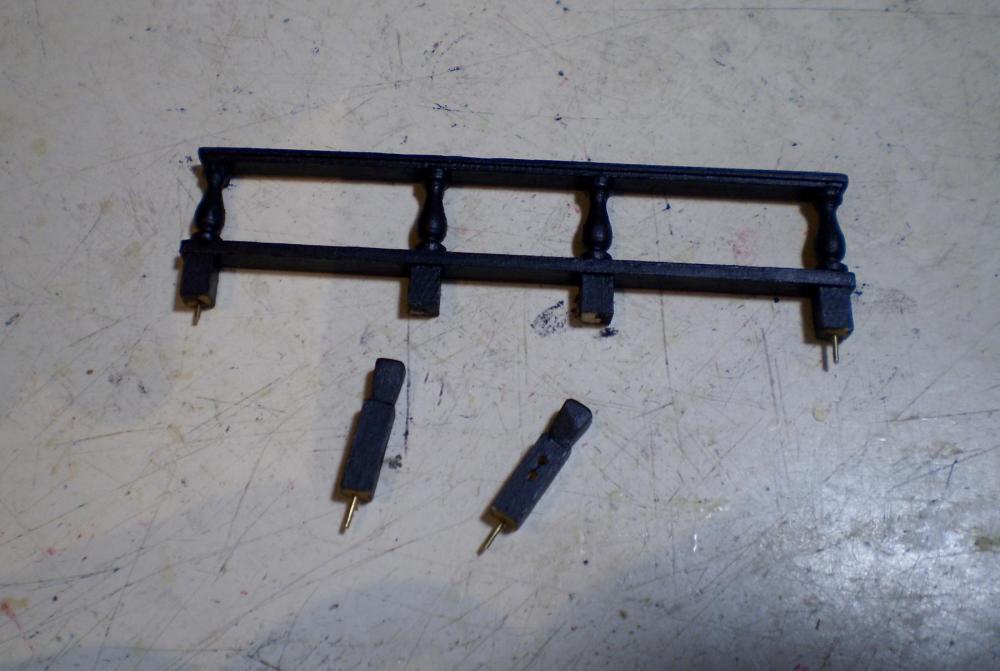
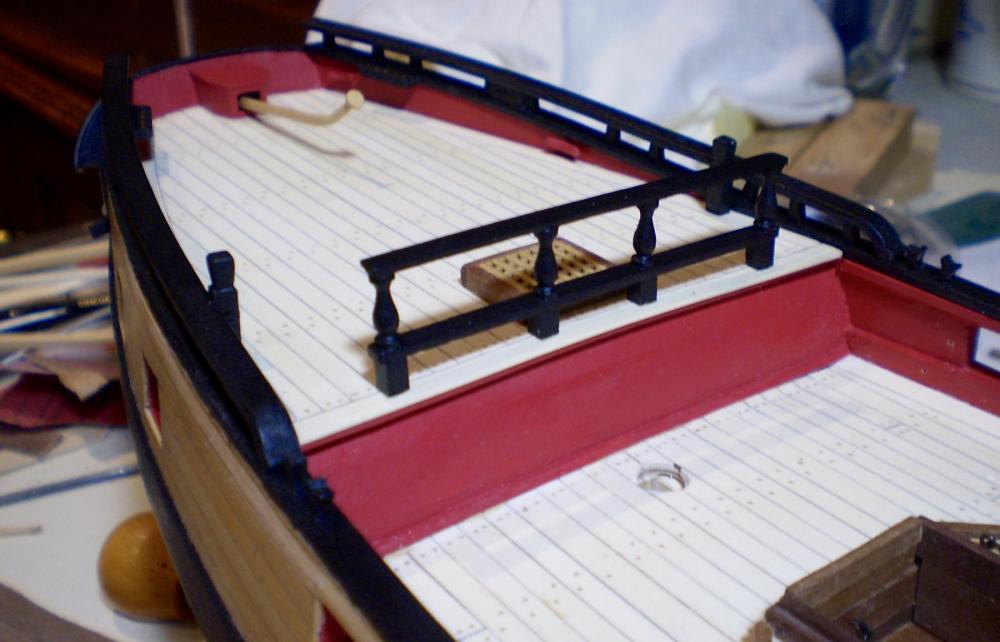
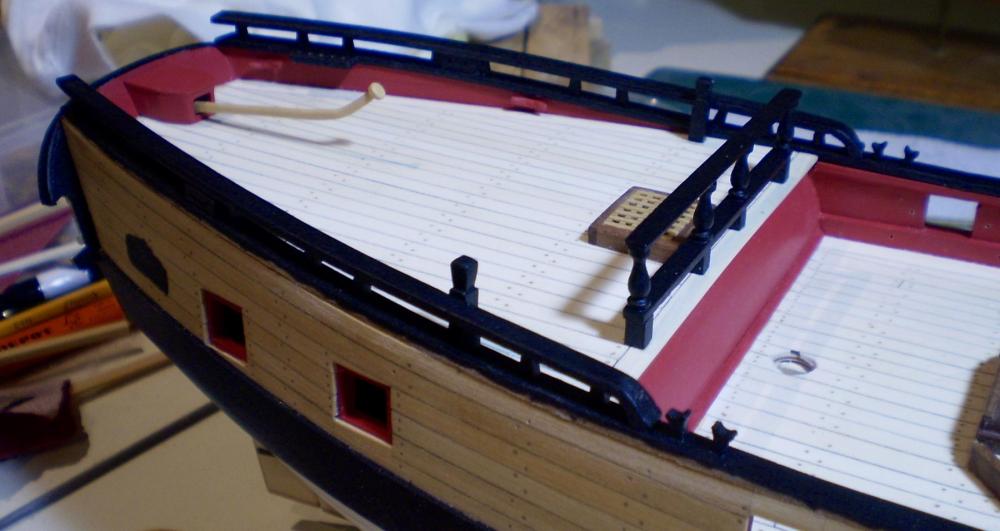
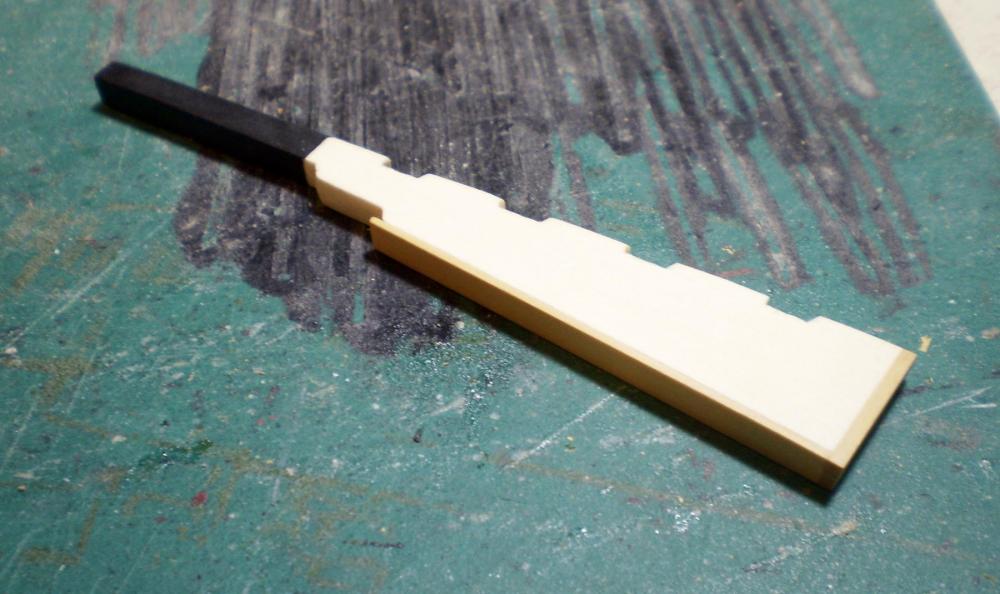
Back to Granado. Before stopping, I had done the rudder and the pintles and gudgeons. Upon resuming, I made up the tiller and tiller housing and mounted the rudder, tiller and housing. The tiller was cut from boxwood sheet and rounded to shape with sanding sticks. The housing was done using kit parts and painted red. I then proceeded to do two further quarterdeck items, the kevel blocks and the breast rail. The kevel blocks were made from boxwood strip, shaped with files, simulated sheaves were drilled and cut in, painted black and mounted with pins and glue. The breast rail was made from a combination of kit parts and boxwood strip which were pinned and glued together, painted black and pinned and glued to the deck. I will now continue to work on the aft area, on the outside of the hull. Bob


- 563 replies
-
- 32
-
-
Thanks so much Don, Brian, Thomas and the "likes". Brian, while I agree with you, for a variety of reasons that are not worth going into, that is not going to happen. I'm just going to swallow hard and be glad that I was able to make the repairs. Now it's time to be back to Granado. Bob
-
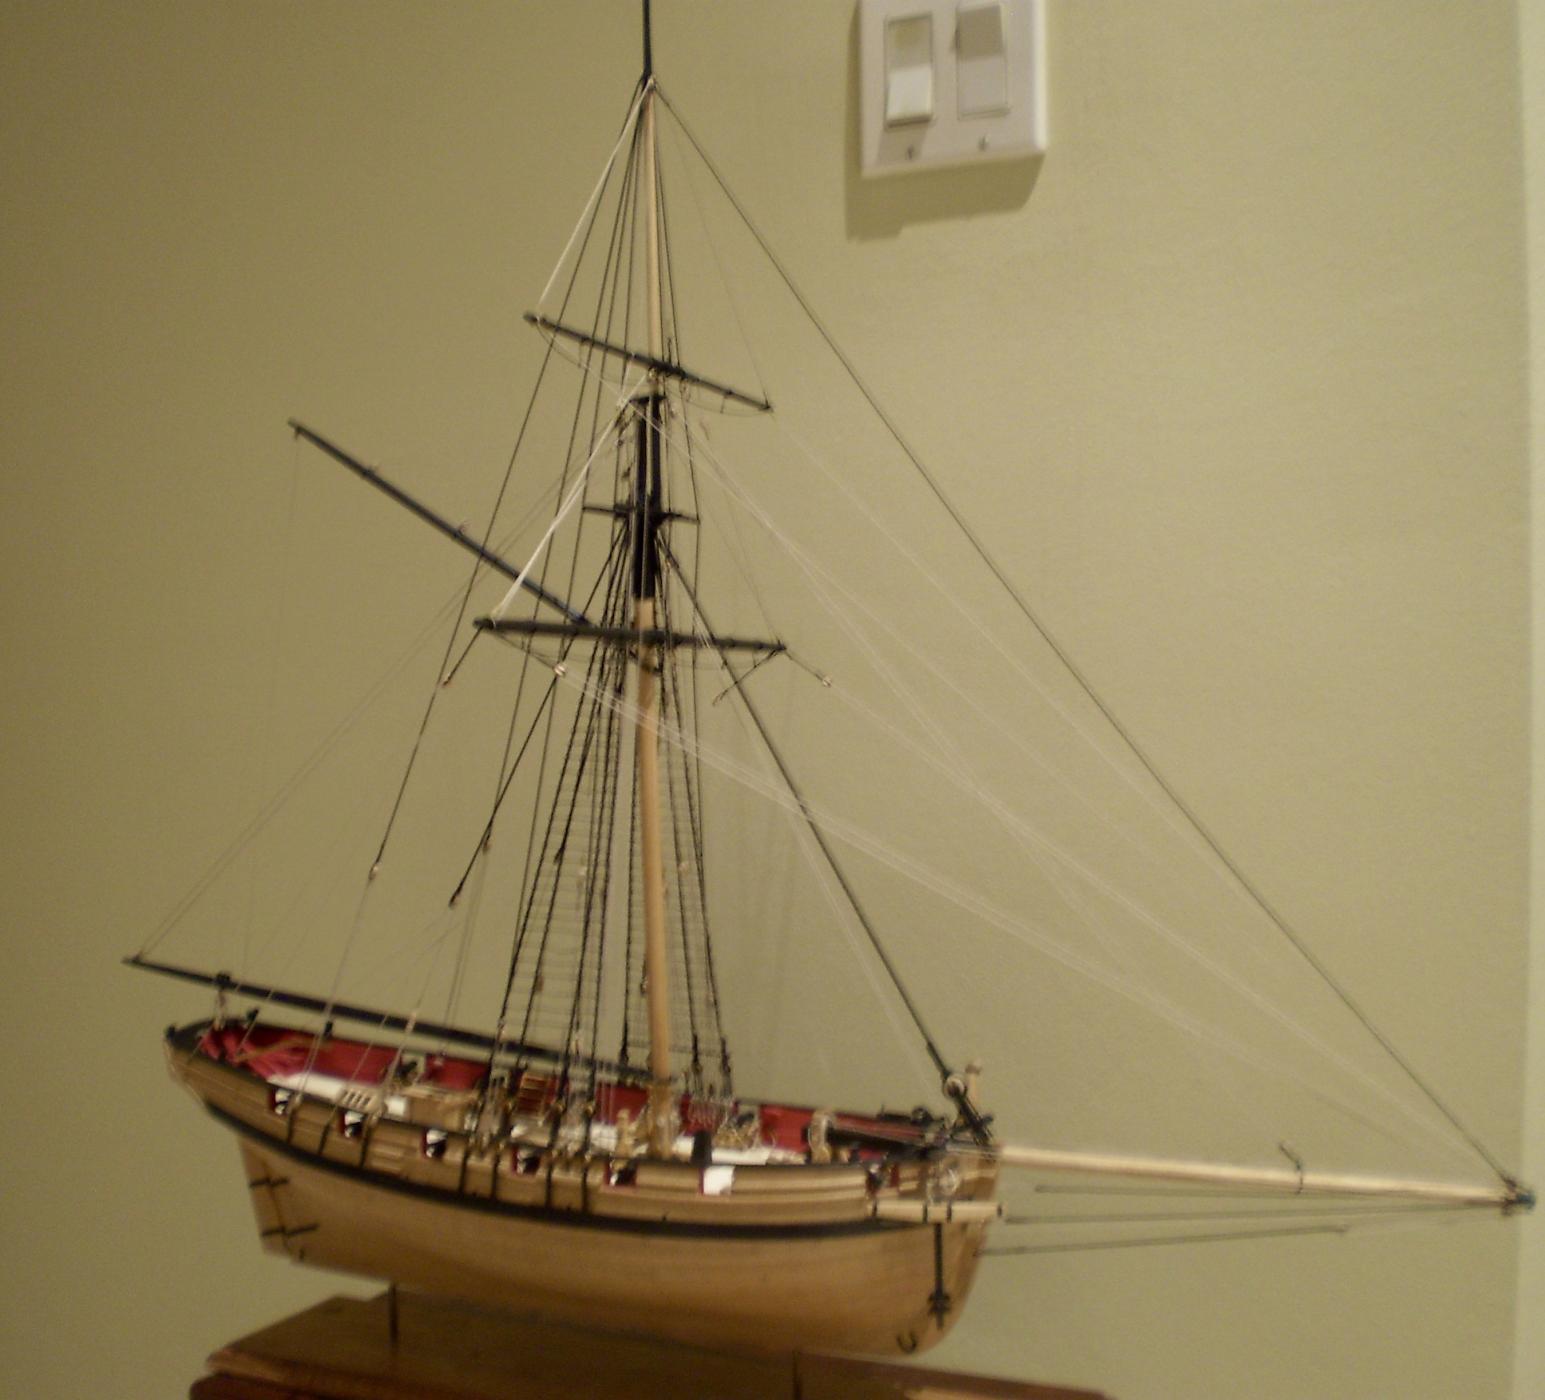
Thanks so much Rusty. Glad to hear from you, but I'm missing seeing your work. Well, after about 40 hours of repairs ( no keelhauling, I'm afraid, Rusty), Cheerful is now back to where it should be. It may actually be even a little better than it was. A photo is attached. Sorry, no before pictures were taken, but, trust me, it didn't look anything like this. Bob

- 563 replies
-
- 19
-
-
Thanks so much Christian, Nils and John for the very kind words .Always appreciated. Bob
-
I love the way it's coming along Mobbsie. Beautiful. Bob
- 129 replies
-
- 4
-
-
- armed launch
- panart
- (and 1 more)
-
Thanks so much Dirk, Red and Grant for the kind comments on Granado and the encouragement on the Cheerful repairs. Thanks also to the "likes". Repairs are proceeding at a faster rate than I thought they would, but my OCD requires that I work full time until I'm done ( four 7-8 hour days so far ). The case is being made for me Grant, but is still not finished. Bob
-
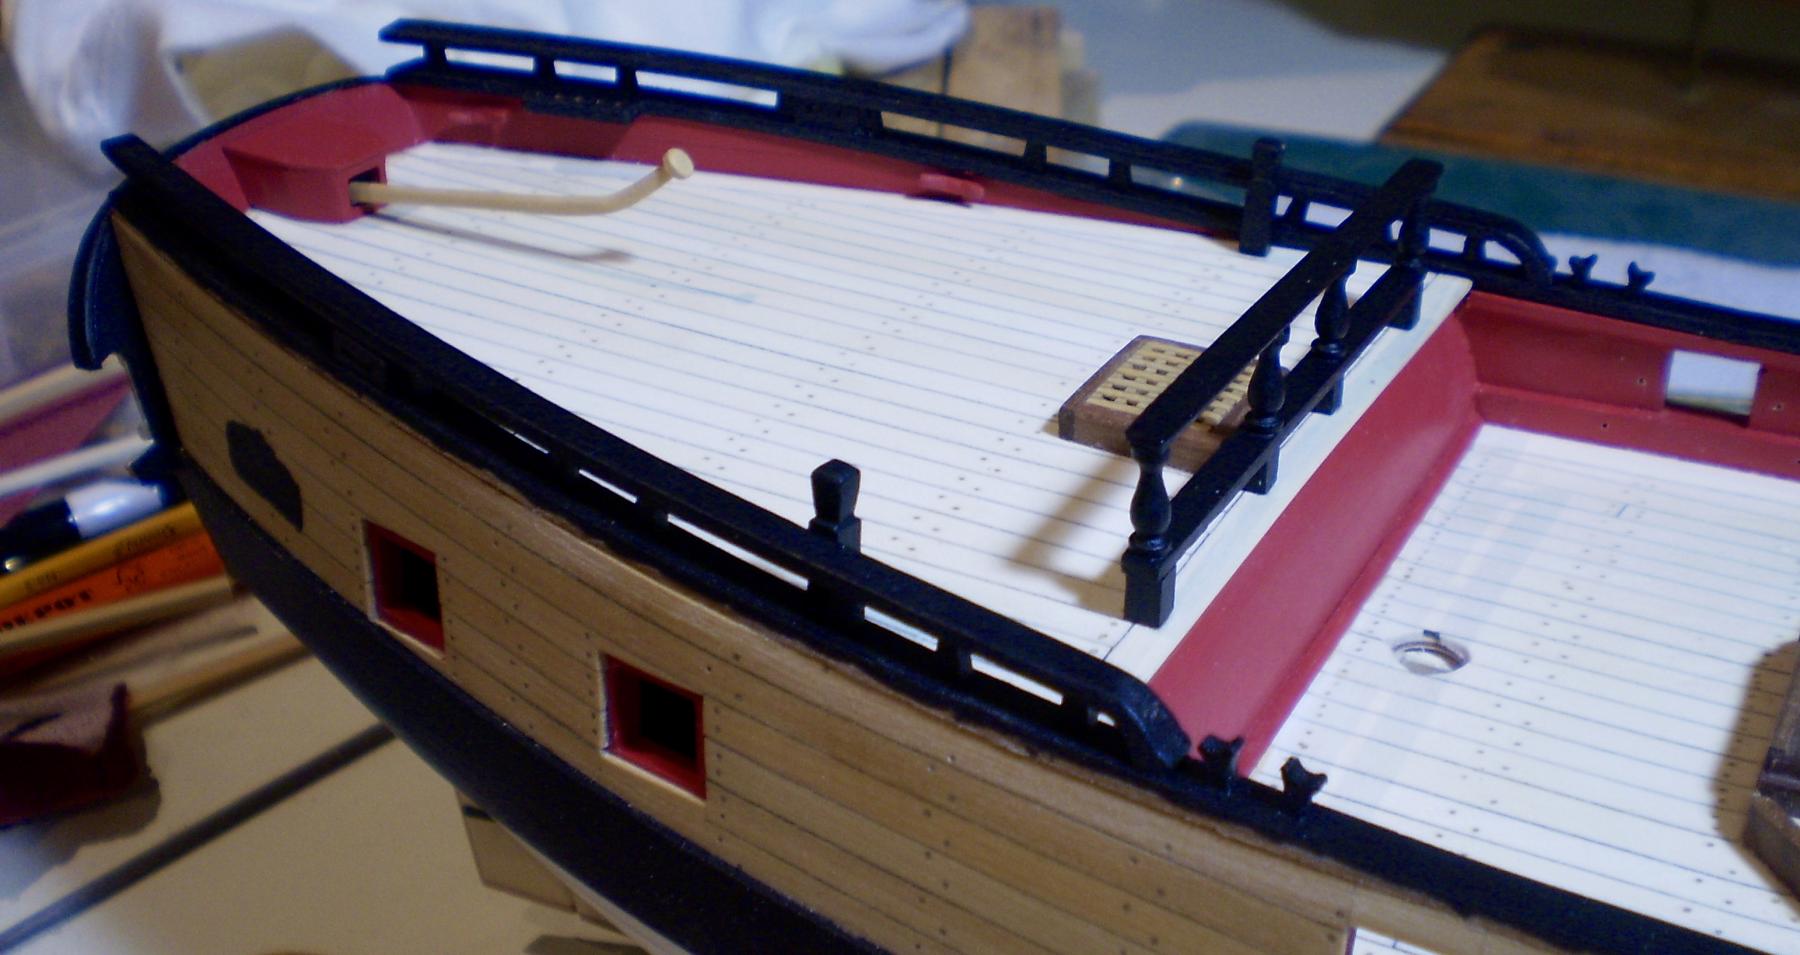
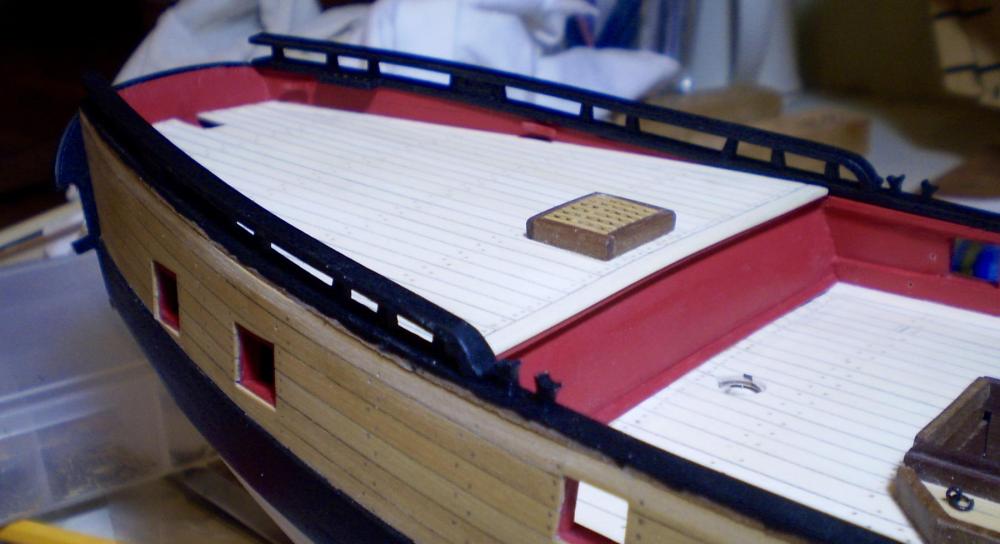
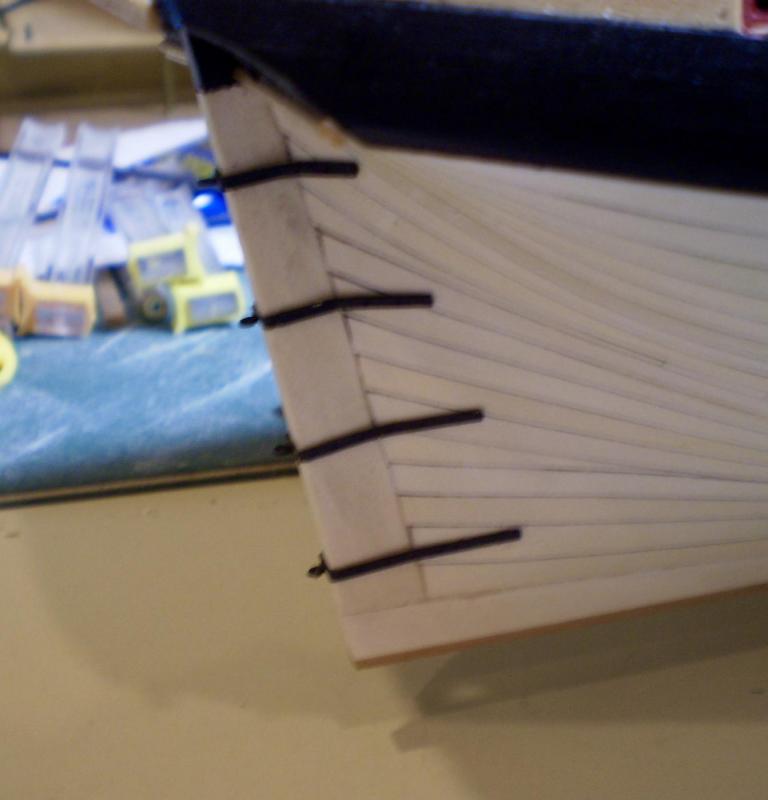
Some further progress on Granado. First, I added the cap rail from the kit and painted it black, leaving the outer edge unpainted and sanded flush to the hull to allow for later mounting of the sheer moldings. I then added the stanchions, kevel cleats, sheave blocks and rough tree rail parts from the kit. All of these were painted black. After completing that work, I decided to make up the rudder and associated items. The rudder was cut from holly sheet, using the kit part as a template. After shaping the fore edge, I added a sole plate and back piece made from boxwood strip. I then added the pintles, using the PE brass parts from the kit, painted black. Lastly, I added the PE gudgeon parts to the hull. At this point, I had to suspend work on Granado temporarily. While I was out, a workman in my house managed to severely damage my completed Cheerful. This will require me to re-rig significant portions, as well as redo some other items. I intend to do this before continuing on Granado, although I must admit that the only thing I like less than repairing damage that I have caused is to repair damage caused by others. For those wondering, Cheerful was not yet in a safe display case. Bob


- 563 replies
-
- 26
-
-
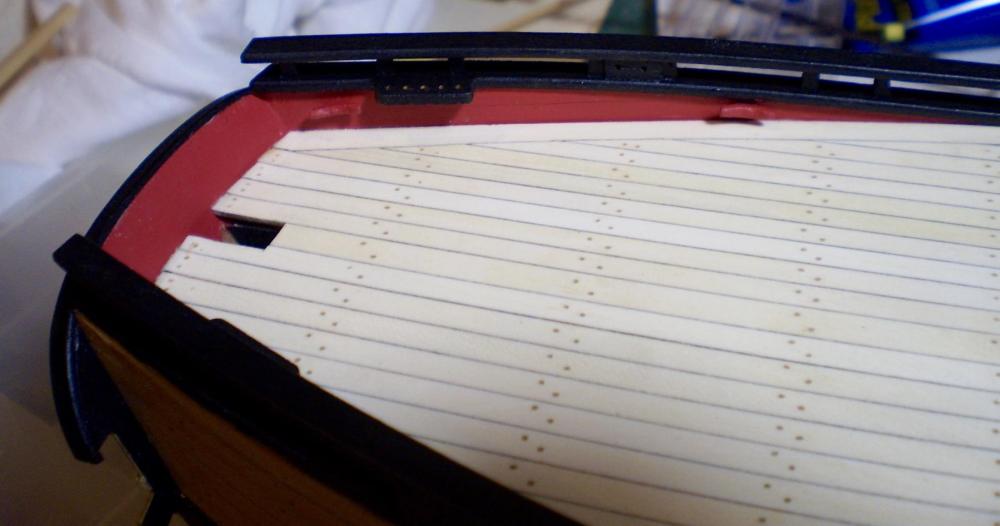
Thanks so much Martin, Thomas and the "likes". Always appreciated. Thomas, I think the sub-deck makes it much easier to get a smooth plank run, unless the bulkheads are very closely spaced (or actual deck beams are being used). It does require, however, that you draw in the beam lines for the plank ends, since you obviously can't see them through the sub-deck. Bob