HOLIDAY DONATION DRIVE - SUPPORT MSW - DO YOUR PART TO KEEP THIS GREAT FORUM GOING! (Only 69 donations so far out of 49,000 members - Can we at least get 100? C'mon guys!)
×


michael mott
-
Posts
5,200 -
Joined
-
Last visited
Content Type
Profiles
Forums
Gallery
Events
Everything posted by michael mott
-
 I determined that the higher powers did not like me "cheating" so I have started over with some maple and will build it properly with dados and inset panels and half lapped joints no backing sheet. I am working on preparing the base material from some 40 year old air dried rock maple. Michael
 -
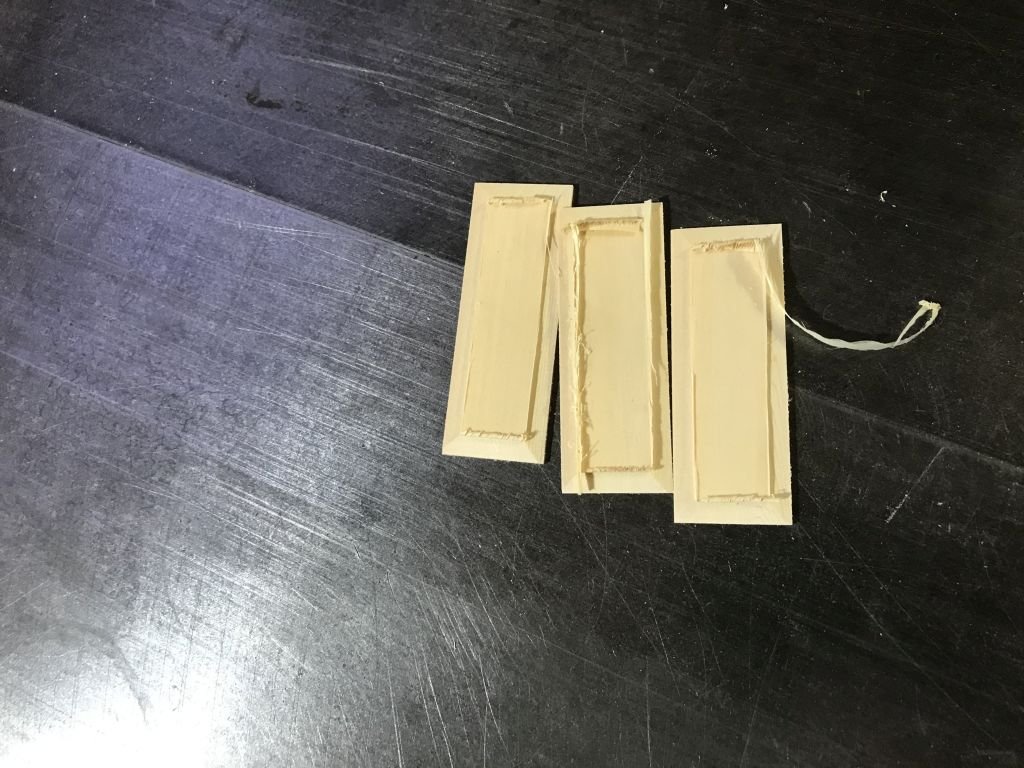
Well that was a disaster! All was looking well until I began gluing things together which was filly to say the least. I have a whole new respect for all those deck beams that I see in some of the amazing builds. getting ready to glue. I had to pull it all apart because the substrate (card) began to warp and it looked terrible so I will need to rethink this. Time to go have some breakfast and heal my ego. Michael
-
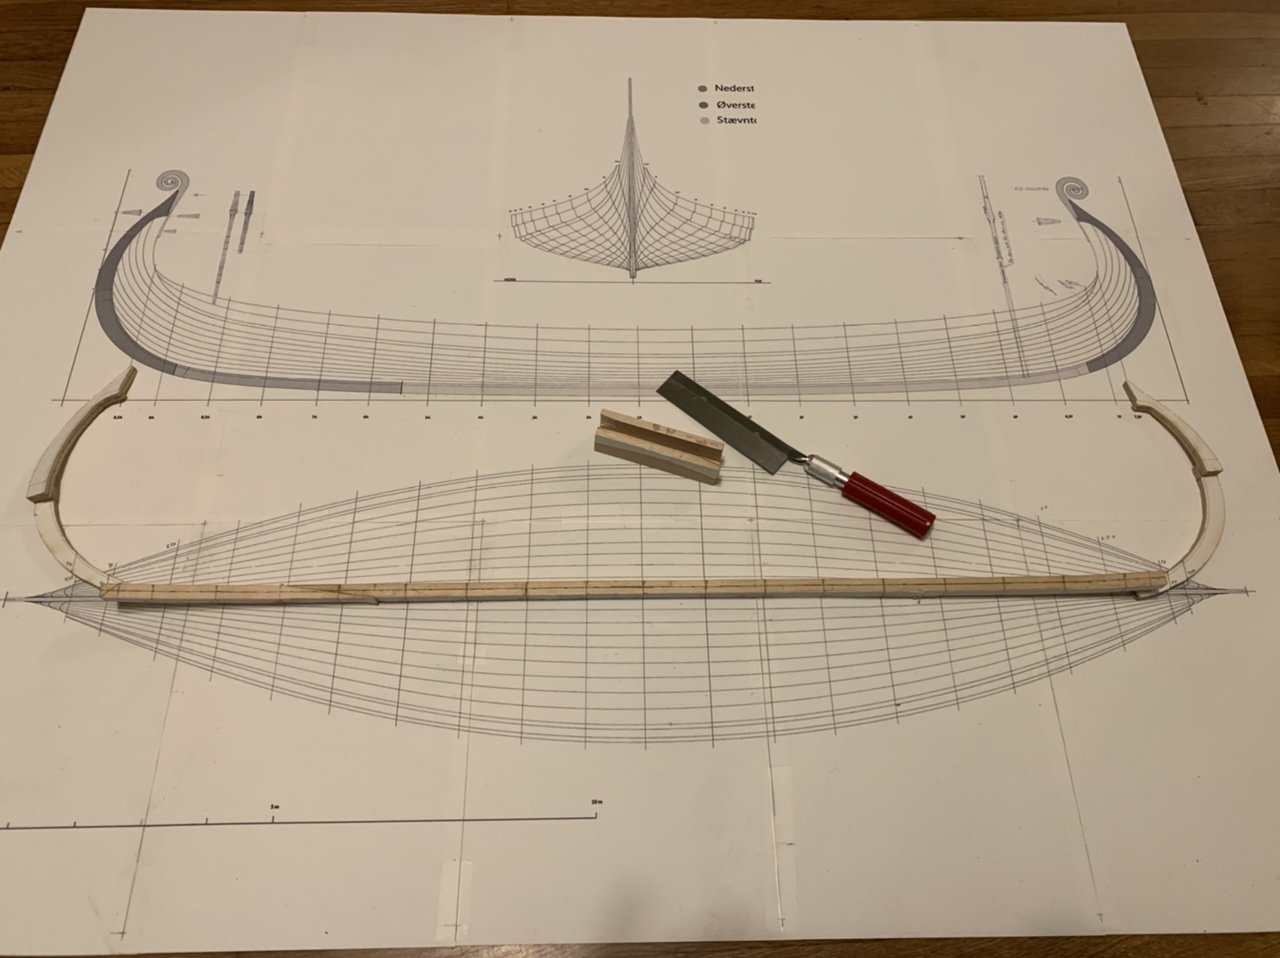
Following along with Mark's suggestion of laying it flat, you have marked the centre line use that as a datum and put shims of thin material Wood, card or plastic to lift up the areas that are thinner until the center line is equal at all points from the glass. Tape those to the glass so they do not move also tape some blocks to the glass that are taller than your keel to keep it in position then when re gluing place sand bags or other weights to hold the re glued keel in position until it is set. Michael
-
Steven it looks like the Bounty to me. But I could easily be mistaken. Patrick Nice work on the Golden Hind, I remember as a little boy my father worked on a very small model of the Golden hind probably not much longer that 6 inches or so I remember the name and the wooden block that was the hull shape. Michael
- 756 replies
-
- 3
-

-
- galleon
- golden hind
- (and 2 more)
-
Passable for sure! A very nice solution for the fabrication I certainly can see the benefits of the square collet block in your work. Michael
-
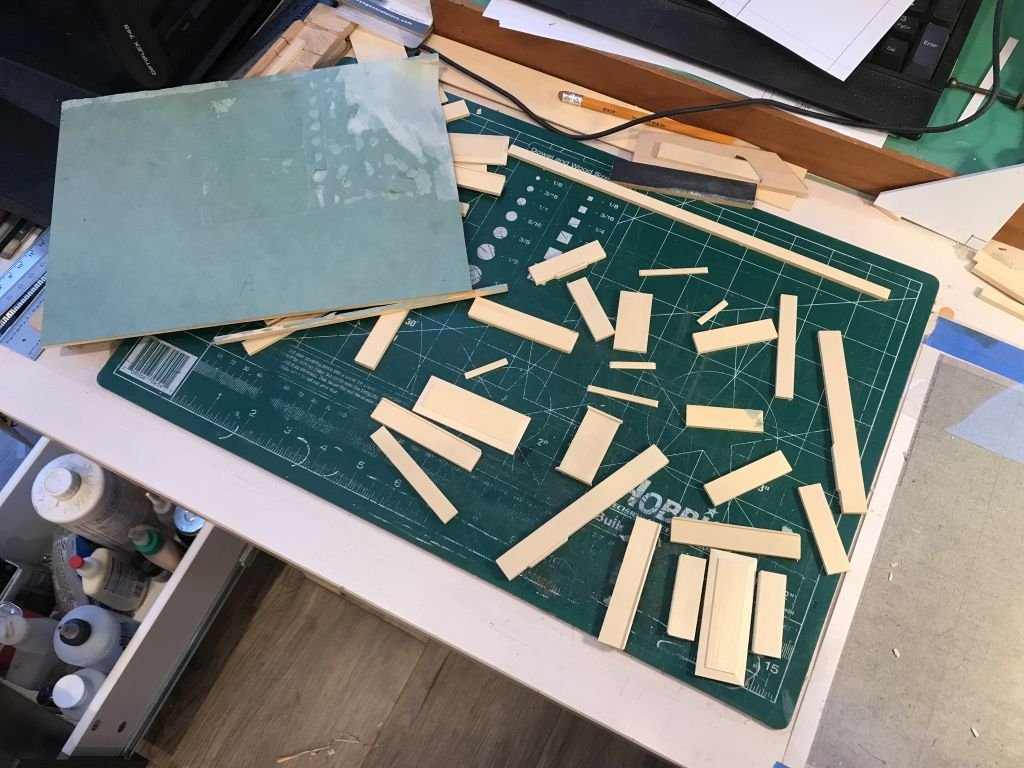
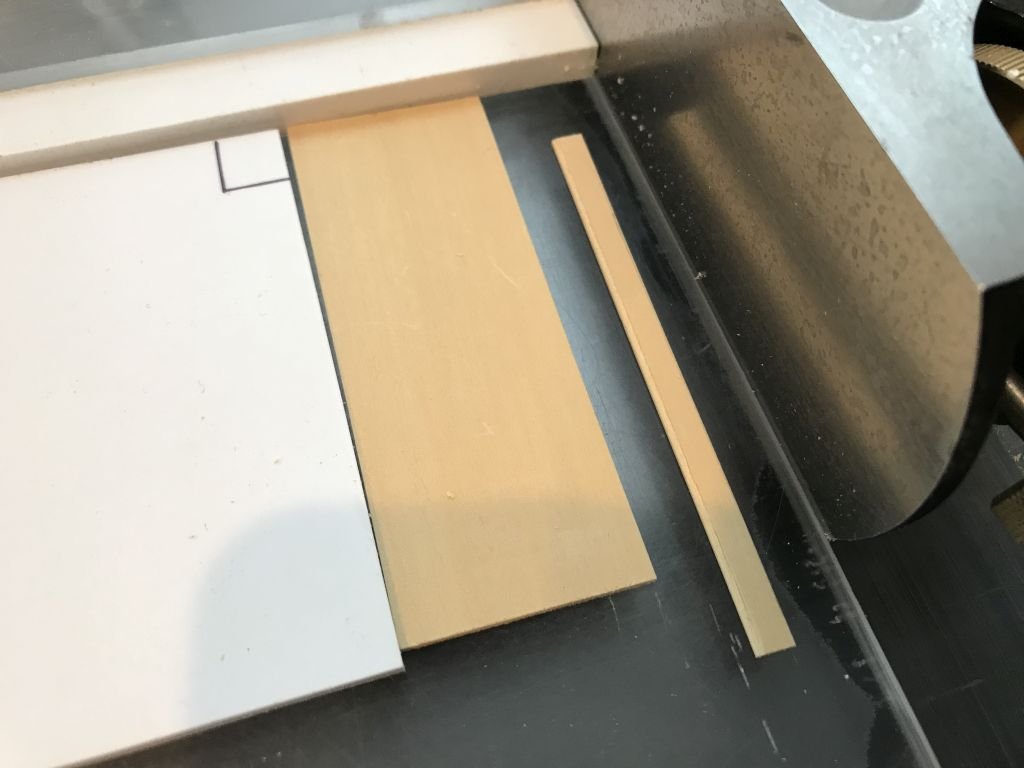
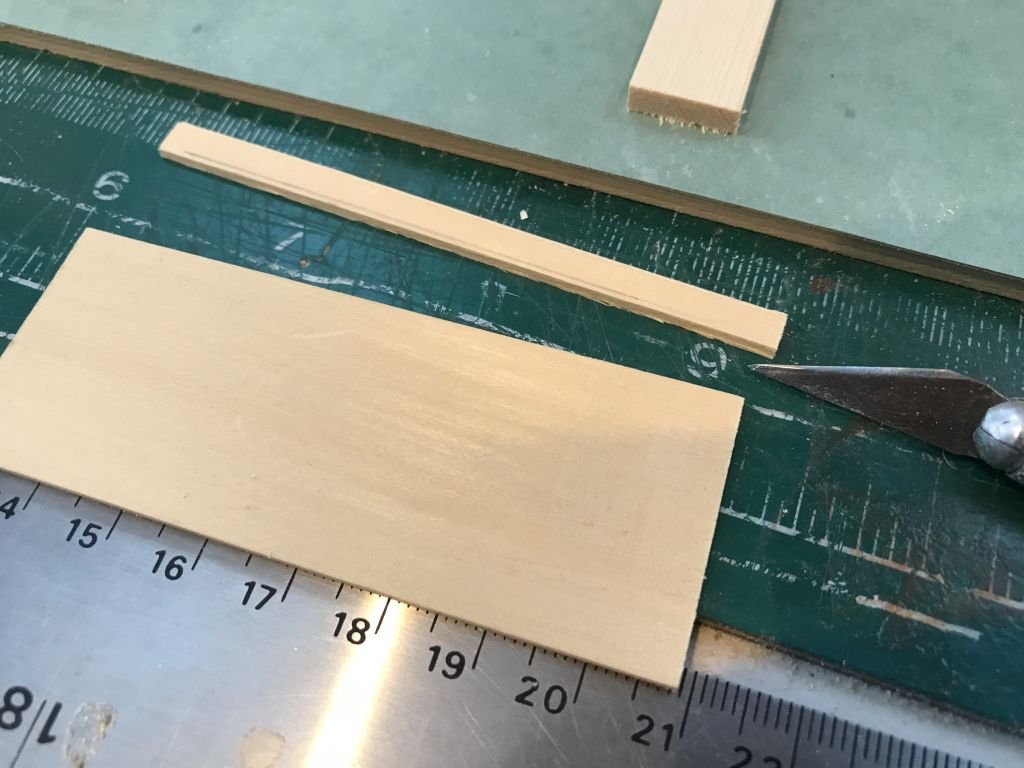
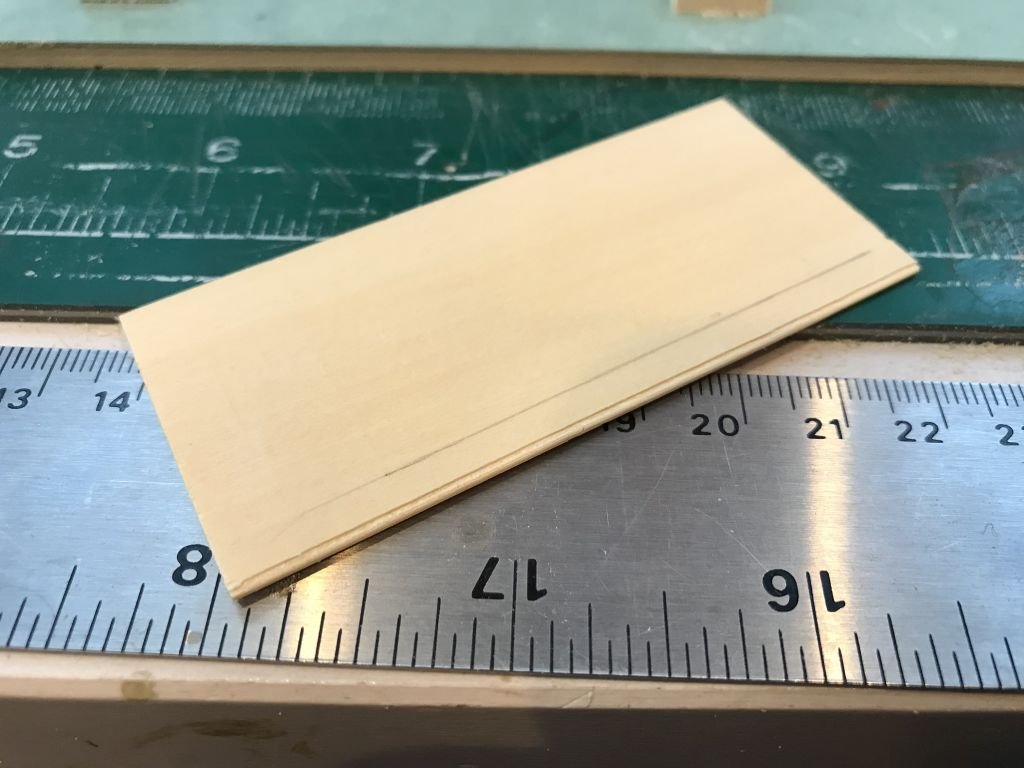
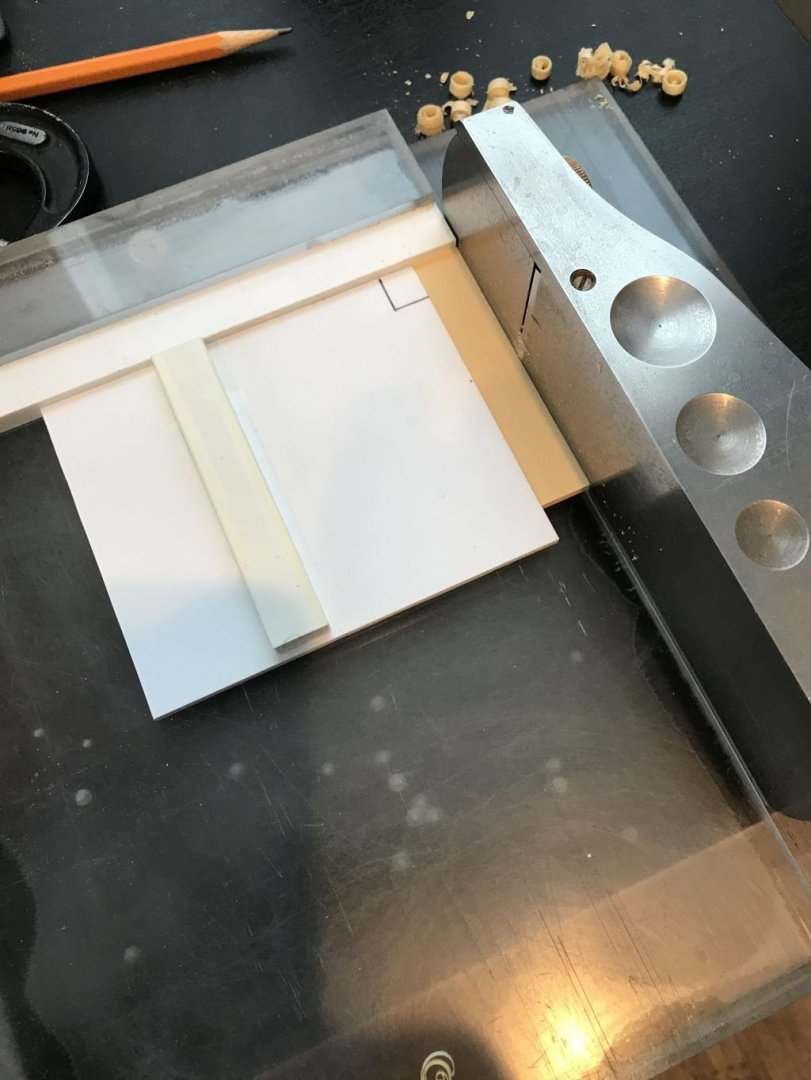
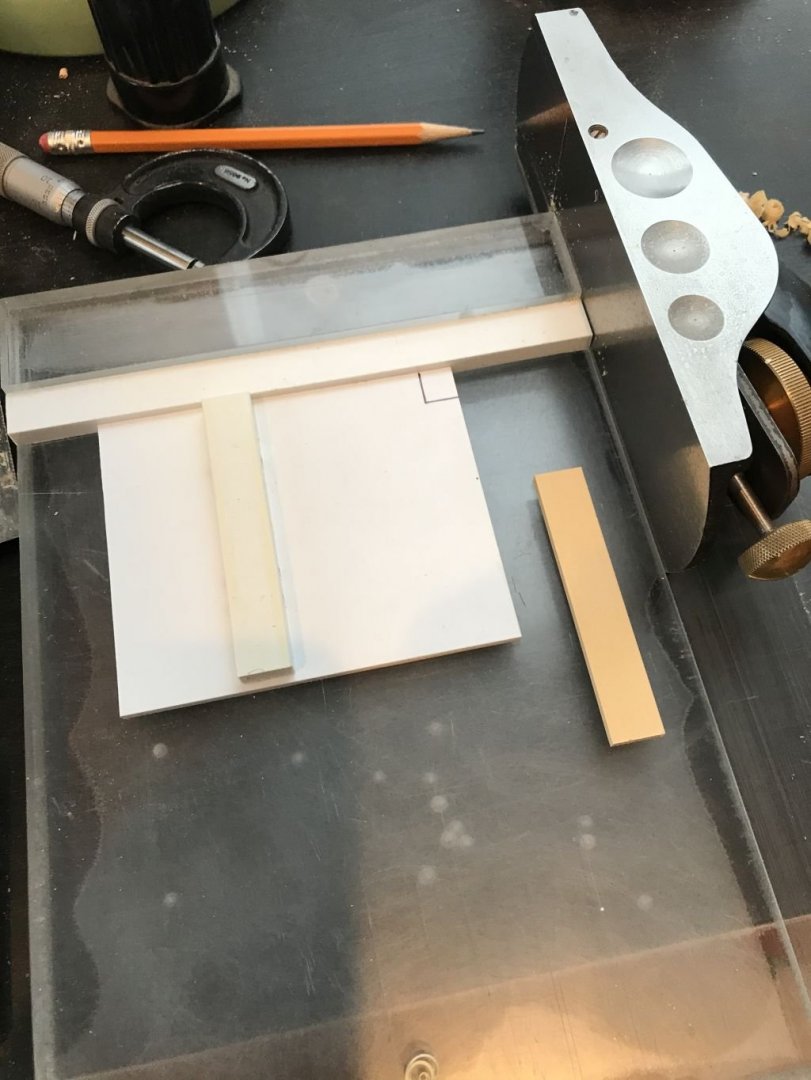
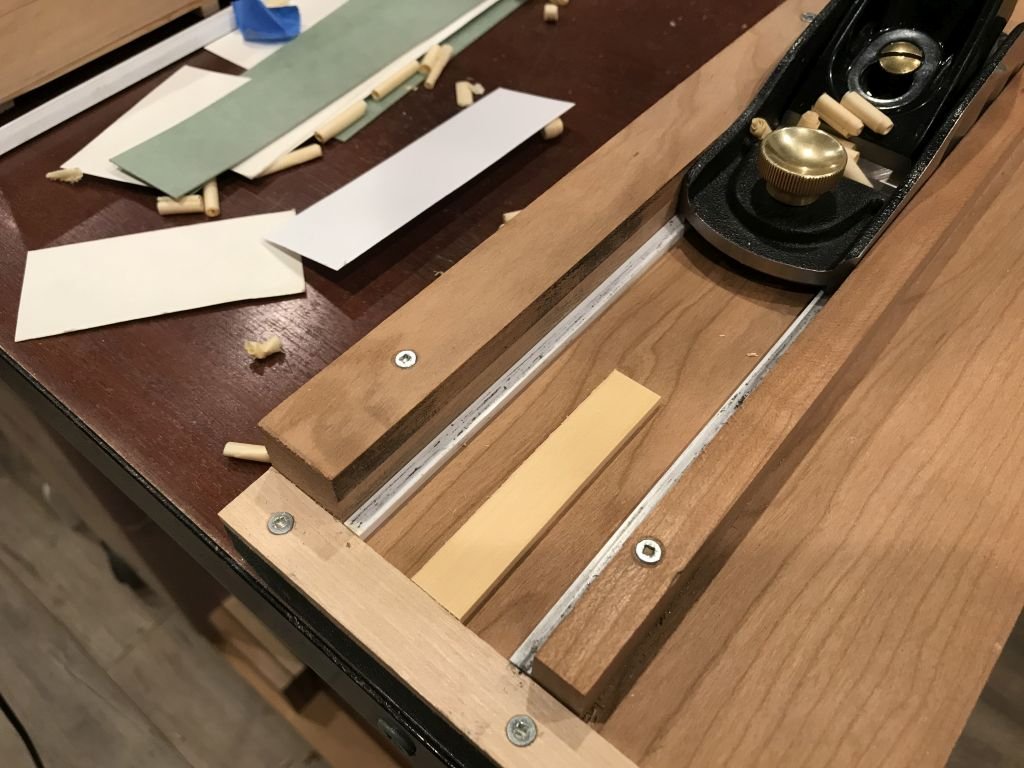
Hi Keith I set up the fence like this Here is a shot of the shooting board being used to reduce the width of the rails I planed some cedar to .060" and used a scraping tool to put a reveal along the edge Then parted it off with the exacto knife Used the shooting board to reduce the width to .162" The small inserts will work fine I think. I will need to shorten the panel for the end inserts, I will make enough long ones first. Michael

-
Mark, the stips inside the thickness jig are 3/16 (4.762mm) x 1/8 (3.175mm) strips of evergreen styrene they are outside the edges of the blade the cross end stop is about .1" (2.54mm) so I can flip them up to work with thicker wood or change them for 3/16 x 1/4 (6.3mm) the blade is of course also adjustable. I find the easiest way though is to add a known thickness of paper under the wood to reduce the thickness. as soon as the edges of the plane ride on the plastic it stops cutting I am able to work with very small pieces of wood that I could not put through a regular thickness planer. I do not like sanding soft woods no matter how fine the grit it is just that grit. A sharp blade leaves a sheen because the fibres of the wood have been sheared not scraped with chunks of rock. the other advantage is there is virtually no dust. I have both of the Veritas (Lee Valley) low angle block planes one is 12 degrees and the other is 20 degrees with the adjustable throats. short pieces can also very quickly be reduced in width on the shooting board with a right angle fence (sheet of 1/8 thick styrene by 3" x 4" I will add a picture of this in the next post. The Yellow Cedar is also called Yellow Cyprus the colour is a little lighter than Castelo but much softer and easy to work. The local hardwood supplier has a good supply of the cedar and occasionally can have the Castelo. I can get a 2" x 6" plank of yellow Cedar 6 feet long for around $45 so it is also considerably less expensive than the Castelo. Michael
-
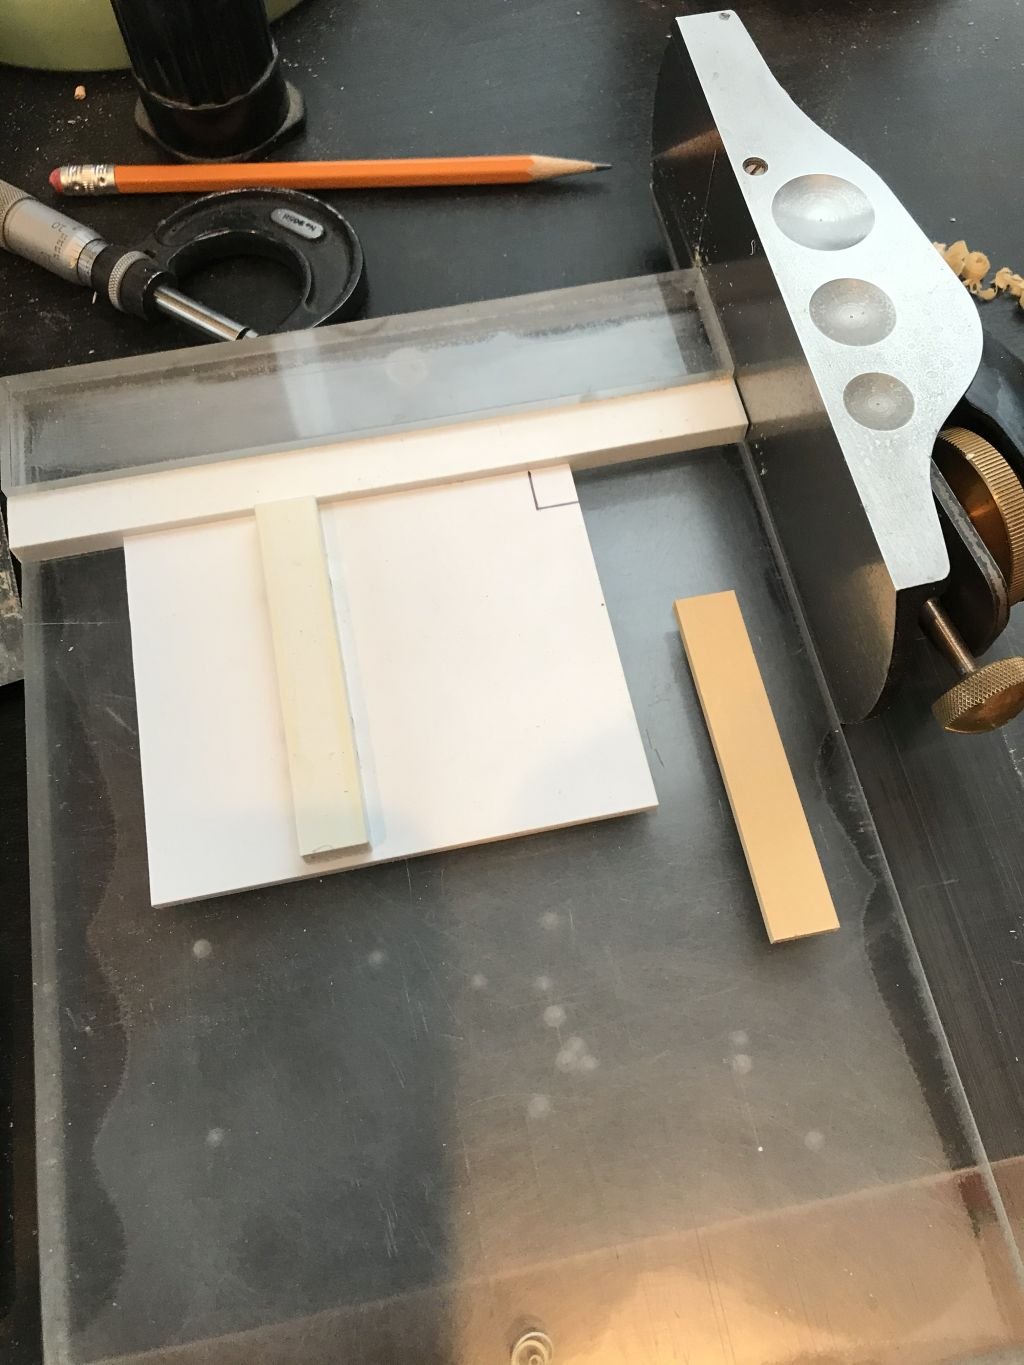
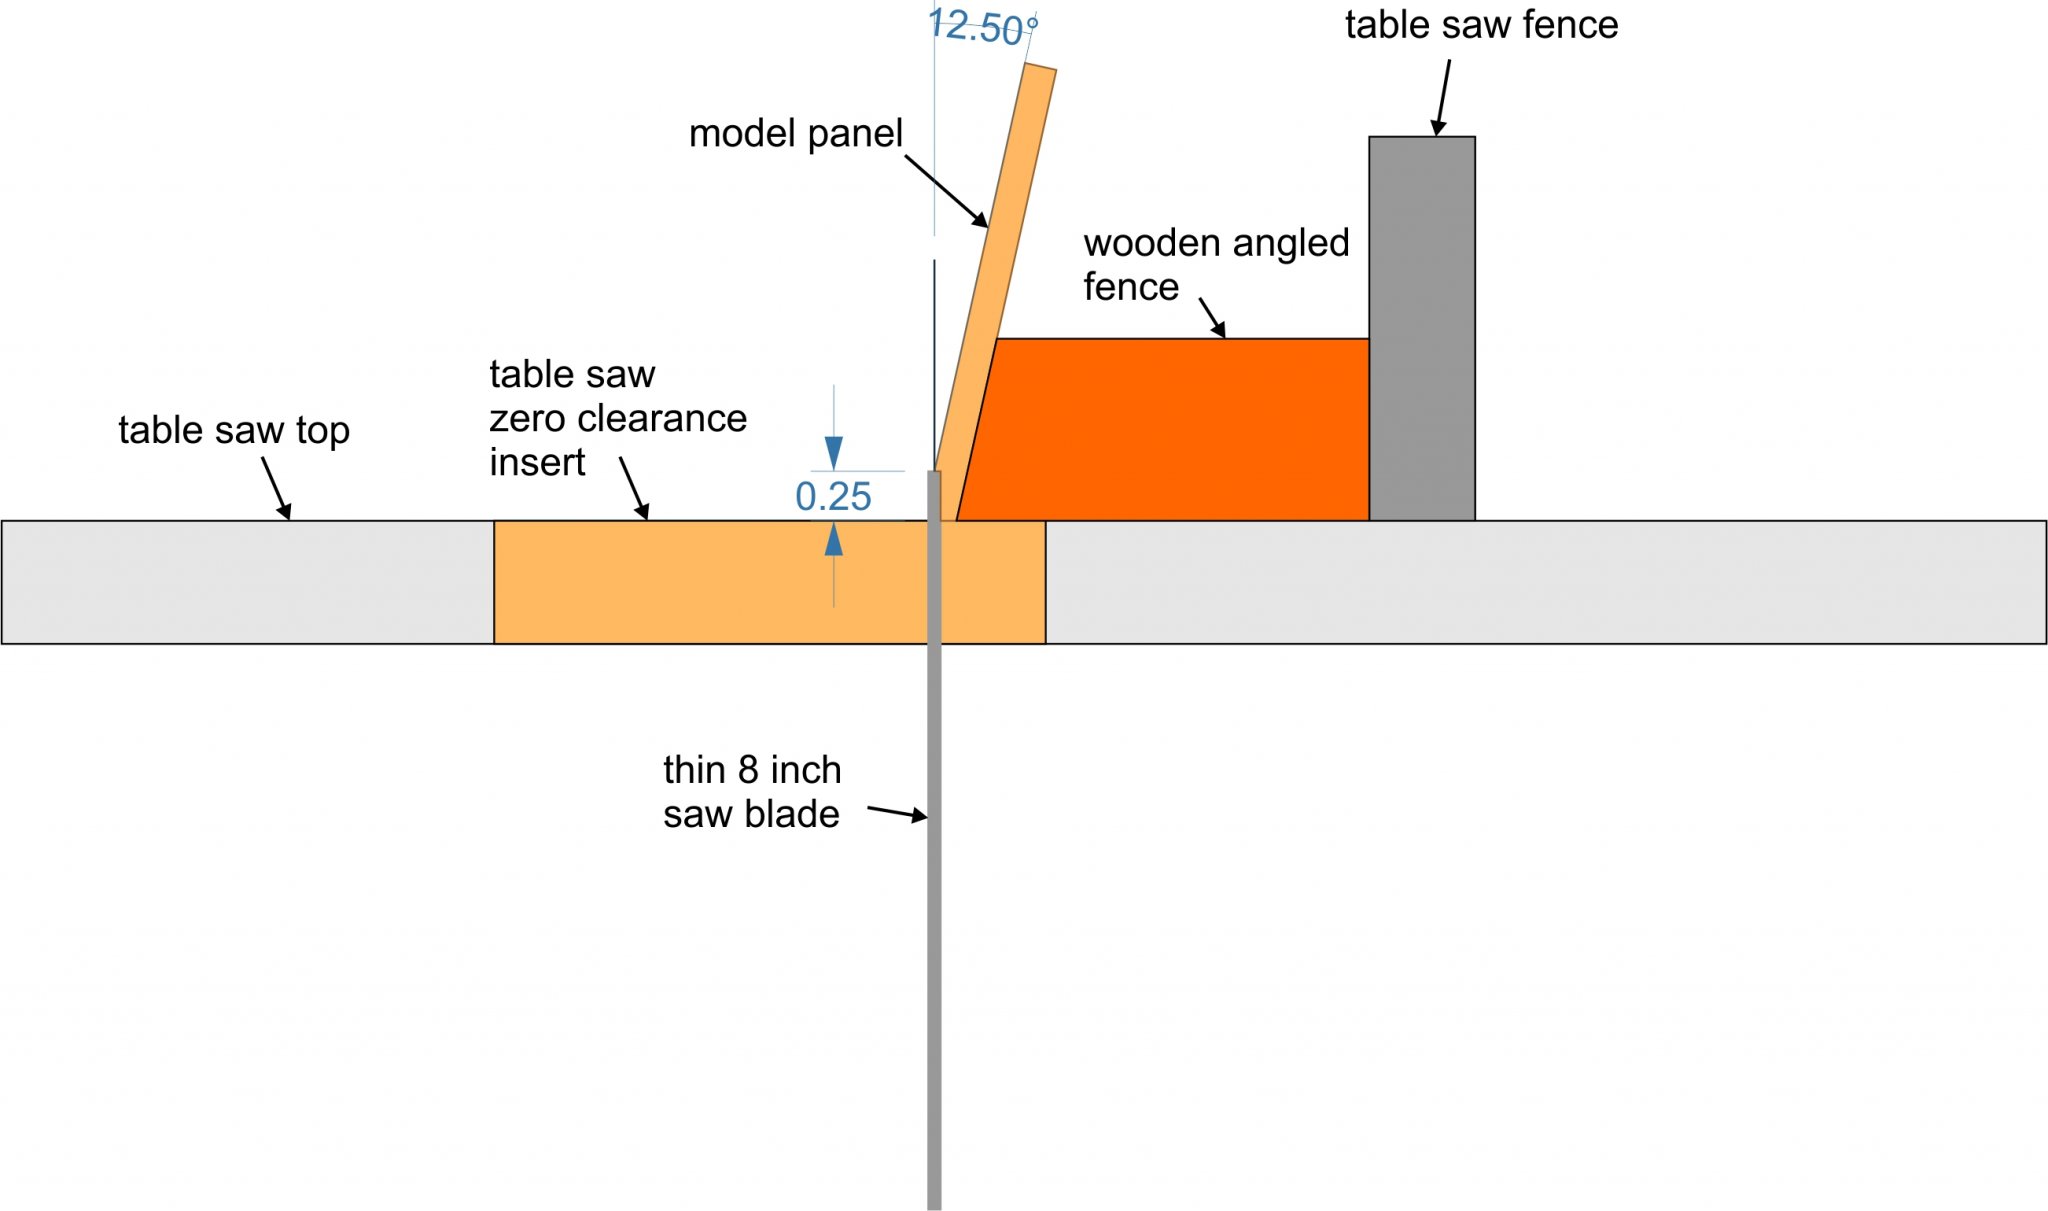
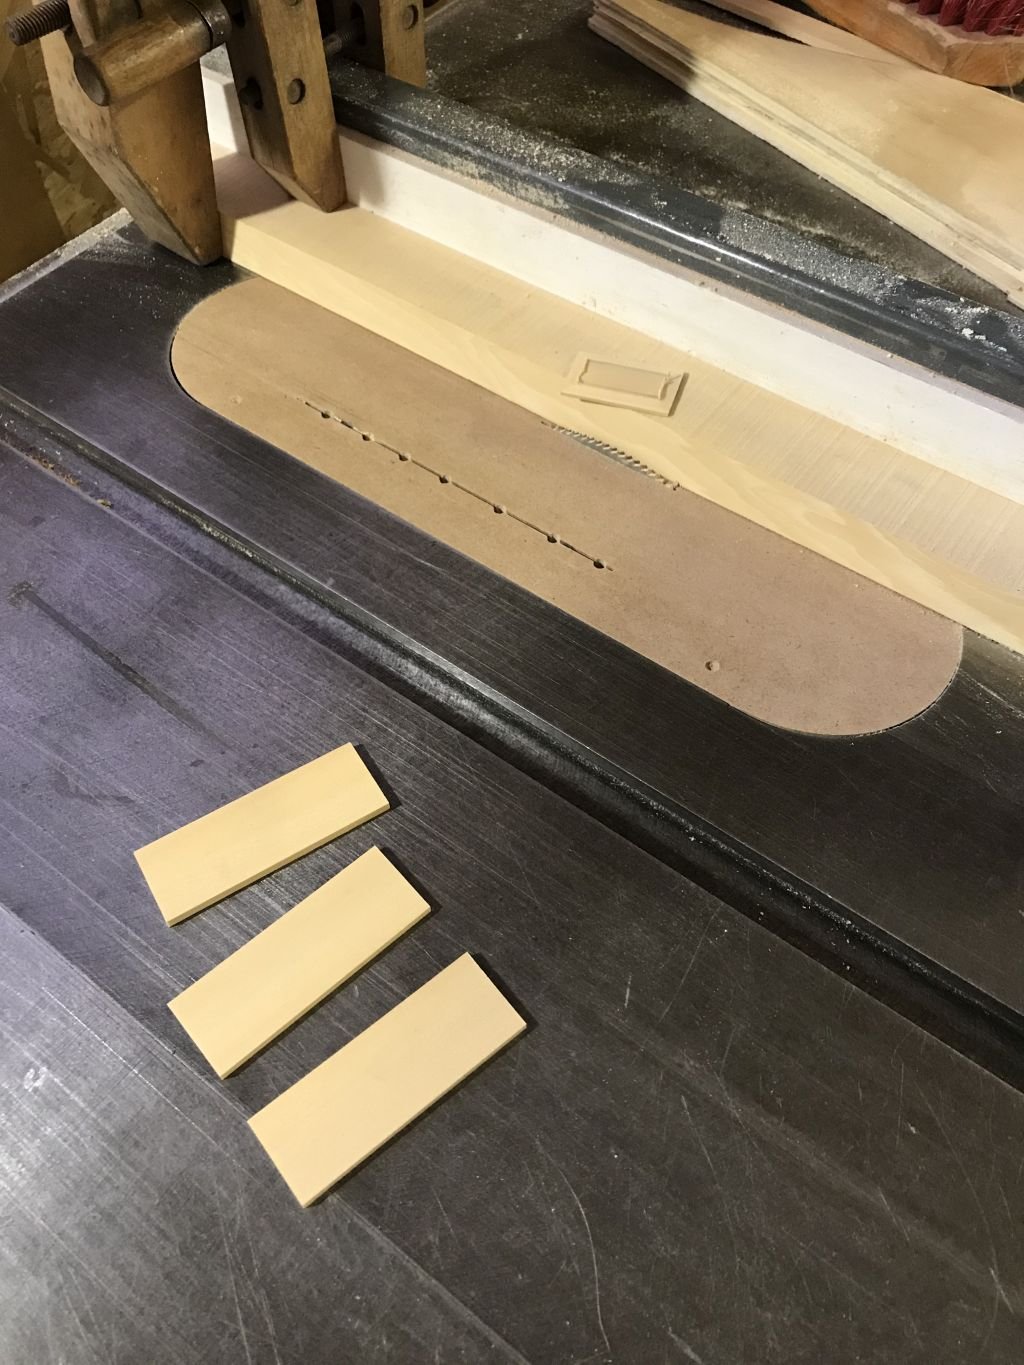
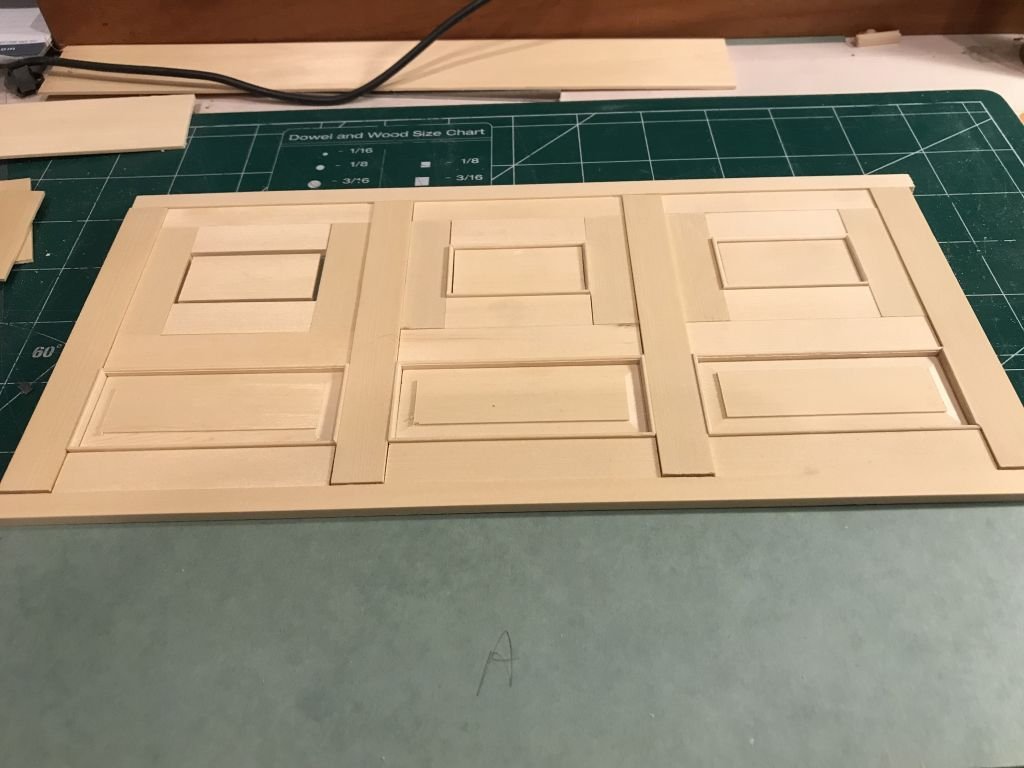
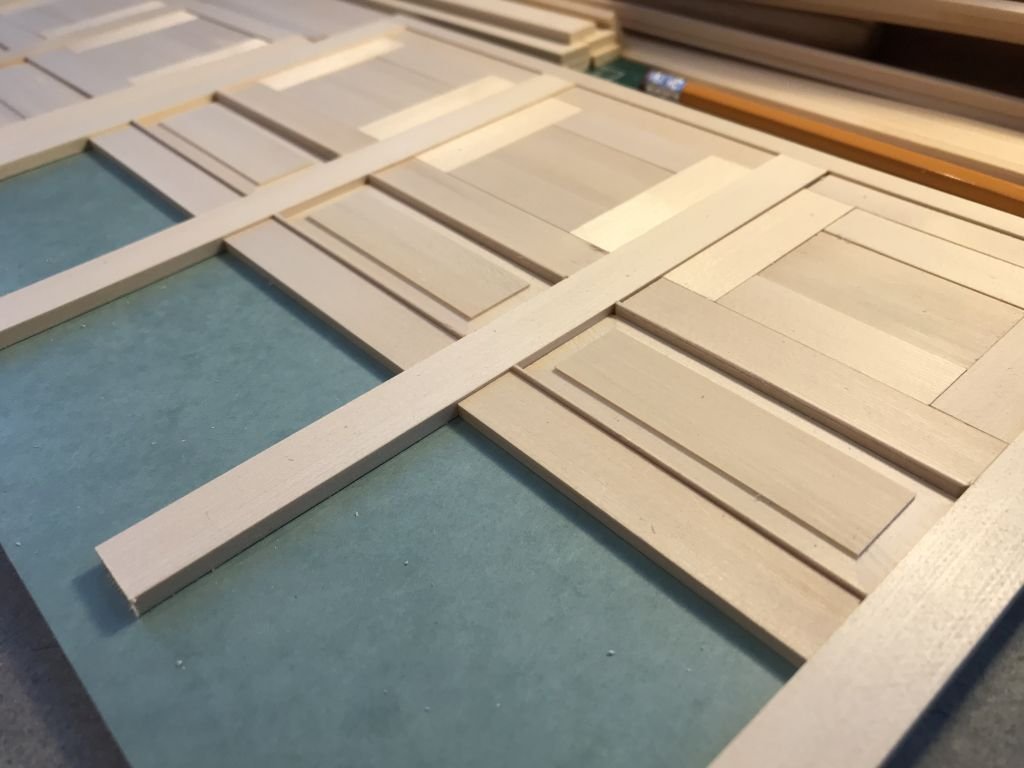
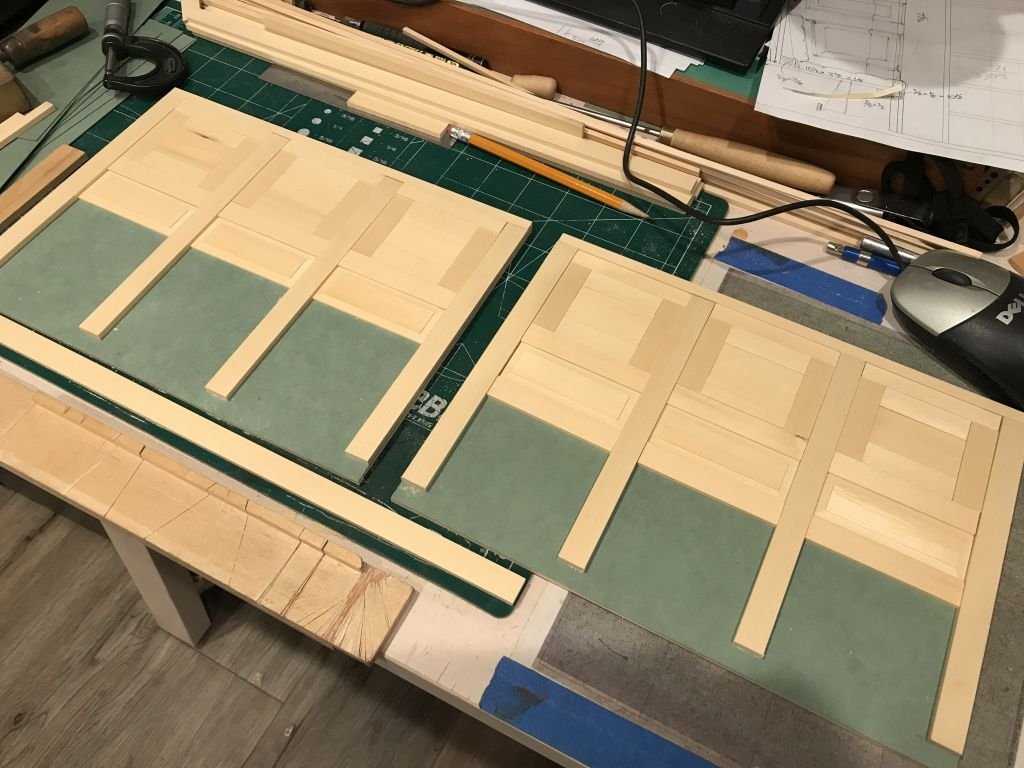
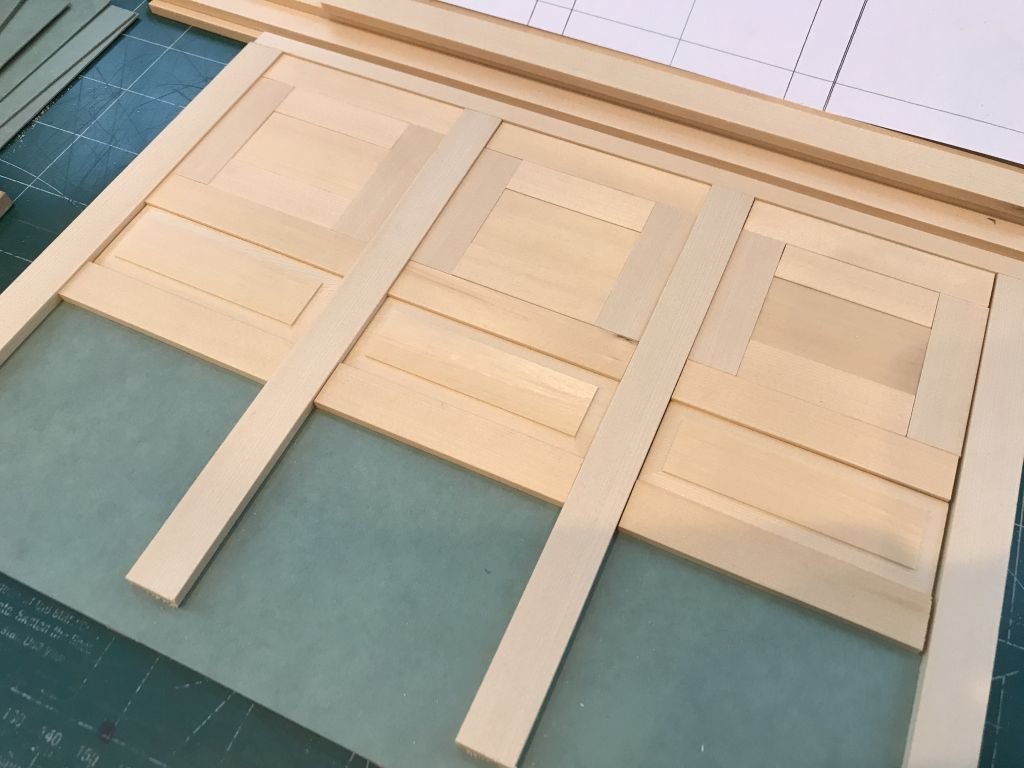
Seven, Keith, Pat, Steve, Moab, and Druxey Thank you all for your kind remarks. Also a thank you for all those who are following along and using the like button. Pat the water will not be a problem because the interior has to be removable in order to place the lead sailing ballast it needs over a 100 lbs to get down to the waterline. At first I was not going to add an interior but I reconsidered it because it will be on display more that in the water. The yellow cedar is such a lovely wood to work with for this small joinery paneling with a sharp low angle block plane in my simple thickness planing jig I can get a lot of control. Using it along with the shooting board is making this work really a pleasure. The way the thickness jig works allows me to thickness very shot pieces without any difficulty. The lower panels have a sloped dado al around so I set up an angled fence on the big table saw 12.5 degrees this way I was able to use a new zero clearance insert (I flipped around the insert for the 8 inch 200 tooth slitting saw blade that I use mostly for brass the holes help to keep the blade cool) I did not want to angle the saw blade. it was a simple one pass around the edges to create the dado bevel I put them back into the thickness planing fixture with a piece of copy paper underneath the wood to raise it up a couple of thou and gave it a single pass to clean them up. Both side are getting close to being ready for the final gluing, I did not want to do any sanding on any of these pieces of wood so keeping it all absolutely clean is going to be a challenge before the tung oil is applied once they are glued up. I wanted to get the two side panels done first because the end once are a little more complicated because of the angles involved. There is a small element that surrounds each panel that I am going to add it is about a 1/32 by 1/16 actual size with a rounded ogee type profile, The upper panels are flat but thinner than the stiles and rails, still a ways to go yet before it all gets glued up. Michael


-
The second photo looking forward in post #130 looks like the full size boat, superb modelwork!
-
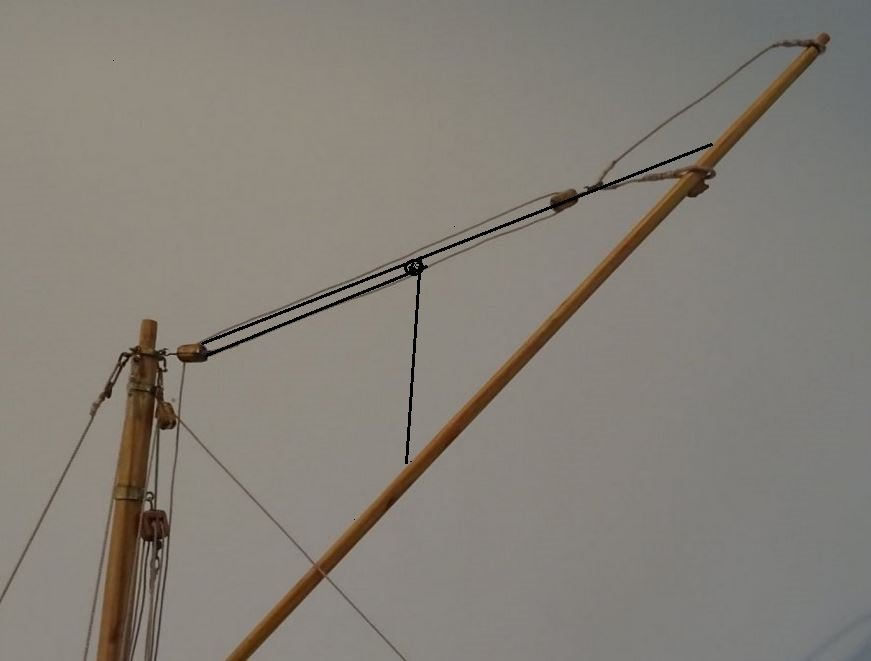
Hello Geert in looking at your gaff peak halliard if it were me i would spread the load a little wider like this I think that it would lessen the possibility of straining the gaff , Just my own thought. Michael
-
Newbie starting with J-Class Endeavour
michael mott replied to Sananda's topic in New member Introductions
Welcome Sanada from the cold snowy norther climes. The J class Endeavour is a wonderful Yacht, One of these days I would like to build one of these types of Yacht . Start a build log in the kit section. Good luck with your build. Michael -
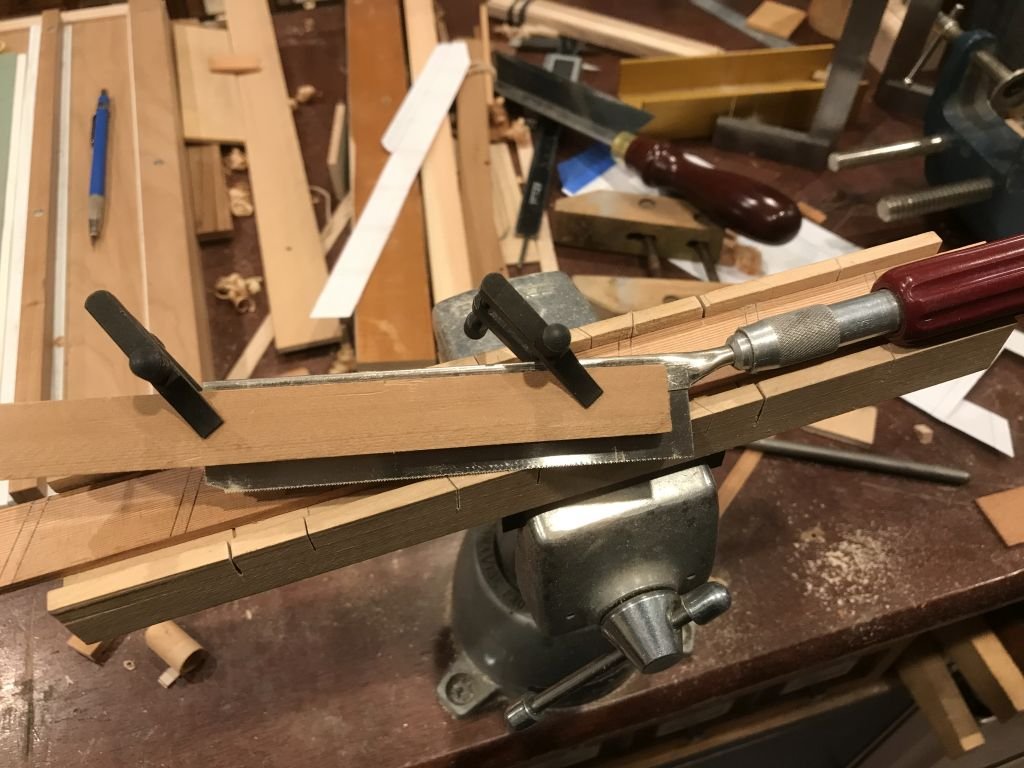
I have been using my razor saw just like this one for at least 20 years its a bit beat up but still works like a charm one trick to getting the saw to cut vertical when setting up your mitre boxes (you will end up making a few they are really handy) st to use a small square next to the saw as a guide if you don't have a small square a square block of anything to guide the saw works well. Michael
-
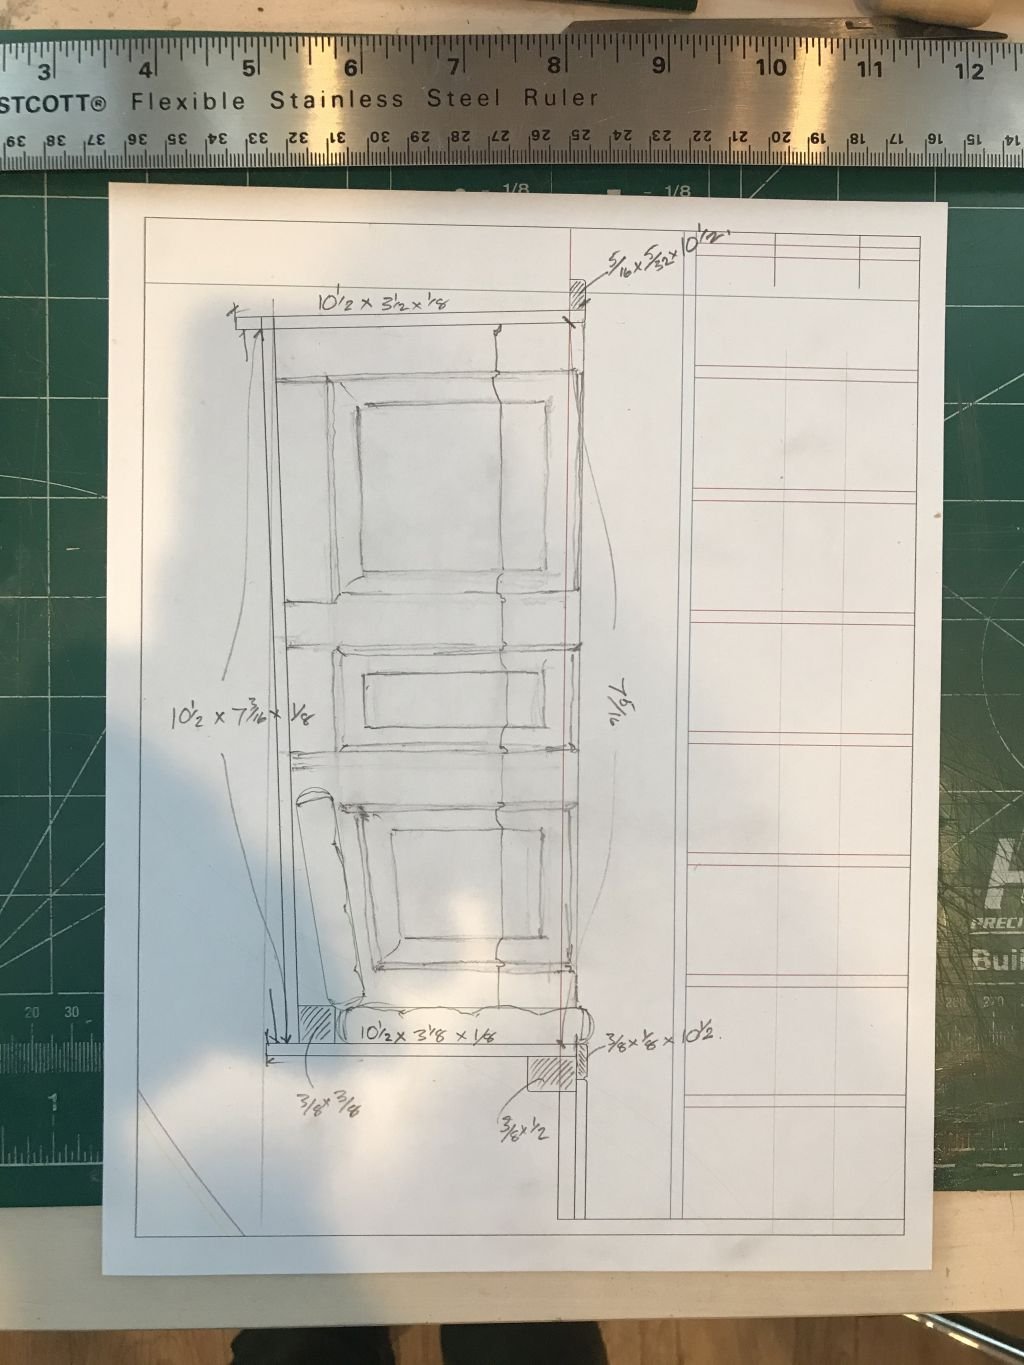
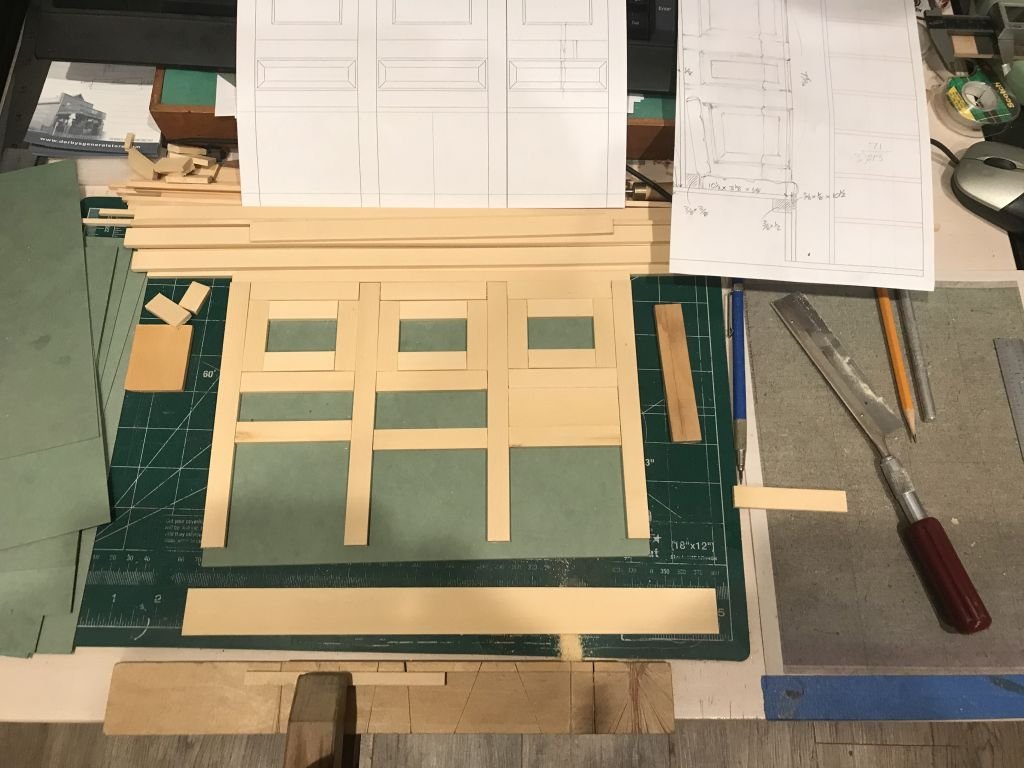
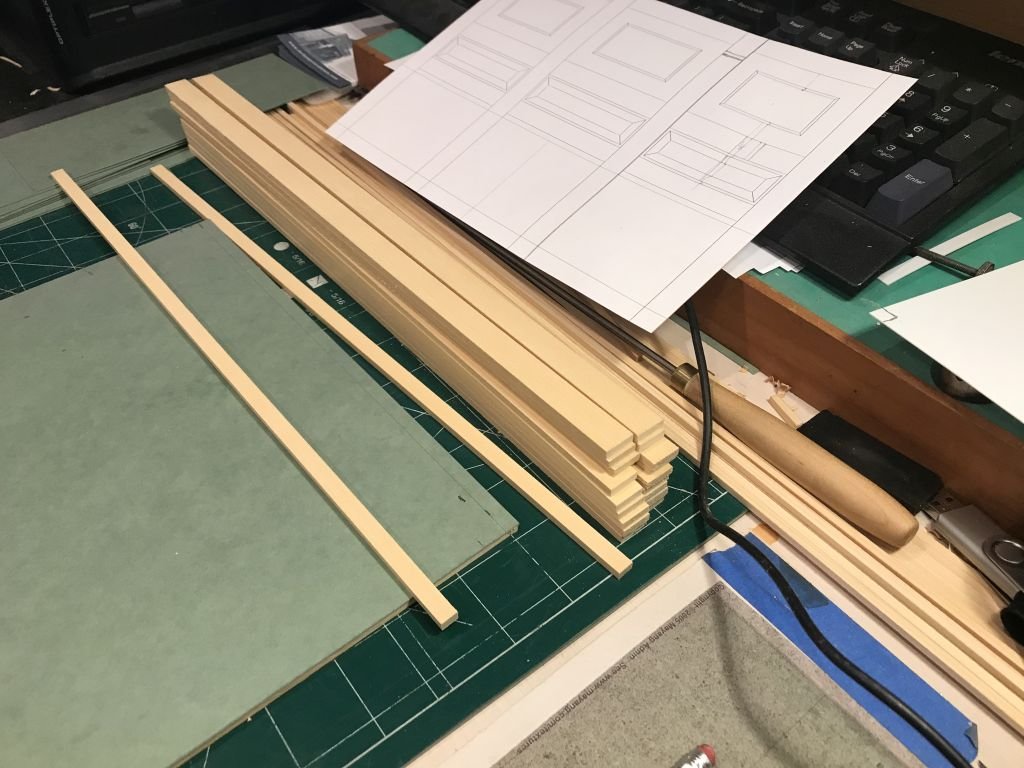
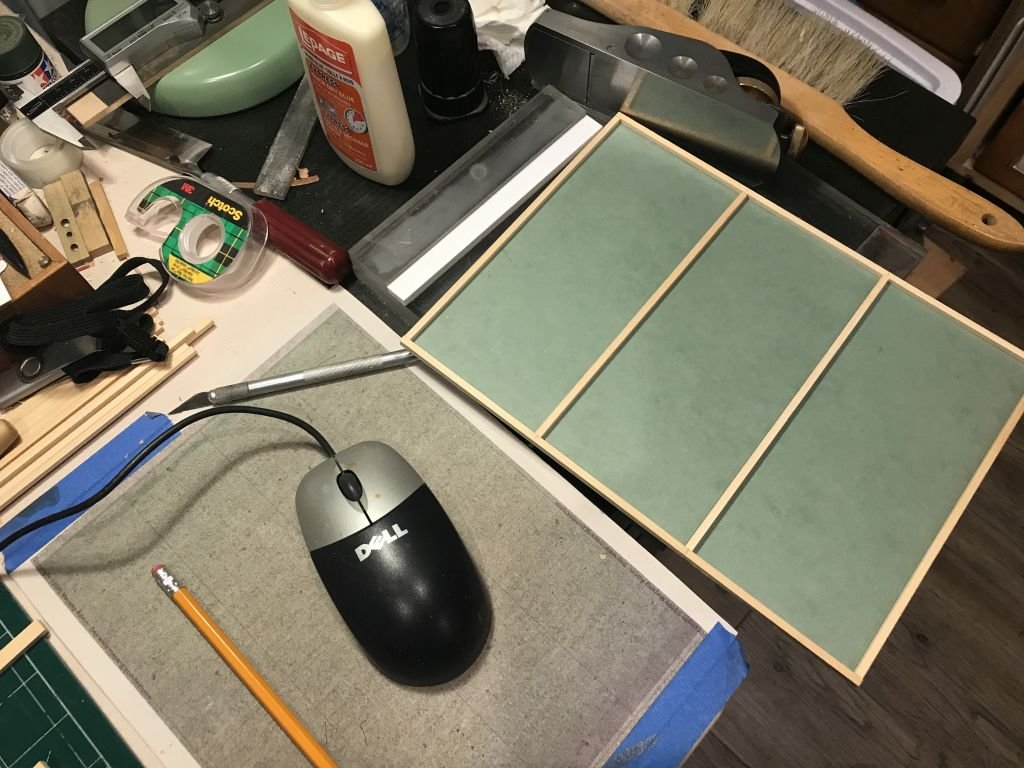
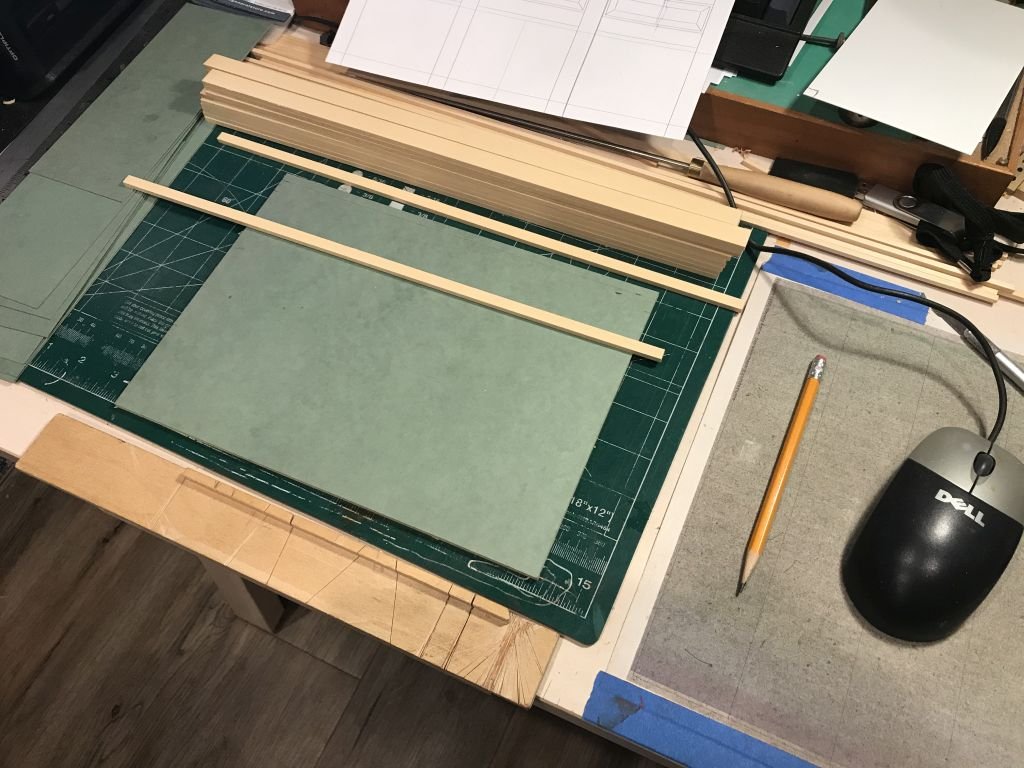
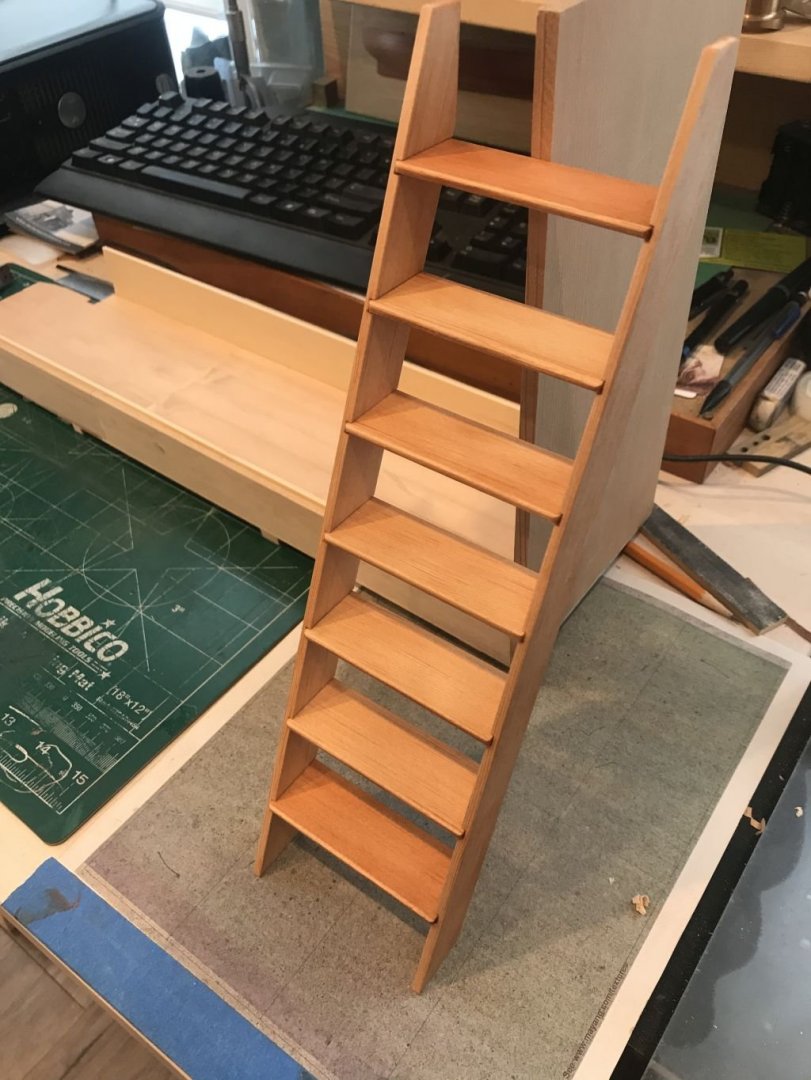
Mark thanks for the link, I have been sorting out how to tackle the side elements of the interior and at the same time discovered an error in the depth of the cabin, I had made it a foot too deep by correcting the error I was able to make the floor in one level. The paper template was how I discovered the difference. I finished up the work on the basic ladder. and using a combination of cad work and then freehand drawing over the print was able to get the pattern for the paneling sorted. I order the save on material and also not to waste some of the divider card that I had been using to plan out the cabin I decided to use the very stiff polished cardstock as the foundation for the wood paneling, first I glued some 1/8+ square stiffeners to the backside of the panels Then cut some 1 inch x 4 inch yellow cedar (had to wear a mask its a nice smell but not too healthy to breath) The began roughing out the wood for the stiles and rails. The upper panels are cabinets that will have opening doors with the dining stuff inside. That's all for now. Michael

-
Keith, Thank you for the information I do have teflon, nylon, Thordon bearing material which is made from thermosetting resins which are three dimensional, cross- linked condensation polymers. And some rigid PVC and both extruded and cellcast clear Acrylic. I am not familiar with acetal, polyacetal and polyformaldehyde. It is interesting what materials I have collected over the years for various projects in the design and fabrication of displays and exhibits. Michael
-
Roter Löwe 1597 by Ondras71
michael mott replied to Ondras71's topic in - Build logs for subjects built 1501 - 1750
From humble beginnings to a beautifully executed model so far! Michael -
Johann thank you for your explanation of the rope tooling, and as others have already remarked superb workmanship. michael
-
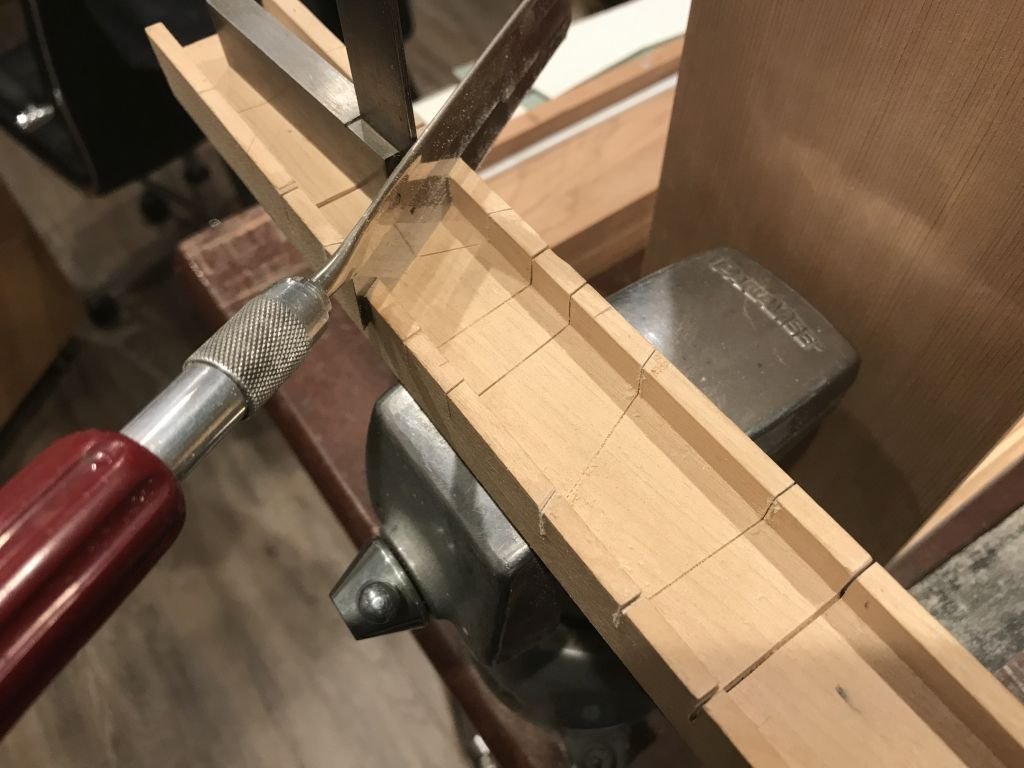
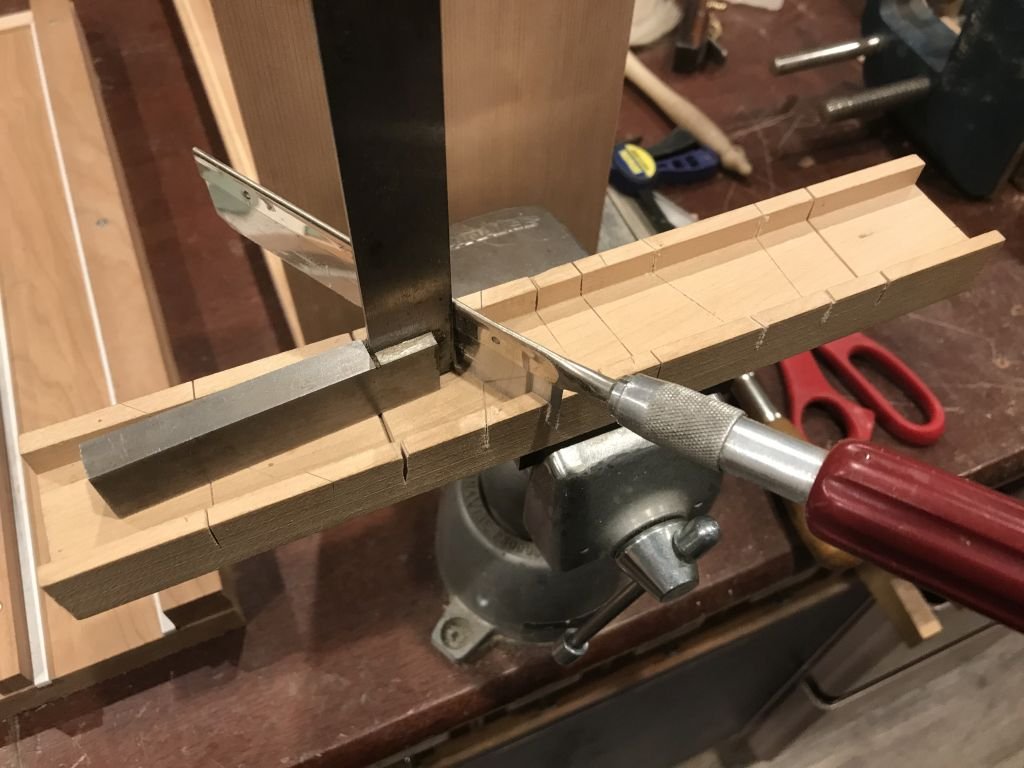
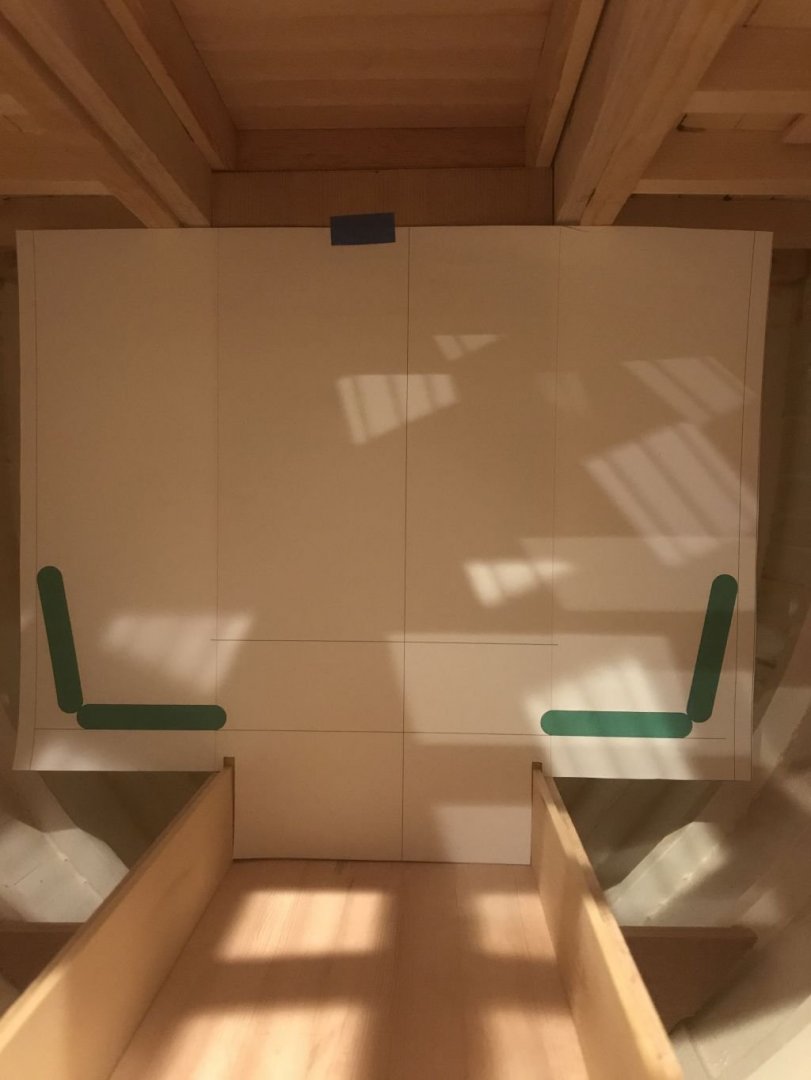
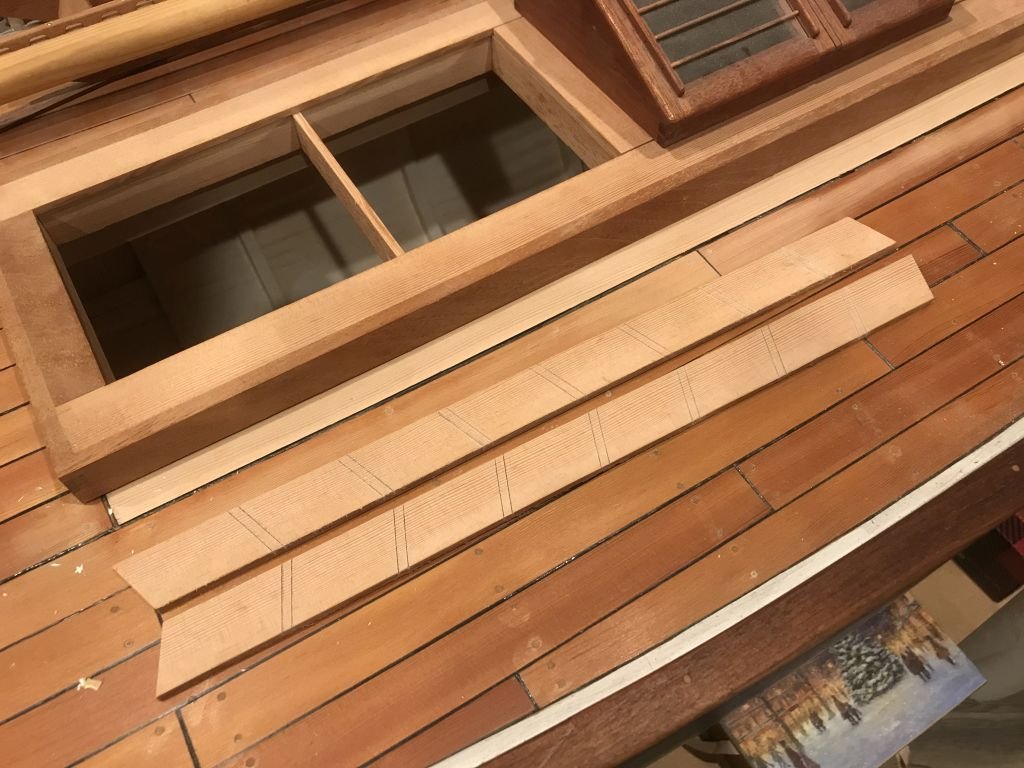
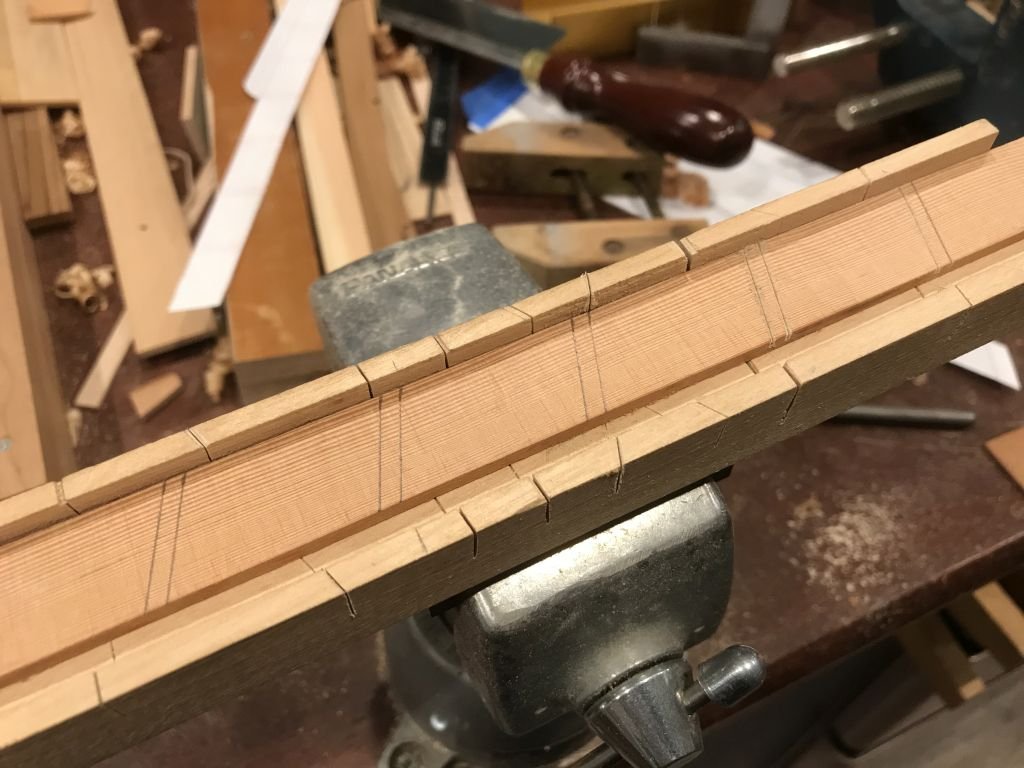
I continued on the floor units today, and now that the floor is set properly I was able to revisit the dimensions and adjust the drawings for the rest of the interior. I also set the ladder a bit more vertical it is now 22.5 degrees off vertical. I also decided to cut the stringers by hand and used my centuries old exacto razor saw, it still cuts well I set up a fence on it so that I could make the cuts for the treads in the mitre box. The mitre box is basically a disposable one it was made out of a bit of maple a few years ago by disposable i mean that eventually it will need to be replaced because it will loose its integrity. The side stringers ready to be chiselled for the treads. the ladder stringers are clear Douglas fir 1 x 6 inches This cross section image shows the main cabin area that I am modeling. Michael

-
Lovely work Kees I like the small deck Companionways and especially the small boat. and a happy new Year to you and your family. Michael
- 193 replies
-
- 3
-
-
- wilhelmina vii
- fishing
- (and 1 more)
-
Funny you should say that I have butchered quite a few Bachmann Percy H0 locos over the last few years Michael
-
Eberhard, yes I am talking scale inches on the cutter model. I'm sorry that you do not like the saddle tank locos of the British persuasion. As a British lad I grew up on the clean lines of the British locomotive styles that were well looked after until the first grouping of all the small lines that dotted the English countryside. Michael
-
Hi Keith I loosely based this model on Louisa which is one of the Hunslet locos, I have not done the saddle tank yet. The interior is going to be loosely based on the interior of "Integrity" which is quite simple but hearkens to the classic interiors of the restored Cutters of the last century. this will give me ample opportunity to play with different materials. I just love the green tufted cushions and the simple kitchen facilities. Michael
-
Keith I know that your focus on the last picture is of the stern rail, but is looking at the picture I am struck by the level of superb workmanship and crispness of all the other fine details in the picture. Michael
-
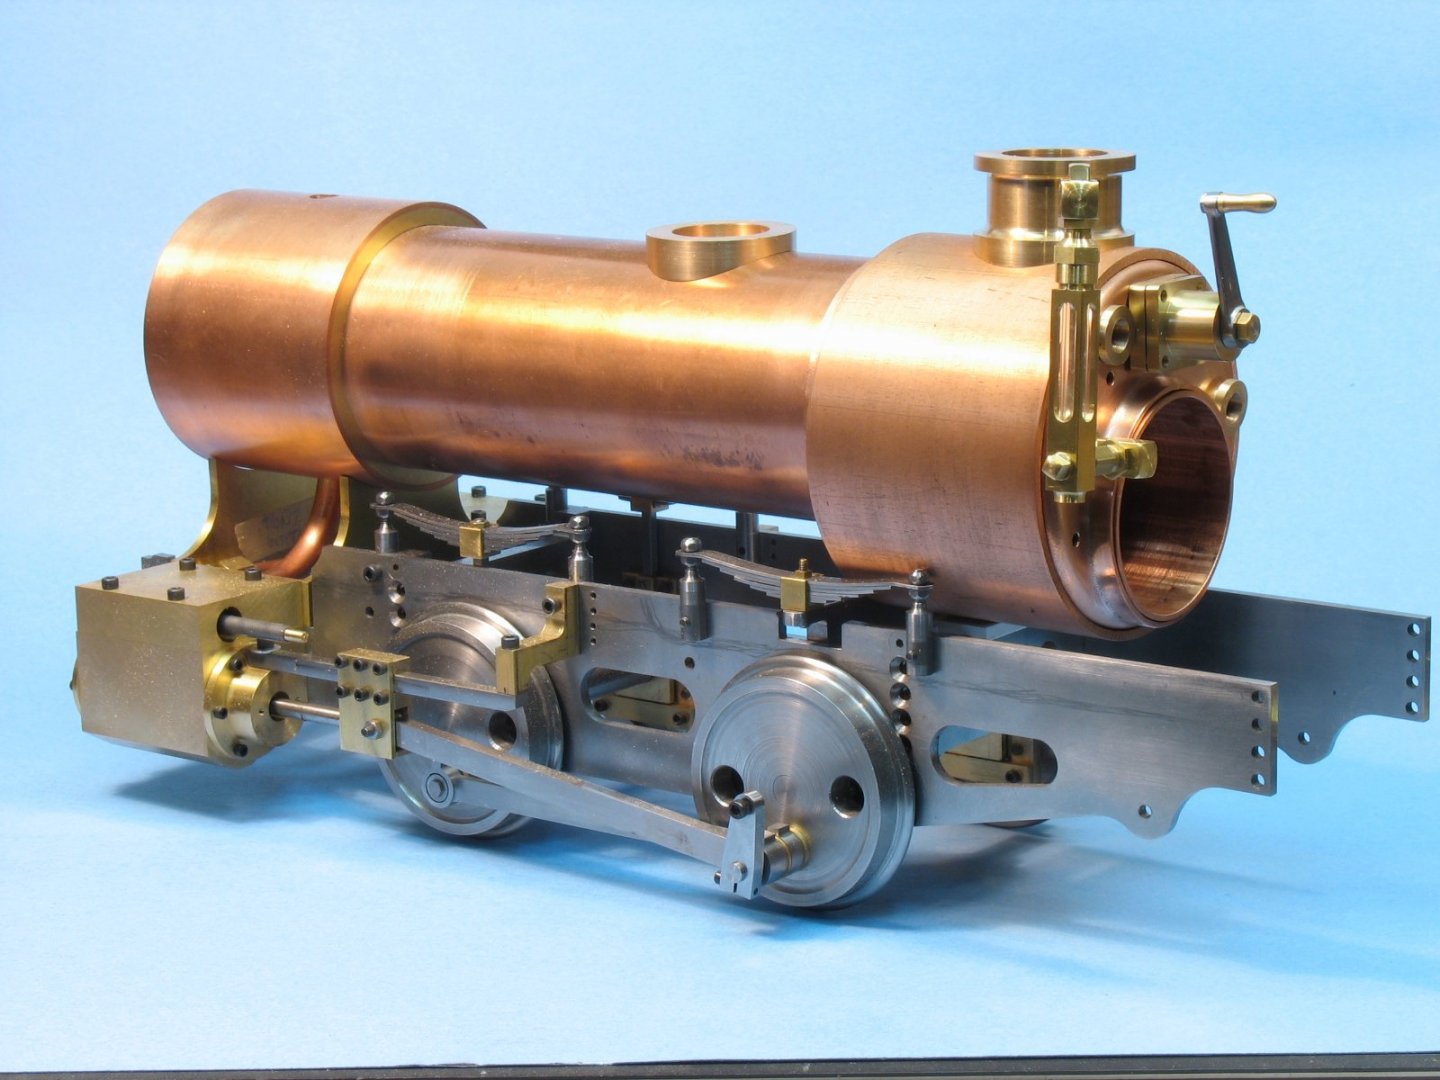
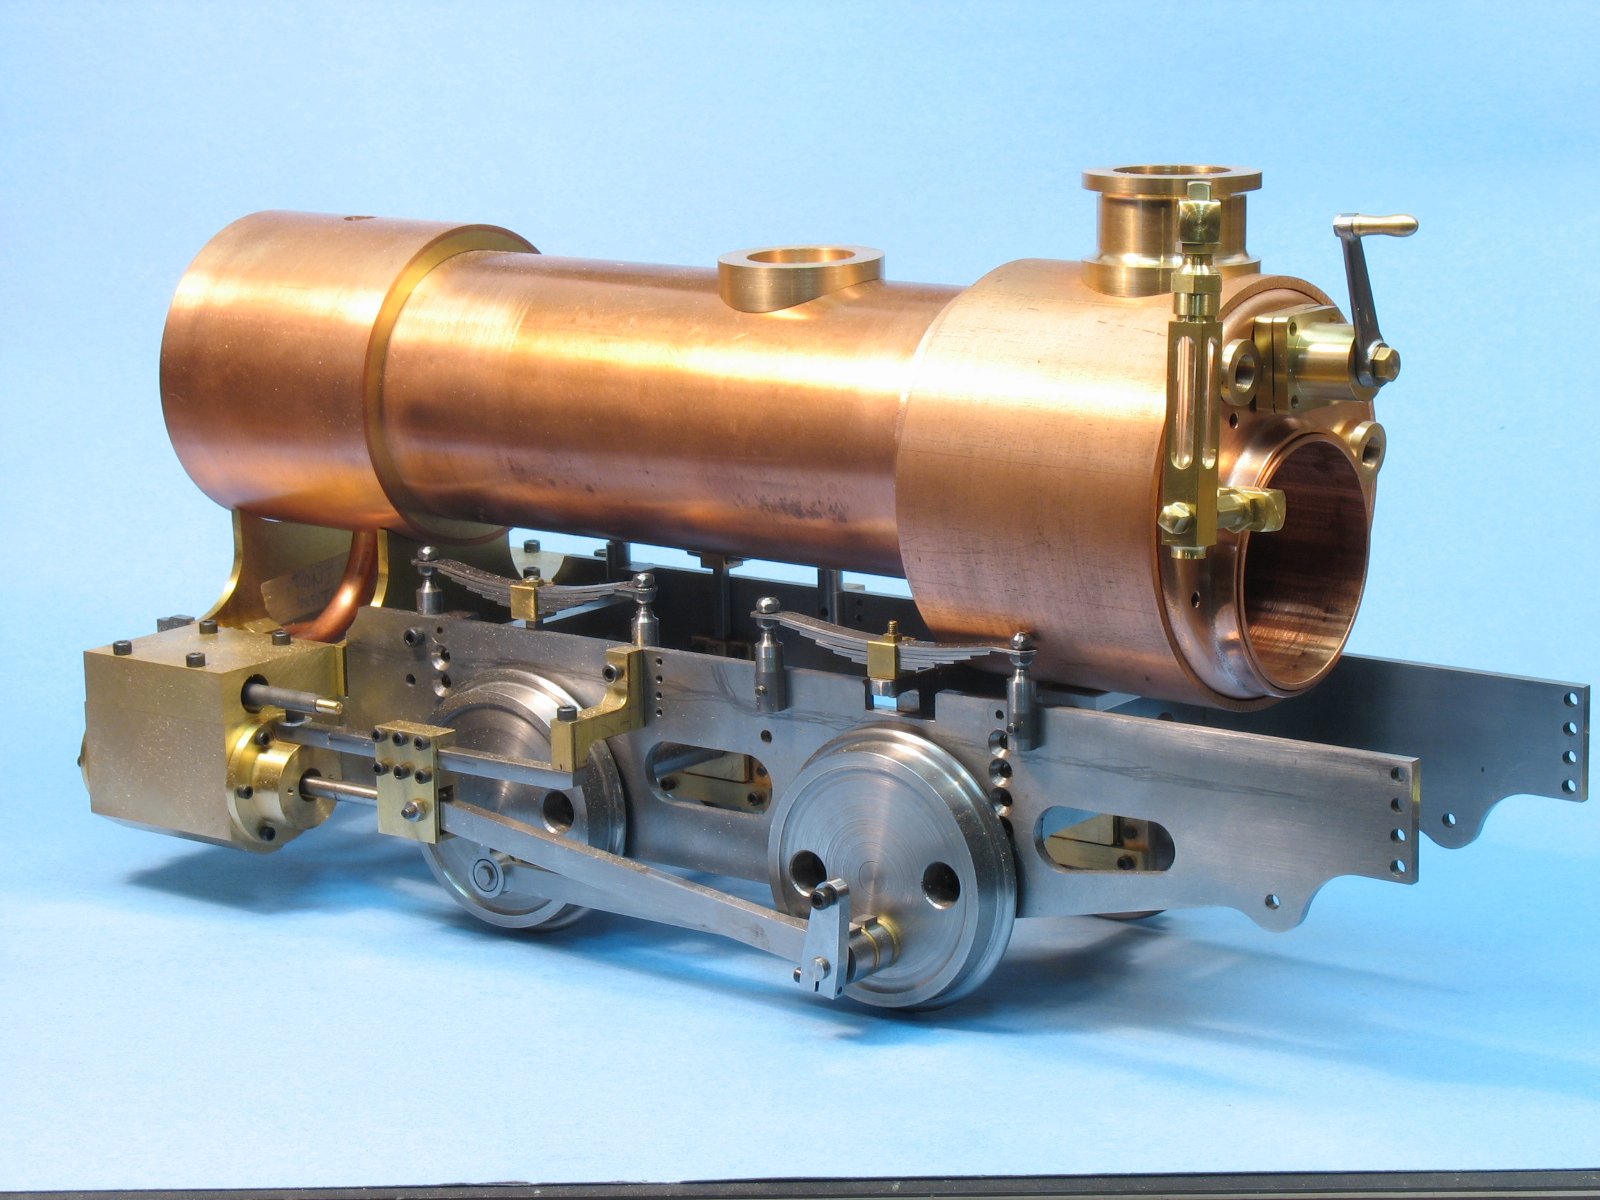
Hi Johann thanks for kind words. Yes the model in the background is a 3 1/2 inch gauge live steam locomotive that i have been working on slowly for a few years. Steam engines are one of my other passions so as my energy waxes and wanes in each type of model I keep busy and enthusiastic in the workshop. Michael