michael mott
-
Posts
5,200 -
Joined
-
Last visited
Content Type
Profiles
Forums
Gallery
Events
Everything posted by michael mott
-
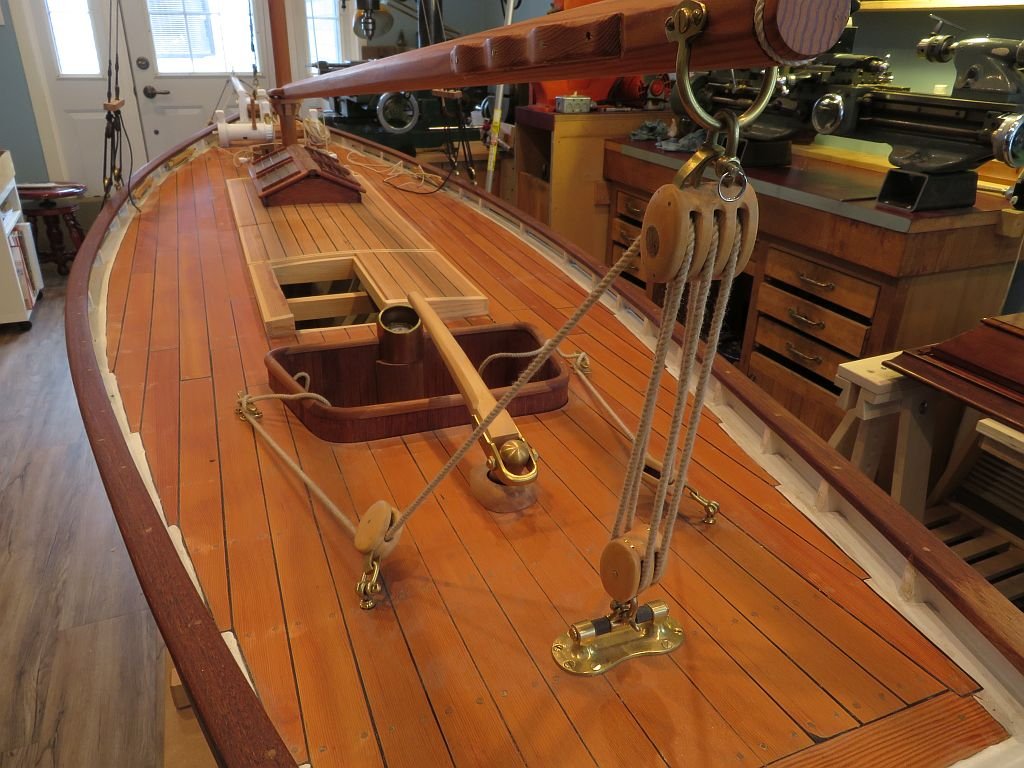
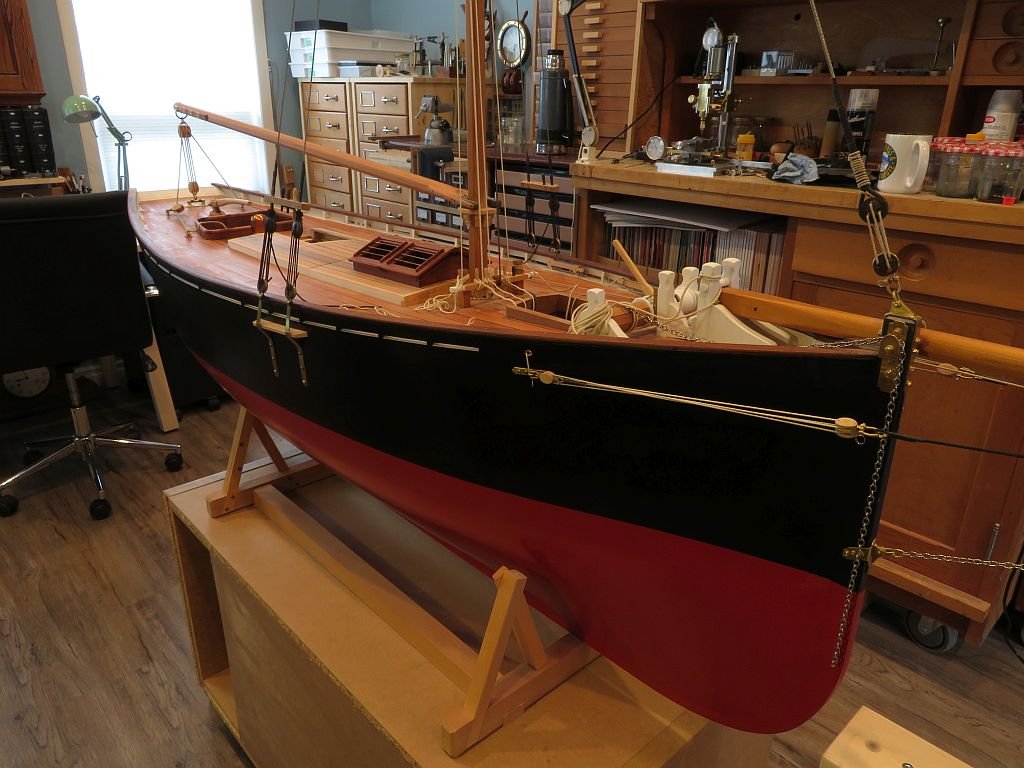
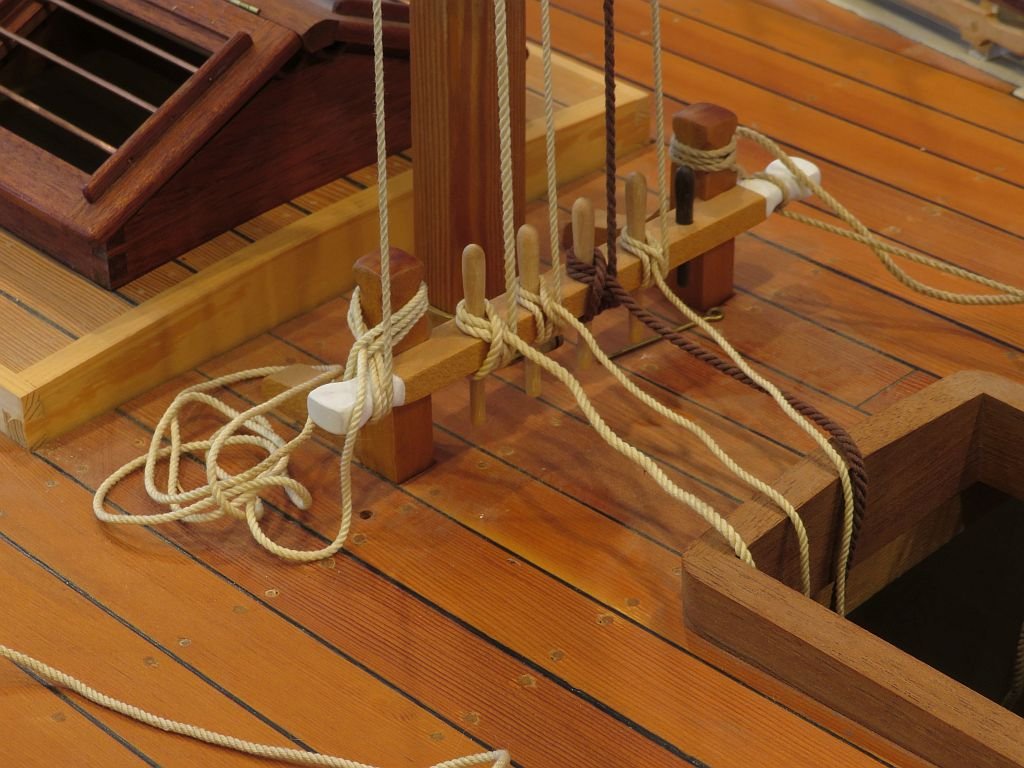
 She is back in the centre of the shop, ready to be worked on. I whipped up a new portable stand from a surplus IKEA wardrobe. I did some tidying up and put the main-sheet back together. Now who can spot the poorly belayed rope. It really feels good to get the cutter back on the shipyard floor. Now off to have some supper with Judy. Michael
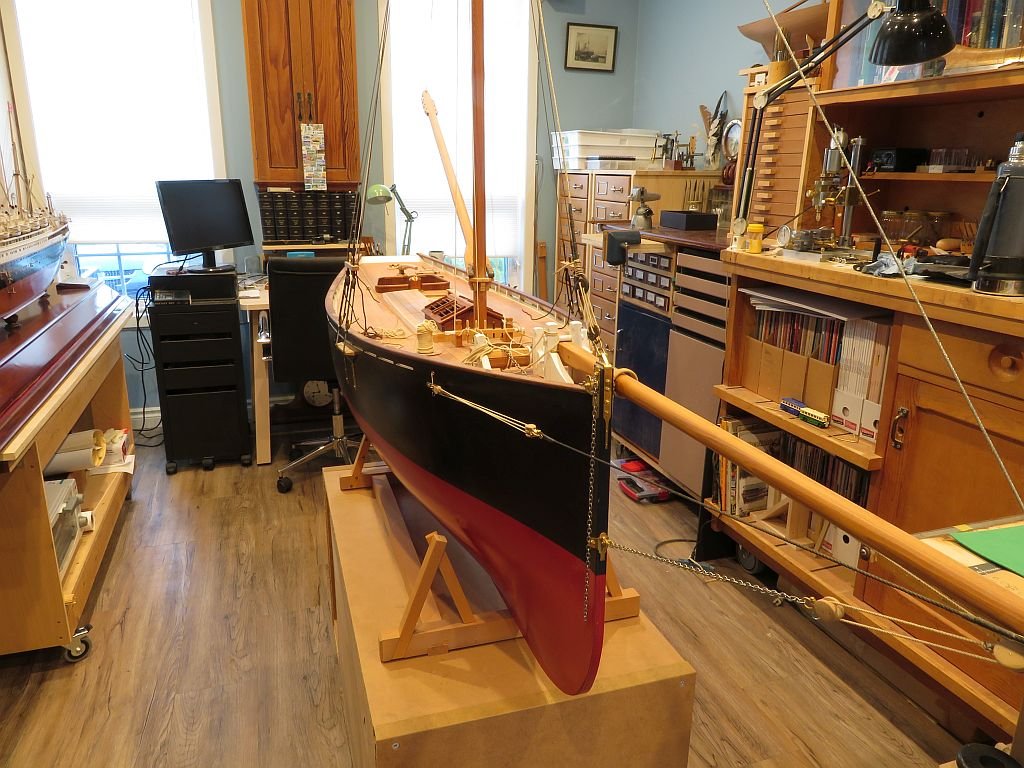
-
15' Dinghy by Bedford - FINISHED - 1:1 scale
michael mott replied to Bedford's topic in Non-ship/categorised builds
Ah Steve what a beautiful boat, that bow shot with the brass fittings really shows the craftsmanship you have brought to this project. Michael -
Hi Steve, Great to hear that you are still building. I am curious about your plan to change the Bedford. Also Look forward to seeing some pictures of you 1:1 Ian Oughtred boat I was given a book of his design work for Christmas a few years ago. I shall look up the boat design when I get home. Michael
-
Yup I've done the snipped stay thing as well. Michael
-
Thanks again for your detailed information Doris. I did not realize that the modelling clay was as flexible as you have demonstrated with the long bead-like sections after it has been baked. A wonderful comparison shot with your two ships bow to bow. Michael
- 1,035 replies
-
- 10
-

-
- royal katherine
- ship of the line
- (and 1 more)
-
Mark if you use a jewelers saw and take a couple of strokes across the flat of the rivet it looks like a screw. like this Michael

-
Wefalck Thank you for the explanation, what you say makes sense, now I understand. Michael
- 3,618 replies
-
- 3
-
-
- young america
- clipper
- (and 1 more)
-
Hi Mark I just noticed that you have round headed screws holding the tracks to the deck. I would have thought that these would have been flat head screws to keep the surface free of obstructions, especially the pin of the car. Michael
-
The idea of the templates is great for practicing the fitting of the planks, before moving to the wood. Michael
- 421 replies
-
- 5
-
-
- medway longboat
- Syren Ship Model Company
- (and 1 more)
-
Ed Thanks for your very detailed description of the process. A question I do have, is why the ropes are sized by circumference and not by diameter? does this have anything to do with the act of handling a rope? Somehow the whole mindset of converting the circumference or diameter by 22/7 or 3.1416 one way or the other seems cumbersome. If I have say a 2 inch diameter ring or eye bolt, then it would seem easier to understand that the max diameter rope that could thread through it would be a less than 2 inch diameter, rather than less than a 6 inch circumference. Michael
- 3,618 replies
-
- 4
-
-
- young america
- clipper
- (and 1 more)
-
Catching up Yond, she is looking great. How soon do you think till she is launched? Michael
-
Syren Rope Rocket
michael mott replied to DelF's topic in Rope Making/Ropewalks's Commercial sources for ropewalk machines
Thanks and I understand what you and Chuck are saying. My point was that to make it clear for the novice a simple notation beside each of the rope on the diagram and a separate page for each scale. So for instance for the :24 scale page .008 = 3/16 rope .012 = 1/4 or 5/16 rope And so on. Michael- 42 replies
-
- 2
-
-
- ropewalk
- rope rocket
- (and 1 more)
-
Syren Rope Rocket
michael mott replied to DelF's topic in Rope Making/Ropewalks's Commercial sources for ropewalk machines
Hi Chuck, I was thinking that for the scales chart that if the full size rope was 3/4 inch in say 1/2 inch scale or 1:24 then the appropriate rope diameter would be .031 or if we used 1/8th scale or 1:96 then 1/32 or .031" = 3" in full size and 1/64 or .015" = 1 1/2 inch diameter rope full size. This was the reason that I thought that a separate chart for each scale would be easy to understand so each diameter of your rope would be clearly stated as to the diameter in full size for the stated scale. Scales are one of the most confusing areas of modelwork in my opinion. Michael- 42 replies
-
- 3
-
-
- ropewalk
- rope rocket
- (and 1 more)
-
Hi Ron Interesting to follow how you determined what blocks to use. I like these types of small fishing vessels. Michael
-
Hello Javier, very nice model I wouldn't call it Ugly and I like the rig. Thanks for the information regarding the woods you are using. Michael
-
Syren Rope Rocket
michael mott replied to DelF's topic in Rope Making/Ropewalks's Commercial sources for ropewalk machines
Hi Chuck I Just watched your videos of the Rope Rocket. Thanks for doing this, I was curious at the point where you just pushed the drill up to the back of the headstock and started Spinning. Later I realized that you are using a Phillips Driver bit in the drill to mate with the center bolt. A change I would make when I buy one of these is to change the bolt to a torques one. I personally have an aversion to Phillips screw and bolts.....Must be a British/Canadian ex pat thing... or just me. That said I have driven thousands of Drywall Screws. A great video and clear information, I particularly like the aspect of telling us that we need to practice to get the "Feel" of making the rope. This speaks to Craftsmanship and a knowledge that can only come from time at the task. I also downloaded the scale rope chart, very nice. One thought occurs to me is to have a separate chart for each of the common scales, so that when one prints off the chart for say a 1:96 scale model the size of the real full size rope matches the model rope. or the chart for a 1:48 rope the sizes would be matched for that scale. I think that this would make deciding what rope to use easier for the novice who is reading information about the ropes and lines on their model. I only offer these comments because in reading about blocks and lines there always seems to be some question about what these sizes are. As soon as I get back from Whitehorse I will be ordering your rope rocket. Michael- 42 replies
-
- 4
-
-
- ropewalk
- rope rocket
- (and 1 more)
-
Frank you have done a superb job of matching up all the stays on the bowsprit. Michael
-
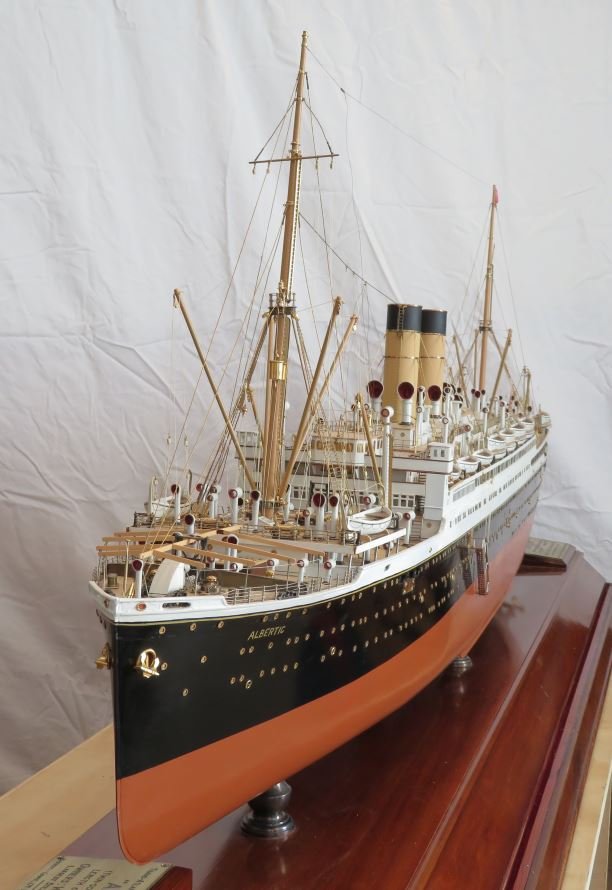
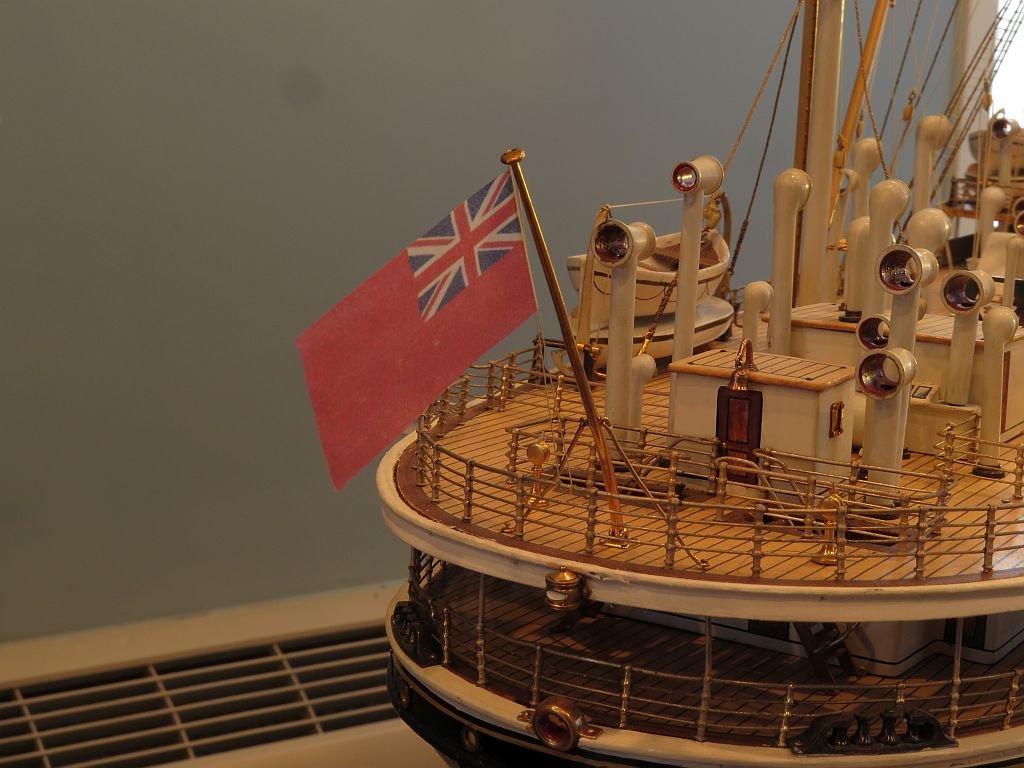
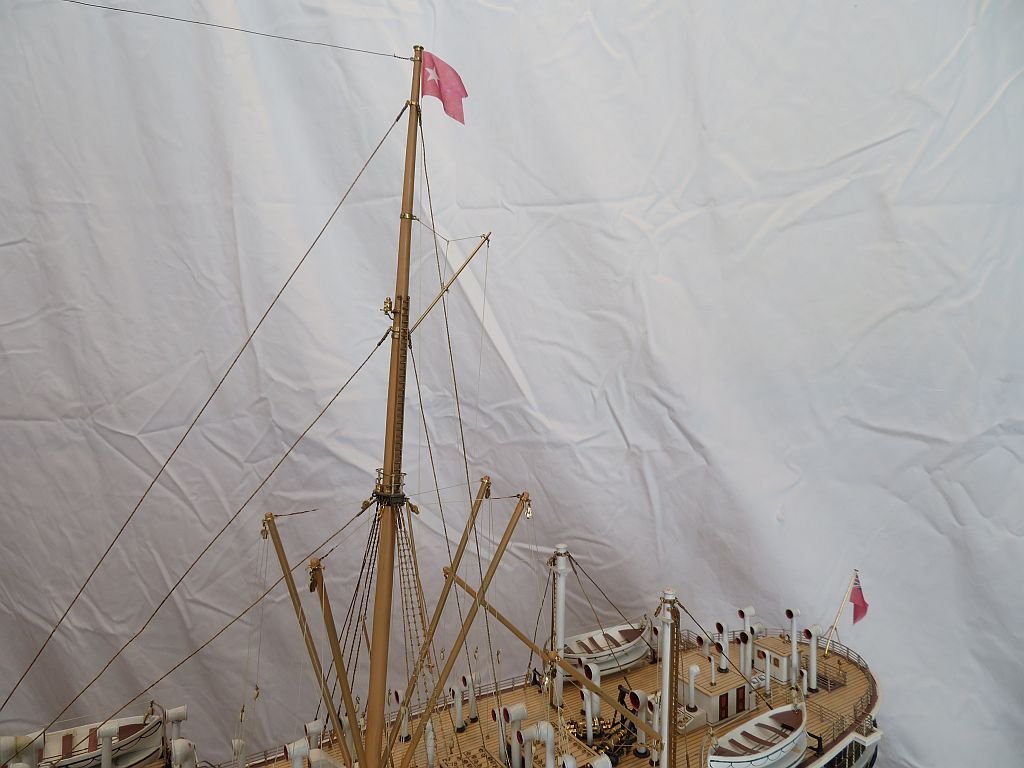
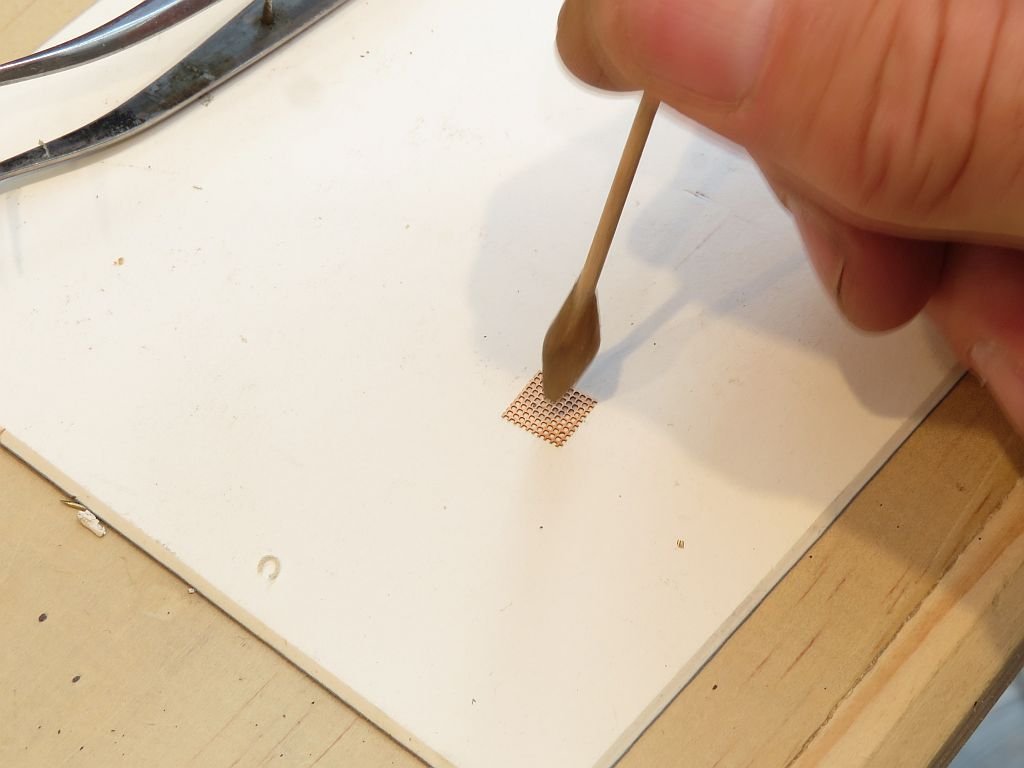
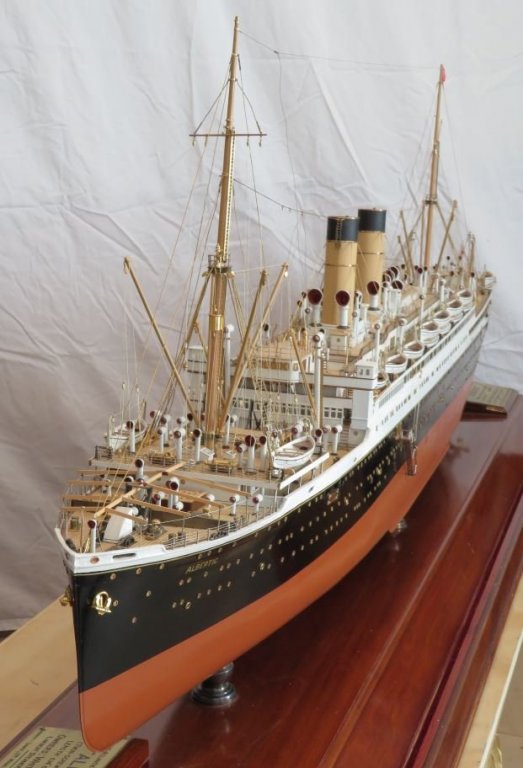
Thanks everyone for following along on this journey. A couple of small Items completed the work today. The gratings on the starboard companionway And the installation of the flags. I had to do the house flag twice because the first time it was upside down. I can say that the house flag can be raised and lowered though. I had some etched copper from Scale Link that I picked up in 1979 from Puffers opposite Kenton Railway Station. after cutting the size slightly oversize I slowly sanded it with some 600 grit until it just fit snug. I used a toothpick with beeswax to pick up the piece to place it for final gluing. Then I decided to reprint the house flag in red rather than the blue one. The ensign was also re printed on some light weight silk-span, I decided to shape it after setting it to the stern flagstaff. And now.....She's done! When we get back from Whitehorse I shall crate her up after the inspection. Onward and upward. Michael


- 749 replies
-
- 33
-
-
- albertic
- ocean liner
- (and 2 more)
-
Nice i shall definitely give this a try. Michael
- 421 replies
-
- 3
-
-
- medway longboat
- Syren Ship Model Company
- (and 1 more)
-
Congratulations Albert on a beautiful model and stunning presentation of the build from start to finish. Michael
-
Chuck That planking looks superb, I can imagine that type of wood looking very nice on a boat that I have in mind. Michael
- 421 replies
-
- 2
-
-
- medway longboat
- Syren Ship Model Company
- (and 1 more)
-
I am thinking that a couple of stretcher bearer handles screwed to the long sides formed from a couple of 1x3 shaped at each end might work. then two or four people can move it relatively easily. The crate weighs about 110lbs. the model is about 100-120lbs sitting on the base. for maneuvering in tight spaces but where there is lots of room they can move it with a pallet jack or fork lift. Michael
- 749 replies
-
- 5
-
-
- albertic
- ocean liner
- (and 2 more)
-
Druxey, not too far but it will go into a warehouse storage until the library is finished being renovated which might be another year before the model is reinstalled. I have seen the results of flimsy crates in the past. The goal is to make sure that the model is well protected until it is needed. Michael
- 749 replies
-
- 5
-
-
- albertic
- ocean liner
- (and 2 more)
-
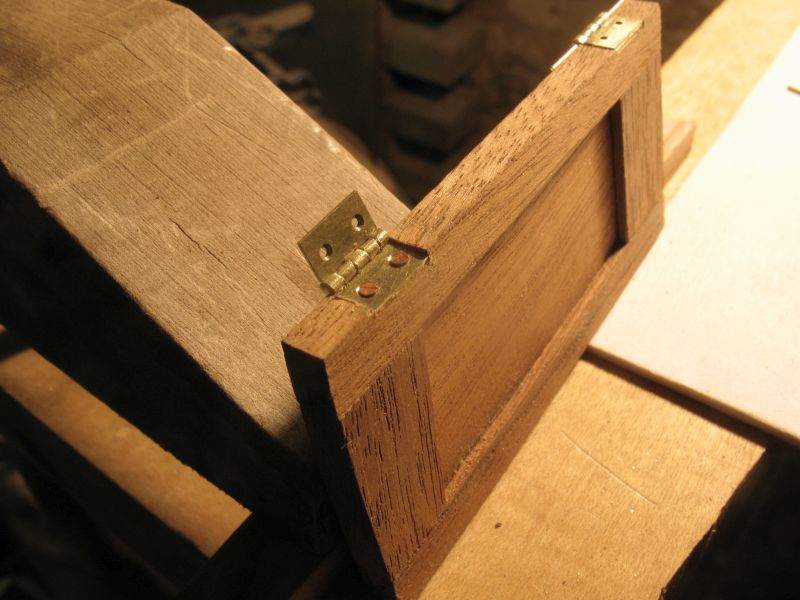
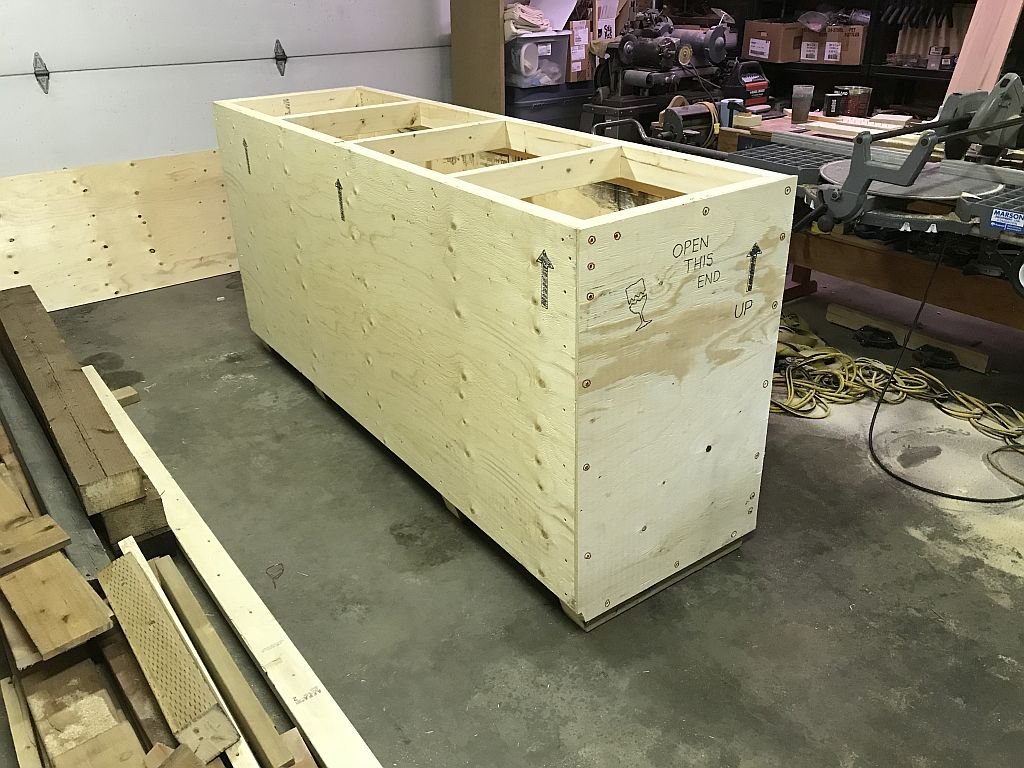
Carl I will check if they are greasy this morning. Yesterday I did manage to cobble together the shipping crate carcass. The model will slide in from the end with some straps to pull it back out. there will be felt runners along the sides with a capture at the inside end and lock down felted cleat at the opening end. Michael

- 749 replies
-
- 9
-
-
- albertic
- ocean liner
- (and 2 more)