
HOLIDAY DONATION DRIVE - SUPPORT MSW - DO YOUR PART TO KEEP THIS GREAT FORUM GOING! (89 donations so far out of 49,000 members - C'mon guys!)
×


michael mott
-
Posts
5,200 -
Joined
-
Last visited
Content Type
Profiles
Forums
Gallery
Events
Everything posted by michael mott
-
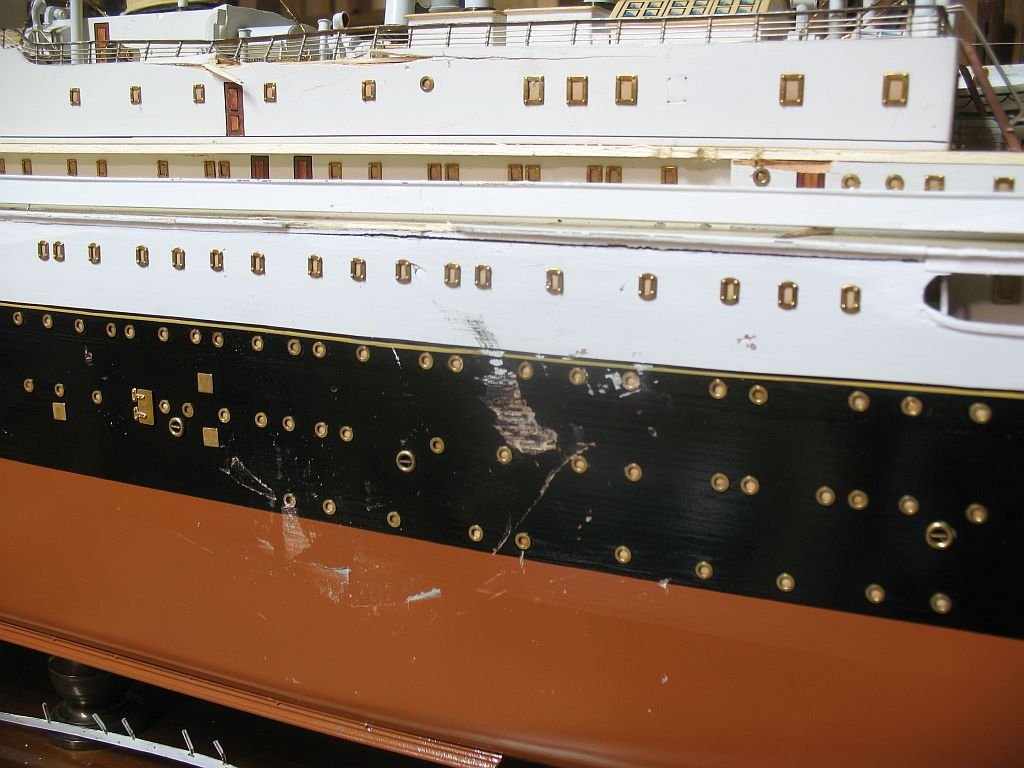
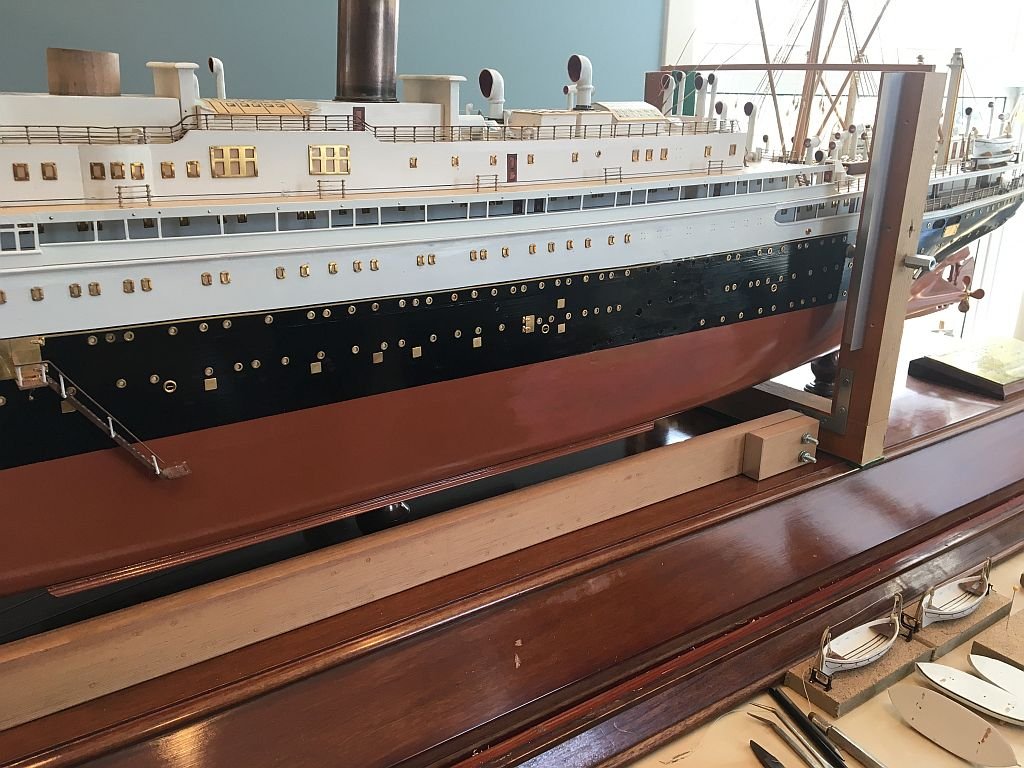
 Hi Colin you can say that again. Thanks for all the positive comments they are much appreciated. I have been working away at the colour matching slowly adding some gloss to the mix to bring up the lustre, this picture shows some improvement and the centre section is getting quite close. The black still needs more work as well. The photographs can be brutal but they do help to keep one humble. Here is where it started. Michael
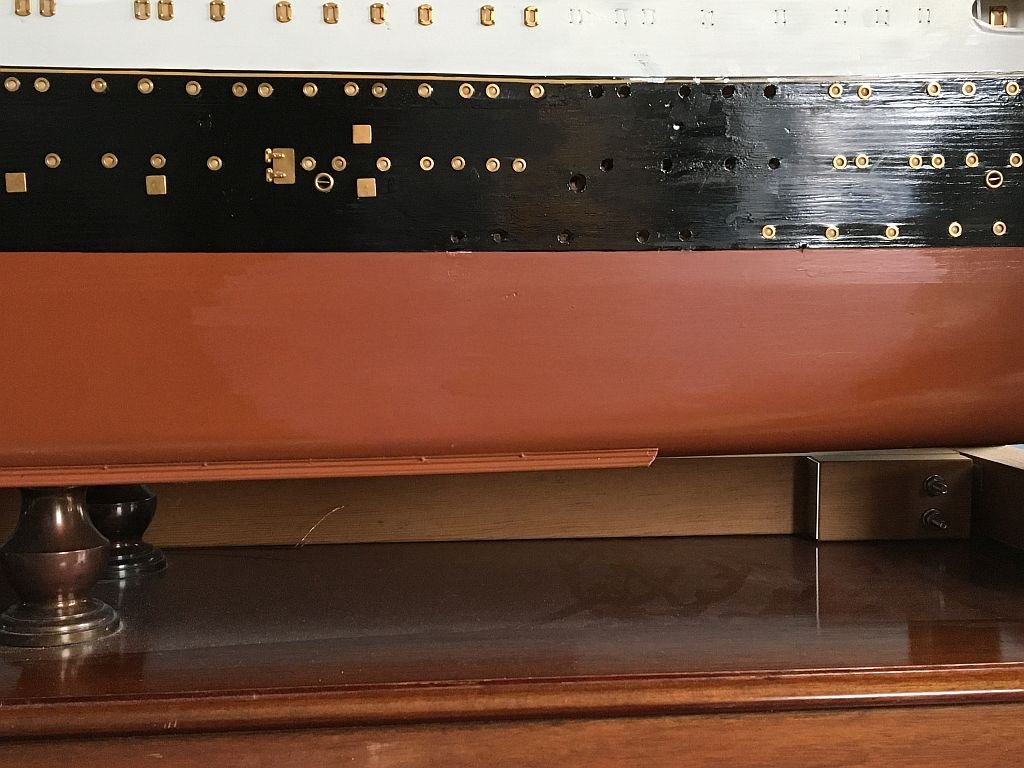
- 749 replies
-
- 14
-

-
- albertic
- ocean liner
- (and 2 more)
-
Home Made Sanding Blocks
michael mott replied to Osmosis's topic in Modeling tools and Workshop Equipment
Nice solutions Art, when using papers that are not self adhesive, I find that double sided carpet tape works well. Michael -
Home Made Mini Mill
michael mott replied to KeithAug's topic in Modeling tools and Workshop Equipment
Ok so you have got my attention! Very nice Keith, I like the way you have been approaching this build, makes me want to dash out to the shop and start fiddling. Trouble is the bow needs re stringing. I like the old cross slide screw for the vertical travel and the re purposed kitchen door handles guess you will be able to get cooking with this mill once it is done. I couldn't resist. Will you be adding some rubber or leather wipers to keep the linear bearings clean of dust and swarf? It might be a good thing to add. I have not had much experience with them the only type I had used did not have their own built in. Looking forward to the next installment. Michael -
The drone video of the sailing was very interesting. I am wondering about the way the Ice is so flat and clear of snow, the lakes here never seem to get that way. Also what is the thickness of the ice and the average temperature in the area? Michael
-
Good morning Doris, reviewing your model is a great way to be inspired at the beginning of my day. Your attitude about replacing parts that can be improved is exemplary, great work replaced by excellent work, because you know it can be improved after receiving more knowledge. You do set a very high bar indeed. Michael
- 1,035 replies
-
- 13
-
-
- royal katherine
- ship of the line
- (and 1 more)
-
Oh I am so happy that you decided to do this Jack. I shall be following along for the ride for sure. Michael
-
Hi Ed, not only is the 3 dimensional work of the highest calibre but looking at each photograph is also like a treatise on Descriptive Construction Drawings. It is so inspiring following along your build. Michael
- 3,618 replies
-
- 11
-
-
- young america
- clipper
- (and 1 more)
-
Repairing damage can be a rewarding experience to know that you can do it. That said looking at the damage to the mode that you have made, I personally would be inclined to begin again and take all the small lessons that were learned during the build and apply them to the new build. A positive and constructive endeavour rather than a salvage and potentially frustrating one. Michael
- 22 replies
-
- 6
-
-
- notre dame
- hydroplane
- (and 1 more)
-
What a joy it is to follow your work Doris. The video showing how you artfully created such a complex shape with the most simple tools. You clearly demonstrate A great skill that can only come with a tremendous amount of practice. You do make it look so easy and we all know it is not. Michael
- 1,035 replies
-
- 7
-
-
- royal katherine
- ship of the line
- (and 1 more)
-
I passed another milestone today. I turned up the wood inserts for attaching the funnels, these are made of Cherry, and the tops will be painted Black. Also did a little more matching of the bottom paint. michael
- 749 replies
-
- 23
-
-
- albertic
- ocean liner
- (and 2 more)
-
That last picture really shows the value of good photographic skill. and the model looks pretty good too.... wonderful work Gaetan. michael
-
Good to hear that the encounter resolved without serious long term issues. the model is looking superb. Michael
-
Nils just catching up.... wow what a lot of work you have achieved in 6 months. A great looking model it is. Michael
- 692 replies
-
- 4
-
-
- eagle of algier
- chebec
- (and 2 more)
-
Just catching up Patrick, a belated happy birthday, haven't you finished this ship yet?......absolutely amazing how much detail you have crammed into this little Gem. Michael
-
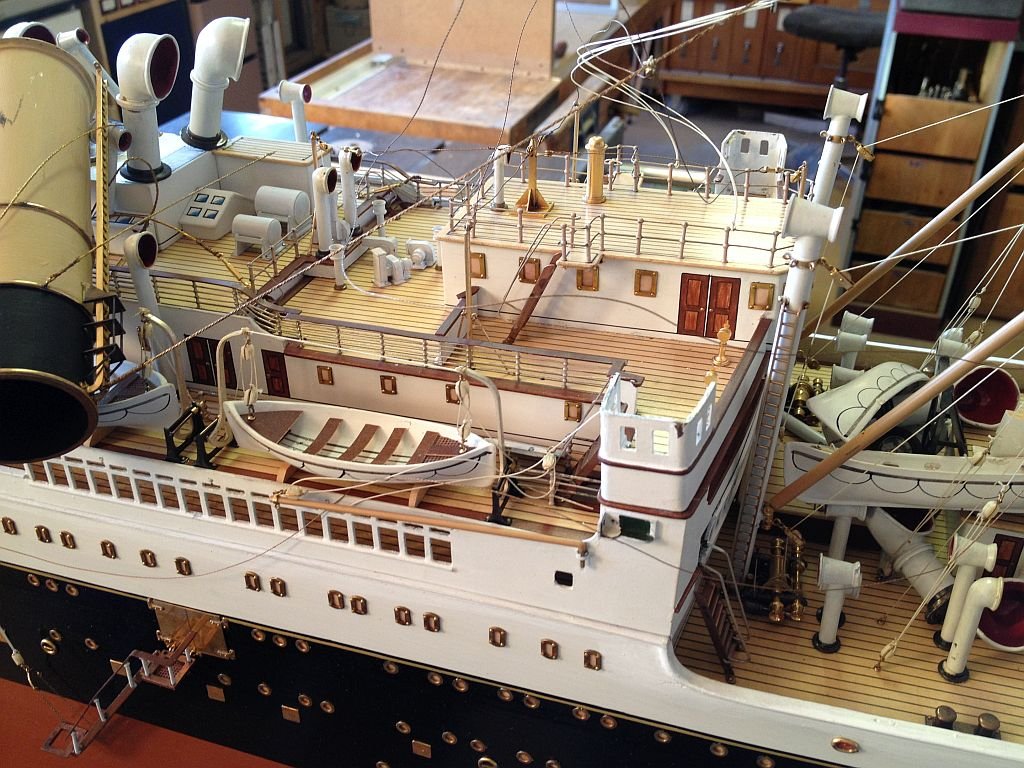
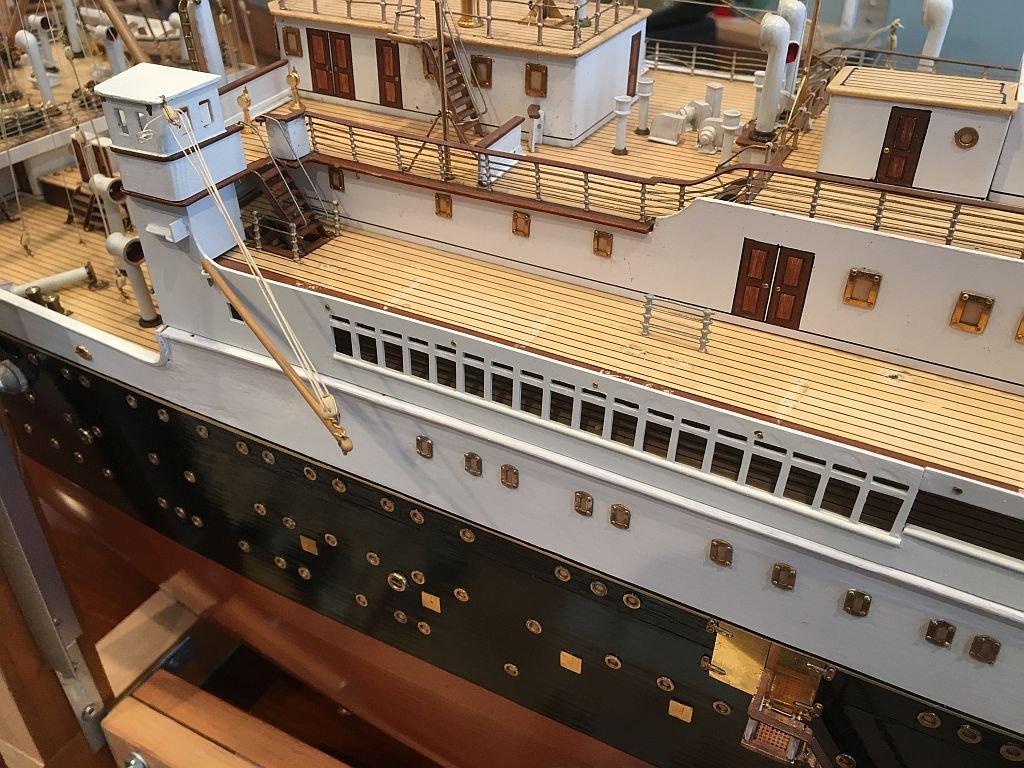
Hi Mark The short sections of the railings fit between the lifeboats on the passenger side of the deck. In this picture that I took during the examination you can just see on the Starboard side the short railing between the two lifeboats. Obviously a child could easily get around this arrangement so it was probably not normally accessible to the passengers. The lifeboats on the fore deck were just dumped there by the folk who picked up the pieces, you can also see the fall line from the boom tackle is attached to the mullion. Thanks for the kind comment Pat Michael
- 749 replies
-
- 16
-
-
- albertic
- ocean liner
- (and 2 more)
-
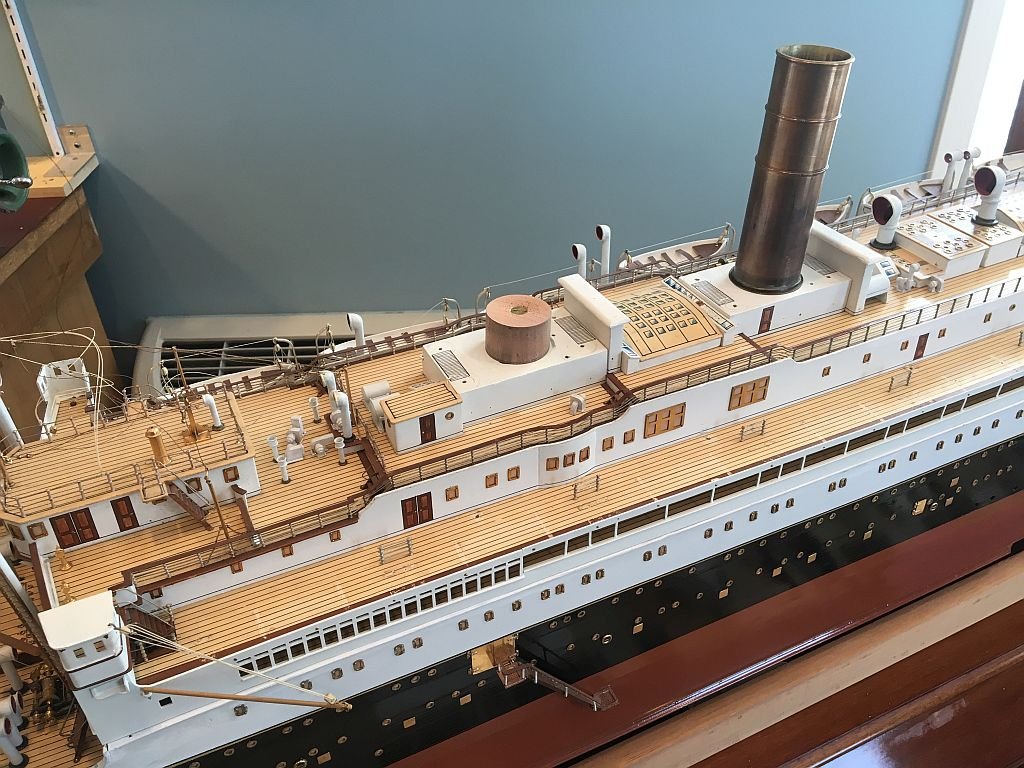
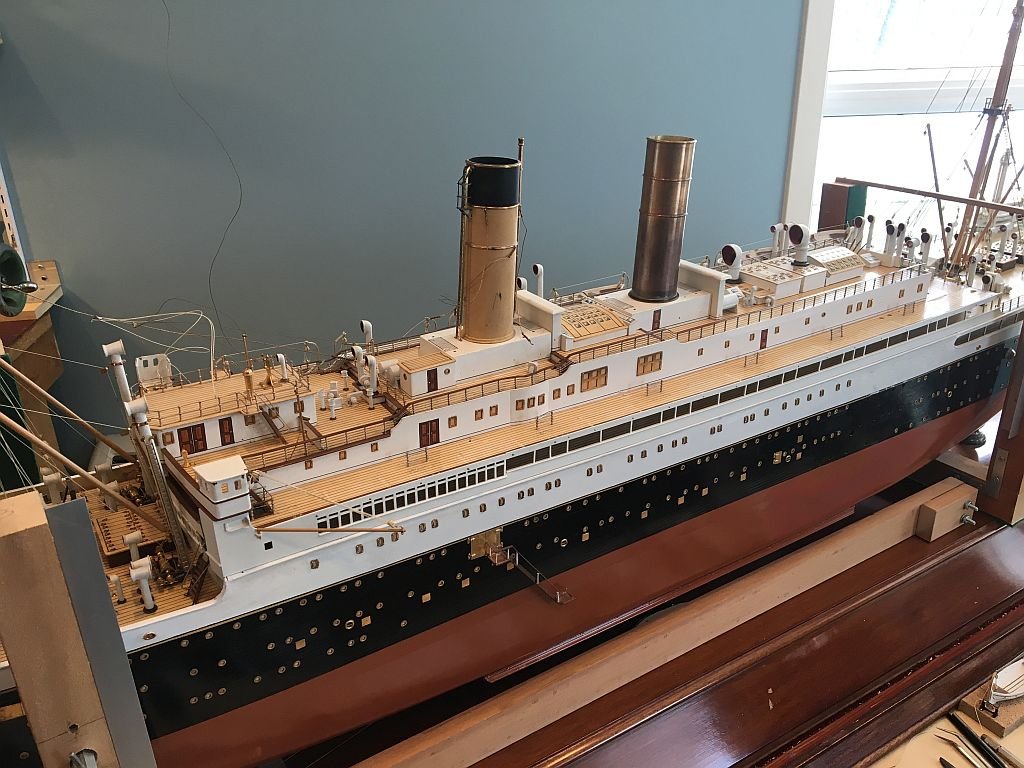
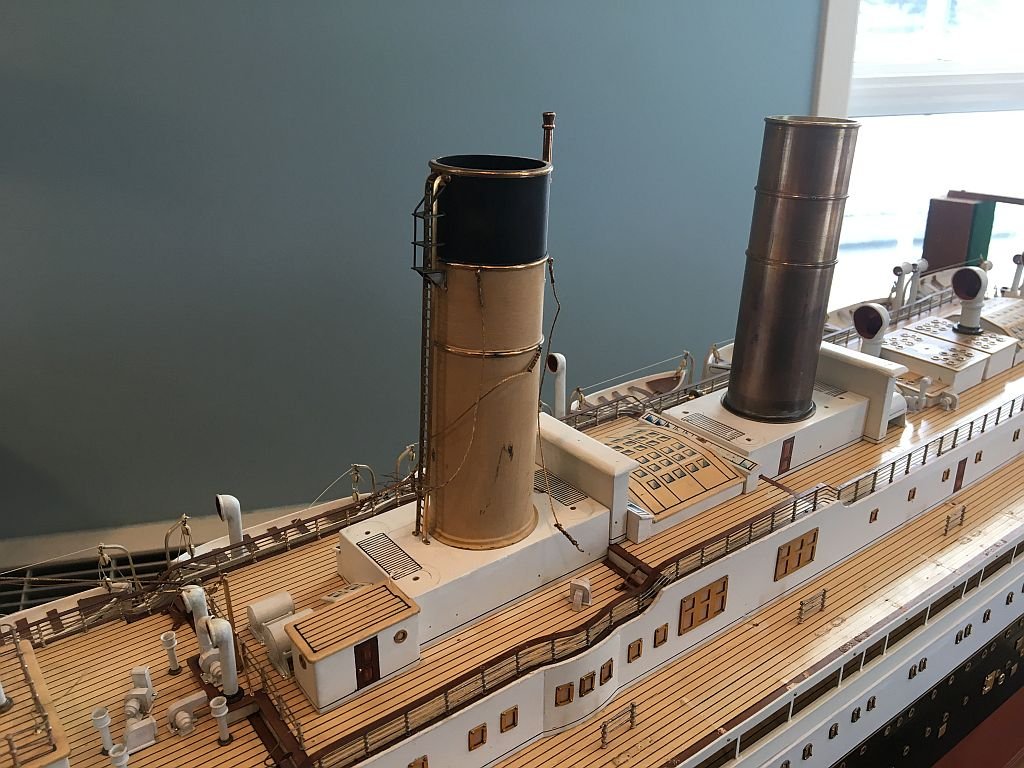
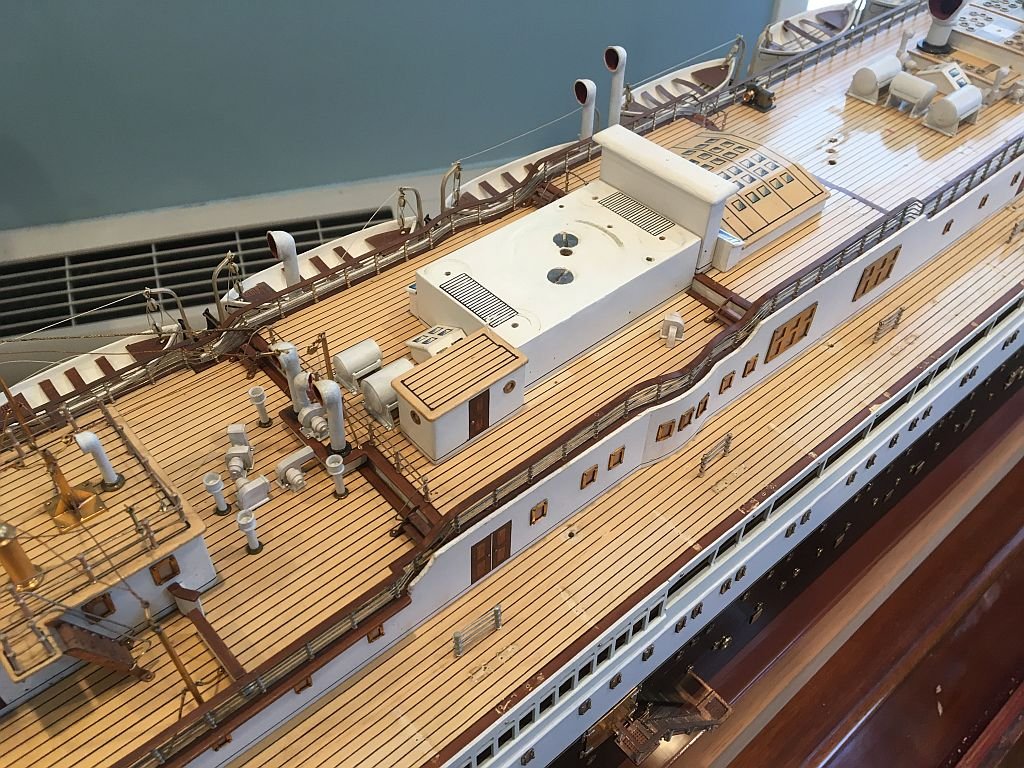
Thanks to all for the likes and comments. I finished the assembly of the short stairs from the lifeboat deck to the upper deck, and also re attached the forward funnel tower. The short boom which is hanging off the side with the block and tackle leading up to the small roof was in the pile of debris the fall line was tied to the central mullion between the openings on the port side. which seemed strange to me the starboard side is similar. It does not seem to be a proper way but I am not familiar with these practices, or what this particular boom would be for. The funnel base was attached with a single screw through a brass plate that was soldered inside and at the base of the funnel. I will be adopting a different method I will glue in about an inch of hardwood dowel which will get attached in the same screw hole. All the stays will add additional strength. I am quite pleased with the overall colour matching on the tower which had a few heavy dings in it. I did not want to redo those grills. Michael
- 749 replies
-
- 19
-
-
- albertic
- ocean liner
- (and 2 more)
-
Keith, What a beautiful journey your model has been, your superb craftsmanship throughout has been a joy and a great learning experience Congratulations on the completion! I look forward to your next one. Michael
-
Well said, my wife is a librarian and we have had many discussions about this very topic. I also read a lot of books from the library and now that I can walk to the local one it is even better, then a short walk to the coffee shop......there goes an afternoon. Michael
-
Hi Druxey a modification to the original set of tools adding some gold elements, because it was a 100 anniversary project. Michael
- 749 replies
-
- 3
-
-
- albertic
- ocean liner
- (and 2 more)
-
Albert when I look at how clean your modelwork is, I keep thinking that I should just sit in the corner and take up reading. Beautiful execution of the fine details. Michael
-
Just catching up Mark The comment about the nice planking is very evident in the broadside shot with the cannons. Michael
-
The thimbles on the ends of the shrouds look great Mark, overall the effect is really clean looking. Michael
-
Is it a saltwater pool?... Lovely exquisite work Dan Michael
- 287 replies
-
- 4
-
-
- michelangelo
- ocean liner
- (and 1 more)
-
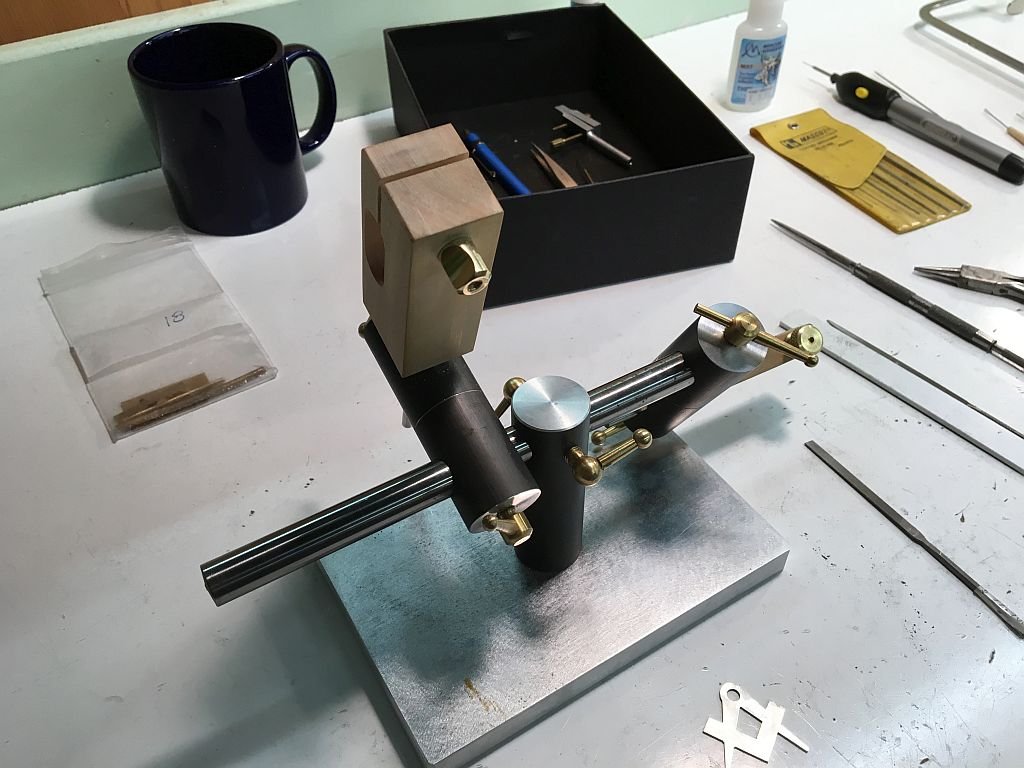
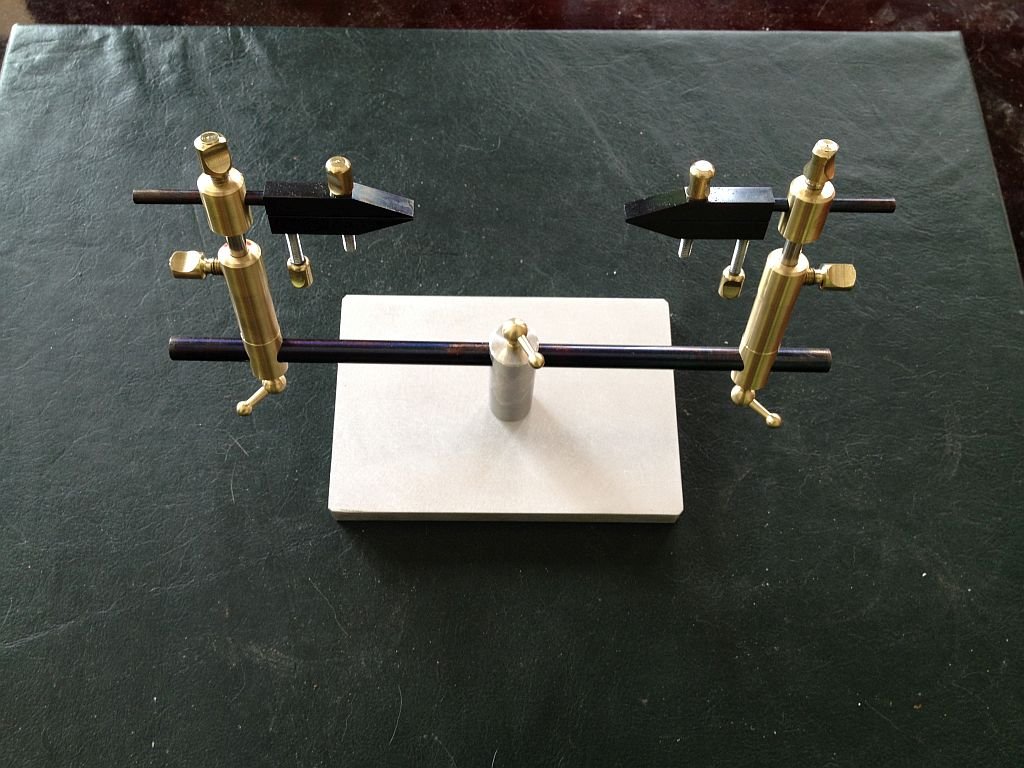
Thanks Druxey, The glass was one of those ideas that I woke up with I was wondering how to hold the tiny tab that had been broken off. The key was to sort out how to hold the ladder and be able to soft solder the broken bit back on, realizing that the solder would not stick to the glass (color slide glass) I cut a small strip and sandwiched the good tab on the stair with the glass sticking out just enough to use a soft iron wire hold down in the hole that was already in the tab. turned down the shank on one of my Eclipse chucks to 3/16 so that it would fit into the third hand. Because of the control with being able to lock one part in position then bring the other part or tool up to it once it was set in place I used a very small 00 paint brush to pick up a sliver of solder with the flux as the agent to pick up the solder one it was placed I used the small nozzle on the hot air soldering station and played it over the joint worked like a charm. The duz-all flux is a self cleaning flux, and since the joint was a fractured one in brass I did not need to do much prep work. After washing it off I matched up the paint with some Humbrol and model masters I am so glad I made this bit of gear I use it just about every day when I am working on model stuff. I added a new clamp it is made of Castello same as the smaller wood ones but an inch square. it is really useful for working with sheet especially silver and gold because the jaws are wood they don't mark up the metal. Here is a shot of the latest addition to the clamps Ben Yes I made the holding device there are quite a few different set ups that I have used in this thread log it was this unit that inspired my making a few for the members here. There is a thread about them in the tools thread Here is the production model that the members have purchased. Back to the bench in the morning. Michael
- 749 replies
-
- 13
-
-
- albertic
- ocean liner
- (and 2 more)