michael mott
-
Posts
5,200 -
Joined
-
Last visited
Content Type
Profiles
Forums
Gallery
Events
Everything posted by michael mott
-
 Jond I enjoy reading your comments about all the rigging details, and about working in the larger scale, but you raise a good point about travel and space. As you point out it is fun having it all work properly but the amount of effort is greatly increased. I think that for sailing models the larger scale is good on small simple boats but gets exponentially more complex on larger vessels. A merry Christmas to you and your family. Michael
 -
Ed the old saying "you have raised the bar" need to be changed to read "you have crossed the line". Michael
- 3,618 replies
-
- 8
-

-
- young america
- clipper
- (and 1 more)
-
Dick I have just spent the last hour or so following the last half of your log. I am really impressed by your persistence in getting the sail to look right, you have done a superb job in my view. Now I understand much better those early paintings and illustrations. I shall go back and start at the beginning now. Mark Pearse those chaps in a 6 foot skiff are insane! About stability, there is none....just temporary opposing forces providing some equilibrium But a nice illustration of the effects that Dick was working to achieve. Michael
-
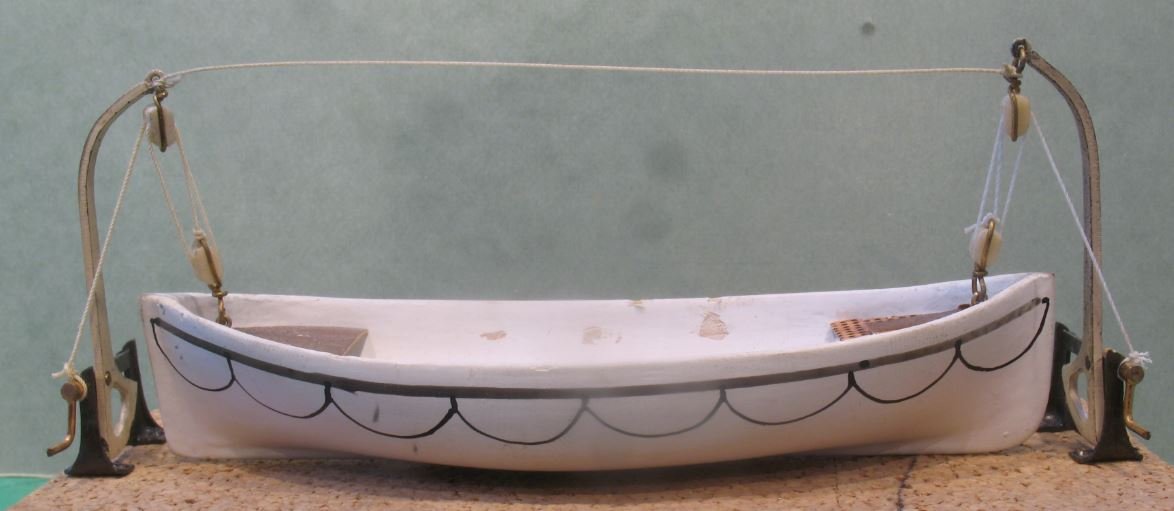
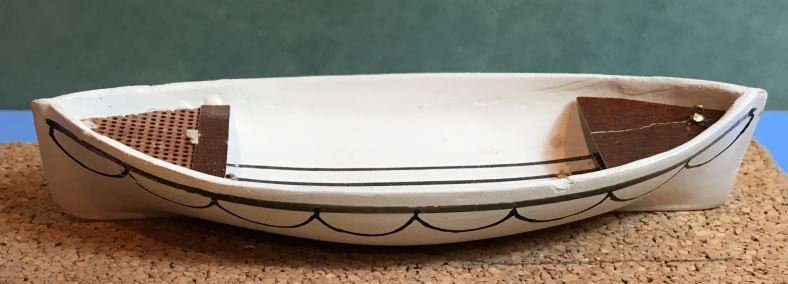
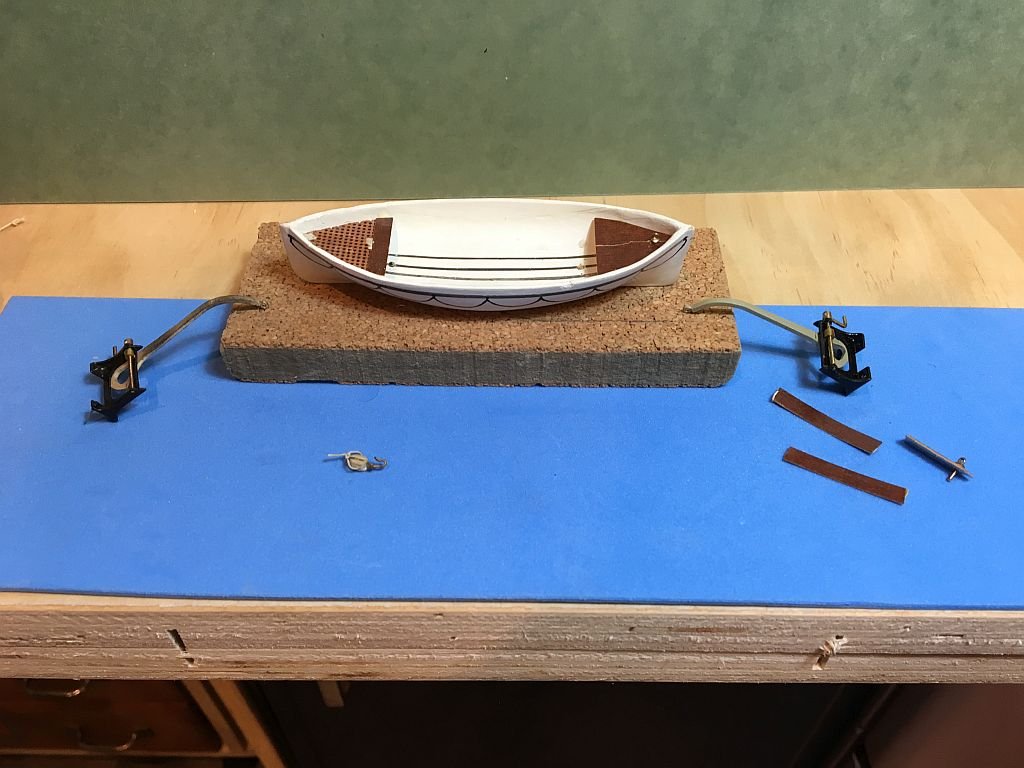
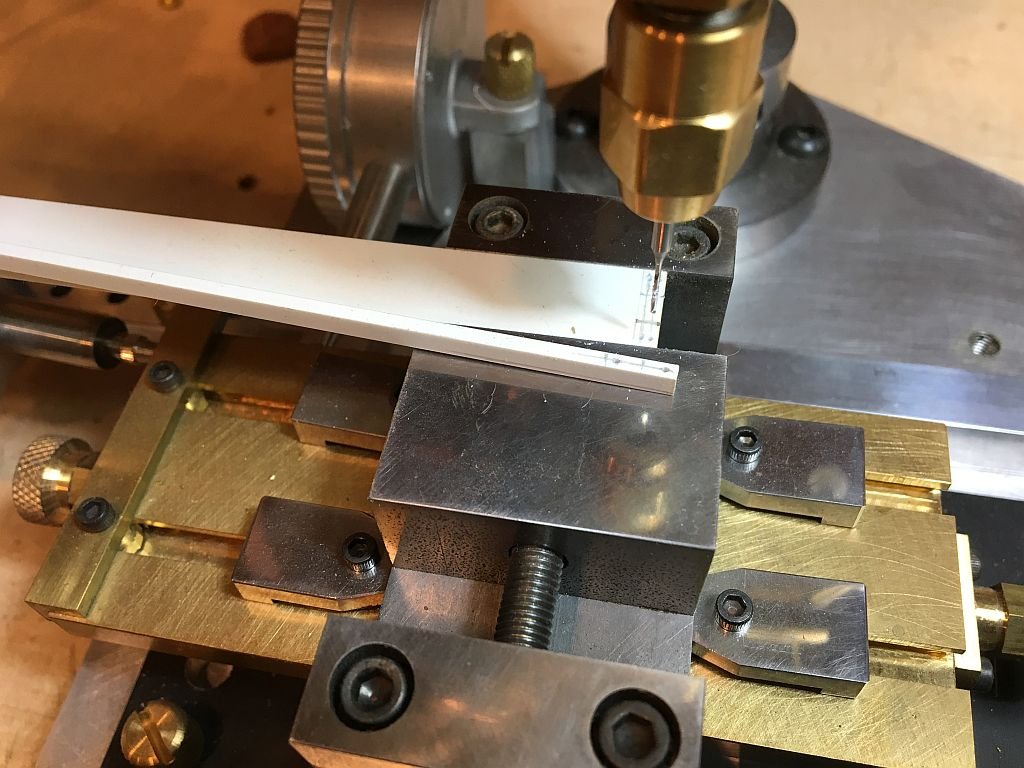
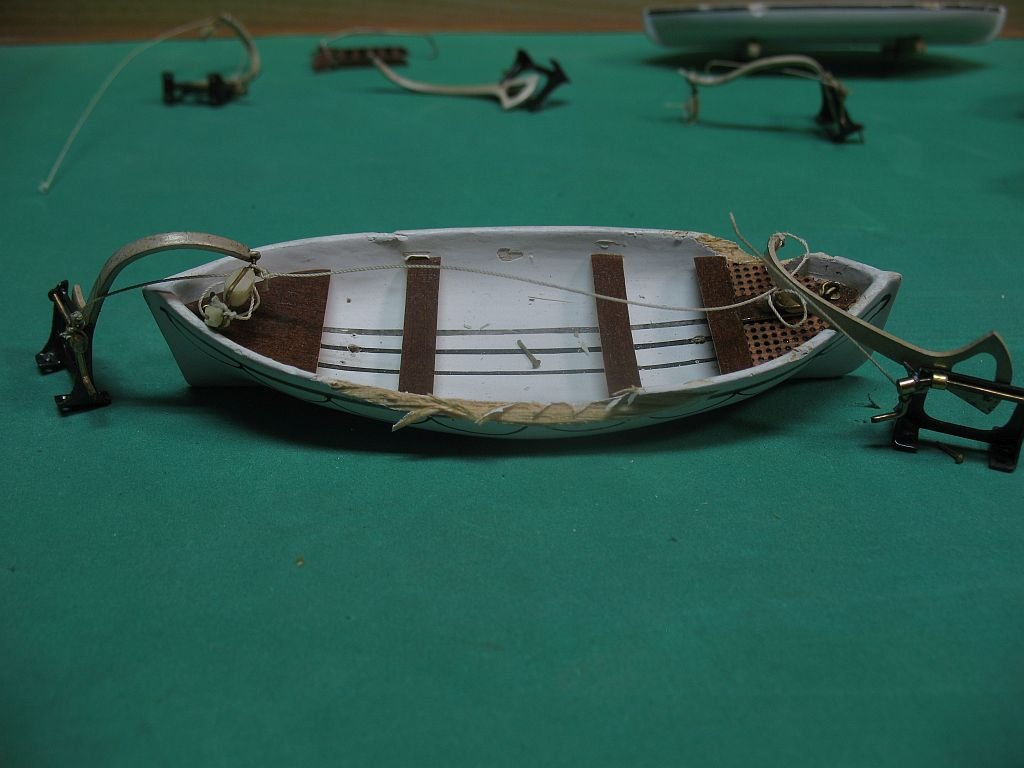
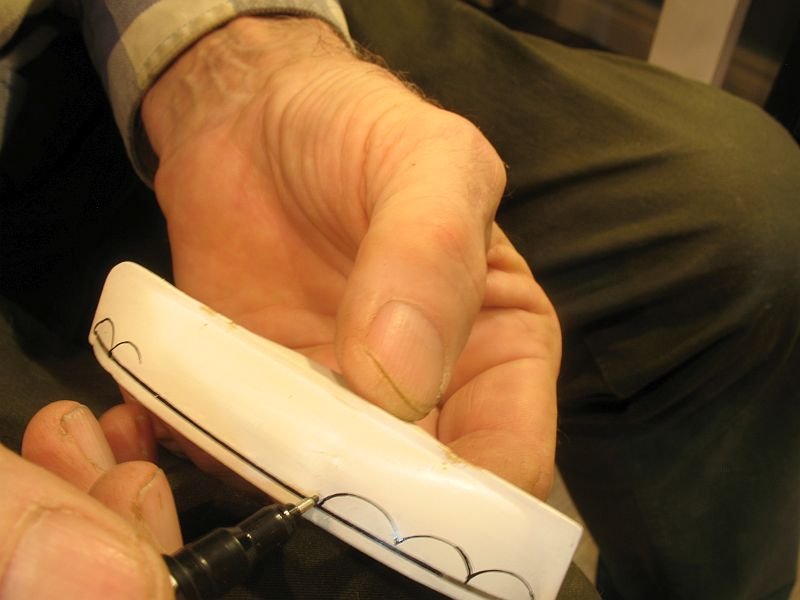
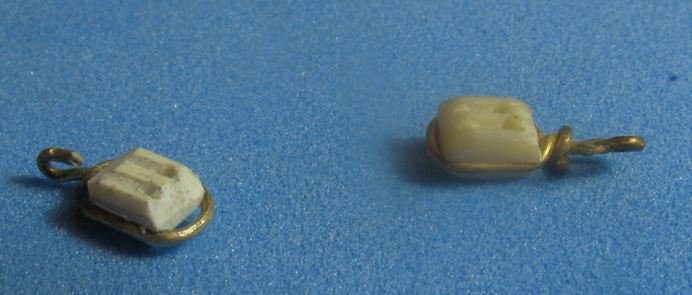
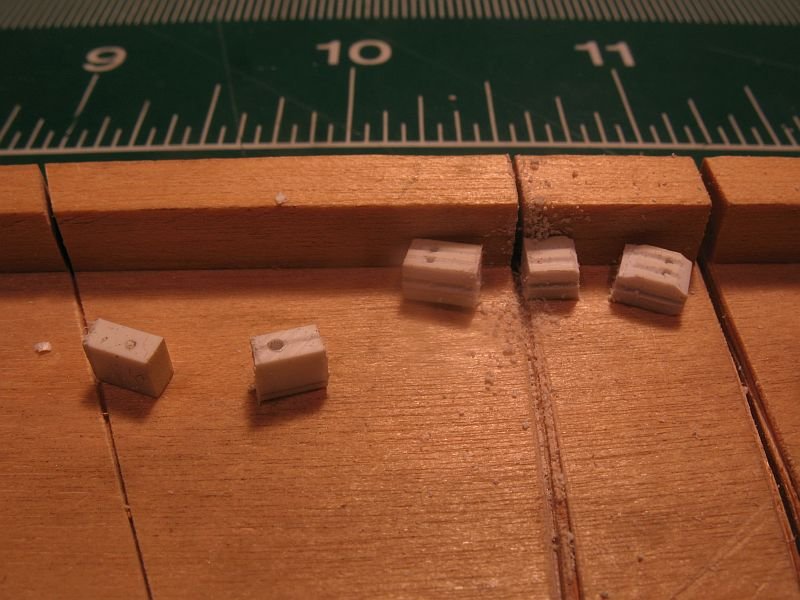
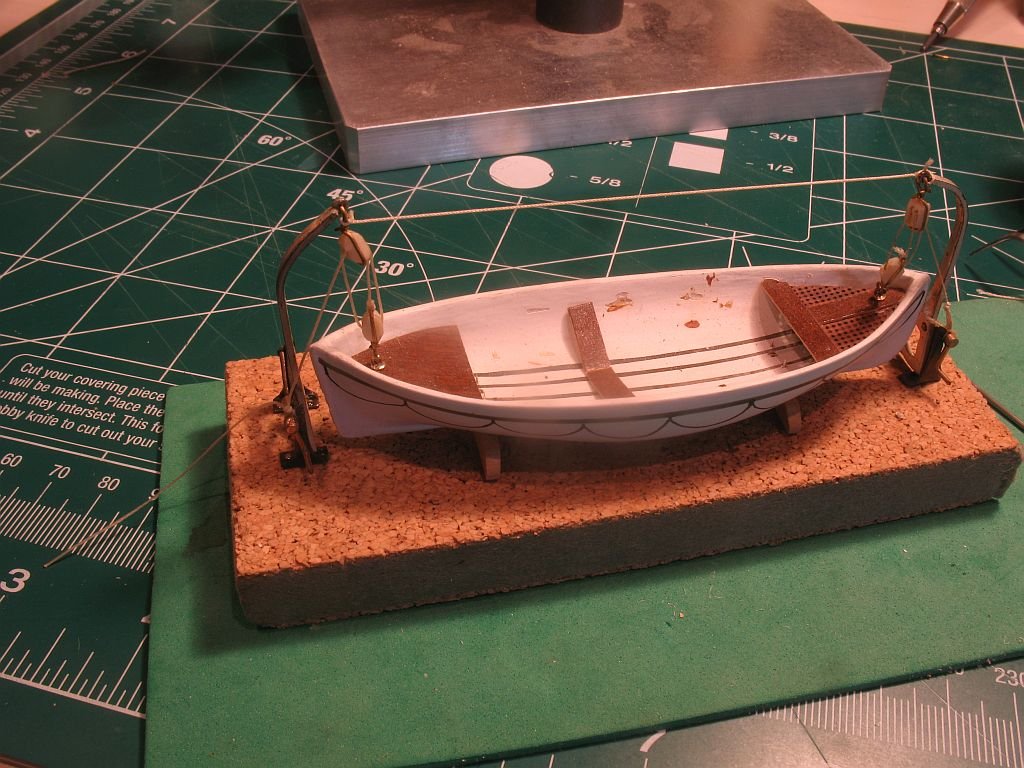
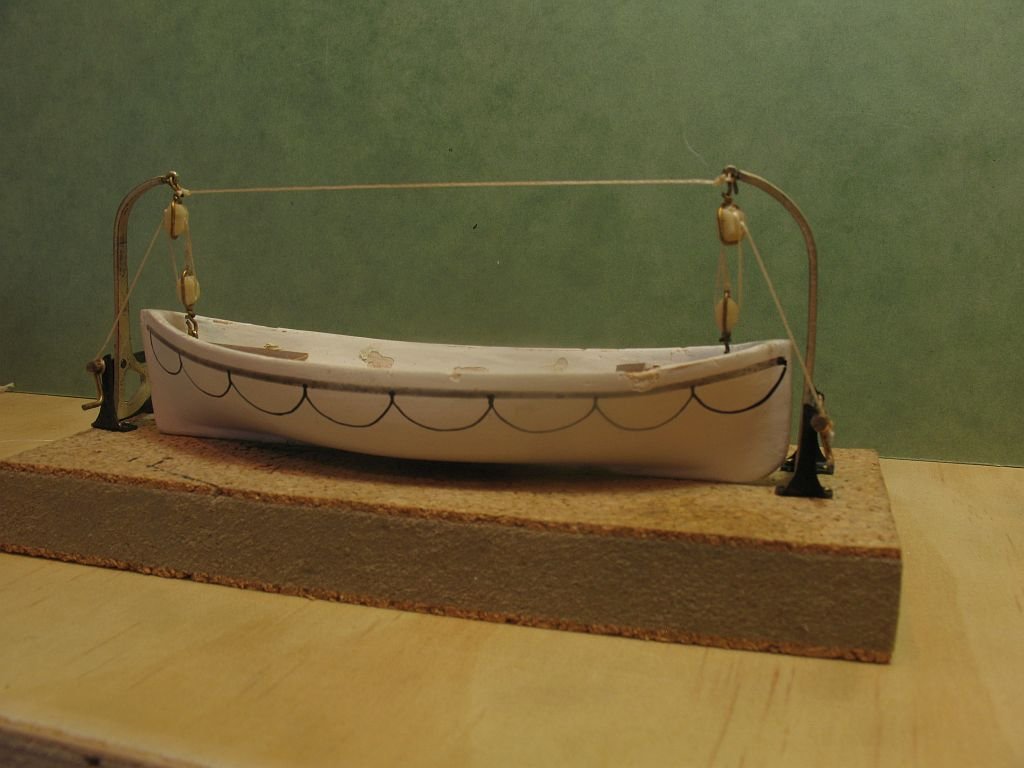
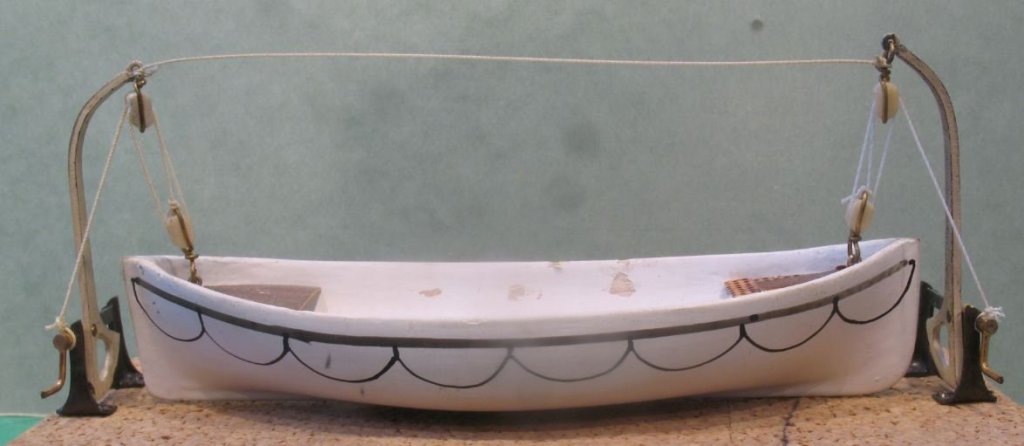
First I would like to thank all of the likes and encouraging comments. Worked on the lifeboat that had received the most damage this evening. This one some time back I had inserted some new wood carved and painted the hull. this nex picture shows the early stages in filling the damaged area with new paint. today I redid the painted lifelines a tad shaky but passable except in close photographs. Because I had used the blocks on one of the other lifeboats I realized that I was three blocks short, they must have been swept up with all the broken glass. The original were made of an off-white plastic ( most likely discolored by time and UV) I made some new ones from some white styrene. I will paint them to match. the next picture shows the holes being drilled in some plastic strip on the mini mill Then the rest was some hand work to emulate the originals using a razor saw and a chisel My block on the left next an overall shot with the decks reinstalled the new davit that I made is the one on the right. Michael
- 749 replies
-
- 17
-
-
- albertic
- ocean liner
- (and 2 more)
-
ancre Chebece 1750 by Jeronimo - FINISHED
michael mott replied to Jeronimo's topic in - Build logs for subjects built 1501 - 1750
Superb work Karl. Your fortitude is admirable, I am not sure that I would have been able to start a third time. Michael -
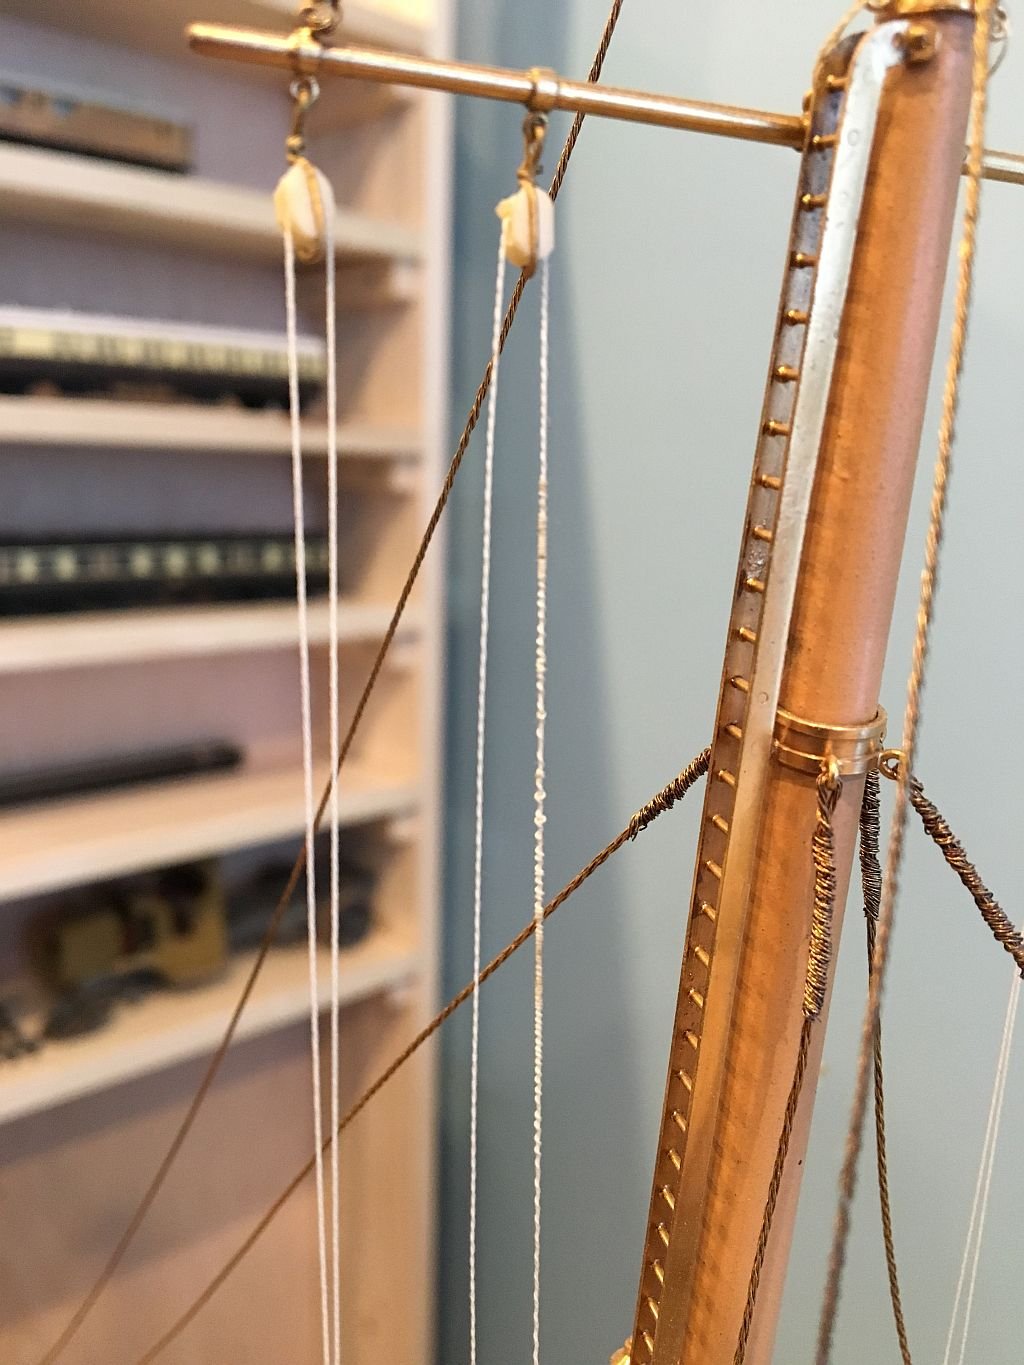
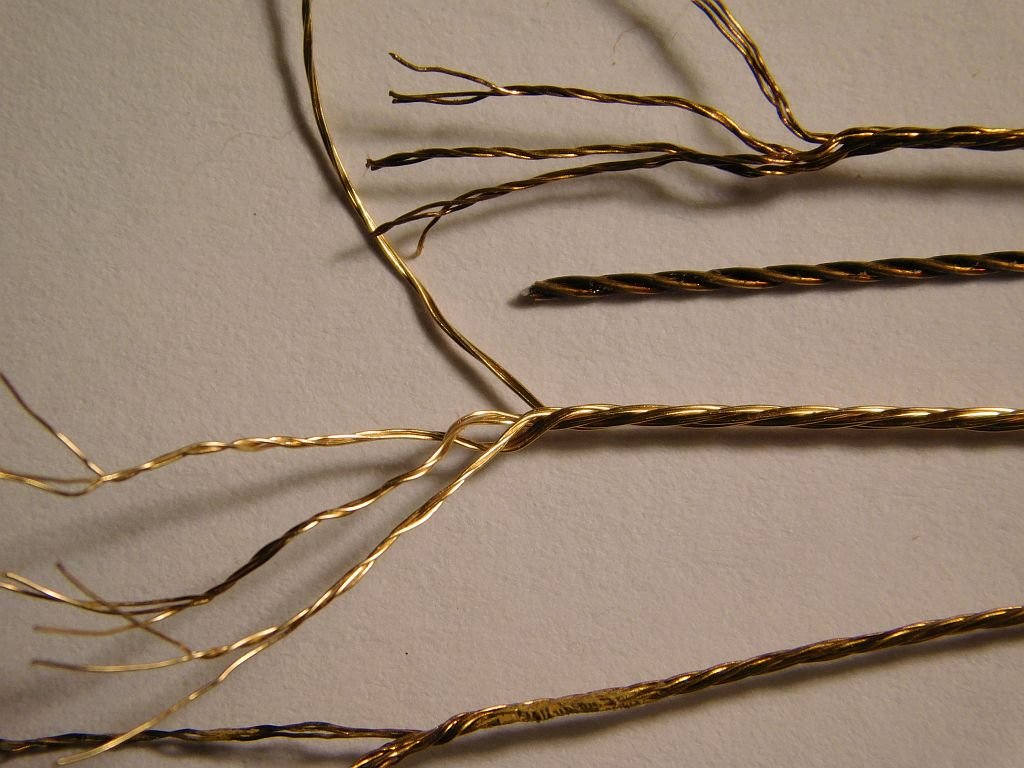
Hello Gerald, thanks for the link and your thoughts about Bassett Lowke. Yes it certainly is a pandoras box. regarding the wire stays, I have been able to replicate the stays that the staff of Bassett Lowke came up with. I did use my rope walk for this with some careful hand work in place of the customary trolley or weight. The way that they made the wire stays was the same way that one would make cable laid rope. 4 sets of three wires then wound together. it took a while to replicate their wire but I eventually got there. There will no doubt be more challenges as i complete this project. Michael
- 749 replies
-
- 11
-
-
- albertic
- ocean liner
- (and 2 more)
-
Beautifully executed Dan. also Wishing you a Happy Christmas and a prosperous New Year. Michael
- 287 replies
-
- 2
-
-
- michelangelo
- ocean liner
- (and 1 more)
-
Very nice progress Dan, a clever solution for the fine handrail. Michael
- 287 replies
-
- 2
-
-
- michelangelo
- ocean liner
- (and 1 more)
-
During the ongoing research for material I came across this site the organization of the information about threads and types is the best I have come across so far which has a most useful section on thread education Obviously it is not geared to the model shipbuilder but clarified a number of questions for me. Michael
- 749 replies
-
- 5
-
-
- albertic
- ocean liner
- (and 2 more)
-
Yep, I am paying them for the privilege now. Seriously though the knowledge and additions to my skill-set is worth it, I knew going in that I was basically working for pennies. Thnings ought to get a little faster now that I am past some of the testing and decision making regarding materials and how far to go. Michael
- 749 replies
-
- 6
-
-
- albertic
- ocean liner
- (and 2 more)
-
Regardless of you trials Vaddoc, she is looking good and even though you have made the choice to not model the inside the work of making and fitting the ribs with ensure that the hull is strong. and a good learning experience to build on. Michael
-
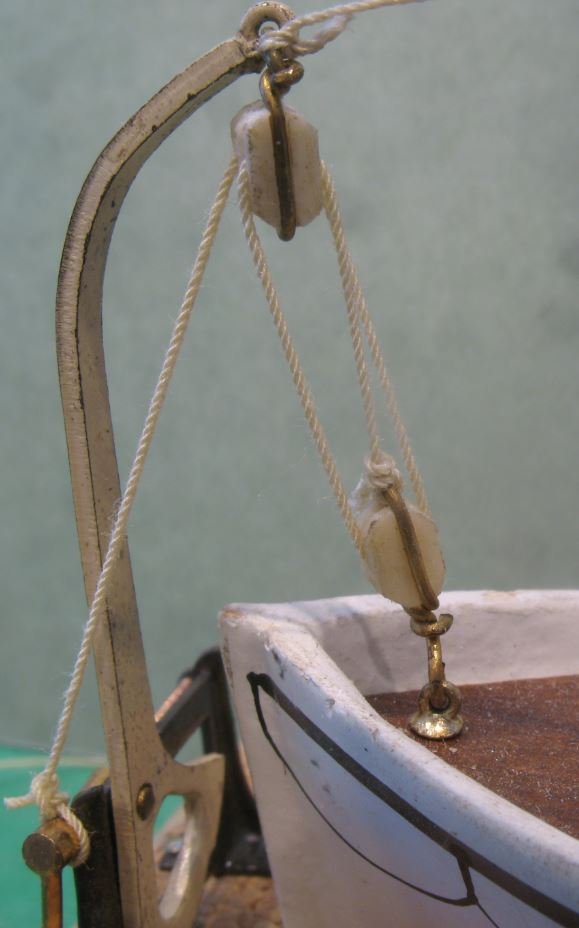
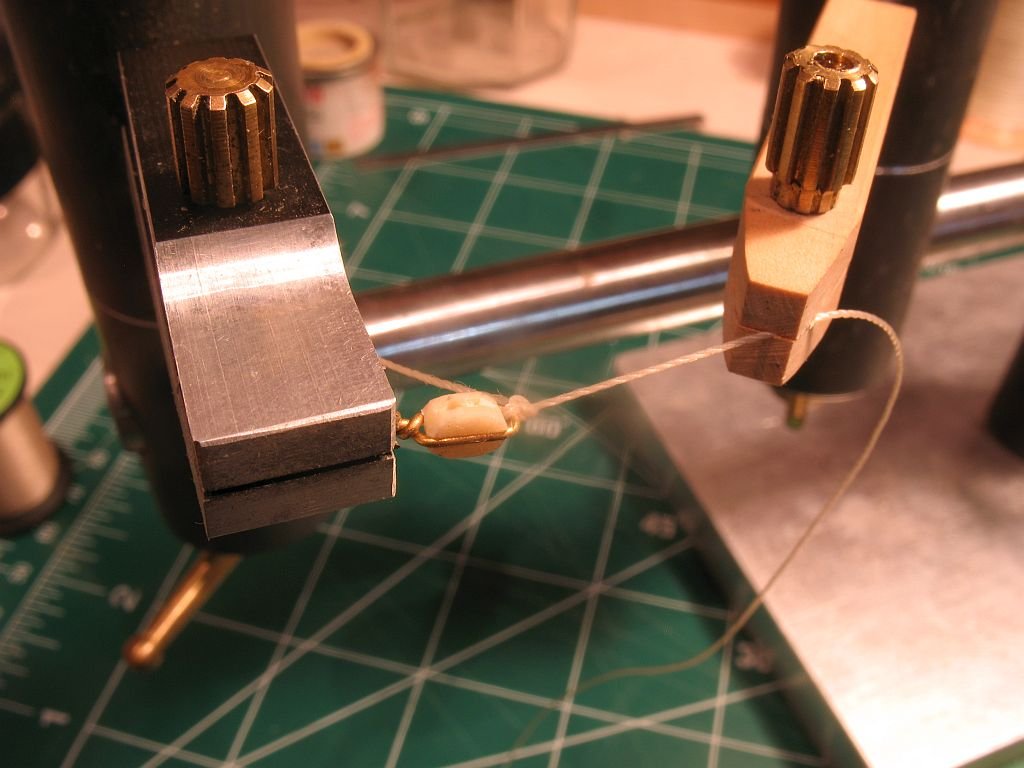
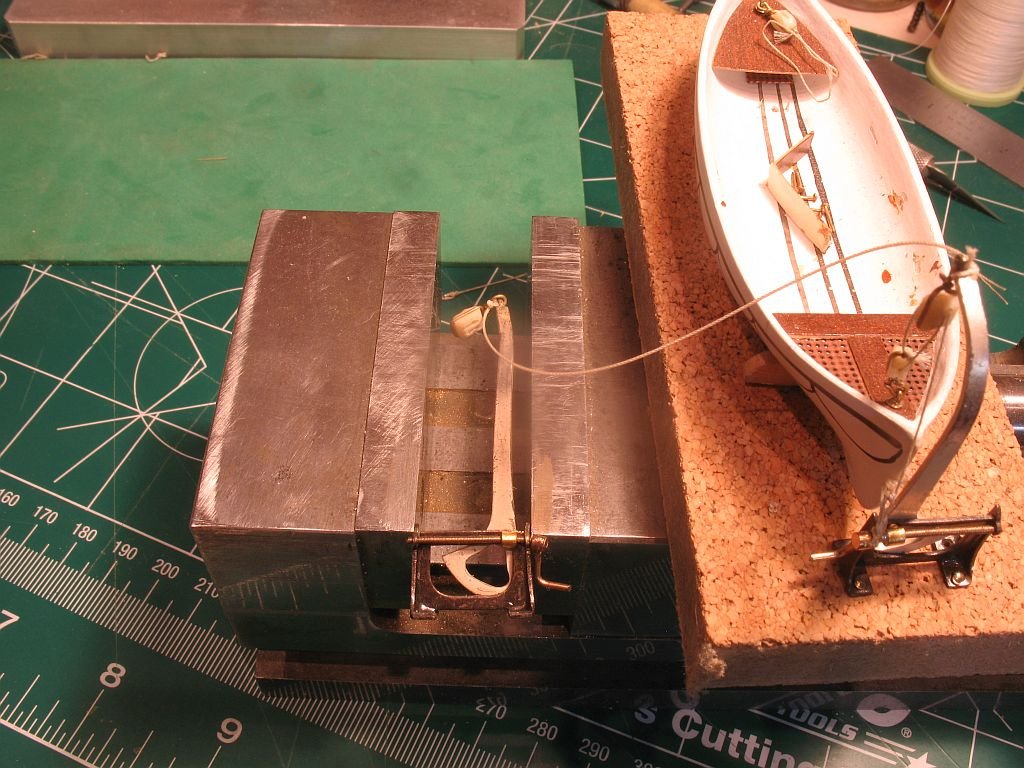
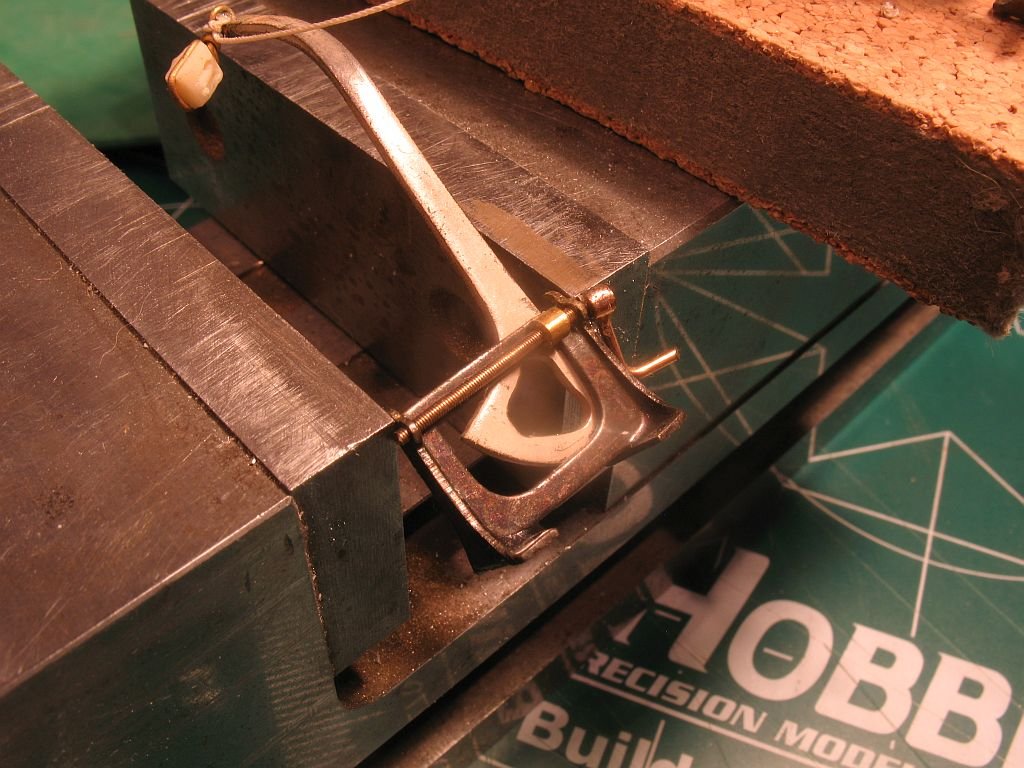
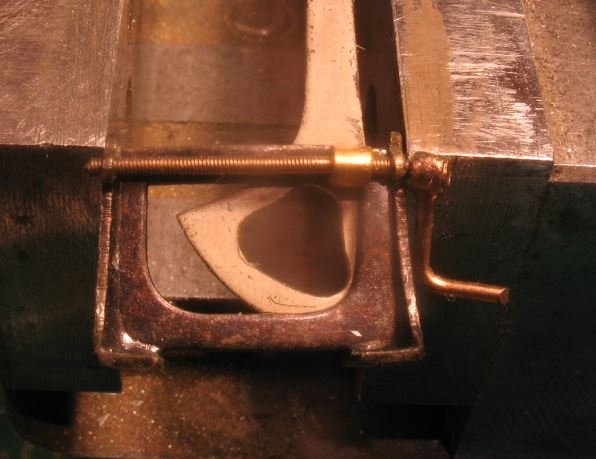
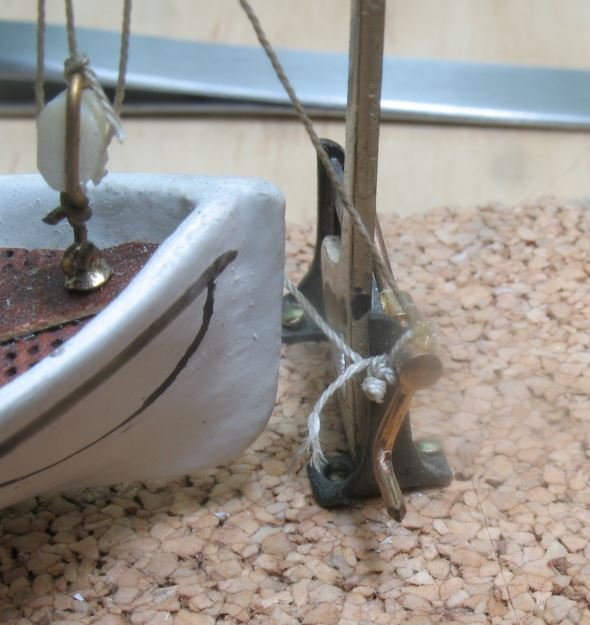
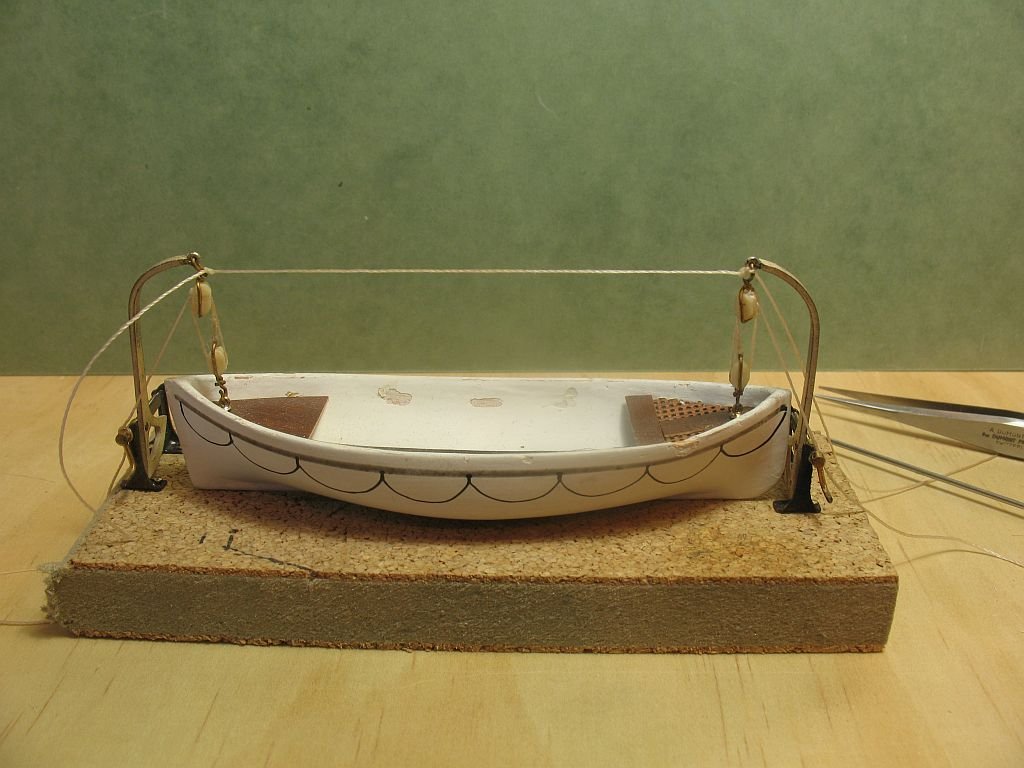
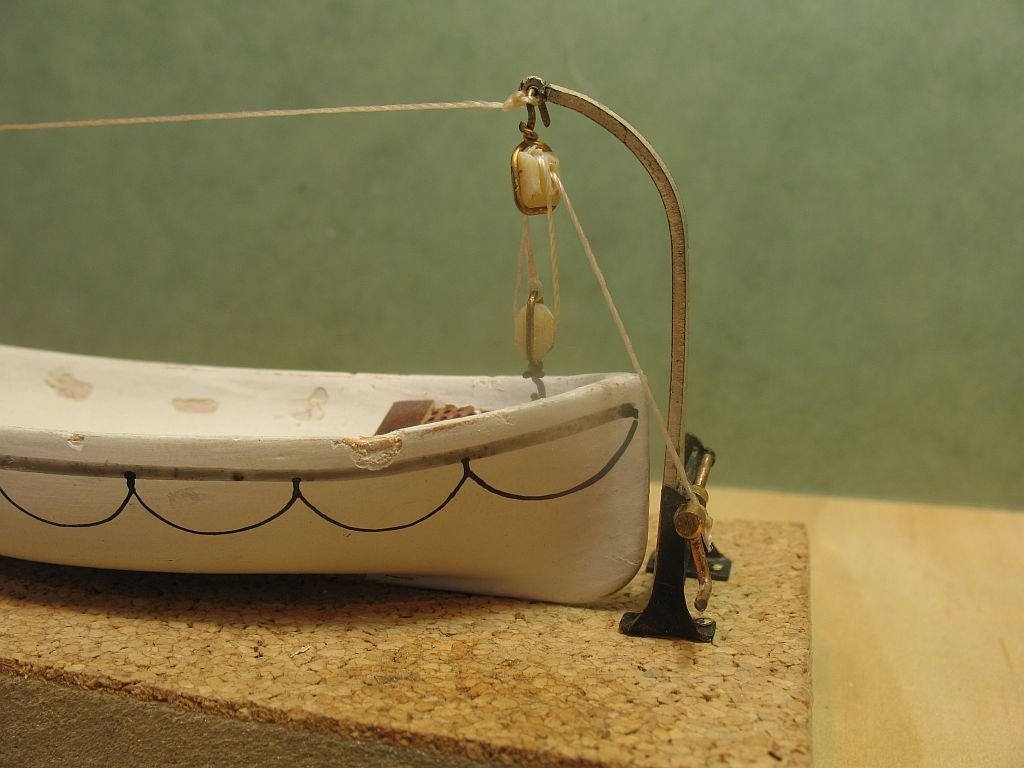
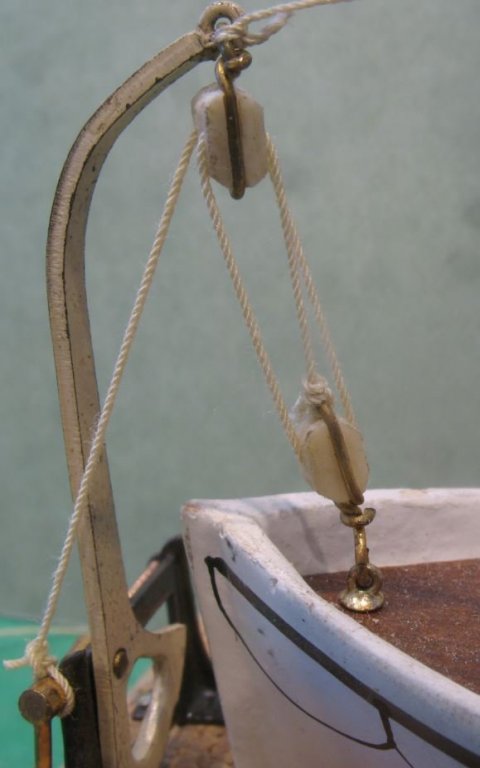
This evening I was able to sort out 2 more sets of lifeboat davits The second one was in quite a mess, the frame had suffered some twisting at the handle side and the handle was bent as well. I decided to keep the top line which meant straightening out the frame while still connected to the top line, I used my machine vise ans after some initial work with some flat pliers managed to push it back into alignment. Once that was done it was back to re-threading the sheaves, I have decided that to be consistent with all the original davits on the Starboard side that the bottom blocks would be tied the same way, here is one of them being tied using the third hand. The opposite davit was OK but the line needed a bit of tidying up. All that is left on this boat is to add in new thwarts Michael

- 749 replies
-
- 12
-
-
- albertic
- ocean liner
- (and 2 more)
-
Mark yes it worked very well for the task, I found that once the area was heated up it bent quite well. Michael
-
Mark, do you have the ability to try bending the part with heat? My understanding is that the heat plays the most important part of this process. Michael
-
Druxey this is the direction I am leaning toward, The budget is fixed, which is Ok , this work is not about the money. From past conversations I have pretty much a free reign as long as I do not increase their costs. overall the material costs are negligible, so it is really my choice. A replaced line that is far enough away from an original is not very noticeable it is the close proximity stuff that is causing my concerns re matching. and it is more about the actual look of the lay of the rope in each diameter that is the most difficult to achieve. I will practice the removal of fuzz which will then give me more options. Pat there are lots of little divots and dings on all the lifeboats that were on the port side, I have so far only addresses the major damage on a couple of them most of them are missing the seats. One of the other items of tooling that I allowed myself (with the extra pocket money from the sale of our property) was a new small model airbrush compressor with the drier attached and a portable paint booth with the built in Fan, this will be a tremendous help with the repainting of the funnels. The big compressor is out in the garage and I do not miss the racket that it makes when it kicks in to recharge the tank. Bob, keep dreaming it has taken me a lot of dreaming to acquire my tools, I have waited a long time for some of them. The interesting thing is I find that some of the smallest simplest tools are all one needs for many of the tasks. knives good cutters, good tweezers, good files, and the ever needed sanding sticks that one can make from a sheet of sanding paper some double sided tape and coffee stir sticks. Michael
- 749 replies
-
- 9
-
-
- albertic
- ocean liner
- (and 2 more)
-
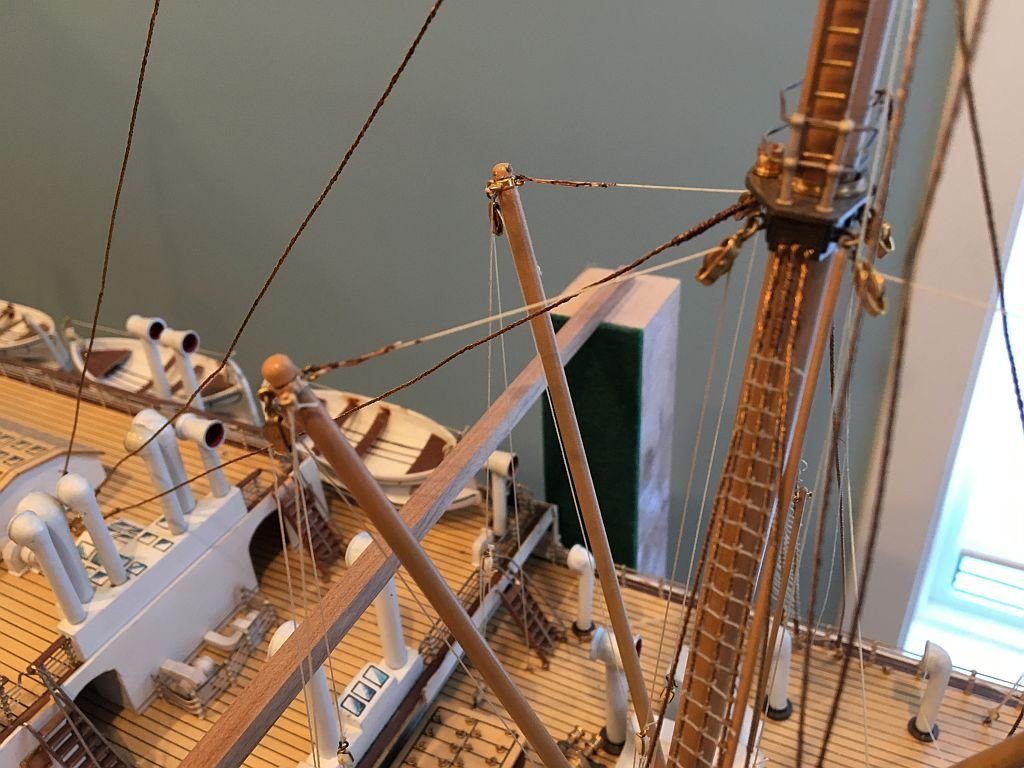
Hi Druxey I think the color is as close as I am going to get it, the big decision is how far to go, some of the lines that have obviously been repaired in the past are glued very sloppily with some dark glue as this picture shows. Also some of the original lines are definitely stressed as in this picture, not to mention the rather enthusiast windings on the stays. I am concluding from all of this that not all the lines are original, and that some of the stays are also not original. michael

- 749 replies
-
- 13
-
-
- albertic
- ocean liner
- (and 2 more)
-
Lots of interesting stuff going on. I really like the case with the pen and pencil. Michael
- 969 replies
-
- 5
-
-
- hahn
- oliver cromwell
- (and 1 more)
-
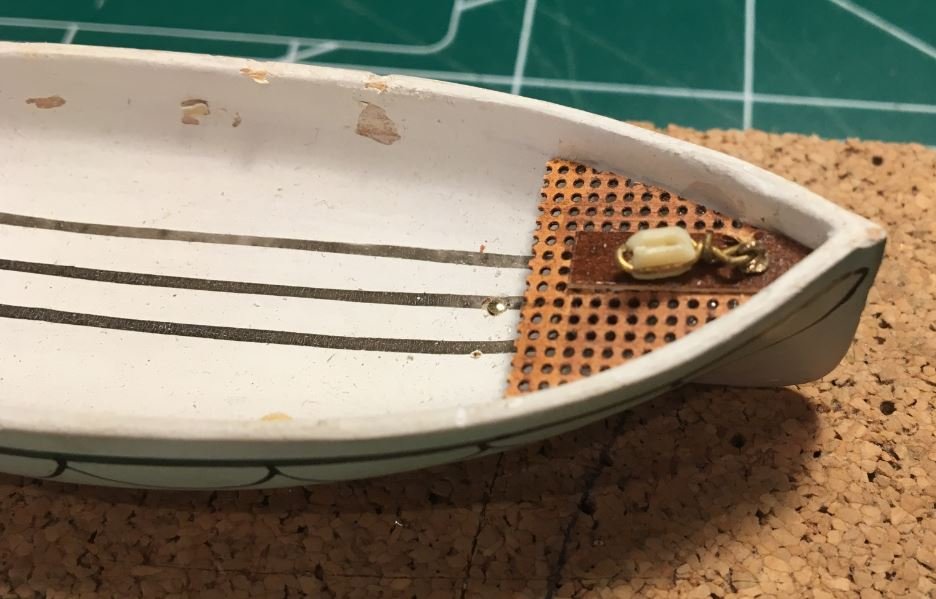
Thank you Ed for your detailed and informative post. Thanks Druxey for the tip about water, Pat for the light-bulb trick I shall have to give that a try. I have been doing a little practicing with some "Hastings 2X beading thread stained in some Liquitex translucent burnt umber ink diluted with Tamiya thinner. the first picture shows the lines tied and ready for some glue As soon as I looked at the picture the damage on the lifeboat became became apparent, I have been focusing on the blocks and lines and not seeing the smaller damage to the boats. next picture shows the lines trimmed after gluing with some diluted Tightbond carpenters glue left in its natural colour. lastly a long shot of the trimmed line. Michael
- 749 replies
-
- 12
-
-
- albertic
- ocean liner
- (and 2 more)
-
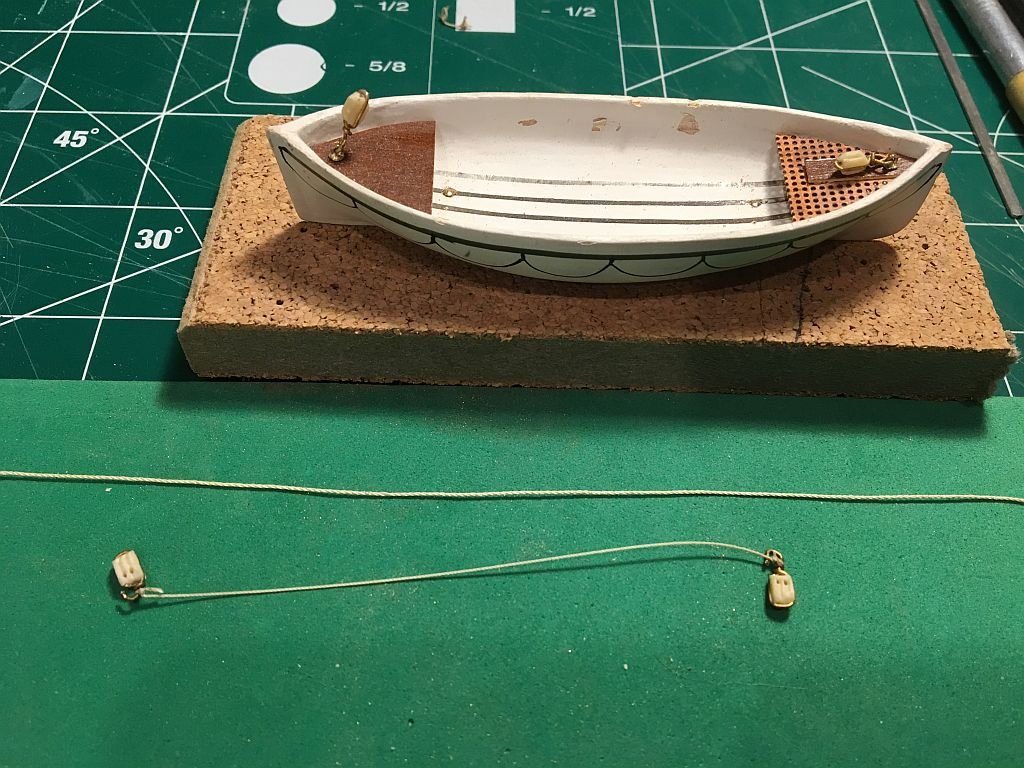
Druxey thanks for the clarification on the top. After a lot of tries with the various threads I am leaning towards the off white Guttermann C Ne 50 the colour match is close enough I think I just need to deal with the fuzz that was not apparent until I looked at the close up picture. so no work with coloring at least for this area, I take notice of the issue with the tea though Druxey, so thanks for that. Here is the first attempt, I have a whole new appreciation for all you folk who rig a three master. I don't know how you do it! The line on the left is the Guttermann The top line is original the falls are mine Michael
- 749 replies
-
- 12
-
-
- albertic
- ocean liner
- (and 2 more)
-
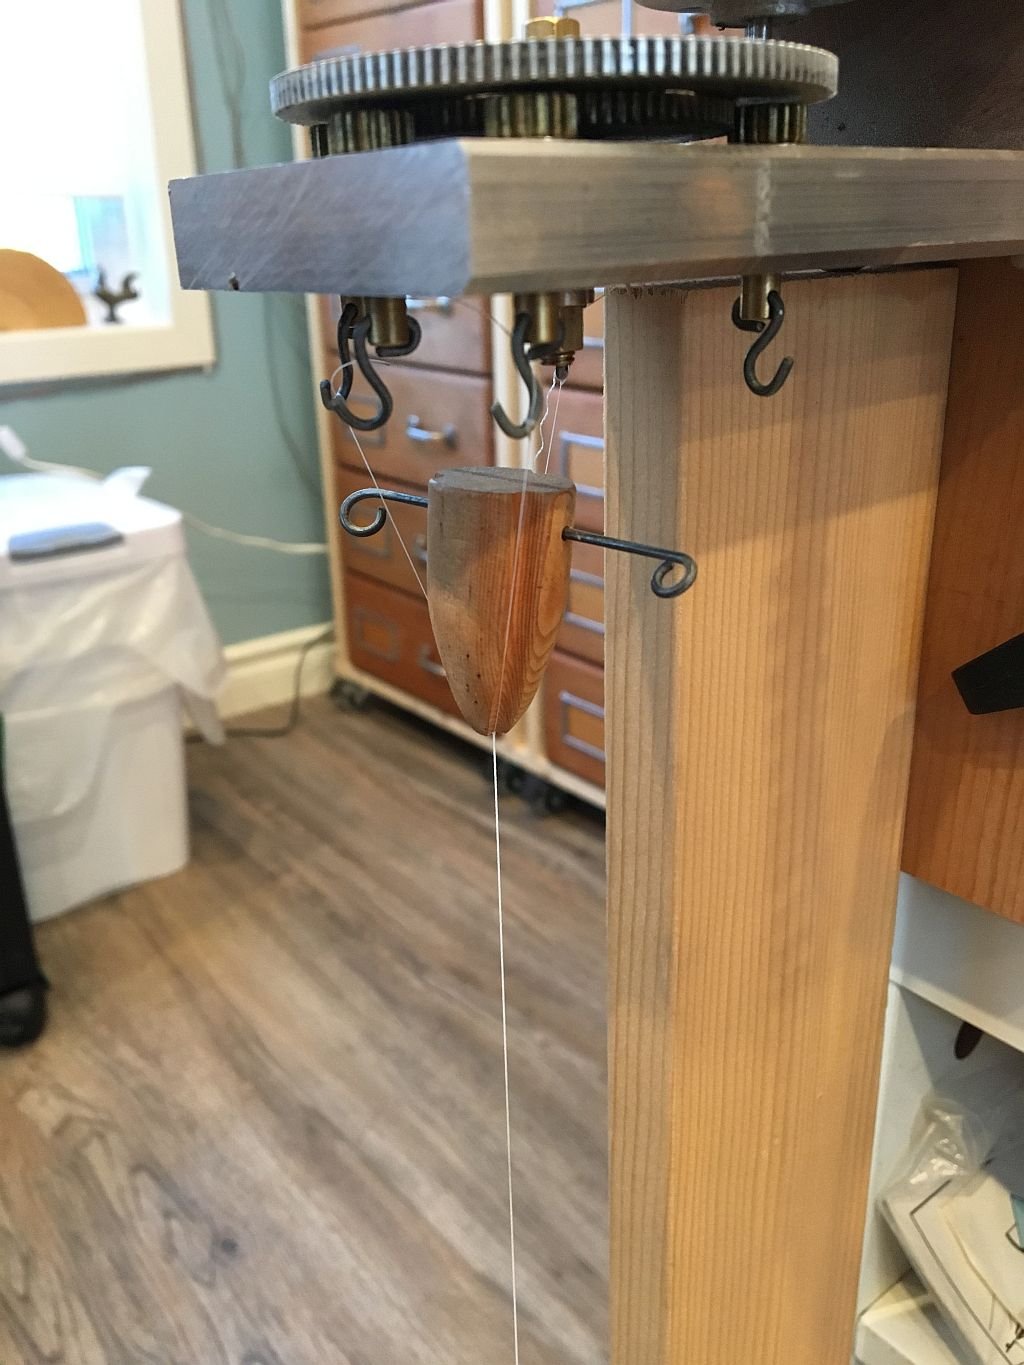
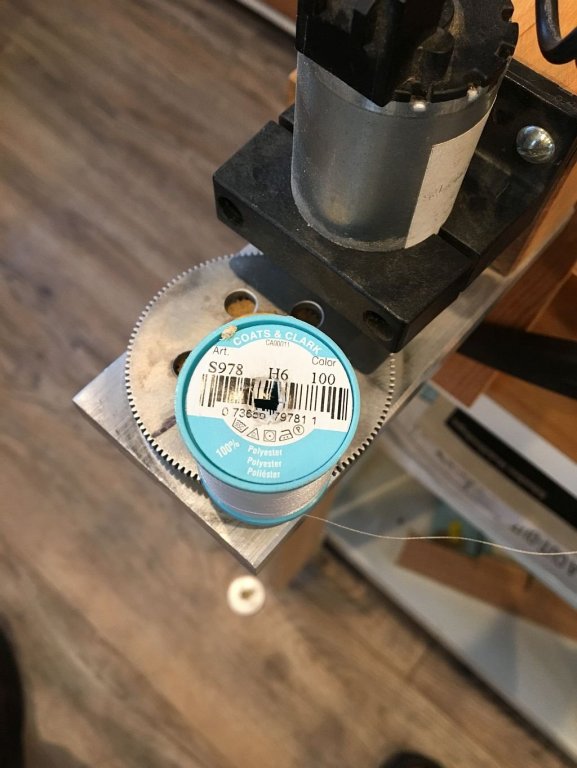
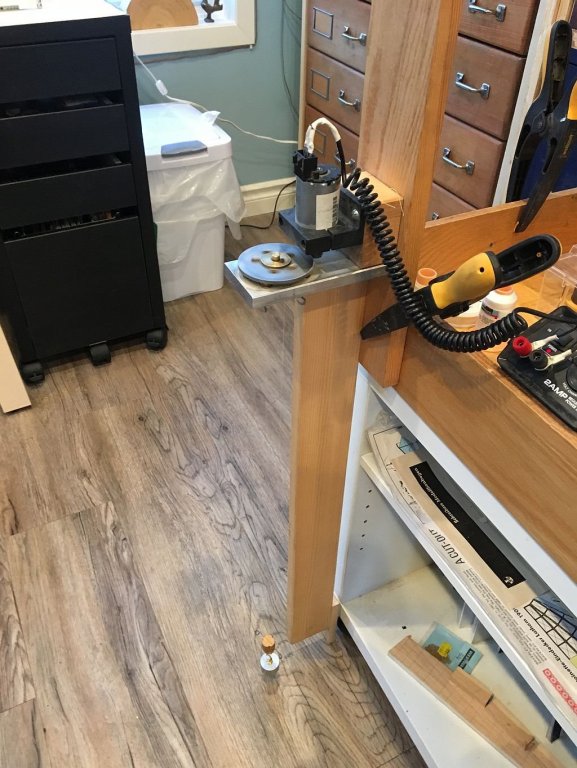
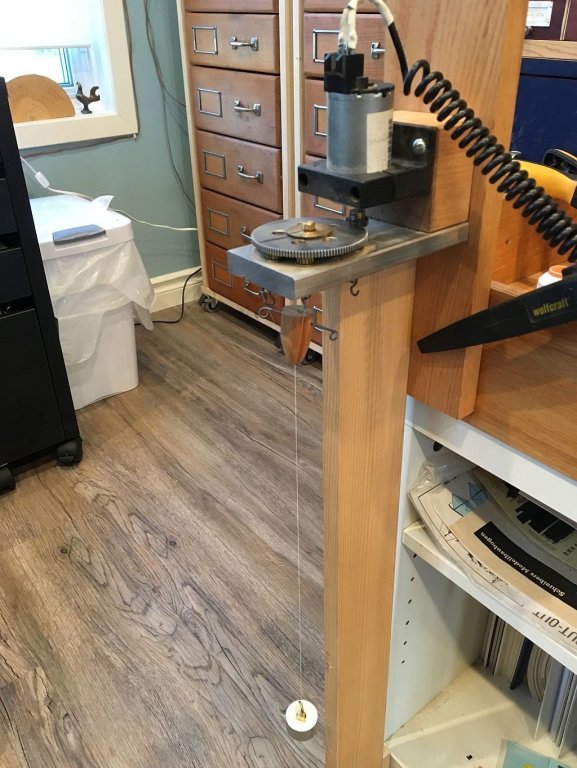
Keith, Ed, Druxey, Dennis, John, and Pat, thanks for the kind comments and encouragement. Like most things tasks can be more challenging than they first appear. A simple off white small line this one is being stubborn. After a number of different threads this one is close but not quite right yet The problem with this thread is that it is just a little too small with the regulation 3 strands and a bit too white. I spun it up with the rope machine free hanging with a small weight. It spun for quite a while before the thimble? (I cannot remember its name) started to move, but then moved pretty quickly. I opted for the short length for a couple of reasons first it was faster to set up the threads and secondly I only need short pieces. I went to the fishing store this evening and will be trying some new tests with the much finer line but using 3 pairs to create a 6 strand line to see if this brings up the diameter, the other option is to use 4 strands of the S978, I will drop it into some weak tea to see what effect that has on the color. Michael

- 749 replies
-
- 7
-
-
- albertic
- ocean liner
- (and 2 more)
-
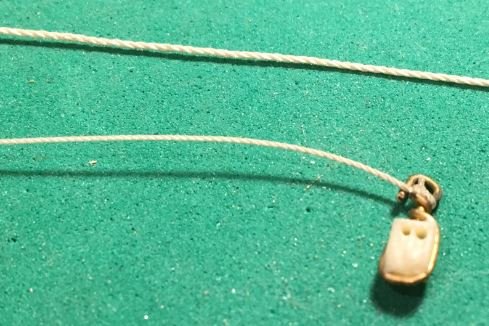
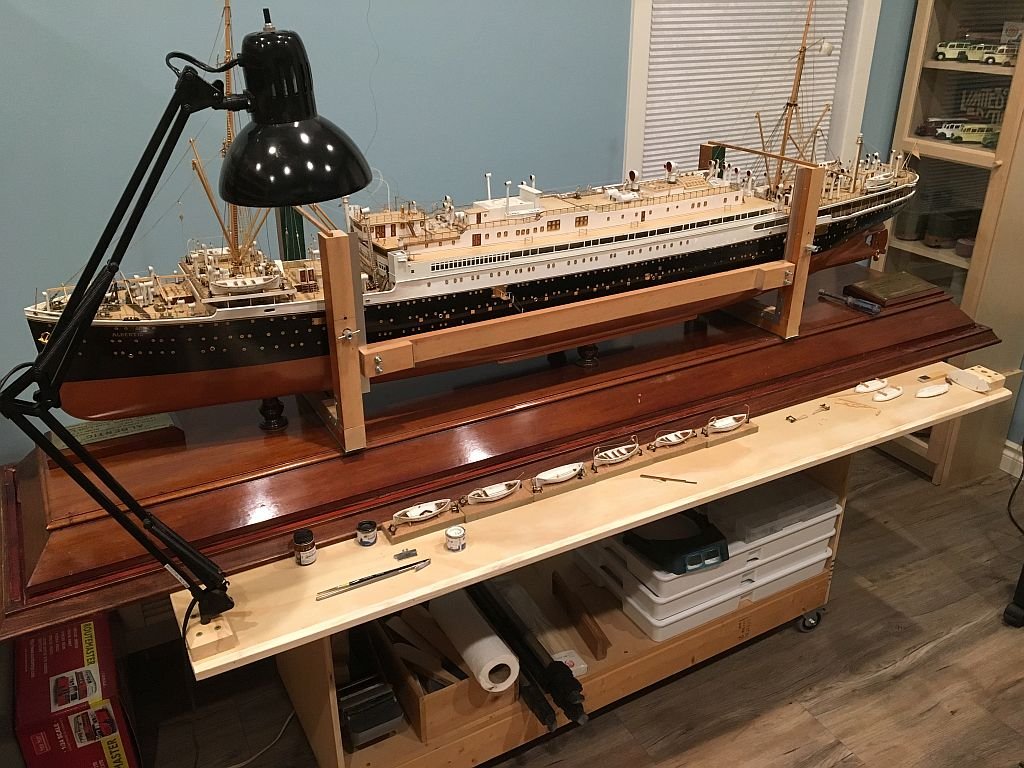
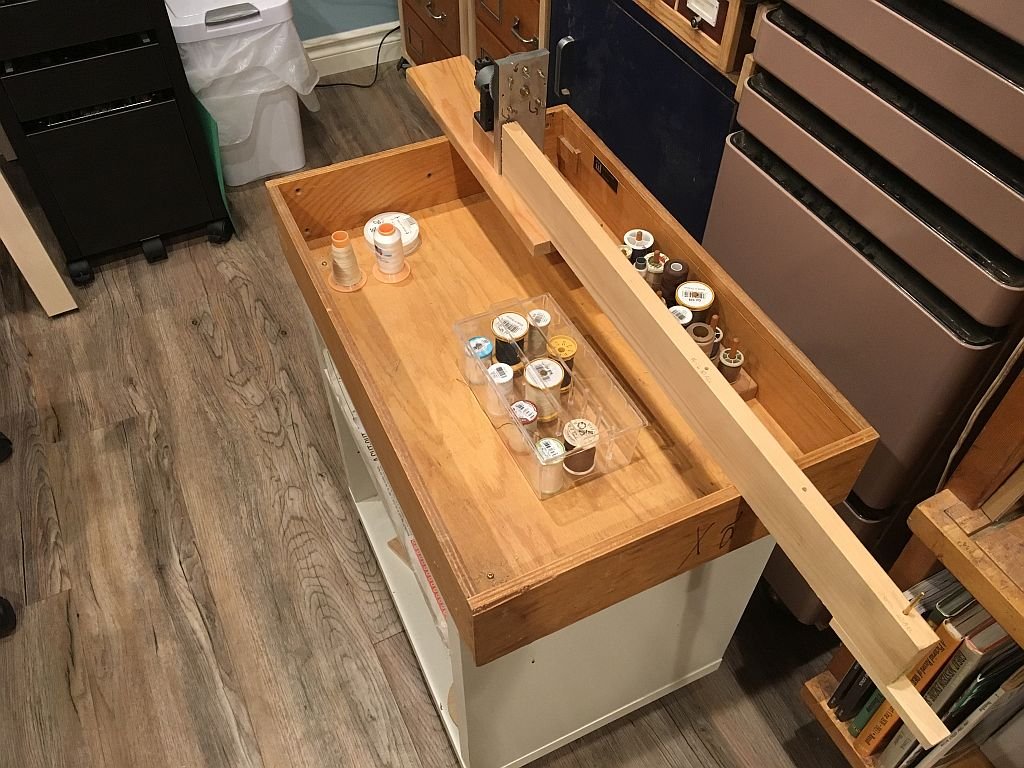
Well thanks to all for your patience, I am now able to get back to work on the restoration, I have set up a slightly different work are for the ship. Now I have a 6" strip alongside the model which will allow for some modest clutter, but the goal is to keep things tidy. The brackets that come with the angle lamps are a bit flimsy so I attached a couple of maple blocks one at each end to facilitate optional lighting. My first task to get my head back into it is to work on the lines for the lifeboat falls, I cannot tell if these were a commercial product, or whether they were made for Basset Louwke The top line is tree strands of Ne 50 Guttemann cotton the bottom is the goal, so a trip to the fabric store today netted some more threads to experiment with matching the original lines. I had an old oak office drawer which seemed a perfect fit for holding the misc thread and rope making stuff so it was attached to the top of a small rolling bookcase. Tomorrow I will see how close I can match the fall lines. I will also work on the chips in some of the lifeboats, these are mostly pretty small so will fill with the thick White primer paint well. It is working on the other areas so I am confident that it will on these too. Michael
- 749 replies
-
- 15
-
-
- albertic
- ocean liner
- (and 2 more)