donrobinson
-
Posts
1,909 -
Joined
-
Last visited
Content Type
Profiles
Forums
Gallery
Events
Everything posted by donrobinson
-
Looks like so much fun! Keep it coming
-
Once you get going with the planking Mike you will be fine, it may seem strange at first but it really does work. The three MarisStella hulls I have planked so far have all been like this and I have been happy with the results. A couple of things to keep in mind are: Be precise with the angles you cut at the bow Leave the planks a little long at the stern, not so long that they are past the stern post and snag on something then break off If you need to bend a plank a little over bending is better than underbending And the one I still have problems with is to resist the urge to trim the planks at the bow and stern until planking is completed. It really does not matter if they are a little long or short as long as they are all equal and you have a nice uniform line of planks
- 204 replies
-
- 3
-

-
- trajta
- marisstella
- (and 1 more)
-
Congratulations David, she truly is a beauty. Whatever your next build is I'll be there to watch. Merry Christmas and all the best to you and your loved ones.
-
This site is acting weird today, But it is good to see you back working and having some fun doing it
- 204 replies
-
- 2
-
-
- trajta
- marisstella
- (and 1 more)
-
Looks good Mike. I'm sure your friend will be happy
-
It all looks very interesting Messis, I'll be be waiting to see it all come together.
-
That is amazing work EJ, they looks so much better than the other ones. Well worth the extra effort and time
-
Mark: Thanks. That wood sounds incredible, I wonder if it was a special type of beech or if it was treated somehow. This stuff is incredible how it bends with just a little soaking but still would not come close to that. H,H,: On the first layer I bevelled the edges, with this layer being beech and only .5 mm thick I didn't bother with the bevelling and it seemed to work good. The planks around the transom were soaked in water first, as there was a lot of lateral bending required in order to make them fit. Thanks for having a look.
-
robdurant: Thanks for the compliment and for the link. I like how the beech bent so well I am going to get some to have on hand for future builds. I have no idea how it takes stain or a finish but I will be experimenting with it to see. If all else fails paint will do the trick. I'll be sure to show my results here.
-
Looks like you are off to a good start
-
Hi Jim, the beech bends easy. Around and underneath the transom there were some crazy bends and with a little soaking in water the beech took to the bends very good.
-
Hi Mike, Thanks. It is a double planked kit with the beech being the top layer. I have never used beech for anything before this so this is new to me also. It will all be hid with either paint or copper plates. It sort of resembles oak in a lot of ways and when sanding areas such as the butt ends of planks it will splinter if you are not careful.
-
Again excellent work Bob, are you carving and shaping all these intricate pieces by hand or do you have power tools such as a mill? Either way it looks real good I especially like the cleats and boom step. A fine example of doing things "the right way"
- 682 replies
-
- 6
-
-
- halifax
- lumberyard
- (and 1 more)
-
Doug: Thanks, I agree about the right way. It was just one of those lazy thoughts, that has already faded away Messis: So good of you to stop in, I am doing fine and hope you are also. Your Hermione is looking great! Bob: You made me laugh with that comment, and you are 100% right. Thanks for dropping by
-
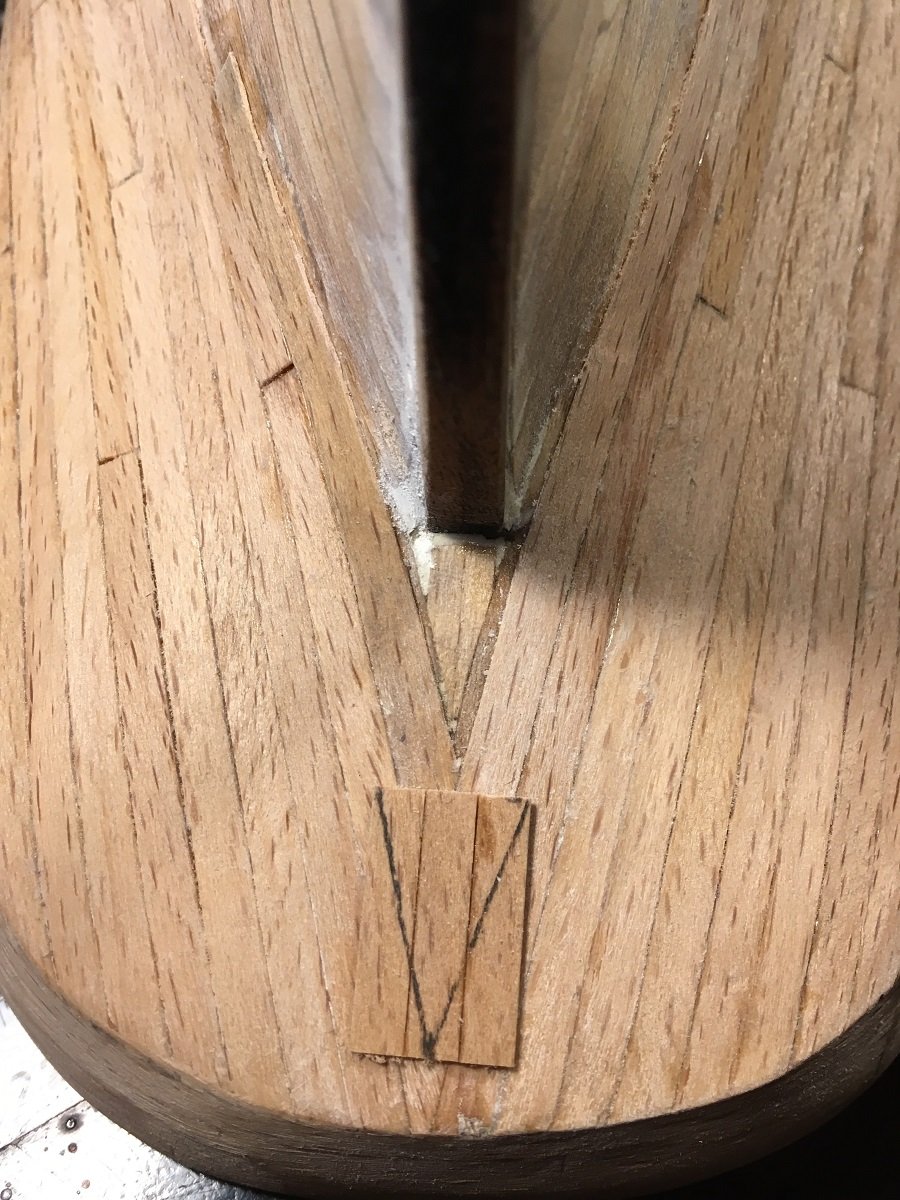
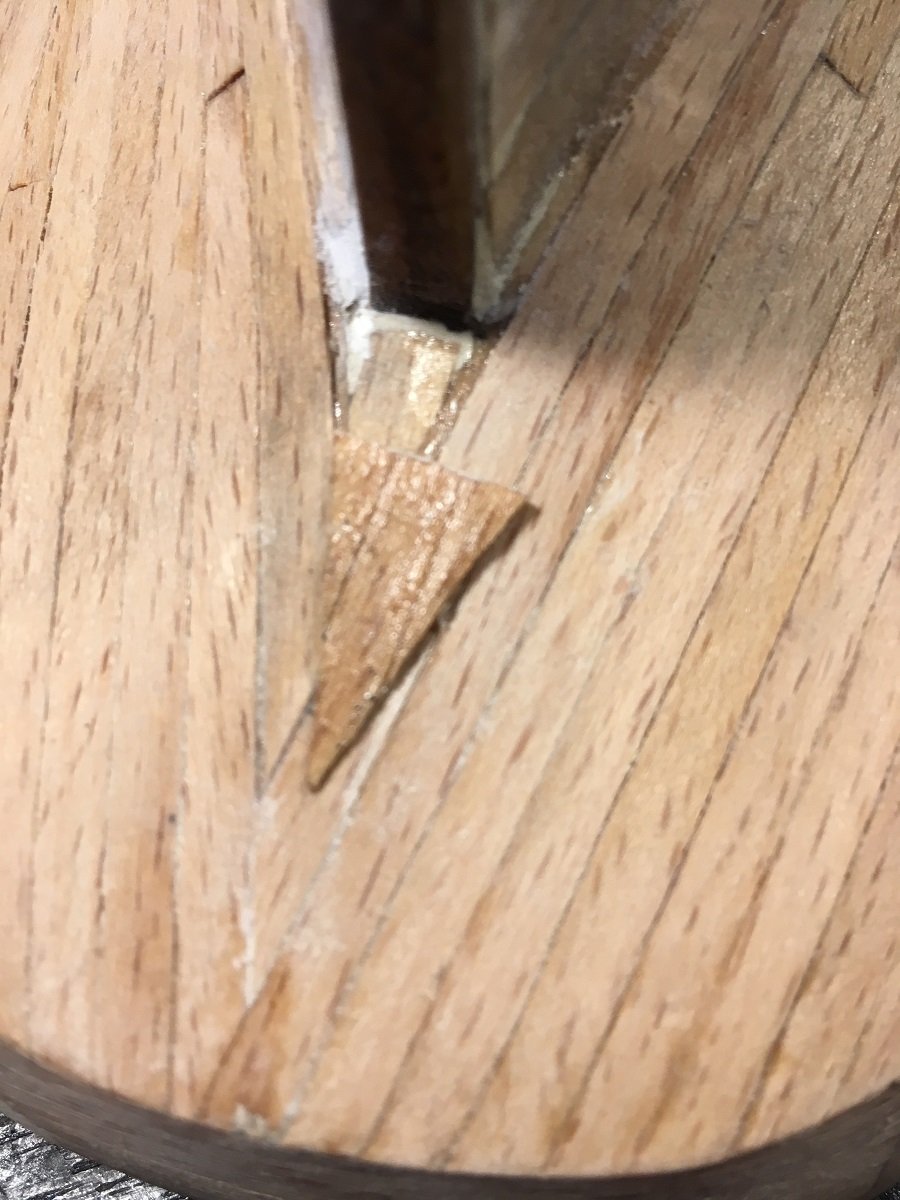
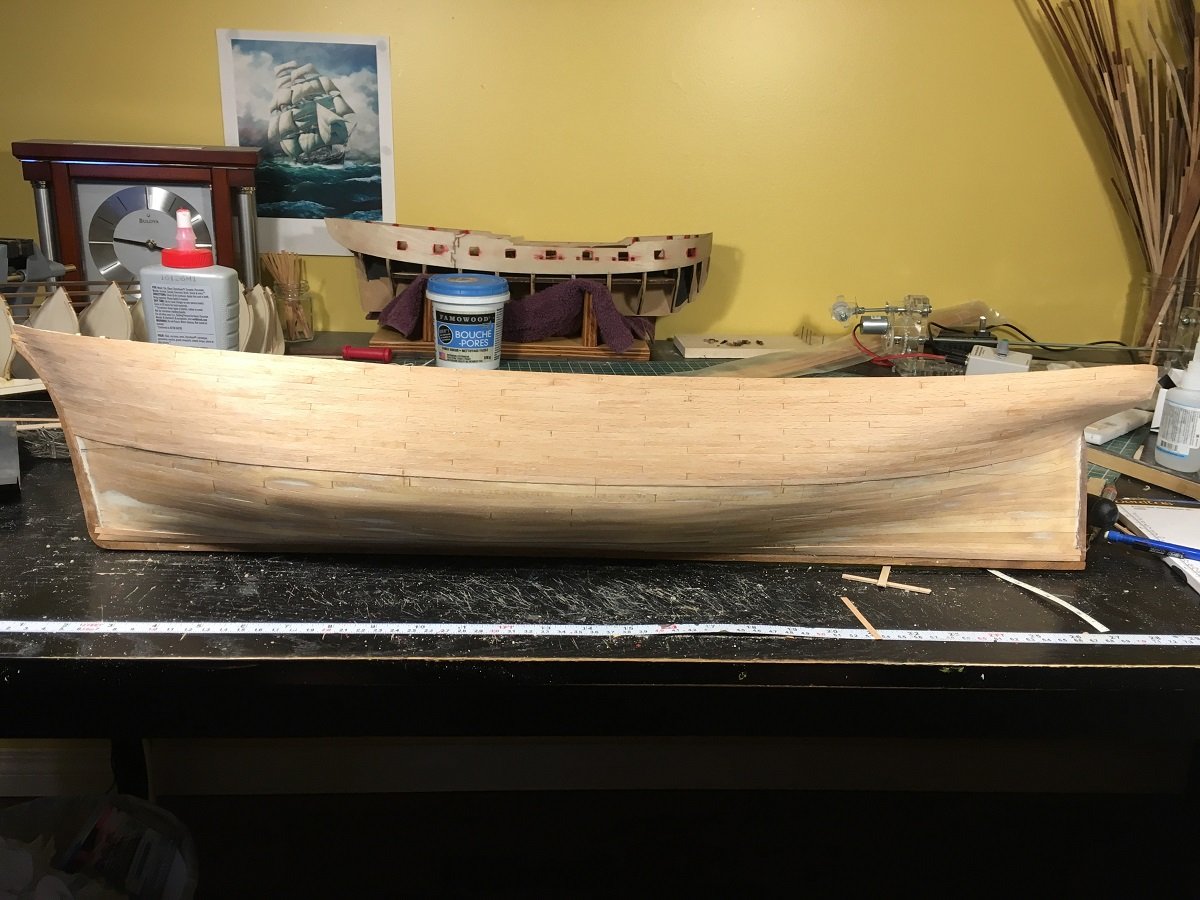
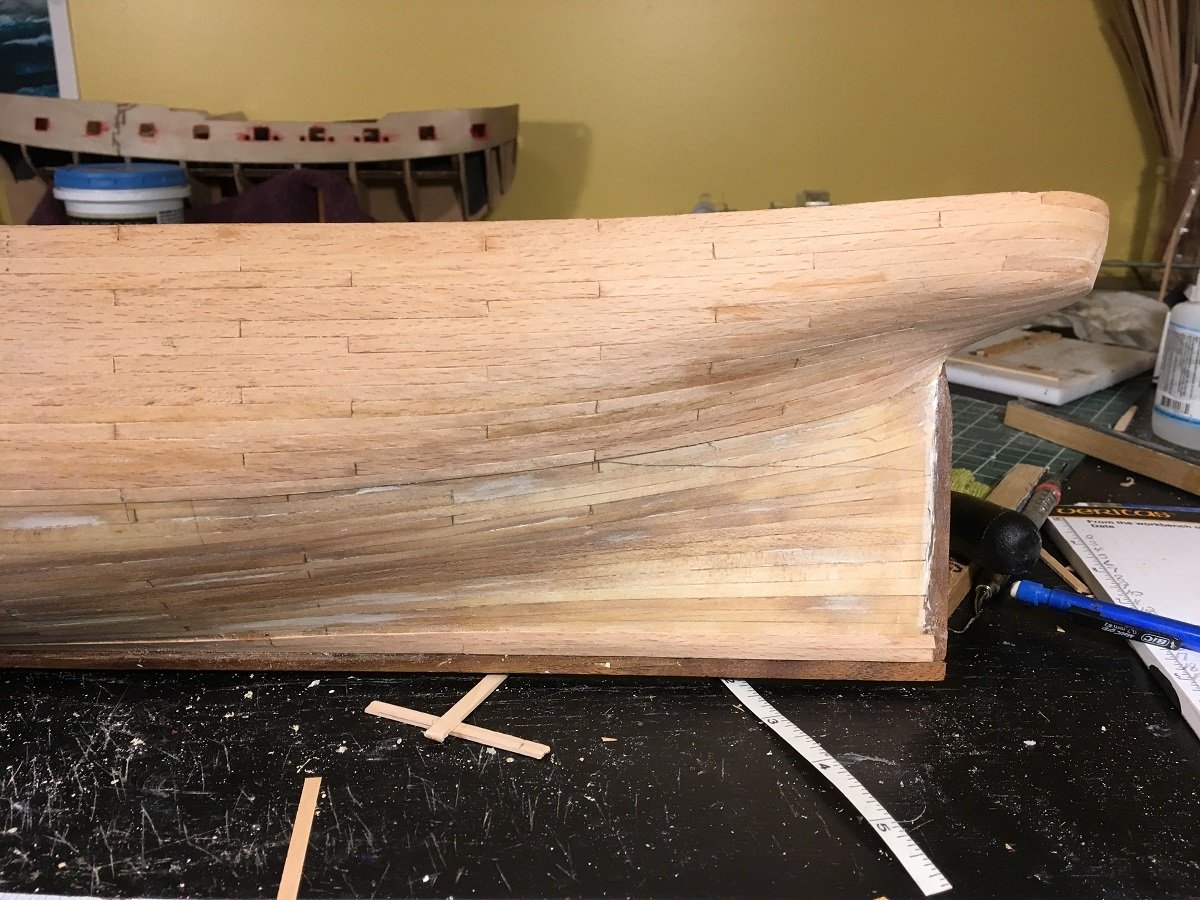
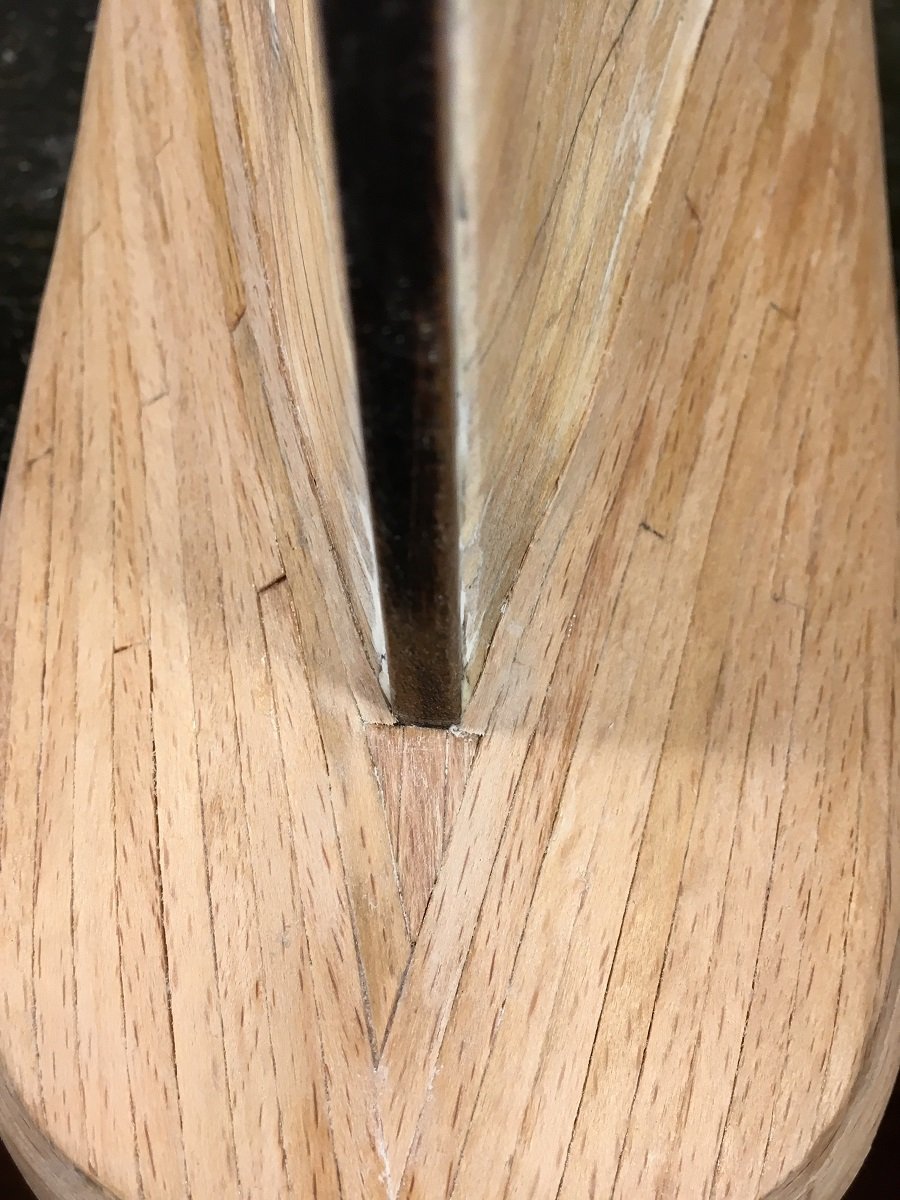
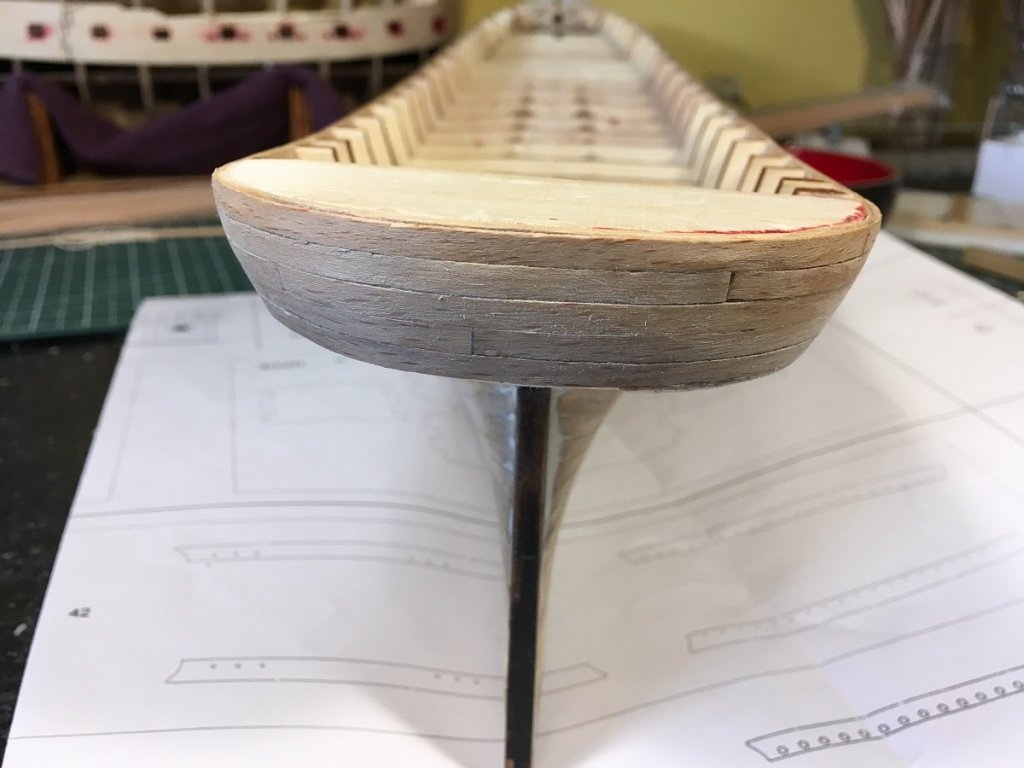
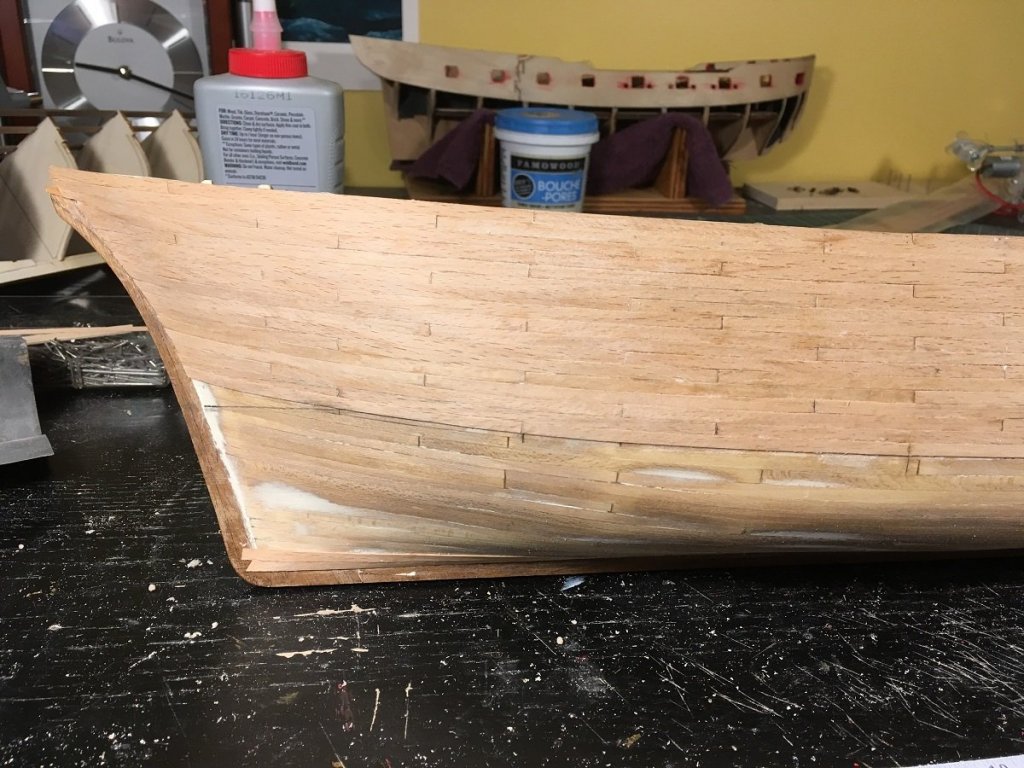
Good morning all, Thanks for all the compliments, likes and for just stopping in. Not much has been going on lately just planking and more planking, I am just a little over half done now and going hard. To date I have 38 strakes completed which is approximately 254 planks that equals to about 30.4 meters of .5 x 4 mm strips of beech wood. So, yes, life has been a beech!! Really not much to show as it is all kind of boring, I thought if any of you were suffering from insomnia this might help. Here we go: Planking around transom complete, this was a little exciting Showing here the little section of planking that needs to be filled in. I really wasn't too sure how the correct way of doing this was but thinking this will all be painted later that this method would do just fine. This is three pieces of .5 x 4 mm planking edge glued together and the rough shape of opening marked out. The back side of the laminated piece was coated with thin ca before cutting to shape, this wood is fairly brittle Final fitting and glued into place And how it looks after the next strake installed on either side Garboard and broad strakes installed, final trimming and sanding will be done when planking is completed. I have almost completed the area above the waterline, which is all painted, below the waterline is covered with copper plates. Decision now is to just get the hull covered or continue doing it the proper way, which takes a lot more time. Thanks for stopping in and have a good day


- 223 replies
-
- 17
-
-
Excellent start to your planking Dee Dee
-
Off to a great start and you have my attention. Looking forward to seeing more
-
Thanks Bob, that is a real innovative way of mounting the jackstaff
- 682 replies
-
- 8
-
-
- halifax
- lumberyard
- (and 1 more)
-
Excellent work Bob, how did you attach the jackstaff to the cap?
- 682 replies
-
- 7
-
-
- halifax
- lumberyard
- (and 1 more)
-
Lawrence, so good of you to stop in. It really is a great kit, at the moment this is MarisStella's top of the line kit and it's full of goodies!!.There are so many things for me to learn with this build it's going to be a real gem to build, the materials are all excellent.