DONATION DRIVE - SUPPORT MSW - DO YOUR PART TO KEEP THIS GREAT FORUM GOING!
×


JeffT
-
Posts
2,552 -
Joined
-
Last visited
Content Type
Profiles
Forums
Gallery
Events
Everything posted by JeffT
-
 The jig is a great idea. I think I'll do the same.
- 263 replies
-
- 1
-

-
- Medway Longboat
- Syren Ship Model Company
- (and 1 more)
-
Looking forward to seeing your build Grant!
- 109 replies
-
- 1
-
-
- medway longboat
- Syren Ship Model Company
- (and 1 more)
-
Welcome to MSW
-
I think it will. I feel pretty excited about this build.
-
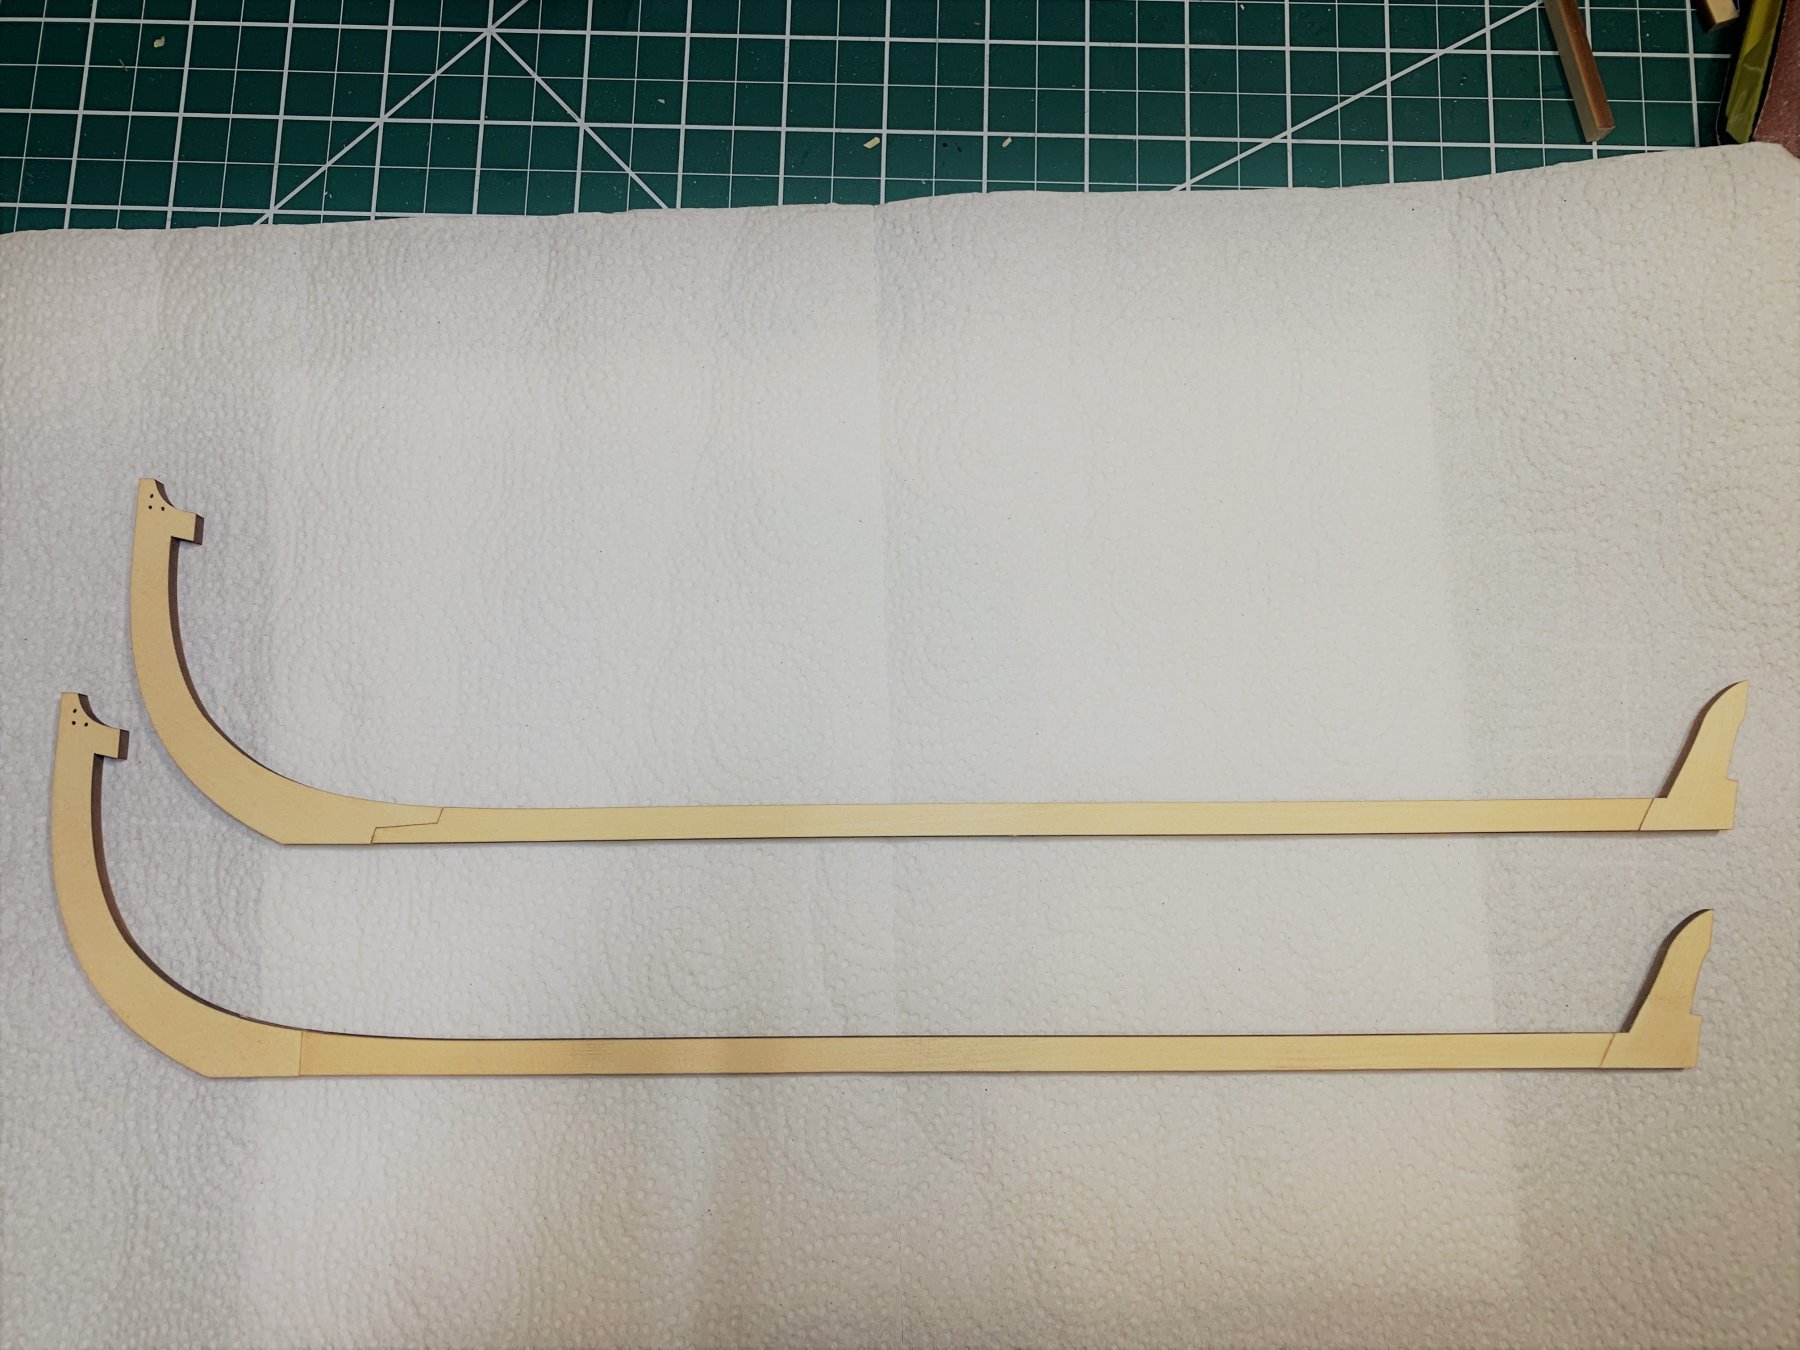
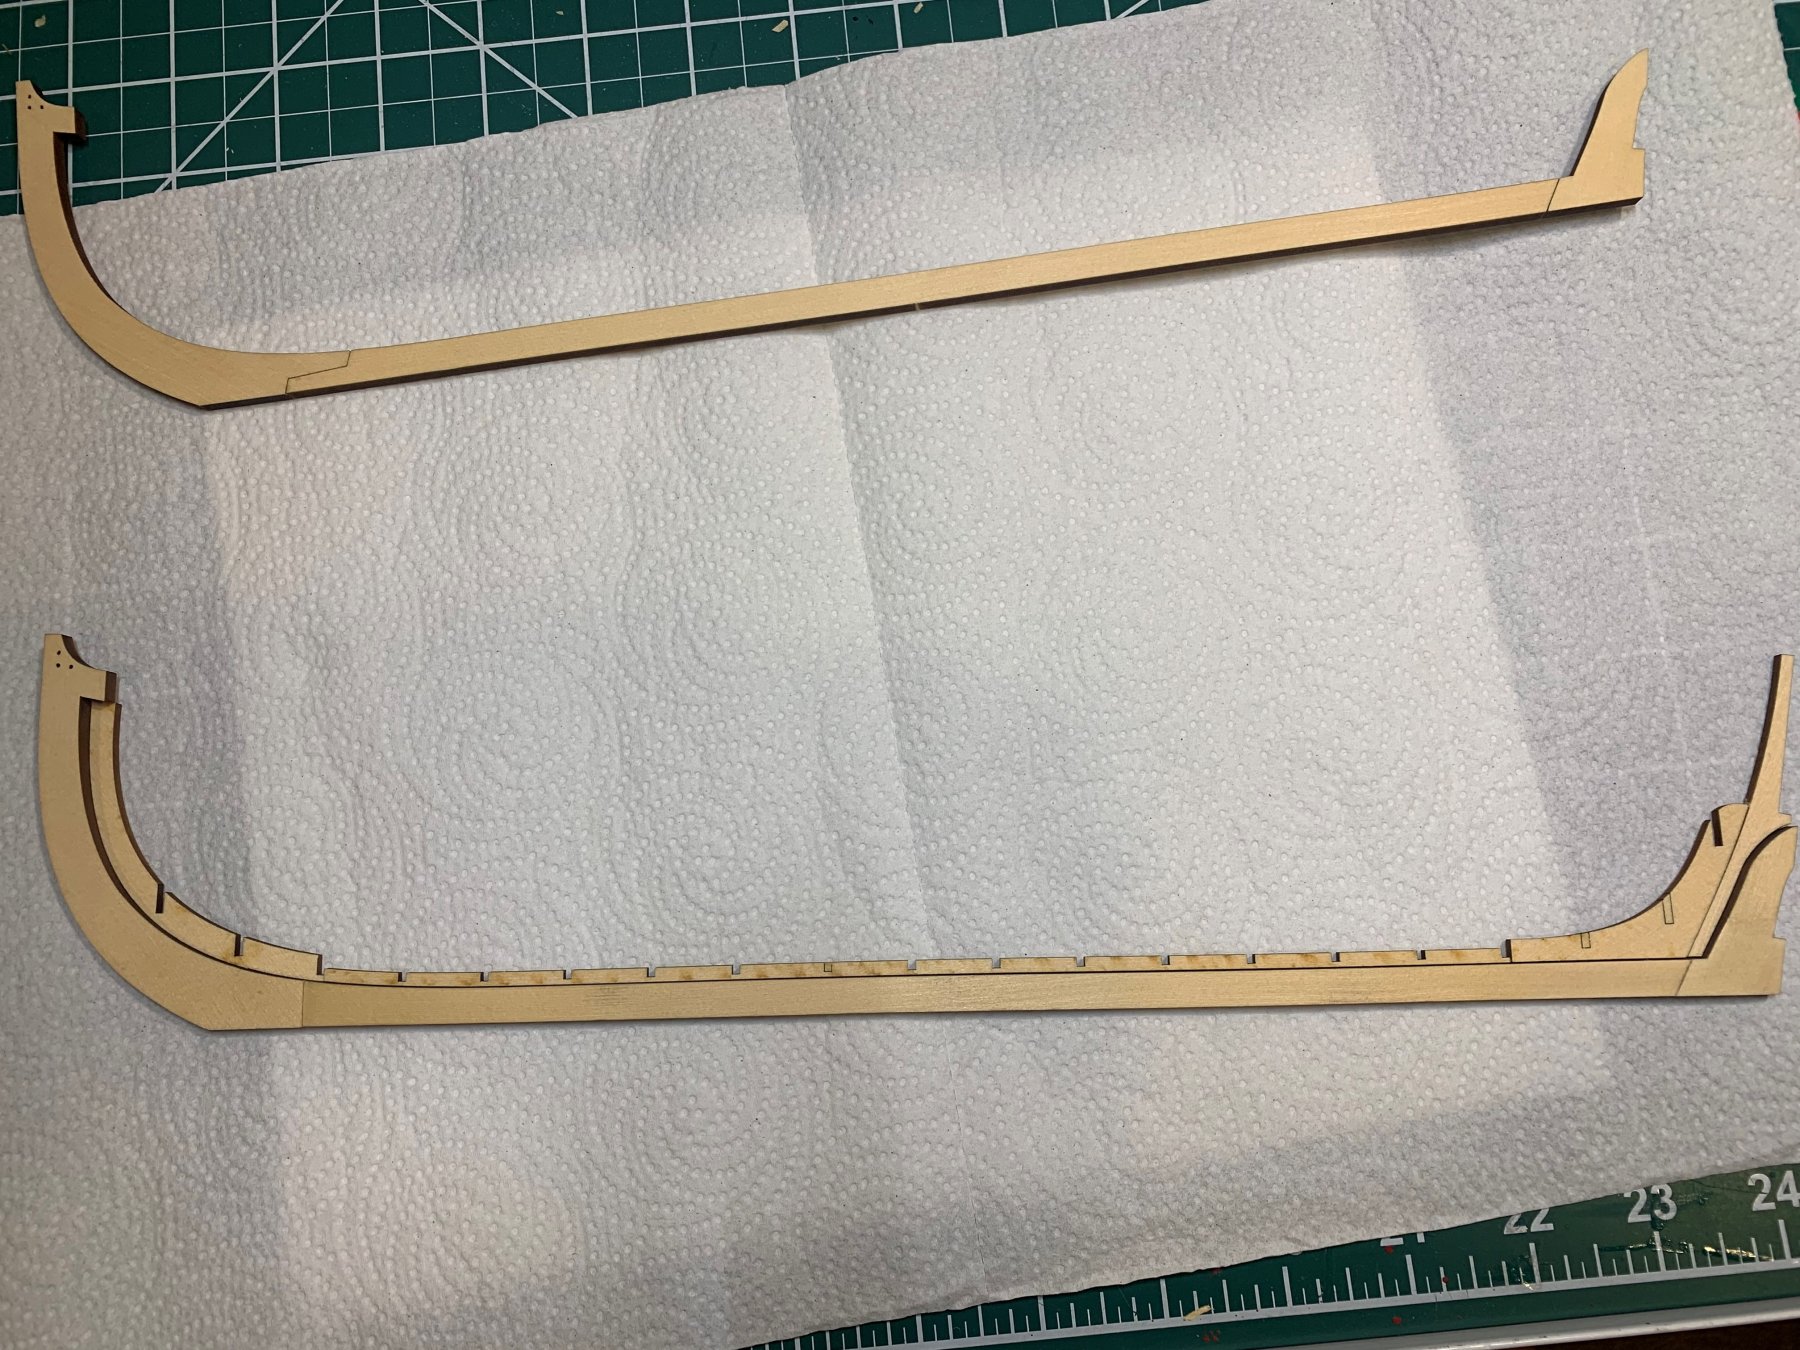
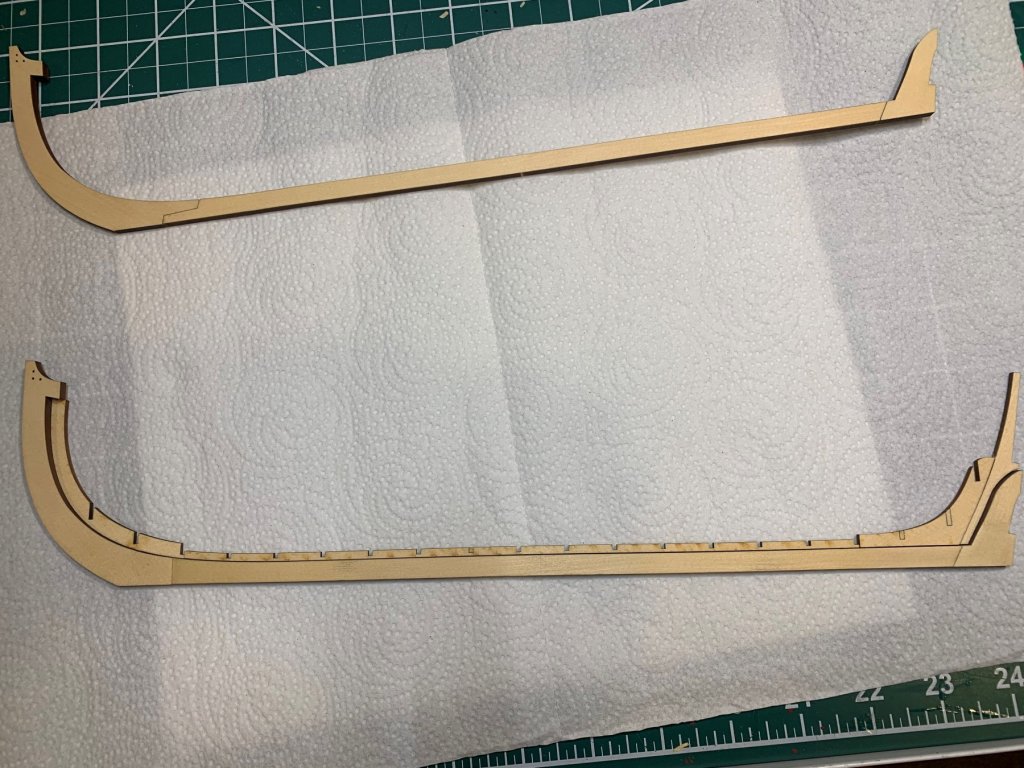
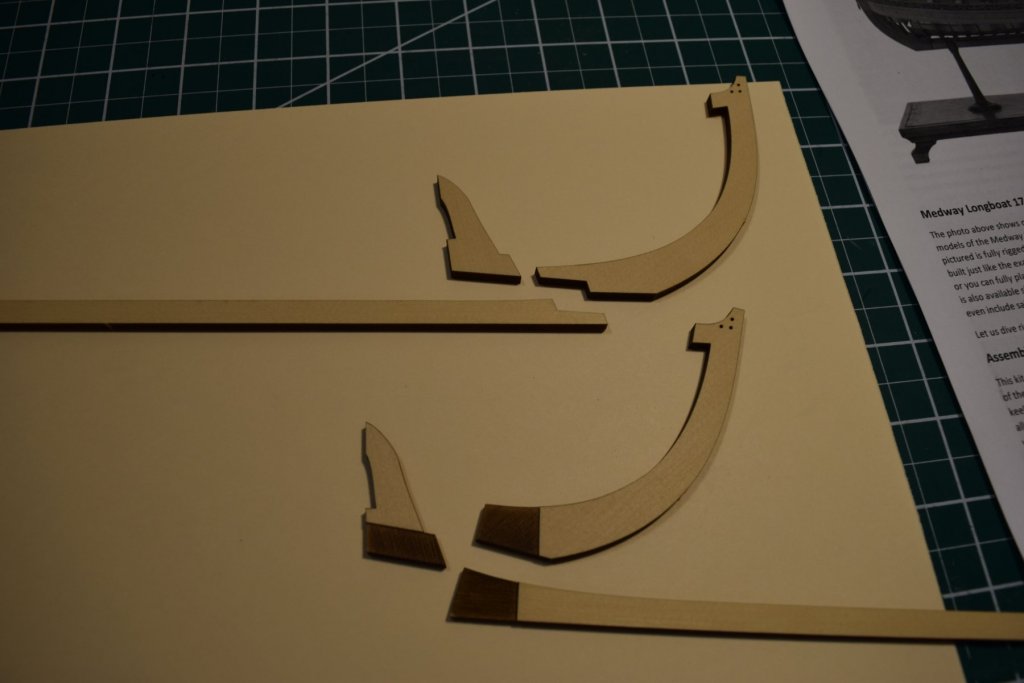
Hello everyone. I finally got over my fear of causing major damage and got the keel assembled. I used a caliper to measure the thickness of the keel and divided by two to hit the halfway mark. After much practicing on scrap pieces I used the byrnes saw to reduce the thickness to slightly above the halfway measurement. You have to go very slow using the saw or it will cause splintering of the wood. I wasn't able to remove all the material with the byrnes saw since we're not dealing with perfect 90 degree angles so I had to remove some material by hand. I got as close as I could to the edges and then used a number 10 curved exacto blade for chiseling away material. I'm not comfortable using the number 11 blades because I can't seem to control them as well. I did the final sanding with emery boards. I also assembled the other keel option just for the fun of it. Both keels are exactly the same length when assembled so I must have done something right. I'll go ahead and pat myself on the back and move on to removing some char and add the bolts. I also test fitted the inner parts and they fit nearly perfectly. Here is the result:

-
New member from the cornfields of Illinois
JeffT replied to Steve63's topic in New member Introductions
Welcome to MSW Steve -
Nice trick go with the string. I’ve been thinking about how to make sure the transom is squared up.
- 32 replies
-
- 2
-
-
- medway longboat
- Syren Ship Model Company
- (and 1 more)
-
Try making a wood filler with the the extra cedar. Just sand the cedar until you have a nice pile of sanding dust and add white glue, just enough to hold it together. Use it to fill the gaps. make sure you are on a clean surface and use clean sandpaper or a clean file to prevent discoloring the filler. Or what Chuck said
-
Hello all and already looking for help
JeffT replied to Signode388's topic in New member Introductions
Welcome to MSW -
Looking good Ken.
-
I don't know how I missed this post but I'm happy I found it. Its very interesting to see that Chuck is using very basic tools for the planking. All this time I've been trying to understand what the secret to a perfect planking job is and there isn't one. I've really been overthinking this big time. Basic tools and pre-planning is all that's needed. I dislike soaking planks so I can stop doing that too. I'll have to get my own hair dryer though, my wife won't appreciate me using hers. And now I know what Chuck looks like I think I was expecting him to be in a 3-piece suit though.
-
Nice work Chuck, I hope mine will look as nice. Where do you get the red paint you are using?
- 421 replies
-
- 3
-
-
- medway longboat
- Syren Ship Model Company
- (and 1 more)
-
Getting Back Into The Hobby After 45+ Years
JeffT replied to Tom in NC's topic in New member Introductions
Hi Tom. Welcome to MSW -
Makes sense. Thanks Chuck.
-
Nice work Rusty, you're off to a great start.
- 152 replies
-
- 1
-
-
- medway longboat
- Syren Ship Model Company
- (and 1 more)
-
Thanks for all the suggestions and supporting comments, I do appreciate it. They are all good methods. I checked out the current build logs and saw some great ideas there like the digital caliper measurement. I did purchase a sherline mill but have no clue how to use it yet. I am considering that as an option. I also have the byrnes saw so I need to take a look at the huzzywuchet. I think the key to using the mill and the saw (and any other method) would be patience and practice before attacking the actual piece.
-
First I've heard of them. I do miss Floquil.
-
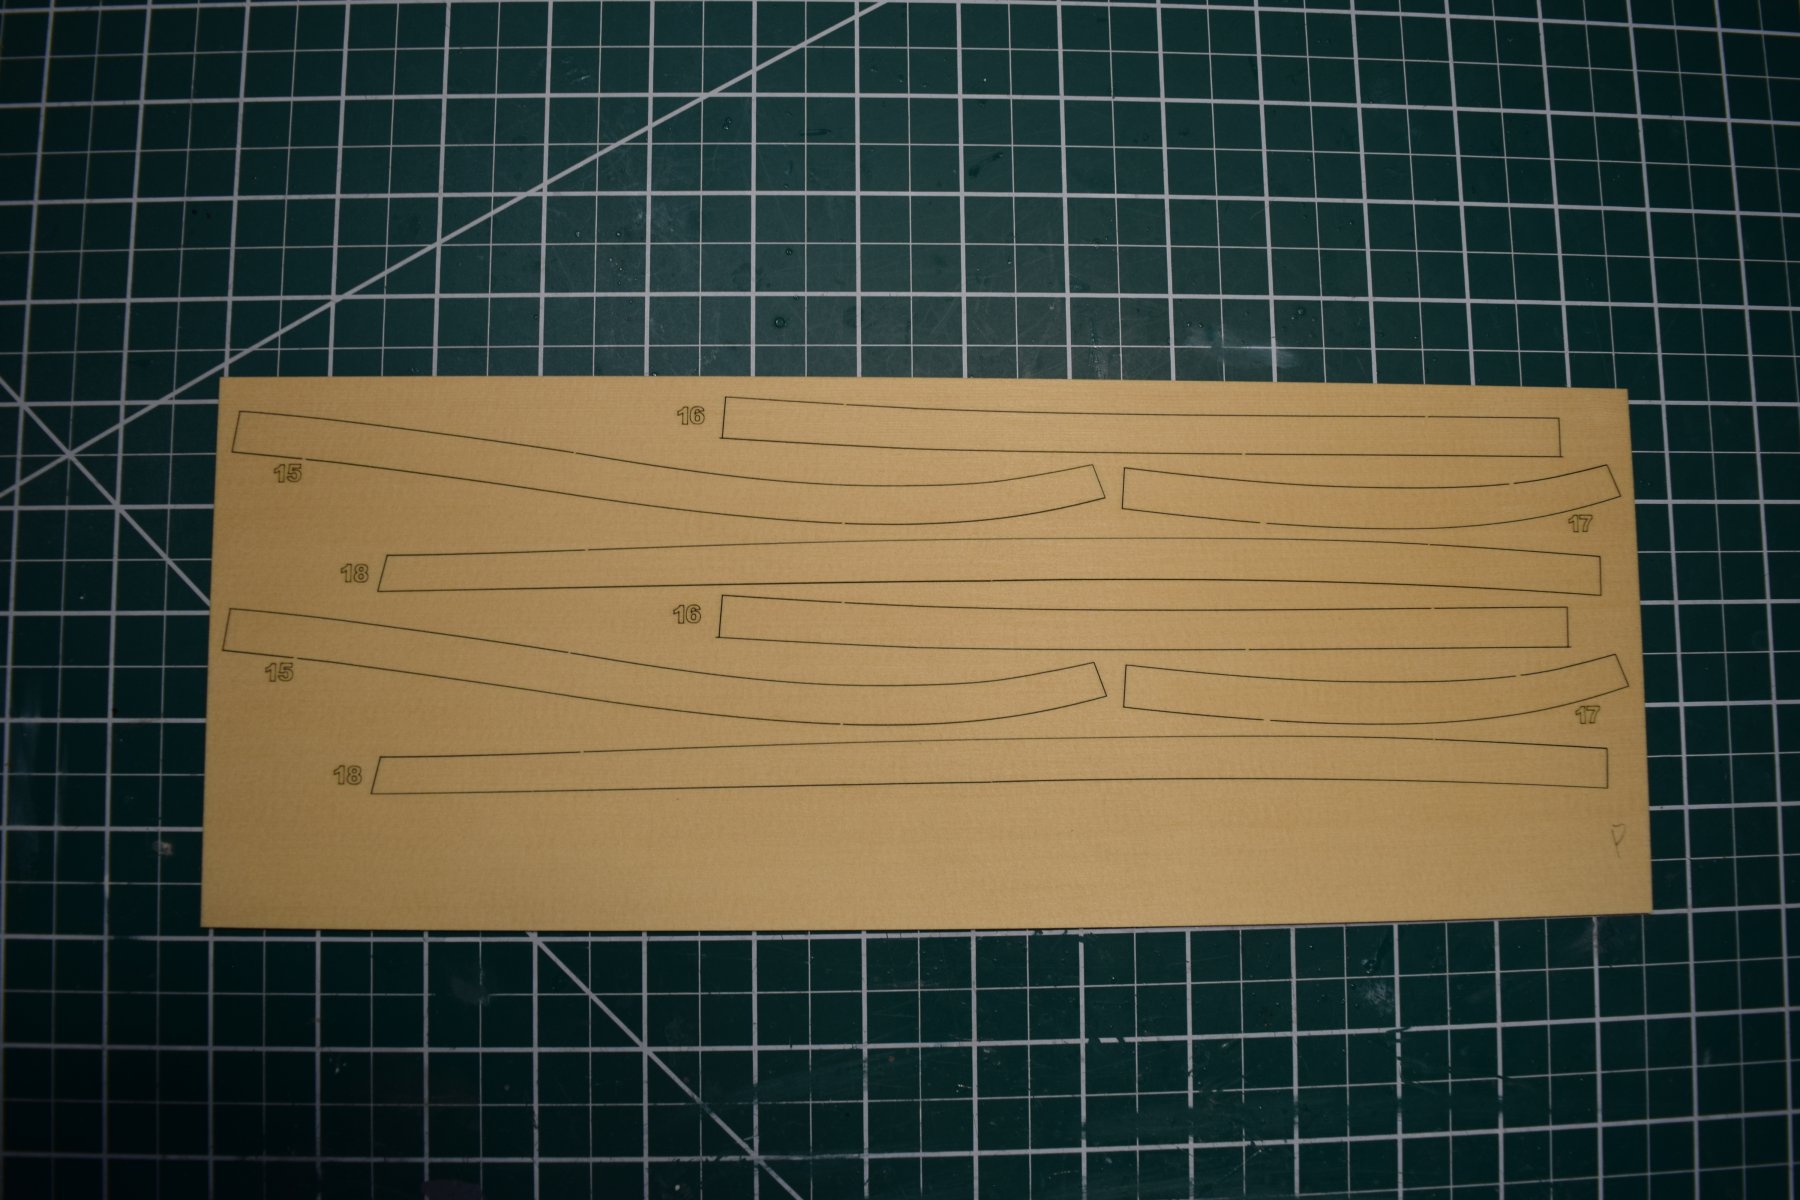
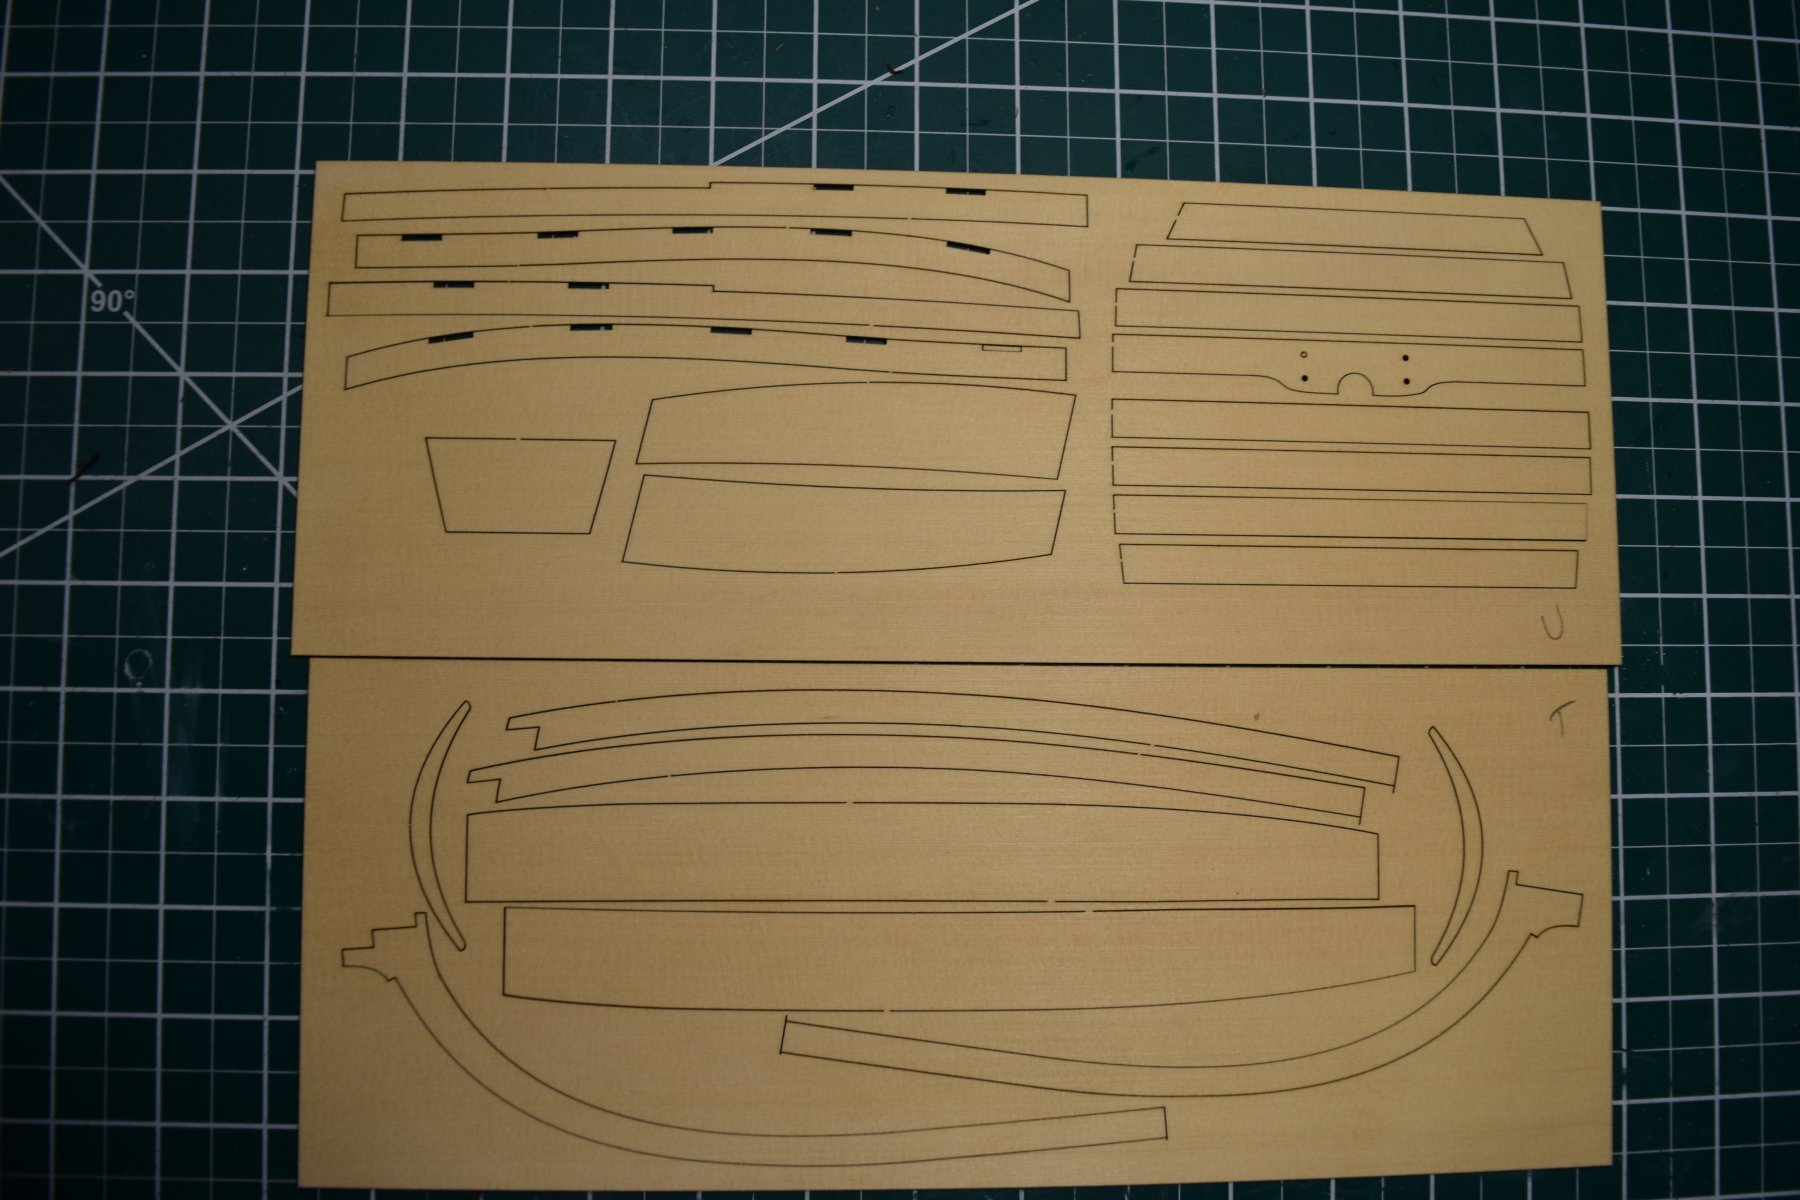
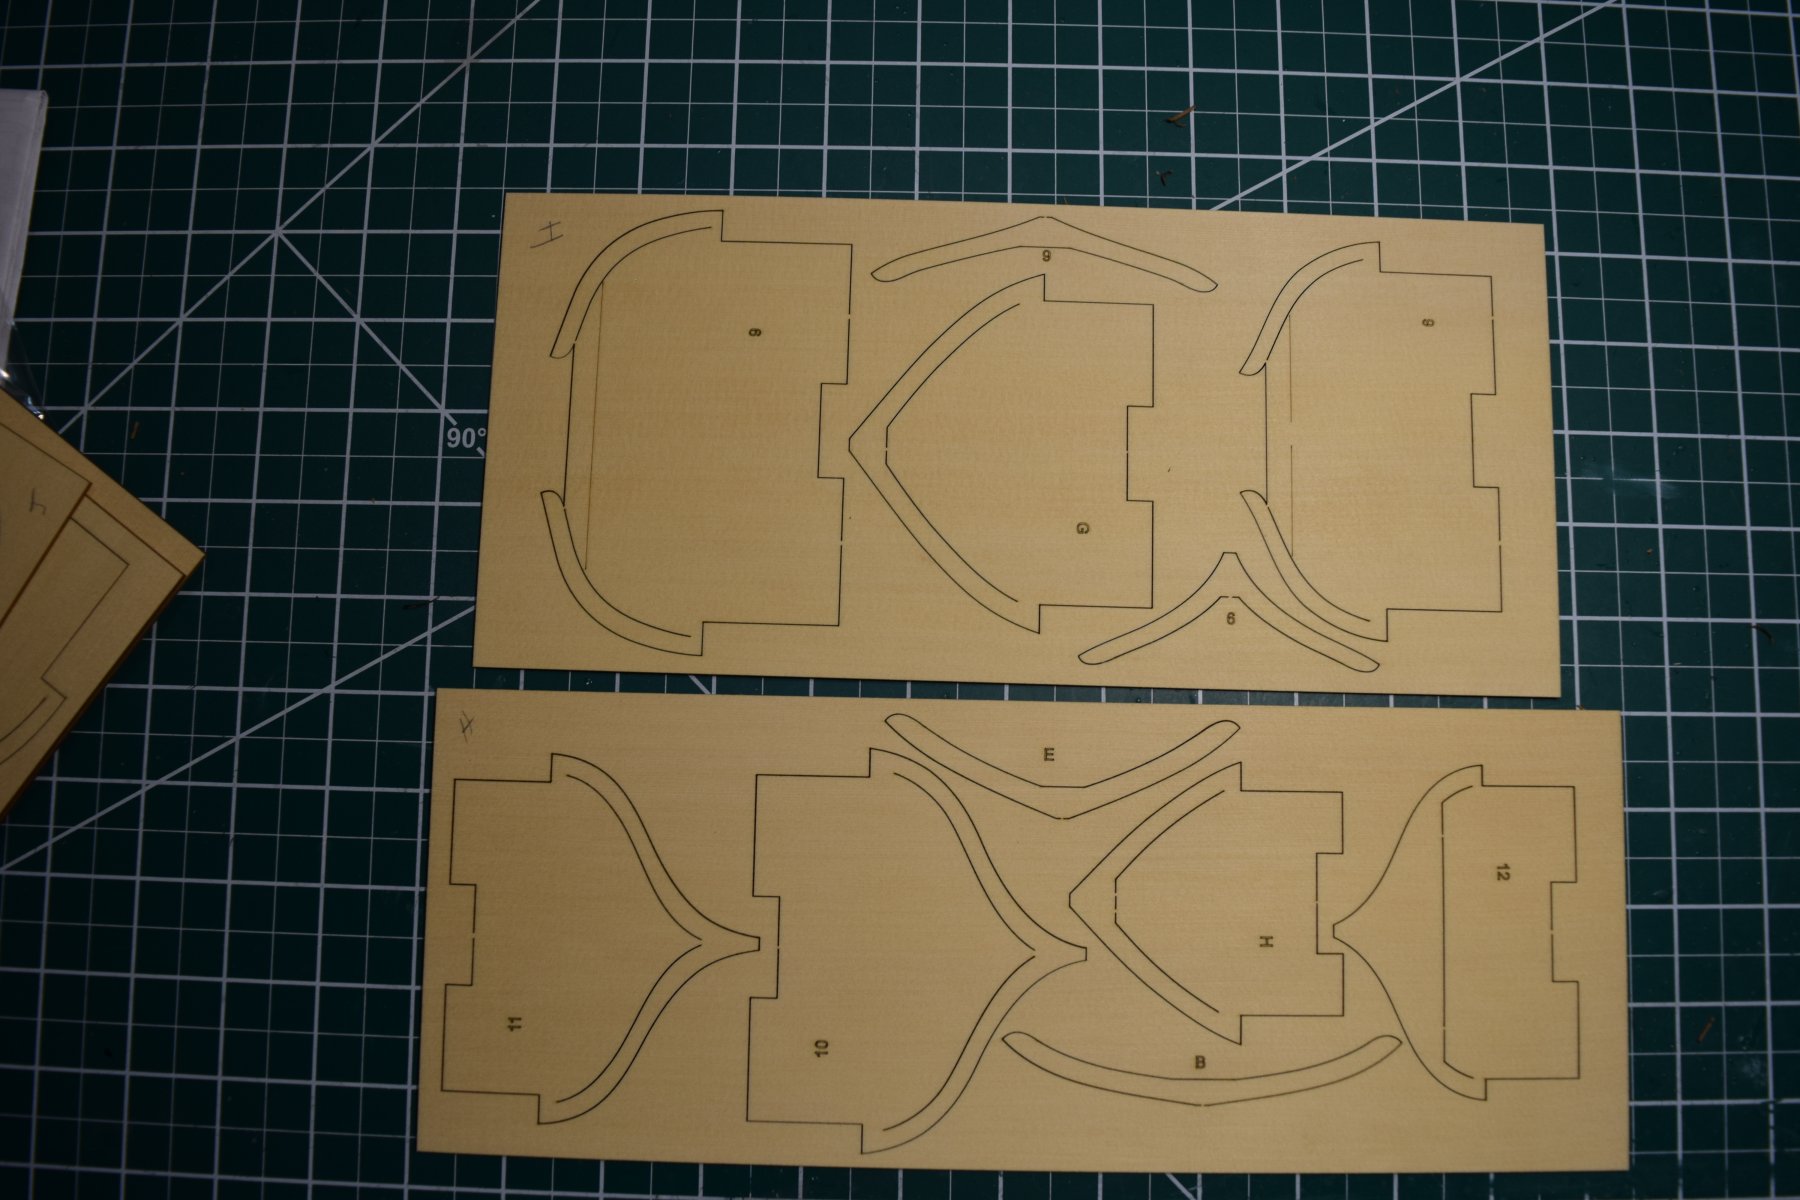
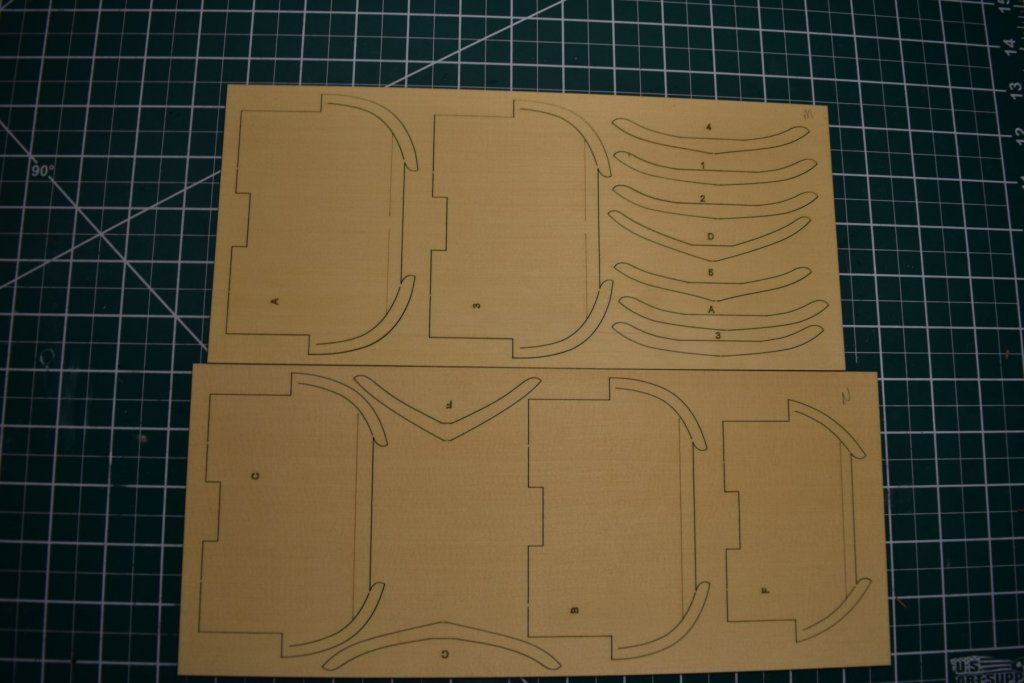
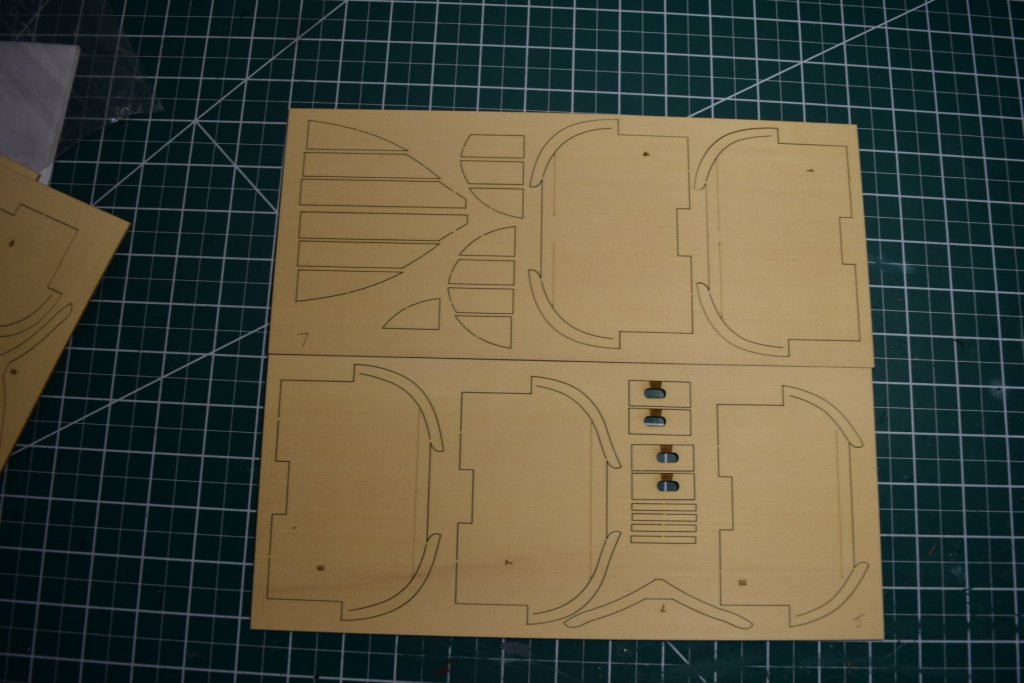
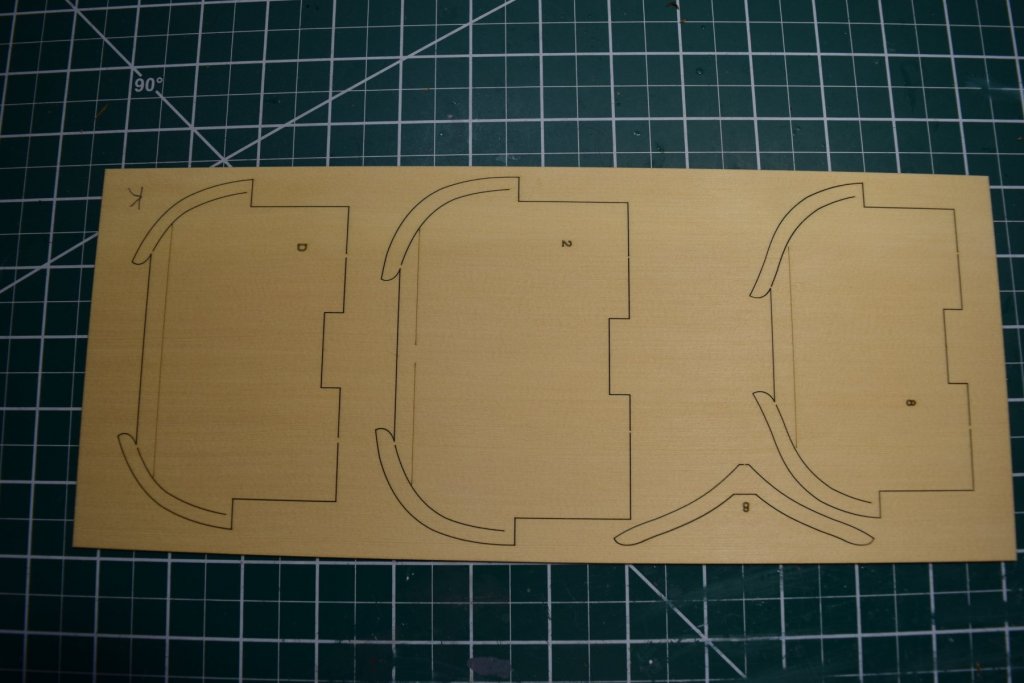
So on with the build. This is Plan A and Plan B. Plan A is to use the lap joint parts. Unfortunately, this is the one thing I struggle with the most; final shaping or removing material from parts without causing serious problems like rounded edges, rounded surfaces, changing the shape, etc... Its the one reason I haven't been able to do a scratch build. So I need to figure out what method to use and take my sweet time doing it. If all else fails, Plan B is the other parts provided. On another note, I like that the tabs holding the parts on are nice and small. Its very easy to remove the parts and clean up the tab remnants. Seems like most kits have a giant chunk of wood in multiple places holding the parts on.
-
Hi Bill, welcome to MSW
-
Hello and welcome to MSW
-
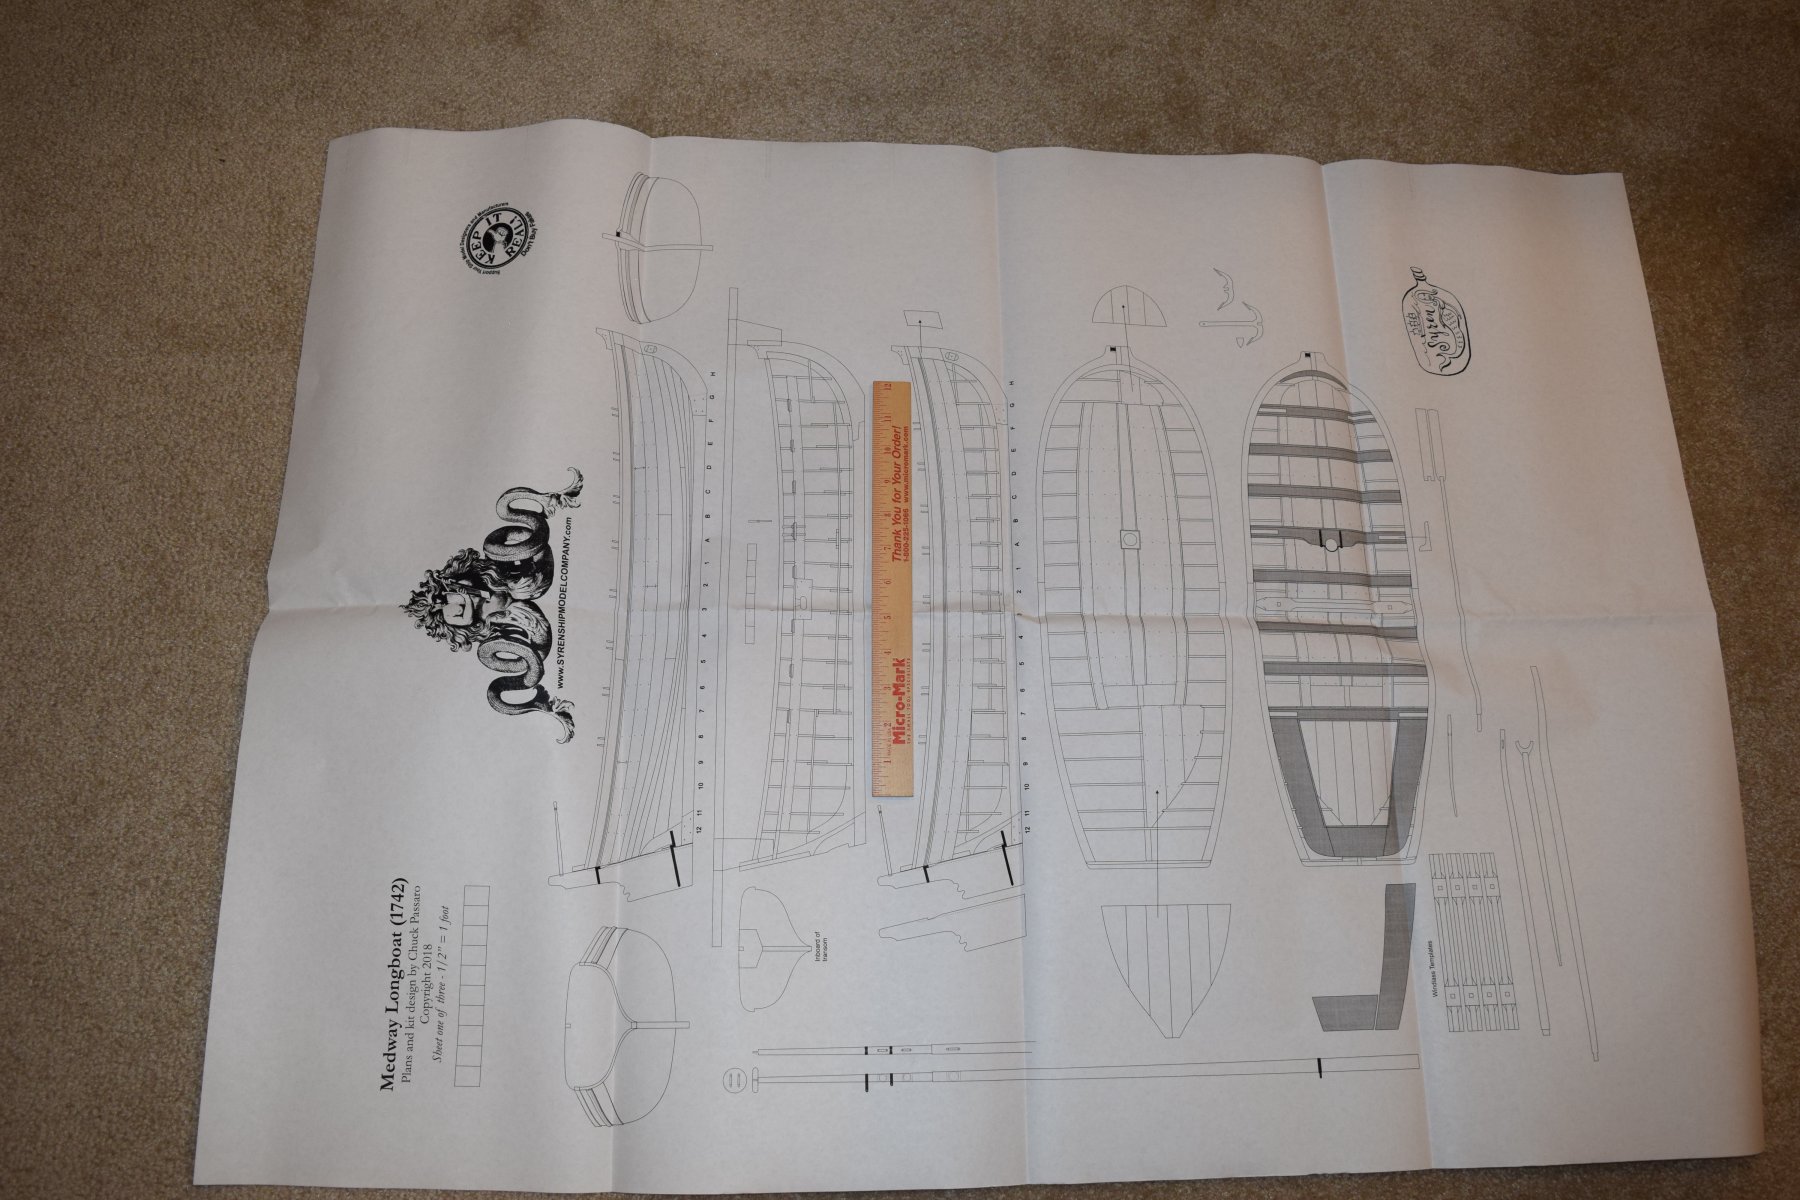
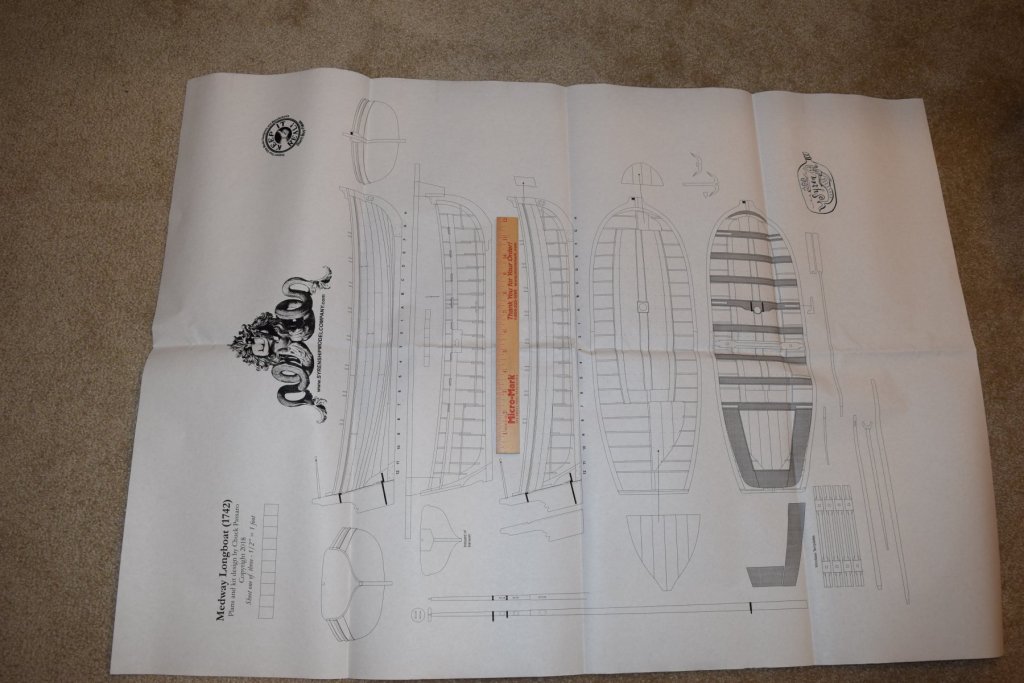
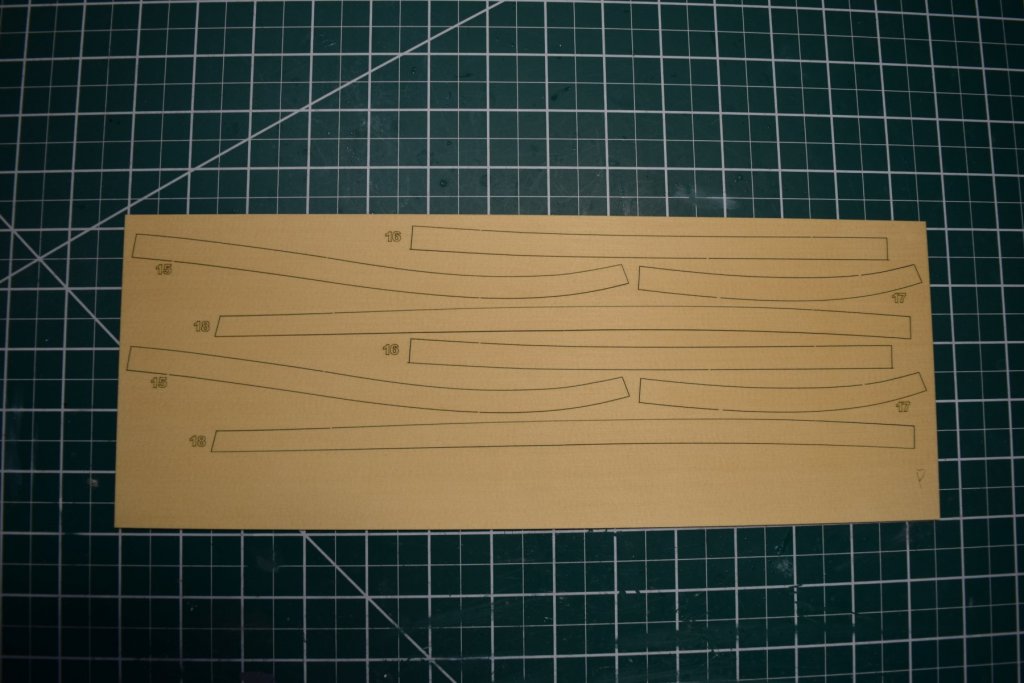
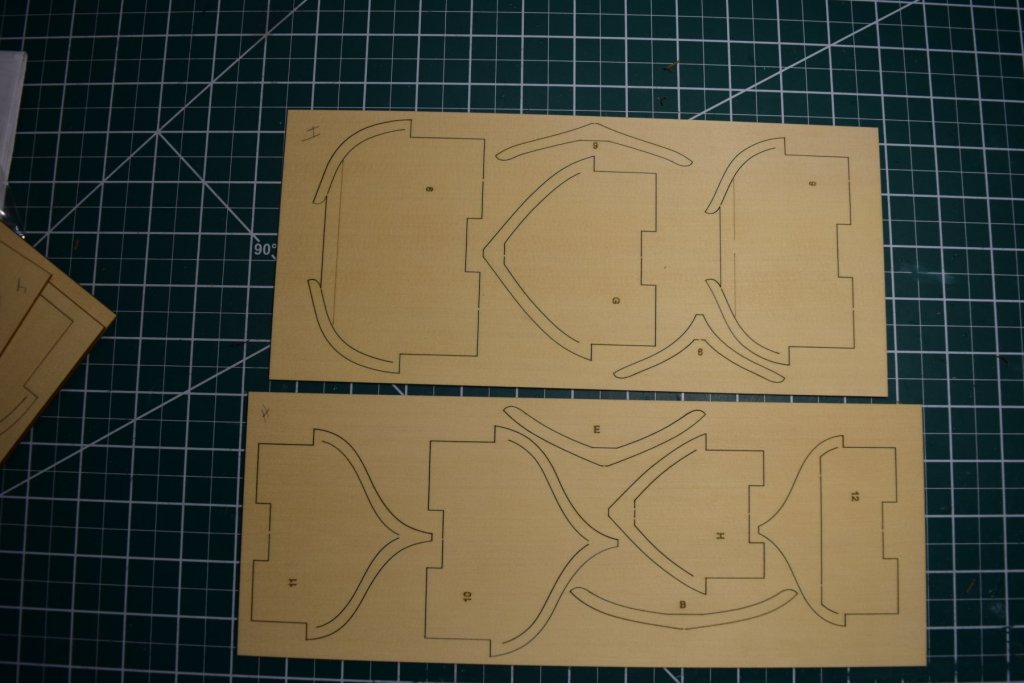
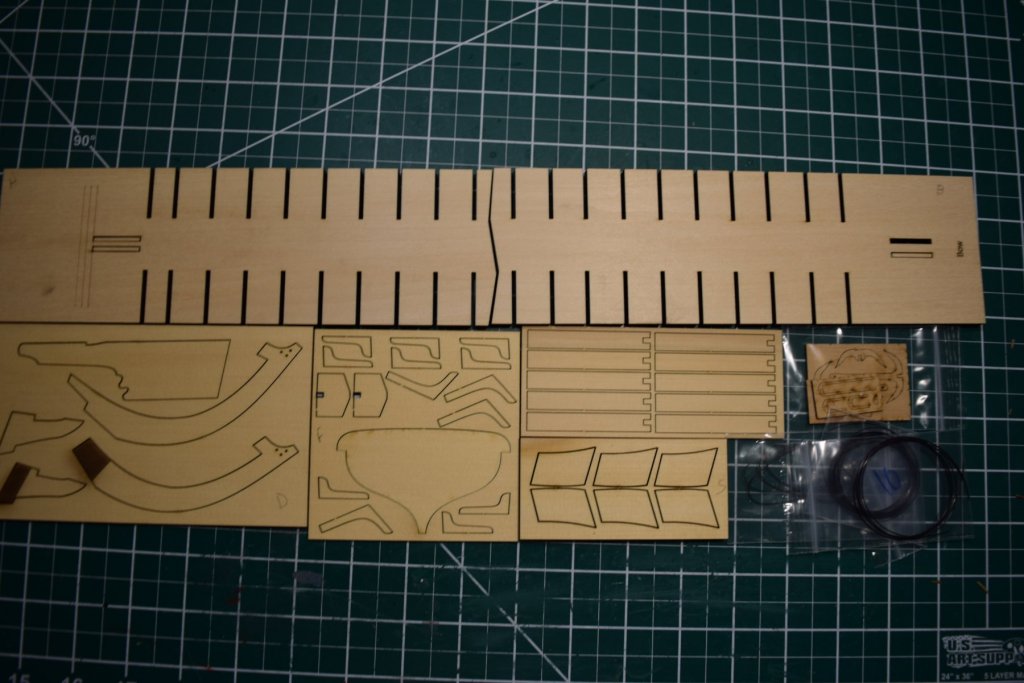
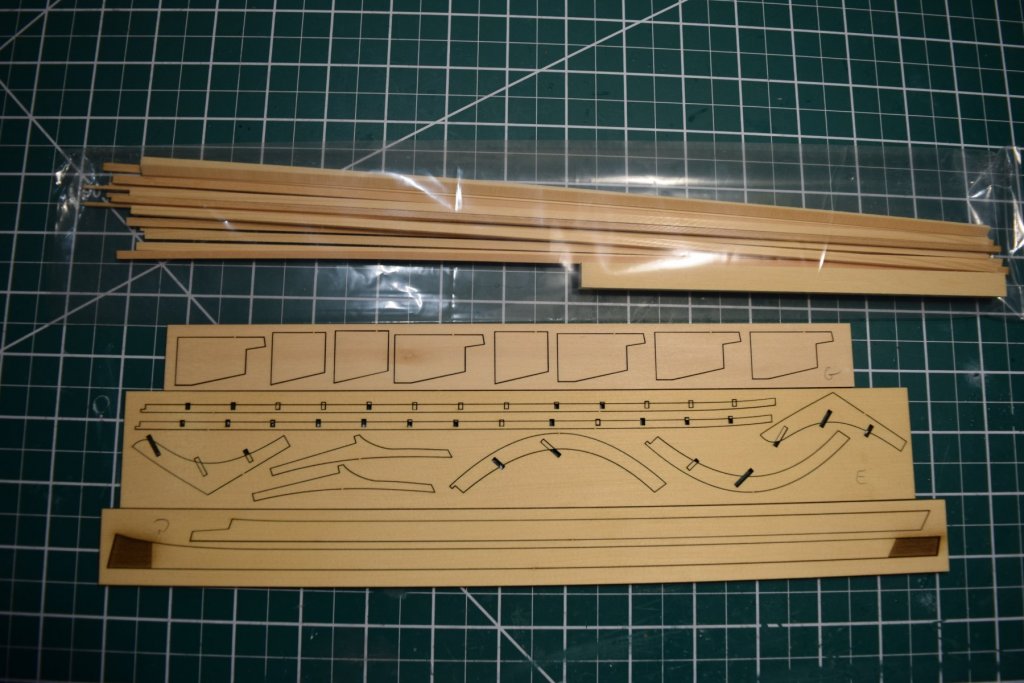
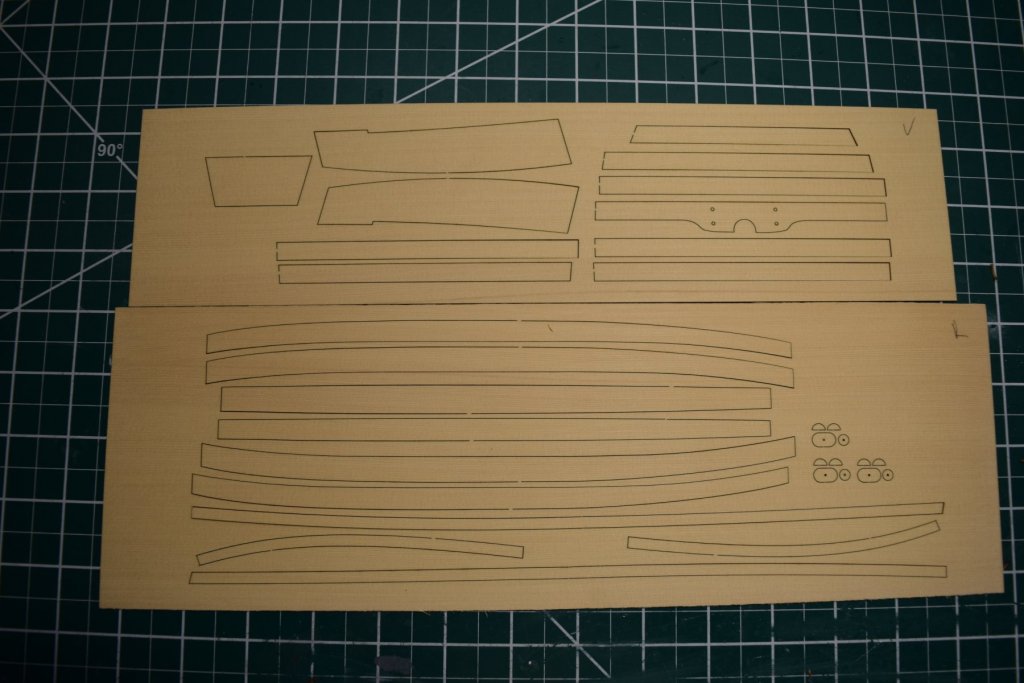
I received my kit yesterday and allowed the wood to acclimate to my extra dry environment. Here are some pictures of the kit contents. There is a lot more wood than I expected. I do like the look of the Alaskan yellow cedar. It has a nice grain to it.


-
Hi Adrie. Welcome to MSW.
-
The kit looks awesome. Us guys out west have to wait a little longer for ours.
- 152 replies
-
- 4
-
-
- medway longboat
- Syren Ship Model Company
- (and 1 more)
-
Welcome to MSW Pete