HOLIDAY DONATION DRIVE - SUPPORT MSW - DO YOUR PART TO KEEP THIS GREAT FORUM GOING! (Only 13 donations so far - C'mon guys!)
×


JeffT
-
Posts
2,551 -
Joined
-
Last visited
Content Type
Profiles
Forums
Gallery
Events
Everything posted by JeffT
-
Welcome to MSW
-
Welcome to MSW
-
Welcome to MSW
-
 Thanks Chuck. This is a fun project and I'm feeling good about being in the workshop again.
 -
Thanks Rusty.
-
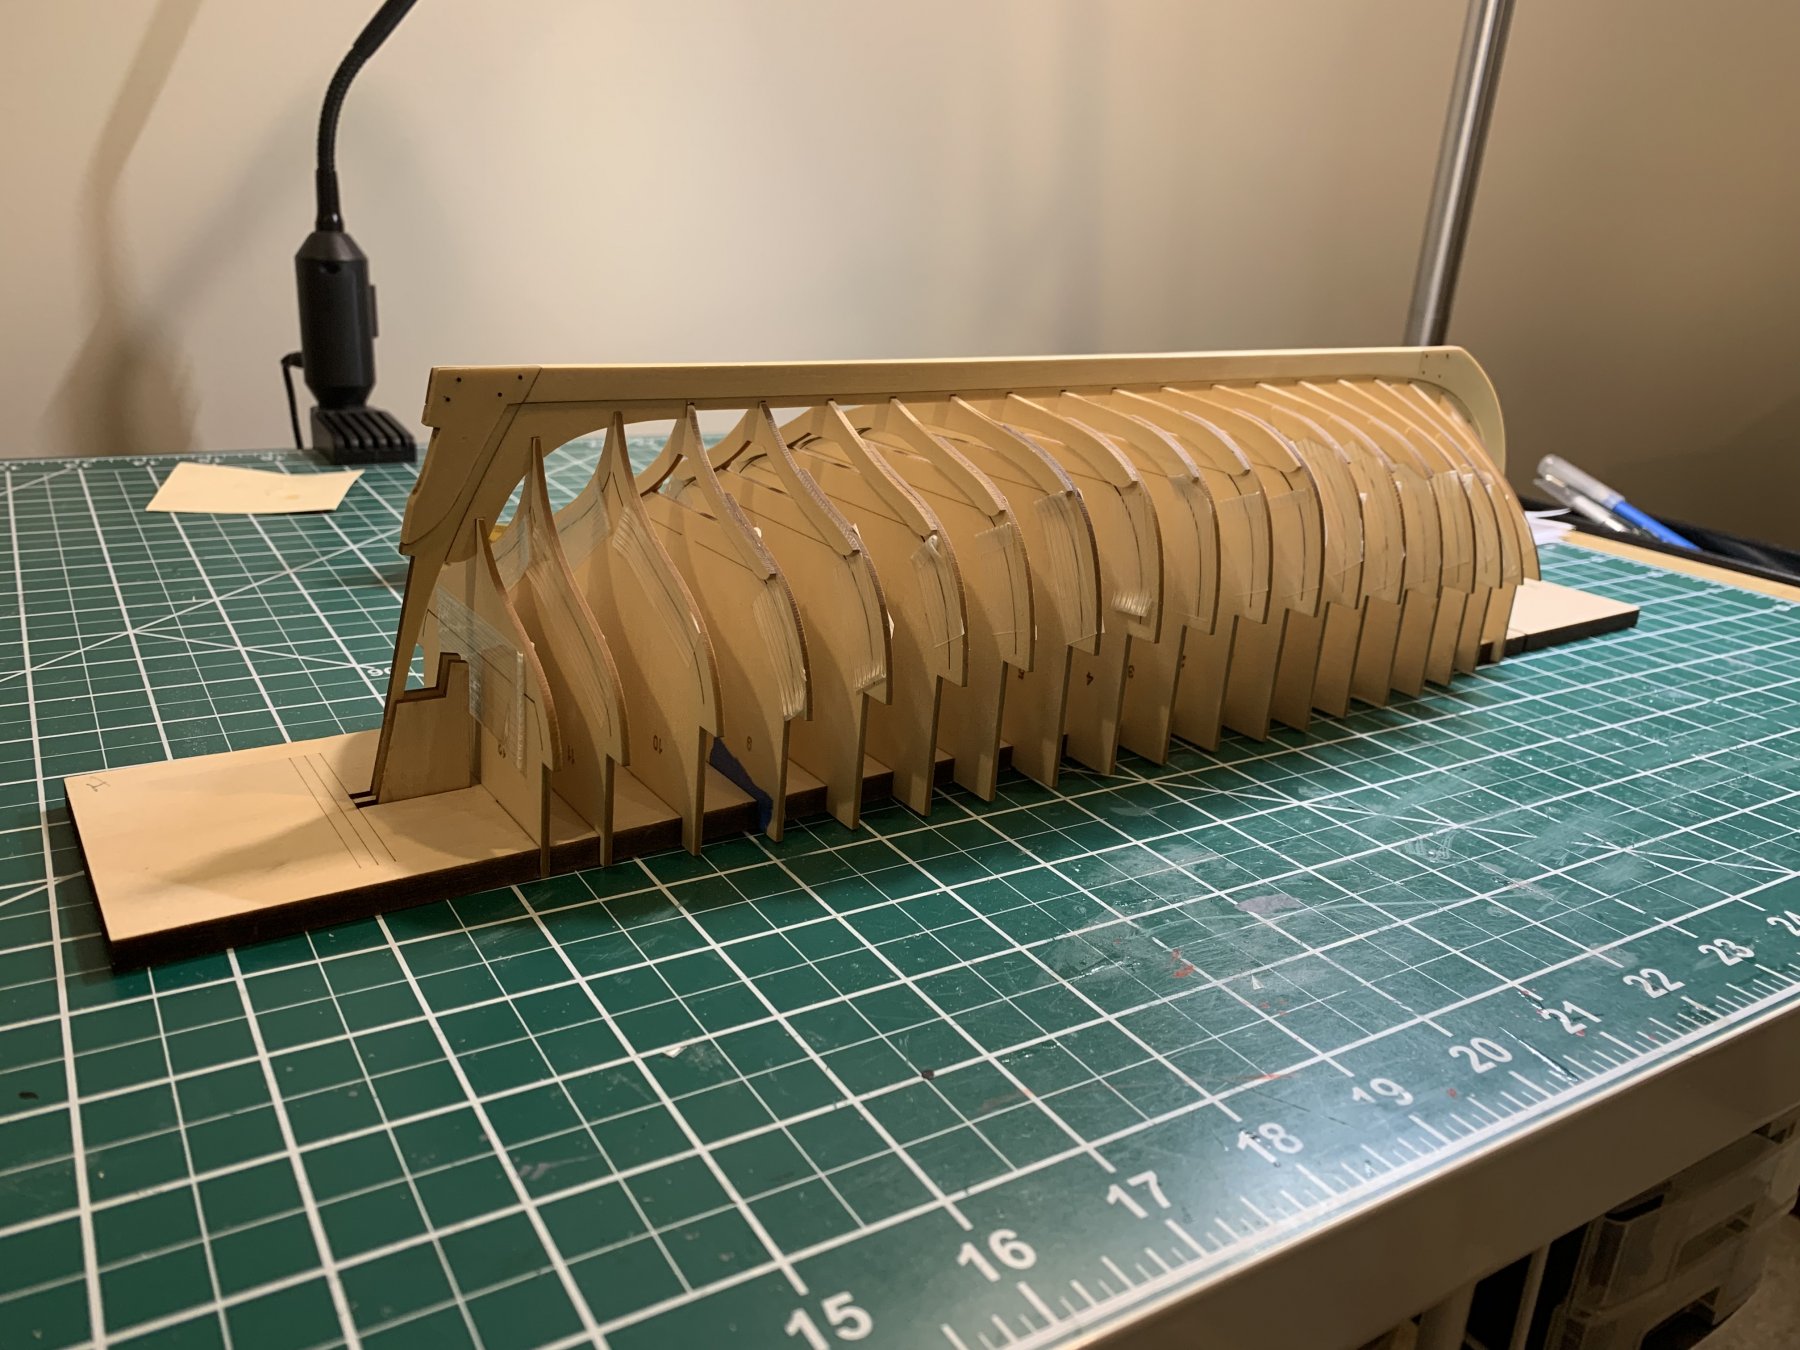
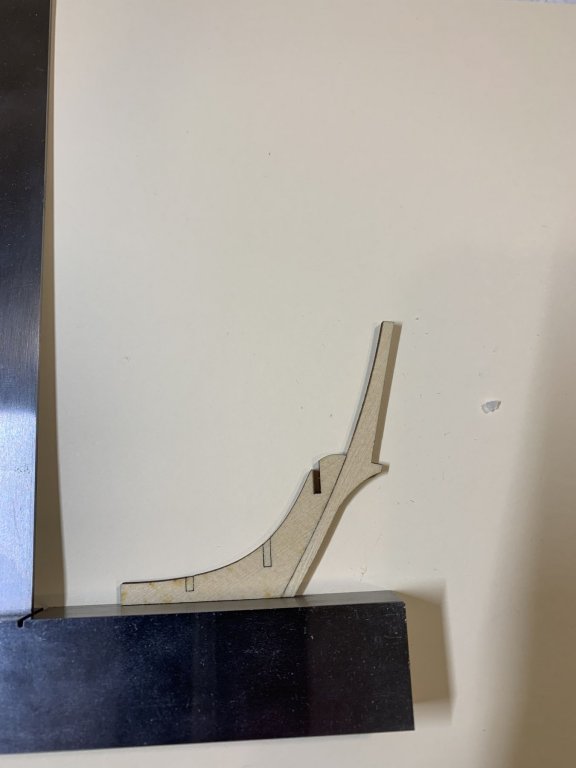
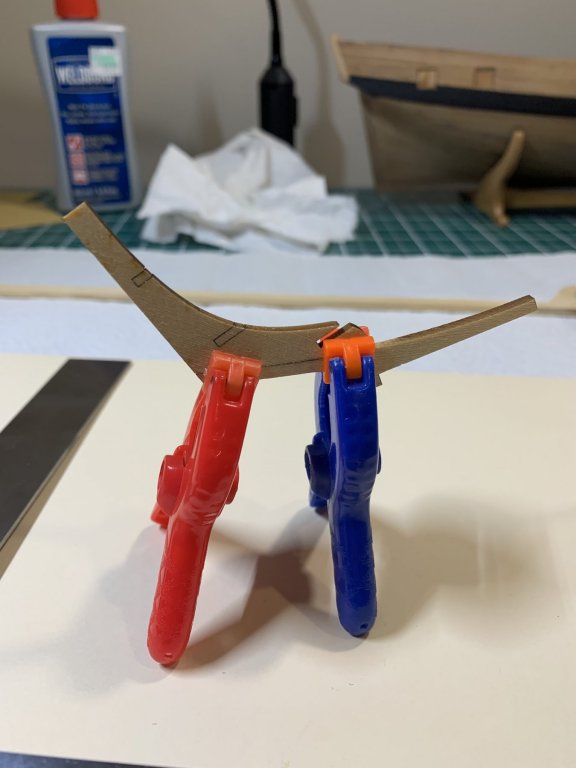
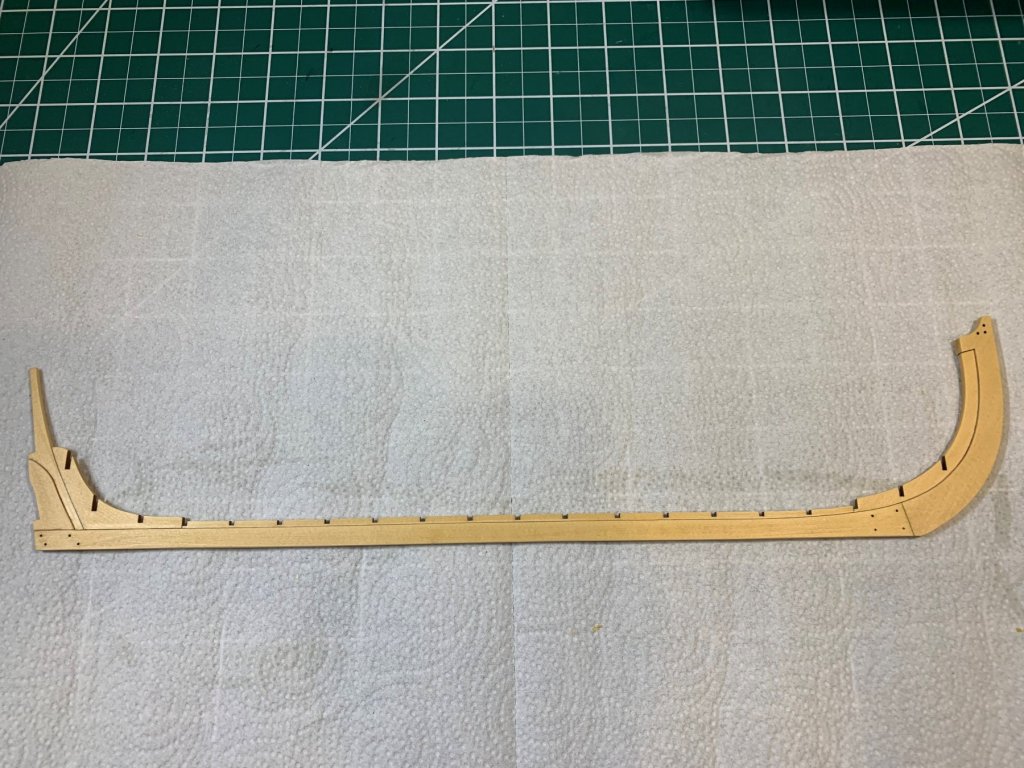
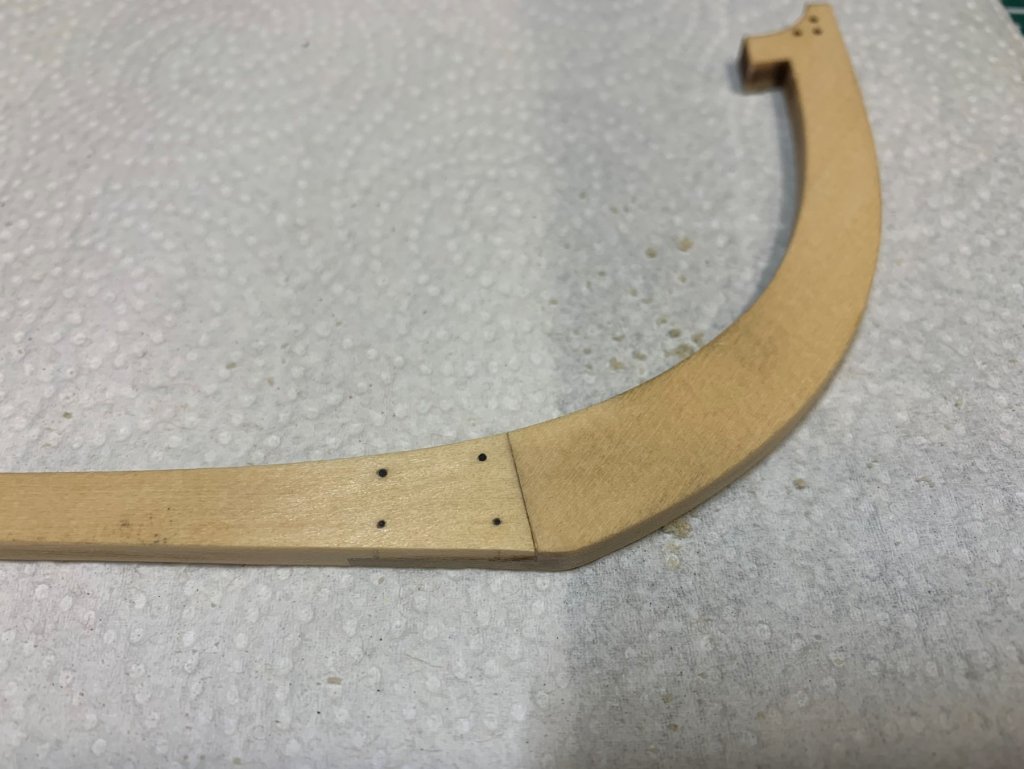
Hi all. Just a quick update and a question. I've built all the frames and dry fit everything together. I put the packing tape on the frames for support also. You may notice that I haven't attached the transom yet. I'm going to glue it on while everything is dry fit together on the build board. I thought it would be easier to get it properly aligned and perpendicular to the hull. My question is on the small strip of wood at the top of the frames. Is this added to all frames?

-
Very nice work Rusty, looks great.
- 152 replies
-
- 1
-

-
- medway longboat
- Syren Ship Model Company
- (and 1 more)
-
Hi Mike, Welcome to MSW
-
Vallejo has one. You can get it from amazon.
-
You're cruising right along Rusty. Your work looks very good.
-
Well done Kevin!
-
Welcome to MSW ☺️
-
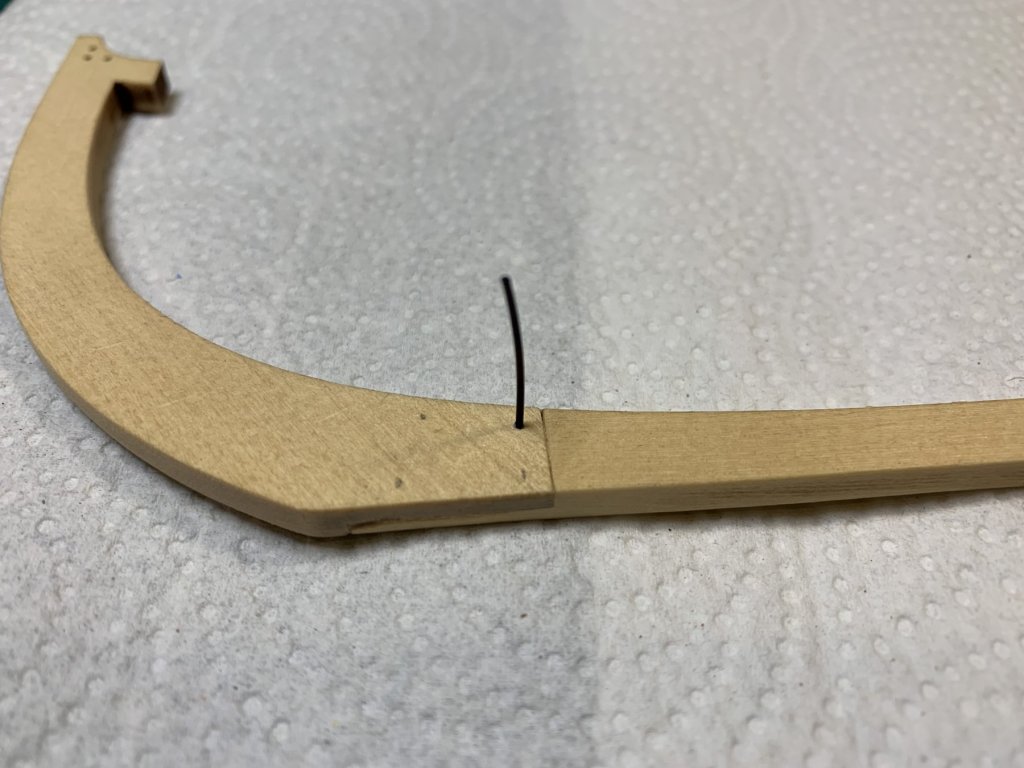
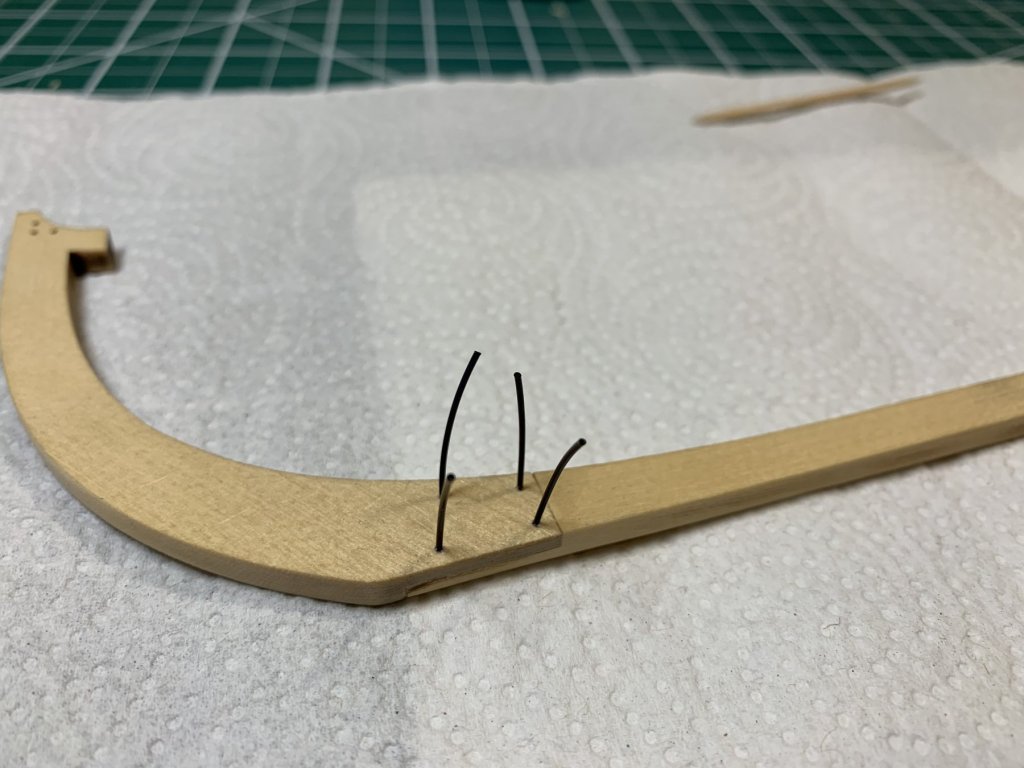
Alright, finally got the keel finished. I just pretty much followed along with the instructions. I installed the simulated bolts and sanded off the laser char. After that, I ended up gluing the two inner keel pieces together first and then glued them to the keel. I made sure I had a nice flat surface and aligned the bottom edges along a angle block. It worked out nice. No adjustments were needed for the inner keel pieces, everything fit perfectly, no wiggle room on either end. I used the little 1/32 jigs as seen in other build logs to make sure I had the 1/32 rabbet. I gave it a coat of wipe-on poly and on to the next step.

-
I like the stand. Its a lot better than anything I could do. I'd be interested.
- 421 replies
-
- 4
-
-
- medway longboat
- Syren Ship Model Company
- (and 1 more)
-
HMS ROYAL KATHERINE 1664 by Doris - 1/55 - CARD
JeffT replied to DORIS's topic in - Build logs for subjects built 1501 - 1750
You are a true artist Doris.- 1,035 replies
-
- 6
-
-
- royal katherine
- ship of the line
- (and 1 more)
-
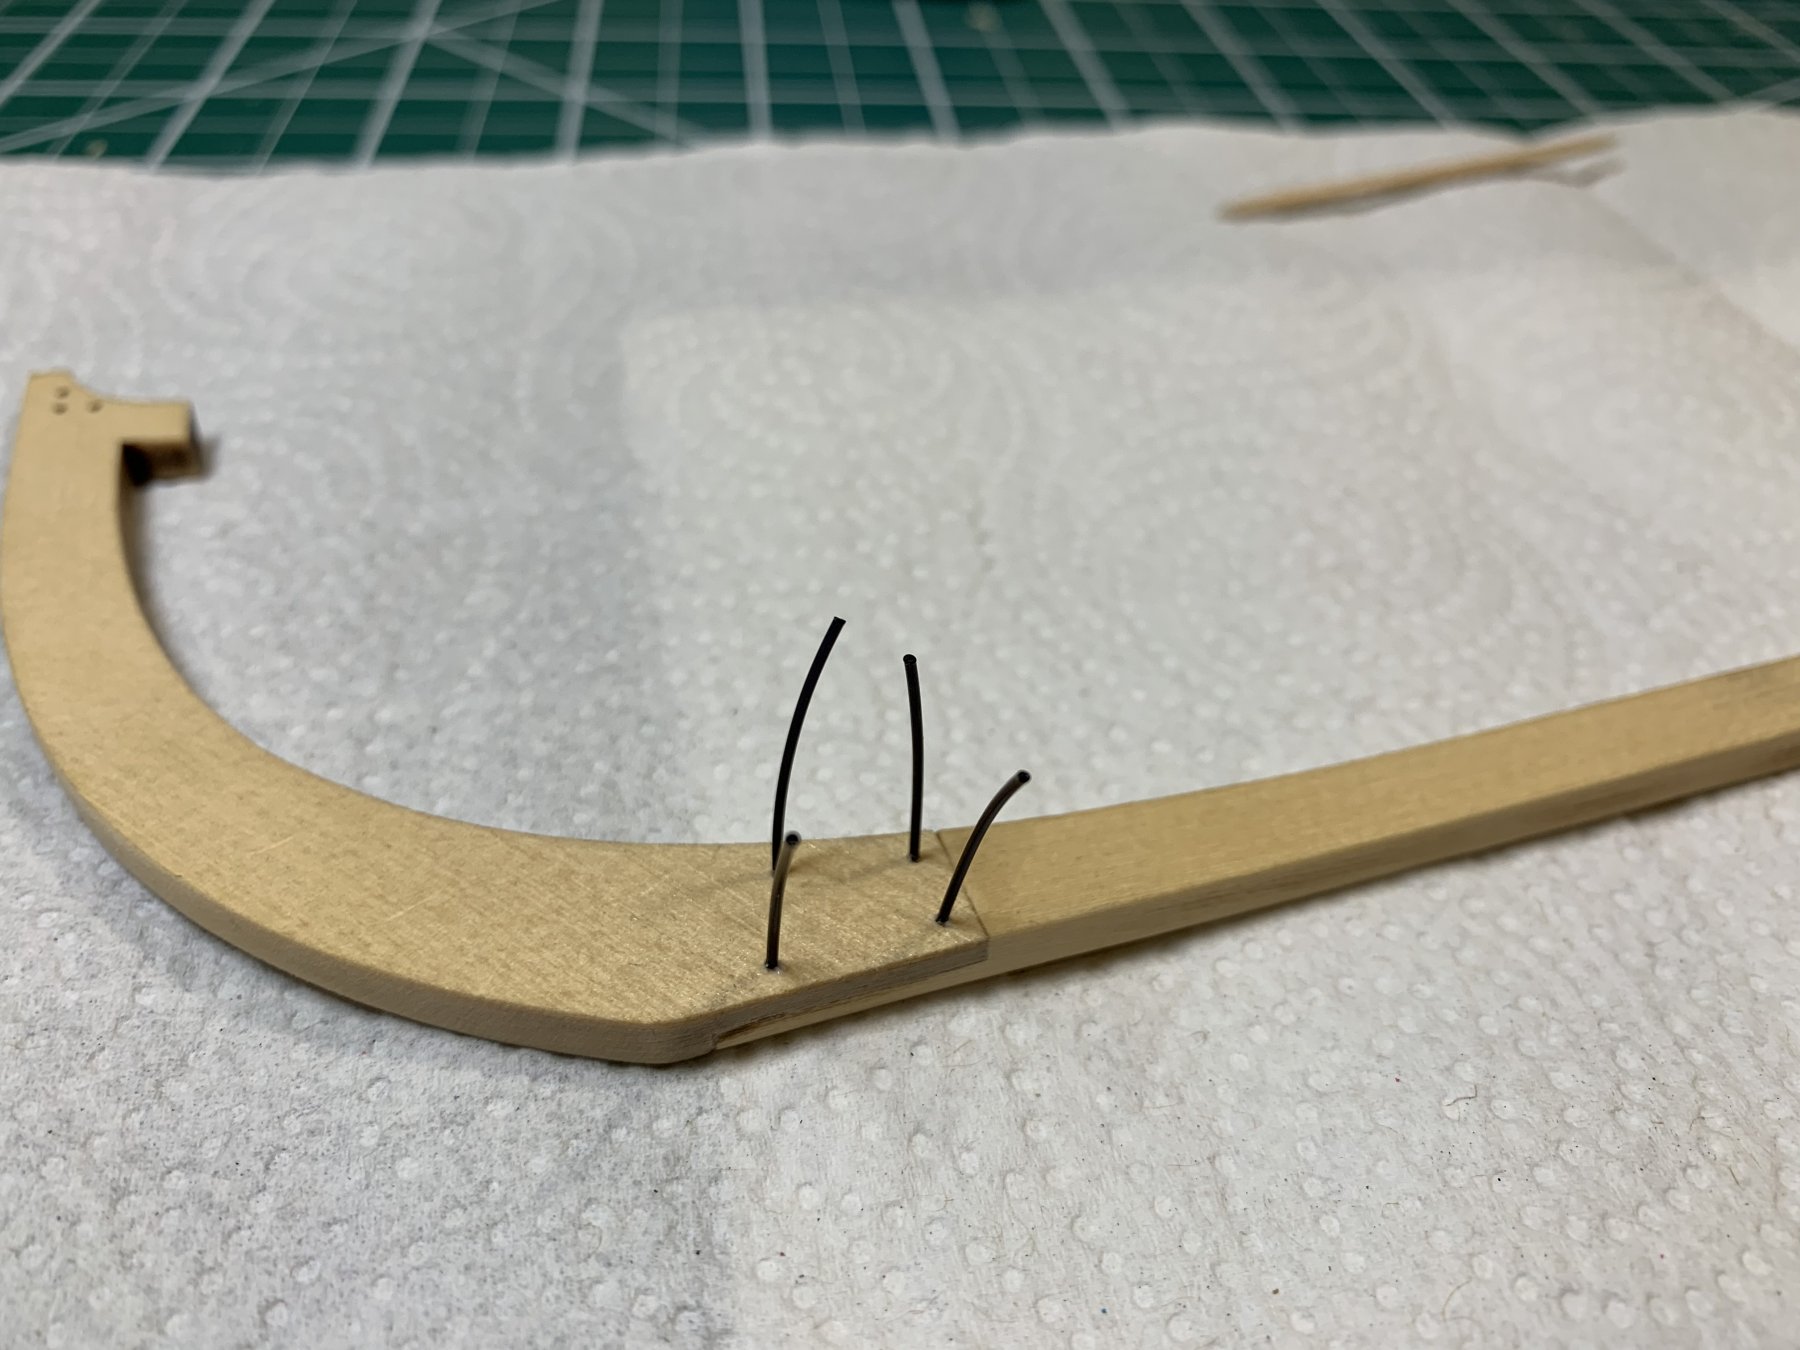
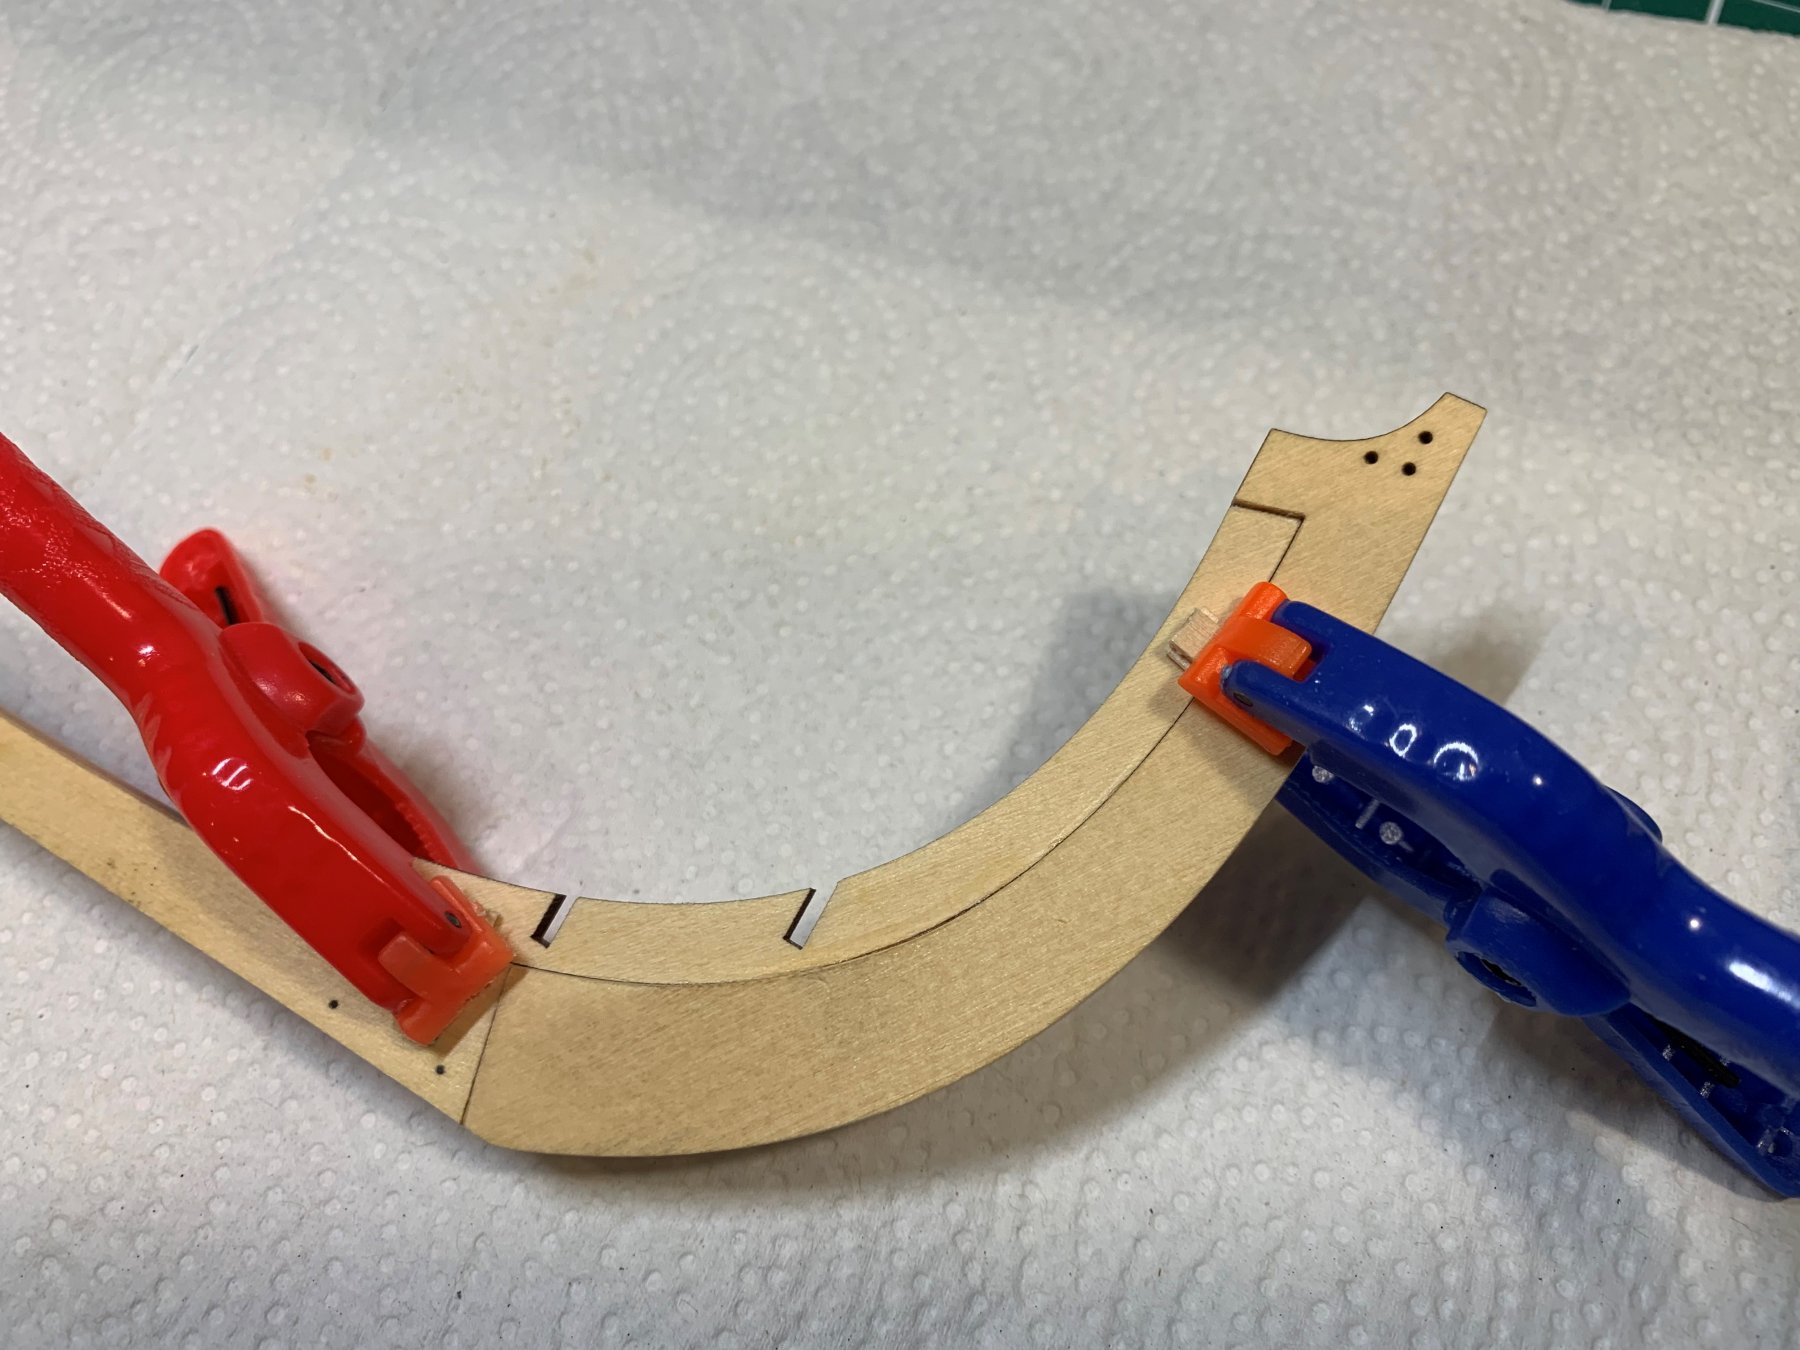
Question on adding the the two notched inner stern keel pieces: Is it best to glue the two pieces together first before gluing them to the keel?
-
Good idea. Mess one up, you have a back up.
-
Looks great Rusty.