


Fright
-
Posts
562 -
Joined
-
Last visited
Content Type
Profiles
Forums
Gallery
Events
Posts posted by Fright
-
-
-
-
Bill - the railings have a nice, clean look to them. She's coming along nicely !!!
- mtaylor, lmagna and popeye the sailor
-
 3
3
-
Congratulations on a remarkable build !!!
-
-
Your work that are doing on the planking looks very nice. You make it look easy. I purchased two books on planking a ship and I am still baffled on the tapering needed for the bow and stern. Great work on yours!
-
Tigersteve - thanks for your comment and this ship is slowly coming together. I hope to complete the port side light and the beacon towers over the weekend. Happy Thanksgiving to you and your loved ones!
- Canute, thibaultron, Tigersteve and 2 others
-
5
-
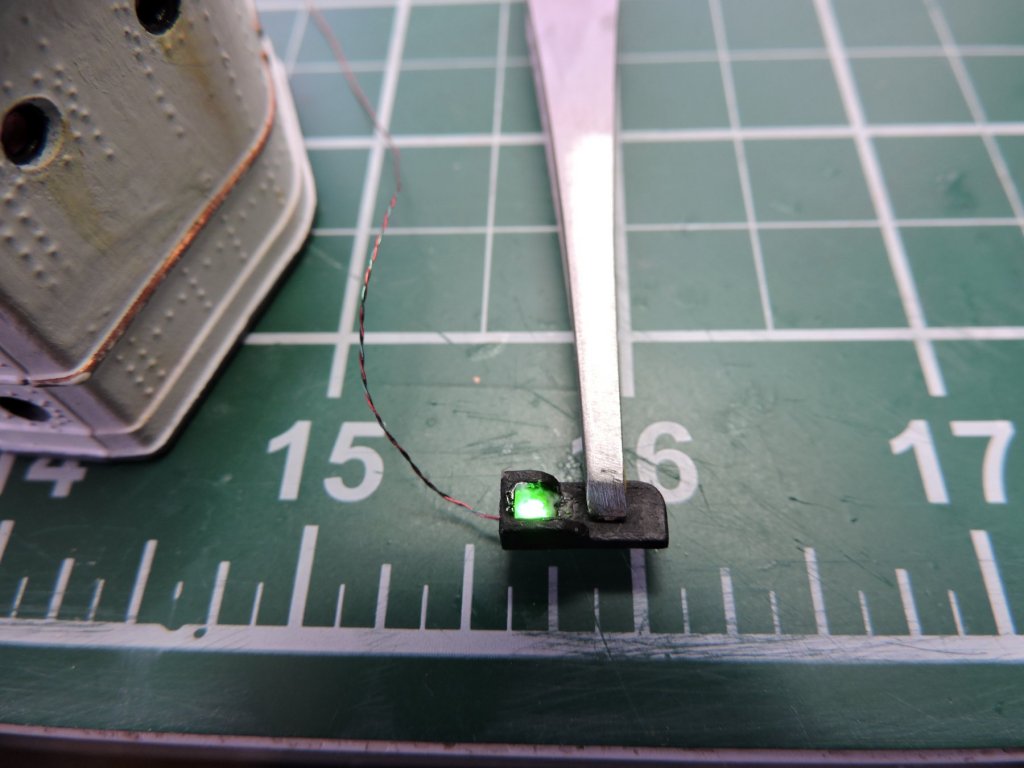
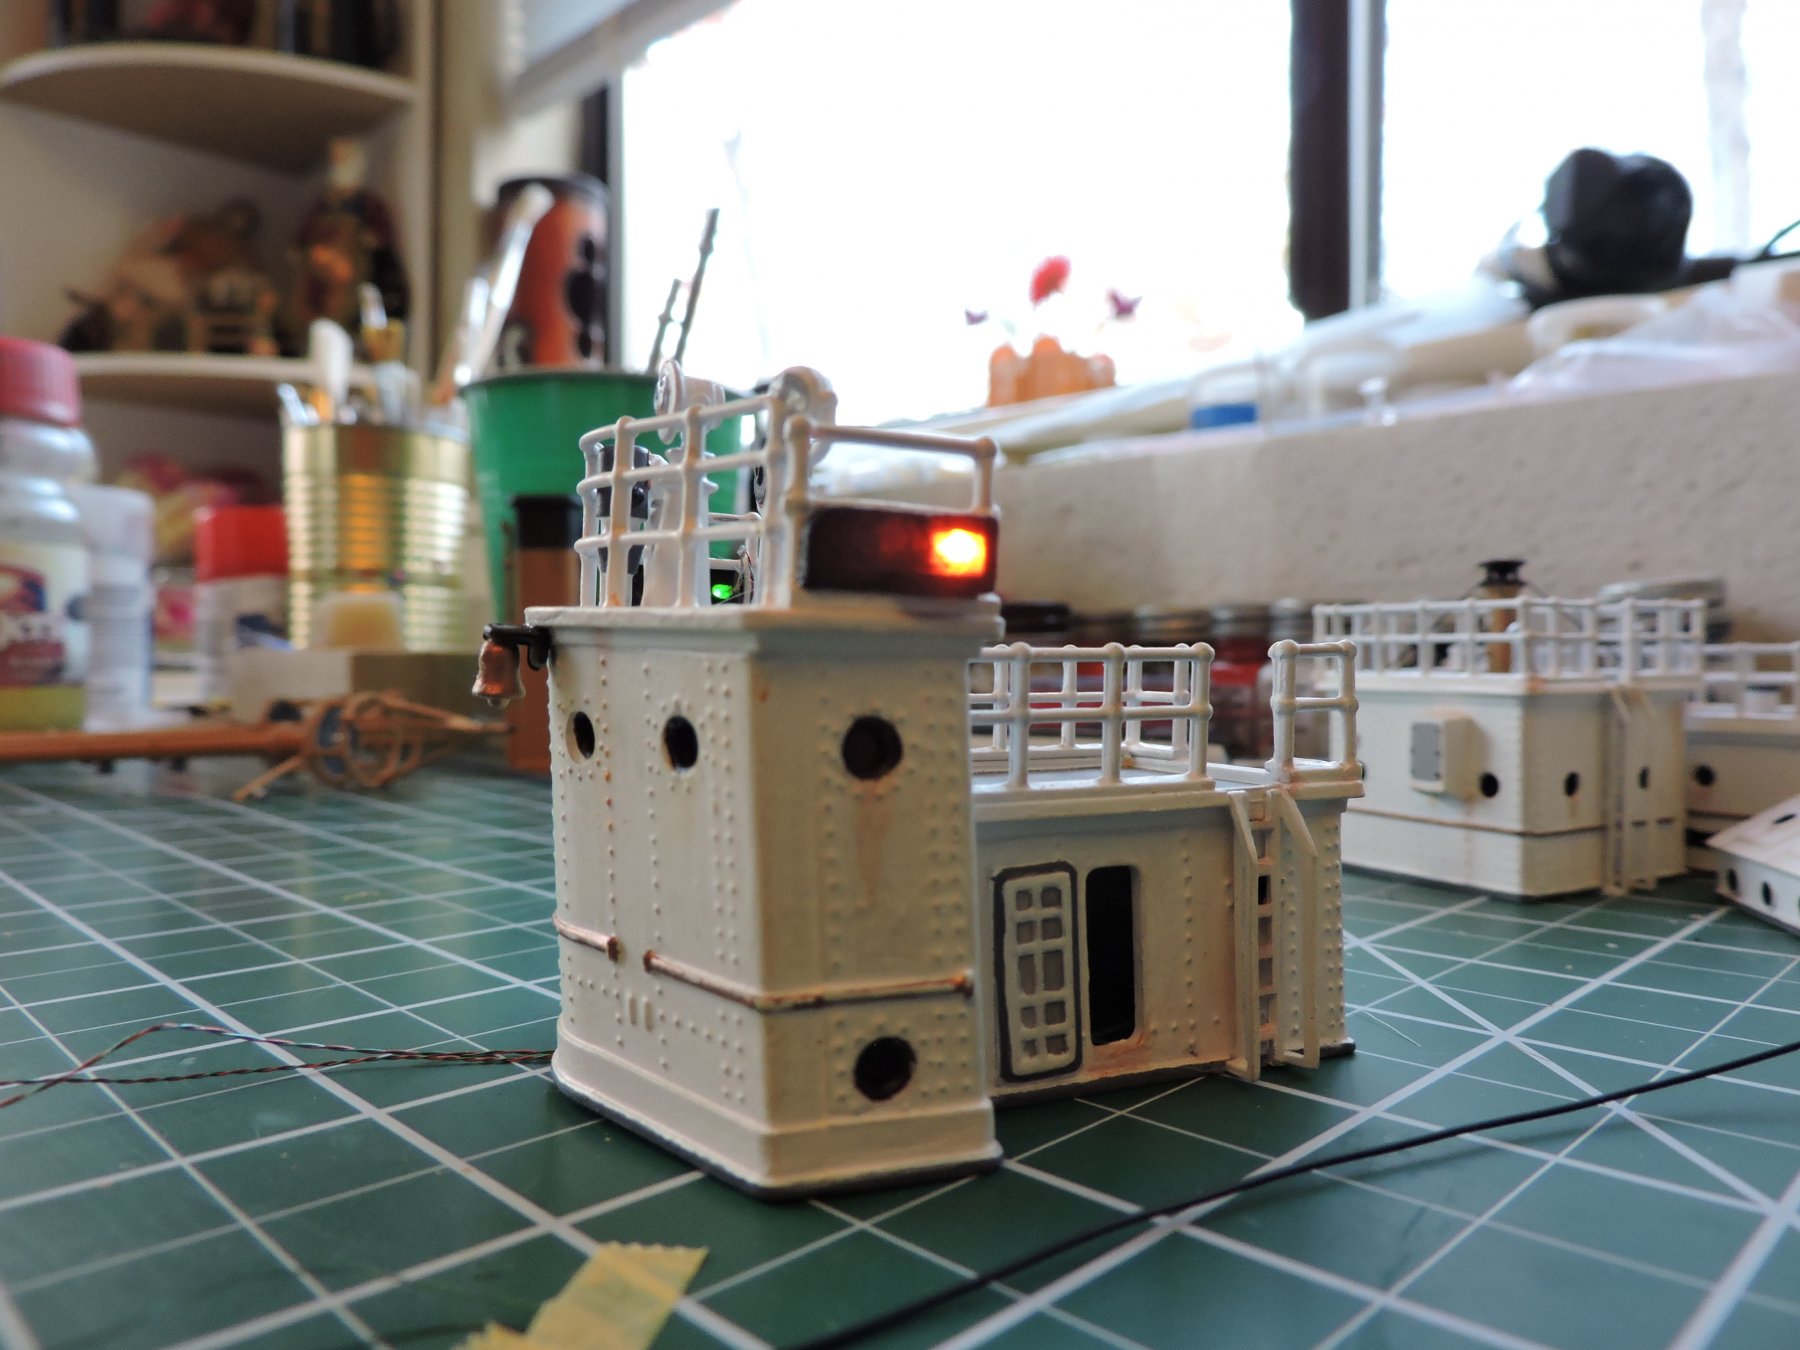
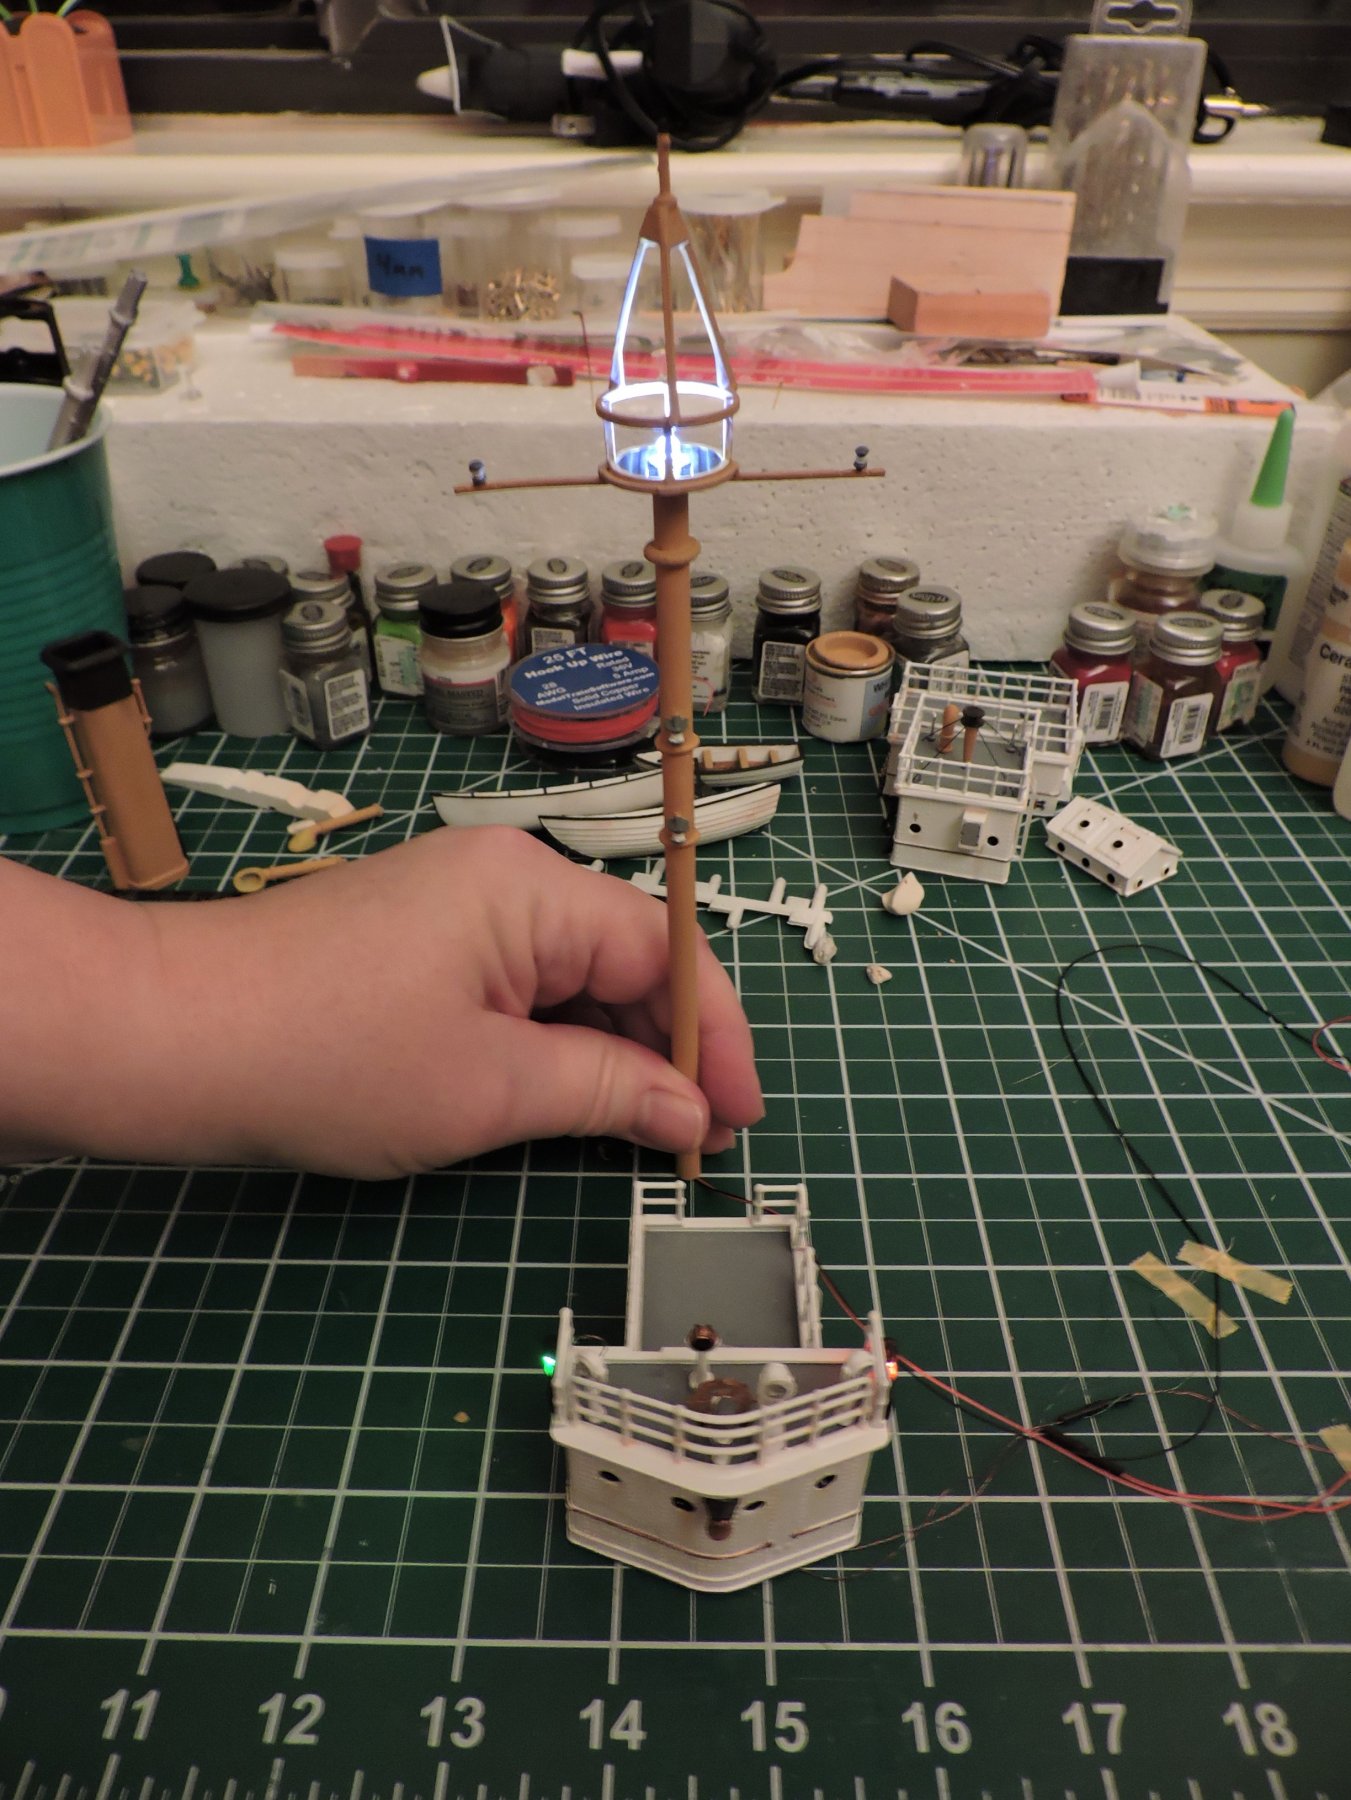
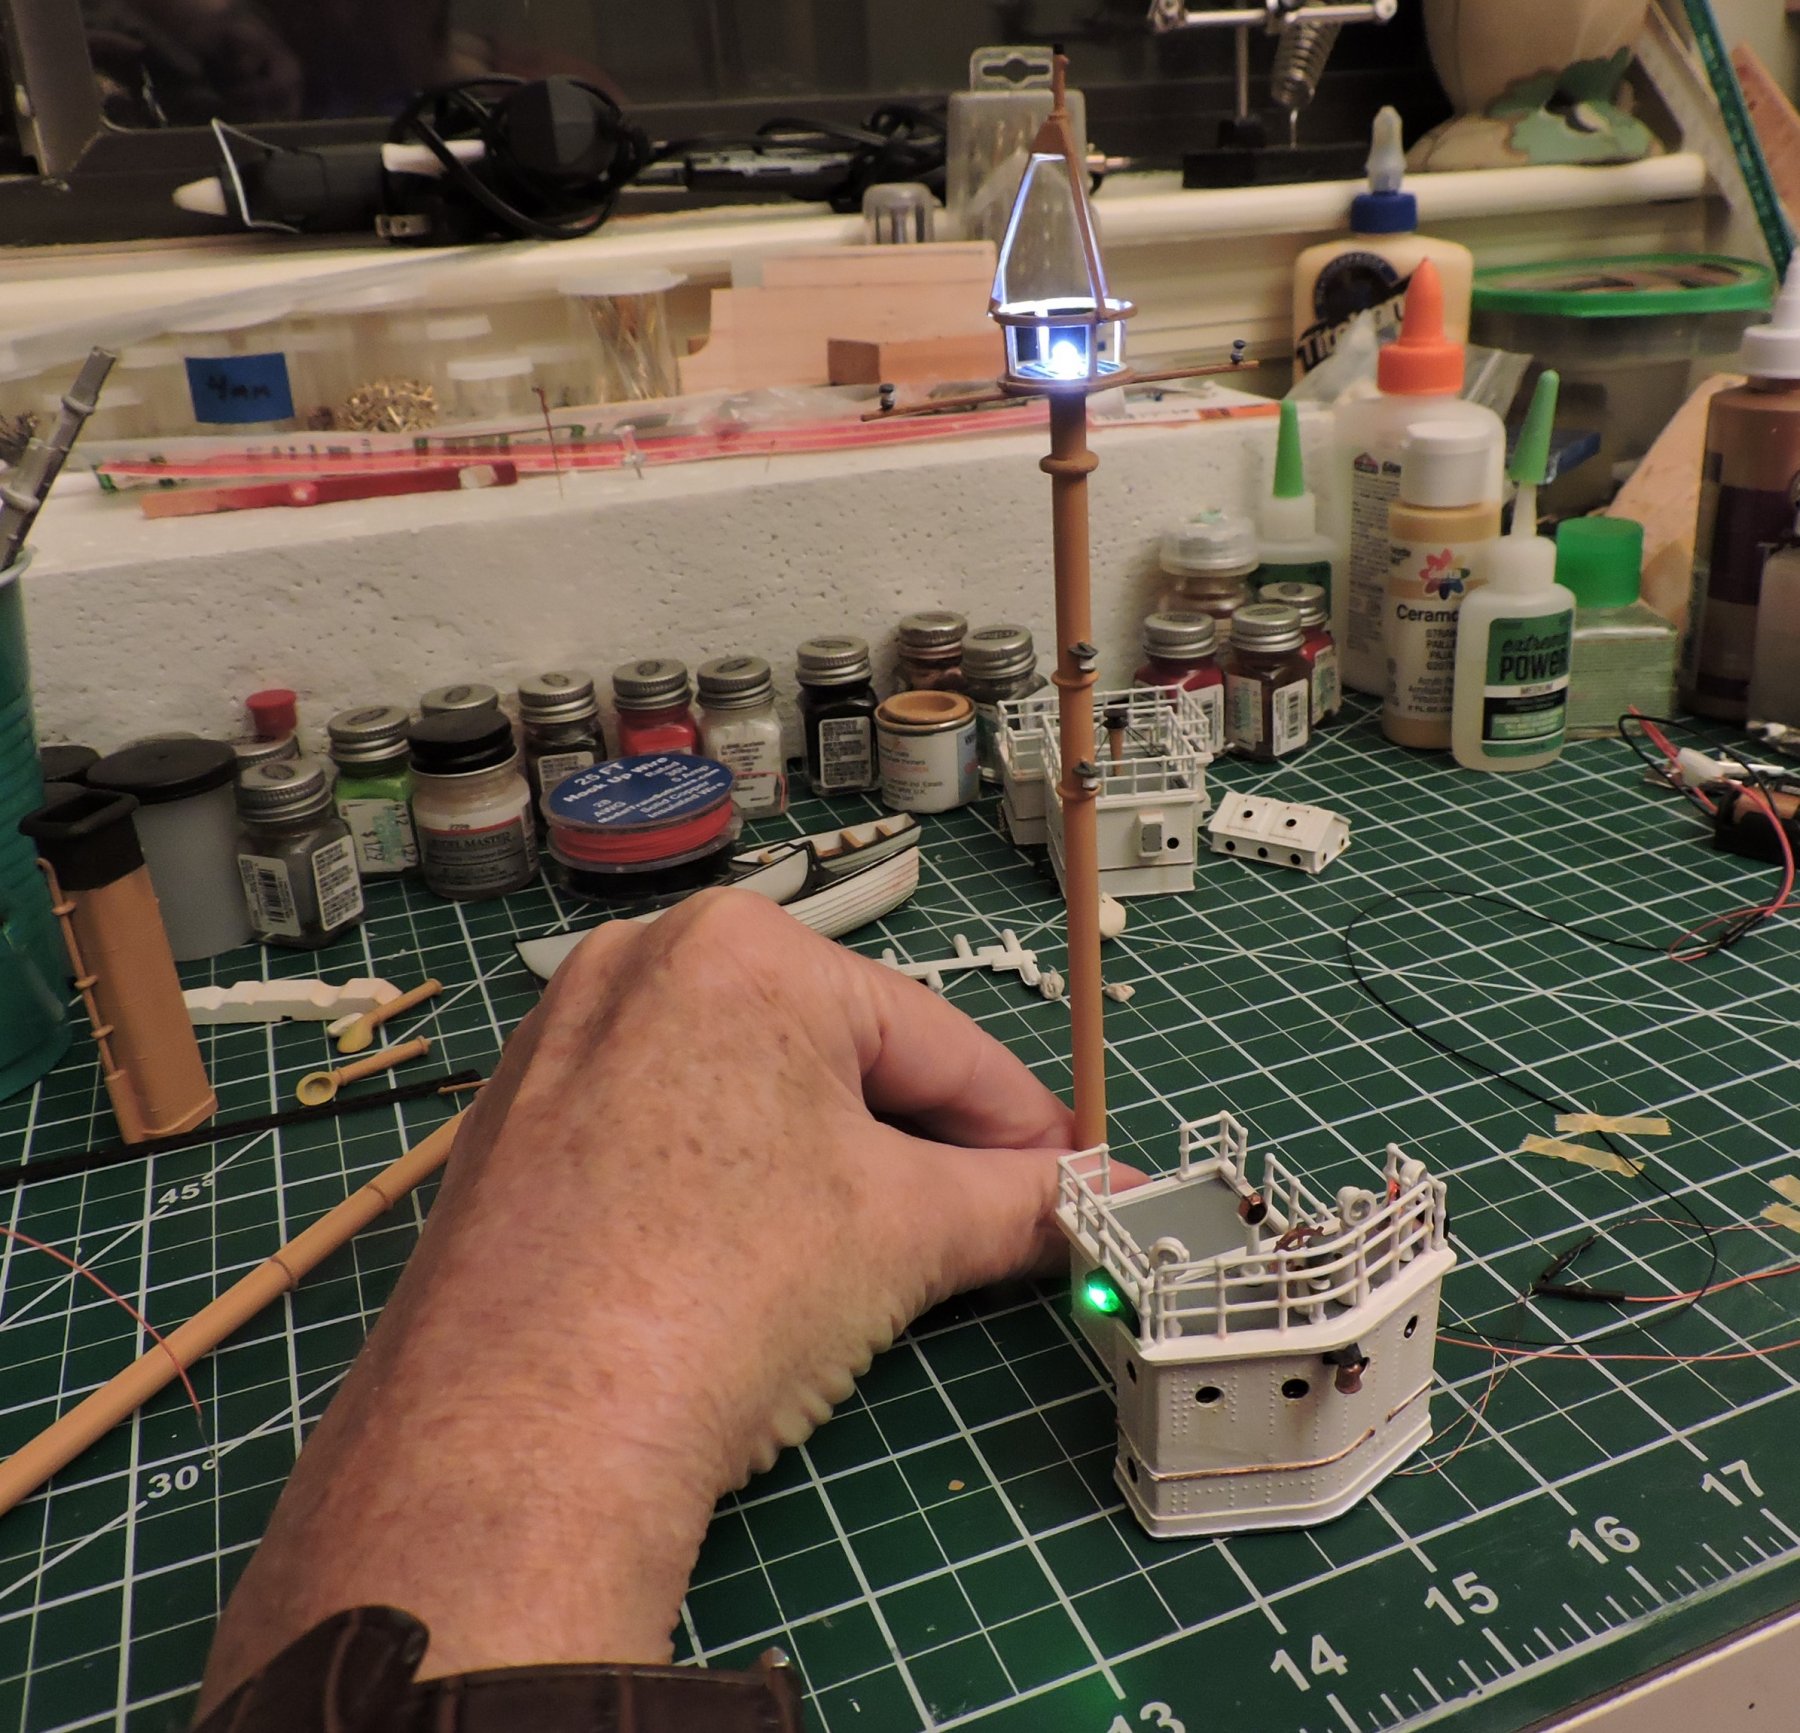
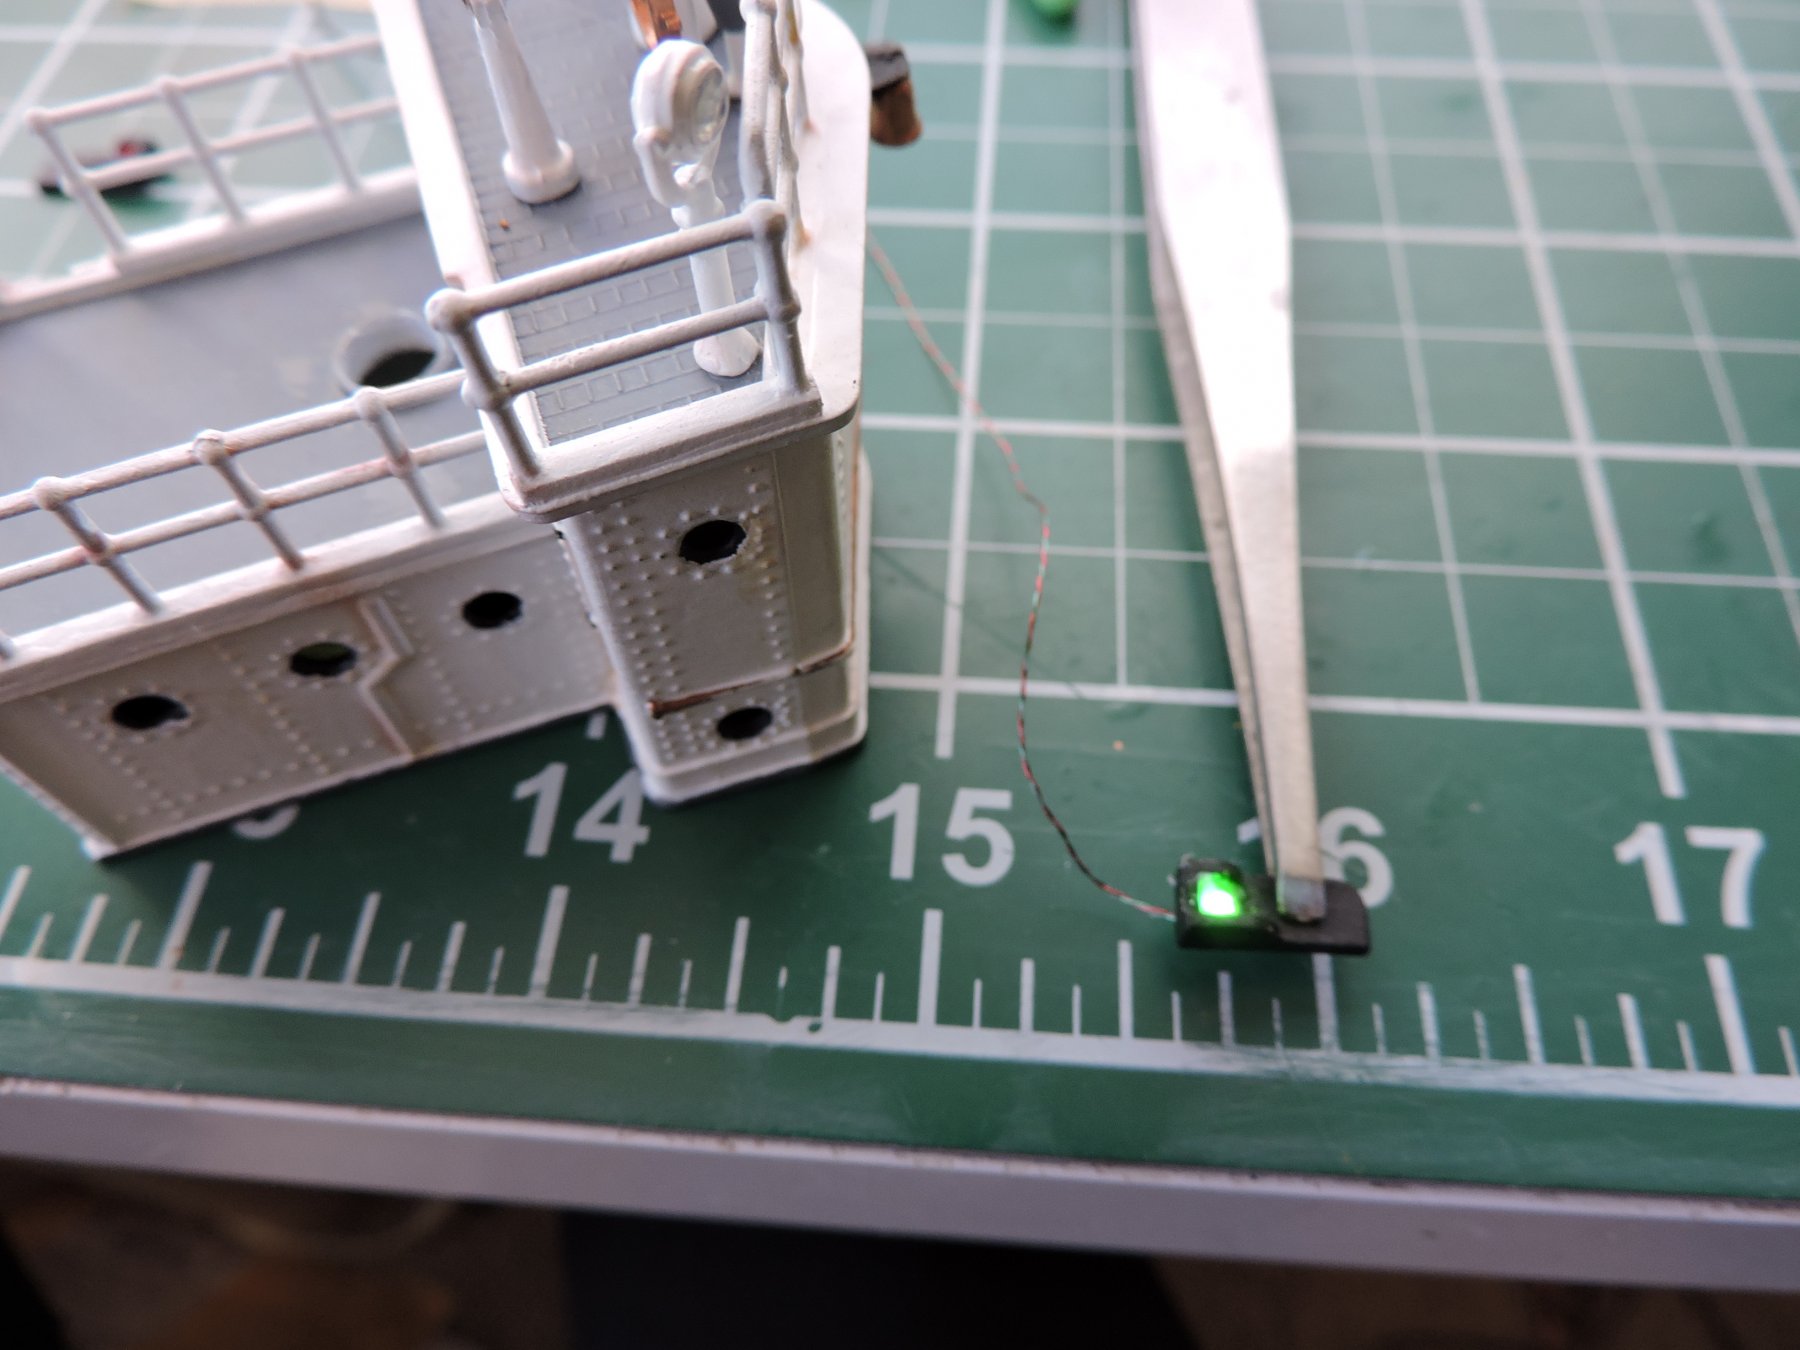
I drilled an opening into my port and starboard navigation lights in order to install my 1mm LED lights. I was able to complete the starboard side green light this morning along with installing my 3mm LED slow flashing light onto my forward beacon tower.
I want to wish everyone a Happy Thanksgiving !!!


- Canute, hexnut, popeye the sailor and 4 others
-
7
-
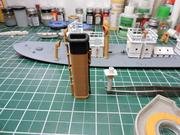
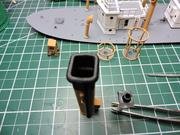
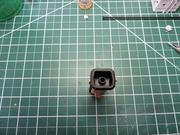
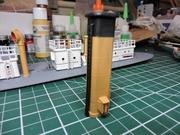
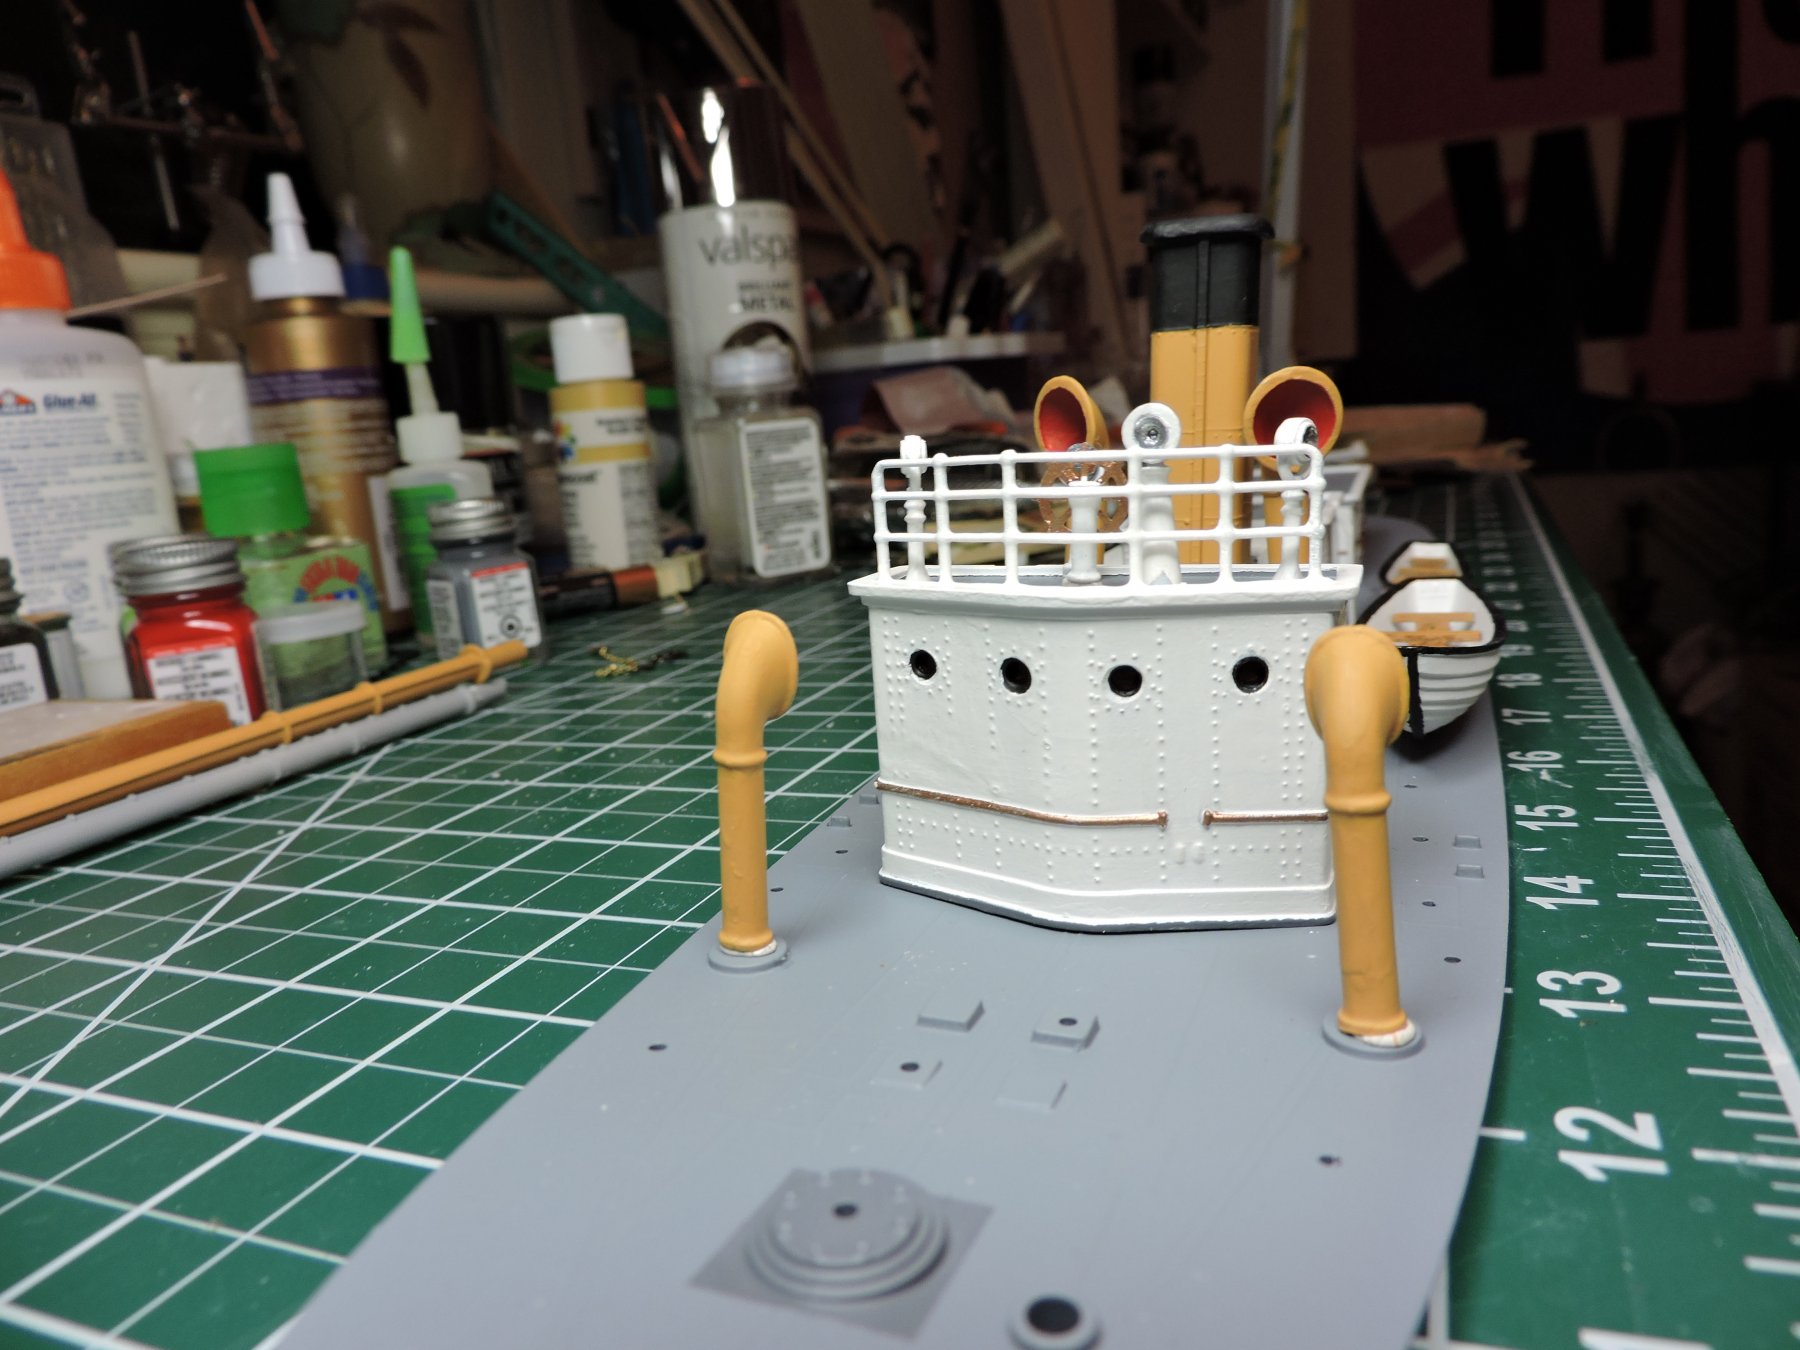
While finishing up work on the smokestack, I did not like the look of having just a large funnel opening down to the decking. I cut a rectangular piece from some thin styrene sheet and marked off the center with pencil. I then used a hole punch to make my round opening. I cut a piece of round styrene tubing and glued it into the opening. I then used a sanding stick to round off the corners until my piece fit into smokestack opening. I painted everything flat black and glued into position. It may not be accurate but it definitely looks better to having a large 'void' and it also added some visual detail to my project.
-
I'll be following to watch your fine work shine with this one!
-
Ozark - Your Connie is coming along nicely. I found the cannons consumed quite a bit of time getting them ready for painting. I know what you mean about the wheels being slightly off. I used a very fine sanding stick to clean them up. Very repetitious. I wish Revell would make a one piece deck for this kit. For myself, I gave up trying to match the paint at the seams and went with ScaleDecks laser-cut wooden deck. Smooth sailing on your build!
-
Mispeltyoof - I am very sorry that you did not get a quick response to your question in your post. I have had a couple of questions overlooked in my posts but there are many builds going on at the same time. This site has many talented members and this site offers a wealth of knowledge in resources. As someone who is fairly new to modeling, I do not have a lot of responses or likes on my posts, but when I do receive one, I cherish the fact that someone took the time to respond and/or offer me advice and/or encouragement to help me move on with my progress. I hope you will reconsider your wanting to leave this site. If you choose otherwise, I wish you smooth sailing on your projects
 🏁
🏁
-
CPDDET - I'm glad I'm not alone when it comes down to pets and curiosity LOL . My cat is appropriately named "Monster". Enough said. With what I've seen of your skills, this is a minor setback. She's looking great
-
You are certainly off to a good start with your Bluenose. Very nice work so far and I like your improvised keel holder !
-
Bill - really good to be able to follow along on your latest build! I certainly want to thank you for all of your help that you have shared with me on my lightship. Right off the bat, I tip my hat to anyone that works with smaller scale vessels
 LOL especially working with PE parts. Looking great so far!
-
Jack12477 - thanks for taking a look and I'm hoping I can finish this build by the holidays
")
el cid - I thank you for sending me this link on water effects for dioramas. I'd like to portray her anchored at sea with moderate swells. I'll be using plaster of Paris (part of my wife's stash for hobbies), along with Water Effects Atlantic Blue acrylic gel and acrylic paints. I'll be looking at all of his links on effects for tips and advice. Thanks!
- Canute, lmagna, thibaultron and 1 other
-
4
-
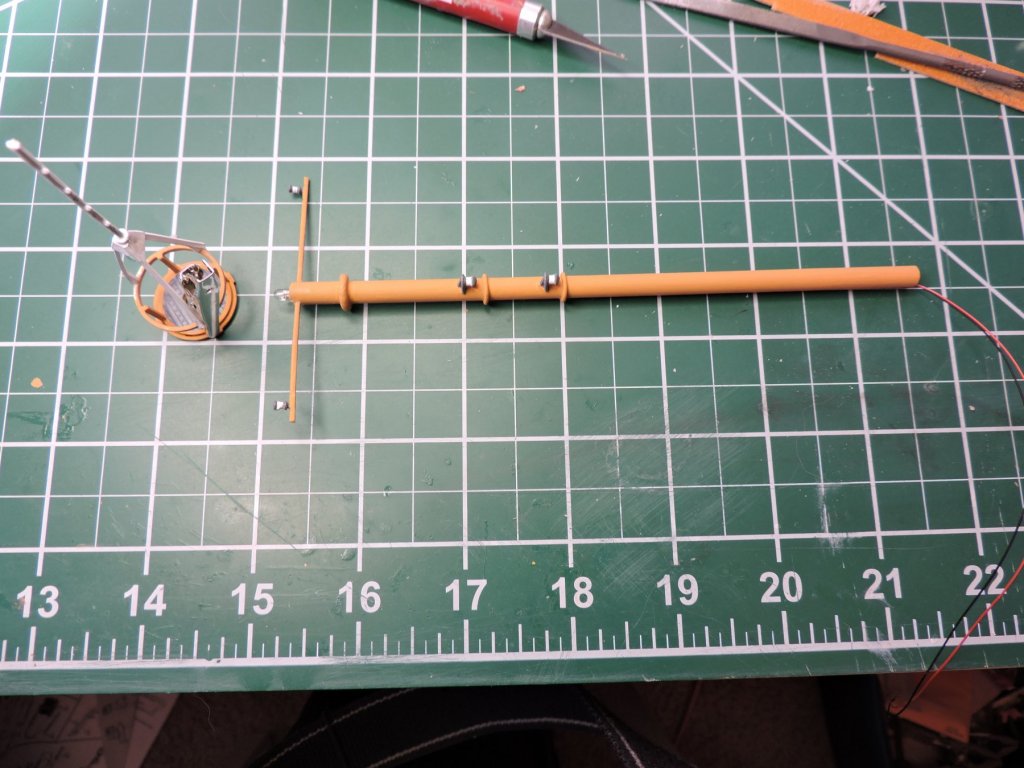
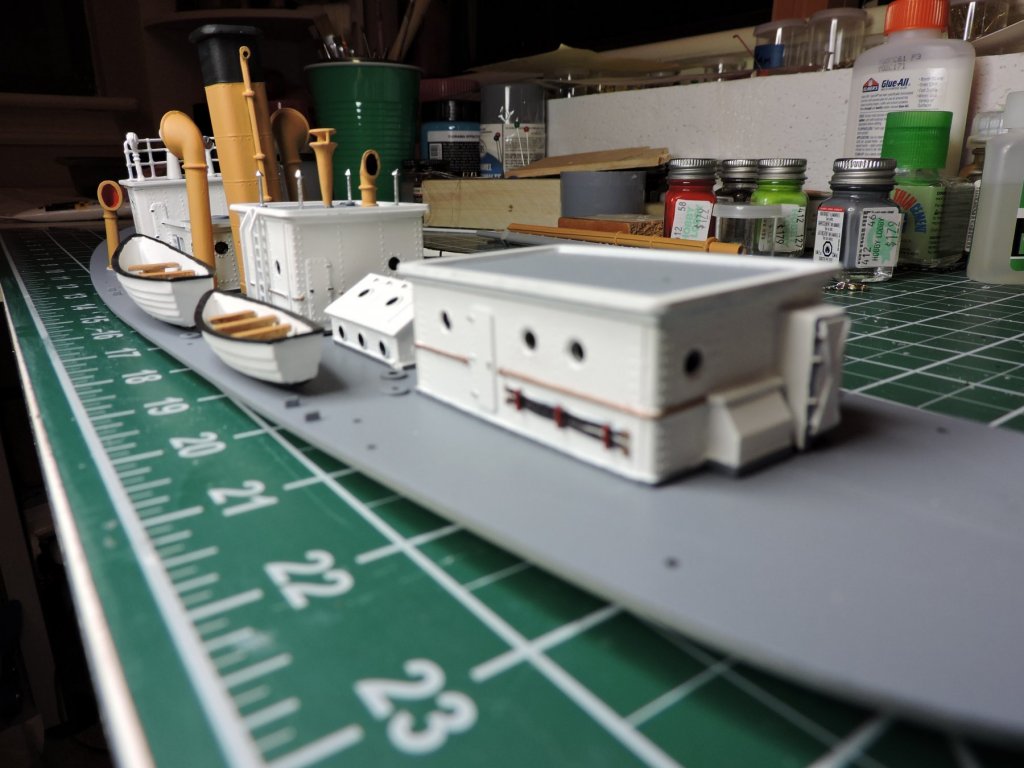
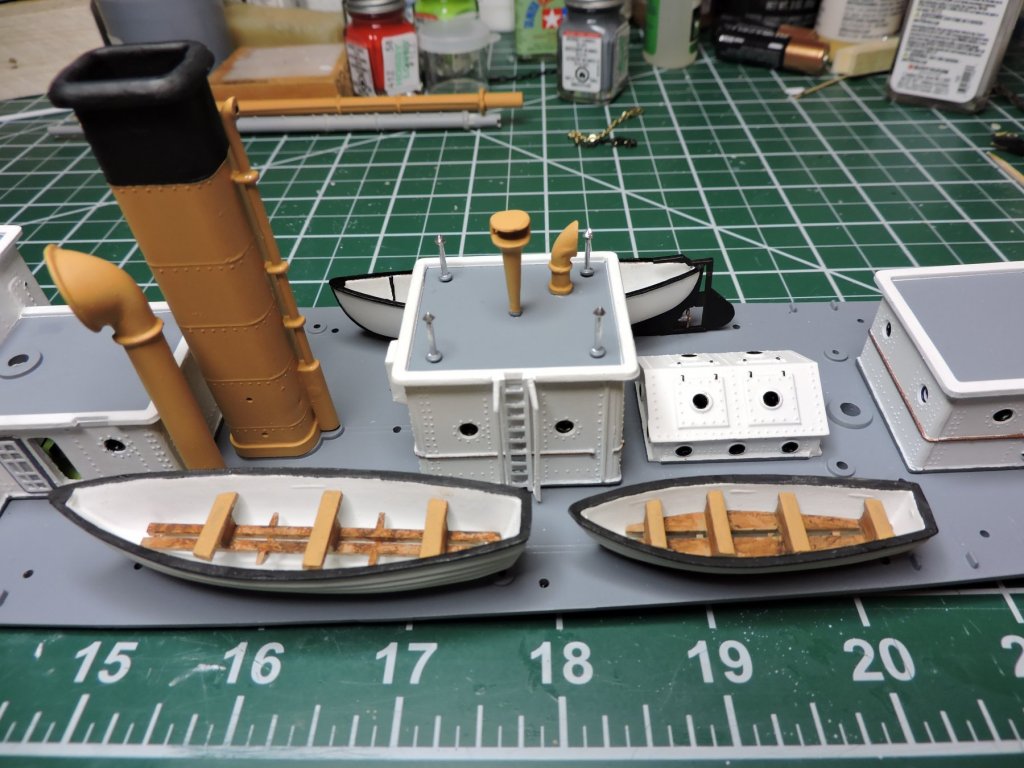
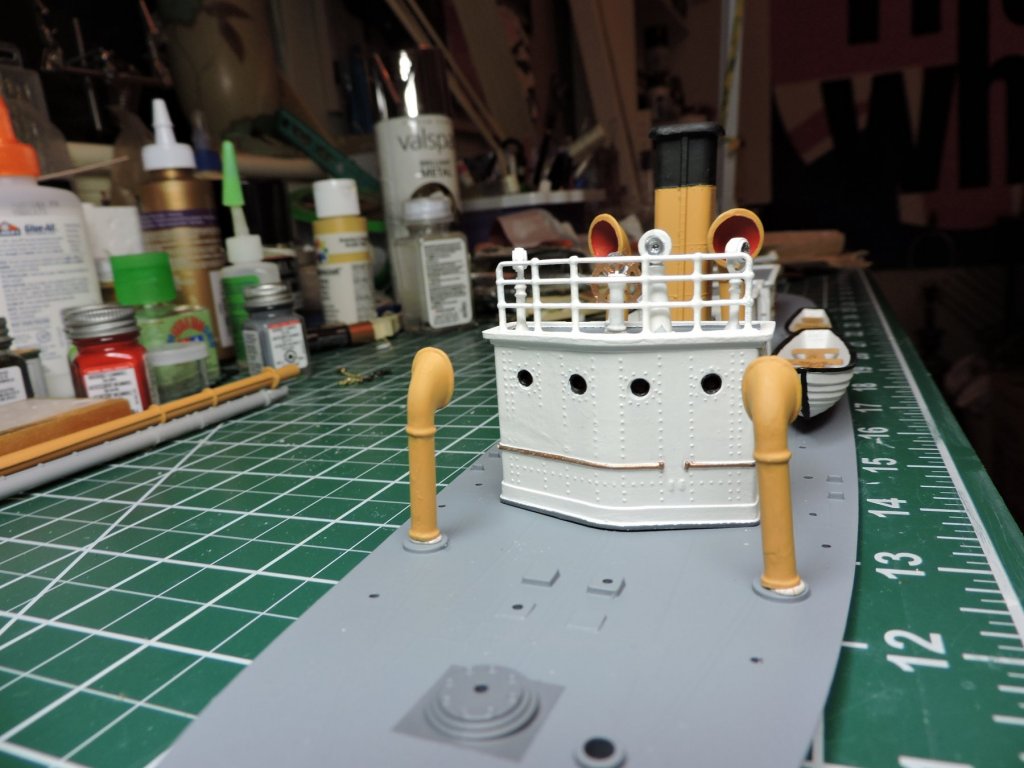
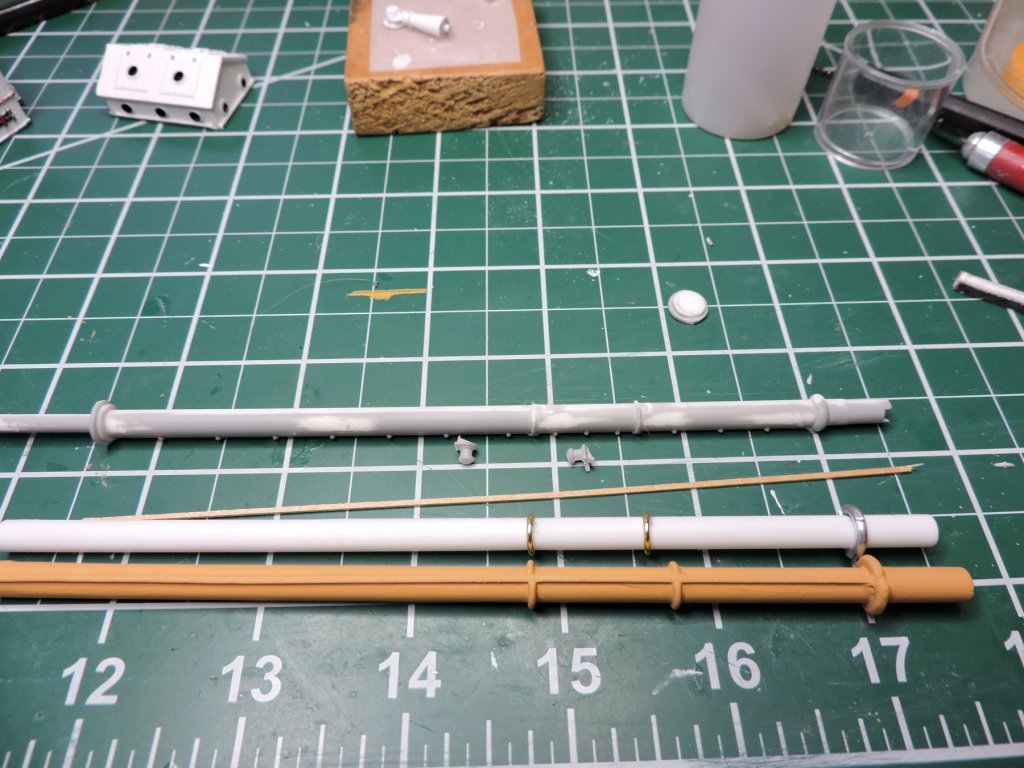
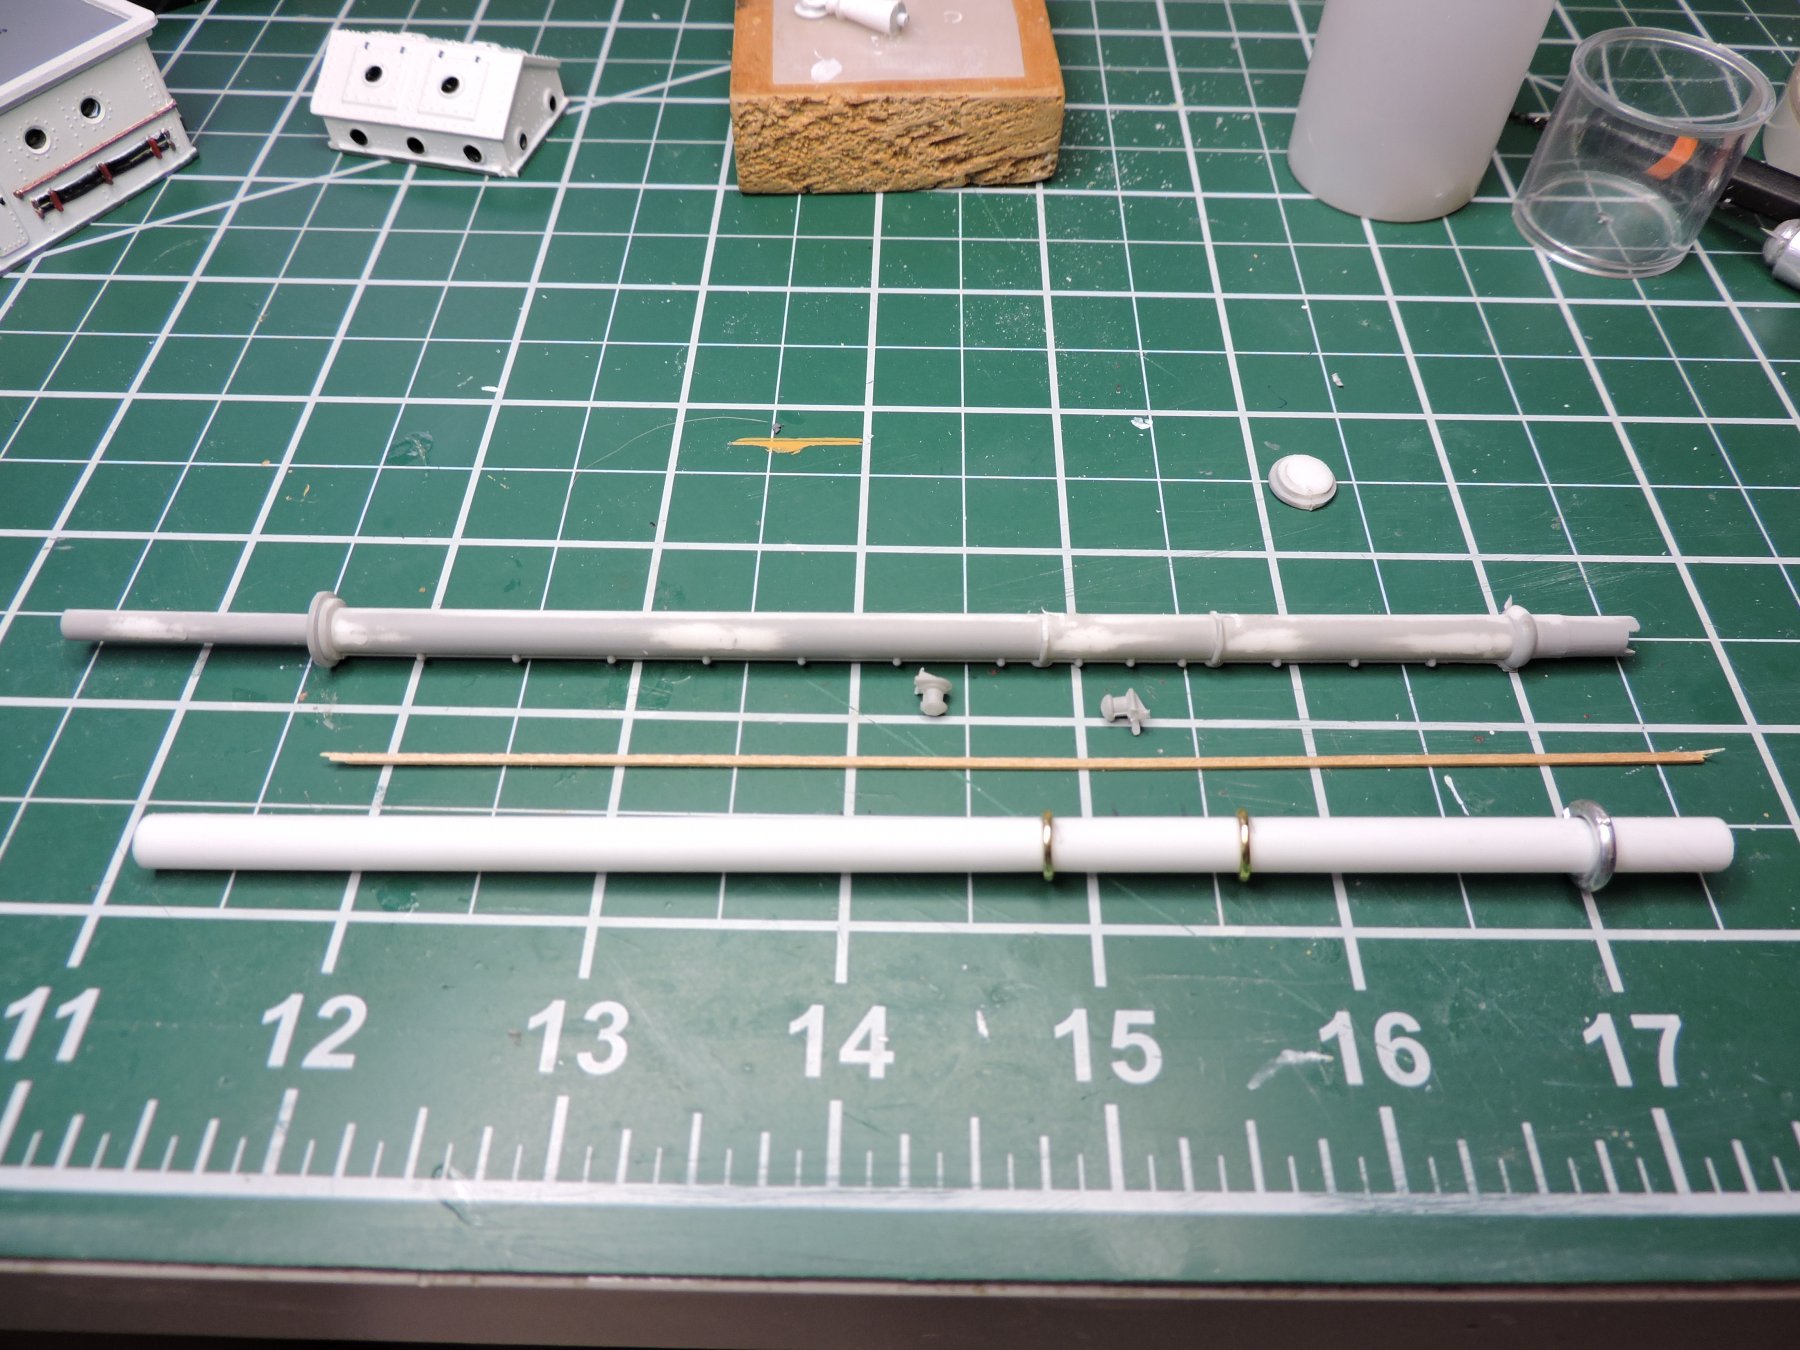
I've been really busy with work but I managed to get some work done with some of the small detail parts on the superstructures, as well as starting work on the two light towers. * Nothing has been glued down to the deck. I'm using Evergreen .219" tubing, metal rings, small balsa wood strip and some of the cut-off pieces from the solid kit's towers to complete.

- yvesvidal, GrandpaPhil, Jack12477 and 7 others
-
10
-
-
Best to you on this adventure! Your Virginia 1819 build looks fantastic.
- popeye the sailor and nikbud
-
2
-
The buzz word is "old" no matter what the subject. LOL Hope you're feeling better by the weekend.
-
Thanks Ron for this post. I don't know why I have this fear of using an airbrush. I purchased a Master airbrush and have 3 guns but have not used it for modeling or makeup with SFX.
-
Nicely done and congratulations on your build! I like the fact that you dulled down the red on this boat. I have no idea if this is historically 'correct' or not, but it looks fine to me. Cheers and here's to your next build
-
-
Congratulations on finishing this wonderful build!
 Welcome!!!


Nantucket Light Ship by Fright - FINISHED - Lindberg - 1:95 scale - PLASTIC
in - Kit build logs for subjects built from 1901 - Present Day
Posted
Popeye - thanks! The lighting came out better than I expected. I have installed (3) 1.8mm warm lights for the three main cabins. For the engine room skylight, I will use either a 1.8 or 3mm warm light to illuminate a few of the interior portholes along with the skylight itself. My next step is to start randomly blocking out many of the portholes on the hull as well as backing a few with yellow transparent film. Once I finish with that I can connect up all of the wiring and install the deck to the hull.