Baker
-
Posts
4,289 -
Joined
-
Last visited
Content Type
Profiles
Forums
Gallery
Events
Everything posted by Baker
-
-
 Very nice motorcycle 👍 (a DKW 350 ?) rifle and uniform.
 -
Couldn't resist 😇 (sorry for posting this in your build) from top to bottom : K wagen prototype (scratch) A7V (resin ) Mother tank (airfix) Saint Chamond (scratch) FT17 (mathbox)

- 56 replies
-
- 11
-

-

-
Flakpanzer T-34(r) by Backer - FINISHED - UM - 1/72 - PLASTIC
Baker replied to Baker's topic in Non-ship/categorised builds
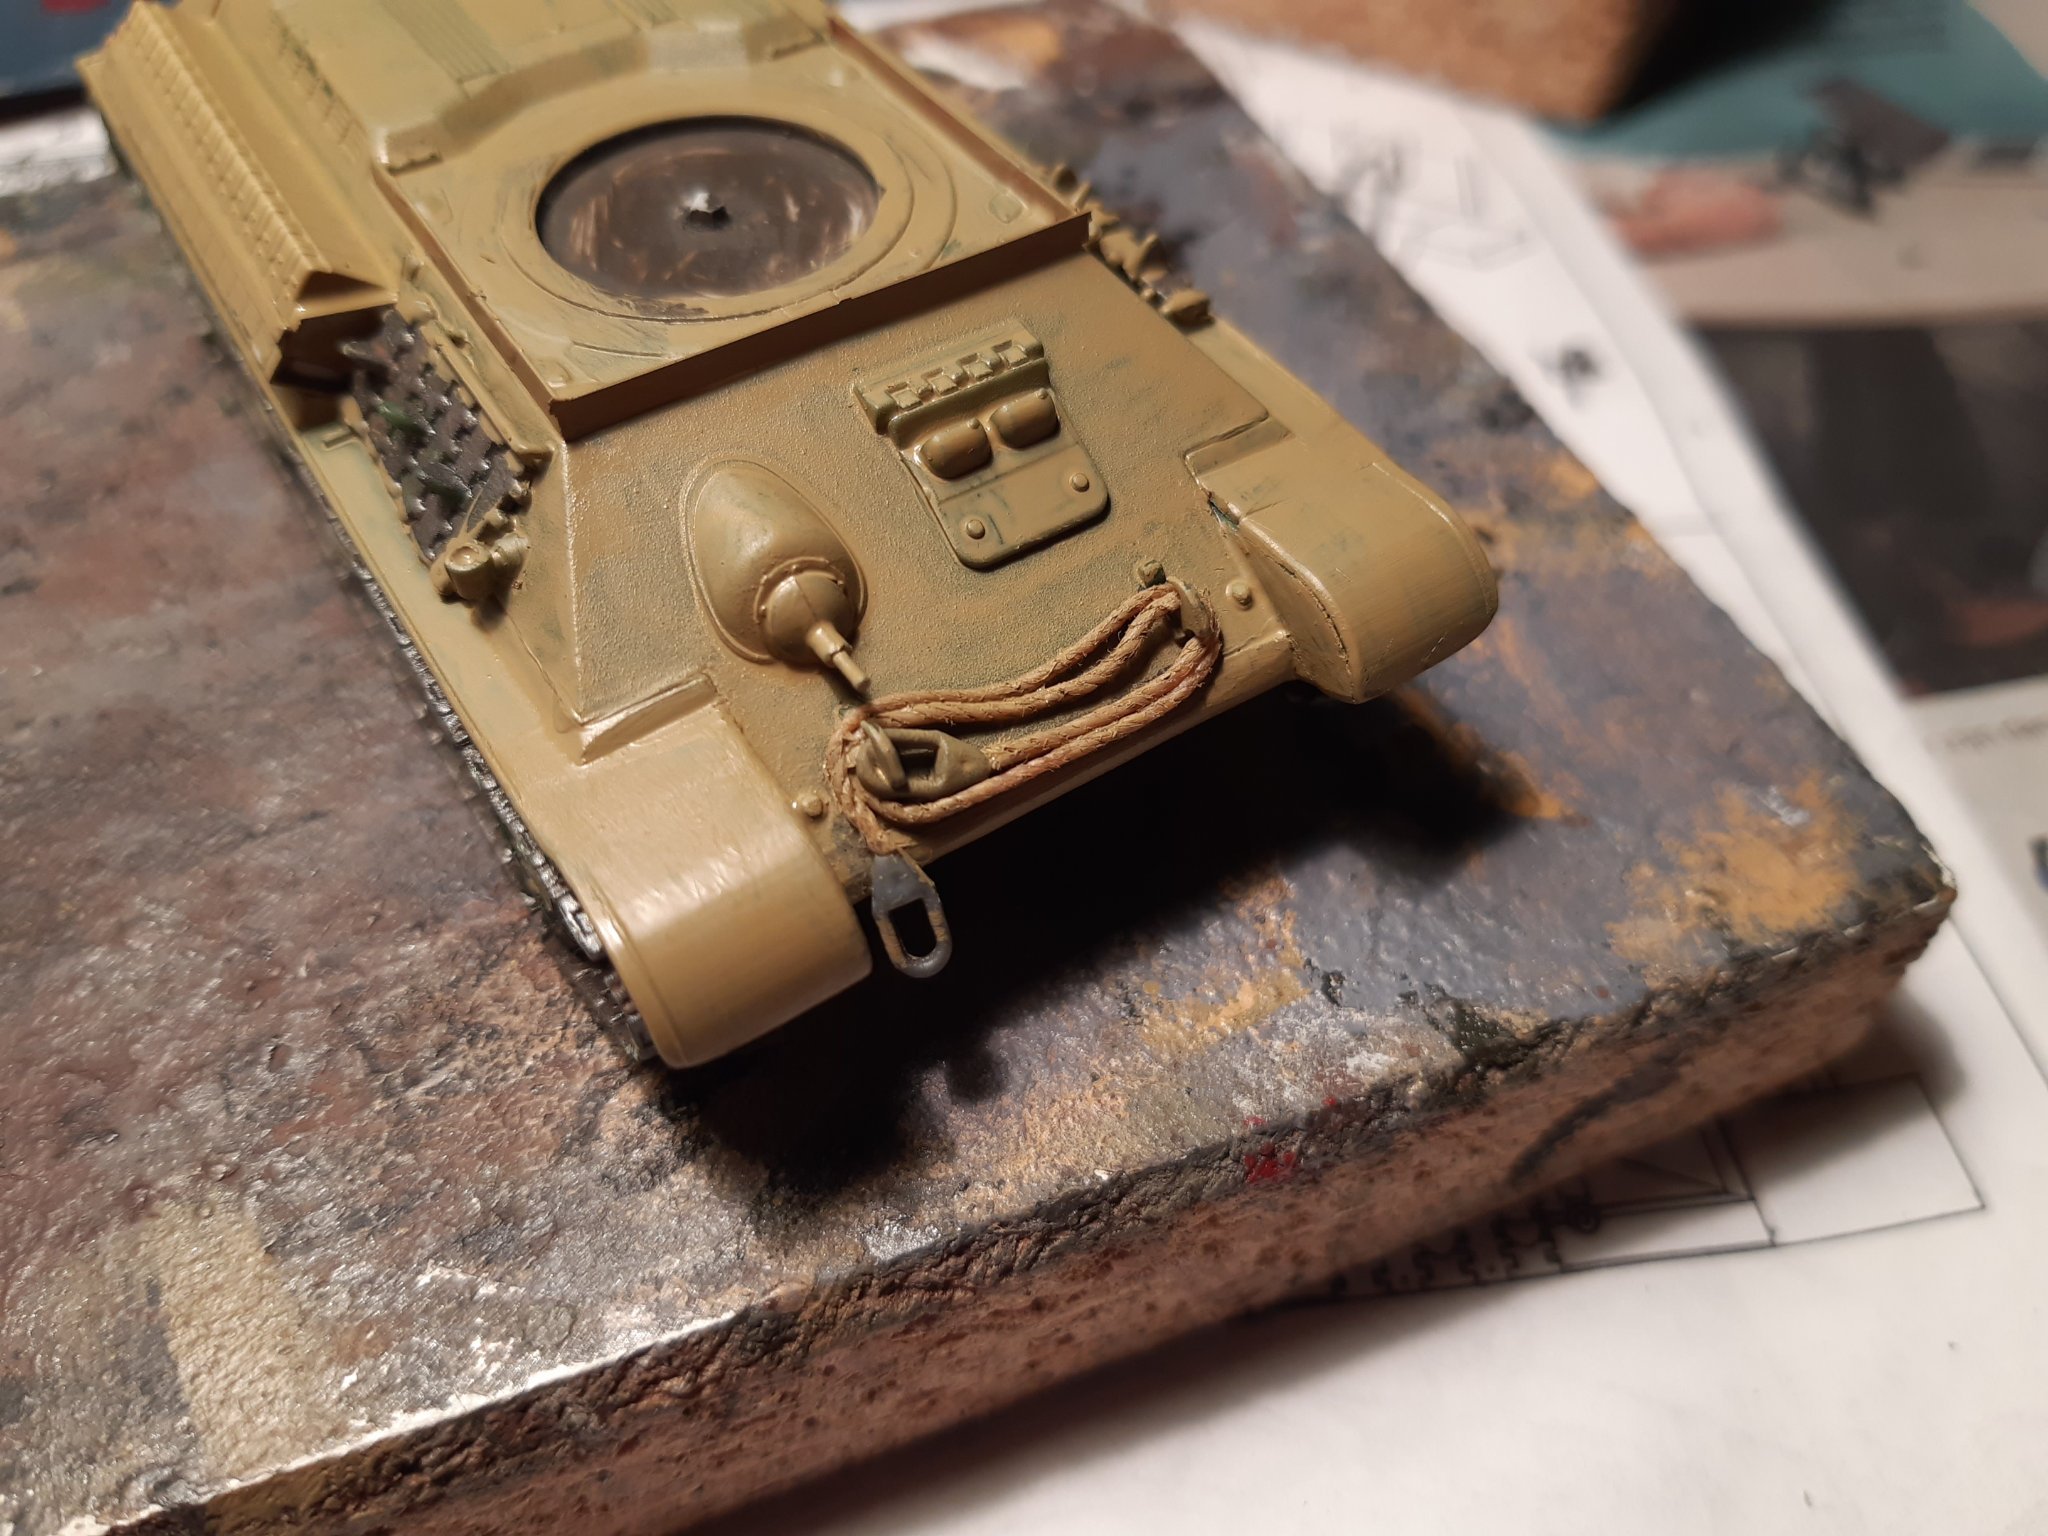
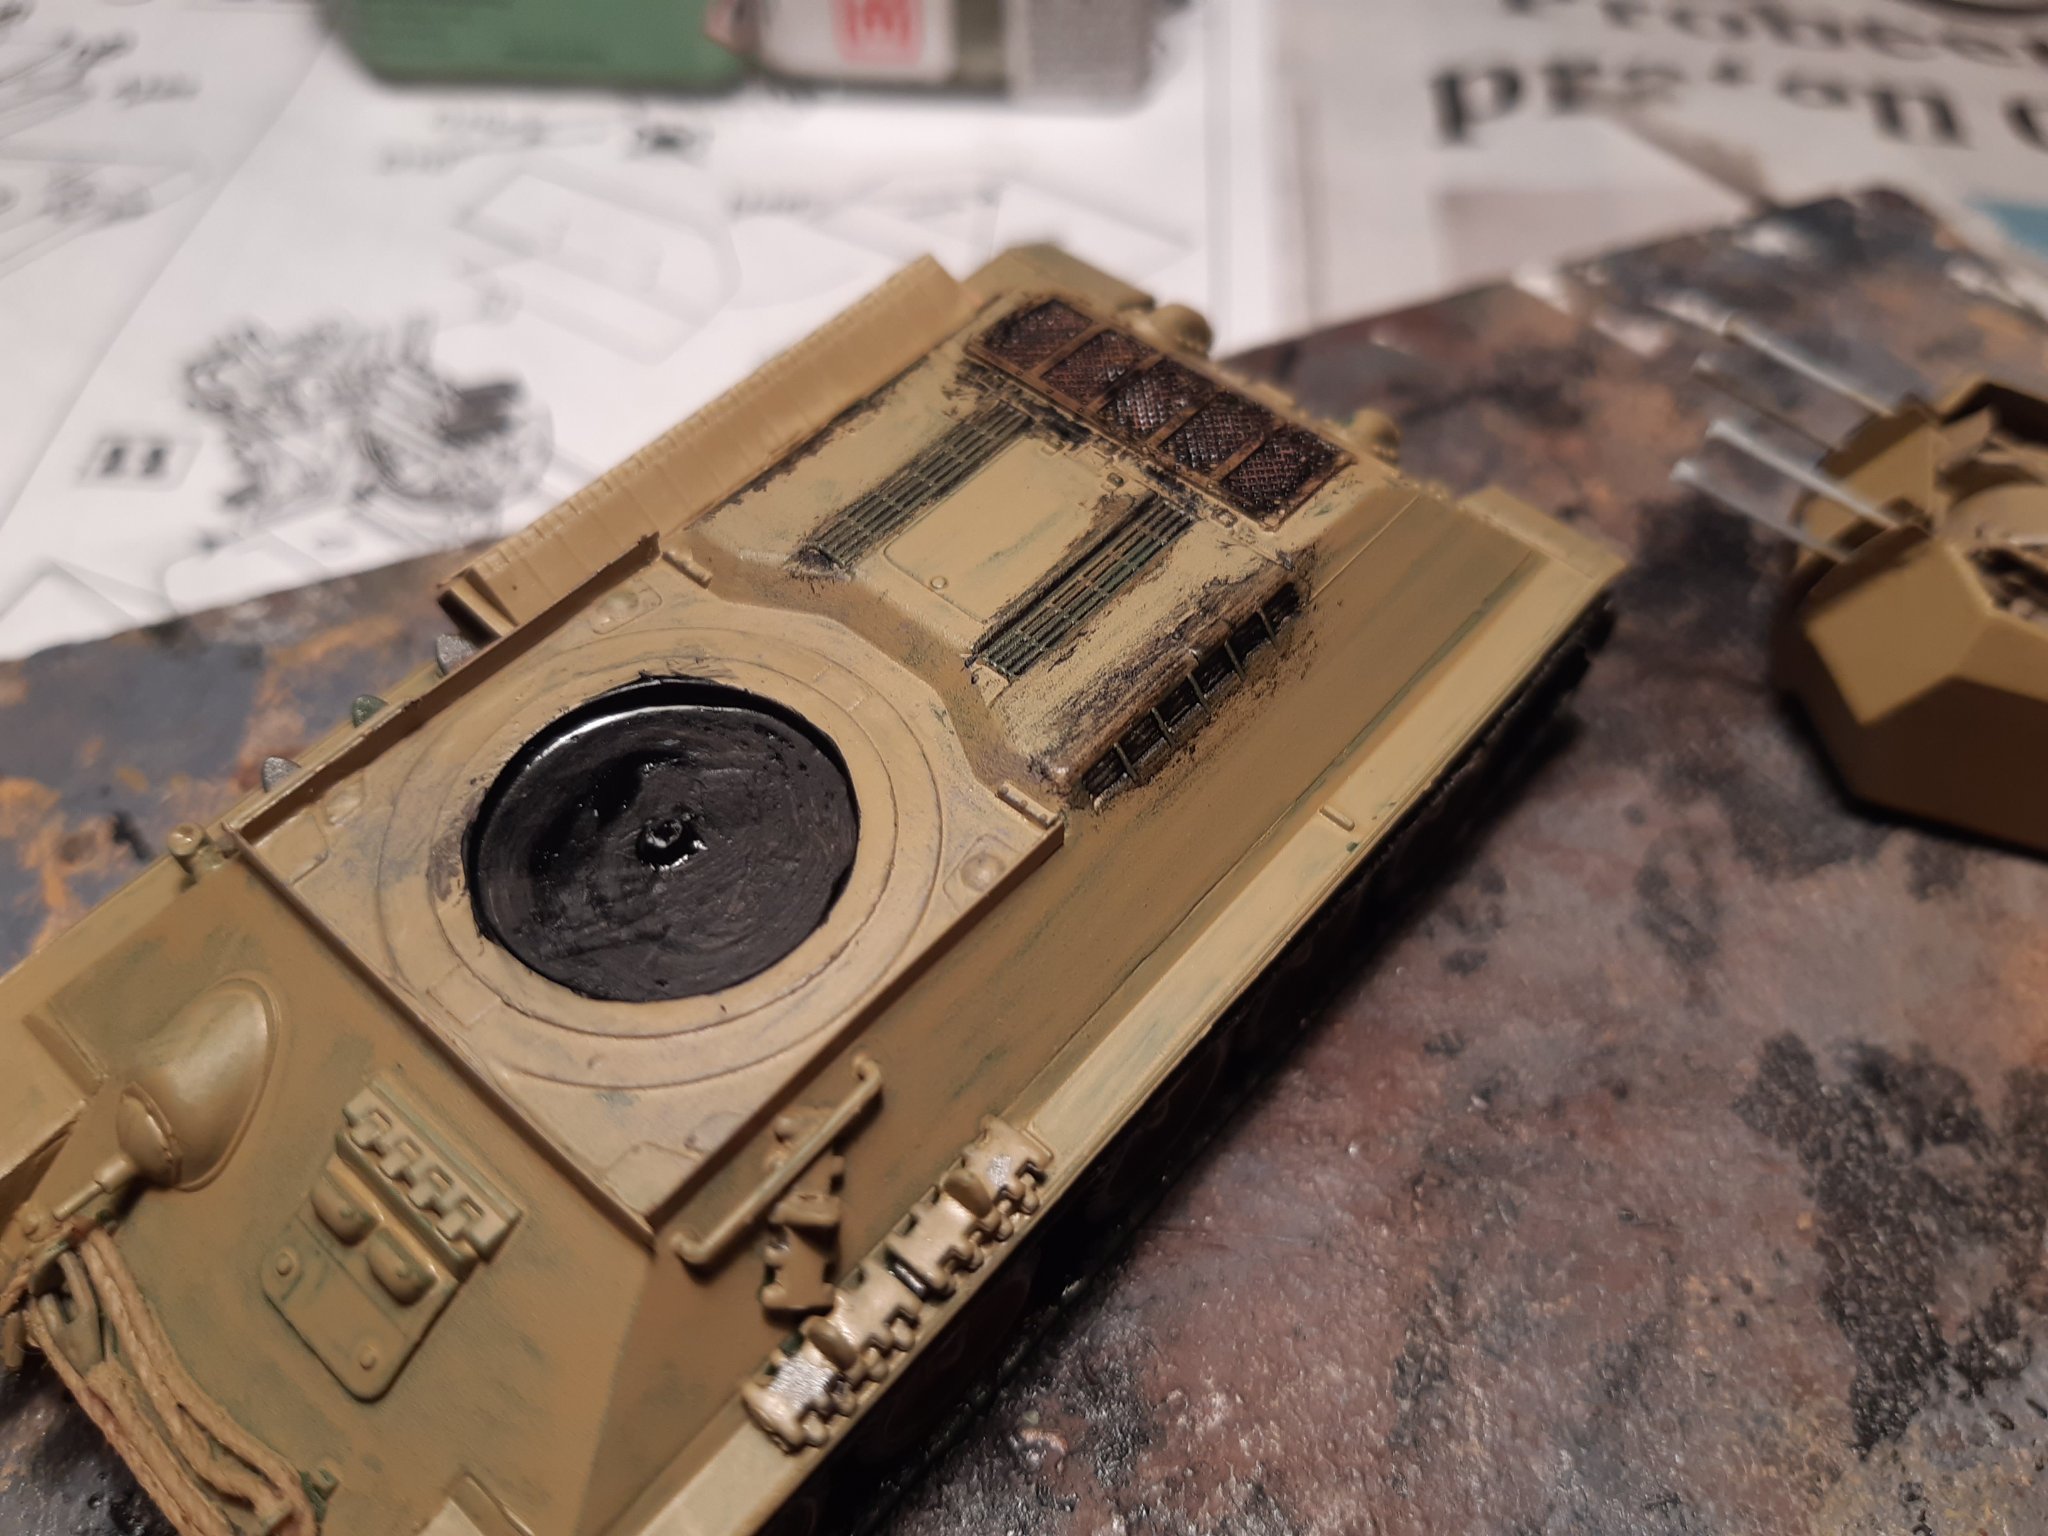
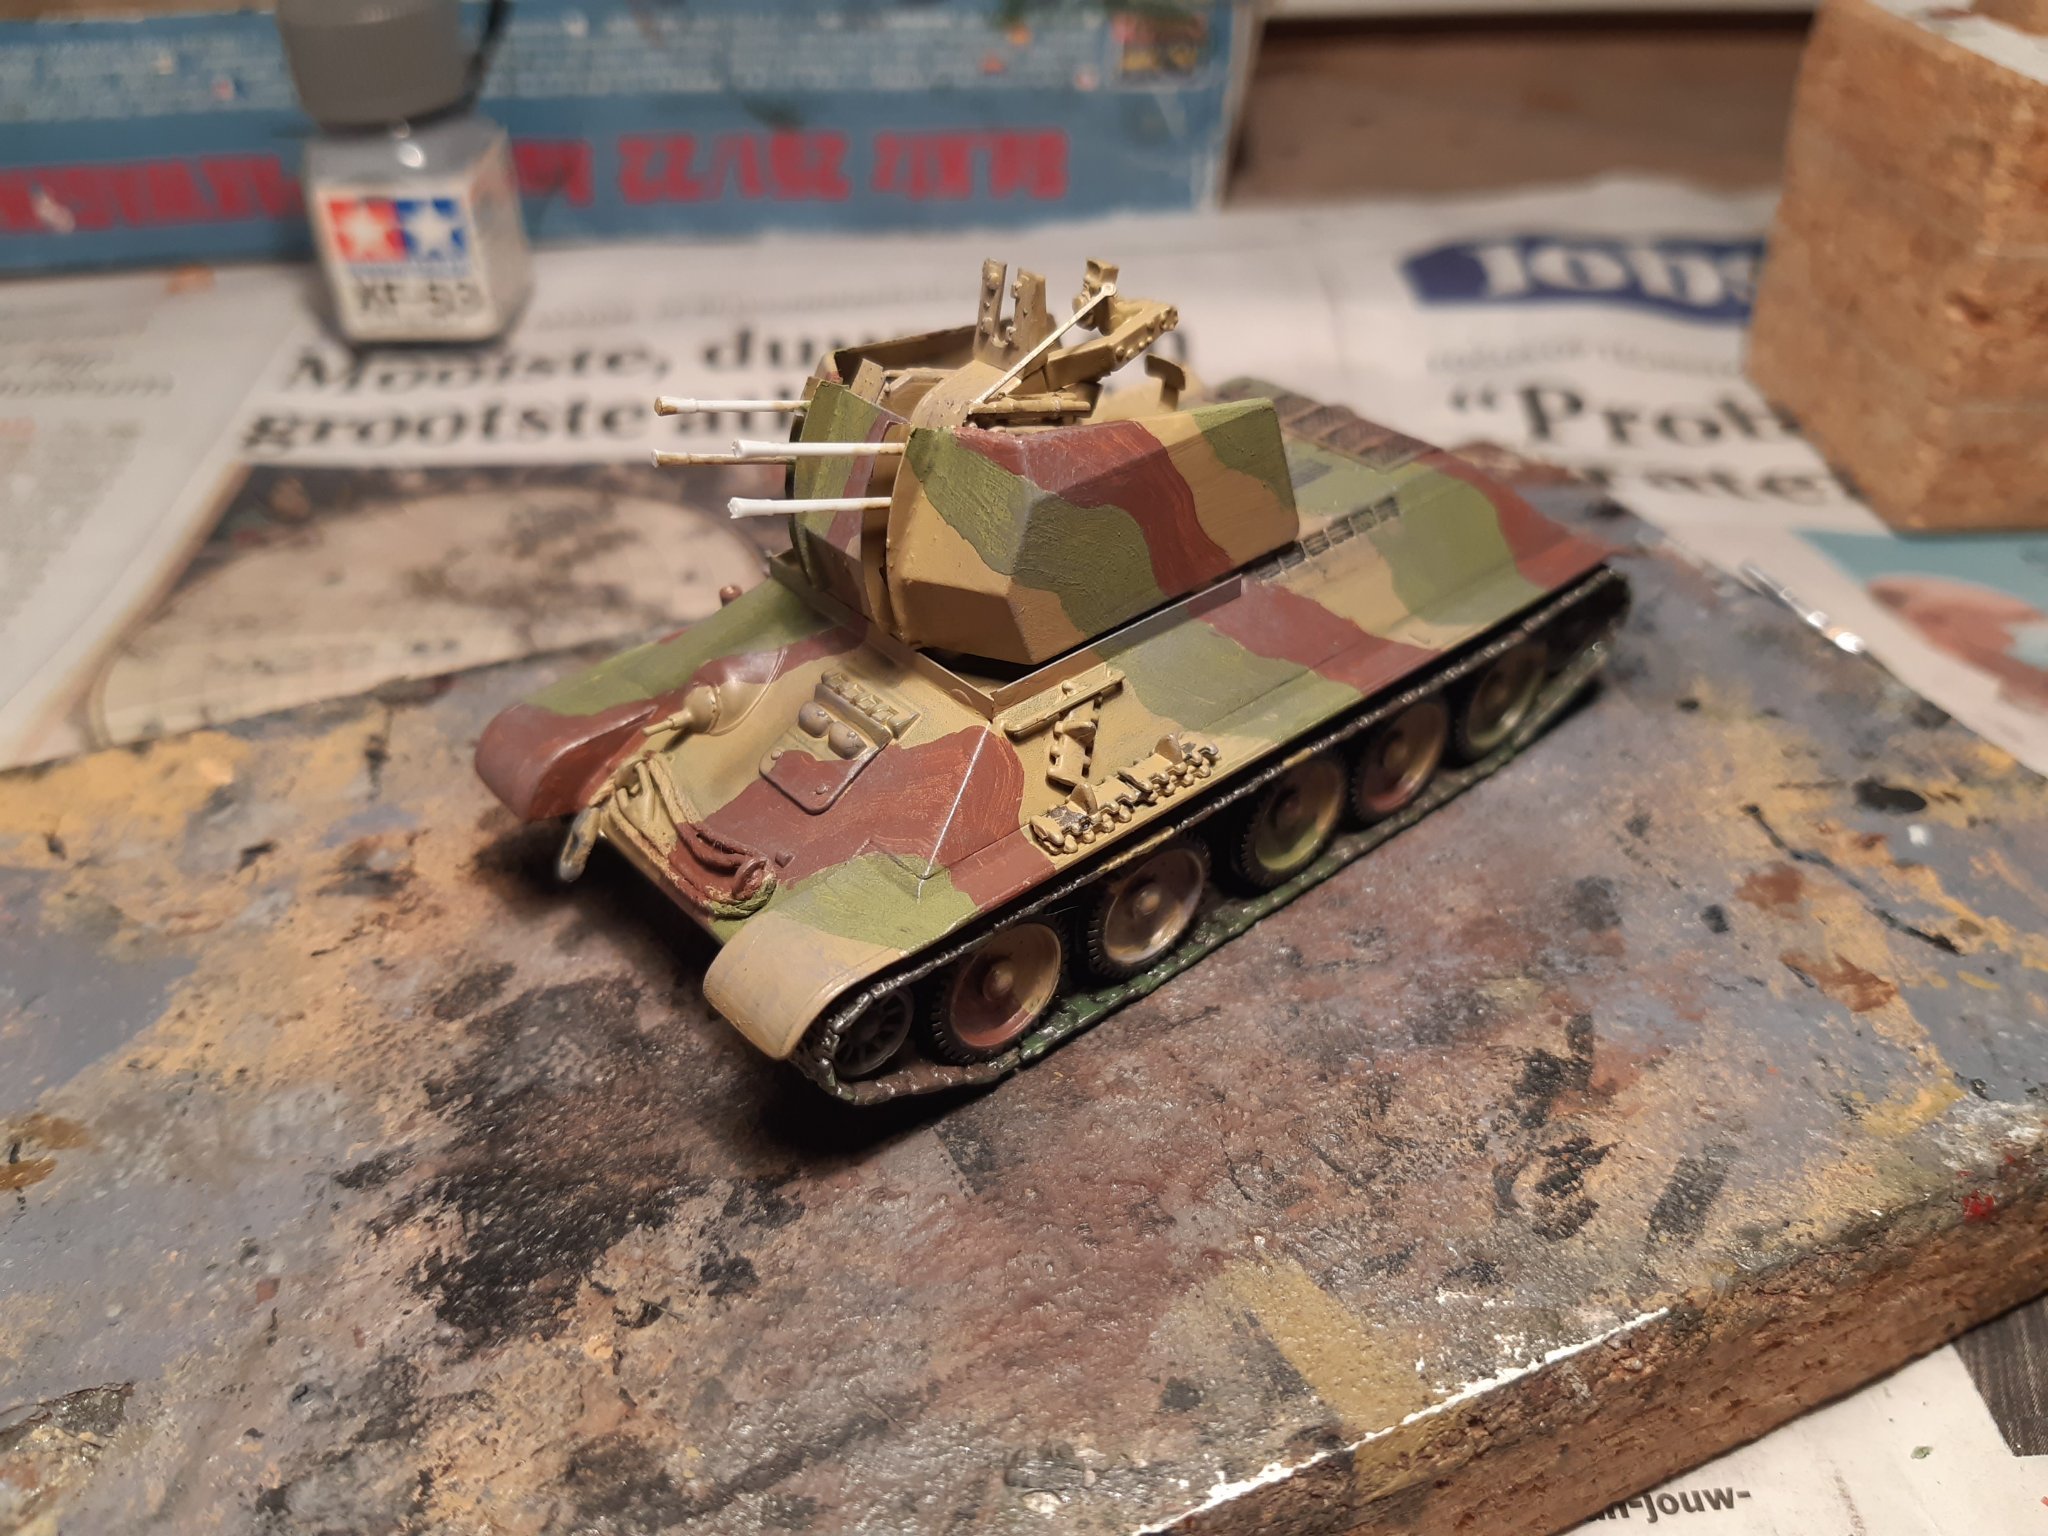
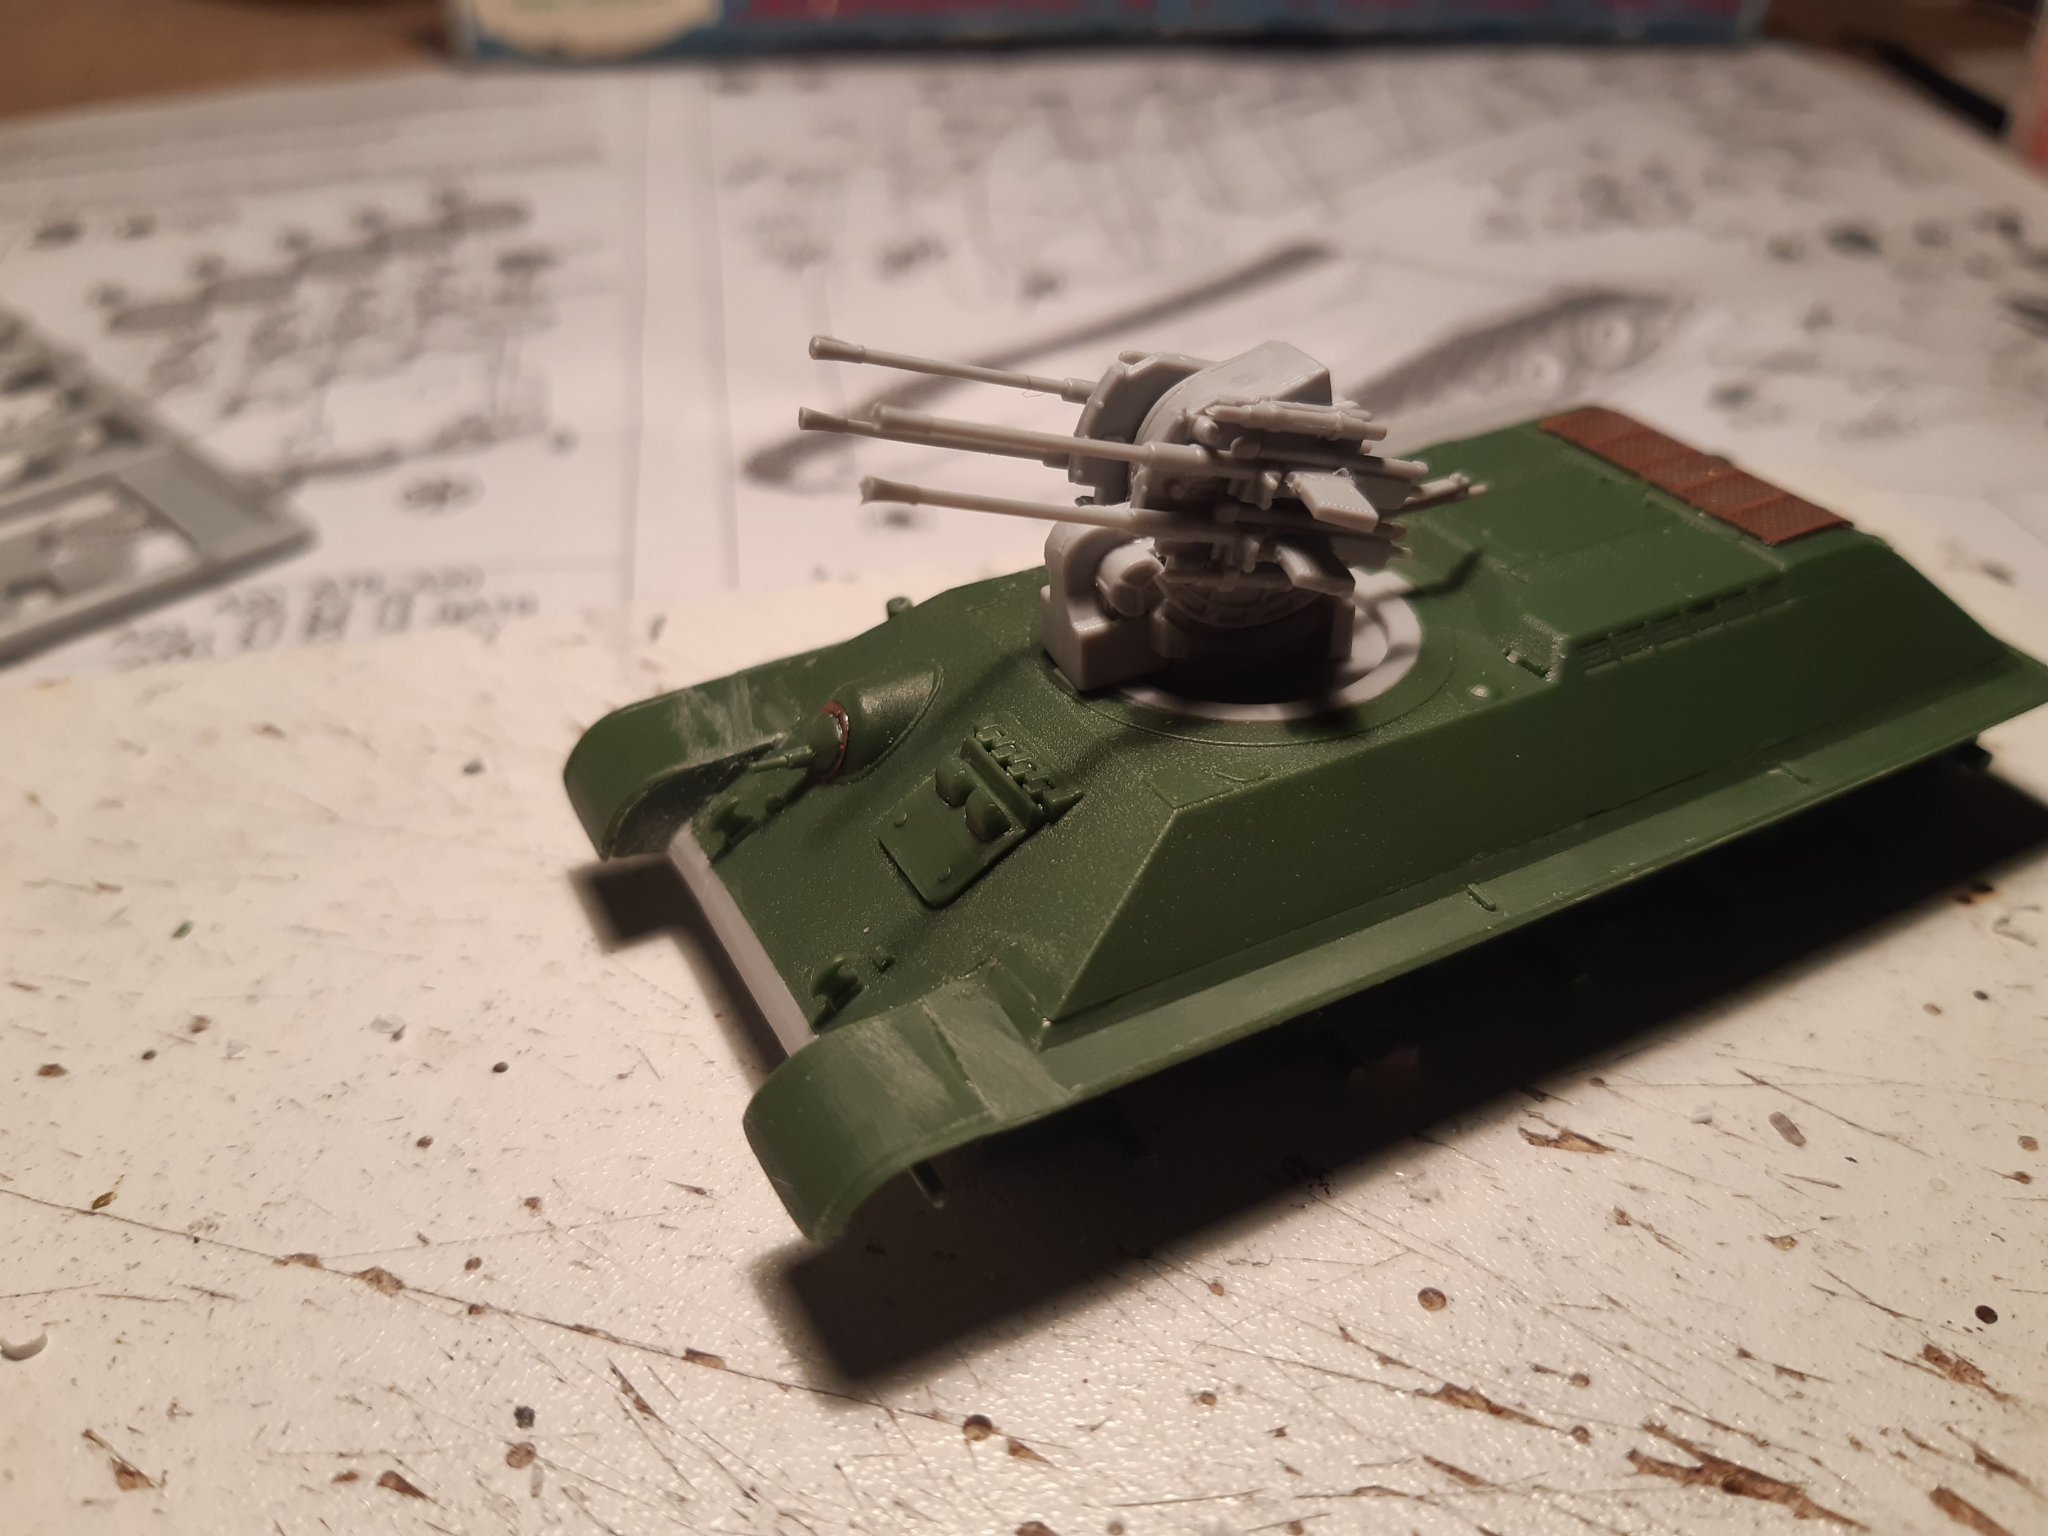
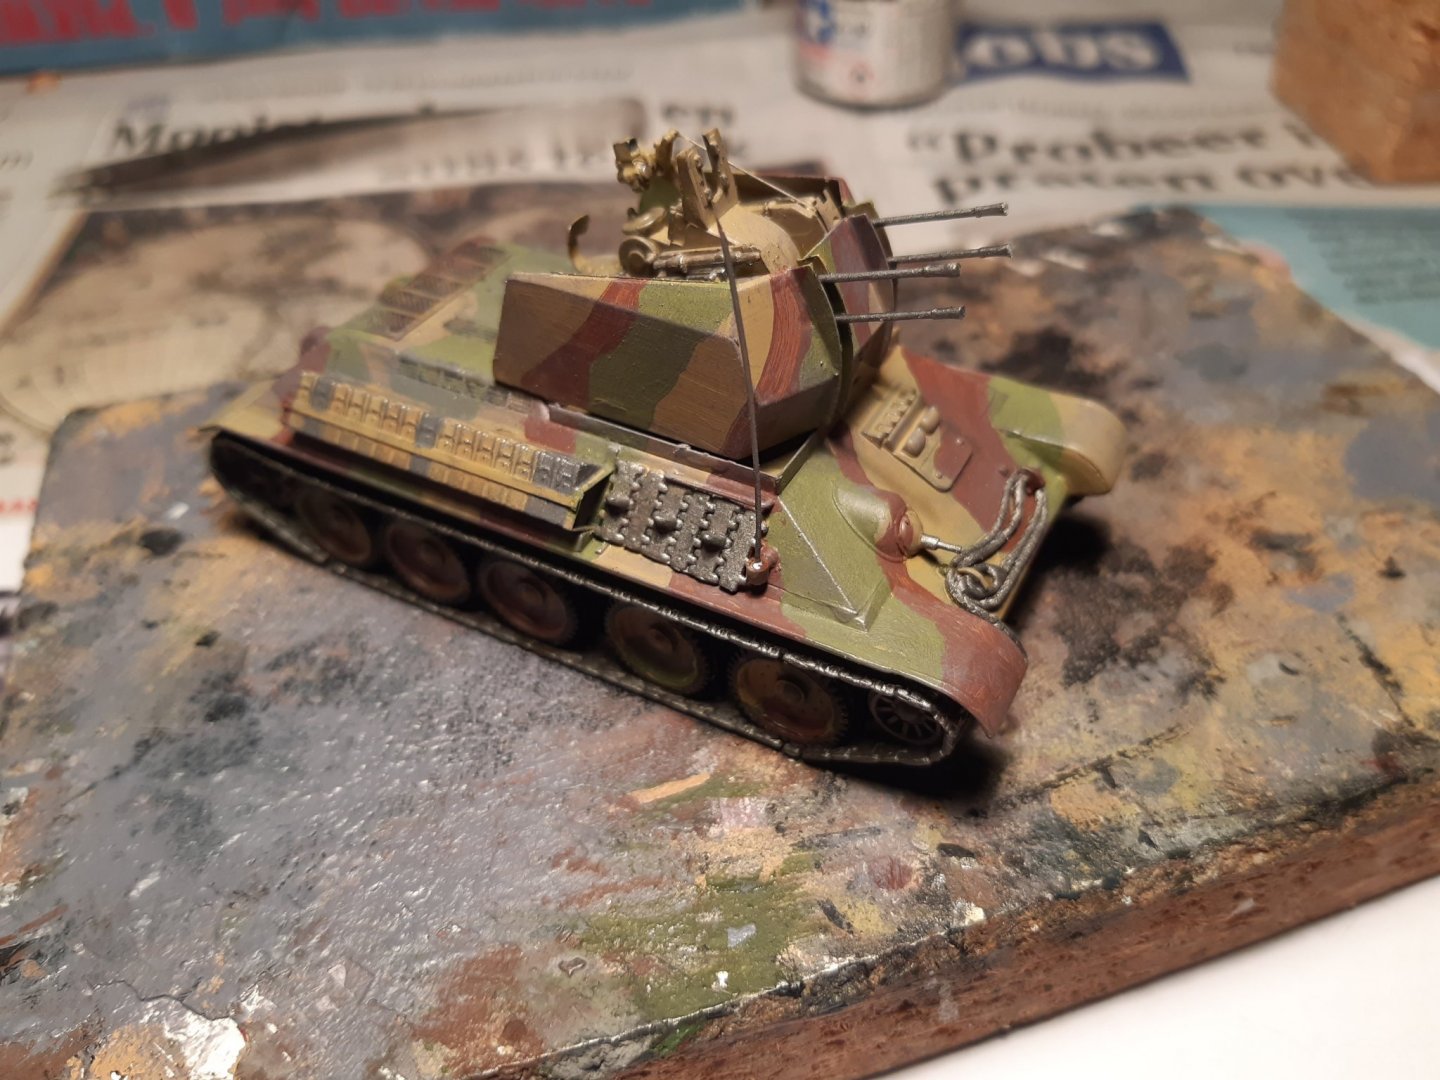
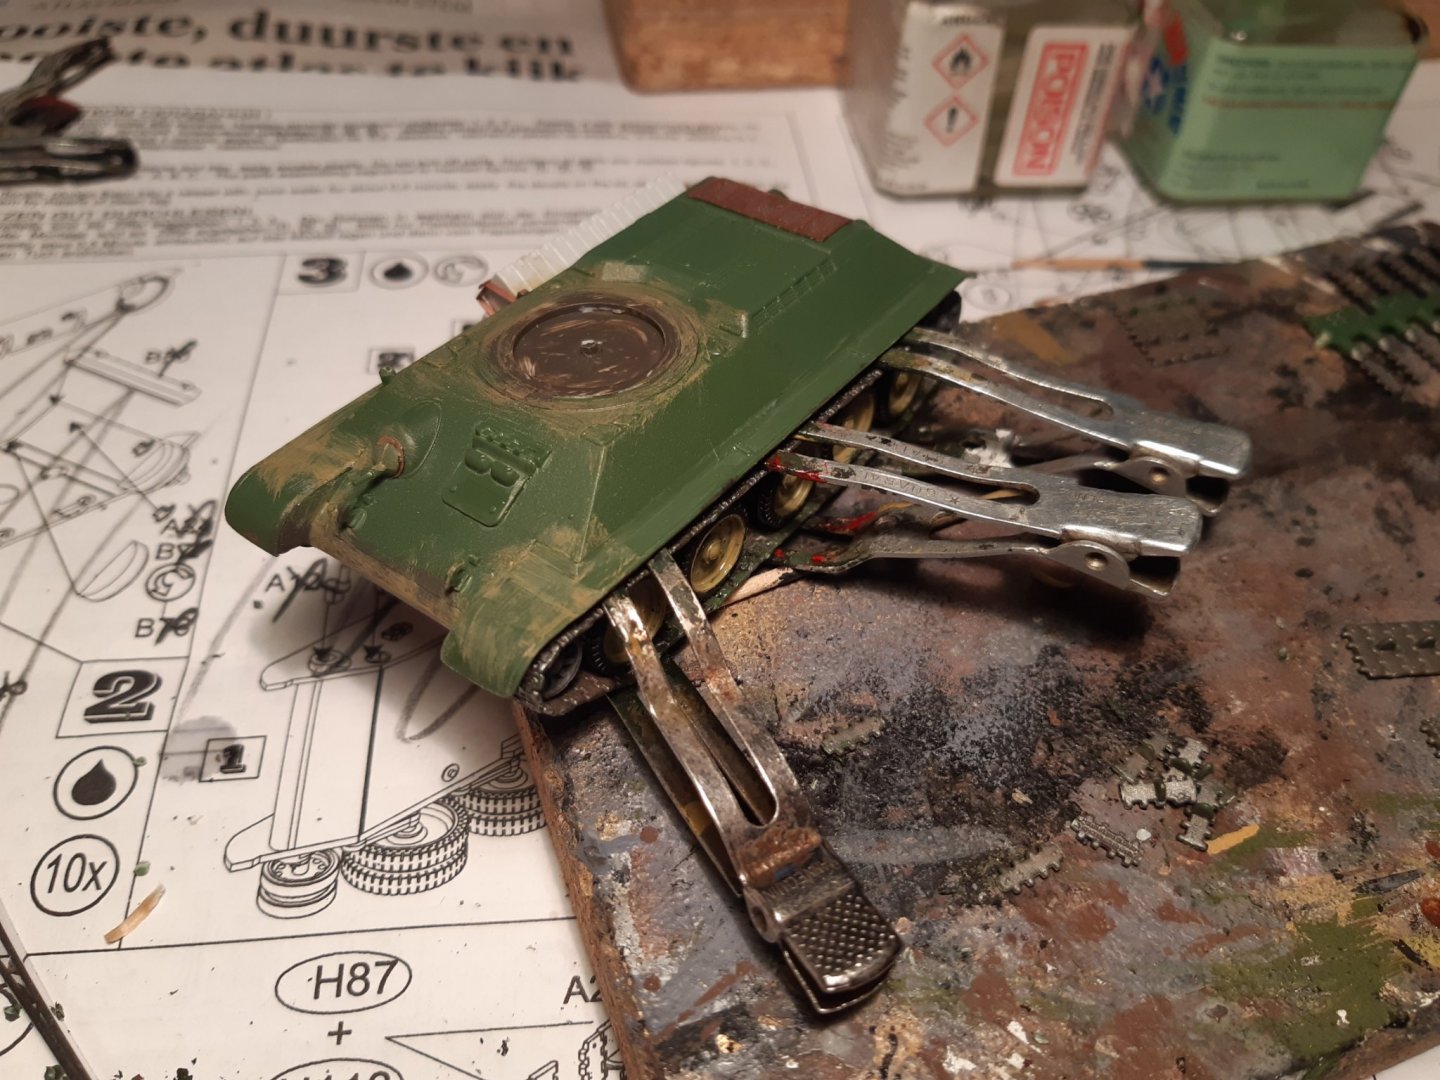
More progress Painting in base color Add a cable (2 russian towingeyes and some rope) turret parts glued together made "a mess" with some mat Black 😇 turret installed A free style 3 tone camauflage (the black mess is a bit less messy 😉) dry brushing with light grey metal parts painted and ammo boxes in differend colors to be continued.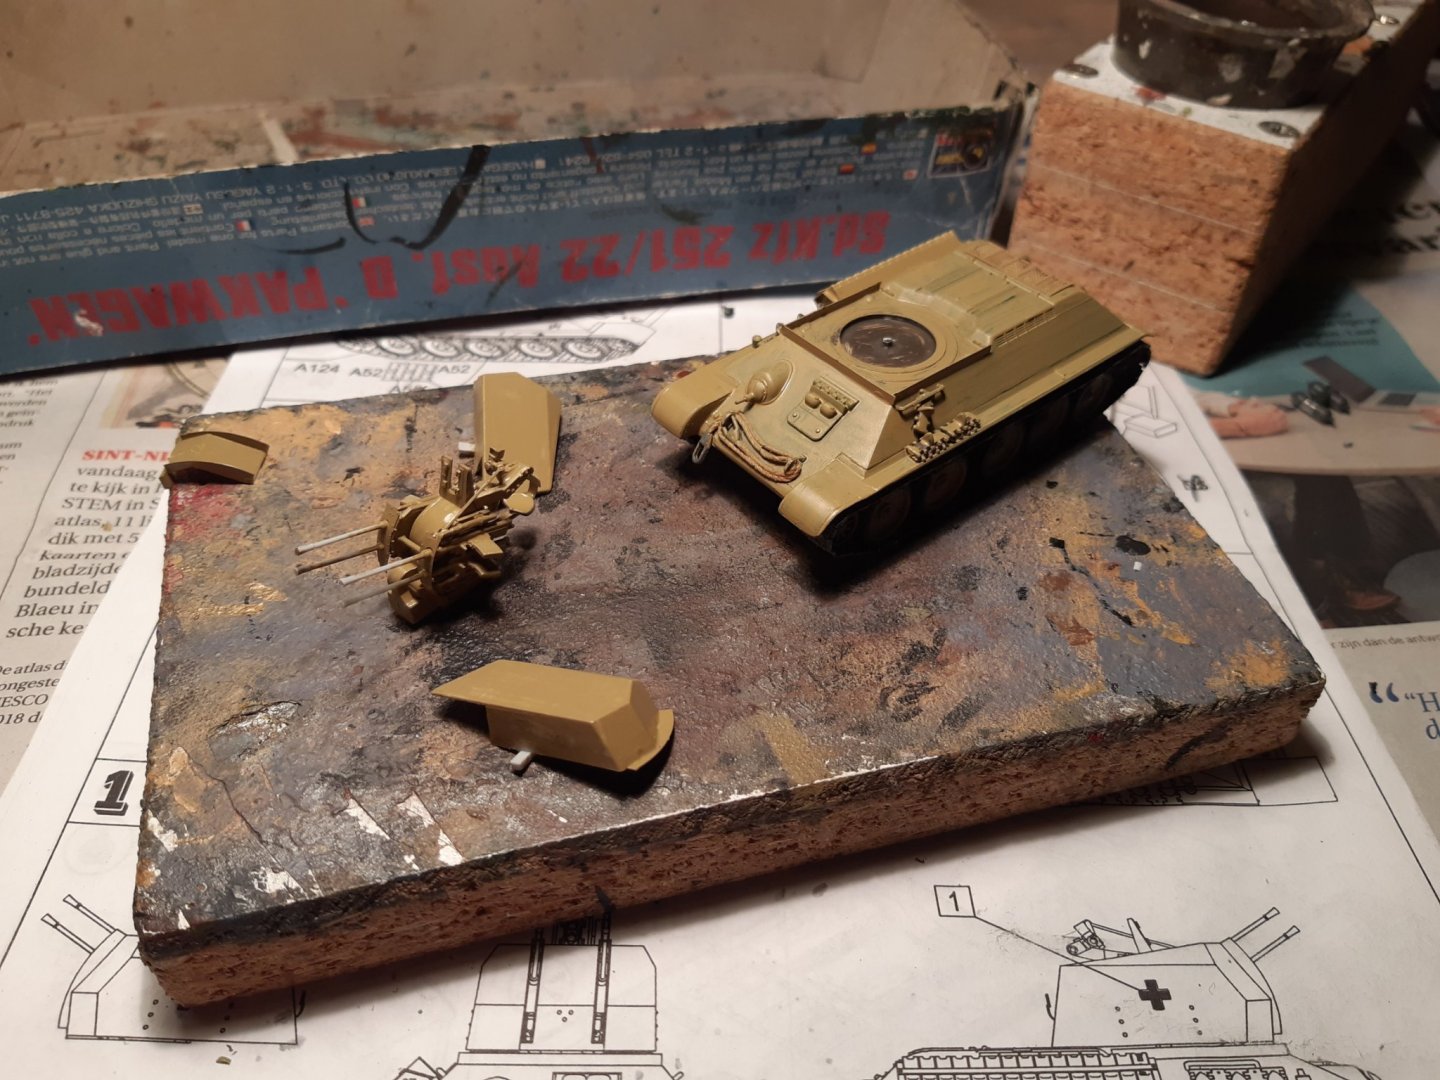


- 18 replies
-
- 11
-
-
Rebuild Czechoslovakian OT-810's ?? 😉
-
Welcome, I found one Mayflower from Billing Boats
-
indeed. An impressive well built model 👍
-
Interesting model. I have no experience with card or ironclads. I'm just going to watch, follow, learn and press the like button 👍😉
-
Very nice paintwork. Or a WW1 British tank 😉
-
And welcome back
-
Hello from Mocksville, North Carolina
Baker replied to Scott Mitchell's topic in New member Introductions
-
Flakpanzer T-34(r) by Backer - FINISHED - UM - 1/72 - PLASTIC
Baker replied to Baker's topic in Non-ship/categorised builds
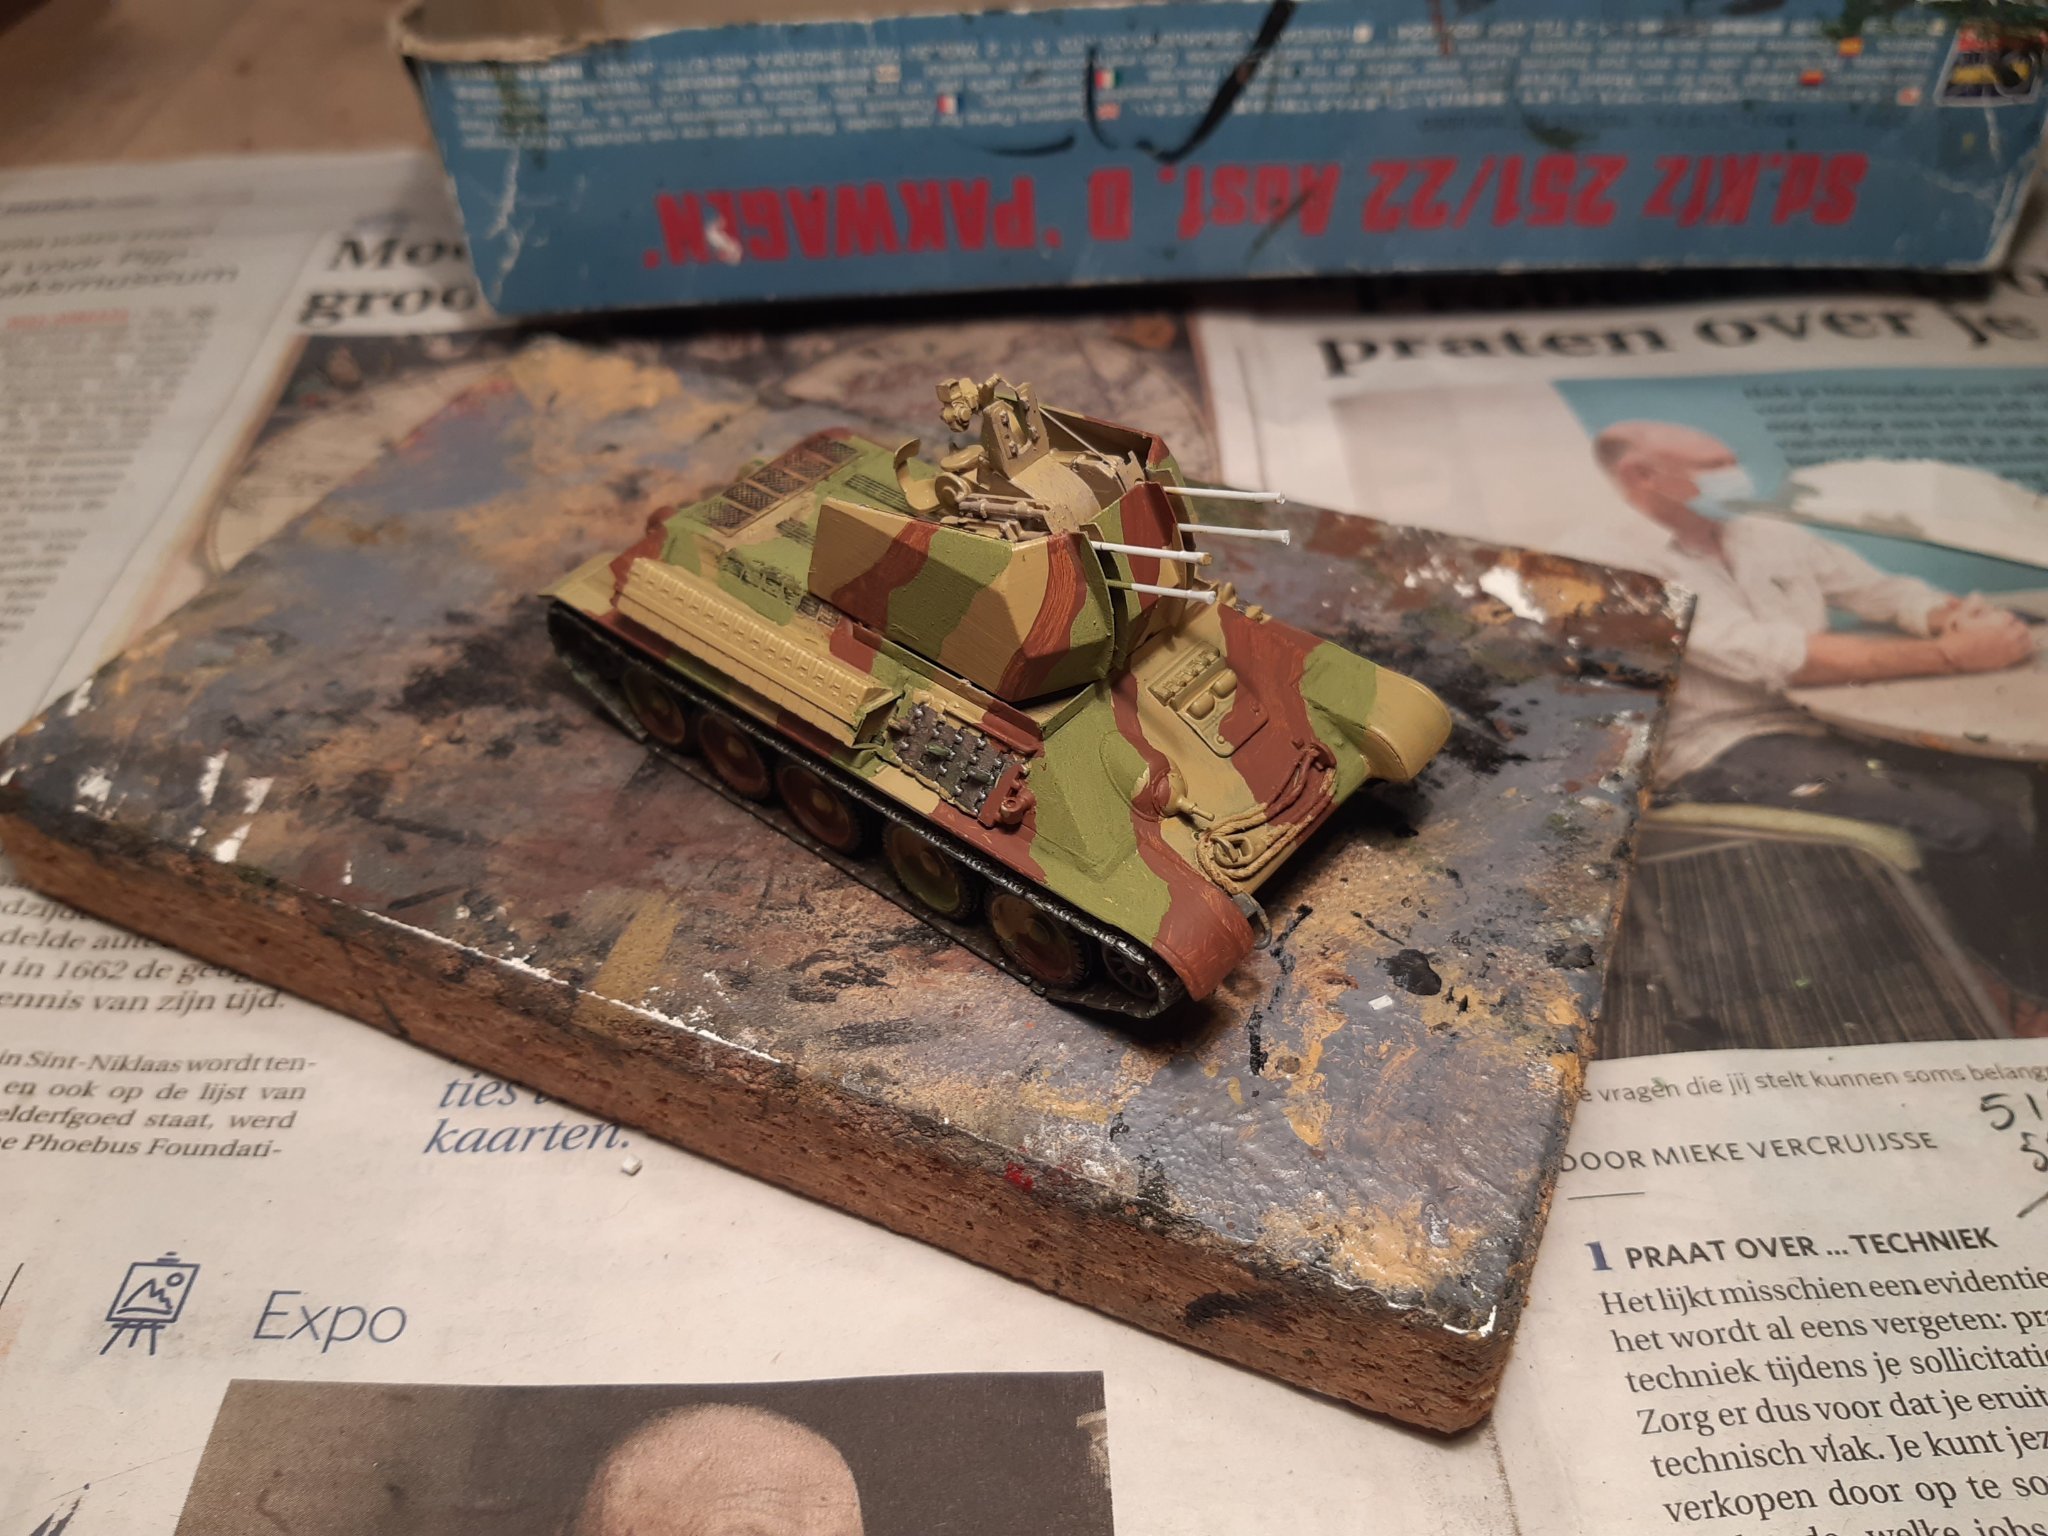
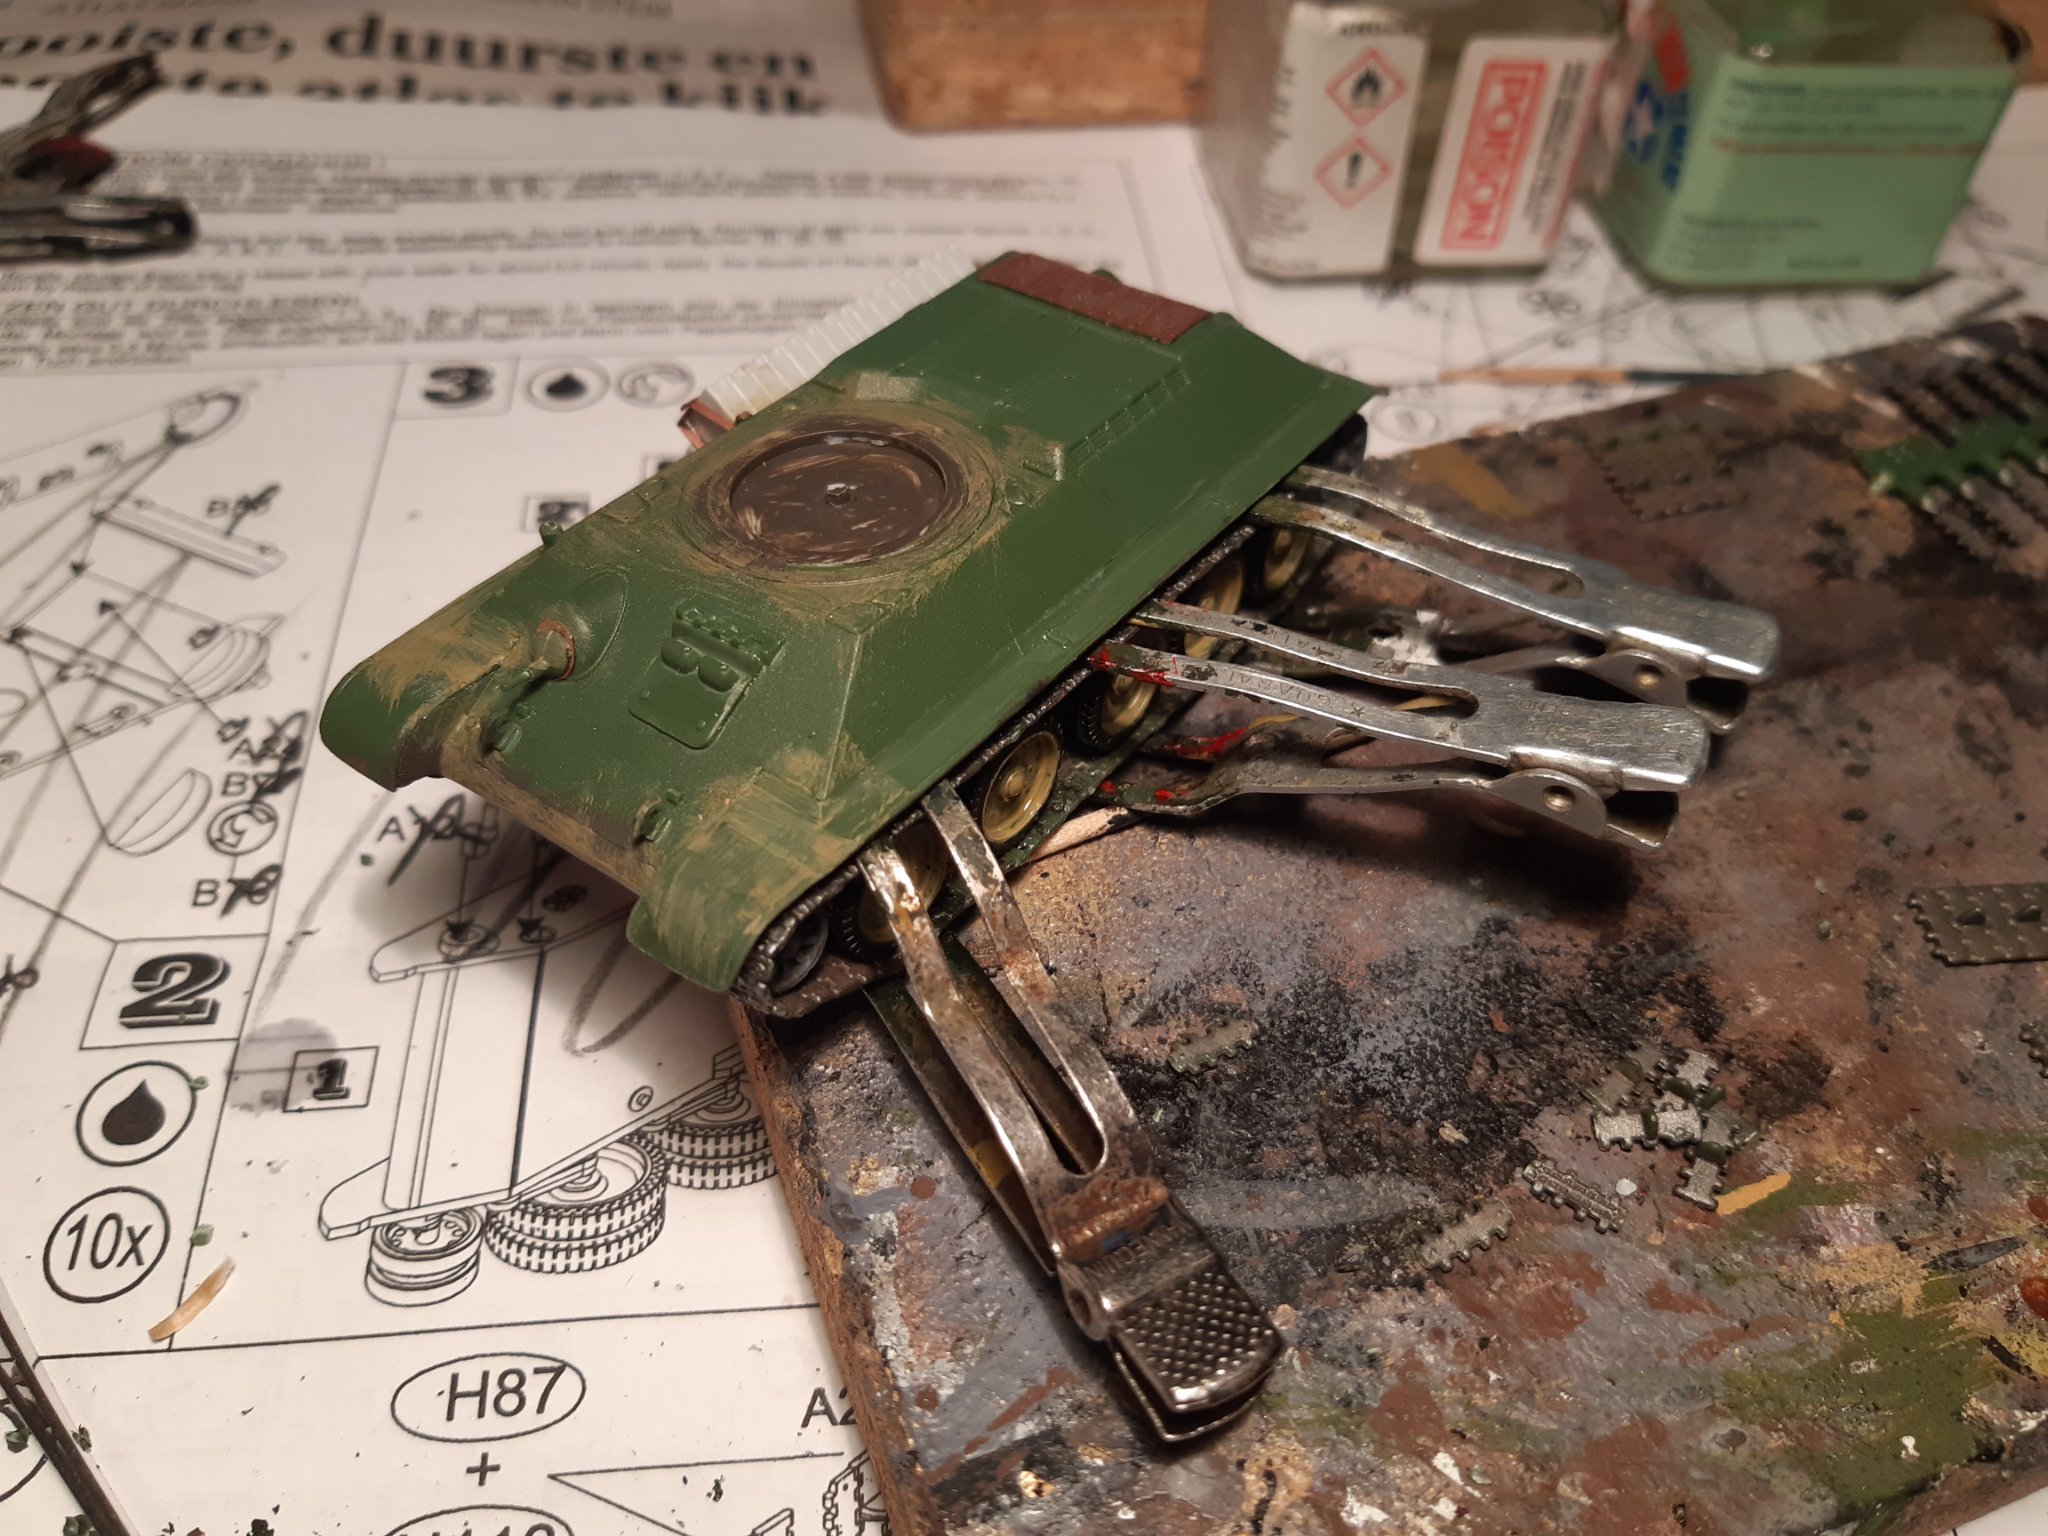
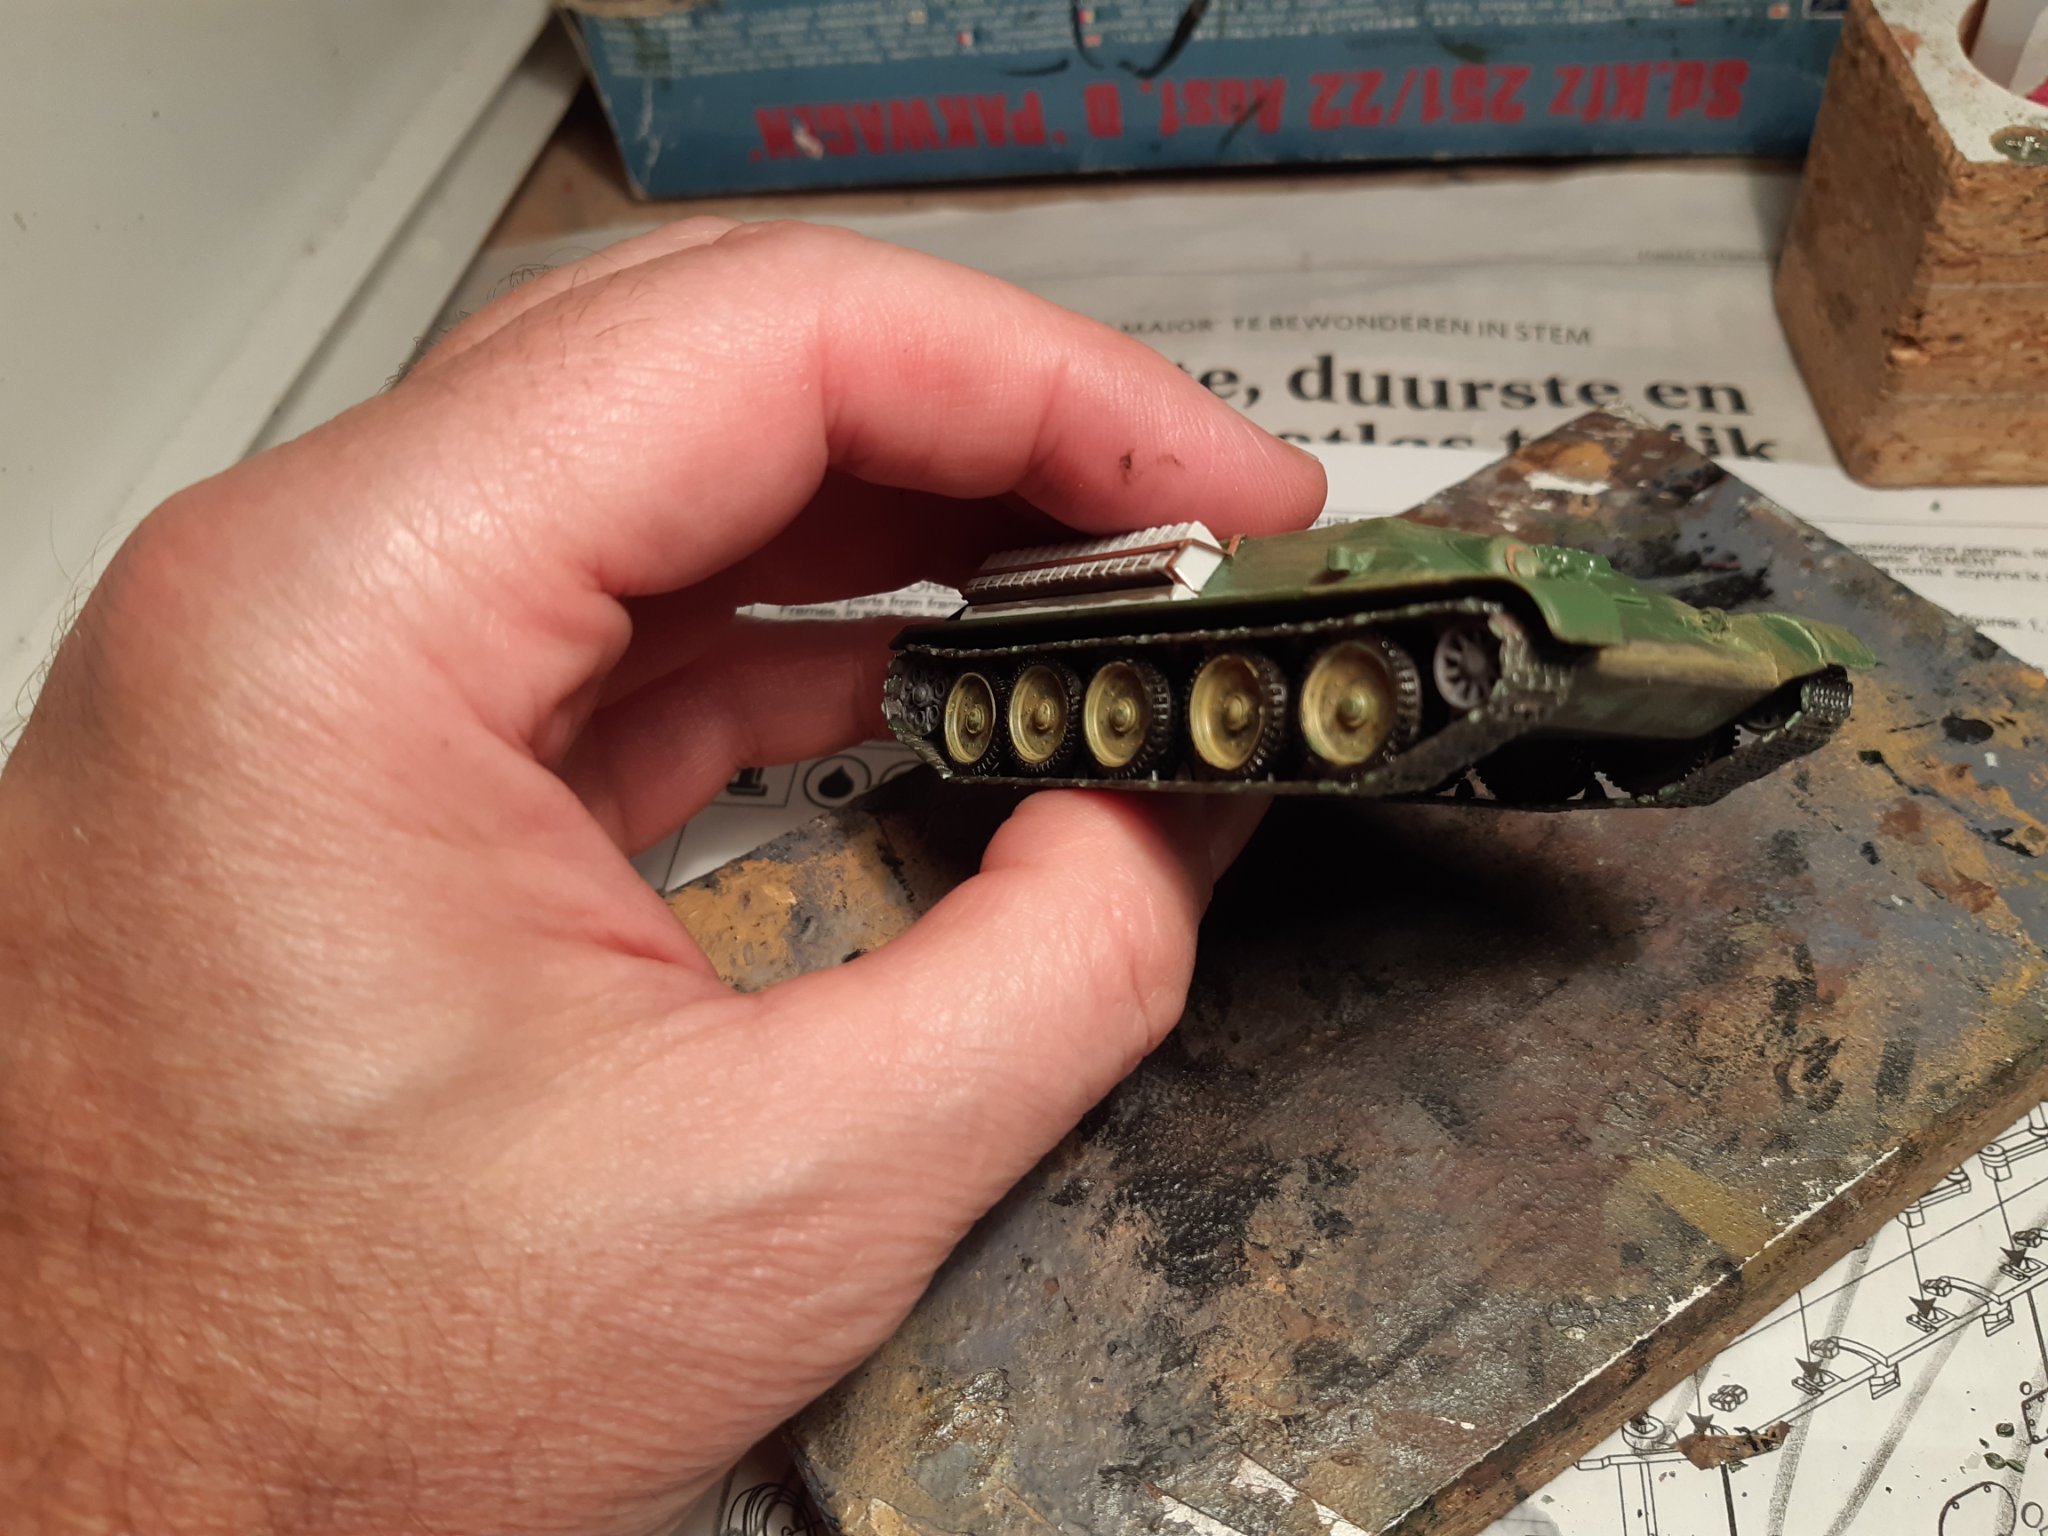
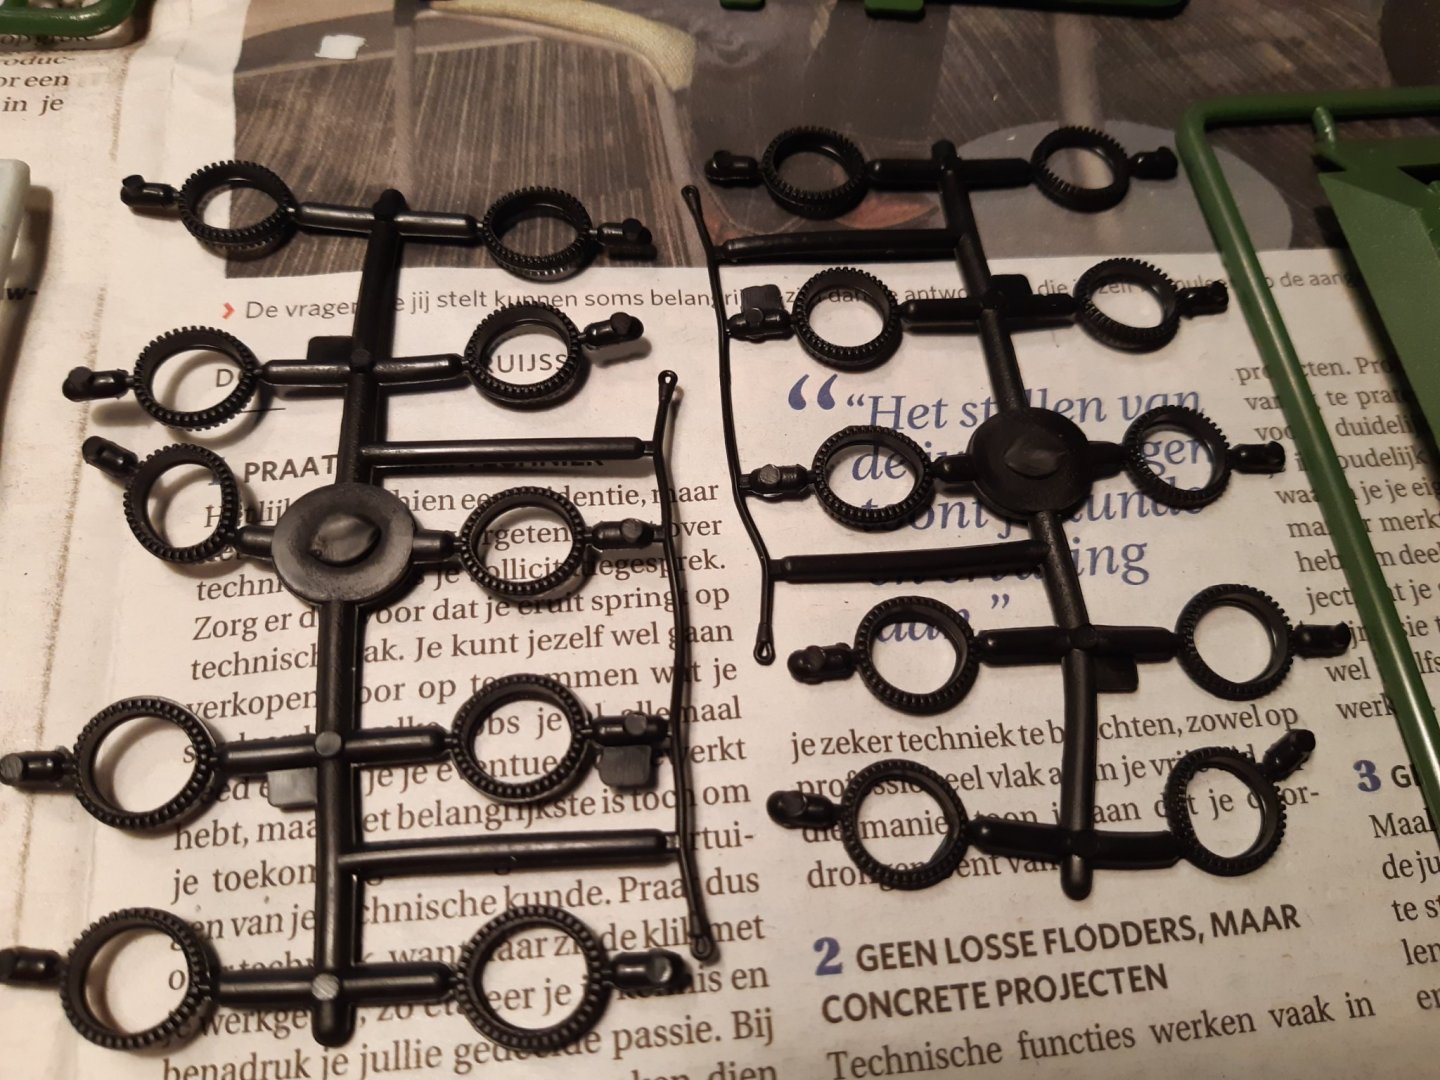
Thanks for the nice comments. Wheels and tracks are in place. The vinyl tires have one disadvantage. Normally these plastic tracks can be glued with regular plastic glue. Now it is necessary to use CA glue.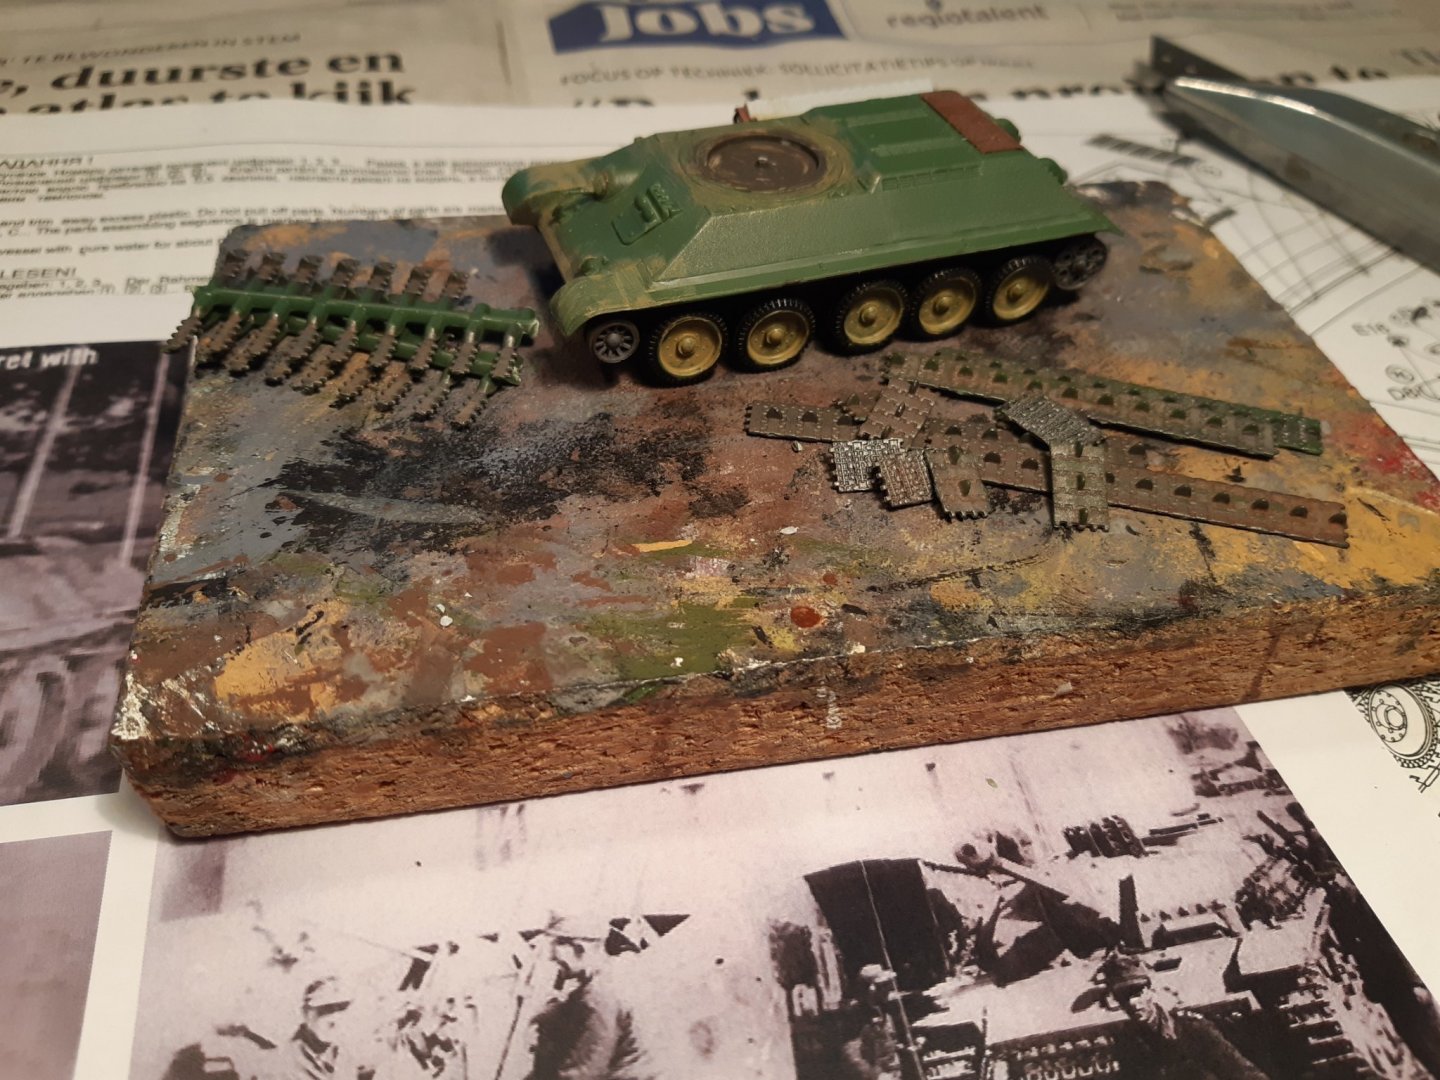

- 18 replies
-
- 11
-
-
Indeed, very nice work on the anchors (and the whole model of course)
-
Pz.Kpfw. IV Ausf. G/H by CDW - Ryefield - 1:35 - PLASTIC
Baker replied to CDW's topic in Non-ship/categorised builds
how to disassemble panzer III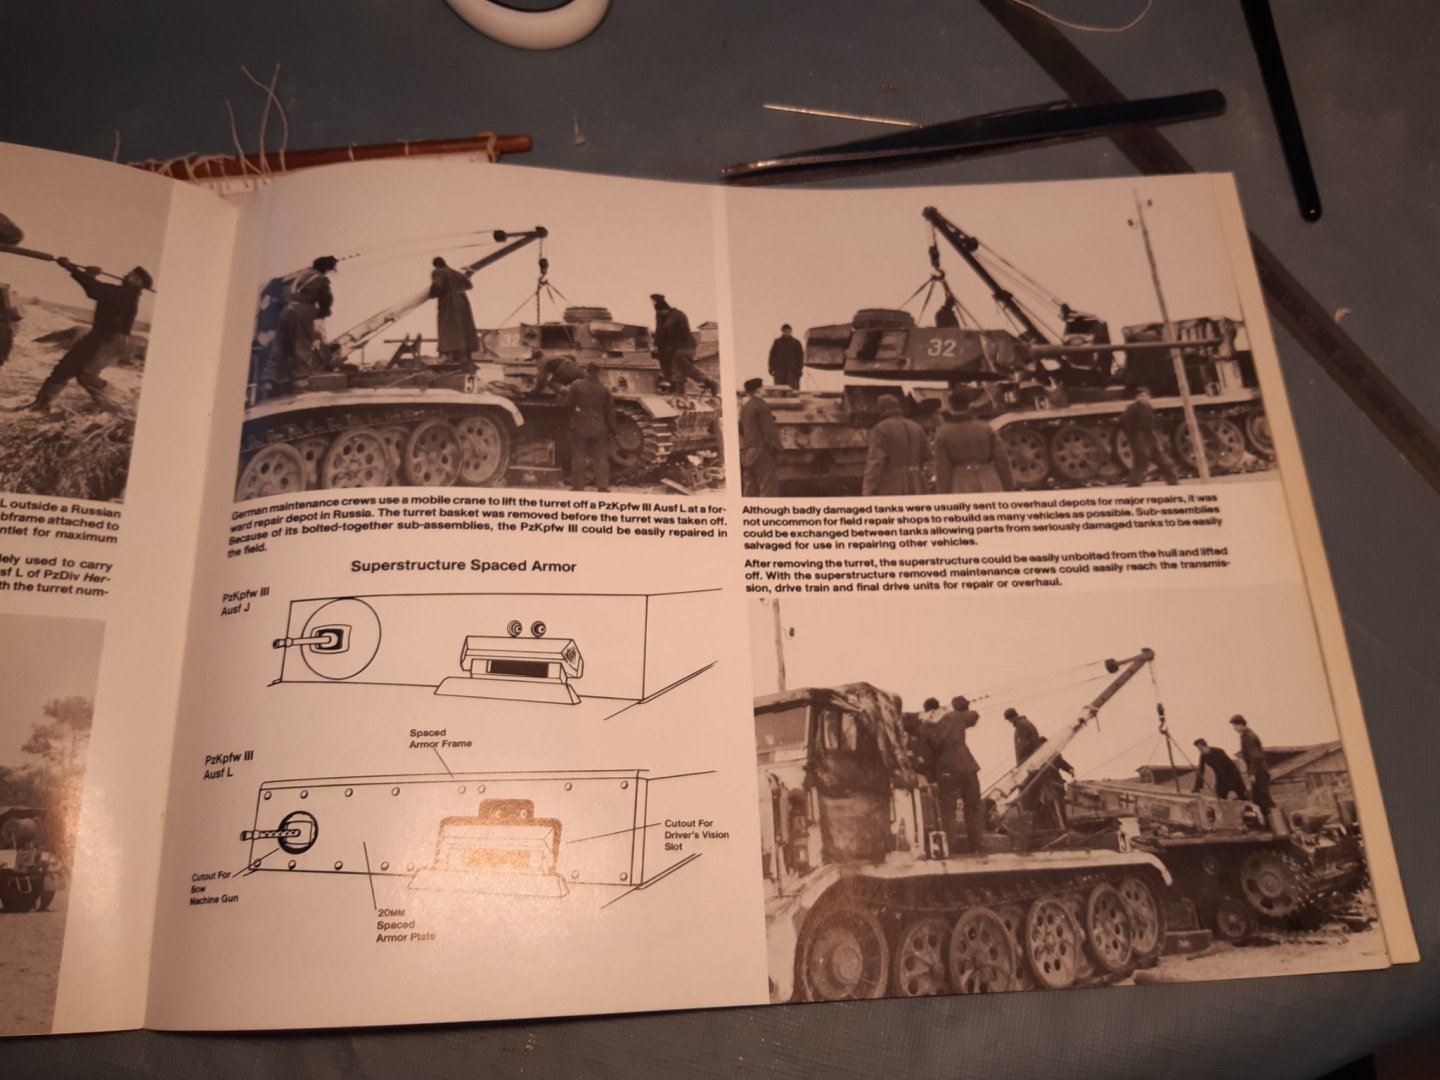
-
Flakpanzer T-34(r) by Backer - FINISHED - UM - 1/72 - PLASTIC
Baker replied to Baker's topic in Non-ship/categorised builds
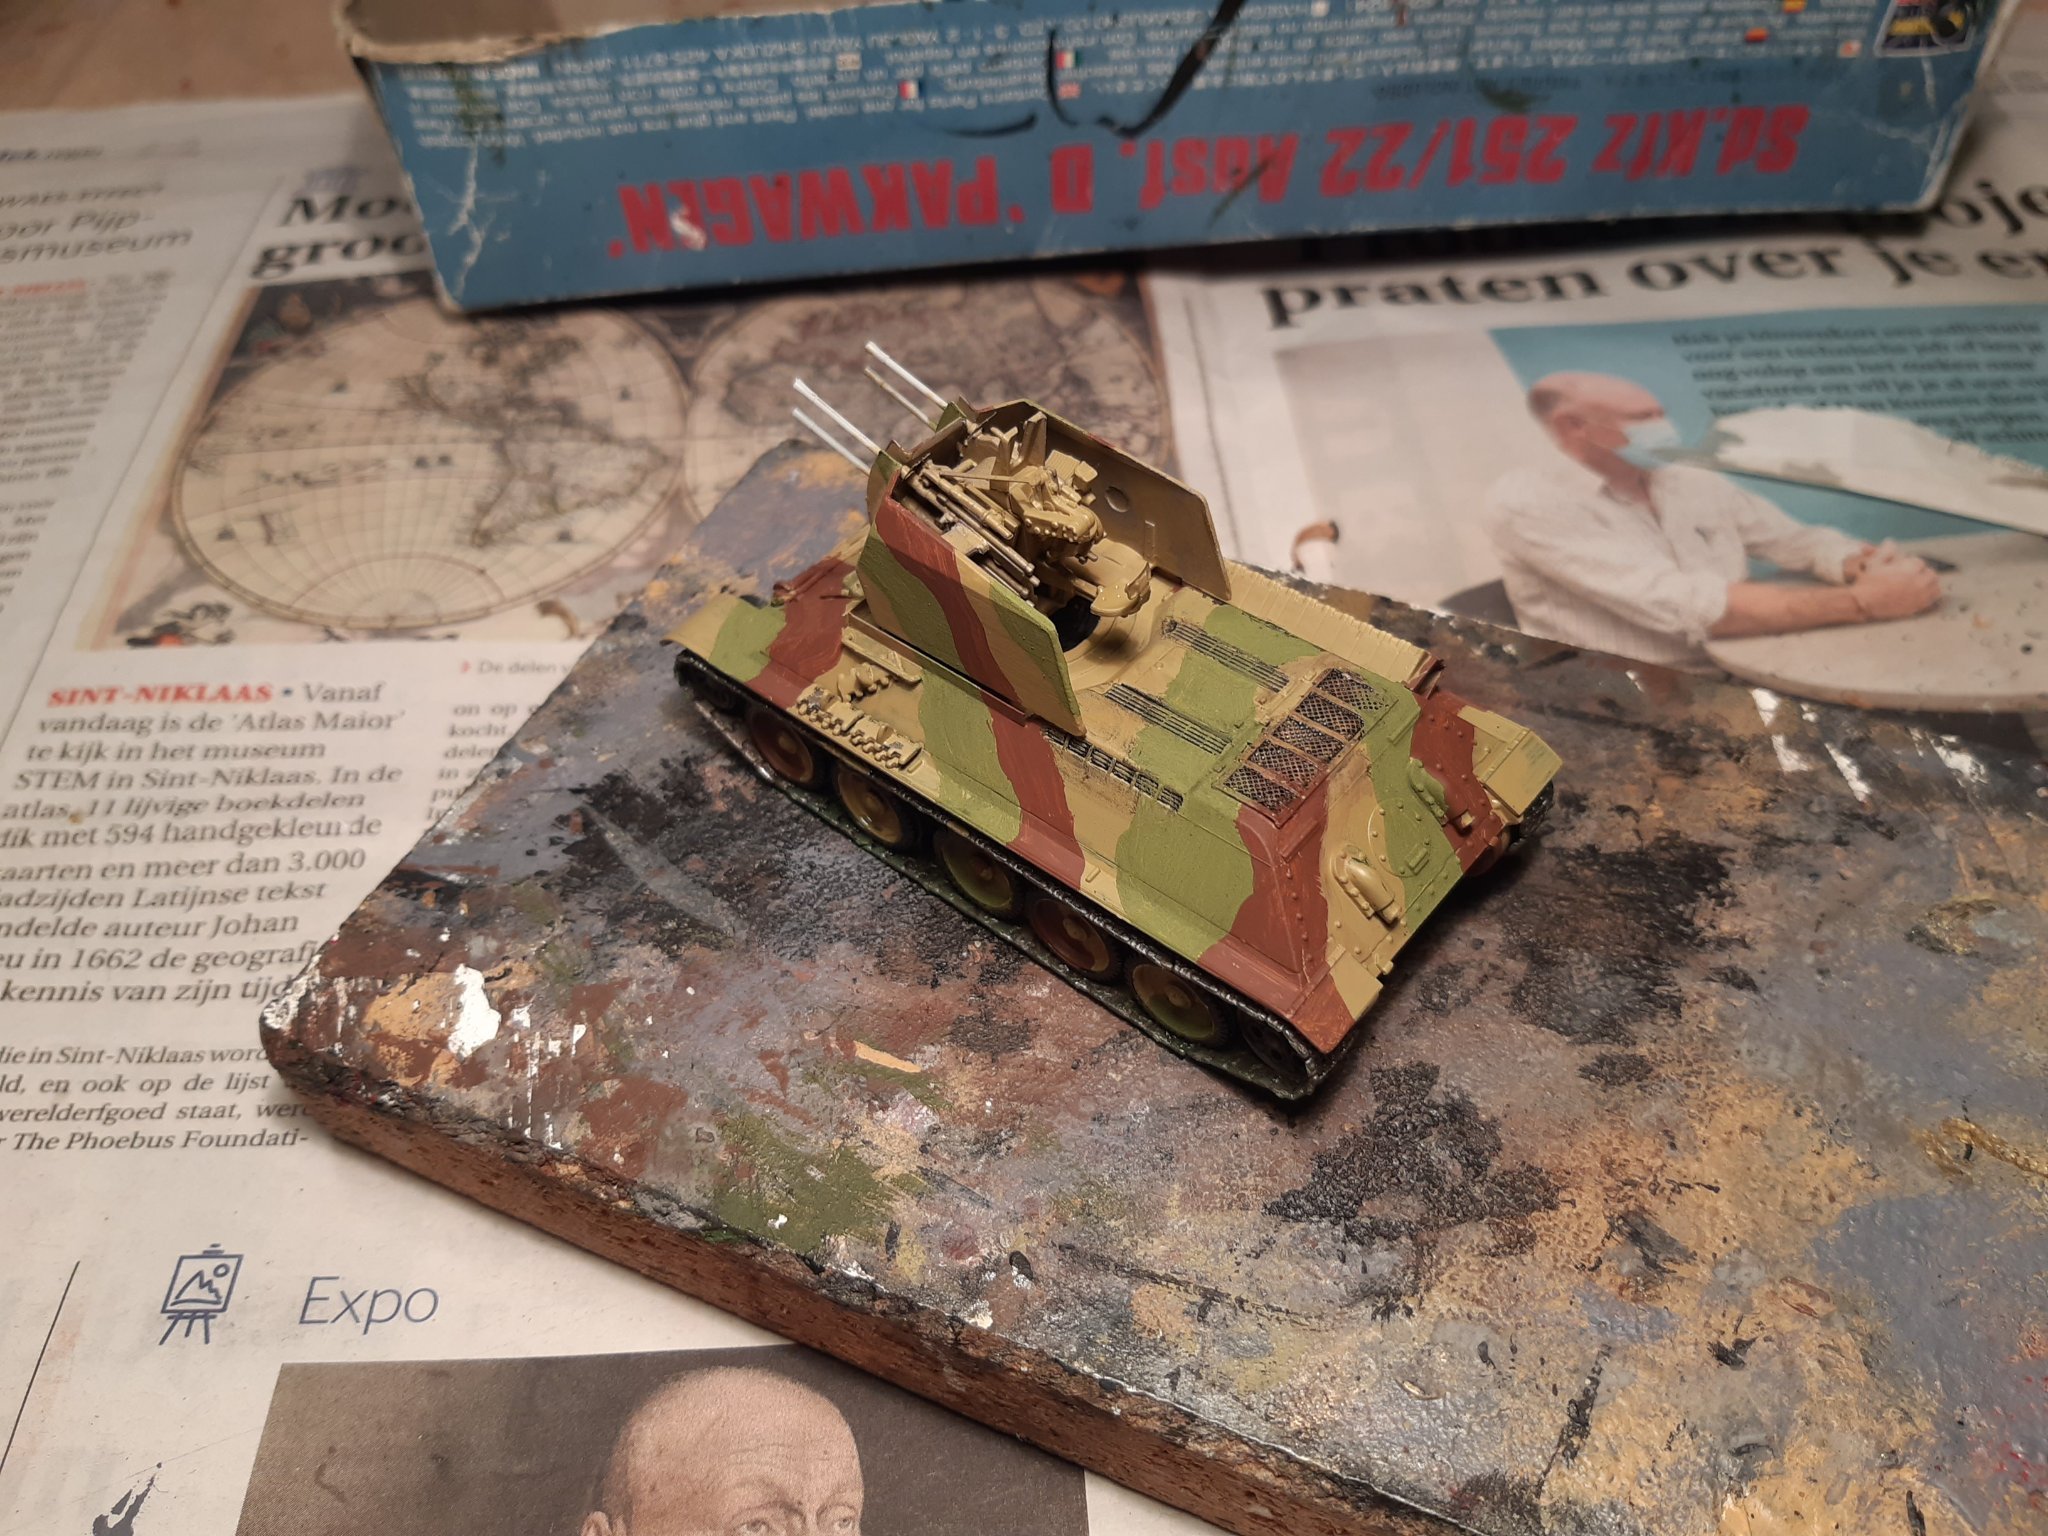
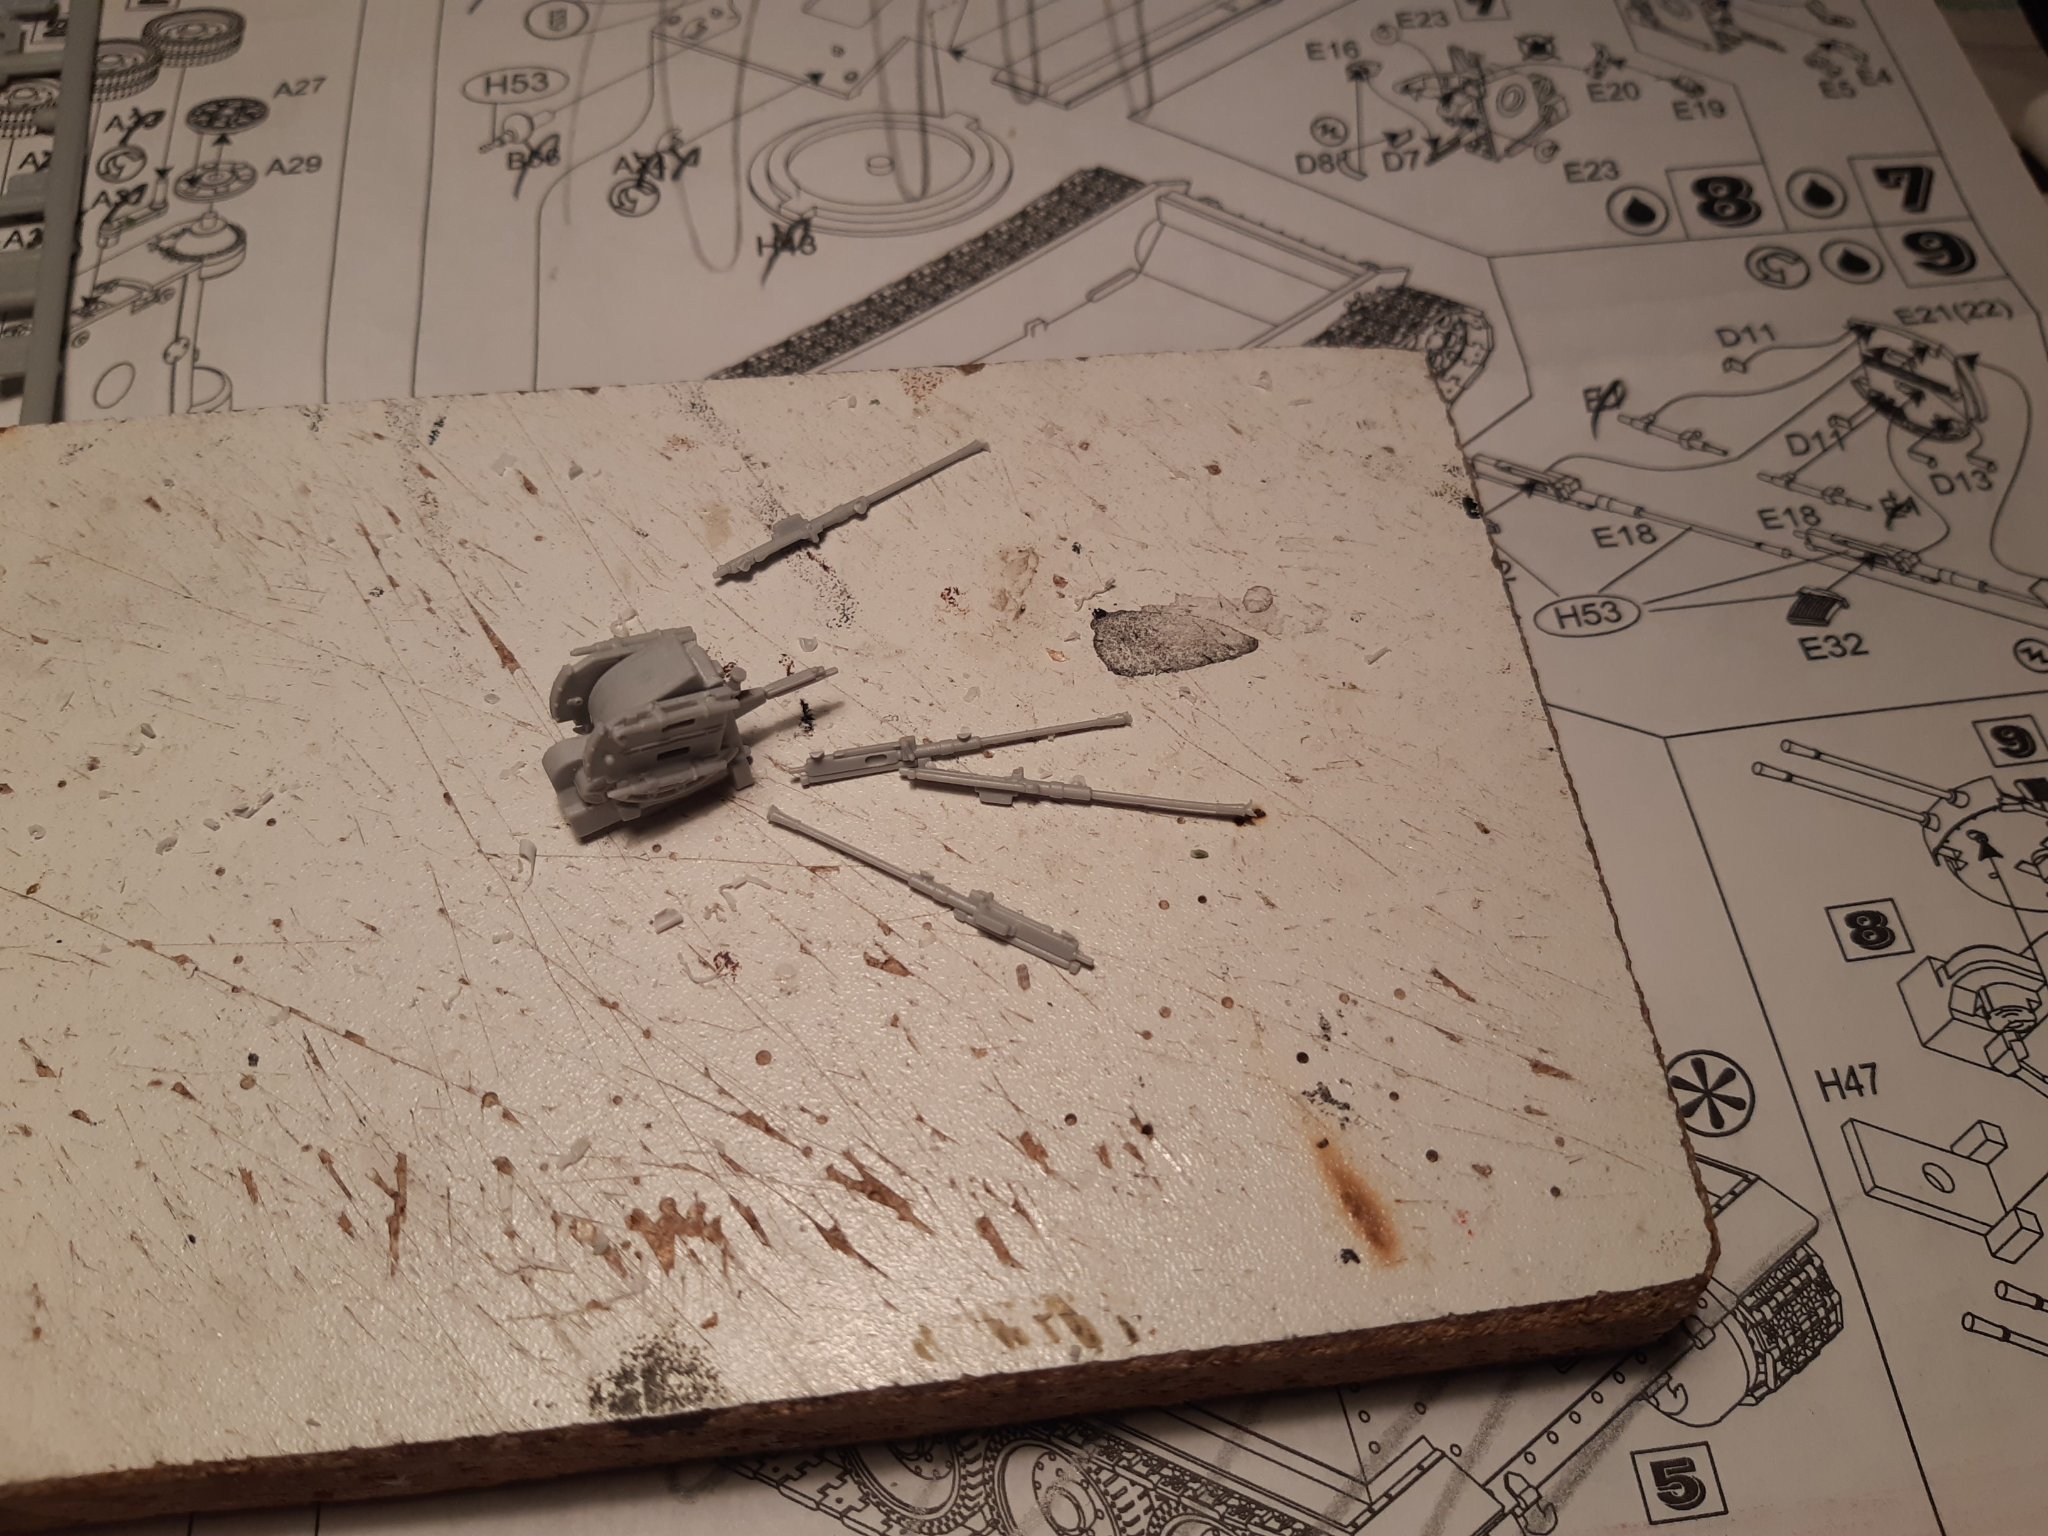
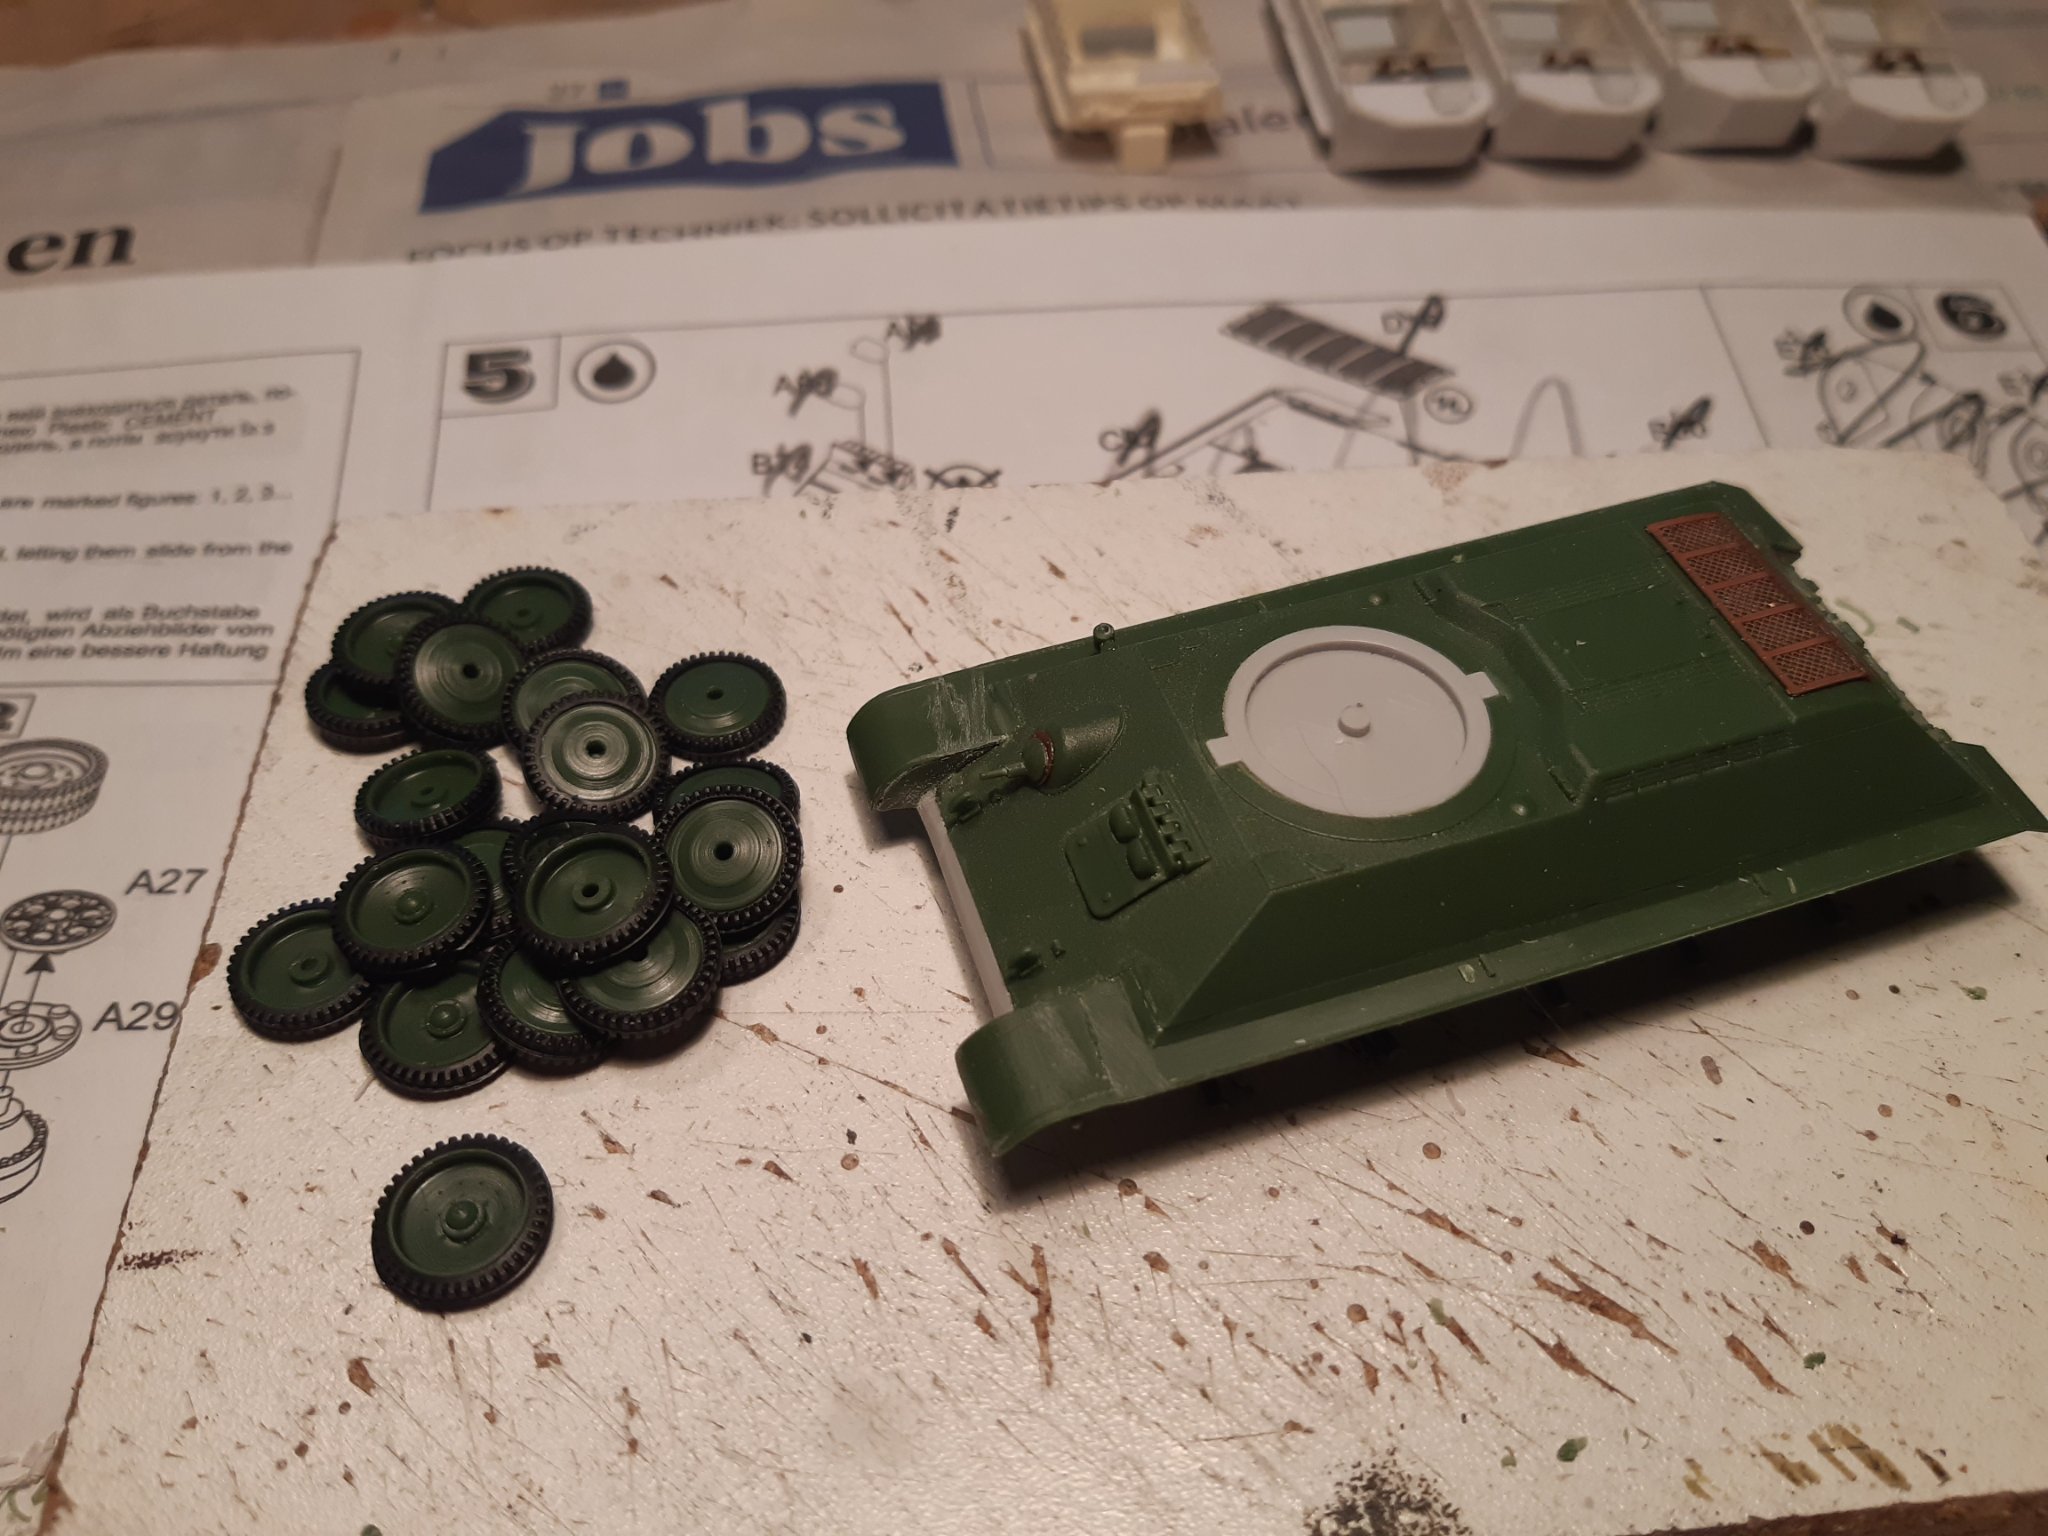
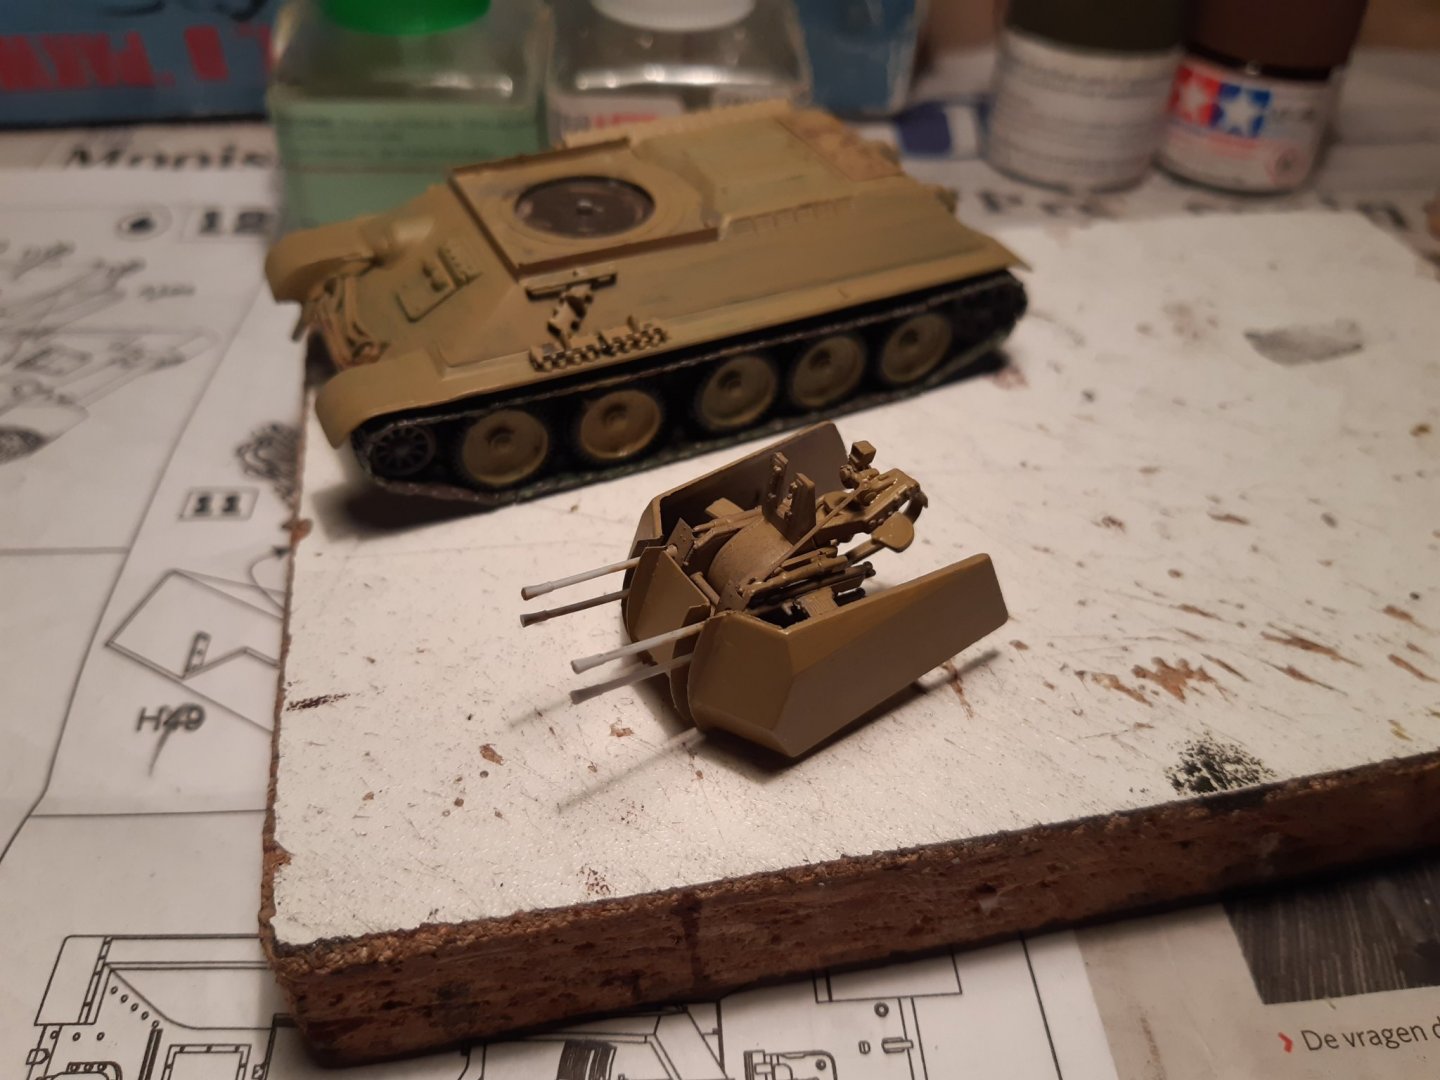
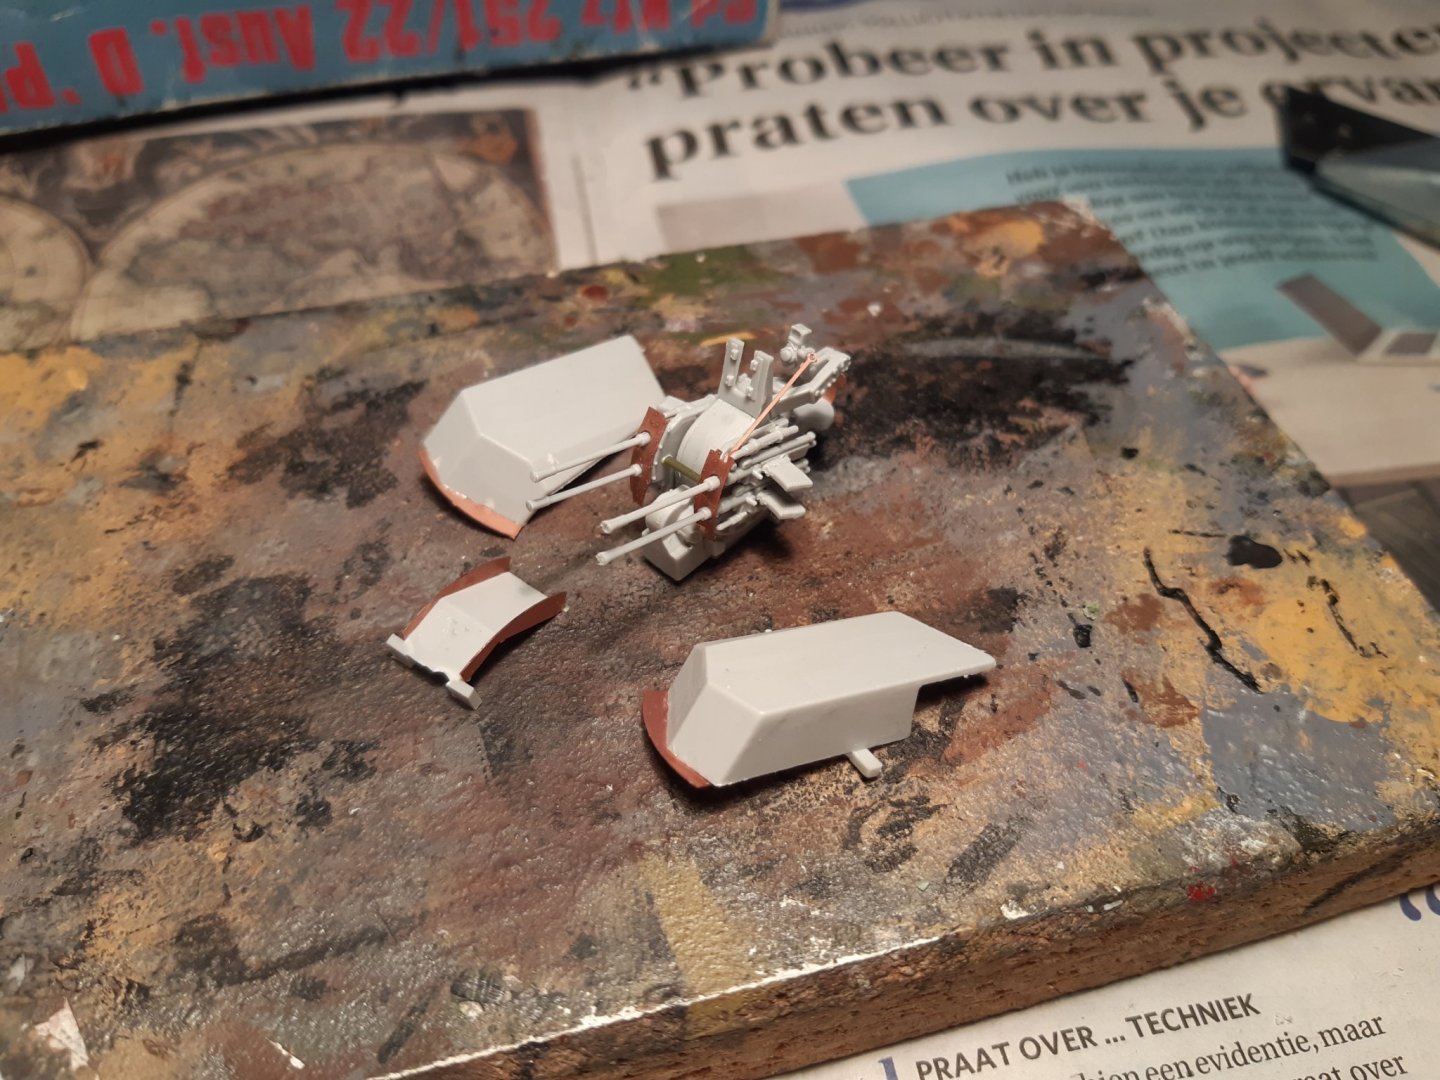
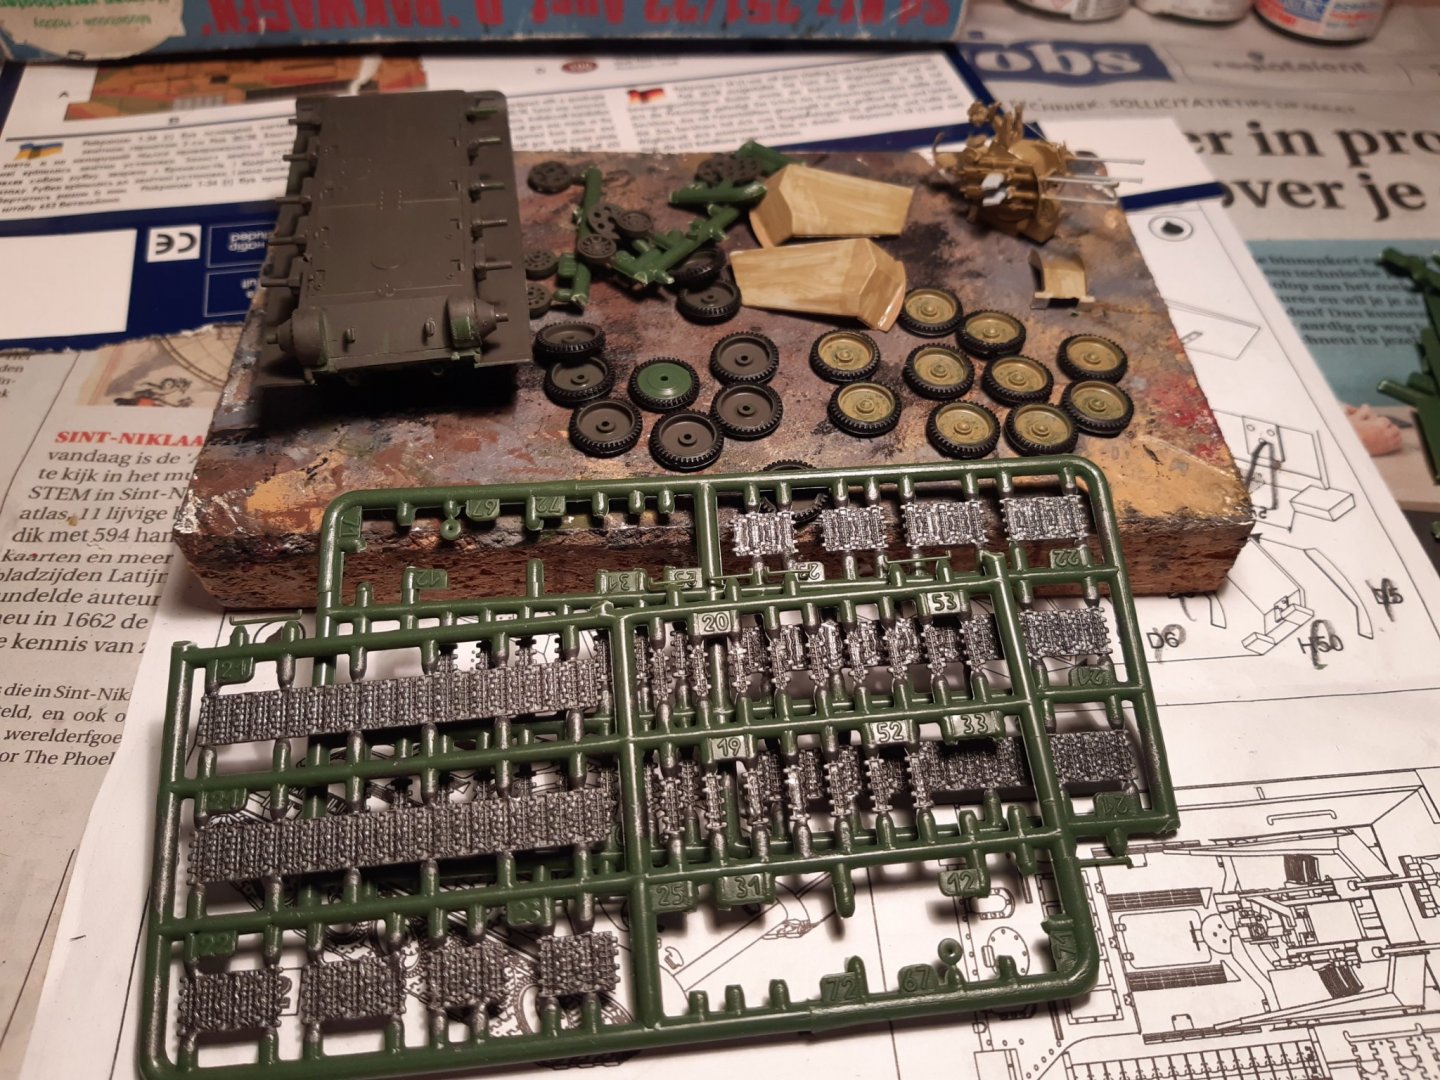
Building the 2cm flak Dry test The Flak and the parts of the turret Everything is ready to assemble the wheels and tracks Thanks for following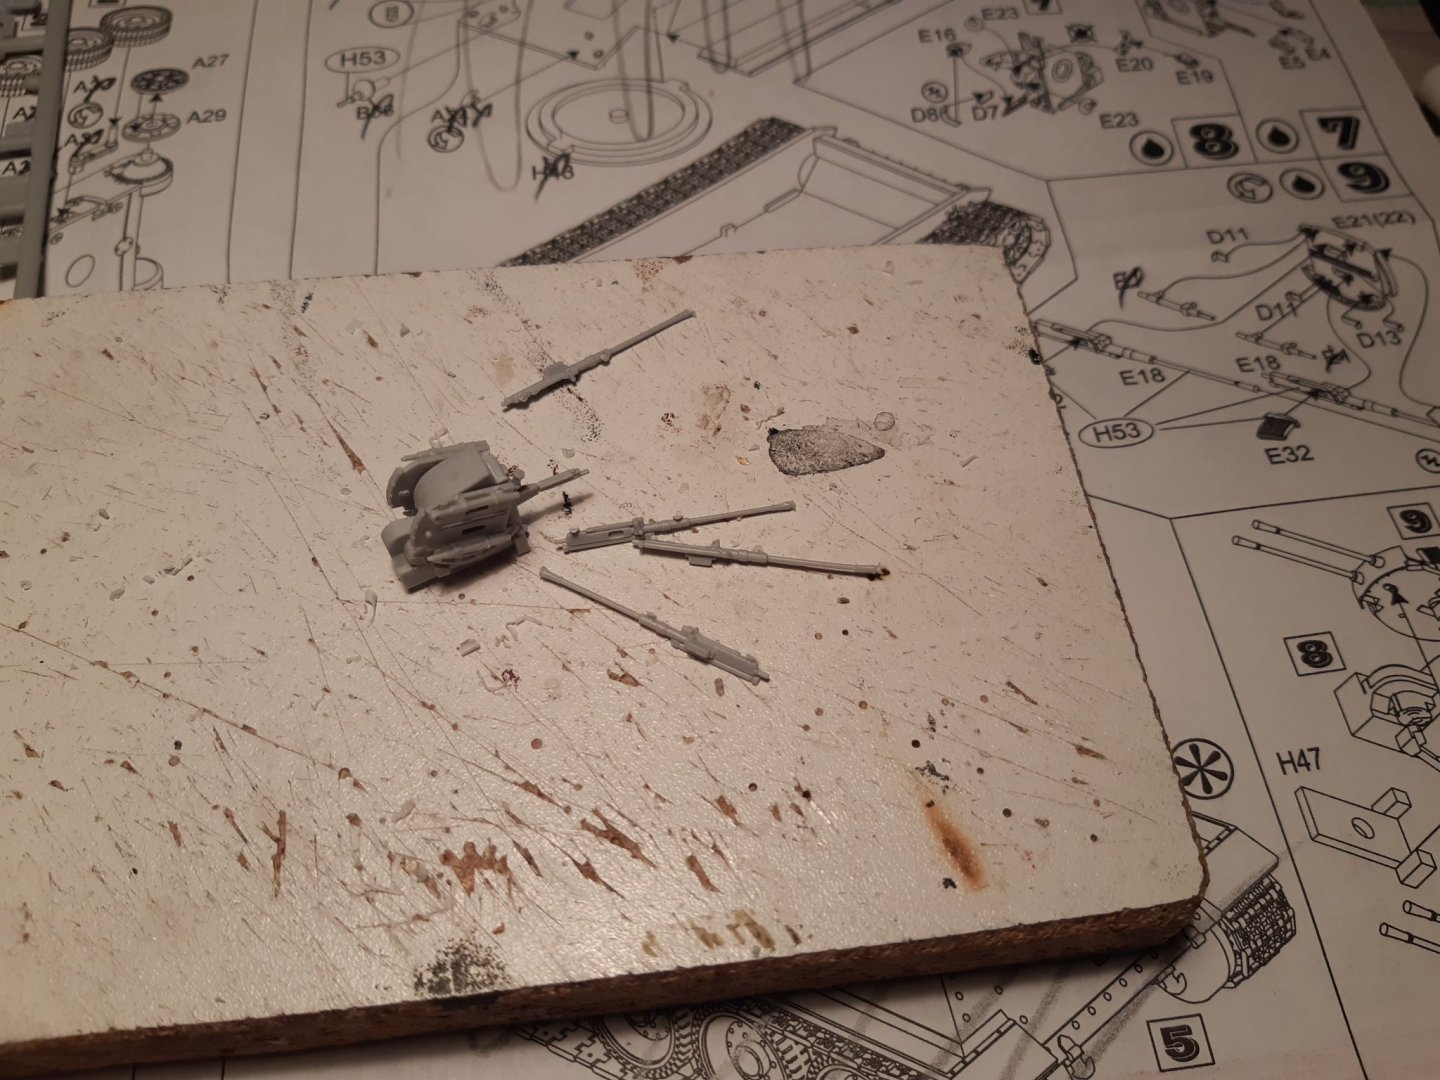

- 18 replies
-
- 11
-
-
Hello from the foothills in North Carolina
Baker replied to Tewhano's topic in New member Introductions
-
Do you mean something like this and then 🤕..... 😉 A new saying Once I knew very little and i thought that i did great work. Now I know very much and i discovered that i did wrong work. haha
- 756 replies
-
- 3
-
-

-
- galleon
- golden hind
- (and 2 more)
-
Flakpanzer T-34(r) by Backer - FINISHED - UM - 1/72 - PLASTIC
Baker replied to Baker's topic in Non-ship/categorised builds
In the US units that use a lot of captured vehicles are called a "rag tag circus" 😉 https://www.wearethemighty.com/mighty-history/rag-tag-circus-stole-vehicles/- 18 replies
-
- 13
-
-
-
Flakpanzer T-34(r) by Backer - FINISHED - UM - 1/72 - PLASTIC
Baker replied to Baker's topic in Non-ship/categorised builds
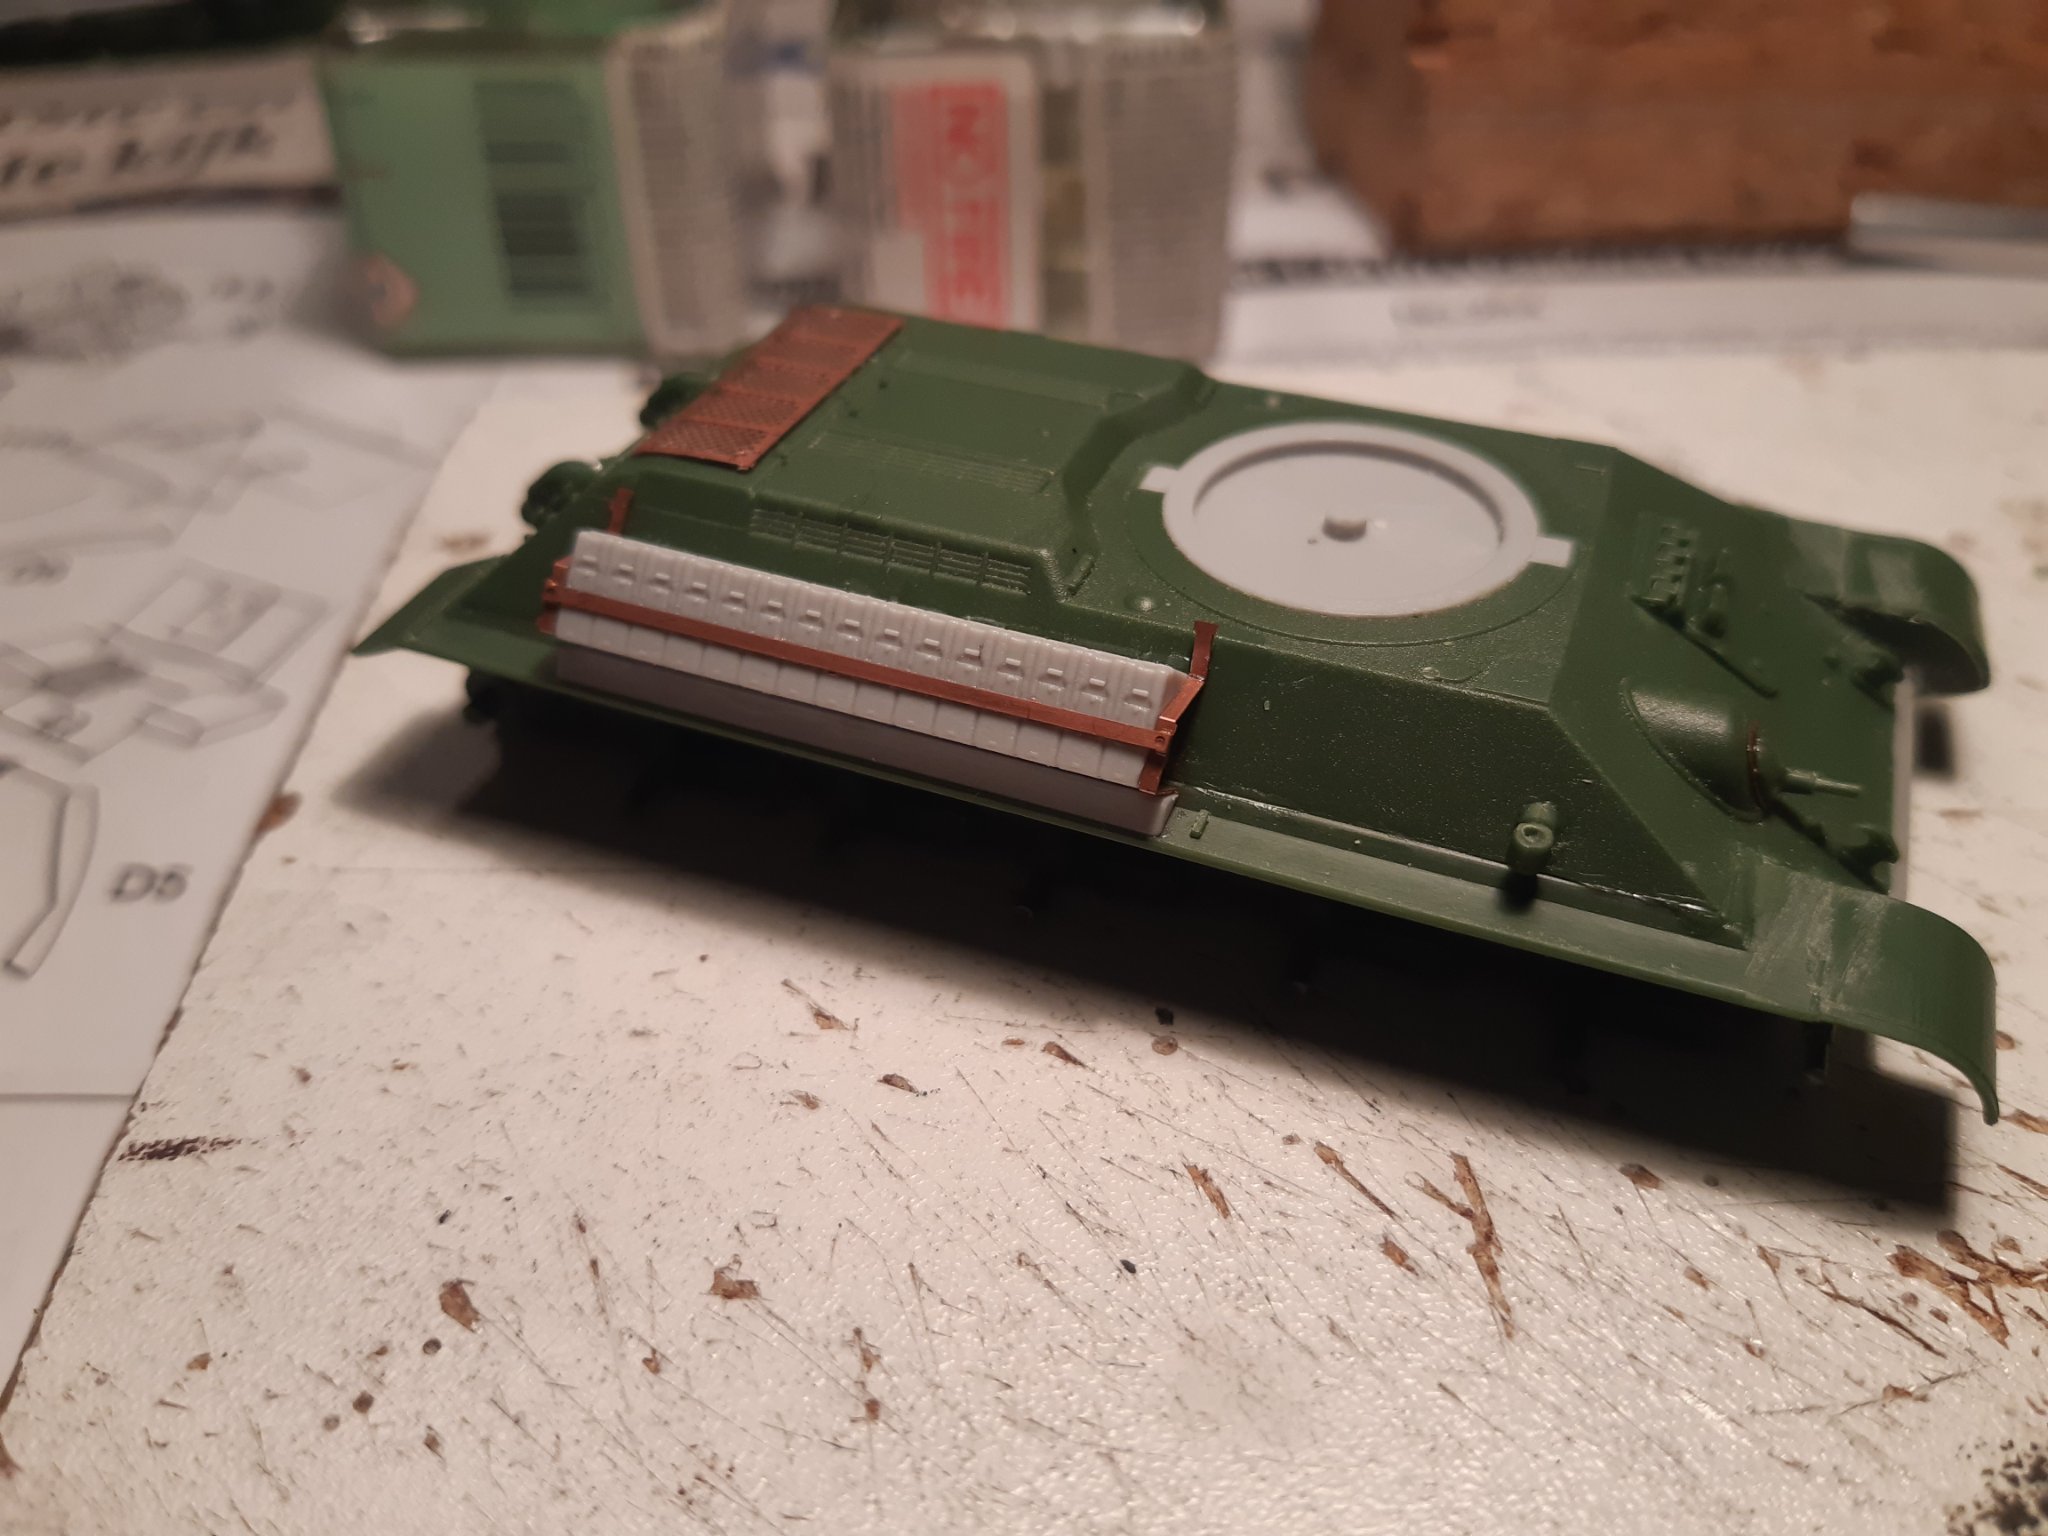
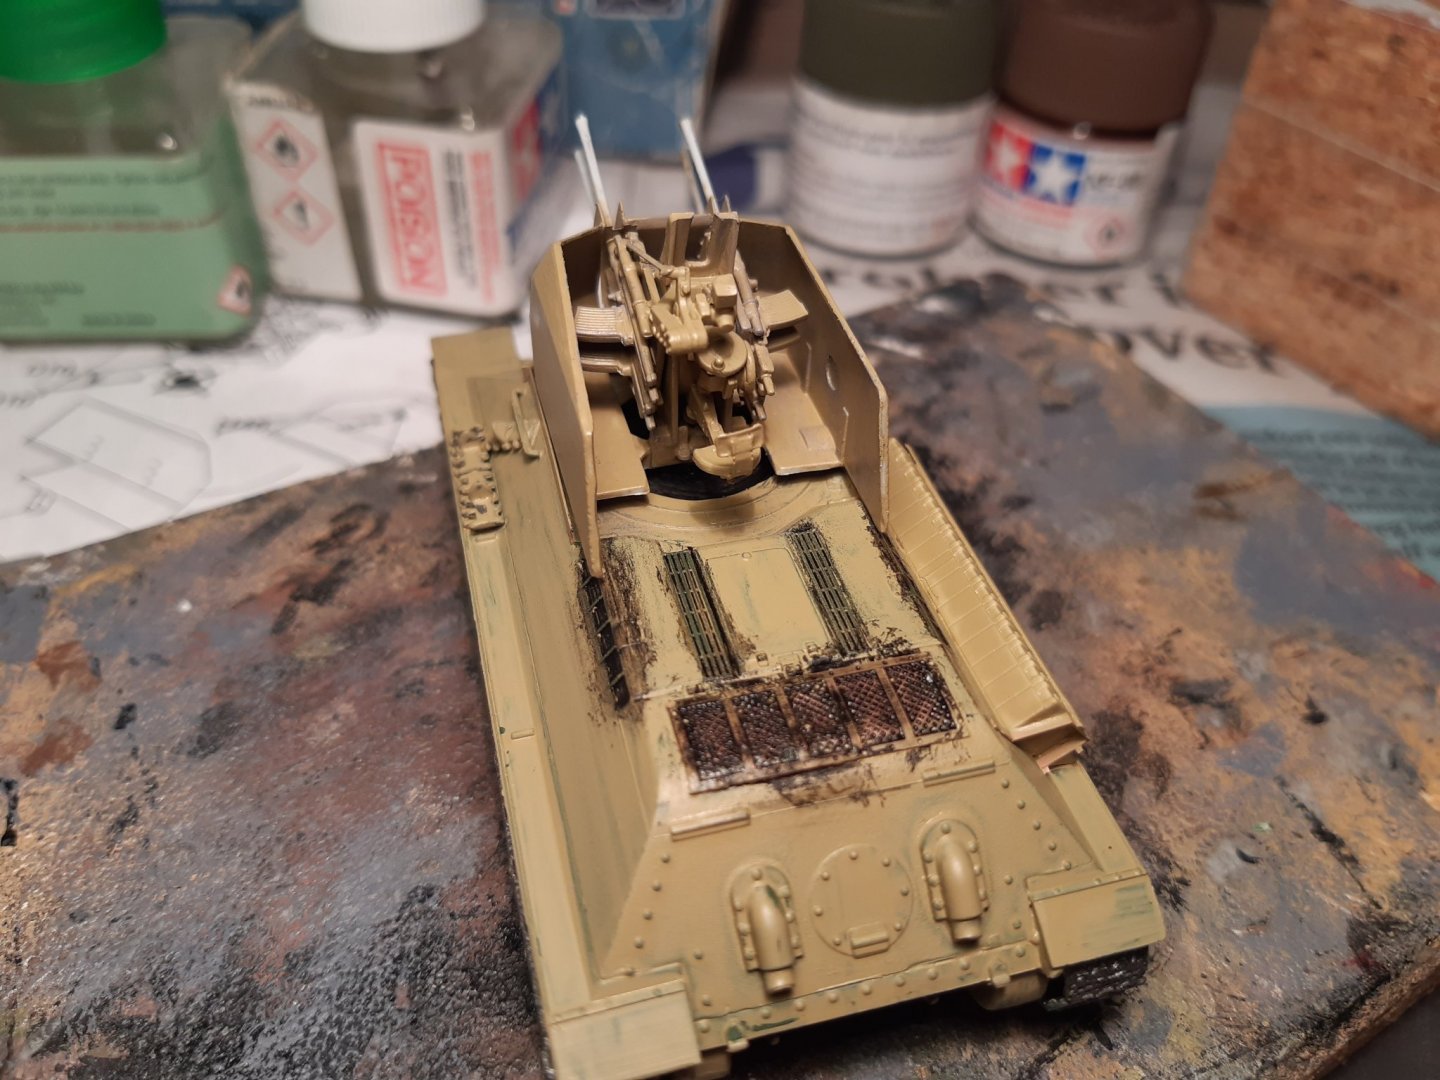
Yes, the chassis is a standard T34 (turret removed). And, indeed, Military modeling season is started Ammo rack in place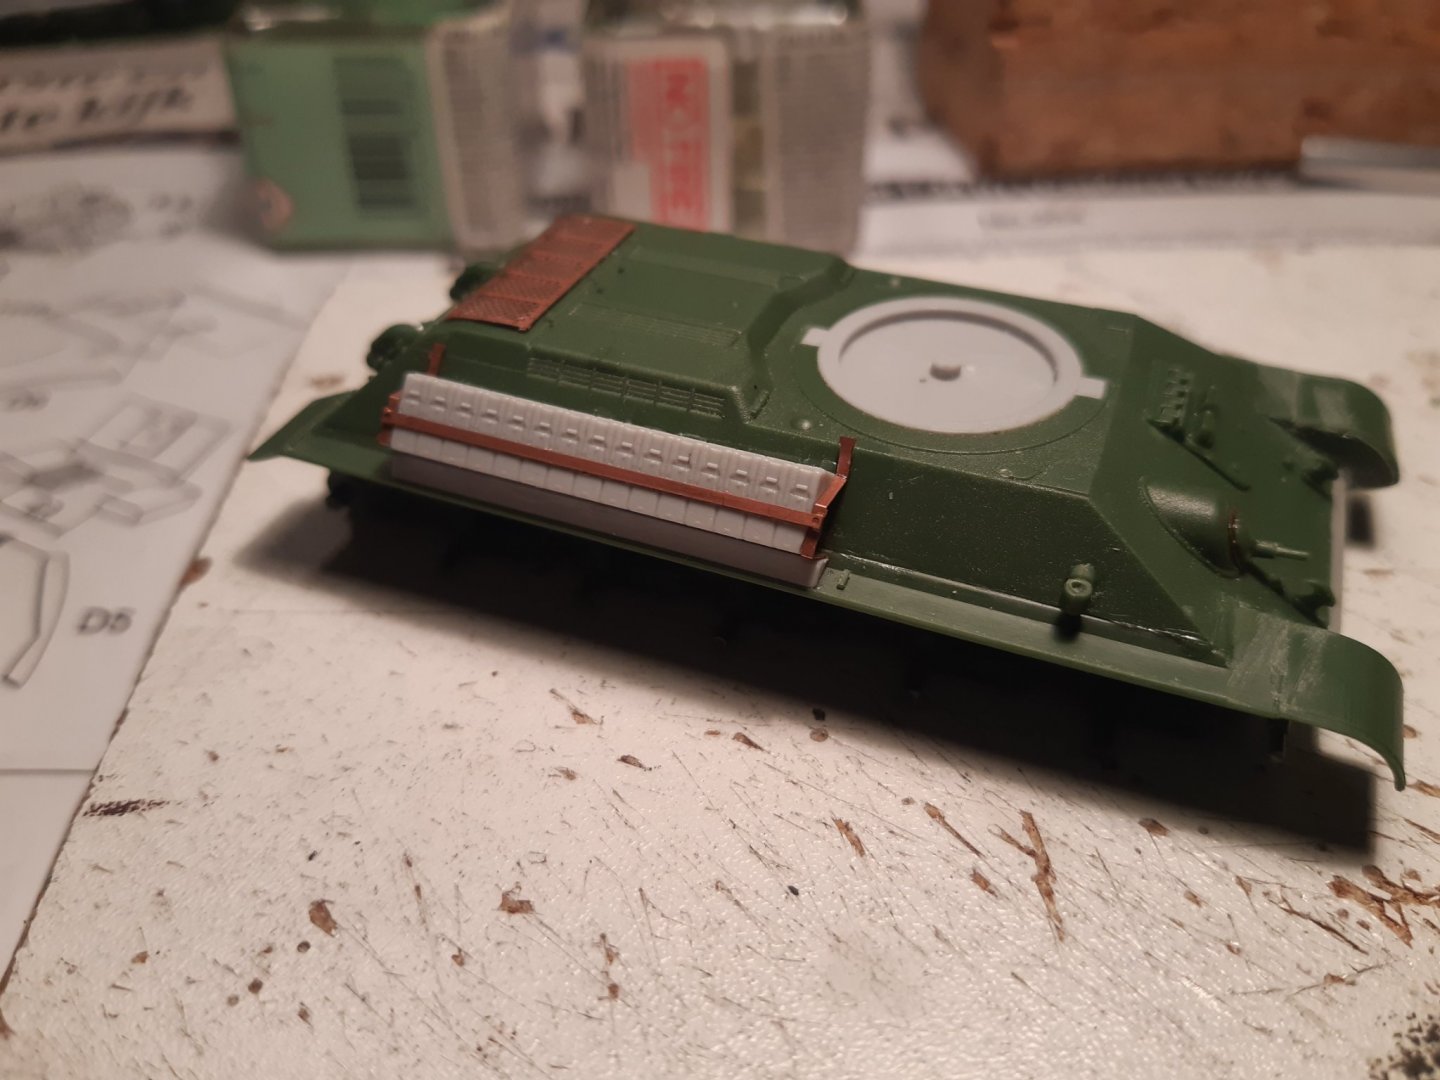
- 18 replies
-
- 10
-
-
Greeetings from Italy, Sardinia Island
Baker replied to Ugo Crisponi's topic in New member Introductions
Nice work And welcome to MSW -
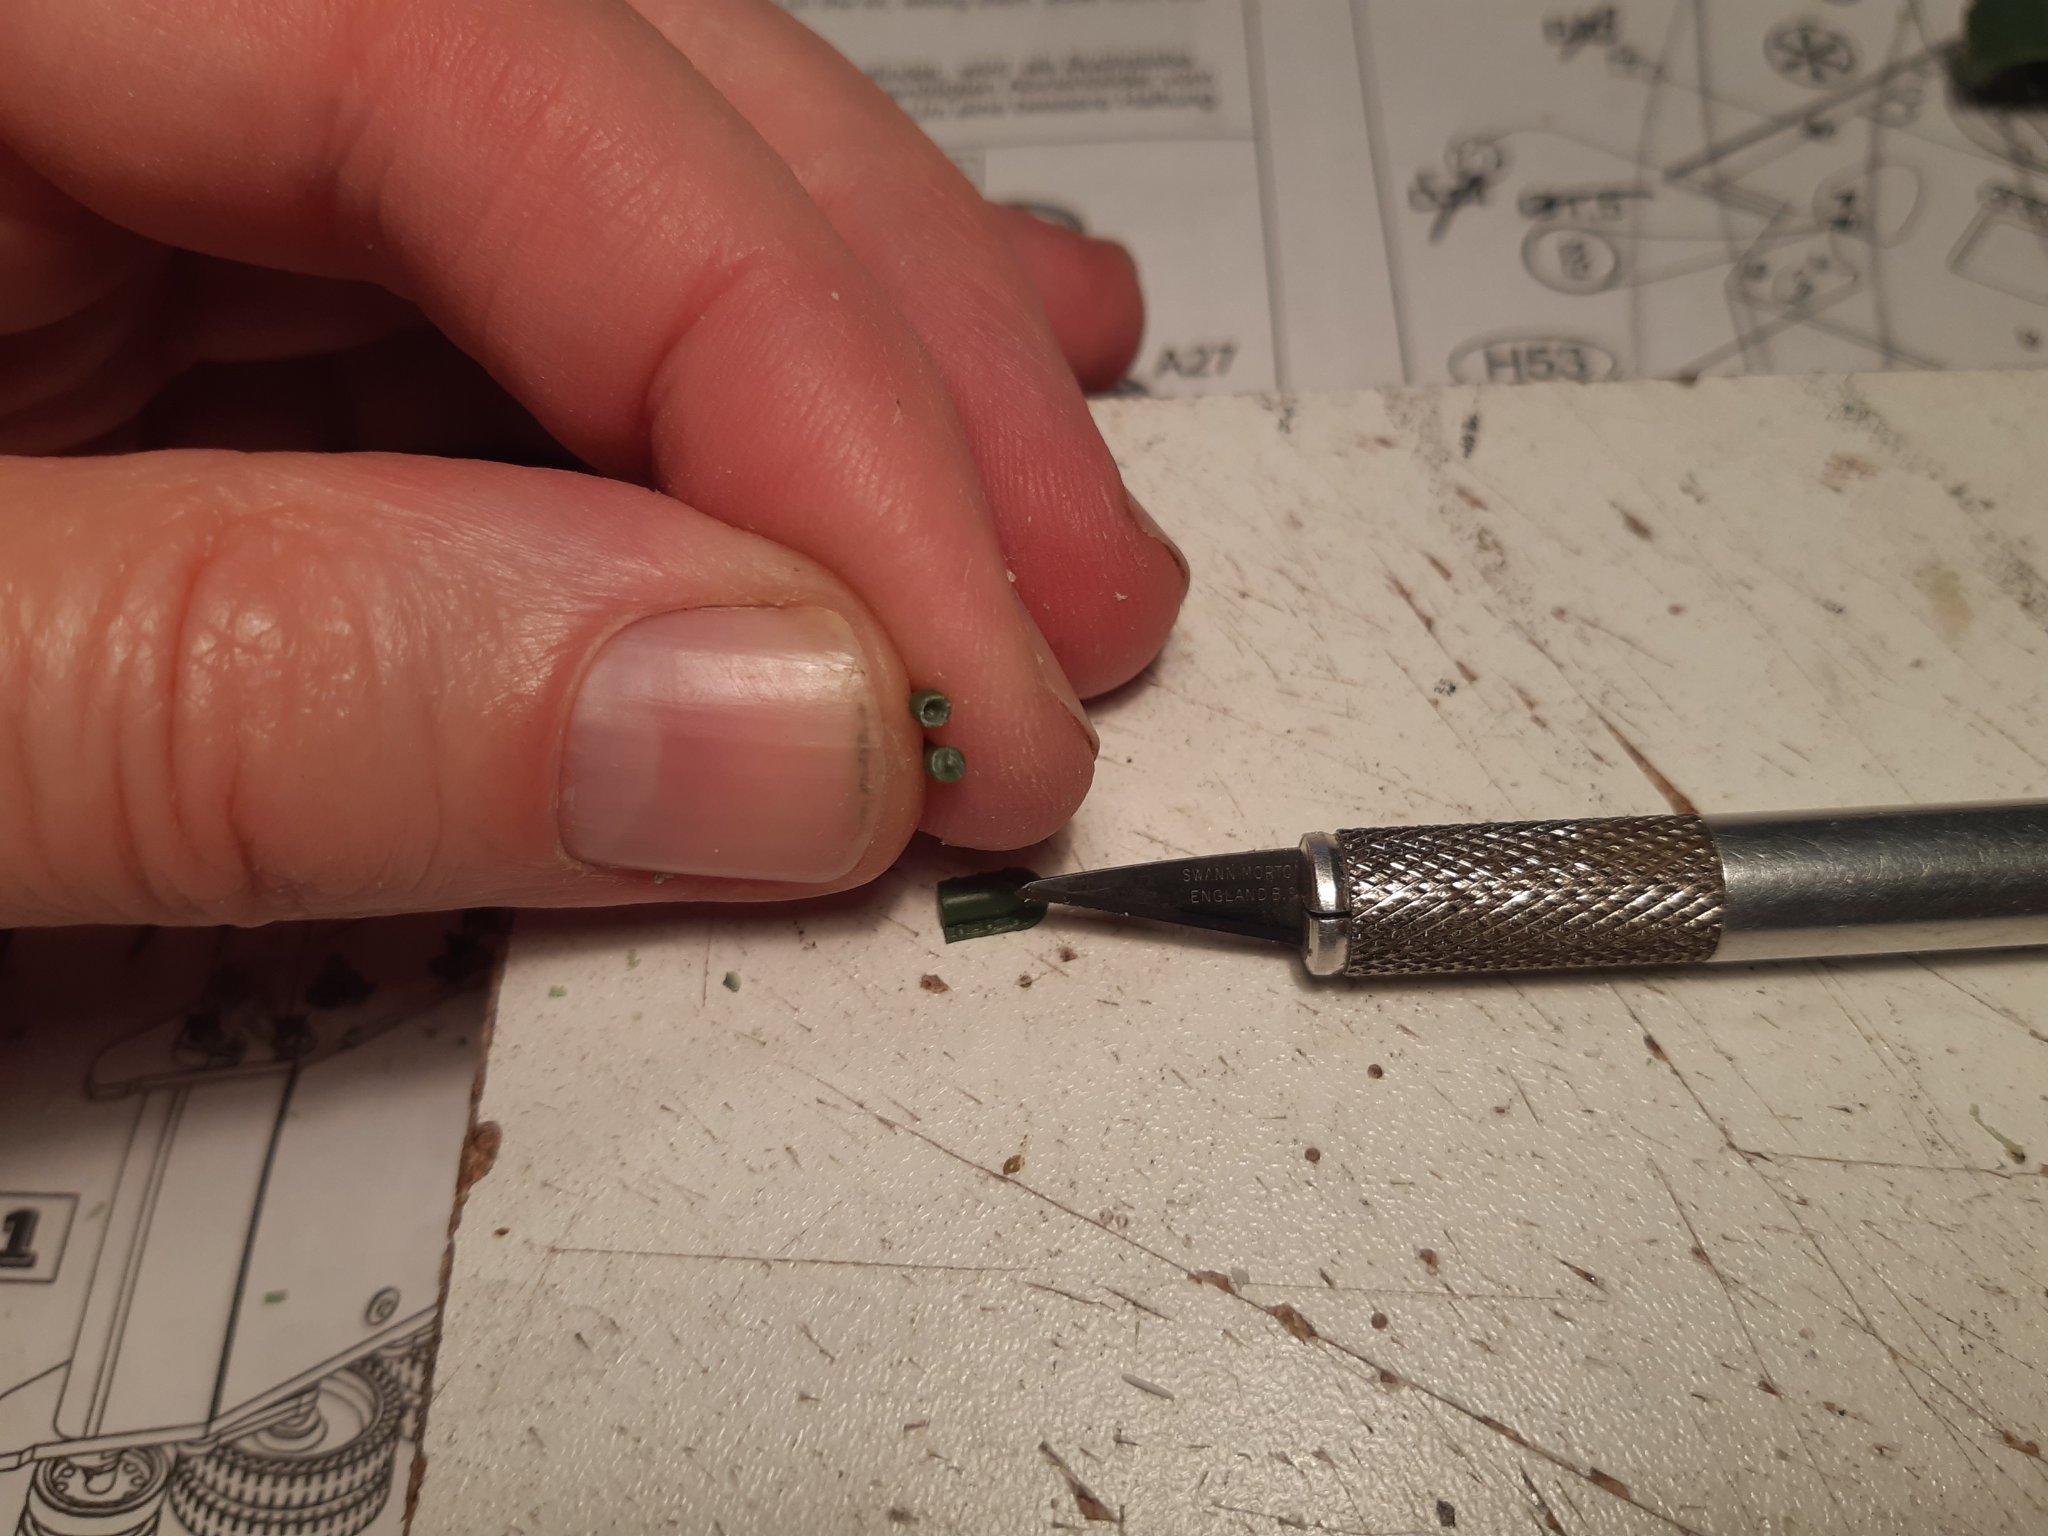
How to attach the sails to the yards (late 16th century)
Baker replied to Baker's topic in Masting, rigging and sails
Thanks, I will follow your advice. -
HMS Bounty by Gct86 - Amati
Baker replied to Gct86's topic in - Kit build logs for subjects built from 1751 - 1800
Looks much better already -
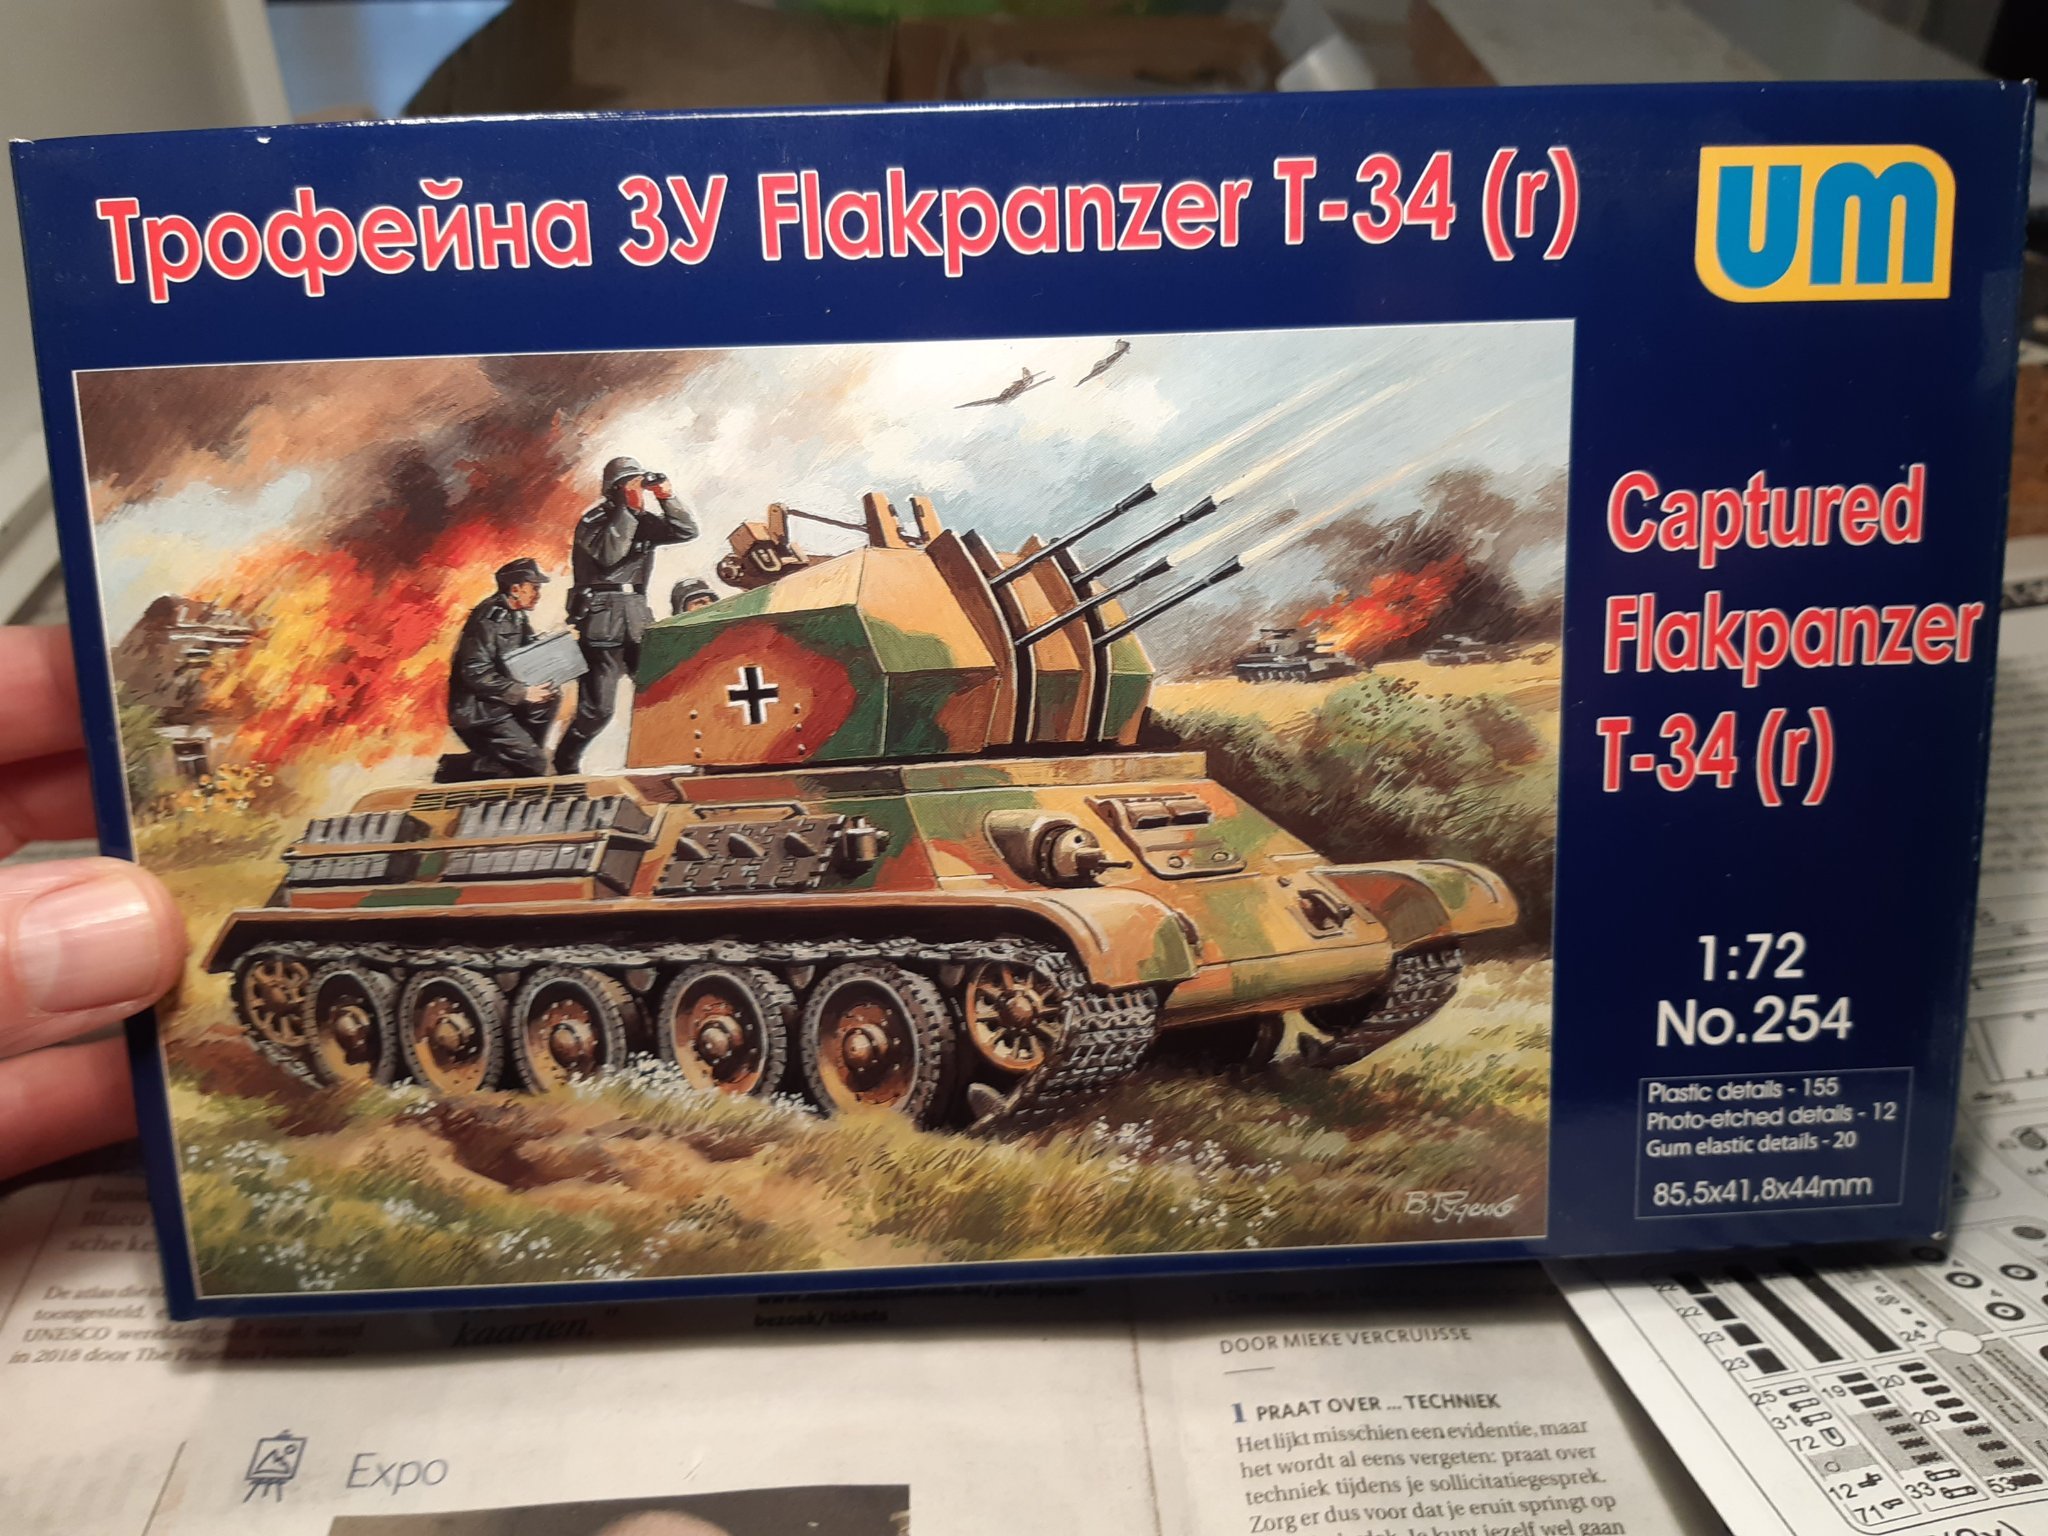
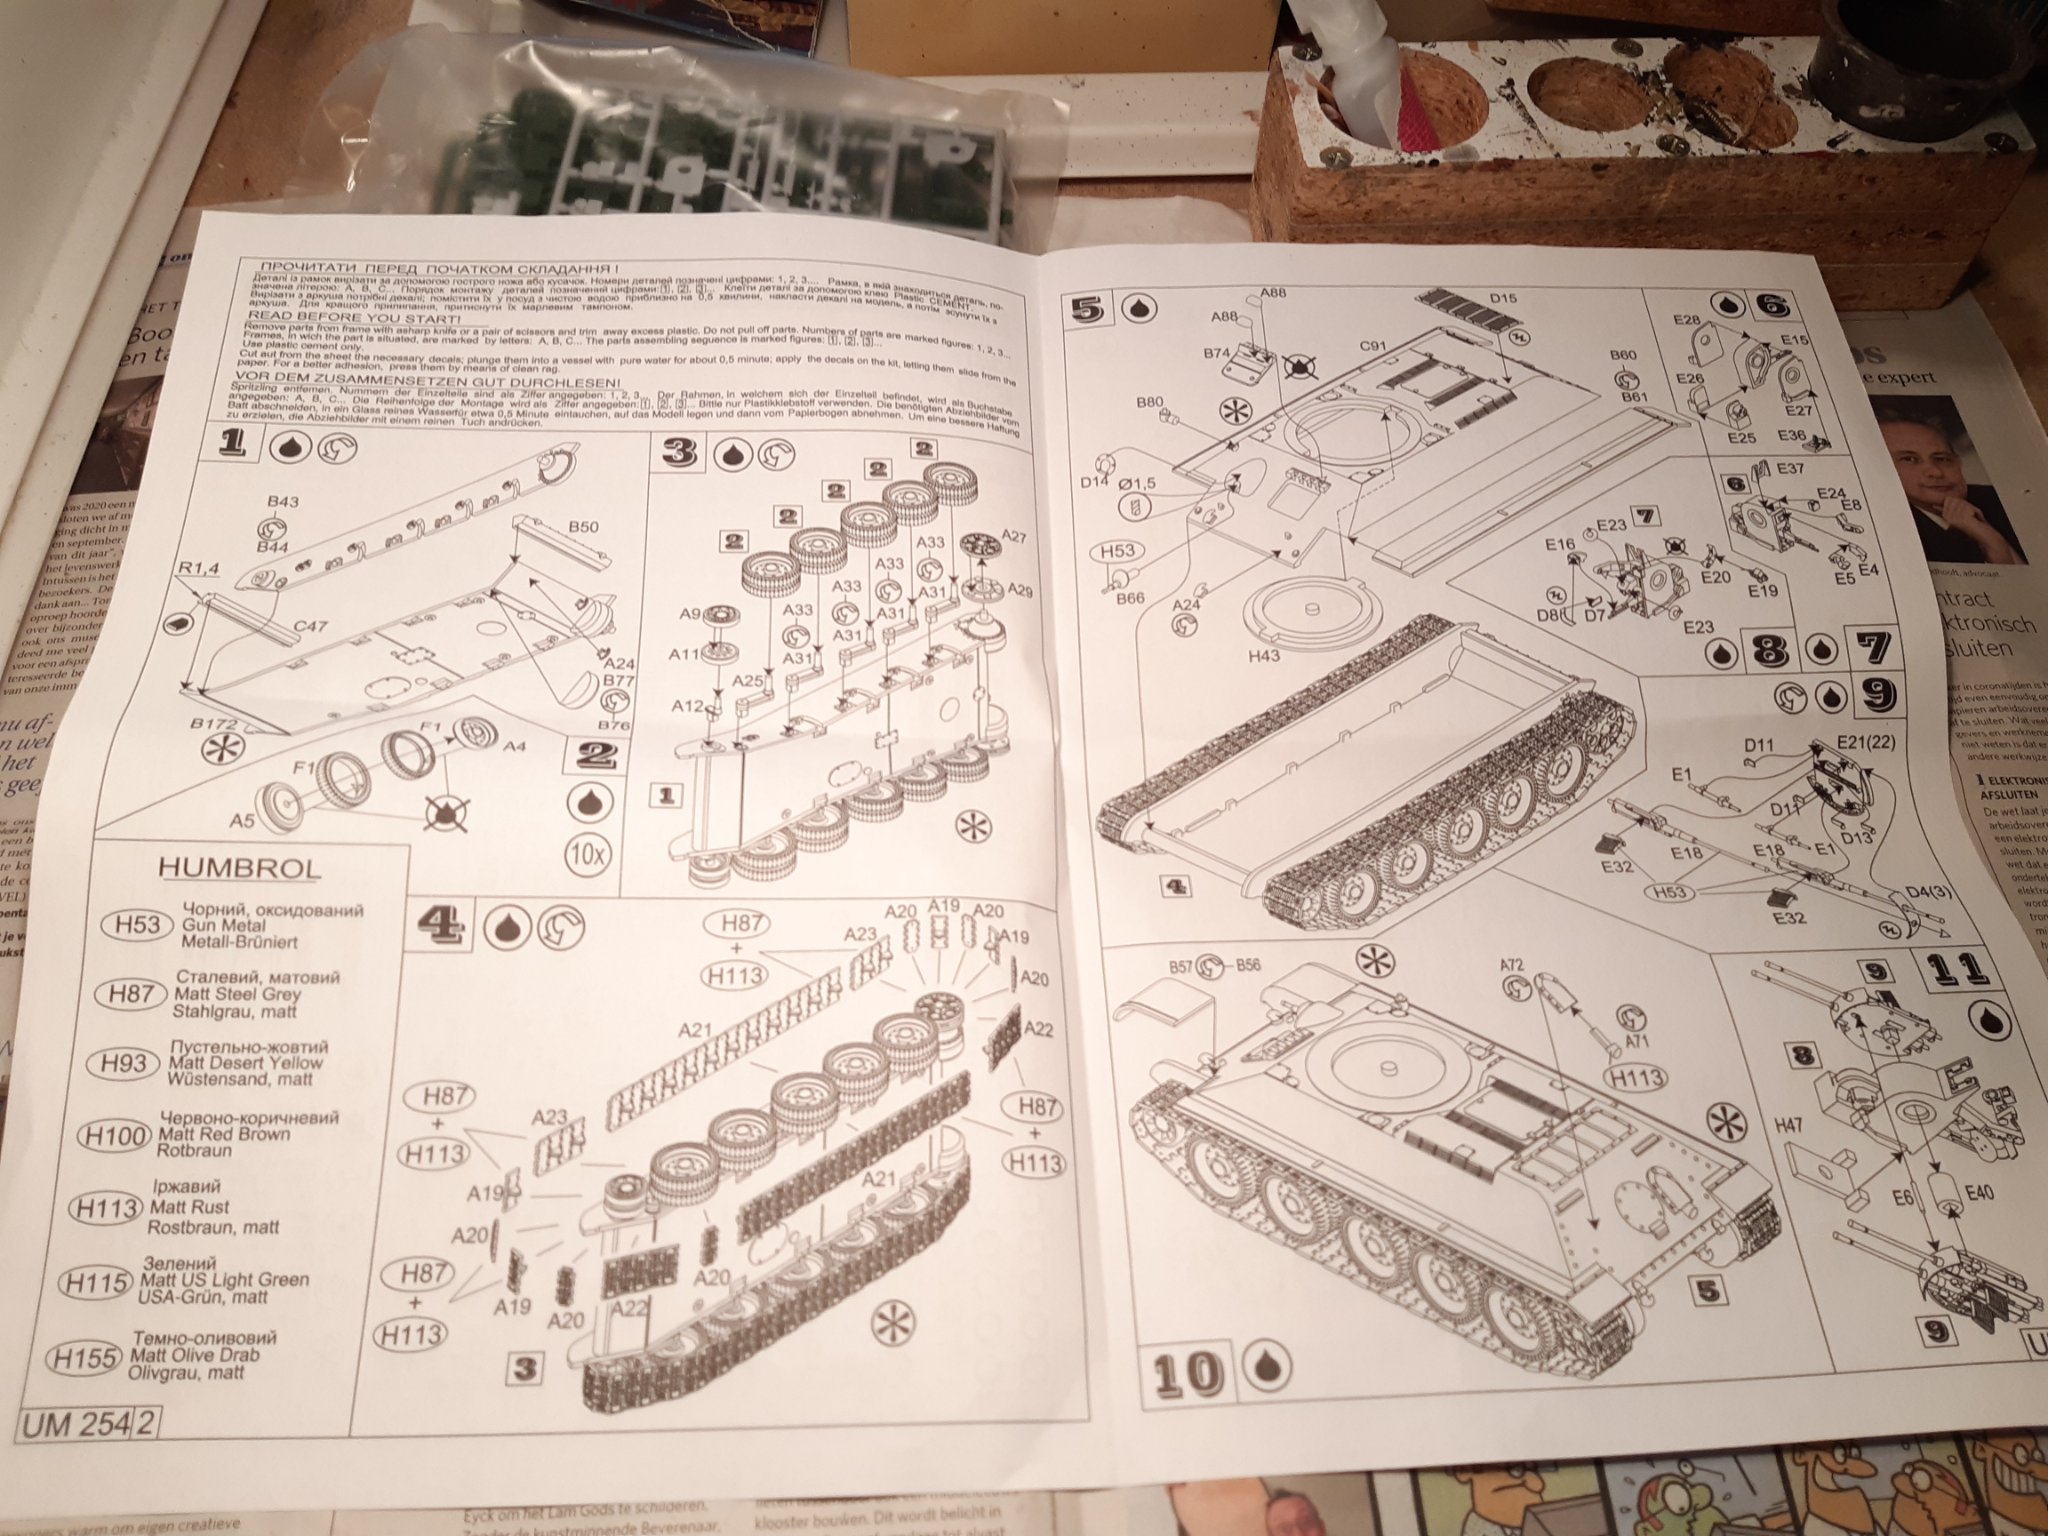
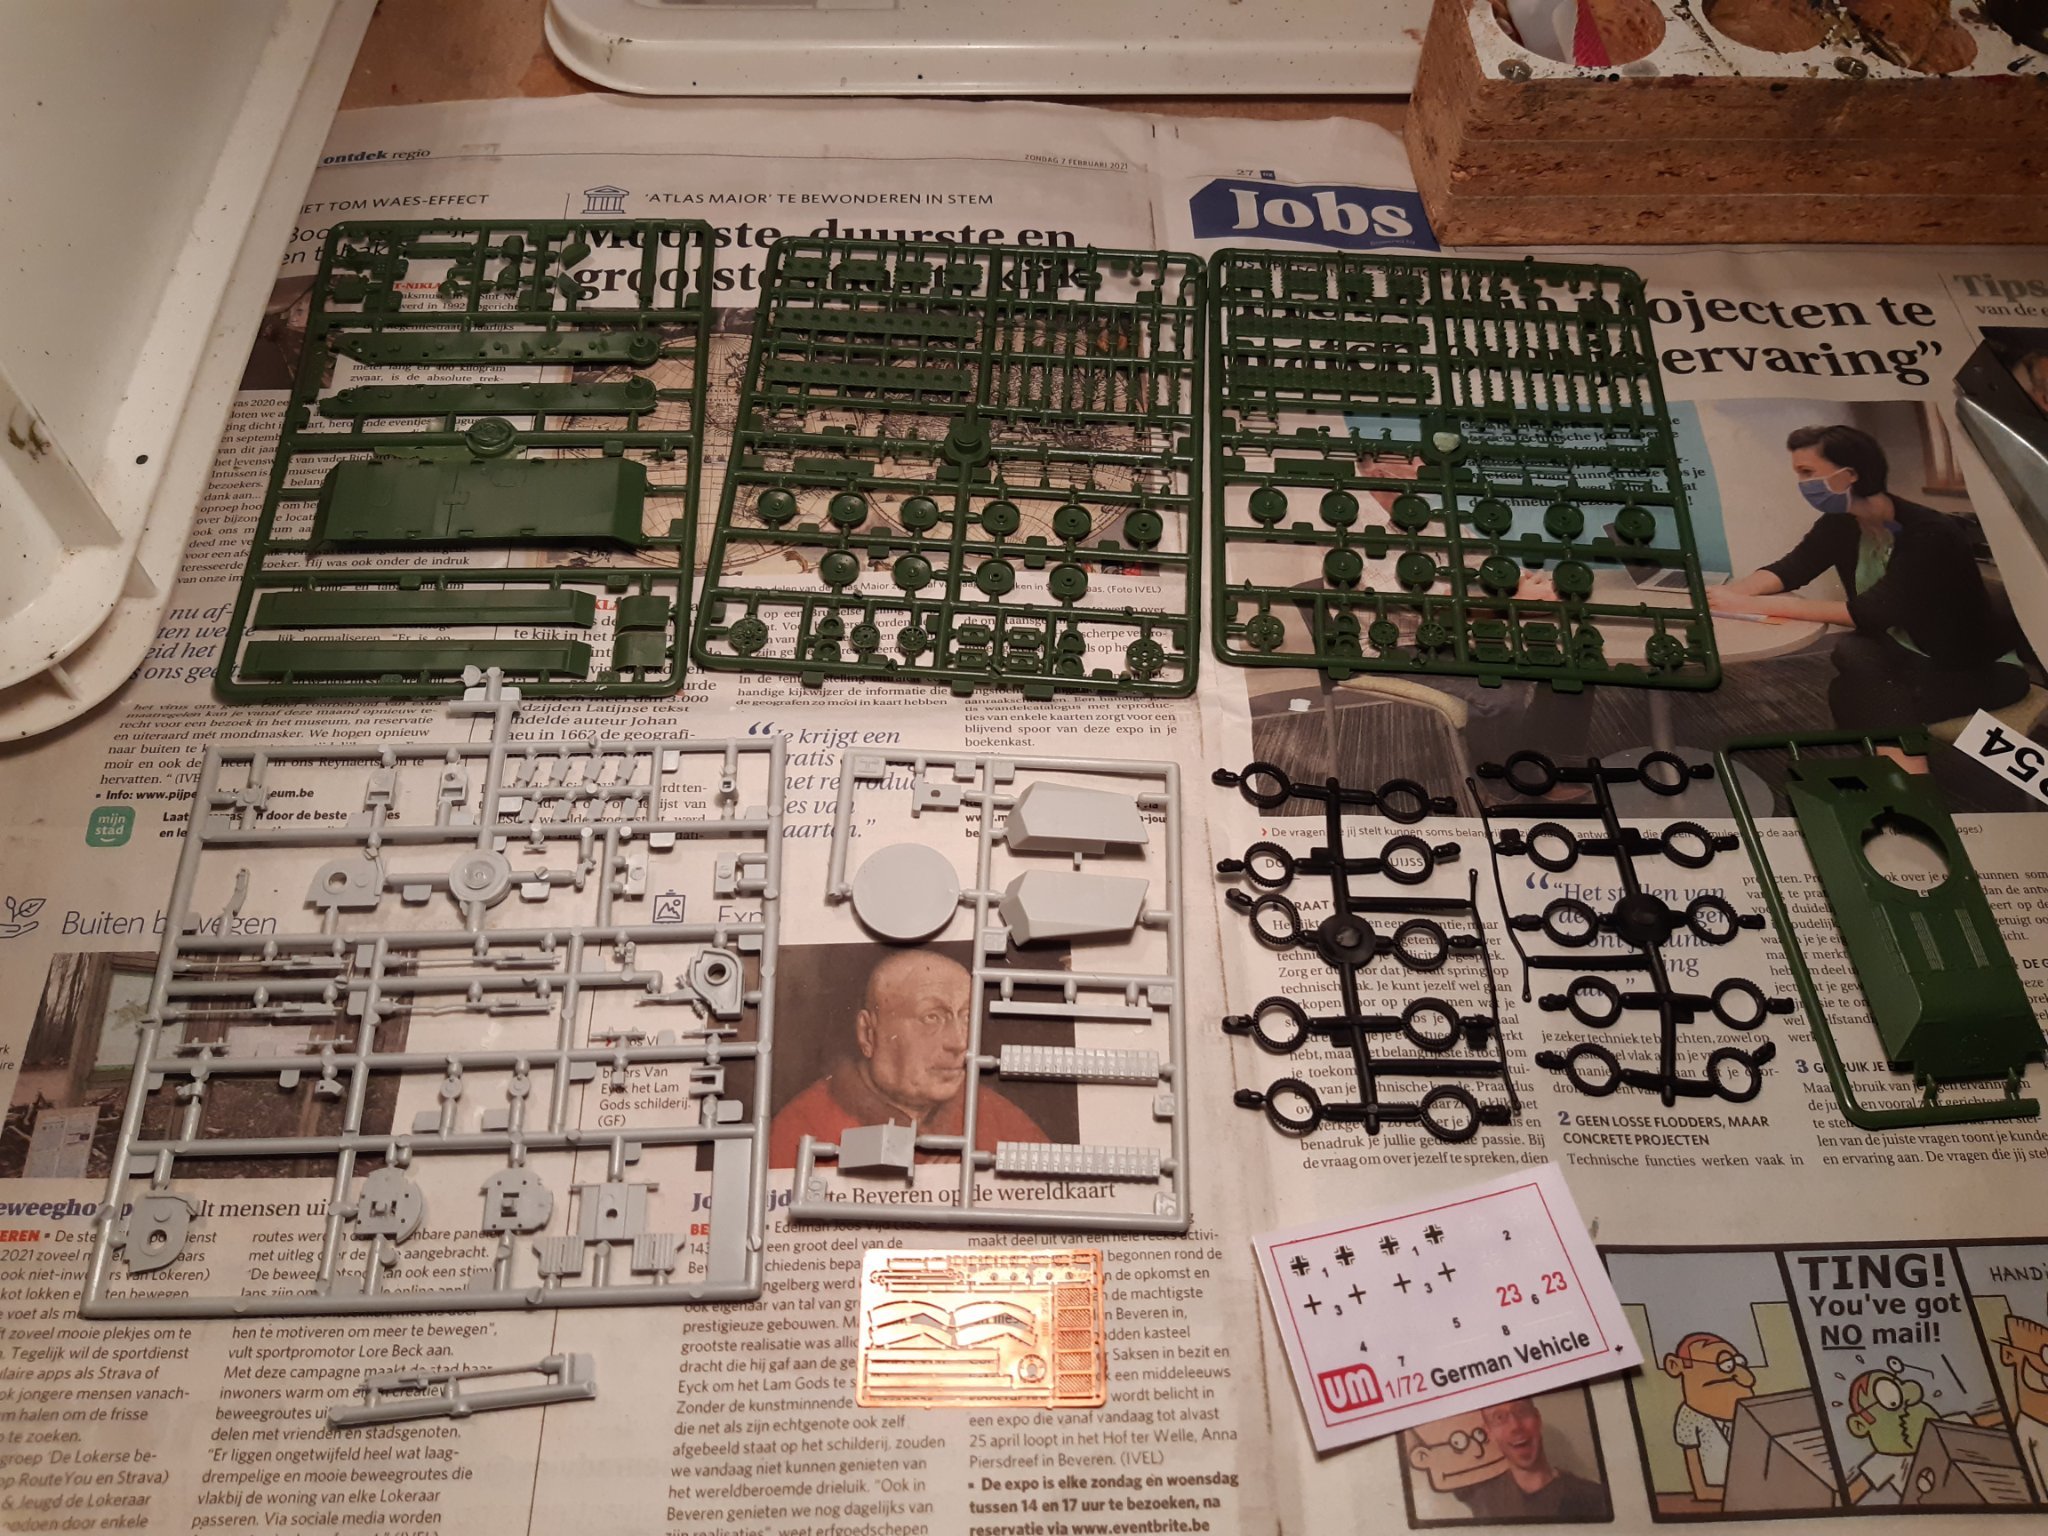
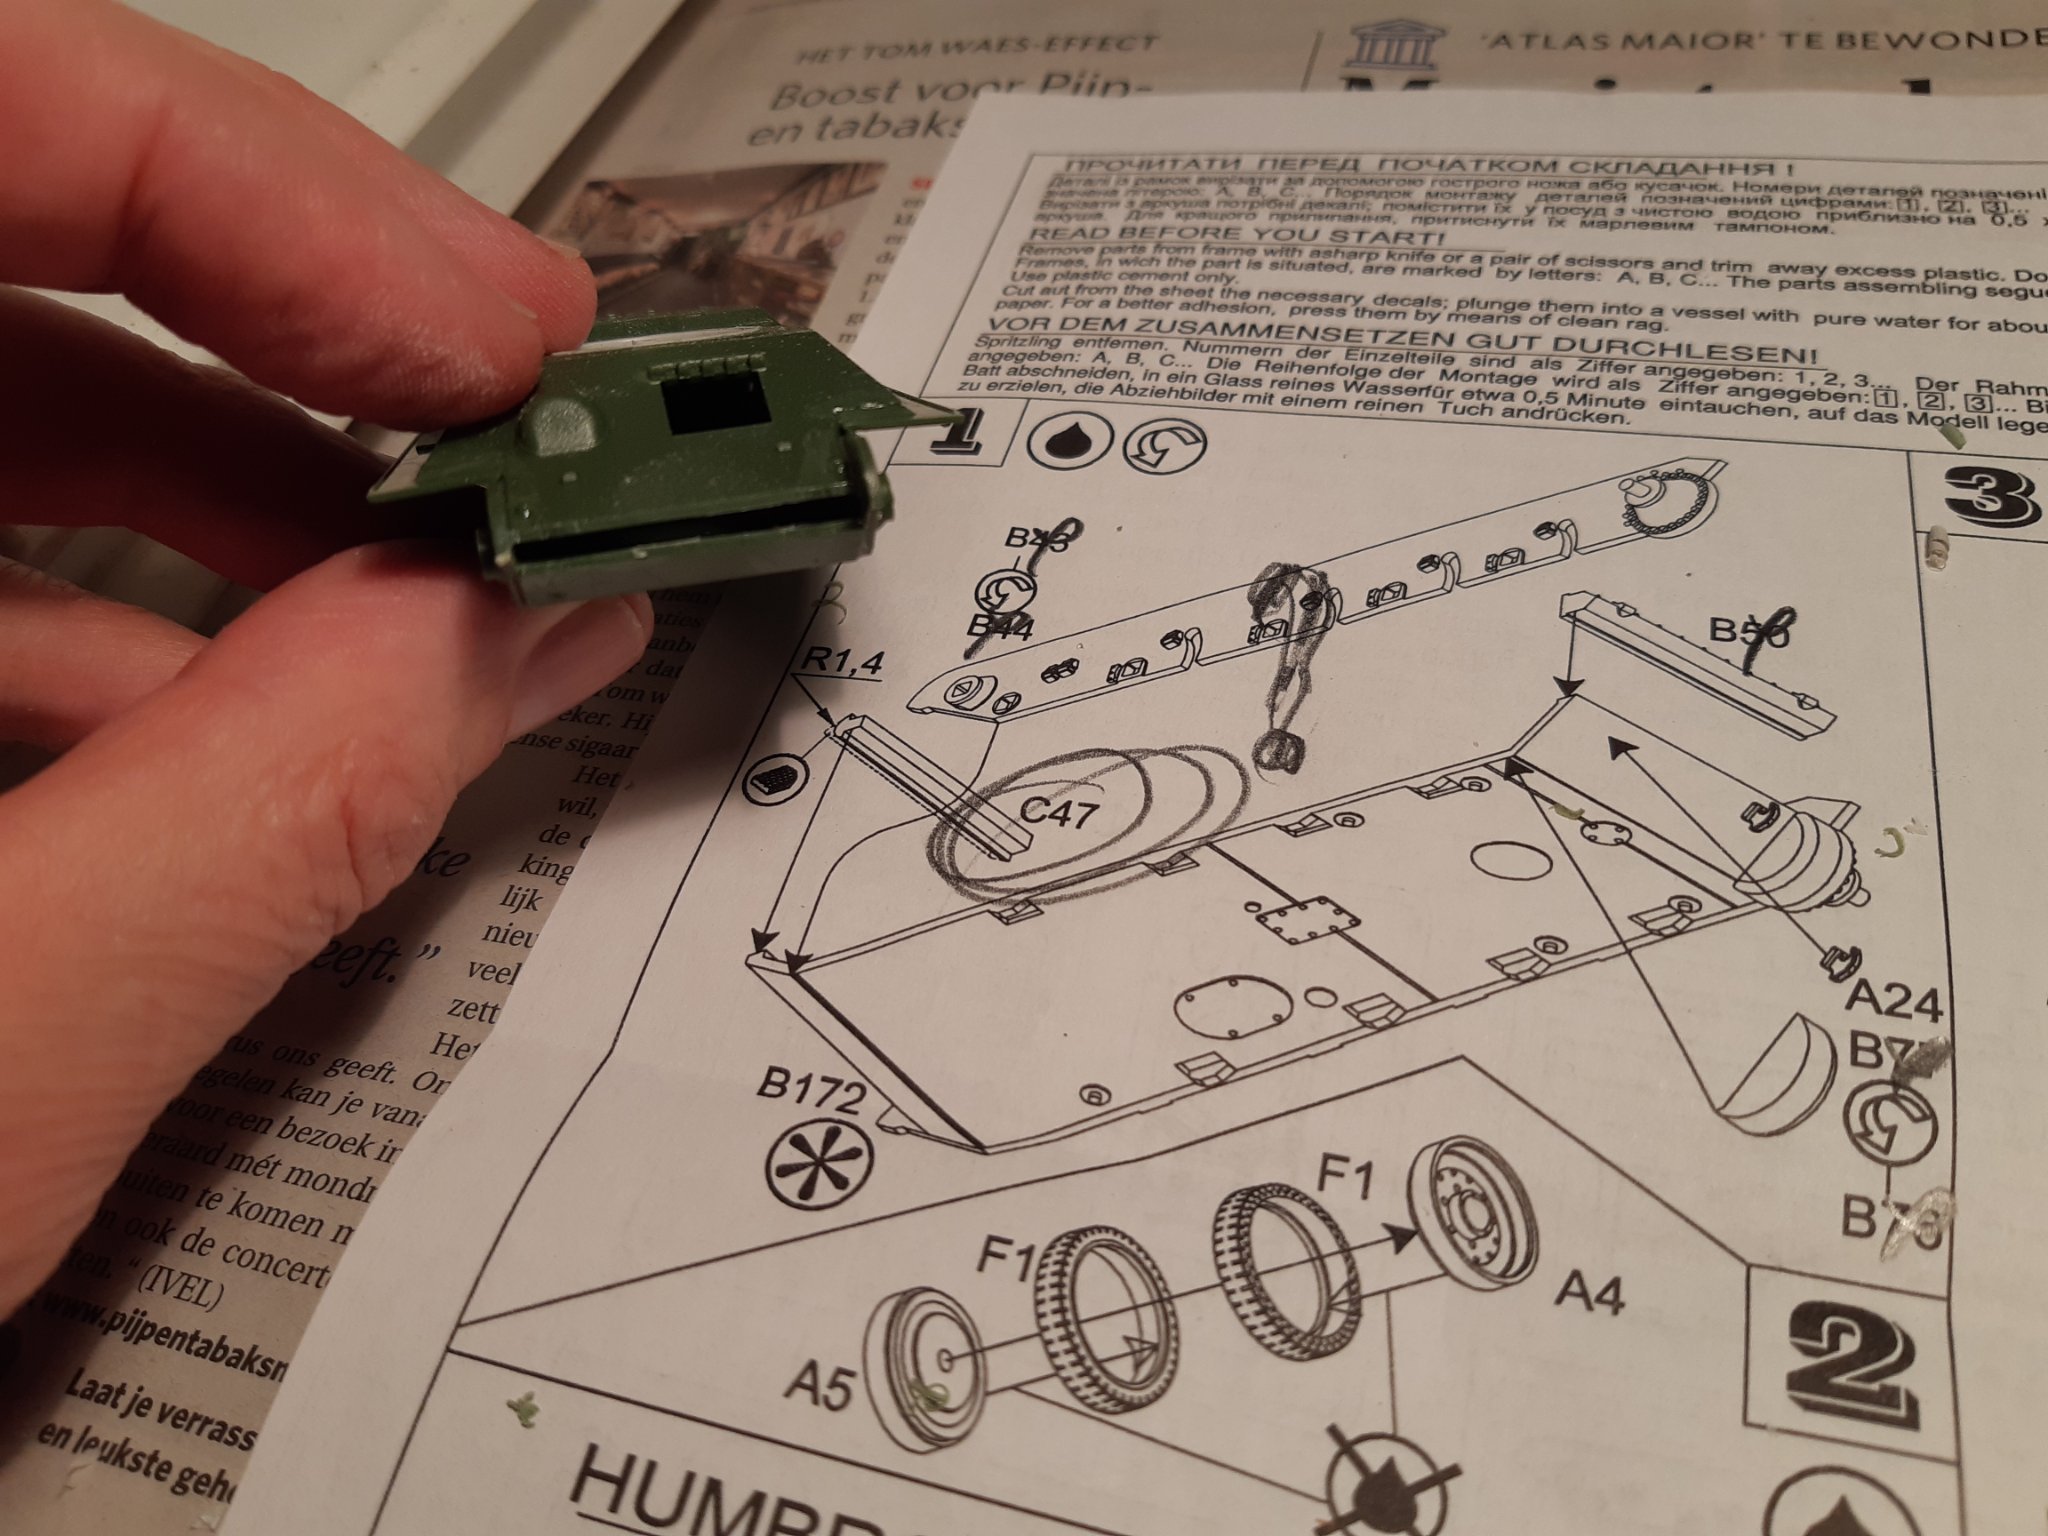
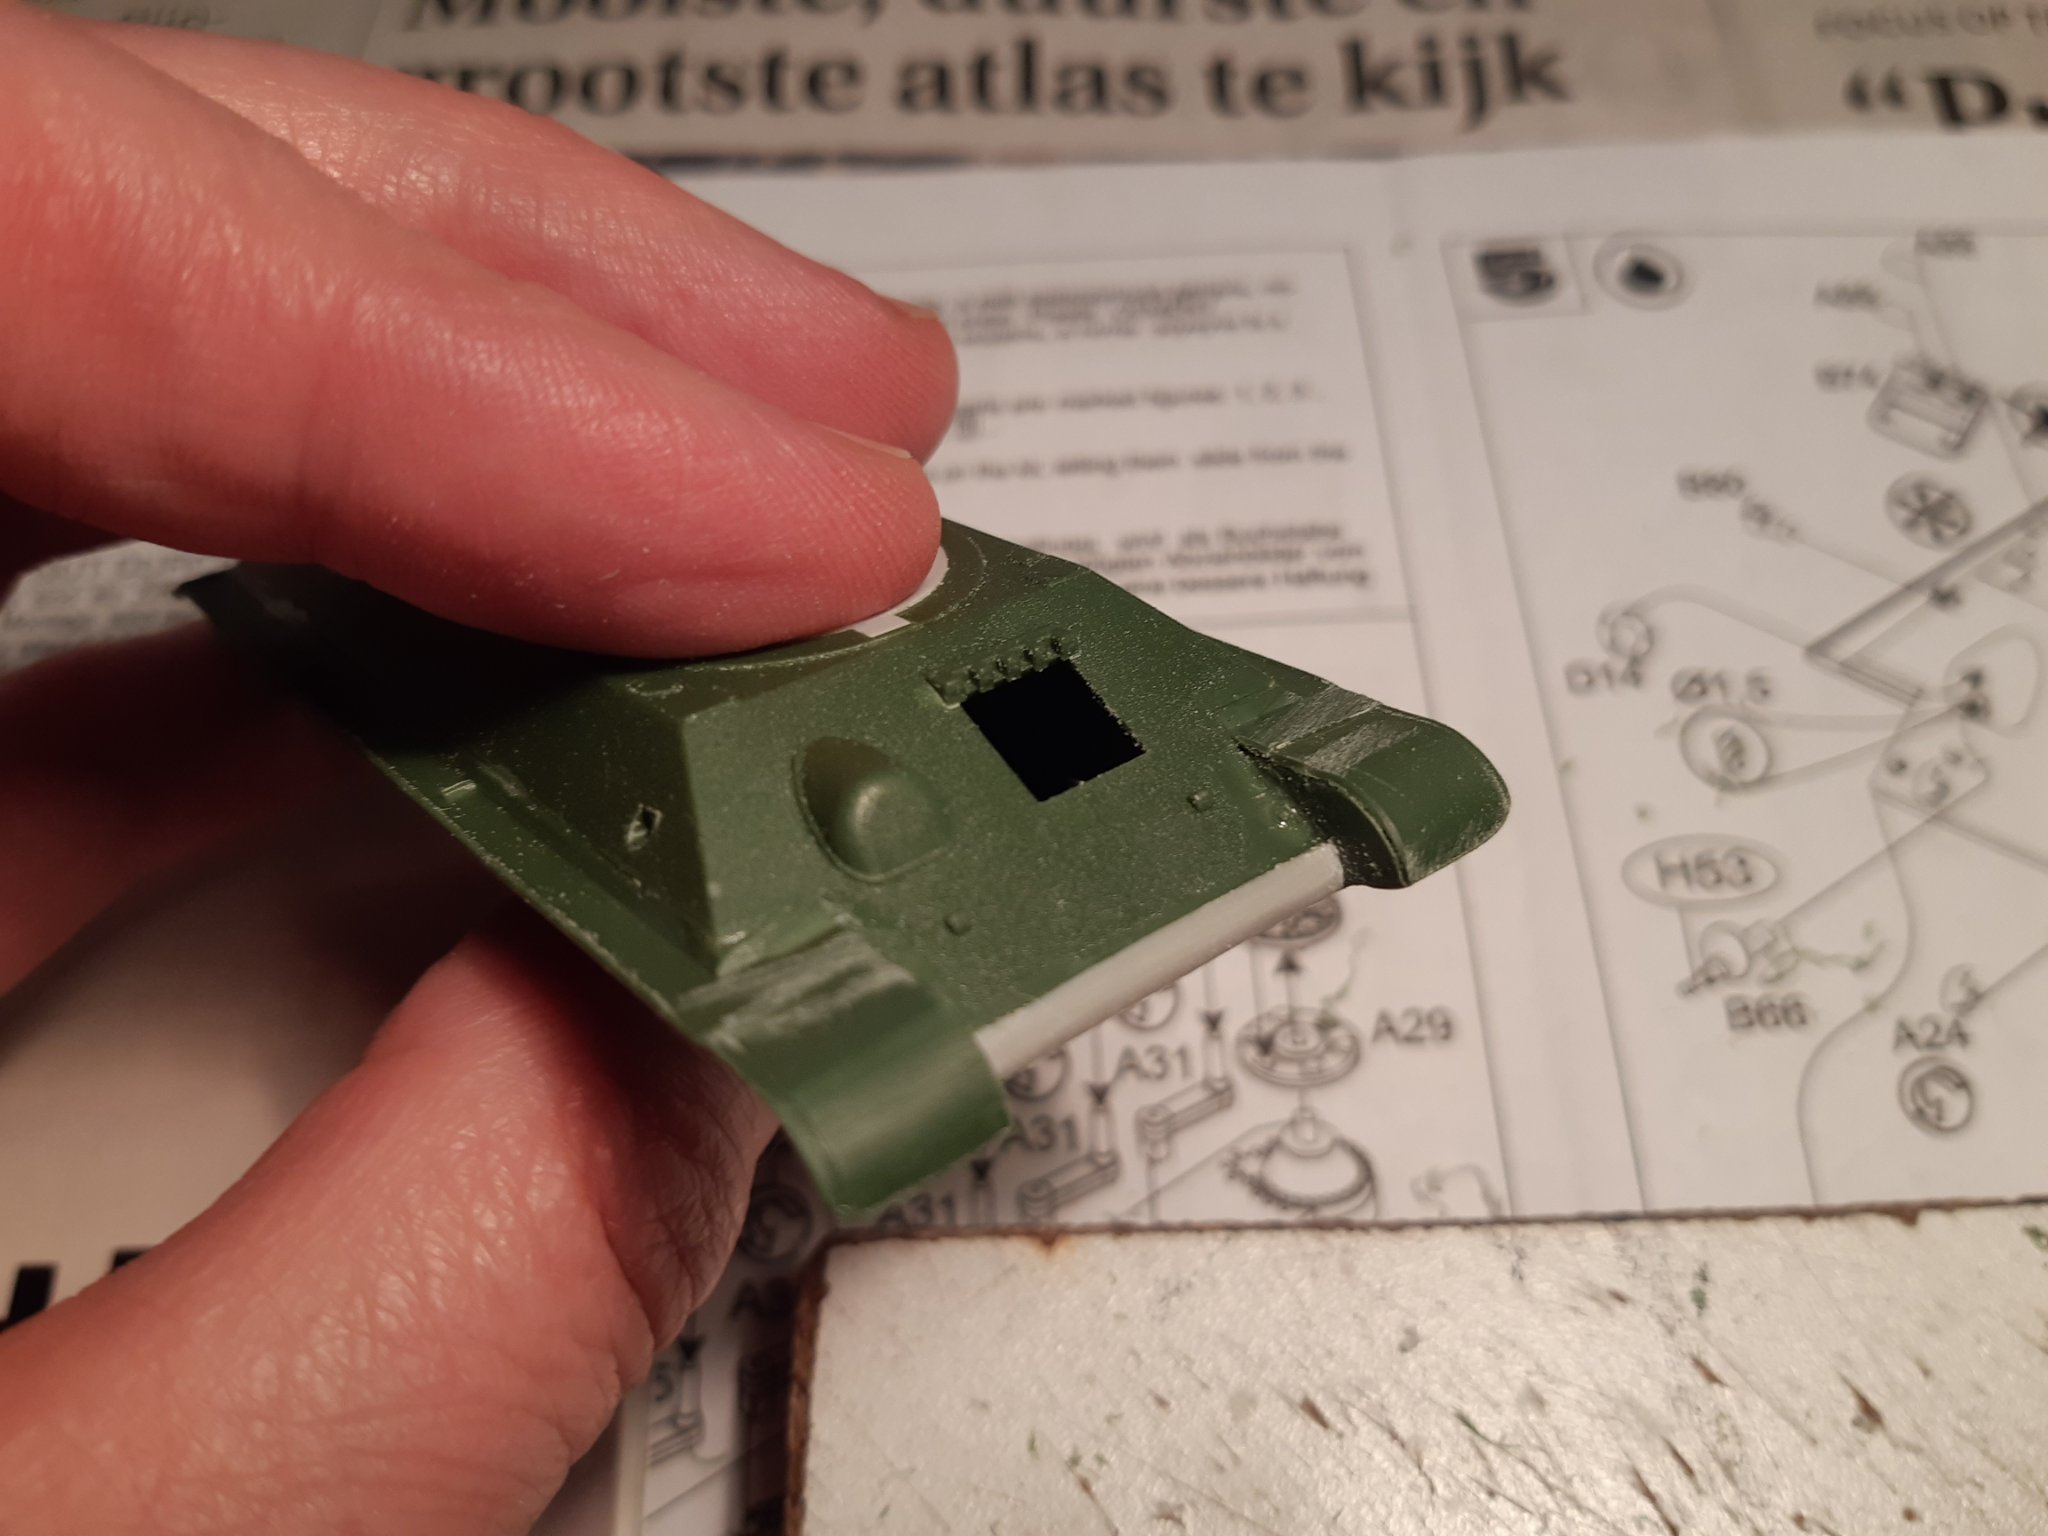
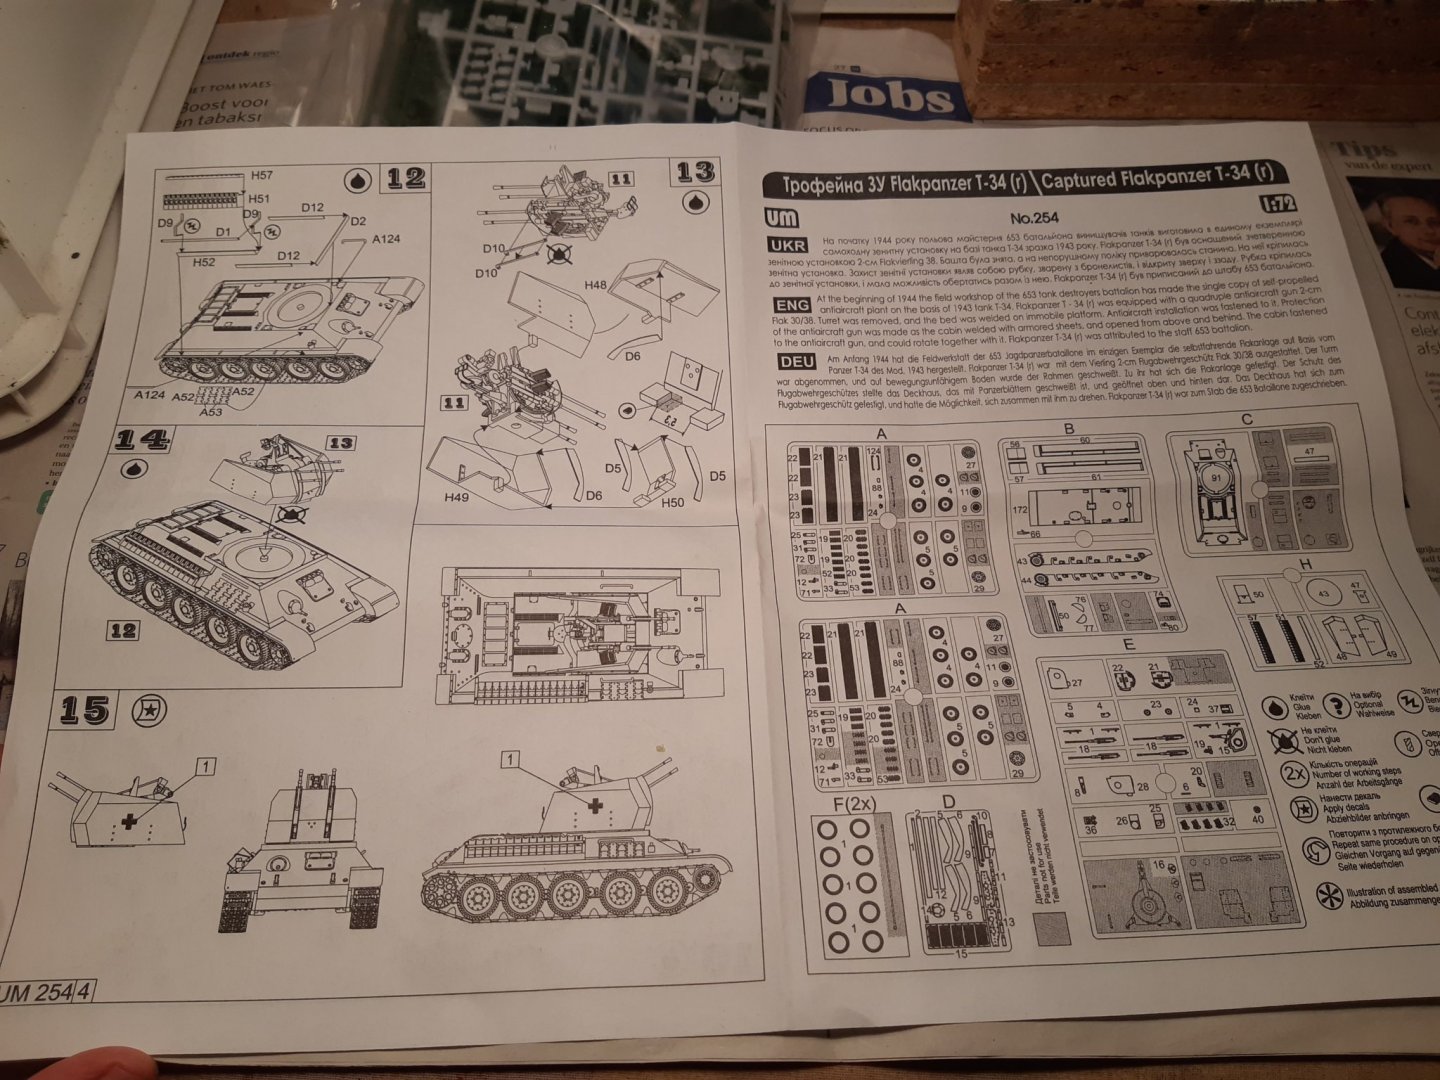
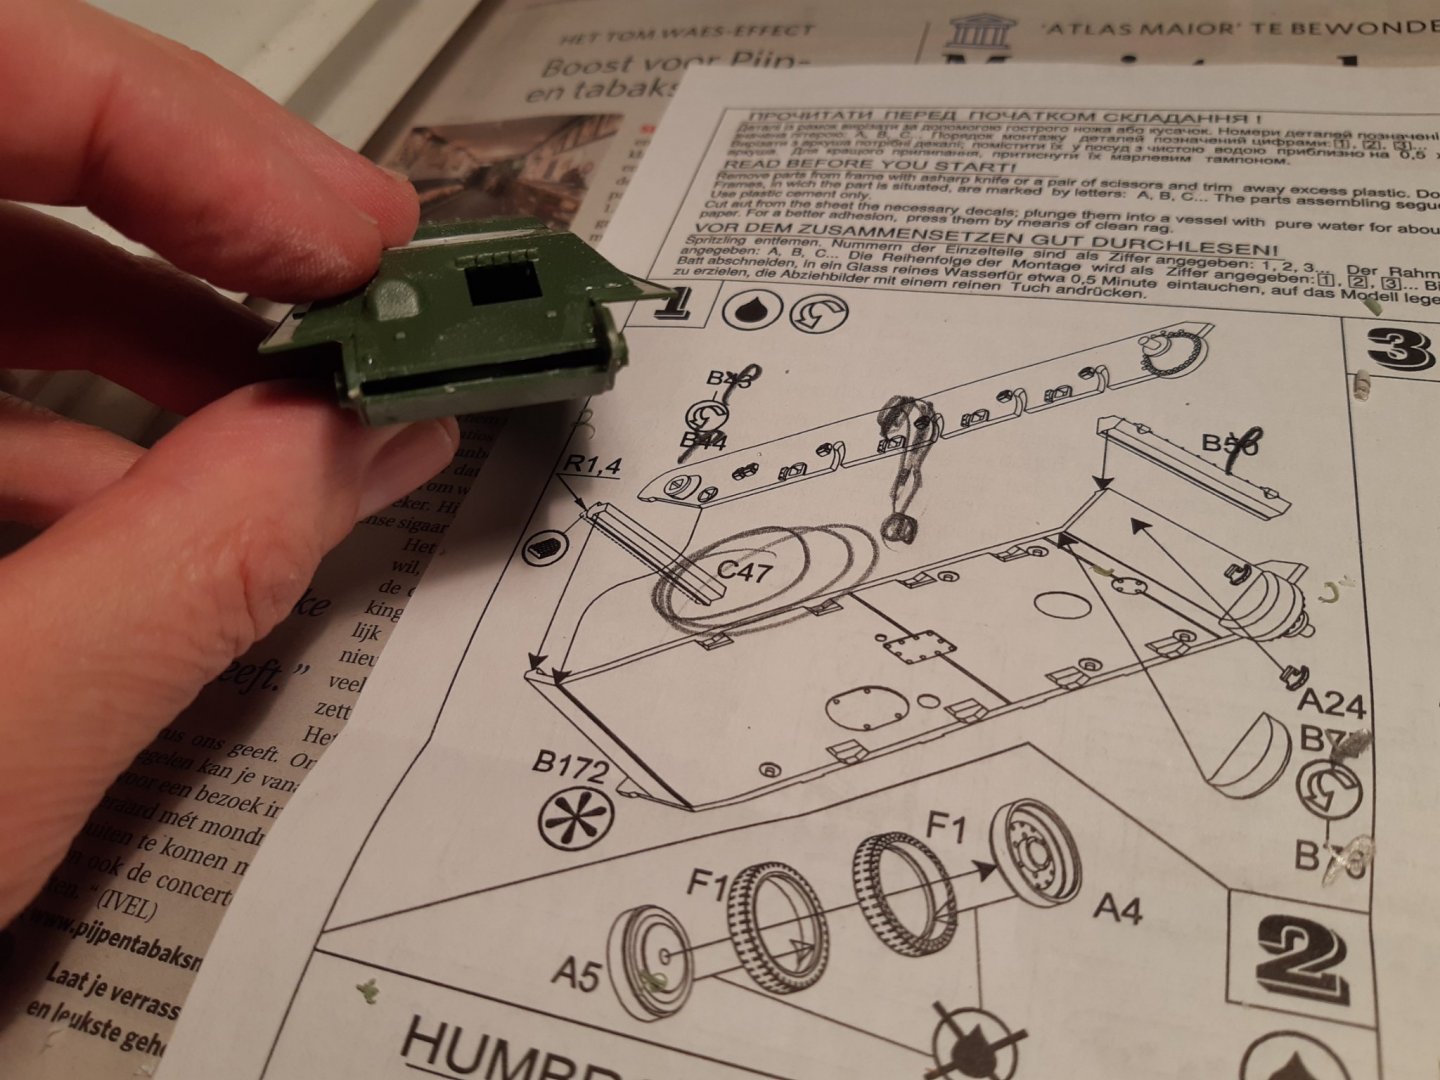
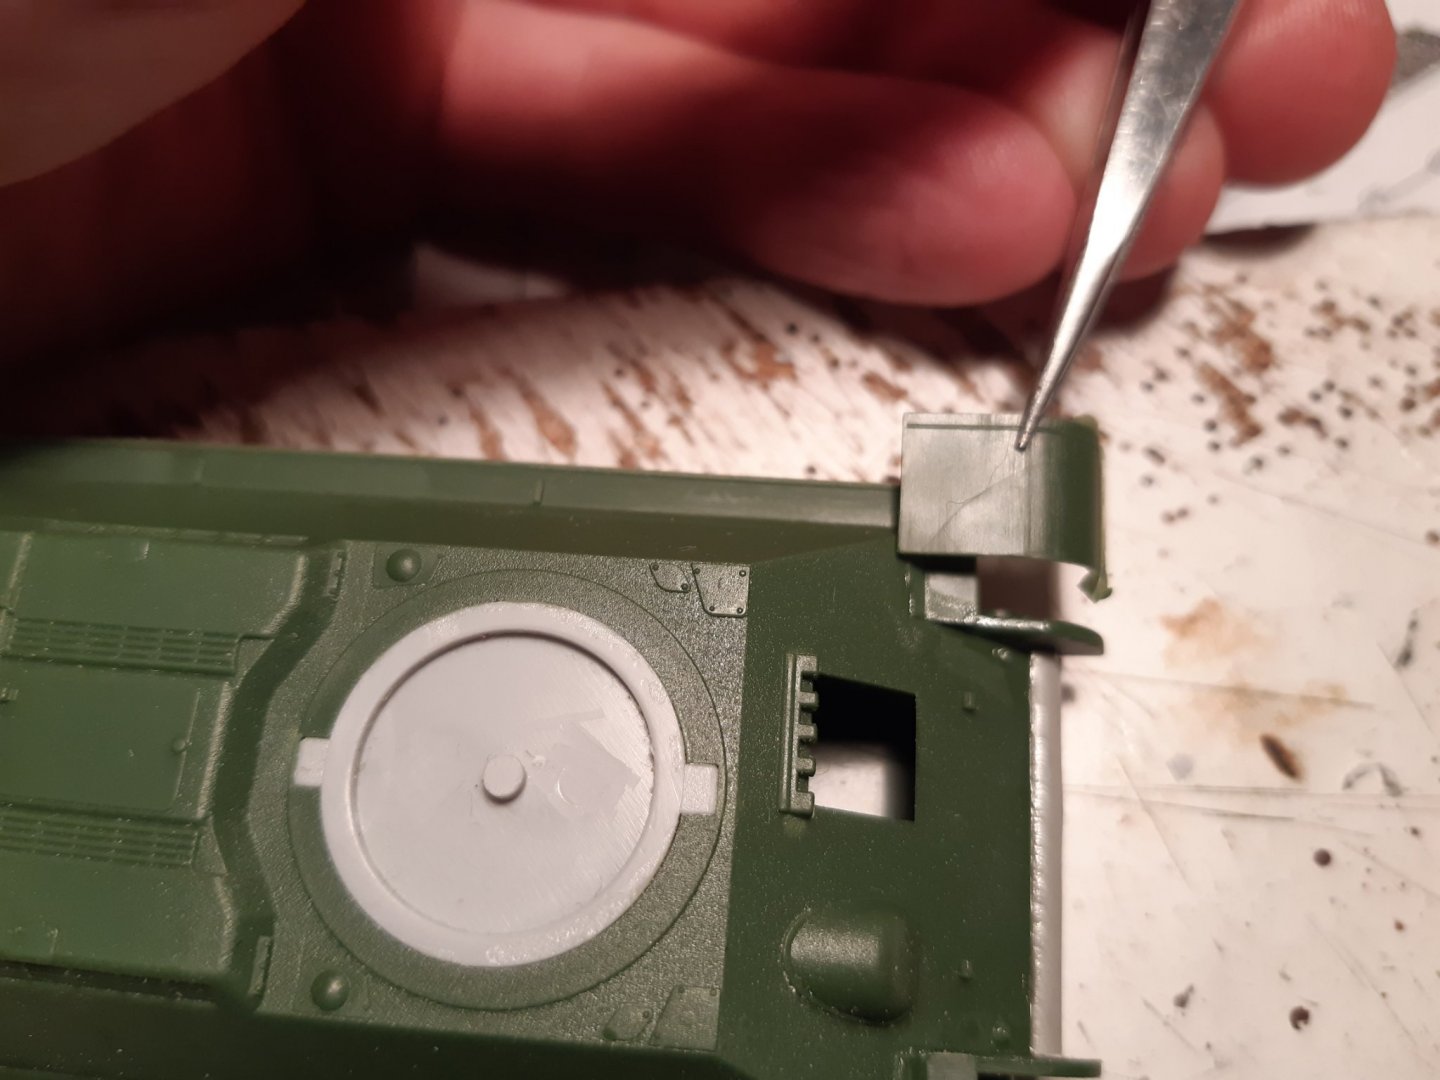
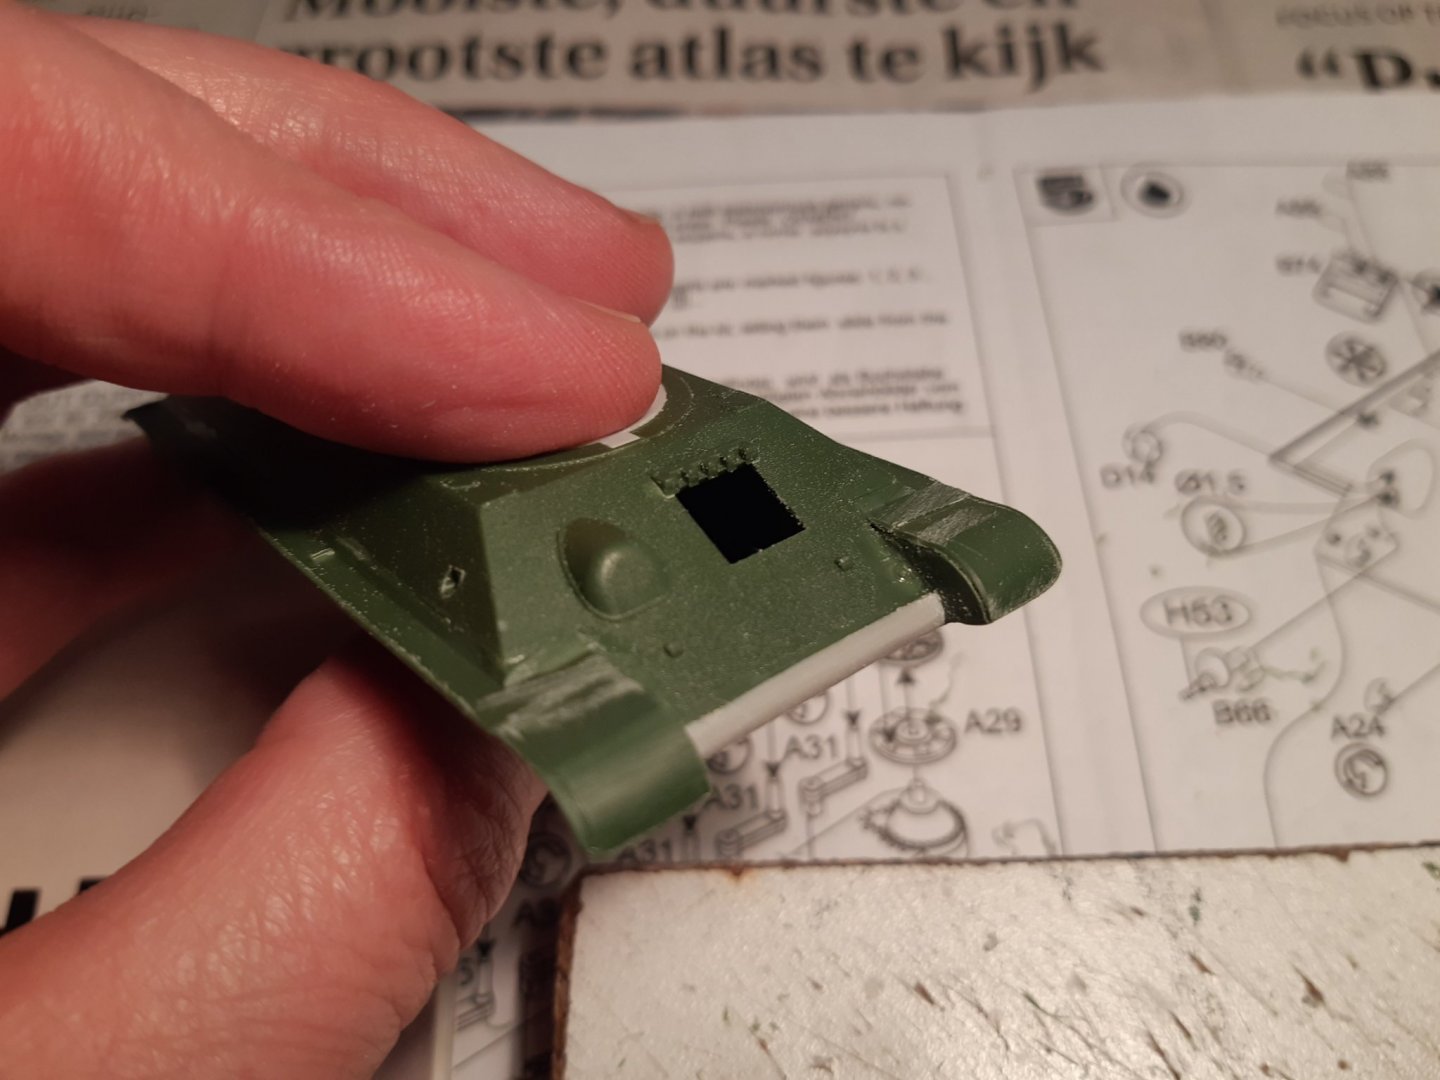
Welcome to the build of this unique T34. This was not a standard conversion but a "in the field conversion" of a German unit. The 34 https://en.wikipedia.org/wiki/T-34 The 2cm Flak https://en.wikipedia.org/wiki/2_cm_Flak_30,_Flak_38_and_Flakvierling_38 brief history https://forum.axishistory.com/viewtopic.php?t=8225 UM is a company from Ukraine, these kits have usually good details and are easy to build https://henk.fox3000.com/um.htm (link to the website from Henk of Holland) The box Plans Parts Rubber tires on tankwheels, very unusual Building the chassis. And for the first time problems with a UM kit. Where is part C47?? And... the fenders are too long Problems solved (a piece of sprue is a new part C47 and the fenders shortened) drill out the exhausts Chassis and wheels ready ( needs some more sanding here and there)


- 18 replies
-
- 12
-
-
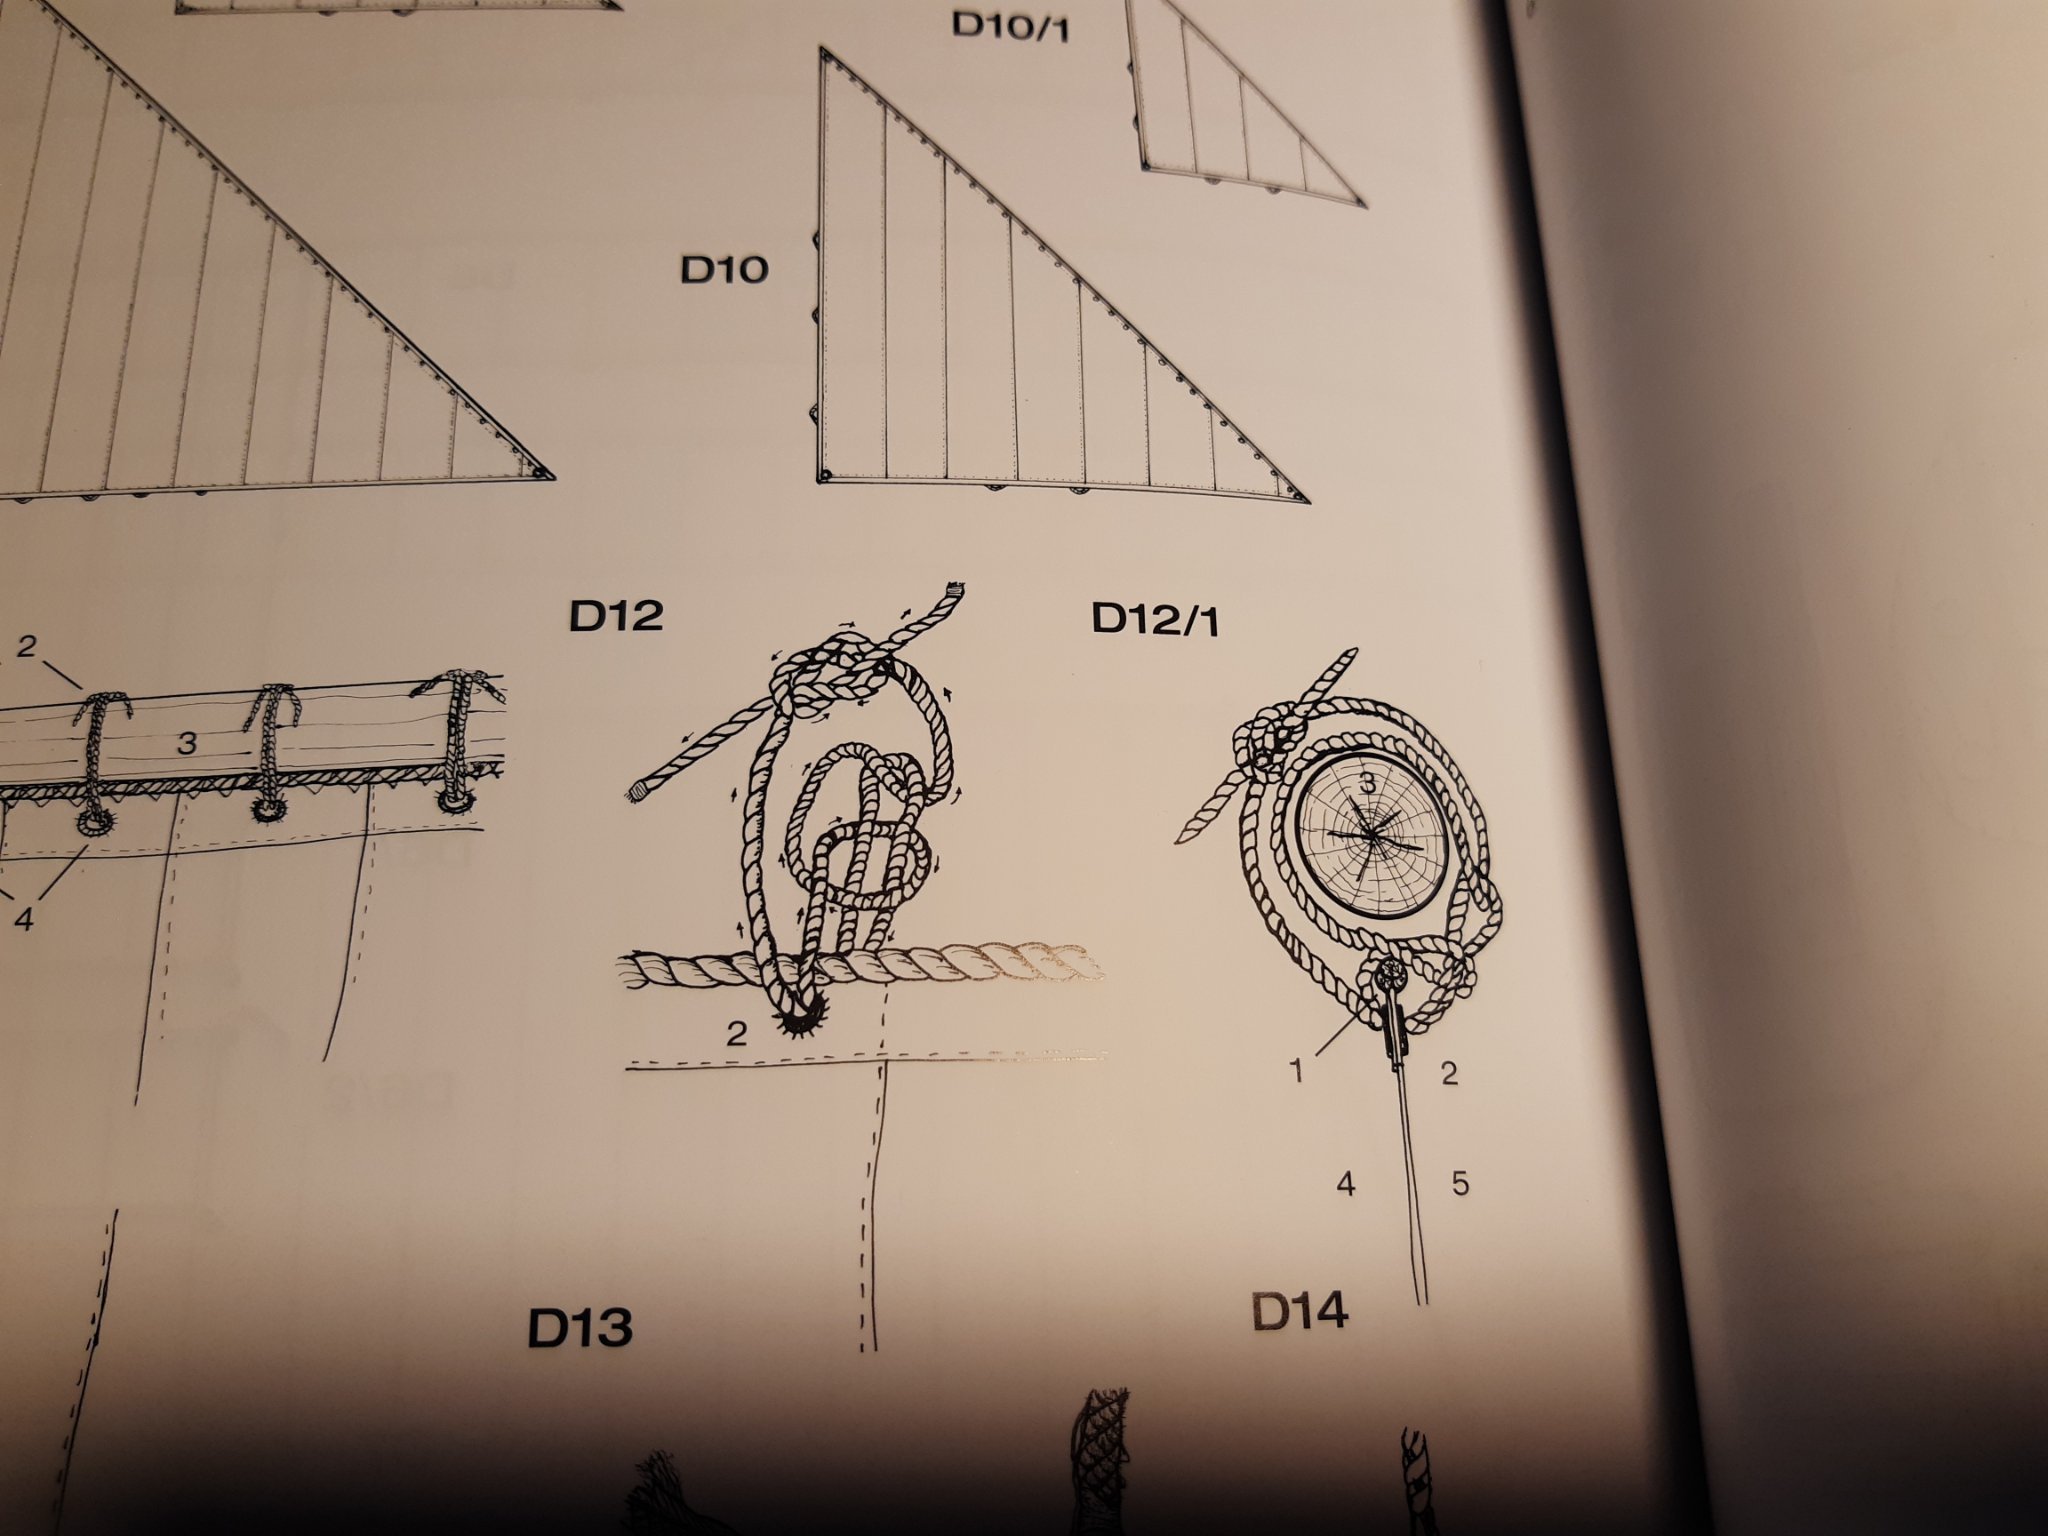
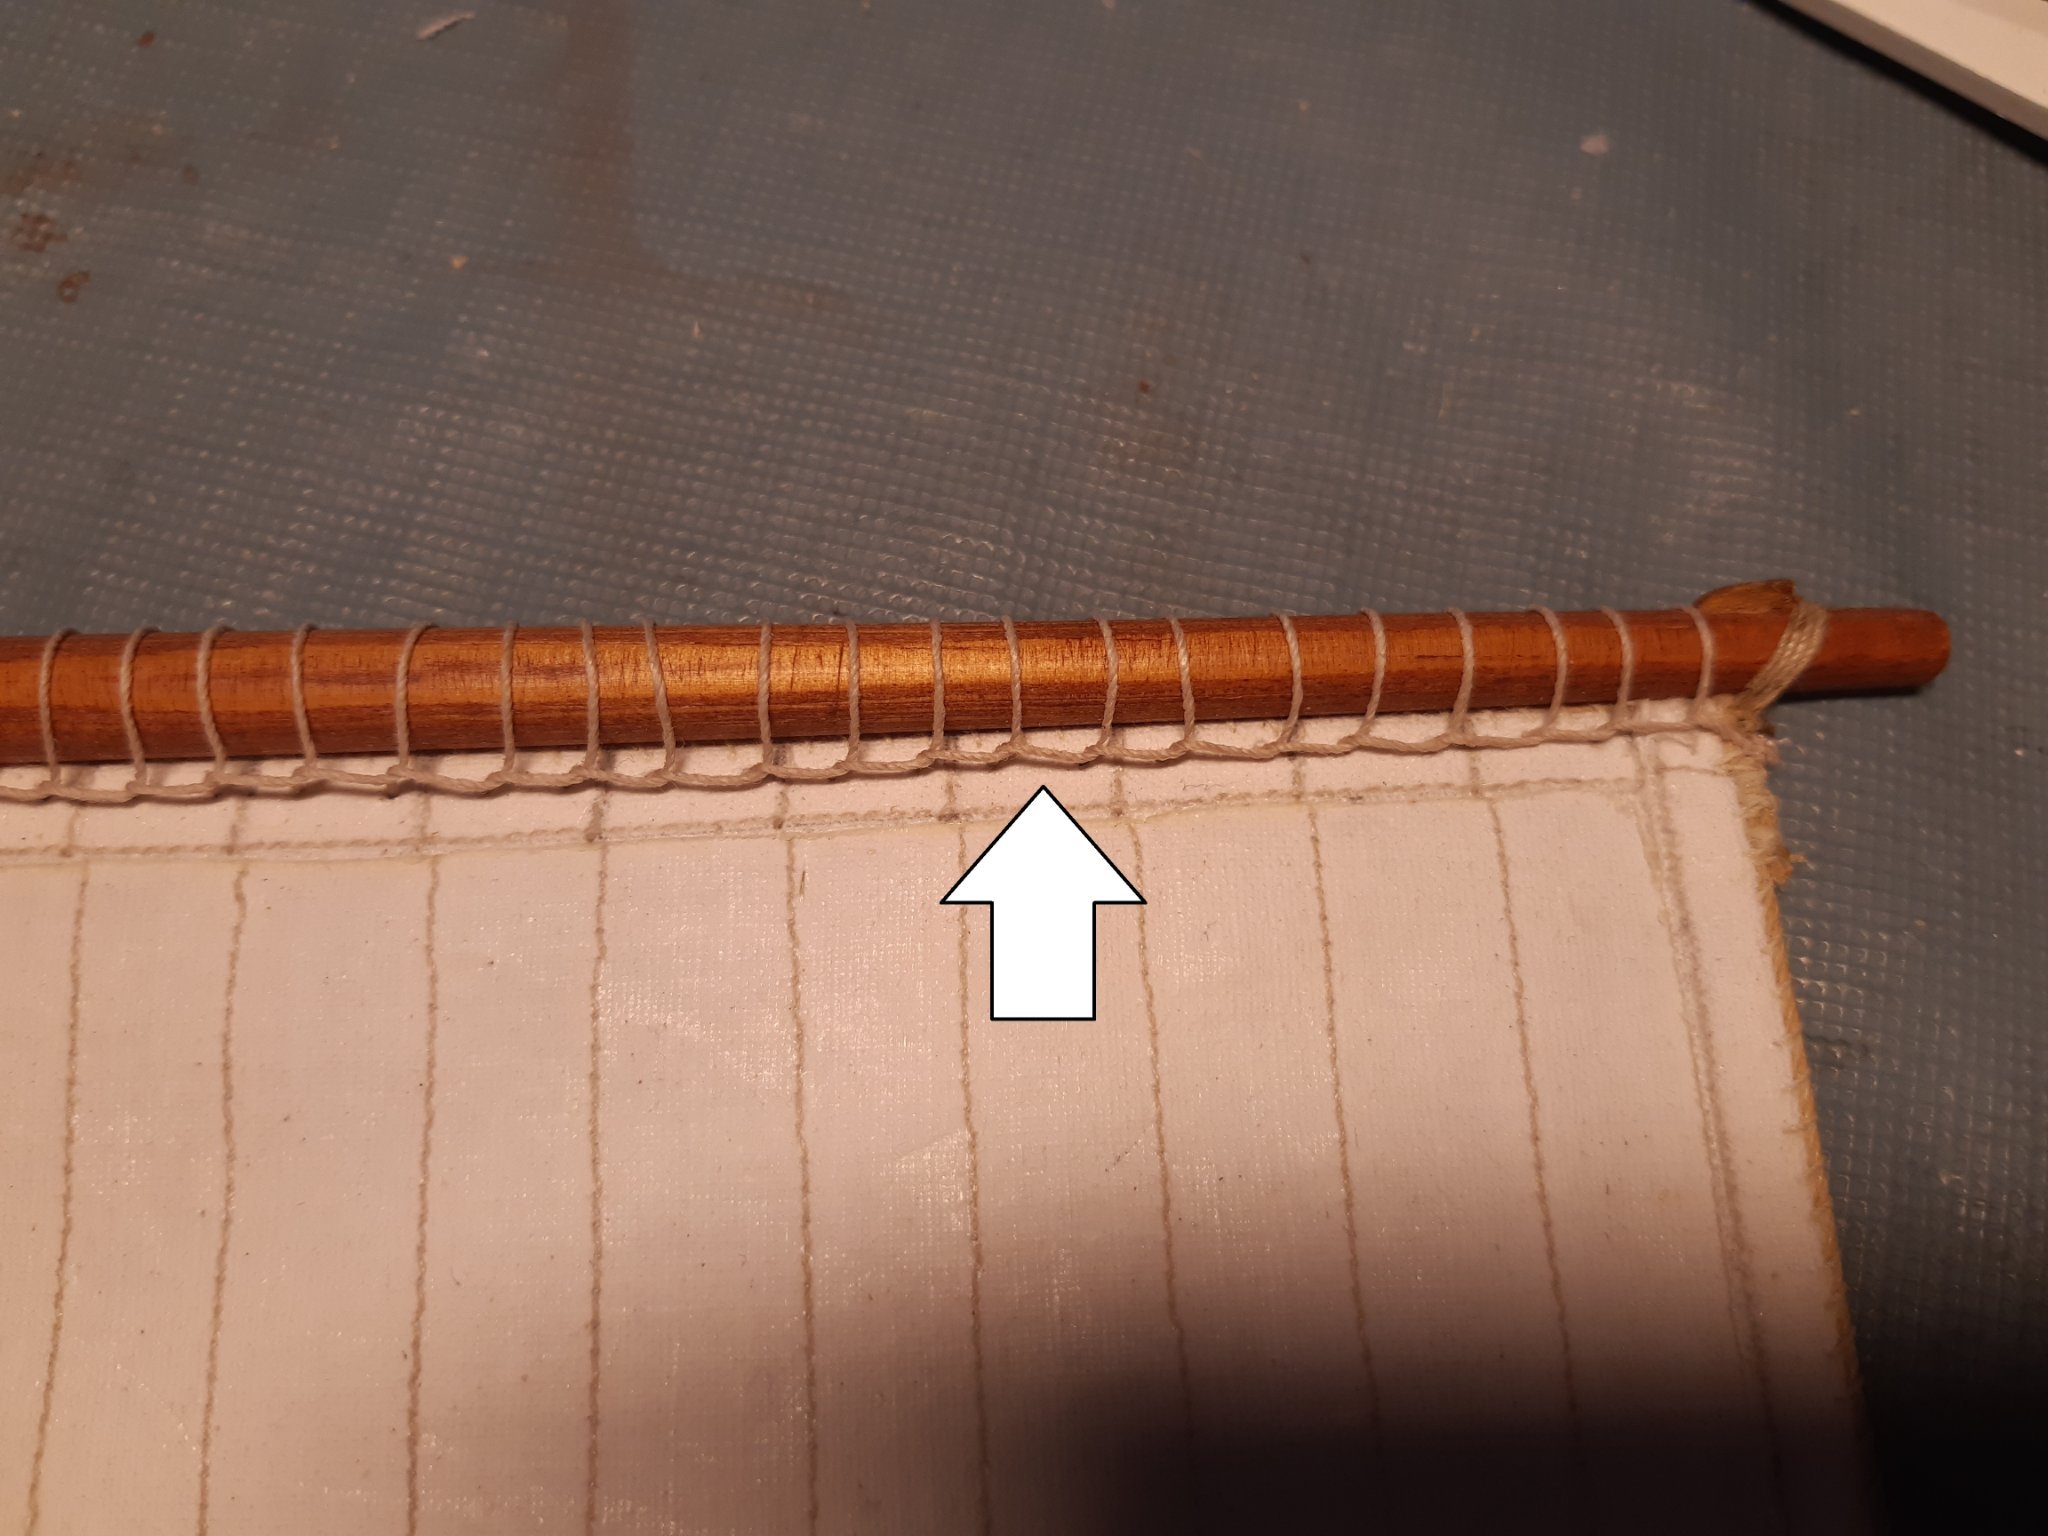
After viewing several build logs I tied my sails to the yards this way. (on a English galleon 2nd half of the 16th century) I recently bought the book "Tudor warship Mary Rose" ( a carrack 1st half 16th century) and there is this method D12 and D12/1 Yes , a carrack is not a galleon, and there is little information available about this era. My question: Is the method I used acceptable or is it from a later period?