Baker
-
Posts
4,294 -
Joined
-
Last visited
Content Type
Profiles
Forums
Gallery
Events
Everything posted by Baker
-
-

Golden Hind by BobL - OcCre - 1:85
Baker replied to BobL's topic in - Kit build logs for subjects built from 1501 - 1750
Deck planking in the 16th century (rules?? There are no rules) Post 274 Short reply sorry, on holiday ⛱️ -
-
Thanks the commentaar. Backer is now on vacation. plenty of time to study about sails and sail making.
- 756 replies
-
- 7
-

-
- galleon
- golden hind
- (and 2 more)
-
Indeed 🤐
-
Also interesting http://oaktrust.library.tamu.edu/handle/1969.1/2290 THE EVOLUTION OF DECORATIVE WORK ON ENGLISH MEN-OF-WAR FROM THE 16th TO THE 19th CENTURIES Steere-MA2004 versiering.pdf
-
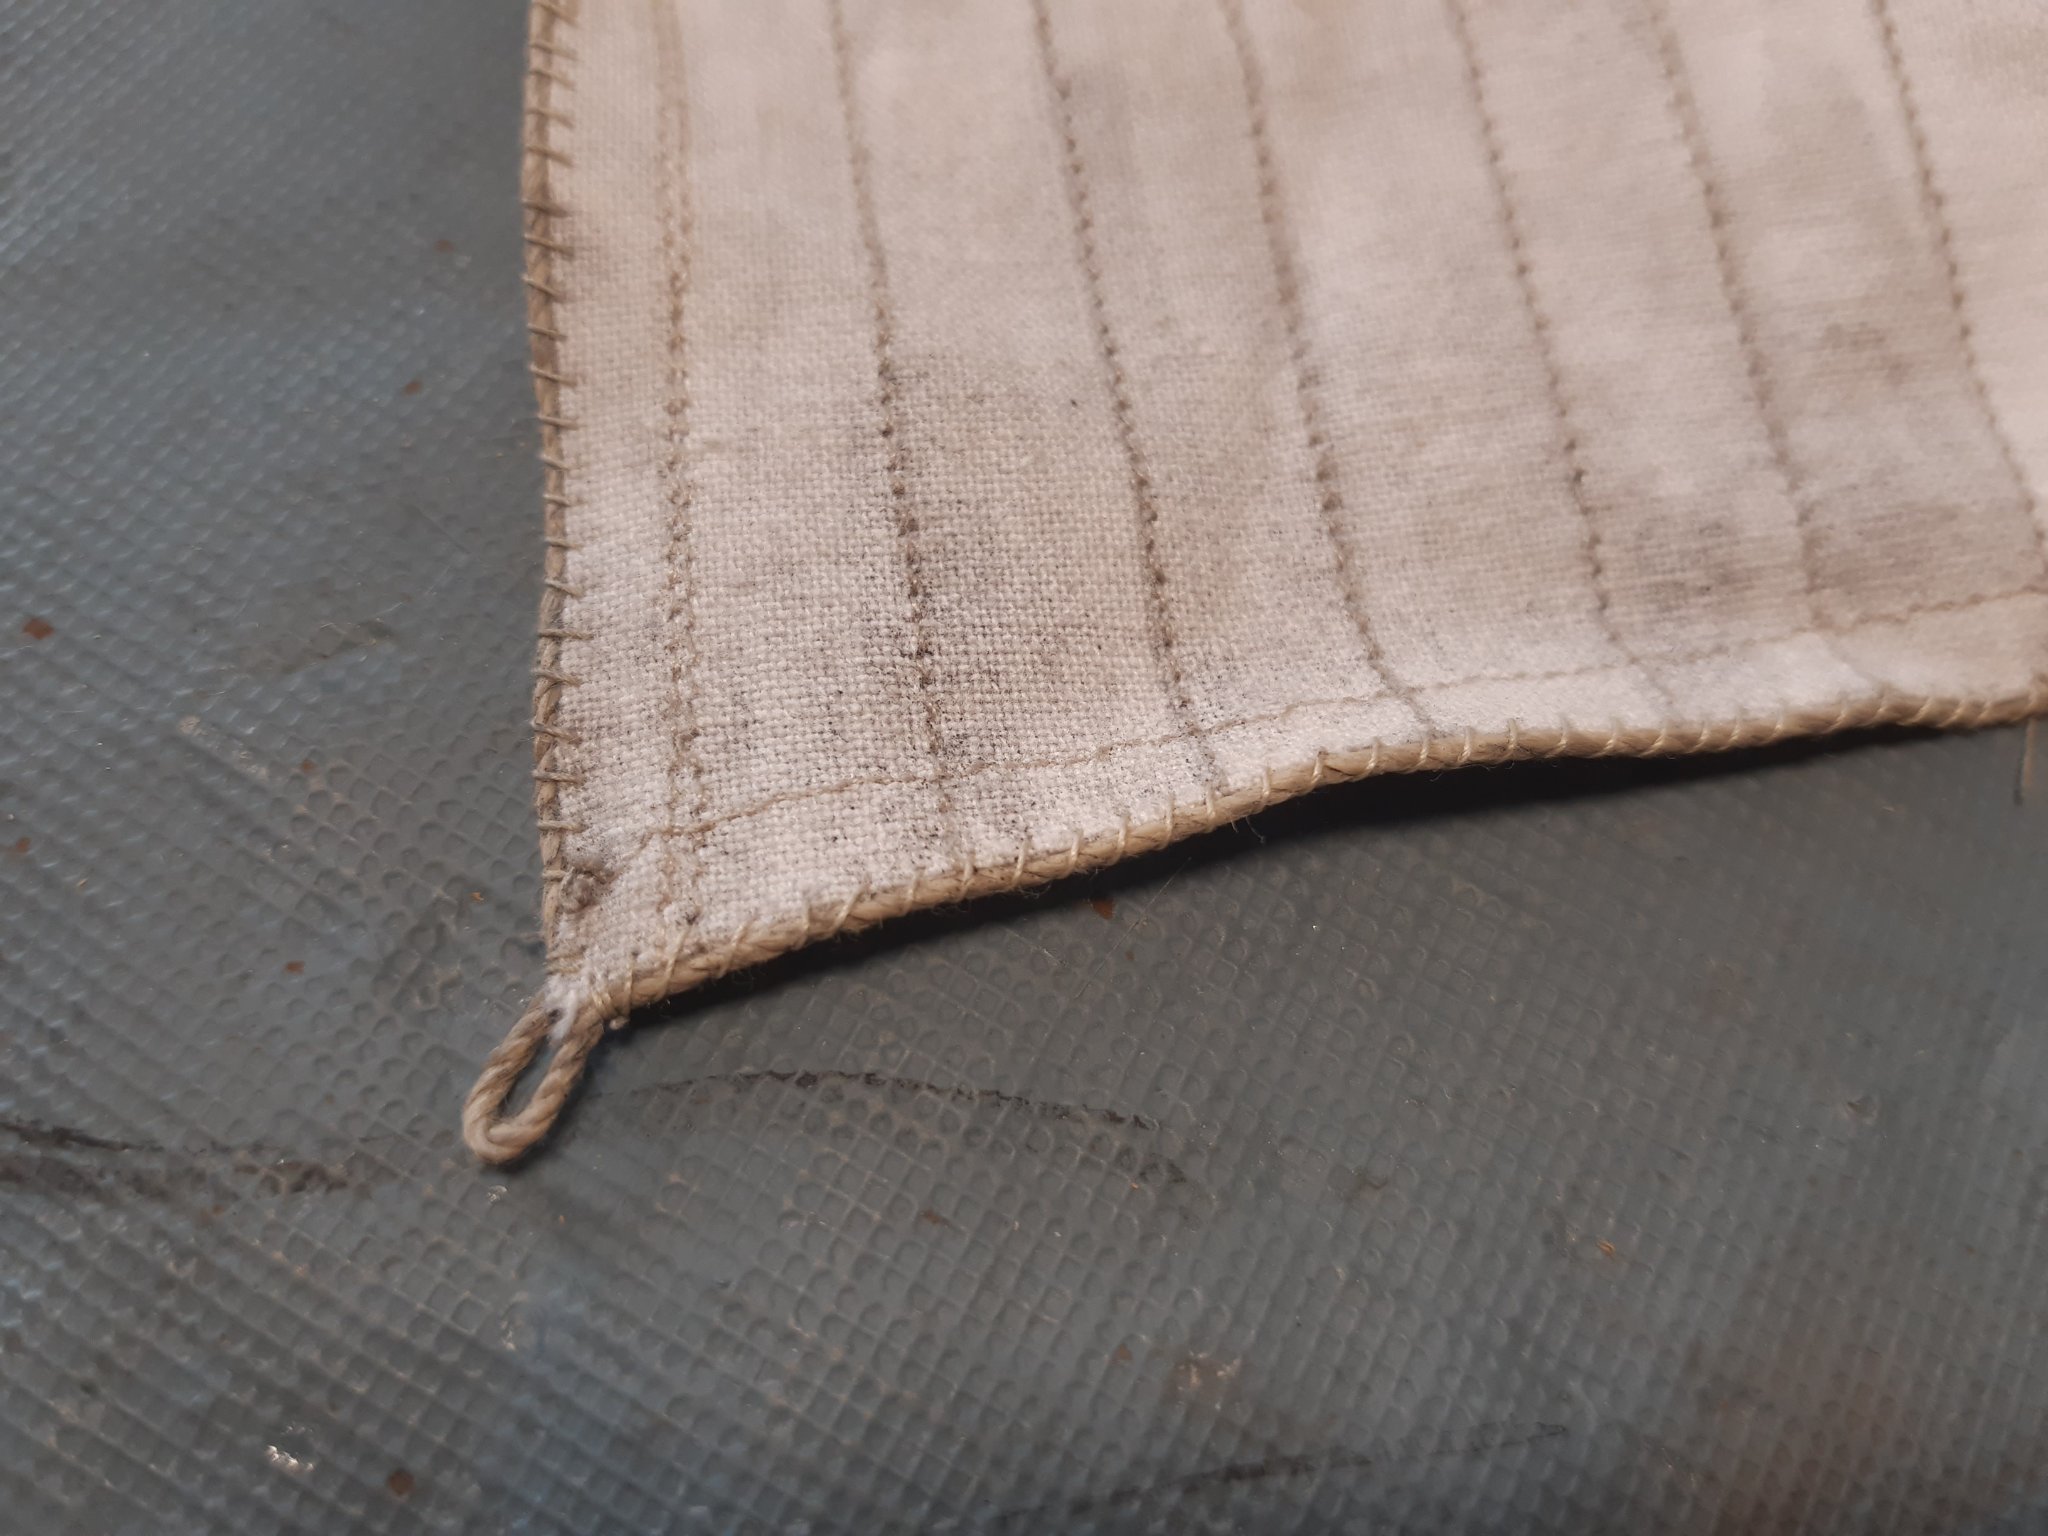
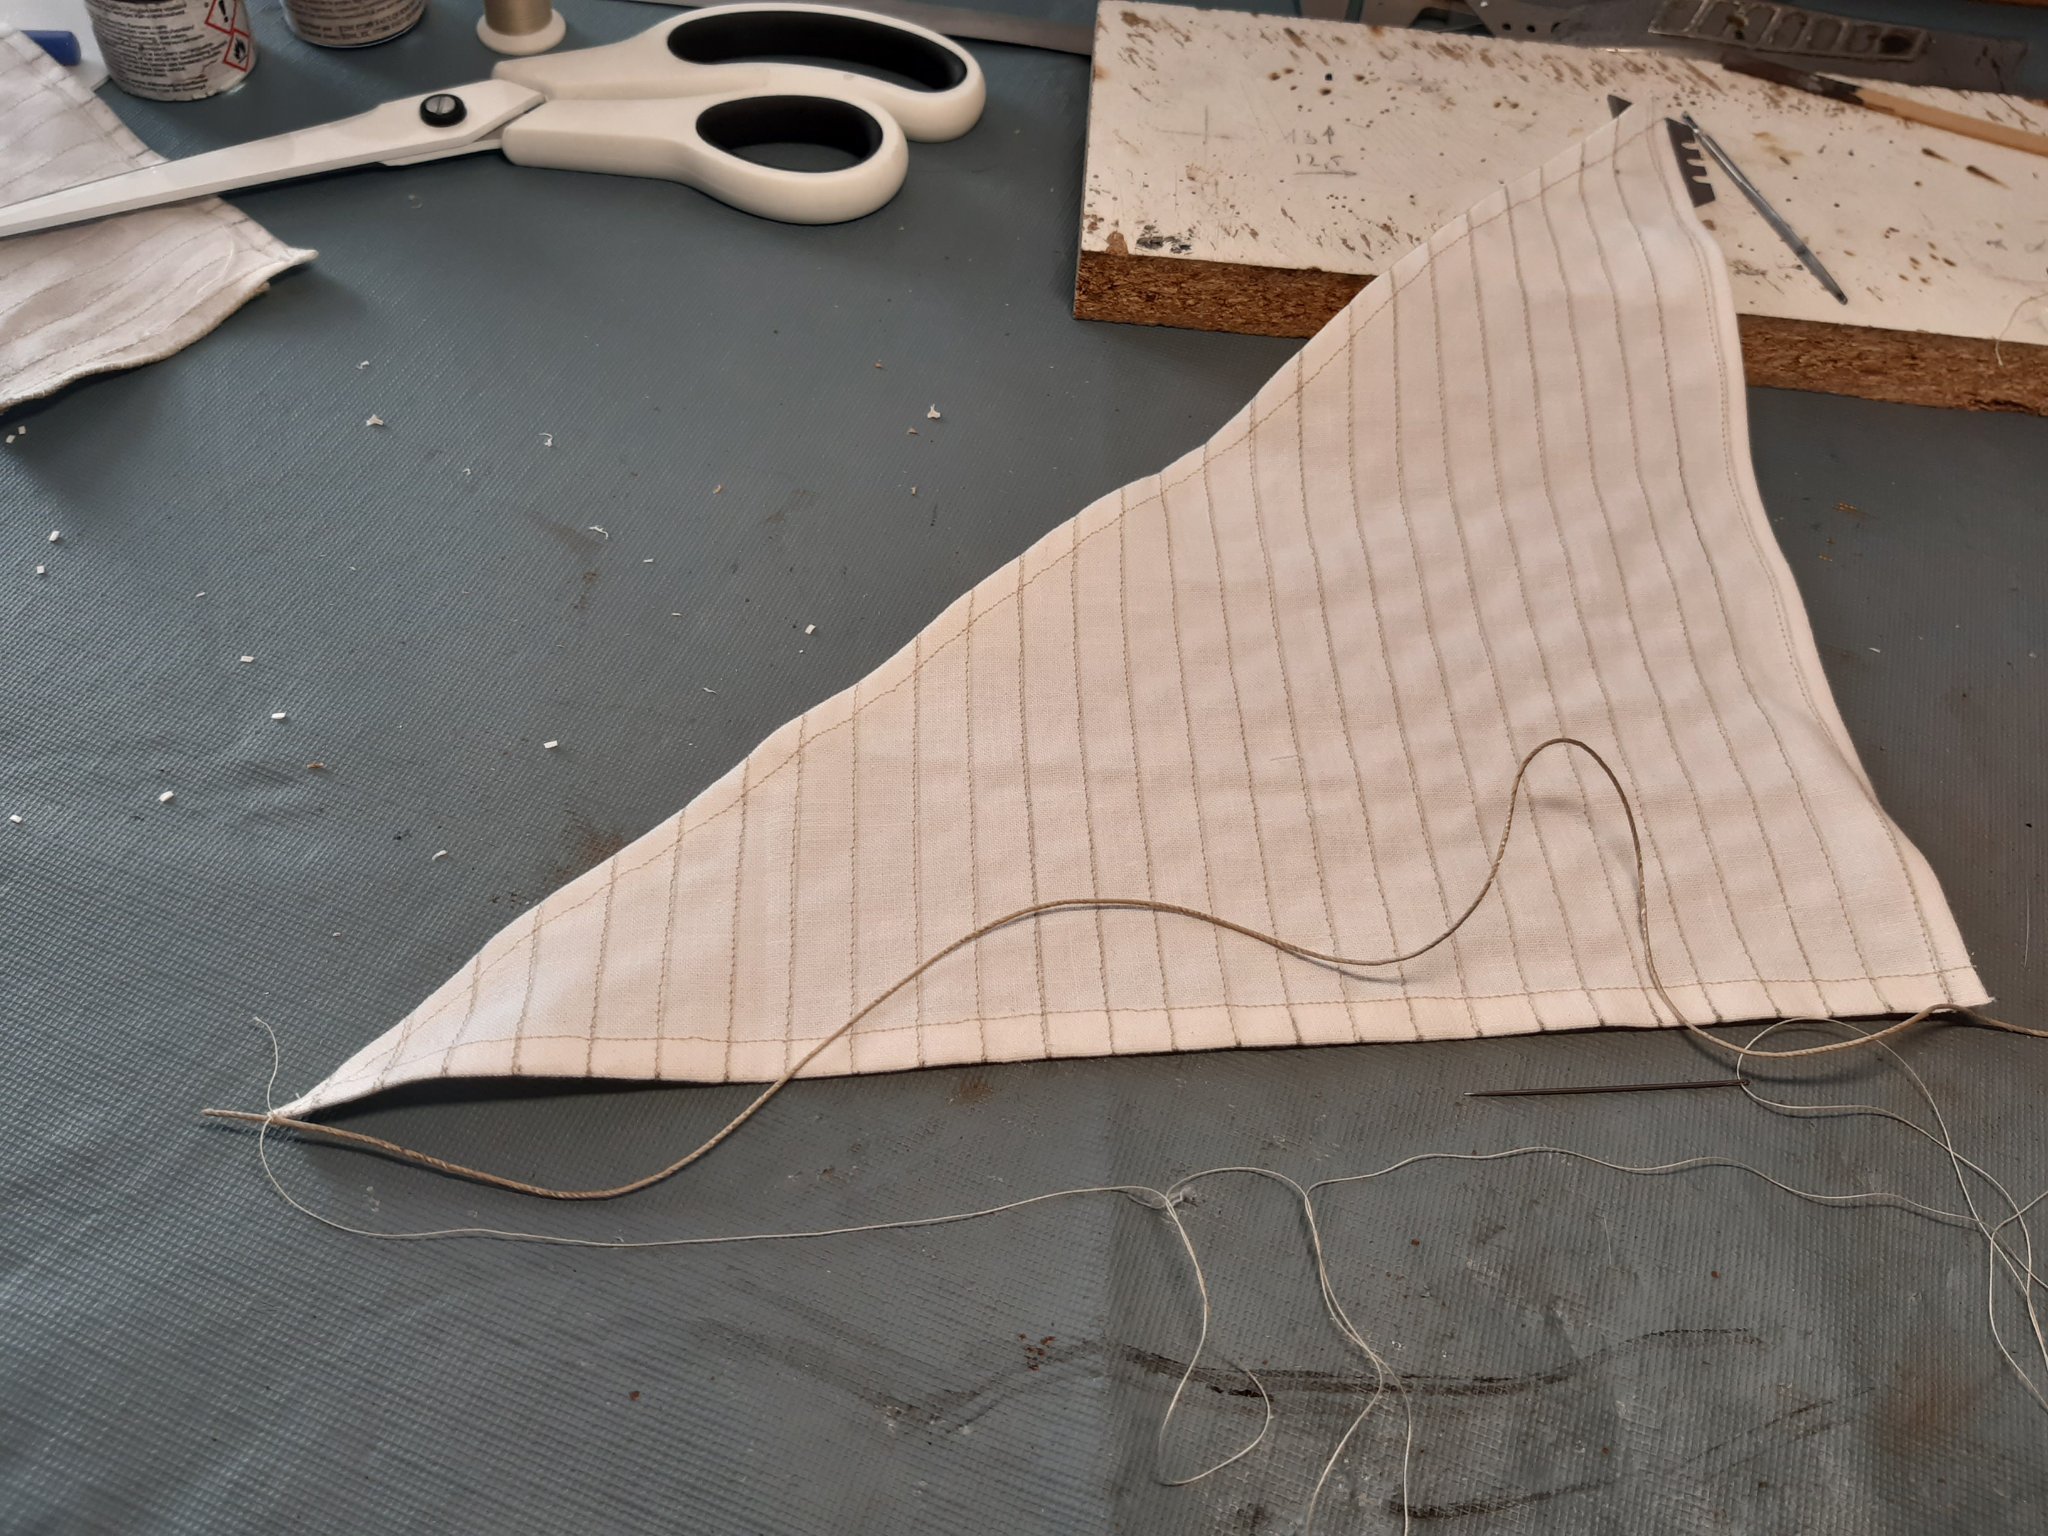
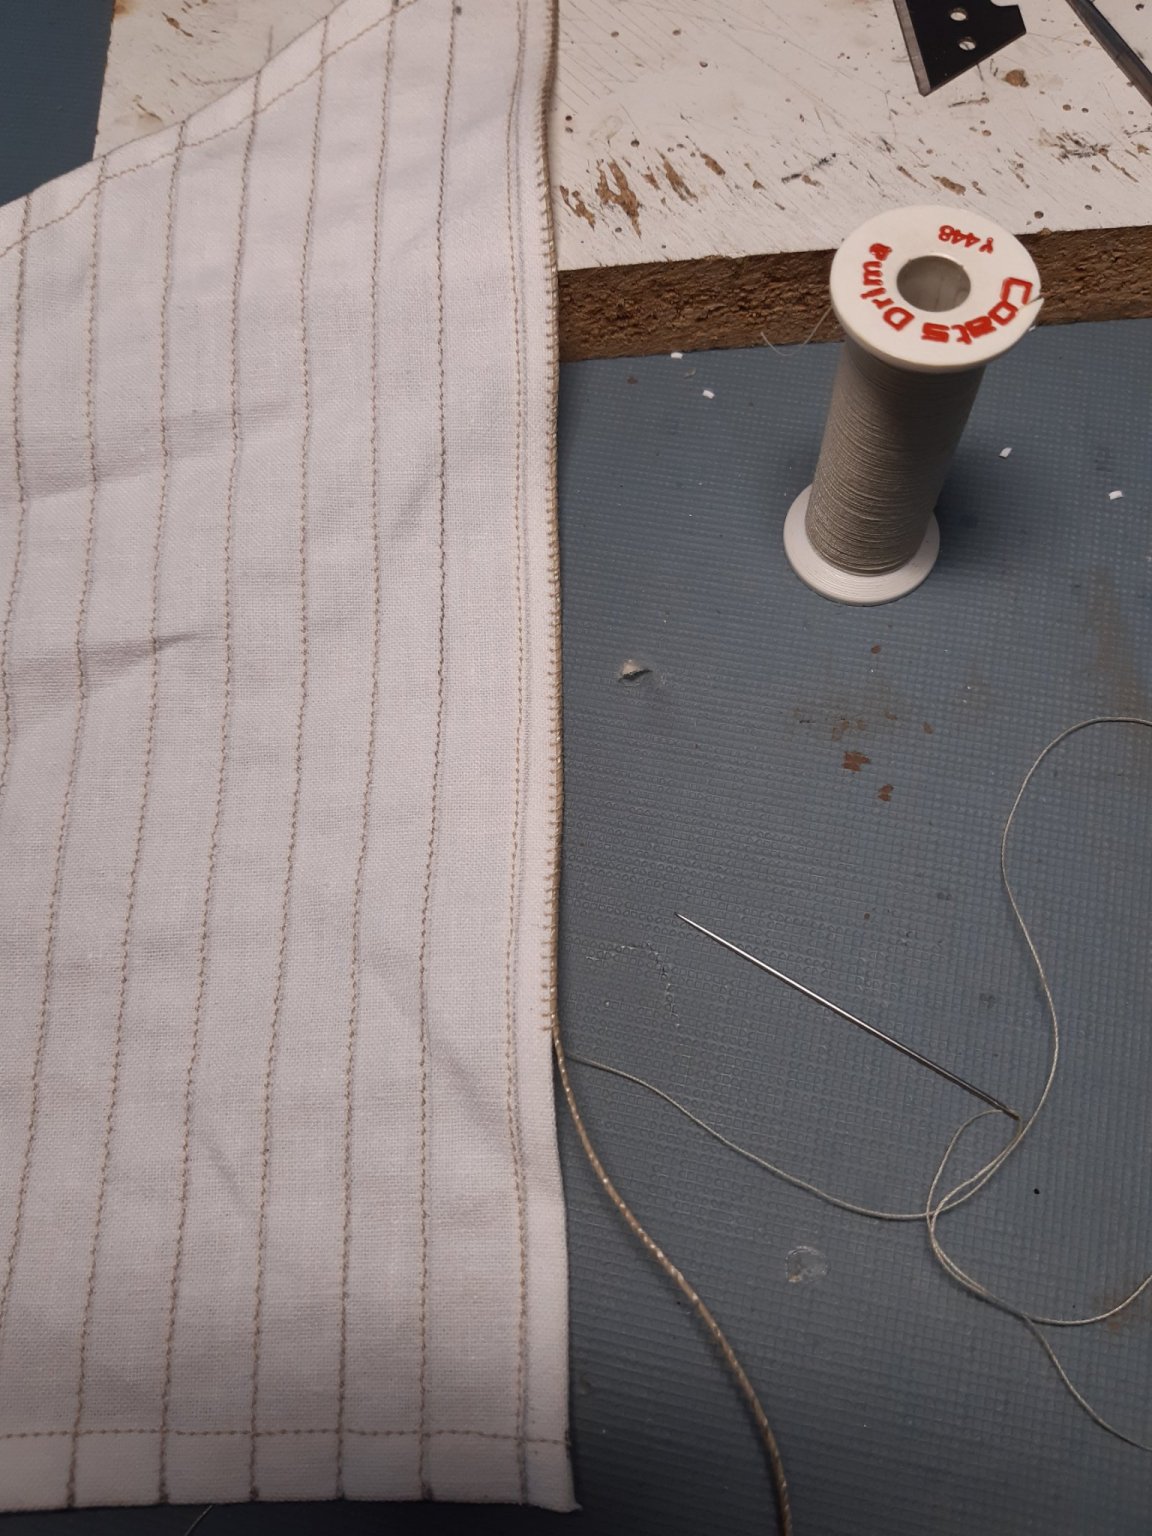
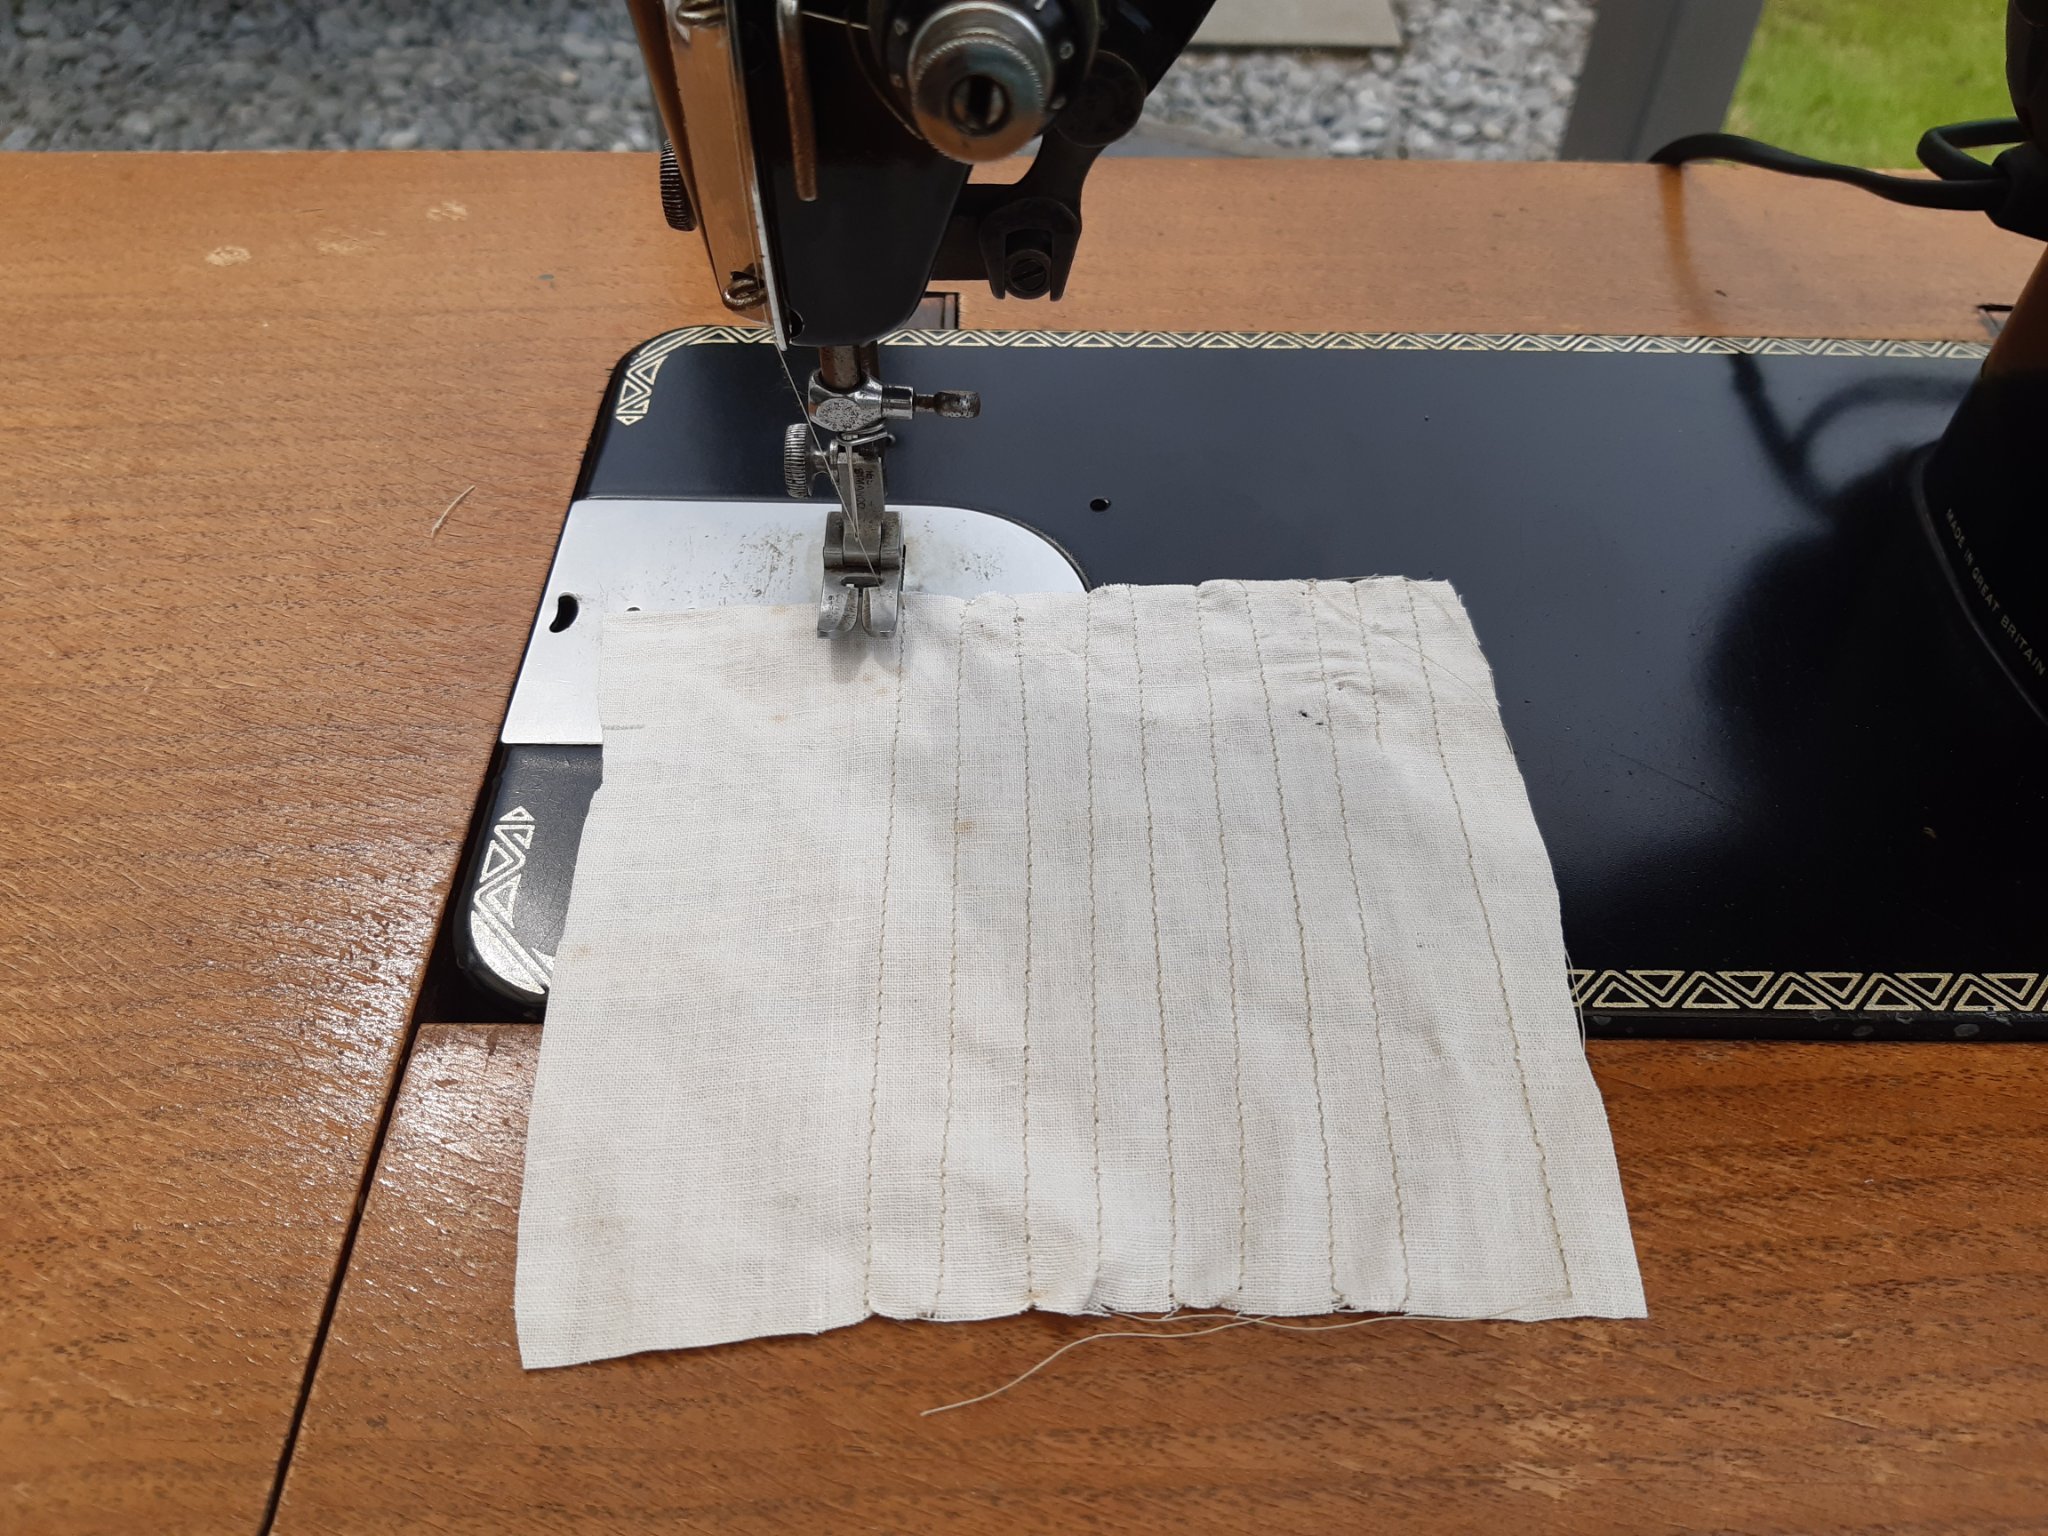
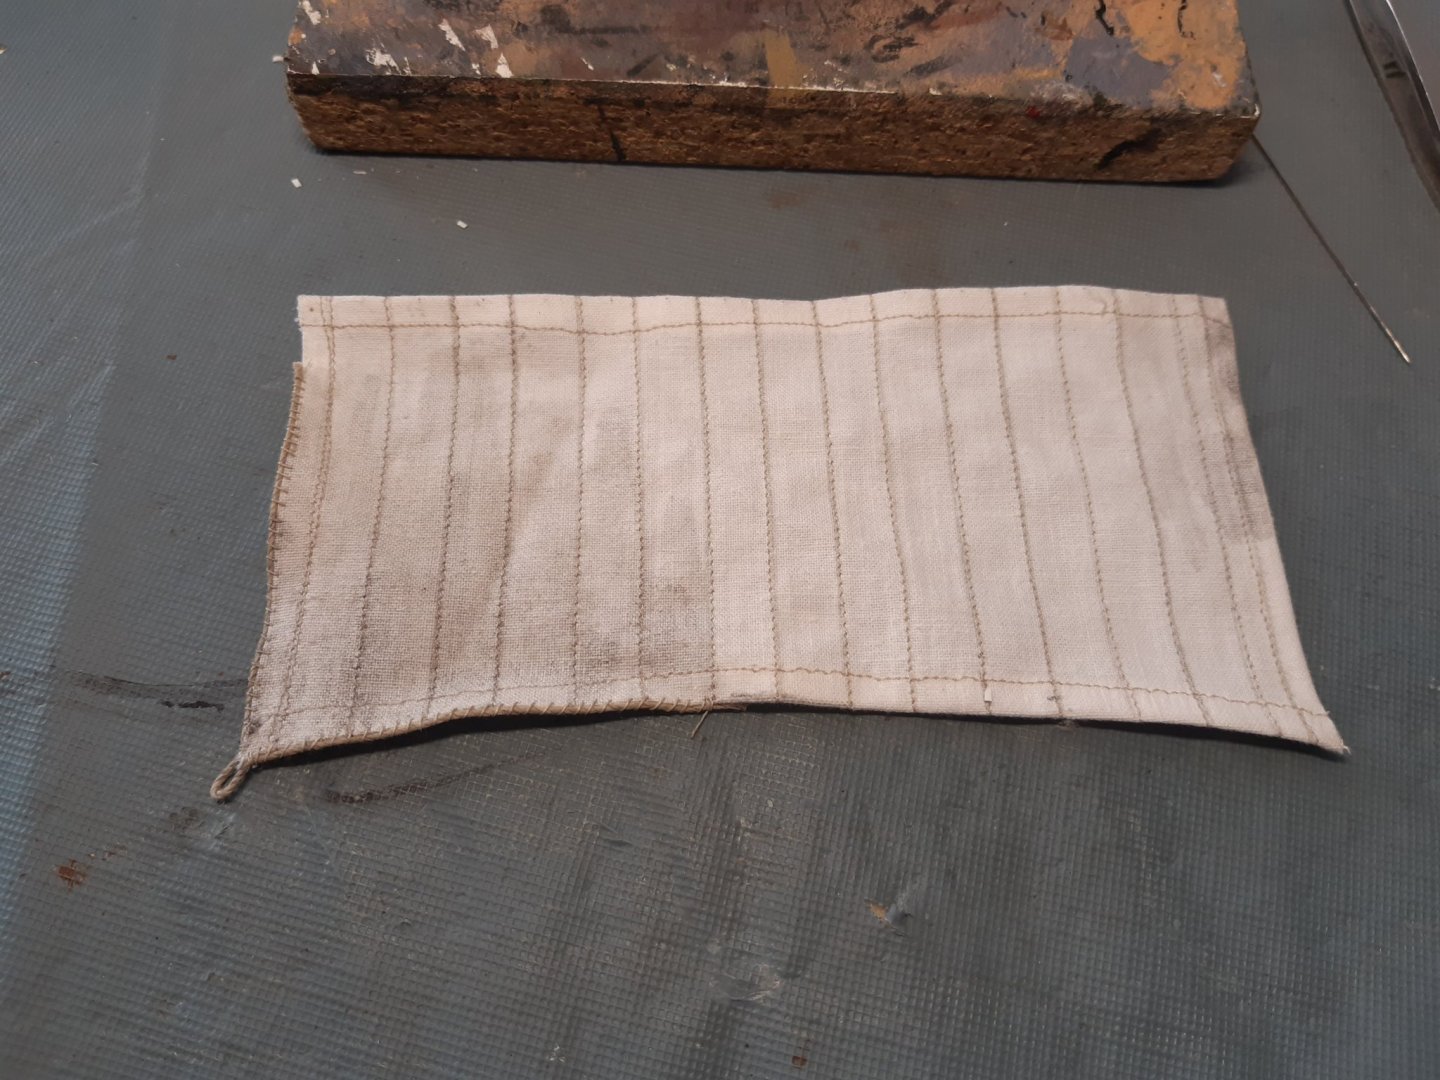
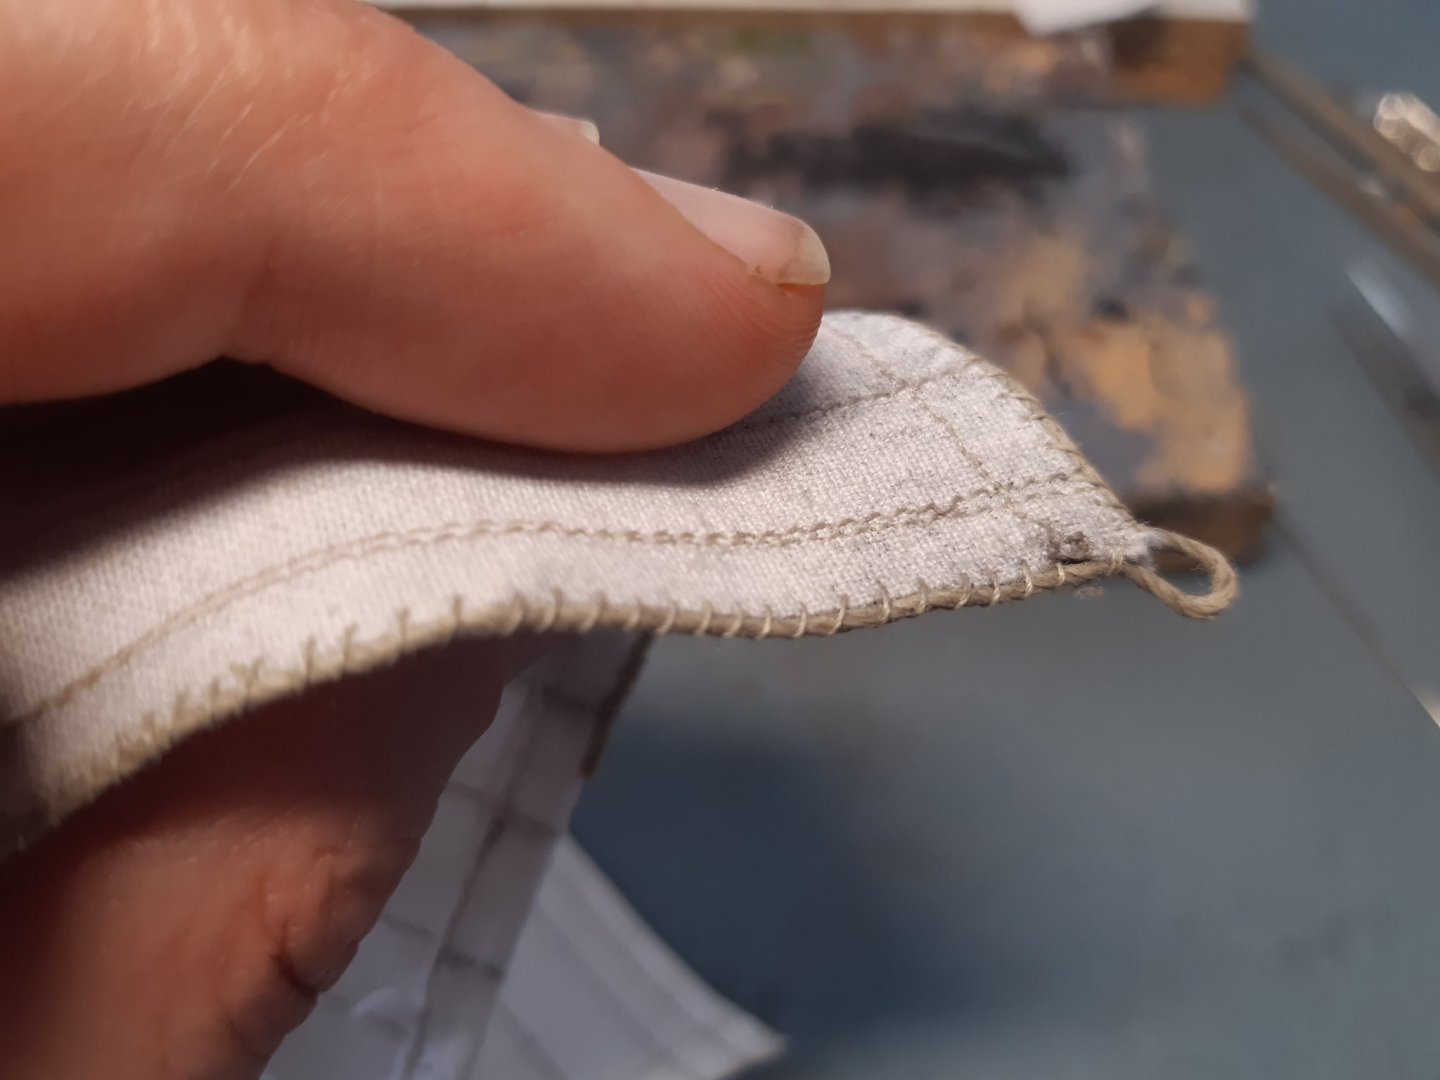
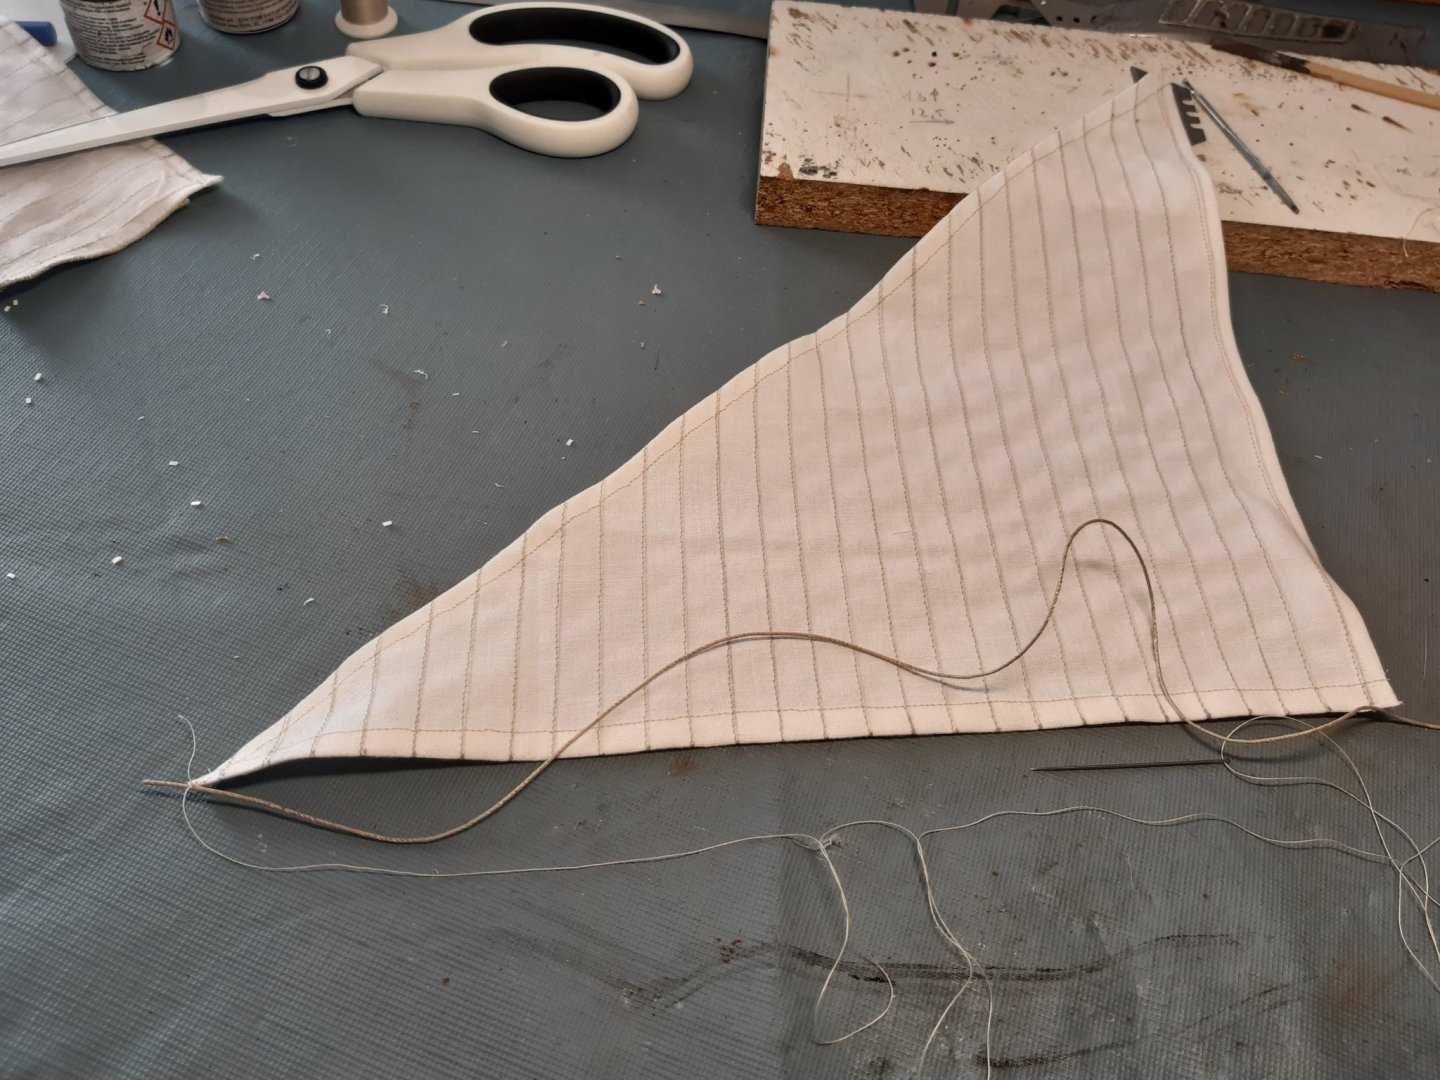
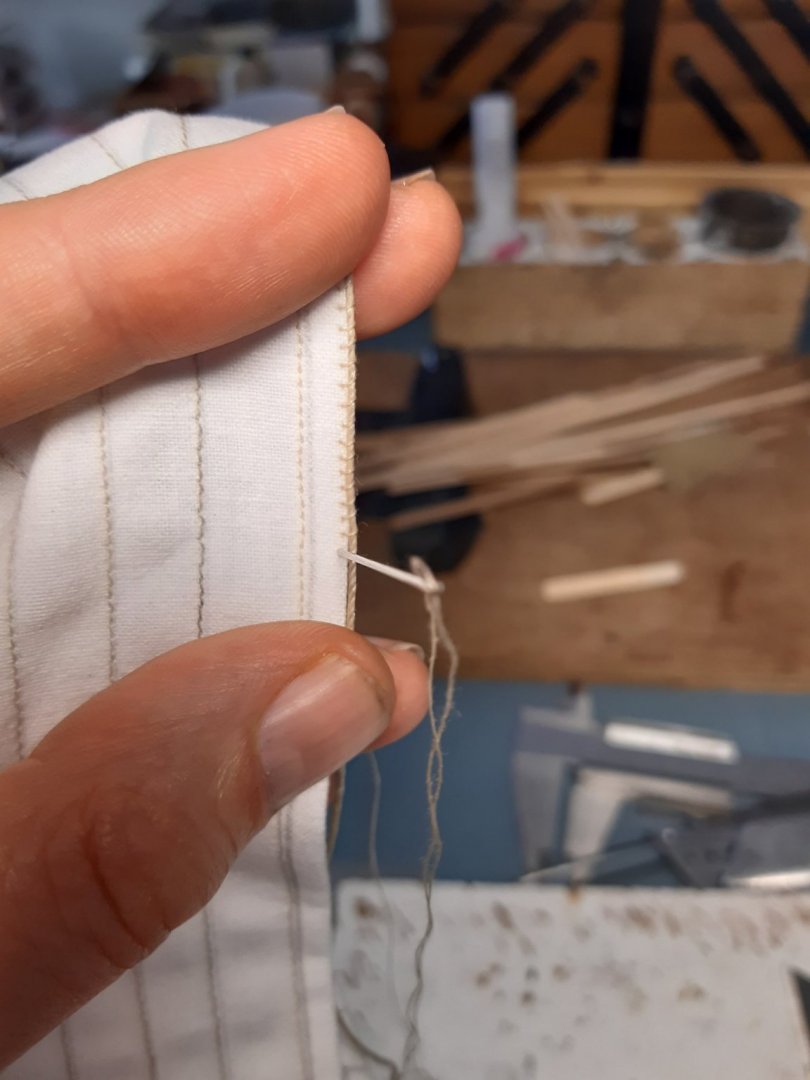
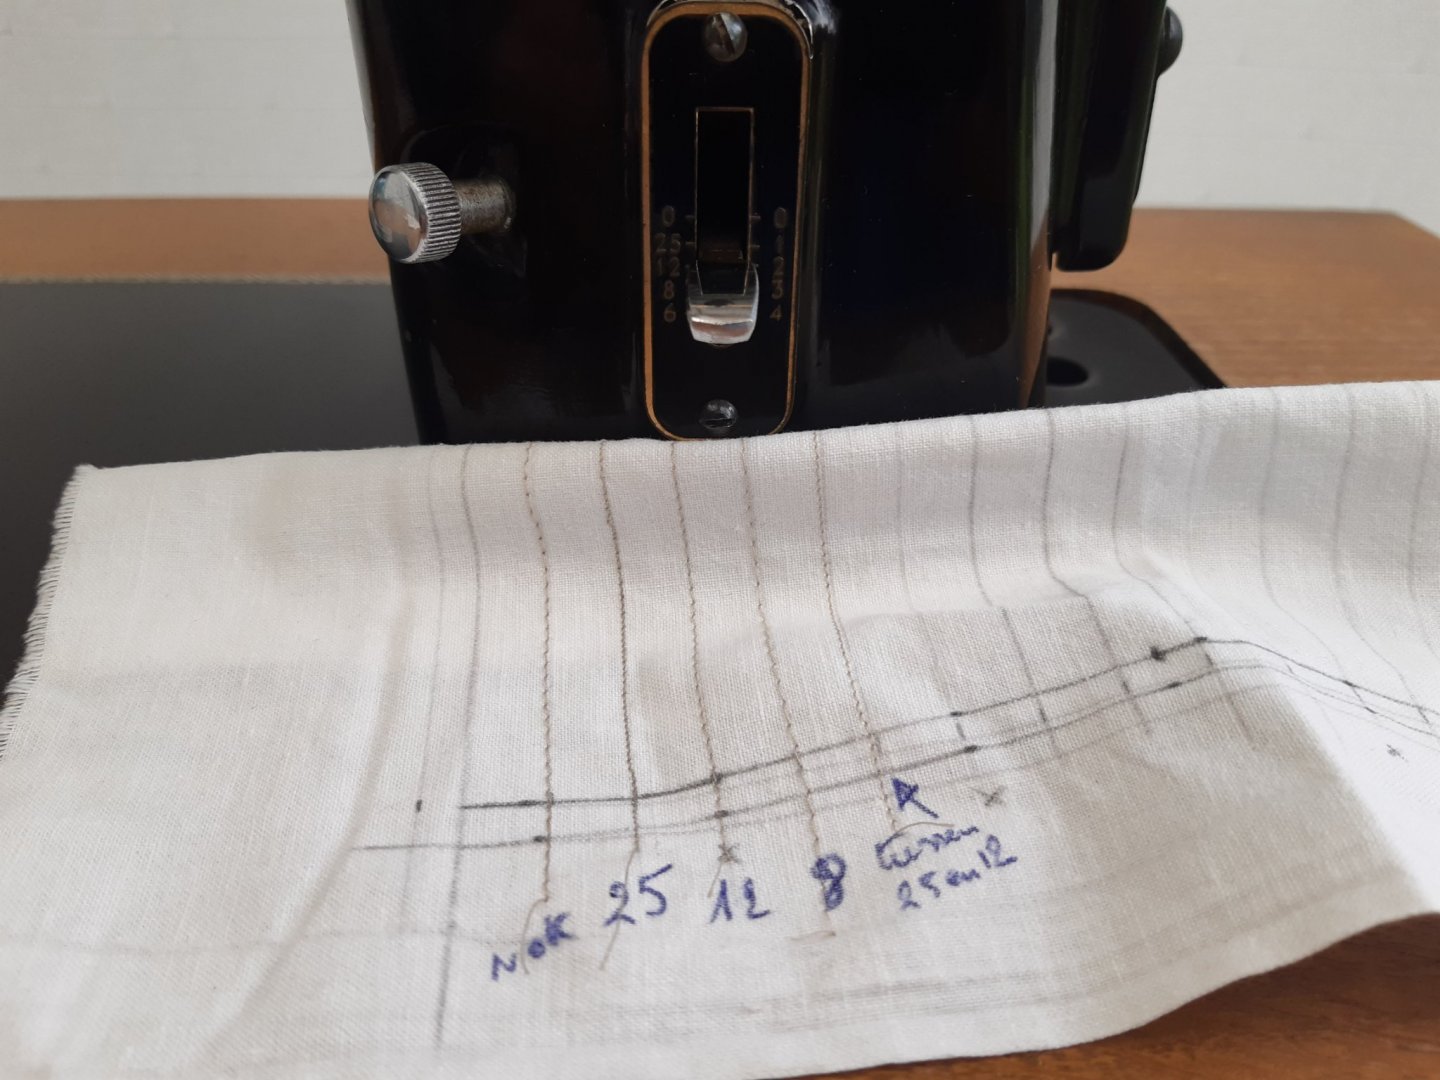
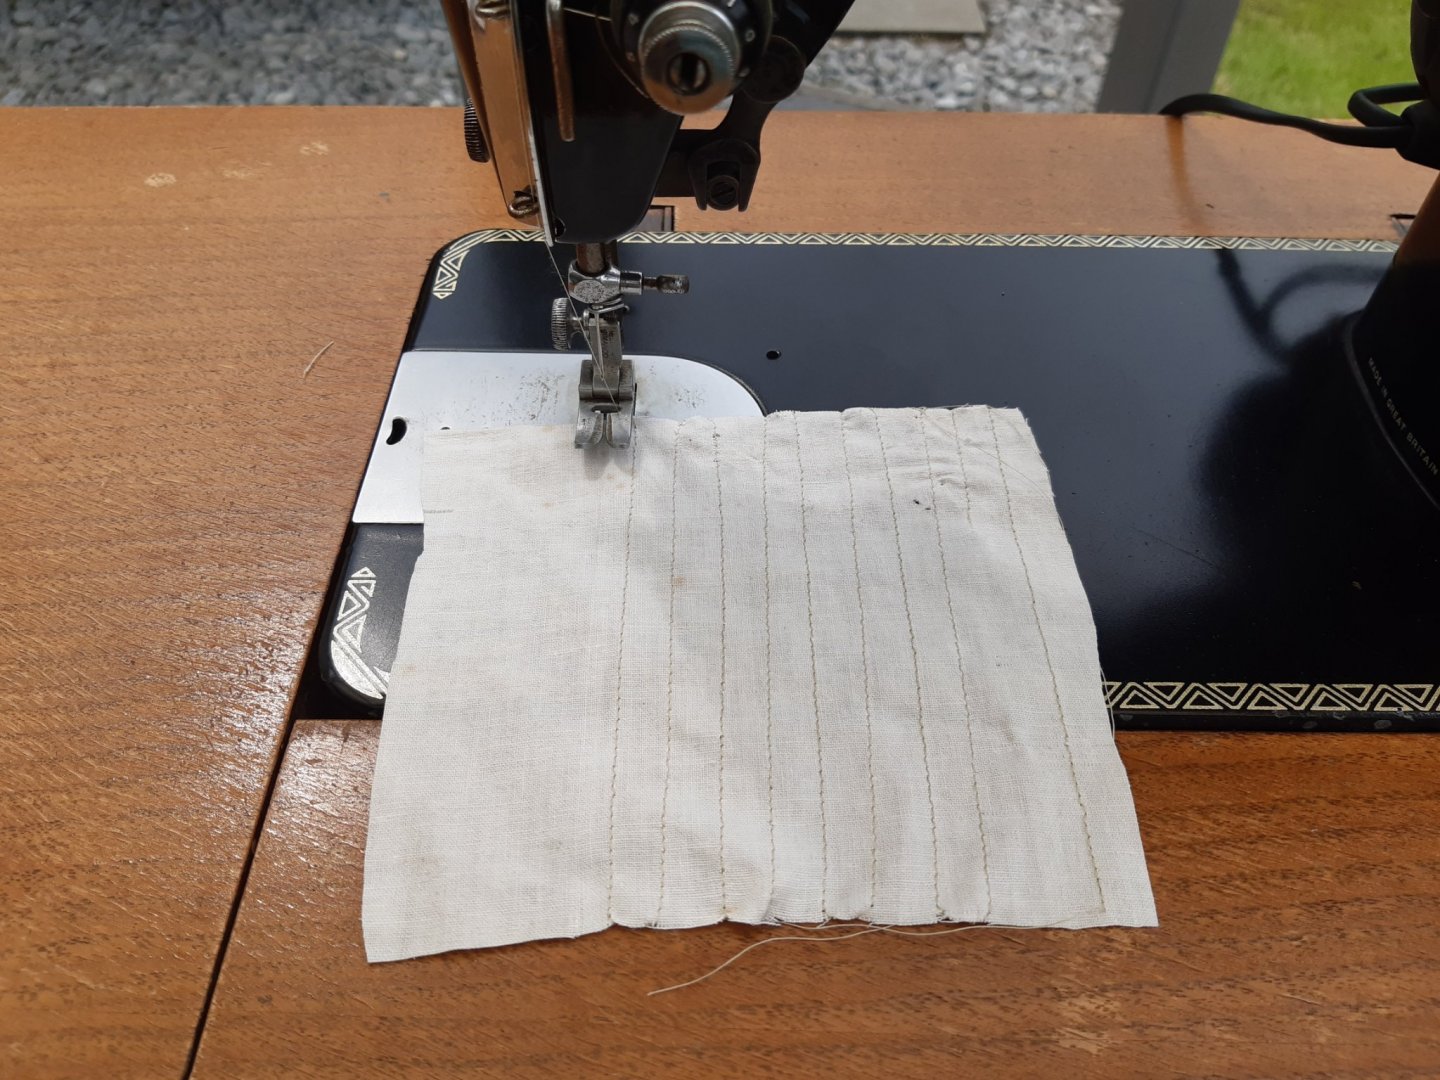
The further sail making "adventures" All that follows are experiments. Which have probably already been done by others. A first test with a piece the cotton cloth. On this machine : the smaller the number the longer the stitching, the 0 goes backwards. The smallest stitching (about 1mm) thus results in a line. Results test 1 with a trial sail. 1 learn to stitch better and straighter(need to practice more) 2 Indeed too thick, but this can be camouflaged with the rope that is sewn around it. 3 the texture of the fabric is indeed quite rough. Test 2 with the mizzen sail. Looks pretty decent. But the silcspan will also deserves a chance after this. Thanks for folowing, comments and likes


- 756 replies
-
- 12
-
-

-
- galleon
- golden hind
- (and 2 more)
-
As always Very nice work Rodolfo
-
useful ?? https://www.hismodel.com/articles-category-28
-
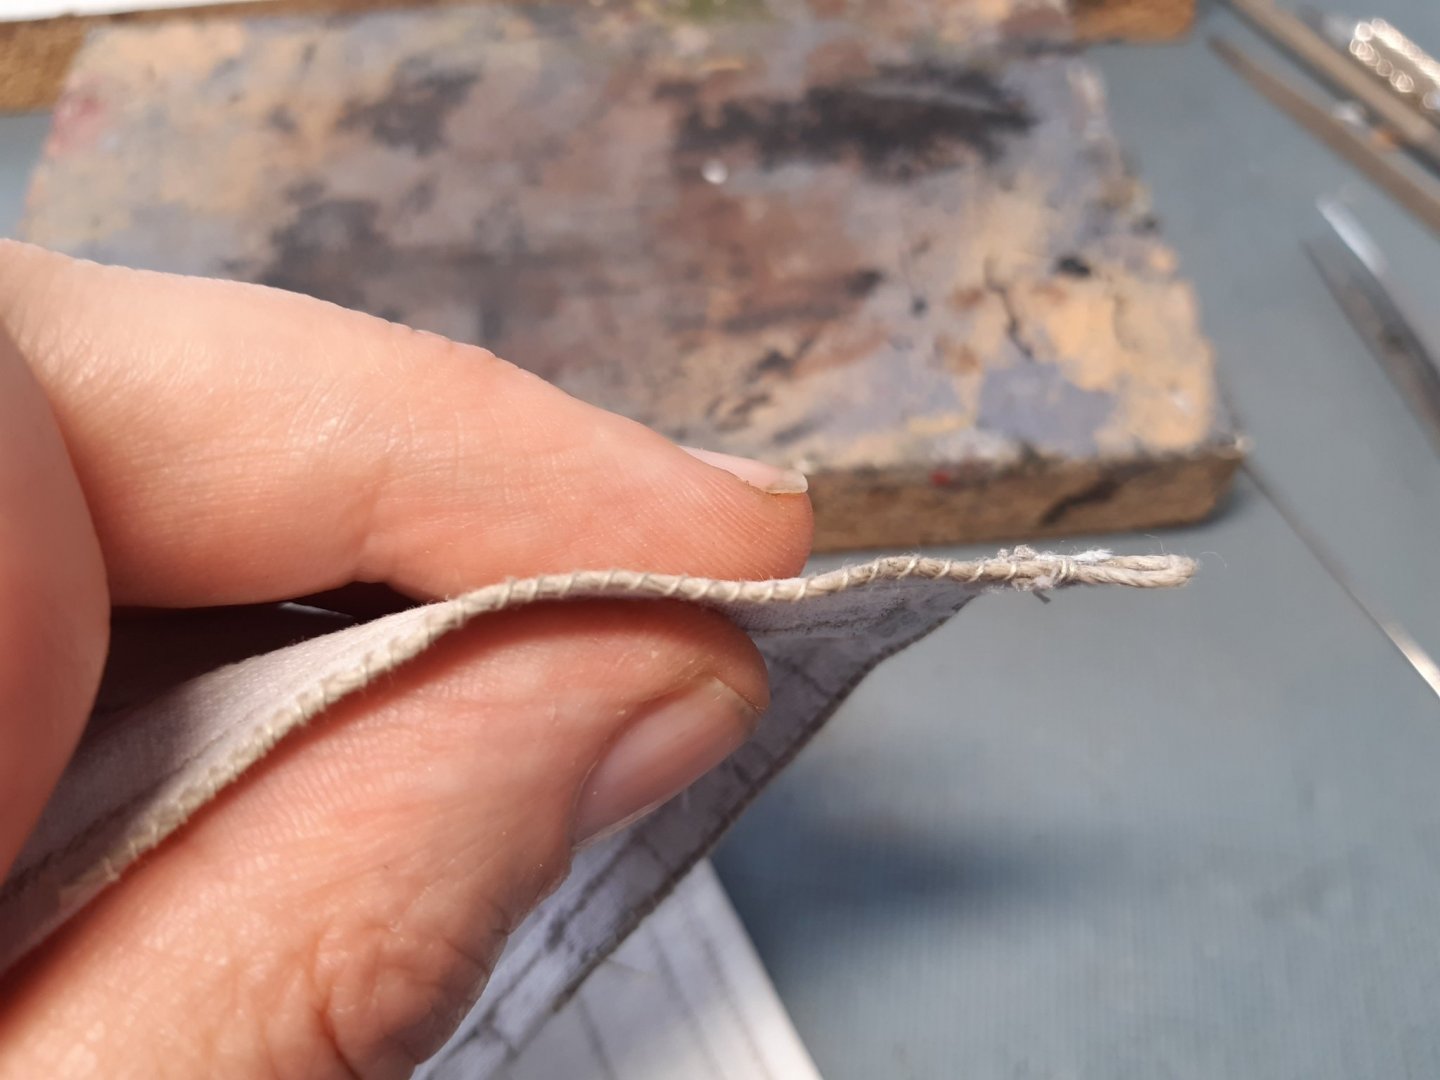
Geweldig... Awesome Thank you very much, much appreciated No, The stitching was a test whether the machine works properly. This will be trying and testing first. To see which stitching will look good. The cotton sheet looks ok. And somewhere I hope to be able to use it. I actually like this work with a sewing machine (makes me relax) The cotton is of course too thick (in a real it is about half an inch thick) But with a rope sewn around it hopefully it won't be noticeable. All options are still open Once I found this on MSW and printed it. But I can't find this on the site anymore. Only through google search https://modelshipworldforum.com/resources/Rigging_and_Sails/ScaleSails.pdf
- 756 replies
-
- 2
-
-
- galleon
- golden hind
- (and 2 more)
-
-
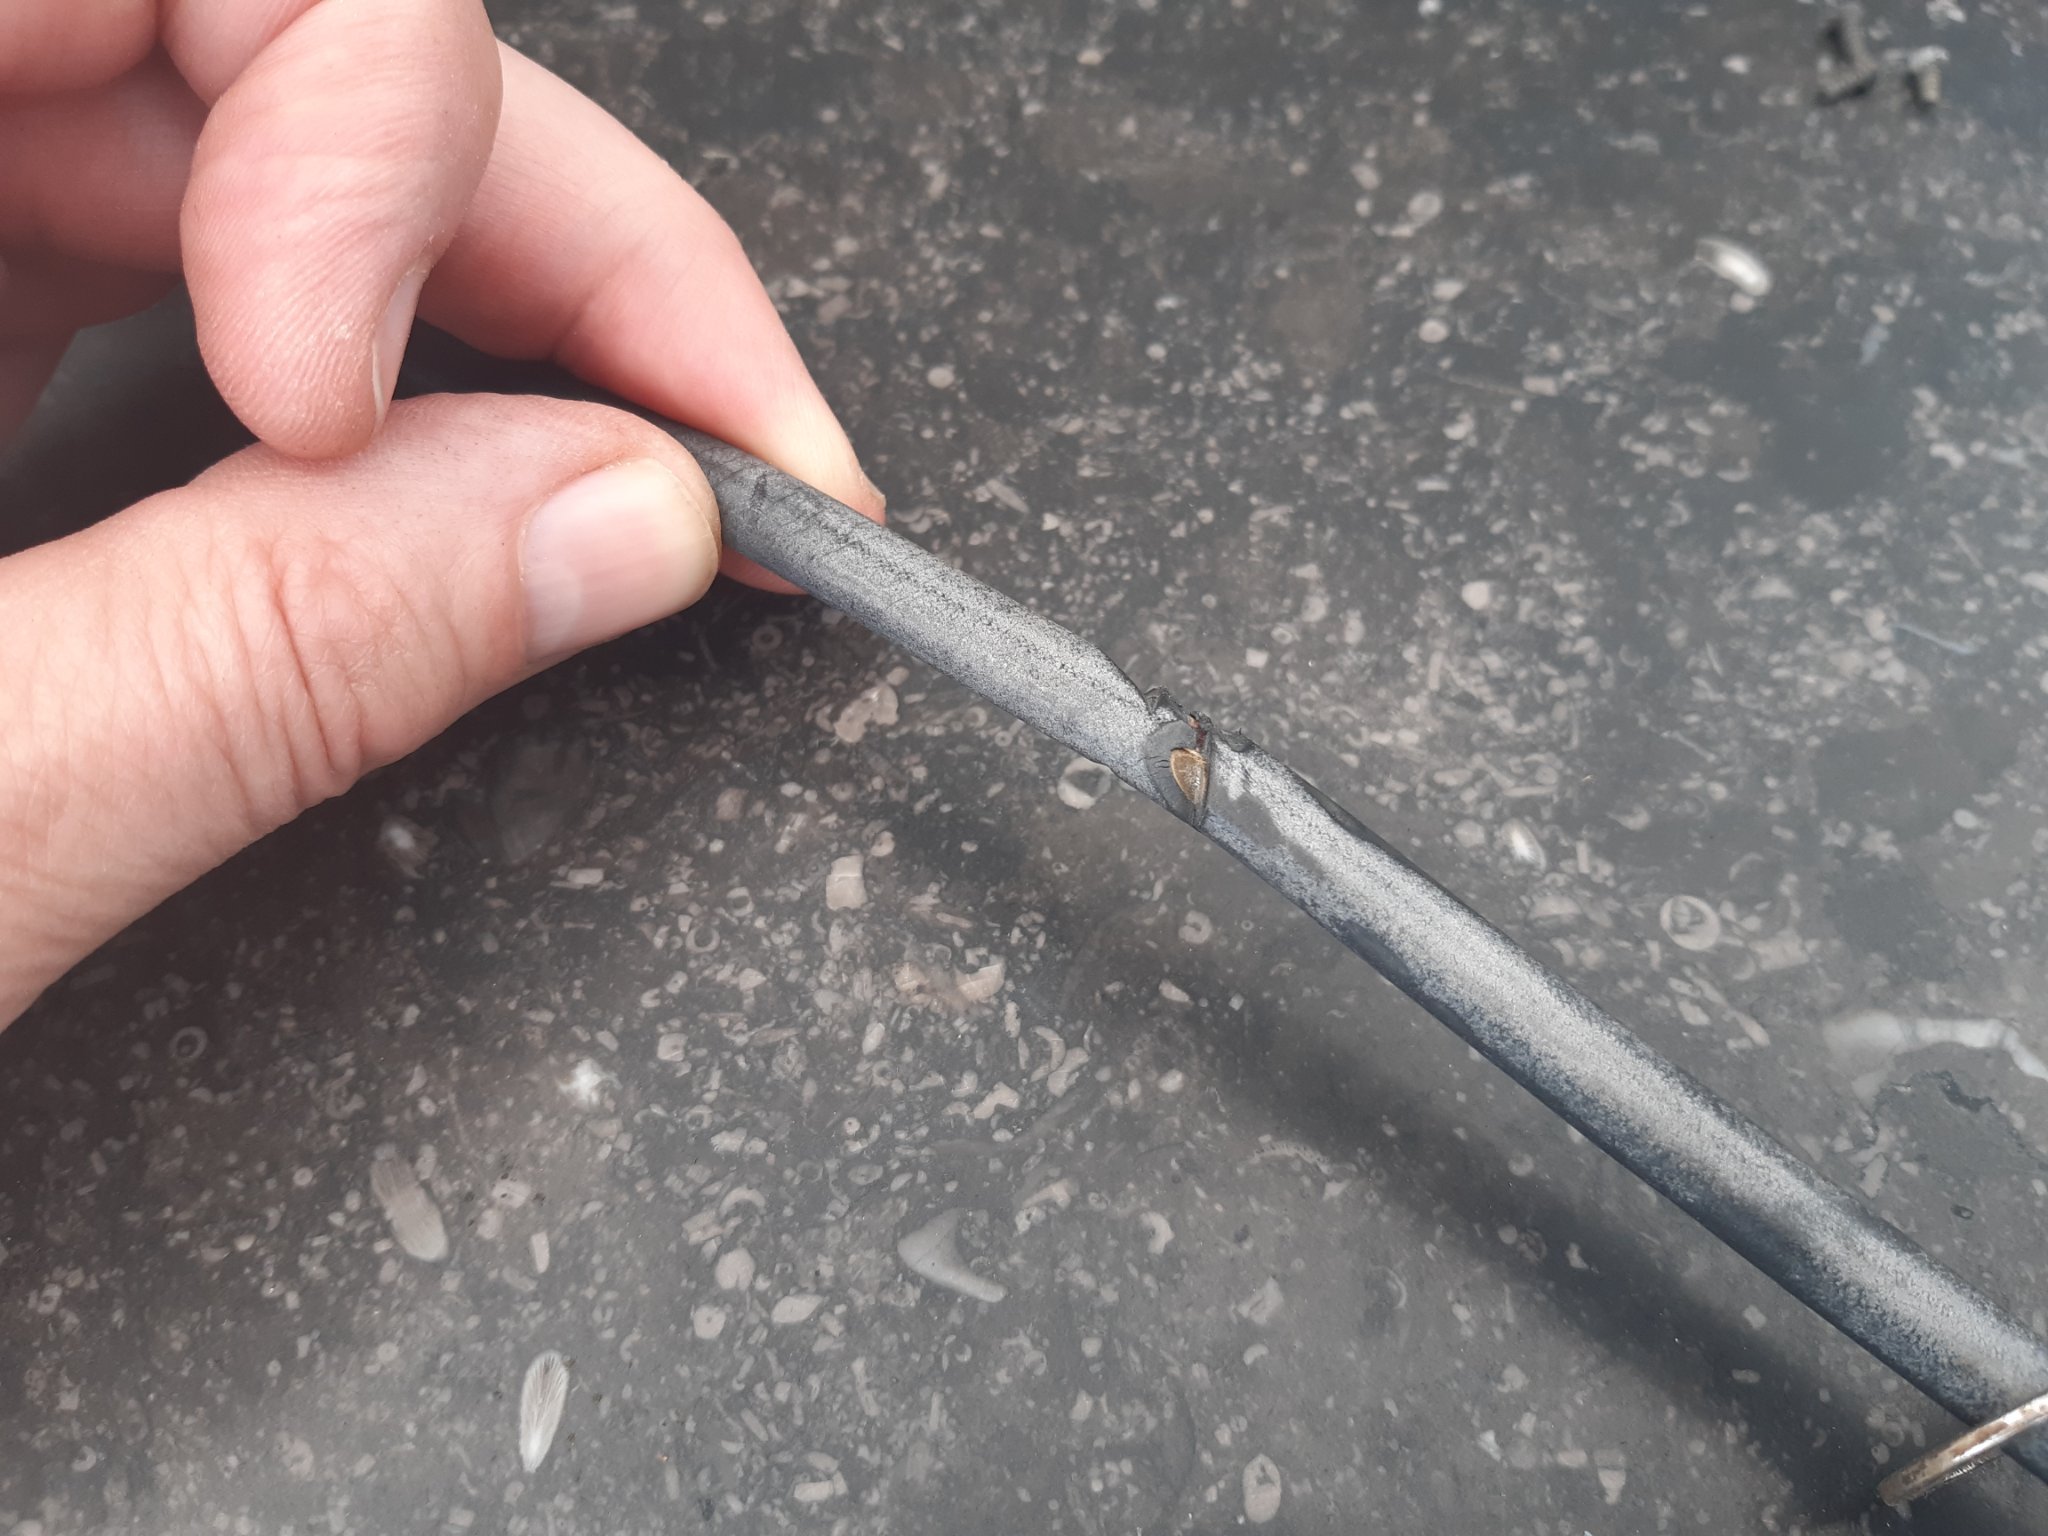
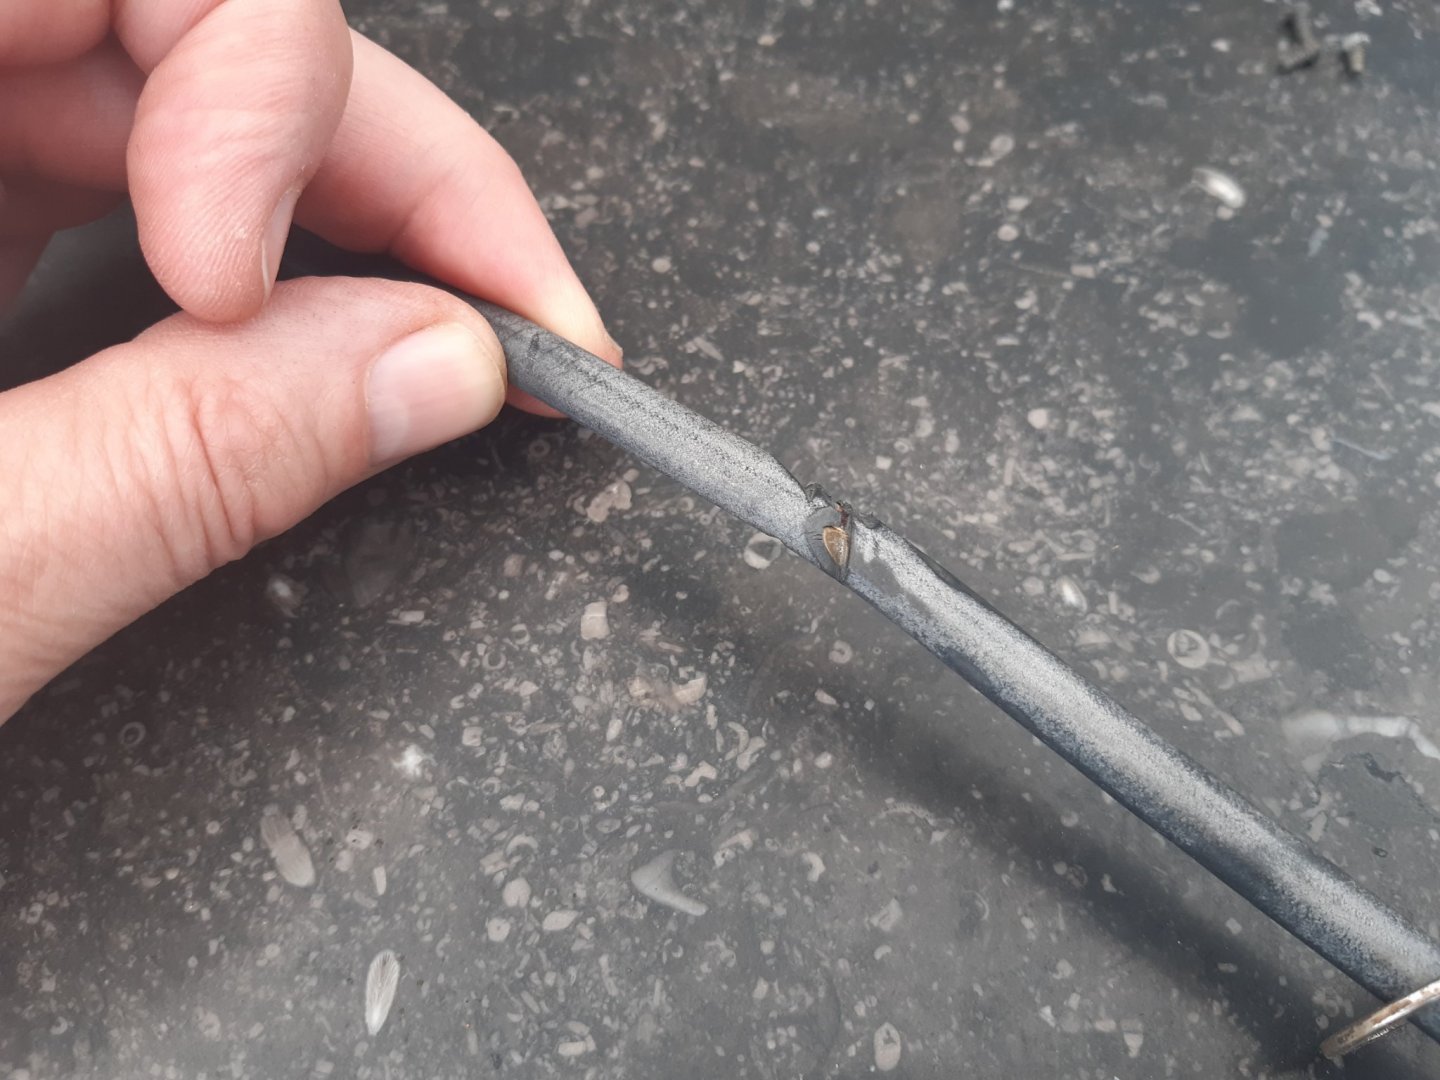
https://www.conrad.com/p/thin-thread-mbz-92034-005-mm-658146 Found this very thin wire 0.05mm for use on scale railways. But will it be delivered in Australia? I also found a review in Dutch For scaled telegraph cables : apparently not good For rigging ships?? dont know Ik had naar aanleiding van het tekstje op de site verwacht dat het een draad is die keurig gaat hangen, aan bijvoorbeeld telegraafmasten. Ik wilde het gebruiken voor spoor N telegraafkabels. Deze draad krult echter alle kanten op, en is ook niet door te knippen, want dan wordt het echt een plosje haar. Dus verdunde houtlijm geprobeerd op een stukje. Ook niets. De draad zuigt geen vocht op en blijft krullen. Dit is dus totaal niet bruikbaar voor dit doel. English : I wanted to use it for track N telegraph cables. However, this thread curls in all directions, and cannot be cut, because then it really becomes a floppy hair. So tried diluted wood glue on a piece. Also nothing. The thread does not absorb moisture and continues to curl.
- 740 replies
-
- 2
-
-
- Tudor
- restoration
- (and 4 more)
-
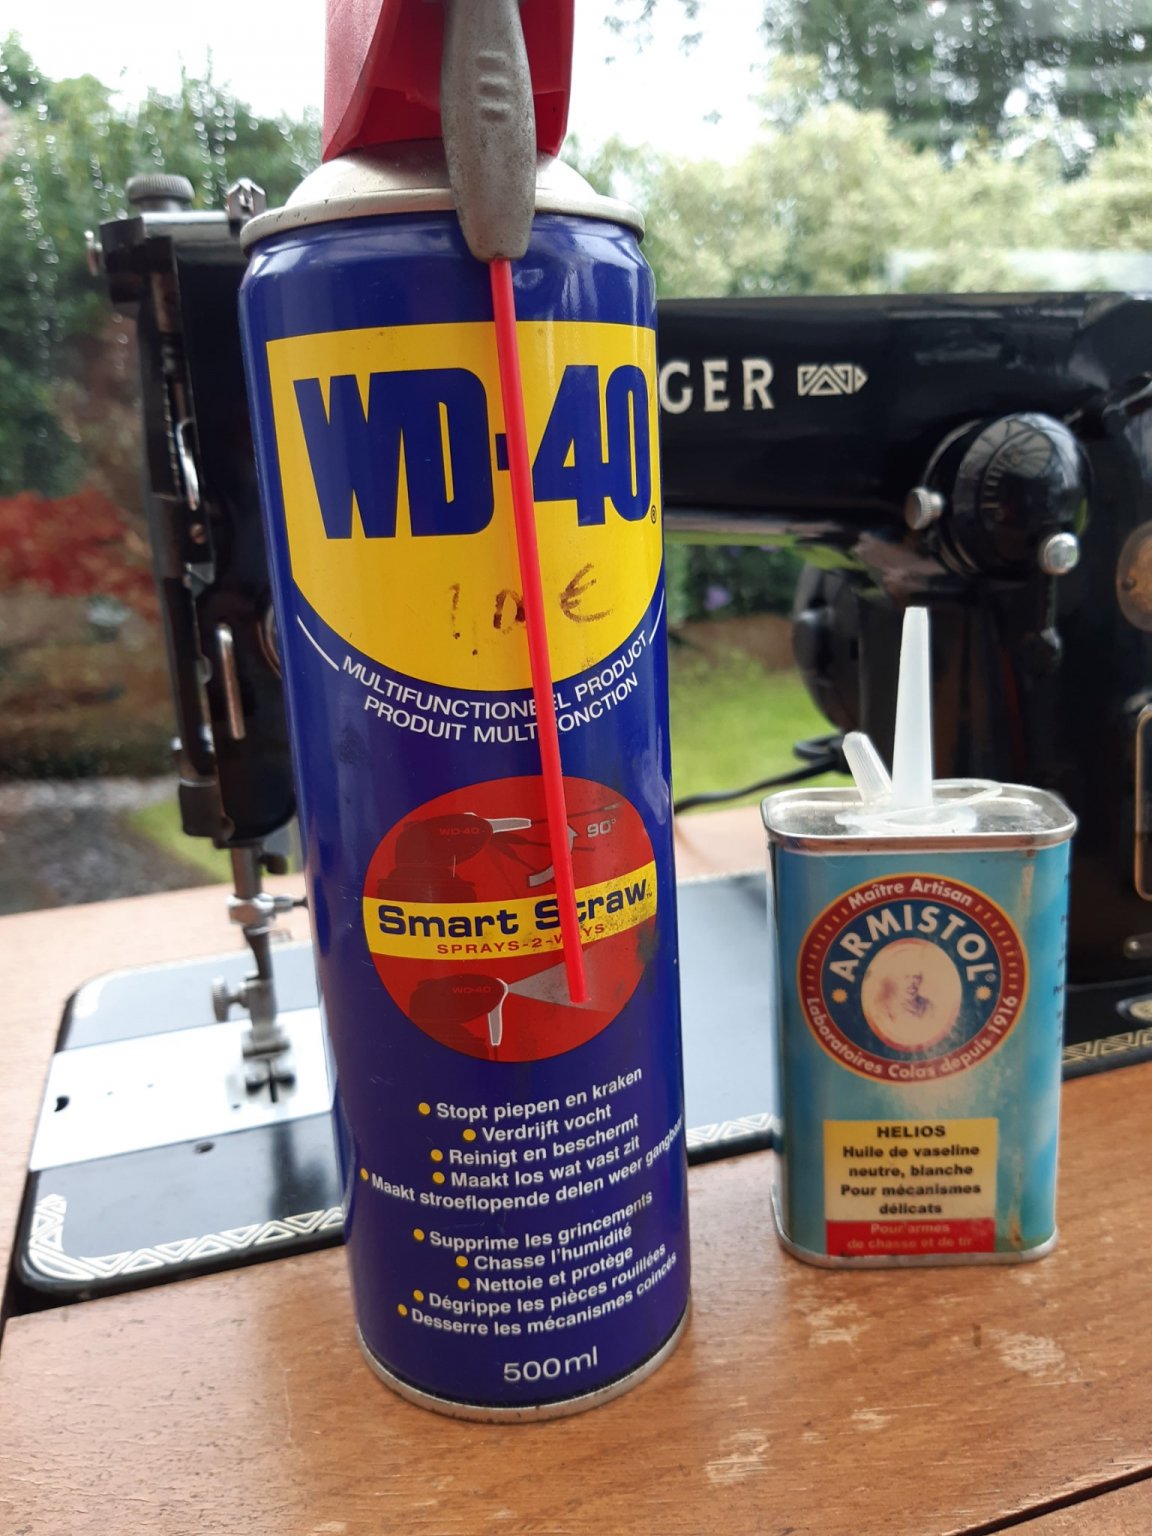
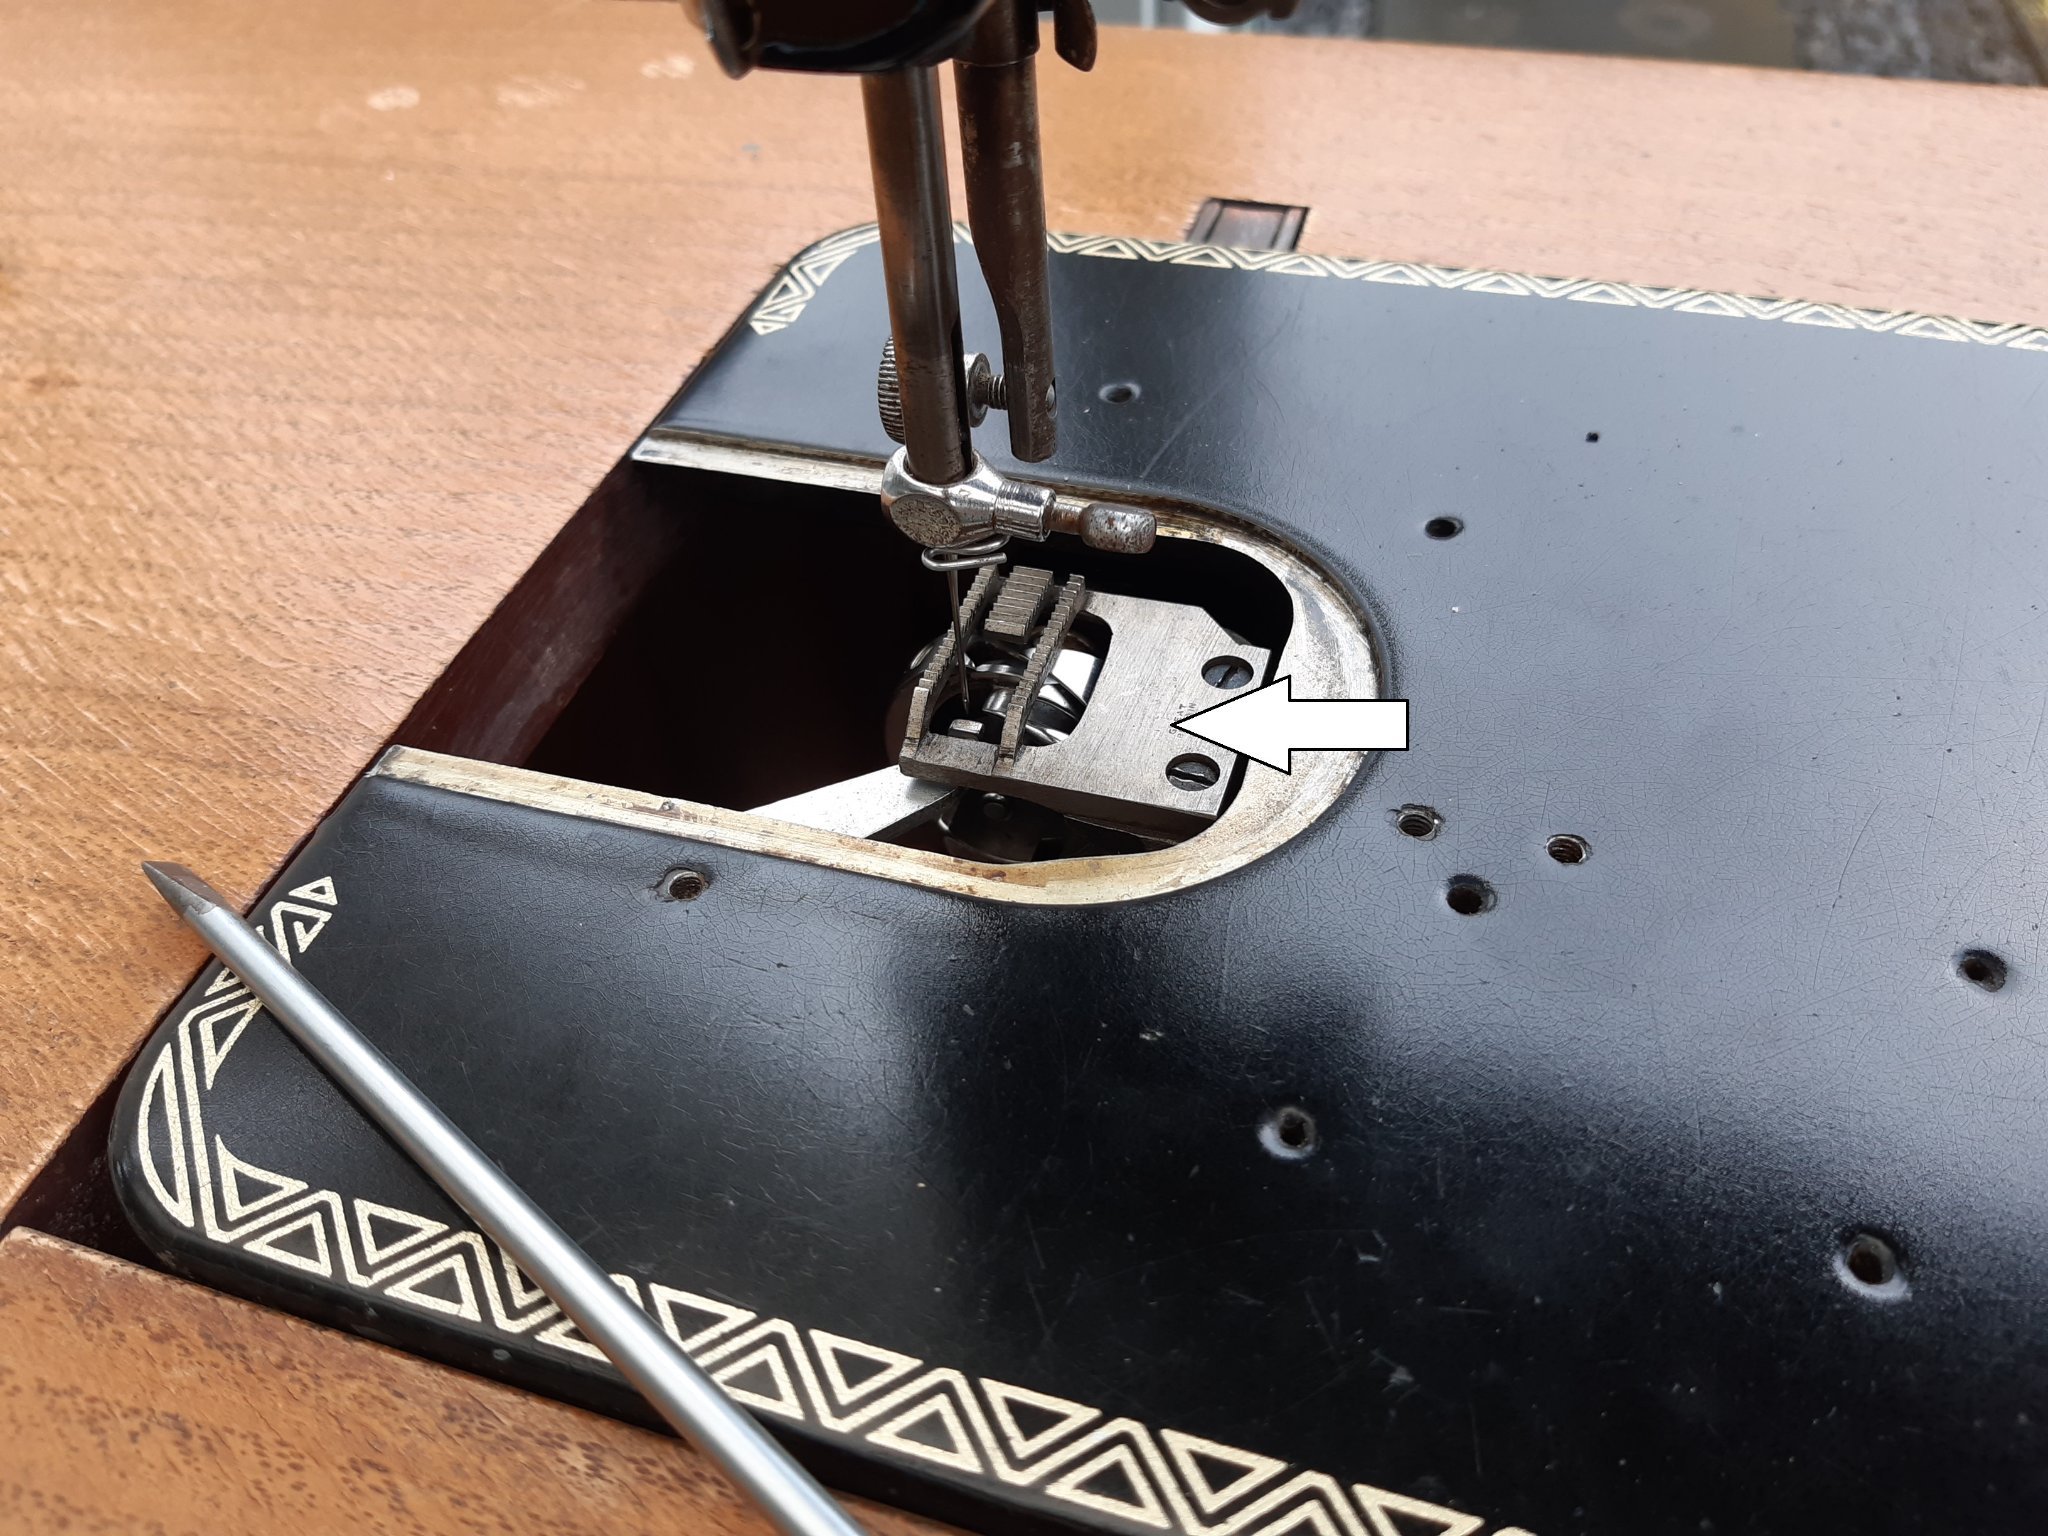
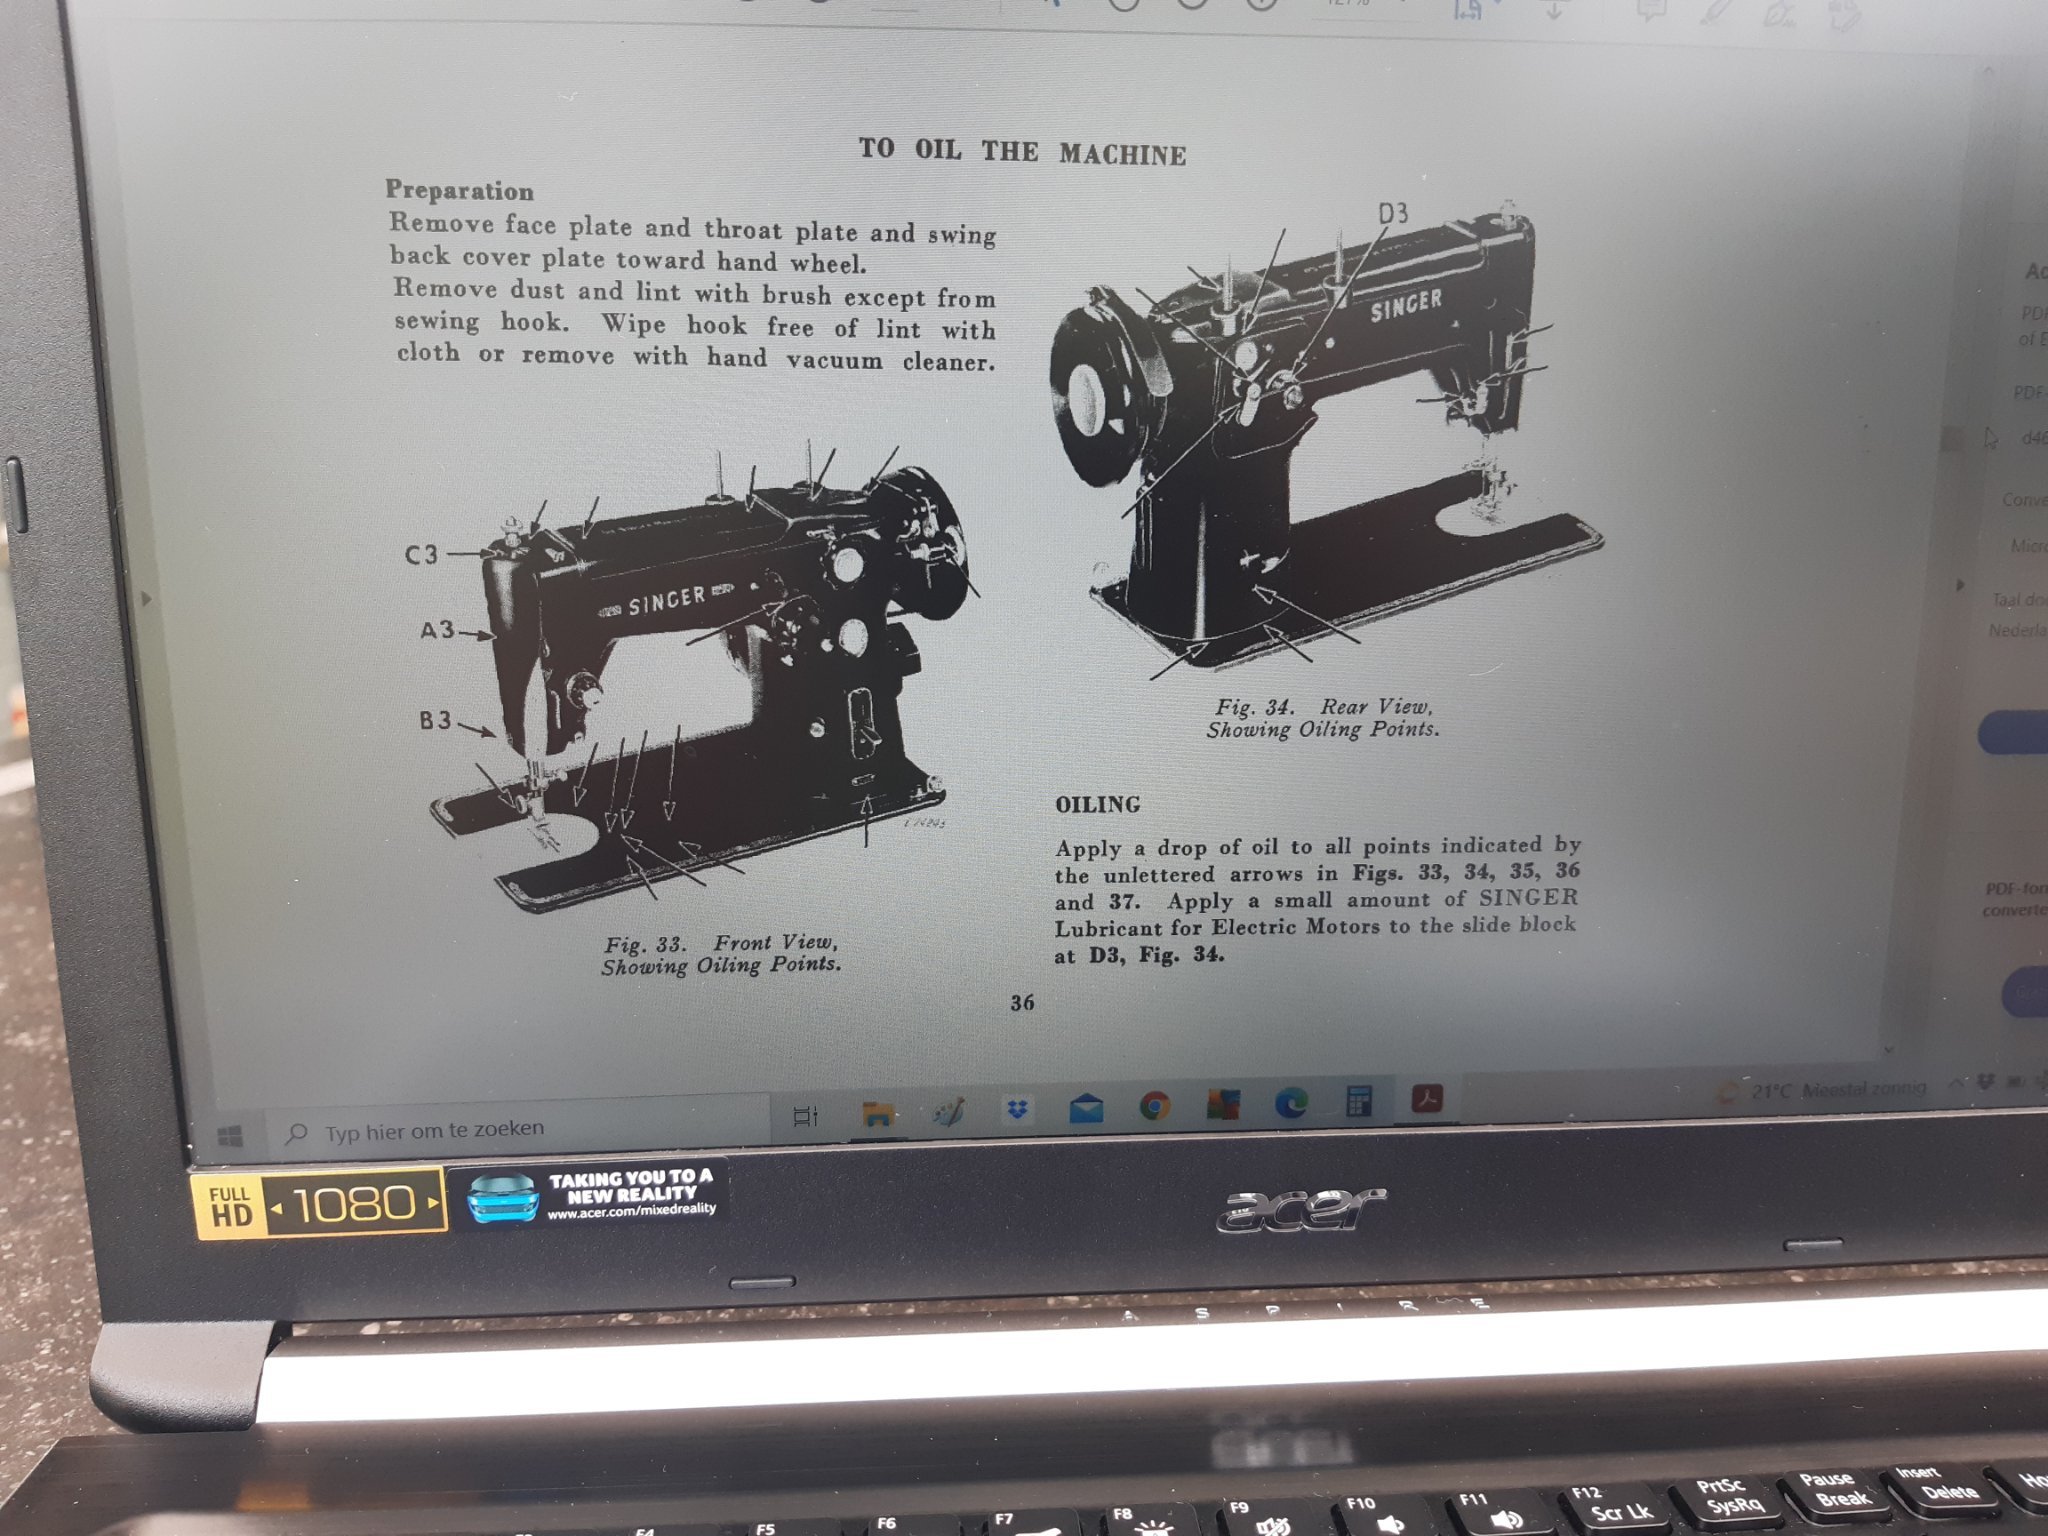
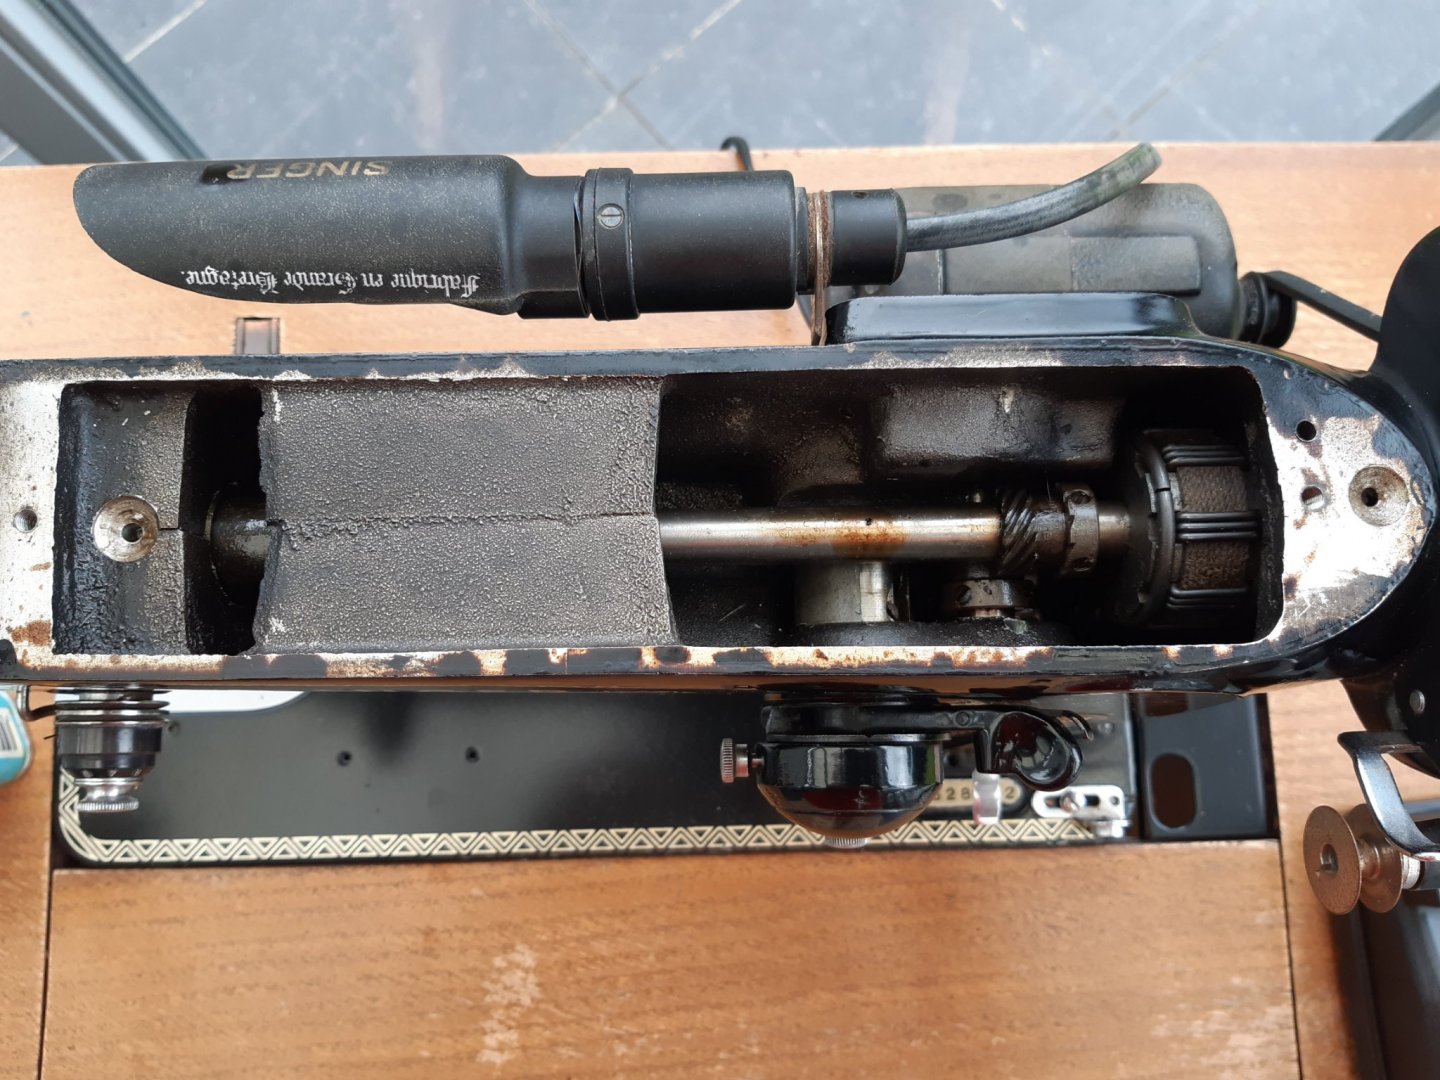
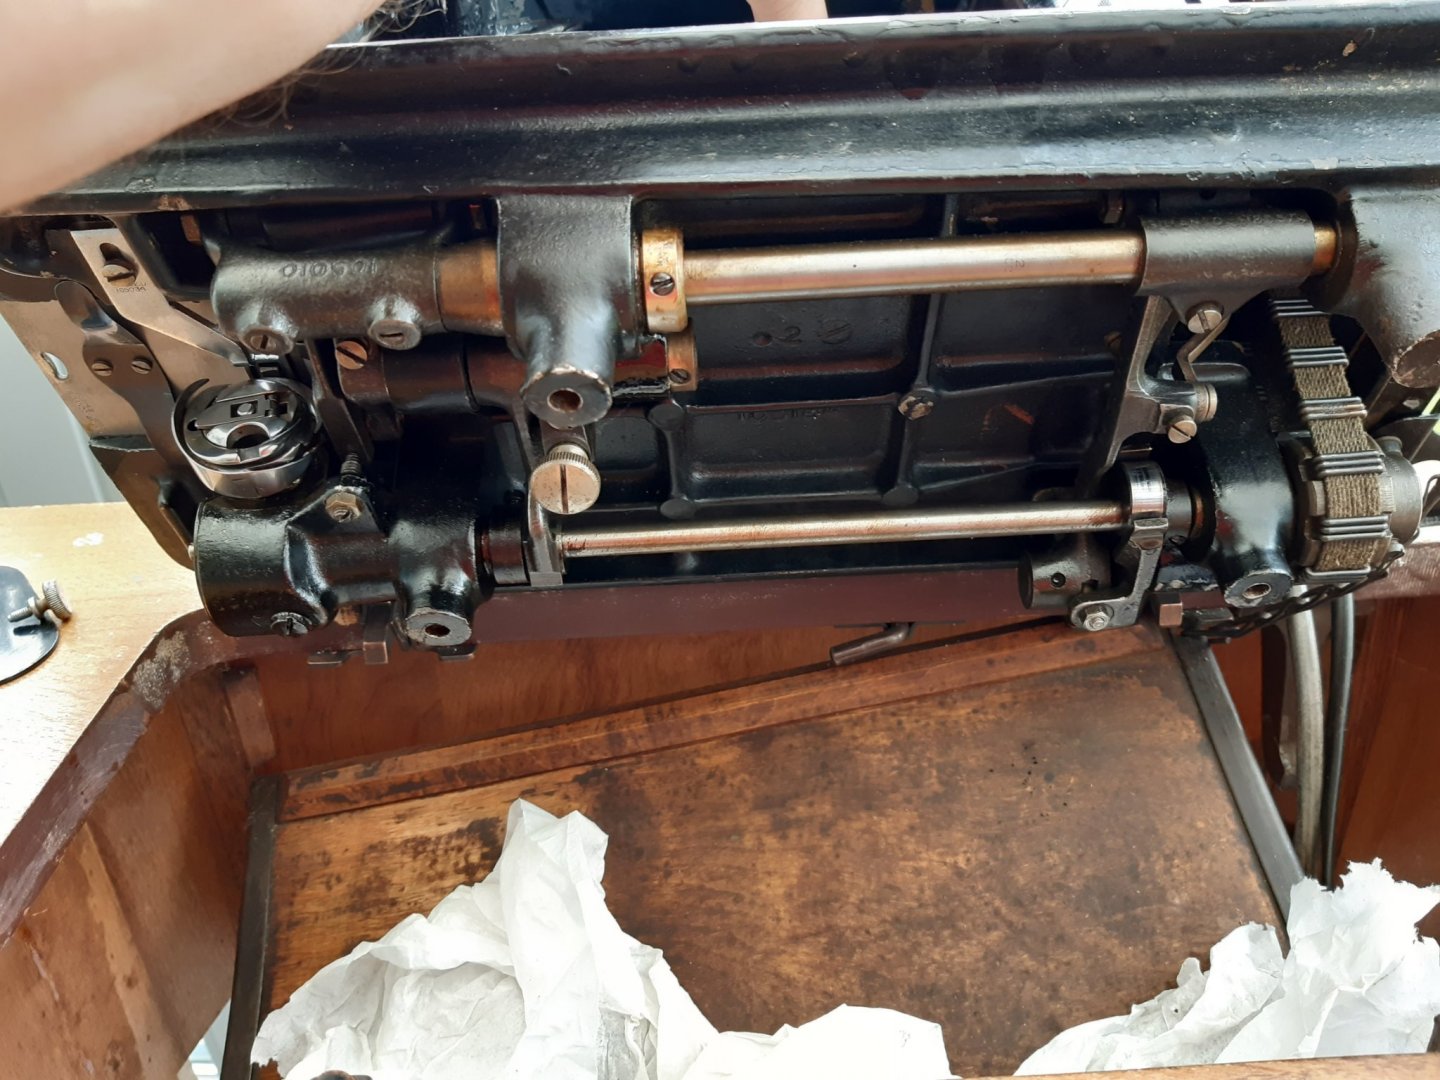
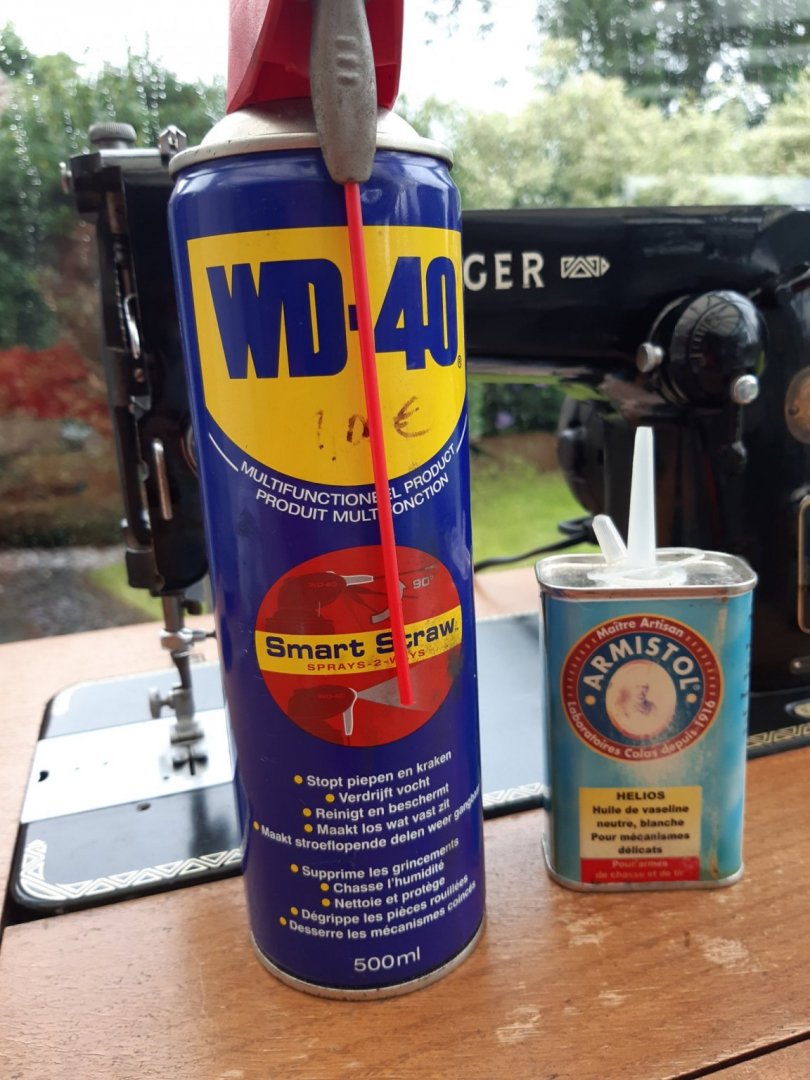
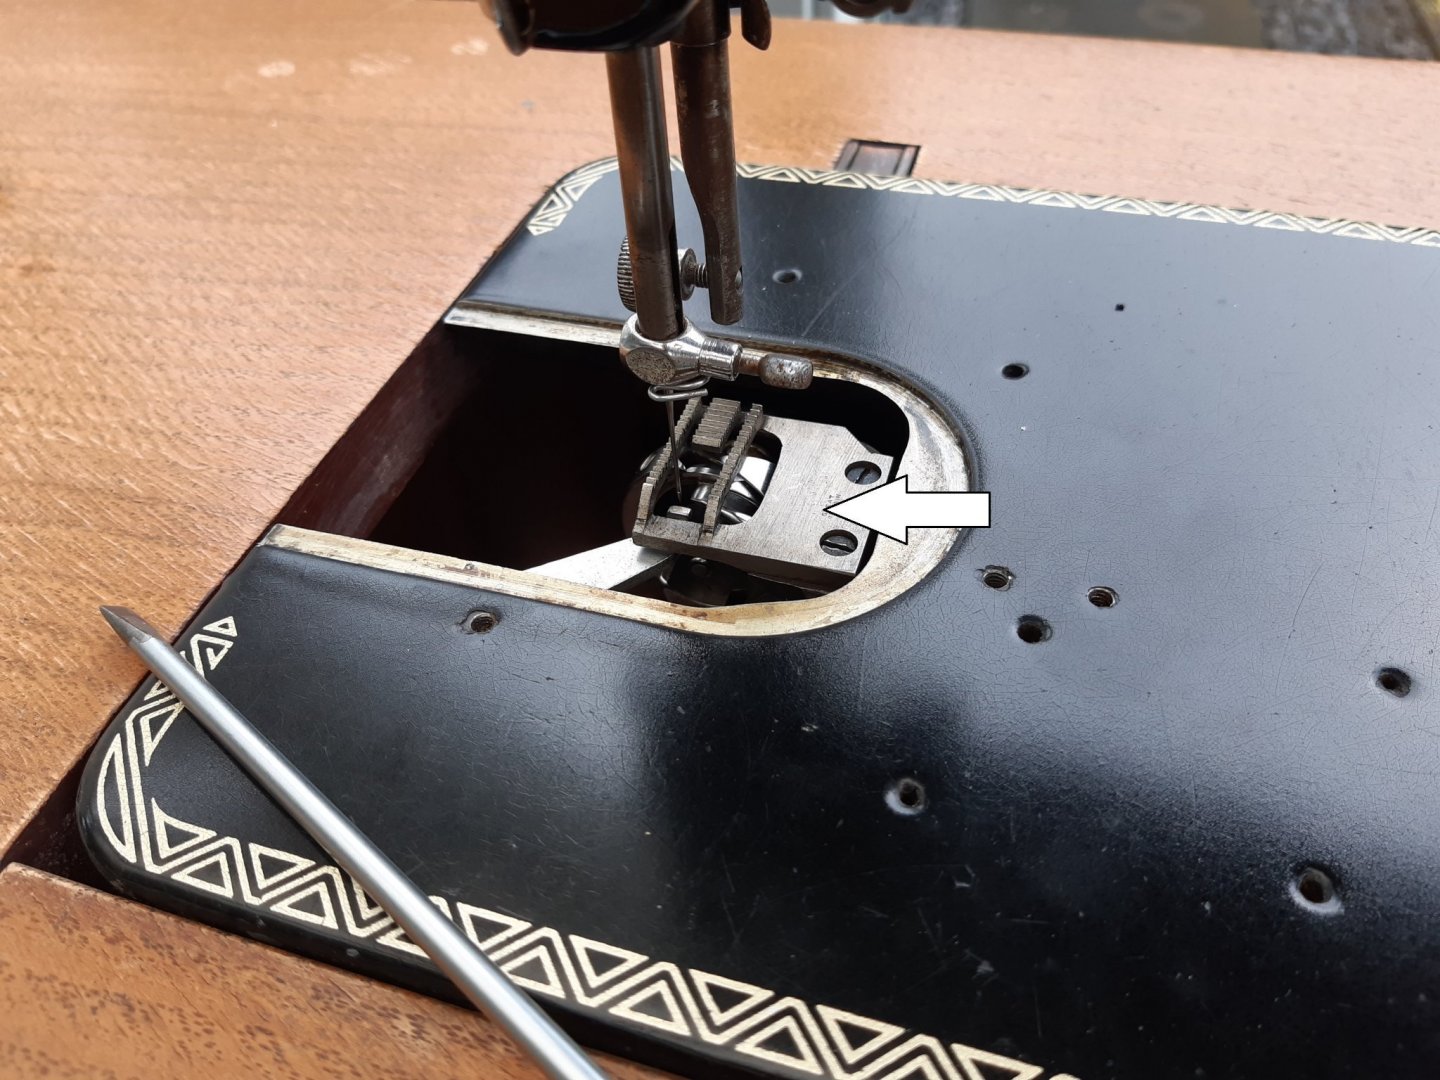
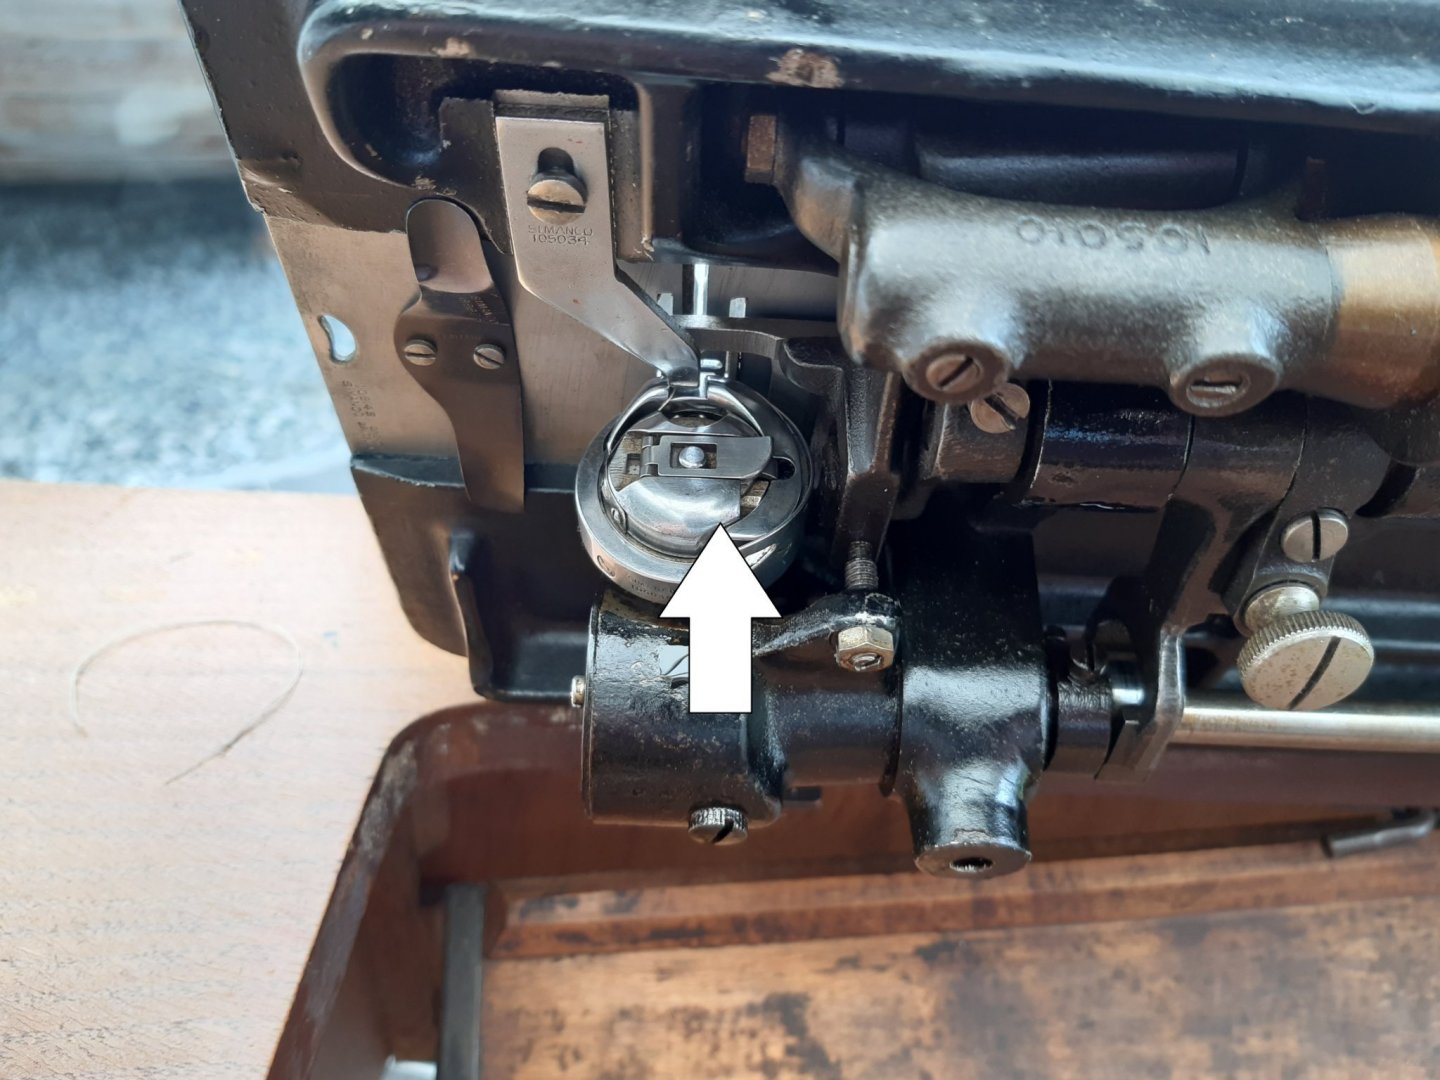
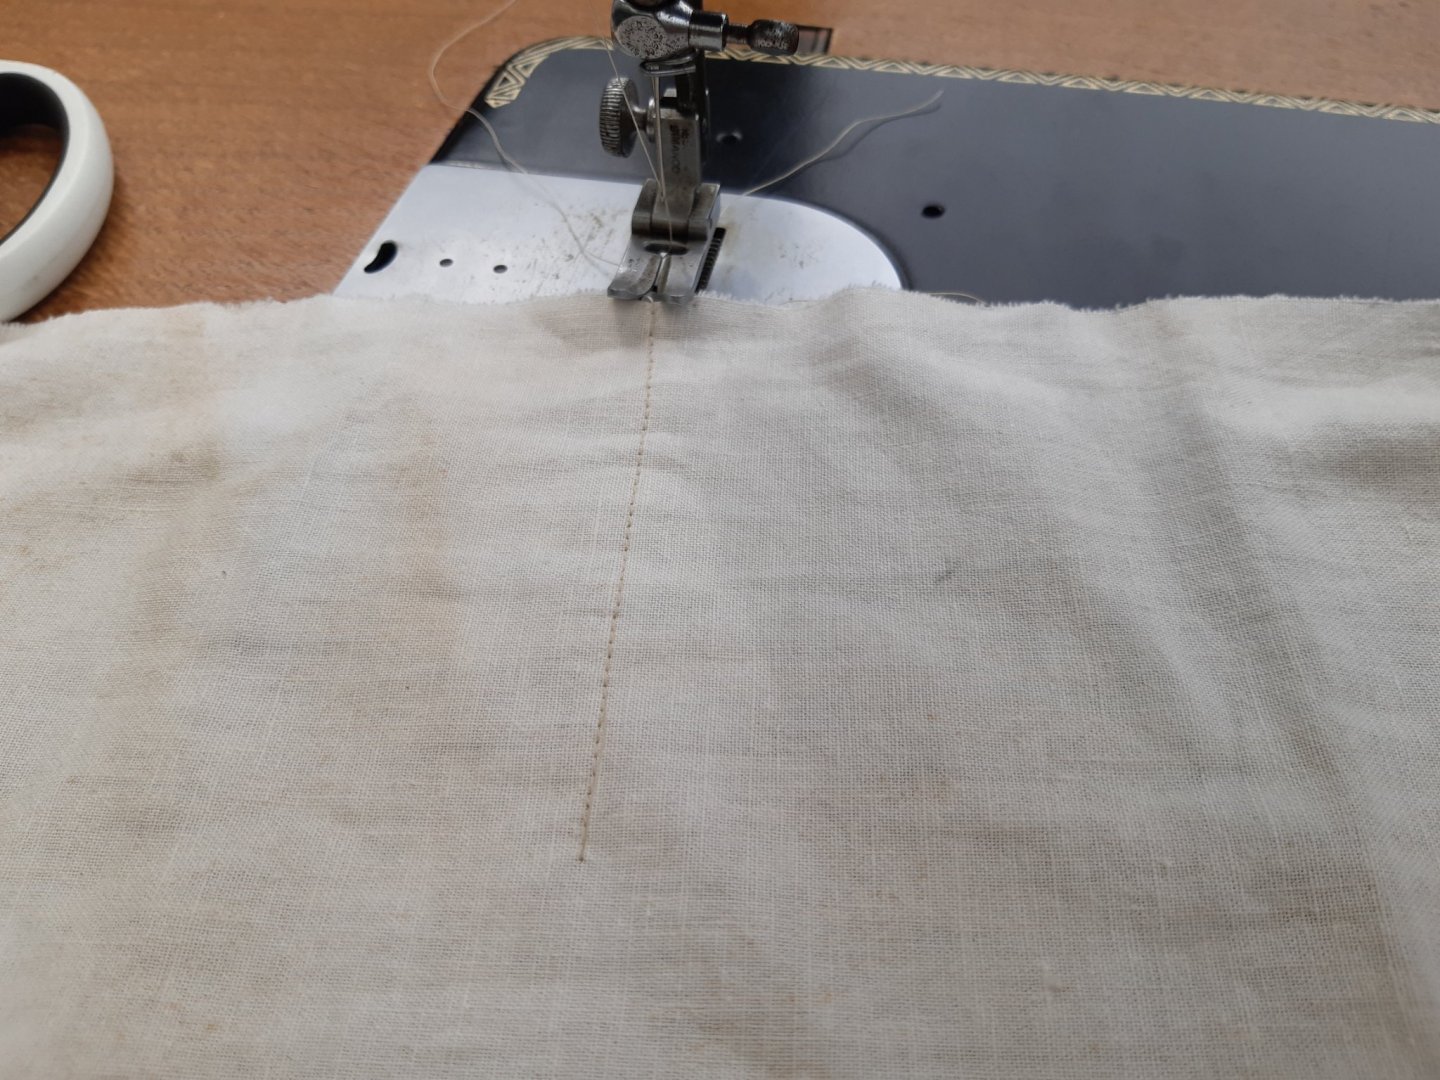
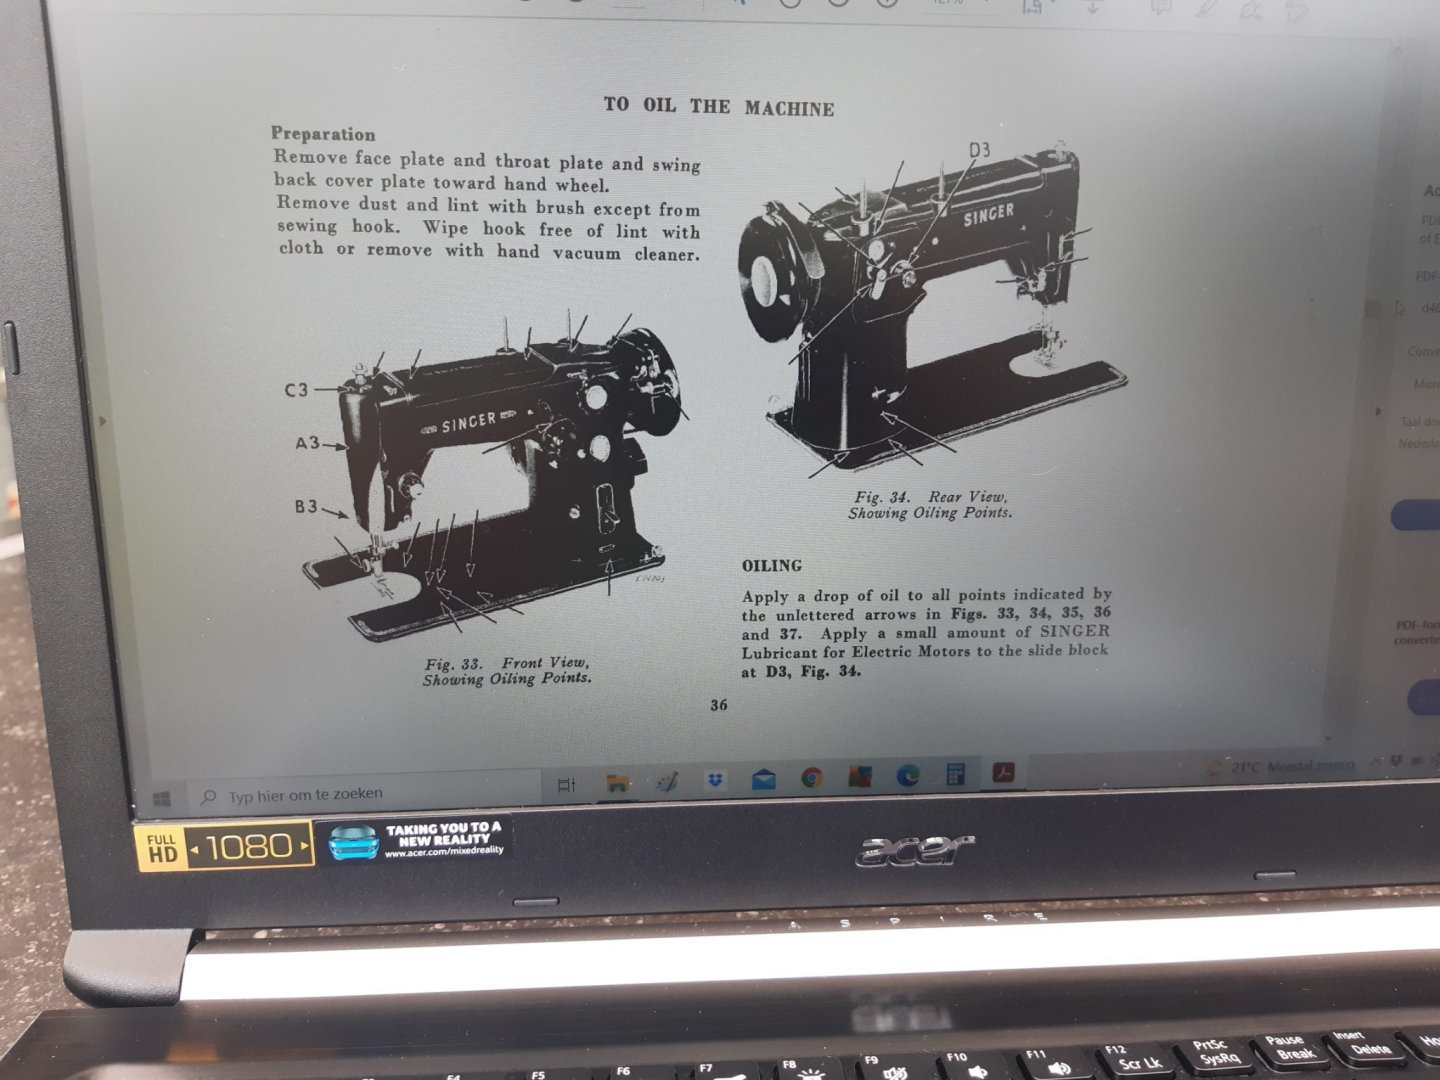
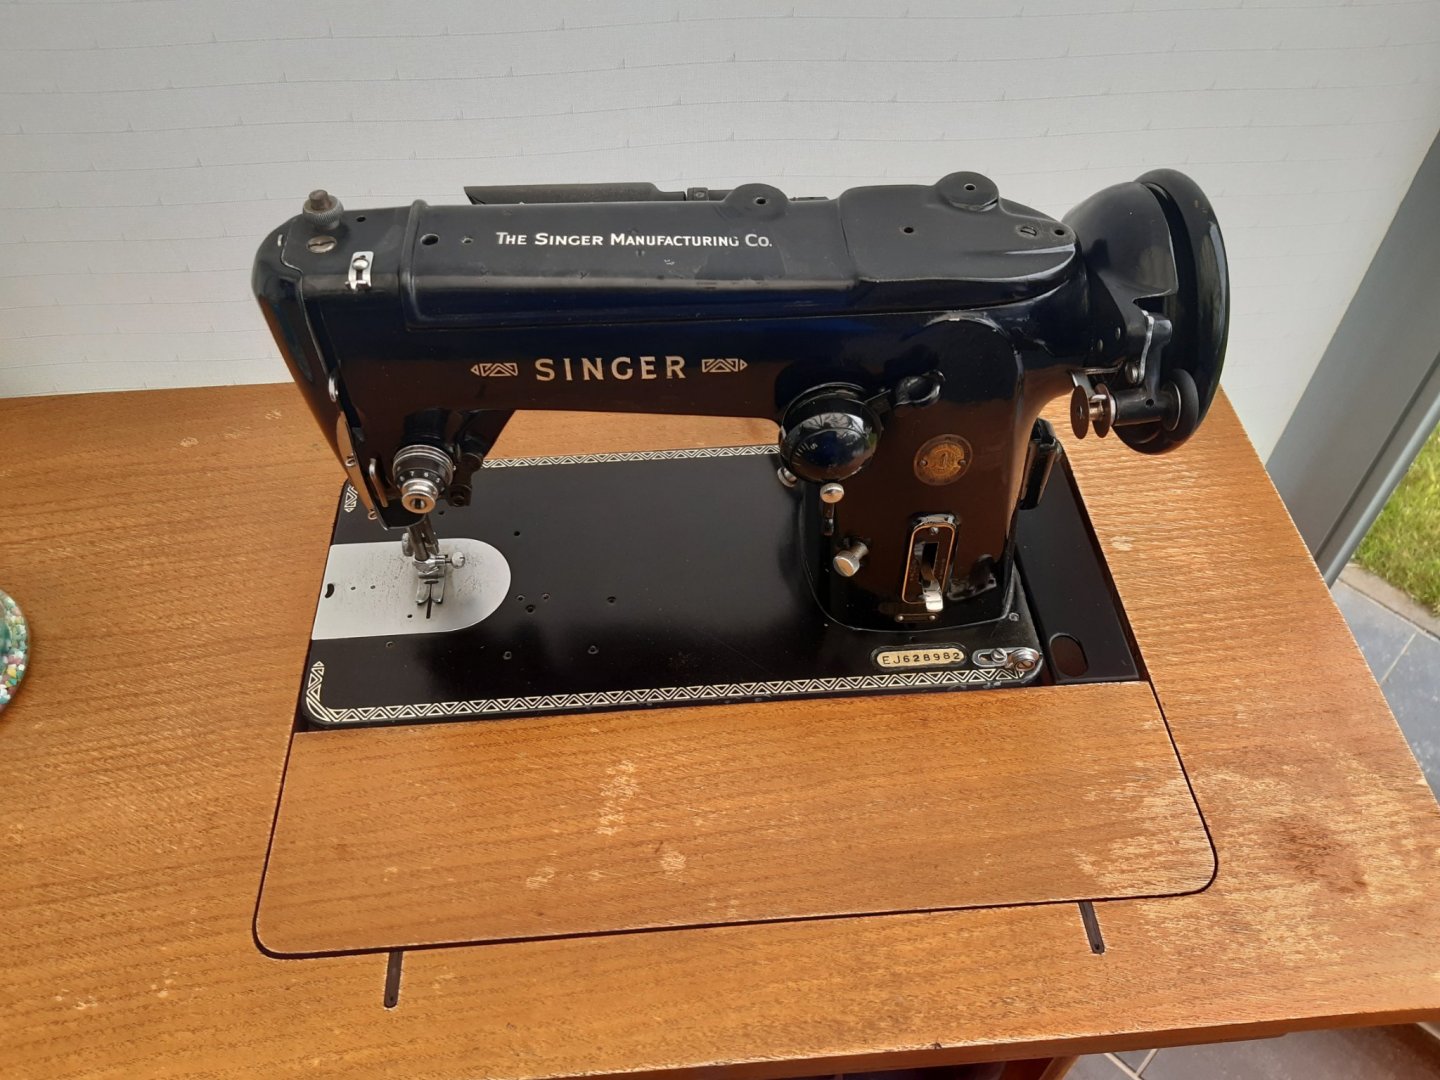
Hooray Hooray, Mission "Singer Restoration" successfully accomplished. With patience, WD40 and gun oil (I don't have sewing machine oil) Old real mechanics (love it) Some problems here and there The bottom wire was not picked up at first. The footplate did not move. finally after years of neglect a "singing sewing machine" 20210726_191014.mp4 The first sewing test And the sails are drawn on the sheet. The thinnest cotton I found (0.35mm thick) Thanks for following, likes and comments

- 756 replies
-
- 13
-
-
-
- galleon
- golden hind
- (and 2 more)
-
Finishing a first wooden ship model is quite an achievement. Very well done.
-
Sorry to hear this. Good luck with the kit model
-
Very nice deadeyes (indeed amazing ) 👍 I urgently need to learn 3D printing
- 740 replies
-
- 1
-

-
- Tudor
- restoration
- (and 4 more)
-
Very nice work 👍
-
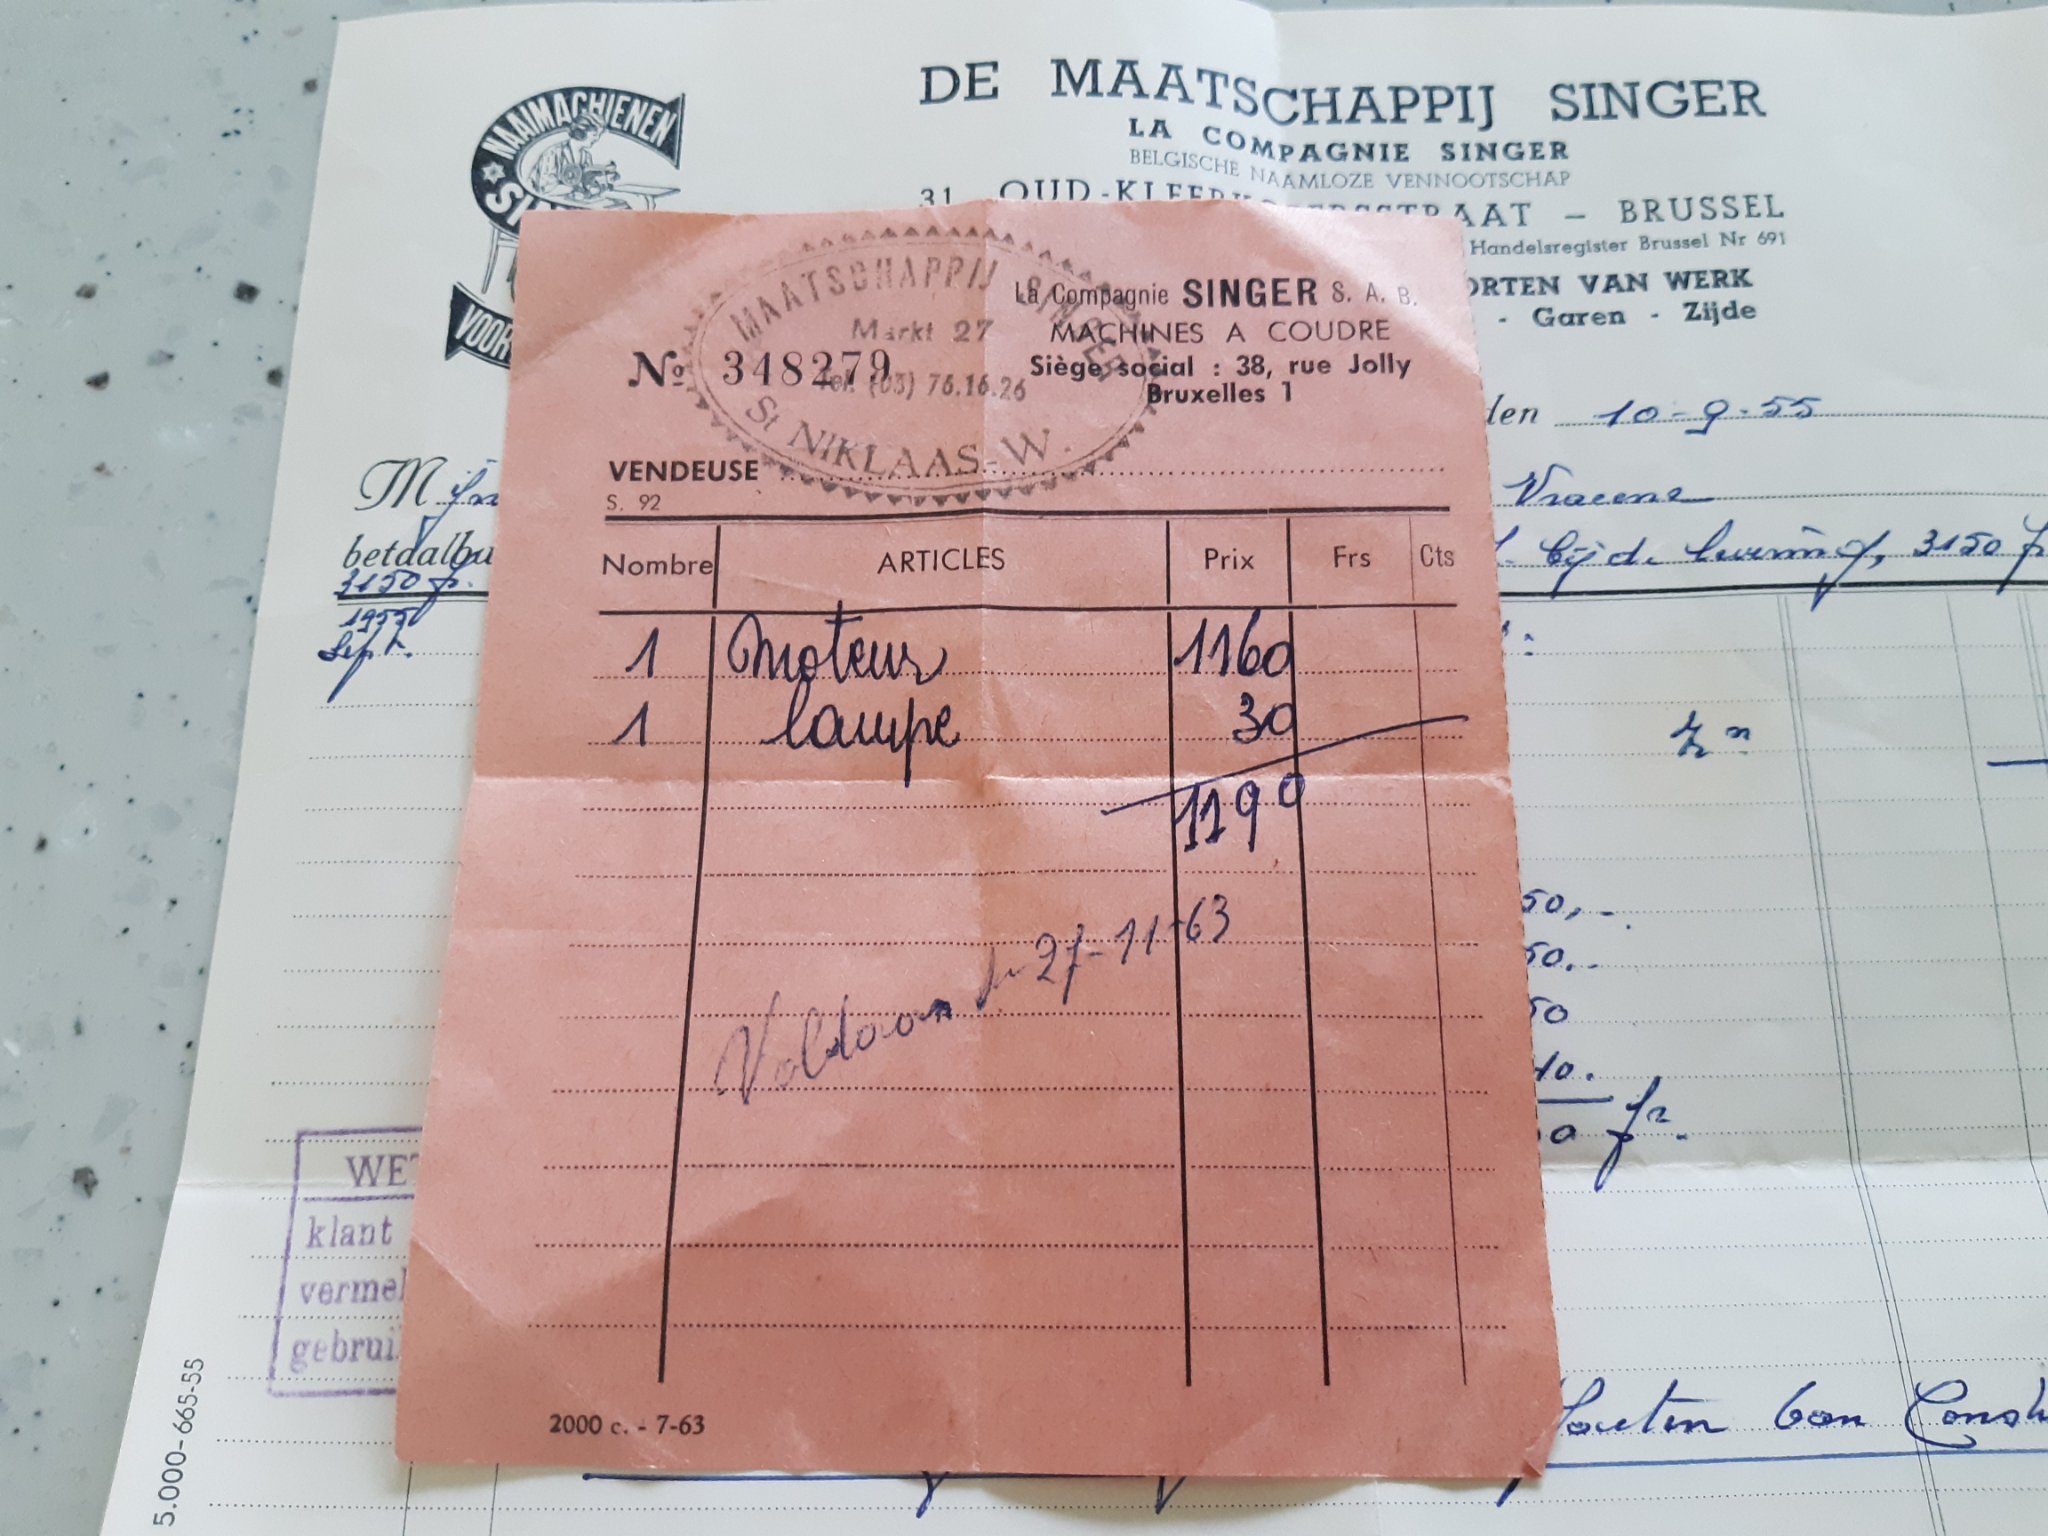
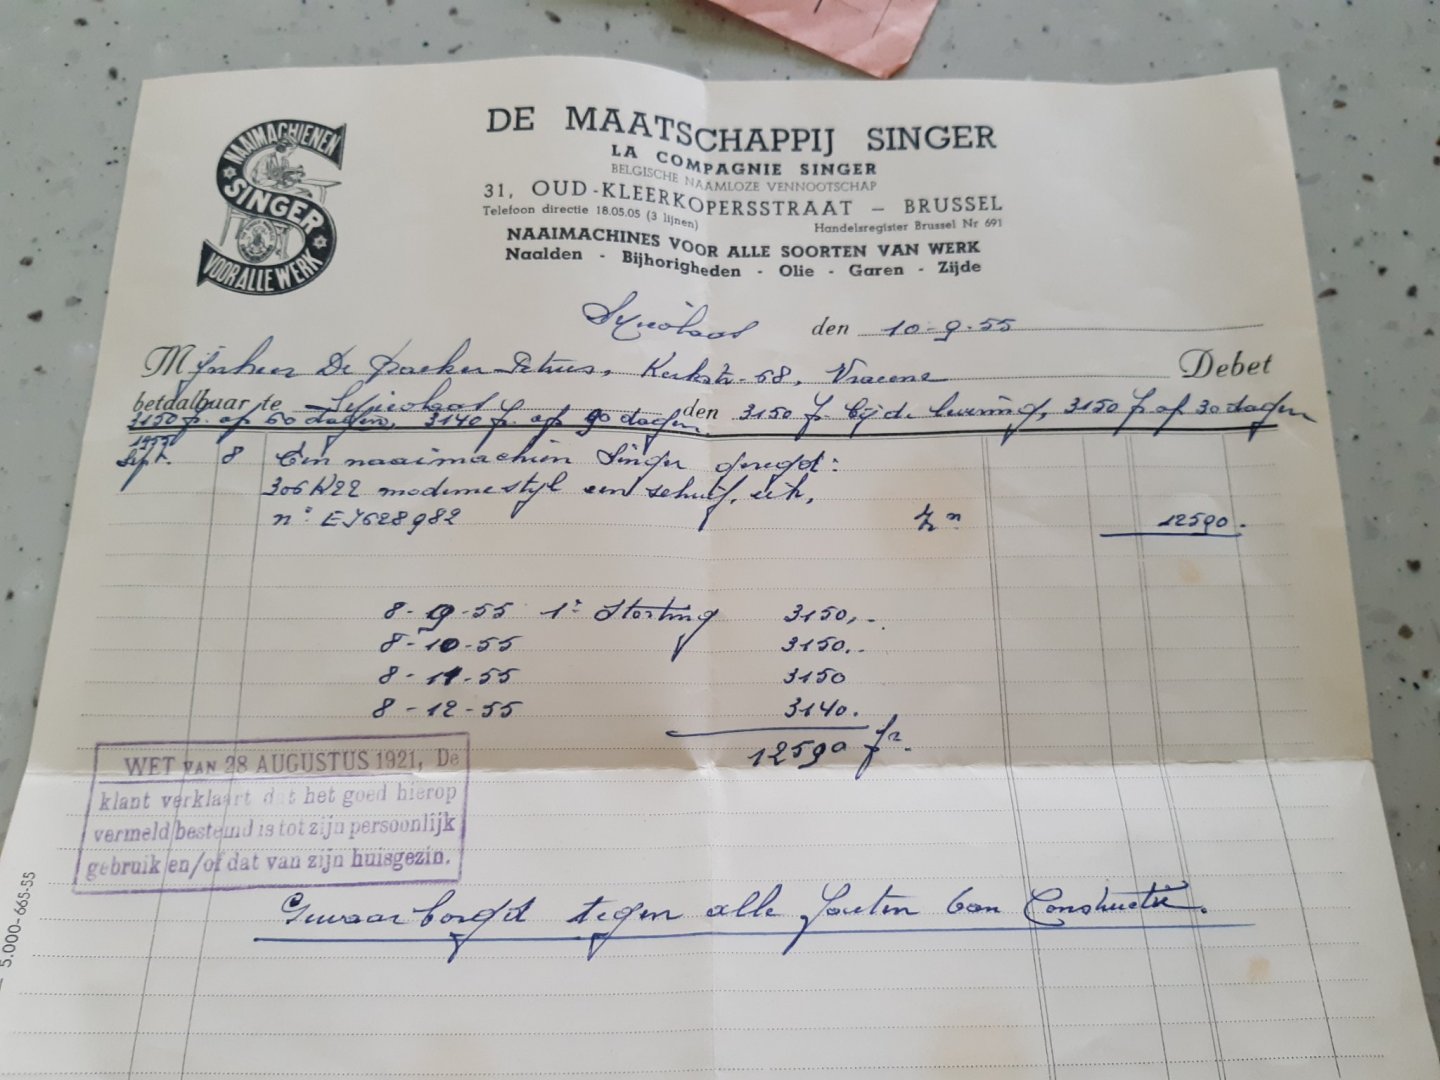
Not really, Unfortunate Price in 1955 : 12590 francs. A big investment in that time (about 412 in the current euro's). Present value ... somewhere around 50 euros ... That's why I'll never sell it https://www.singersewinginfo.co.uk/valuations https://www.singersewinginfo.co.uk/306 Did some electracal repairs And first, lubricate rotating parts. Meanwhile, there is "life" in the machine again. But not enough for now
- 756 replies
-
- 5
-
-
- galleon
- golden hind
- (and 2 more)
-
Sails... I intend not to rush to make them. My mother's old sewing machine. She could sew anything with it, clothes, curtains, etc. Sewing the sails would have been an easy job for her Bought in 1955 and motorized in 1963

- 756 replies
-
- 7
-
-

-
- galleon
- golden hind
- (and 2 more)
-
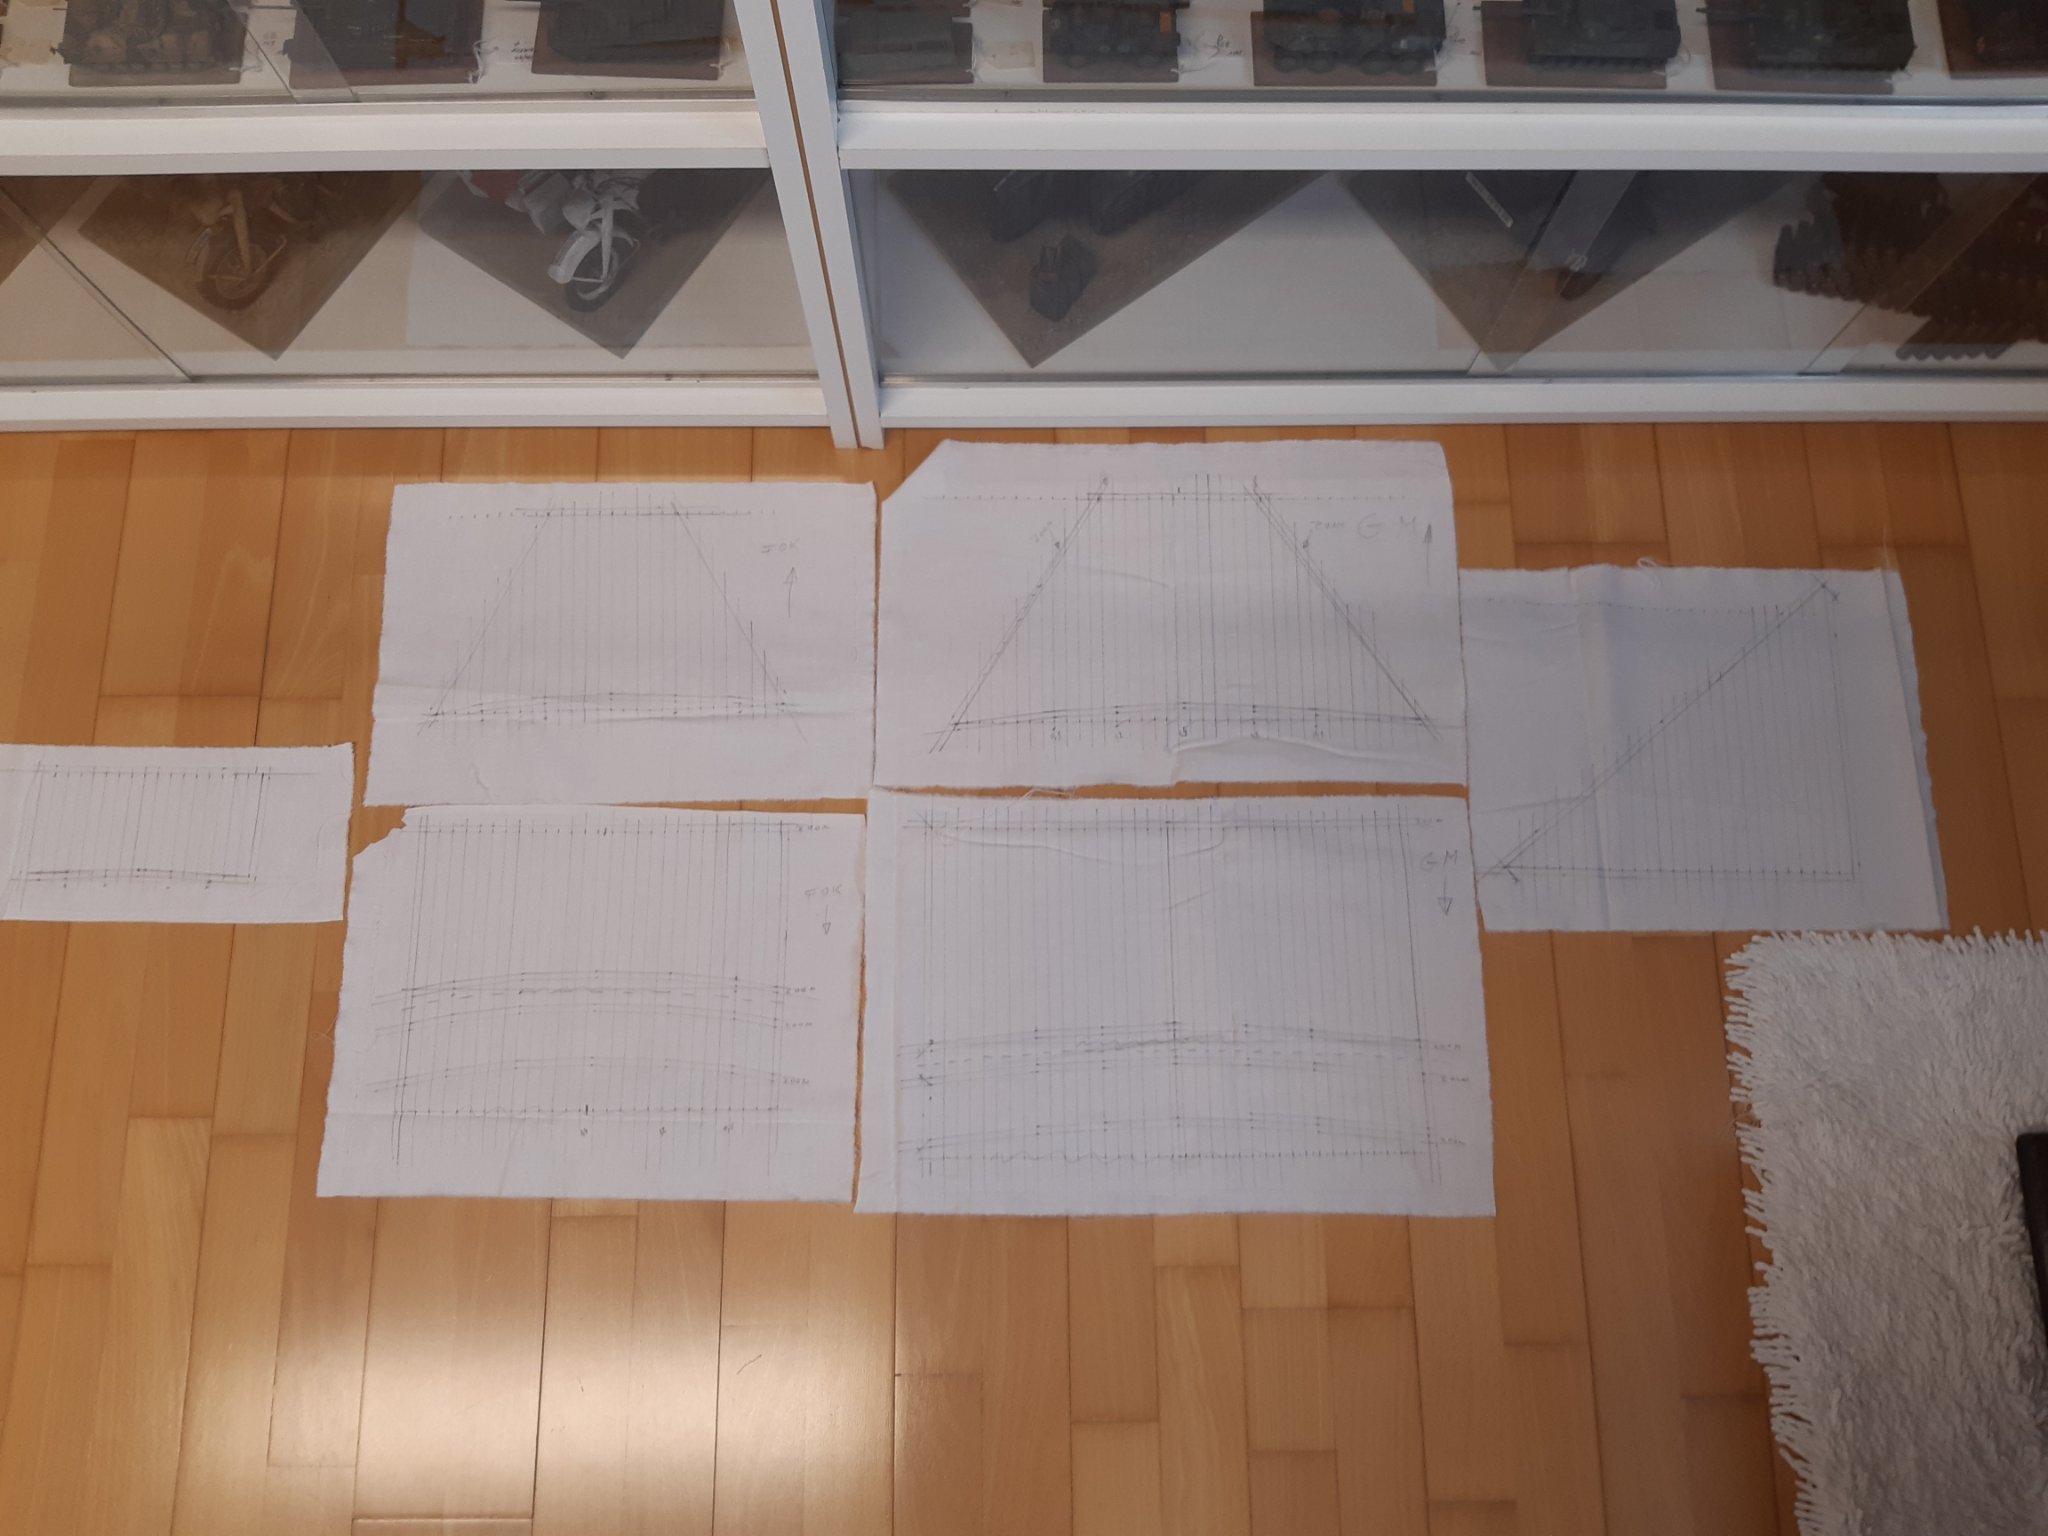
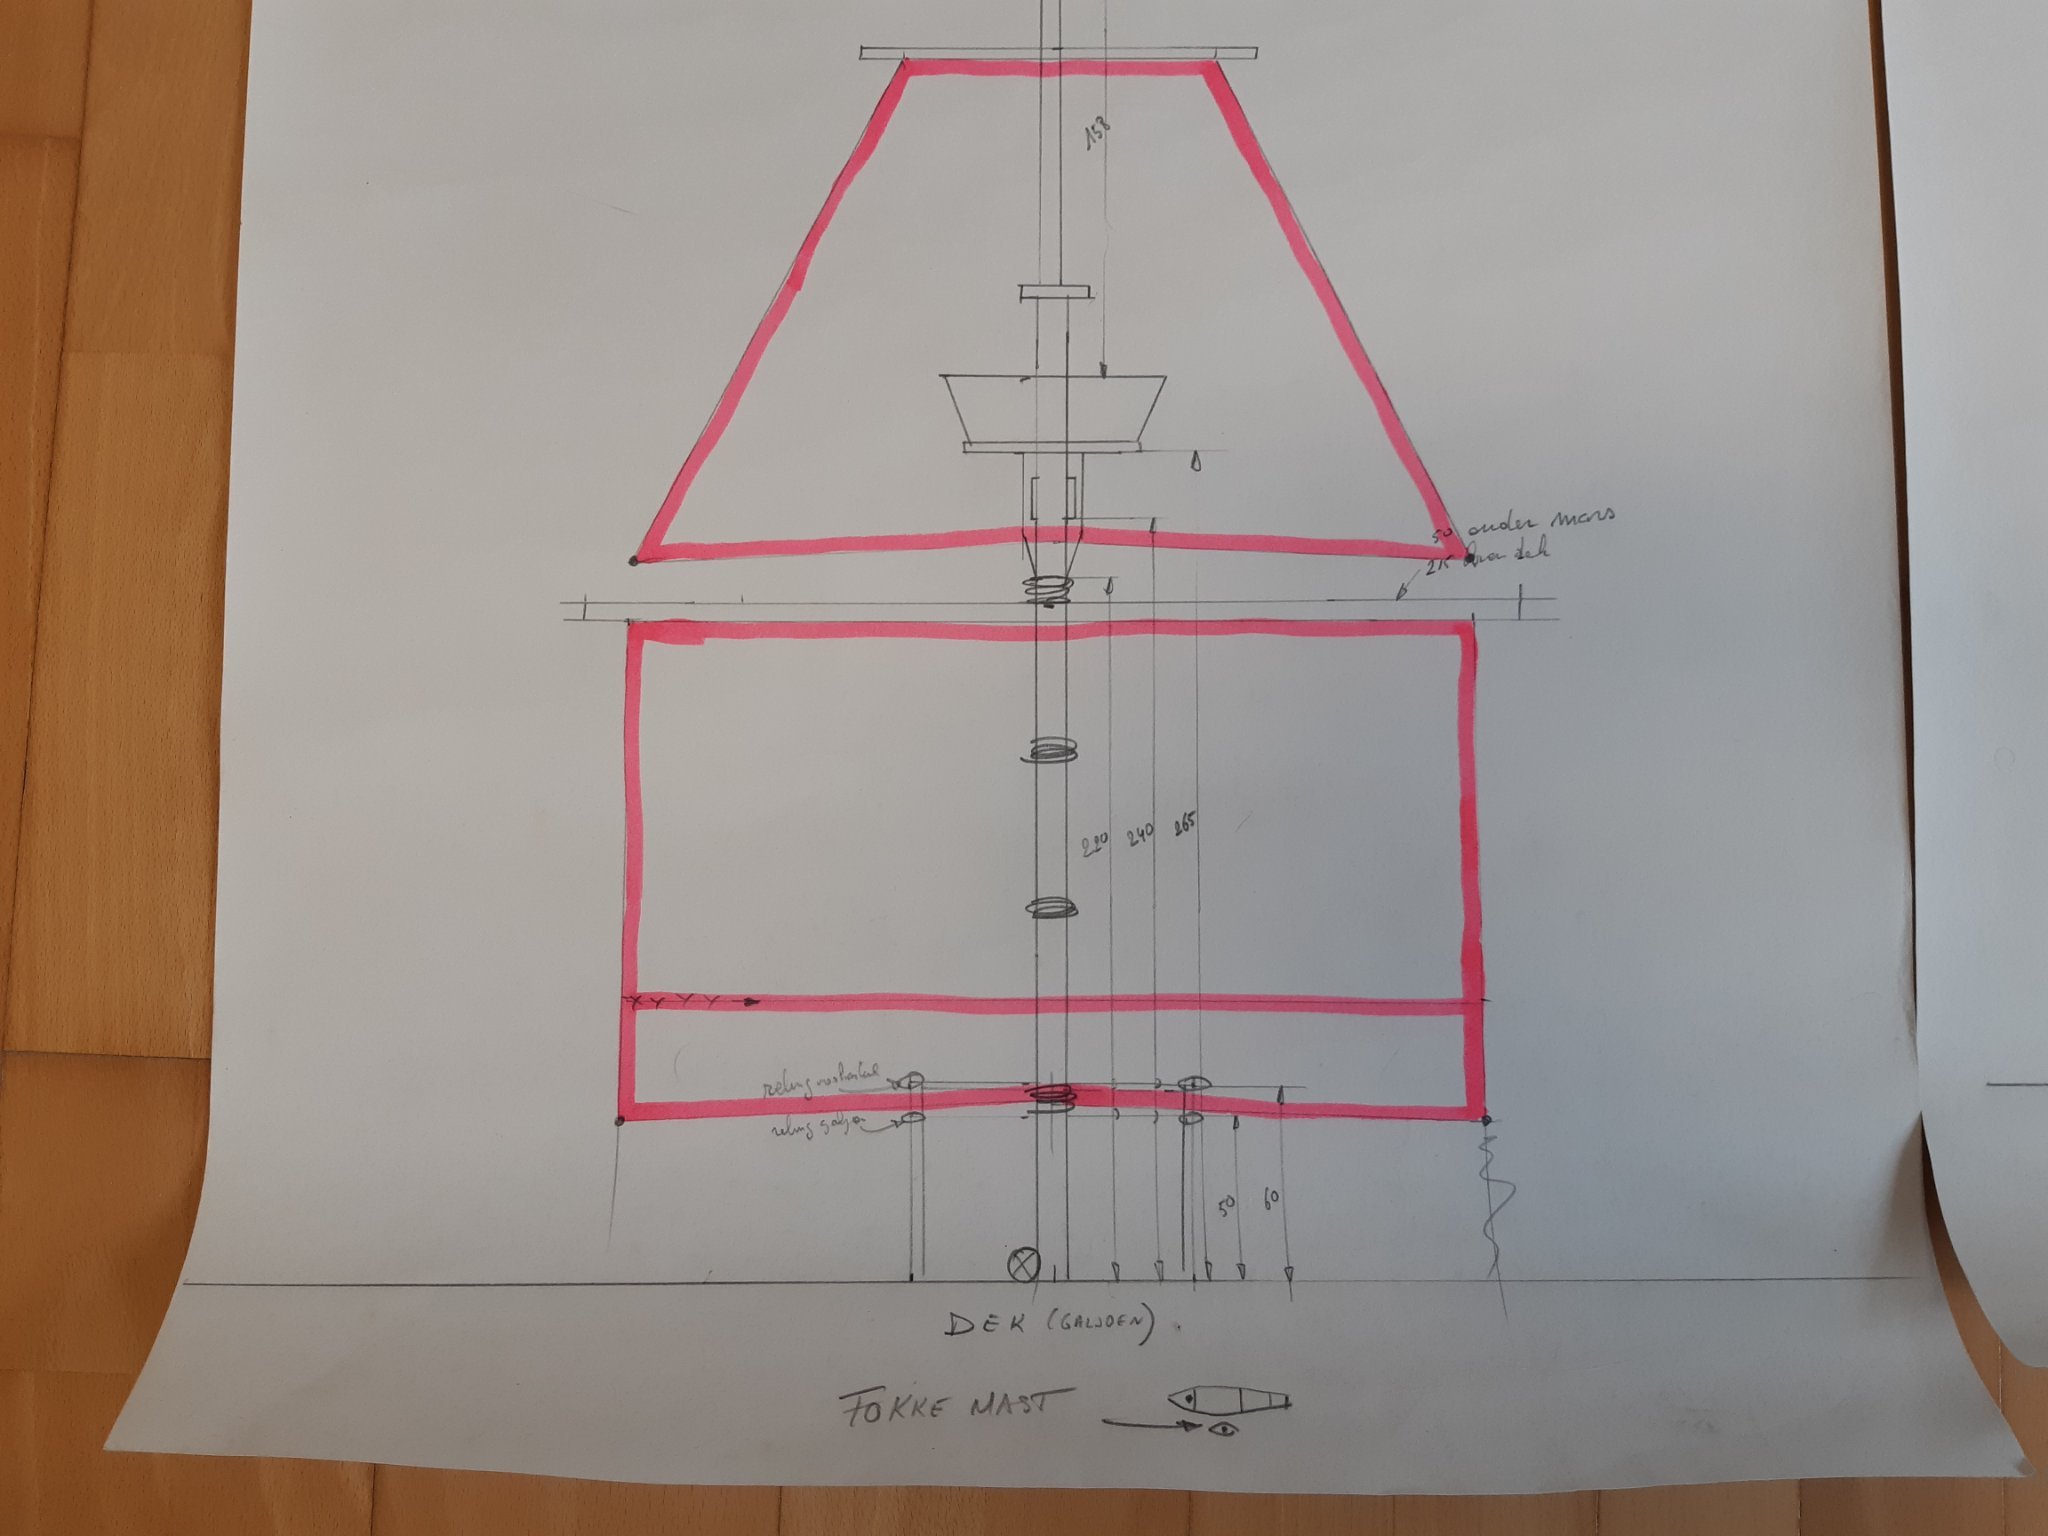
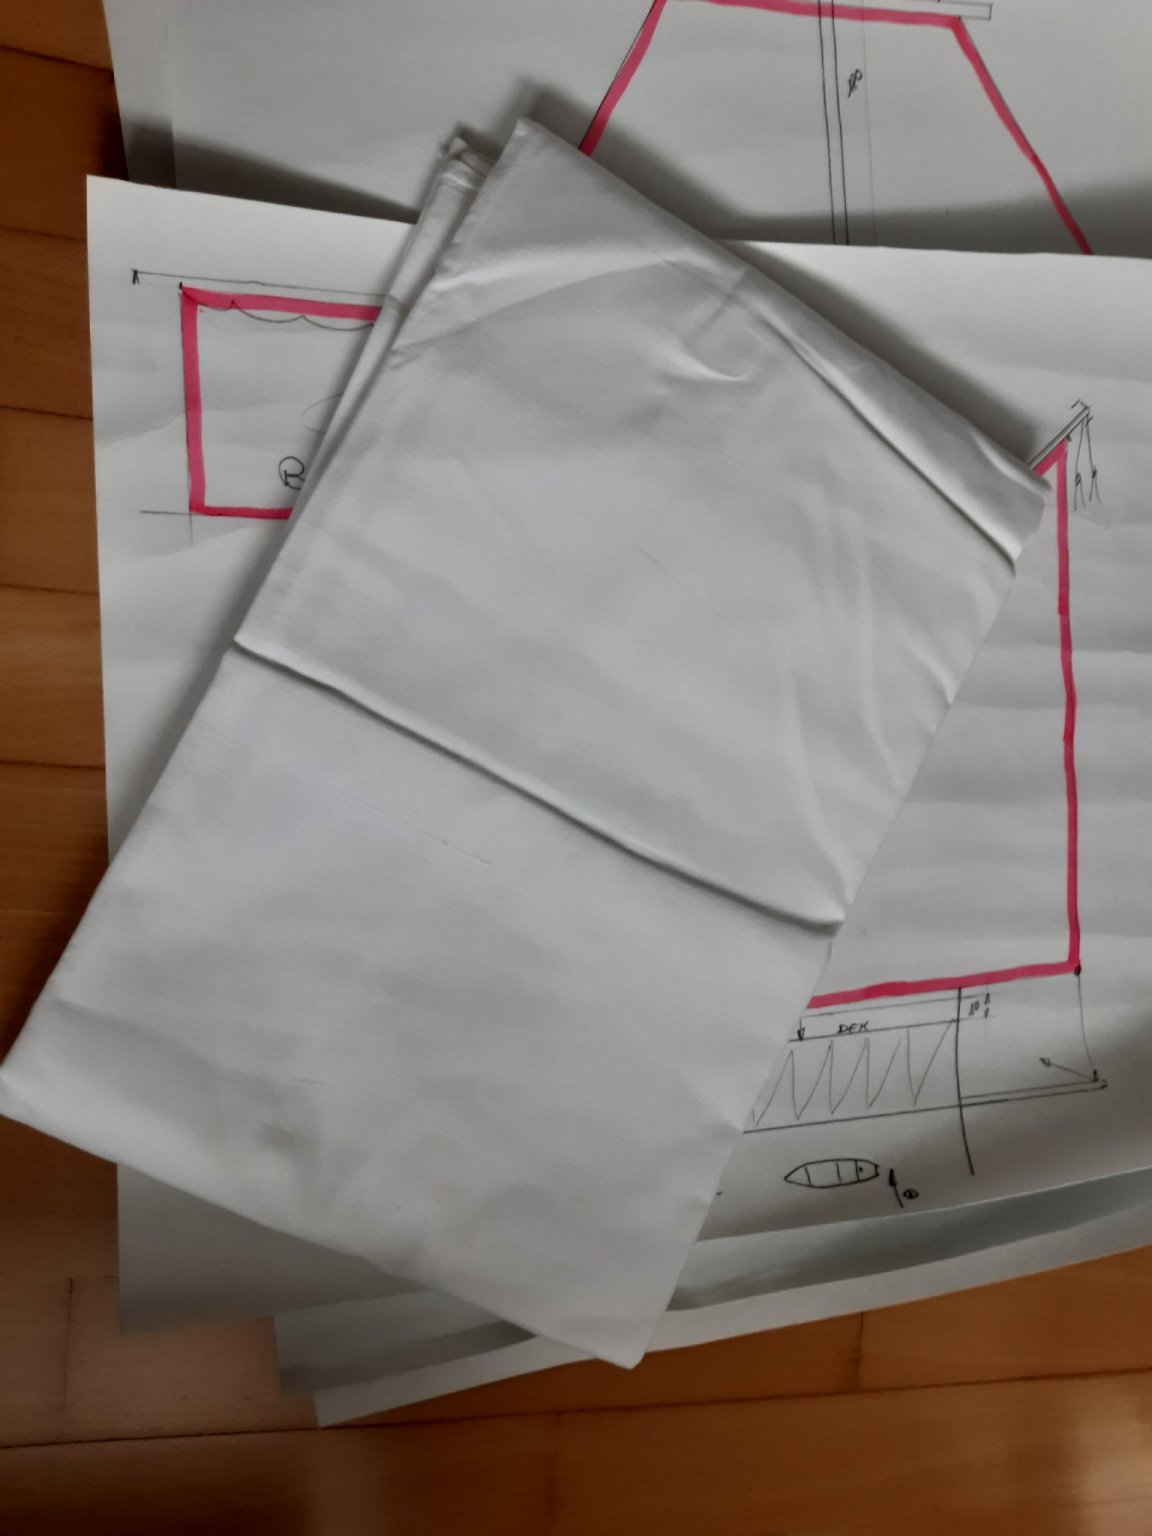
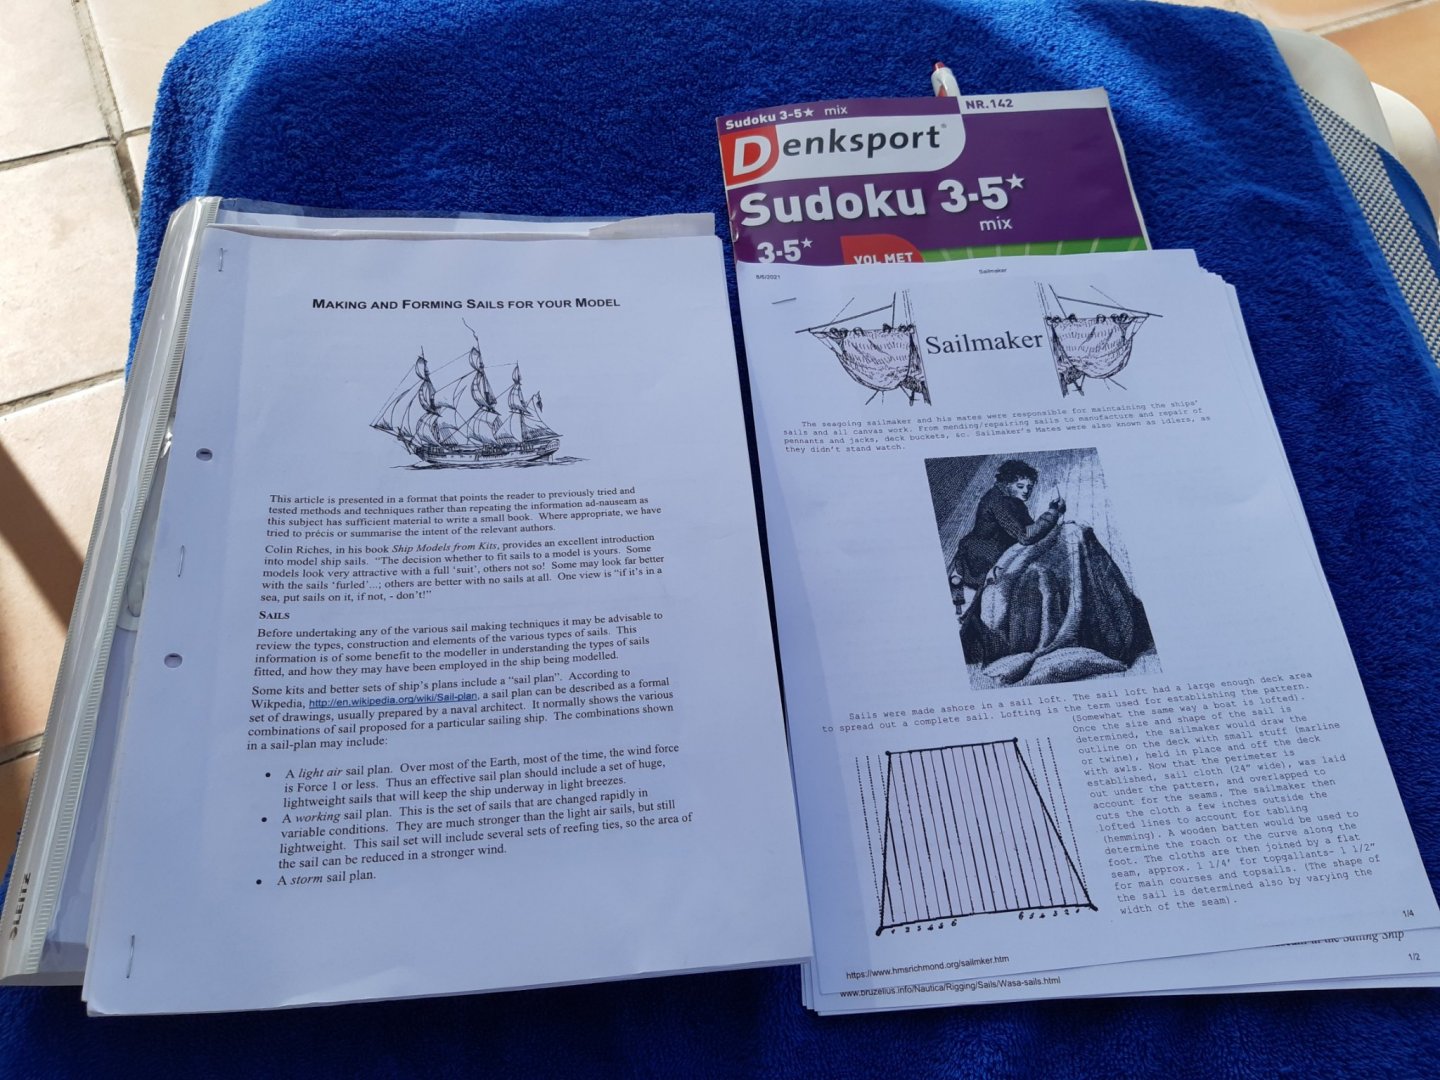
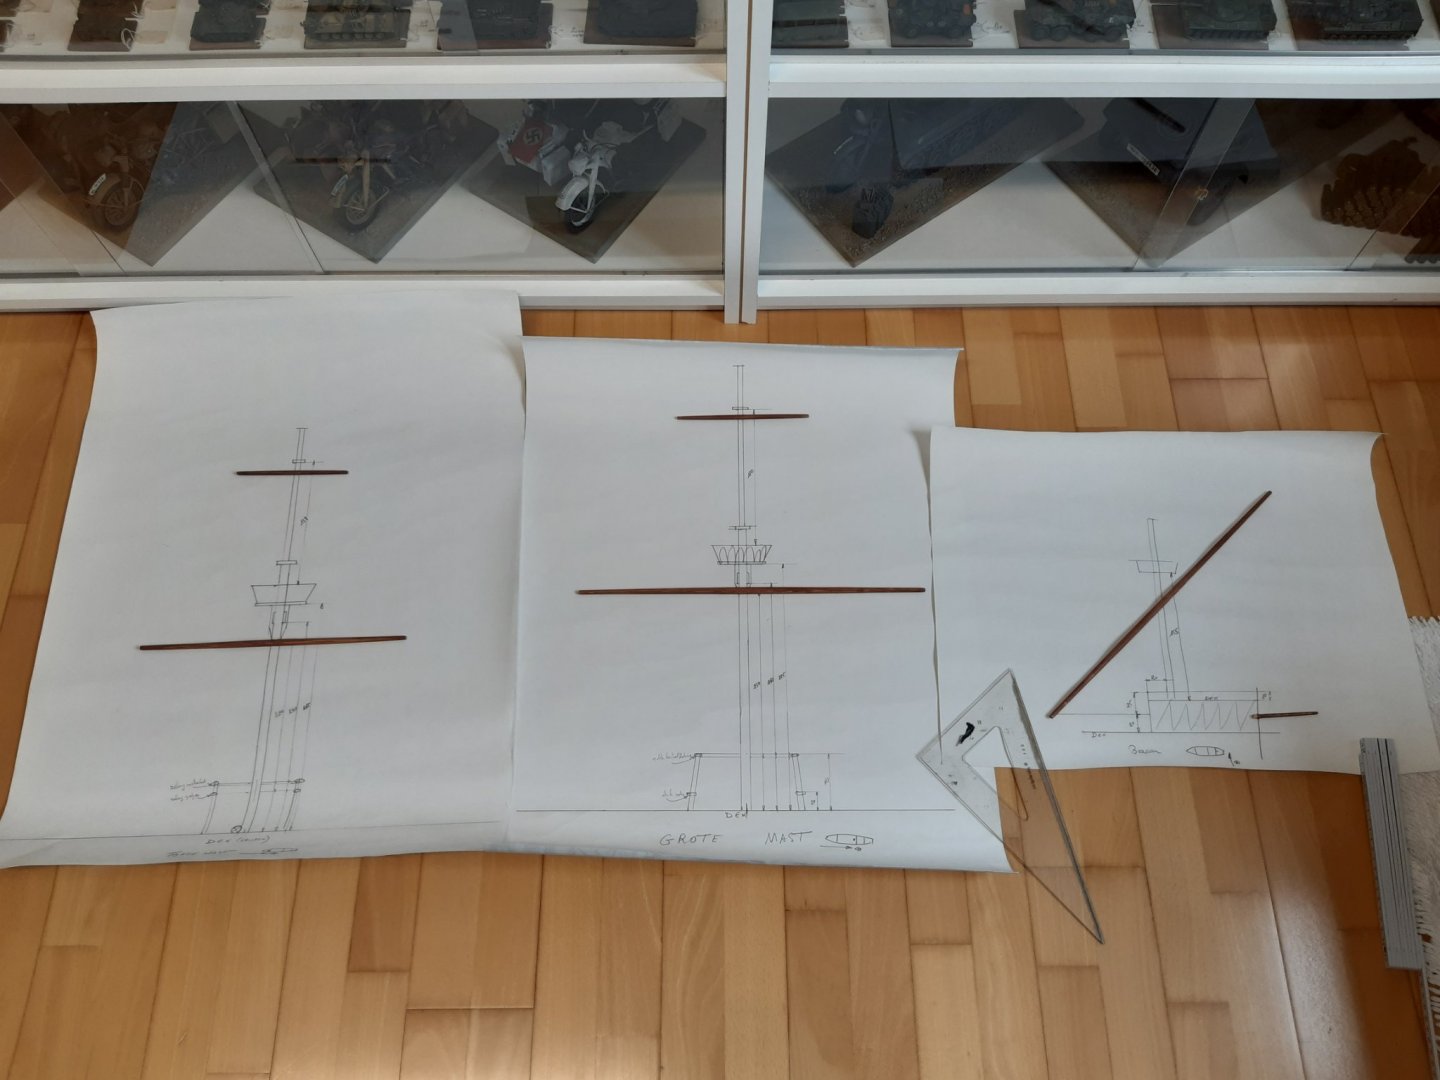
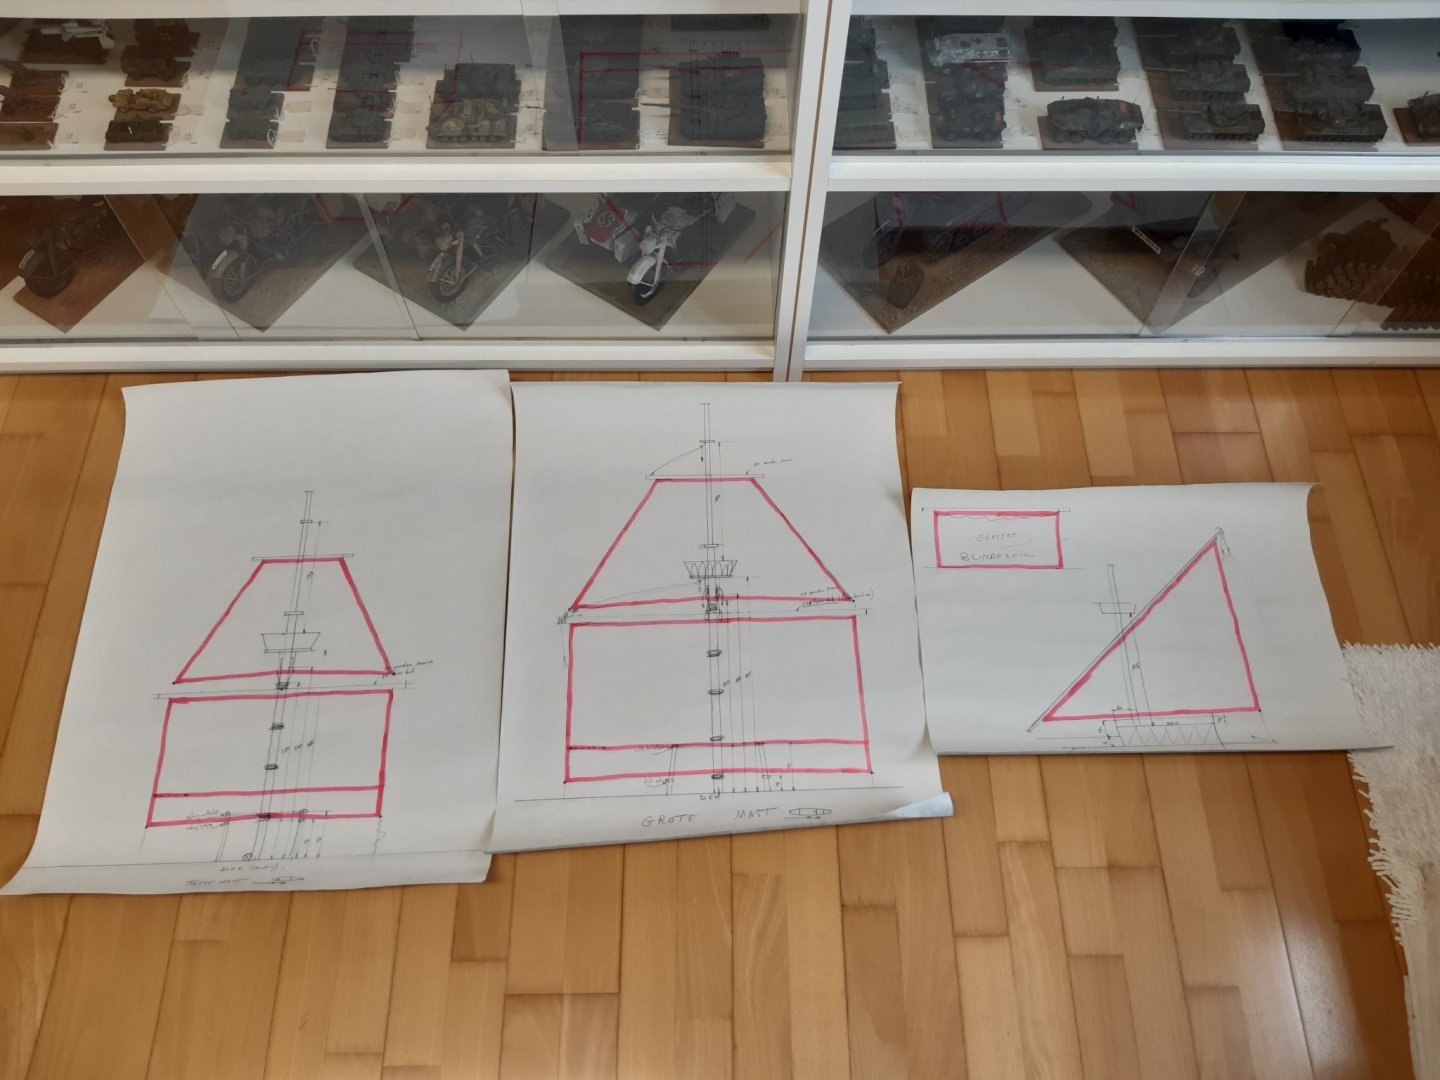
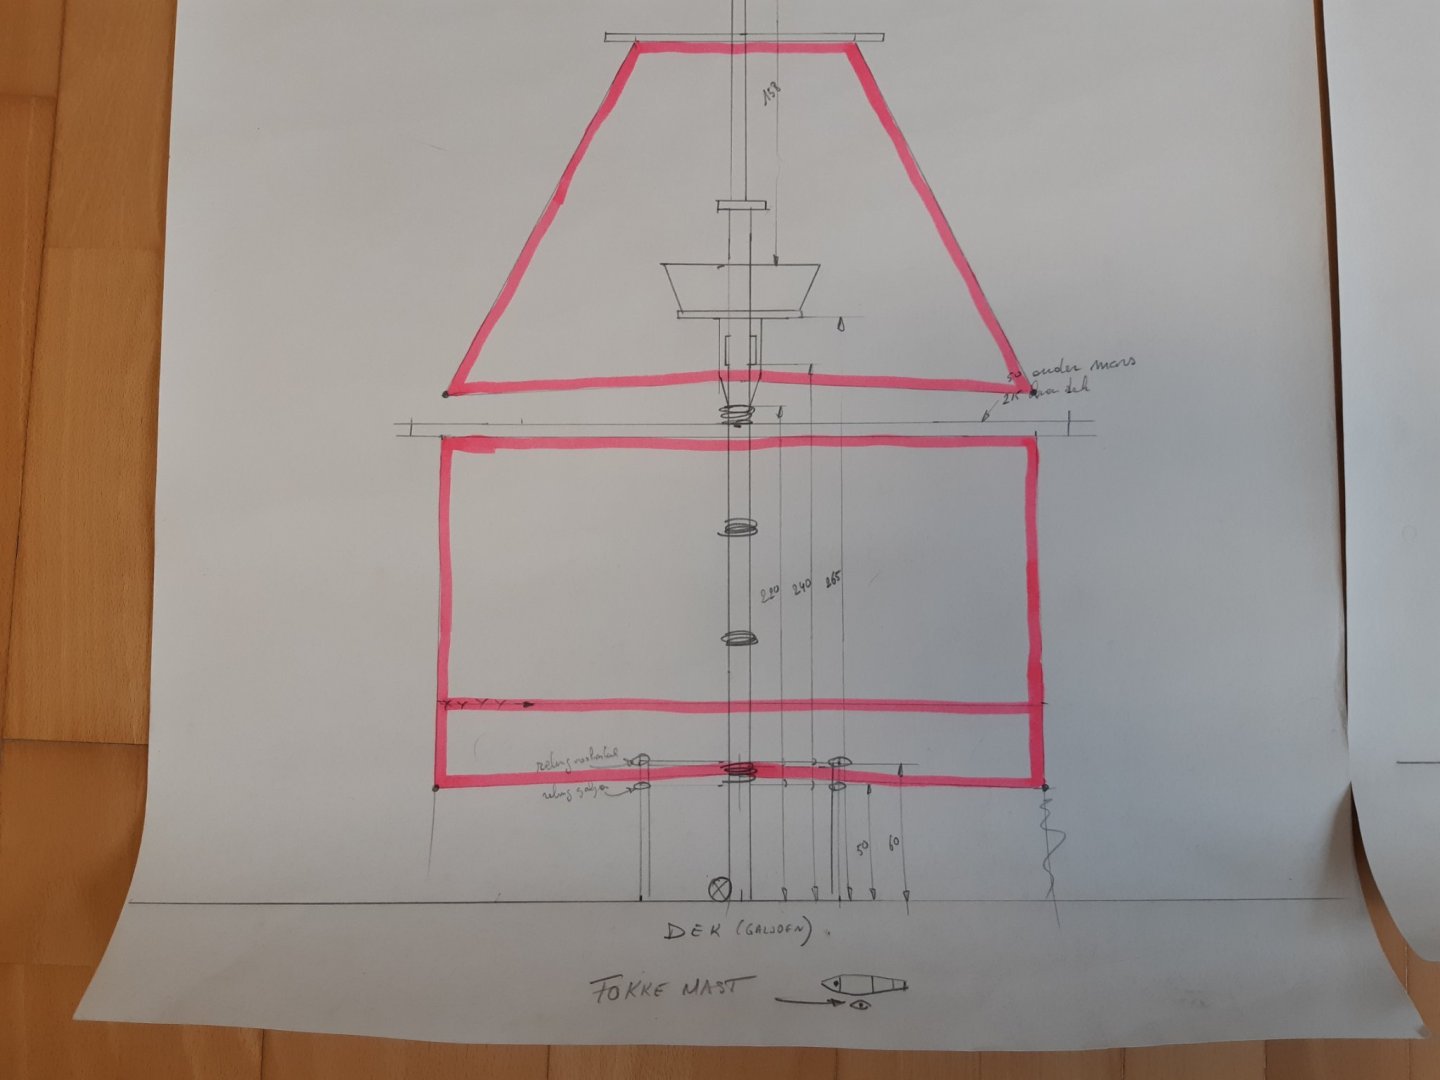
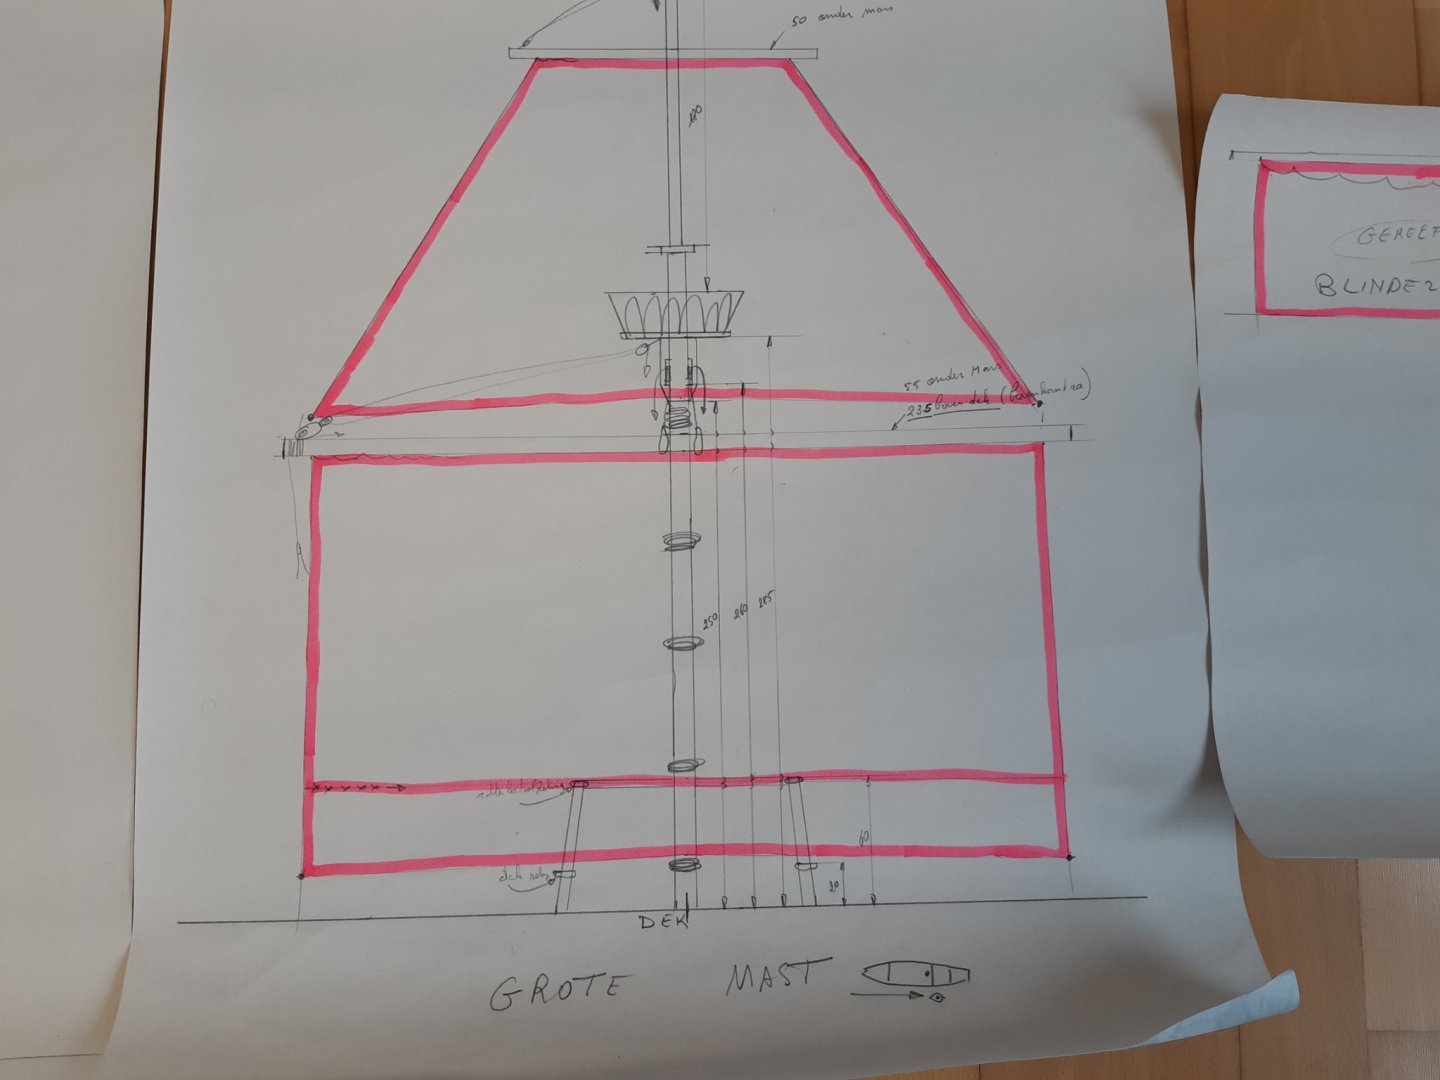
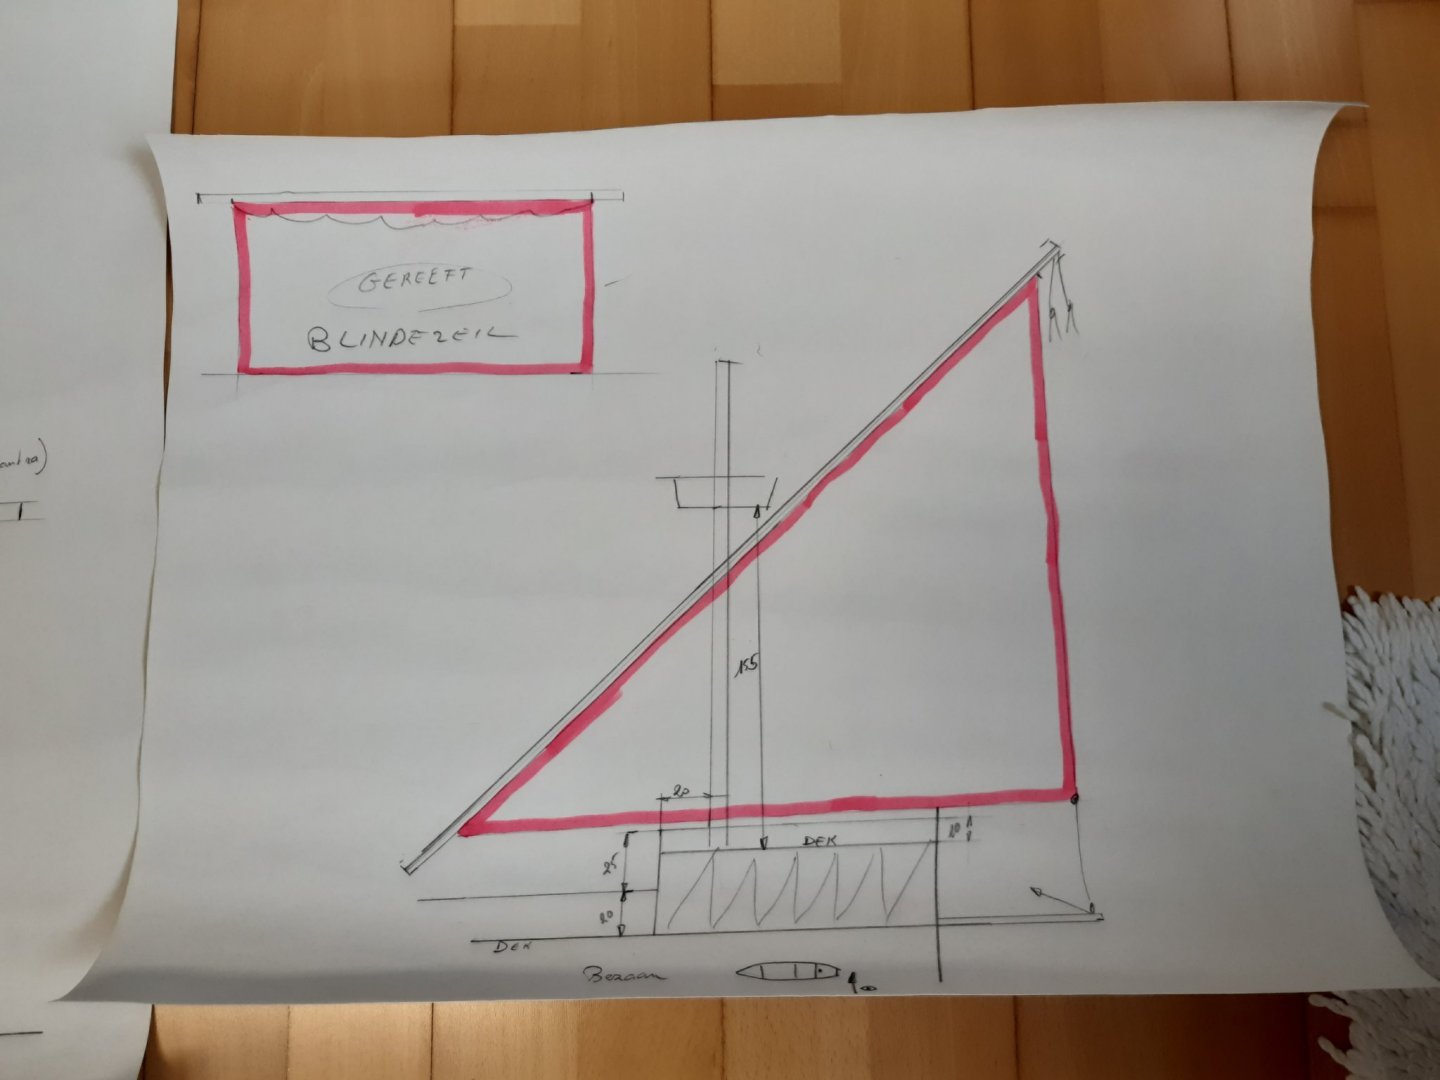
Sails. The idea was to have a model with masts and standing rigging by September this year (after 5 years of building). We're going faster than planned 👍. Before starting with the sails I need to make some templates first (Me, first drawing something before making it, an exceptional event...) Drawings of the masts with the yards. The drawings that wil serve to cut the templates for the sails. These are also useful to see if there is enough room for the runnin rigging. And I have a large cotton sheet and a sewing machine older than m Next to do. Testing the sewing machine (has not been used for over 20 years) Thanks for following, likes and comments

- 756 replies
-
- 9
-
-
- galleon
- golden hind
- (and 2 more)
-
Roter Löwe 1597 by Ondras71
Baker replied to Ondras71's topic in - Build logs for subjects built 1501 - 1750
Very neatly build and painted 👍 -
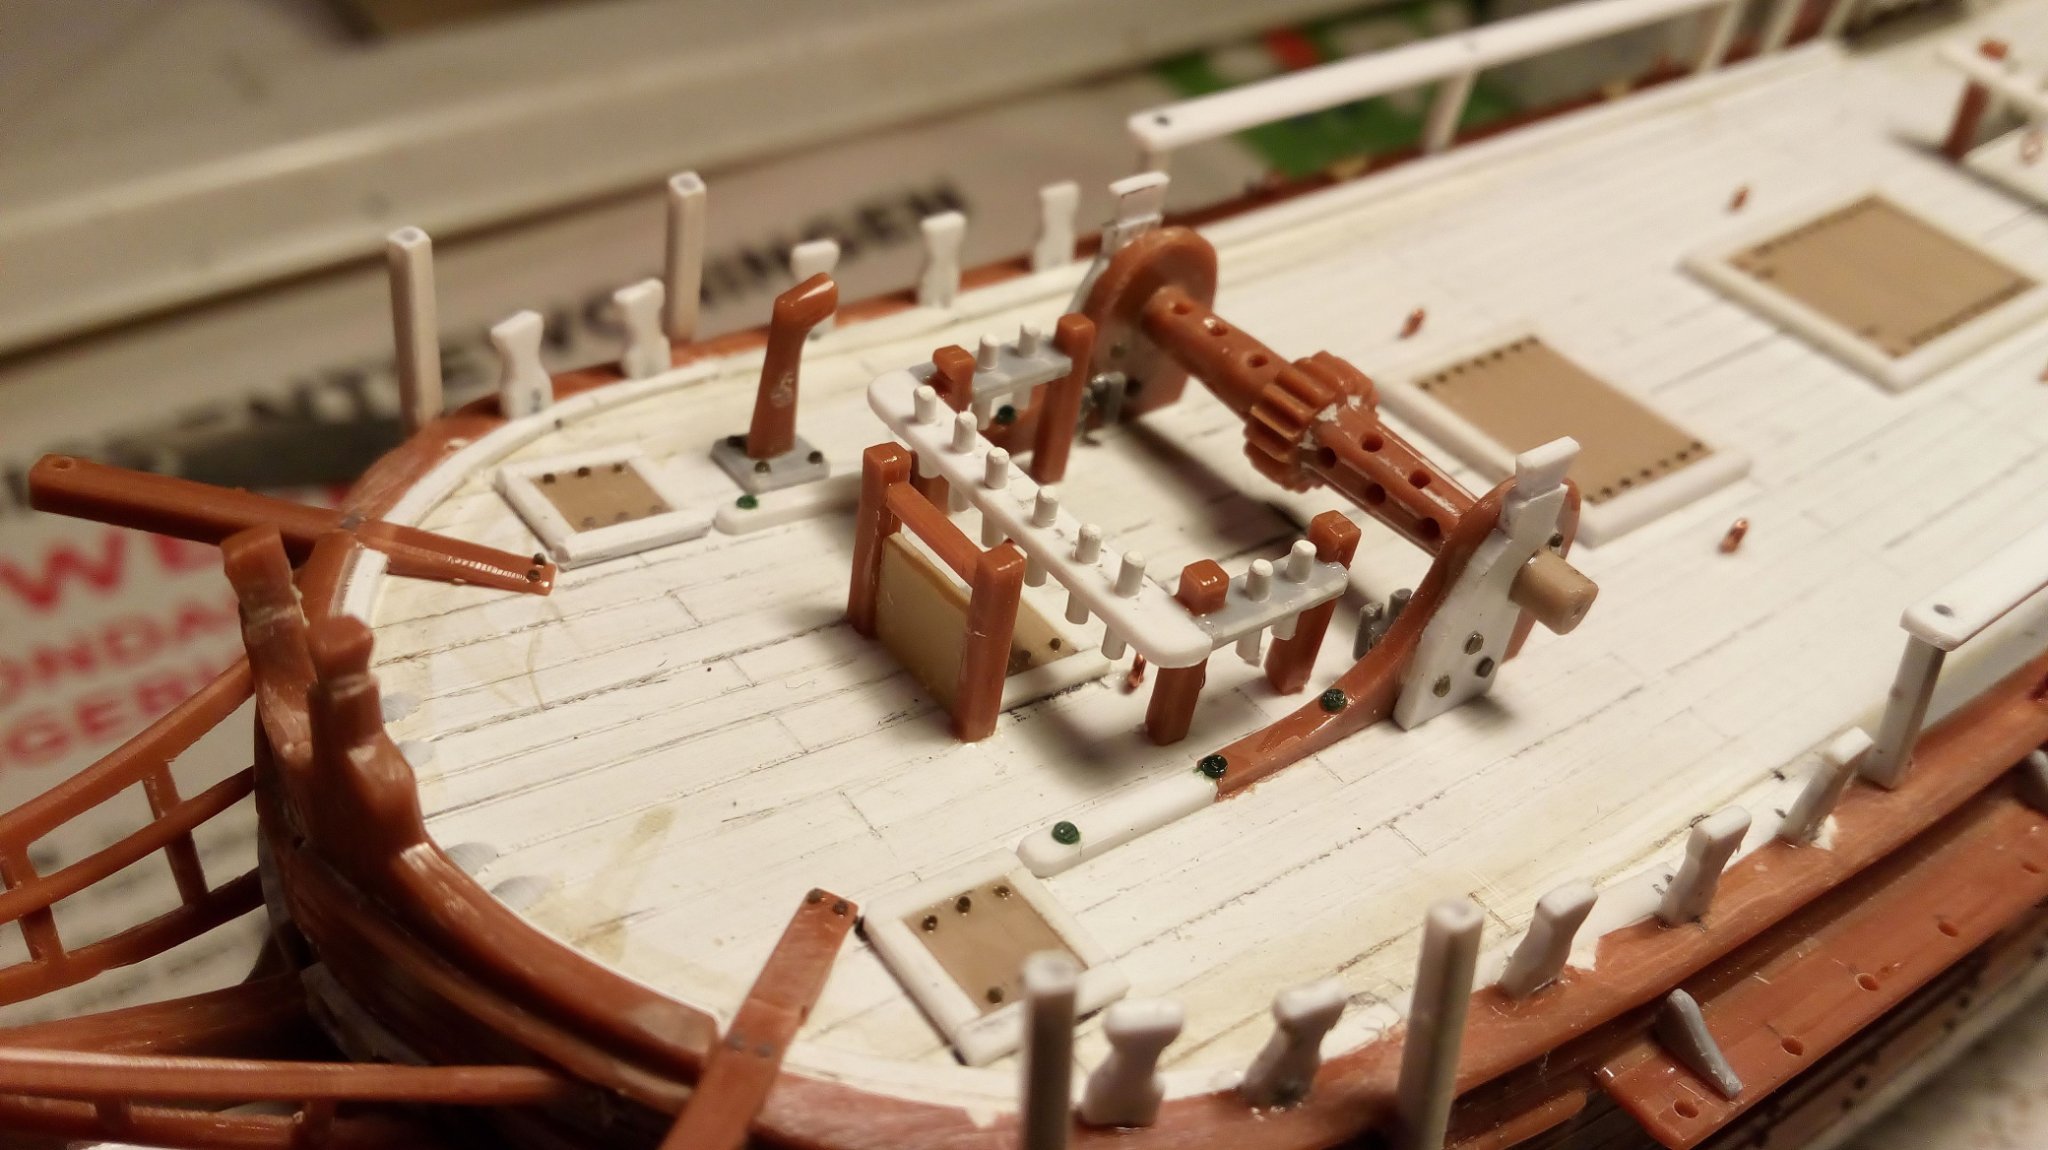
This can indeed be a support for a windlass, but not yet fully completed. There is something like this on the Bounty.

-