RGL
-
Posts
5,555 -
Joined
-
Last visited
Content Type
Profiles
Forums
Gallery
Events
Everything posted by RGL
-
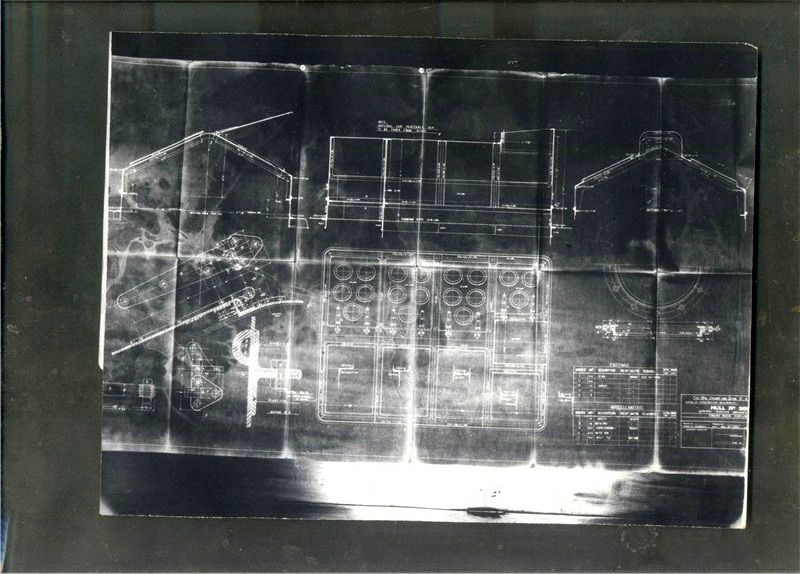
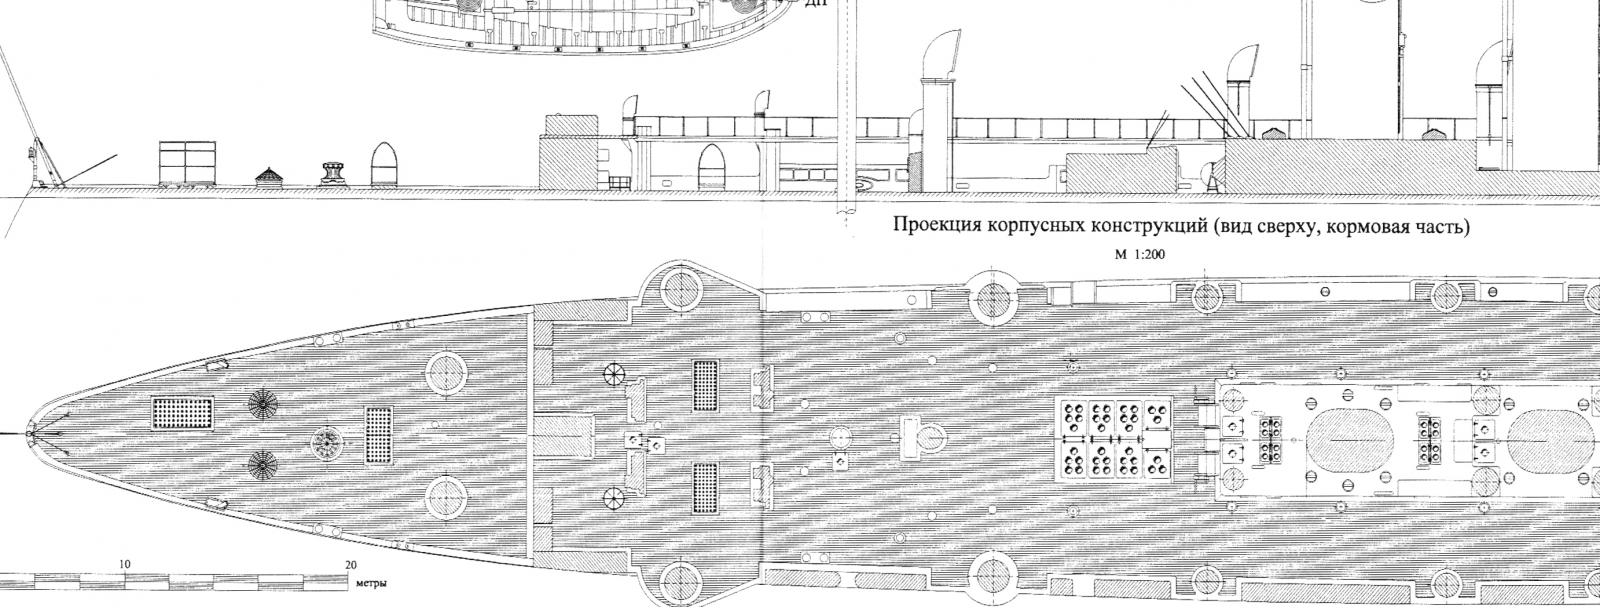
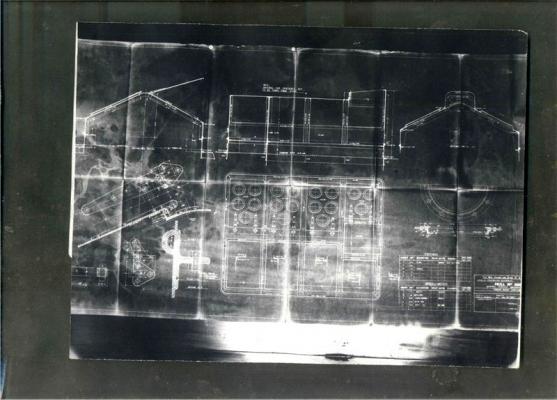
 I suppose the Russians have an affection for the Varyag as we Aussies do for the Endeavour. I have been doing lots of research on Russian sites watching their builds to get a more accurate rendition of the kit and keep finding them doing thing things and doing details I have a hard time finding any reference to. The Kagero book seems to have been done off instructions from somewhere that miss all sorts of stuff, and don't even have scuppers mentioned. So I found the original blueprints on a Russian site. High res scans even. if interested PM me and I can send them to you as they are all about 22mb each. It's like having a AOTS for the Varyag but we can't "agree to disagree" as they are the shipbuilders plans! Every fault in the build is now entirety my lack of talent!
 -
Nice work
-
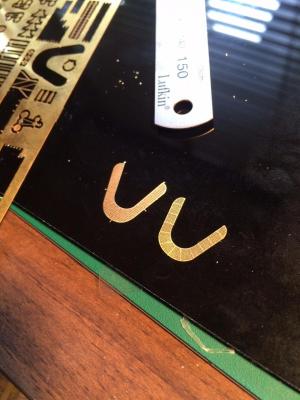
So, i scraped off the etch and cut it in half, and used from sheet to more accruatly represent this thing. Not perfct but a lot better


-
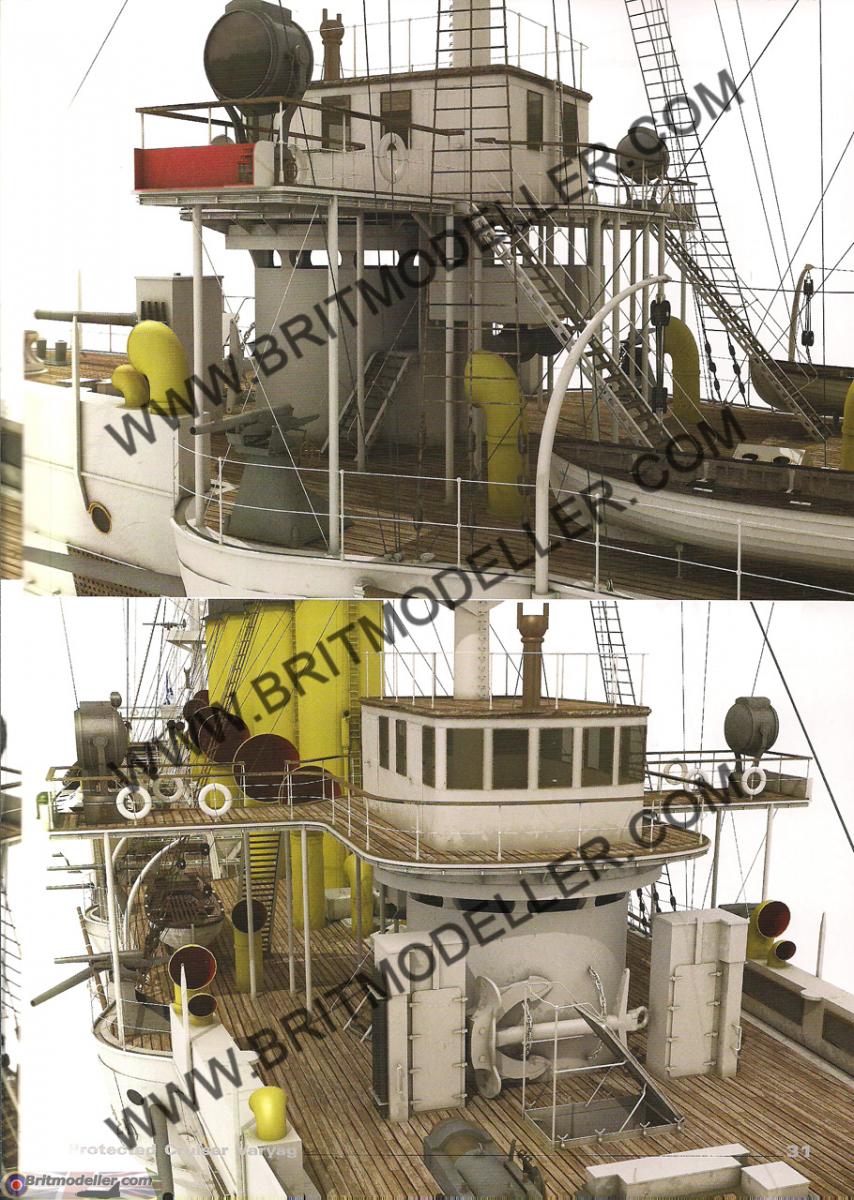
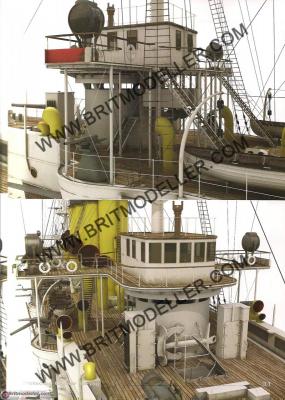
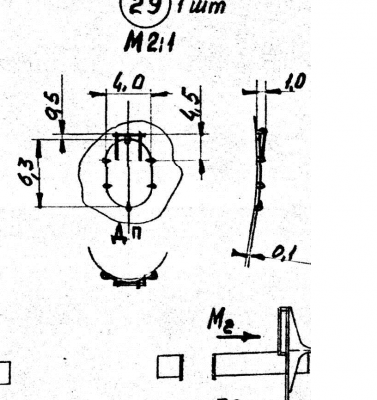
So the research! It looks crap.Looking at the close ups, the photos were obvioulsy taken at a different place in time, look at the roof to the thing. The cross section has another bulge to the front fo the housing, but I can't go outwards as it will effect the stantions that will be connected to them for the davits.


-
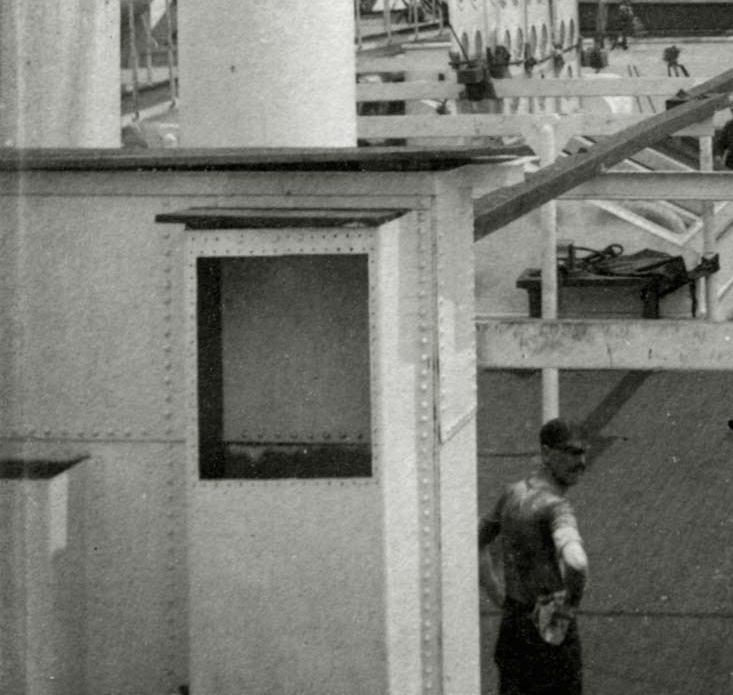
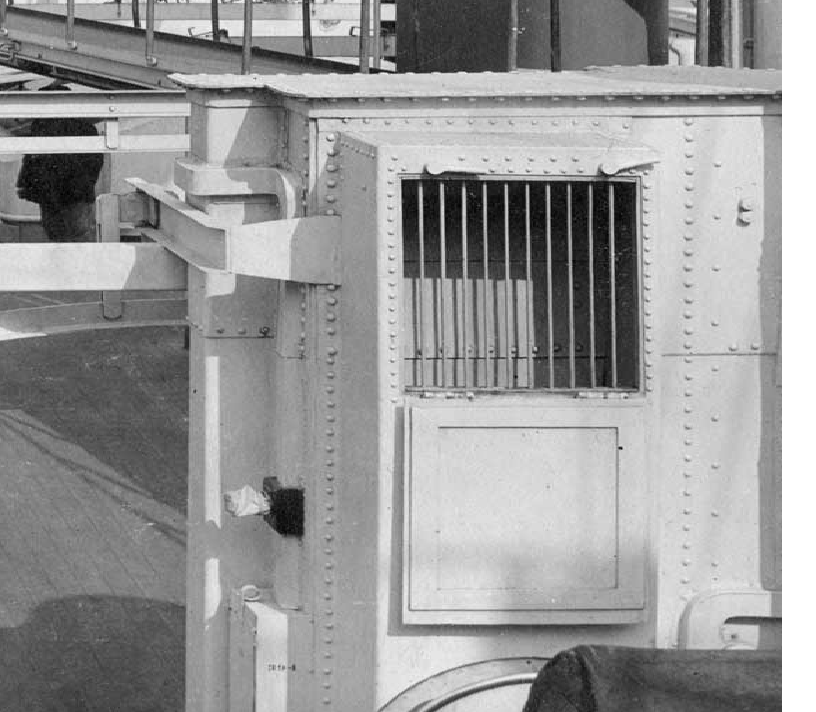
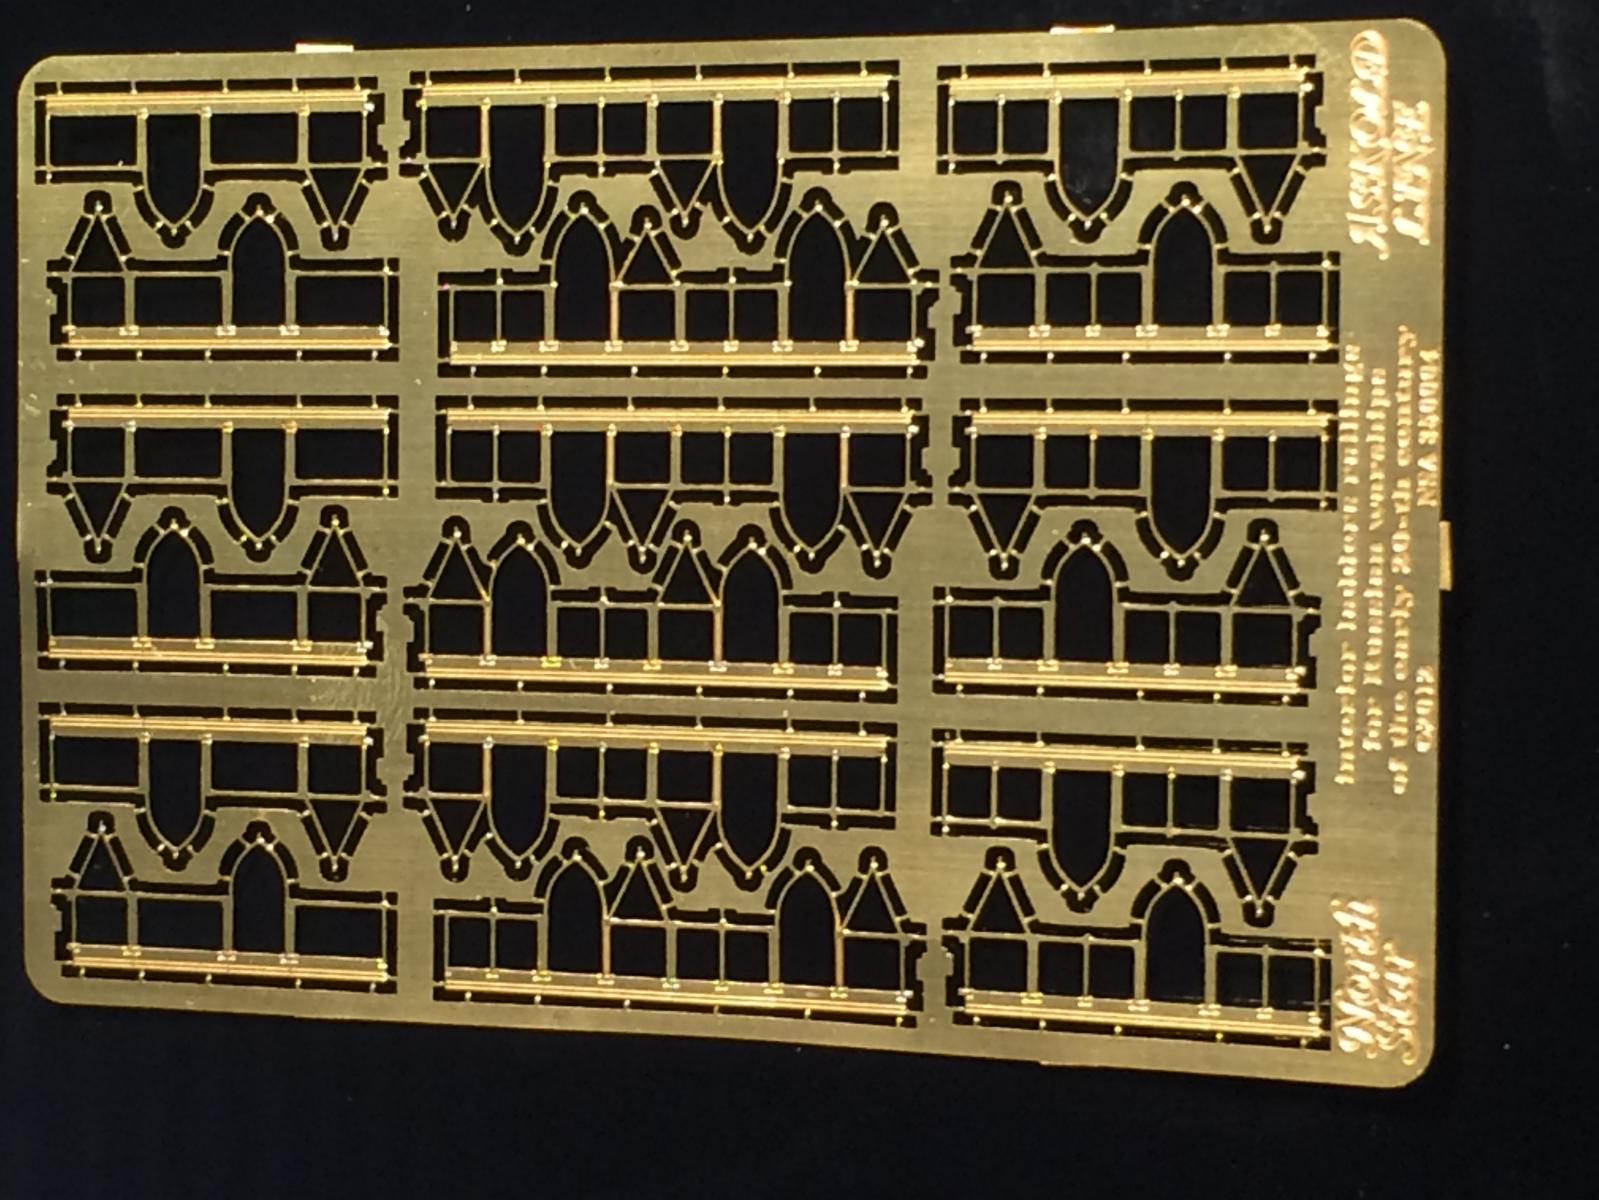
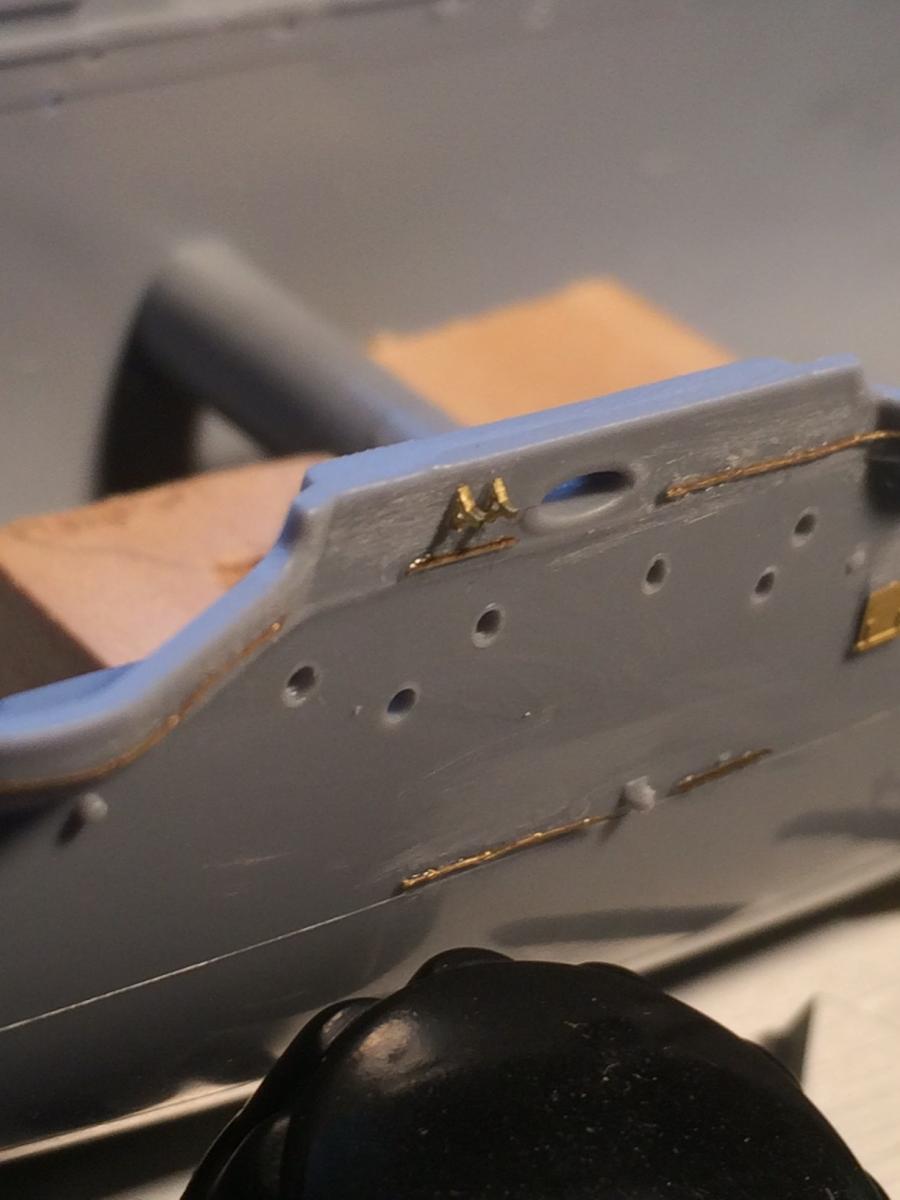
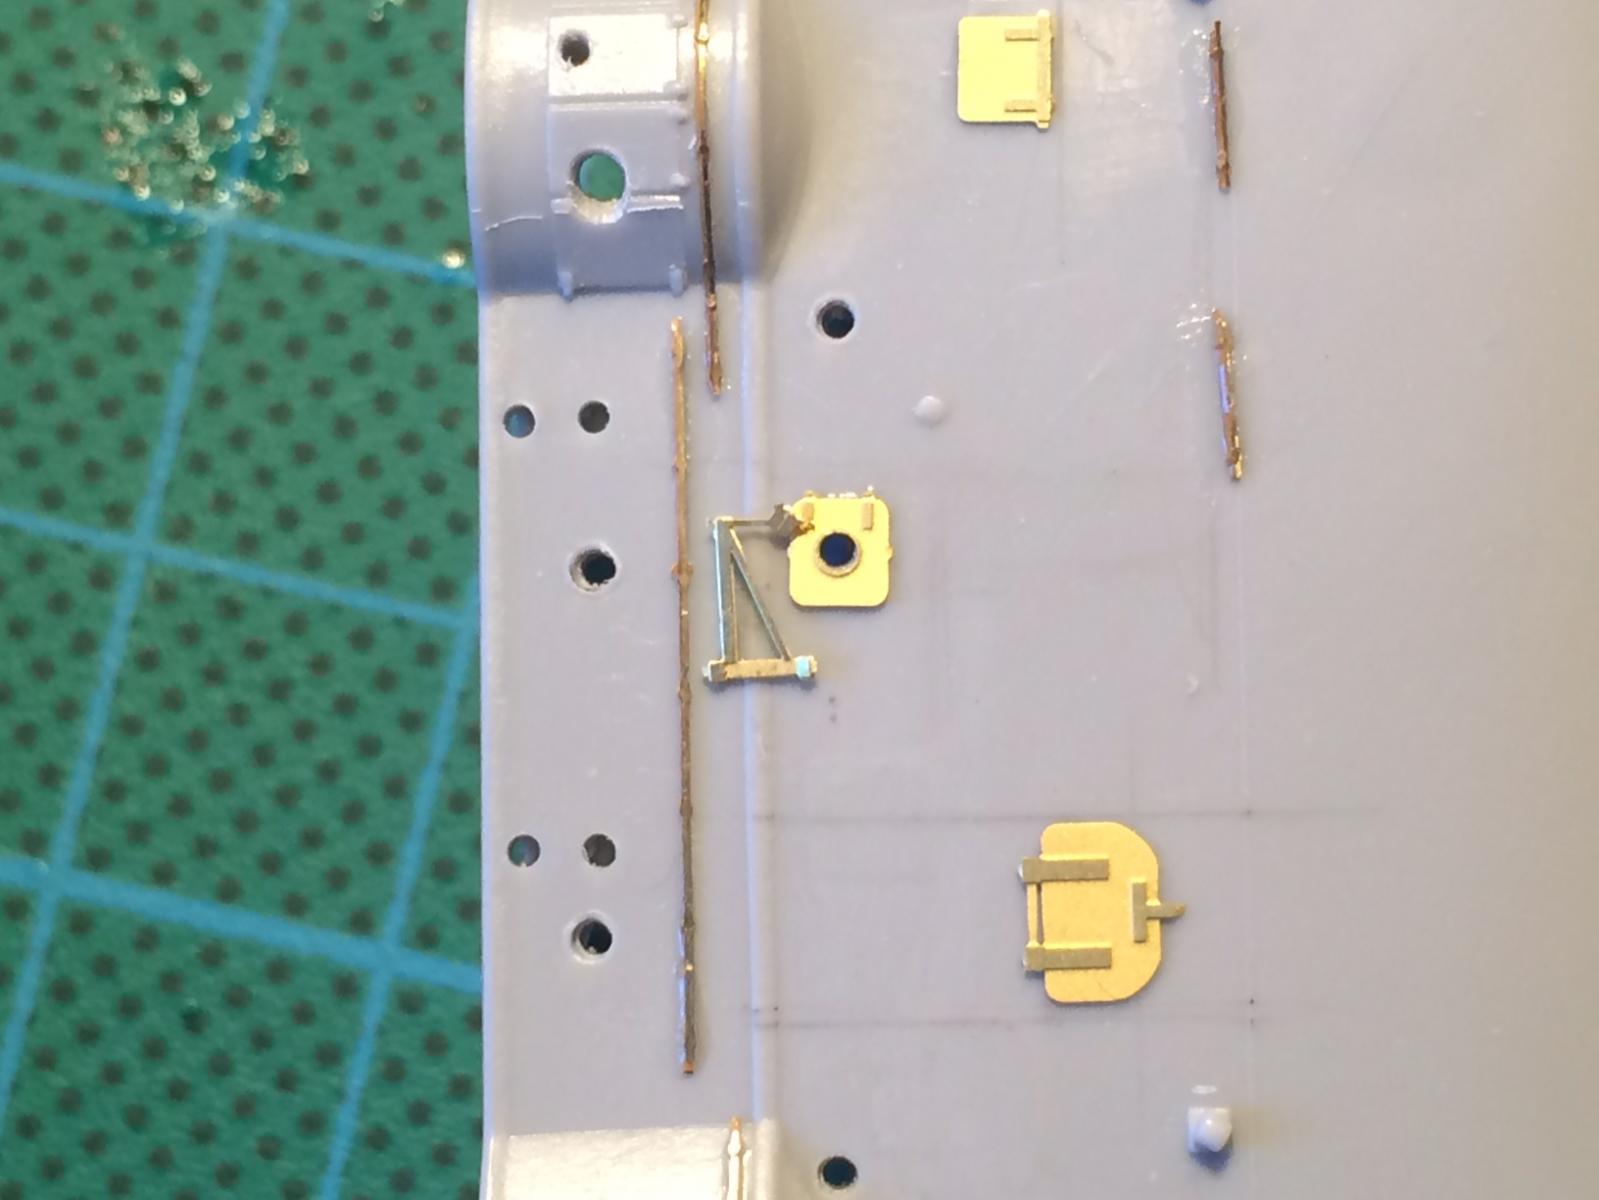
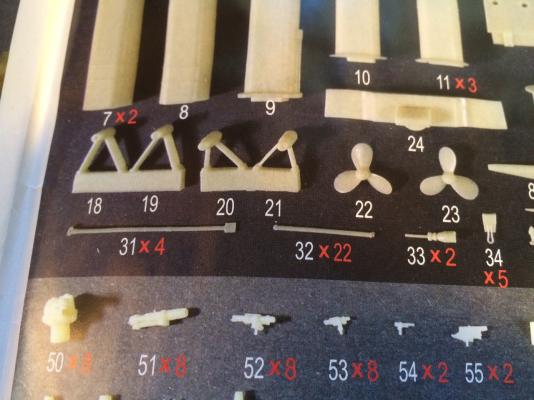
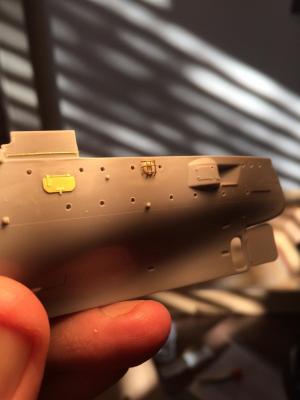
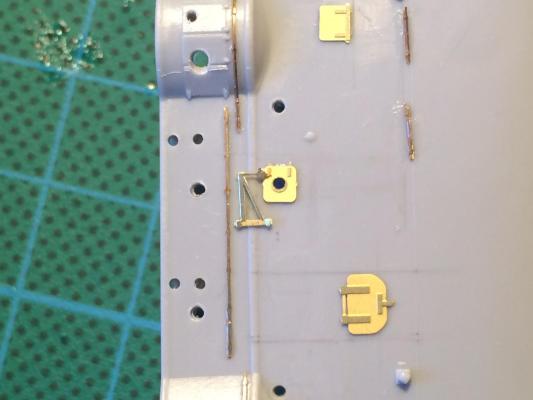
The amidships build continues. The kits offers a litle housing for a vent on either side. This translated from the Rusian is an ammunition elevator. Yet again, the kit is not very accurate looking at the close up views of the ship. the only additon at this stage is th Eduard fret that is supposed to reprsent he grill on the window and the lowered flap that overs it.

-
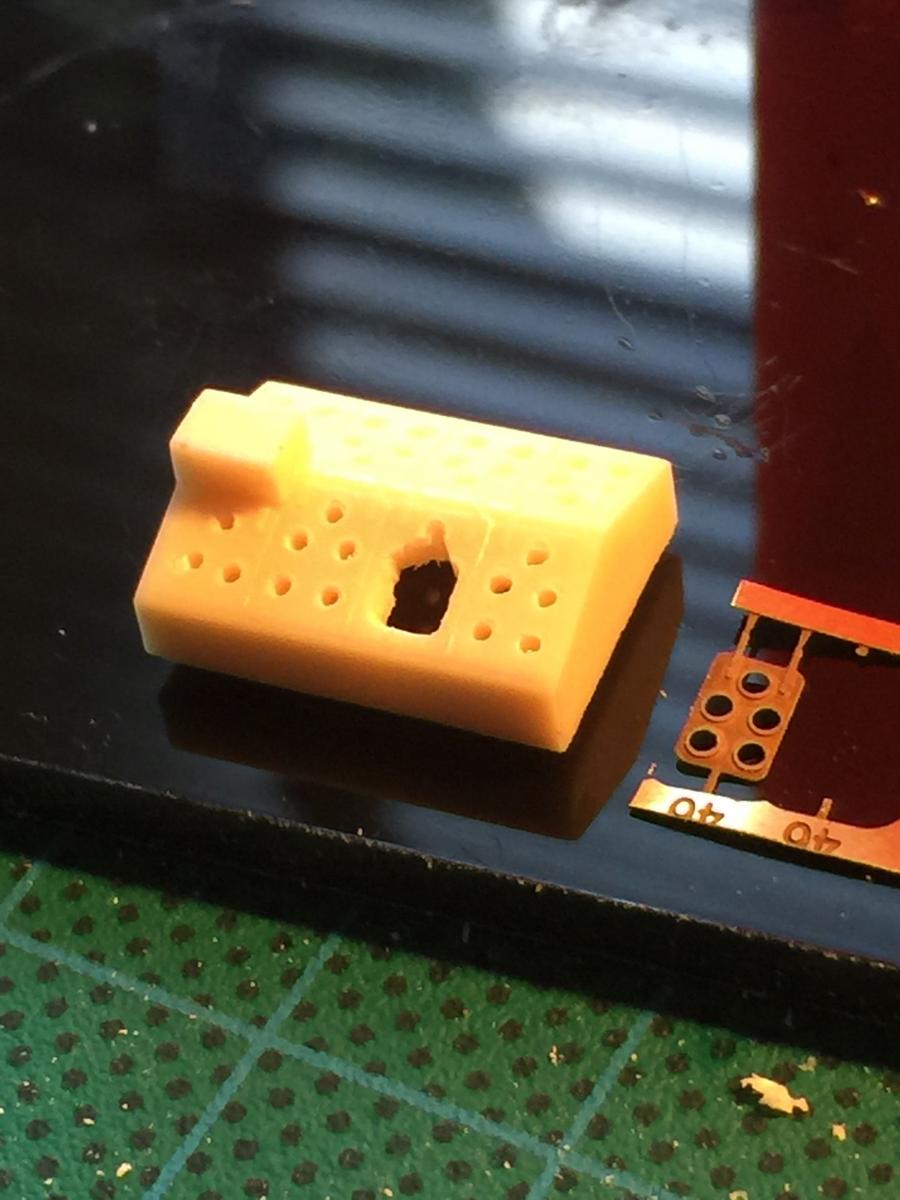
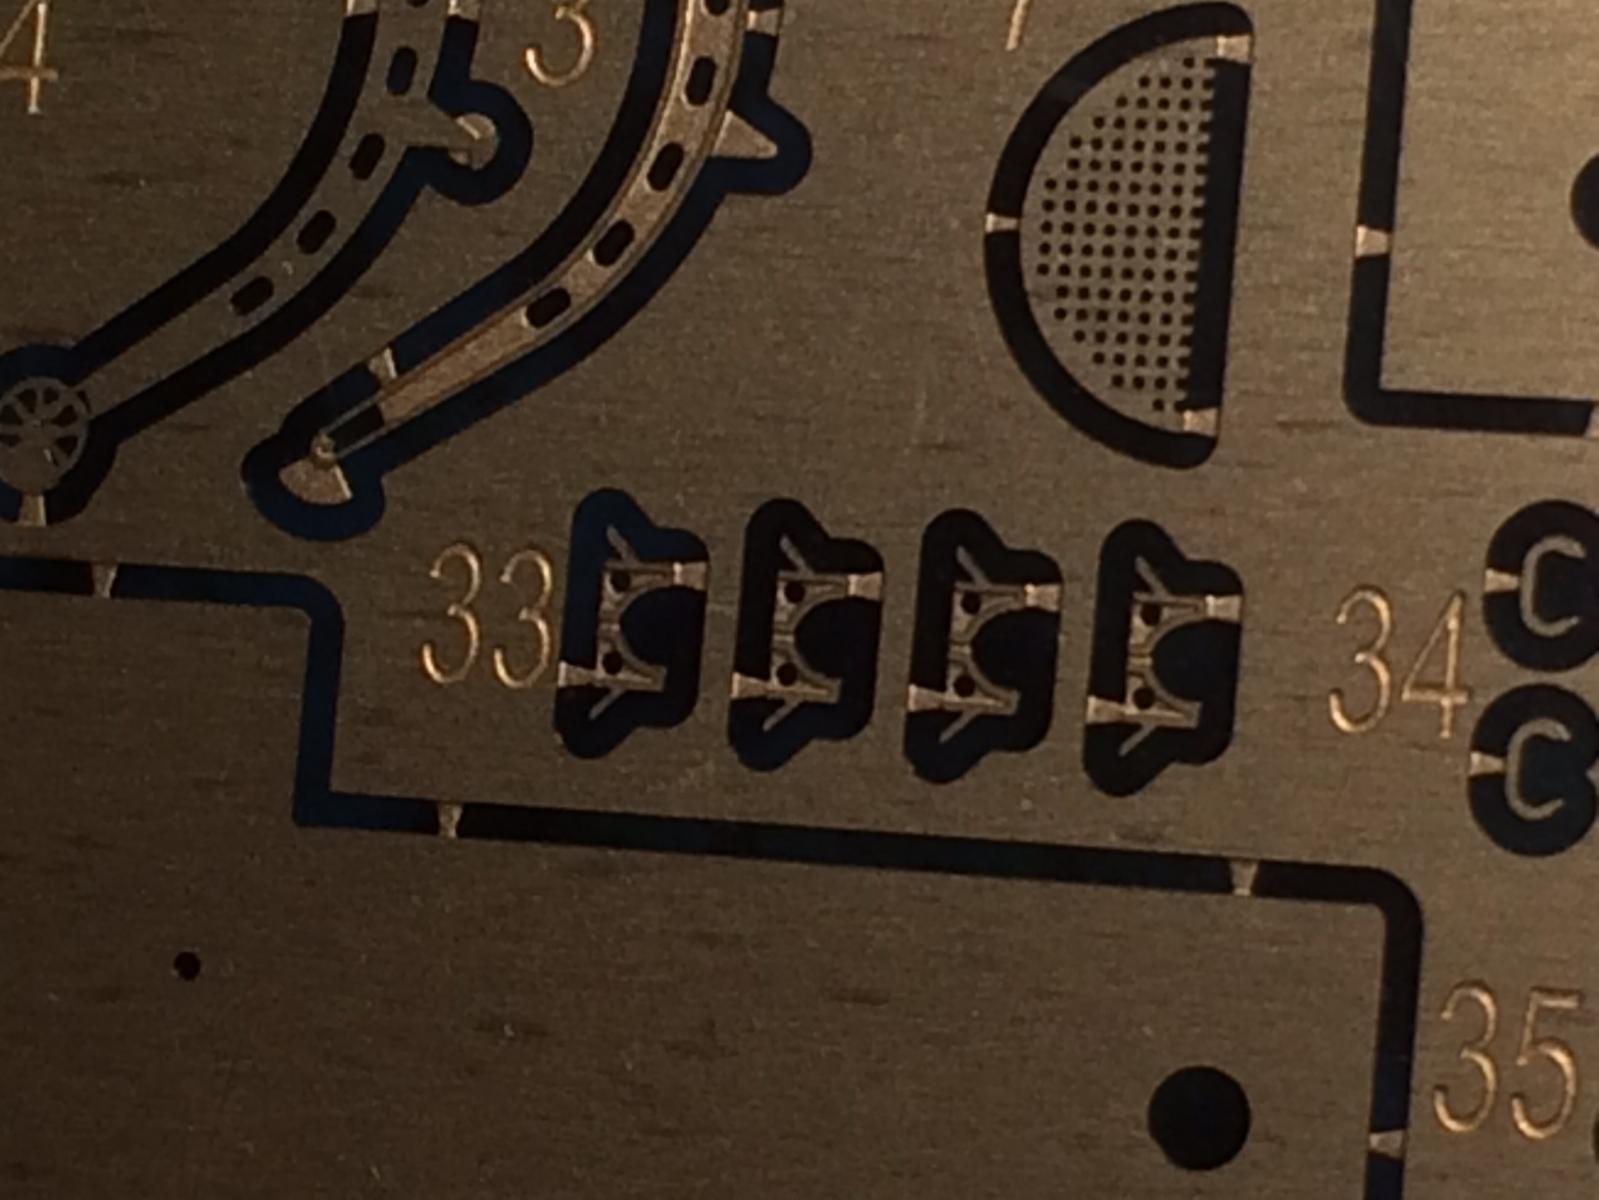
Small but pleasant piece of resin again, and as you can see I have made it look like swiss cheese. The Eduard fret hatches will allow me to paint them properly, and have nice brass rims to the skylights. plus a belaying point. I'm hopeing it won't look out of scale once it is white.


-
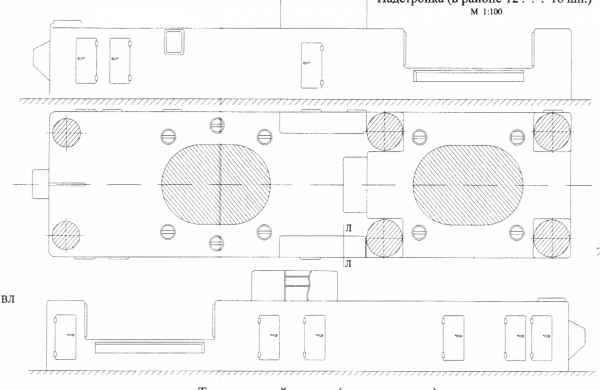
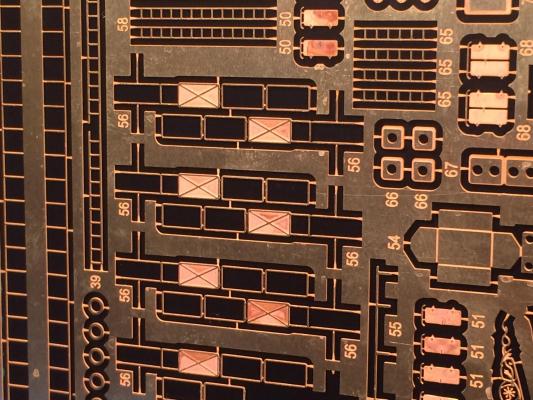
Yet again, the resin piece is nice the detail on the resin will require incredible painting skills to make it ok at least somewhat realistic. As such I have added the Eduard bits to briing up the detail. I paid for it so I may as well. Whomever did the diagrams (there are none for this in the instructions) have the hatch layout wrong compared to the Russian version which I think I'll have to use. The Kagero book and the Artwox kit mirror each other. As you can see from the black and white drawings, the lay out of the doors is wrong as are the placement of the skylights. There is also a need for belaying point for stays. Using the Eduad fret again I had enough doors to do the correct (I assume) 6 doors on the port side and 3 on the starbord. I drilled holes where the portholes/skylights will sit and will paint the photo etch off model for these.


-
Probably the easiest piece yet, the base of the second funnel. Just added 4 photo etch details.

-
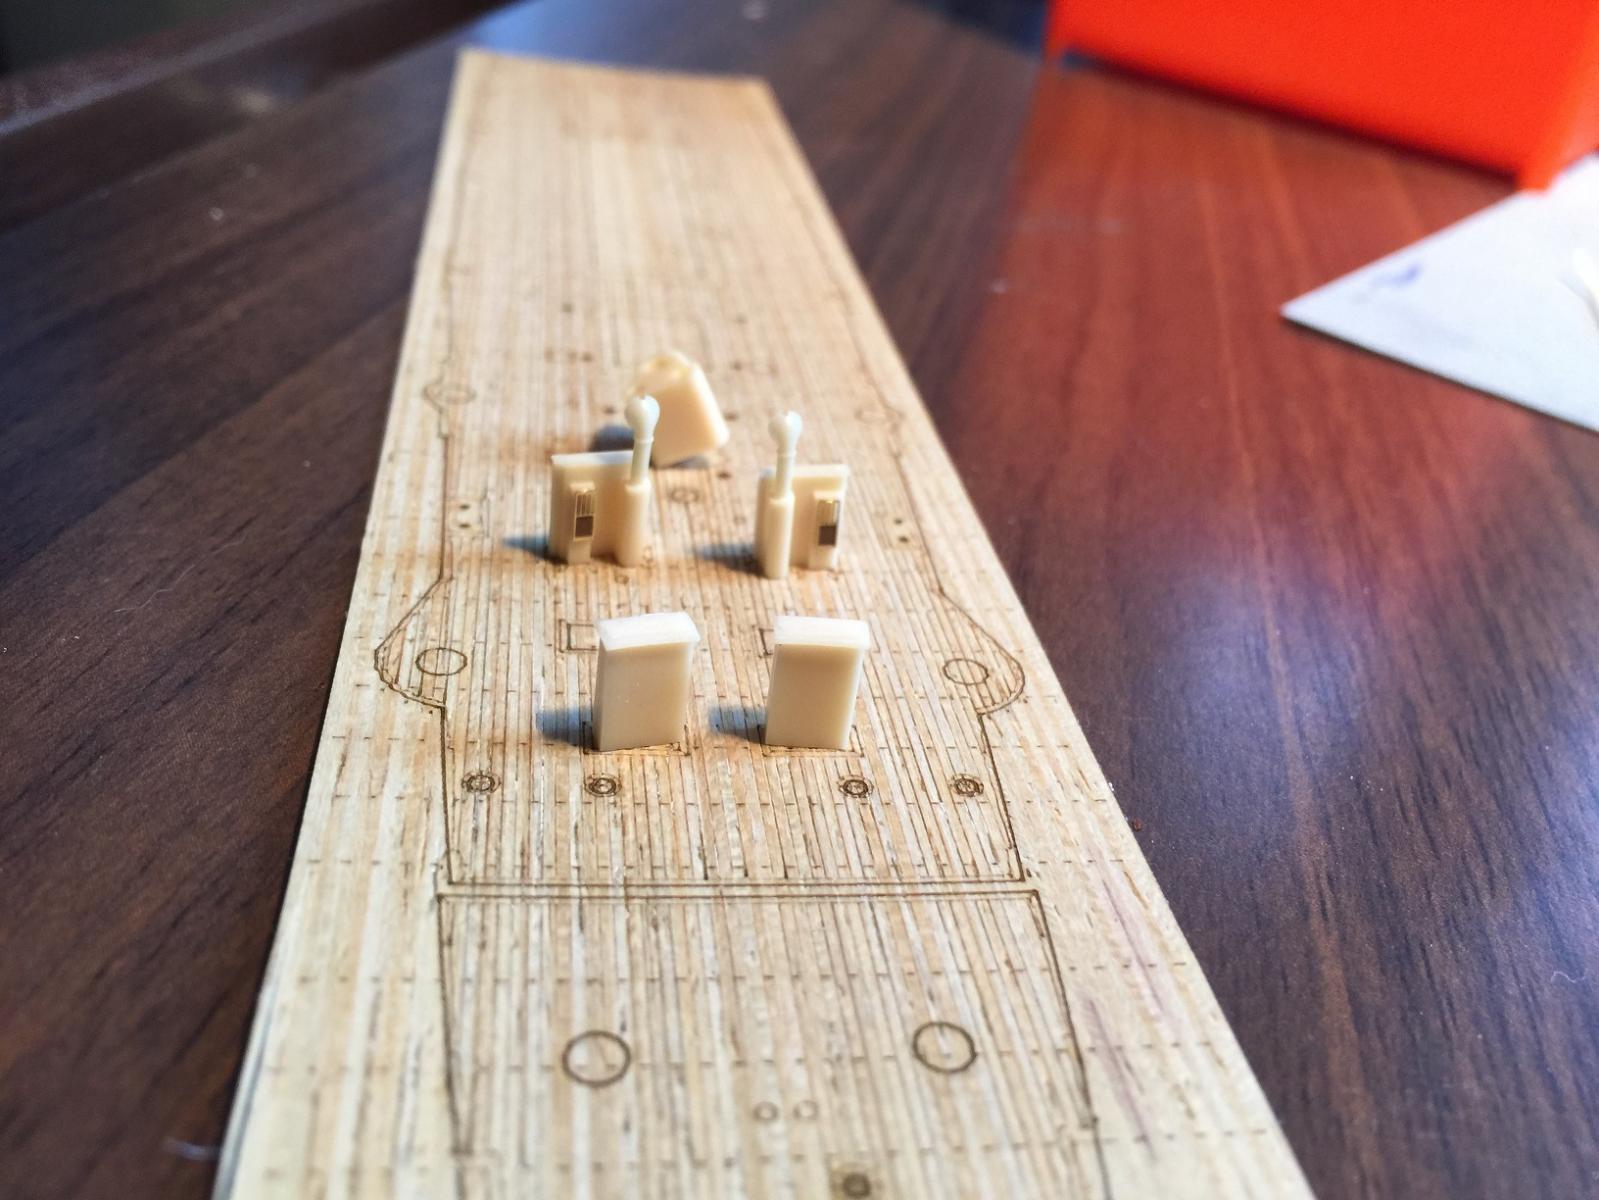
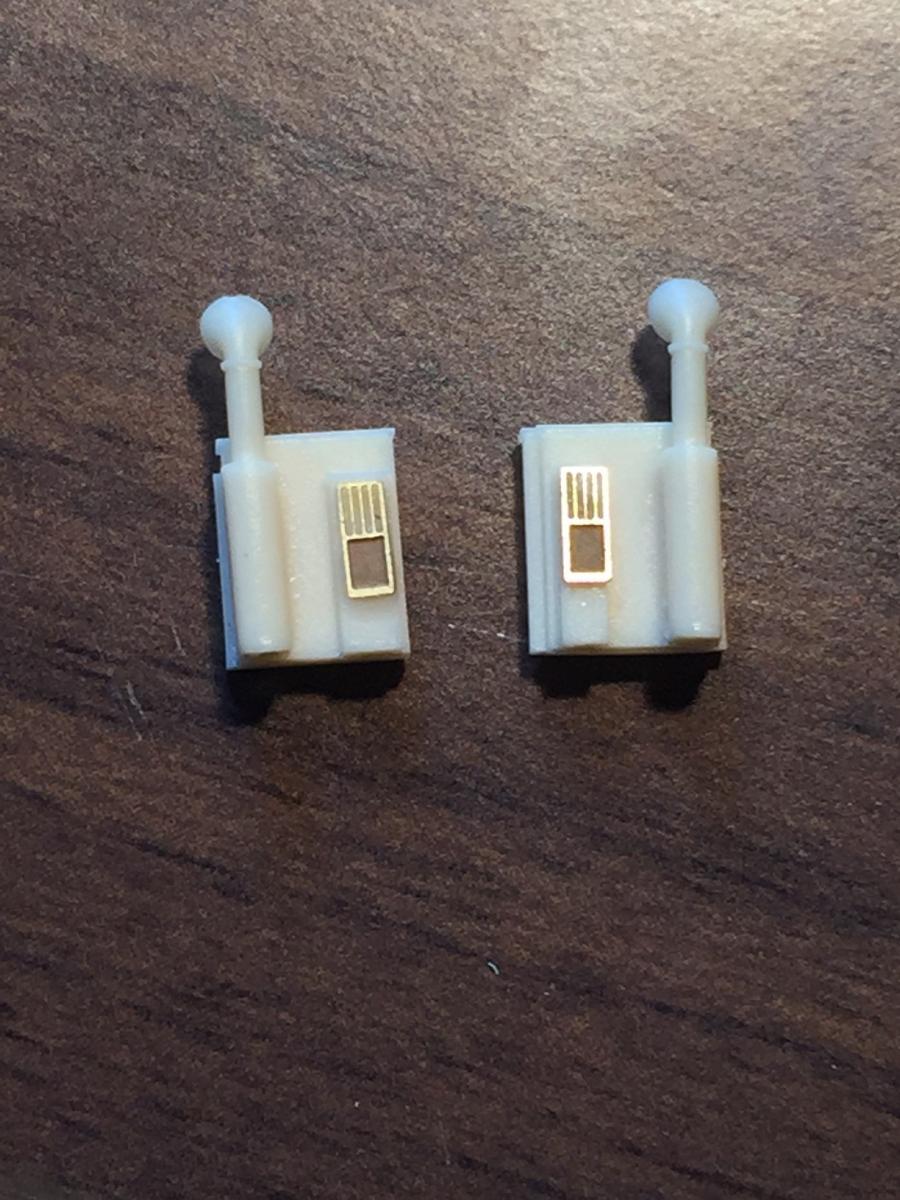
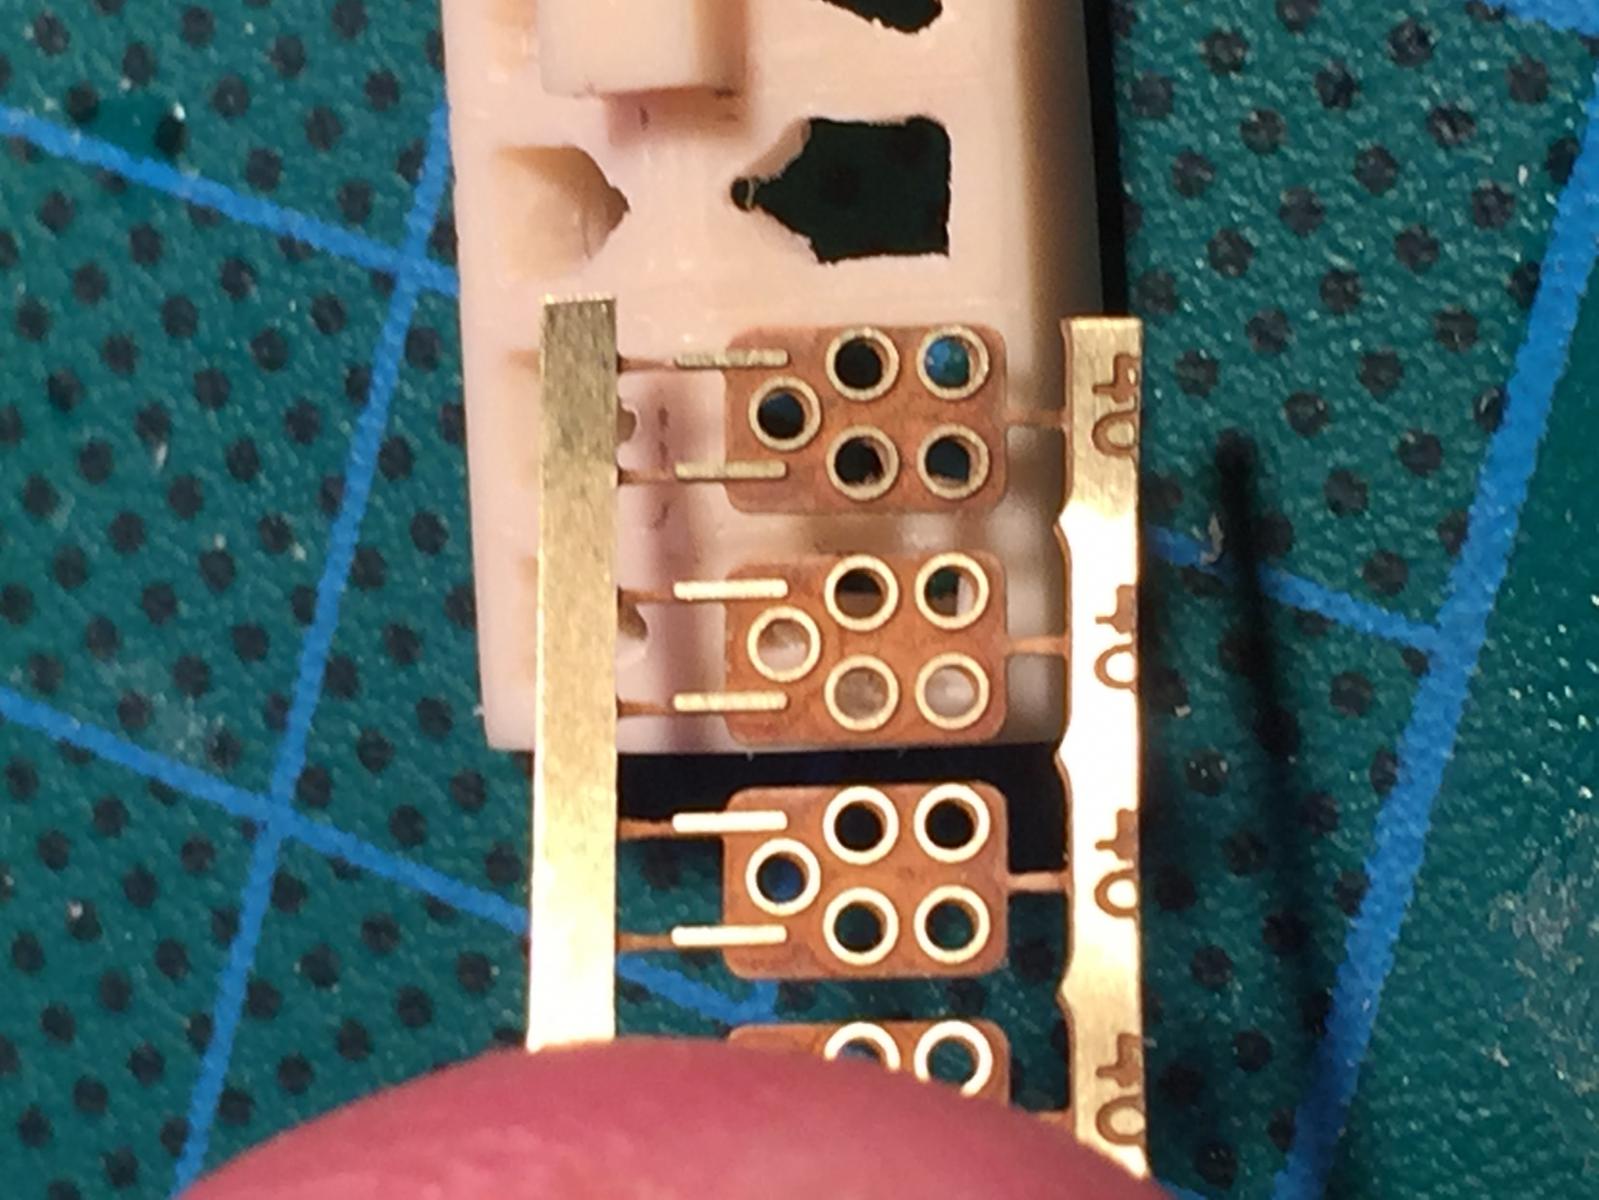
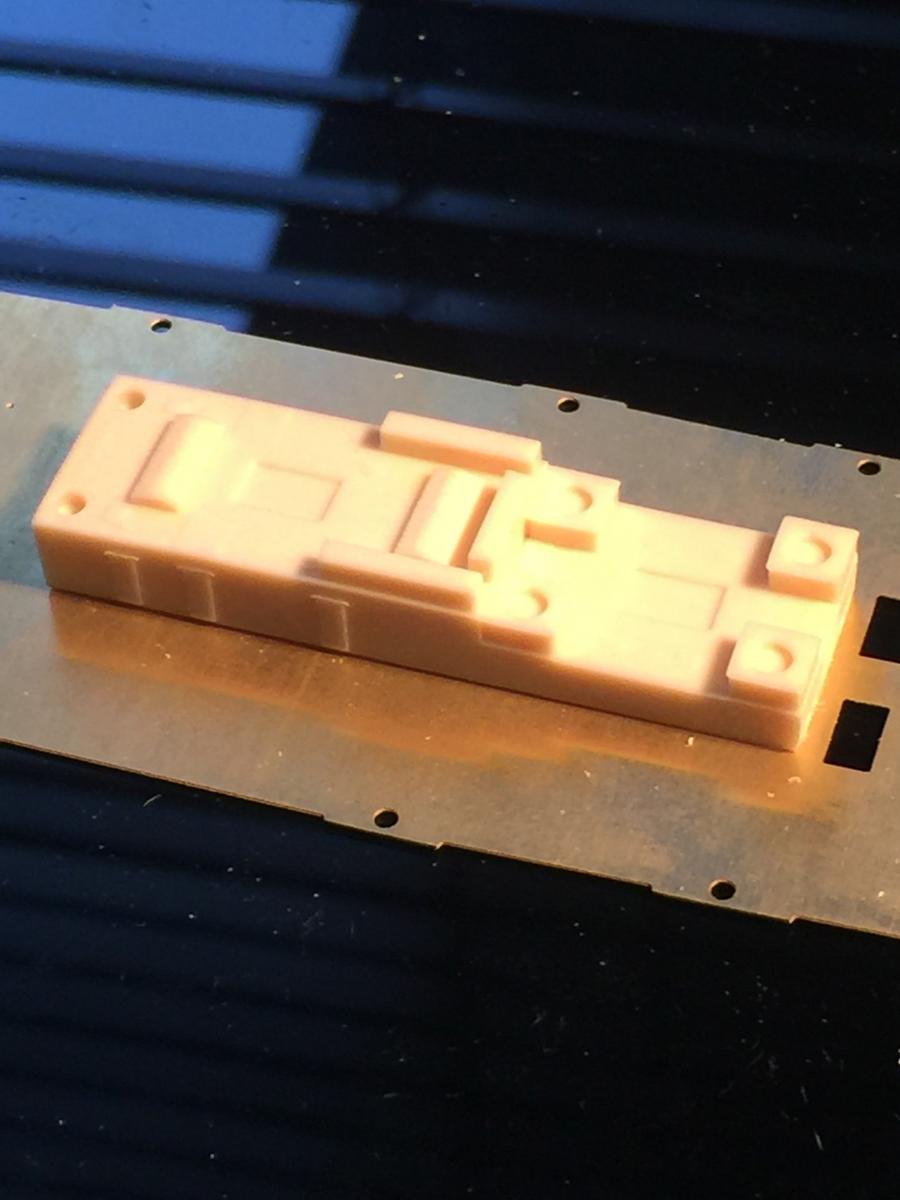
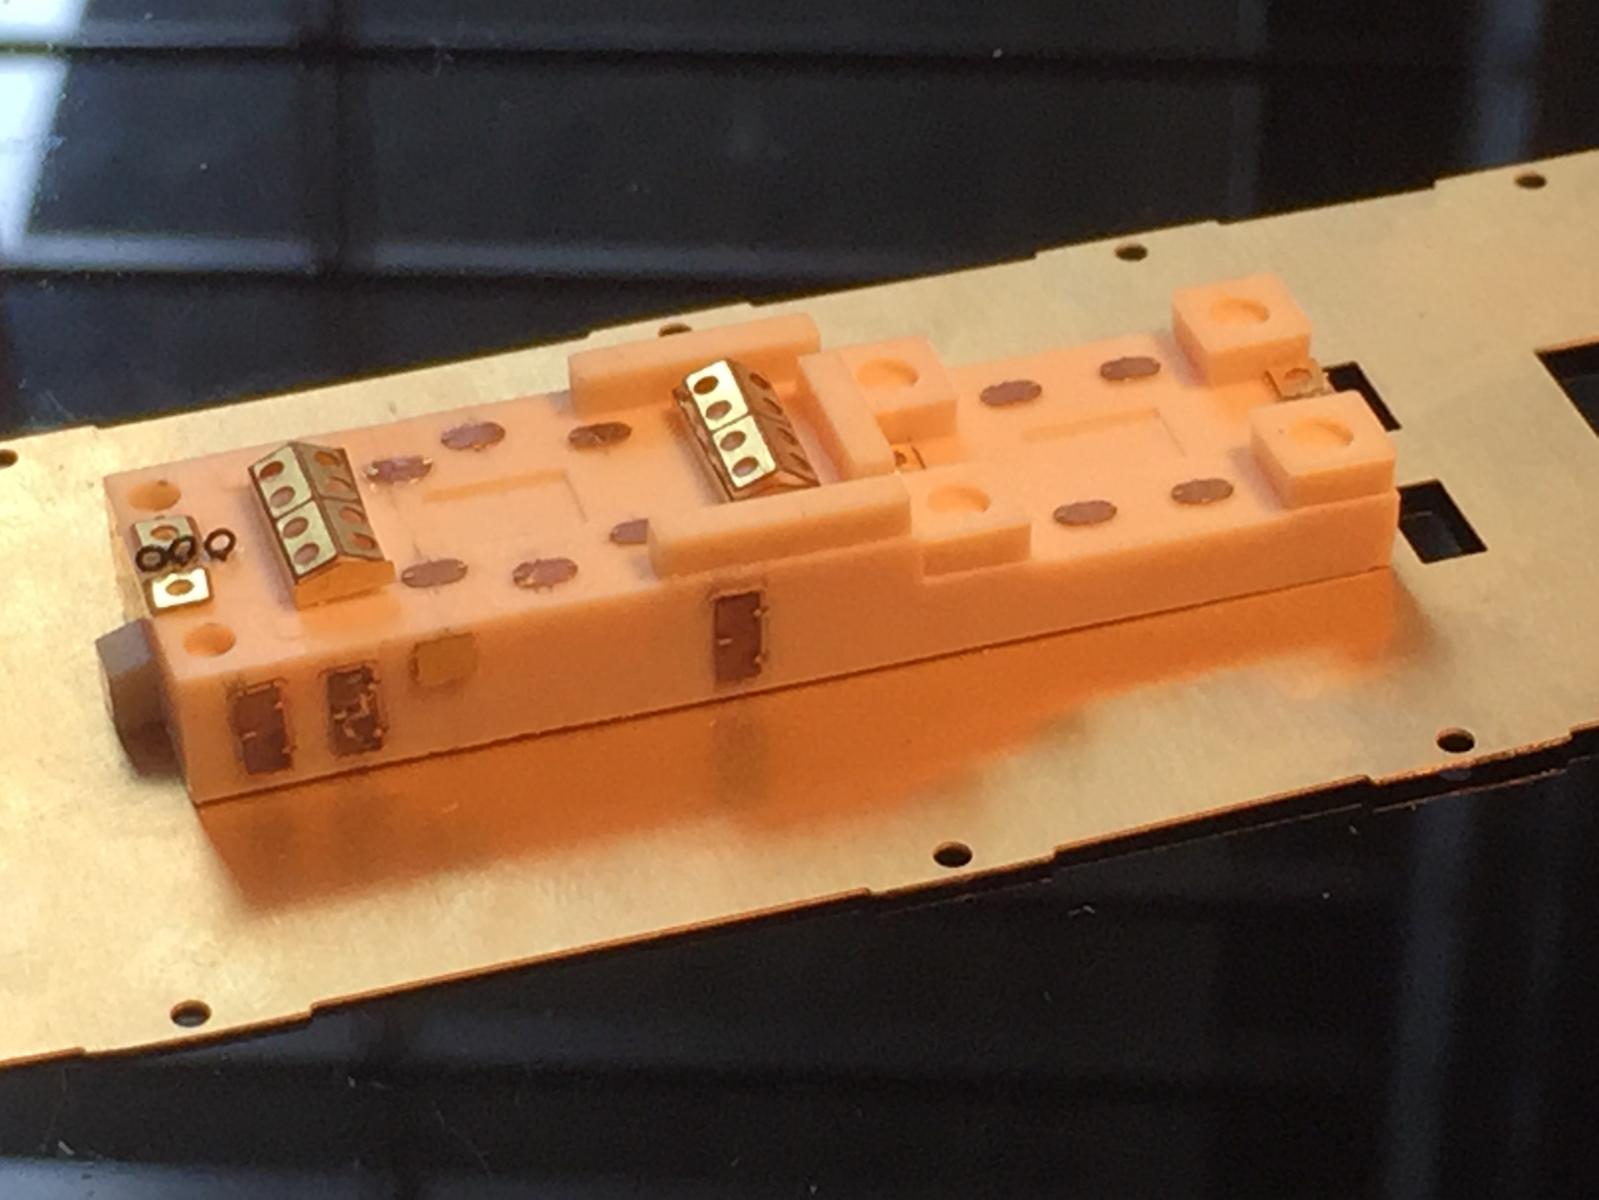
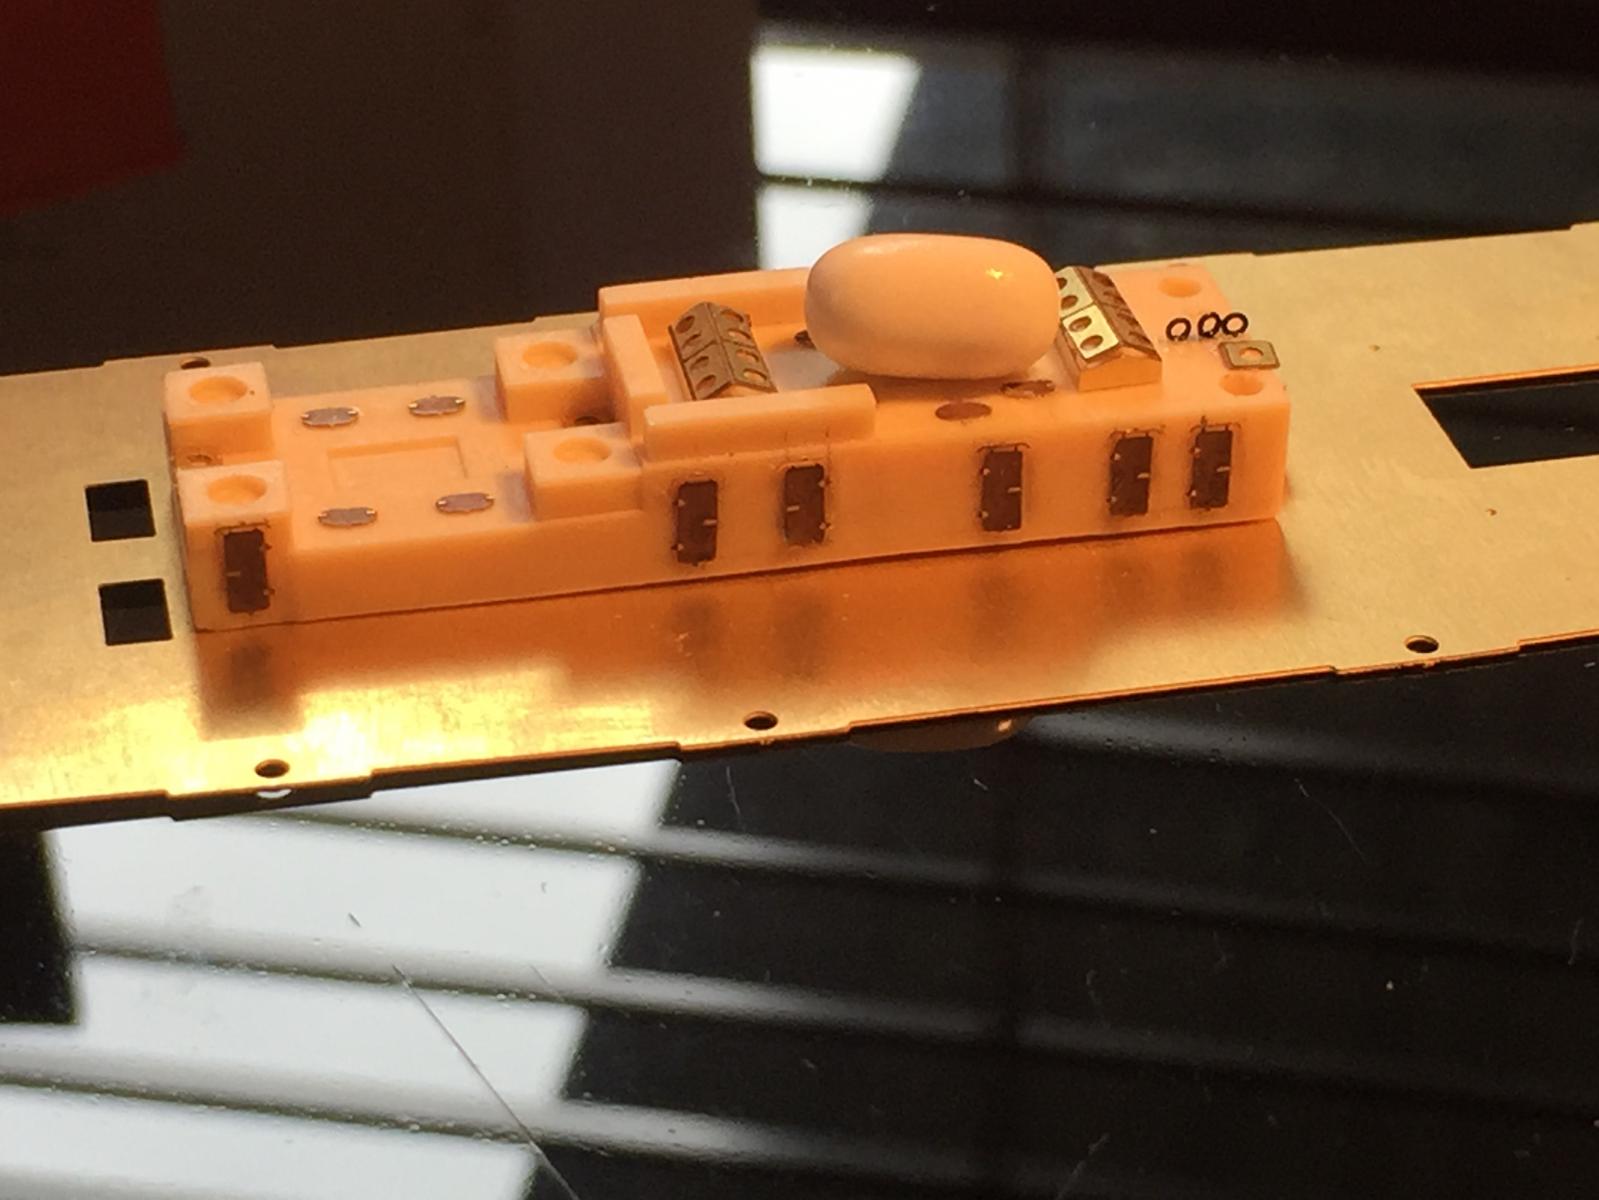
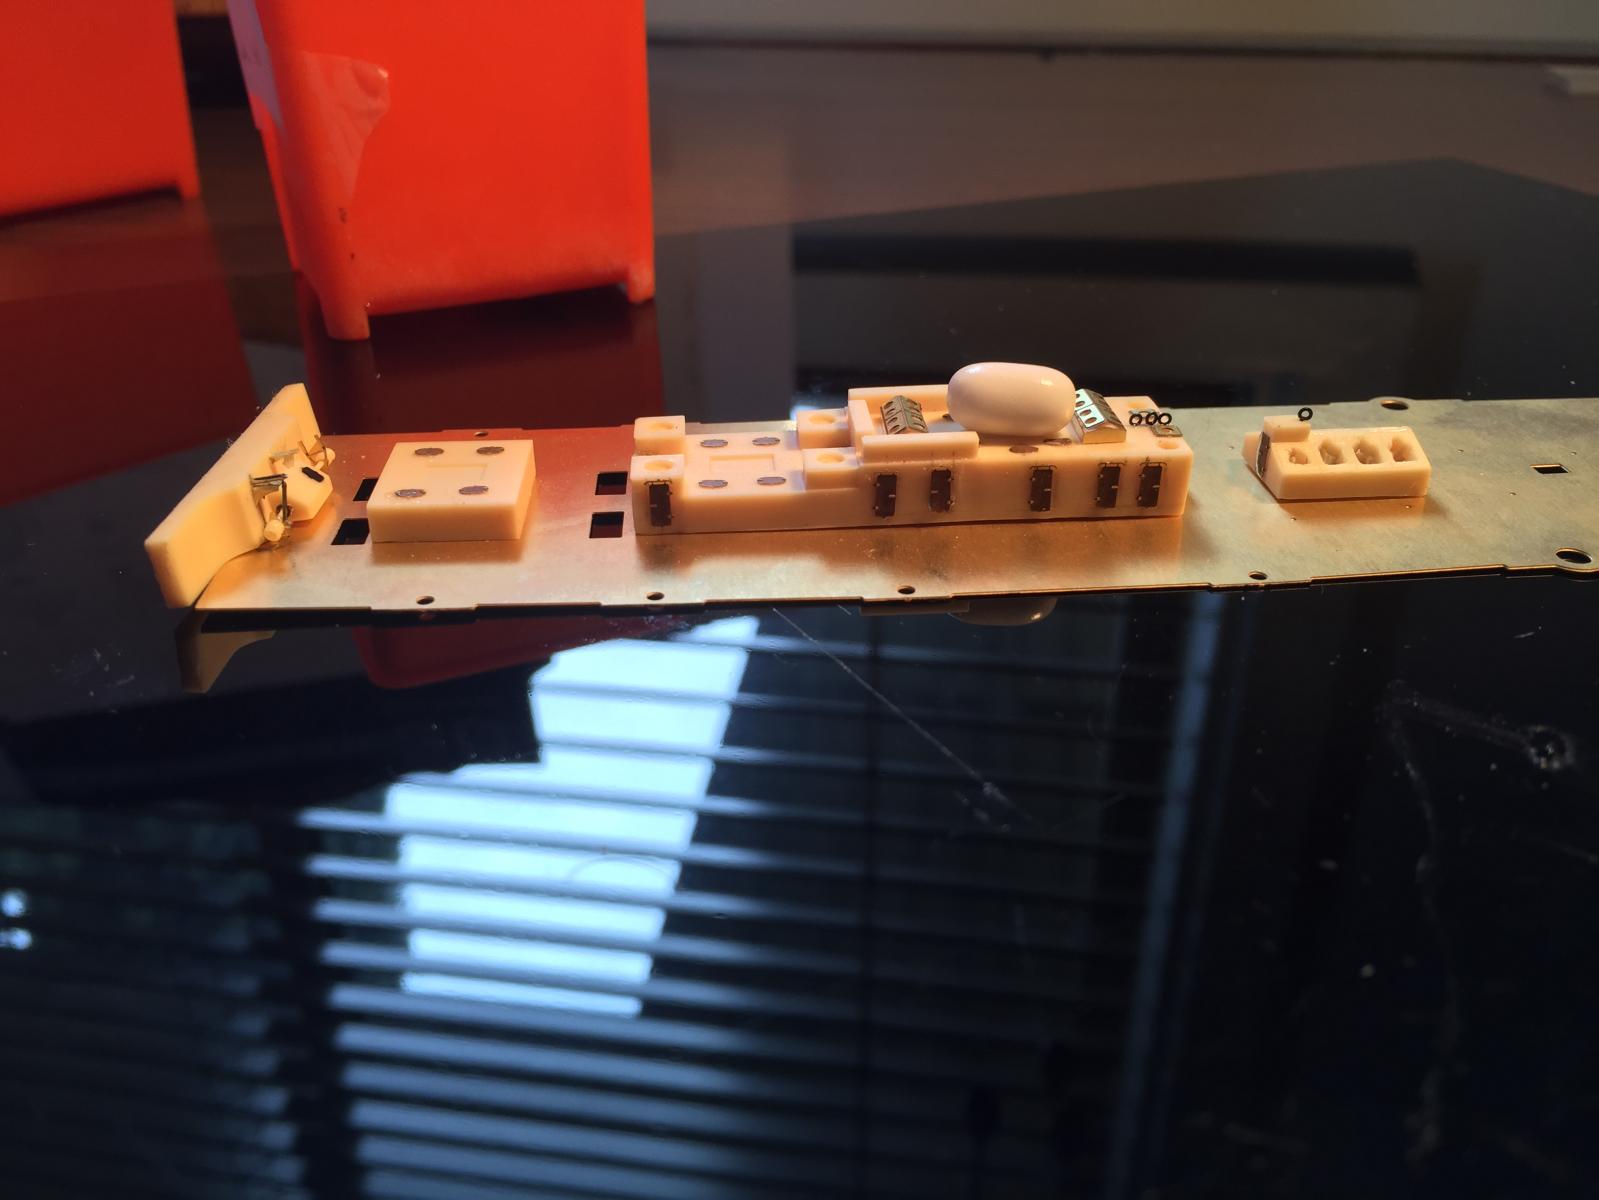
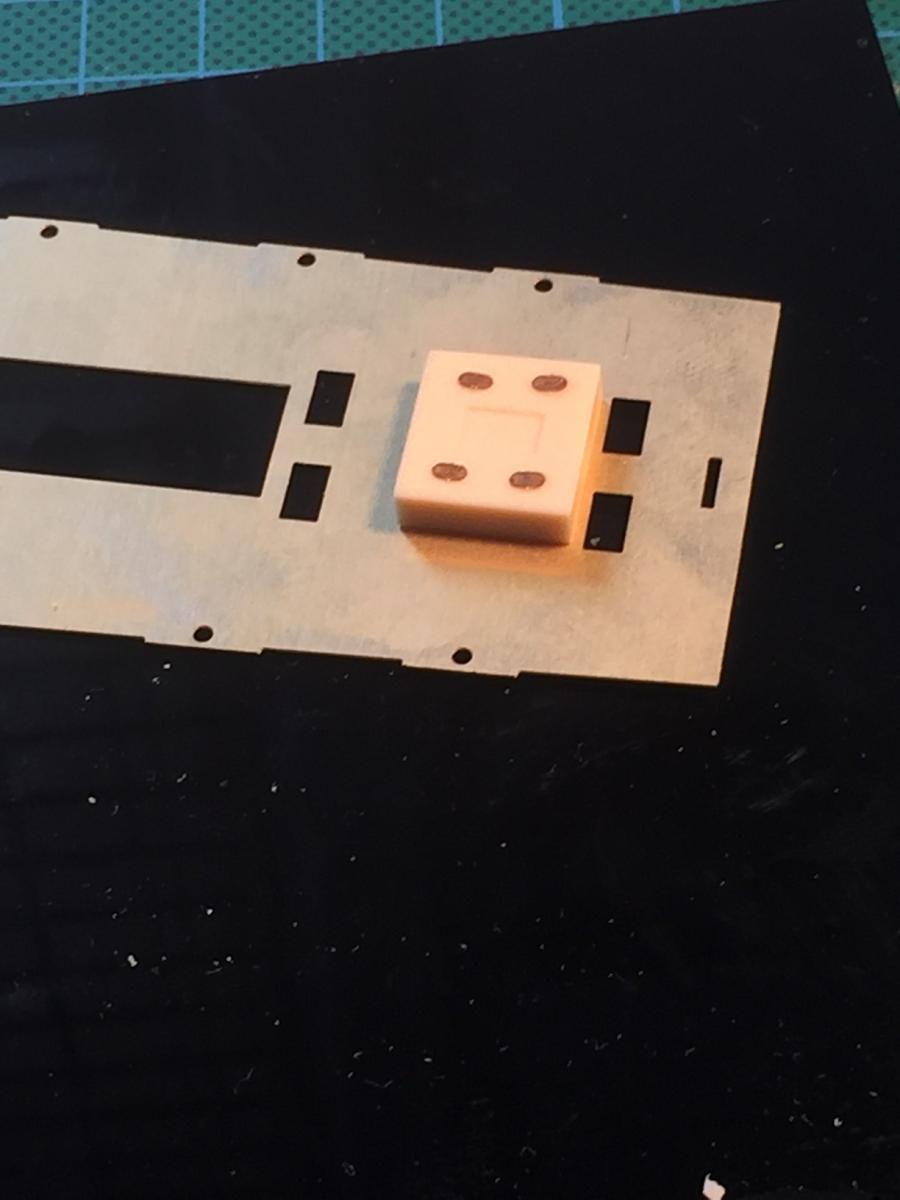
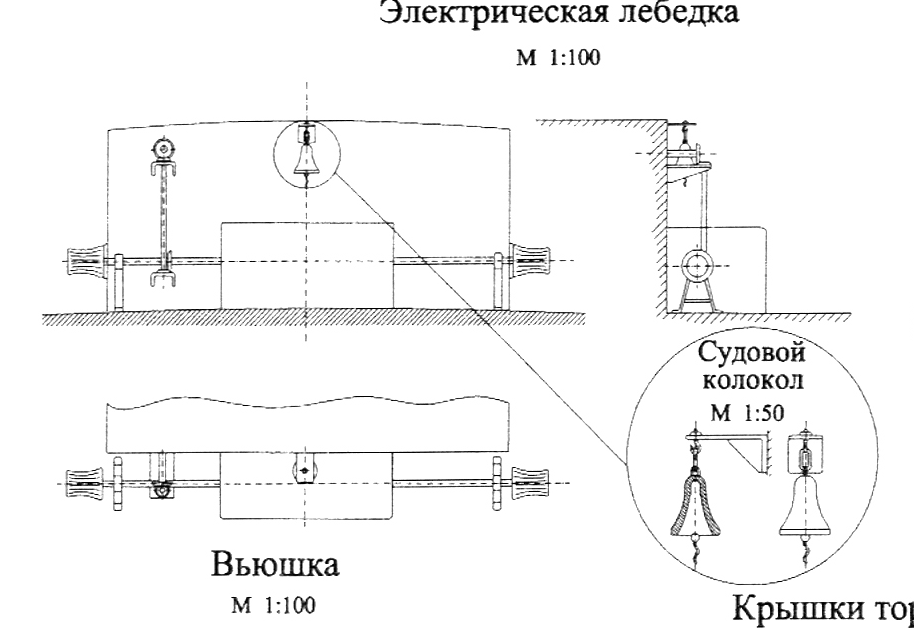
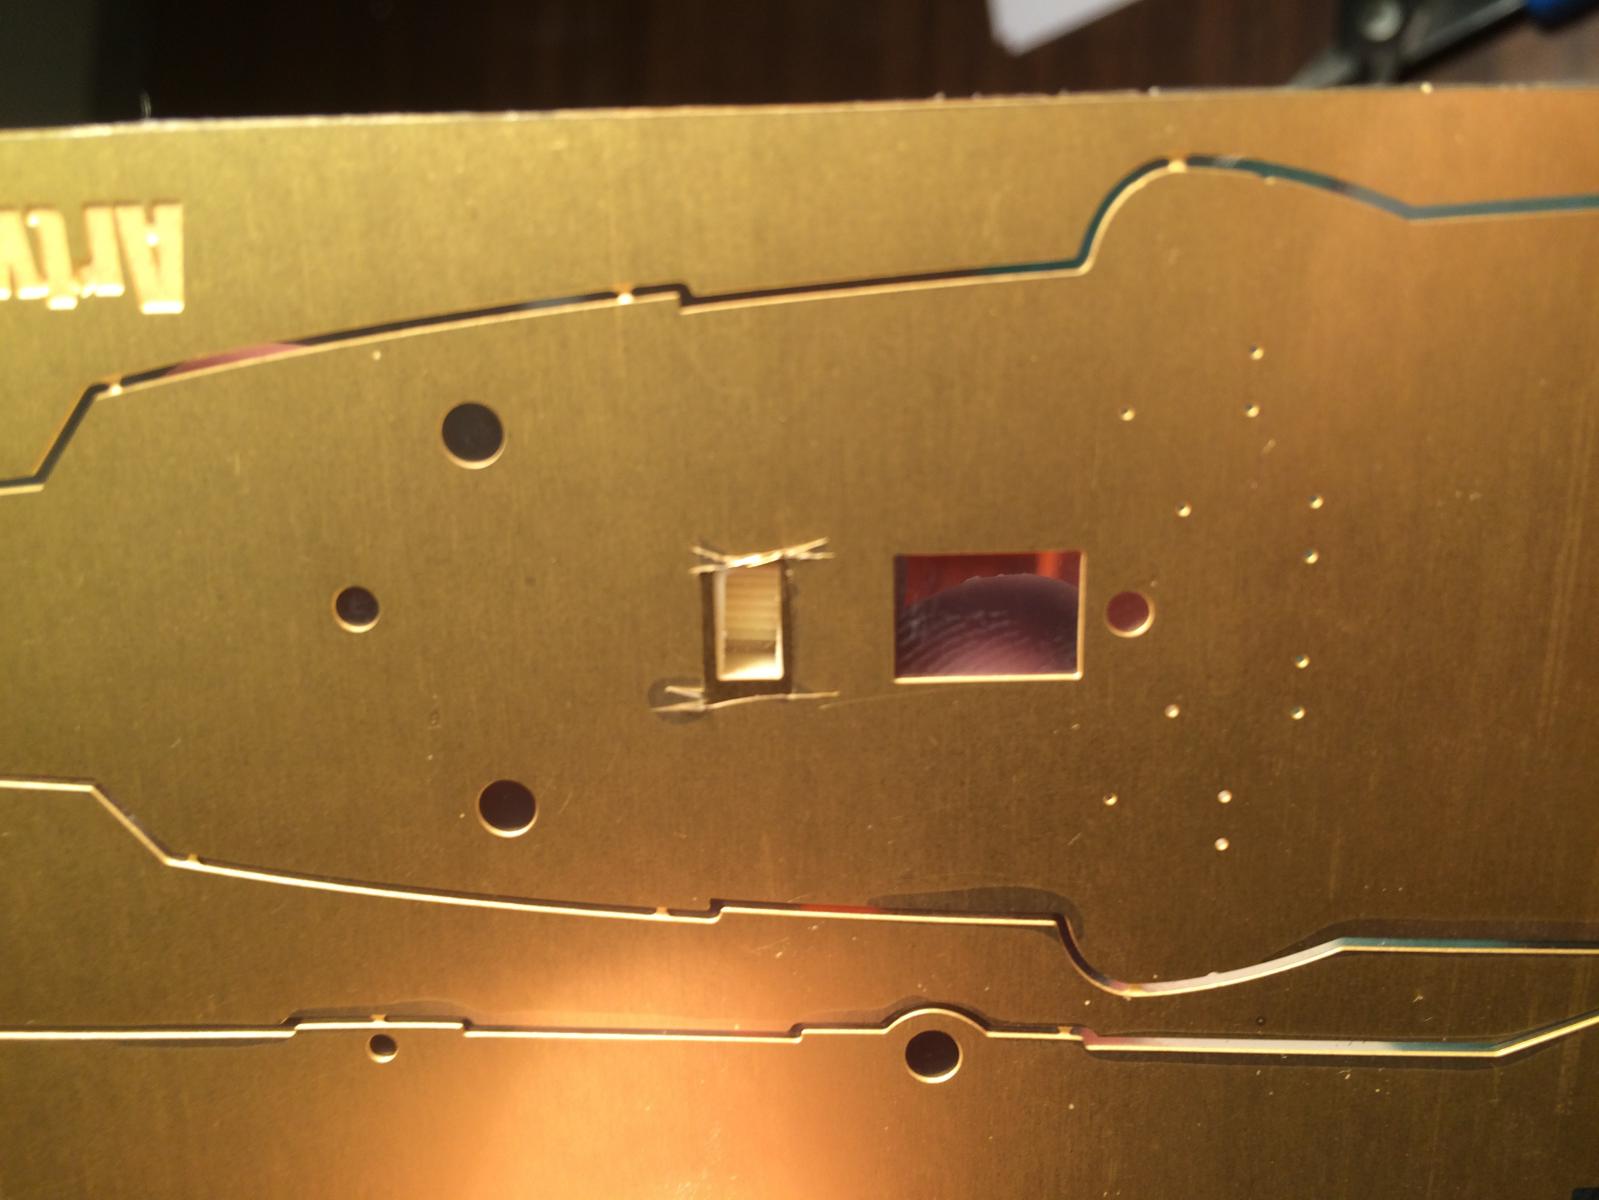
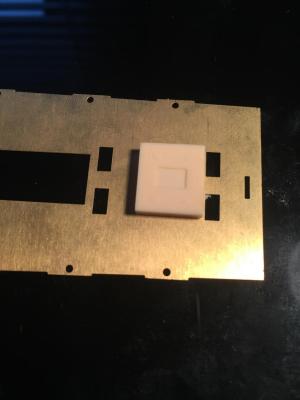
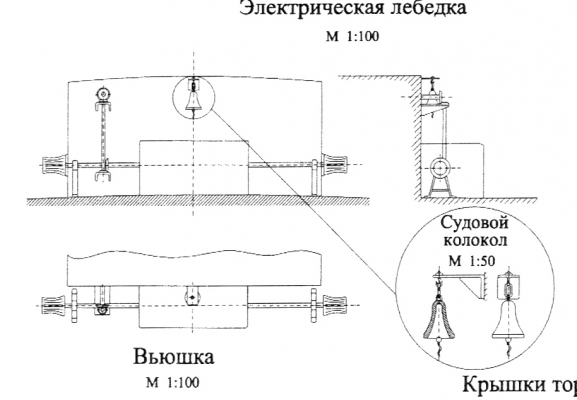
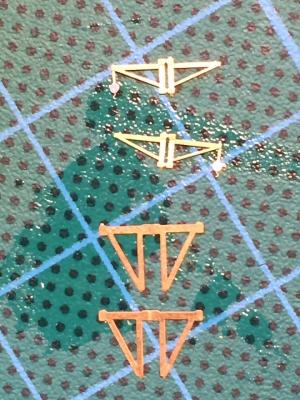
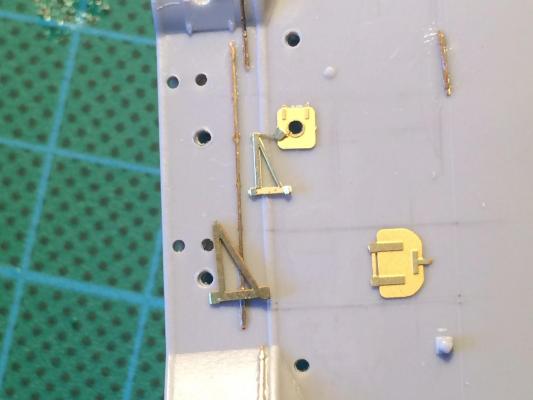
Ok, a test fit of the brass shim false deck, very tight in places. As there are no linear instructions, I'm guessing a fair bit here, as this is the second build on the forum there is no one to follow except on a Polish site. The circled bit is the first section of resin to work on. As you can see from the instructions it is fairly basic. From the Russian works (black and white drawing) it is an electric winch, which has a separate machinery section running off it into the ship itself. I cannot replicate the cogs, but I made the braces up from the Eduard fret (an off cut) and used the cable drums to make up stands for the end of the fly wheels.I will trim them when I finally attach them to the deck after painting. The ships bell is tiny (1mm) and is attached on an even smaller strut. I have now discovered using one of the kids pencils and a quick bit of spit on the tip makes a great holder for photo tech (found that on U-Tube with a review of a Tamiya photo etch pencil, which is basically a grease pencil)


-
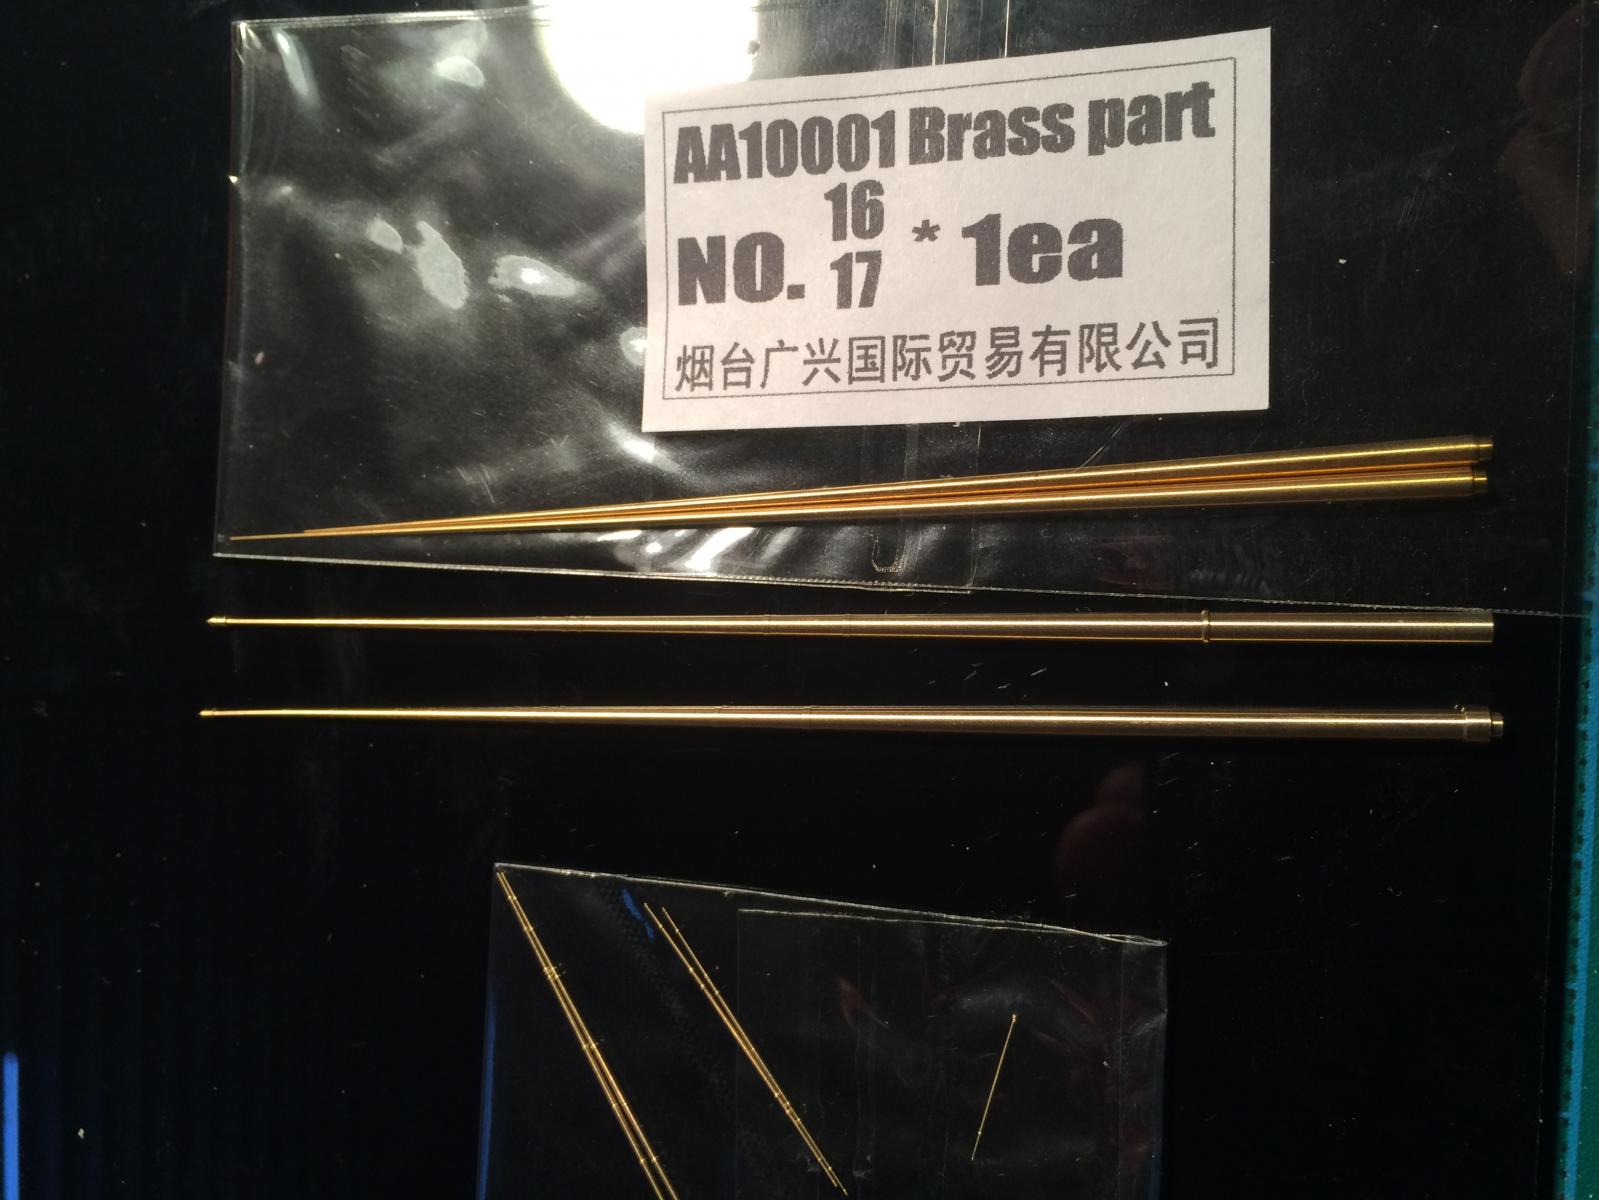
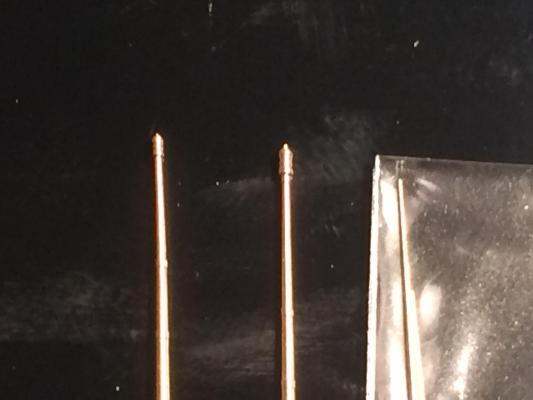
Super glue slices all in tiny amounts, but I will have to solder the masts and yards unless I can drill them, as the tension with the rigging may pull them off, thus the practice with the spare yards or even some brass rod, they are tiny so I'll have to learn how to go from big to small, my Endeavour was much more forgiving.
-
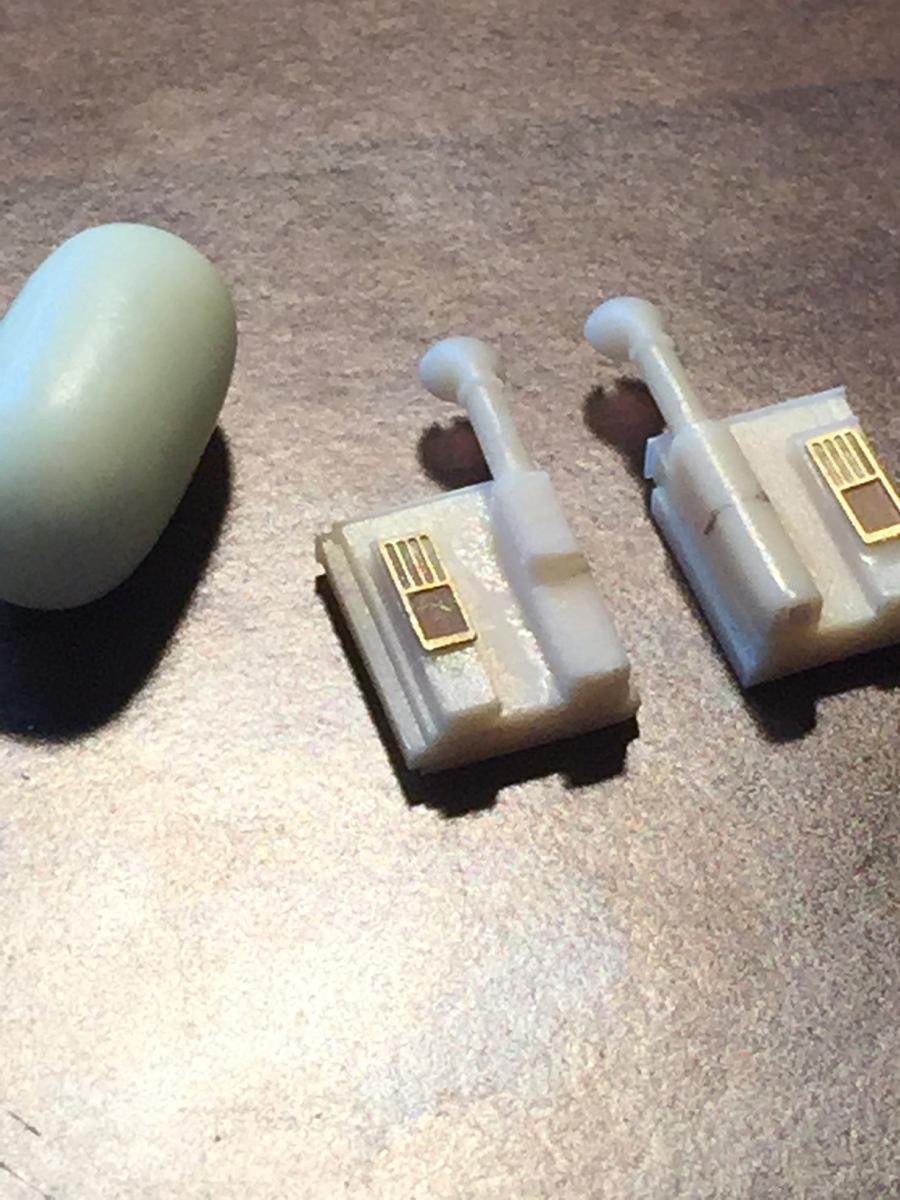
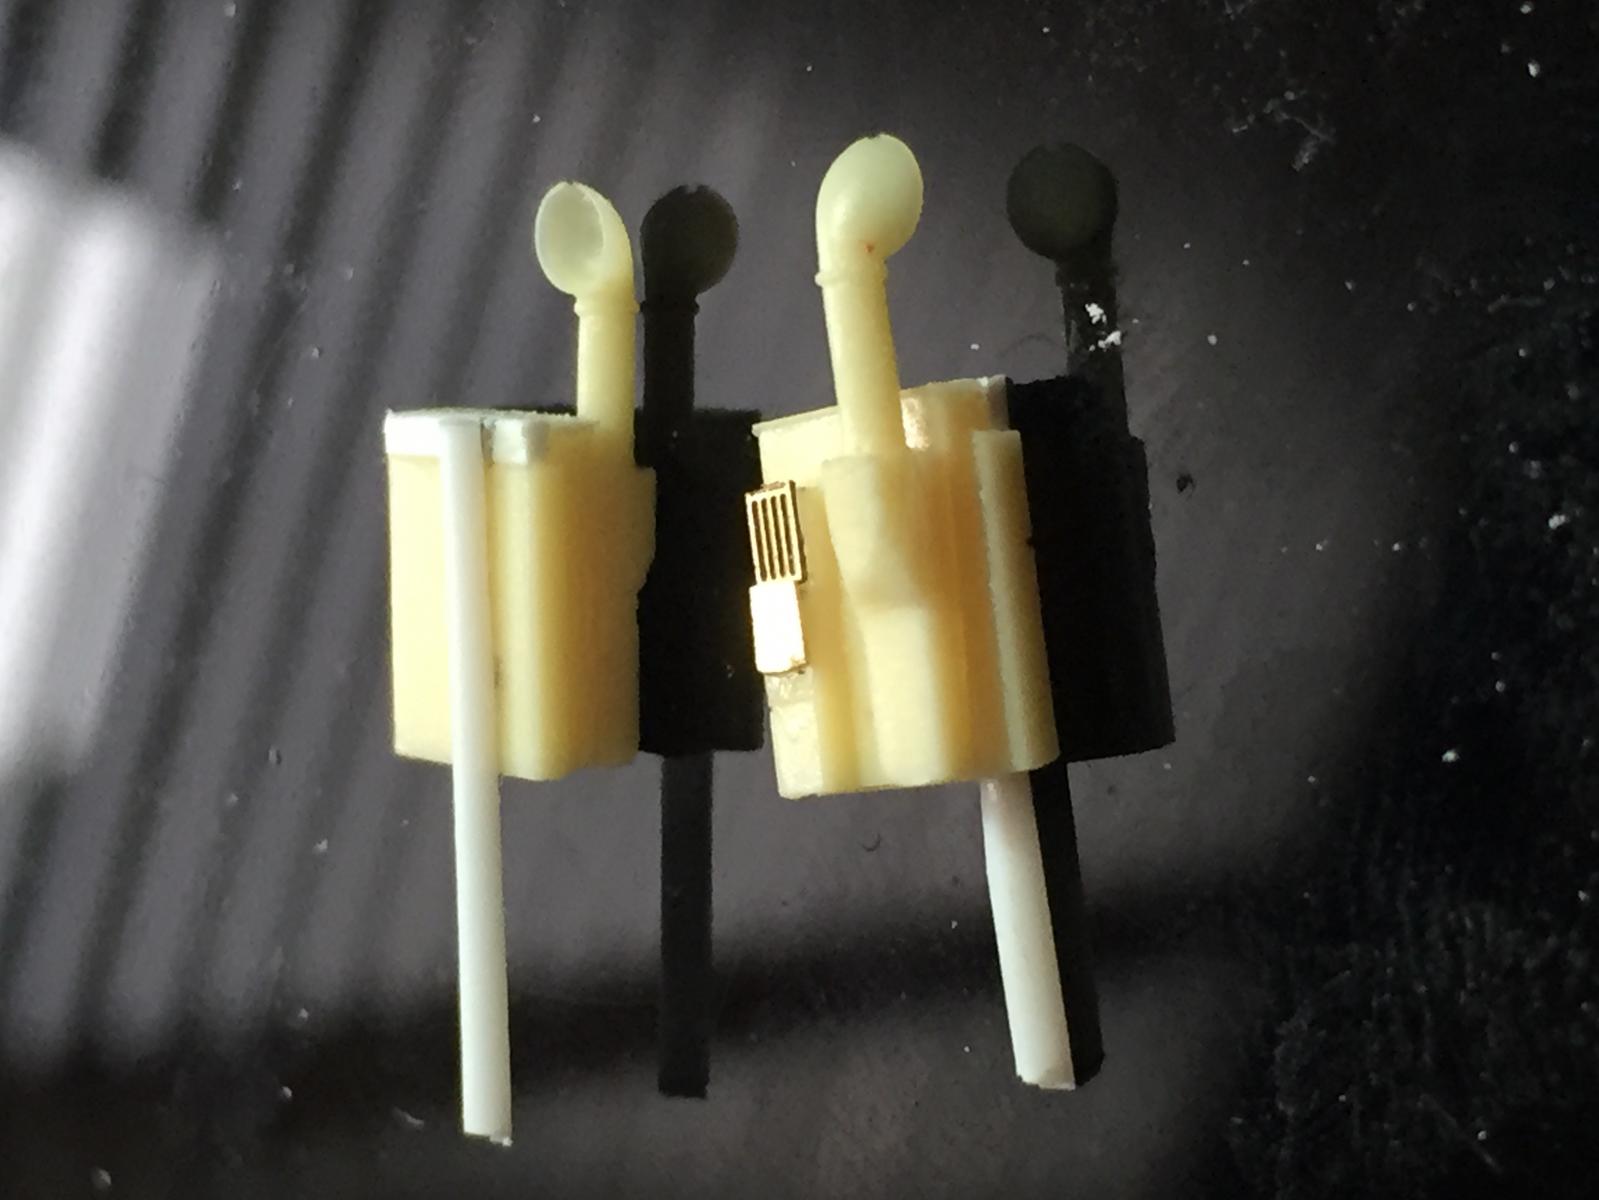
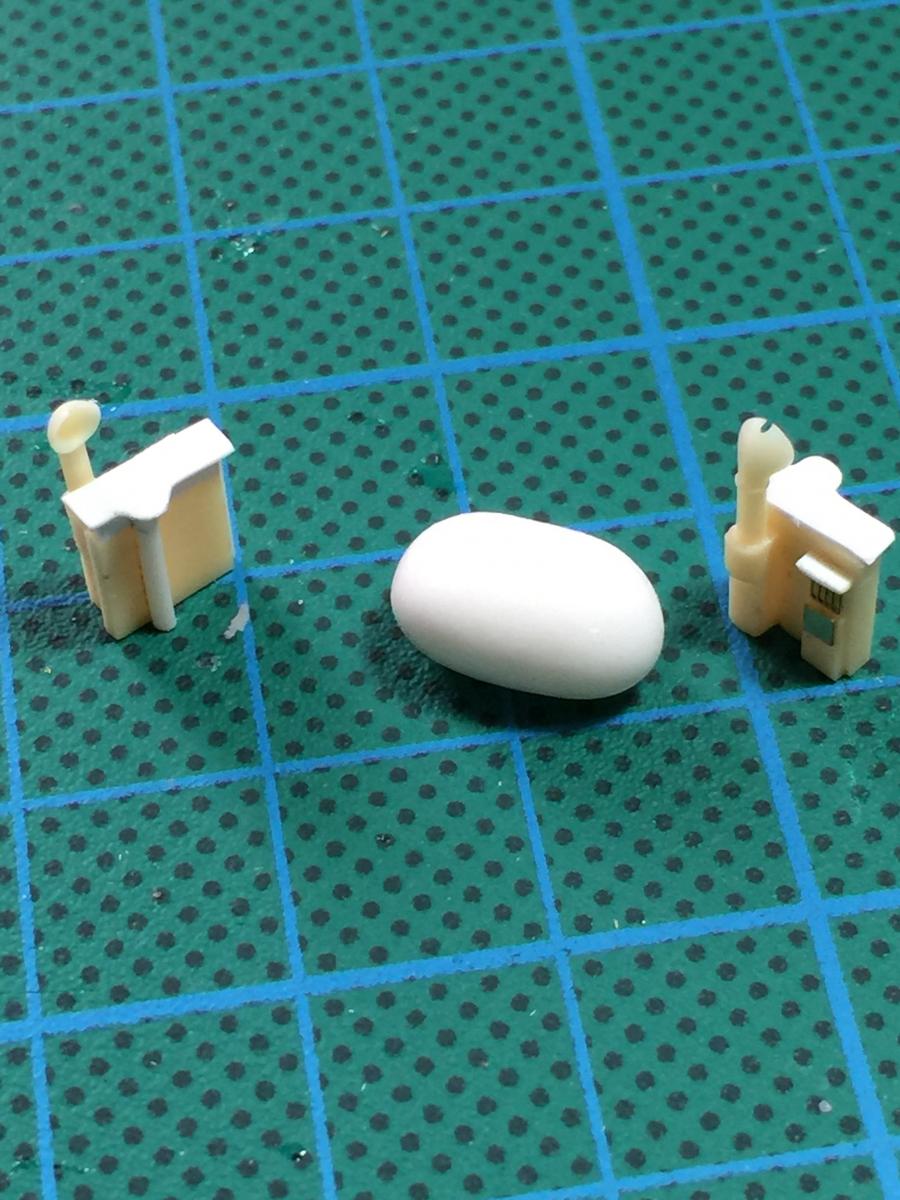
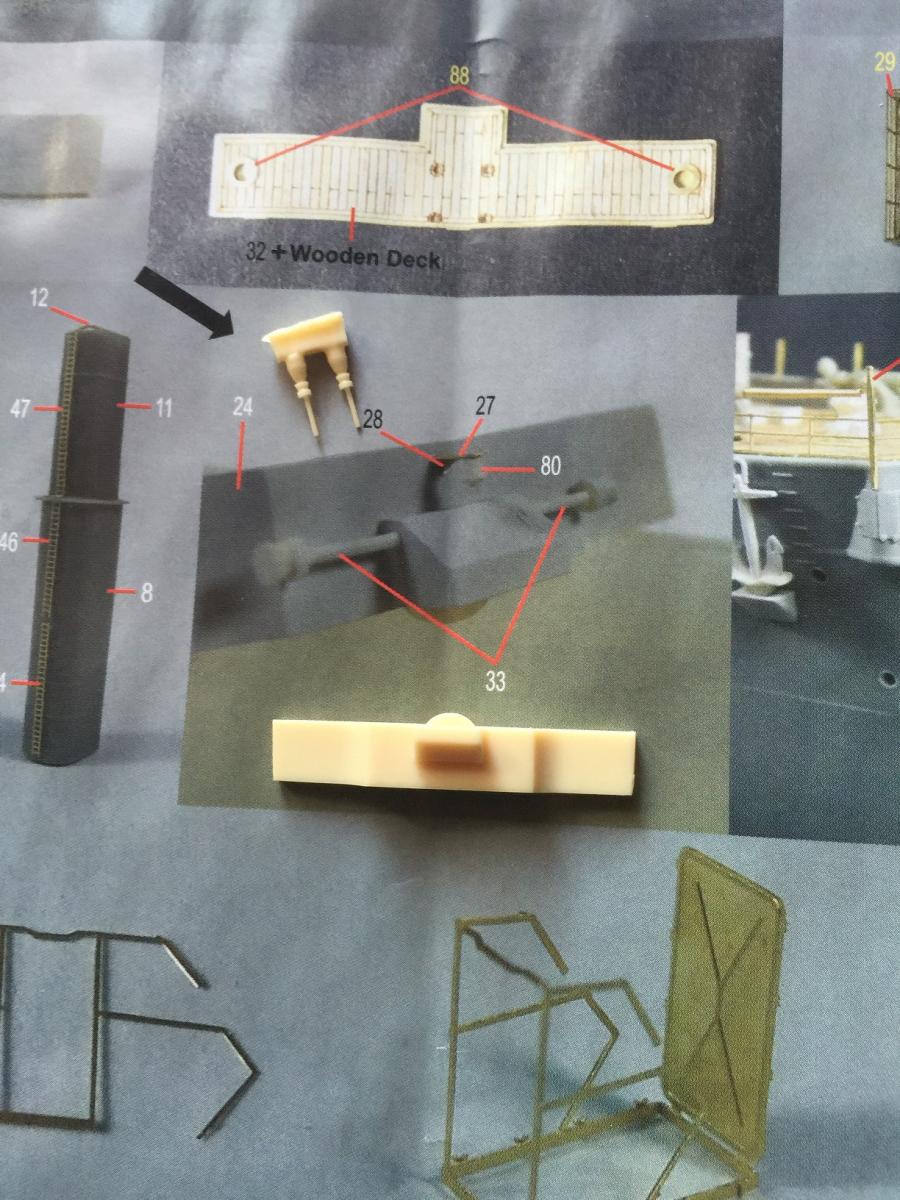
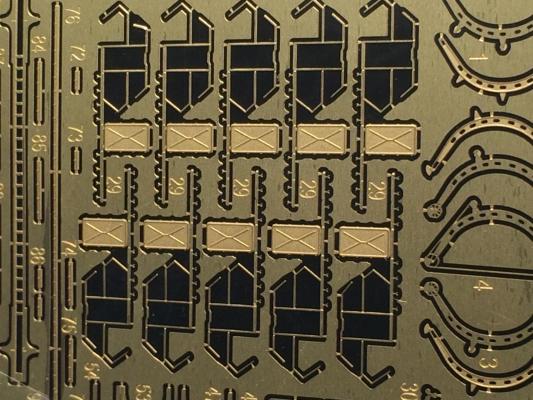
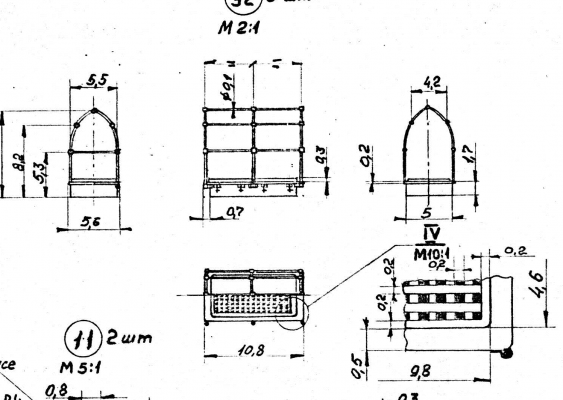
I just recieved the North Star Russian hatch covers, which appear in an earlier photos, which also depicts the actual hatch opening up from the side not the end. Photos; The eduard is the most basic with no rims to the hatch, the Artwox one is lovely, with dogs on them which you just bend up, but I can find no evidence they were used, and the North star ones. I think I will layer the bottom of the north star one with the Artwox rim with dogs, then use the doors cut off the fret opening up from the side.


-
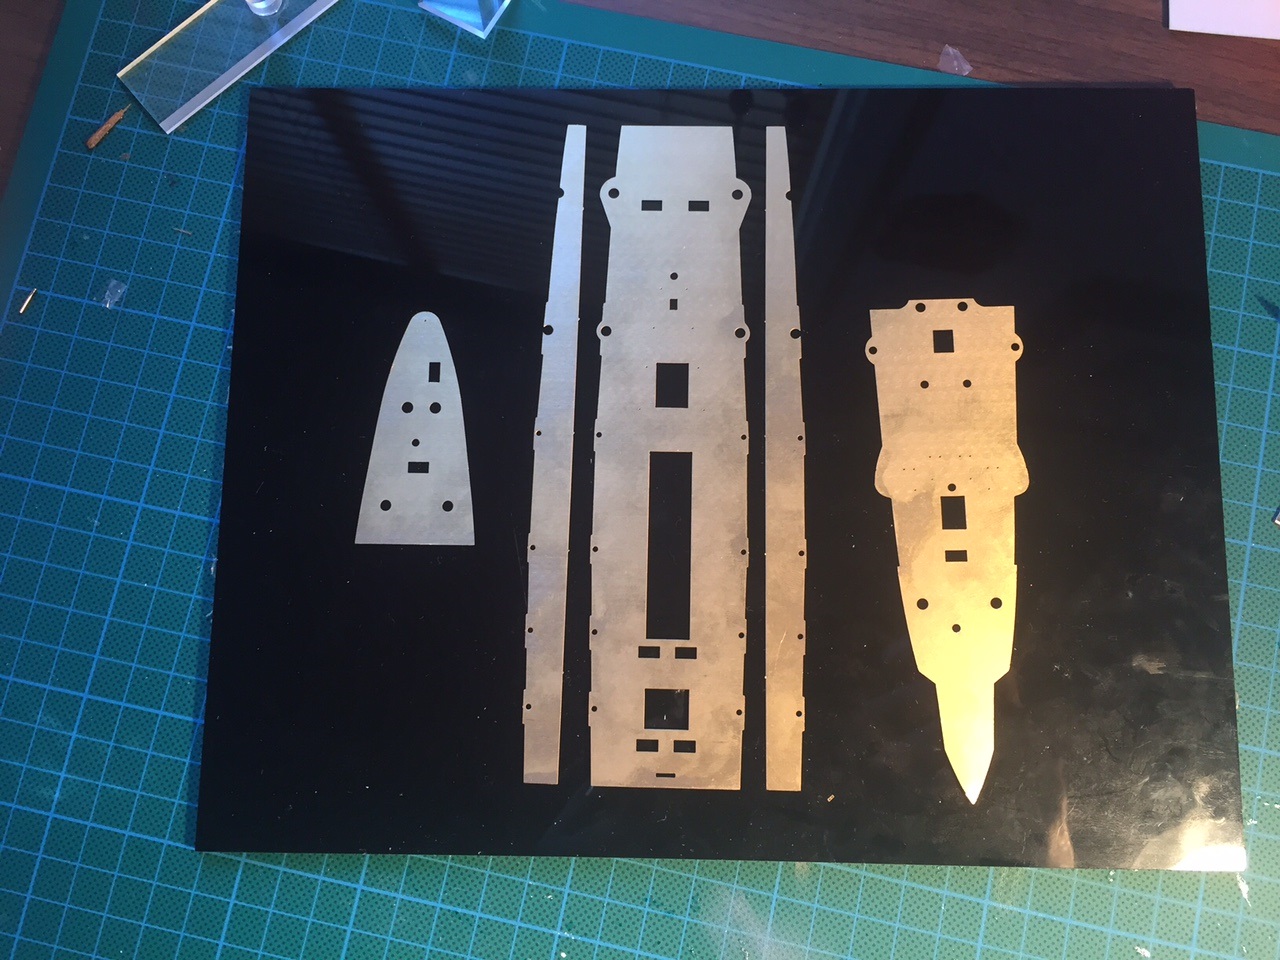
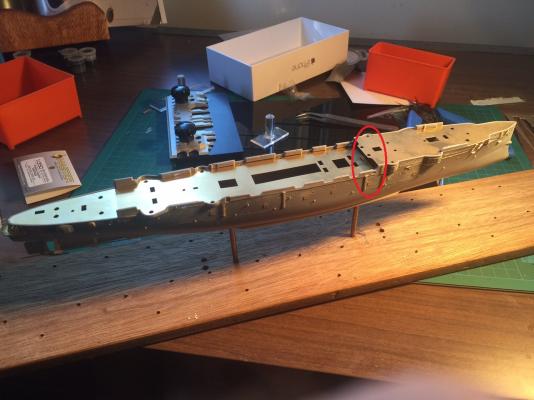
The next bit will be to put the stair into the decks which are attached to the false deck. Given I have extra's I reckon I'll use the stairs from Eduard instead of the resin ones provided by Artwox, as the level of detail is so much better and I'll be using difference hatch covers. The brass sheet you are looking at is the PE false deck that the wooden one will go onto.


-
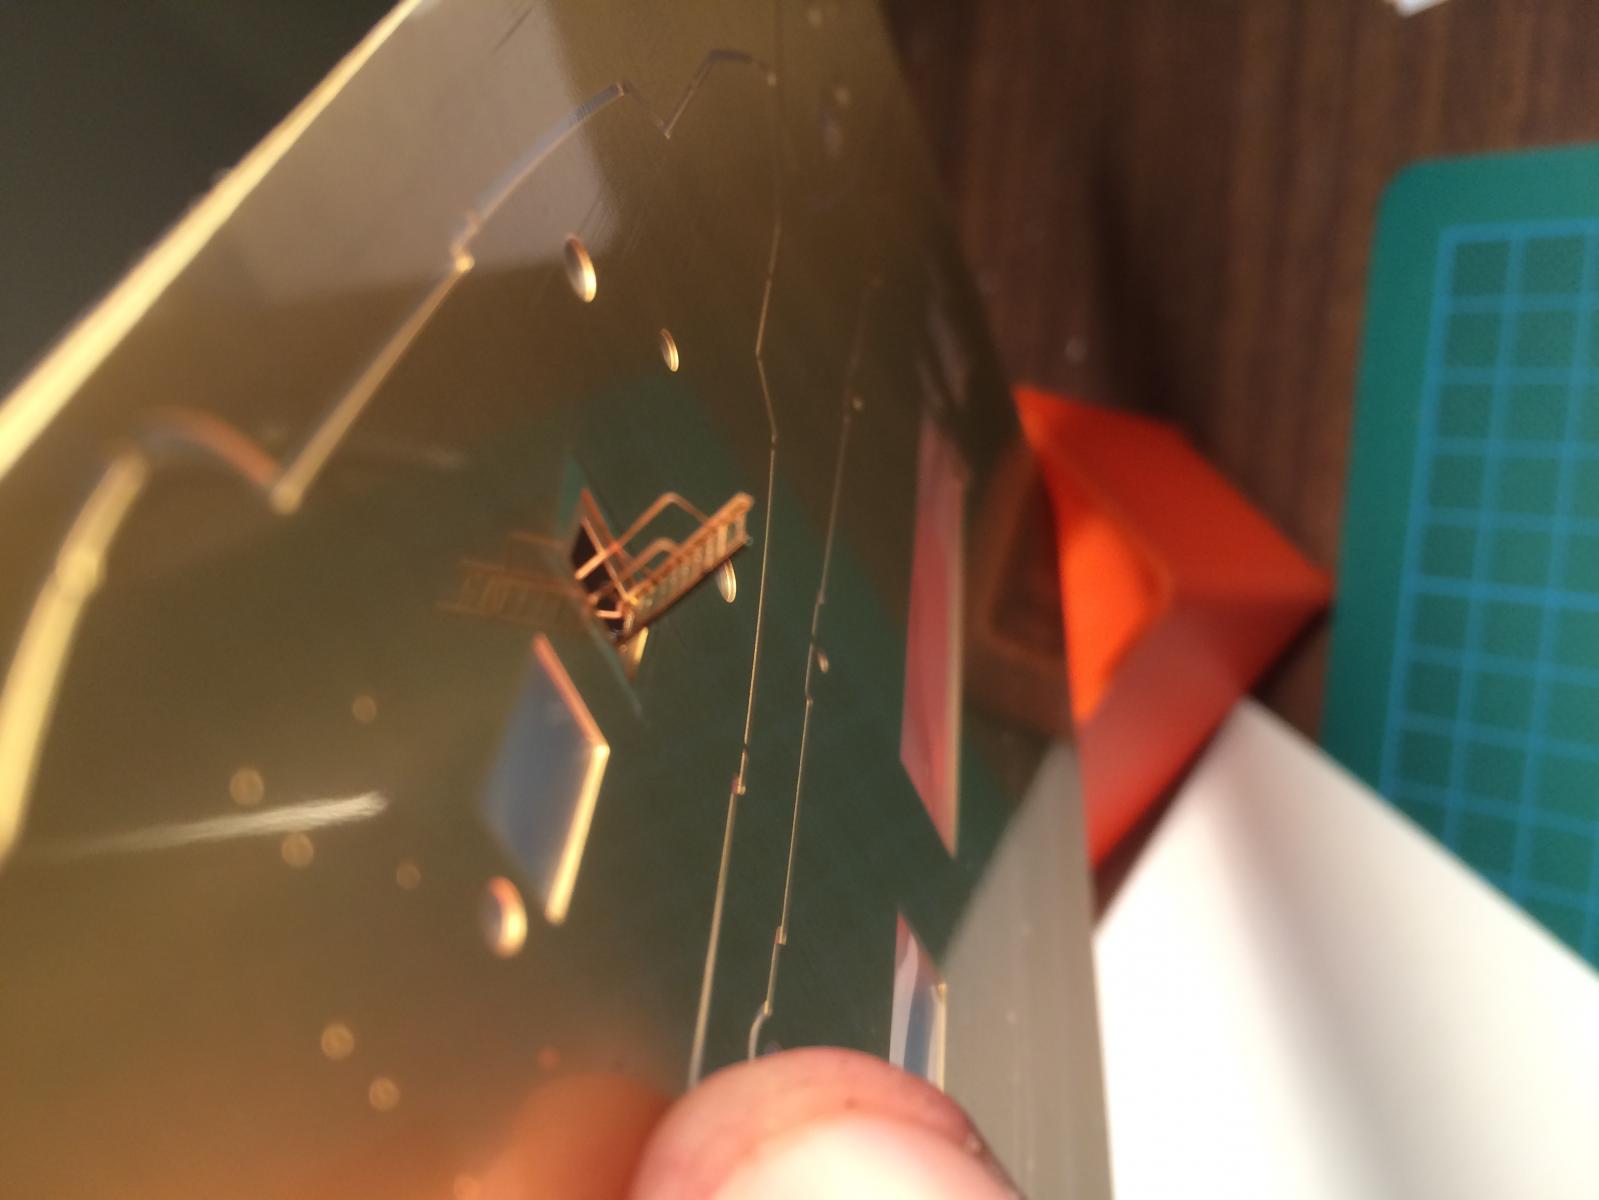
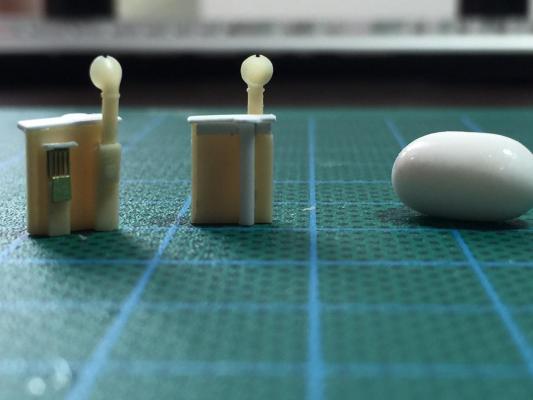
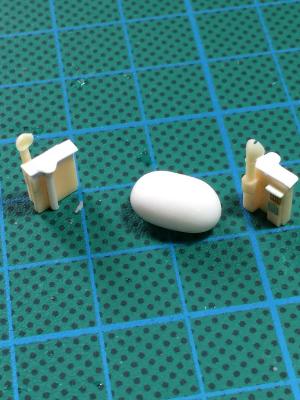
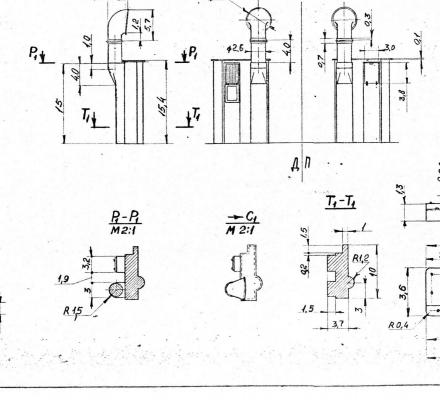
I read on a polish forum (love google translate) that the Artwox masts were poor compared to the master models one. The master models ones are soooo much better. I now have to learn to solder, but can proactice on the Artwox ones. The zoom shot is a bit blurry, but it shows the mast caps which just appear to be a little piece of PE and another part which I just do not understand nor is it expalined.
-
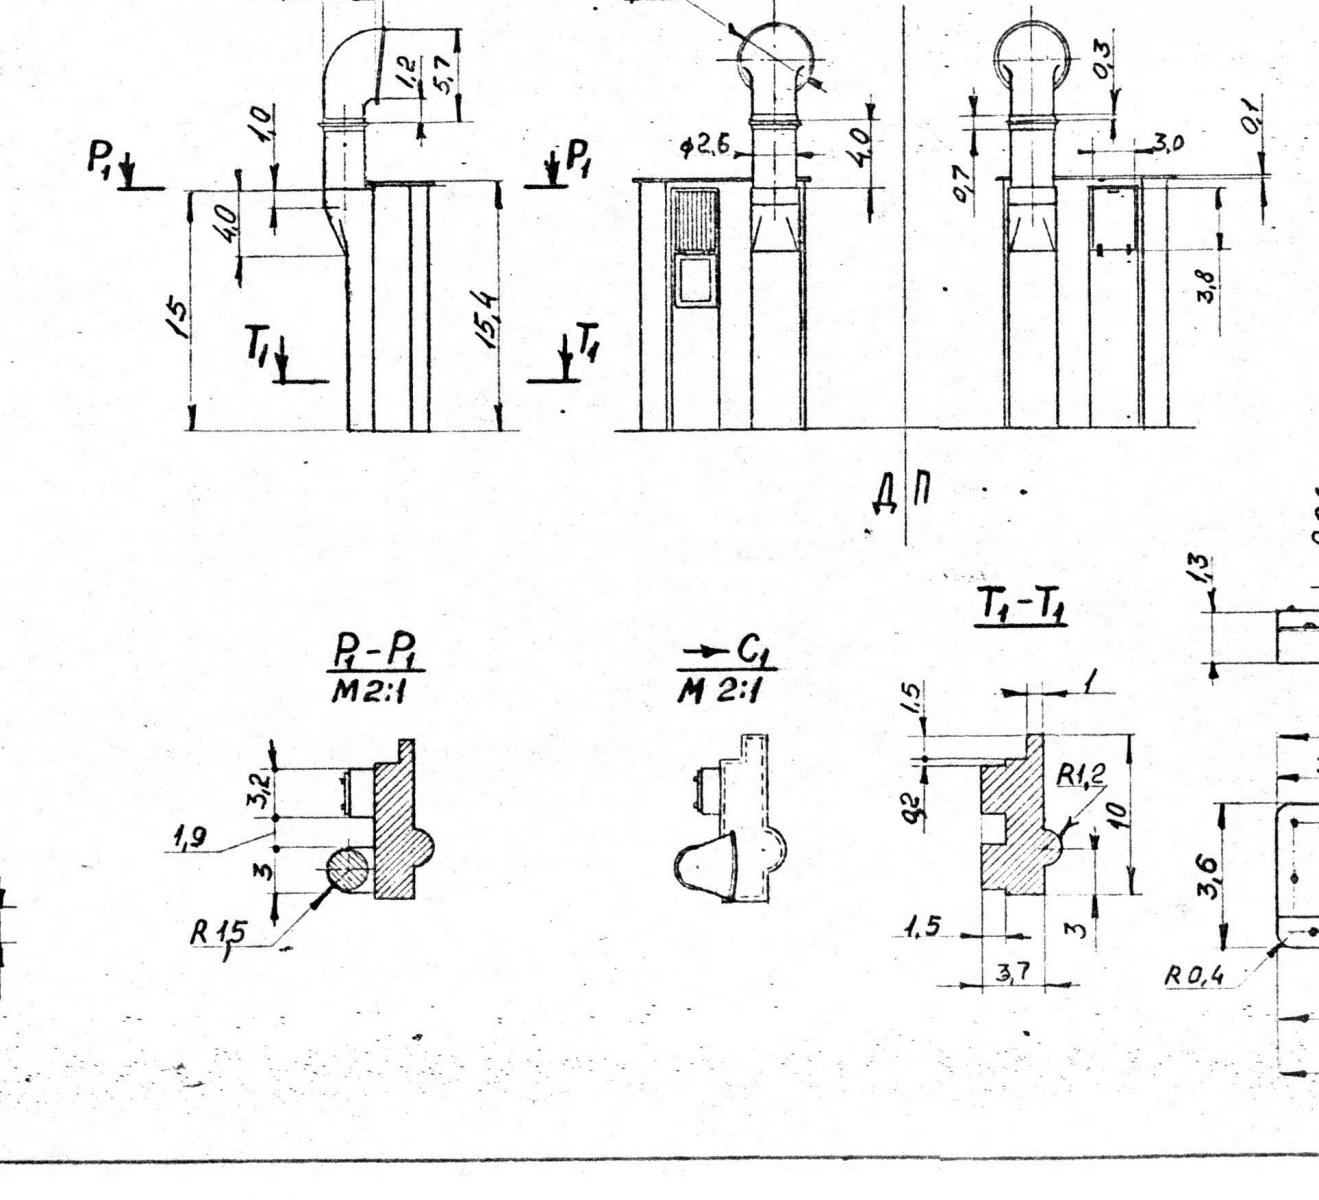
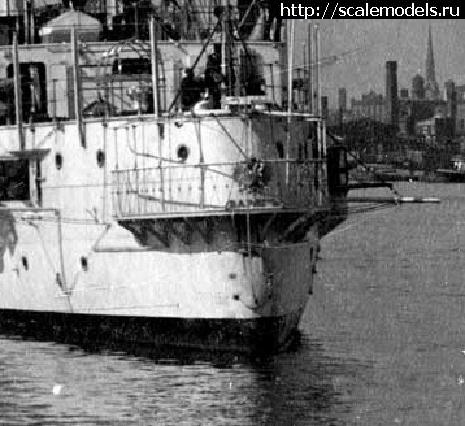
There are a heap of open source documents available on this ship I have discovered using Google translate. The Russian ship modeler's forums seem to have many hyperlinks to PDF documents. As such I am finding more and more inacuracies. The Stern Torpedo tube's hinges are on top, not the side. The companionways in both Eduard and Artwox are wrong (You can see from the zoomed in photos of the real thing). The Draminski book which I have purchased is nice, but the available blueprints are fantastic for every aspect. The files are too big to upload but easy to find at http://karopka.ru/forum/forum263/ Now I have two frets of companion ways that are inaccurate and have ordered ther North Star models version.


- 174 replies
-
- 10
-

-
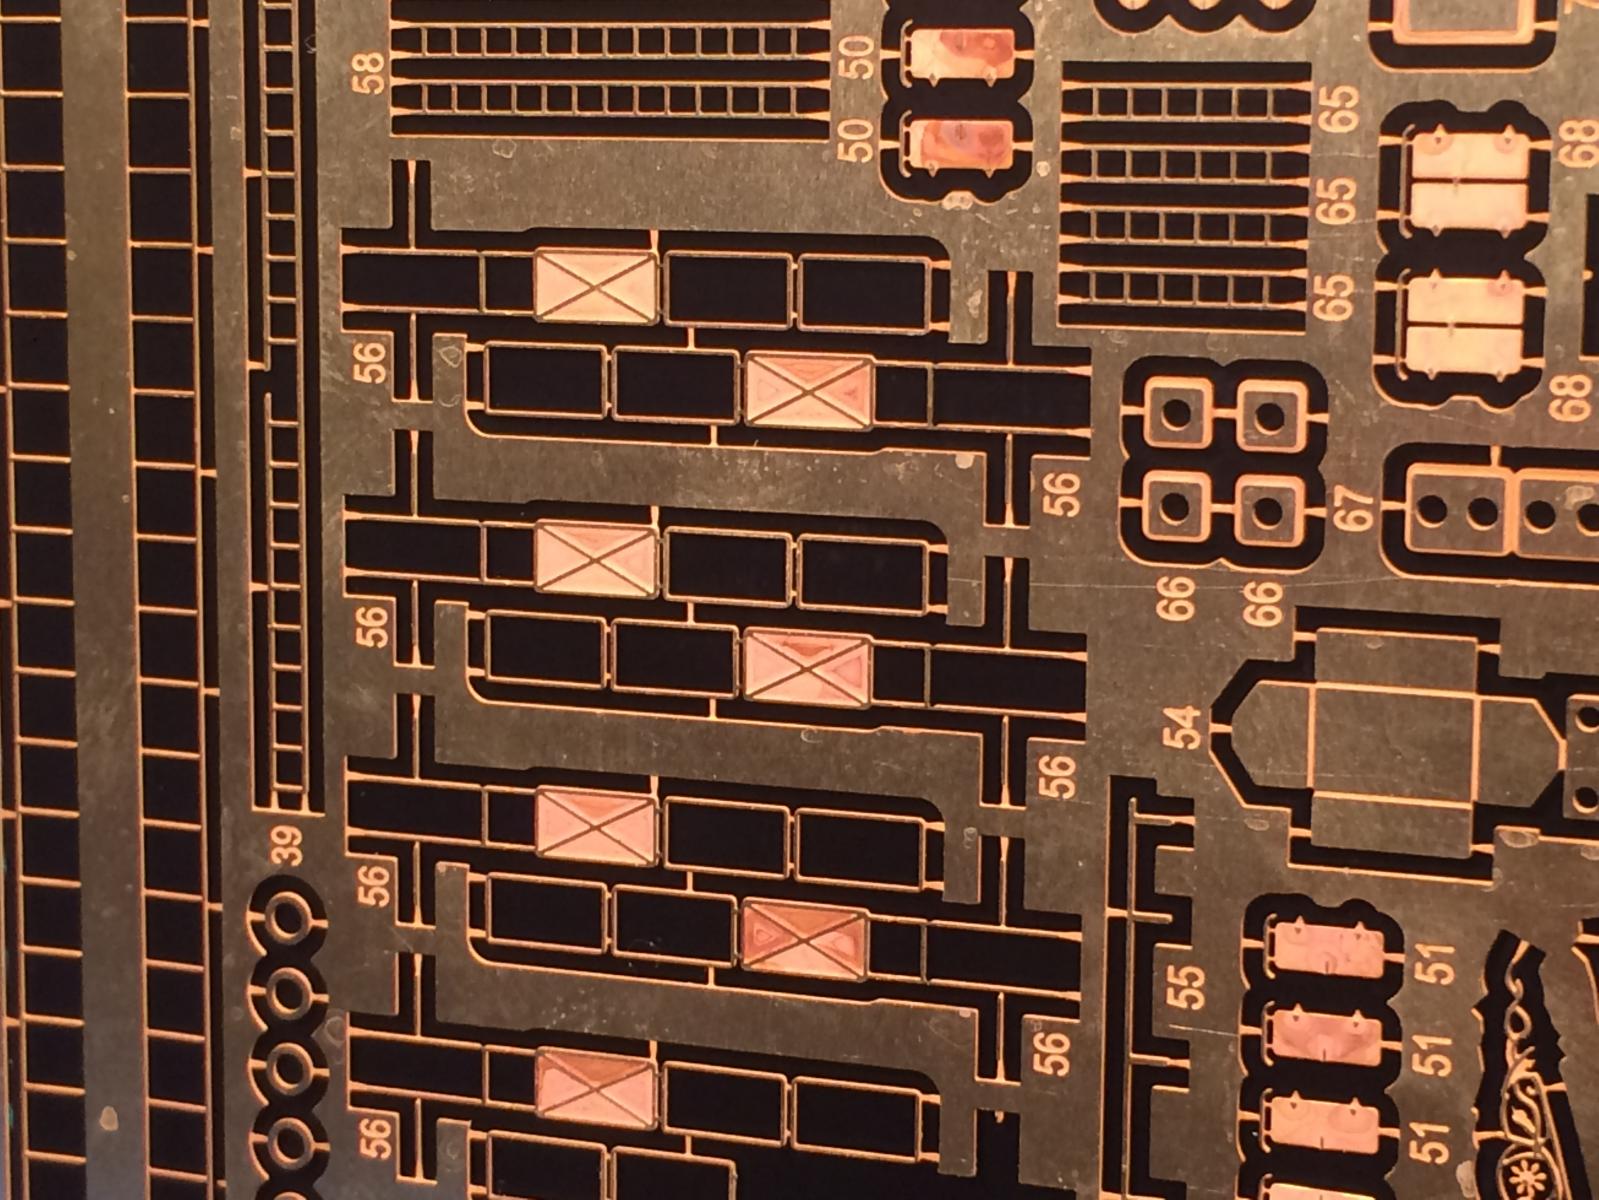
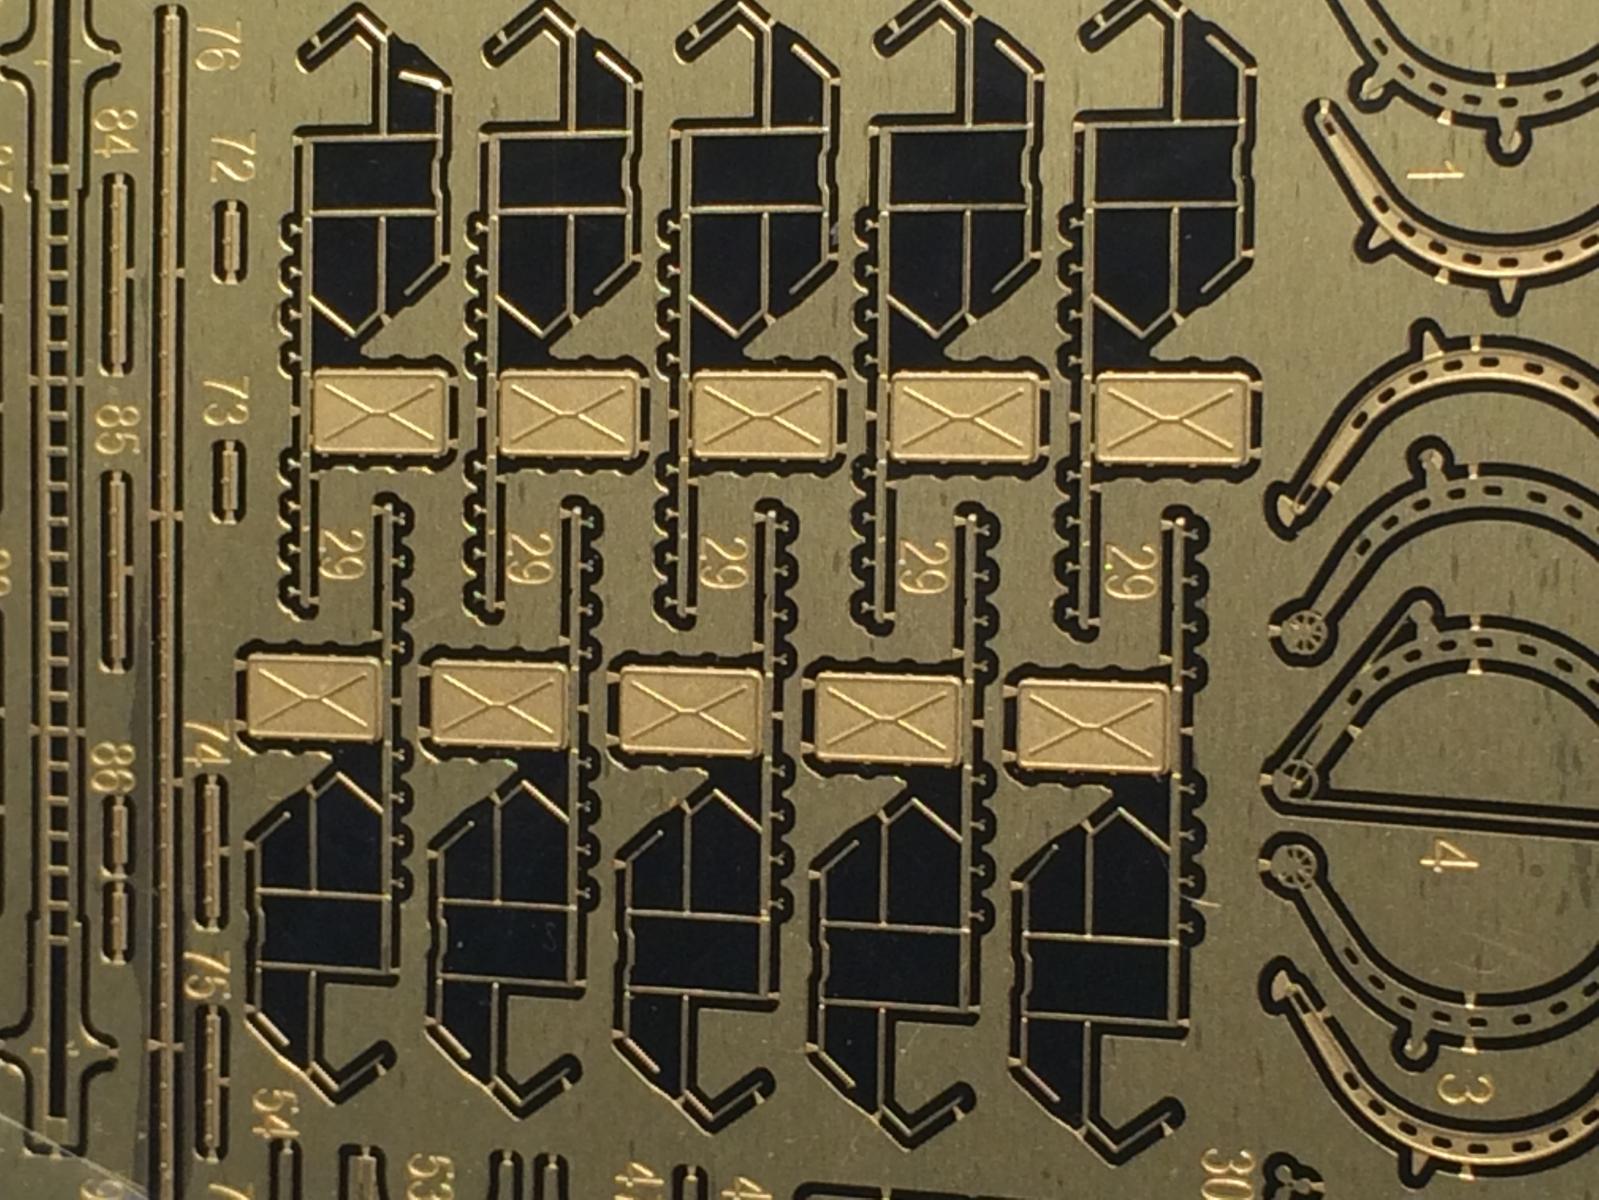
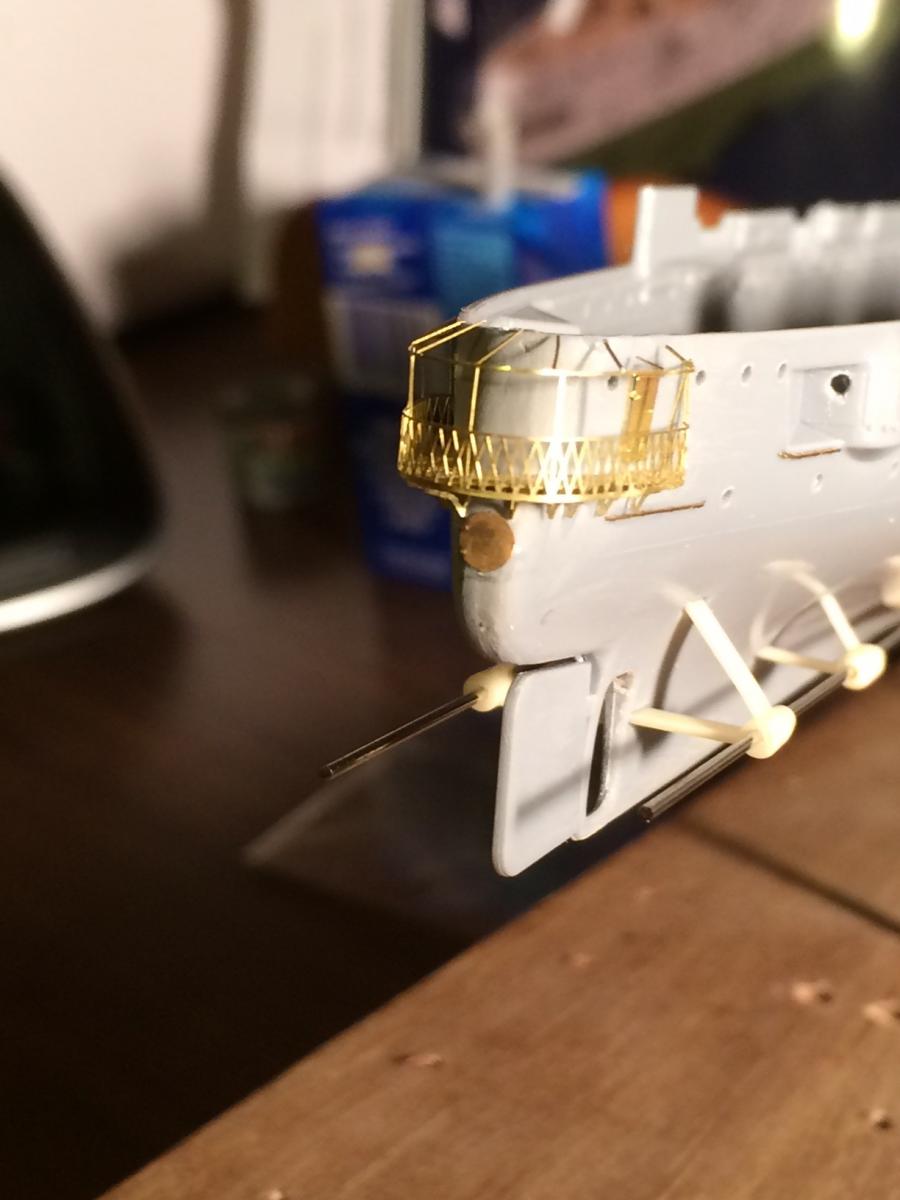
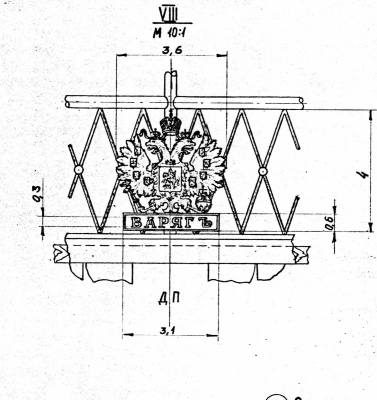
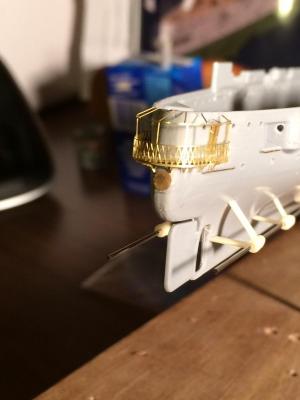
The stern gallery. This is fiddly as the platform has 8 individual struts underneath. The Atrxwox fret is nicer but about 1/2 as this as the Eduard fret (the darker one is eduard) and is paper thin and very fragile. The latticework is finer, more detailed and has extra struts. There is also a stern torpedo tube with the fret from eduad which is not not even mentioned in the Artwox kit but is in all the reference stuff. I have a stern nameplate and coat of arms which i will attach after painting. Both aftermarket.


- 174 replies
-
- 14
-
-
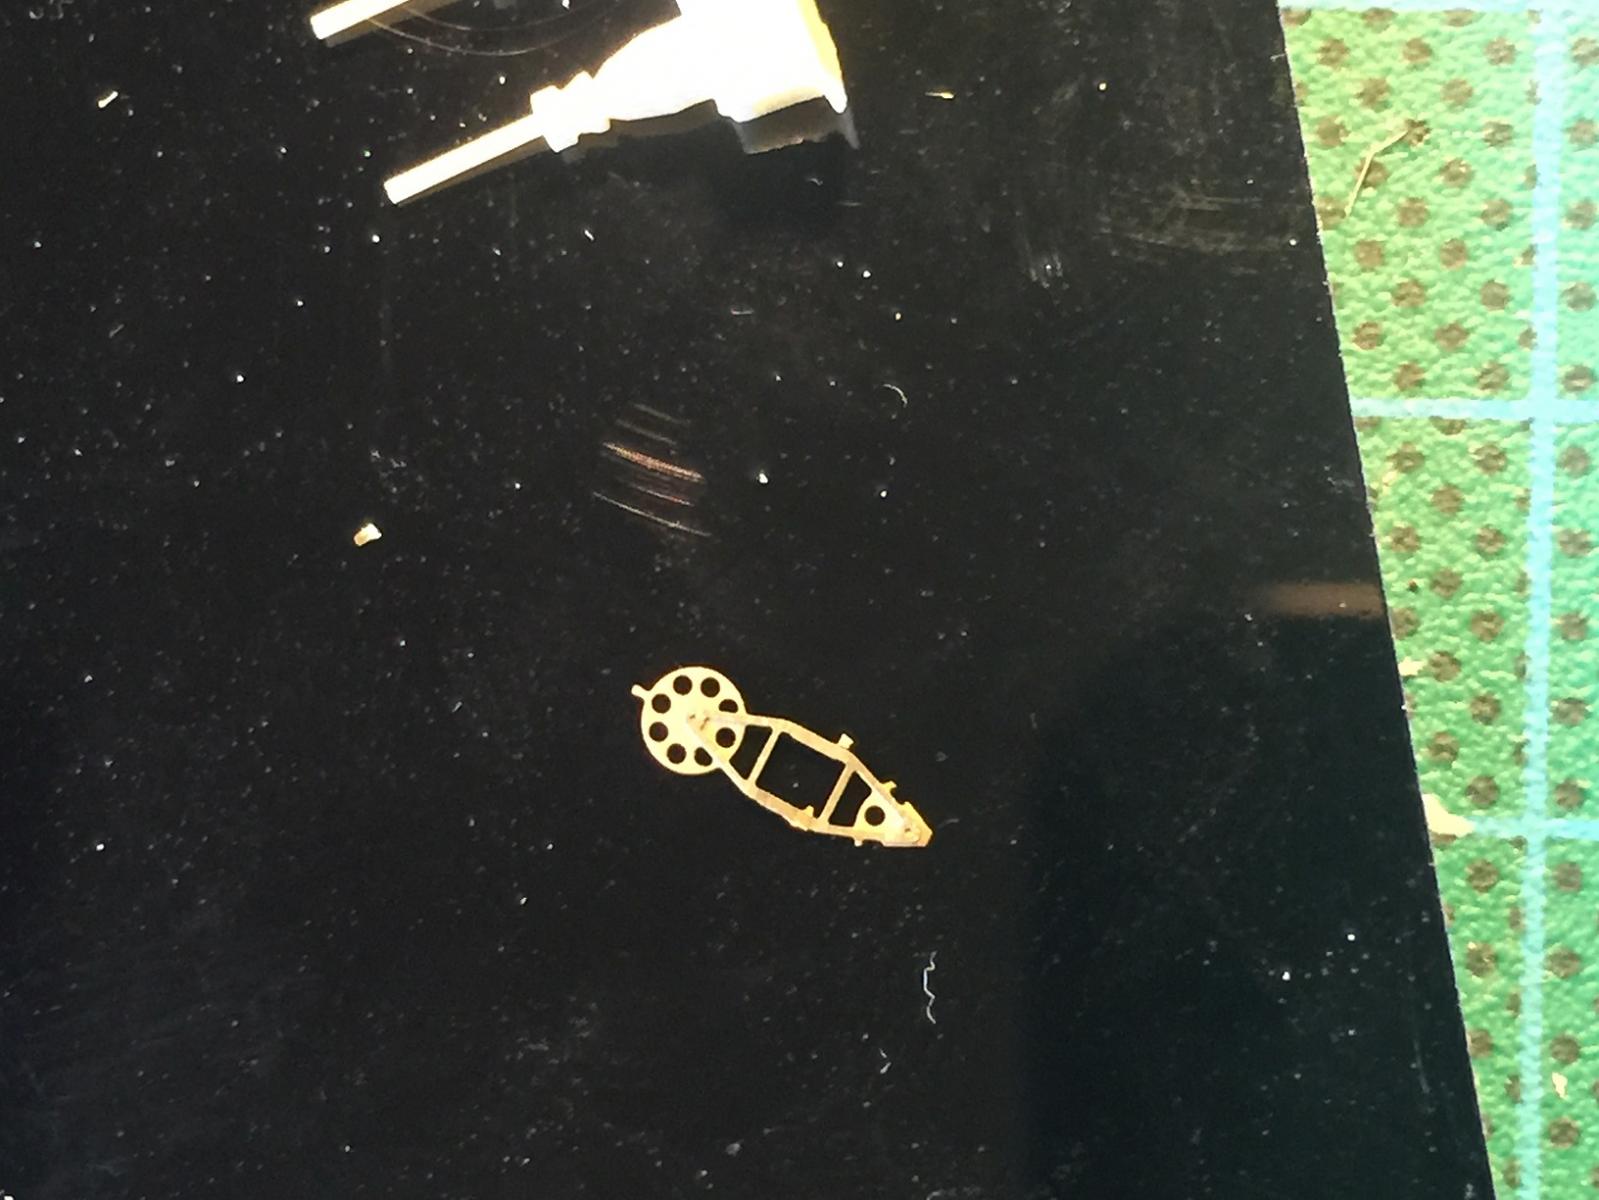
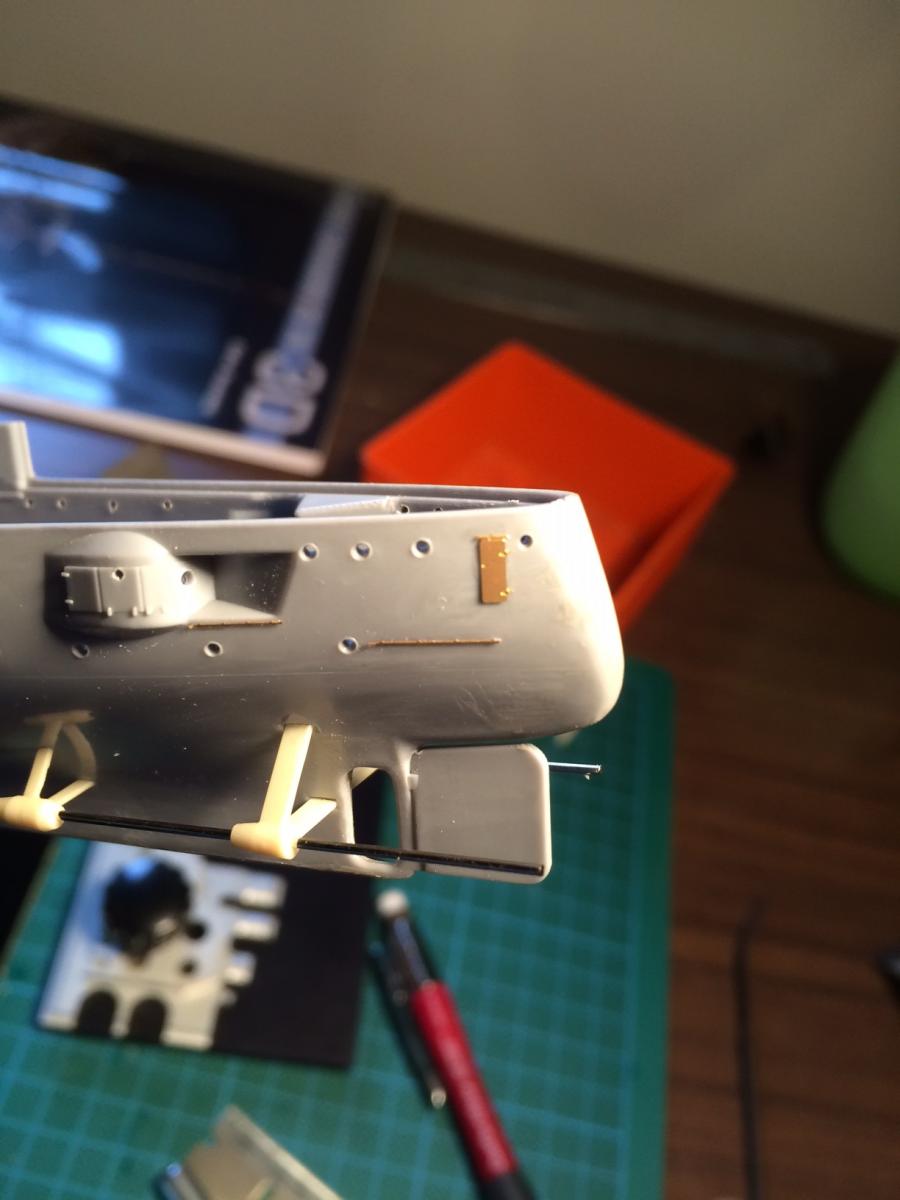
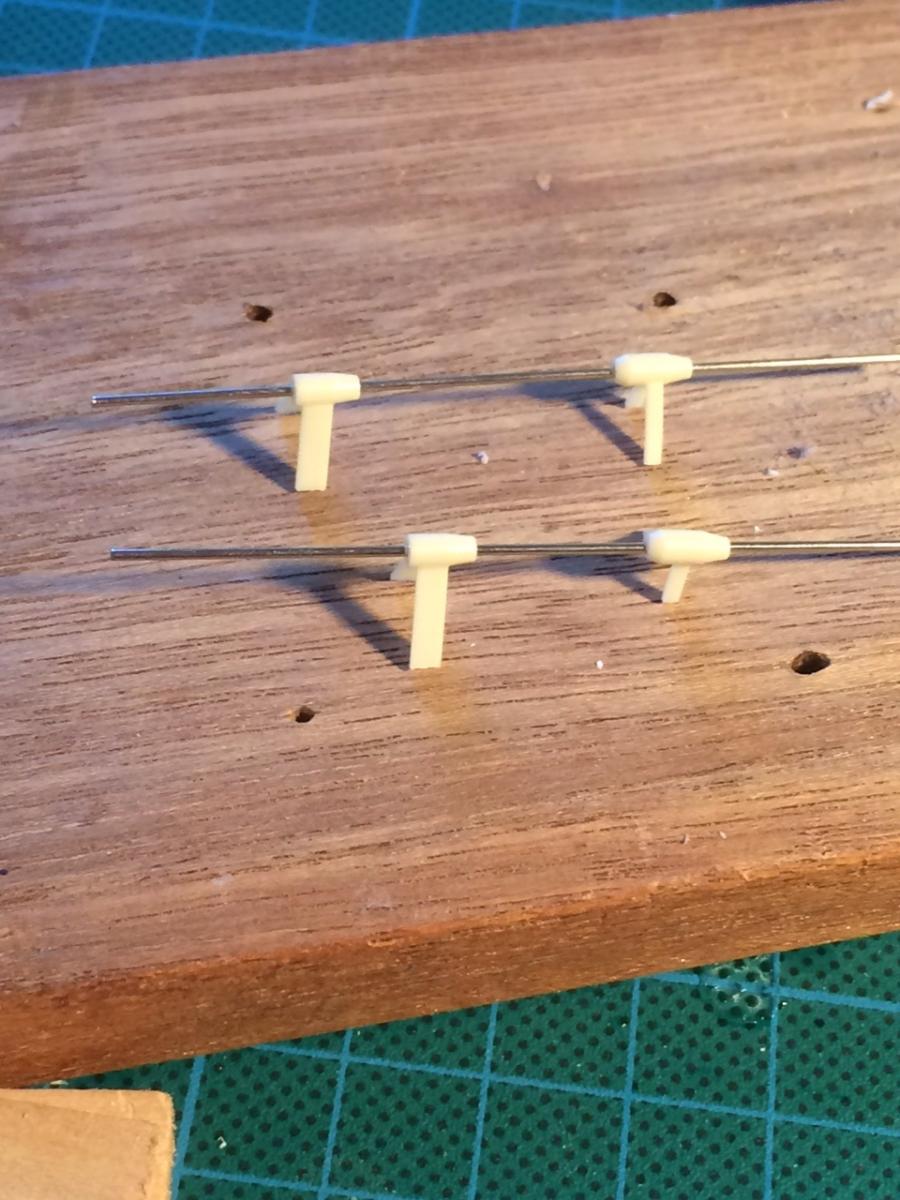
A bit more work with resin, the Bow Torpedo tube, it's tiny and about .5mm this which needs to be filed down flat off a piece or resin cast. Then the small anchor braces, I have not put the anchor on and will not until I have painted it as it will just bend the anchor when I handle it.


-
Mate, if you're happy I'm happy. Good to see so many endeavour builders have joined us, even if I've flitted over to the dark side for a while.
-
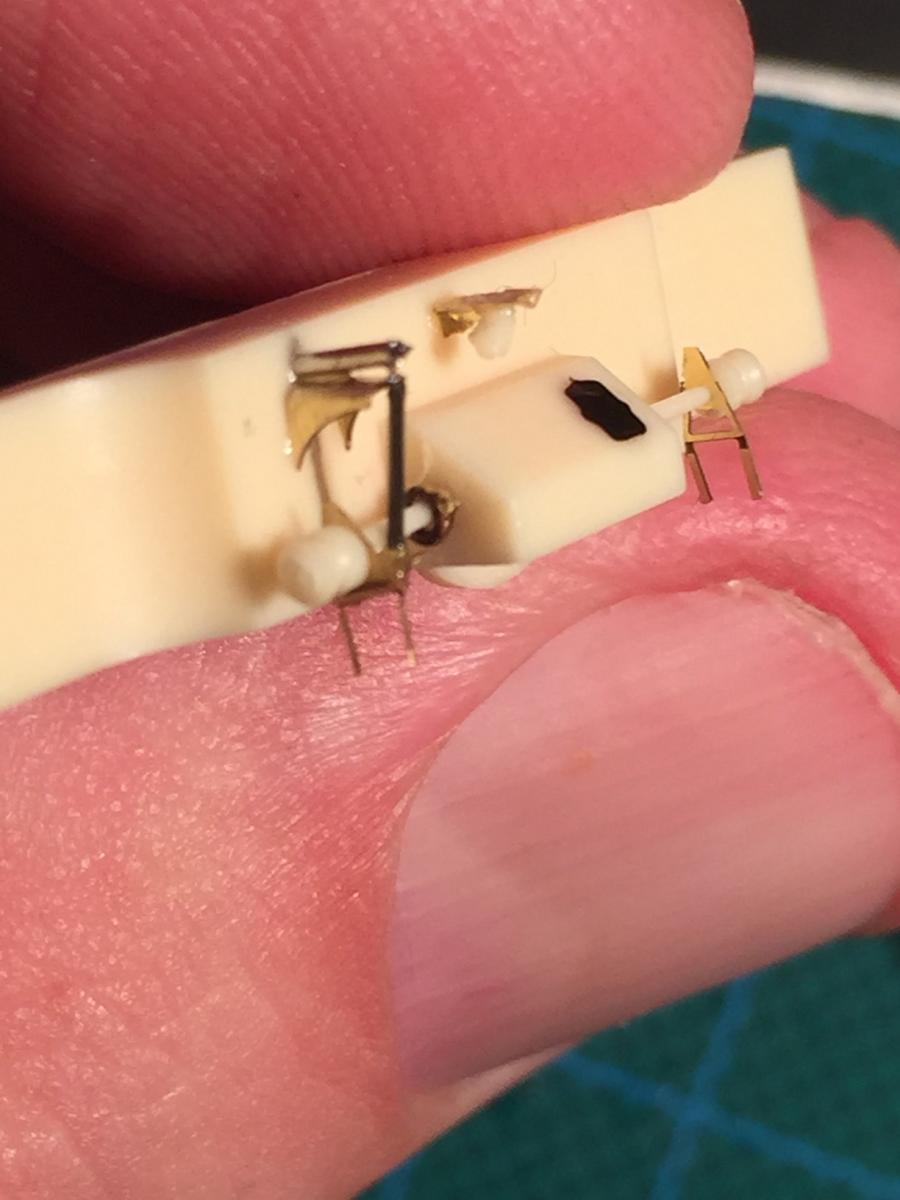
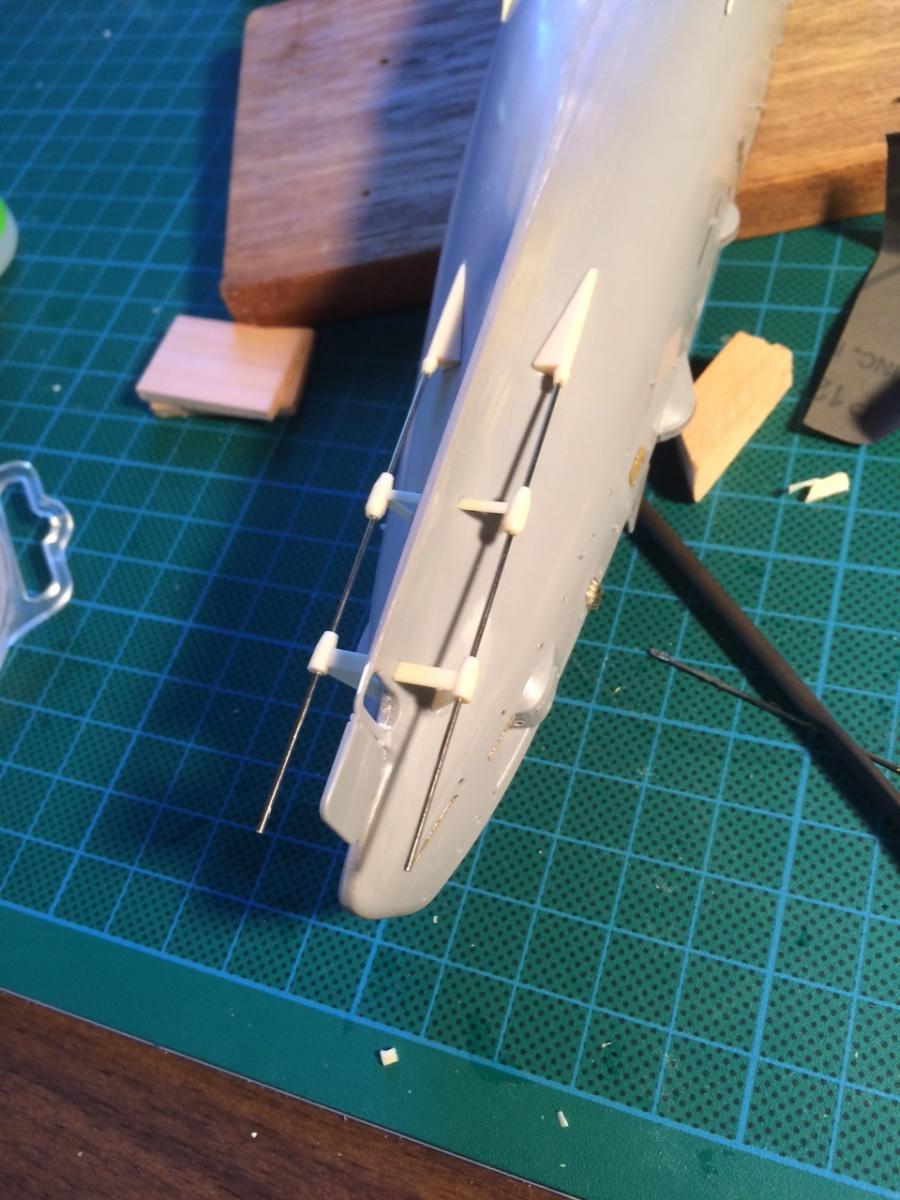
I have never worked with resin, and I was some what apprehensive. The prop shafts are on a sprue for want of a better word I supose. I eventually cut them off and accidentally clipped off a little noggin on the end of one, thinking crap, scratch build here were come. 1 obscure photo in the instructions set me right that it was supposed to be cut off. Who knew! The instructions also told me to use a 1mm rod (not provided or numbered) so luckily had and used 1mm steel rod to align them onto the hull untill I can get some 1mm brass rod and blacken it. It has not been glued in but will act as a prace for protectioon. The braces have to be drilled all the way though to have one continious shaft. . really happy to take resin tips from the pros.


- 174 replies
-
- 15
-
-
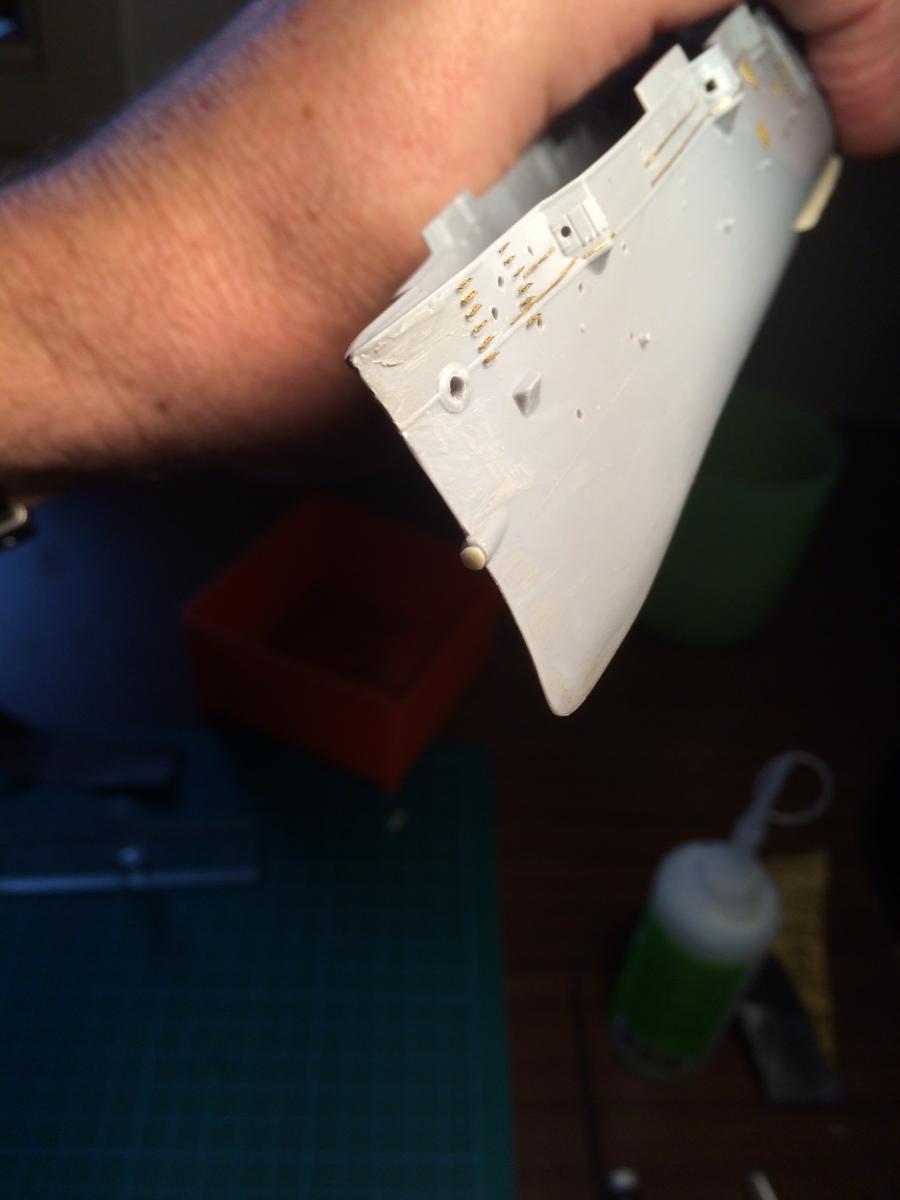
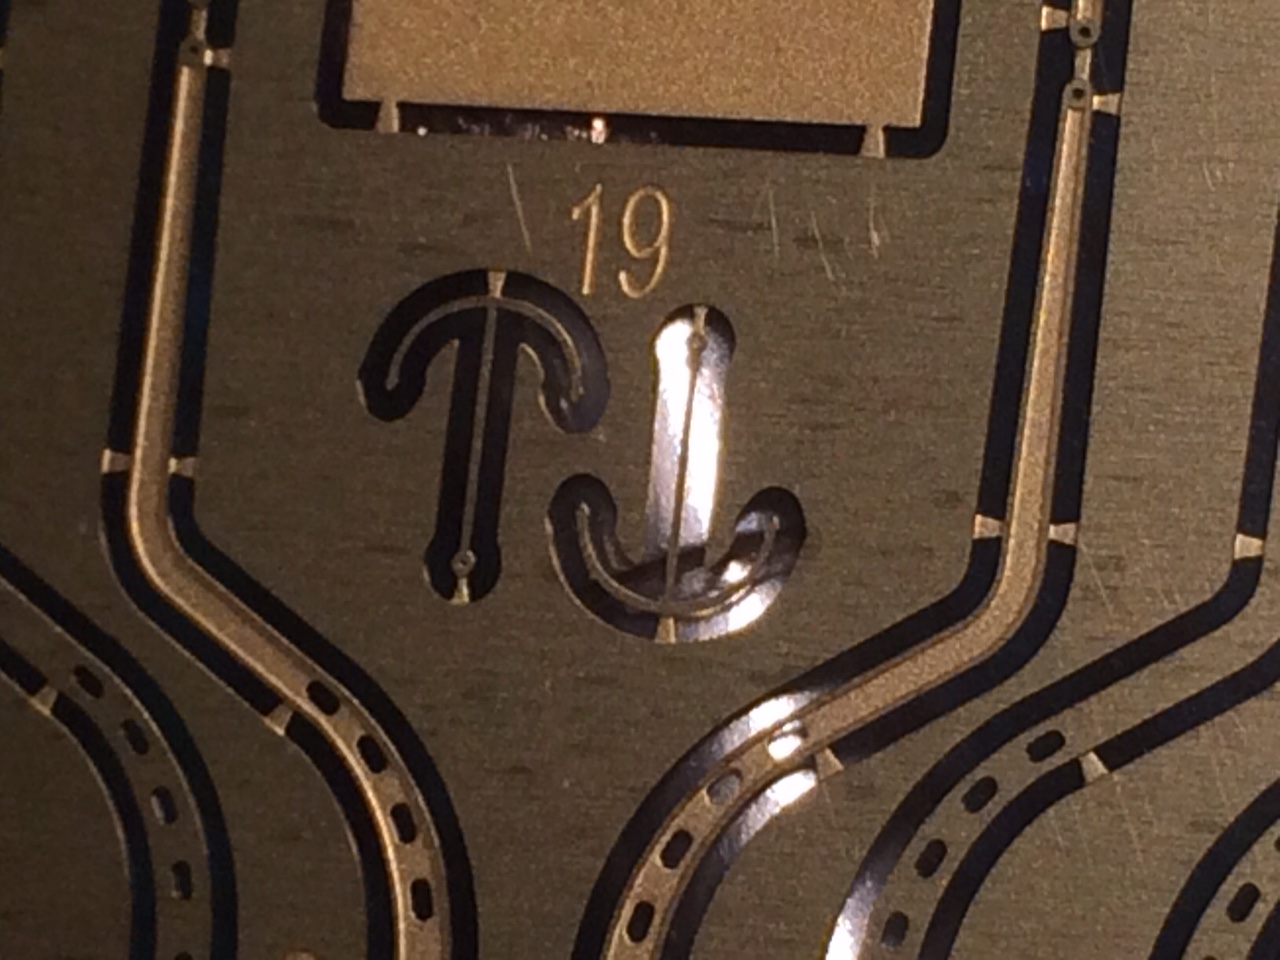
Bilge keel added, its a piece of resin for each side. Thought I may as well get the resin bits on the hull done as I have ordered a photo etch tool and do not want to touch the stuff till it gets here. I was going to add the small anchors to the hull but there is no reference to them at all in the Artwox instructions (Serioulsy they are fairly crap). The photos from Artwox show the anchor and a set of braces but make no reference to them. As you can see from the book and the enlarged photos on the fret, they are there. The Eduard anchor is nothing but that, a small anchor.
- 174 replies
-
- 10
-
-
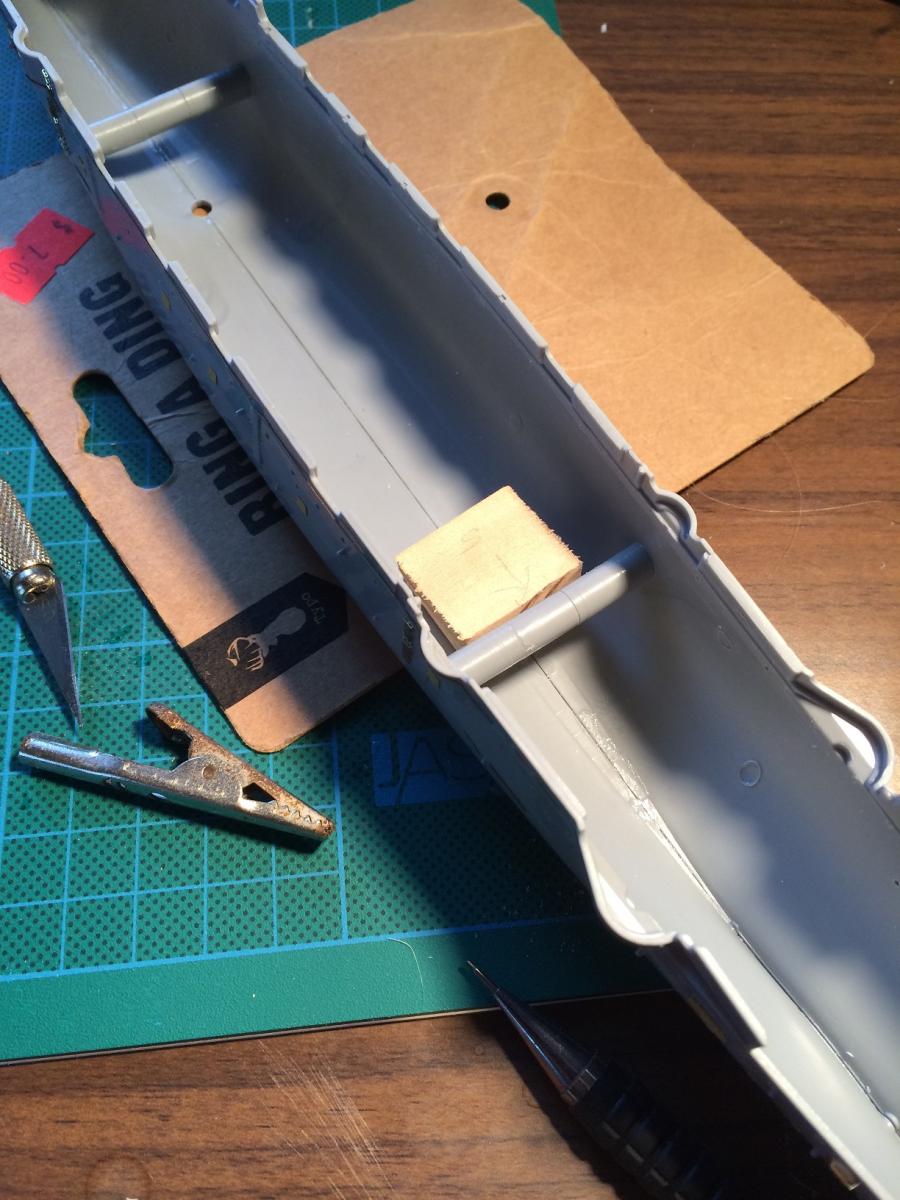
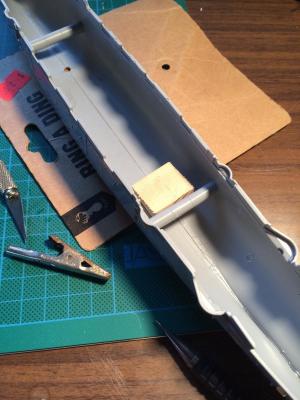
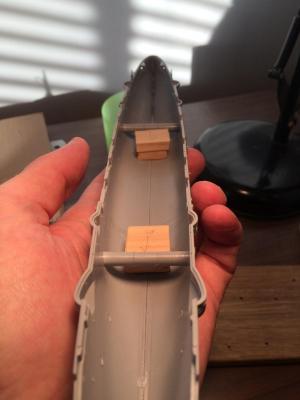
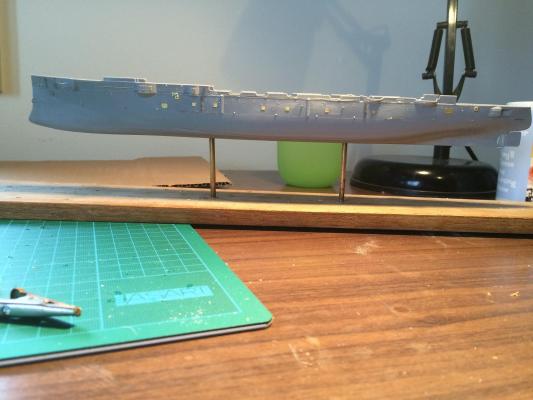
Time to join the hull pieces togeather, which go with a minimum of fuss and putty to hide the seams. I could not find a decent set of pedestals anywhere on the net (there was one set at $85 before shipping from the US - no thanks). I then had a mind storm and remembered I had some $2 brass rod which I had in my spares. I cut down each to an easy working size (and can be cut down further and polished up when the model is finished. I then used some offcut wood pieces, cut into 4 square pieces, 2 of which I drilled to the diameter of the rod, then stuck one drilled piece to a not drilled piece to make a sturdy slot to hold the rod. Both pieces were then glued onto the inner hull each. An offcut of a floorboard aligned with the rods as a base will allow me to go hands off with the model. The rods are not glued (they done't need to be as the model can slide on and off depending what I need to do with it.

- 174 replies
-
- 11
-
-
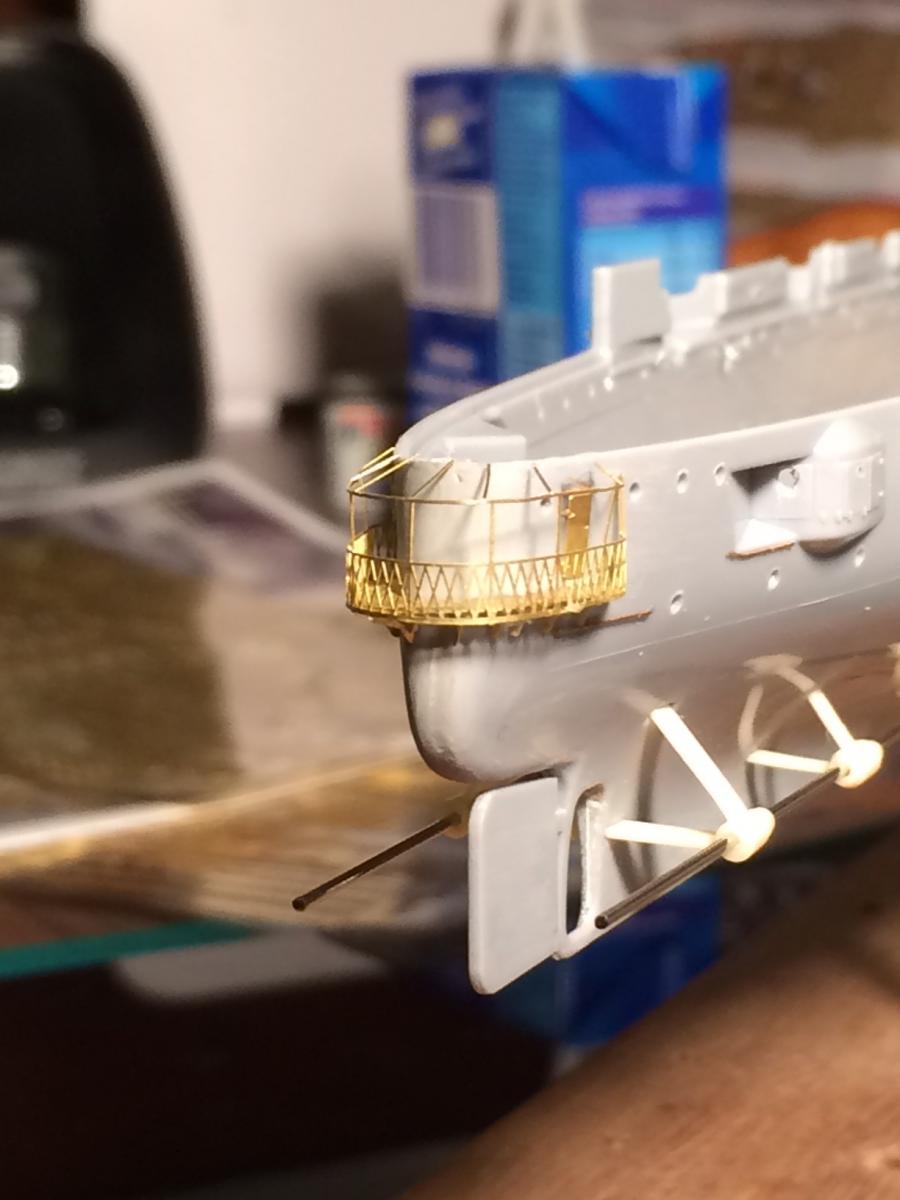
Thanks, I just looked at your Olympia and I have a lot to learn. I just attacjed the lifering cage at the stern. The eduard fret is a lot easier to use with this little bugger, I destroyed the Artwox one.
-
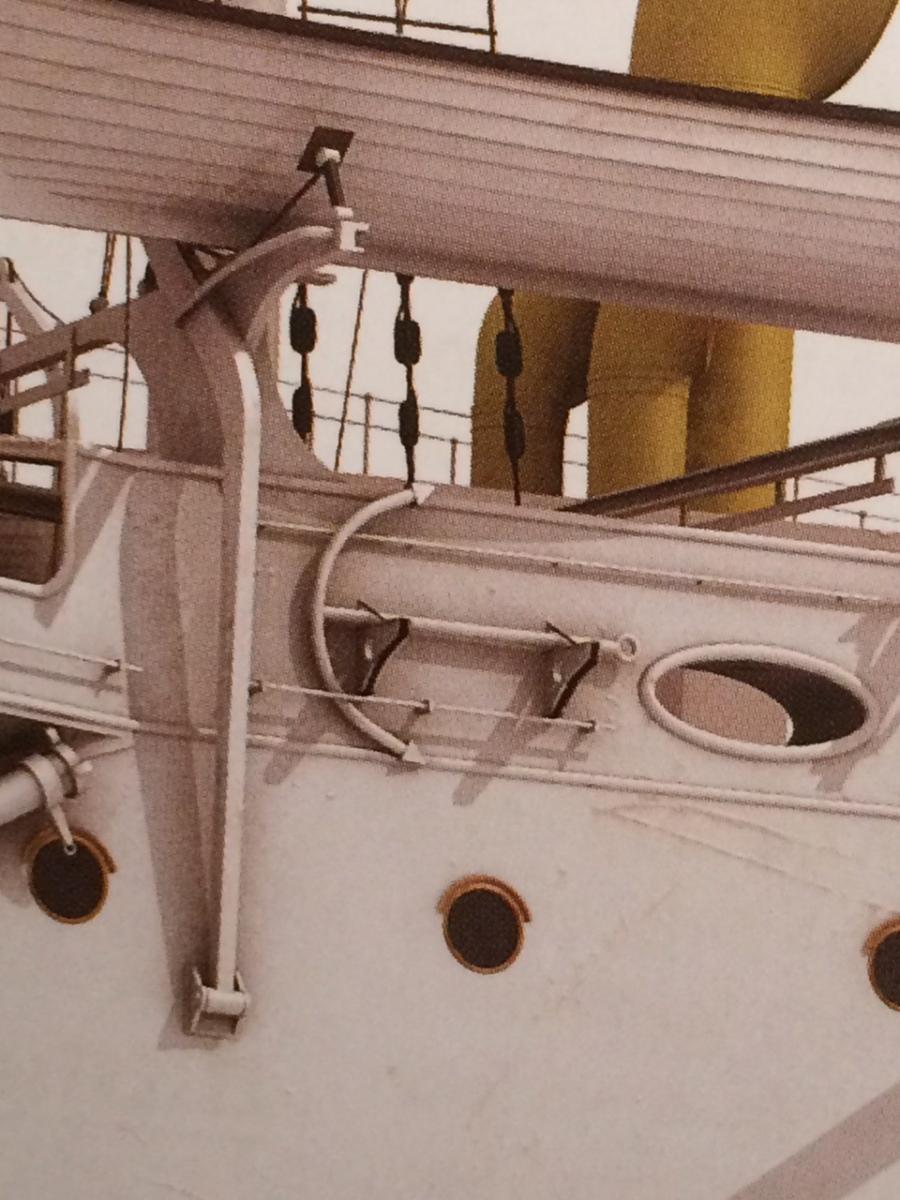
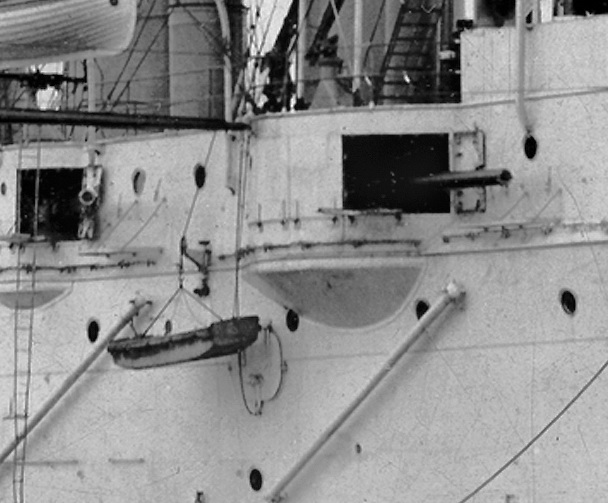
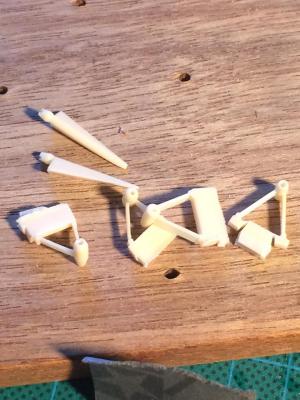
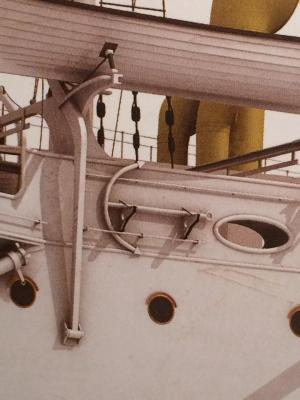
There is a small boom arm on either side that is obviously used to lower small things. The eduard photo etch shows a large arm and the Artwox is smaller arm with a block attached. Easy choice. First set of spares i suppose.

- 174 replies
-
- 12
-
-
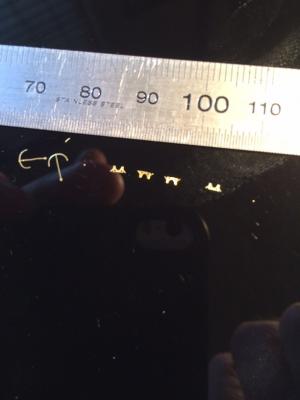
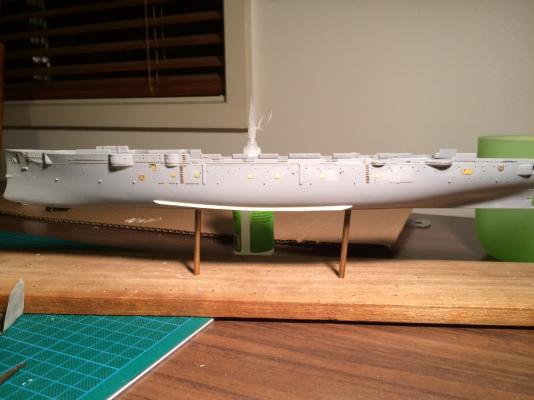
Steps complete. I did not shave off the hull steps that were on the original hull as I wanted a guide. It worked out that the prt side has less steps than the starbord side so I actually had enough. Note for beginners I suppose, I scribed a line above the bulges that are supposed to be steps and using a pin ran some CA and then used tweazers to place the individual steps. i did not do this on the starboard side so the alignment is not as good.

- 174 replies
-
- 11
-
-
Thanks Slog, I really don't think I'm good enough to do a card model. Imagine what the cat would do to that!
-
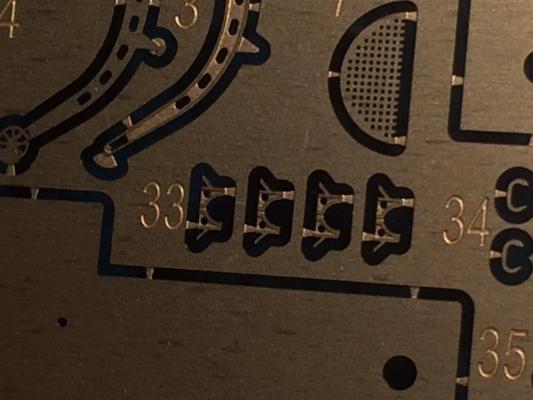
A quick update, I ordered and received the Varyag nameplate fret from Northstar models which includes the coat of arms and nameplate for the stern (Eduardo & Artwox have omitted both) as well as the ship's wheel and telegraph. The steps included in the Eduardo fret are nice but are 10 short, so the only place in the world that has them in stock are North Star (Latvia!) I love internet shopping but it will probably take a month to arrive which will cause me the re think my building plan. I'm really keen to figure out how to rig it and have ordered the Varyag book. Wooden ships really teach you to plan months if not years ahead when it comes to rigging as the belaying points are completely inaccessible once something is stuck on the hull so it has to be done before it is attached. Nice to have a new distraction. Wish it was in a bigger scale.