RGL
-
Posts
5,548 -
Joined
-
Last visited
Content Type
Profiles
Forums
Gallery
Events
Everything posted by RGL
-
 Bollards. The objects that the ship gets tied on to. the little bits on the railings bend down to the deck and are like support structures. There are called stanchions. Different navies has differing types, the Royal Navy does a 3 rail, which all fold down for ship handling anyways.
- 211 replies
-
- 5
-

-
- prince of wales
- tamiya
- (and 2 more)
-
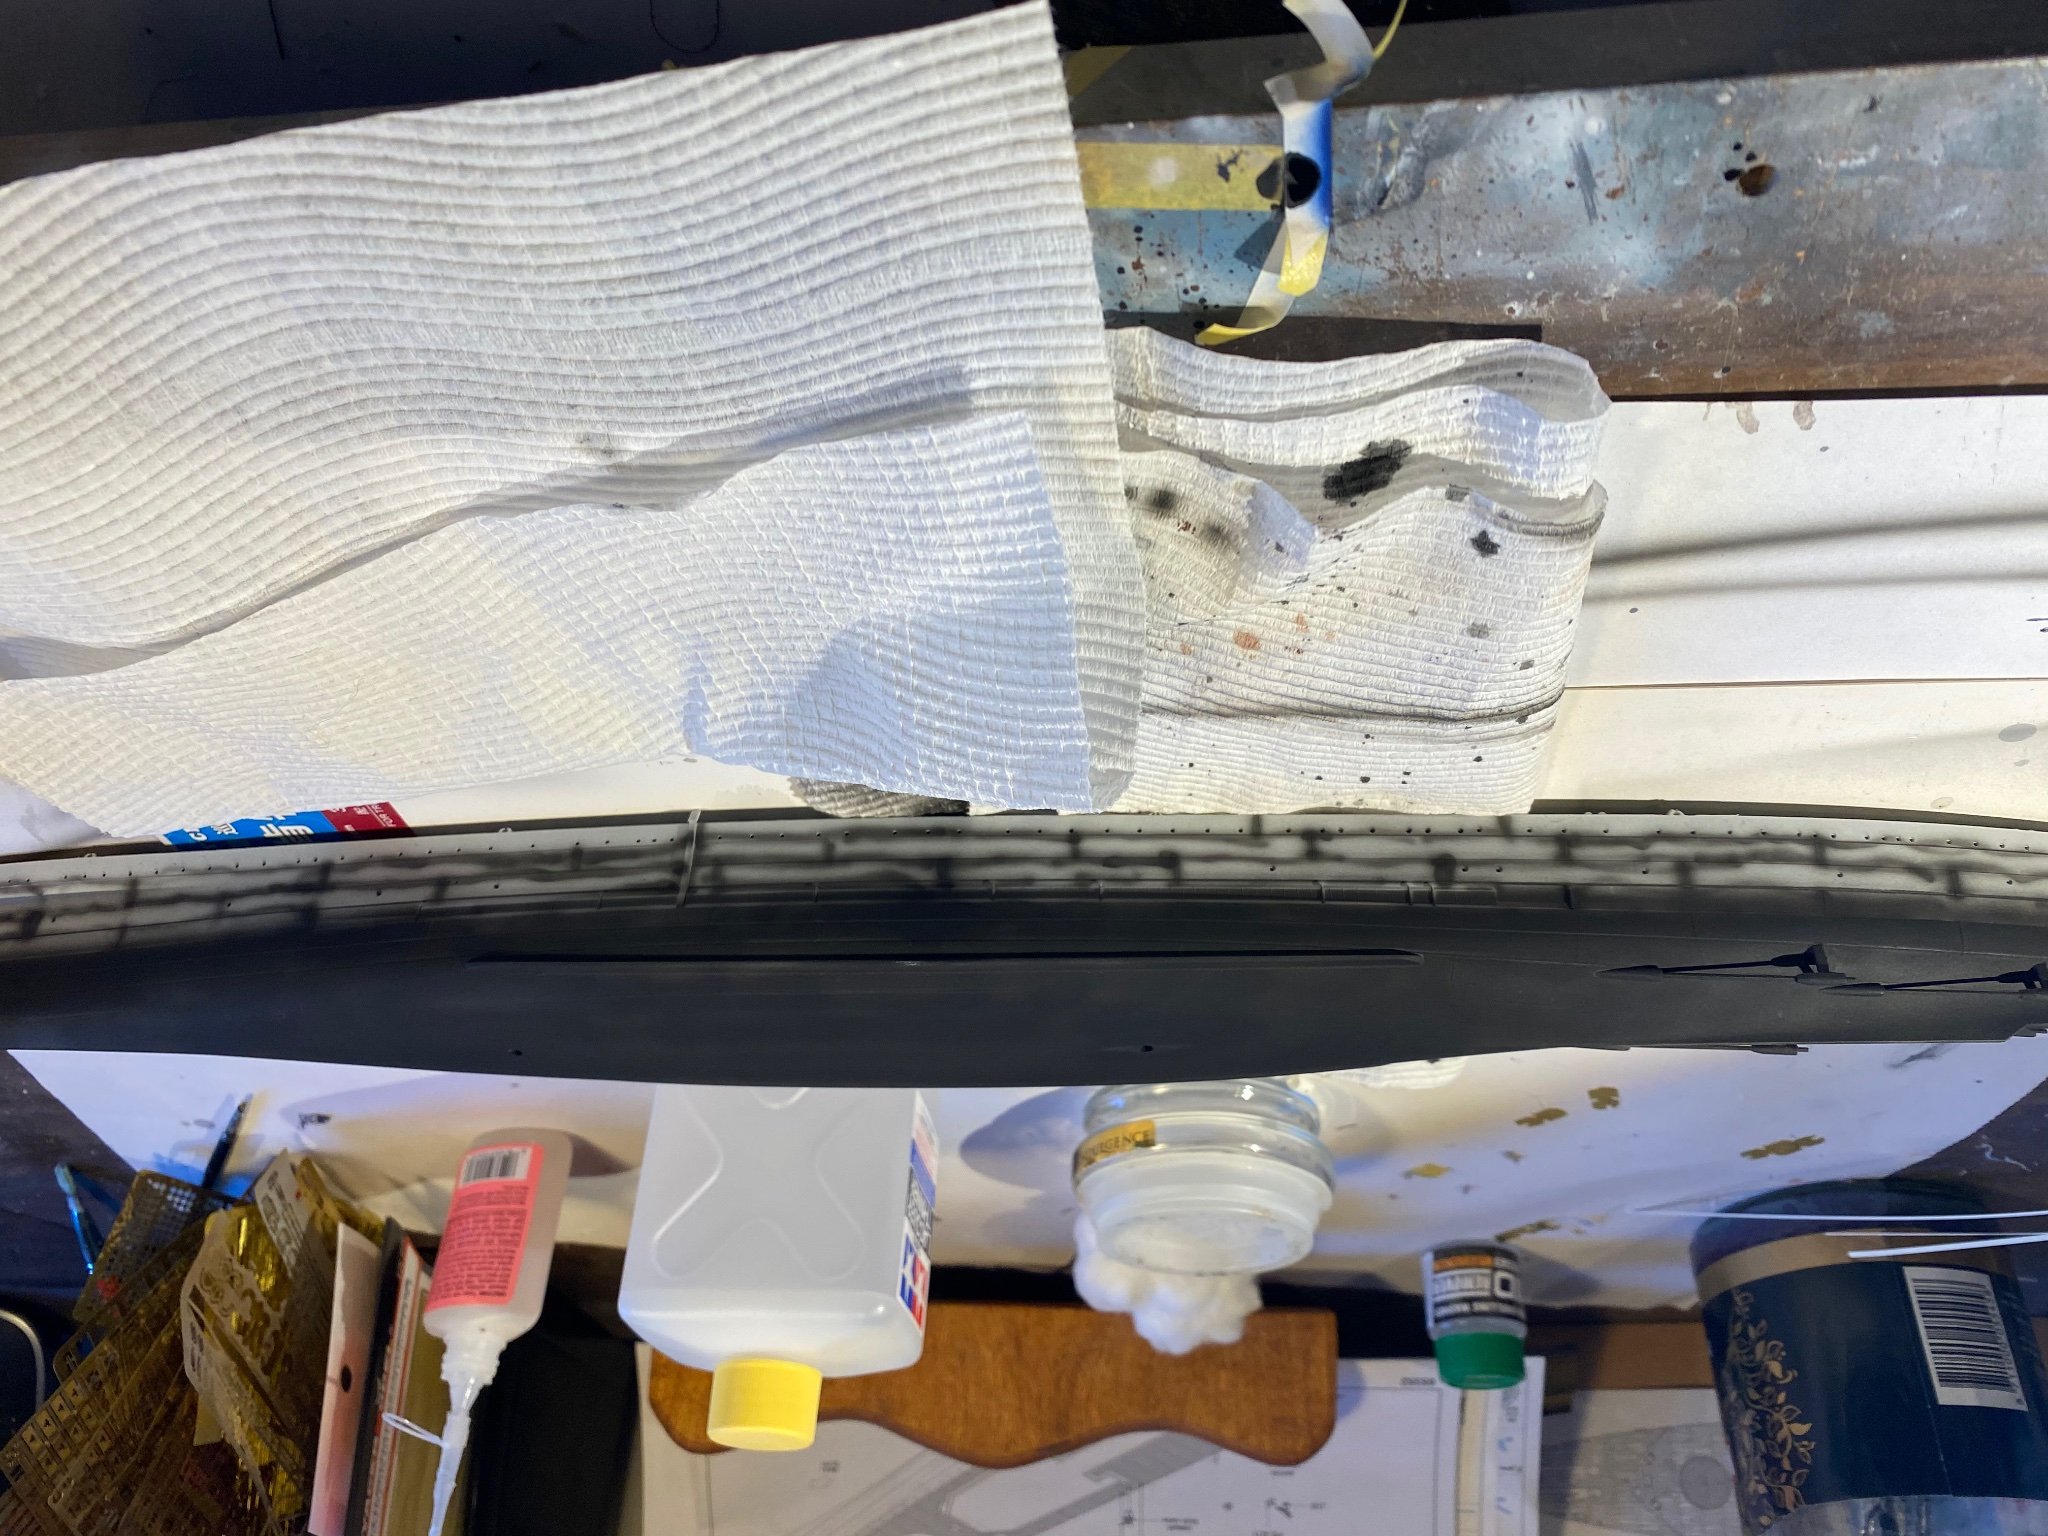
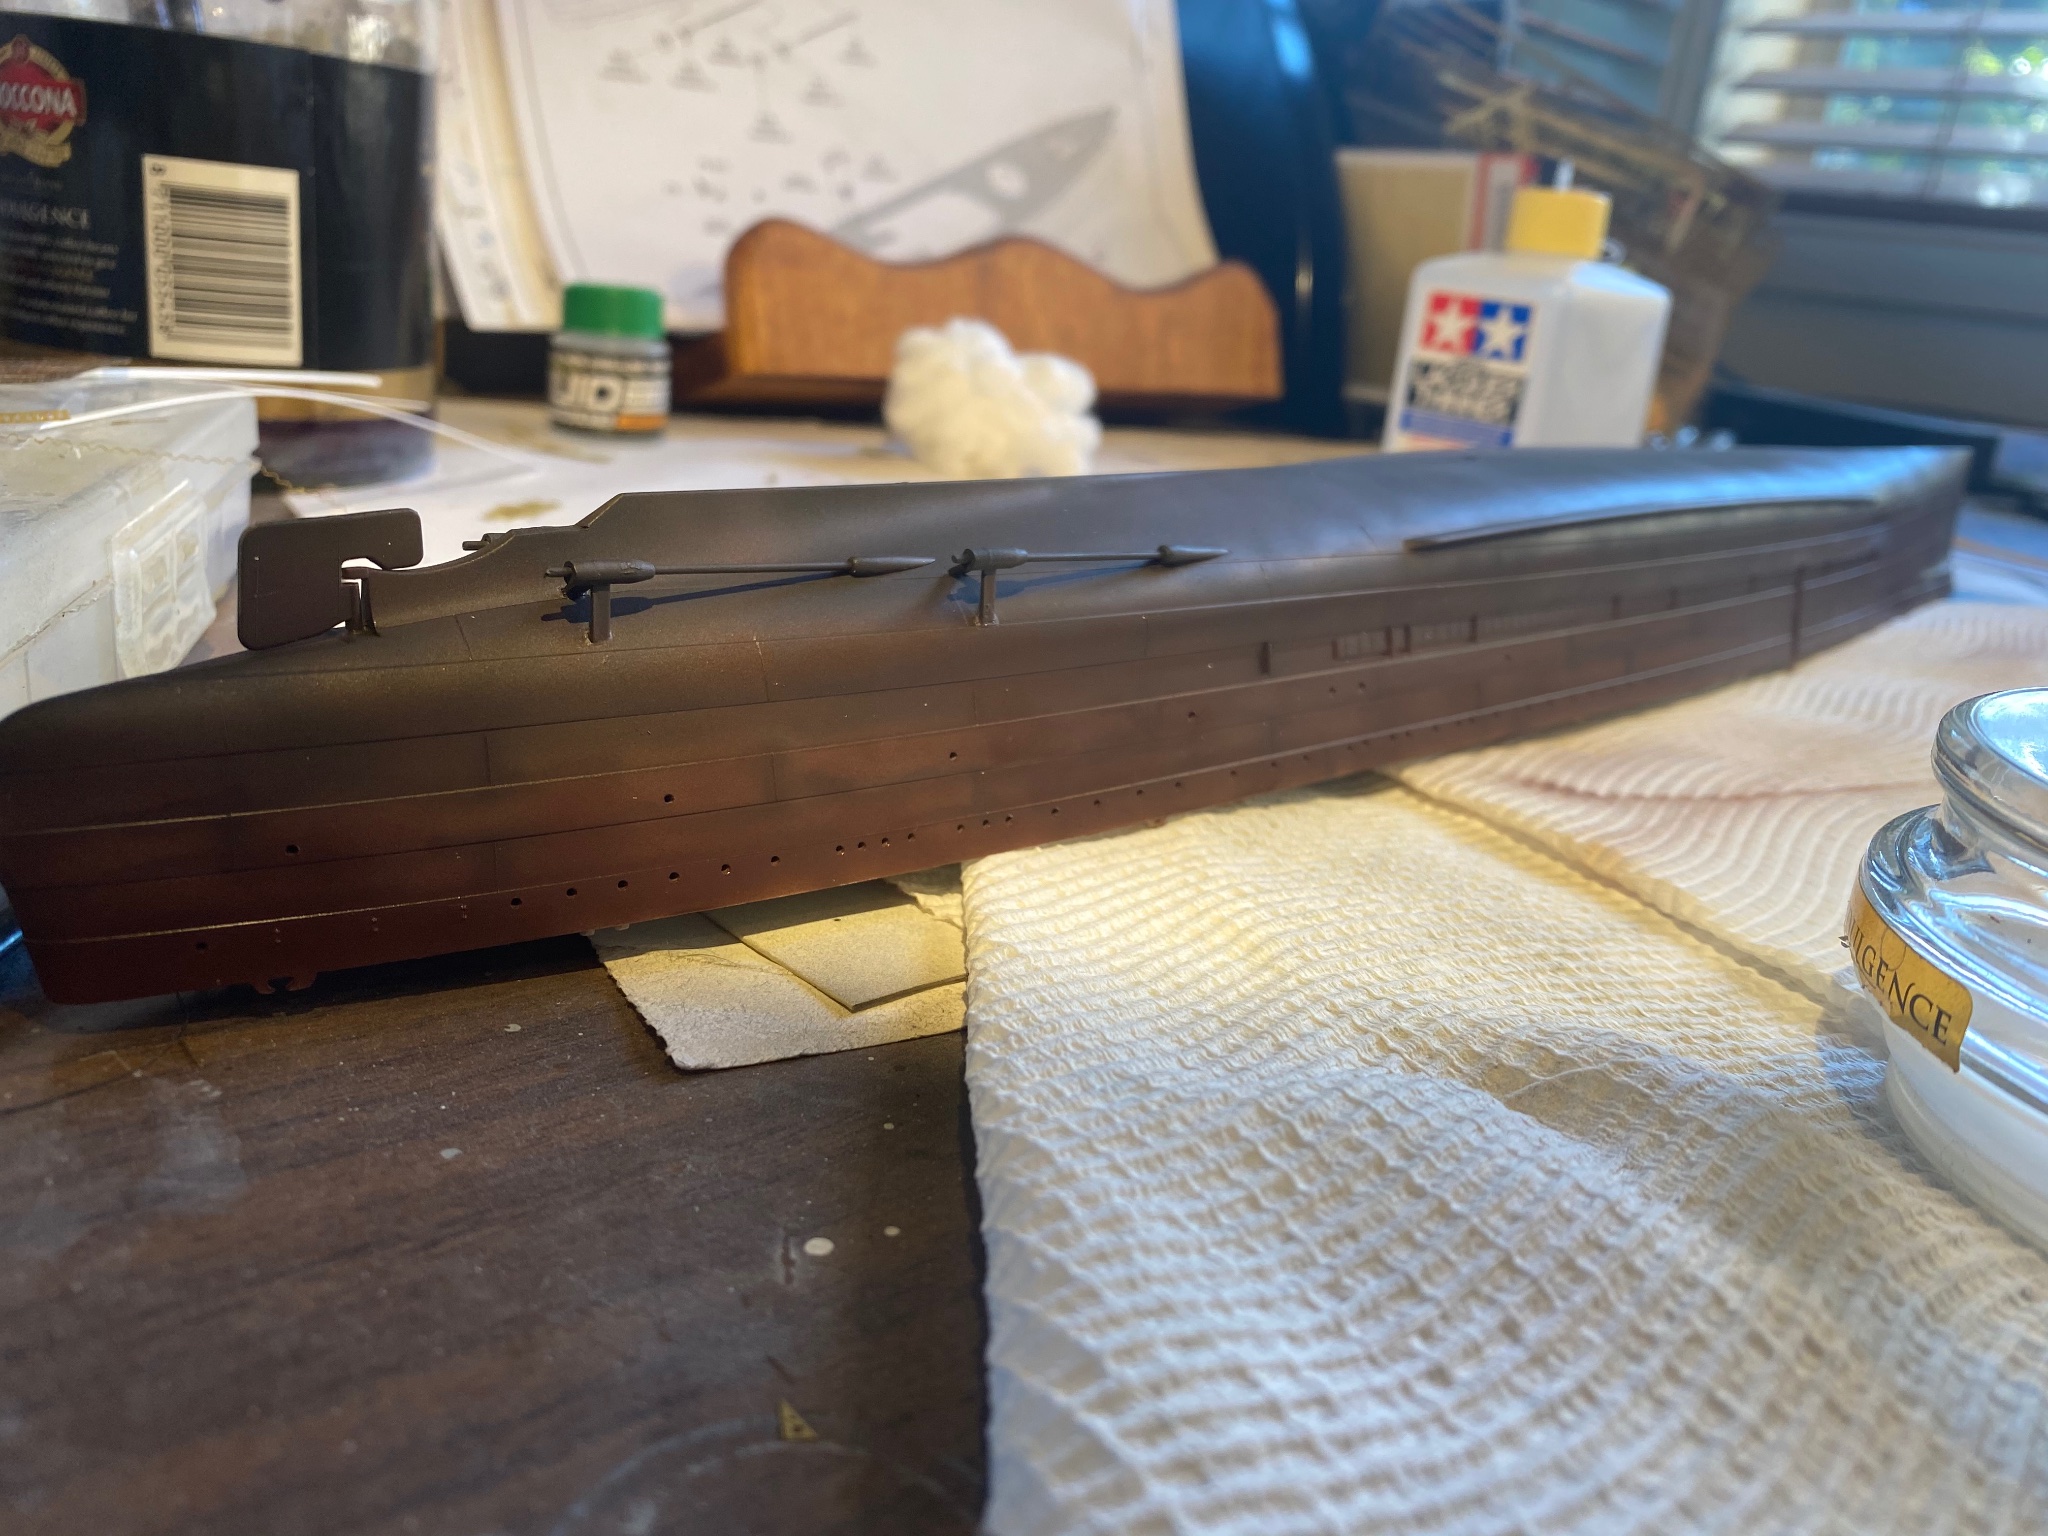
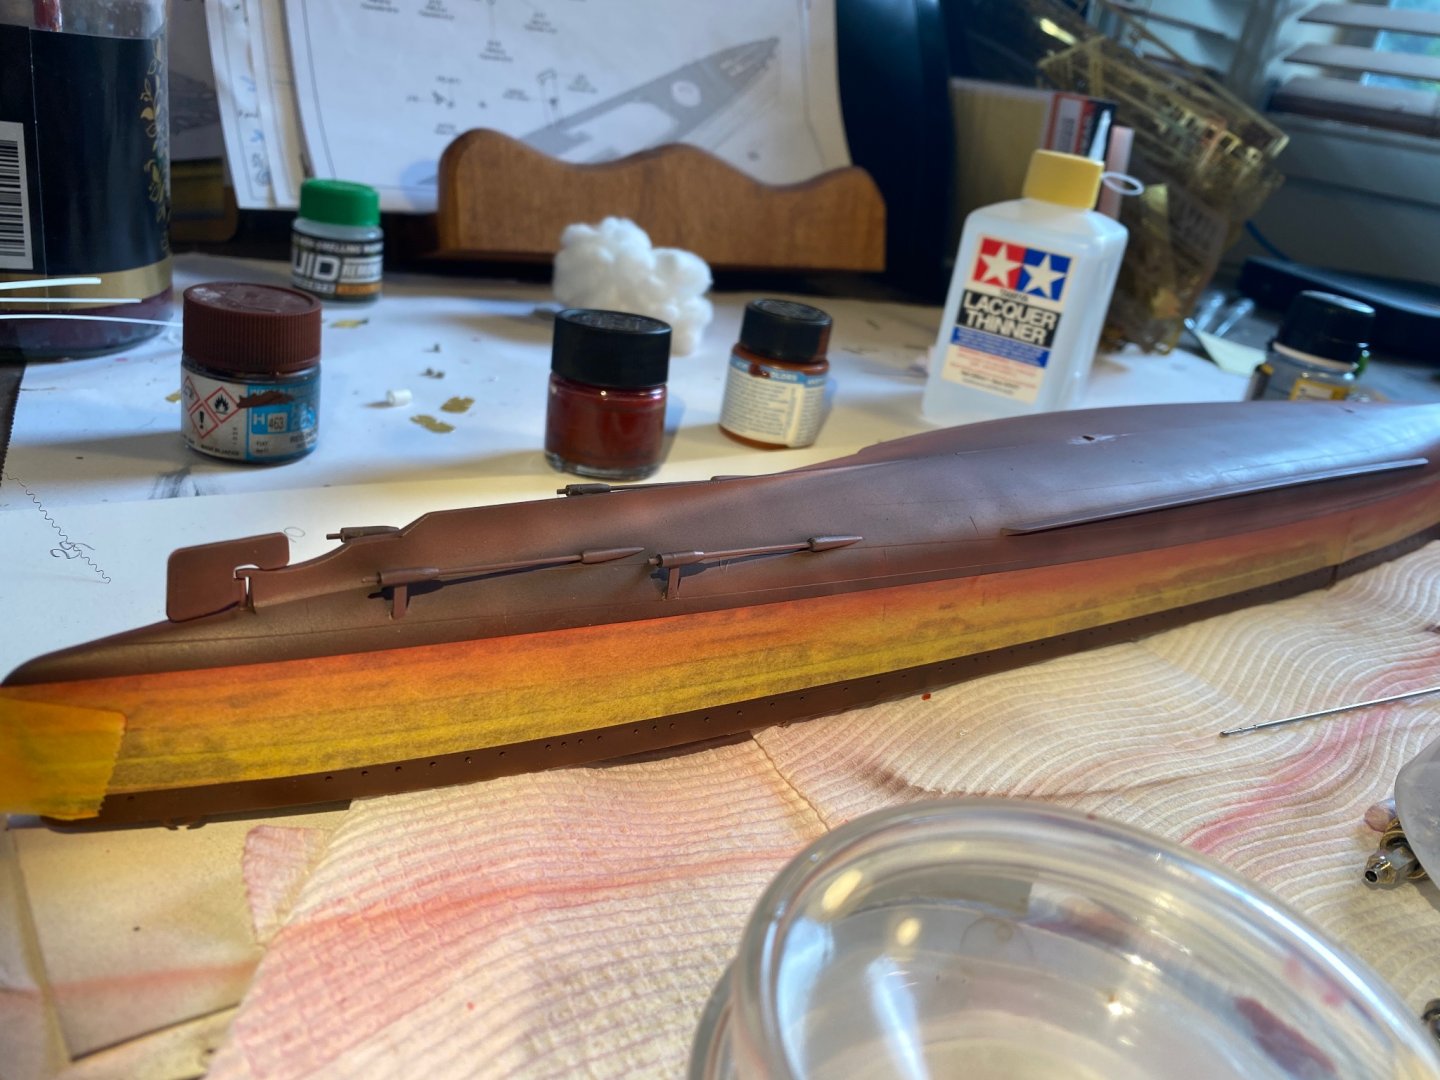
Next, some below the waterline oilcanning (Sorry @cog, it has to be done) Next some more fading and grunging. Pretty happy with it, probably a bit shiny but I’ll give it a matte overspray tomorrow

- 128 replies
-
- 11
-
-
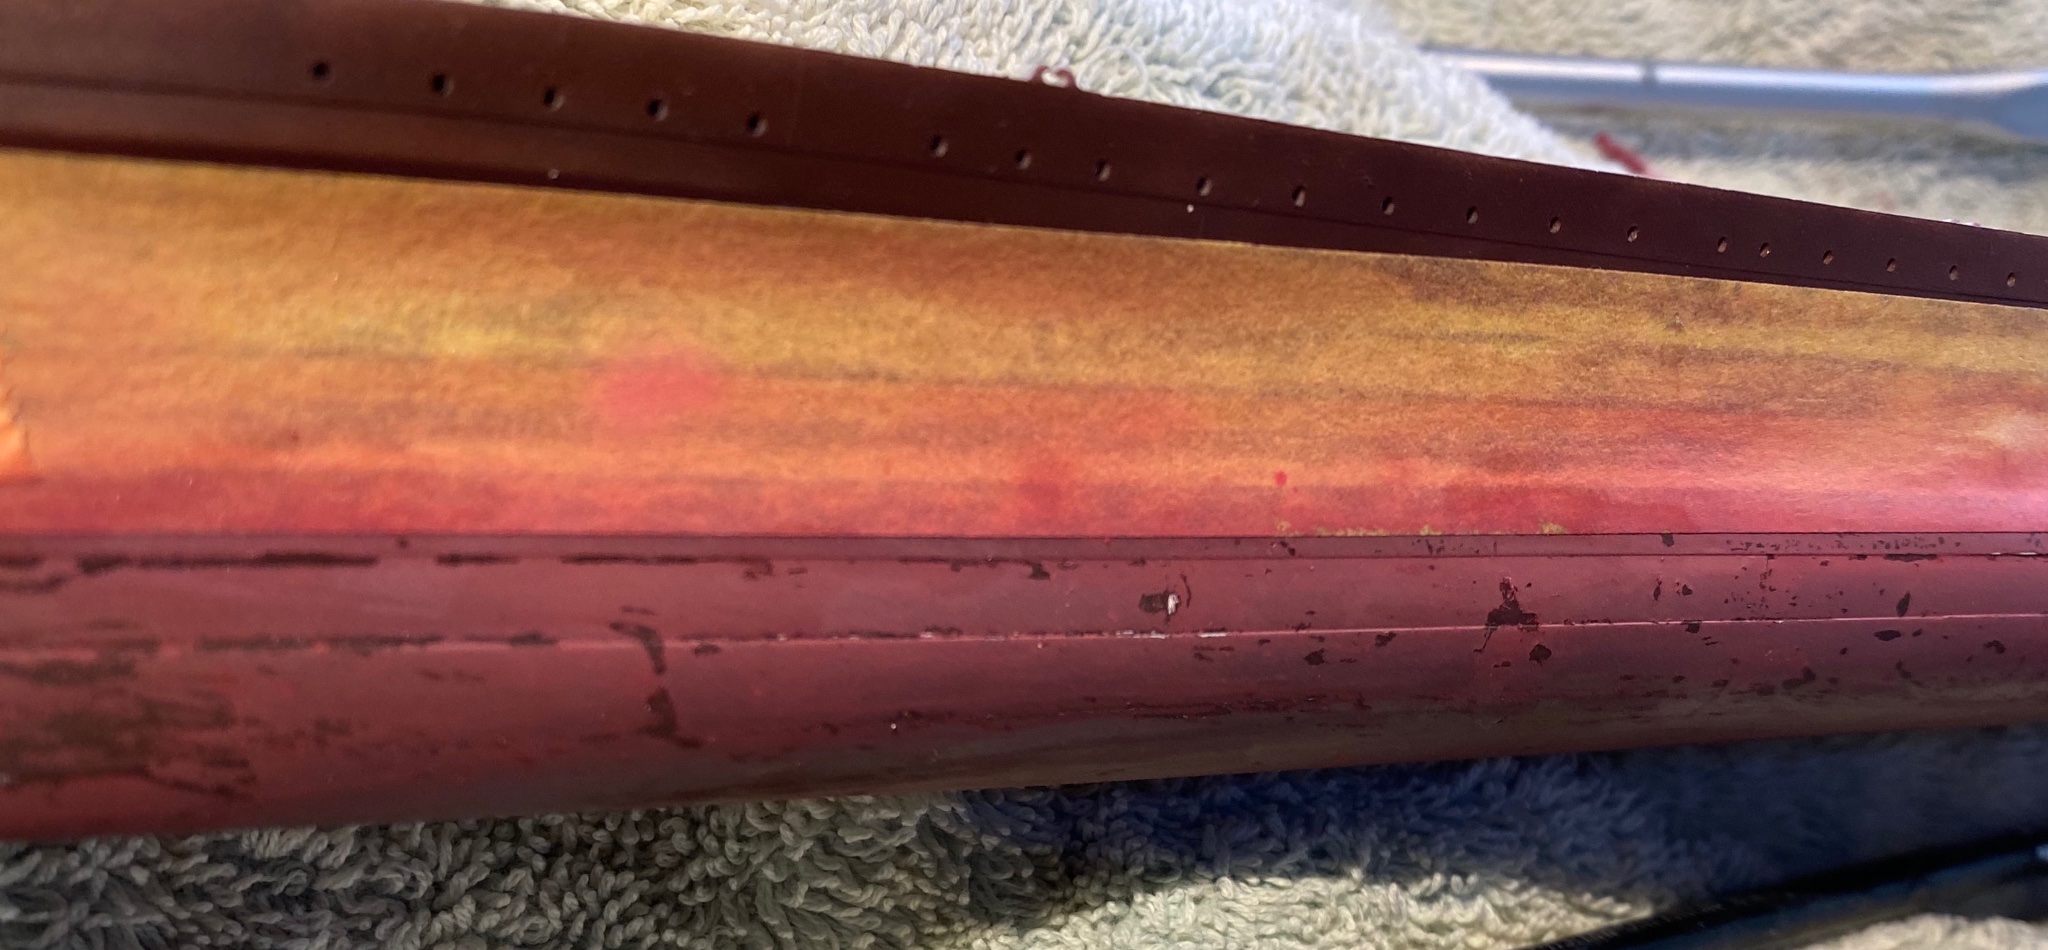
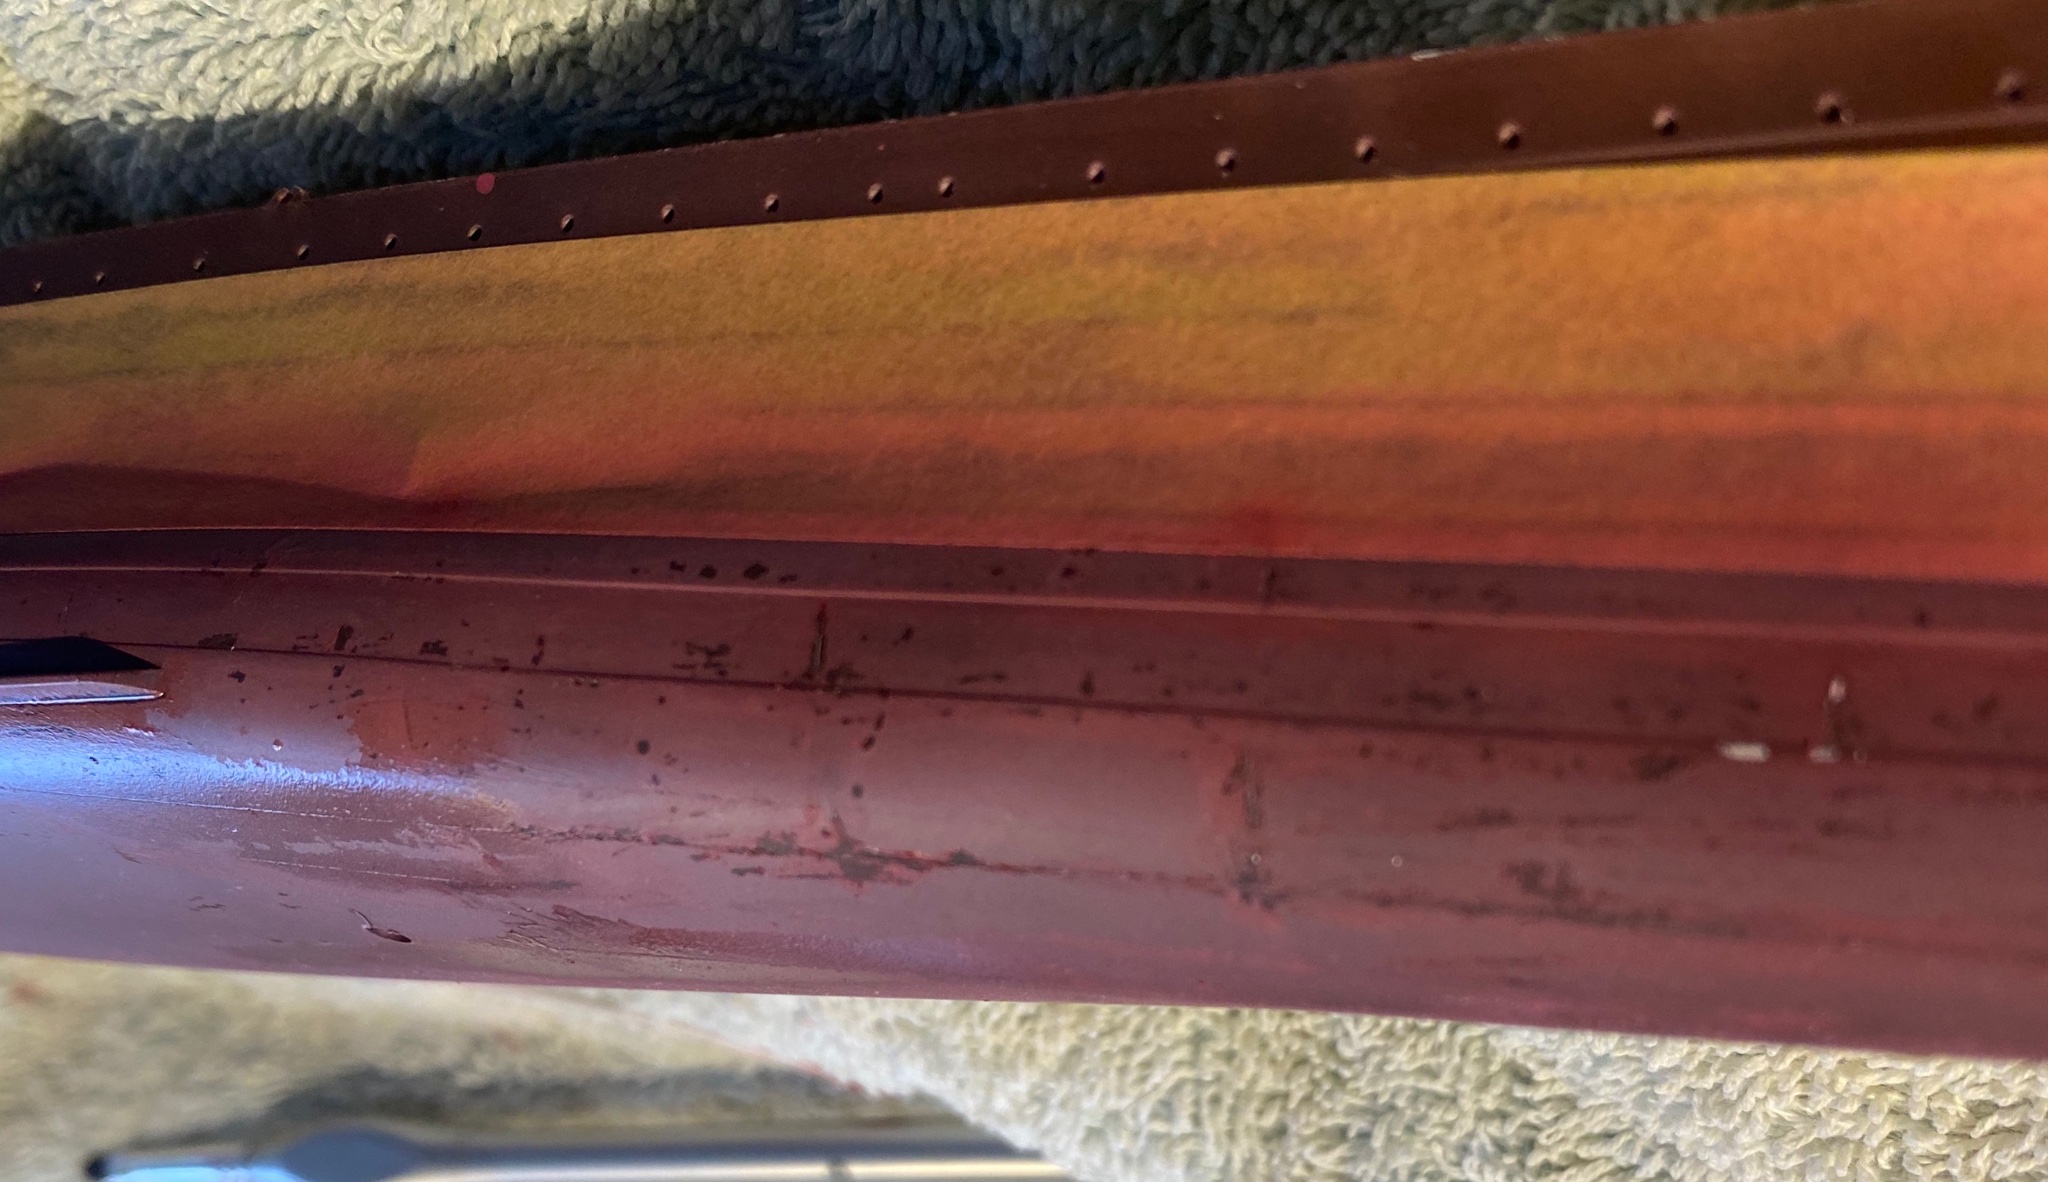
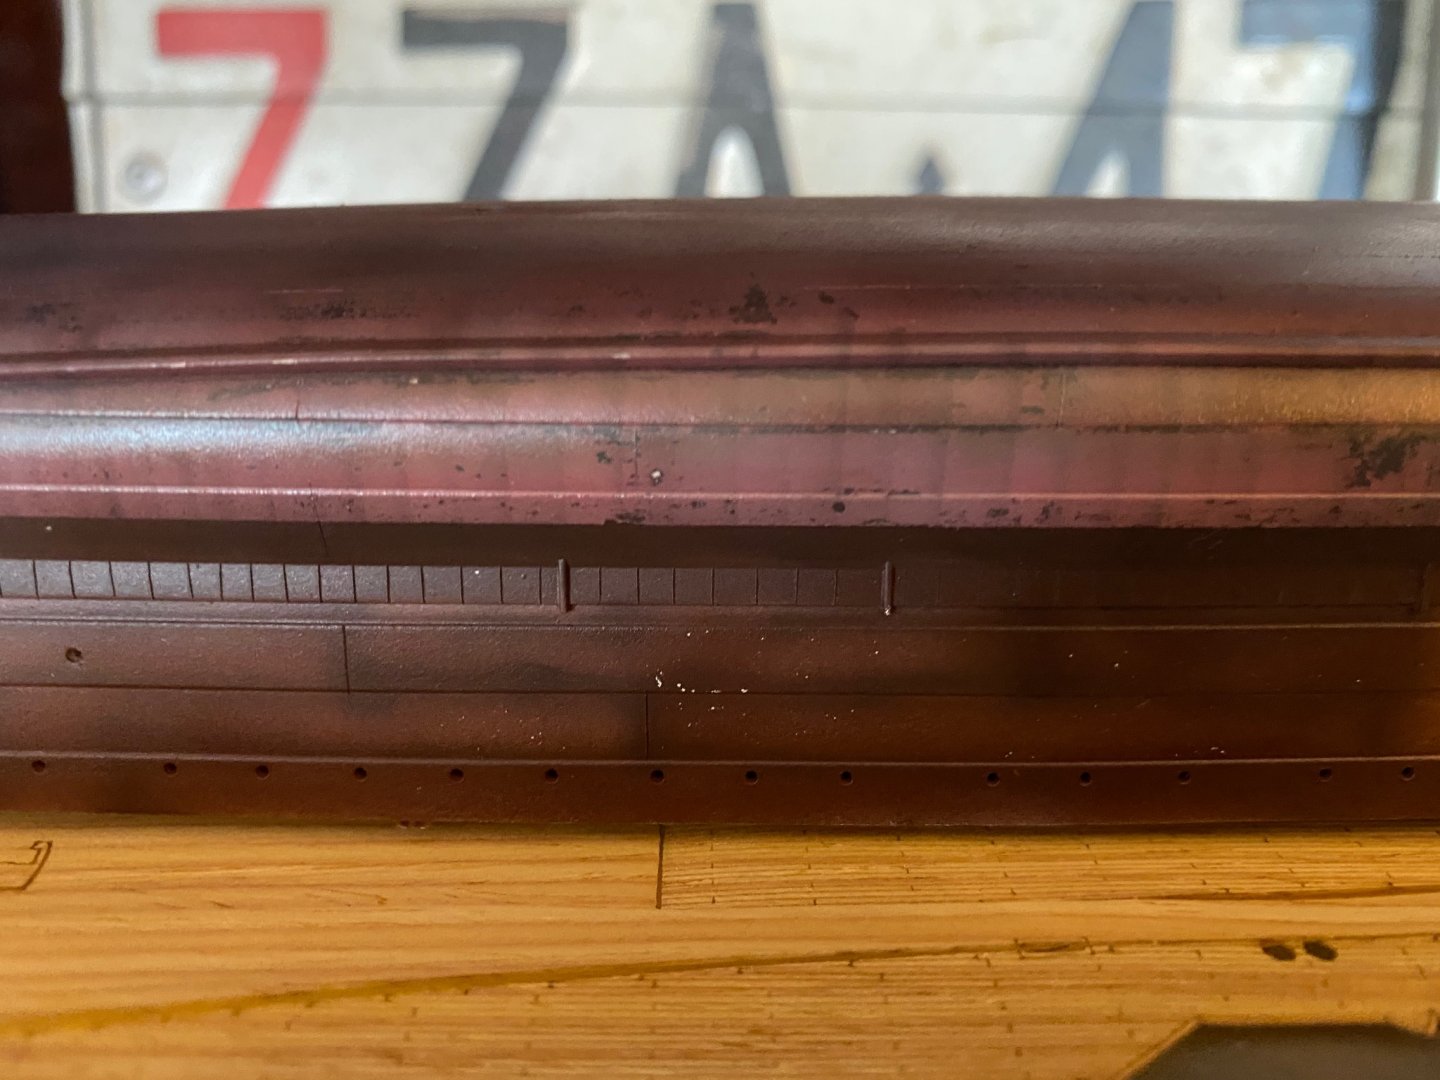
So, I made up a dark red, then a lighter highlight red then a faded paint pink, some chipping


-
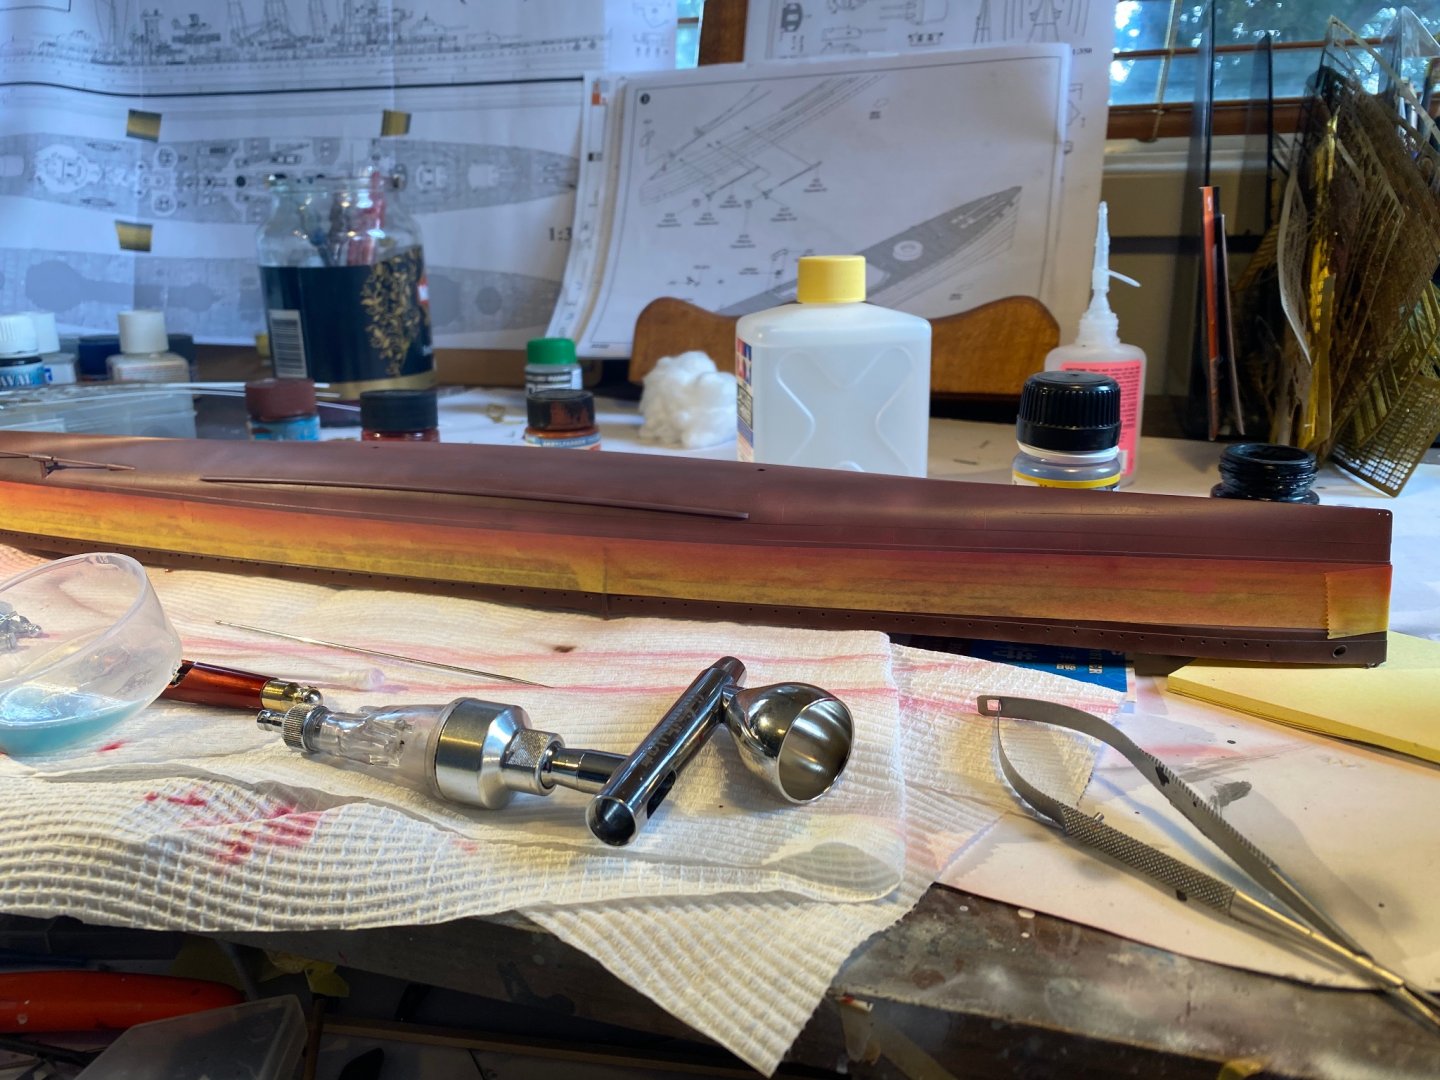
Starting on the Hull, first a black undercoat below the waterline then a coco brown, and then a clear matte varnish. Hopefully when I add chipping fluid later it will be the primer coat


-
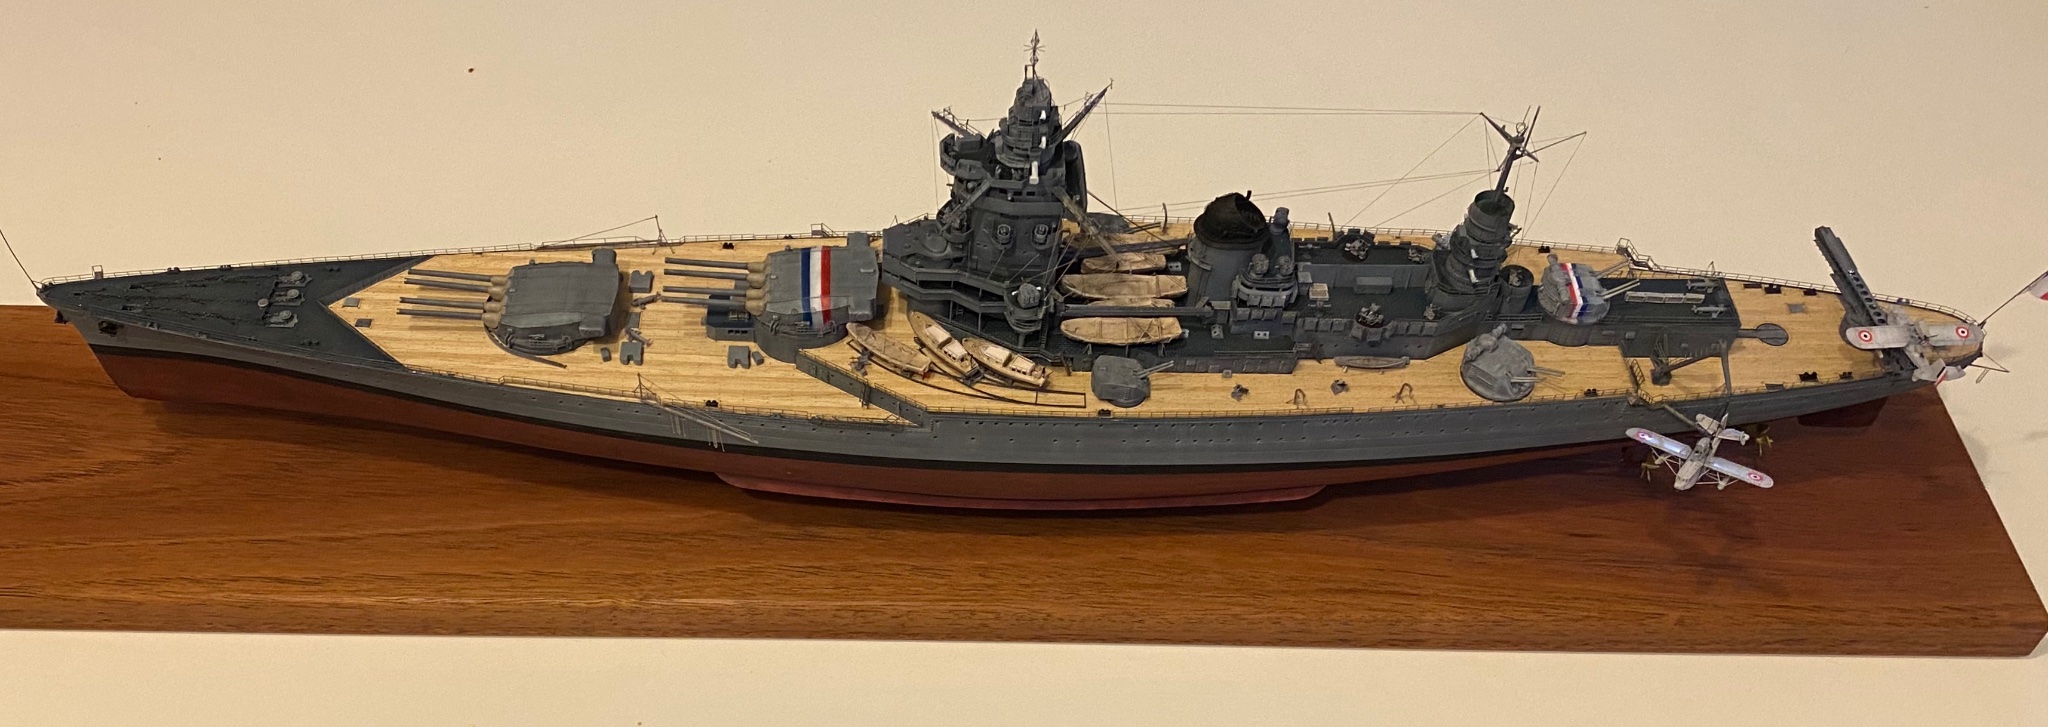
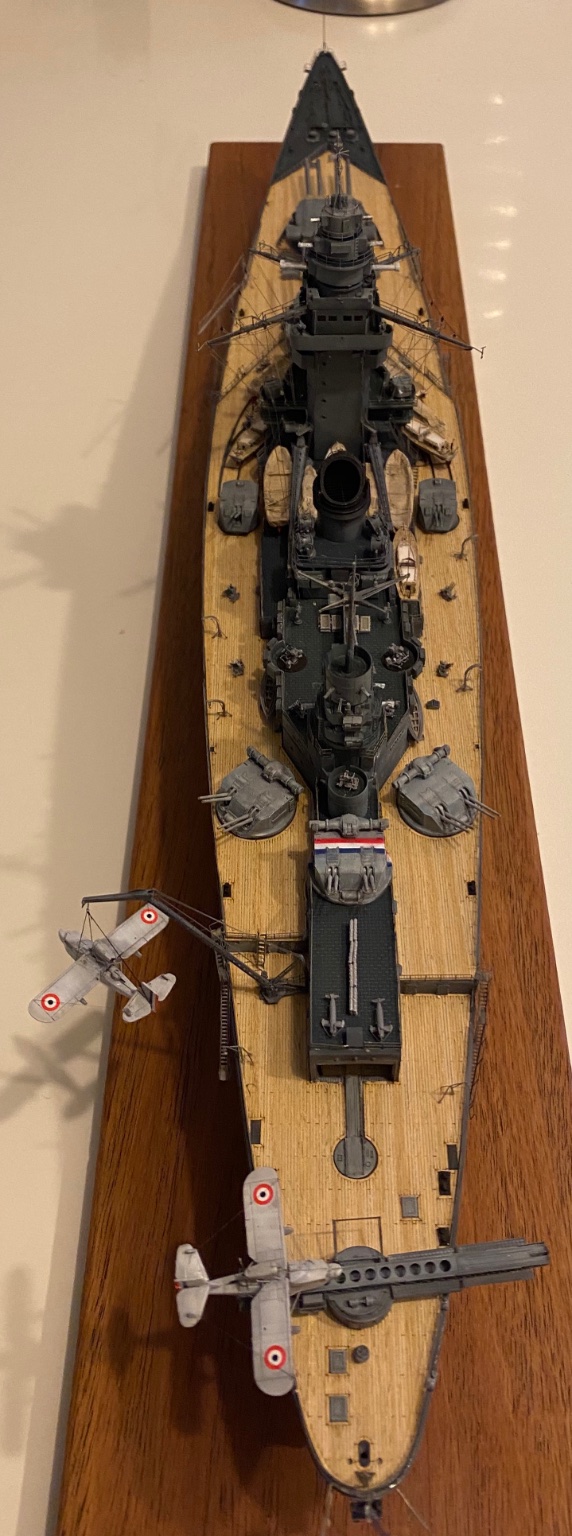
Done, back guns are a real little too light but she’s parked up now and will never be publically shown anyways.


- 136 replies
-
- 19
-
-
- strasbourg
- finished
- (and 2 more)
-
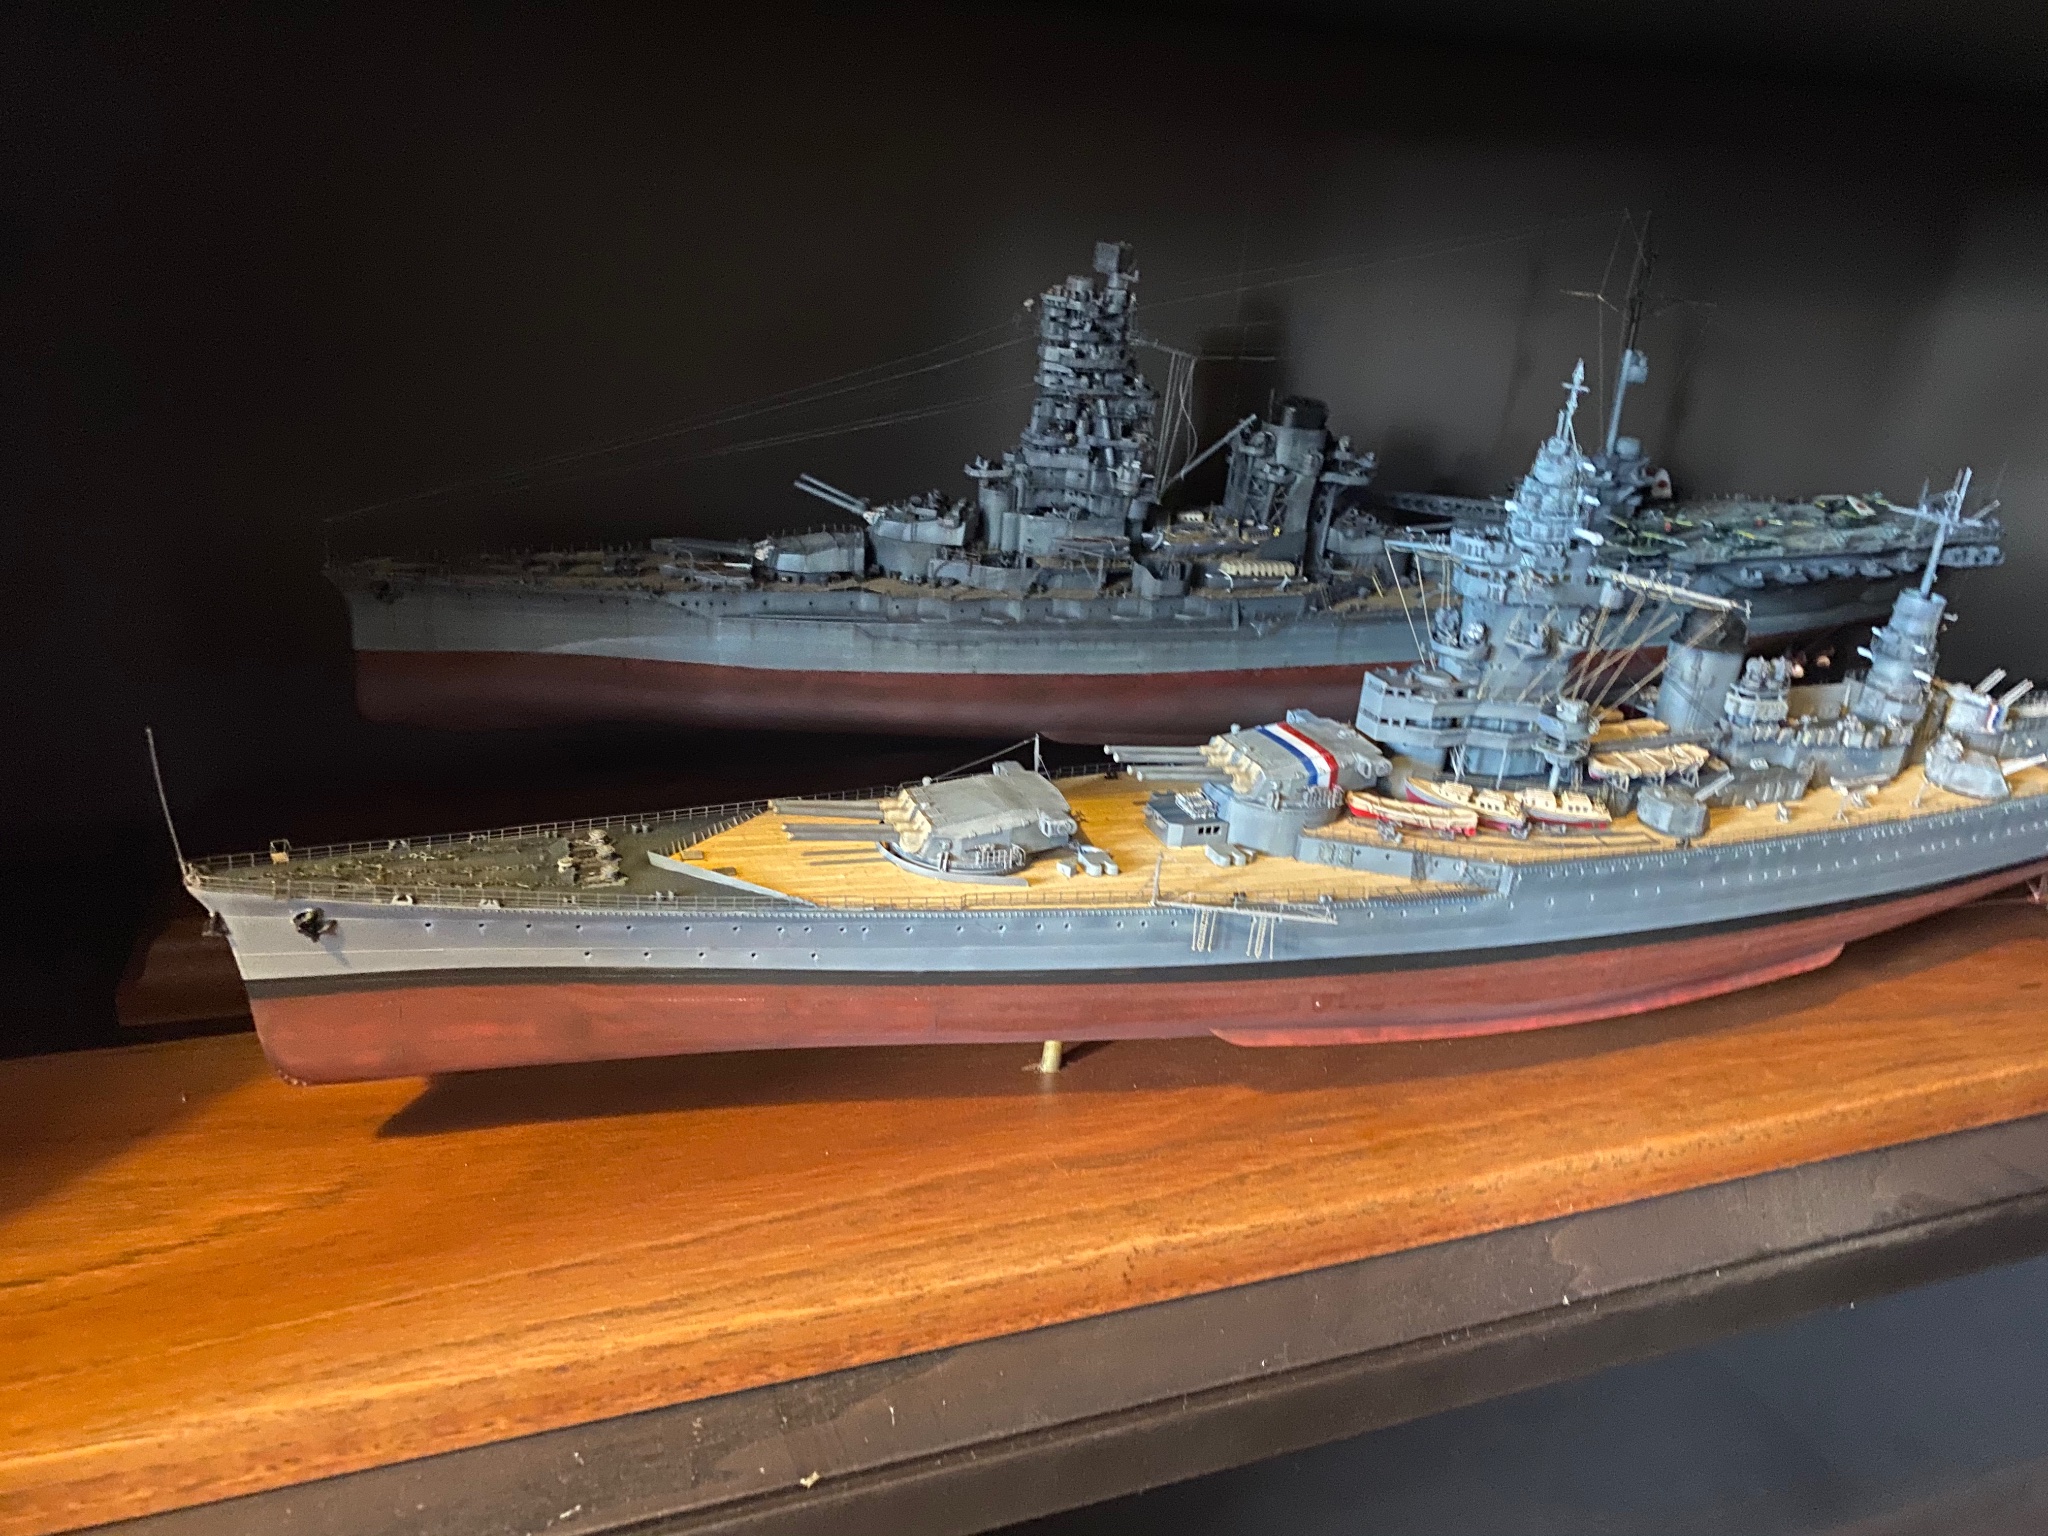
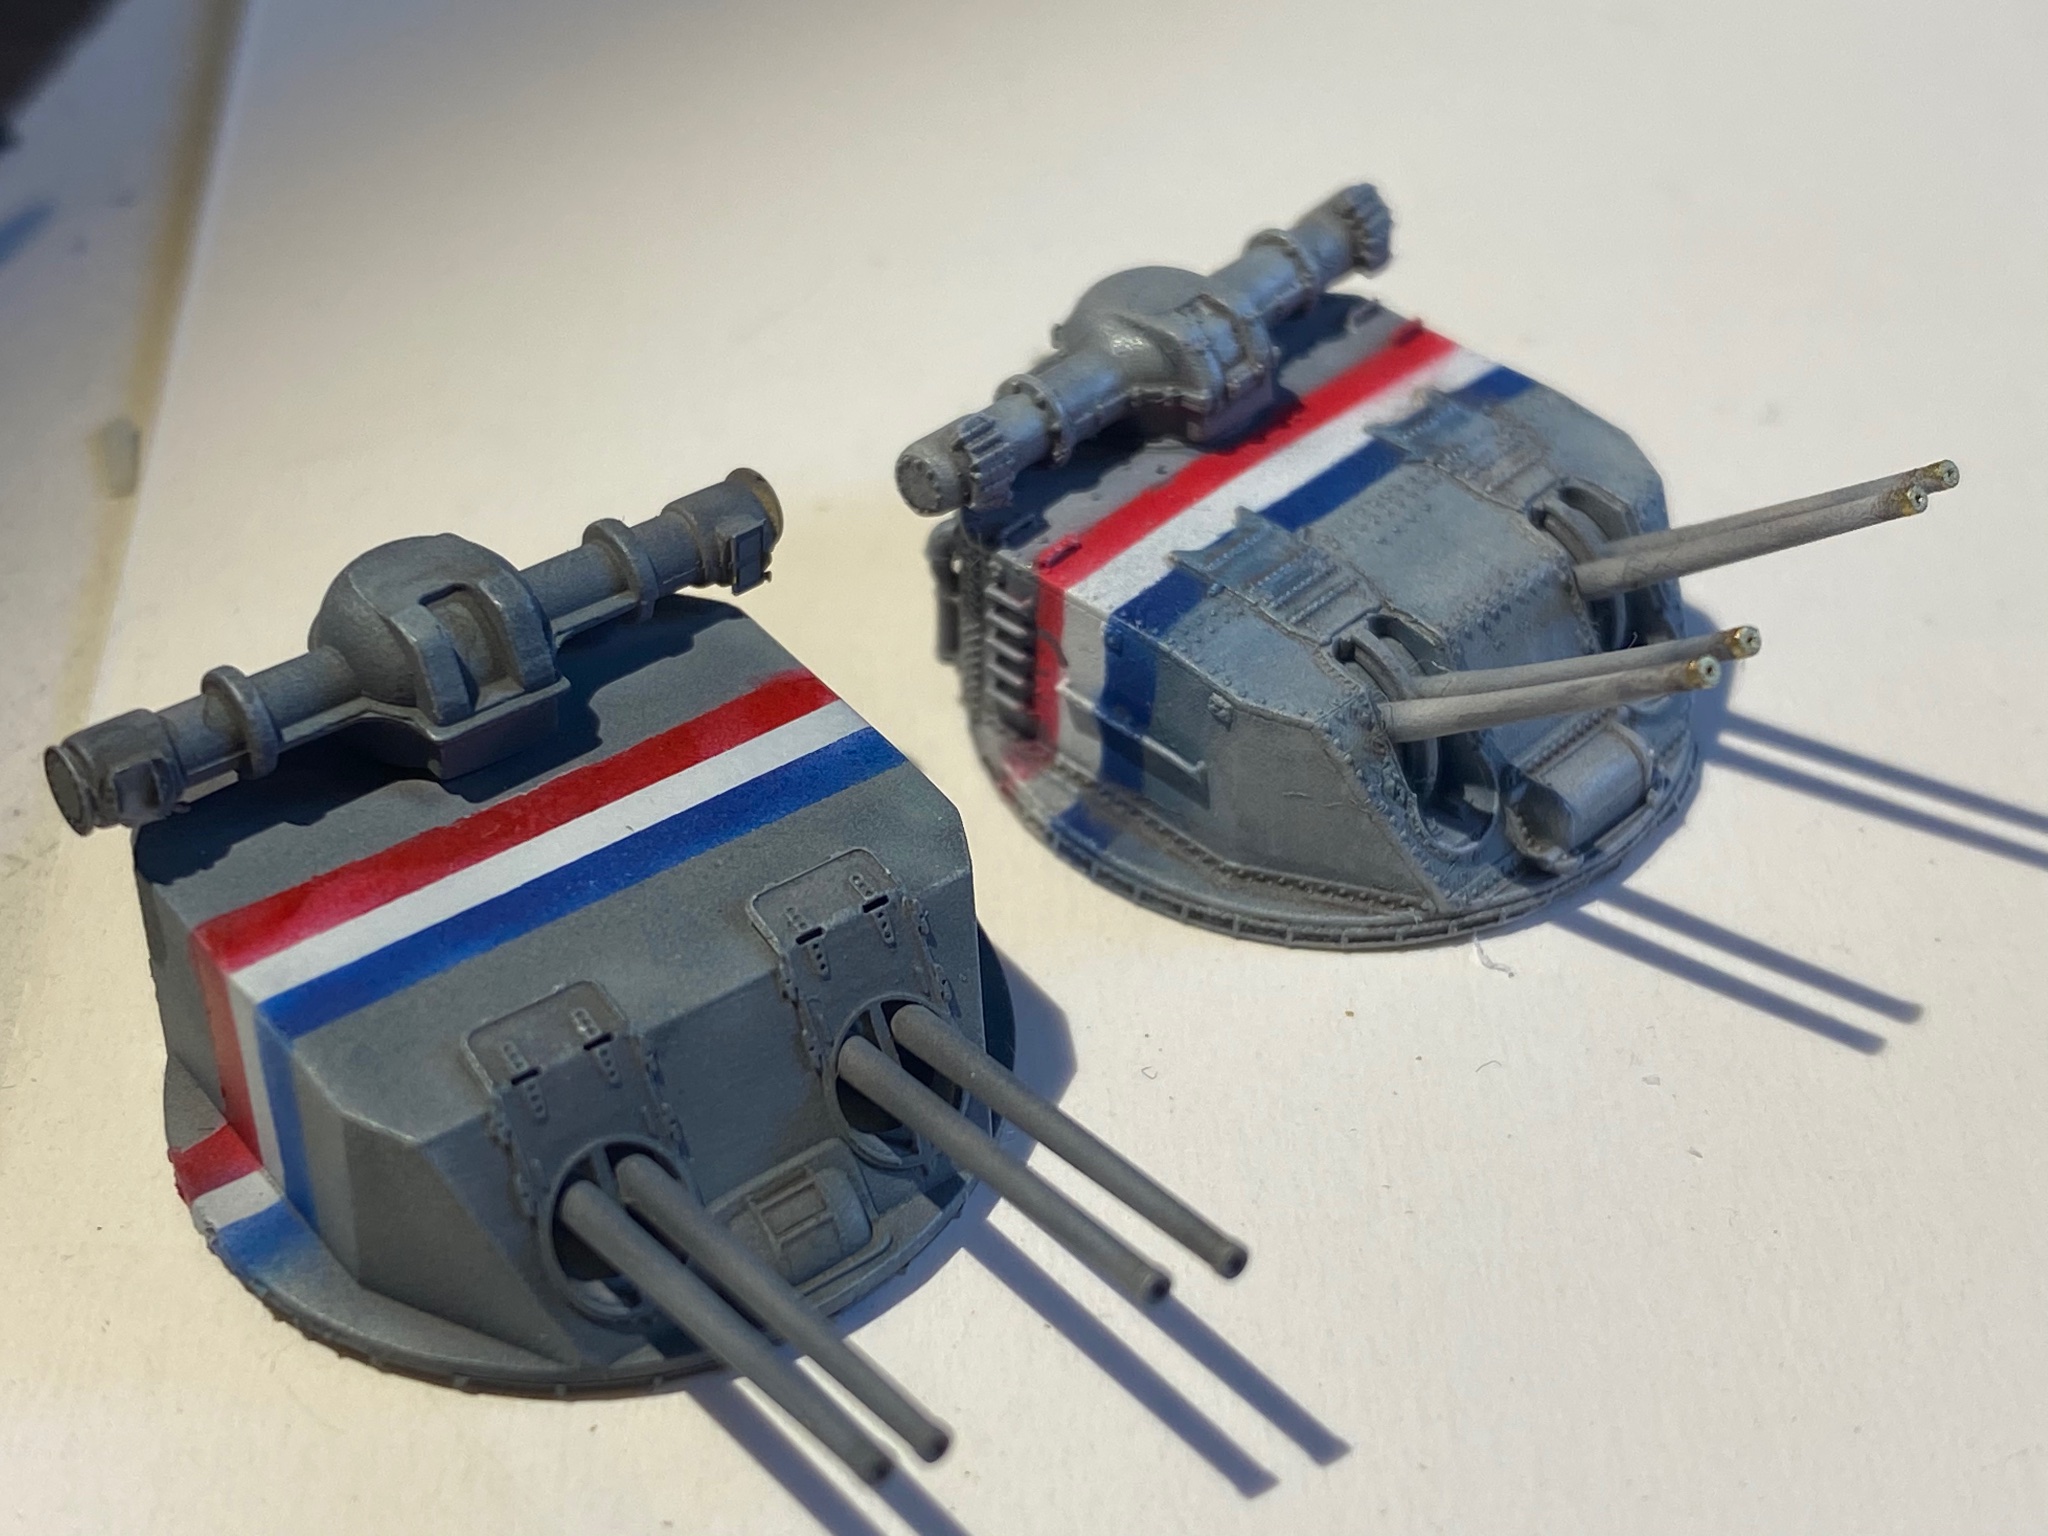
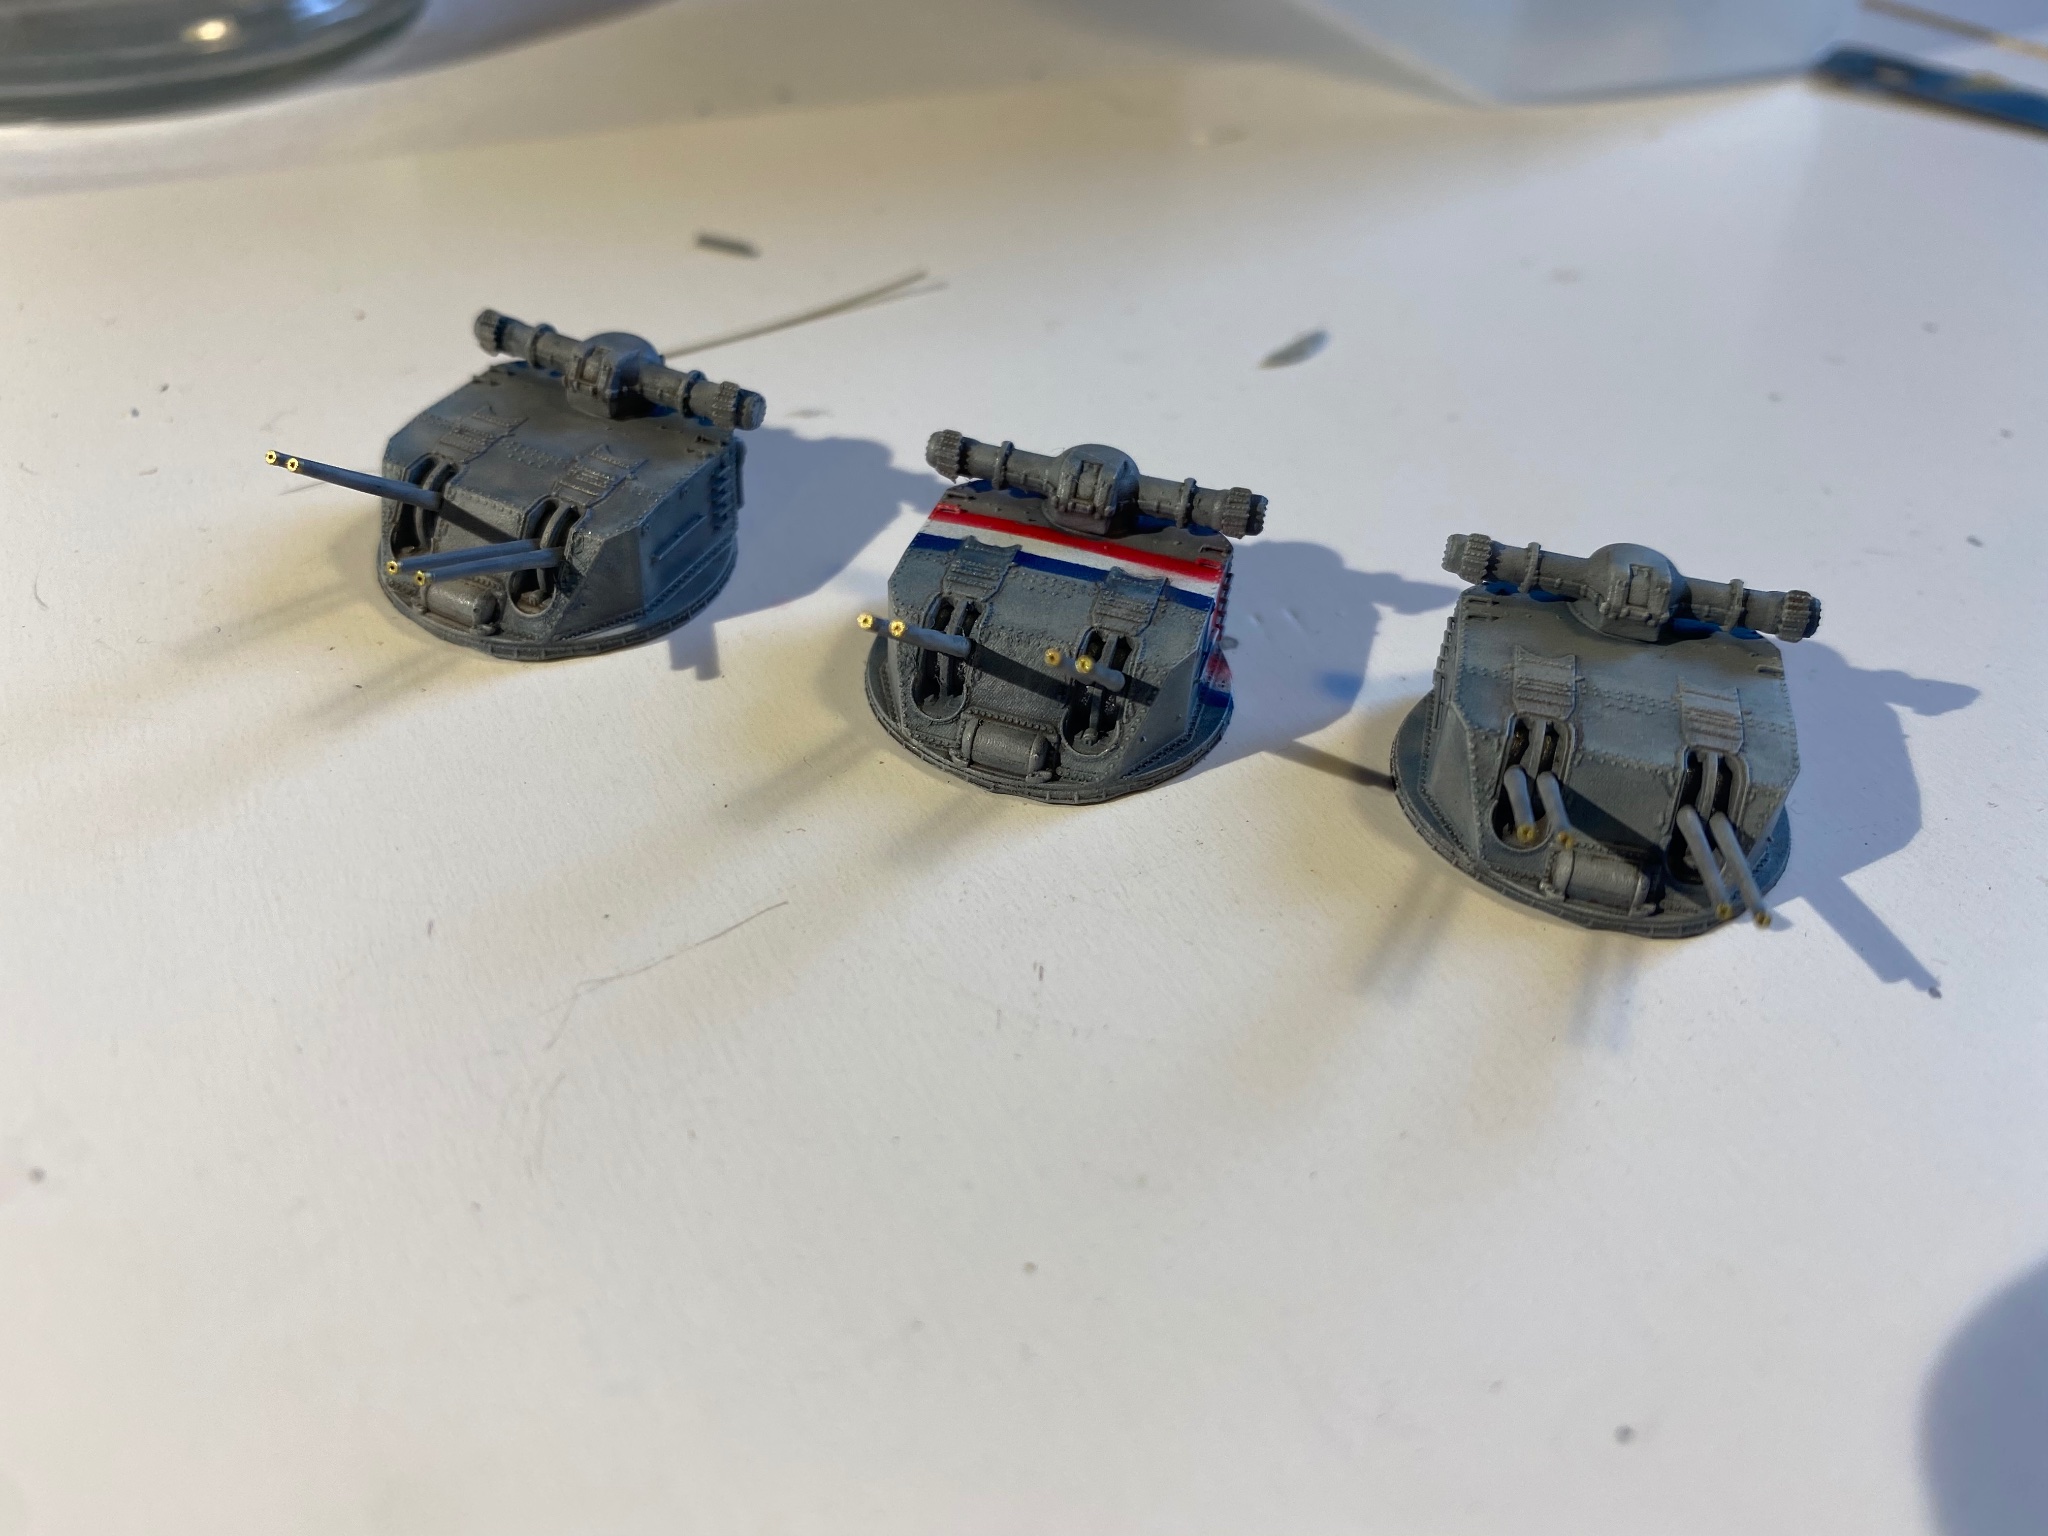
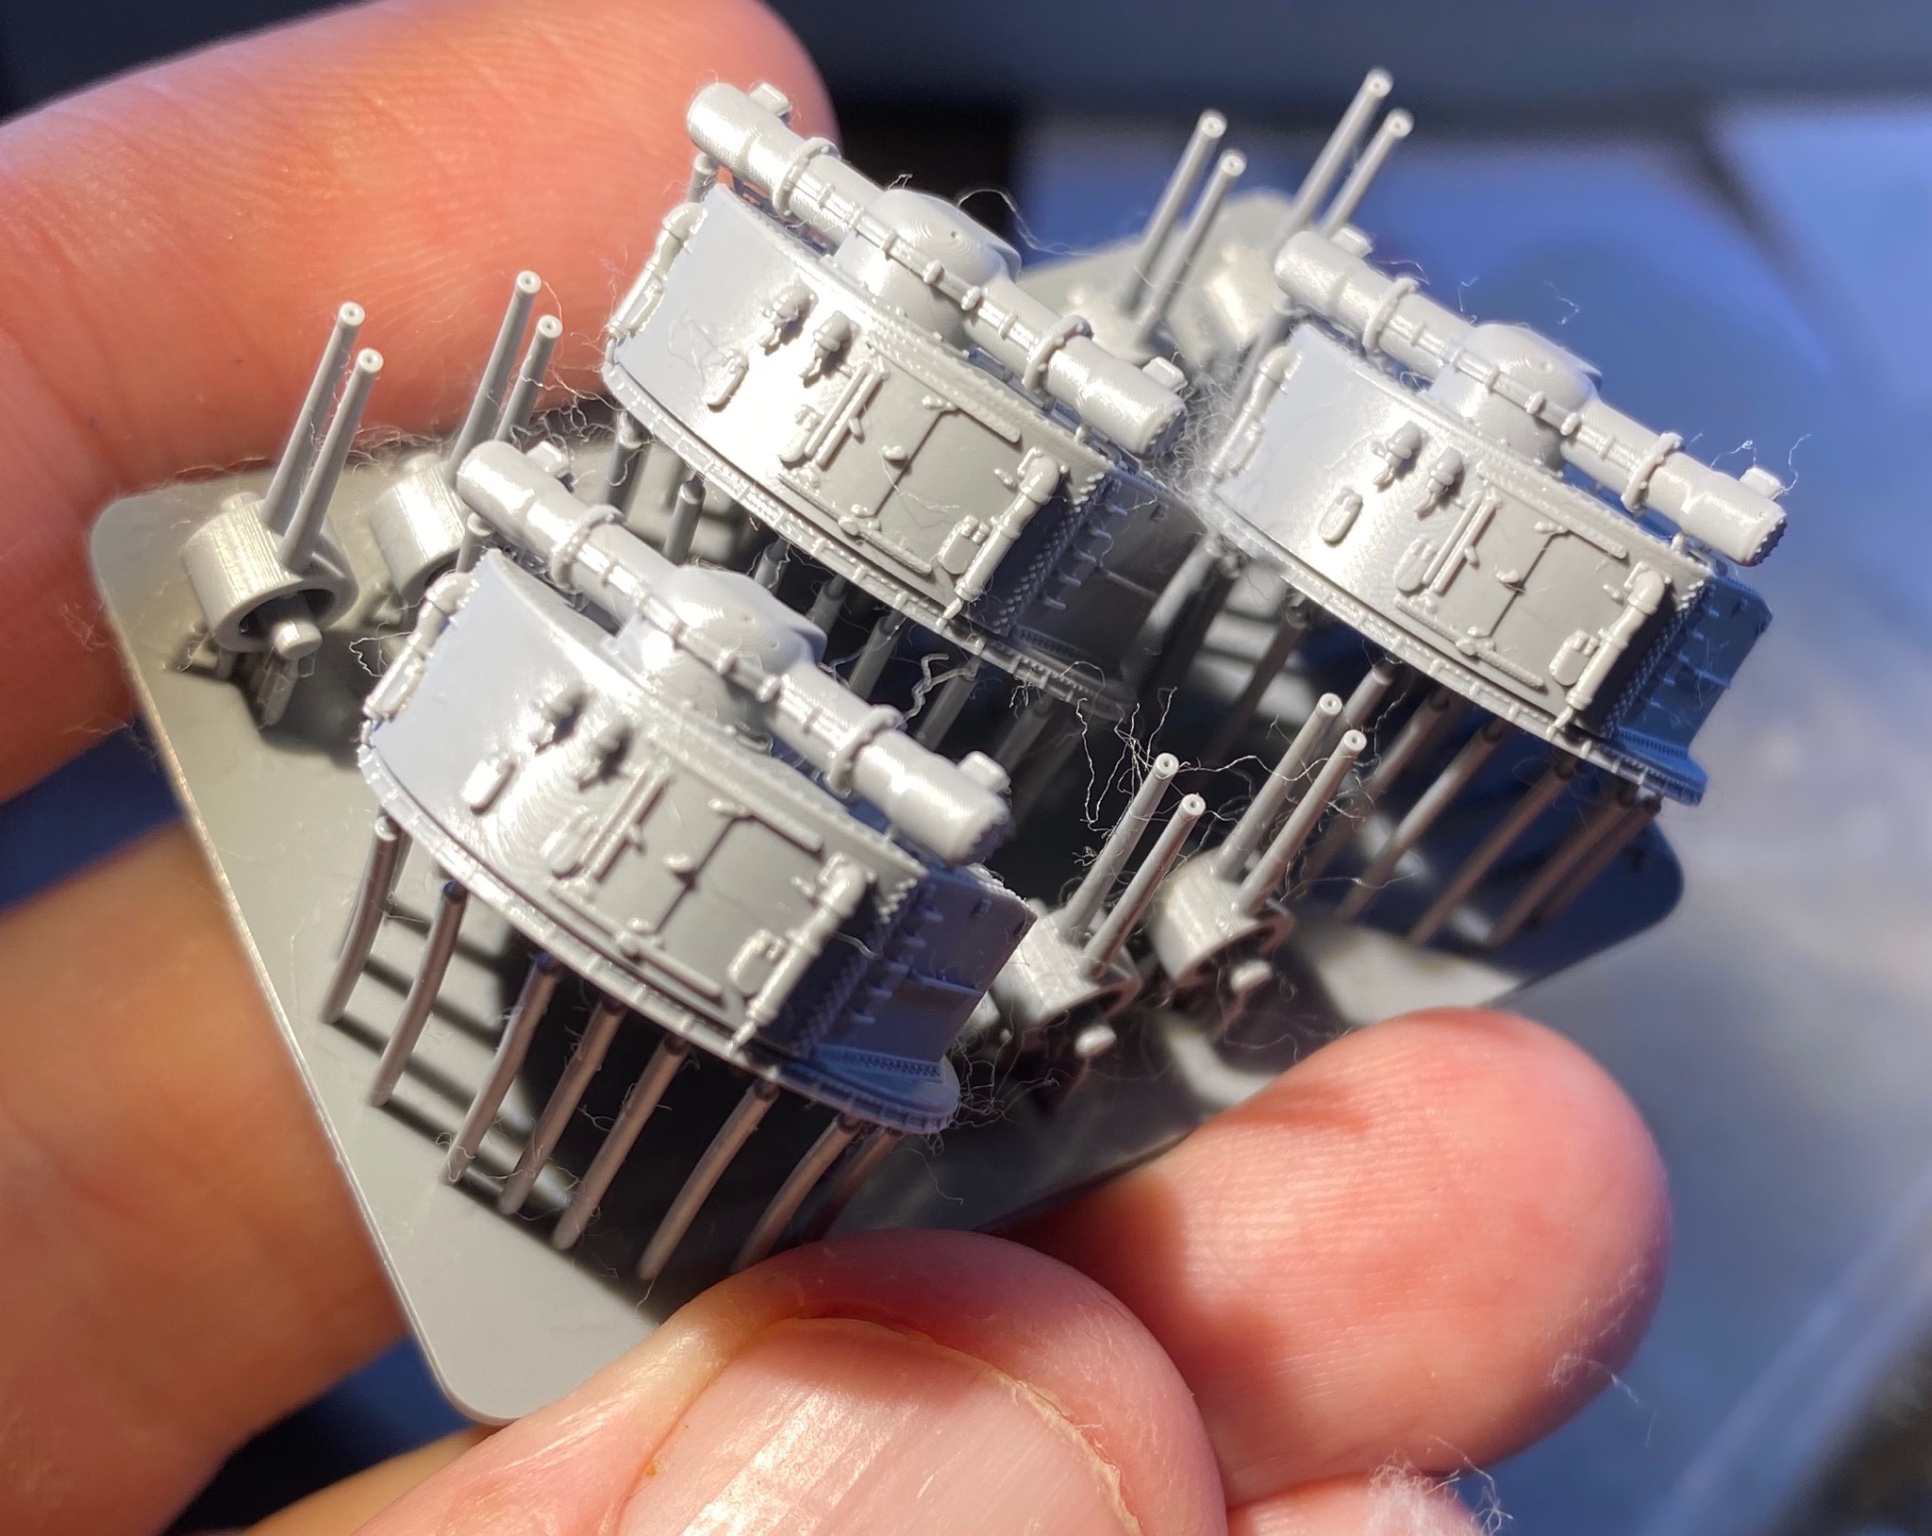
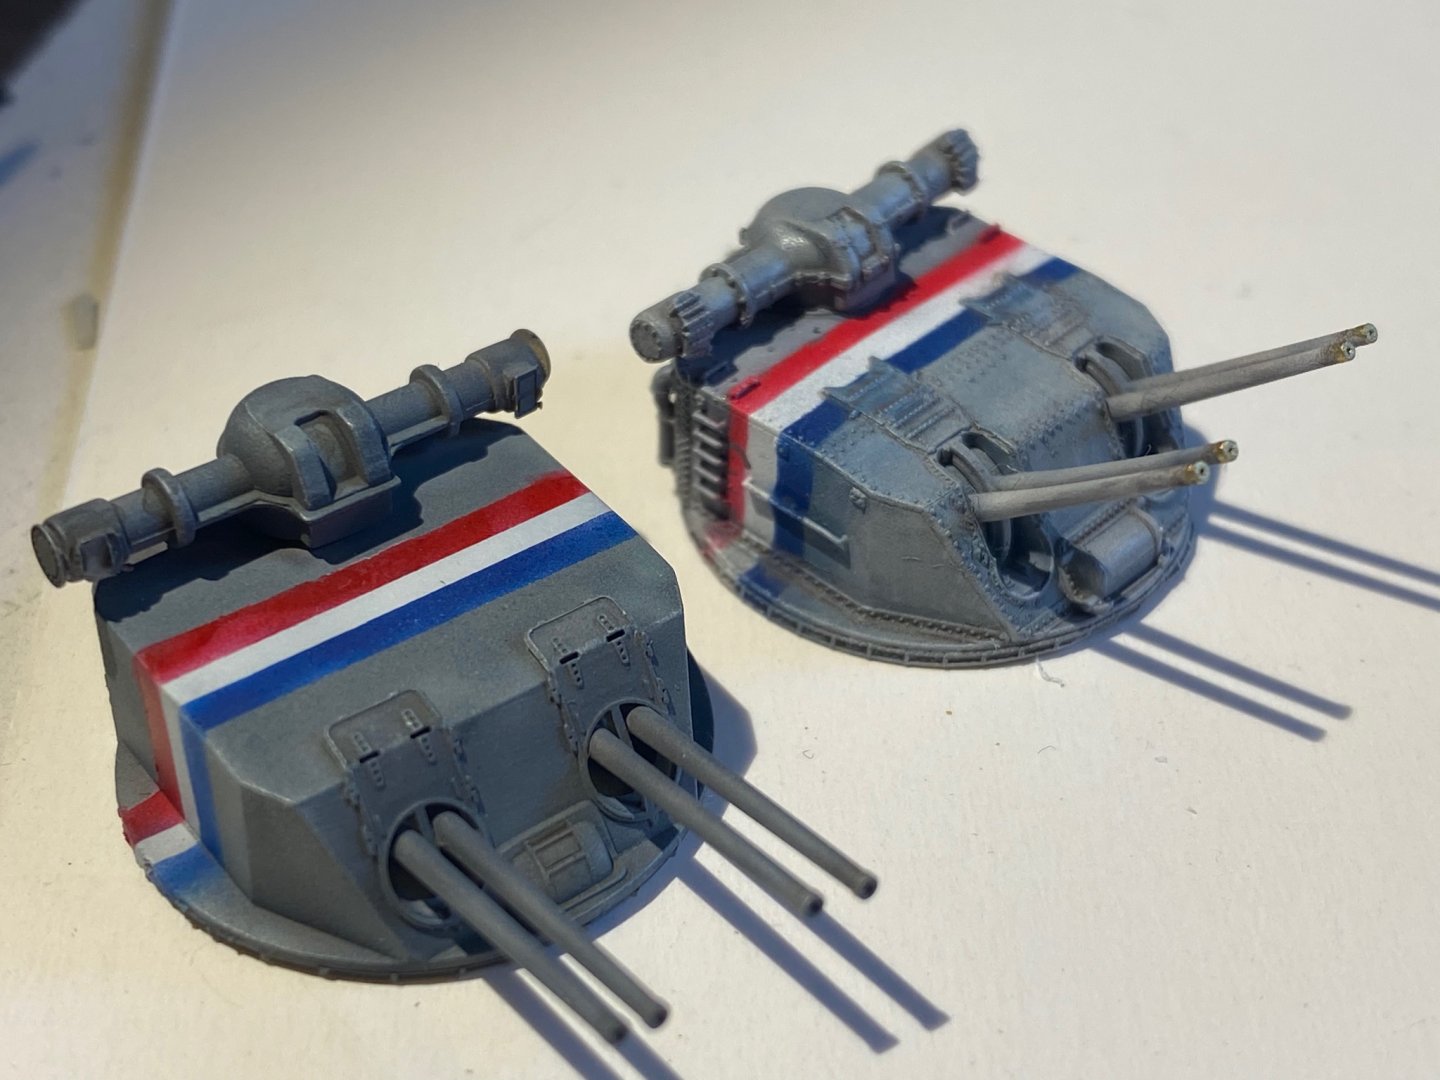
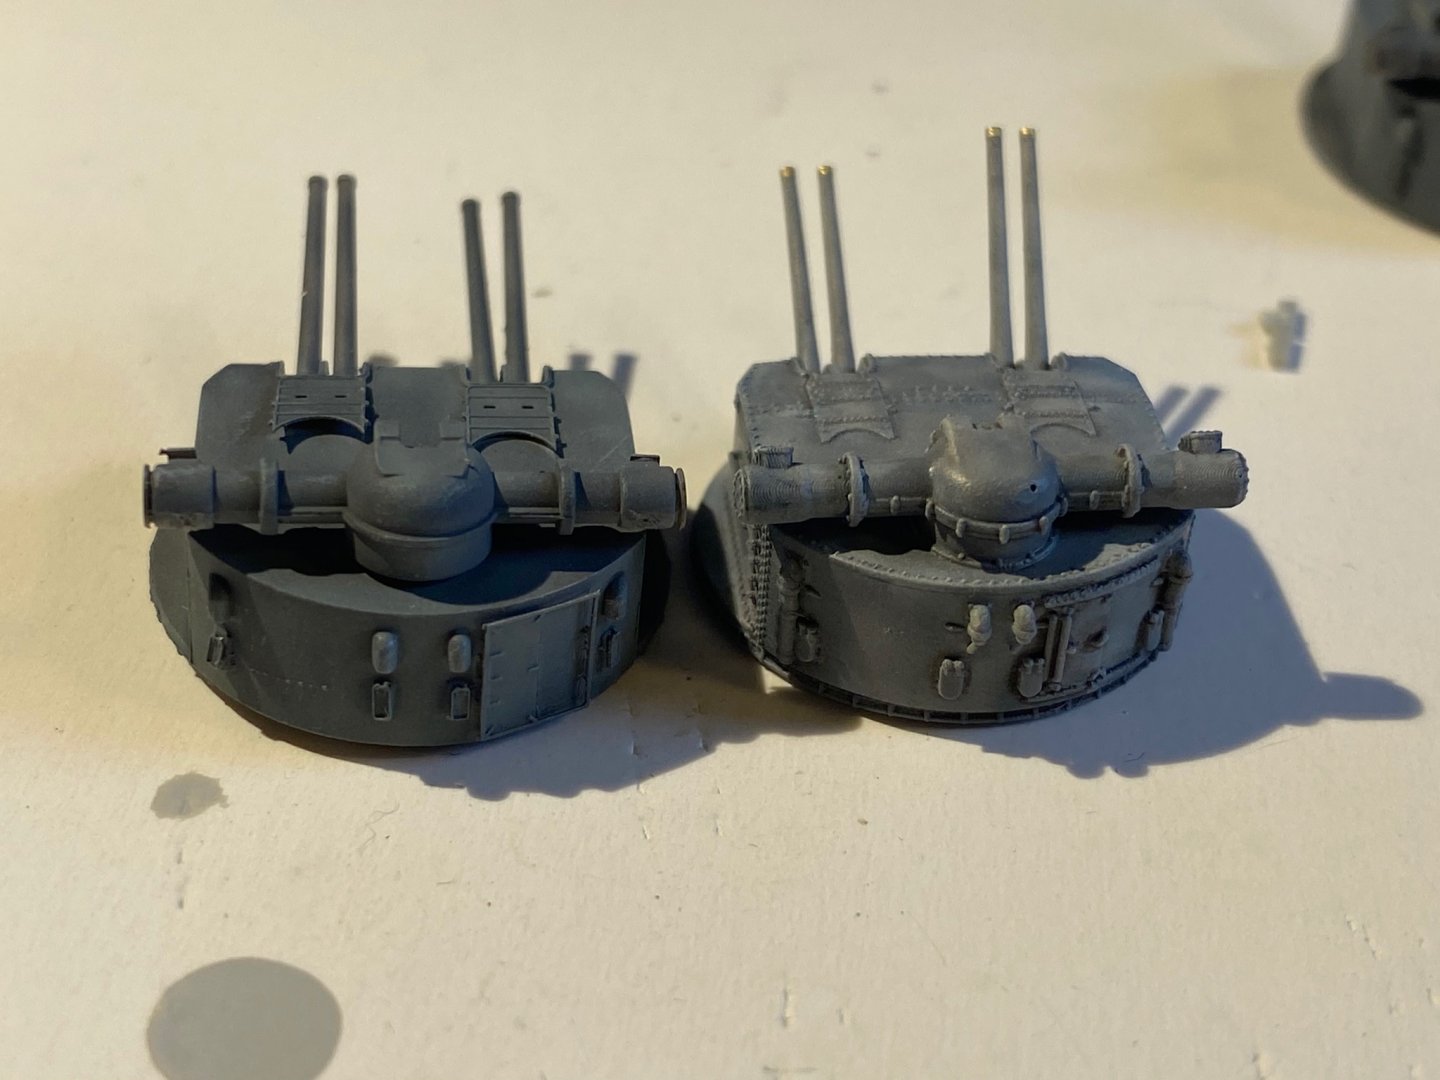
So to compare the 3D printed to the kit supplied (with some aftermarket)
- 136 replies
-
- 8
-
-
- strasbourg
- finished
- (and 2 more)
-
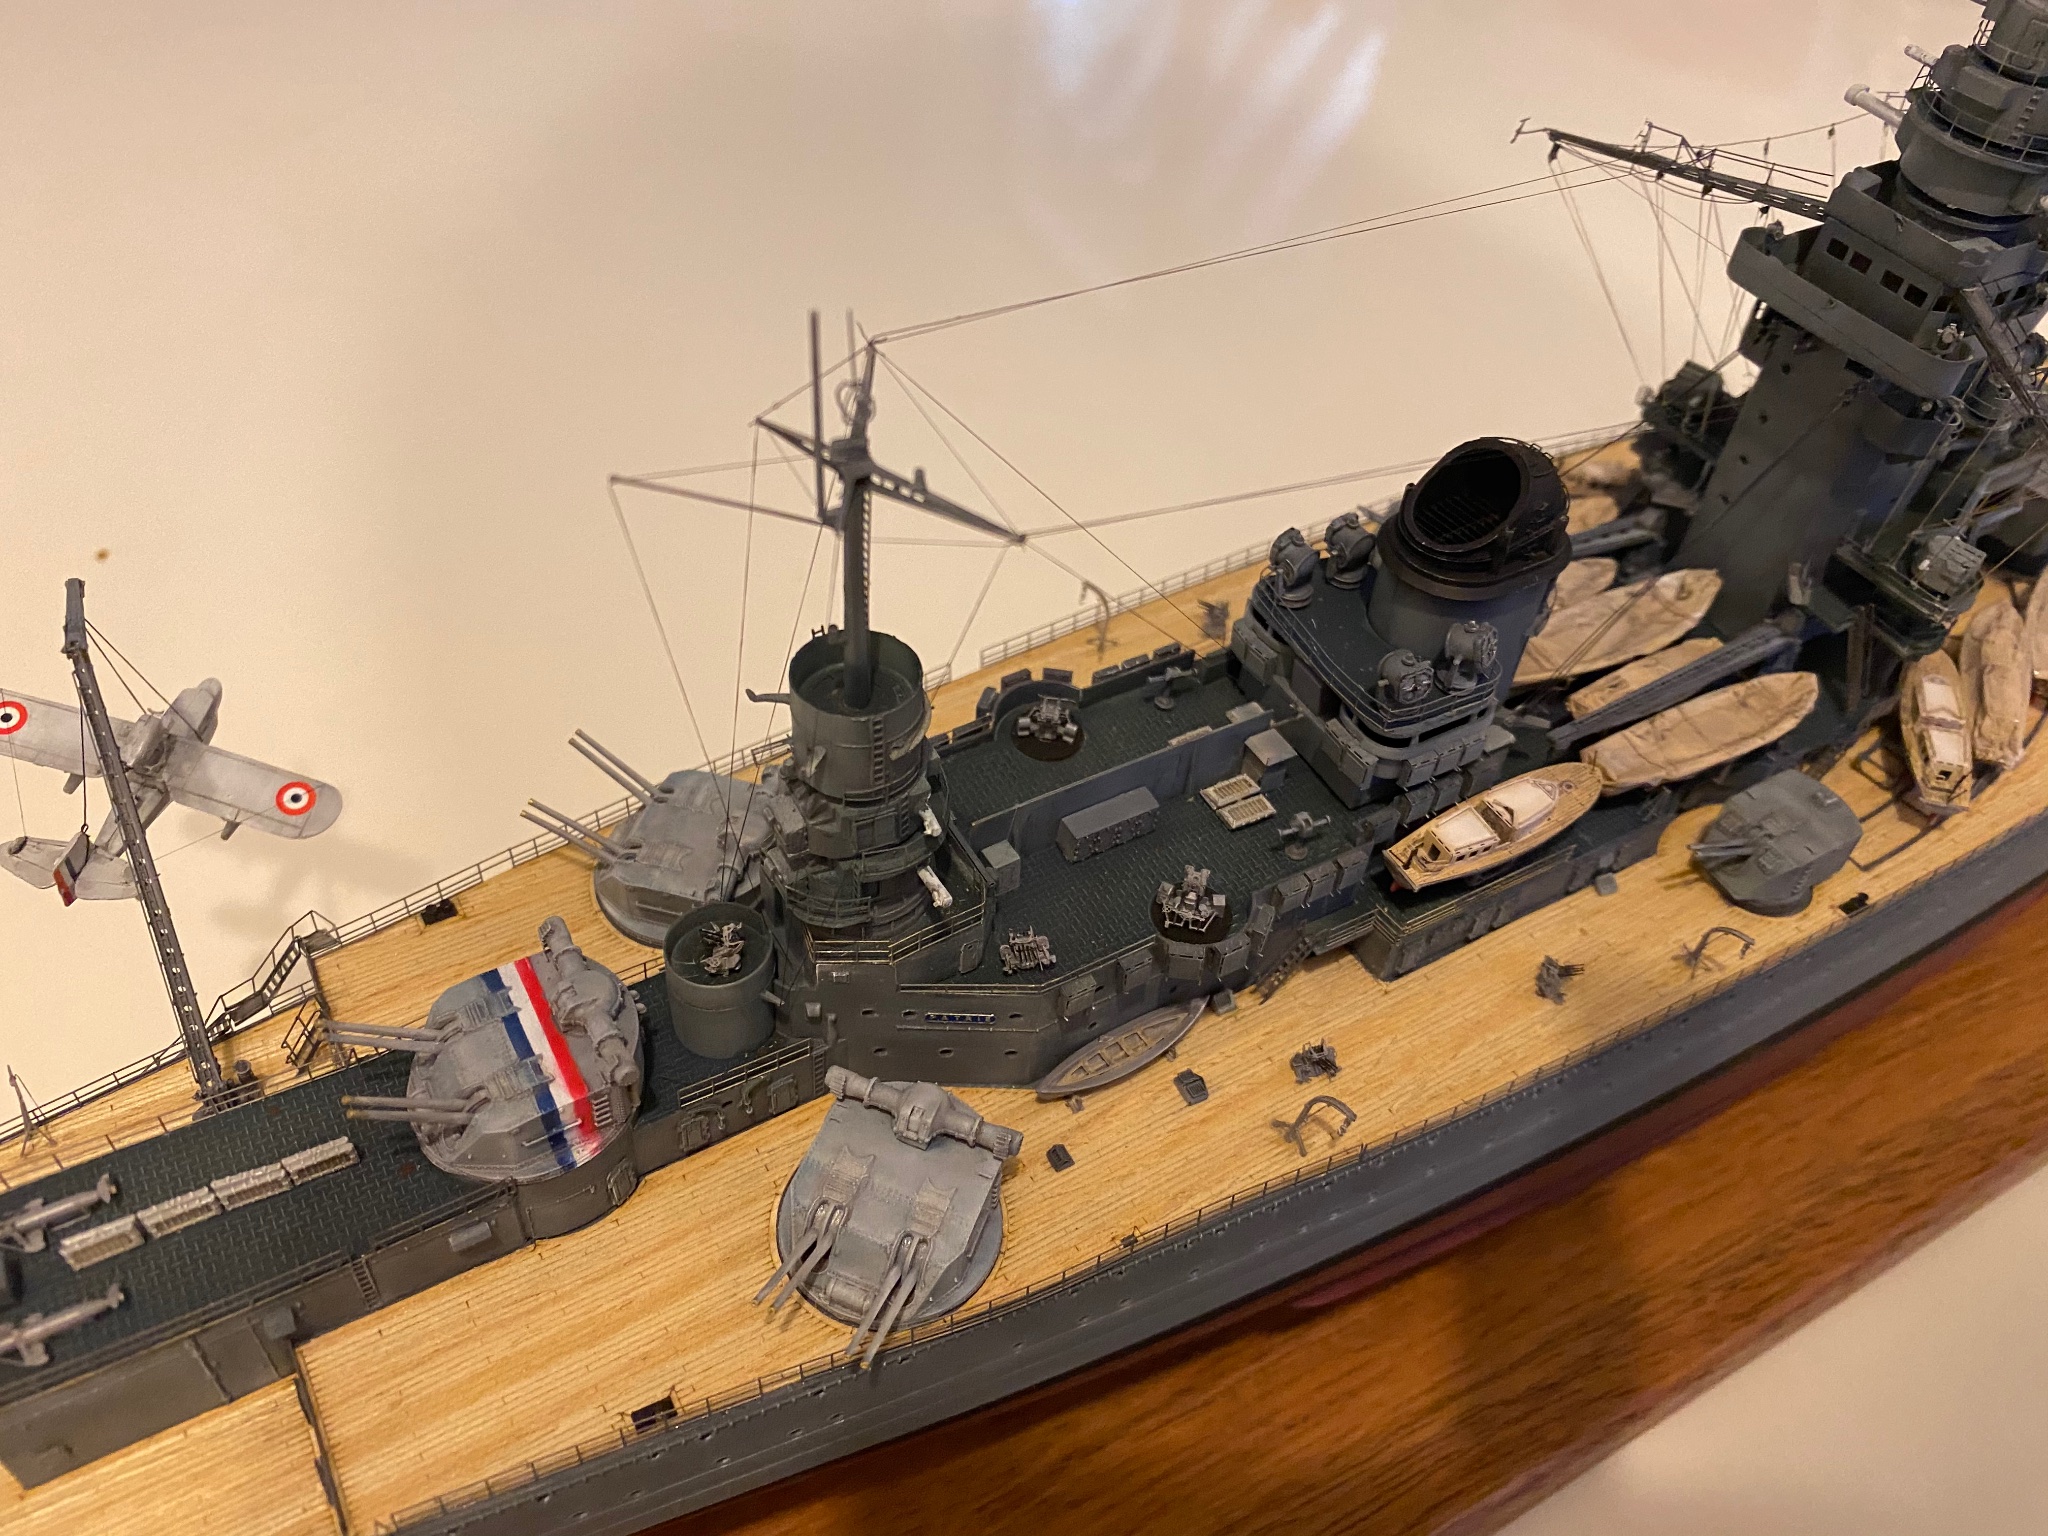
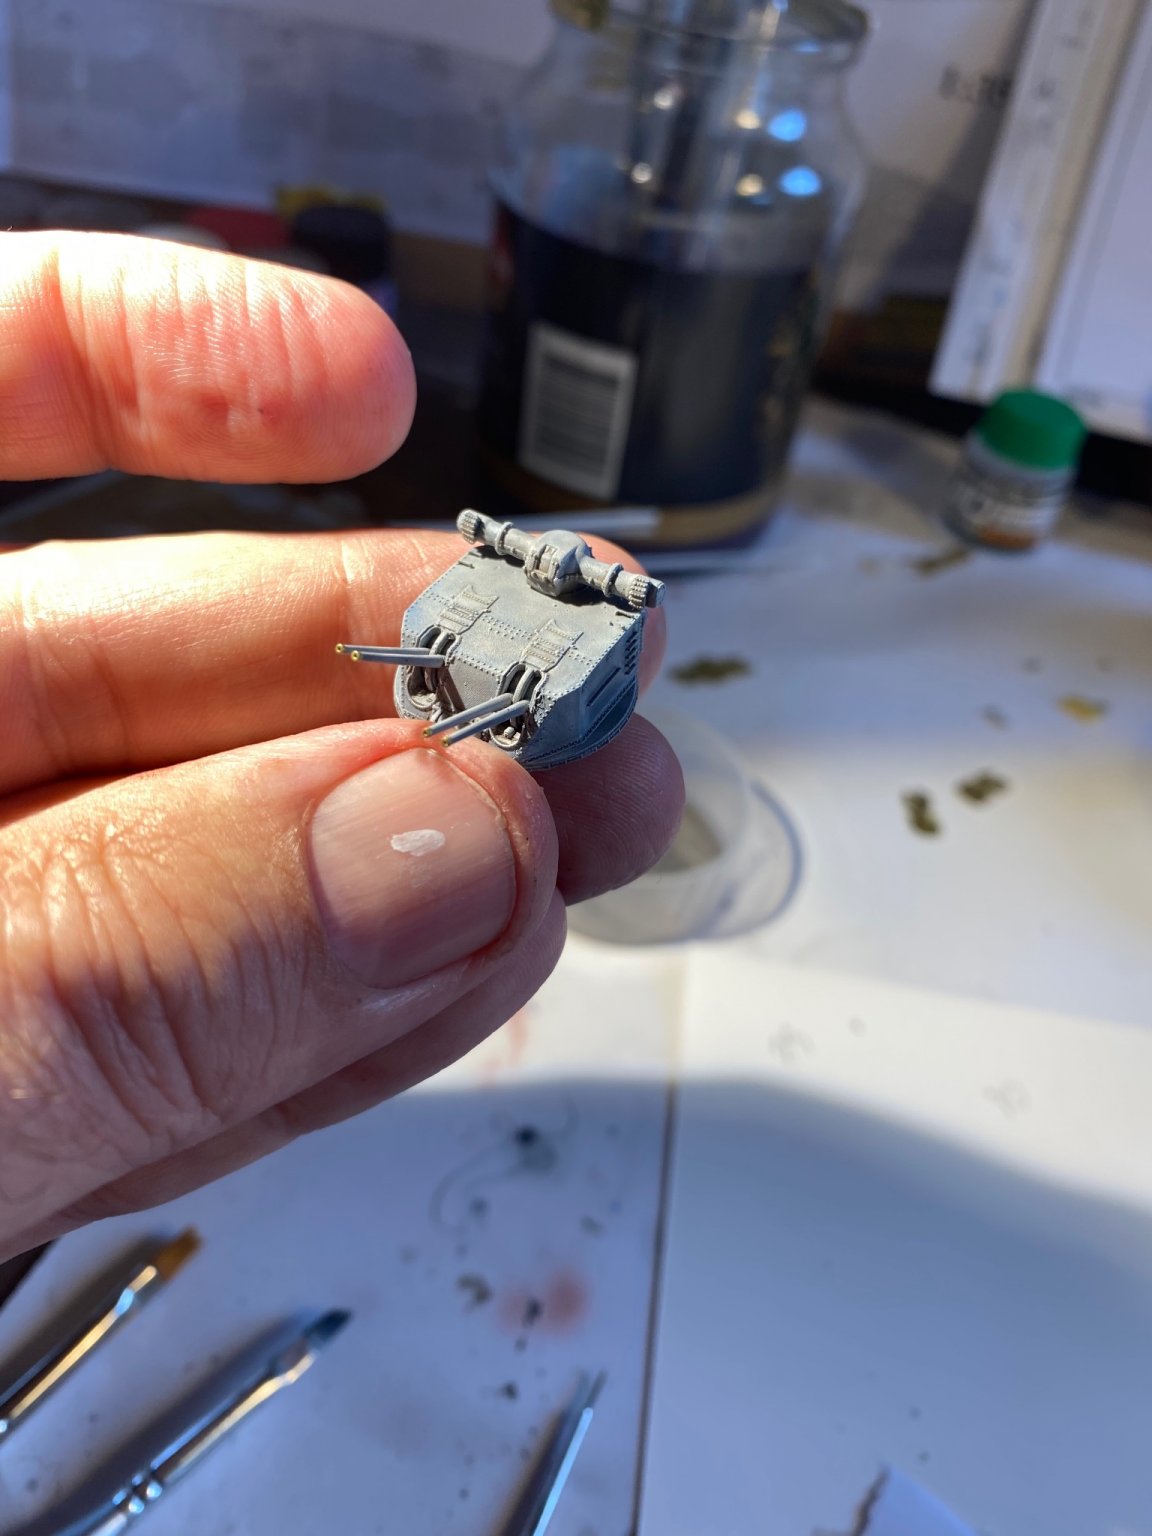
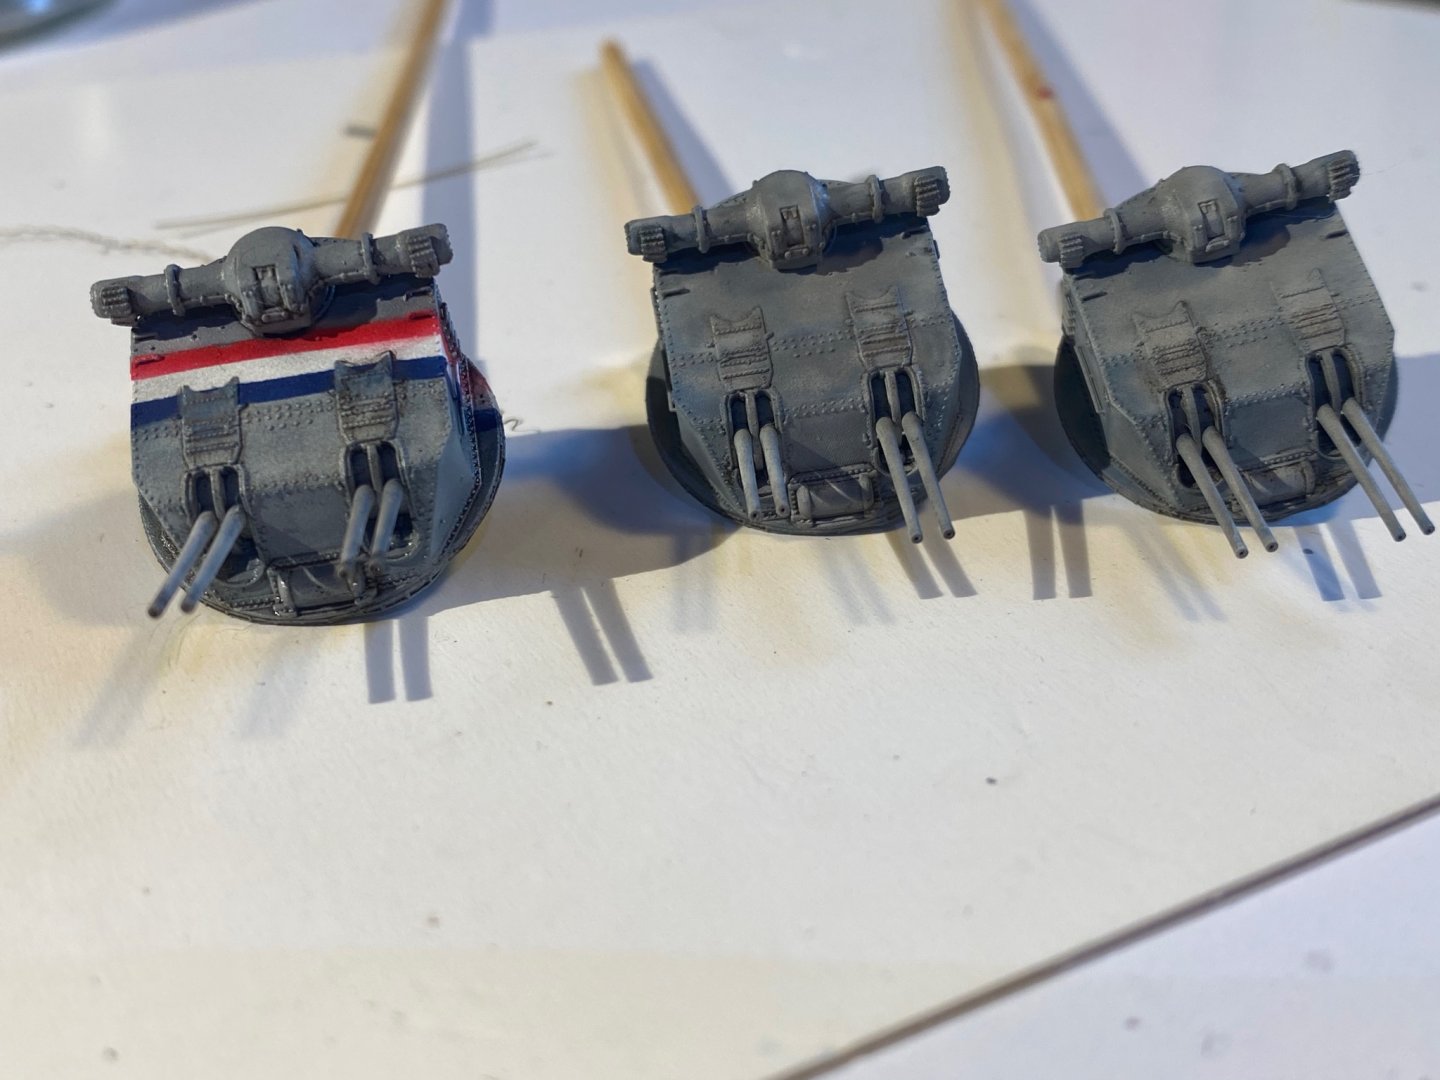
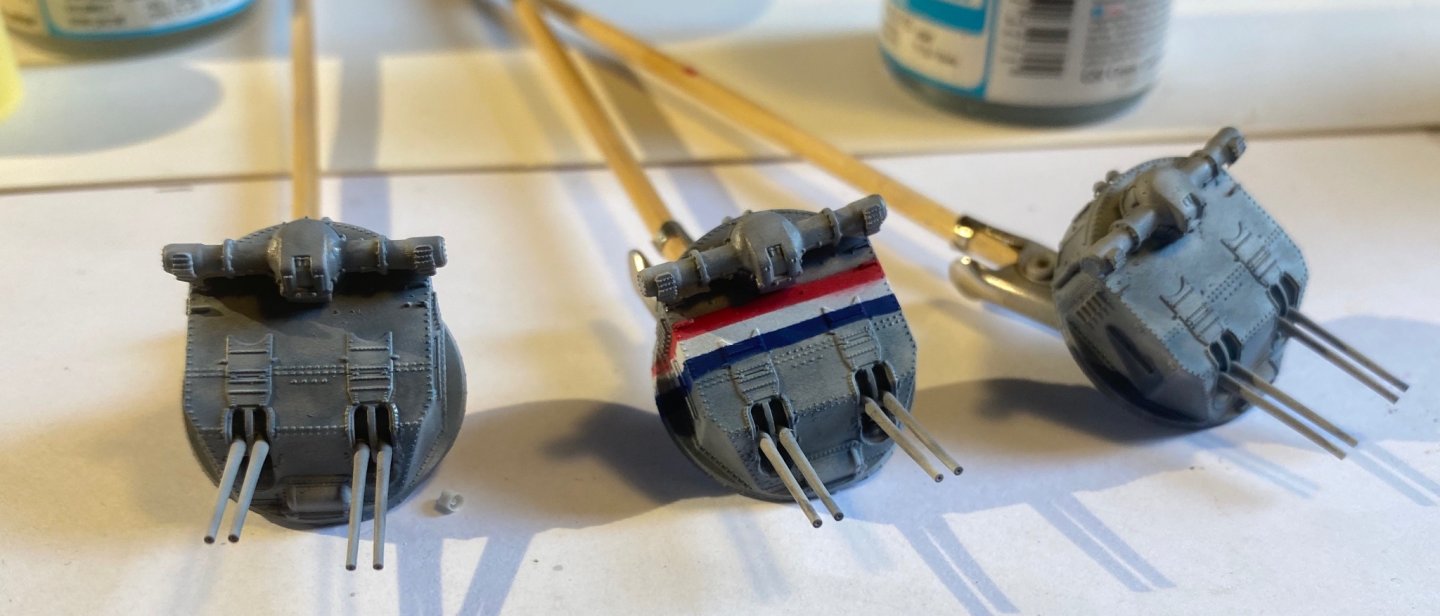
Ok, final works, a blue filter a grey wash a white airbrush and a little bit of brass for the barrel ends


- 136 replies
-
- 5
-
-
- strasbourg
- finished
- (and 2 more)
-
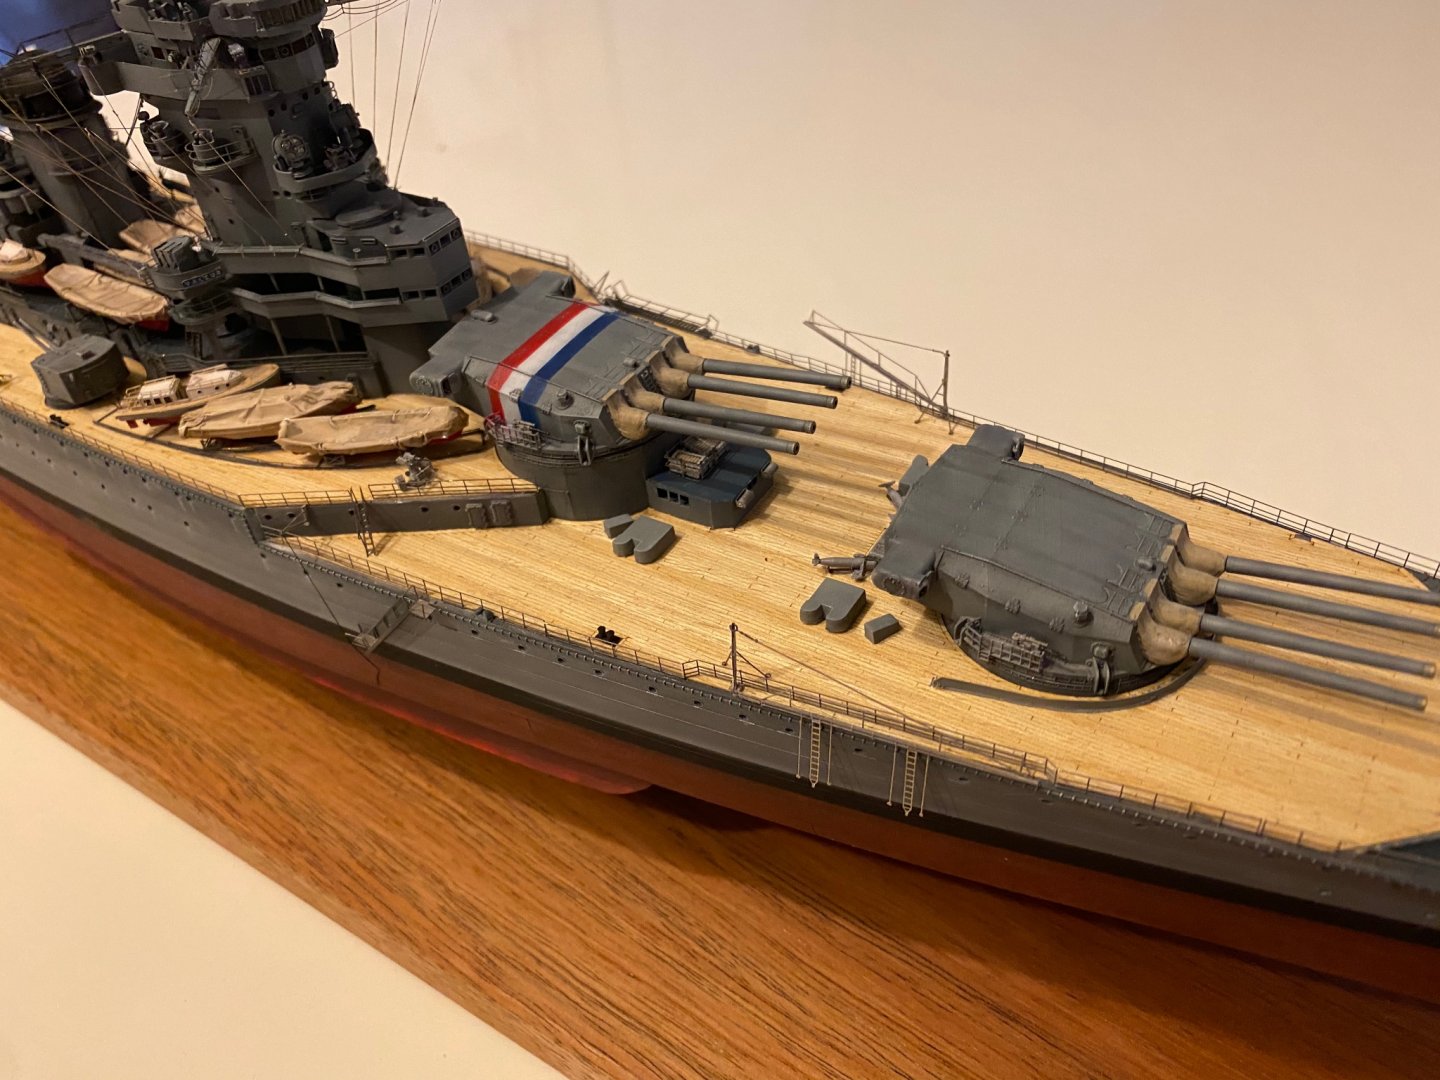
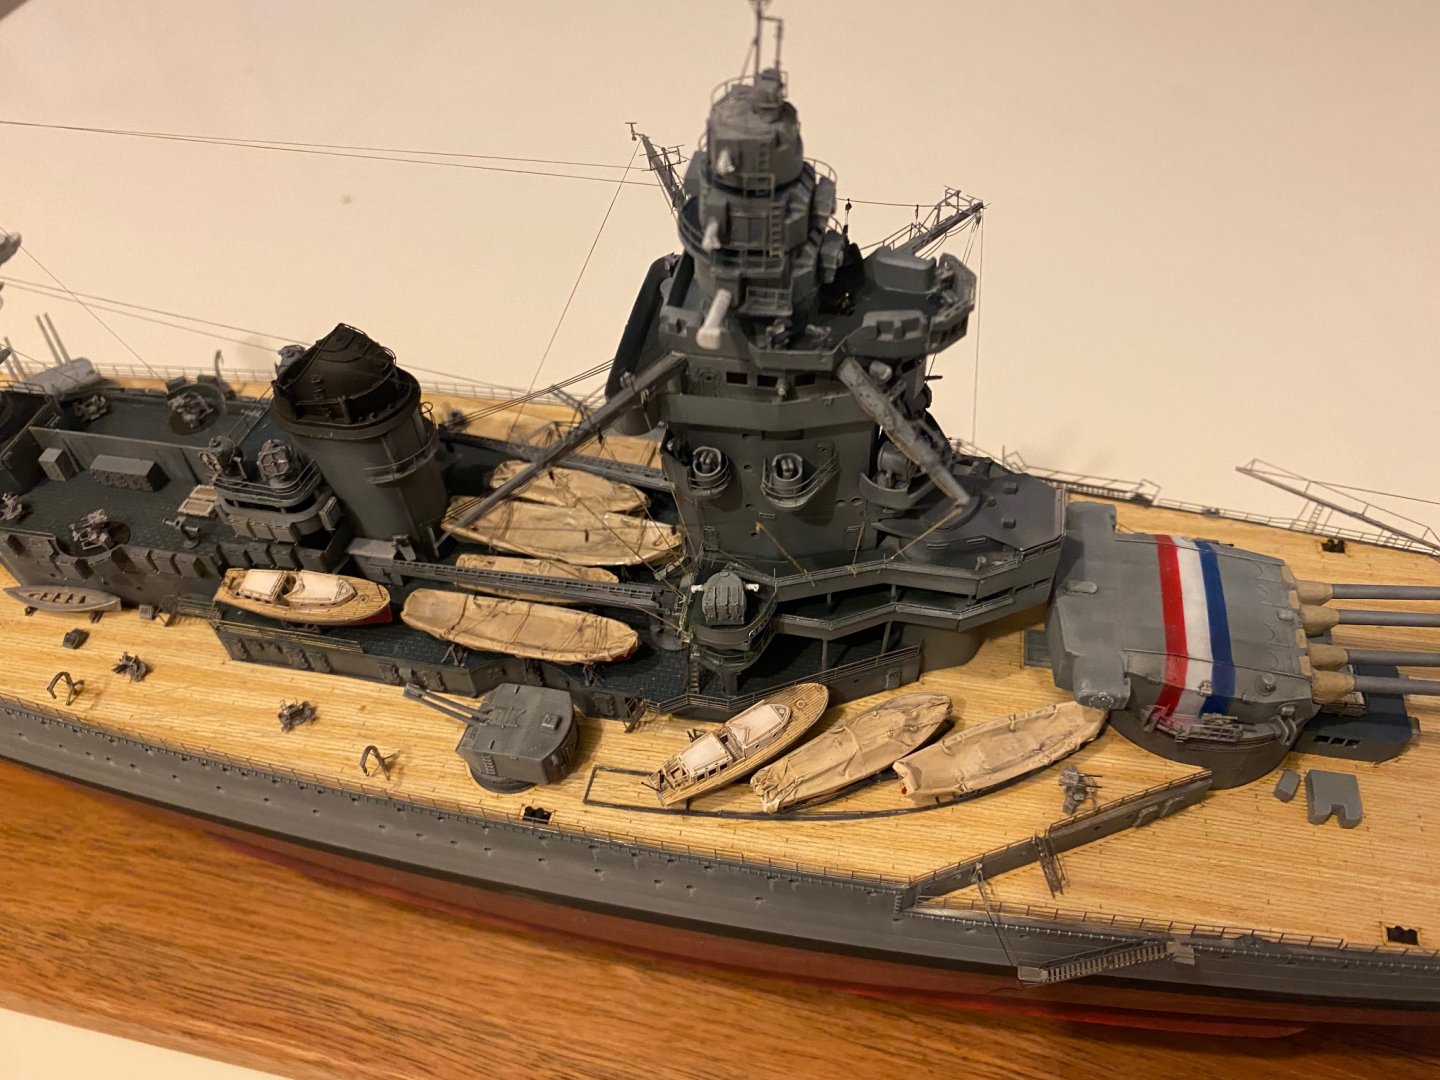
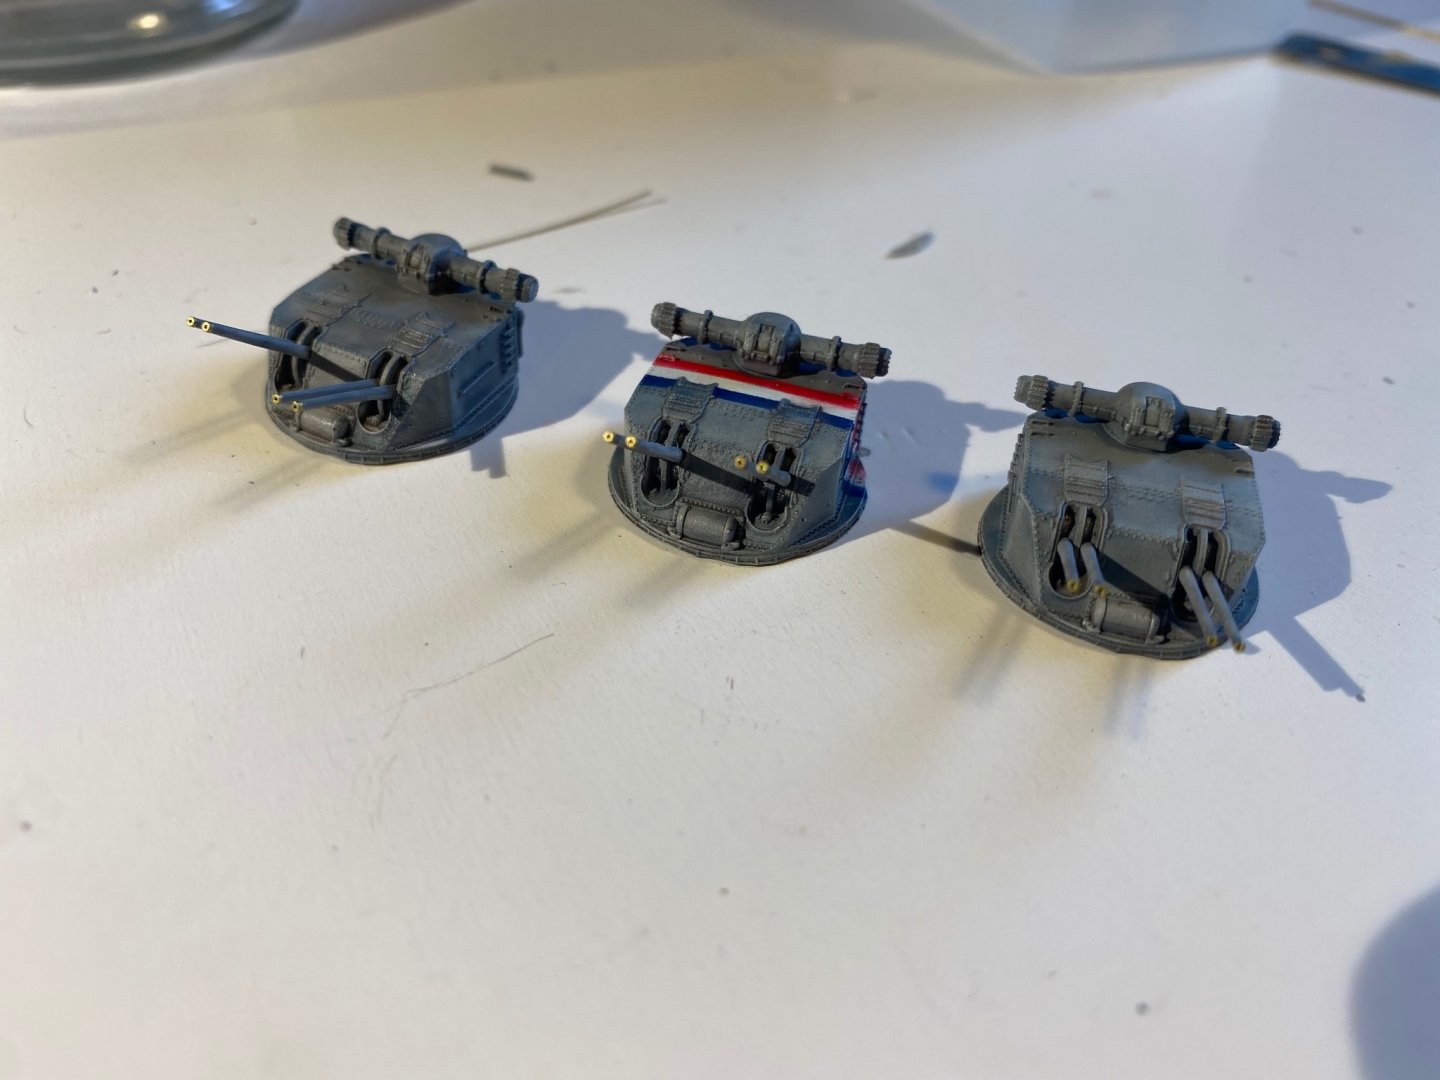
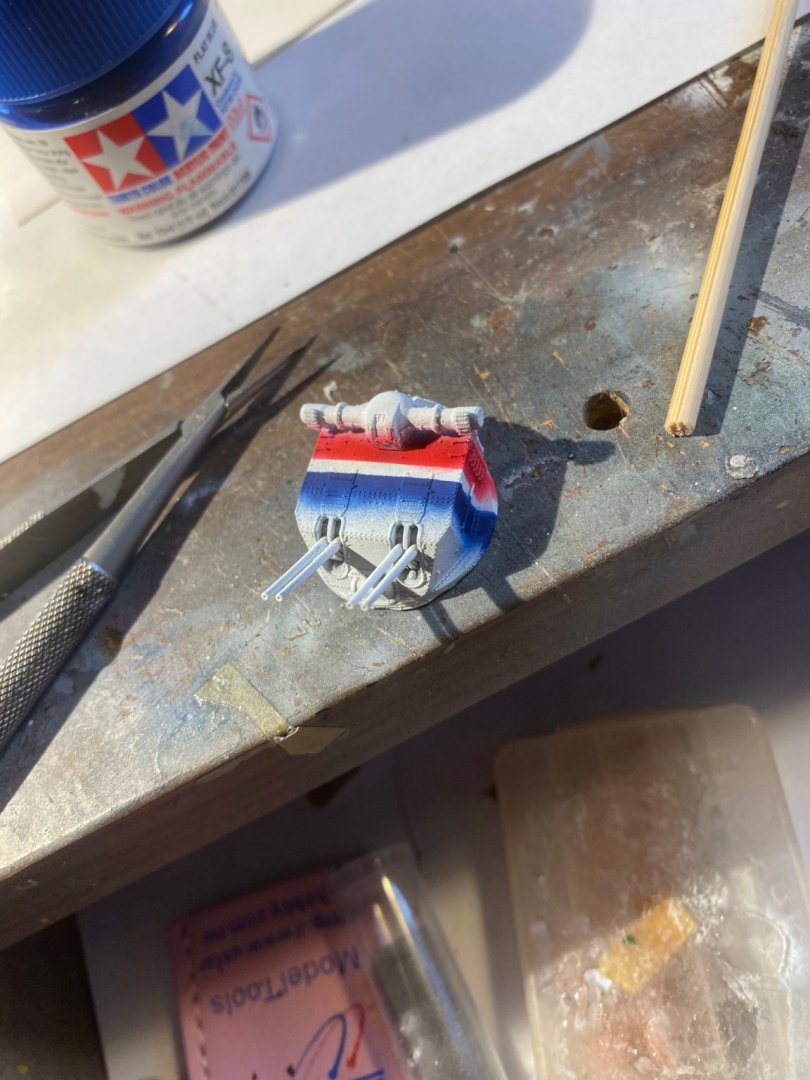
Quad secondary guns part 2. The armistice stripes then the base grey coats. I’ll leave these now for 24 hours then start on the filters.
- 136 replies
-
- 9
-
-
- strasbourg
- finished
- (and 2 more)
-
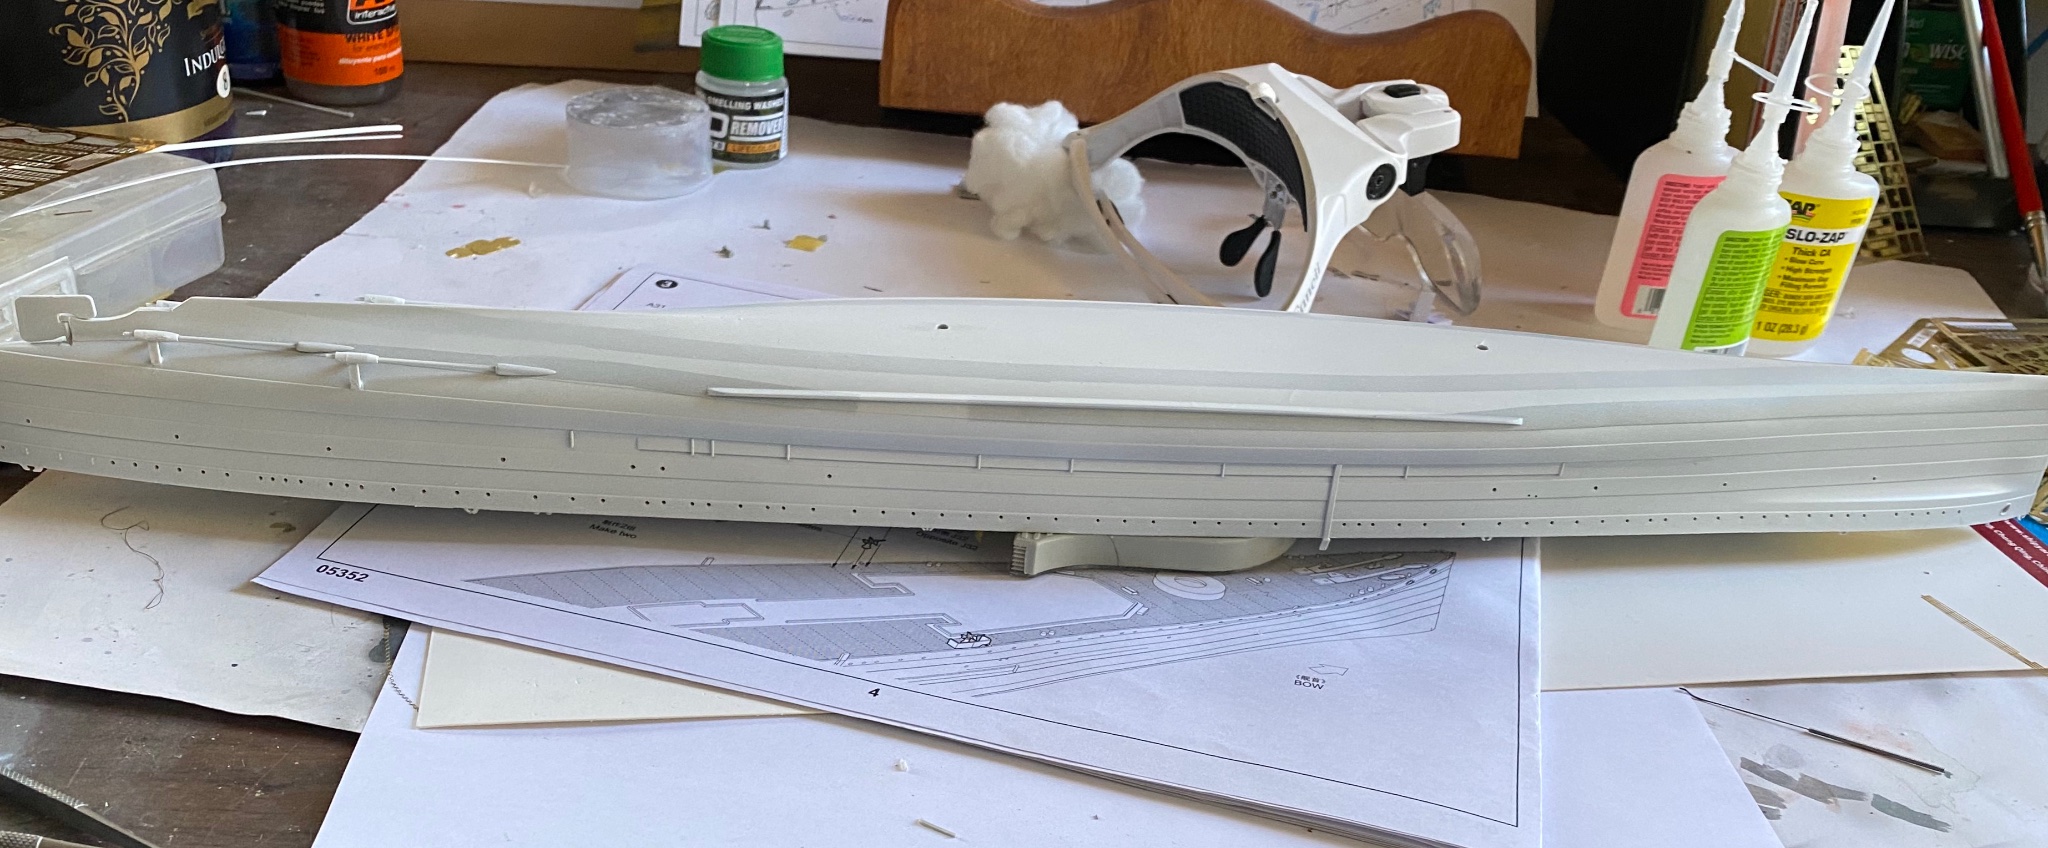
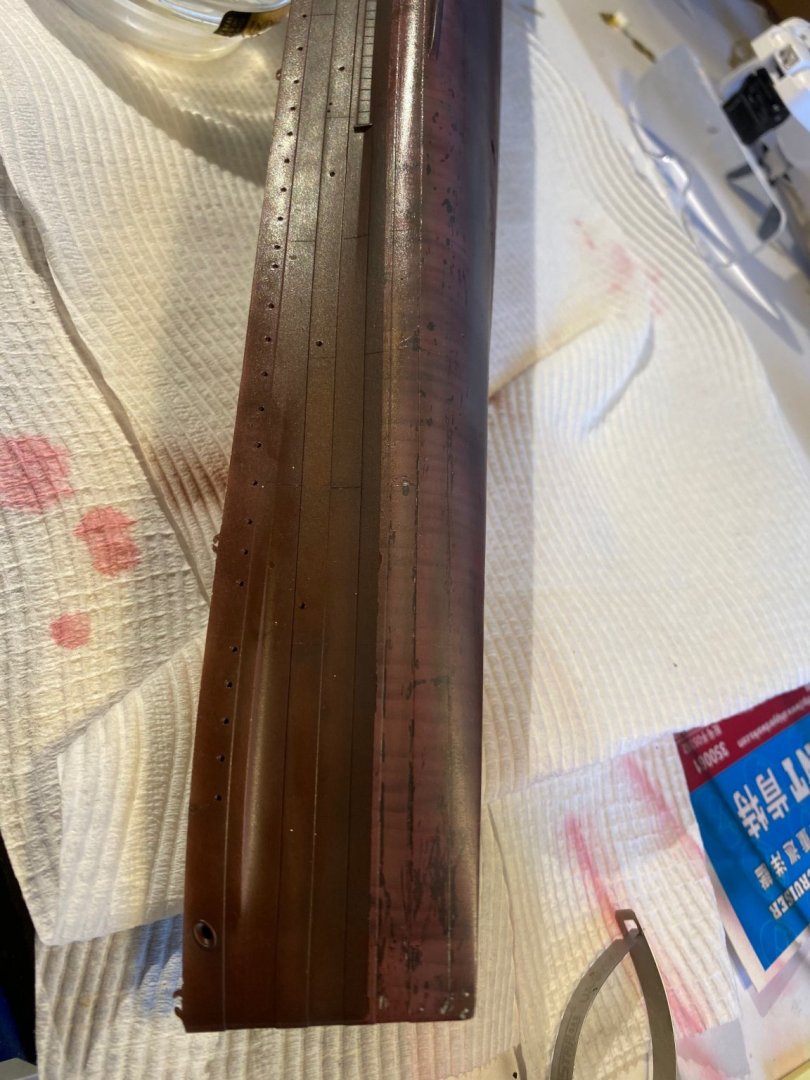
She has some pretty good lines, so I’ve now cut in the plates. I’m going to oil can her below the waterline ( because I can really), the RN had a serious shortage of enamel for their paints and o it the boot strap was good quality as that was the highest exposure area at the waterline. I have to finish my last guns for the Strasbourg this week.
-
Hull lines in, I added a few more, a couple of coats of primer with a flea type can. Tomorrow I’ll etch in the plates and put the undercoats on to represent the ships base primer and metal coats with oil canning.

- 128 replies
-
- 10
-
-
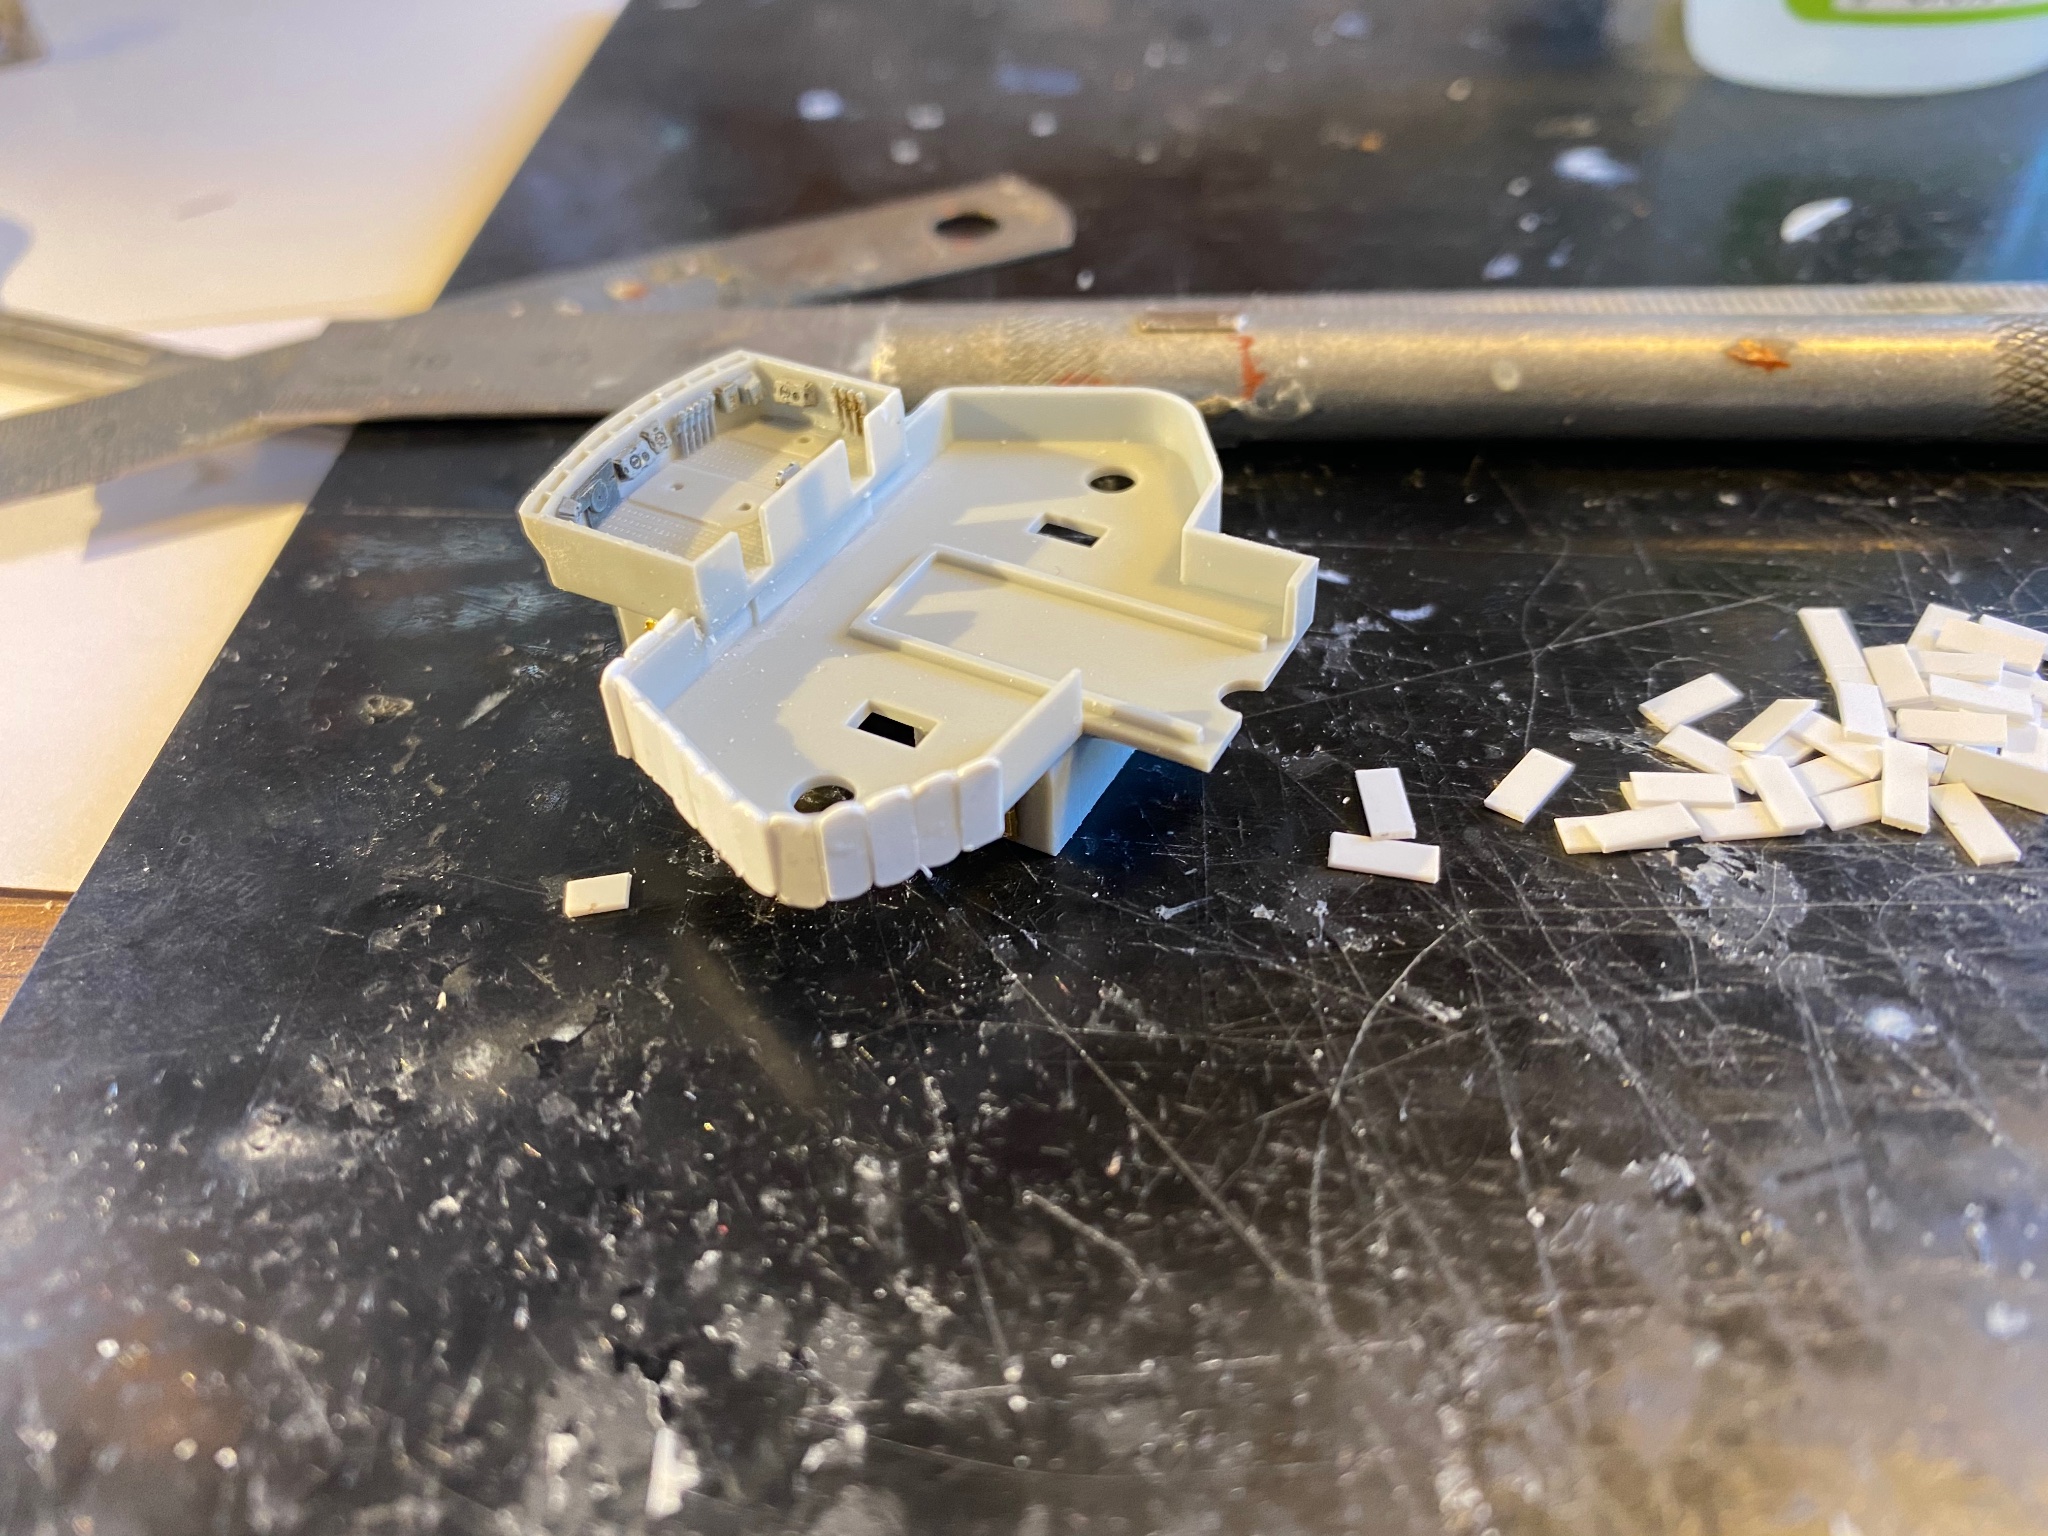
None of the aftermarket is for the HMS Kent so it’s not really linear, so I’m scratching around replacing doors and other stuff, metalled floor indeed the waist guns. I’m almost ready to start painting again.

- 128 replies
-
- 13
-
-
Mike, I pre paint them then place them and add a drop of fast setting very thin CA . The only reason I didn’t do individual stanchions on this one is that they were actually hard metal ones instead of stanchion and wire.
- 136 replies
-
- 4
-
-
- strasbourg
- finished
- (and 2 more)
-
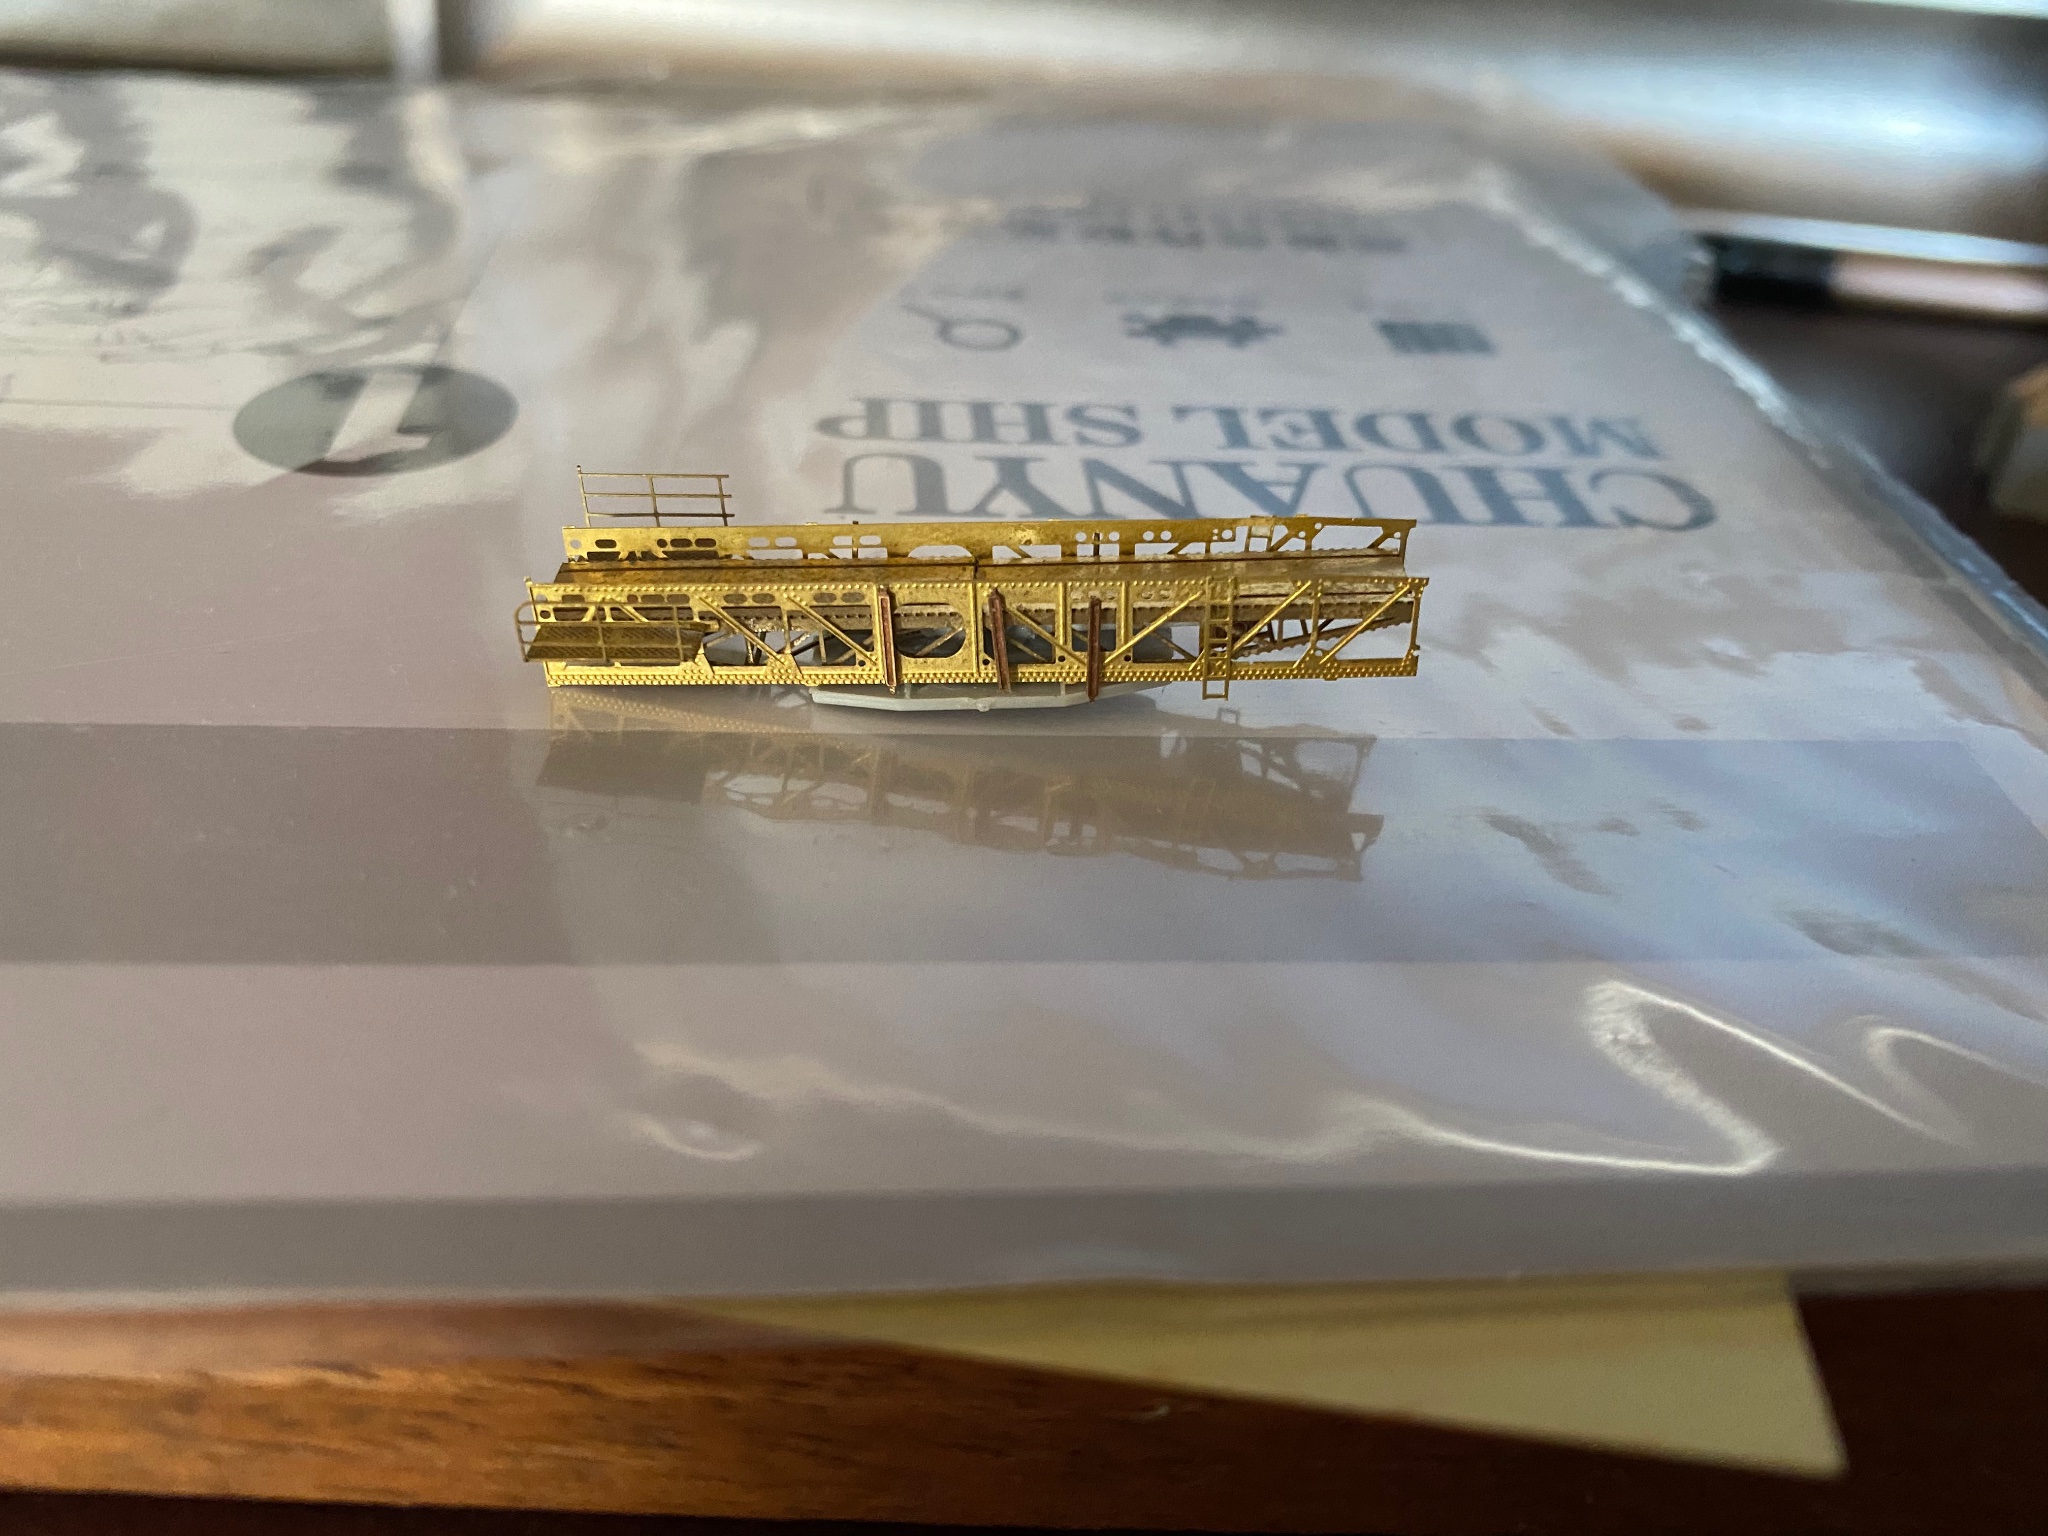
I use brass rod for pipes, it comes in various sizes and is easy to bend unlike plastic which has a mind of it’s’ own.
-
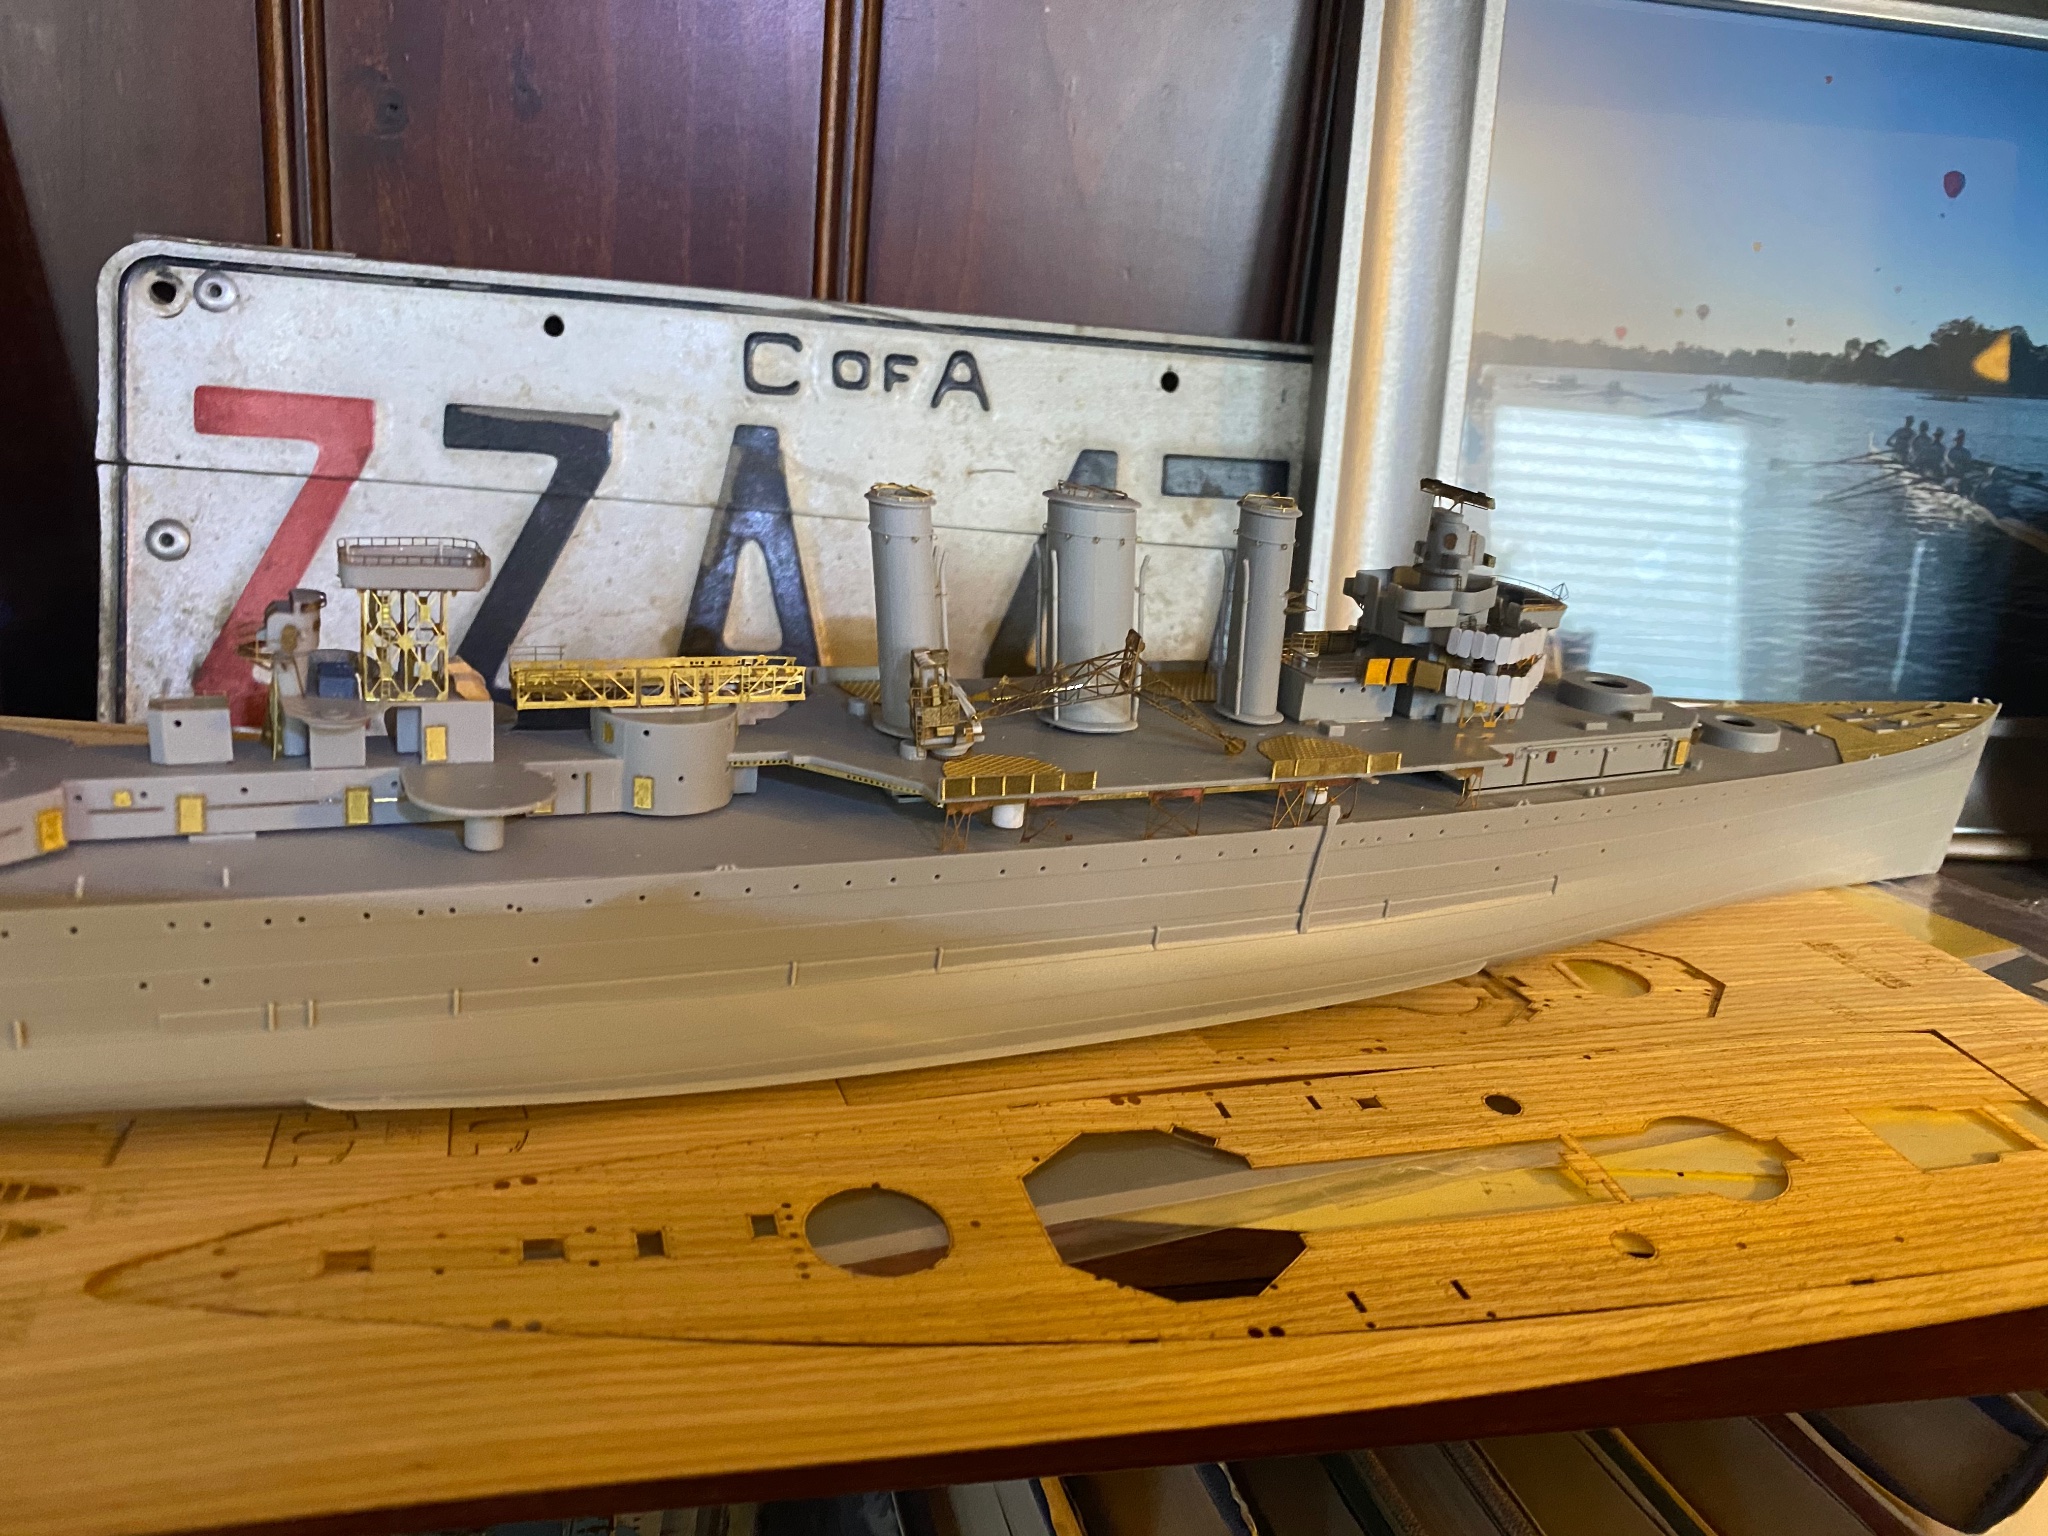
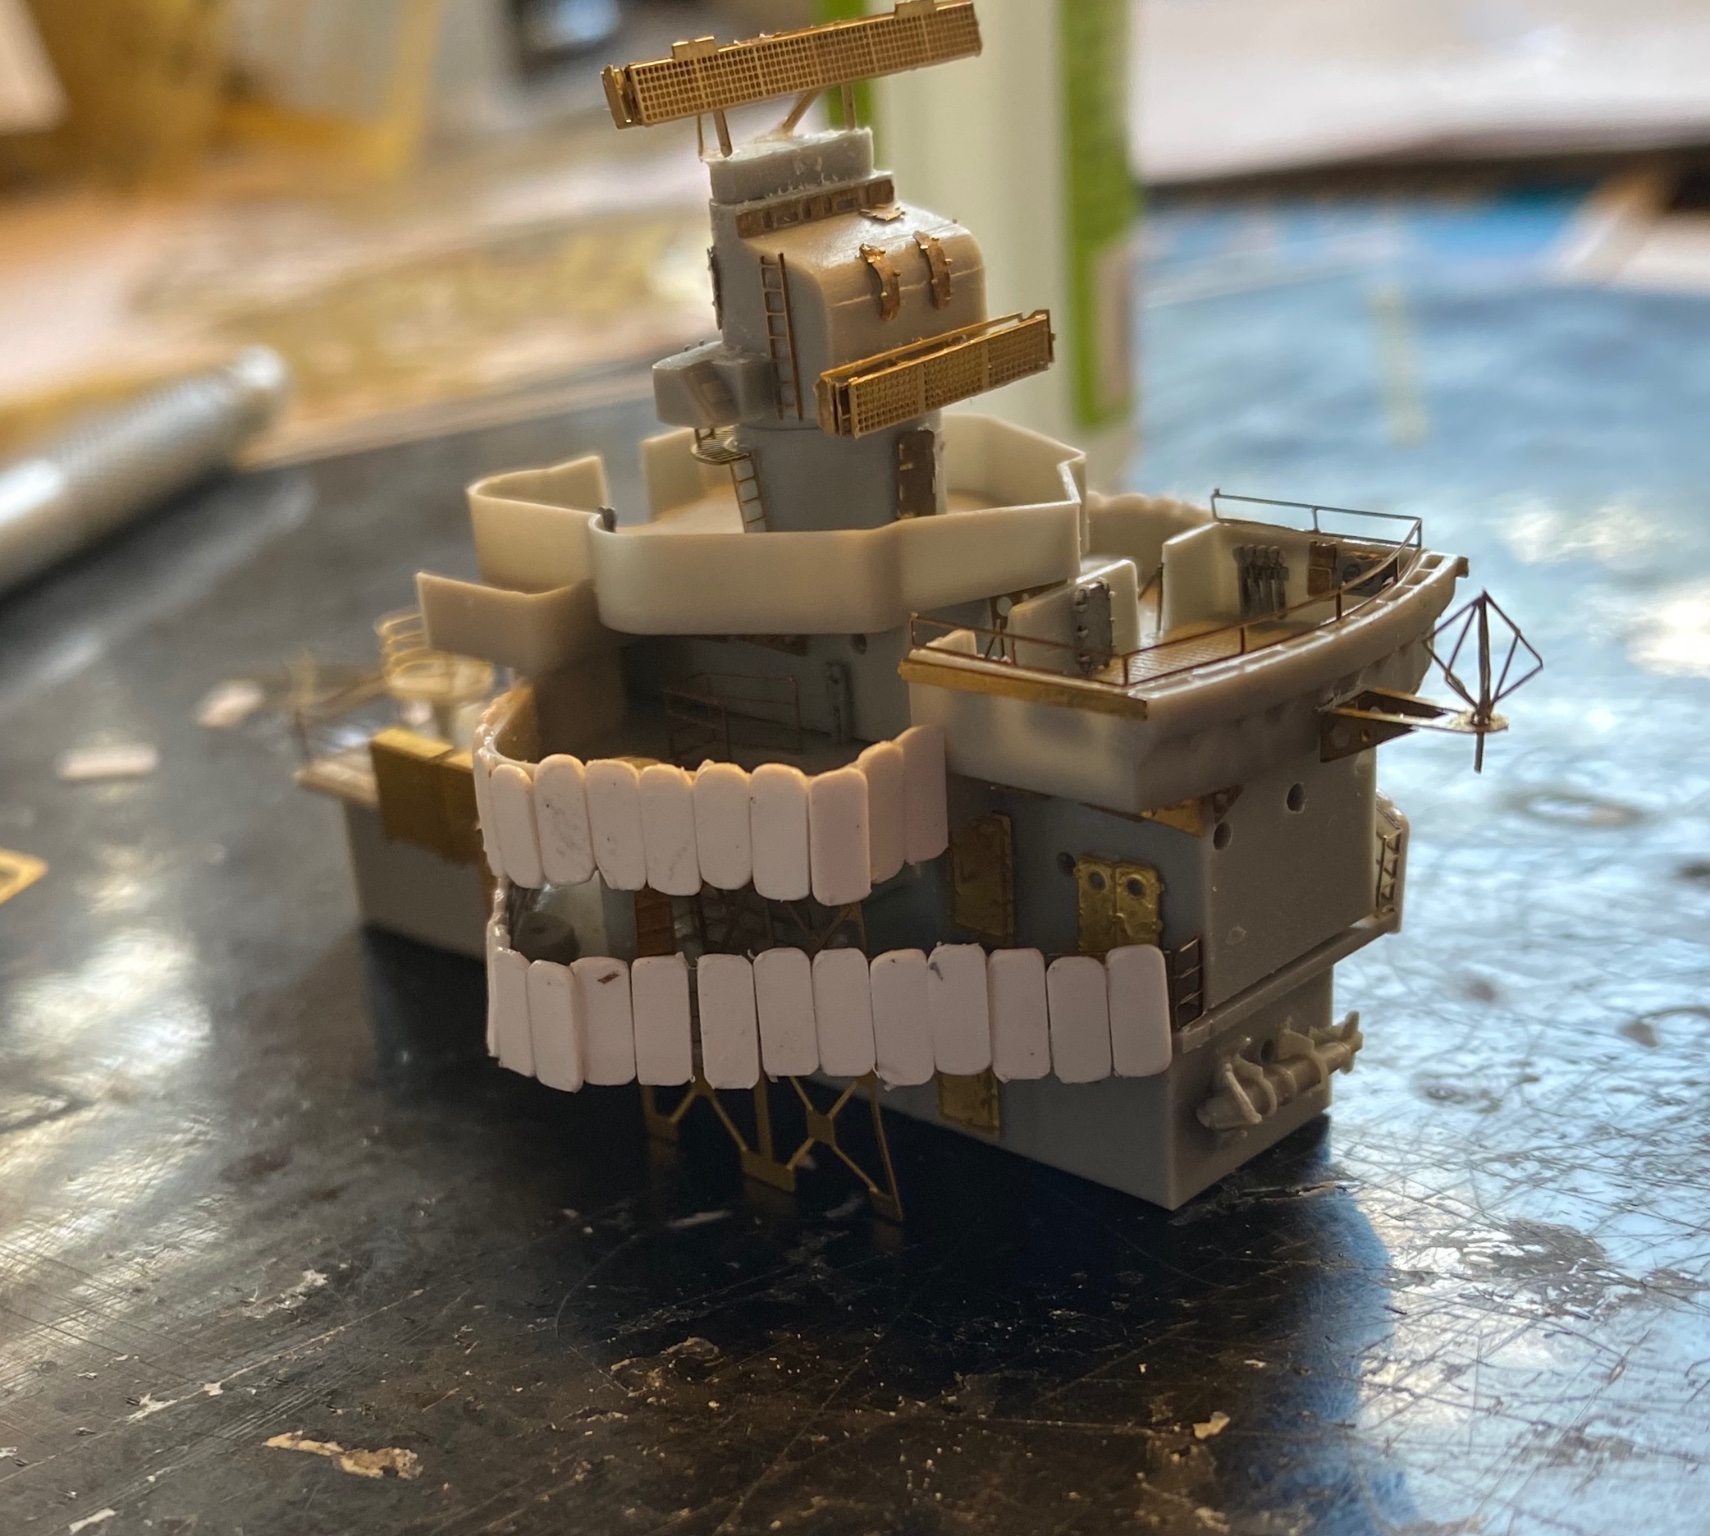
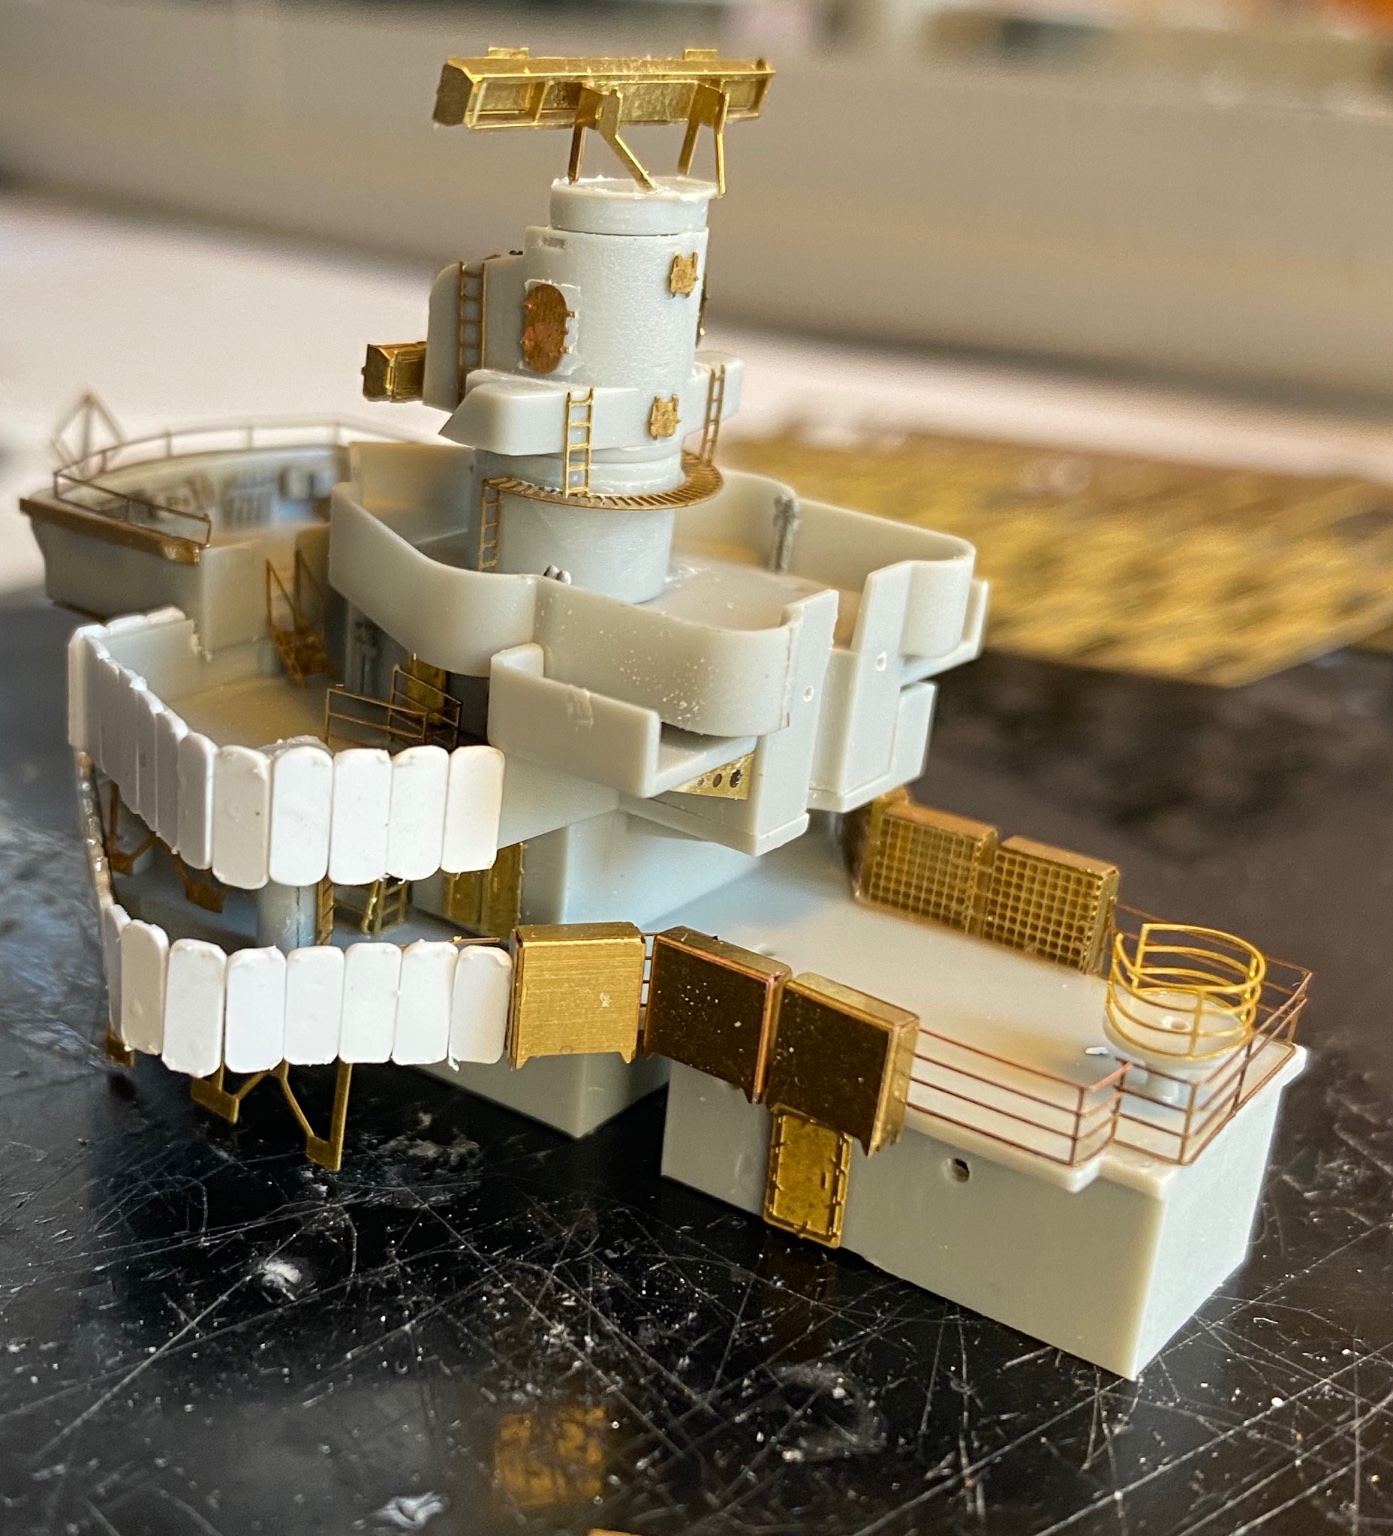
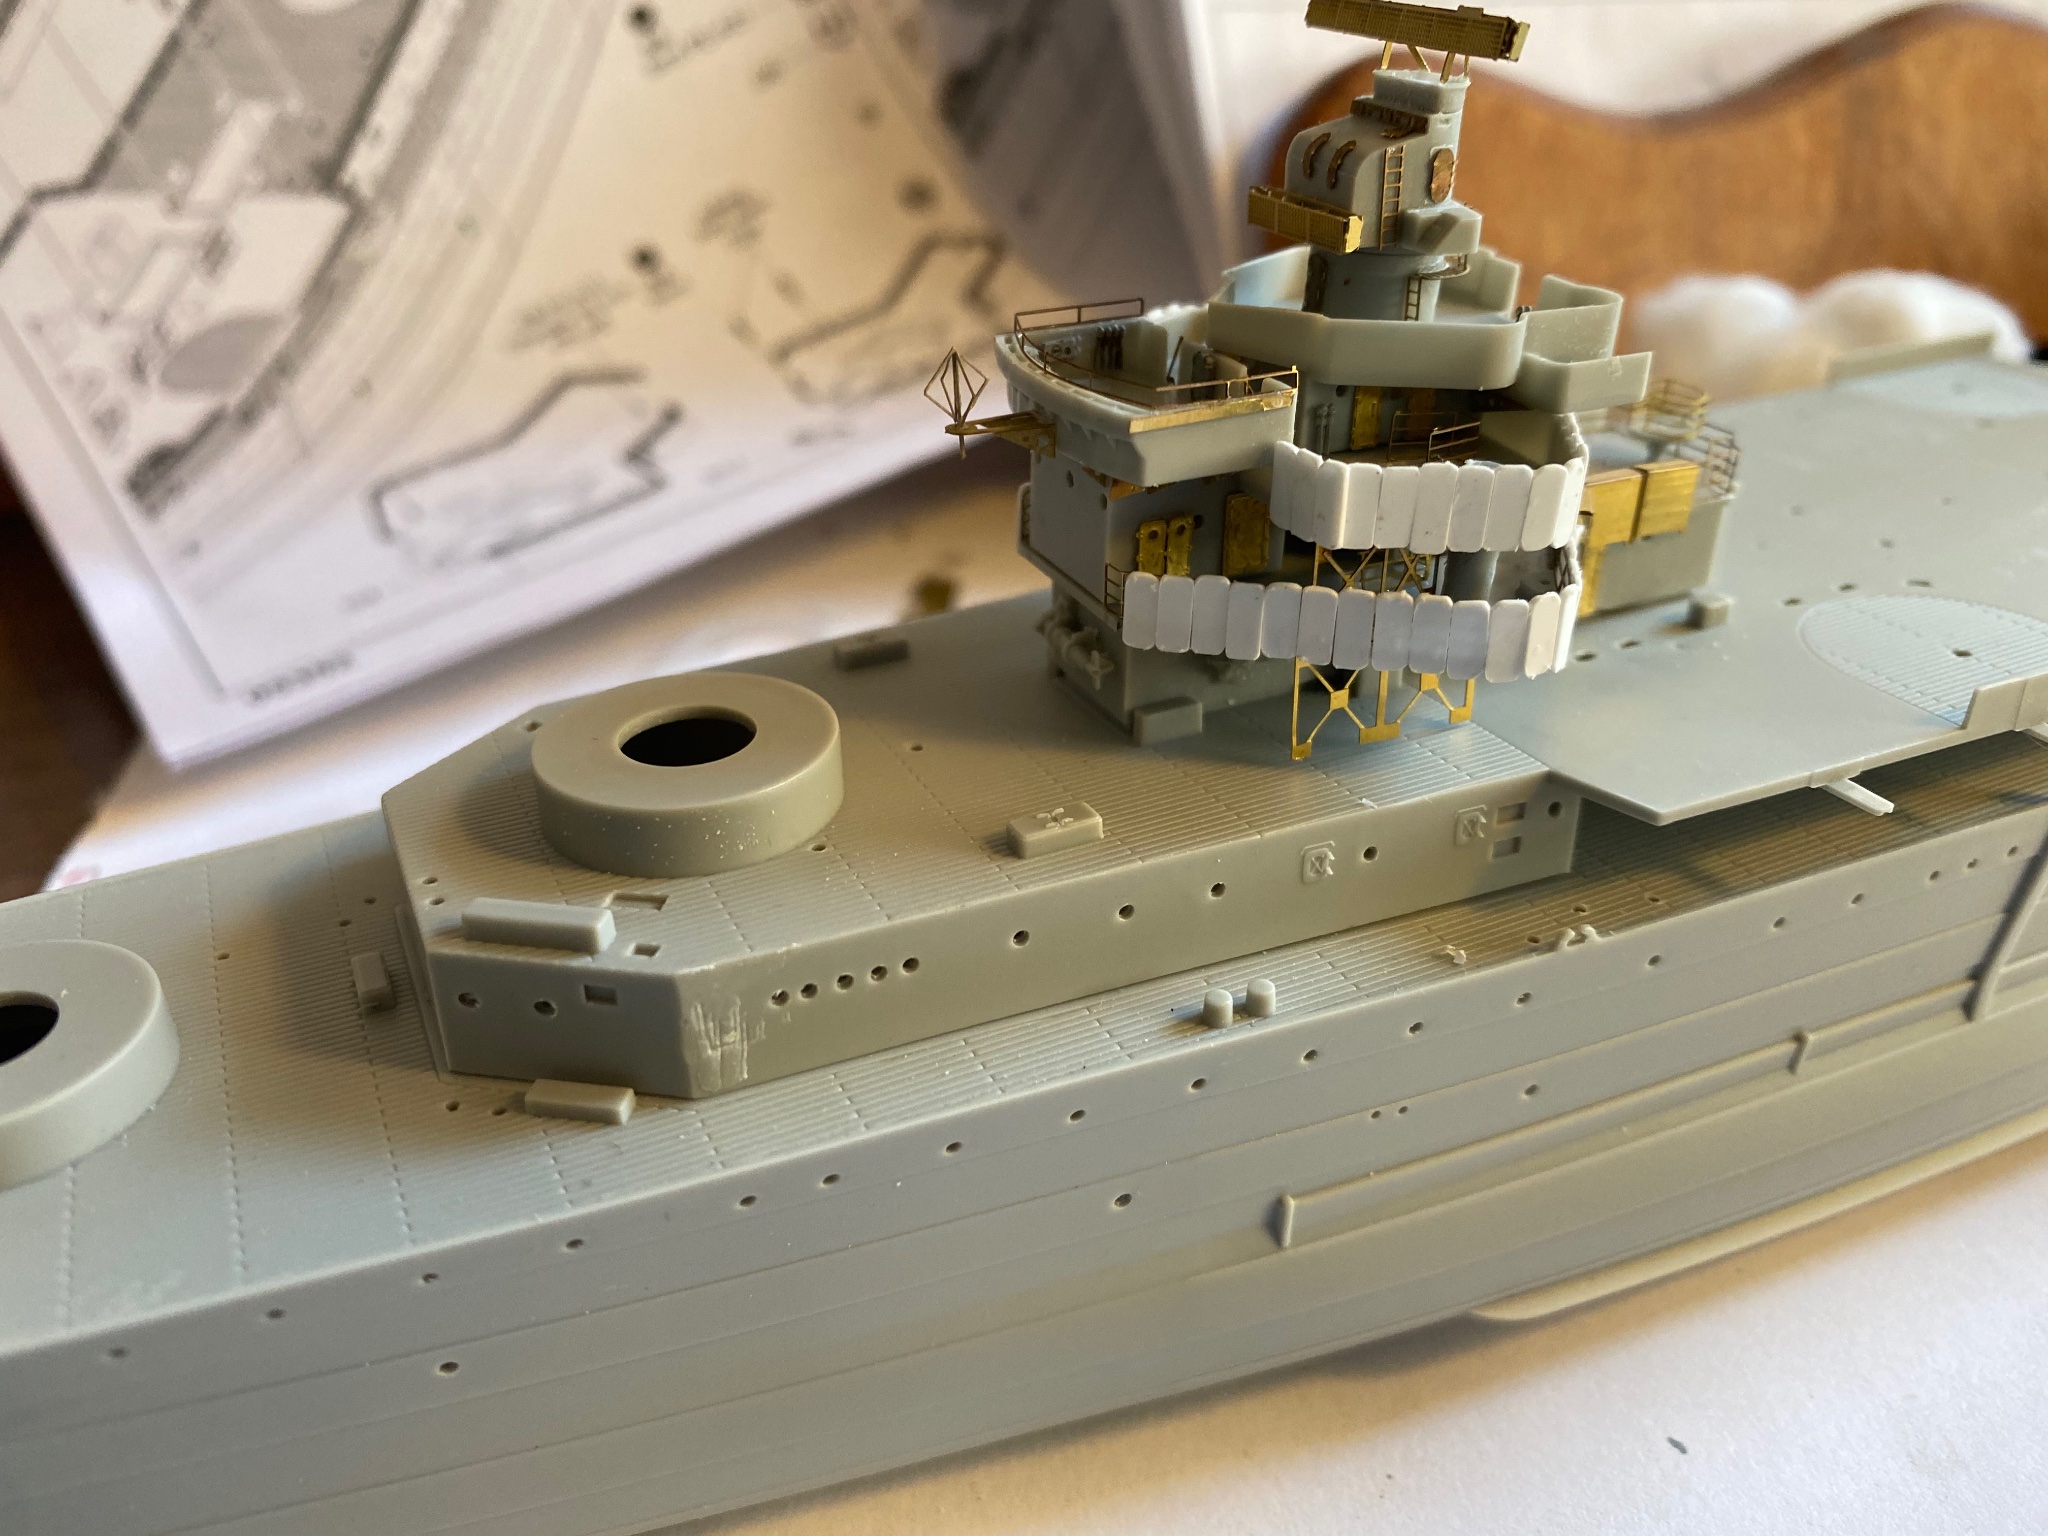
Doing up the main bridge area, the box art and the ship has splinter mattresses. None provided or available under $100 I’m going to use 5mm plastic strip, after I prime it I will scribe In the details

- 128 replies
-
- 11
-
-
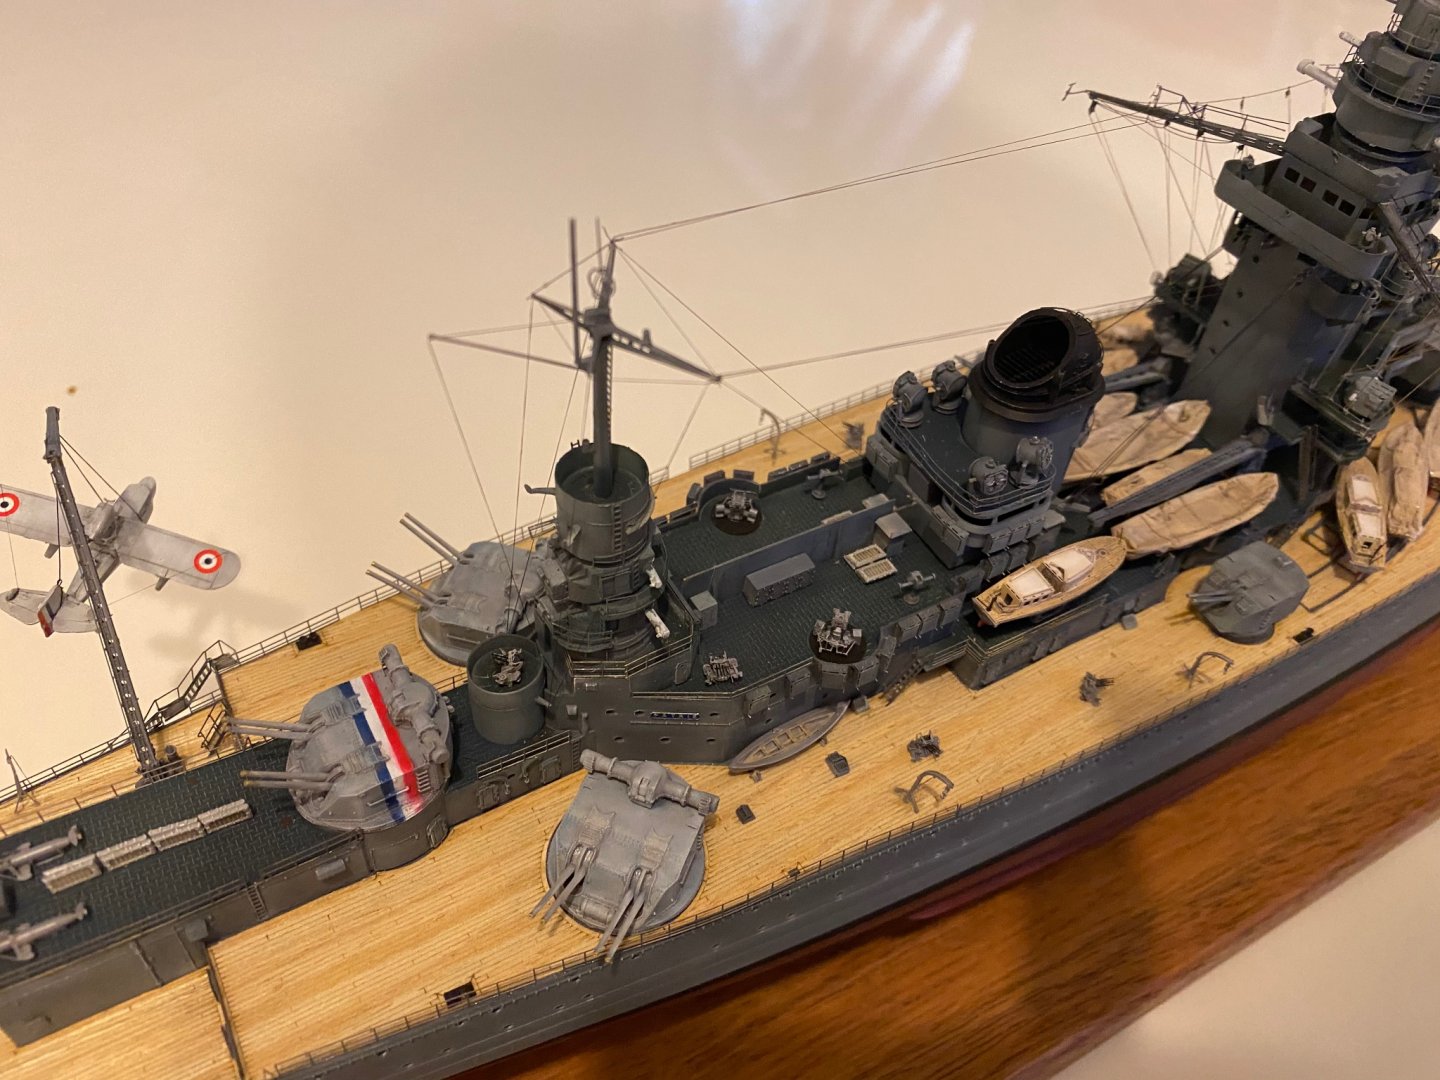
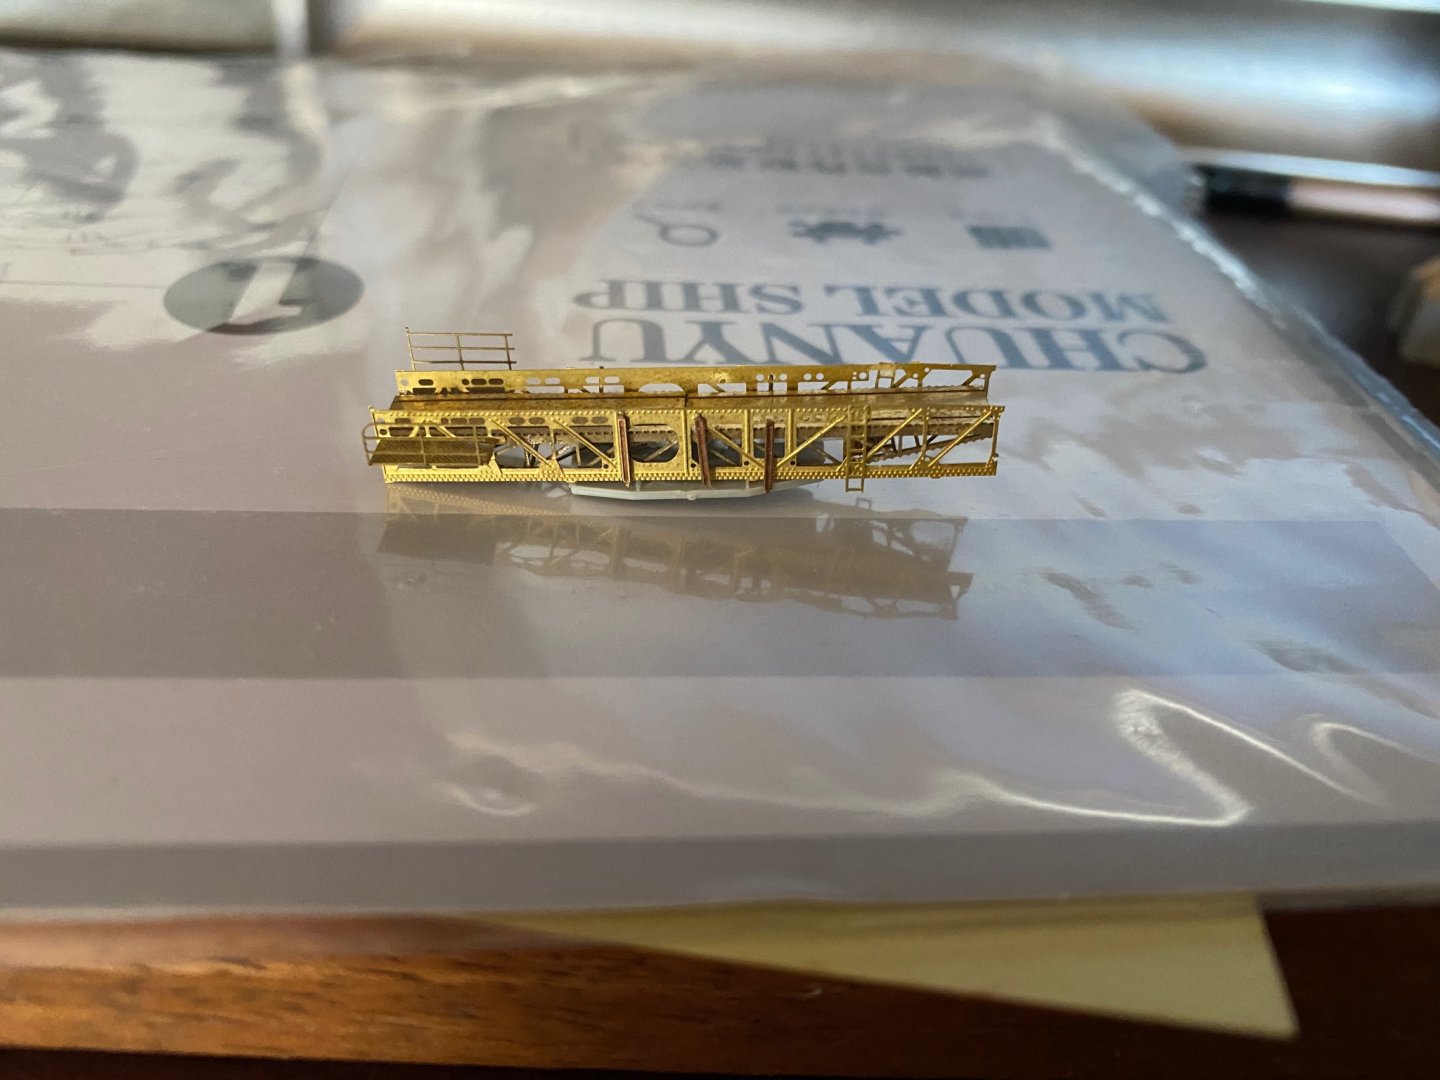
The kit provides a Poor plastic catapault for the seaplane so I scratch built one from bits and pieces
- 128 replies
-
- 12
-
-
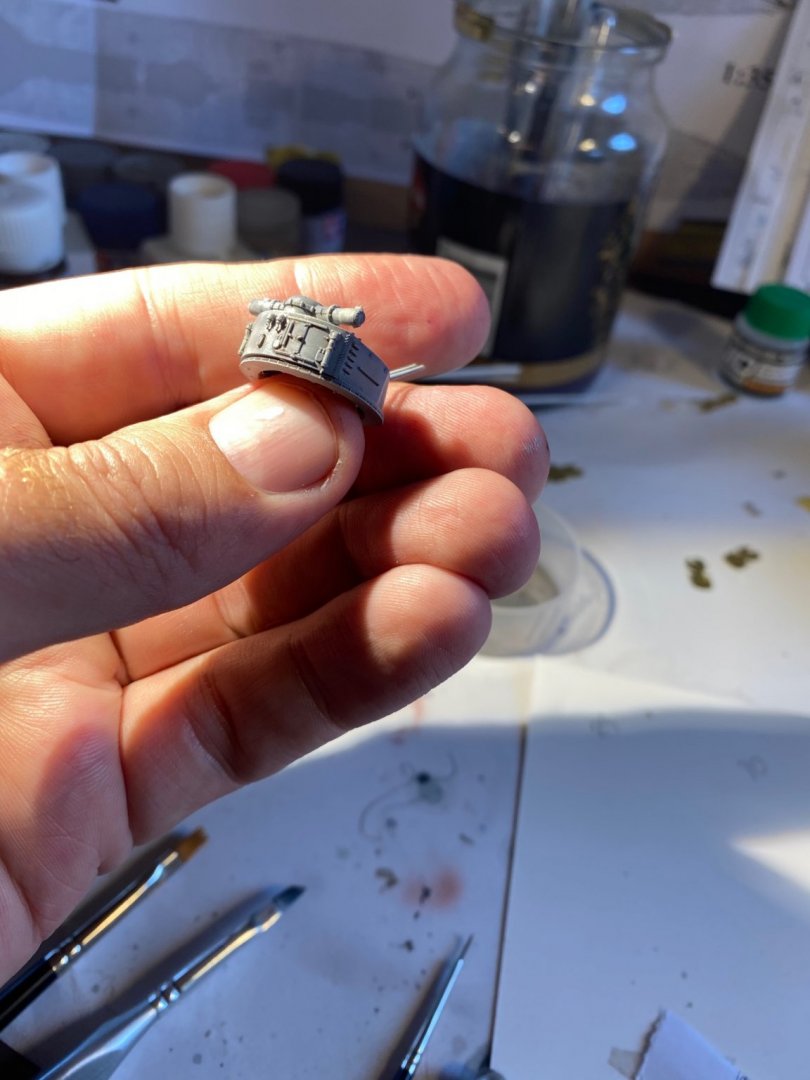
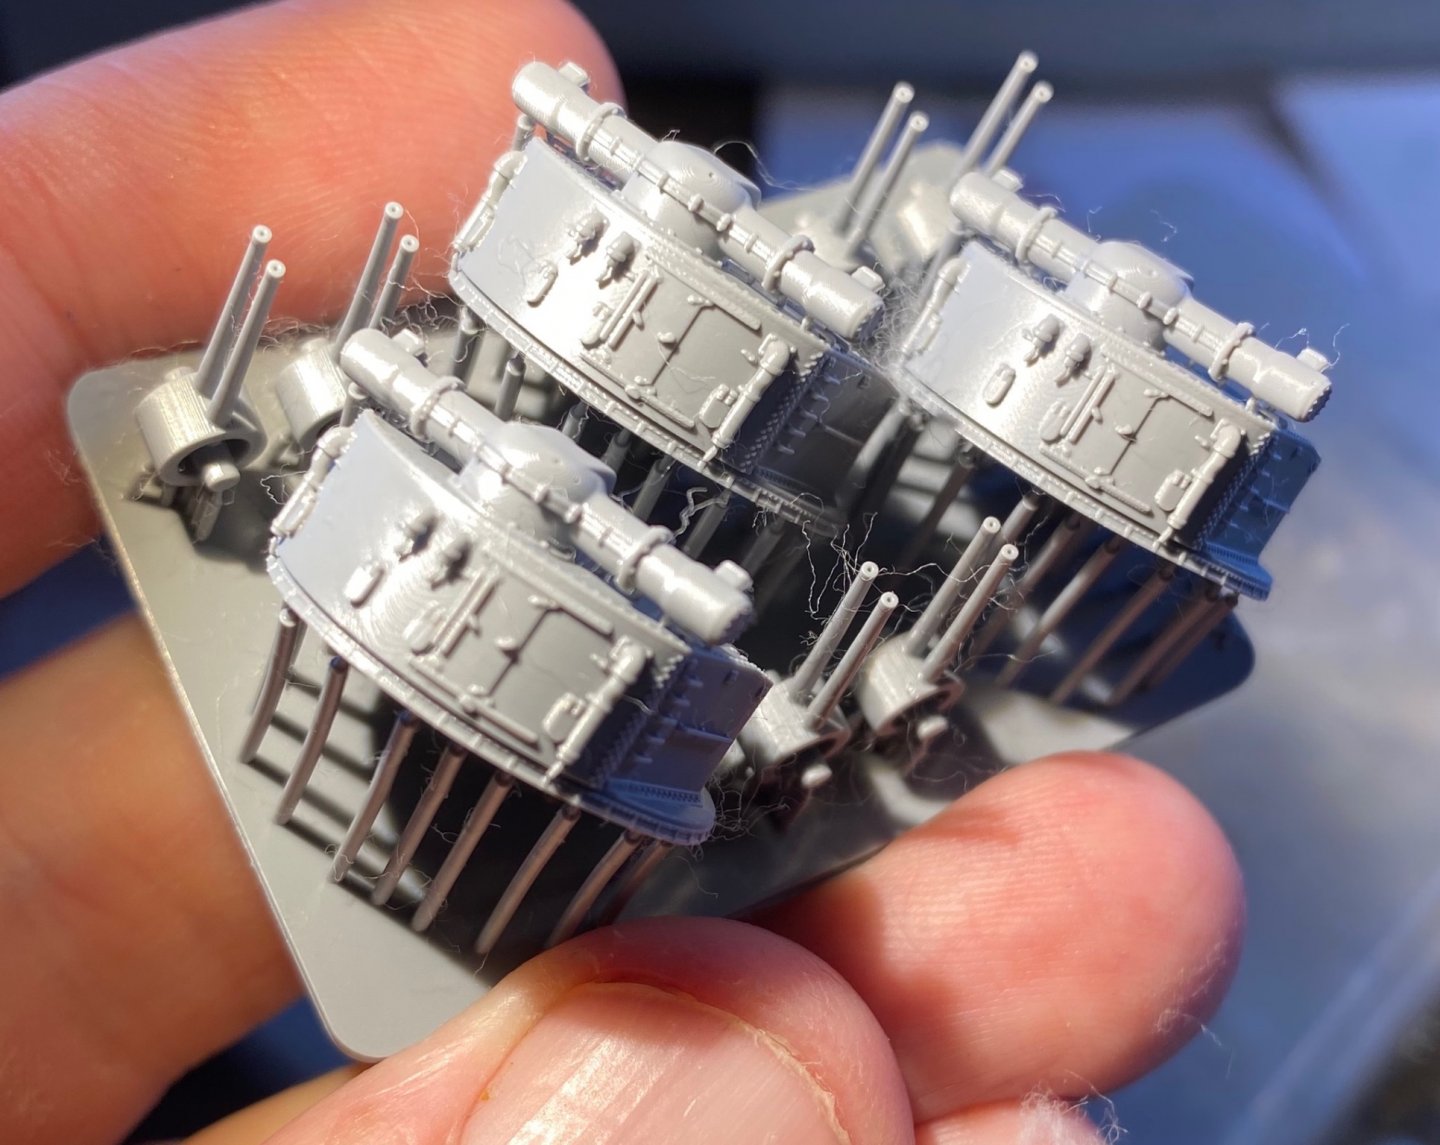
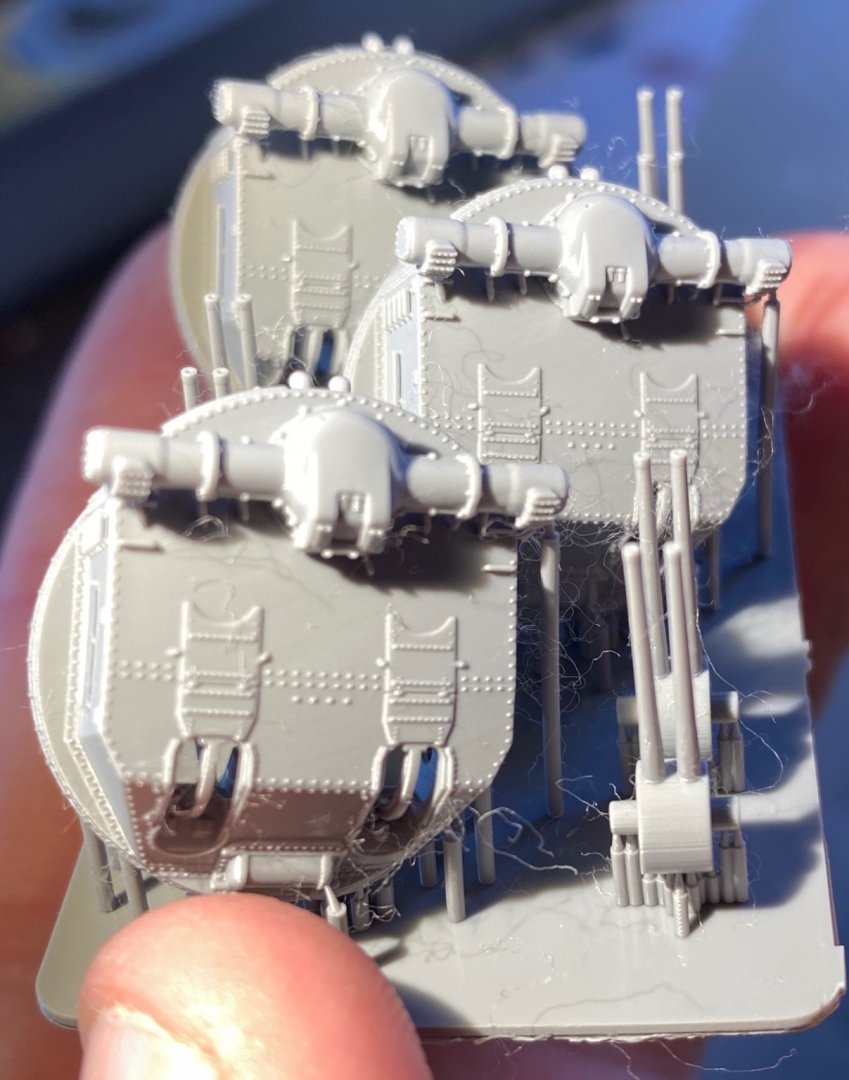
So today after 2 months the rear 3D printed guns arrived from NZ. I’m pretty sure it’s Australia Posts fault as anything coming through Melbourne hits a massive backlog due to the Covid’s
- 136 replies
-
- 9
-
-
- strasbourg
- finished
- (and 2 more)
-
Nice, Pontos instructions generally assume a lot of your ability to mind read but it really is excellent. Good to see another coming to the dark side.
-
I find if the thin up the inner gunnel it will sit a little below the edge allowing the stick on deck to sit flush (if that makes sense). I don’t think I could fit a 1/200 beast!