
HOLIDAY DONATION DRIVE - SUPPORT MSW - DO YOUR PART TO KEEP THIS GREAT FORUM GOING! (Only 13 donations so far - C'mon guys!)
×


Steve 12345
-
Posts
438 -
Joined
-
Last visited
Content Type
Profiles
Forums
Gallery
Events
Everything posted by Steve 12345
-
 Hi ray as other members mentioned earlier I strongly suggest reading the tutorials provided or I fear as you mentioned the kit was $600 and you may become frustrated with your results kind regards steve
 -
Looking real good derek I always look forward to you updates
-
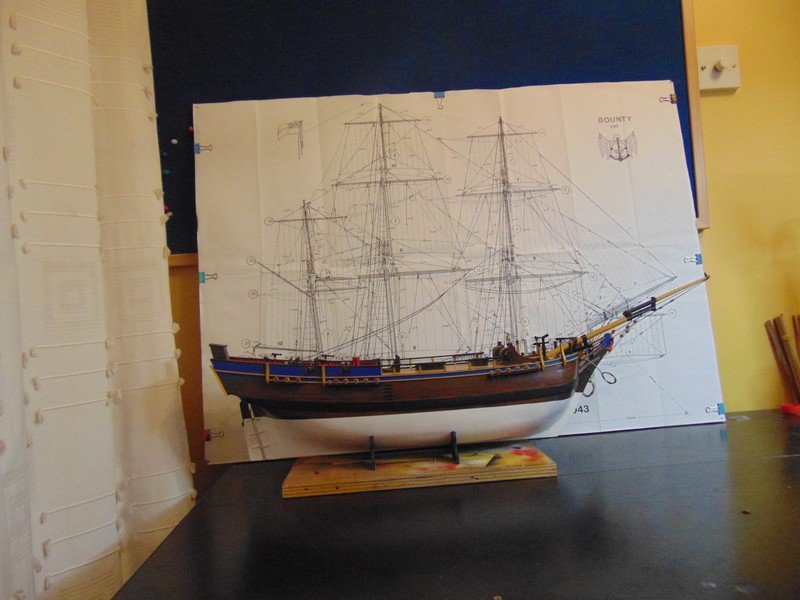
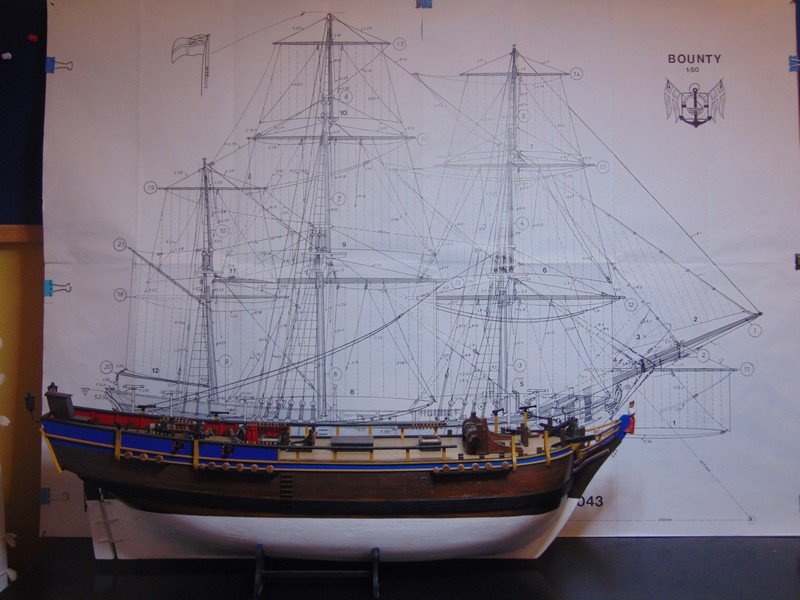
It sure is a large bounty Popeye the case was 1400mm ,the owner a friend of my dads bought that bounty on eBay for £150 the seller had no idea of its origin it definitely looks scratch built to me I must go visit some time a get a lot better pictures
- 291 replies
-
- 2
-

-
- bounty
- billing boats
- (and 1 more)
-
Thanks for the likes and comments guys yes Eddie will def make a case for her here is link to a video I uploaded on utube a few years ago when a friend of the family asked if I could build him a case also for a bounty after building him his case from salvaged mahogany mostly old doorframes etc from my day job I decided to have a go at model ship building and have never looked back
- 291 replies
-
- 5
-
-
- bounty
- billing boats
- (and 1 more)
-
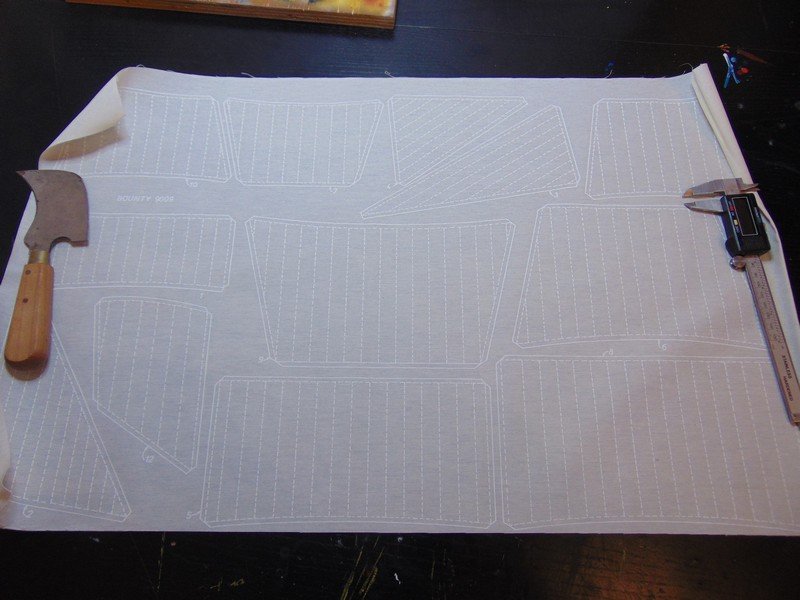
AHOY Frankie thanks for viewing and commenting just watched your Isabella no.13 on utube great stuff buddy ,interesting when you showed the sails this is what my bounty came with guess things have changed from your kit the pattern is actually printed on the cloth now a days ,still need someone to sticth them up for me tho or if it will cost to much I will buy a second hand machine and give it a go myself . Also ken I forgot to mention in my previous post thank you for viewing and commenting much appreiciated sir
- 291 replies
-
- 7
-
-
- bounty
- billing boats
- (and 1 more)
-
just found this log eddie looks really cool will def be following along one thing I did notice was the zap nozzles I also use zap a gap what I tend to do is save all me fizzy drink bottle caps and pour a small amount at a time into one then I use a metal dental pick type tool to aply small amounts of glue or if I really wanna spread glue in a hurry use a small length of planking ,the metal tool I can scrape clean the planking gets binned as does the bottle cap ,some times ive used the same bottle cap for two days running and the glue in it is still workable ,sorry if im teaching granny to suck eggs just explaining how I do use zap a gap anyways goodluck with your build looks really interesting to follow
-
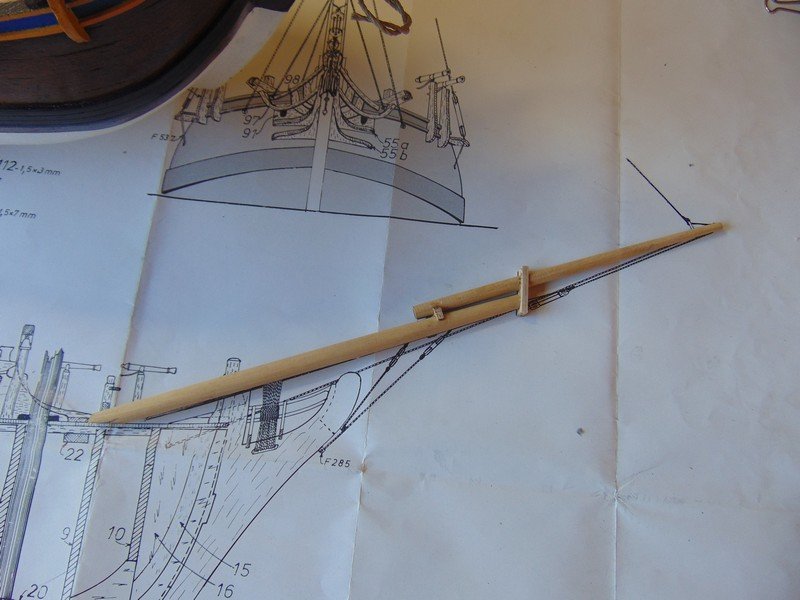
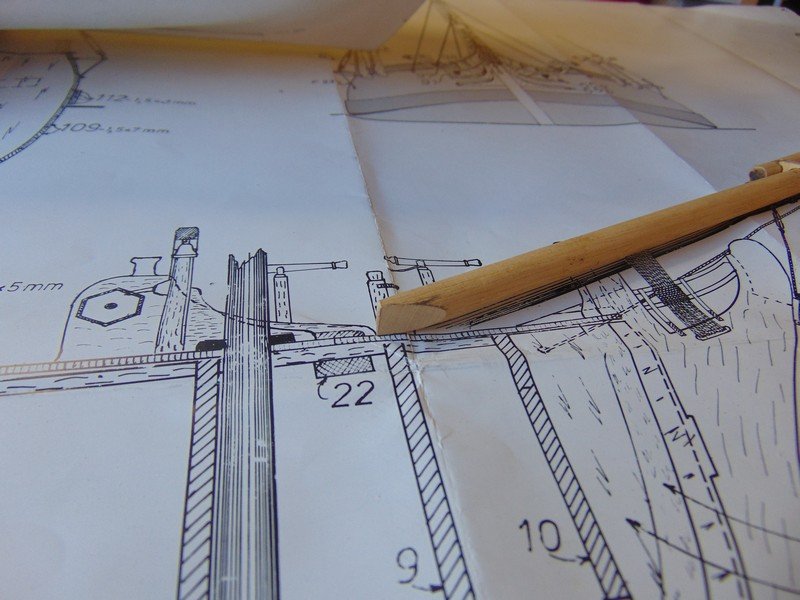
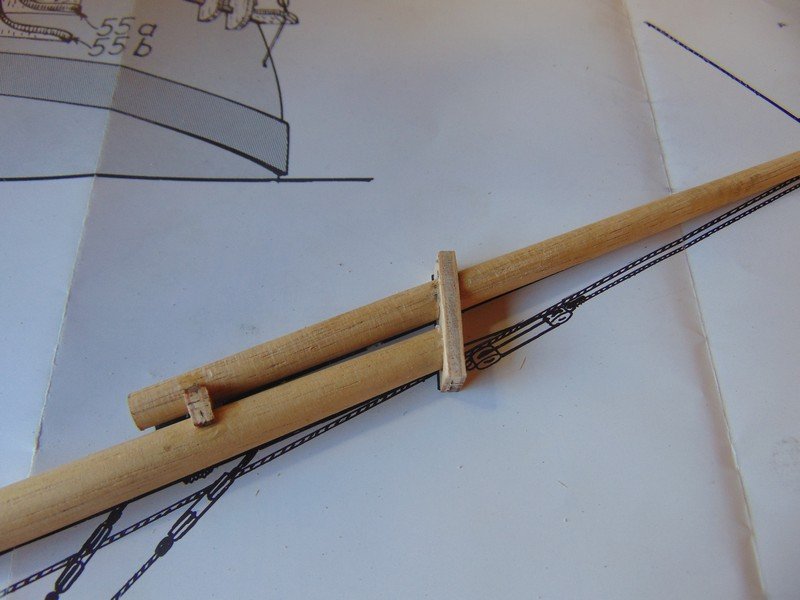
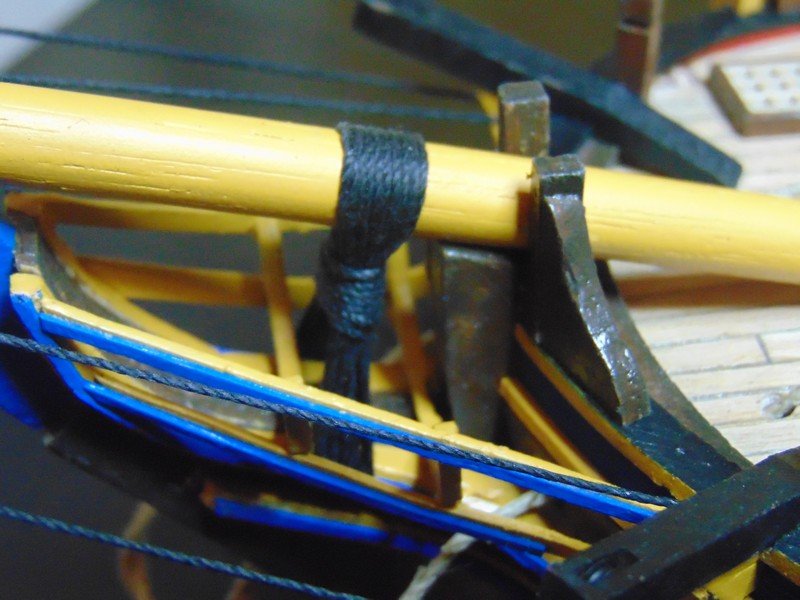
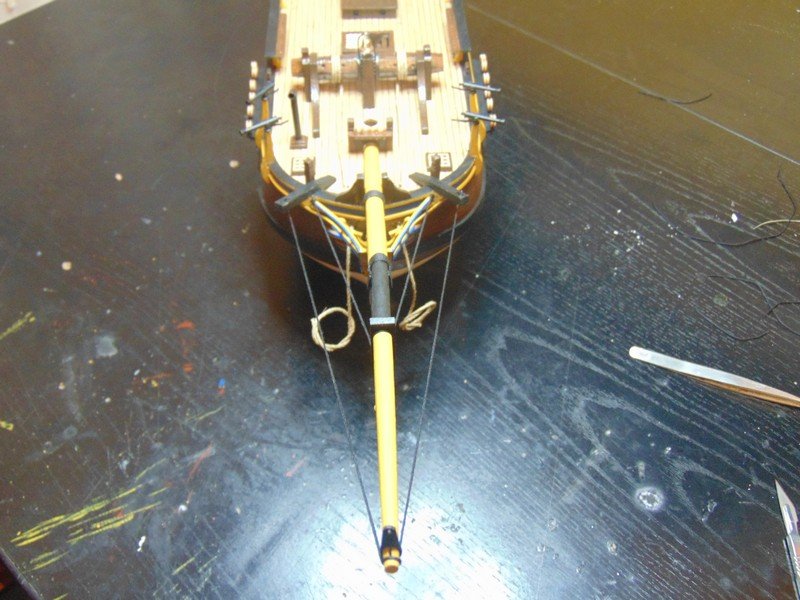
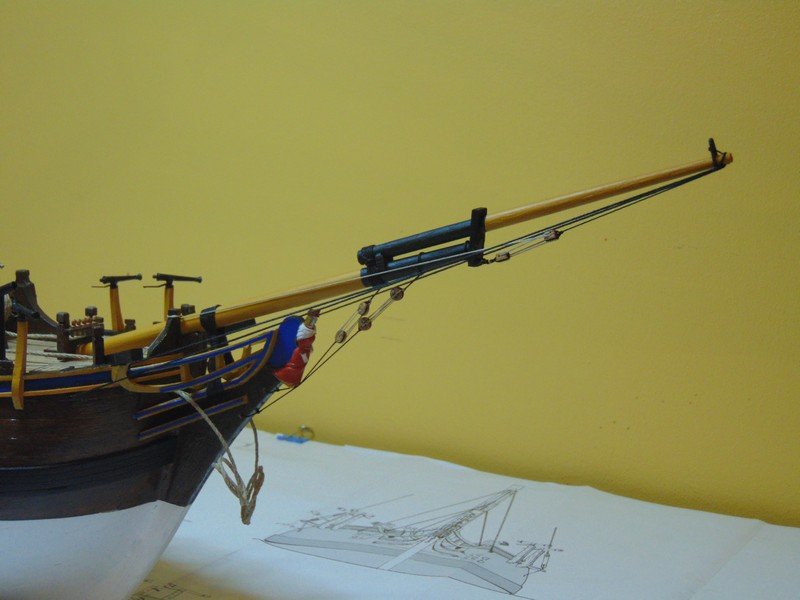
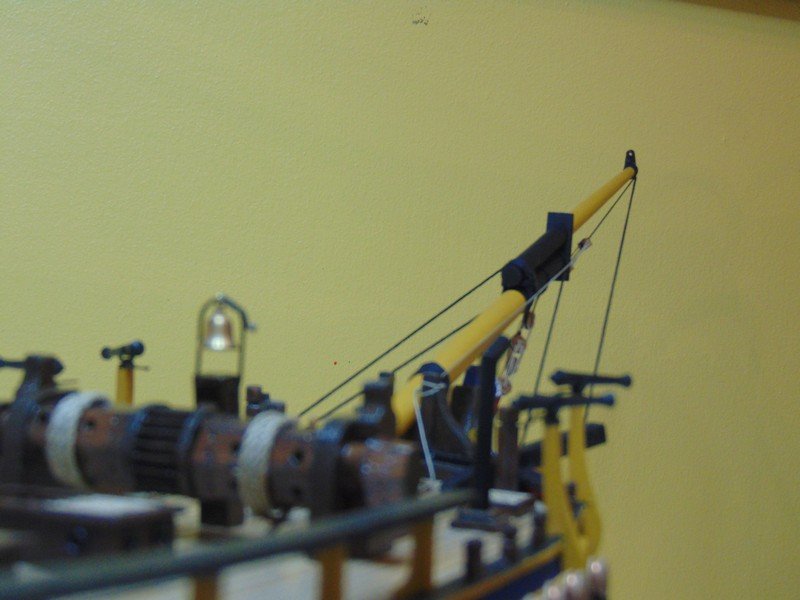
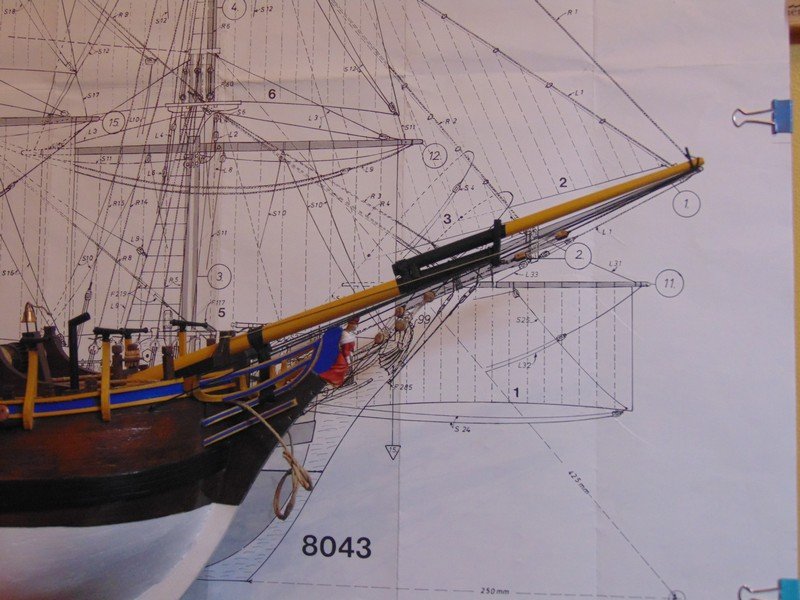
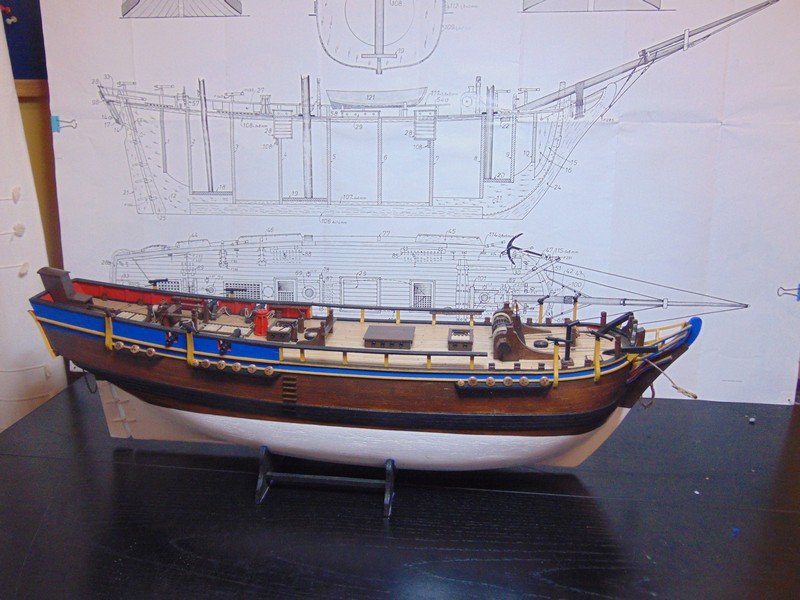
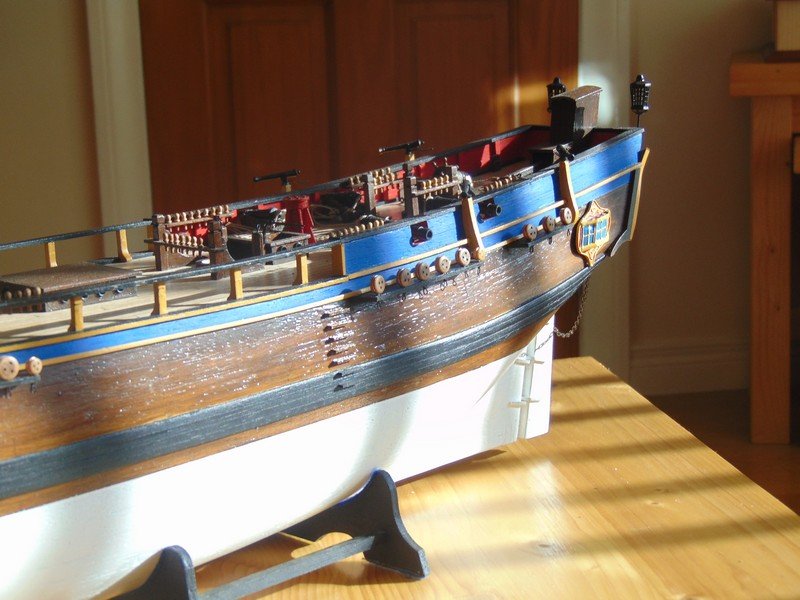
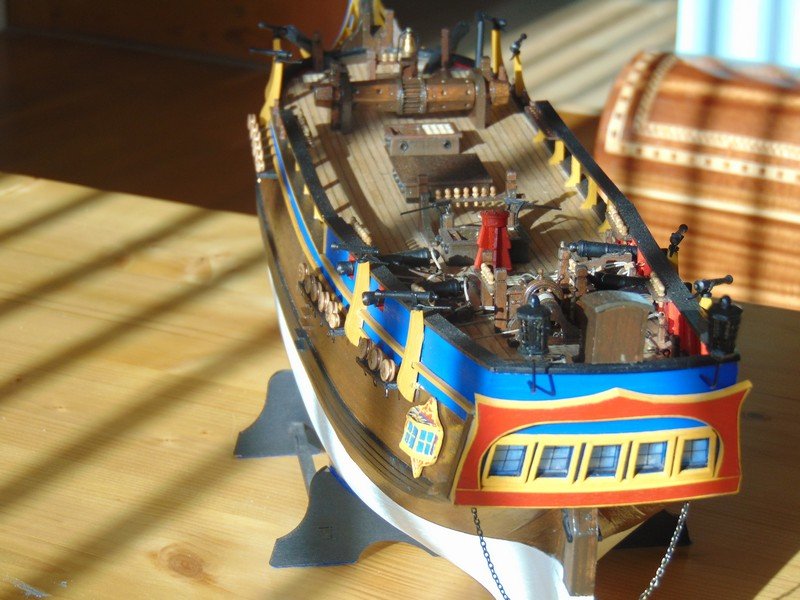
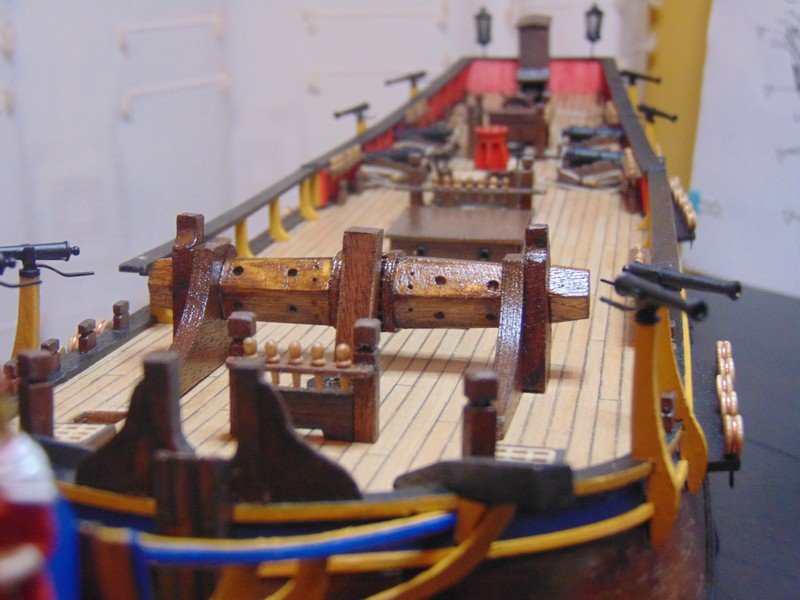
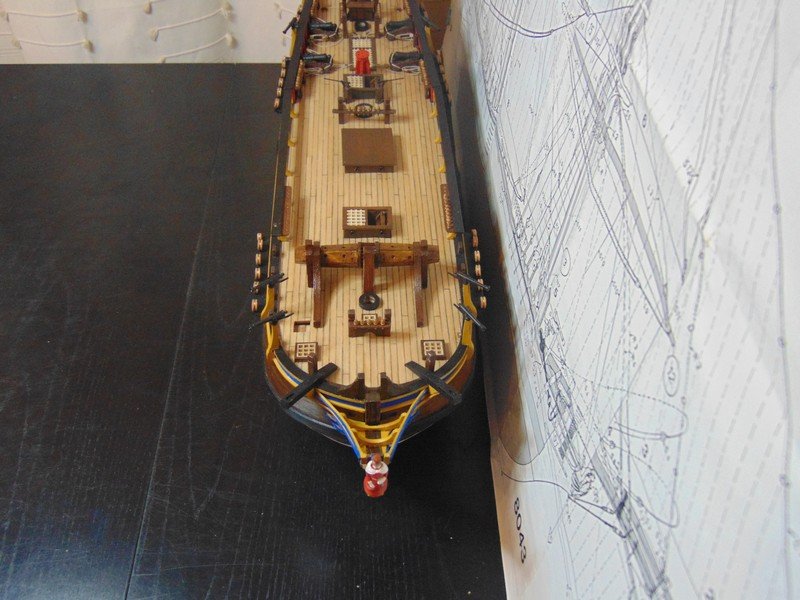
Bowsprit construction and fitted I am almost ready for masts but have some tidying to do on deck first like adding rope coils to the canons and various other small things that I know if I don't do first may never get done and it would be a shame to leave the small finish details out so I will create a snag list of all the small things to do before progressing to the masts.


- 291 replies
-
- 9
-
-
- bounty
- billing boats
- (and 1 more)
-
Nice looking kit thanks for sharing
-
I'm thinking 3rd bulkhead Doug including the one right up against the filler block allow I'm no expert that is how I would approach it
-
Regarding your garboard plank Doug I'm thinking round about that second pin from the bow ,how many planks at midship to close the planking in ? Remember at the bow no plank should be tapperred to less than half take the amount of full planks at midship required and translate that to half planks at the bow and see where that lands .im guessing round about that second pin ,just a suggestion mark it out see what you think
-
Thank you very much derek for taking the time to do that I'm def gonna go with the decall print paper , can I ask if they are printed with a laser printer or inkjet printer as I see two diff types of the decall paper available on eBay and as my printer is done I'm considering getting a new type of printer before purchasing the right type of decall paper
- 291 replies
-
- 3
-
-
- bounty
- billing boats
- (and 1 more)
-
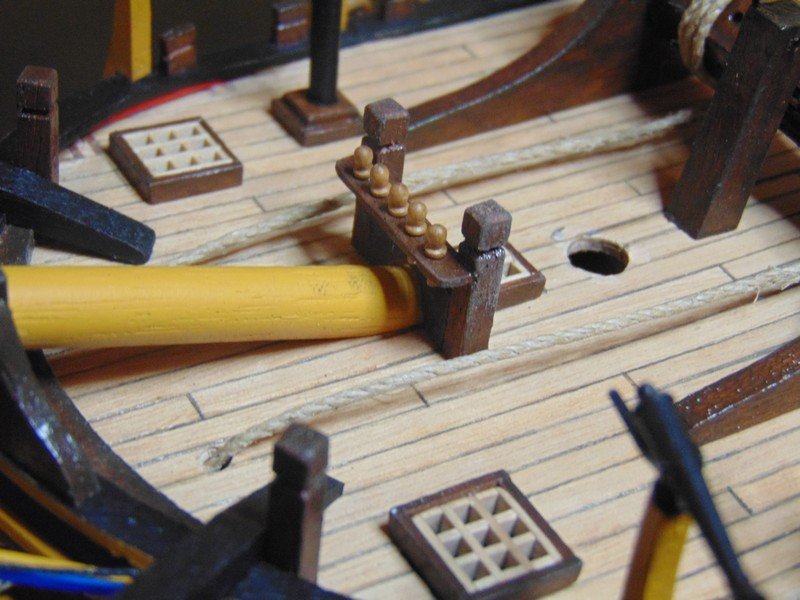
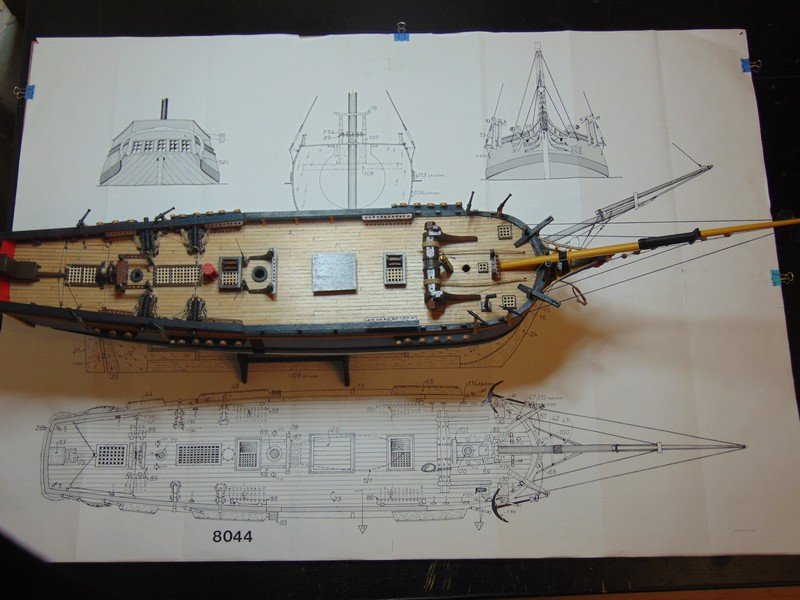
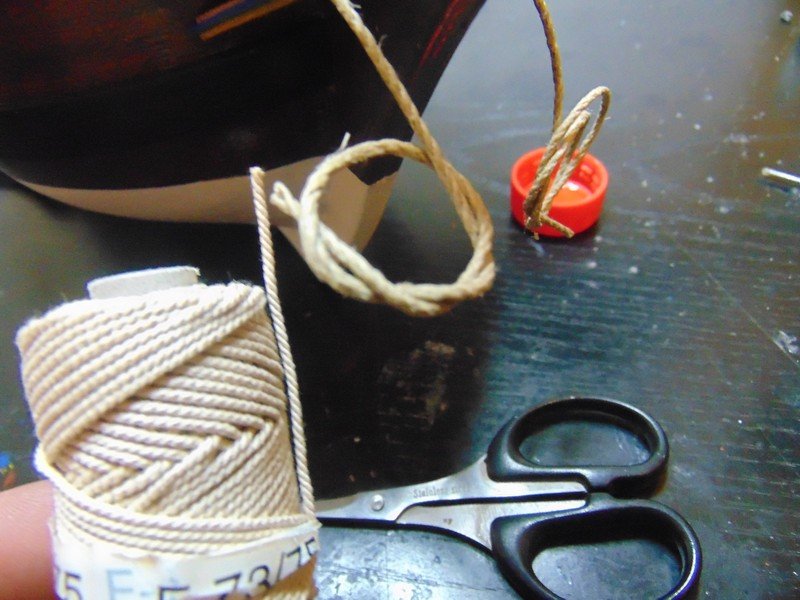
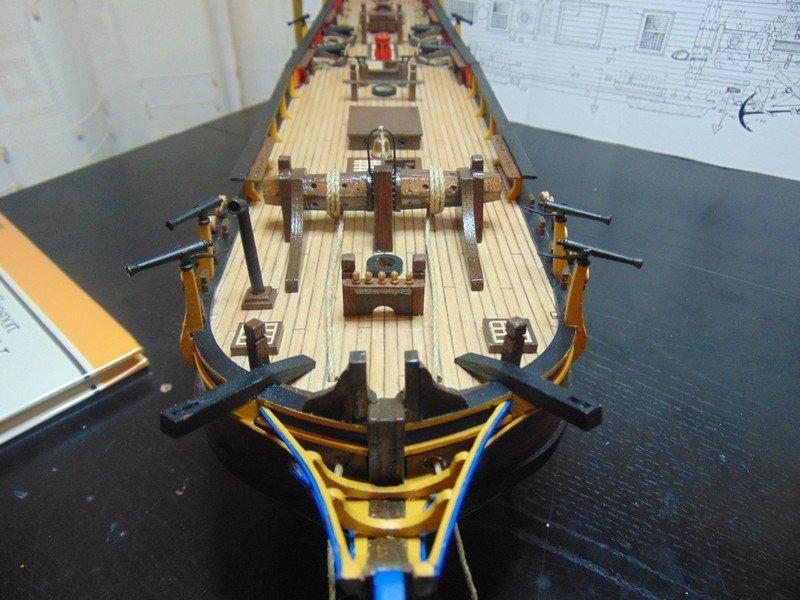
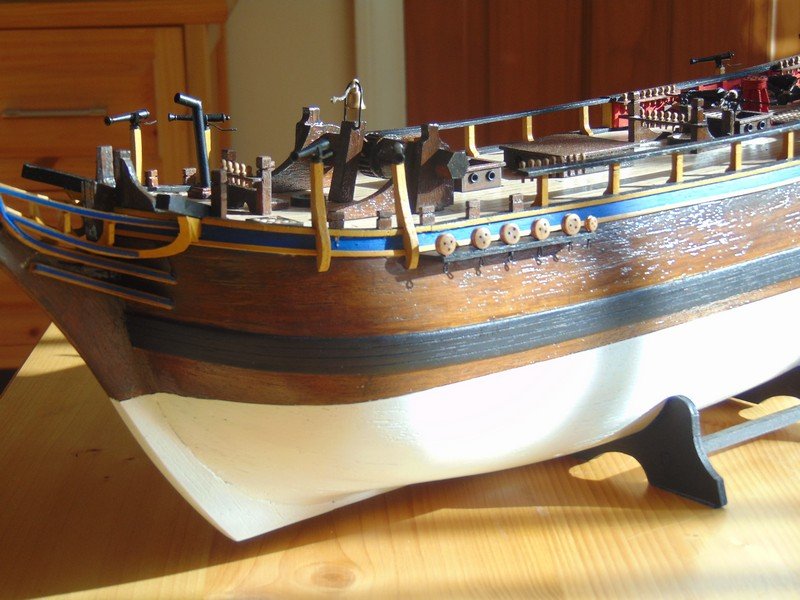
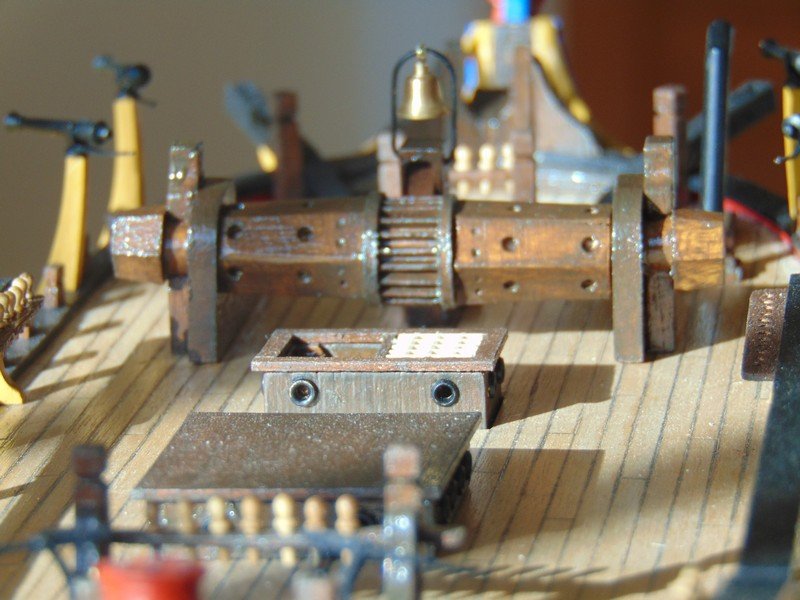
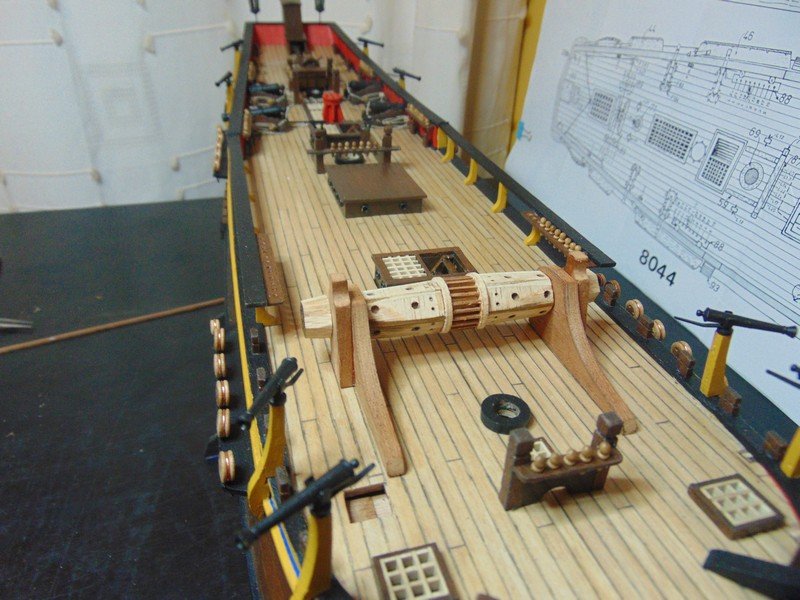
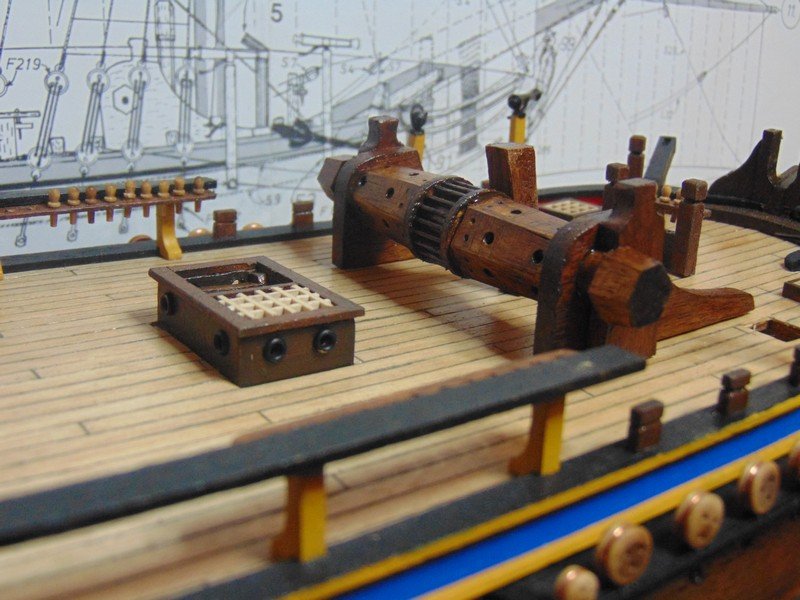
Back to work on the bounty started off easy fixing down the windlass and installing anchor ropes the largest line provided with the kit is 1mm and white it seemed a bit clean looking and slightly small I had some 1.5mm left over from my victory build its a bit fuzzy looking so I ran it thru some bee,s wax that helped a bit but still fuzzy,i do prefer it to the kit stuff tho I will offcourse add rope coils later With my limited knowledge of tall ships common sense would tell me both anchor lines would not be wound to the windlass at once however I really don't know perhaps someone could help explain ,also why only wound around the windlass three times with a small coil of rope surely the anchor could not reach the sea bed or is there more rope below deck and the windlass simply takes the slack I guess im asking your advice guys on the look of the rope scale wise and how to rig the windlass thanks steve
- 291 replies
-
- 9
-
-
- bounty
- billing boats
- (and 1 more)
-
Looking great frankie enjoy following your work both here and on utube Caught your on boxing of the norske earlier today can't wait to see her started thumbs up buddy
- 55 replies
-
- 1
-
-
- isabella
- billing boats
- (and 1 more)
-
Thanks Popeye for looking in and the tip on the chains looks great steve
- 291 replies
-
- 4
-
-
- bounty
- billing boats
- (and 1 more)
-
Try this derek if you want realistic
-
Thanks derek I'll be on the look out for sone Spanish sea trawlers like the mare nostrum if I see any I'll be sure to get pics
- 291 replies
-
- 2
-
-
- bounty
- billing boats
- (and 1 more)
-
Off on holiday tomorrow to lanzorate building will sease for one week sure will miss building but will continue to follow all your logs whilst away happy building steve
- 291 replies
-
- 3
-
-
- bounty
- billing boats
- (and 1 more)
-
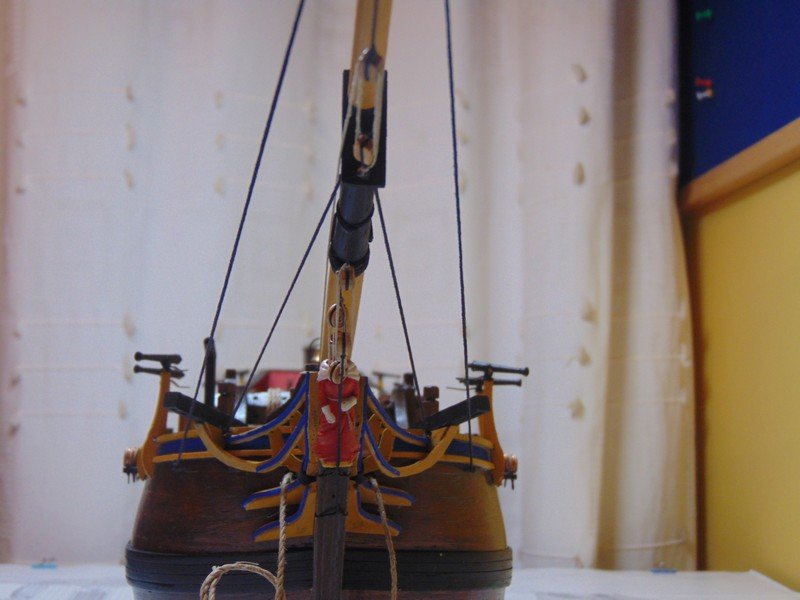
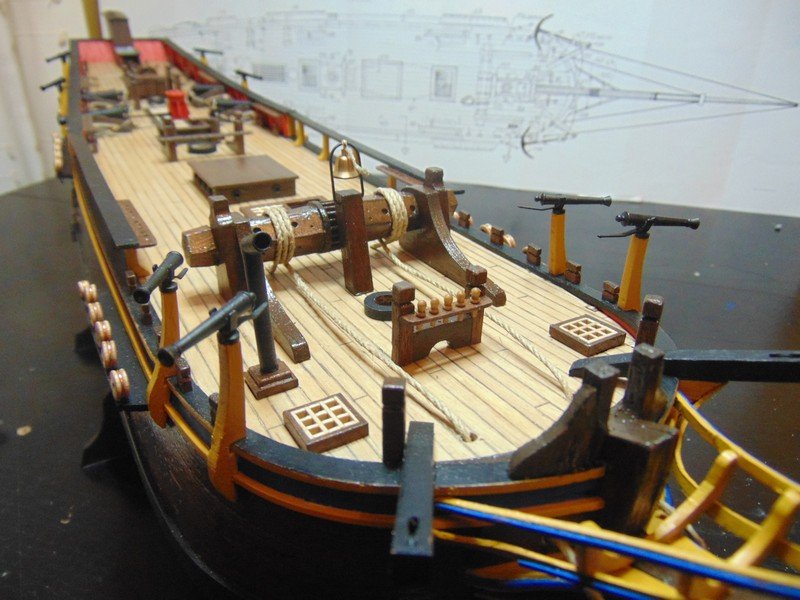
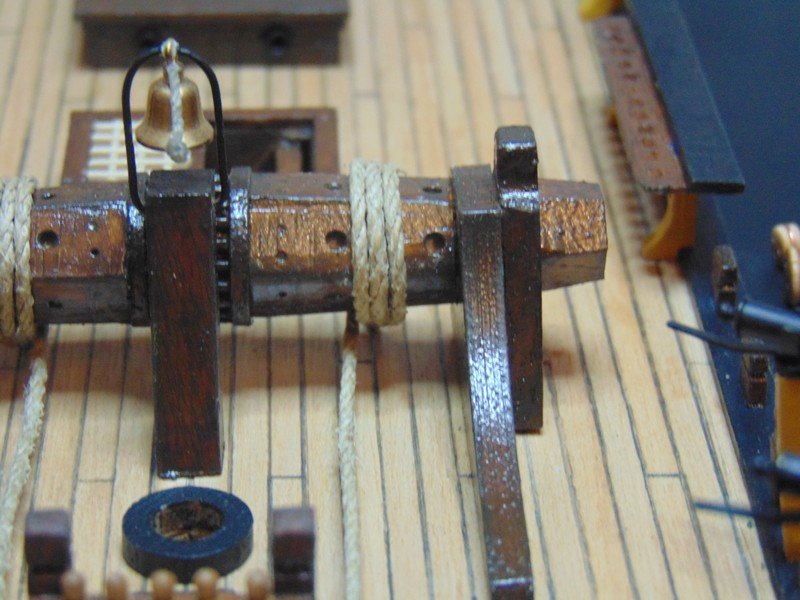
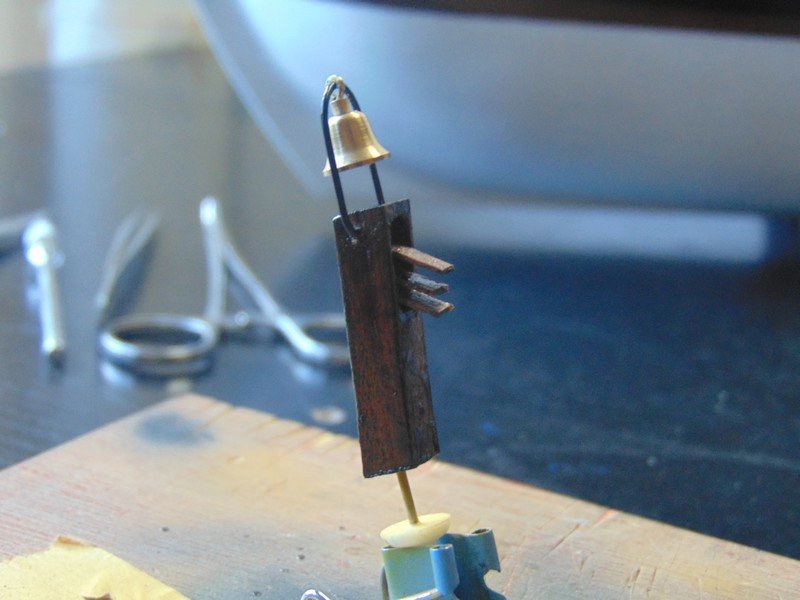
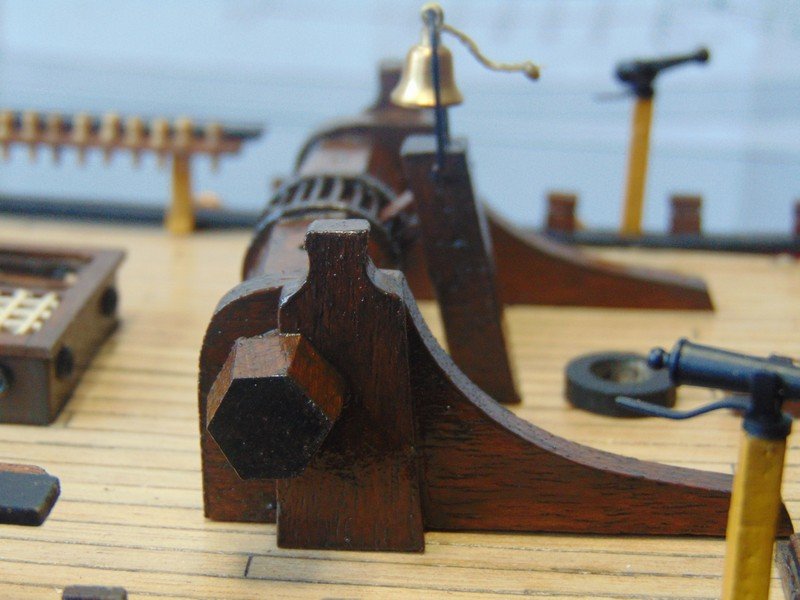
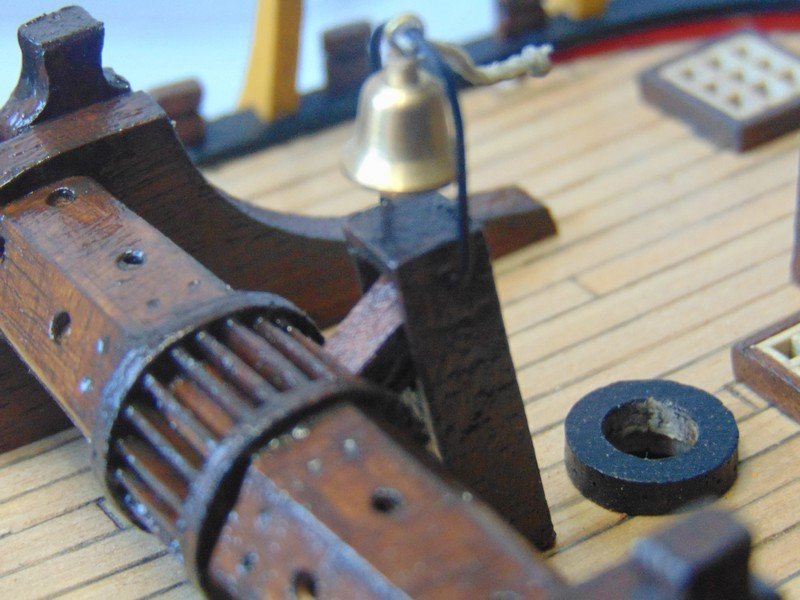
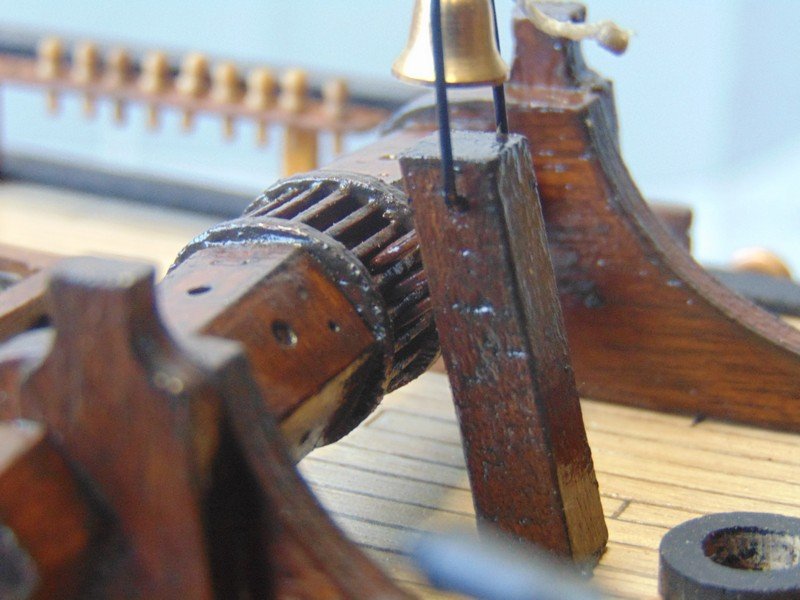
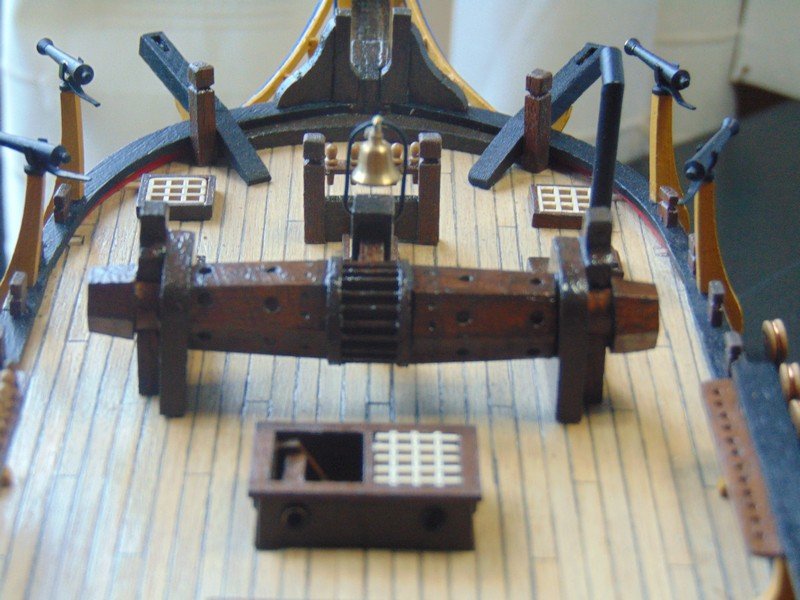
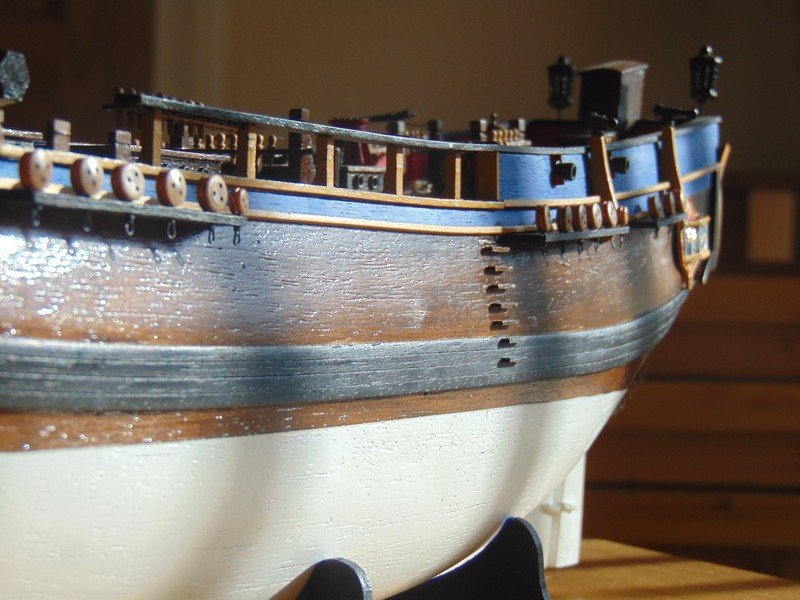
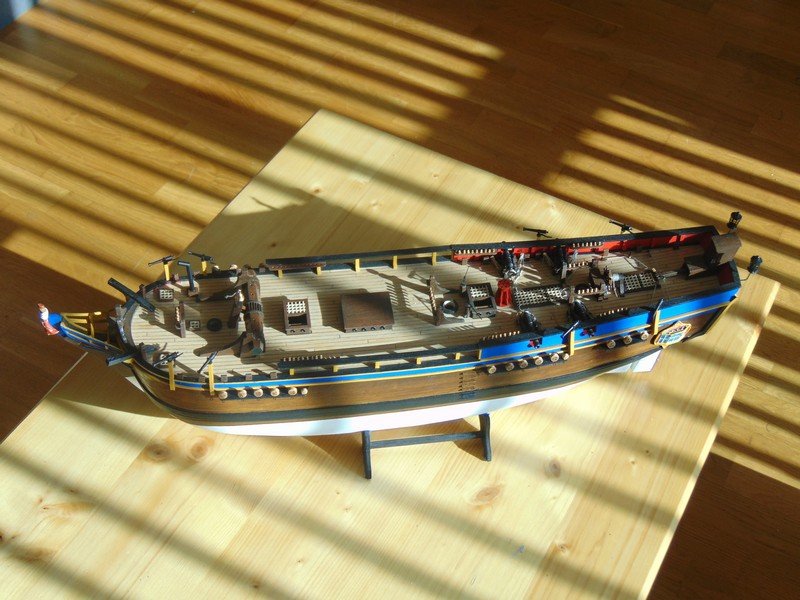
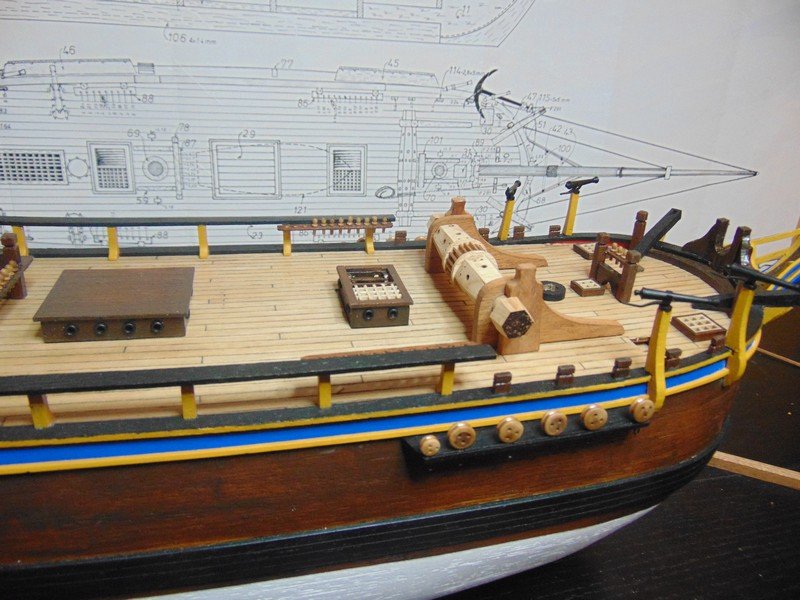
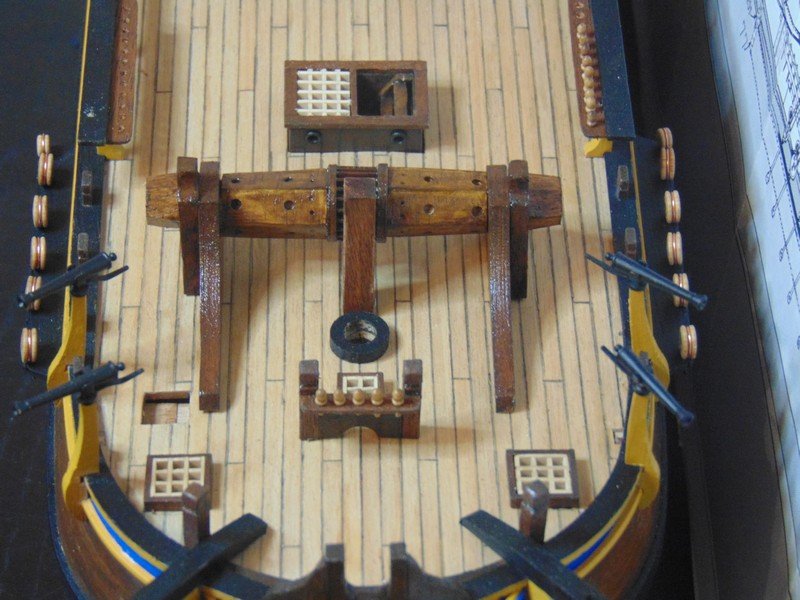
Thank you very much peter,EJ,Frankie and Nigel I really enjoy the feedback and it inspires me to build more I have added some more detail to the windlass Every time my father visits he looks at my ships and asked me the same question (do you know how many ropes are on a ship ?) I reply no dad and he says one and refers to the rope on the bell apparently all others are lines . I don't know if this is true or where he has aqquired this random fact perhaps to much discovery channel however both my uncle and grandfather both served in the navy and maybe it has came from one of them not sure . I took the ship to the living room to catch the low evening sun I love the sunlight on her and the shadows casted thanks for viewing steve.


- 291 replies
-
- 11
-
-
- bounty
- billing boats
- (and 1 more)
-
Looking good frankie just caught your recent vid on utube also thumbs up buddy
-
Yeah billings didn't include any deadeye hoops on the bounty I think there plans where still running in the plastic deadeye with there hoop attached then just bend the chain link to the plastic deadeye sorry to hyjack your log with my bounty questions perhaps you would take a look at my bounty build log and steer my right if I'm going wrong many thanks steve
- 453 replies
-
- 6
-
-
- thermopylae
- sergal
- (and 1 more)
-
Hi Popeye I was tempted to leave my chainlinks until I fit the mast that way I can angle them in the same direction as the shroud lines do you think that is necessary or just go off the plans
- 453 replies
-
- 5
-
-
- thermopylae
- sergal
- (and 1 more)
-
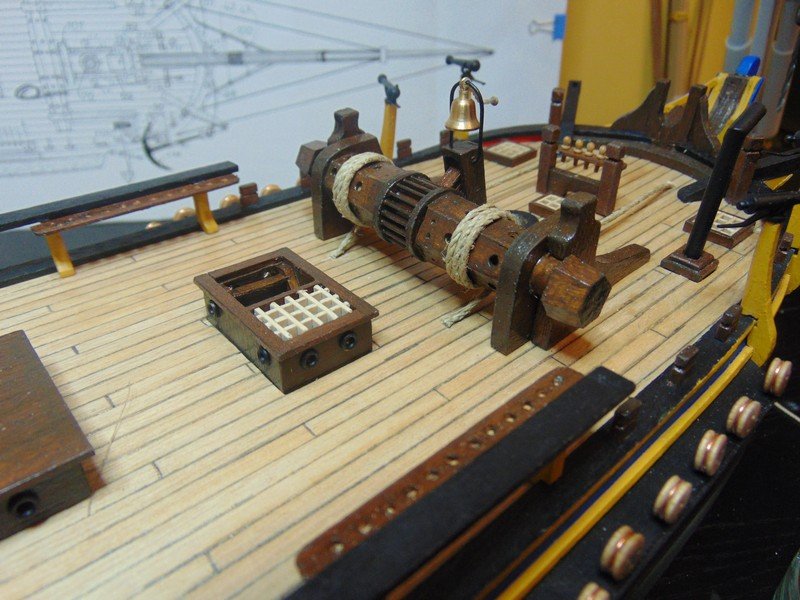
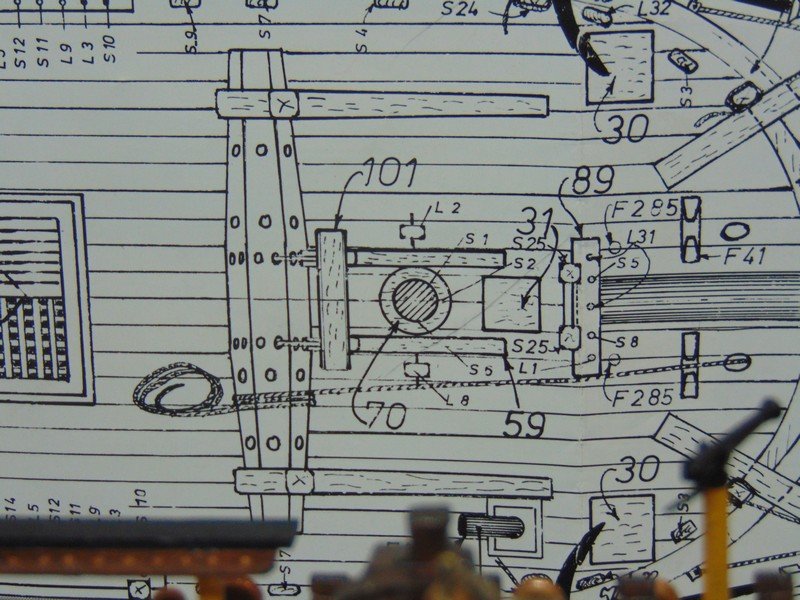
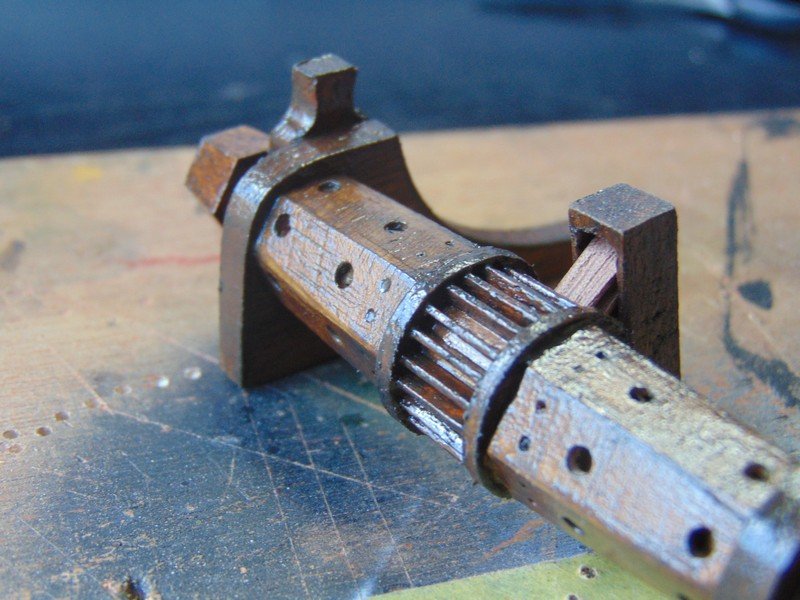
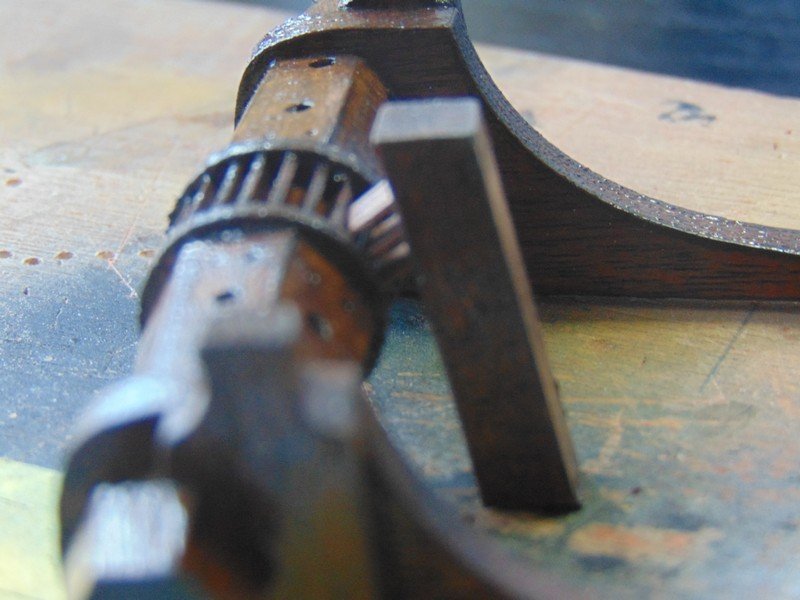
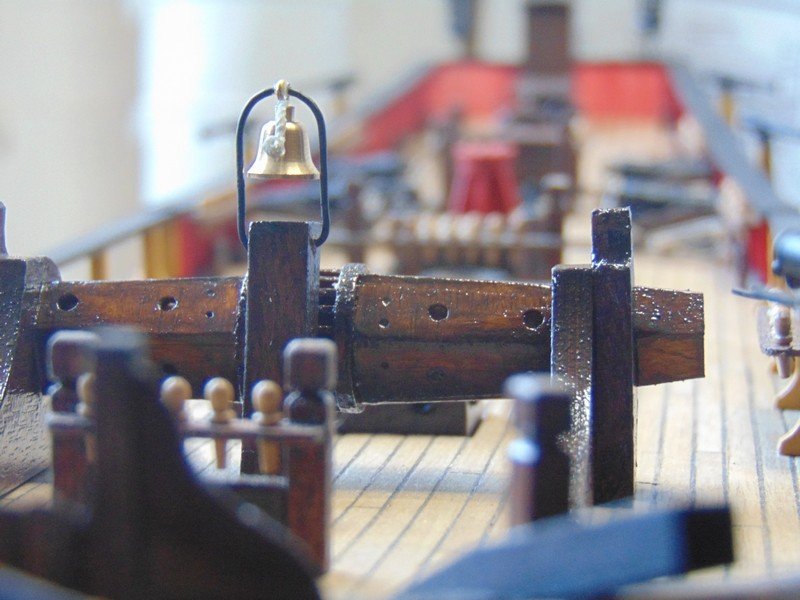
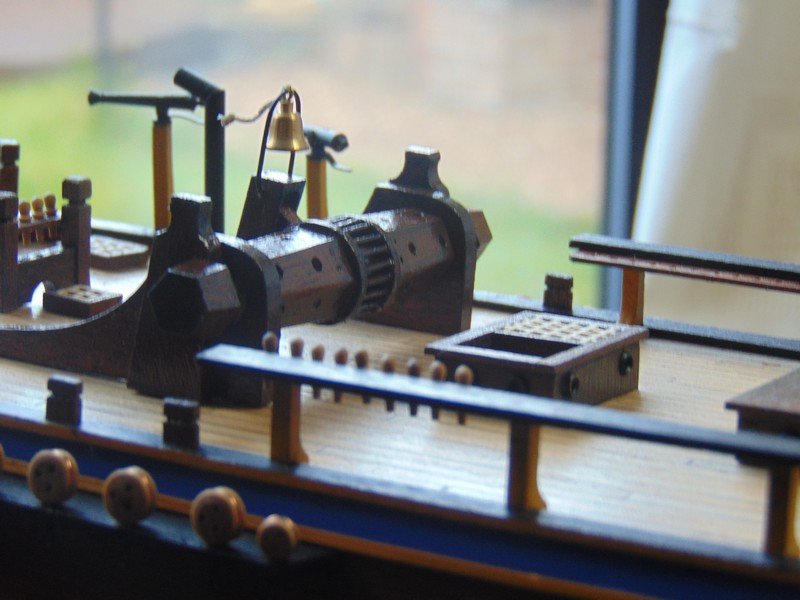
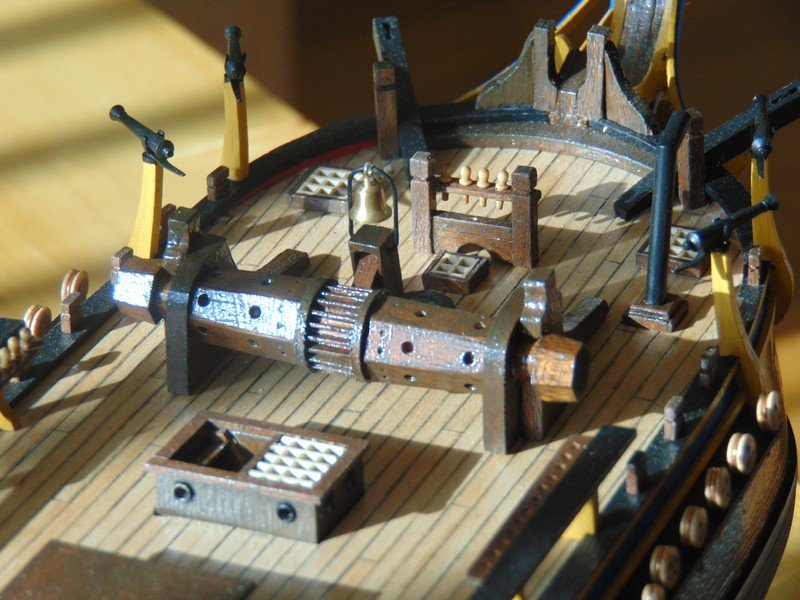
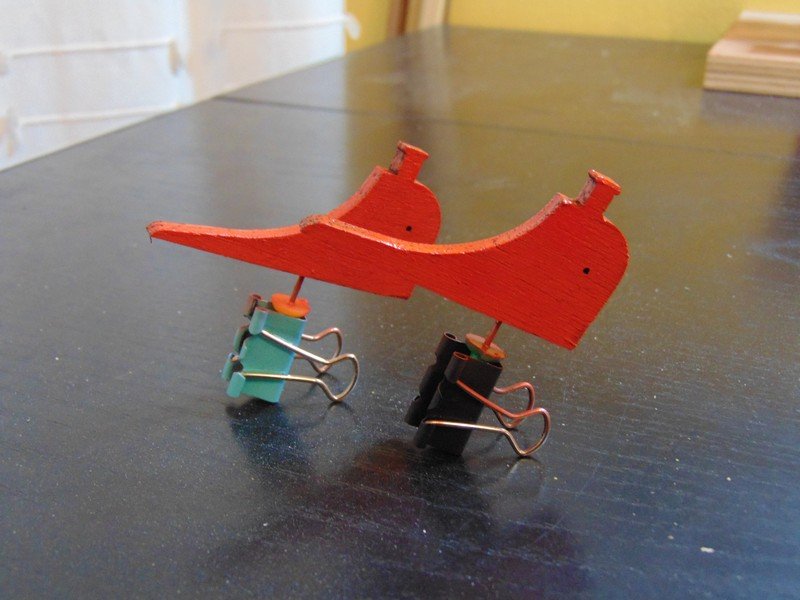
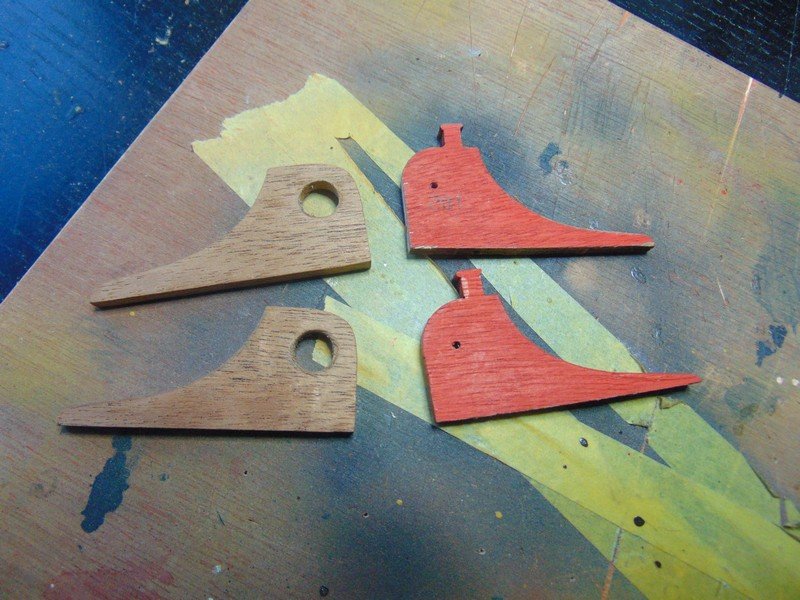
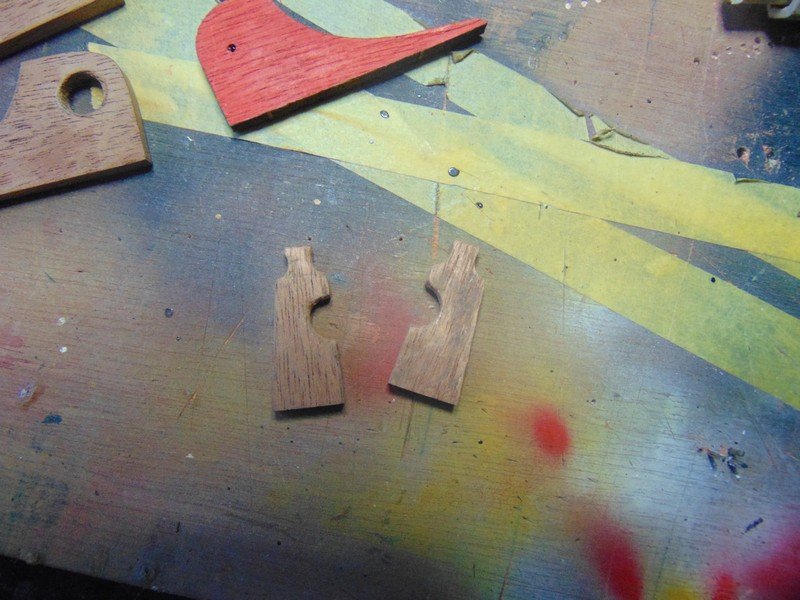
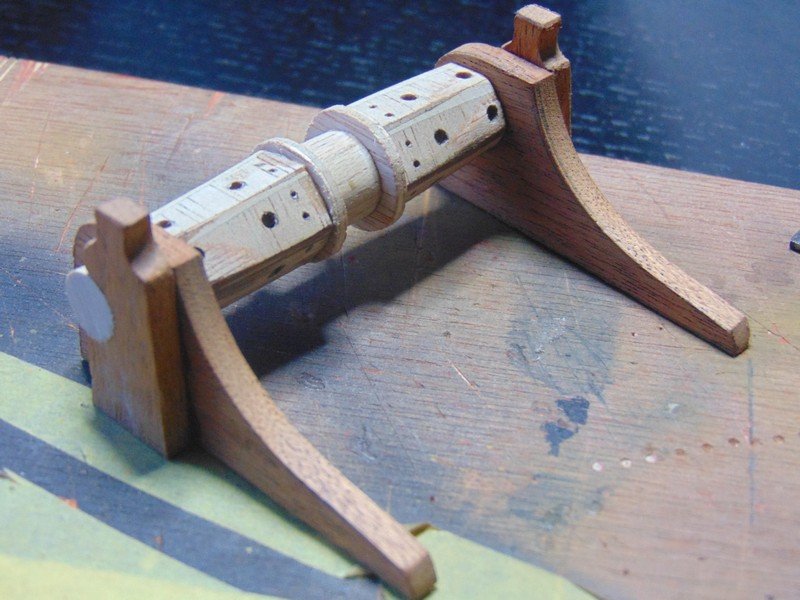
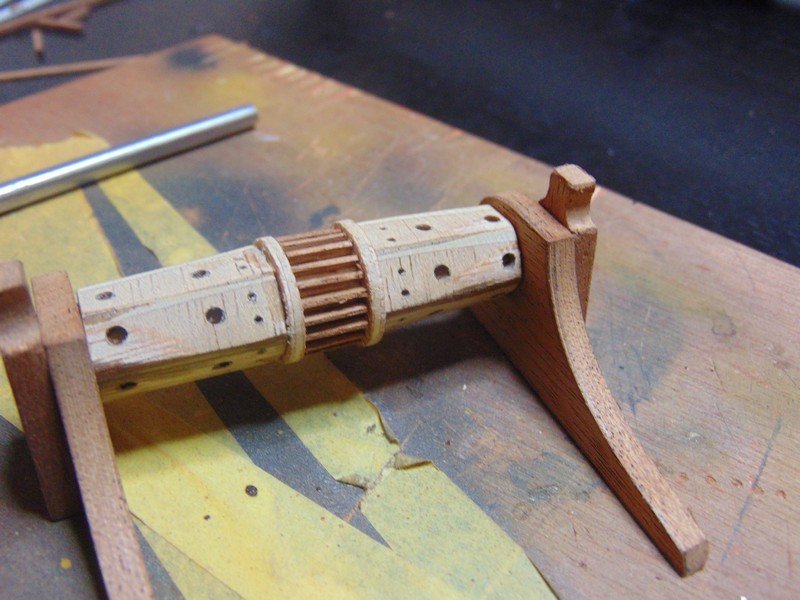
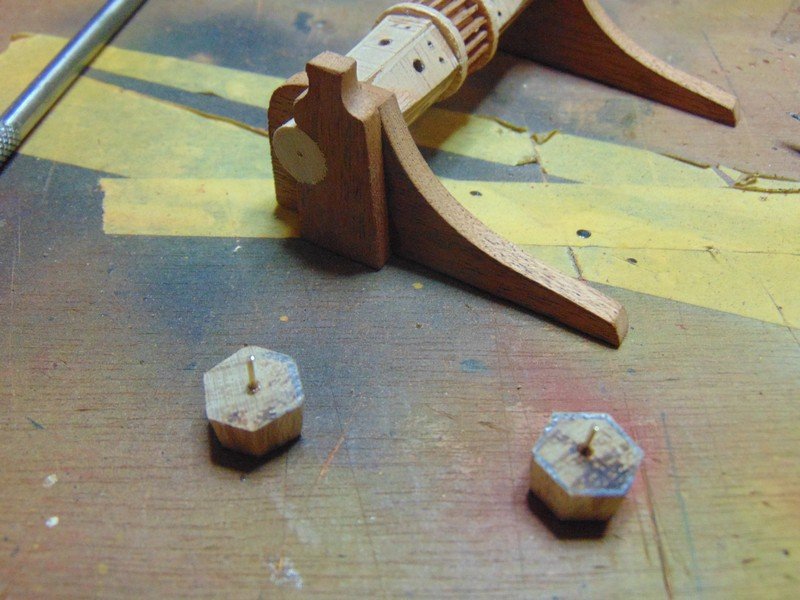
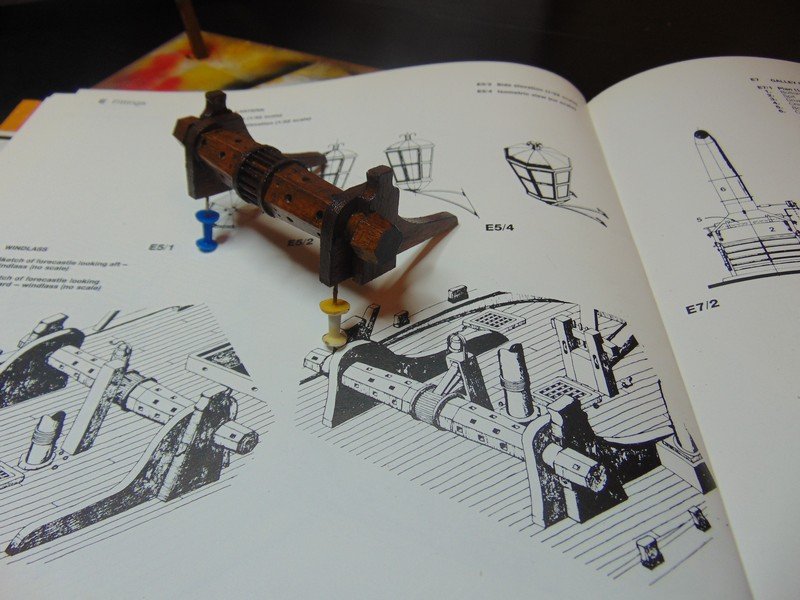
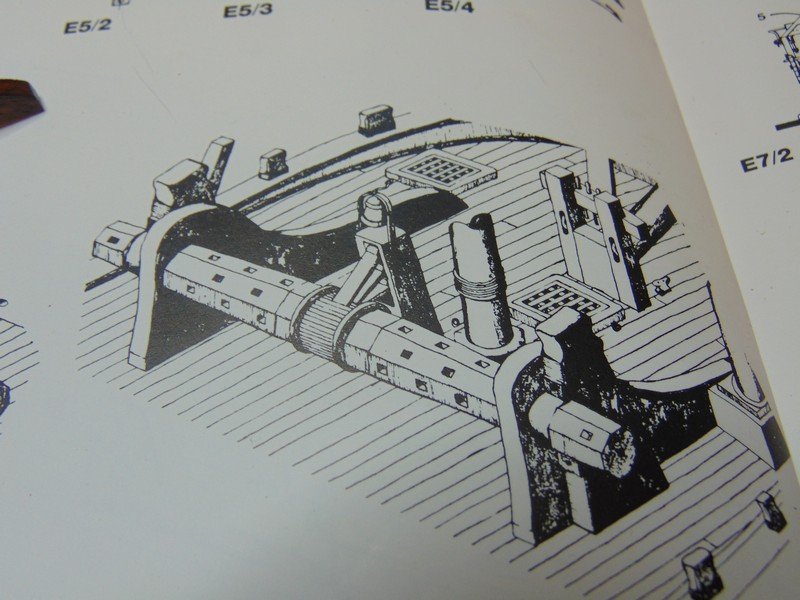
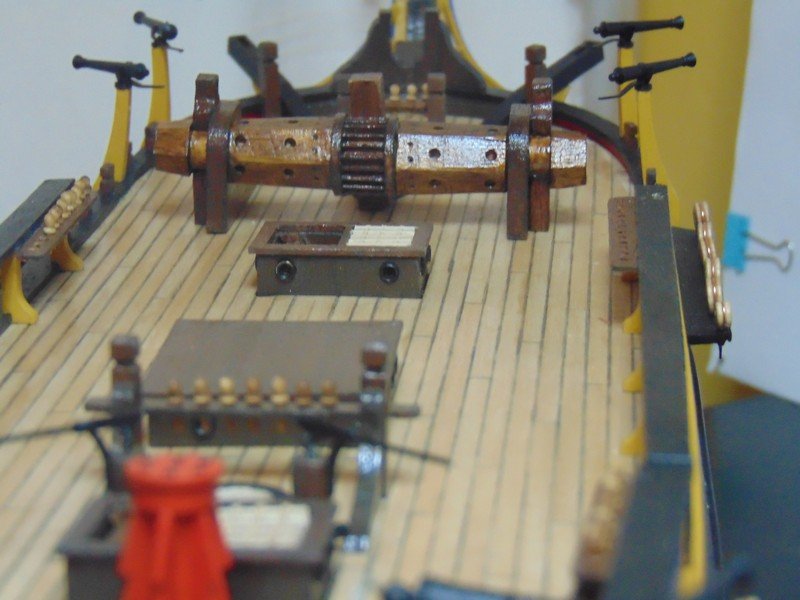
Today I decided to tackle the windlash you may recall the original parts from page one when I built some of it I used the sides as a template but modified it here and there and added some more detail to add and certainly more stain but im happy with the progress


- 291 replies
-
- 13
-
-
- bounty
- billing boats
- (and 1 more)
-
I skipped that little filler block it didn't seem to make any sense . you however seem to have done a fine job with it
-
Hi Popeye I was just fitting deadeyes today myself on my billings kit and noticed your chain links from billings do you have a technique for folding them all at the same length ?
- 453 replies
-
- 6
-
-
- thermopylae
- sergal
- (and 1 more)