Timmo
-
Posts
609 -
Joined
-
Last visited
Content Type
Profiles
Forums
Gallery
Events
Everything posted by Timmo
-
 Looking good Craig. That white on the hull always shows up everything but you'll never regret the extra time spent filling it. Those blocks do look large. What size are they? I can't recall what size I used but they looked smaller than that. As you say it would be impossible to run the guns in all the way but it's not that noticeable once the foc'sle is on and belfry/windlass installed. Mick, without seeing pics it sounds like parts of the filler blocks need to be sanded back. Did you sand the bulkheads to fair them to the curve of the hull so the planks run smoothly across them and contact fully across the surface of the bulkhead? By the time you get near the bow quite a bit of material needs to come off the forward edge of the bulkheads to get a smooth run. There's some good basic tutorials on the site, or start a build log as that's the best way to get advice from the knowledgeable and supportive folk on MSW.
 -
Here's what's kept me from the Granado for the last few months: http://modelshipworld.com/index.php?/topic/1940-other-hobbies-interests-or-pastimes-that-you-enjoy/page-18 Hopefully now it's back to ship building with some fresh progress before all the other fine Granados here overtake me.
-
Top work ray. The colour of the timber with the paint and copper is magic
- 536 replies
-
- 1
-

-
- diana
- caldercraft
- (and 1 more)
-
Hi Craig, I 'm still to do the hawse holes. I can't see much reason why they have to be done early at the spirketting stage. I thought it would be easy to line them up once the bow was looking largely complete.
-
Also happy birthday Dave
-
Julian I'd second what Alistair is offering here. . A bit of time with filler and sanding would make a difference but it's up to the individual builder. Consider each kit and step in building a chance to learn new skills and none of it is wasted time. I can't leave something alone if I'm not happy with the result and know I'm capable of more If every builder didn't try and tackle something they thought was beyond their skill then there wouldn't be a single post on this website. You've done some fantastic work on items like opening the sweep ports and the deck fittings so don't get disheartened and be down on yourself- remember it's supposed to be a fun hobby!
-
Nice solution Alistair. The flush base on the pedestal looks classy.
-
Thanks jack. Your work so far is top stuff, especially the planking. I've checked out the Caroline - fine work indeed - and that humbrol looks really good. Nice and subdued. If I could revisit my painting I would have used that .
-
Nice start there Dave. I'm 18months into a Granado build and I'll echo the comments about the build board and to think drilling the keel soon if you want to mount it on pedestals.
-
Nice work on that sheave Slog. Might try that on the Granado, I've just previously file the grooves out without putting a sheave in but your method looks way better.
-
Happy travels Chris. I'm sure Victory will be well received.
-
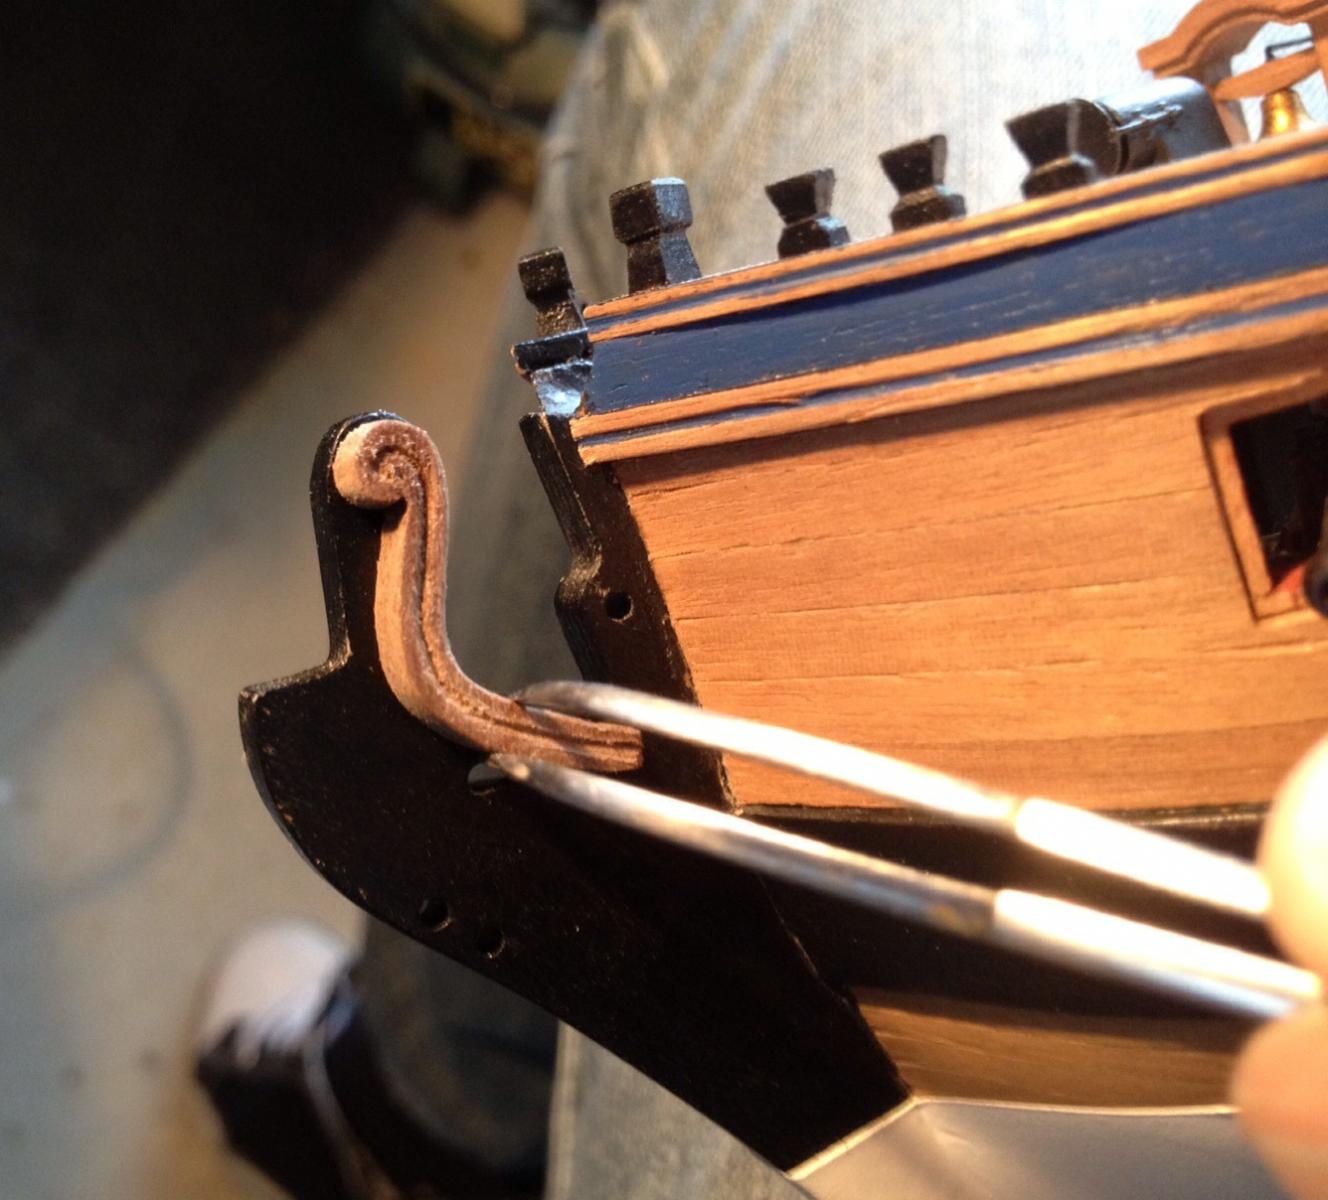
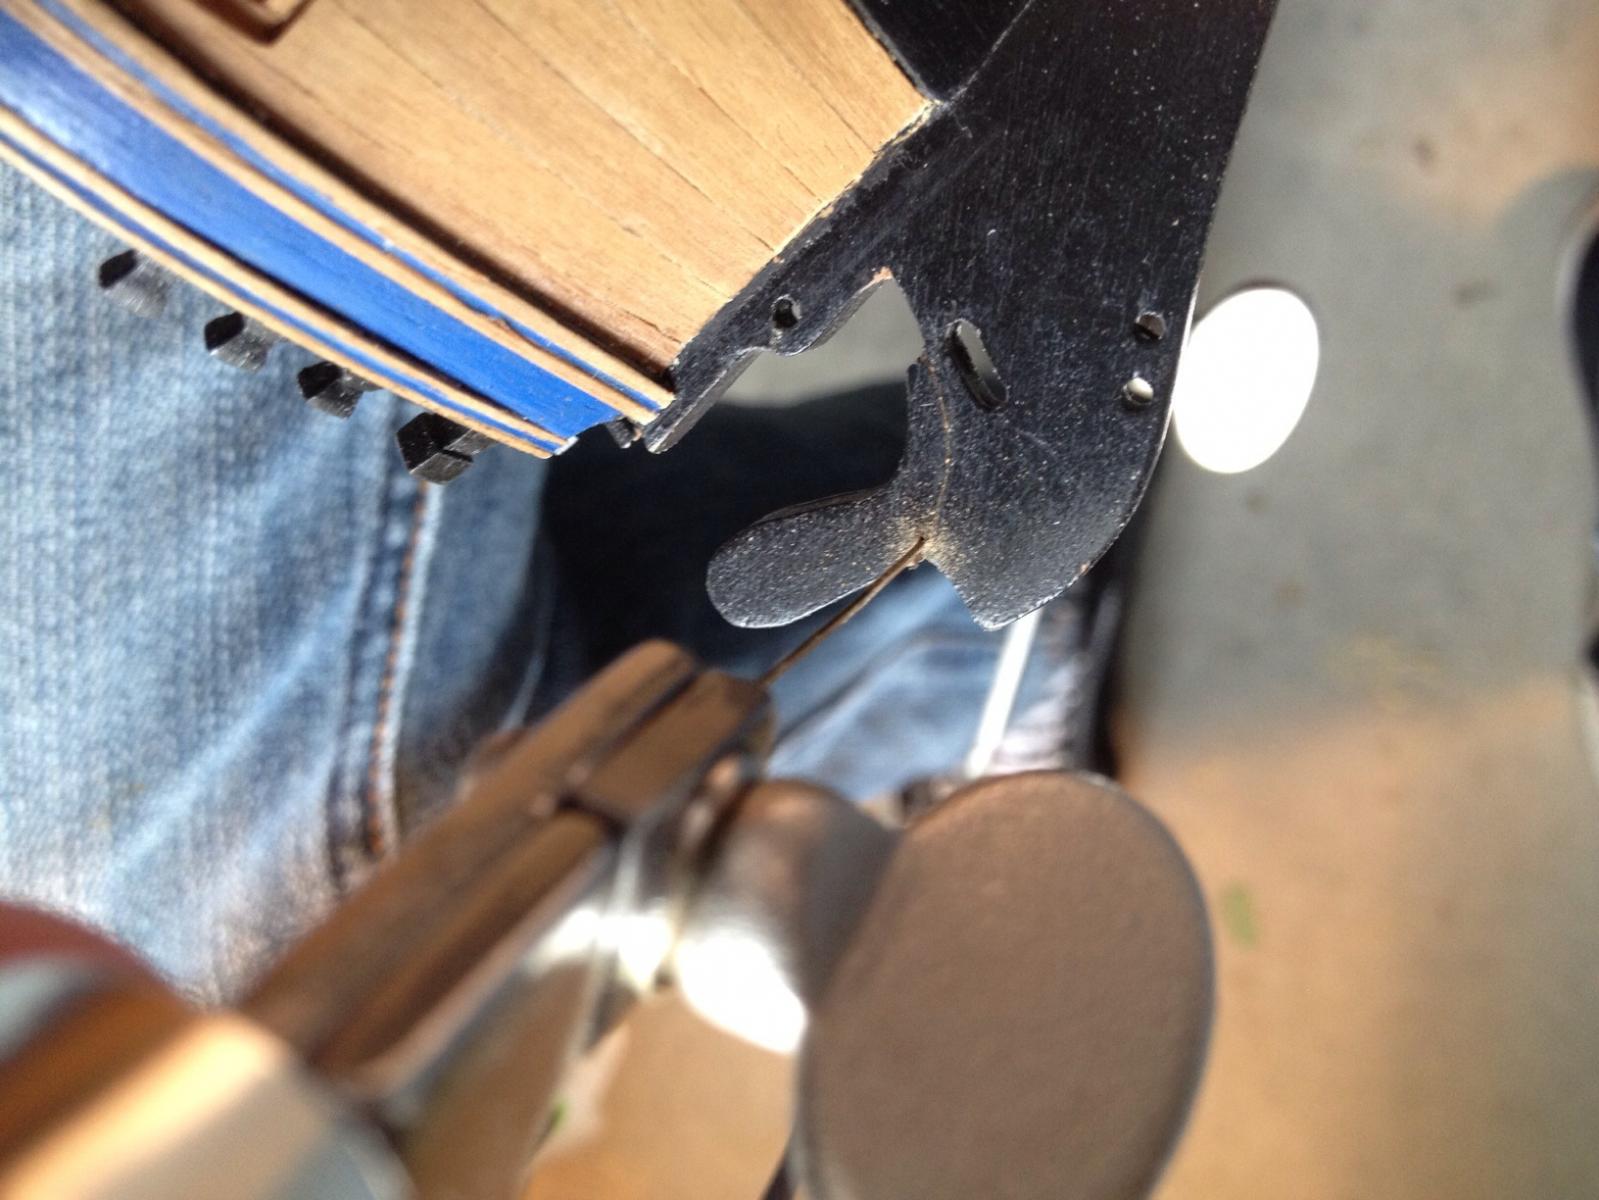
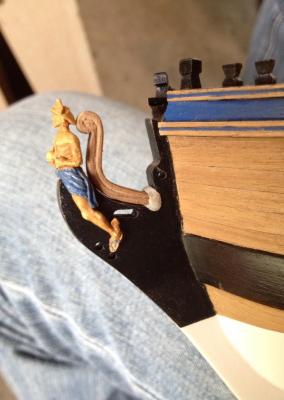
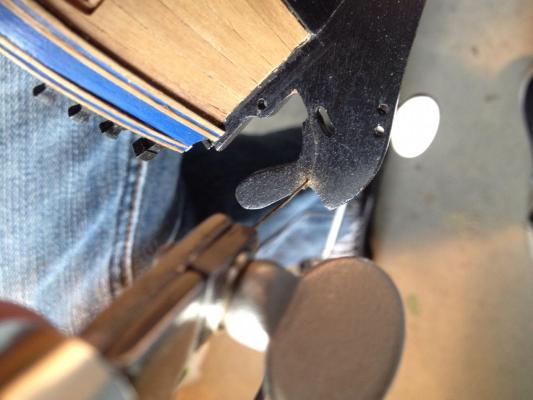
A test fit of the new hair bracket with some blu-tak holding it in. The rest of the head rails are fairly plain with visible ply so they get a strip of walnut grooved strip laminated on. This should tie them in with the sheer rails done a while back. The weather very unsettled spring storm so no action on the outdoor pizza oven project so more ship work instead and pics to follow.
- 366 replies
-
- 7
-
-
- granado
- caldercraft
- (and 1 more)
-
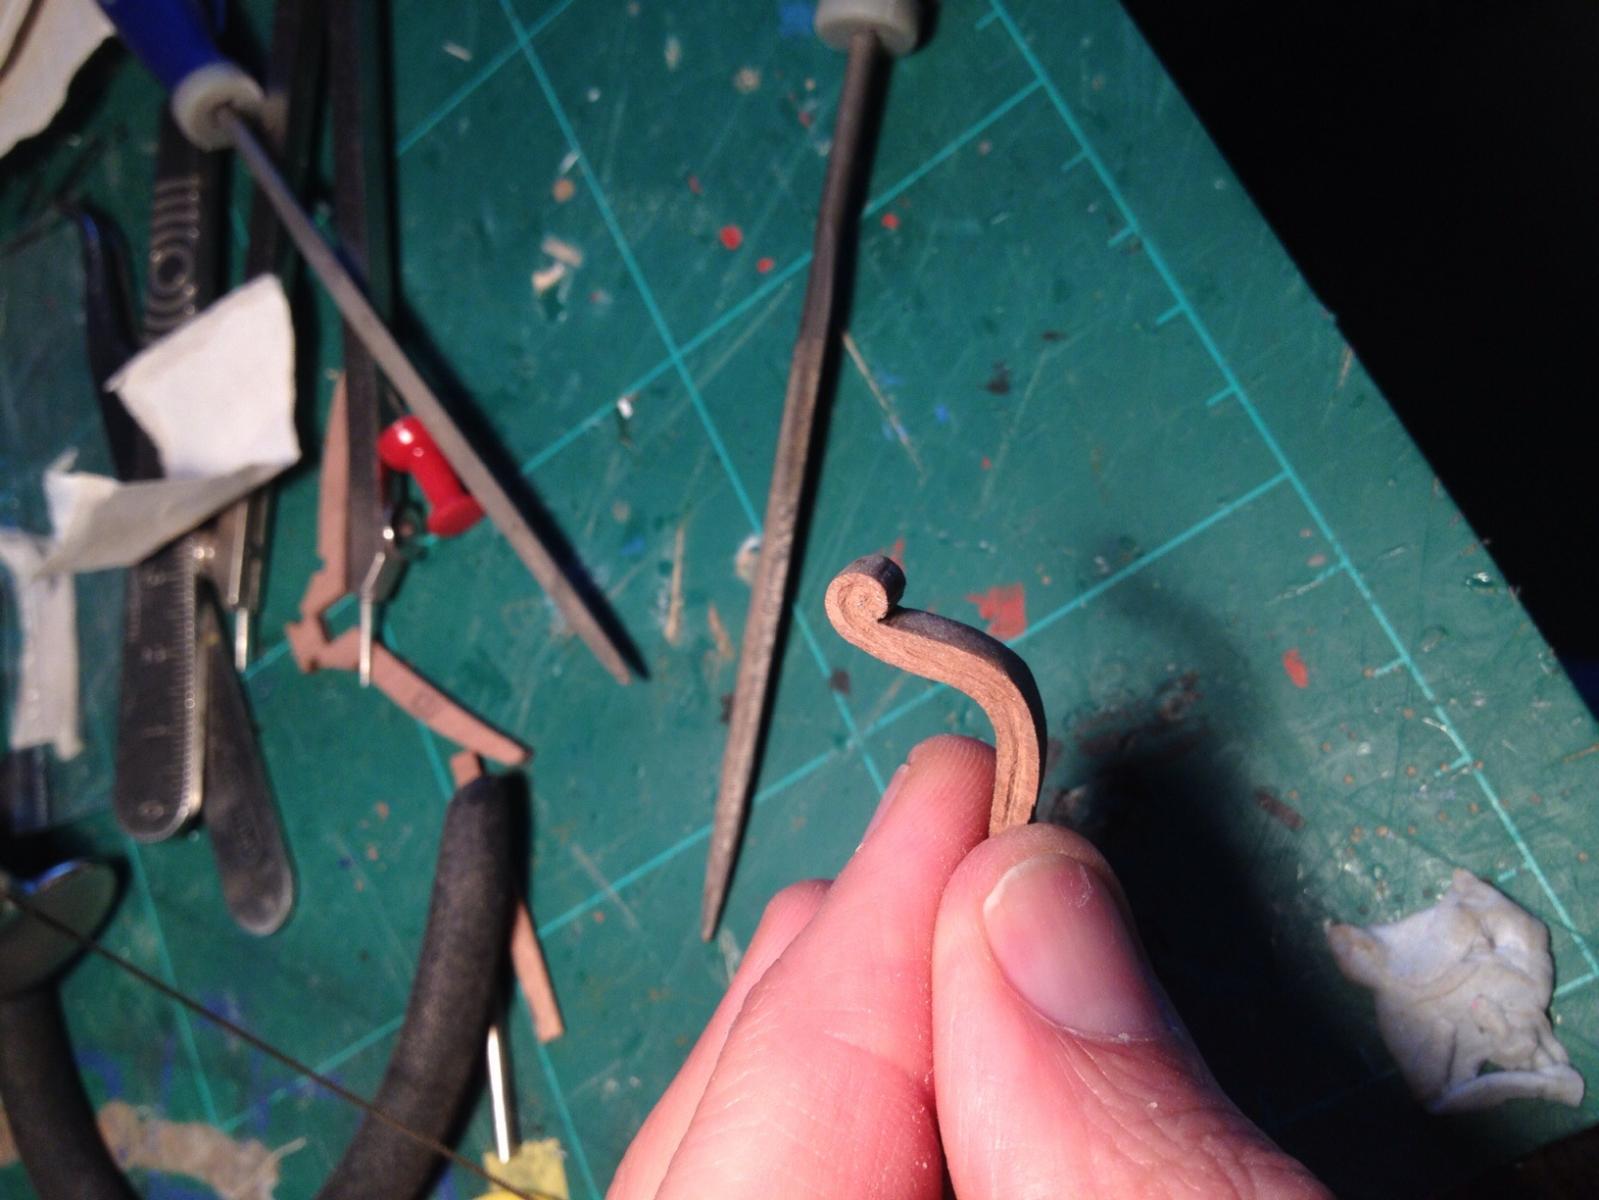
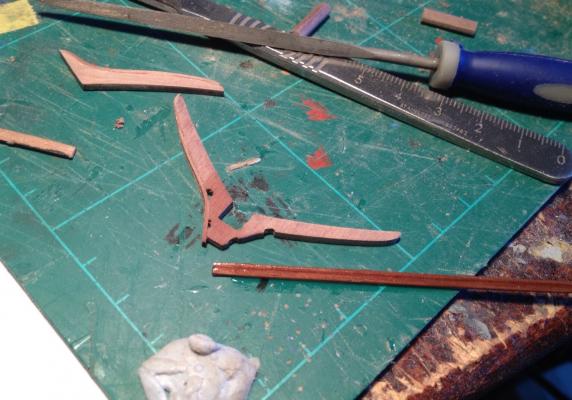
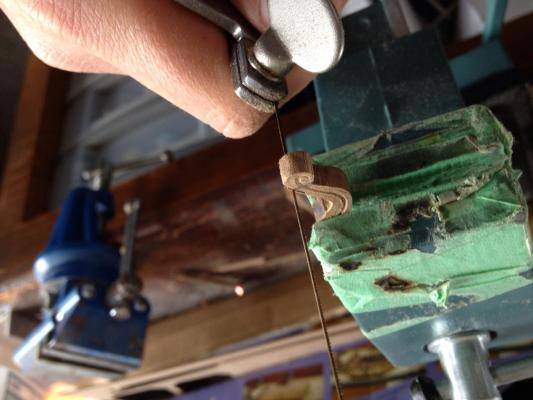
A bit more work on the head rails. The hair bracket is provided as a flat photo etched part. A new one was knocked up out of leftover walnut from the kit with the groove cut down the middle with a file. The kit hair bracket is supposed to be stuck to an extension the kit adds to the bow. It's not accurate but makes for a sturdy build. After a bit of thought this was cut off with my new jewellers saw which is proving so useful.


- 366 replies
-
- 2
-
-
- granado
- caldercraft
- (and 1 more)
-
I'm for bellona and prince....
-
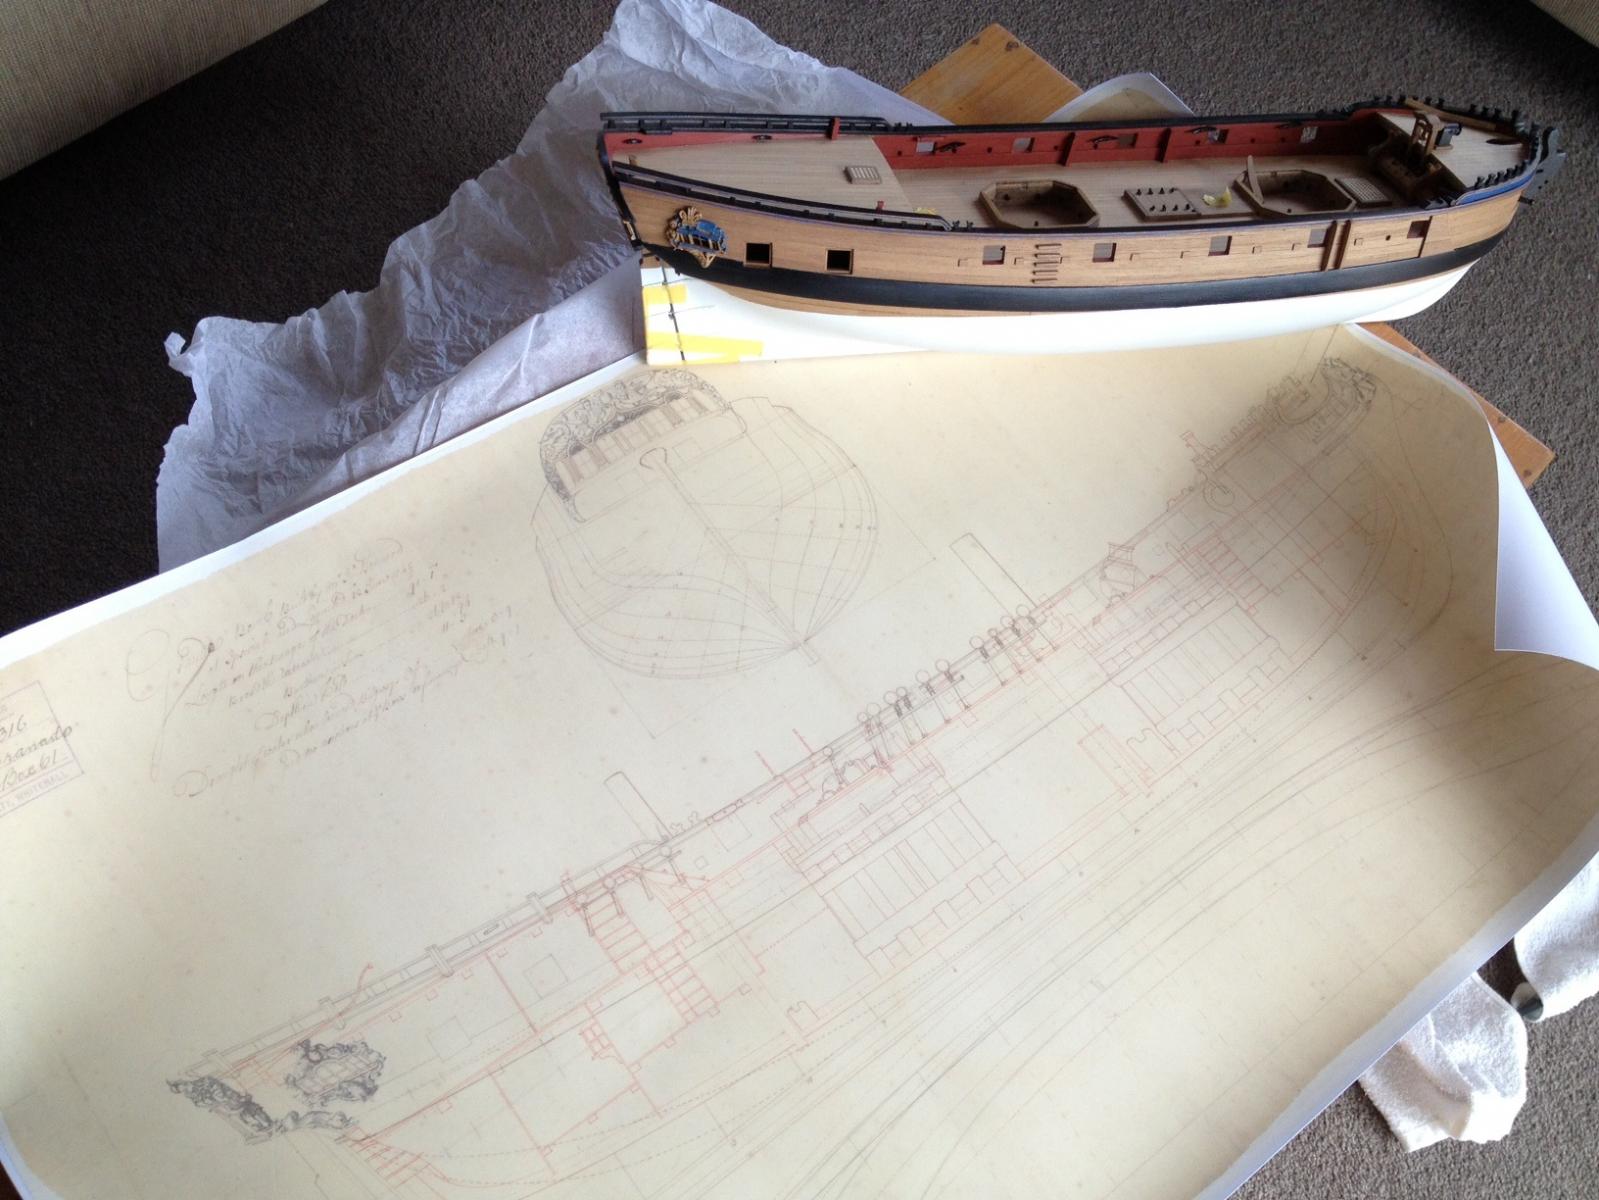
Hi Alistair, Here's the link http://collections.rmg.co.uk/collections.html#!csearch;searchTerm=*;authority=subject-90352;collection=subject-90352 Or just go to the collections tab off the main page. Find ship,plans off the menu on the left and you can search by name and object. It took about two weeks from the order to delivery which I thought was good seeing as they'd have to process these individually. Packaging was a sturdy cardboard tube and plenty of tissue paper. Is this your fly? There's a few vessels bearing the name and these ones looks like your sloop. http://collections.rmg.co.uk/collections/objects/84458.html http://collections.rmg.co.uk/collections/objects/84459.html
-
Thanks for the kind words everyone. It's worth giving the paint effect a go as its just a matter of trial and error. Not much further added to the Granado in recent time but a bit of excitement with the plans of the original vessel arriving from the National Maritime Museum in Greenwich. They look very cool indeed and I'm debating wether to get them framed for the wall or possibly fix/laminate it to a wooden base and then mount the vessel via brass pedestals on top. That's all a long way in the future anyway so plenty of time to think about it. The plans cost about $35nz but the same again for postage. If I lived in the UK and postage was cheaper I'd have stuff like this all over the house- much to my wife's disgust. Probably not much building ahead for a while as my efforts have been diverted to an outdoor kitchen/BBQ/pizza oven area to work on over the warm months. If I make a hash of that it'll be back to boats.

- 366 replies
-
- 2
-
-
- granado
- caldercraft
- (and 1 more)
-
Very nicely rigged gun you have there Jason. Well done Wayne
-
Good tip on the rope coils Ray. I struggle with those holding them in tweezers and doing all sorts of contortions so this looks like the way for me and just as I've got a deck full of guns to be rigged.
-
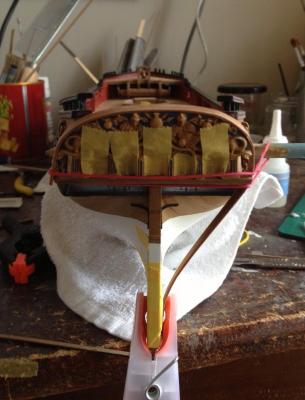
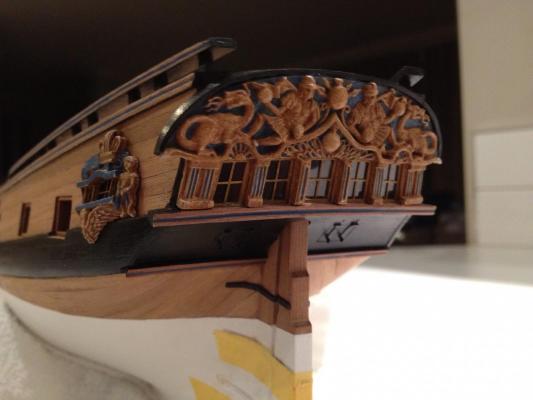
Alec, My own fault for bringing the work into the lounge to rather than building alone like a hermit in the garage. Anyway, the taffrail was soaked and bent to shape. The kit suggests 4mm walnut but I thinned it down to about 3mm for aesthetics. The lower profile rail was also added from some leftover strip from the capping rails rather than using the brass in the kit. The rail was fattened up by laminating to a 3mm-ish thick piece of walnut. The tape on the stern windows protect them from fogging by the CA glue needed to fix this hard to bend piece quickly. This needed some sanding along the underside and edges with these painted over. Finished result with taffrail painted and decorative rails added. Some of the carvings need a touch up and The side figures will be left until the rest of the hull fittings are finished as they will take a battering when I grapple with the headrails etc. I'm still a fan of holding the Granado between the knees for work on bow and stern.
- 366 replies
-
- 12
-
-
- granado
- caldercraft
- (and 1 more)
-
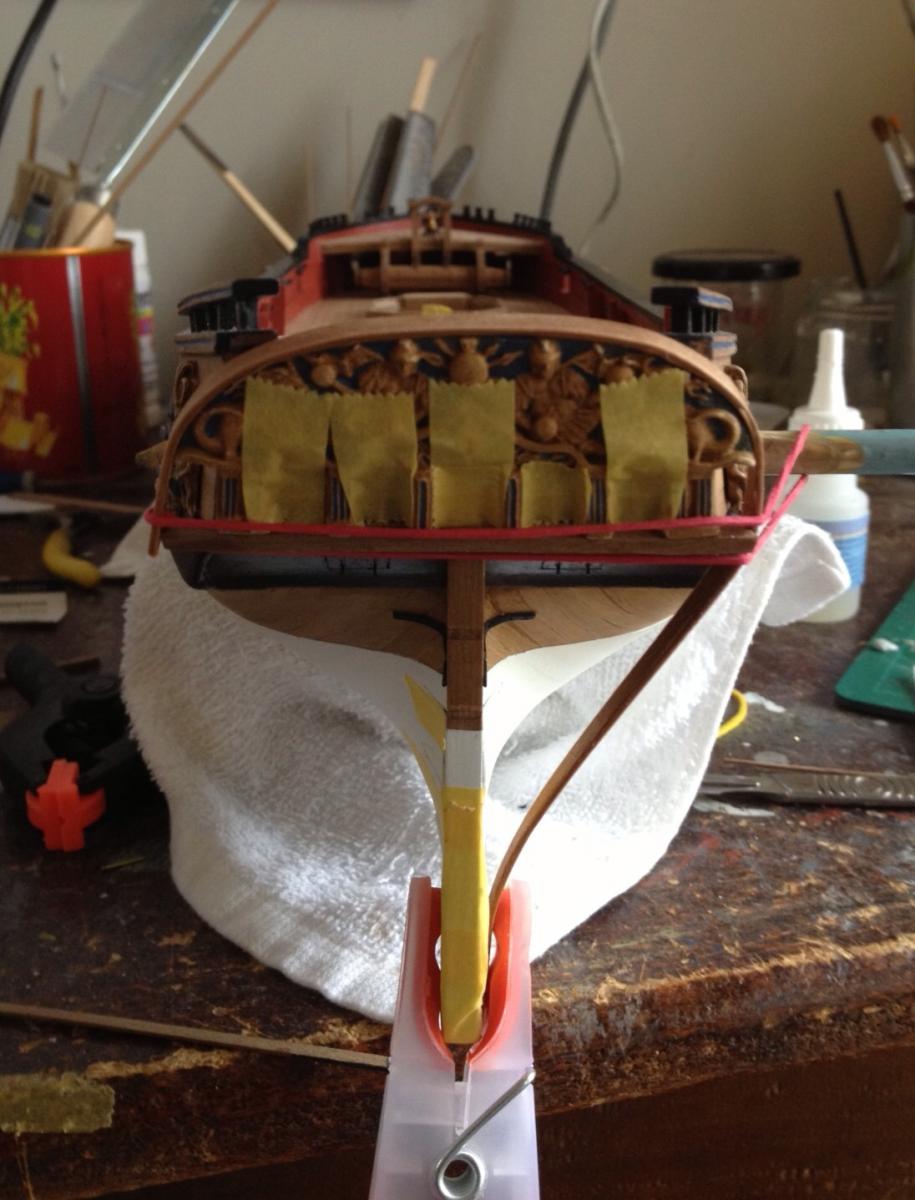
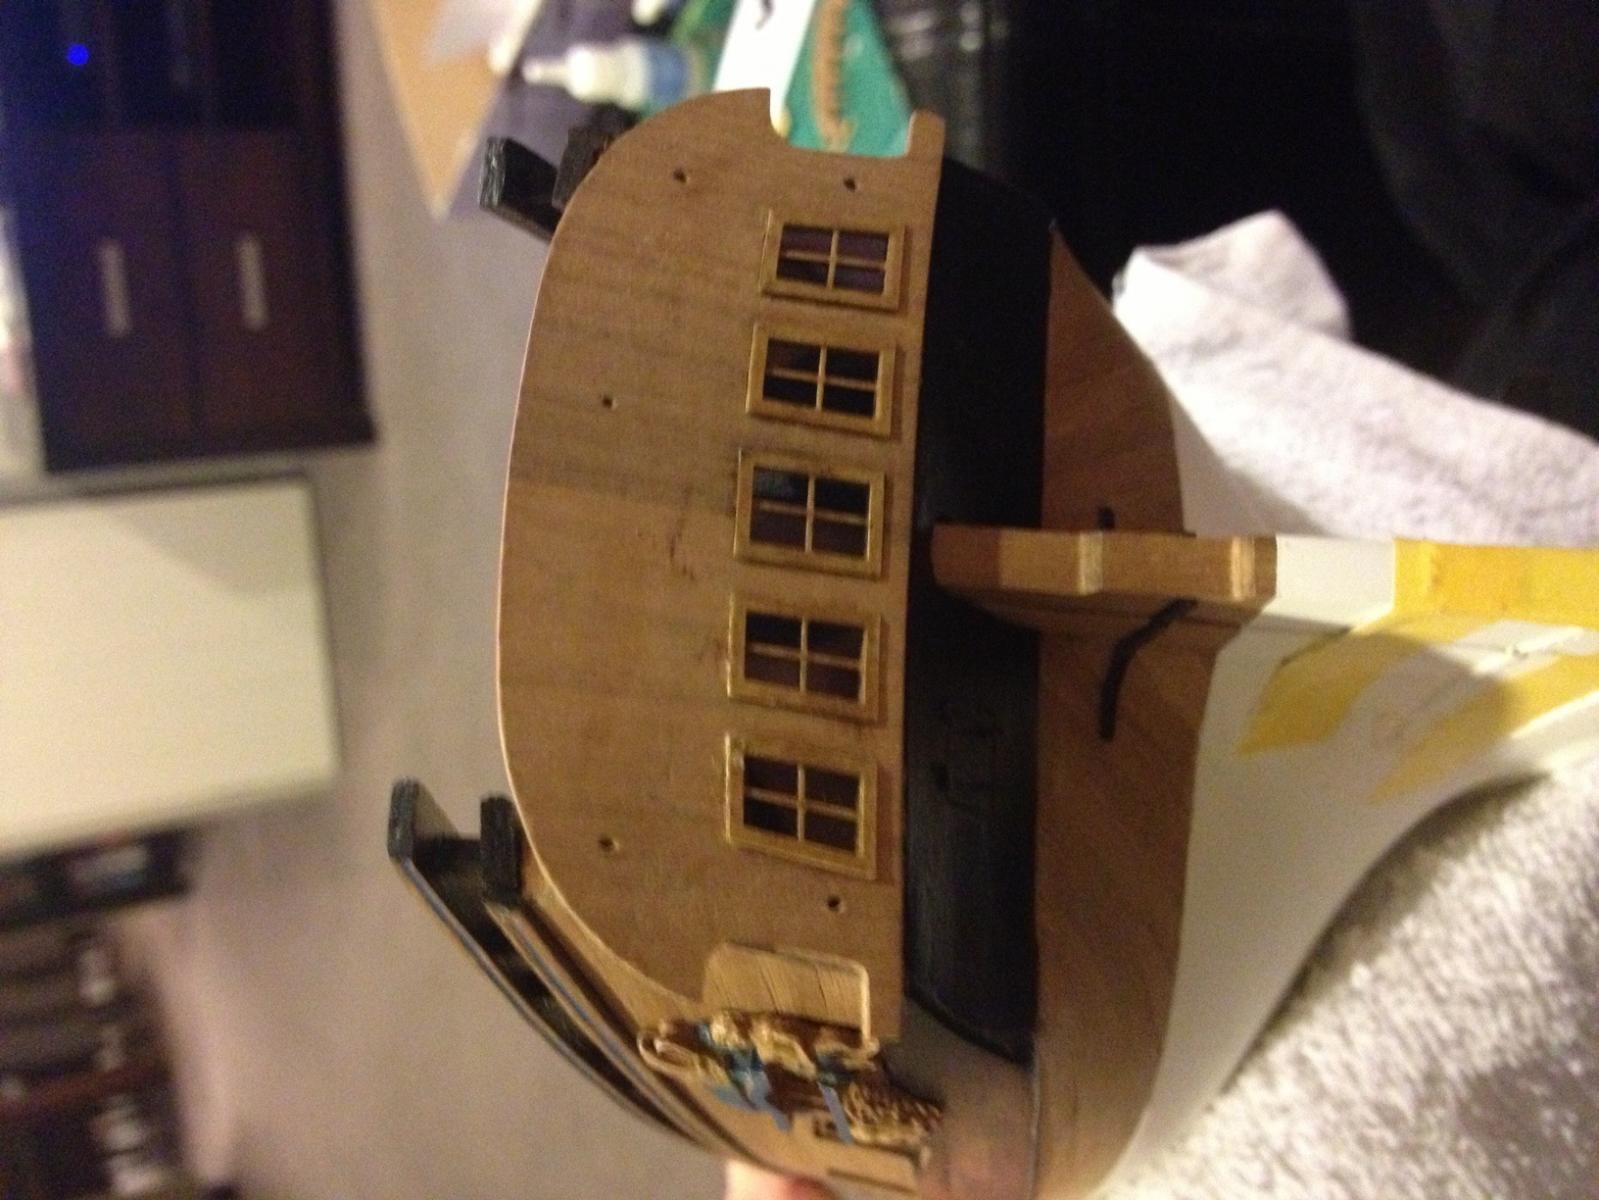
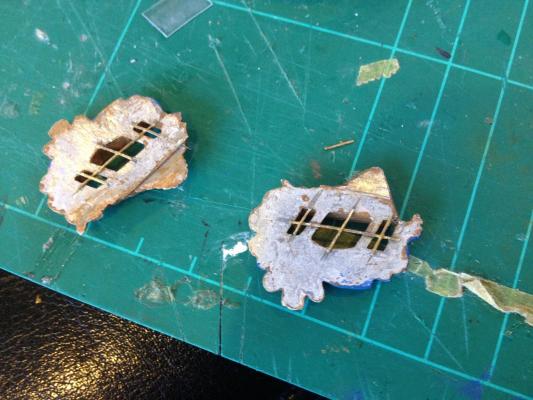
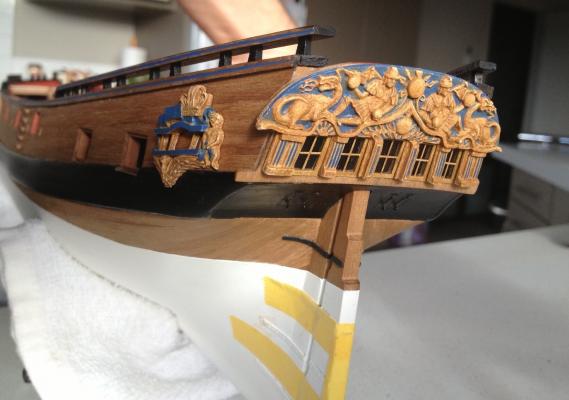
Thanks Grant, Andy, Ferit, Alistair, BE, Juergen and others. The quarter light windows need the rear filed to ensure they sit over the wale correctly. They were painted up and some of the thin carrier from the etched brass sheet used to flesh out the window frames on these as none are included in the kit. They were stuck on then removed as they made the casting sit about 1mm from the side. Some slots were cut so the frame could be recessed. The etched brass window frames were painted and slotted in perfectly over the recesses in the stern fascia with a piece of acetate under each for glazing. I did experiment with some lightly sanded pieces to limit the view through the window but with the interior all painted black the lack of cabin isn't that visible anyway. The stern carvings installed. It's got a capping rail to go over the top and a relief moulded strip for underneath. I've got some left over timber strip from the main capping rail that should go well there rather than the kit supplied brass but we'll see how it goes. There's also extra figures for the side of the stern and some strange little dolphine-esq things that sit on the wale. They are best positioned after the low rails etc are on. In the meantime I did my best to lose one of them tonight but after watching me scratch around on the floor for the best part of 20minutes my wife found it in the shaggy rug within a few seconds of looking.... As wives do.


- 366 replies
-
- 3
-
-
- granado
- caldercraft
- (and 1 more)
-
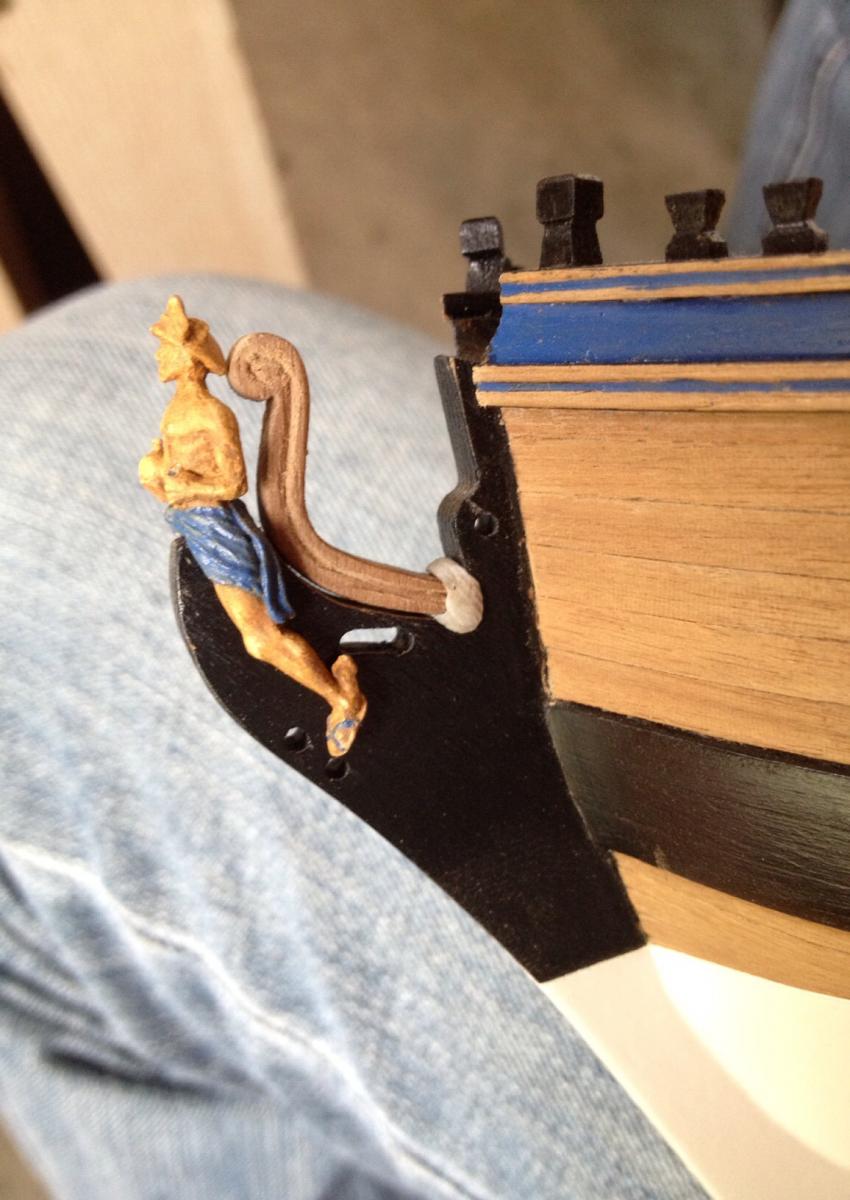
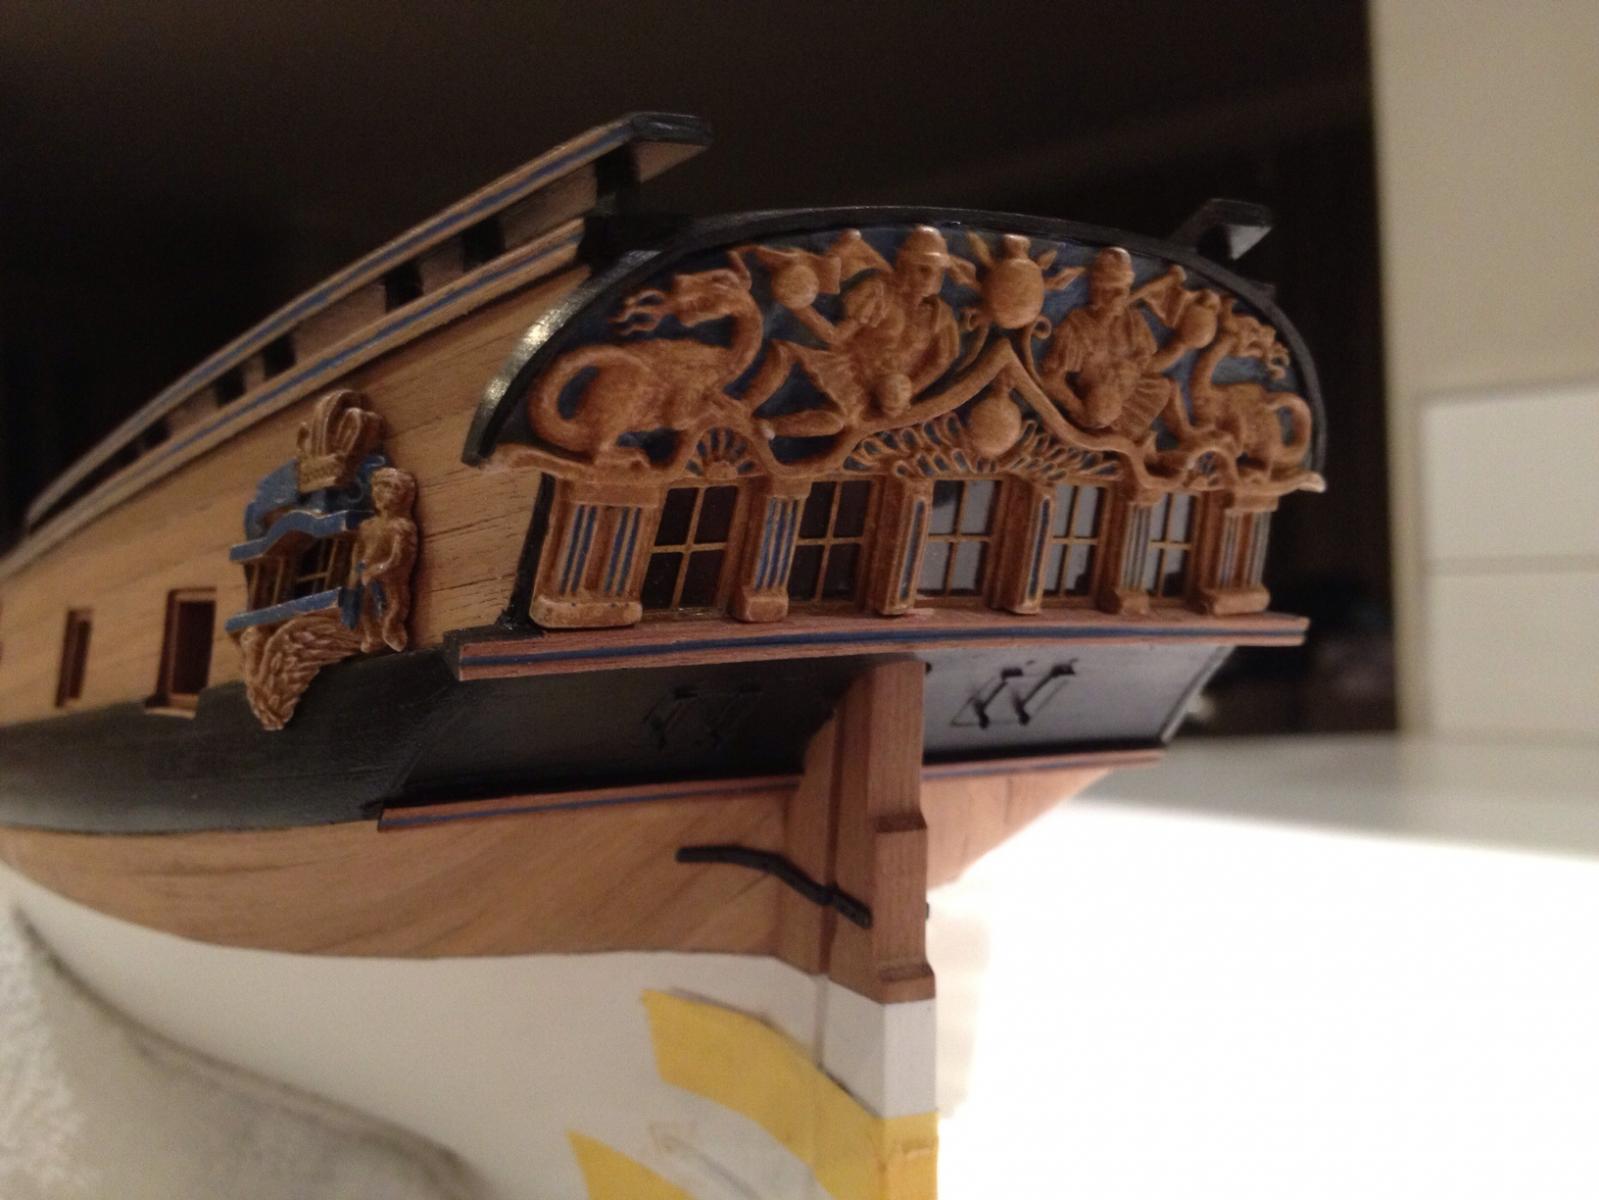
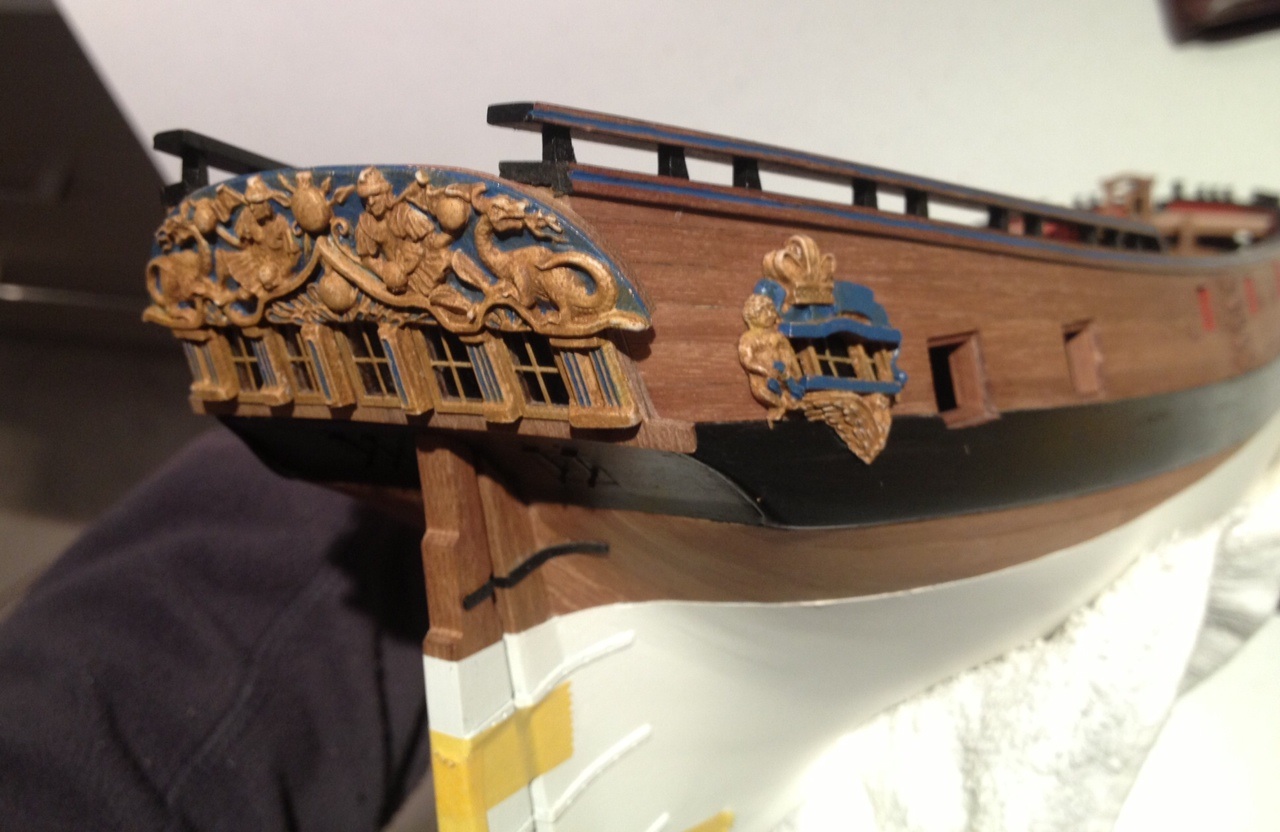
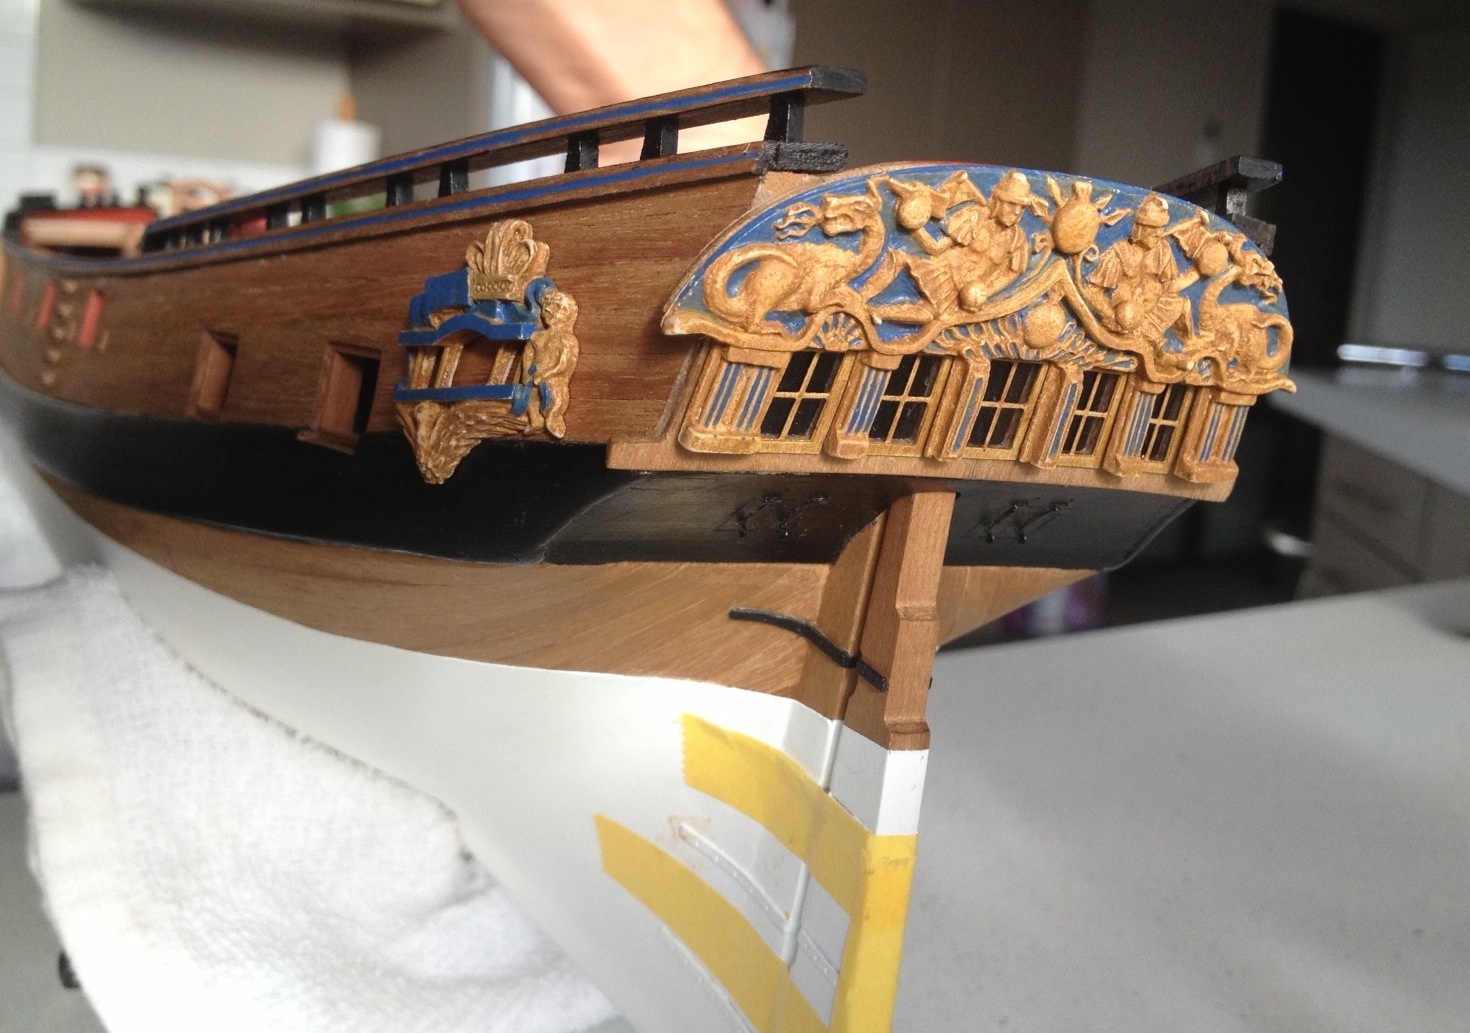
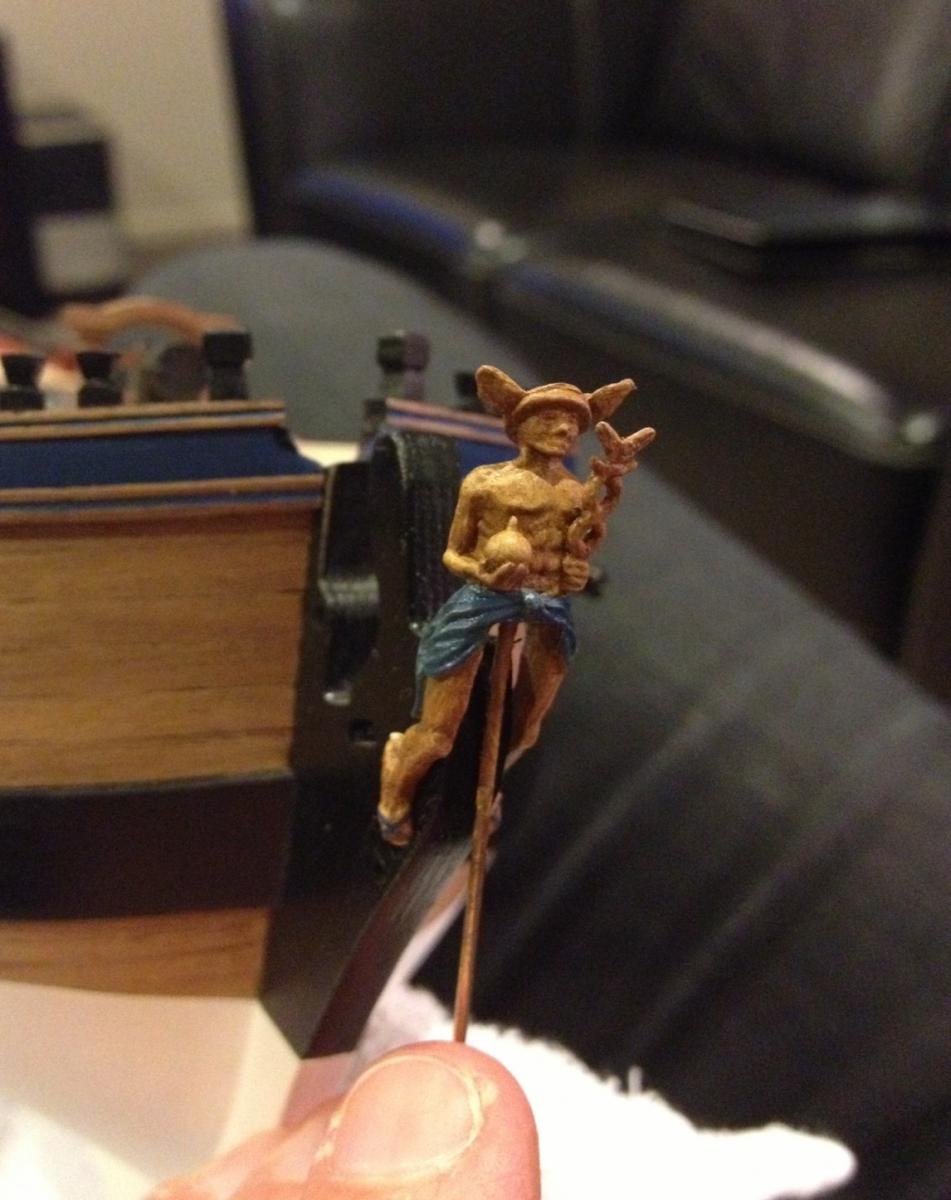
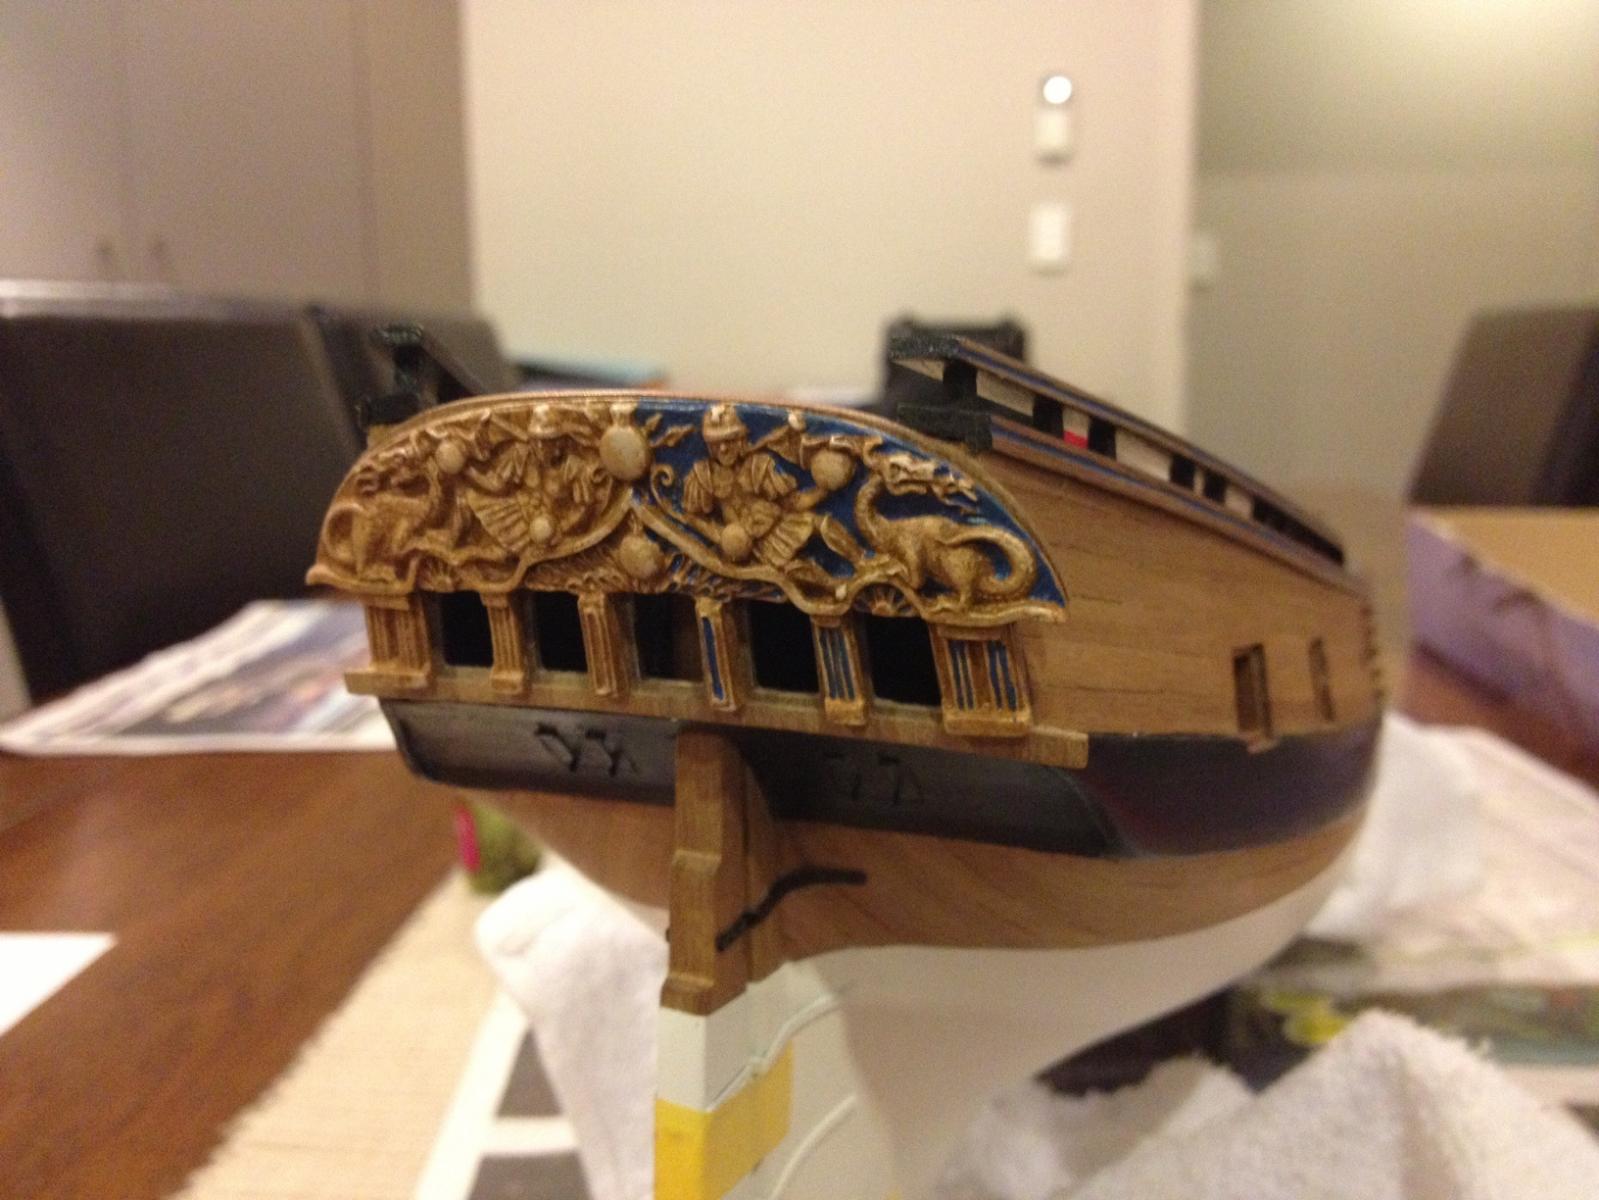
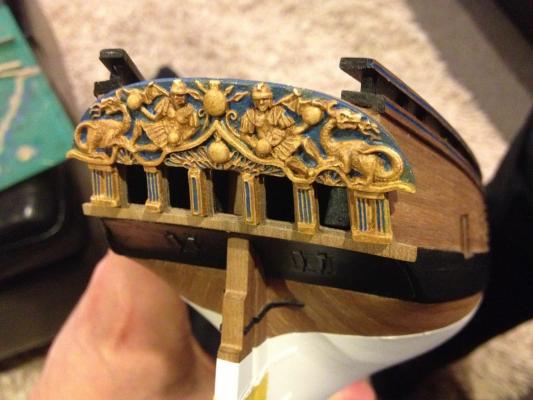
The completed stern fascia. It's a bit more yellow in this shot. The first is more true to the daylight colour. Close up does no favours! It'll be stowed a while until further down the track when some more hull work is finished and its less likely to be knocked around. The figurehead of Hermes. Again he'll be installed later.

- 366 replies
-
- 5
-
-
- granado
- caldercraft
- (and 1 more)
-
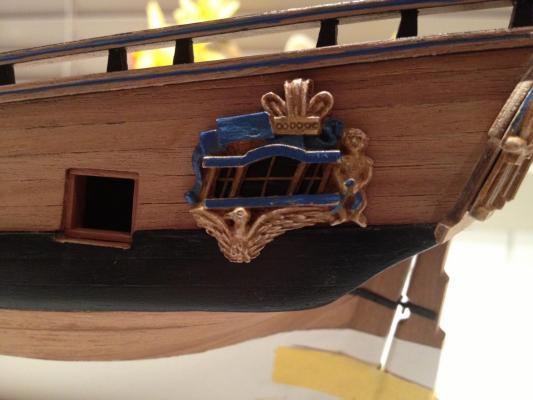
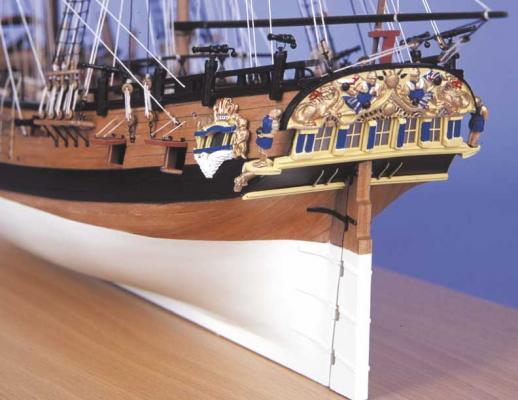
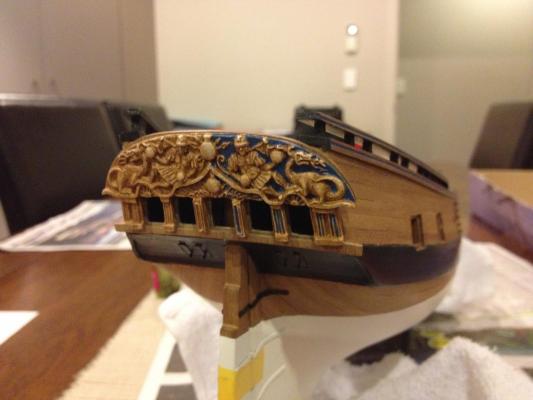
A departure from tying rigging for the guns to do something a bit more fun- the stern and other carvings. The cast metal has some nice detail that only comes out under paint. The kit provides a colour scheme which is a bit gaudy for my liking: They do suggest bare timber is another option as the historical record is unclear on paintwork. I tried a bit of simulated timber paint with a light buff colour as a base coat with a mix of 'woody' looking artists oils like raw umber, yellow ochre, some sort of red, burnt umber and white painted over the top. This was brushed over with a clean brush to removed it from the top surfaces like dry brushing in reverse. I think the wood effect is a bit much on its own so here's a test with half the background in the blue used on the rest of the ship. Its very rough and needs a tidy but I like this as it ties in with the blue line on the capping rail so I'll continue in this direction.
- 366 replies
-
- 8
-
-
- granado
- caldercraft
- (and 1 more)
-
Those dead eyes and chains are an exercise in patience and craftsmanship. Nice work Slog. Wayne