Keith Black
-
Posts
6,706 -
Joined
-
Last visited
Content Type
Profiles
Forums
Gallery
Events
Everything posted by Keith Black
-
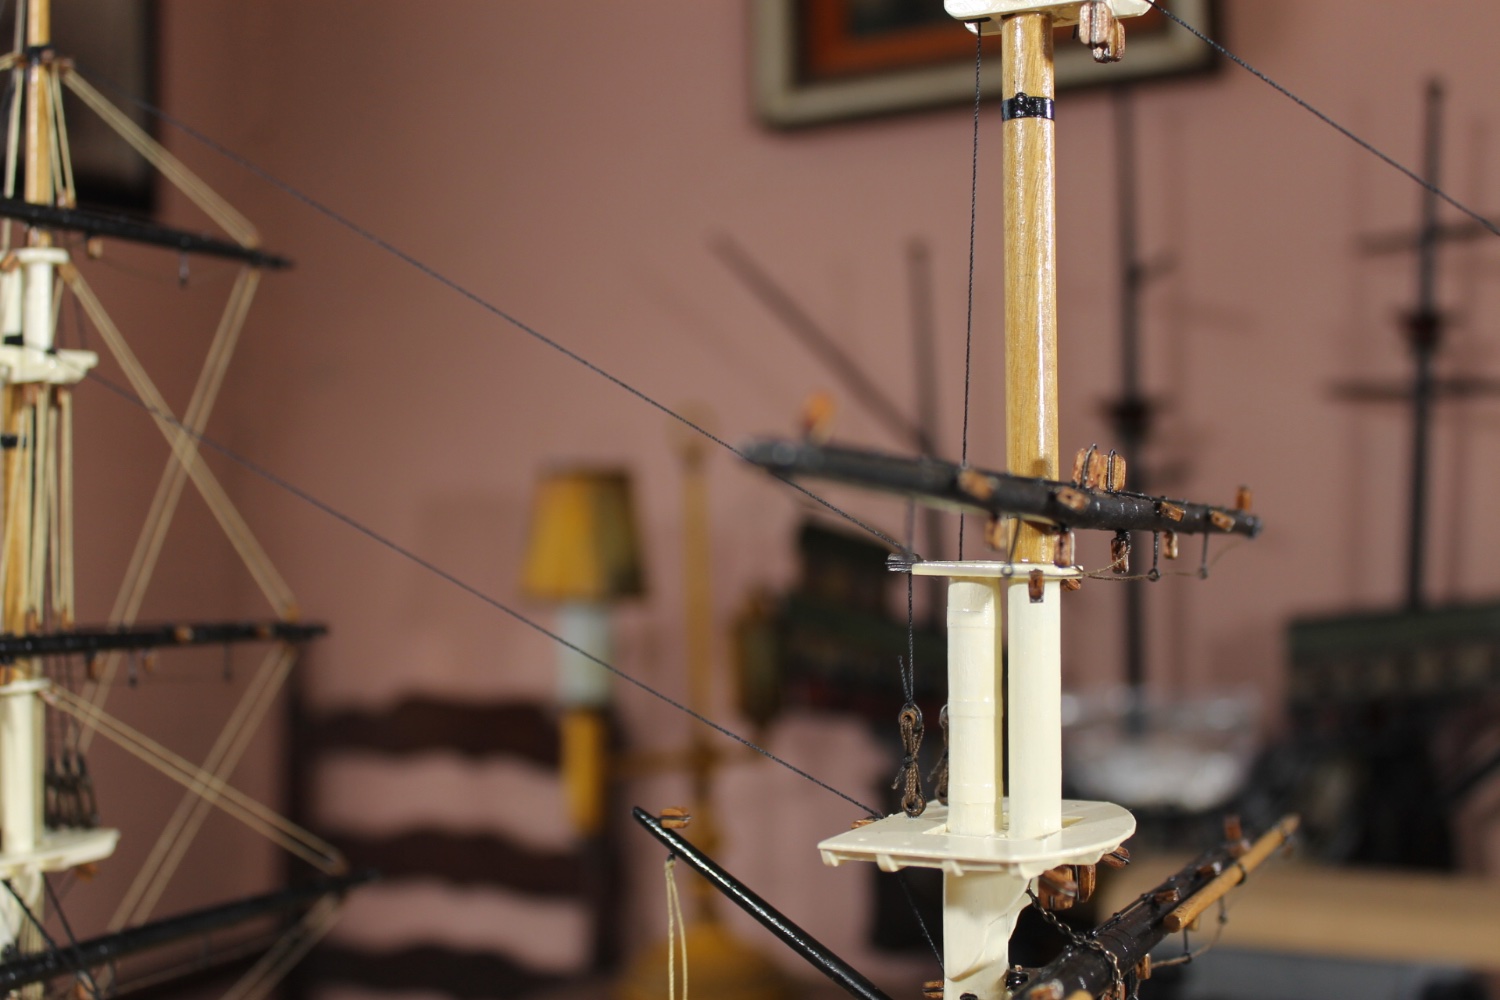
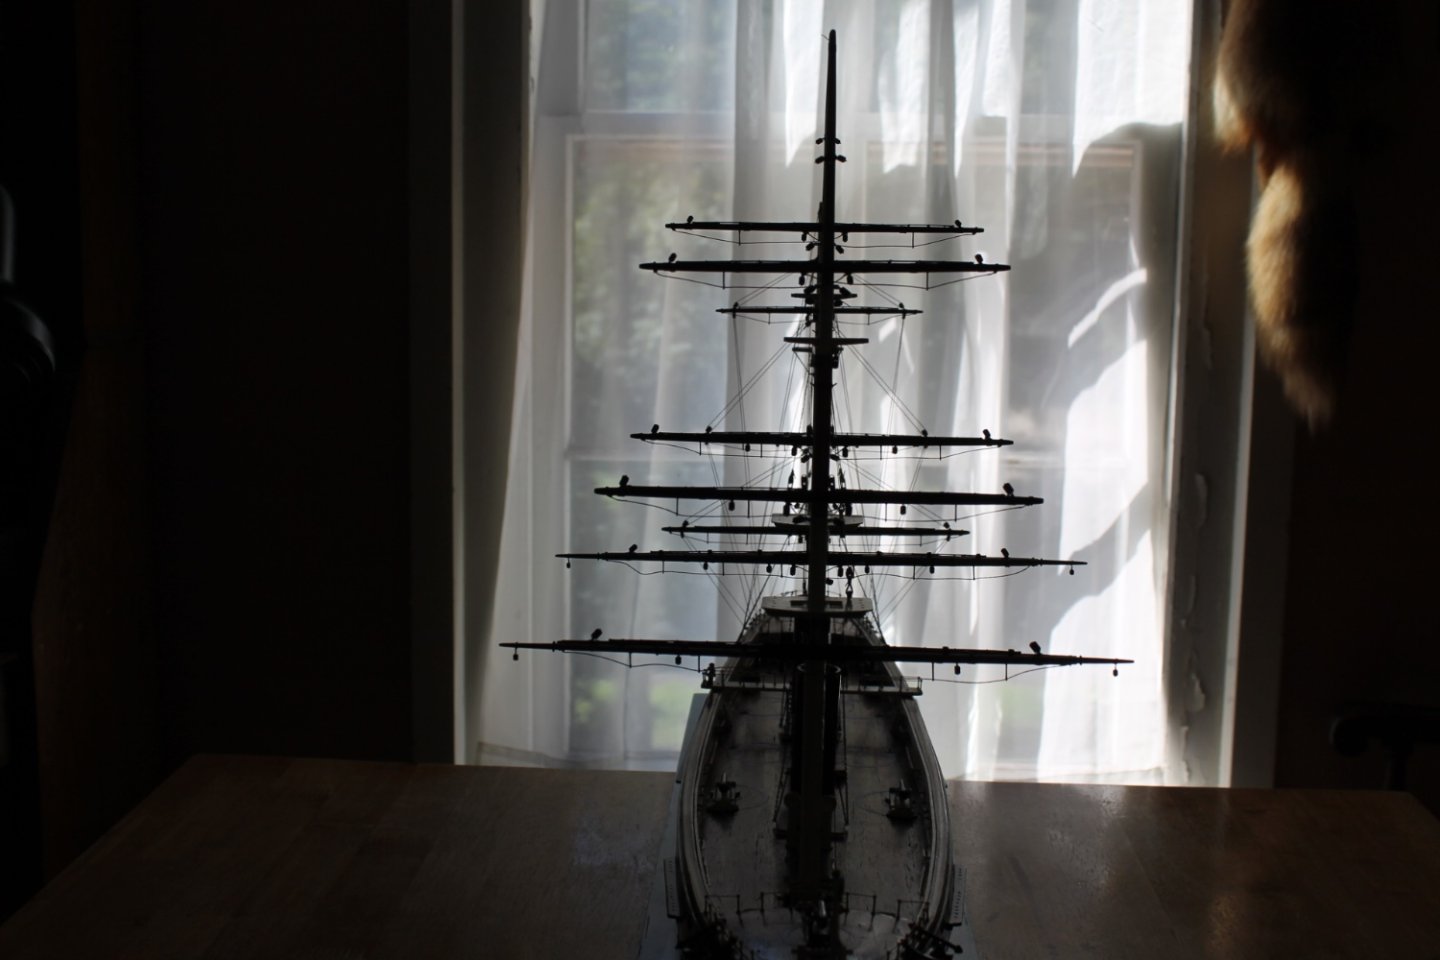
 Mark and Andy, thank you for the photography tips and Lyle, Kevin, Keith C, Brian, KeithAug, and Gary, thank you for your kind comments. I finally got a decent photo of the bulls eyes albeit only one pair. This taken with flash, using flash seems to be the only way I can get a good sharp close up. When I enter the room I use as the shipyard, before turning on the lights and starting work, the Tennessee greets me silhouetted in one of the south facing windows. There really are nine yards, the mizzen topsail is eclipsed. God bless and thank you to all for the likes and for following along on my journey.
-
11 anni di modellismo d'arsenale
Keith Black replied to MICHELE PADOAN's topic in New member Introductions
Michele, welcome to MSW. Your work is beautiful, glad to have you aboard. -
I haven't been having image issue. Everything looking good.
-
jake, welcome to MSW. Glad to have you aboard.
-
Use the approbate size (to model scale) wire. If you purchase annealed wire it's soft enough to peen the end.
-
Keith C, in this instance I agree. Forgive me as I'd gone brain dead regarding navigating in extreme northern climes.
-
Graig and Keith C, the problem I'm having is understanding how the helmsman could take advantage of the compass if the compass wasn't in his line of sight. I equate driving a car without being able to see the road with the ship's helmsman steering the required compass heading (road) without being able to see the compass? If he's dependent on the navigator to relay a "three degrees port" command to maintain course seems awkward at best. Steering to a needle makes much more sense to my pea brain. I do apologize for being so thick headed about this, I'm just having a difficult time comprehending the arrangement of having a navigator acting as a middle man relaying course corrections. If you guys are sick of hearing me yap, just say so because I'm getting tired of hearing me yap.
-
I guess this means no penguins, lions, tigers, and polar bears.
- 194 replies
-
- 3
-

-
- Bottle
- Treasure Fleet
- (and 3 more)
-
Craig brings up an interesting point that I've always wondered about. How often was the compass or compasses checked? If compasses were set to either side of the ship's wheel as in the case of the Tennessee, they were constantly monitored. But if a compass is stowed inside a cabinet or in an out of the way location, how often was it checked? If there wasn't a compass at the ready I would think the course would have been more zig zag than in a straight line which would have added sailing time to a voyage. I suppose that a lot of course correction would have been dependent on the direction of the wind and how steady the wind blew from a given direction. So, was the compass only checked when the sails were reset to accommodate a change in wind?
-
Glen, congratulations! That is so cool and you managed to stuff a herd of Longhorn in there too. Wait a minute, WAIT A DOGGONE MINUTE, your next project..........the Ark!
- 194 replies
-
- 1
-

-
- Bottle
- Treasure Fleet
- (and 3 more)
-
Roger, I've been following and things were moving along but I hadn't expected to see the progress represented in the last photo. All of a sudden, POP, the BN's presence showed herself. Well done.
-
Giuseppe, welcome to MSW. Glad to have you aboard.
-
NAIAD 1797 by Bitao - 1:60
Keith Black replied to Bitao's topic in - Build logs for subjects built 1751 - 1800
Bitao, each new post is more impressive than the last. Your model is a testament to your skills as both craftsperson and artist. -
The hull turned out great. Nice going, MCB.
-
Grant, you'll undoubtedly hit it out of the ballpark.
-
Congratulations, Glen. She looks right smart and right at home, perfect.
- 194 replies
-
- 2
-

-
-
- Bottle
- Treasure Fleet
- (and 3 more)
-
Grant, I don't know if you're familiar with Gary's work but he provides tons of helpful hints for building dioramas.
-
Simon, I think it's something far less sinister, Ebooks. As Ebooks gain in popularity most branch libraries are eliminating the number of printed books and leaving printed materials to be housed by the main libraries.
-
Jerry, welcome to MSW. Glad to have you aboard.
-
I love the BBC show Escape to the Country, what part did she settle into, Keith? The mast work is beautiful.
-
See page 7 of the below link and note the binnacle on the left was used by the British Royal Navy in 1839. The base was 18 inches square and 24 inches high. http://www.balogh.com/binnacleflyerad.pdf