-
Posts
6,706 -
Joined
-
Last visited
Content Type
Profiles
Forums
Gallery
Events
Everything posted by Keith Black
-

Hello from Minnesota, a few modeling questions
Keith Black replied to Scratchie's topic in New member Introductions
Scratchie, welcome to MSW. Glad to have you aboard. -
Keith, you could model the engines, boilers, and engine room components as a separate display. With your tool skills a steam engine model is right up your alley.
-
Bruma, I think everything looks great! As the builder you're going to be much more aware of subtle building differences than we viewers.
- 399 replies
-
- cutty sark
- revell
-
(and 2 more)
Tagged with:
-
The Cangarda is an interesting and neat yacht but it's not the beauty Ena is. Ena's beautifully executed deck features and lounge look a lot like that of the Germania, IMHO.
-
I'd love to see you build a steam yacht, Keith. I'd be more than happy to help you search for photos. Here's a pretty neat candidate. https://www.boatsales.com.au/editorial/details/ena-up-for-auction-51056/
-
FD, welcome to MSW. Glad to have you aboard.
-
Marty, welcome to MSW. Glad to have you aboard.
-
Ross, welcome to MSW. Nice looking Beagle. Glad to have you aboard.
-
Bruce, welcome to MSW. Glad to have you aboard.
-
Lester, my apologies for hijacking your log.
-
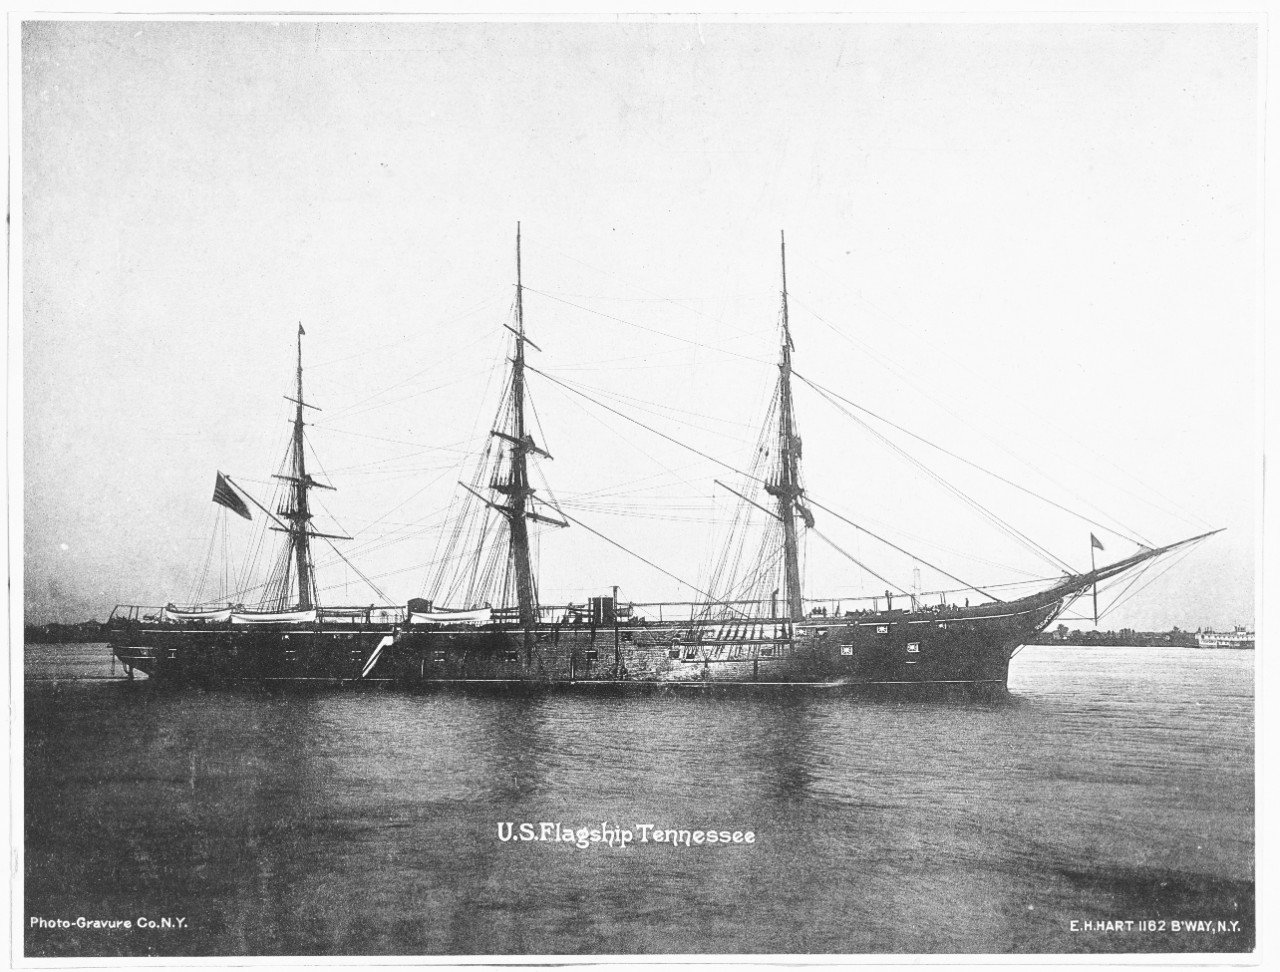
Steven, thank you for asking. Short answer is no. After posting the above the other day I put the Amelia on the worktable and thought to myself, I need to finish this project. So, after two and a half years of neglect I'm on a mission to finish her. I've sailed into the dreaded doldrums with the Tennessee so a change maybe just the ticket. A ragging debate is going on inside my head as I consider sails or no. I feel somewhat obligated to add sails as that is the way the model was finished. The original sails are rotten so new sails would have to be made. I'm not a big fan of sails as I think they hide a lot of the modeler's work. I would like to upgrade the rigging a tad with blocks (single only) but blocks weren't original to the model so that inner debate continues. Also, eyelets were not used, lines was simply tied off around nail heads. if I add blocks I would want to add eyelets as well. I welcome all thoughts and suggestions.........please.
-
Juan, welcome to MSW. Glad to have you aboard.
-
Lester, welcome to MSW. Glad to have you aboard. You can view my restoration efforts on the same type of decorator model in the log below. Best of luck to you.
-
Ross, welcome to MSW. Glad to have you aboard.
-
SJI, welcome to MSW. Glad to have you aboard.
-
Grant, I'm right there with you. I didn't discover Glen's latest till yesterday afternoon. I've got a old cowbell we need to tie around his MSW profile to help keep tabs on his activities.
- 134 replies
-
- Captain Kidd
- bottle
-
(and 3 more)
Tagged with:
About us
Modelshipworld - Advancing Ship Modeling through Research
SSL Secured
Your security is important for us so this Website is SSL-Secured
NRG Mailing Address
Nautical Research Guild
237 South Lincoln Street
Westmont IL, 60559-1917
Model Ship World ® and the MSW logo are Registered Trademarks, and belong to the Nautical Research Guild (United States Patent and Trademark Office: No. 6,929,264 & No. 6,929,274, registered Dec. 20, 2022)
Helpful Links
About the NRG
If you enjoy building ship models that are historically accurate as well as beautiful, then The Nautical Research Guild (NRG) is just right for you.
The Guild is a non-profit educational organization whose mission is to “Advance Ship Modeling Through Research”. We provide support to our members in their efforts to raise the quality of their model ships.
The Nautical Research Guild has published our world-renowned quarterly magazine, The Nautical Research Journal, since 1955. The pages of the Journal are full of articles by accomplished ship modelers who show you how they create those exquisite details on their models, and by maritime historians who show you the correct details to build. The Journal is available in both print and digital editions. Go to the NRG web site (www.thenrg.org) to download a complimentary digital copy of the Journal. The NRG also publishes plan sets, books and compilations of back issues of the Journal and the former Ships in Scale and Model Ship Builder magazines.


