king derelict
-
Posts
3,293 -
Joined
-
Last visited
Content Type
Profiles
Forums
Gallery
Events
Everything posted by king derelict
-
Hi Jack Thank you very much for the detailed help you have provided and all the time it must have taken you to work on it. The Pentax was bought primarily for outdoor use and it generally works well out there and the waterproofing is a great help in canoes, kayaks and rainy days in the hills. I have made up a couple of foil covered boards to reflect light into the dead spots and I'll try softening the light sources. I did find a white reflector from my old SLR / 35 mm days that I had forgotten all about. I will give that a try too. The D range function (never explored that) looks like you can set highlights and shadows to an auto function, switch it off or fixed to on. I will given that a try too. The camera has a raft of options that I need to take time to play with. I thought it had an Av option but I'm wrong; I thought you could do it through the "green button" but that only allows you to retain a series of options like EV compensation instead of setting it each time The castle is sat on the dining table but hopefully a new end table will show up in the next few days and it will be relocated. That will be a great oportunity to shoot the photos again and try some options and maybe get some improvements. Once again thanks for the research and all the great tips. Alan
-
Mike The circle cutter looks like a handy tool to have. Do you have a few more details or a picture? Thanks alan
-
This is a magnificent work. Congratulations alan
-
A lovely delicate work. Congratulations alan
-
Great work with the printer alan
-
Thank you very much Ken. I think it works as modern illumination of an old castle Next up something with a bit more historical credibility alan
-
Beautiful delicate work and an interesting subject alan
-
The mud looks great. I think wet mud is hard to make convincing- sometimes it just looks like gloss brown but you’ve got it this time. i do wonder about some of the “water” products and how they compare to gloss medium etc. I was browsing for my next project and found someone is selling Atlantic water, pacific water and many other varieties. I think I’ll be sticking with the gloss medium this time alan
-
Hi Jack yes that’s the one. I remember the Pentax 110 and the K. I went the Olympus route with an OM-1 (still got it) and a couple of AX-1. I sort of miss 35mm film. Thanks for the help alan .
-
I think this is going to be superb work and very unusual . I’m looking forward to seeing it develop alan
-
Thank you very much Mark It feels a bit strange to not be doing something more to it. Its been quite a project. Mostly fun and suddenly it looks good at the end. Alan
-
Thank you very much. This is the first time I have wired up a model but I confess to sliding over and switching on the lights at frequent intervals Alan
-
Thank you very much for the kind words EG. And thank you again for the help along the way. This one had all teh elements; repetition, frustration but plenty of scope to improve and create. I don't see many of these kits come to fruition so its been great to have built and improved this one Thanks again Alan
-
Thank you very much Andrew I'm pleased with the end result although I'm aware of the areas I could have done better. I think I will be appearing back in the maritime section with a few short builds to have fun with before ramping up again. I have a couple of ideas Alan
-
Thank you Phil Alan
-
Thank you Craig Its been quite a journey but a lot of useful learning - and I'm still trying to find a home for the diorama somewhere visible in the house. Alan
-
Thank you very much Jack. You gave me some great help along the way. The camera is a Pentax WG-4 waterproof (sort of) point and shoot. It does have a series of modes from a basic programmed mode through aperture or speed priority. I'm still experimenting to find the best options. I can get decent results for the smaller models but the castle is big and I have not done too well with it so I would welcome any assistance Alan
-
Thank you Mike. There were times when the walls seemed to be rising slower than the real thing but I think it was worth it. Alan
-
Thanks Andy and thanks for teh landscape suggestions too Alan
-
Thank you very much OC. I think it was a great project and the end result is satisfying to me. I'm not sure I want to make a habit of the Aedes Ars kits. I have another castle tucked away but its not going to get opened this year. Alan
-
The method of making the spoked wheels looks very effective and not too complicated. Excellent work alan
-
The different grass types really work well together. I'm curious to see the static grass in use. Diomramas make a huge difference to the models. It’s a shame they take up so much space alan
-
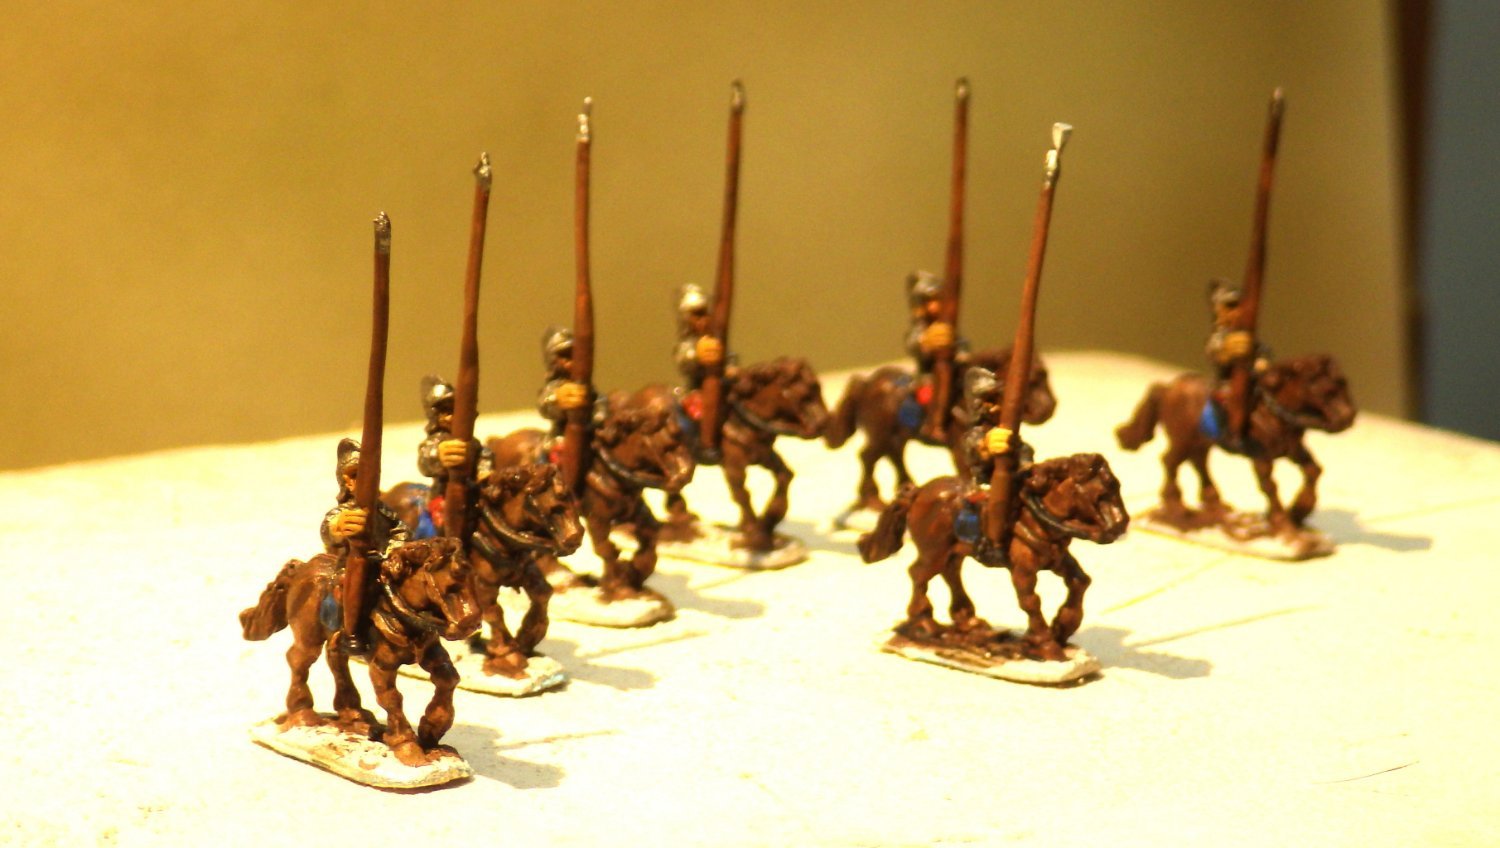
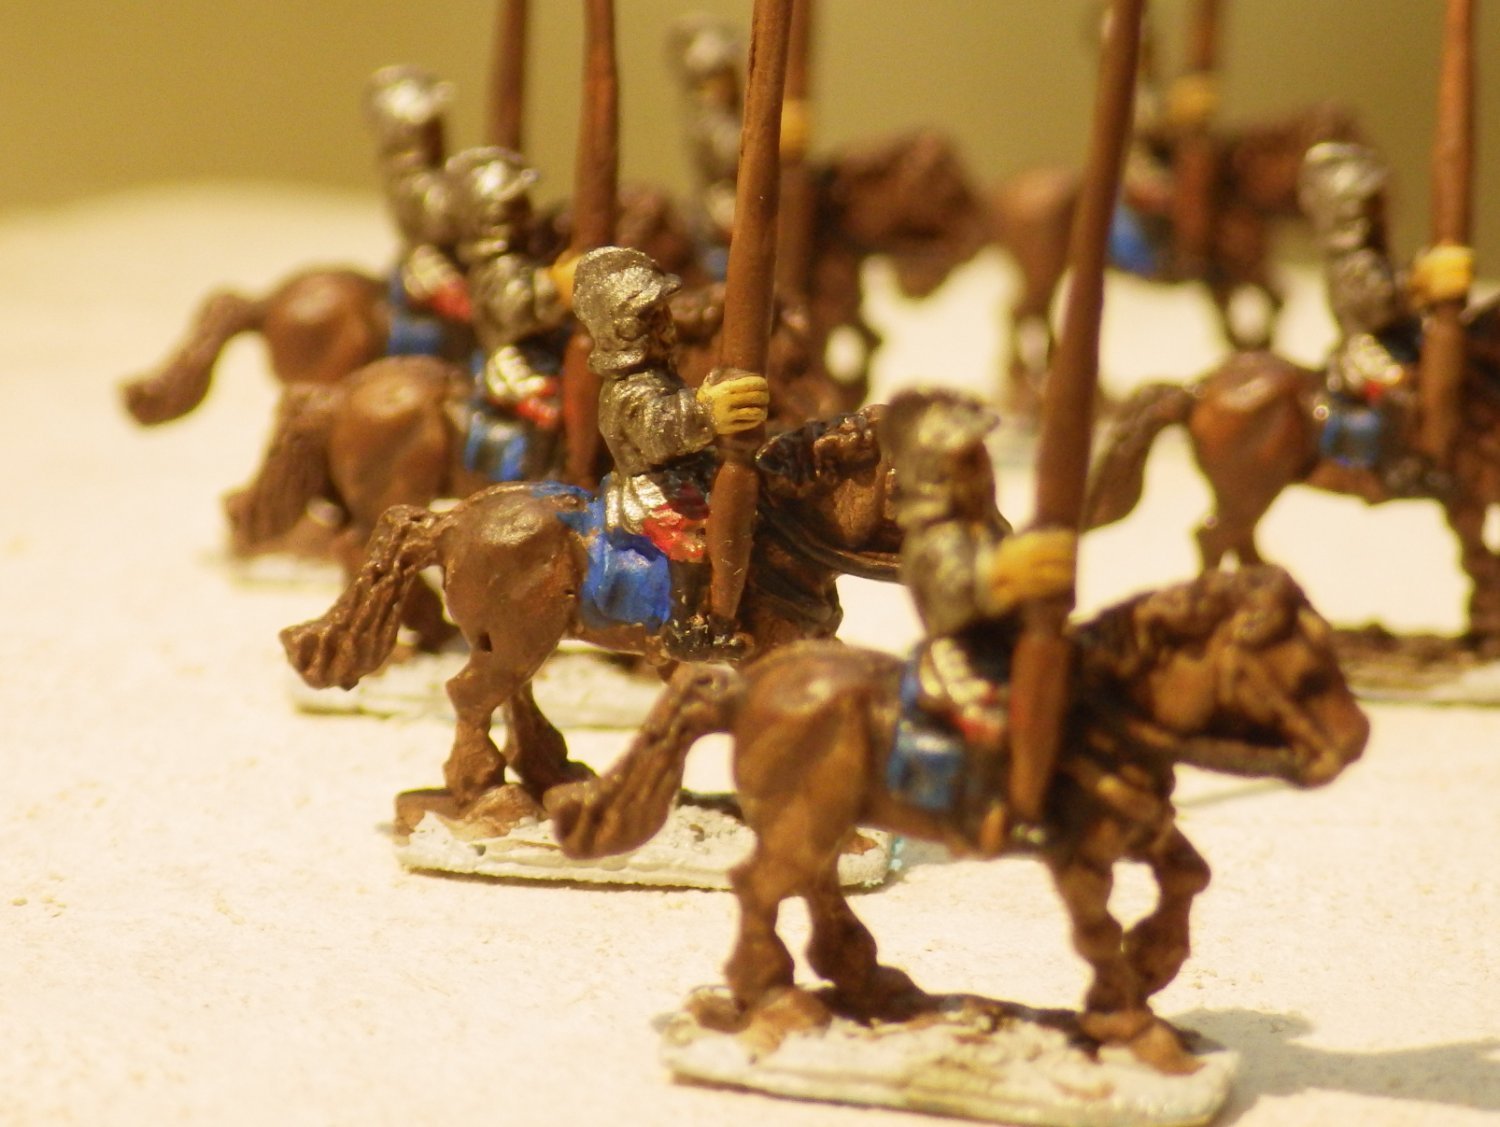
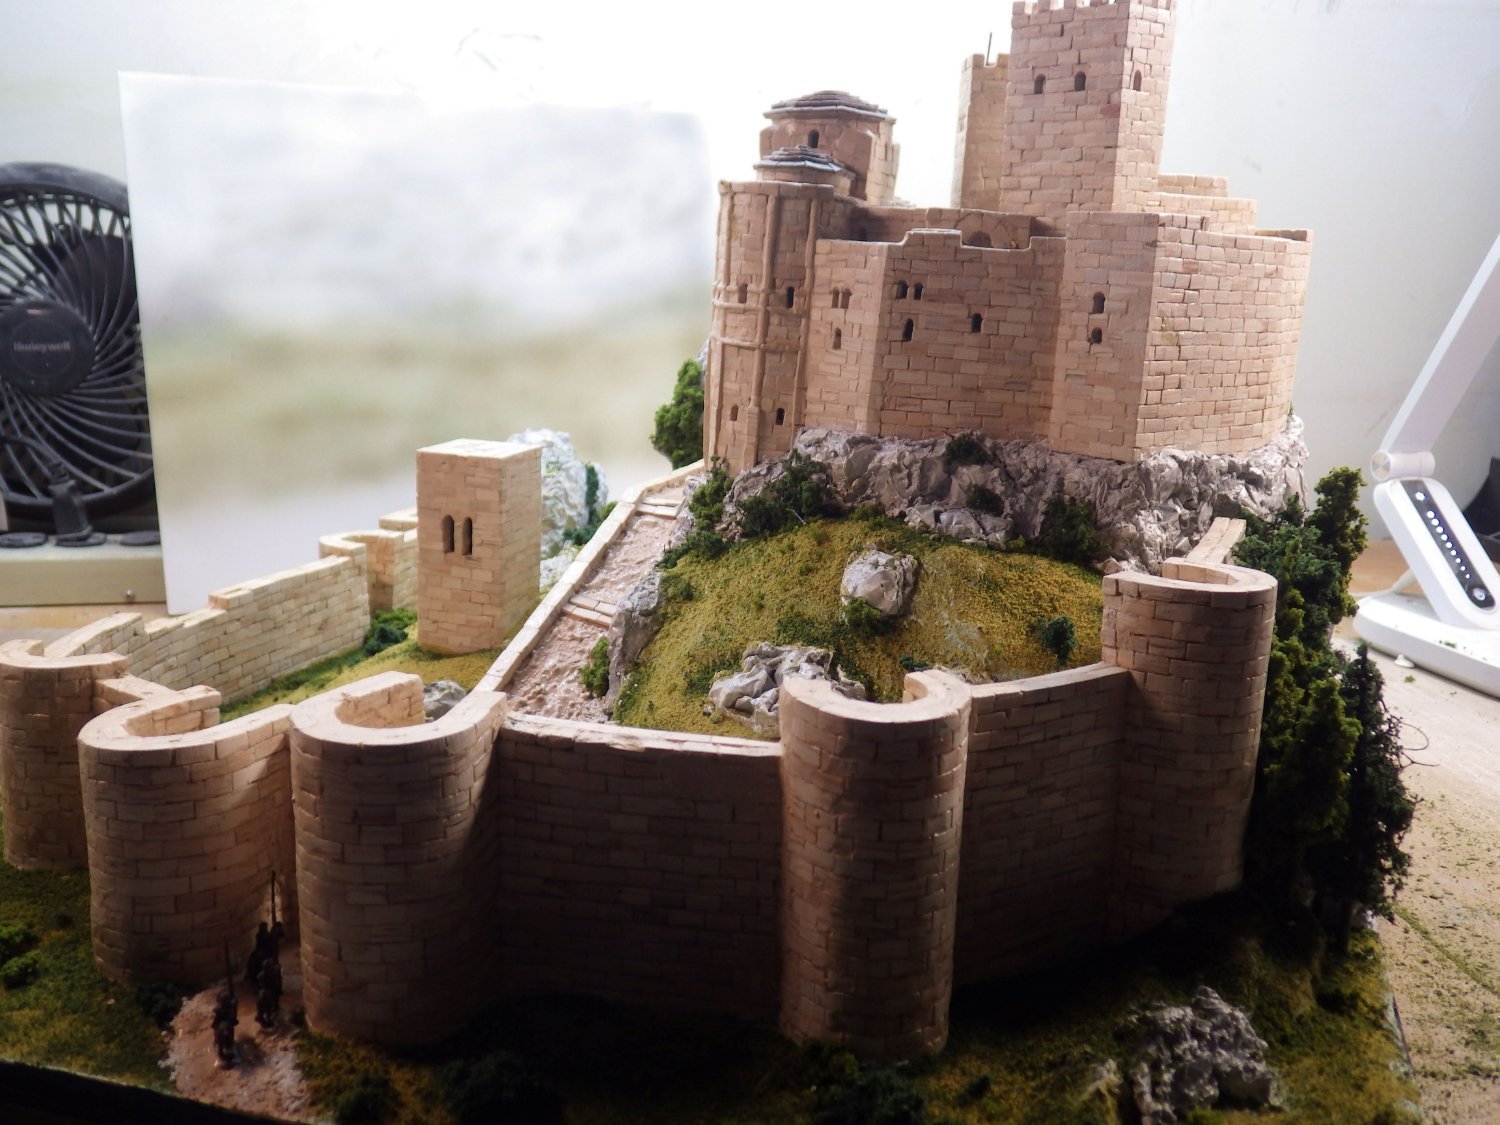
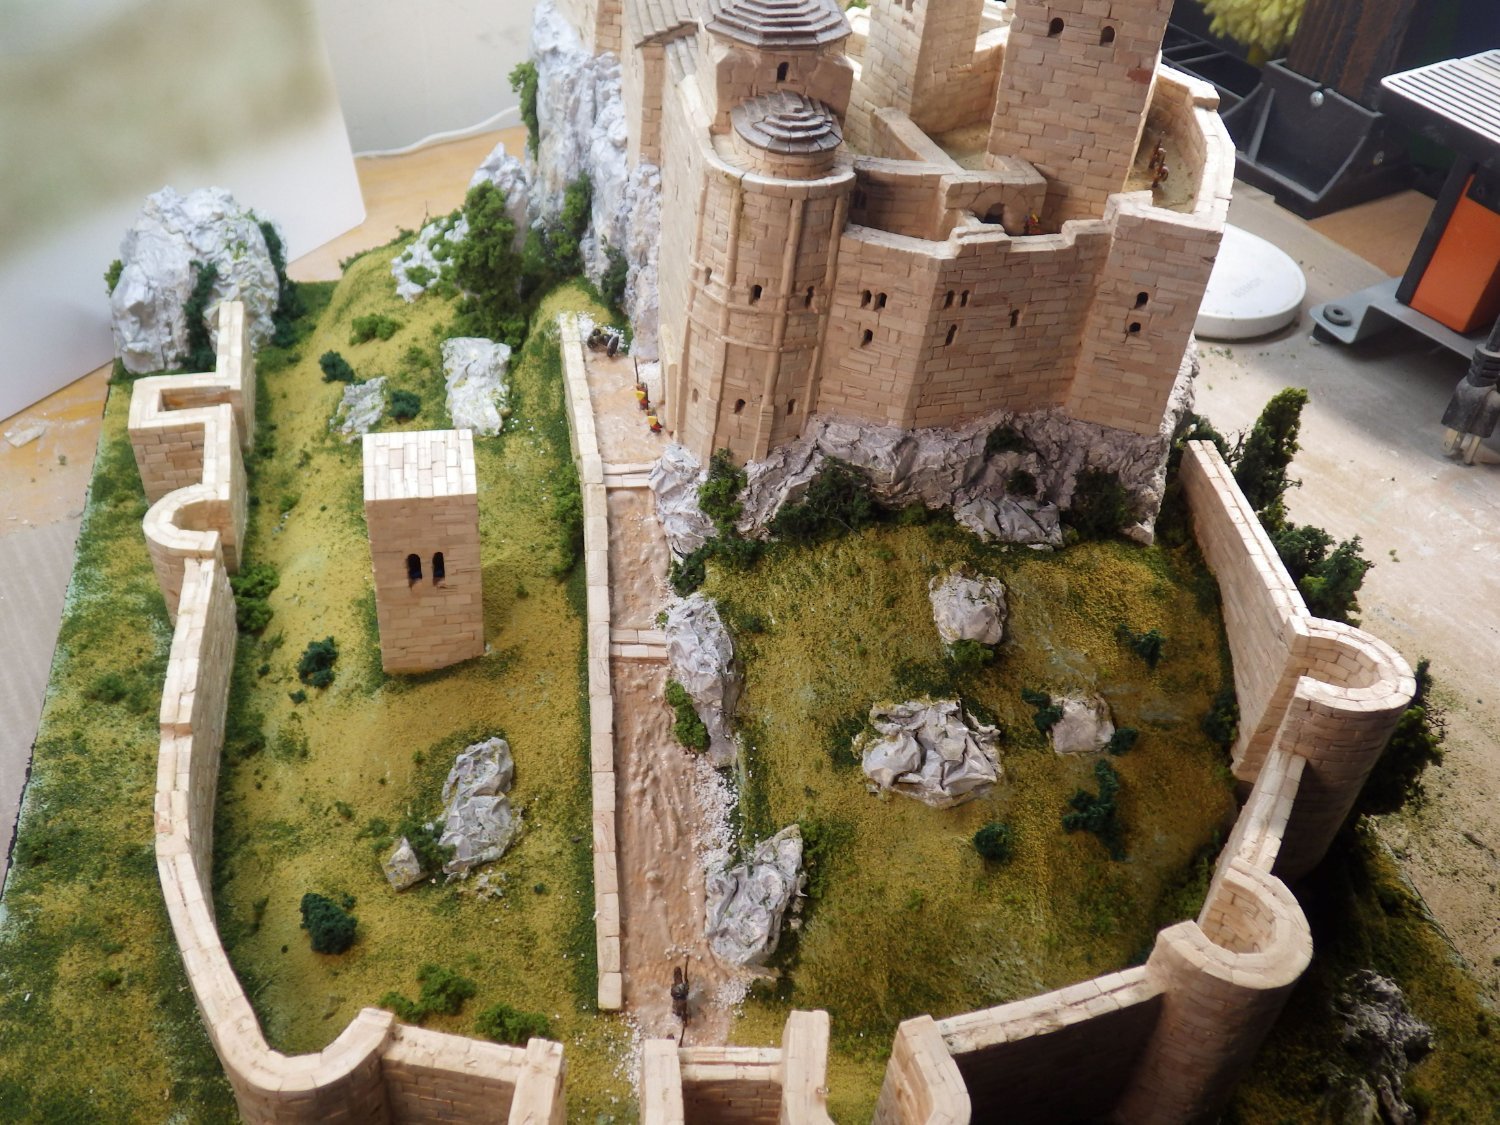
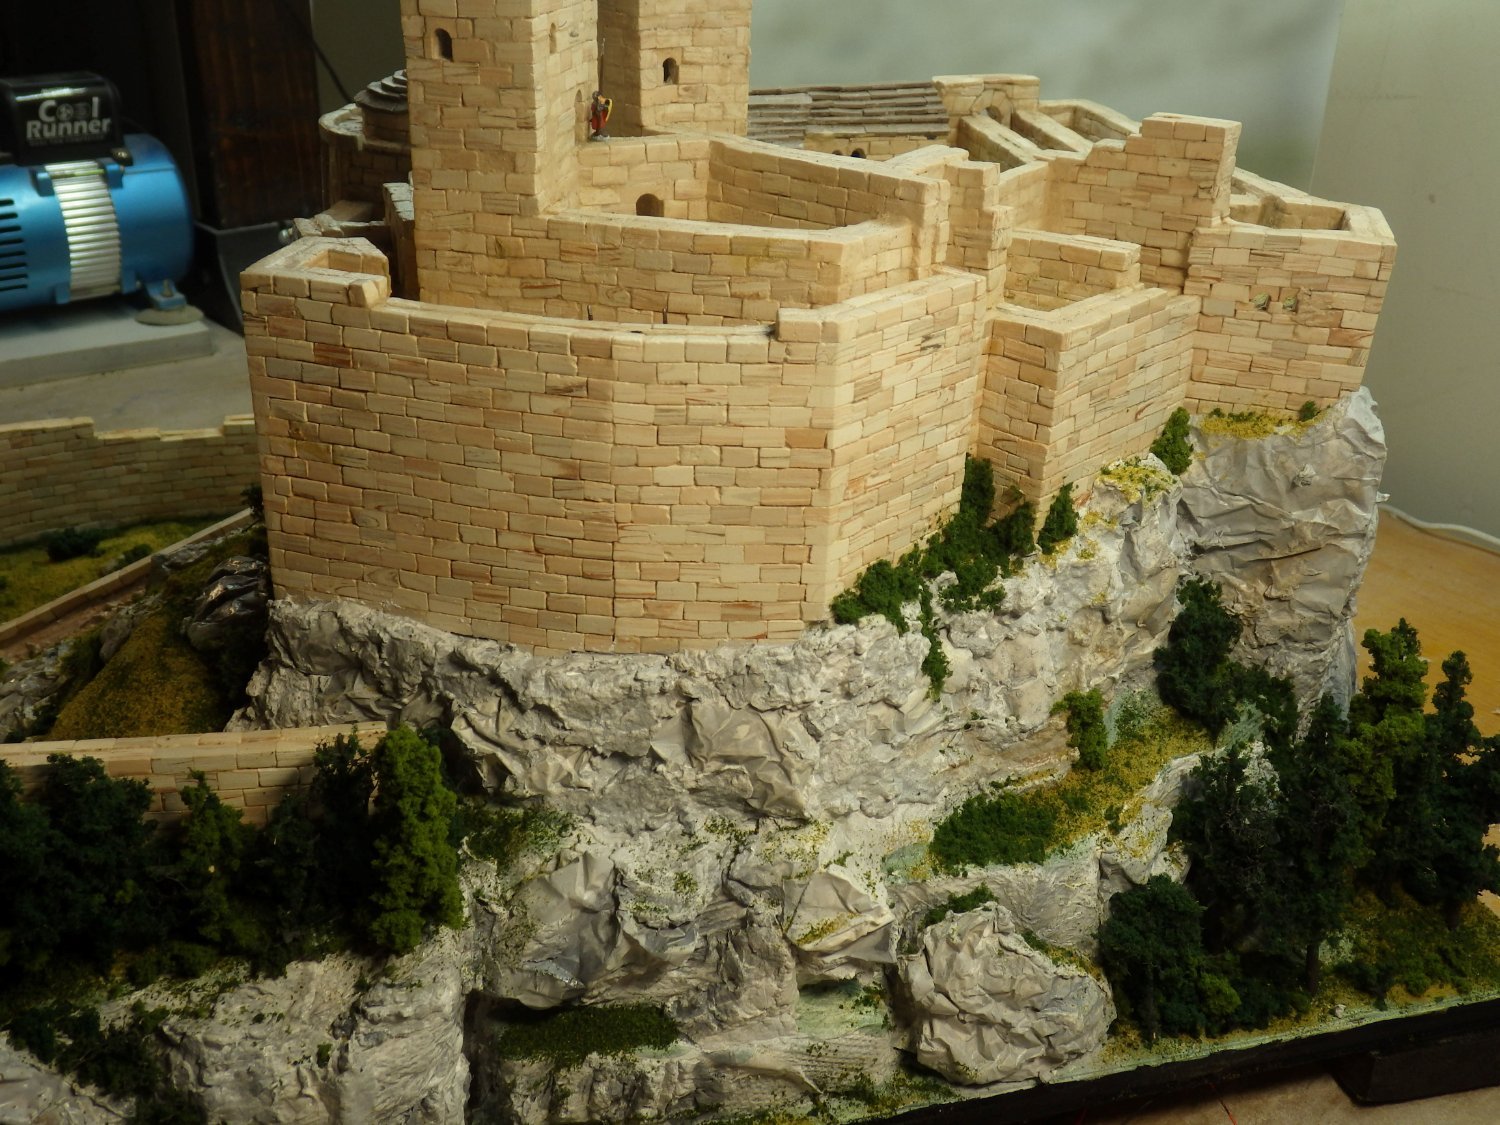
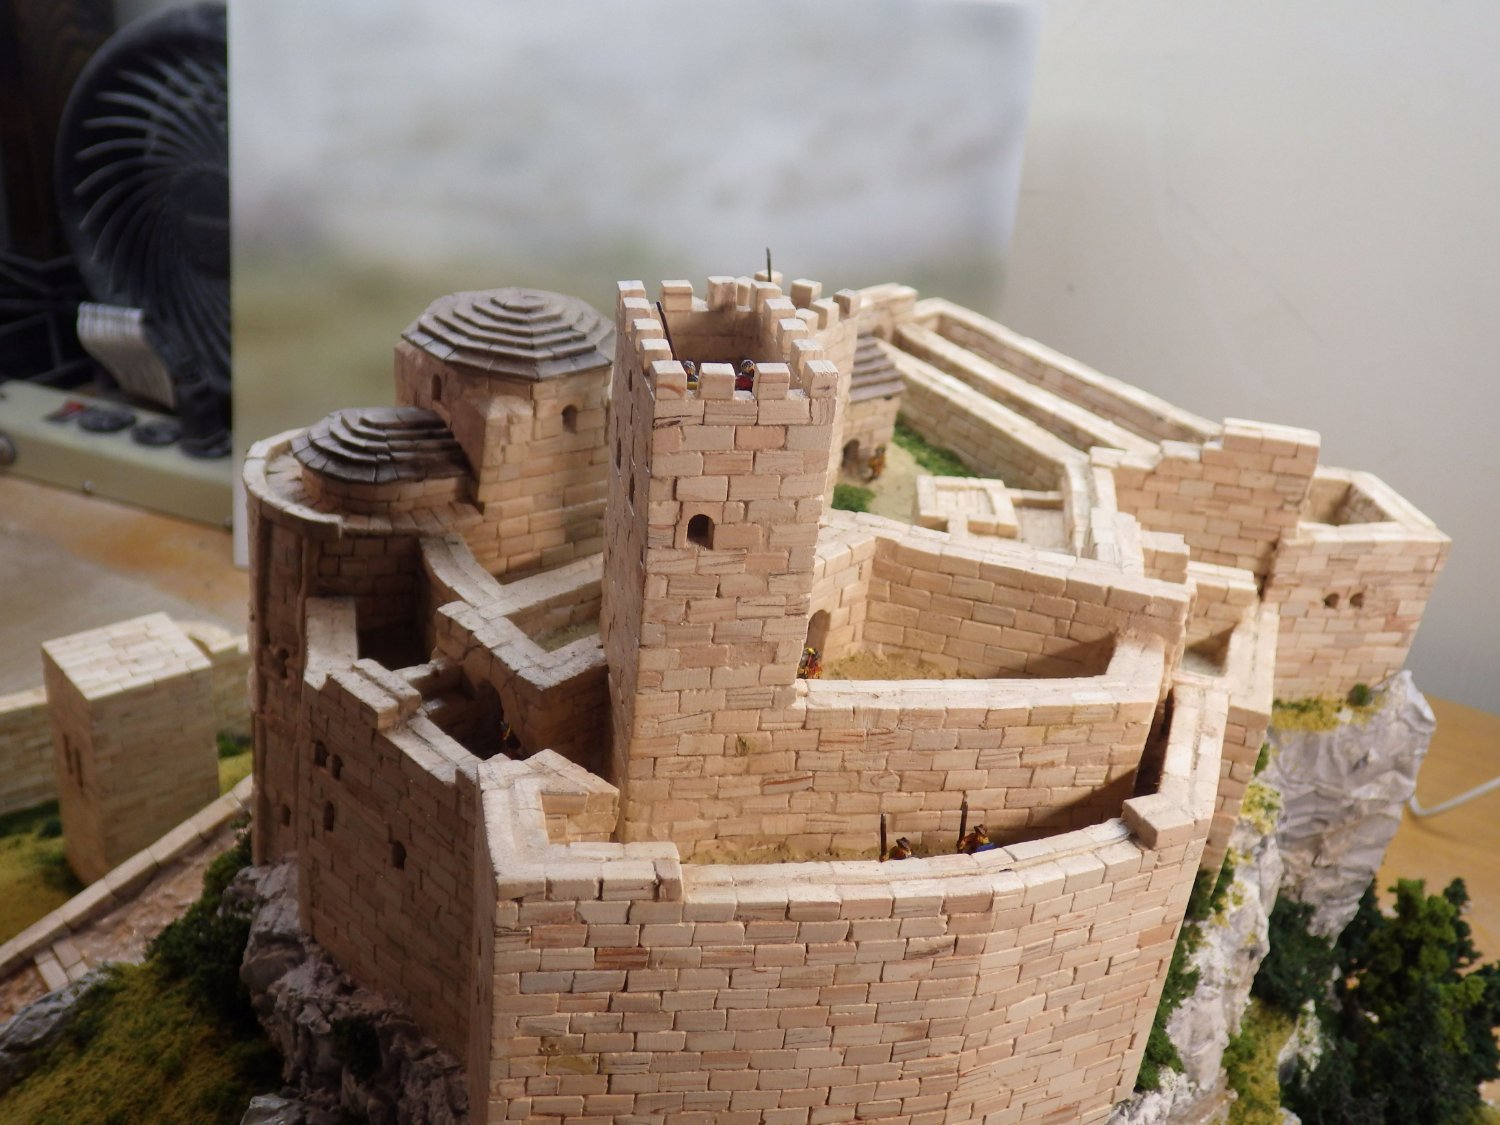
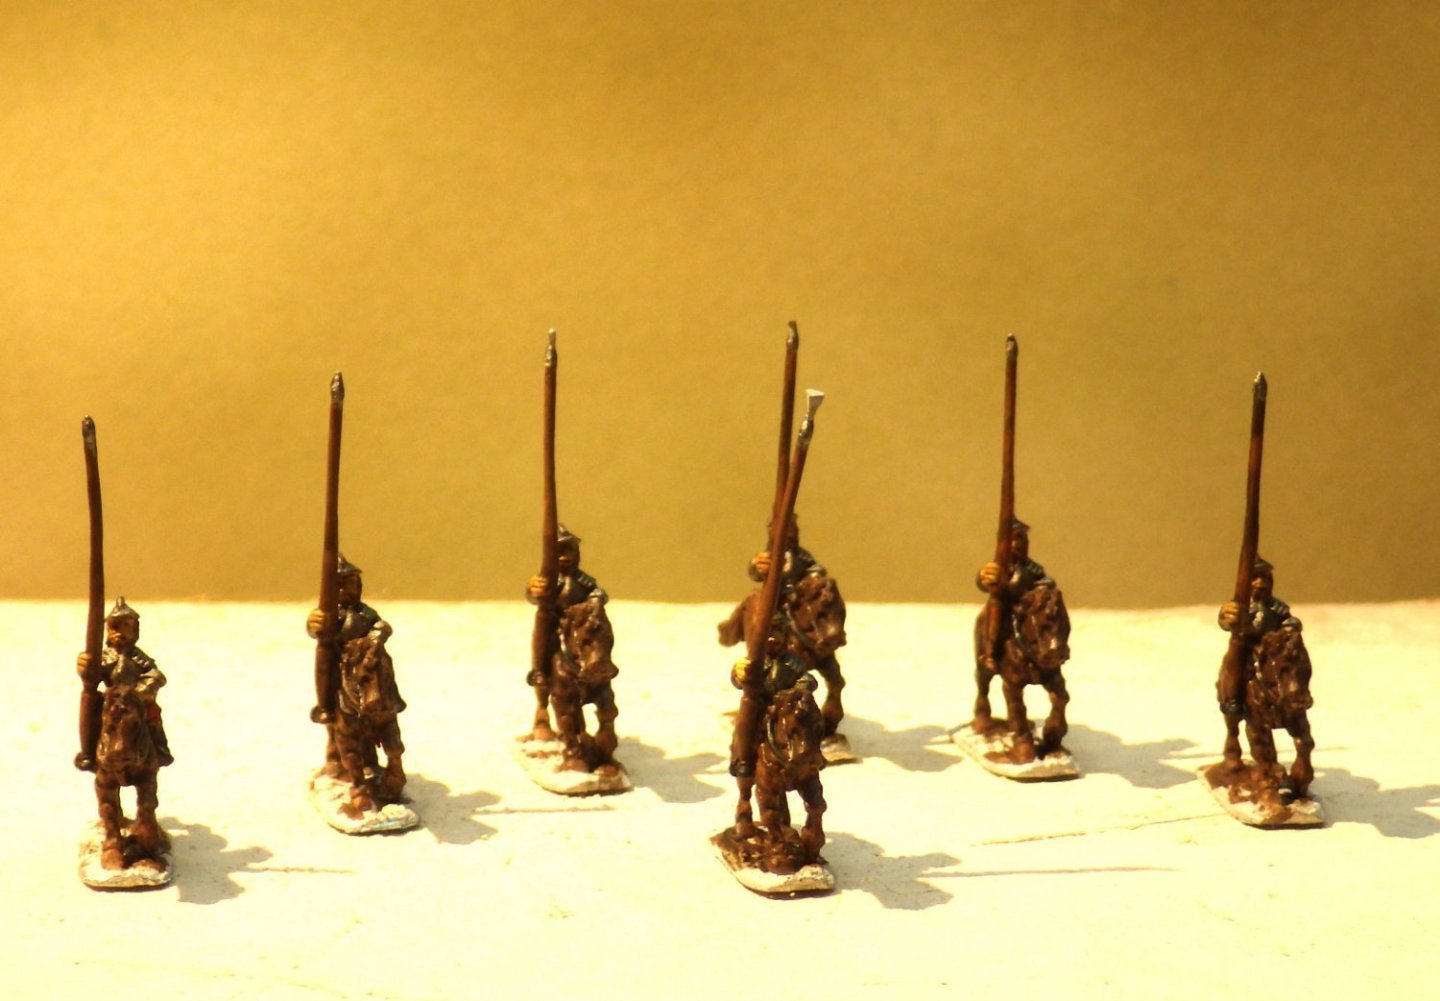
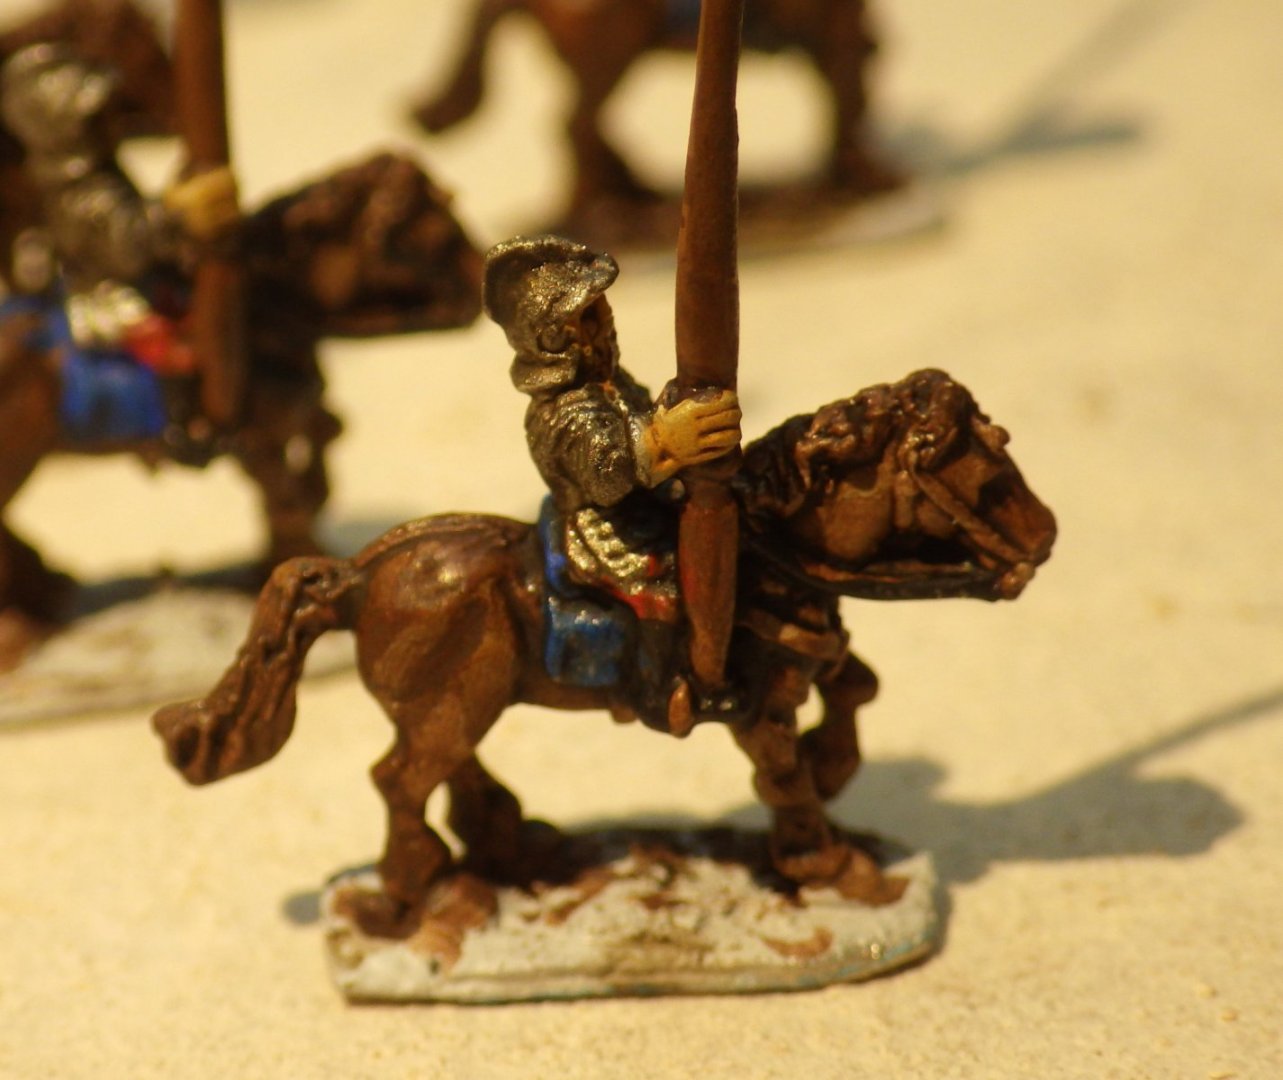
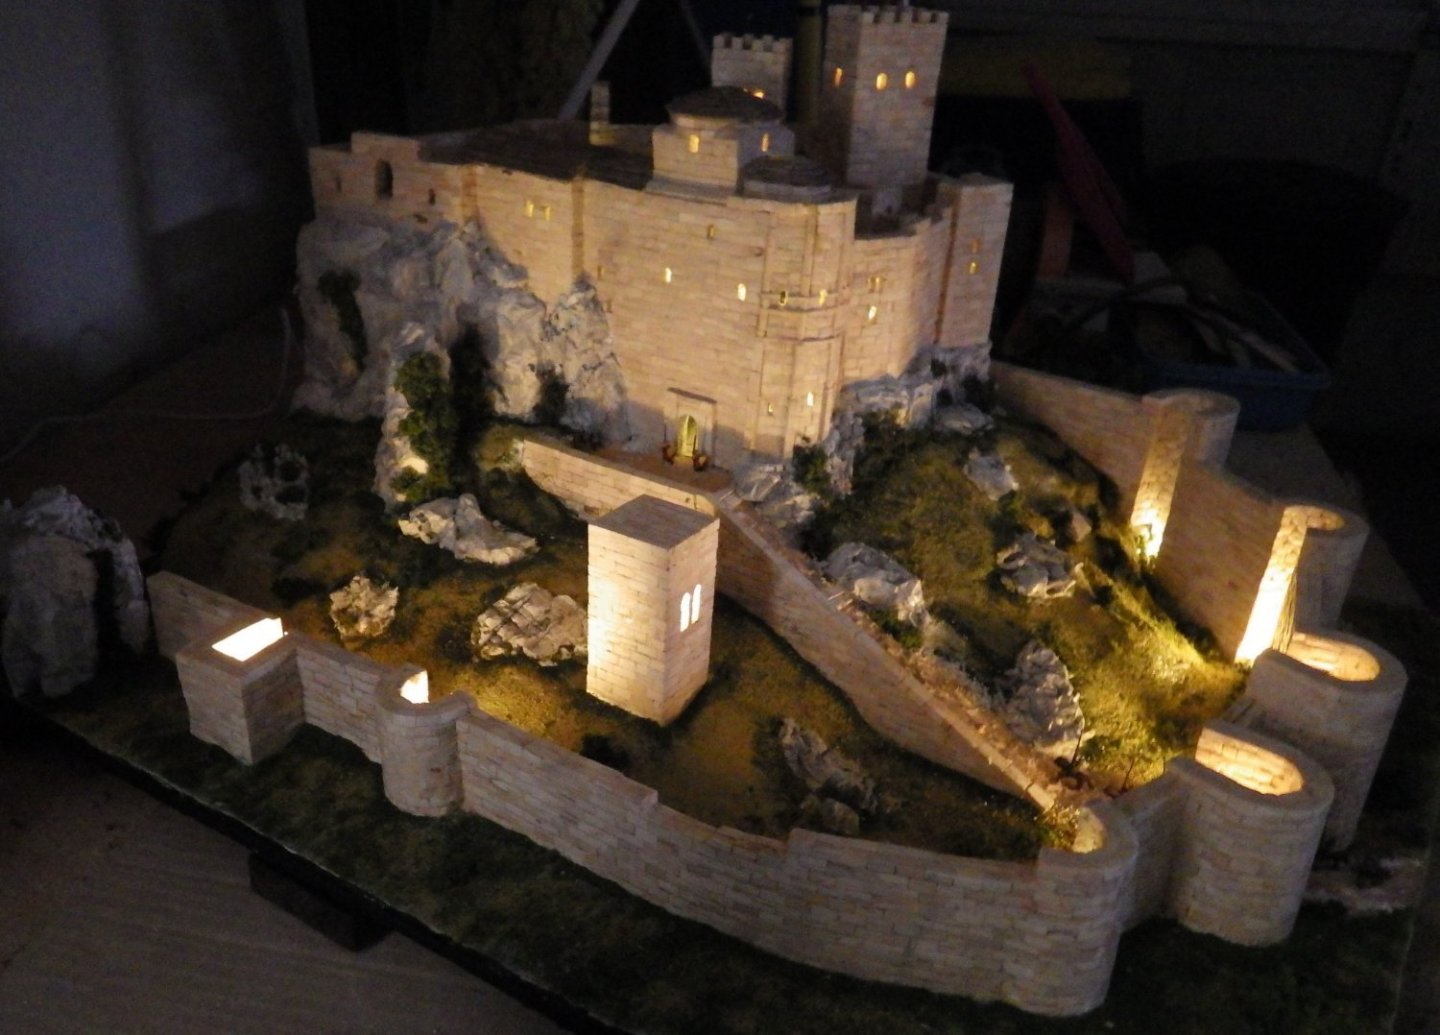
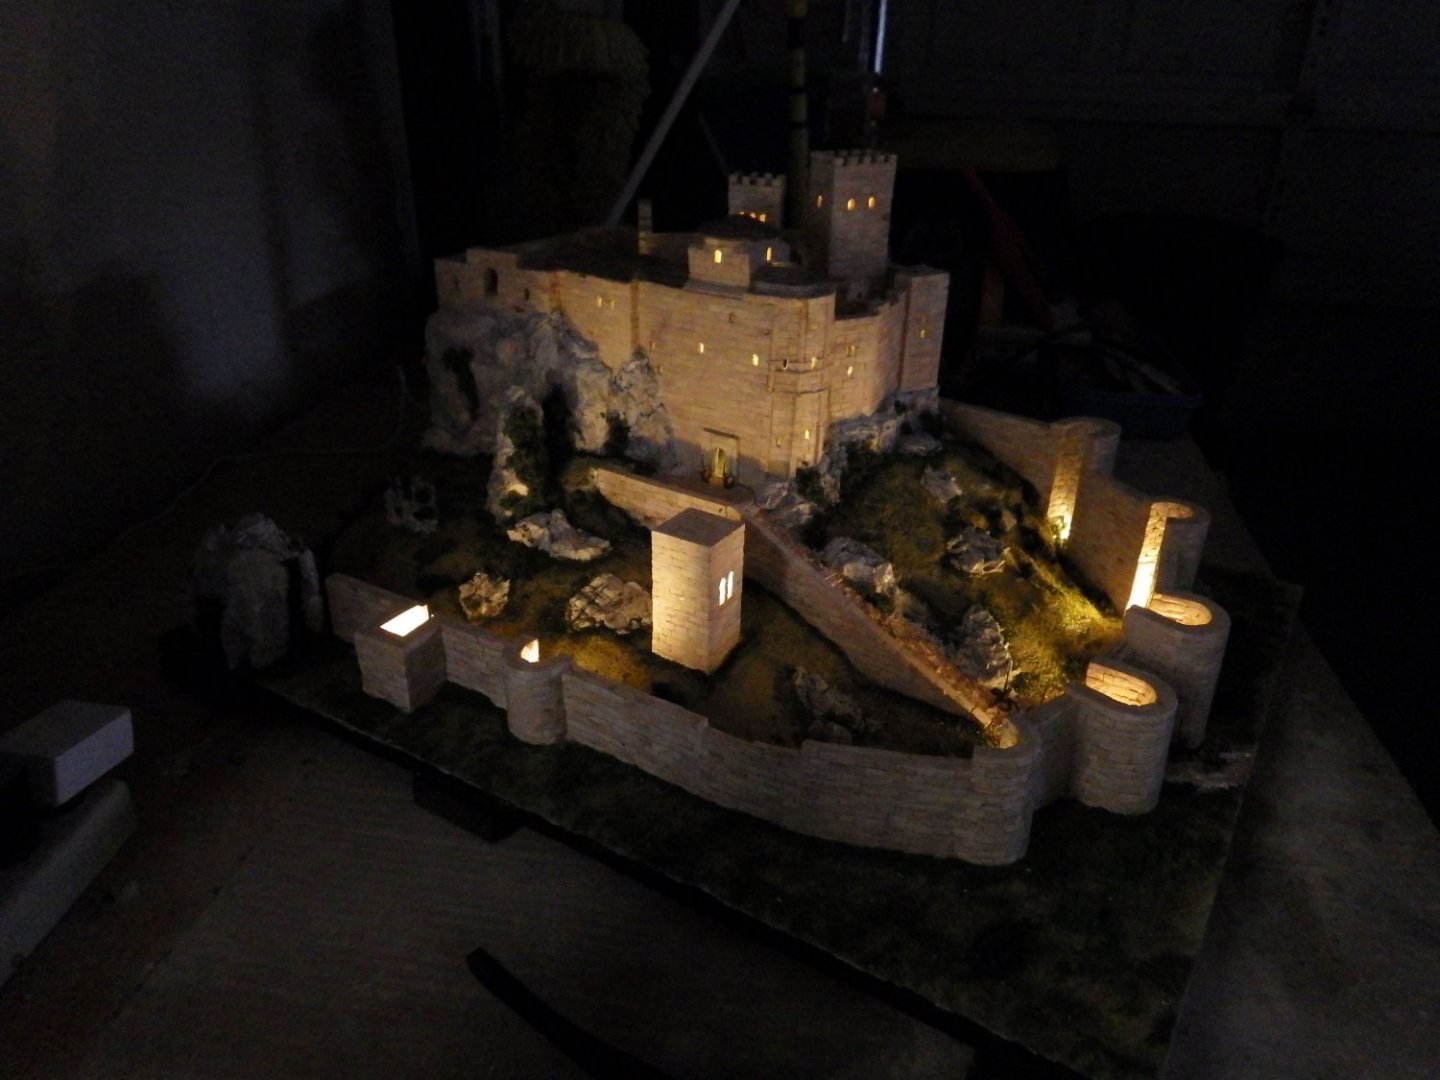
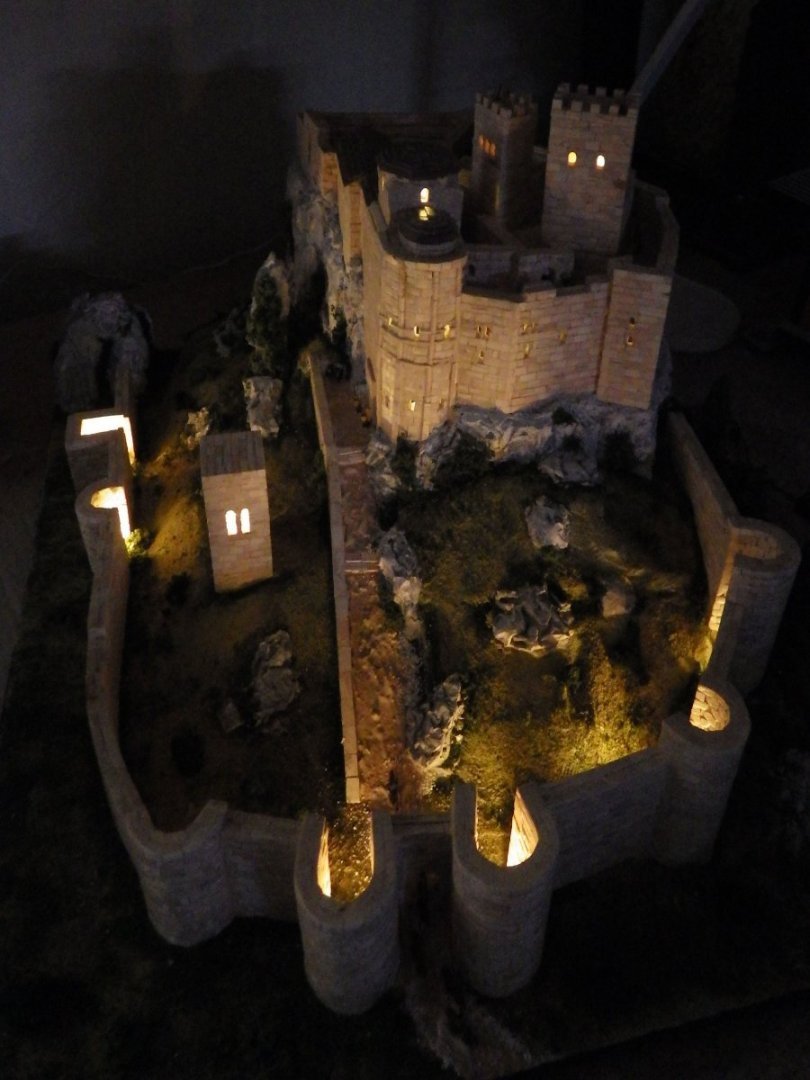
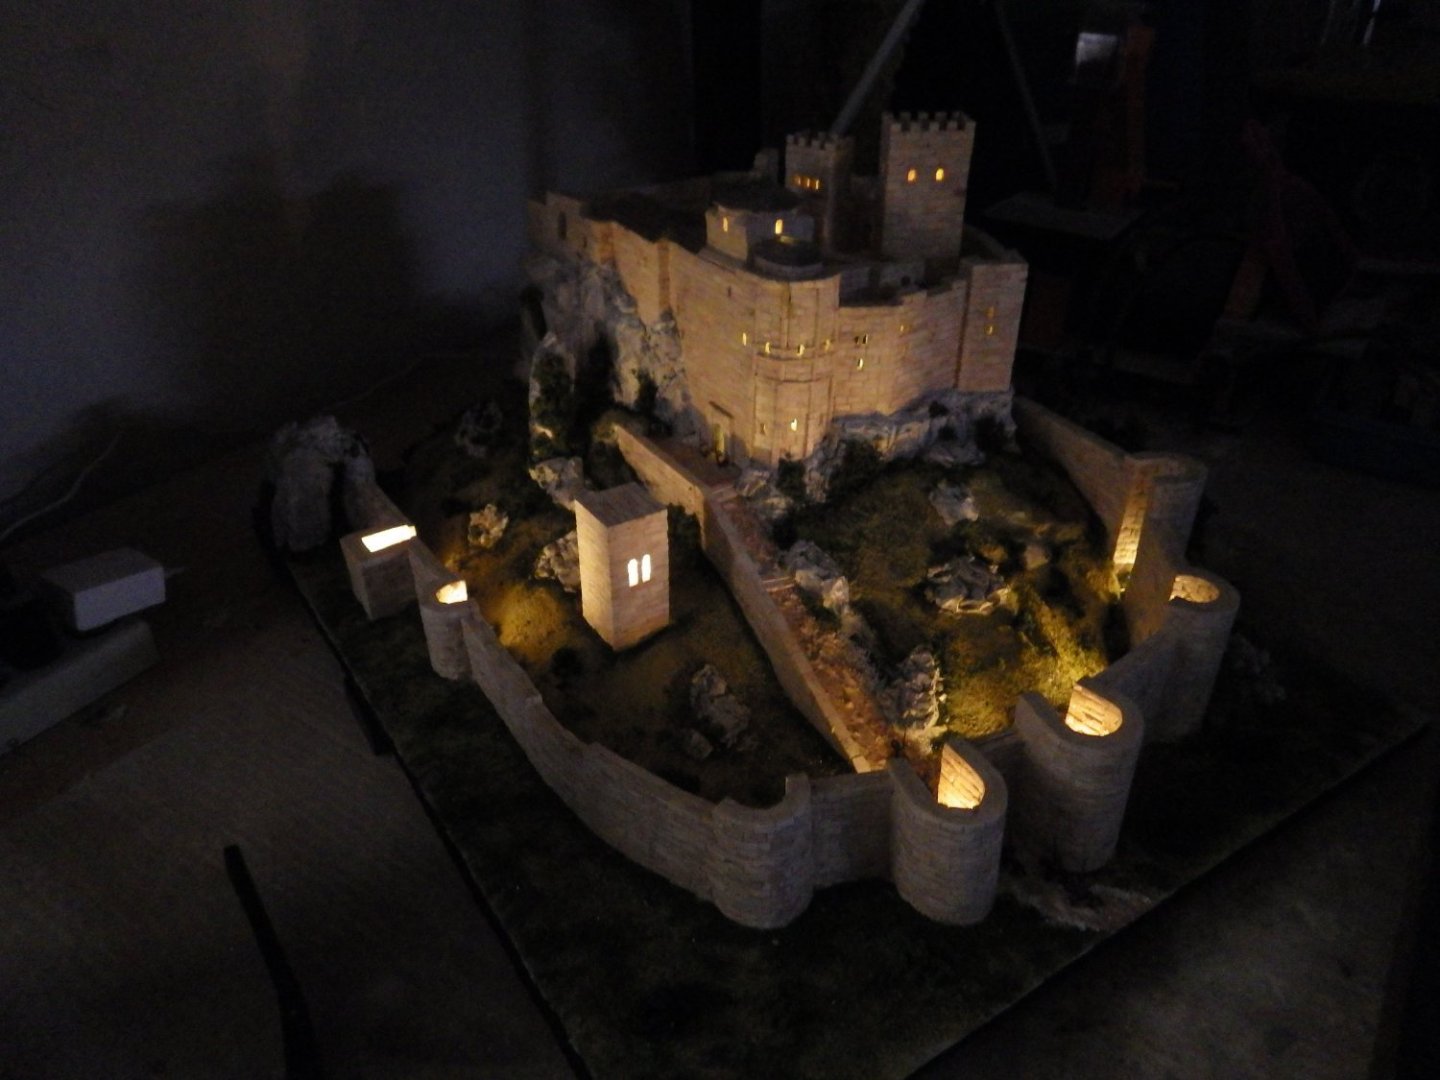
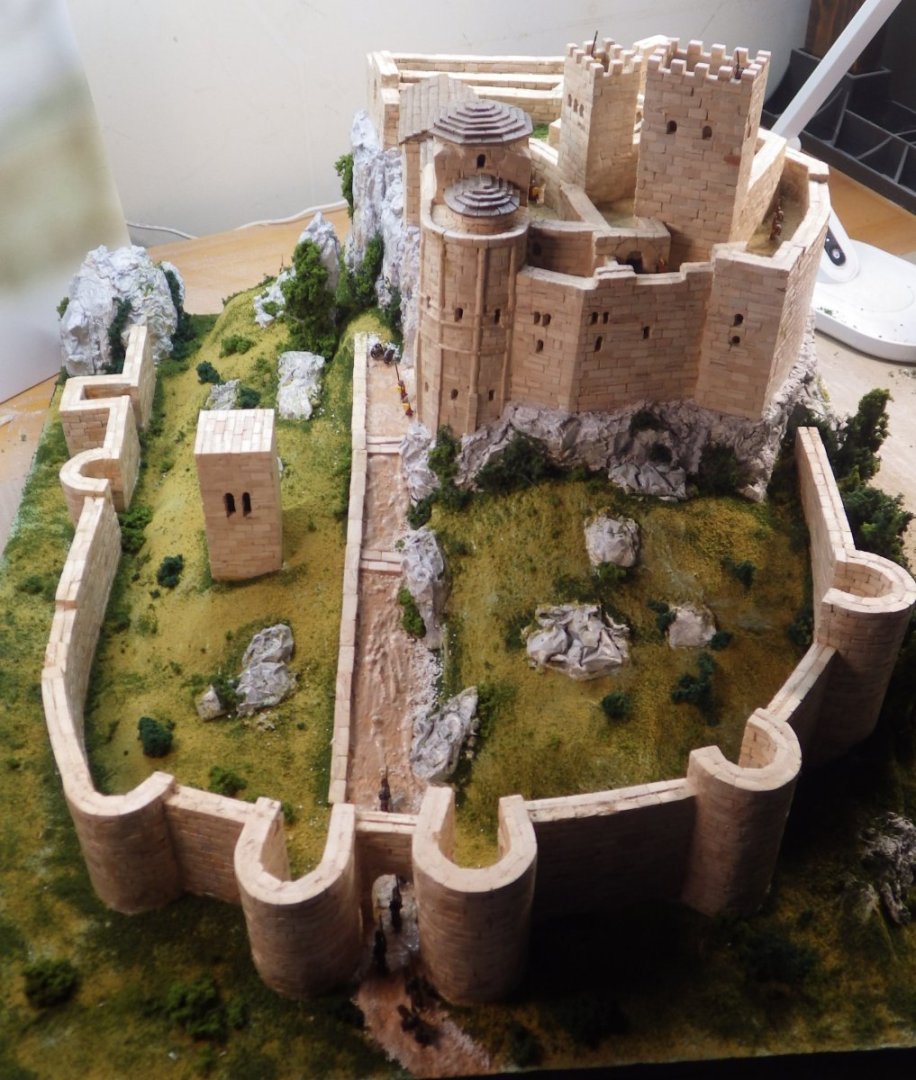
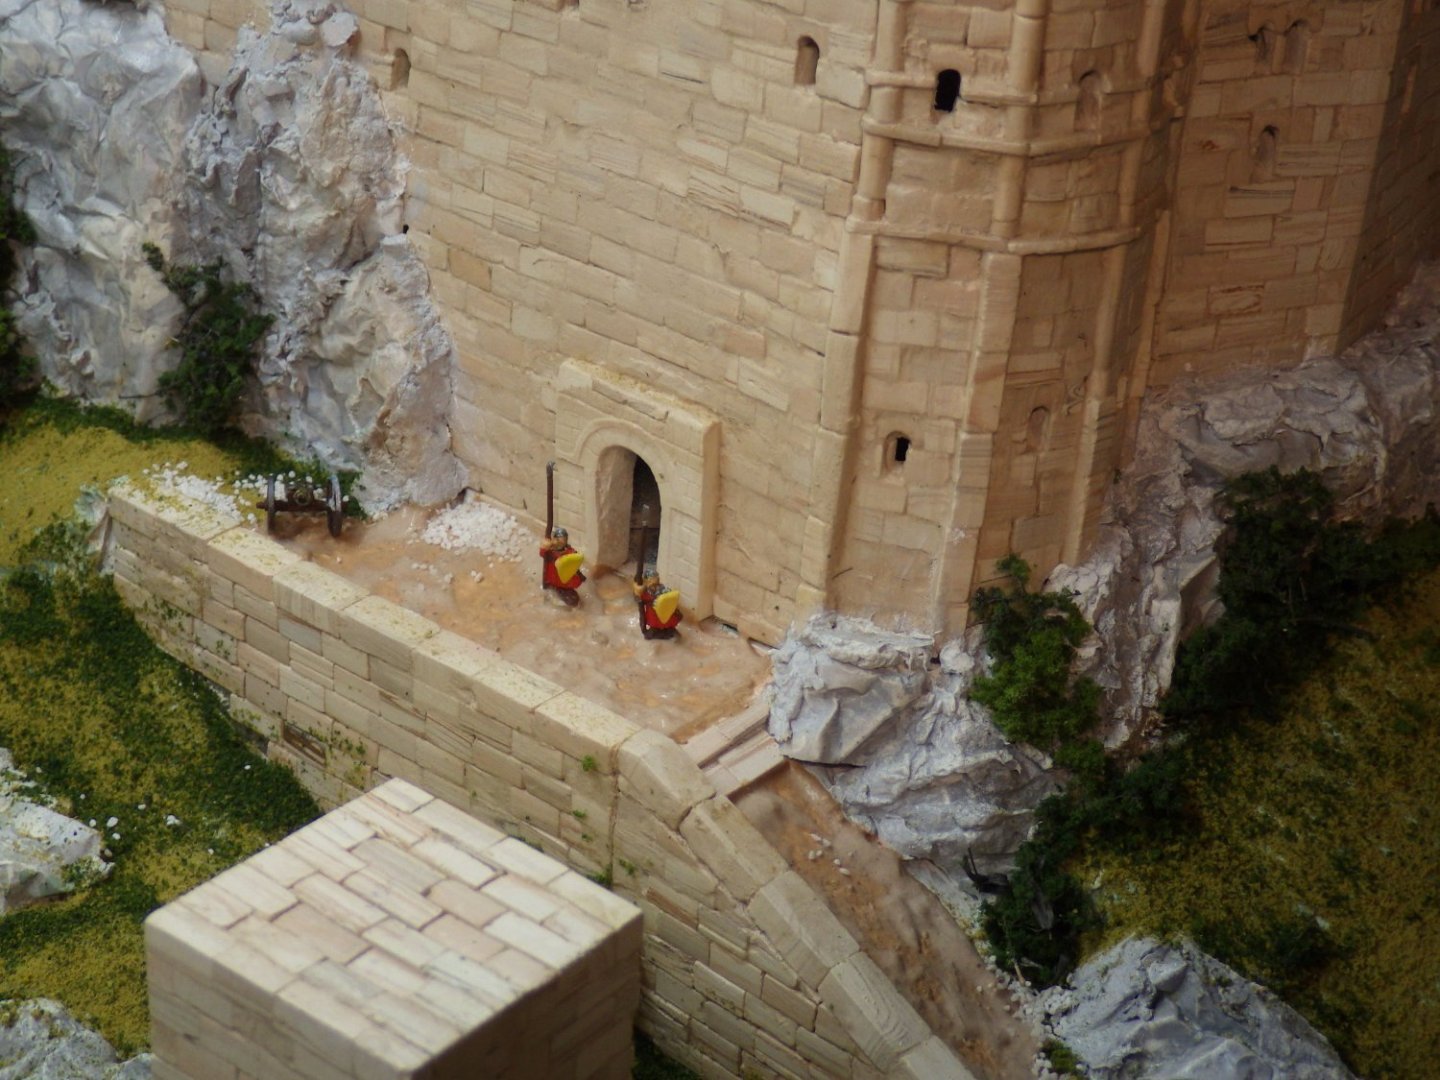
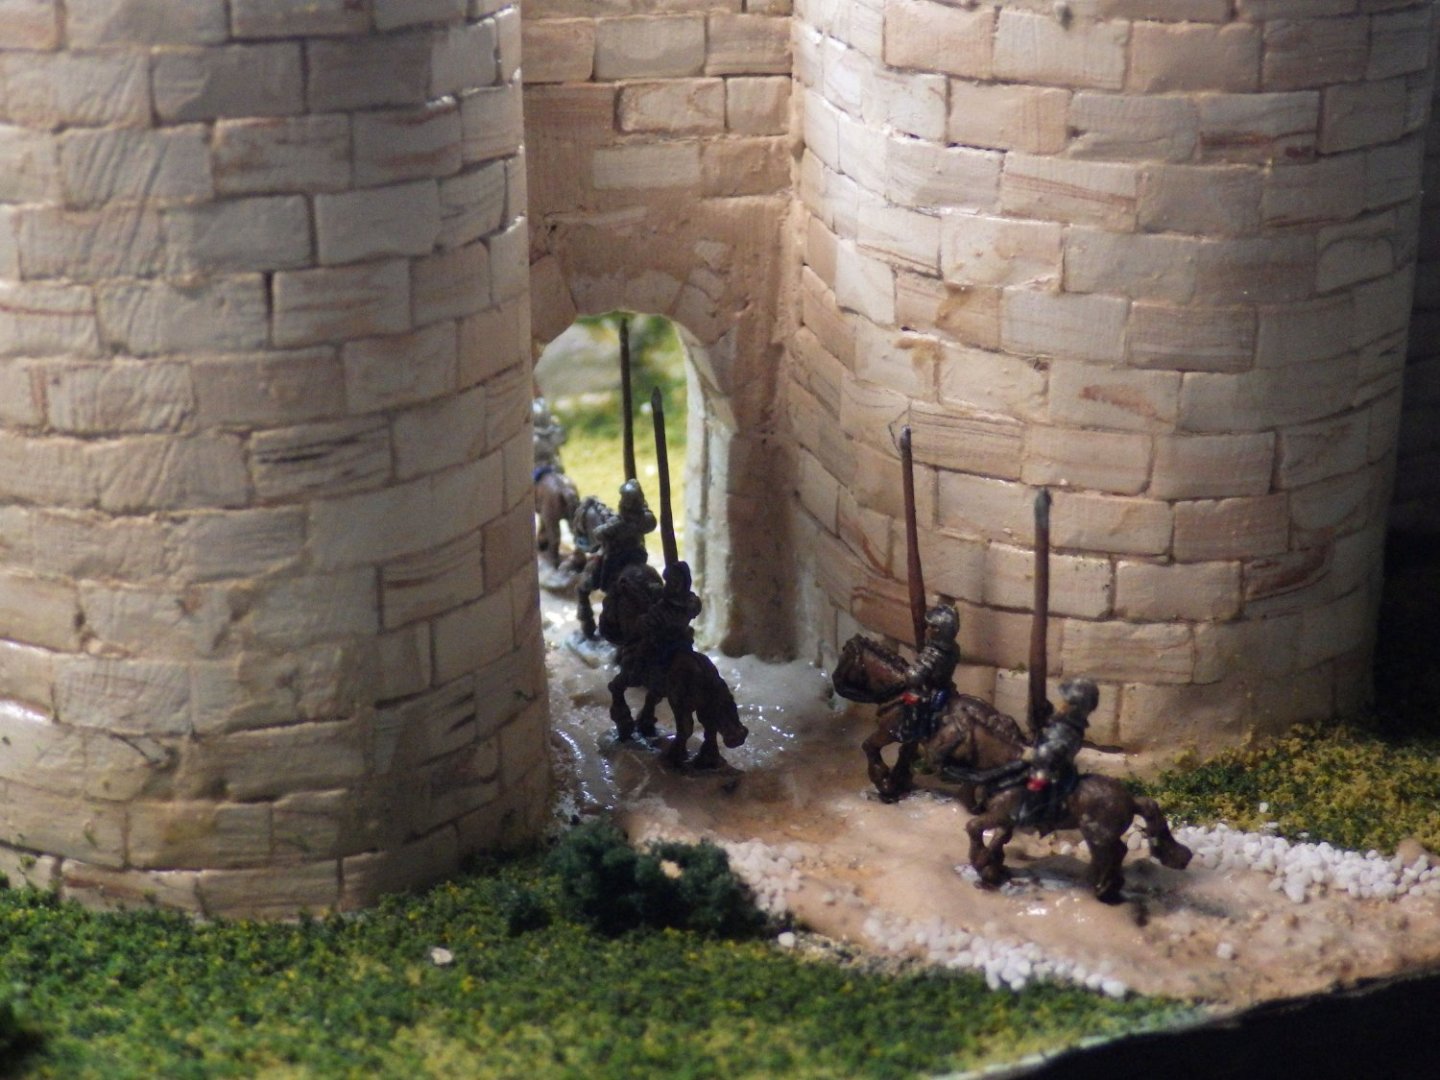
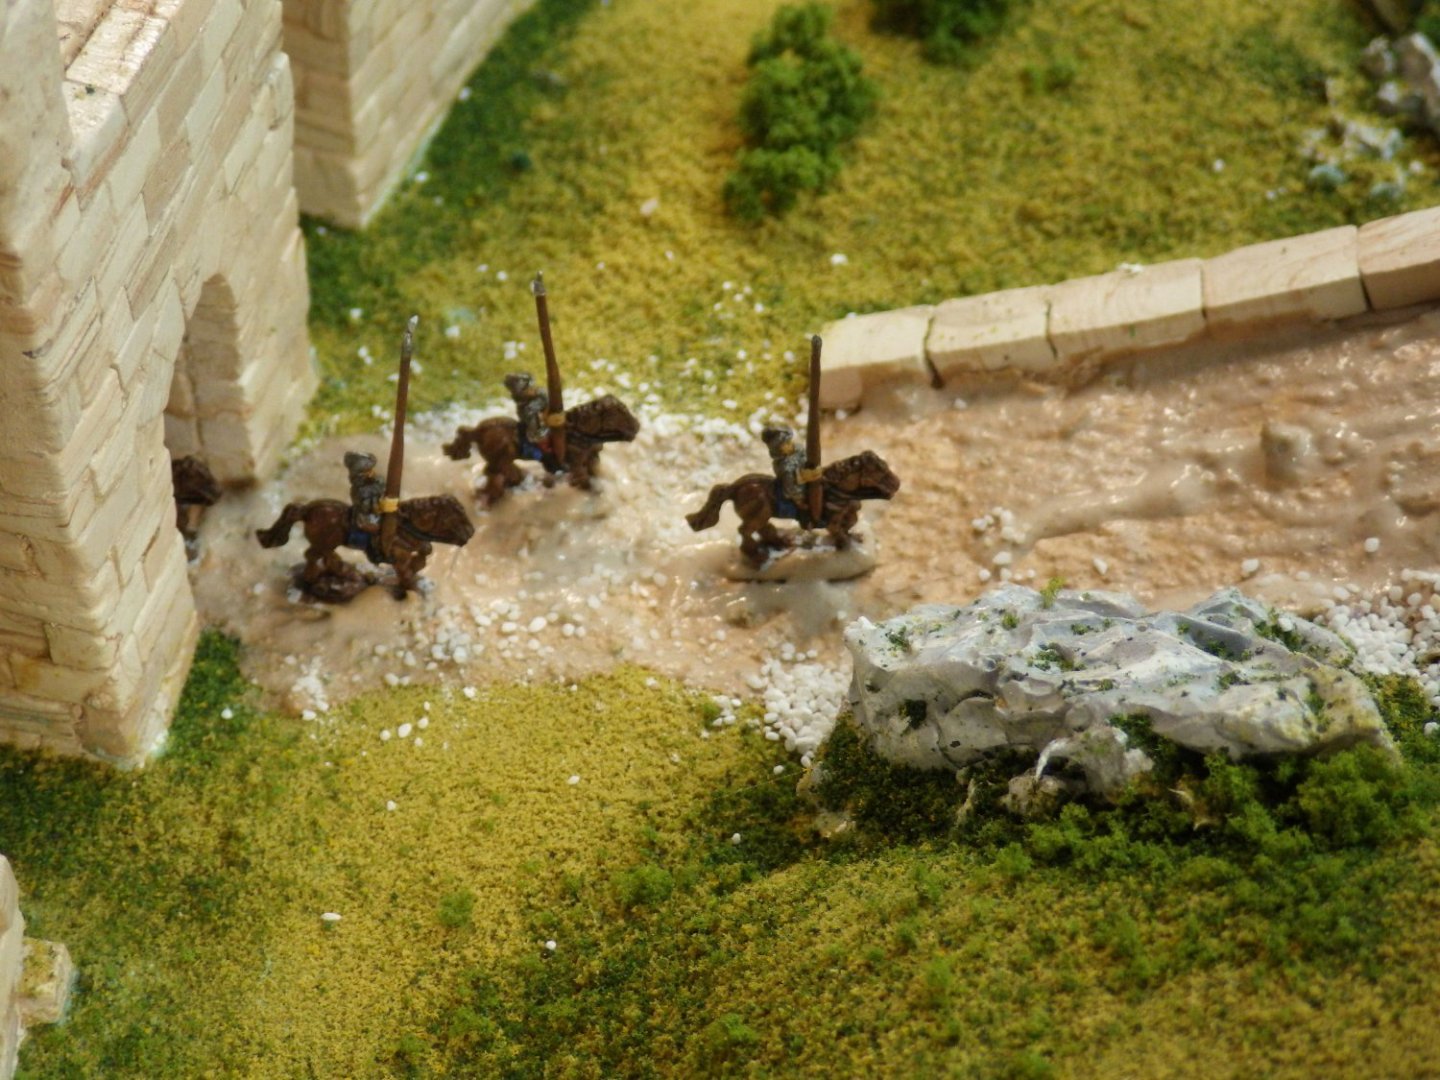
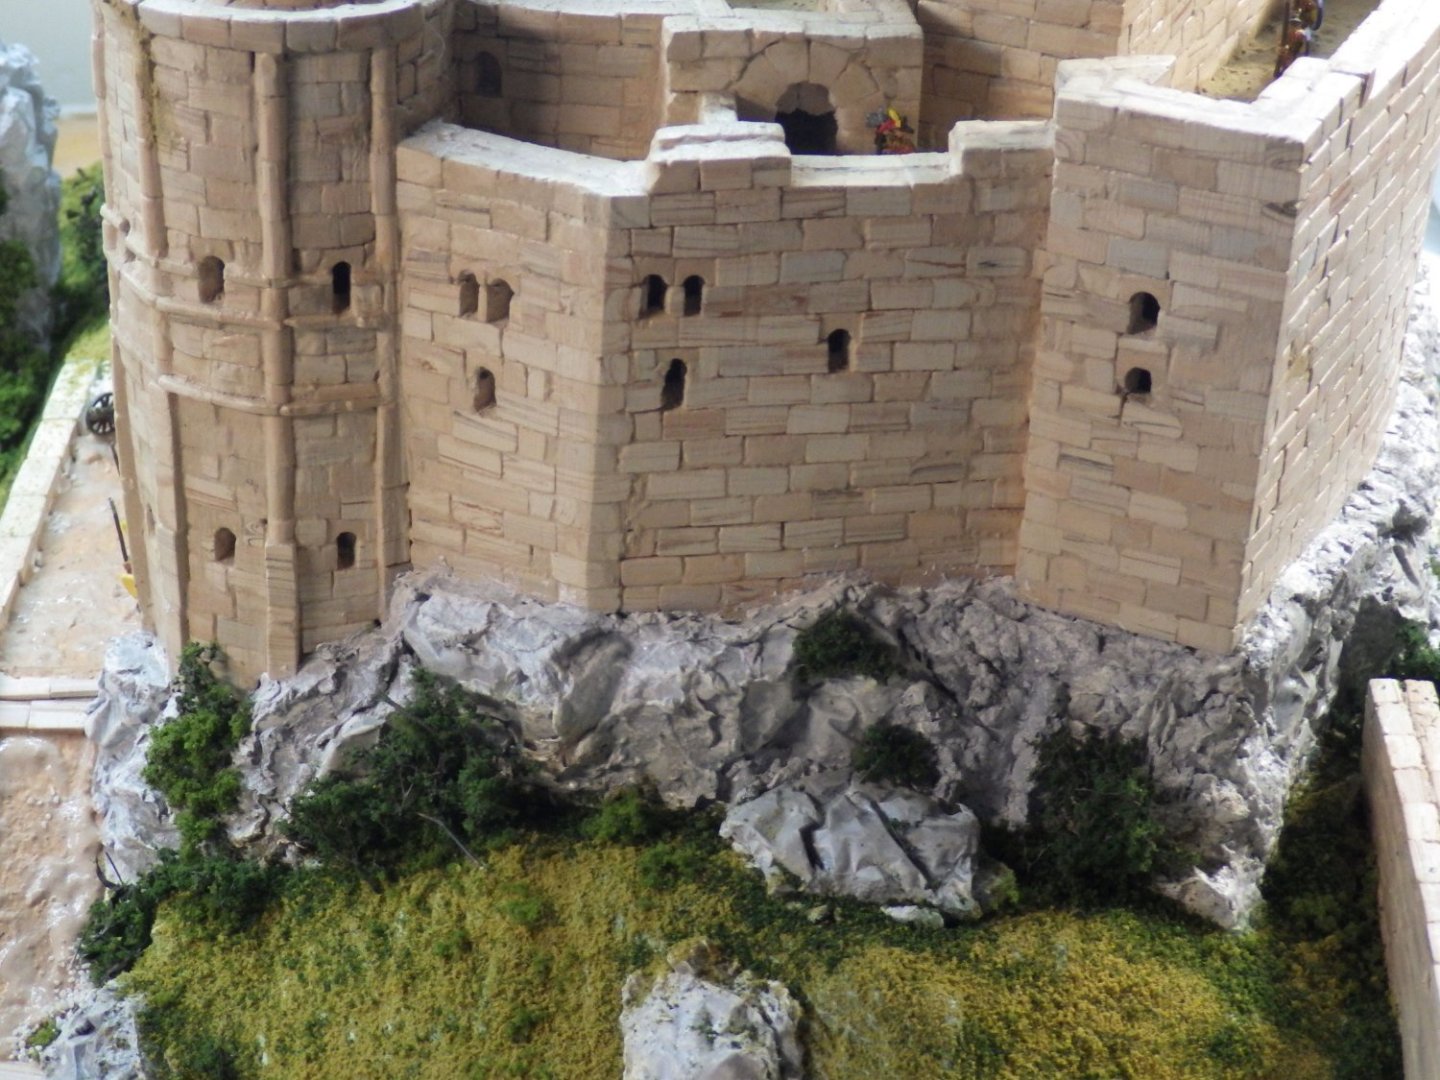
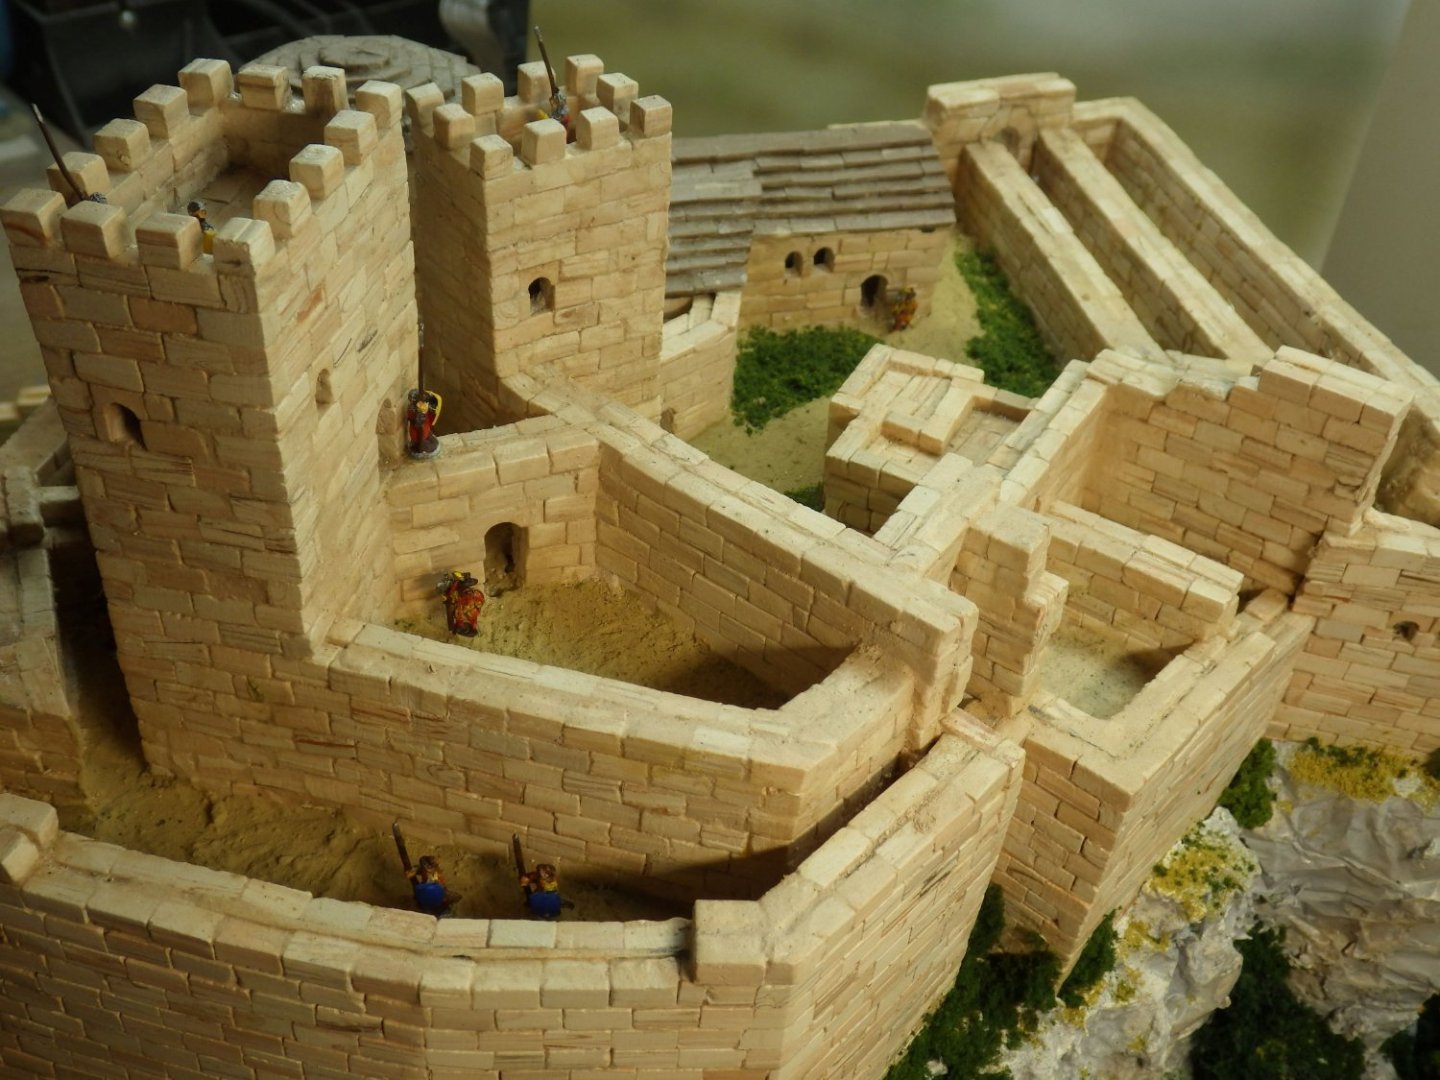
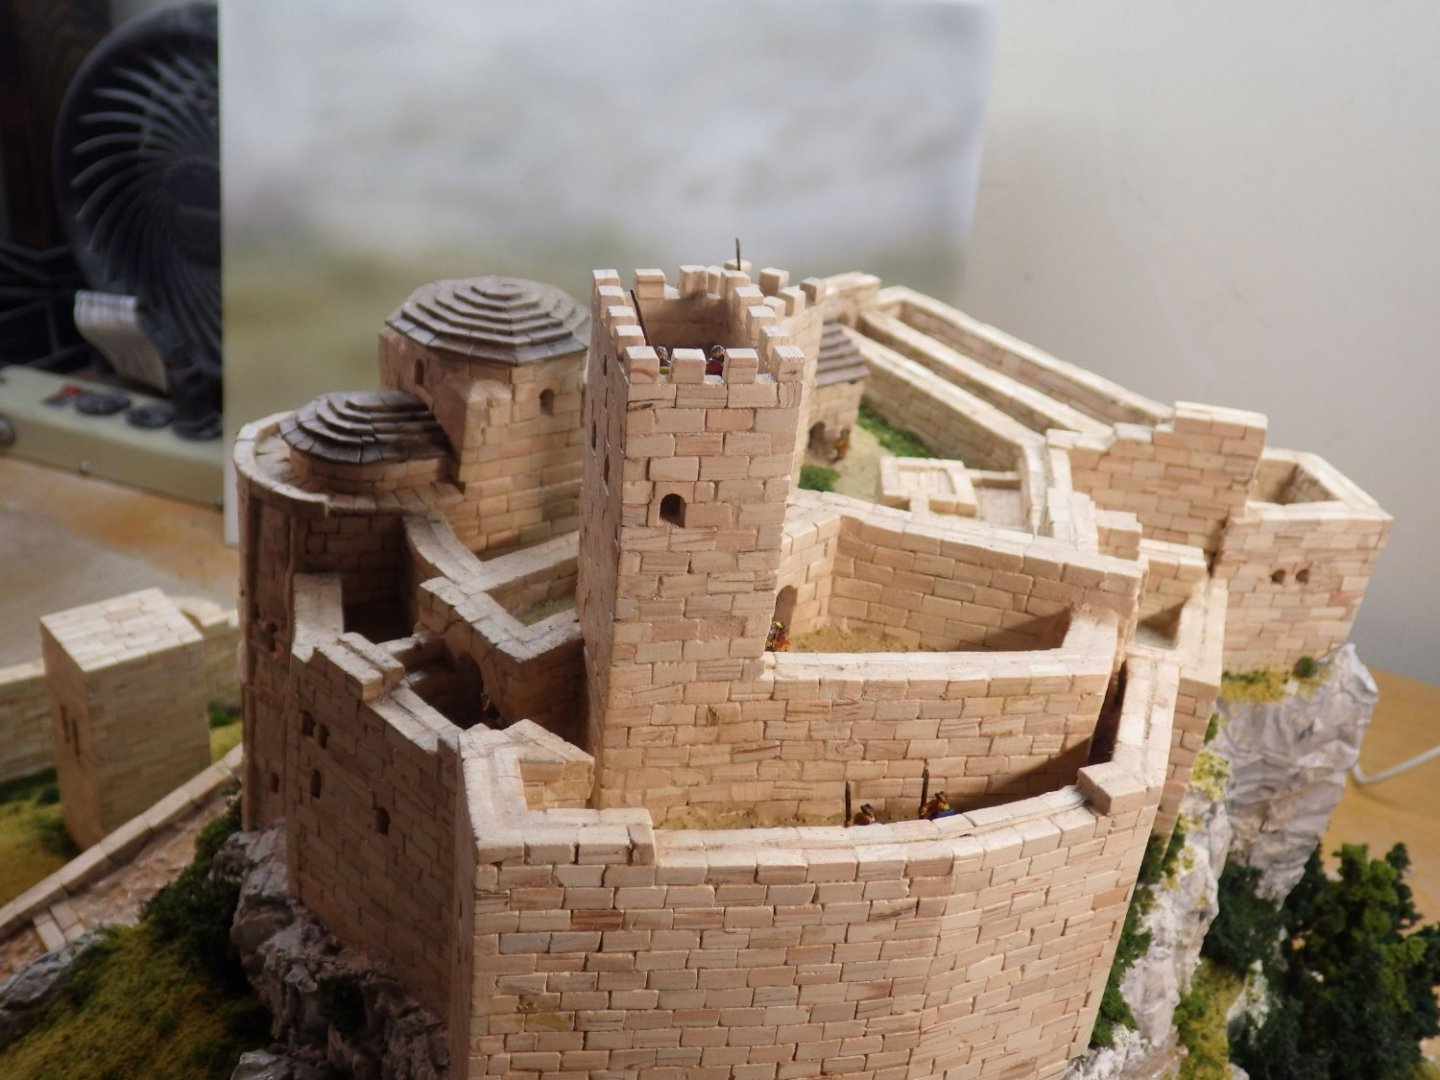
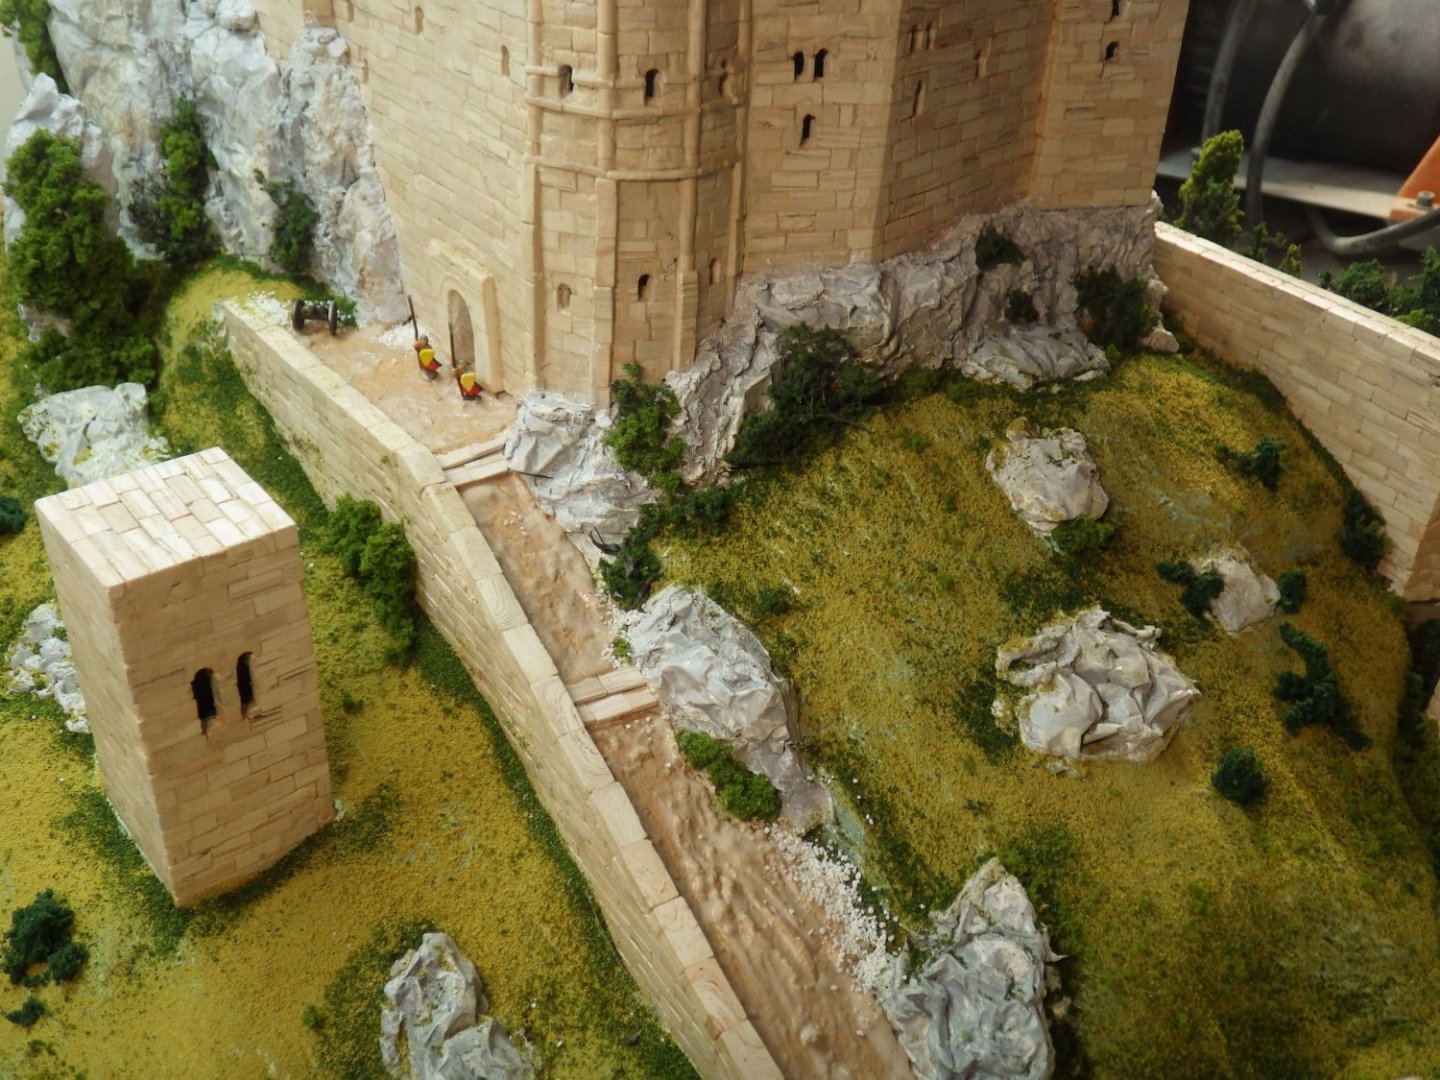
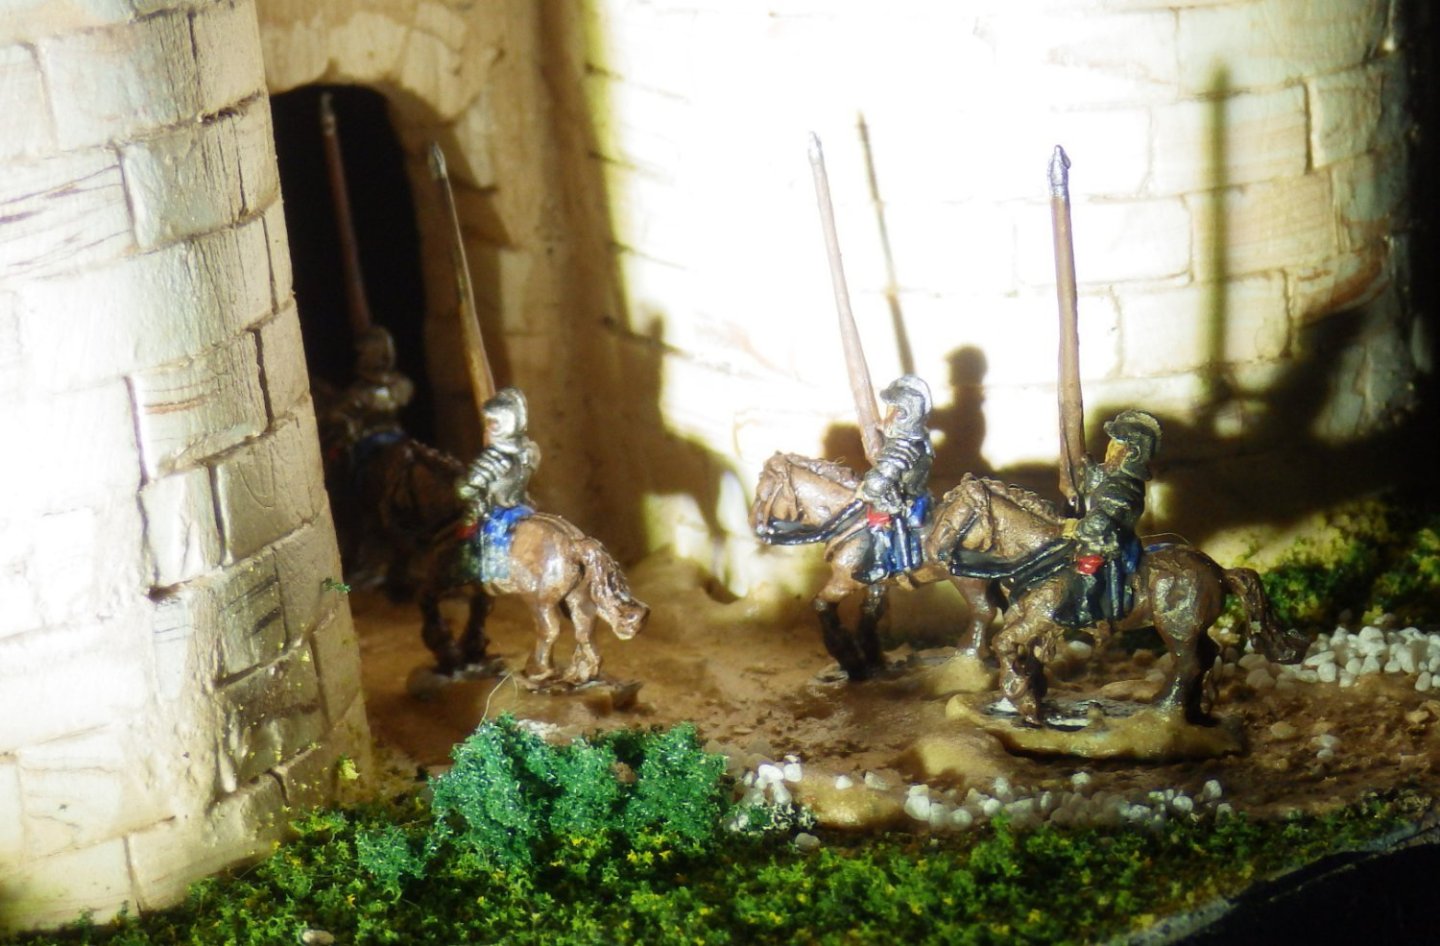
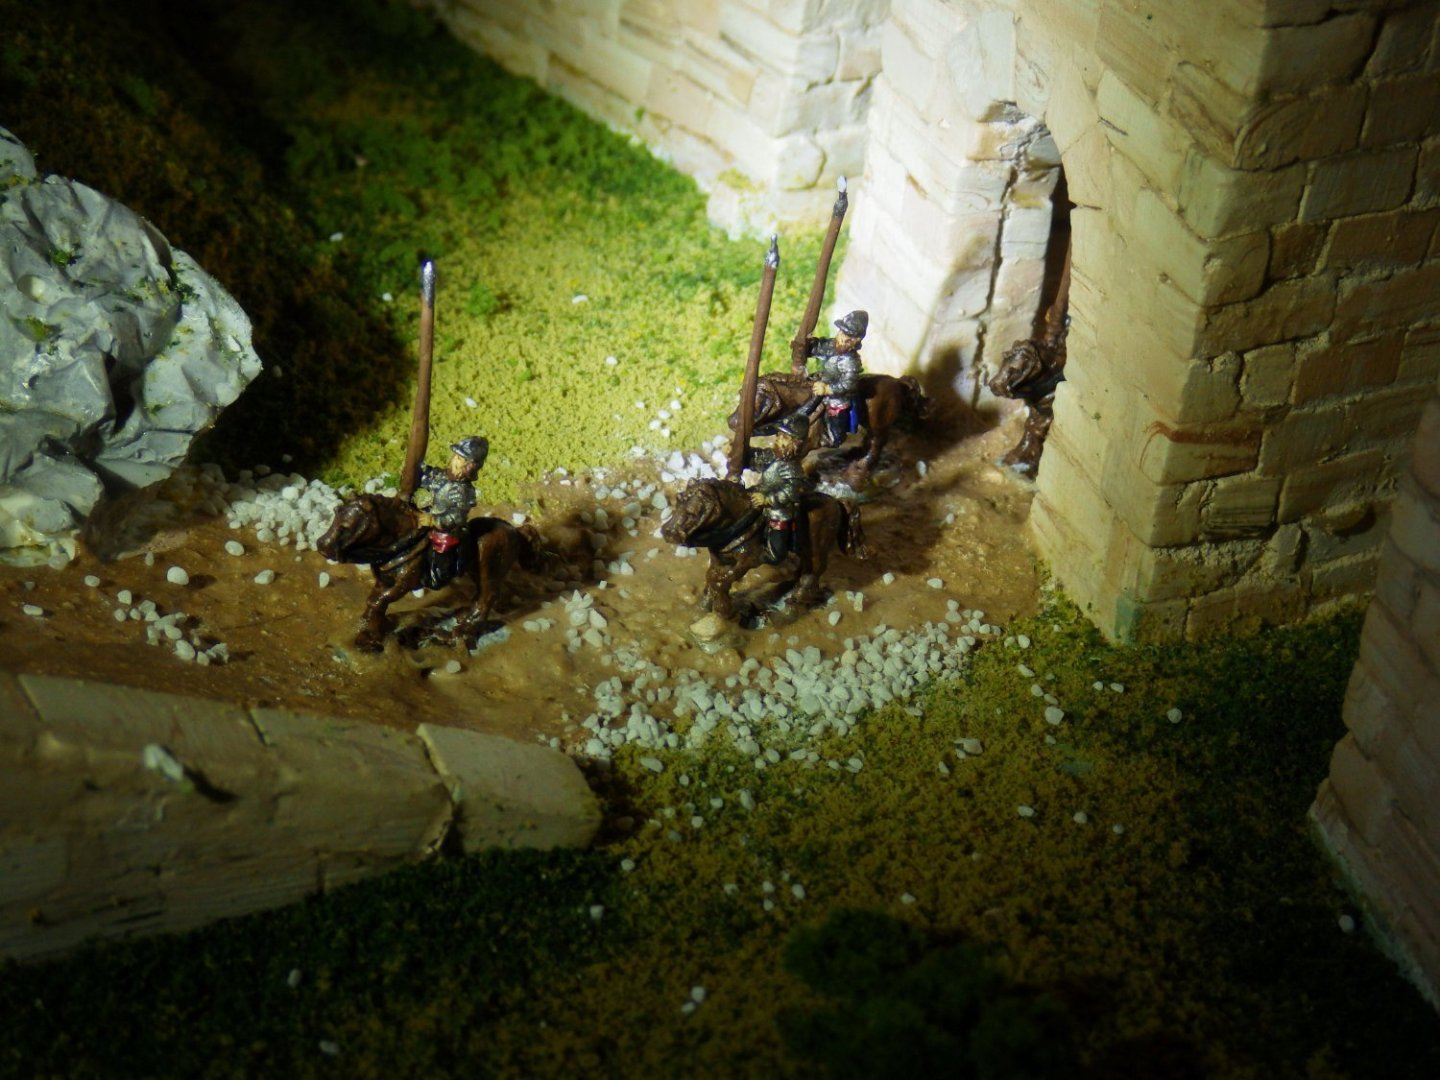
Well, the magnificent (10 mm) seven ride out I tried building up the colours by a series of washes rather than one coat. I was especially pleased with the horses; the photos do not do them justice. I was able to get shades of brown across their bodies. I gave all the figures a final wash of the Agrax Earthshade and it did a good job of highlighting the details and muting some of the over bright elements. I was quite pleased with the result bearing in mind they are nominally 10mm figures. The armour seems to match Spanish armour I have seem online but this does not pretend to reflect an exact period in time. The castle as modelled is in its current partly ruined state so the figures are an anachronism anyway and are best considered re-enactors. I wanted something to show the scale of the castle. I had really planned to add many more figures to the castle but given the way the terrain finished up and poses of the figures I found I could only use a limited number. I had planned to show the mounted figures riding up the causeway but of course the riders would need to lean into the hill and the poses I have are for flat ground and look rather silly on a slope. So they were added passing through the main gate and the mix of matte Mod Podge and dust was added to make the causeway surface. Somehow it feels like I should be adding yet more details somewhere but I'm calling this complete, thus the self indulgent set of photos. I want to try to get some better pictures of models generally so a new camera and some lights may be a thought. If so I'll re-photograph this one The "night" shots are a bit bright; partly because the camera keeps compensating and even with the exposure screwed all the way down its still not how it really looks So at the end what do we have. The Aedes Ars kits have limitations of scale and detail because of the medium and the method of construction. Purists will hate the size of the blocks (Aedes Ars uses the same block sizes regardless of the kits scale). Window openings, crenelations and some doors all end up simplified or out of scale. The blockwork is repetitive and time consuming (my friend though this would be like Lego and finished in a weekend). I like the end result in spite of the criticisms. The "stone" blocks are more impressive than anything made by painting plastic On this kit the landscaping was hugely fun and I learnt a lot. I am very pleased with the cliffs and I learnt a lot about using Woodland Scenic products. I want to try figure painting now with something at a saner scale. The completed model is sat on the dining room table because every other horizontal surface I had considered is too small I may have to tour the thrift stores for something to convert. Finally I would like to say thank you for all the advice and encouraging comments. There is a huge wealth of knowledge on this site from history to techniques and it is freely shared. I am a grateful recipient and this project is the better for it I am considering the next project which will be less than 12 inches long and I'm thinking its time I showed up on the ship sections before my membership credentials are revoked Thank you as ever for looking in and the likes Alan


- 462 replies
-
- 16
-

-

-
Thank you very much Mike The landscape work was a lot of fun and turned out better than I expected. Alan