Waitoa
-
Posts
243 -
Joined
-
Last visited
Content Type
Profiles
Forums
Gallery
Events
Everything posted by Waitoa
-
Hi Ekis, Are you applying any varnish to the bricks to protect and seal them? rgds Waitoa
-
Building a Medieval fortress - by Waitoa - Del Prado 1/87
Waitoa replied to Waitoa's topic in Non-ship/categorised builds
For some reason I have Pink Floyd songs going through my head, couldn’t resist using the Aedes Ars bricks for the buttresses
- 211 replies
-
- 12
-

-
Building a Medieval fortress - by Waitoa - Del Prado 1/87
Waitoa replied to Waitoa's topic in Non-ship/categorised builds
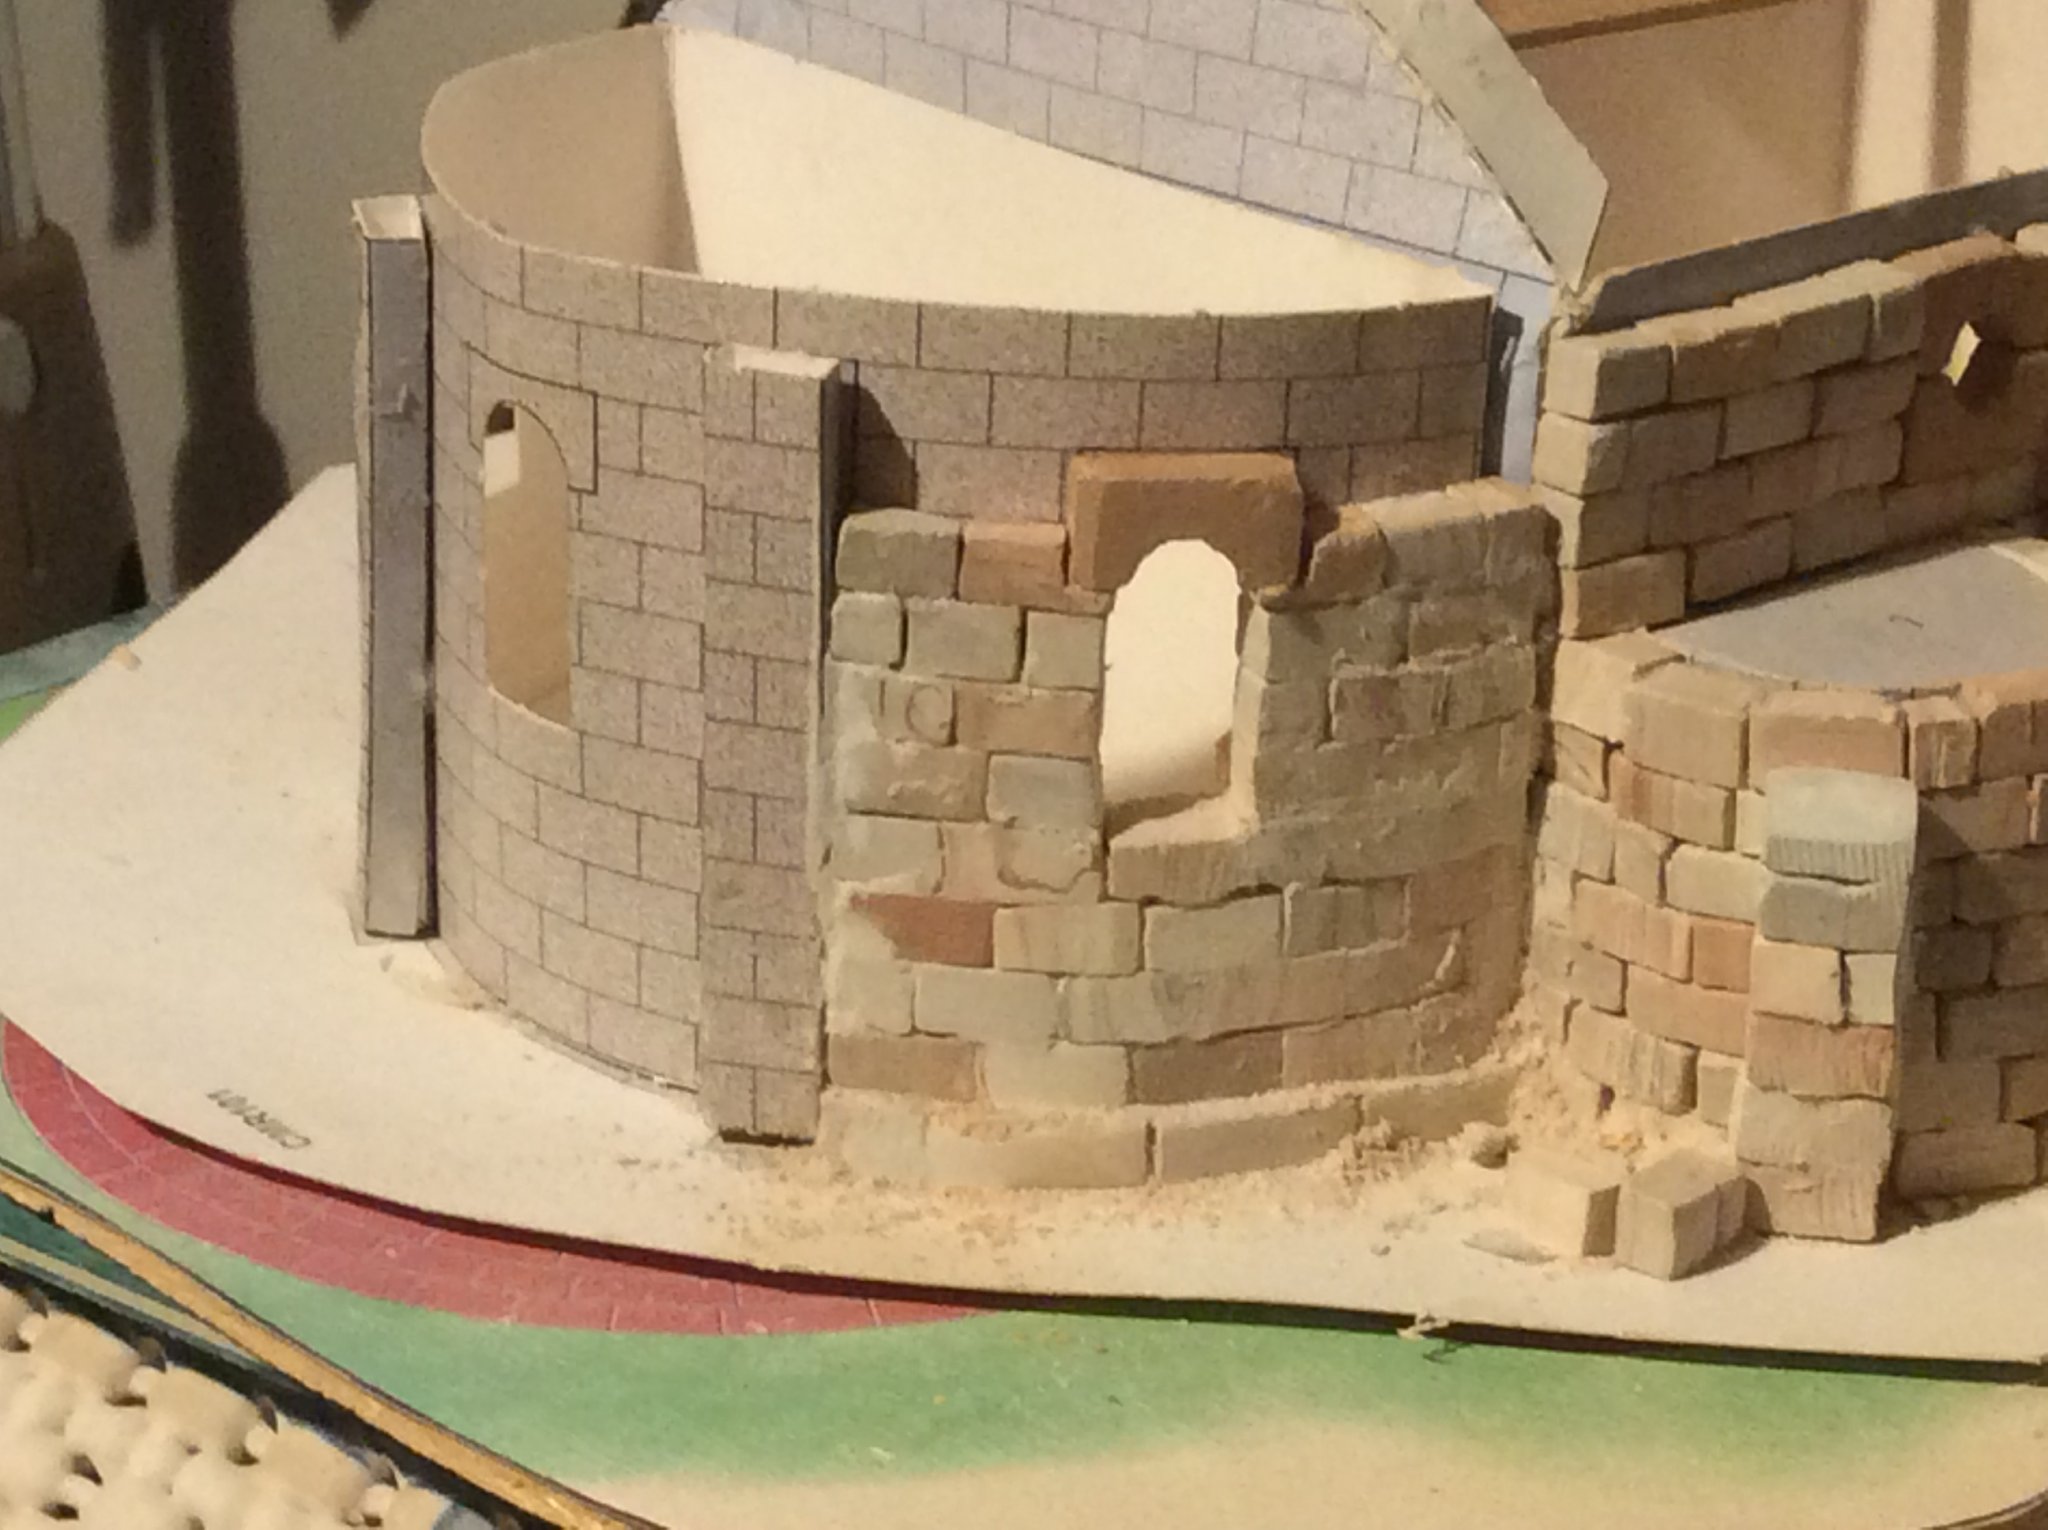
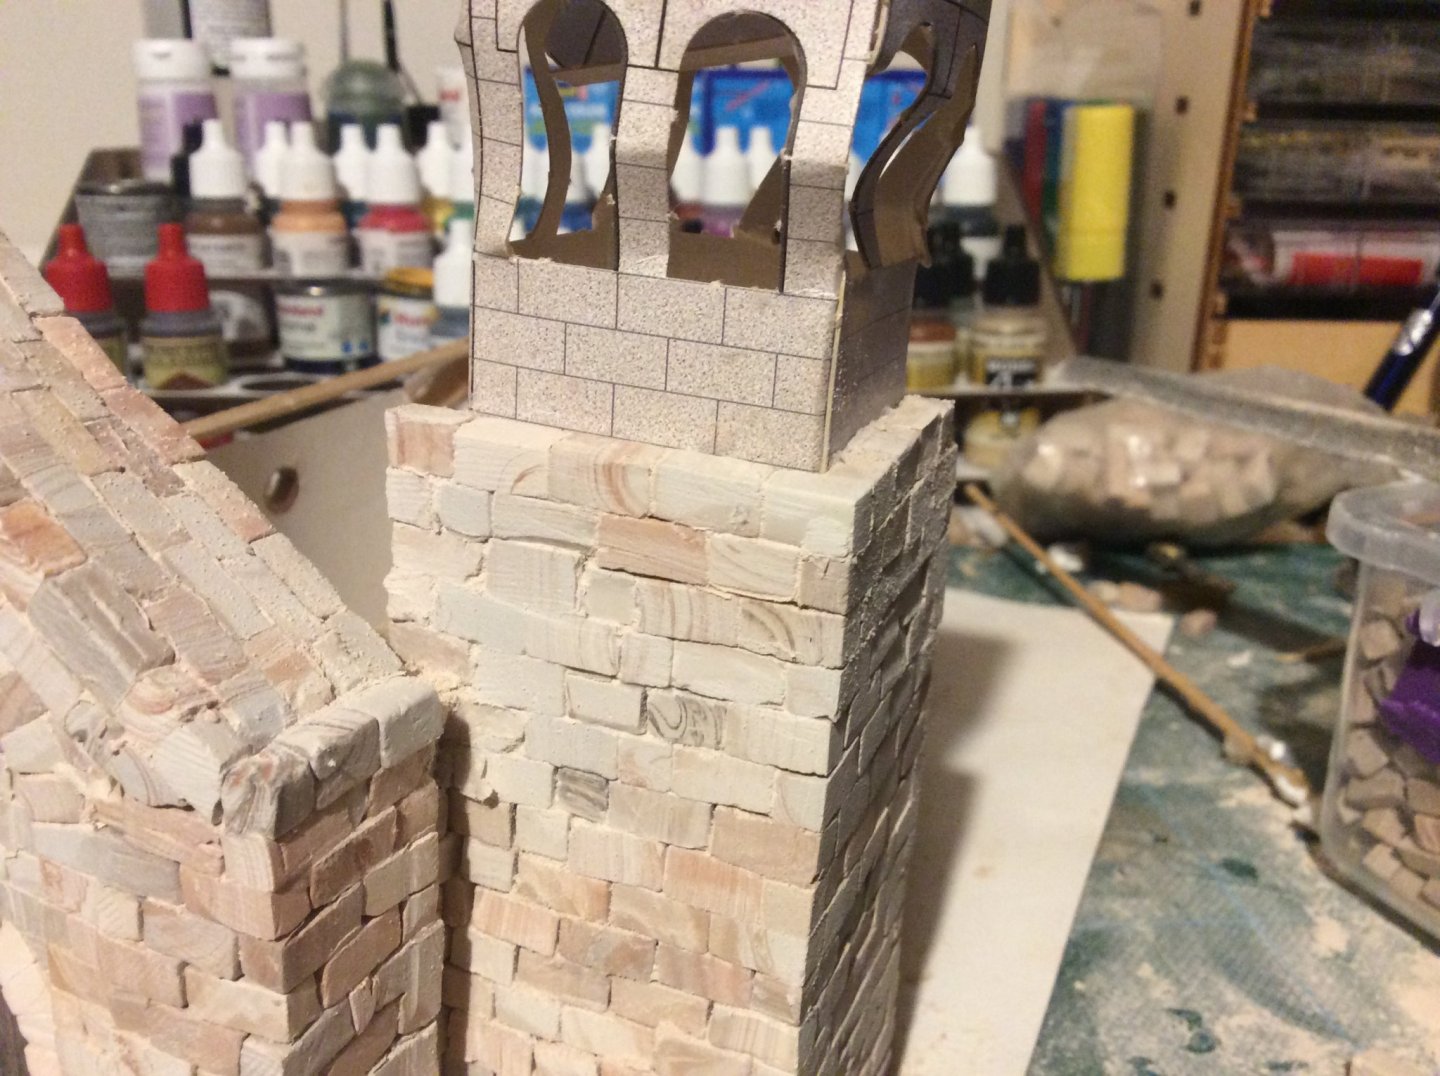
Trying to tie the cloister wall into the church’s brickwork. Still using the old Del prado bricks but the Aedes Ars is so much better quality it is hard not to start using all of those. Used one as the windowsill which shows the contrast.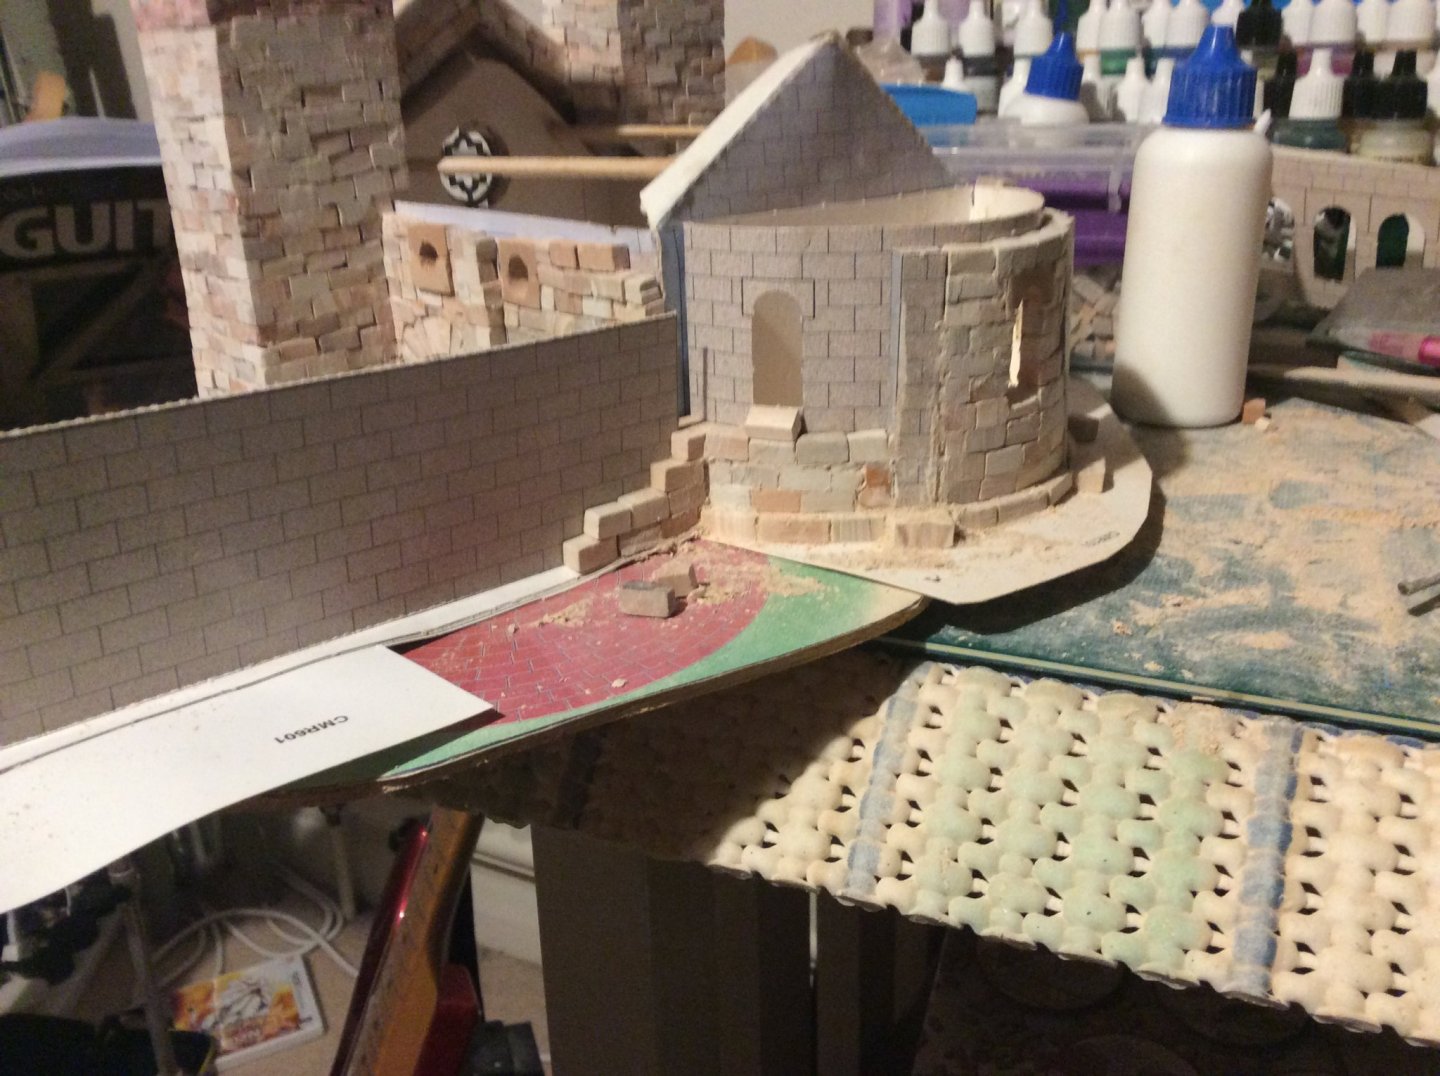
- 211 replies
-
- 11
-
-
Hi Ekis, What did you use for the lattice work in the windows, can’t seem to find anything readily available. rgds Waitoa
-
Building a Medieval fortress - by Waitoa - Del Prado 1/87
Waitoa replied to Waitoa's topic in Non-ship/categorised builds
True, your build quality is feeding the addiction 😃😃😃 -
Building a Medieval fortress - by Waitoa - Del Prado 1/87
Waitoa replied to Waitoa's topic in Non-ship/categorised builds
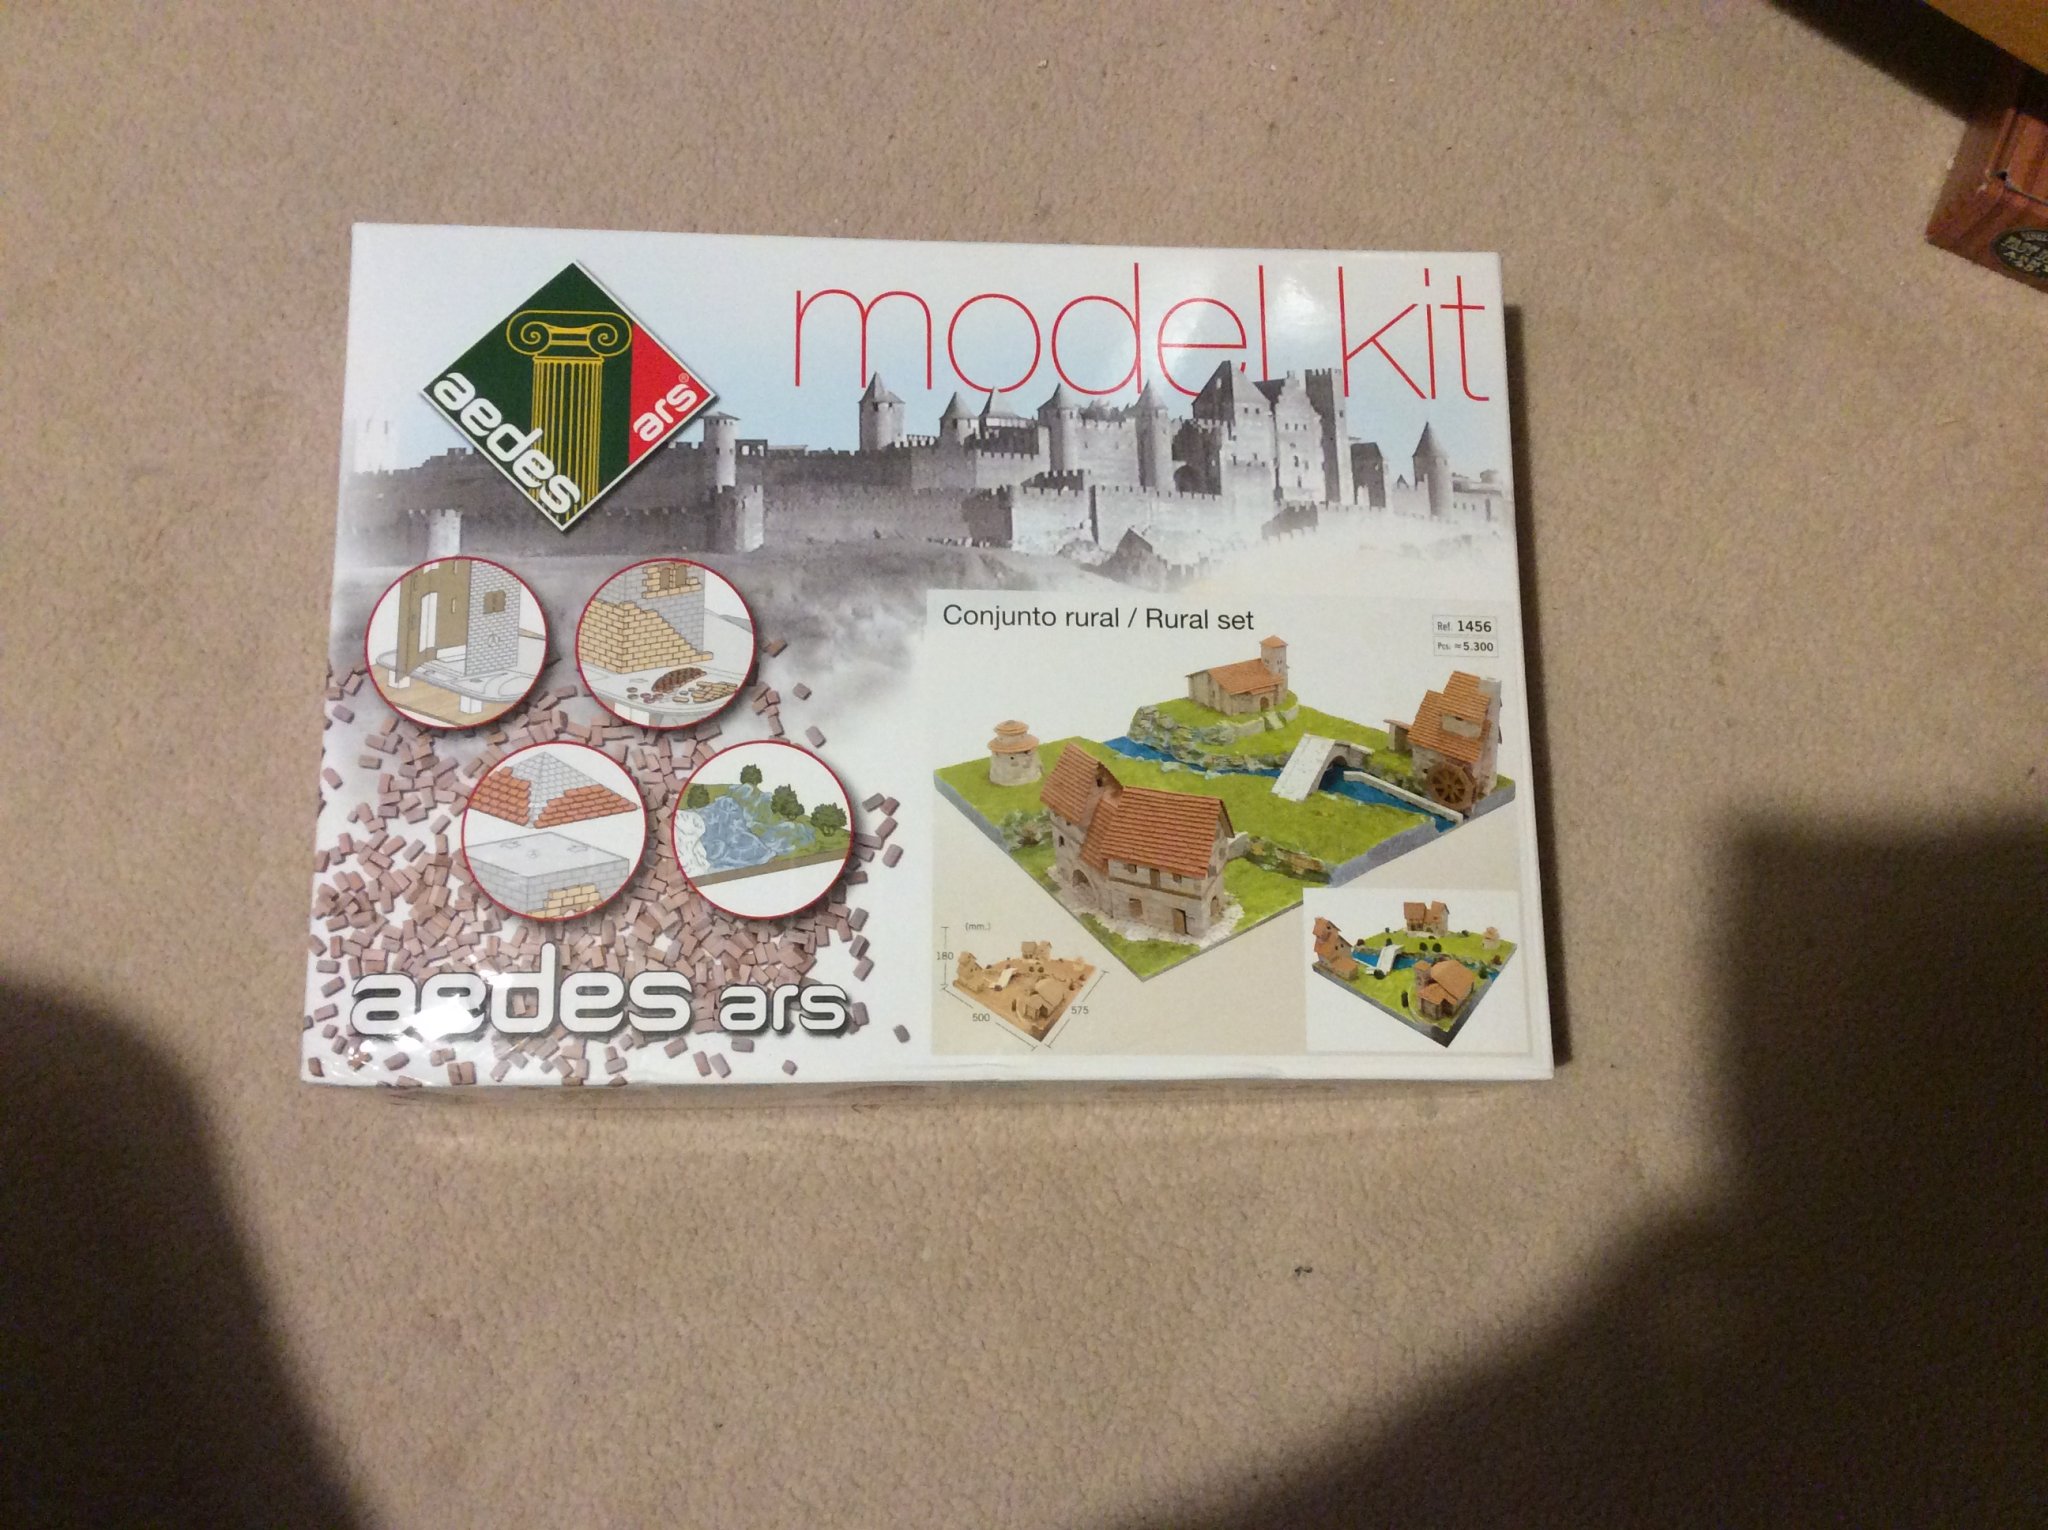
Oh no, did a bit of a stock take and decided to open all the packages and seems I am short half a house, most of the Manor House and no gate house. Appears that I have a lot of bricks though and may need a trip up into the loft to see if I have missed anything. If not I will need to get creative and come up with my own versions. To that end bought an Aedes Ars kit that contains 2 houses, a house and forge, a pigeon house and another church. The church is out of scale with the rest of the buildings at 1/150. Will use the church material to supplement any gaps in the other buildings and the pigeon house I may turn into a bastion. Initial impressions of the kit is that it is a good set coming with glue, scenic material and the quality of the bricks far superior to the ones in the old Del Prado kit. Really enjoying this type of build and would recommend this to anyone.
-
Building a Medieval fortress - by Waitoa - Del Prado 1/87
Waitoa replied to Waitoa's topic in Non-ship/categorised builds
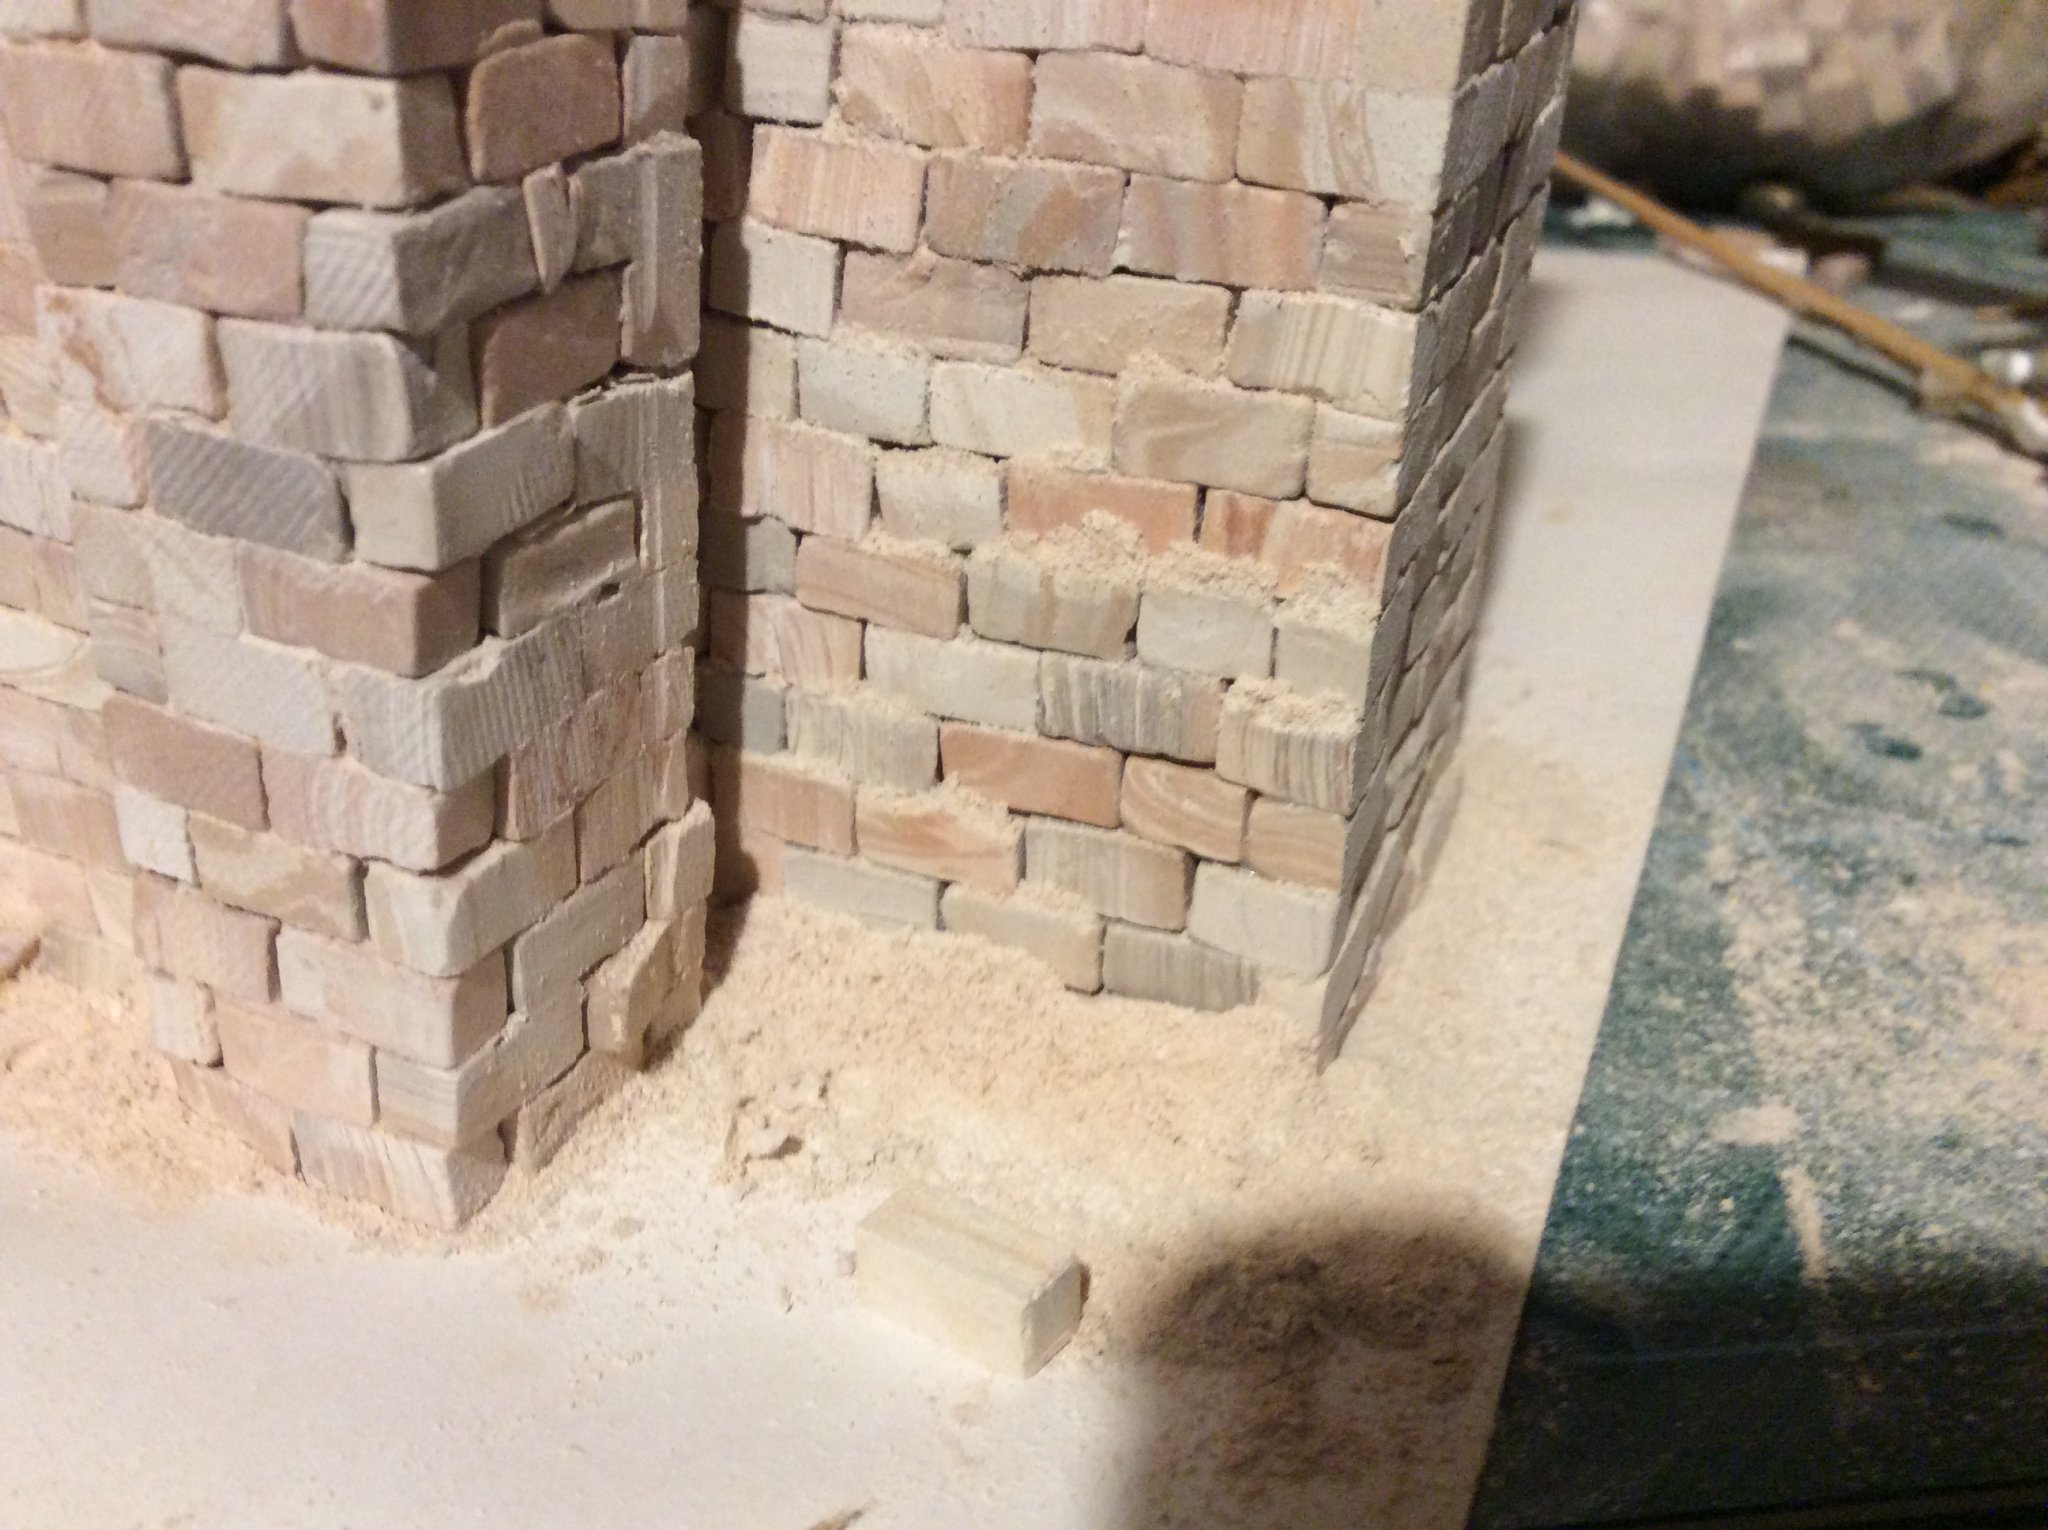
Spending more time shaping the bricks than previously. Given how fragile they are cutting them is a challenge so roughly cutting them and then finishing them with a file. Slowly getting better and a bit more pleased with the results.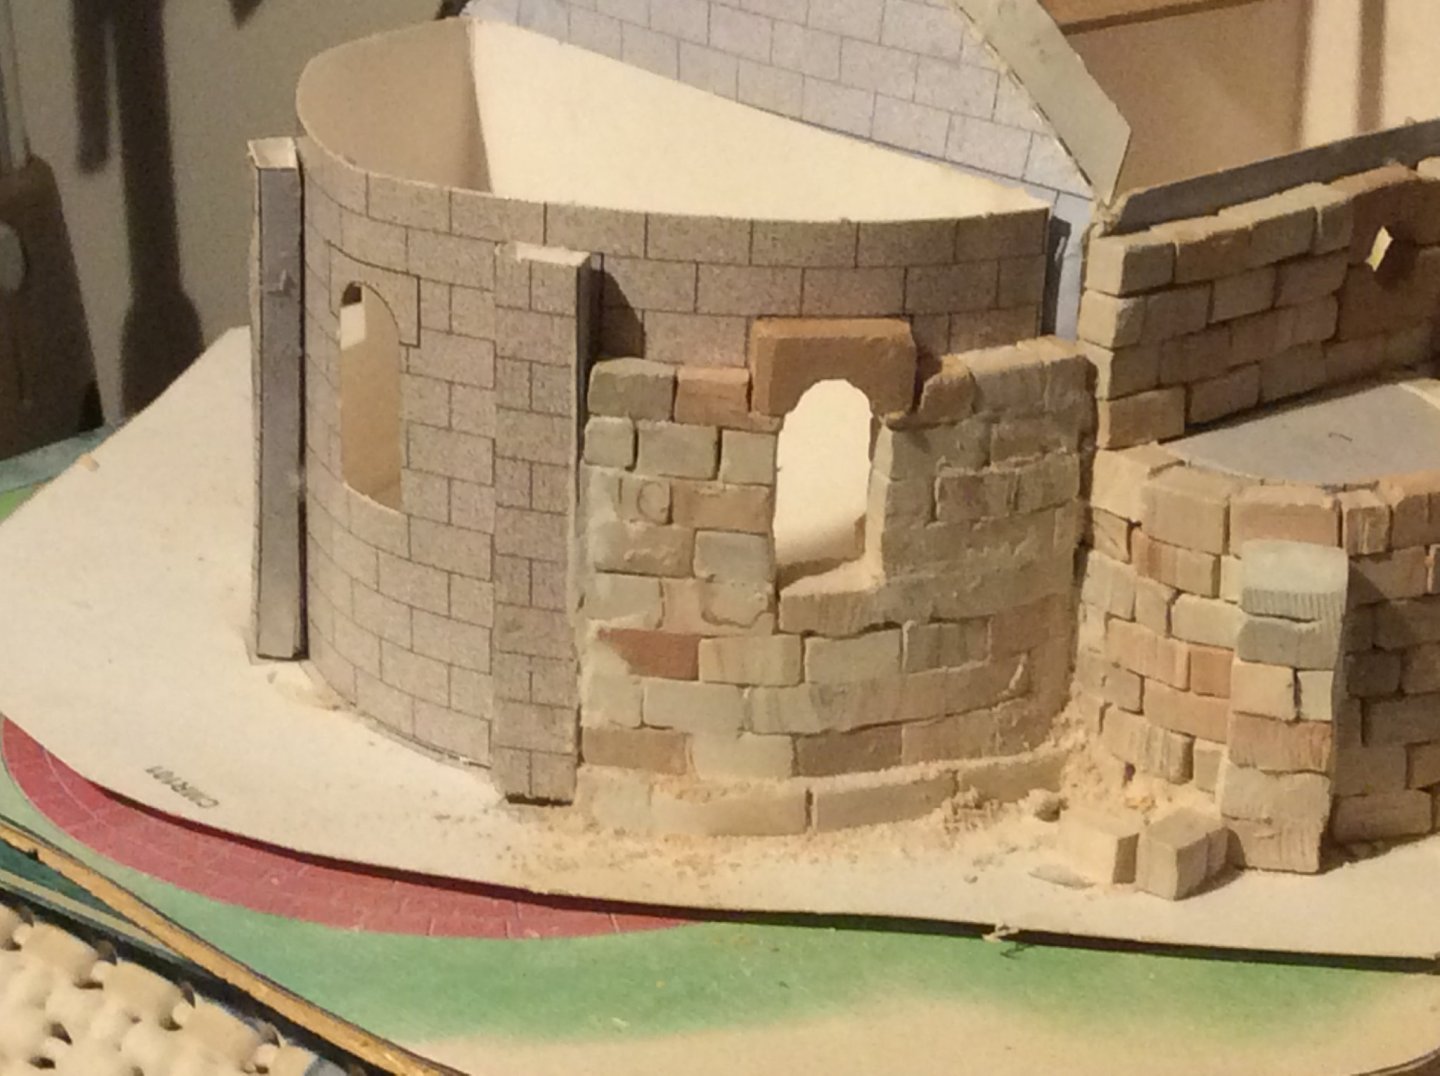
- 211 replies
-
- 10
-
-
Finding this an inspiration for my poor efforts and appreciate how difficult it is to achieve the high standards you are achieving
-
Building a Medieval fortress - by Waitoa - Del Prado 1/87
Waitoa replied to Waitoa's topic in Non-ship/categorised builds
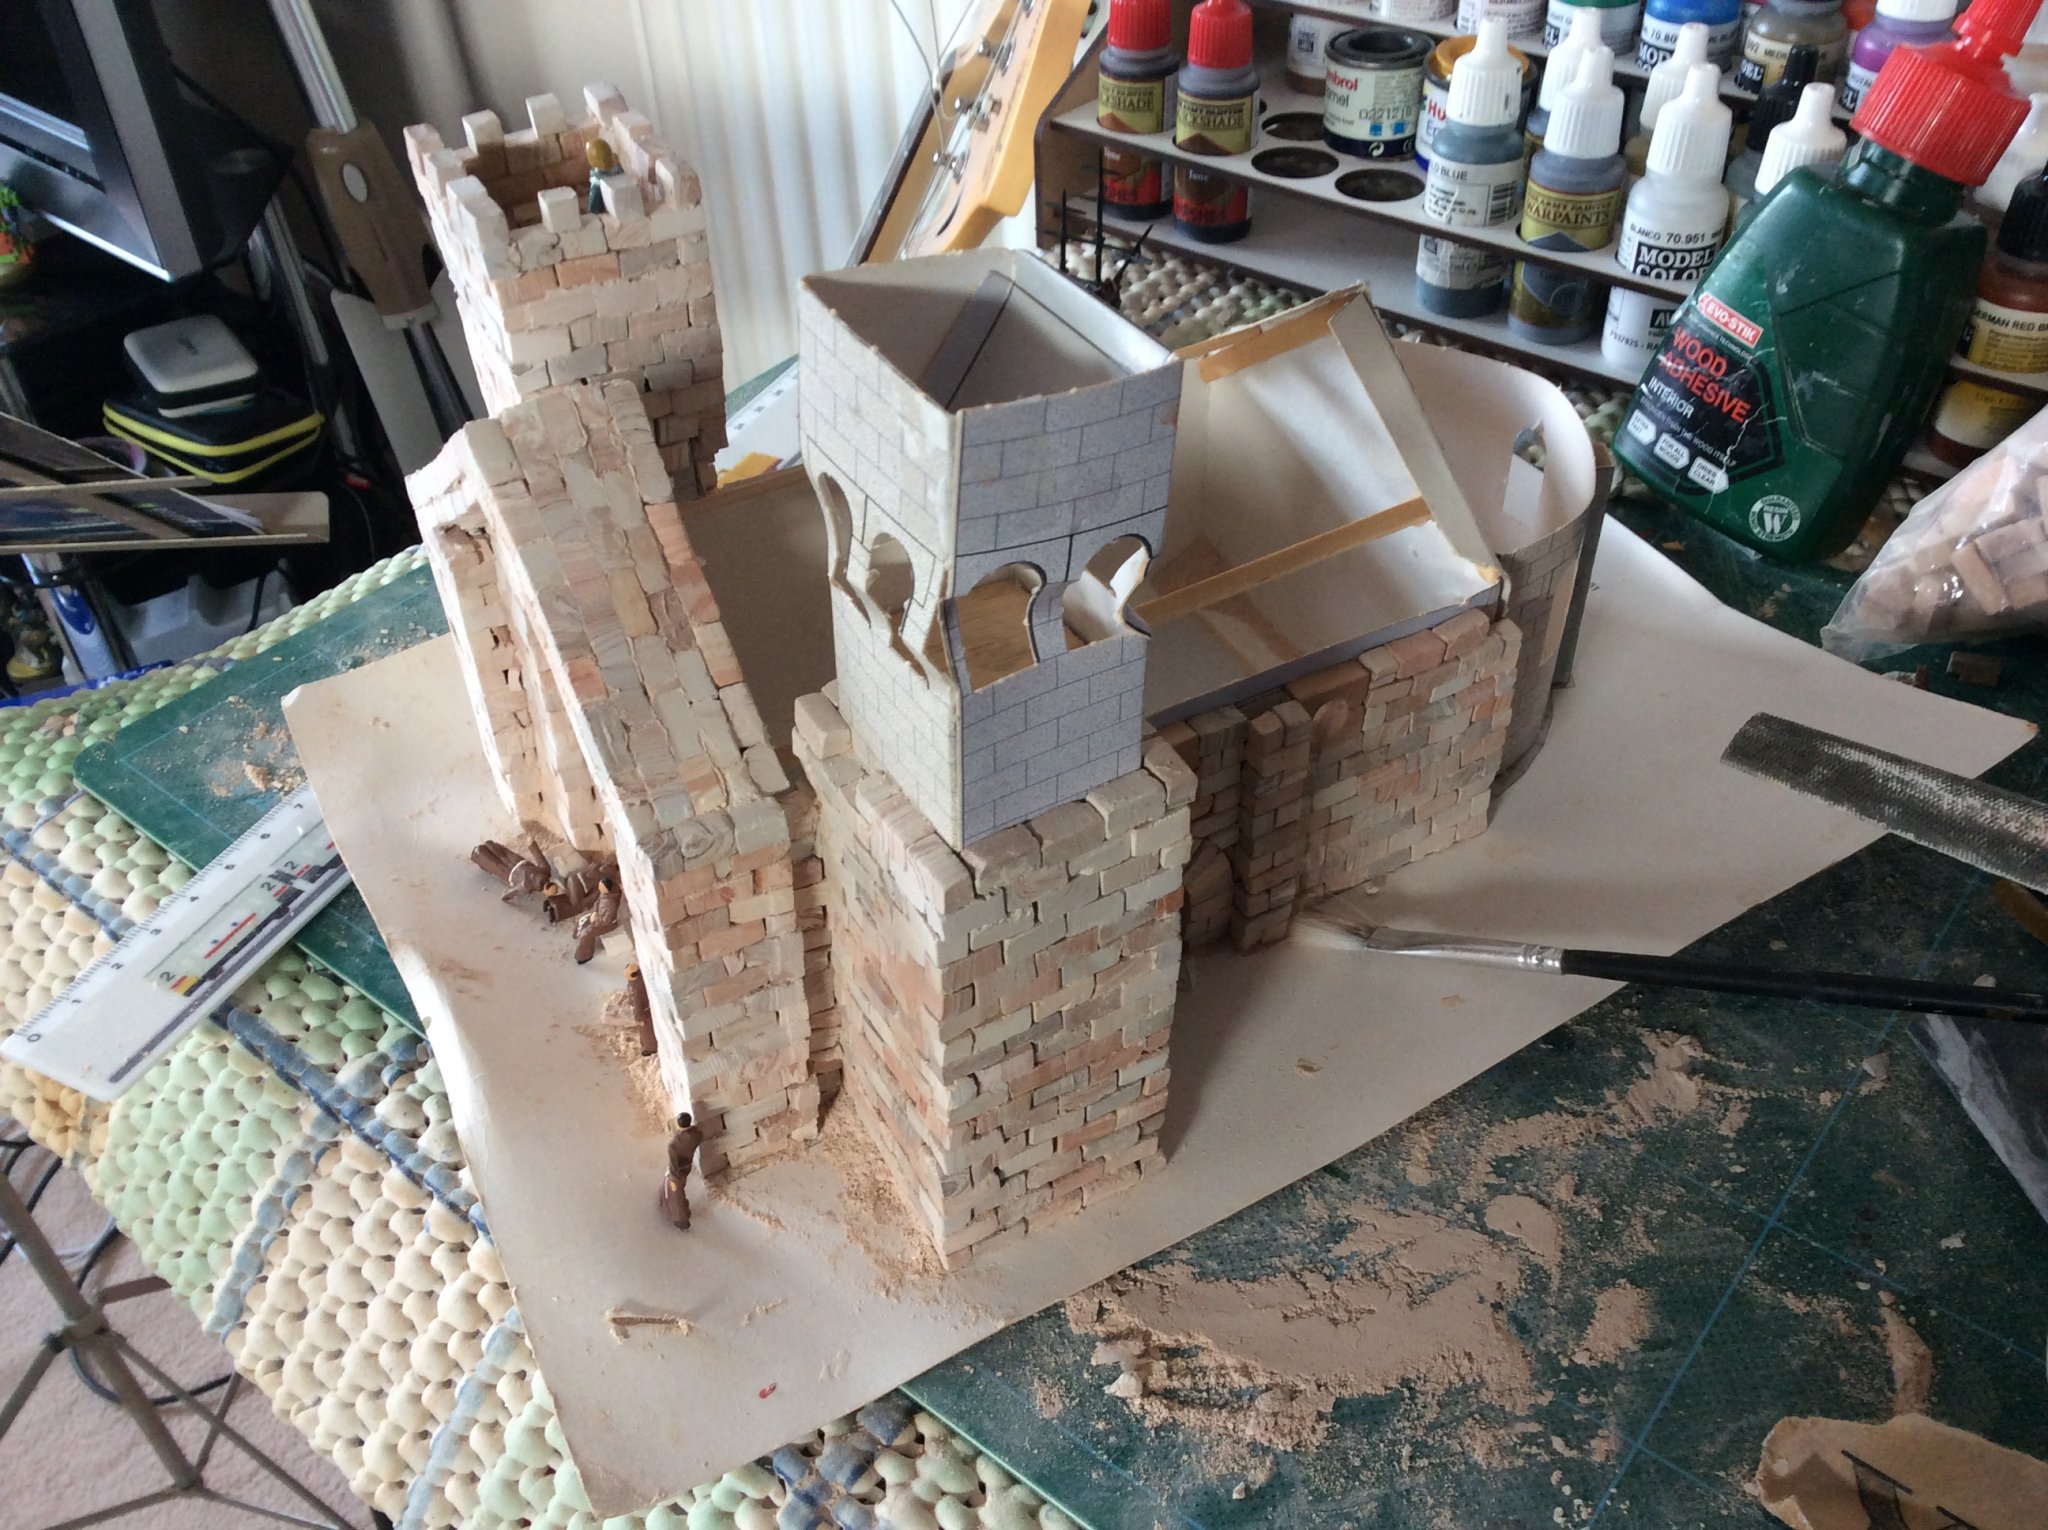
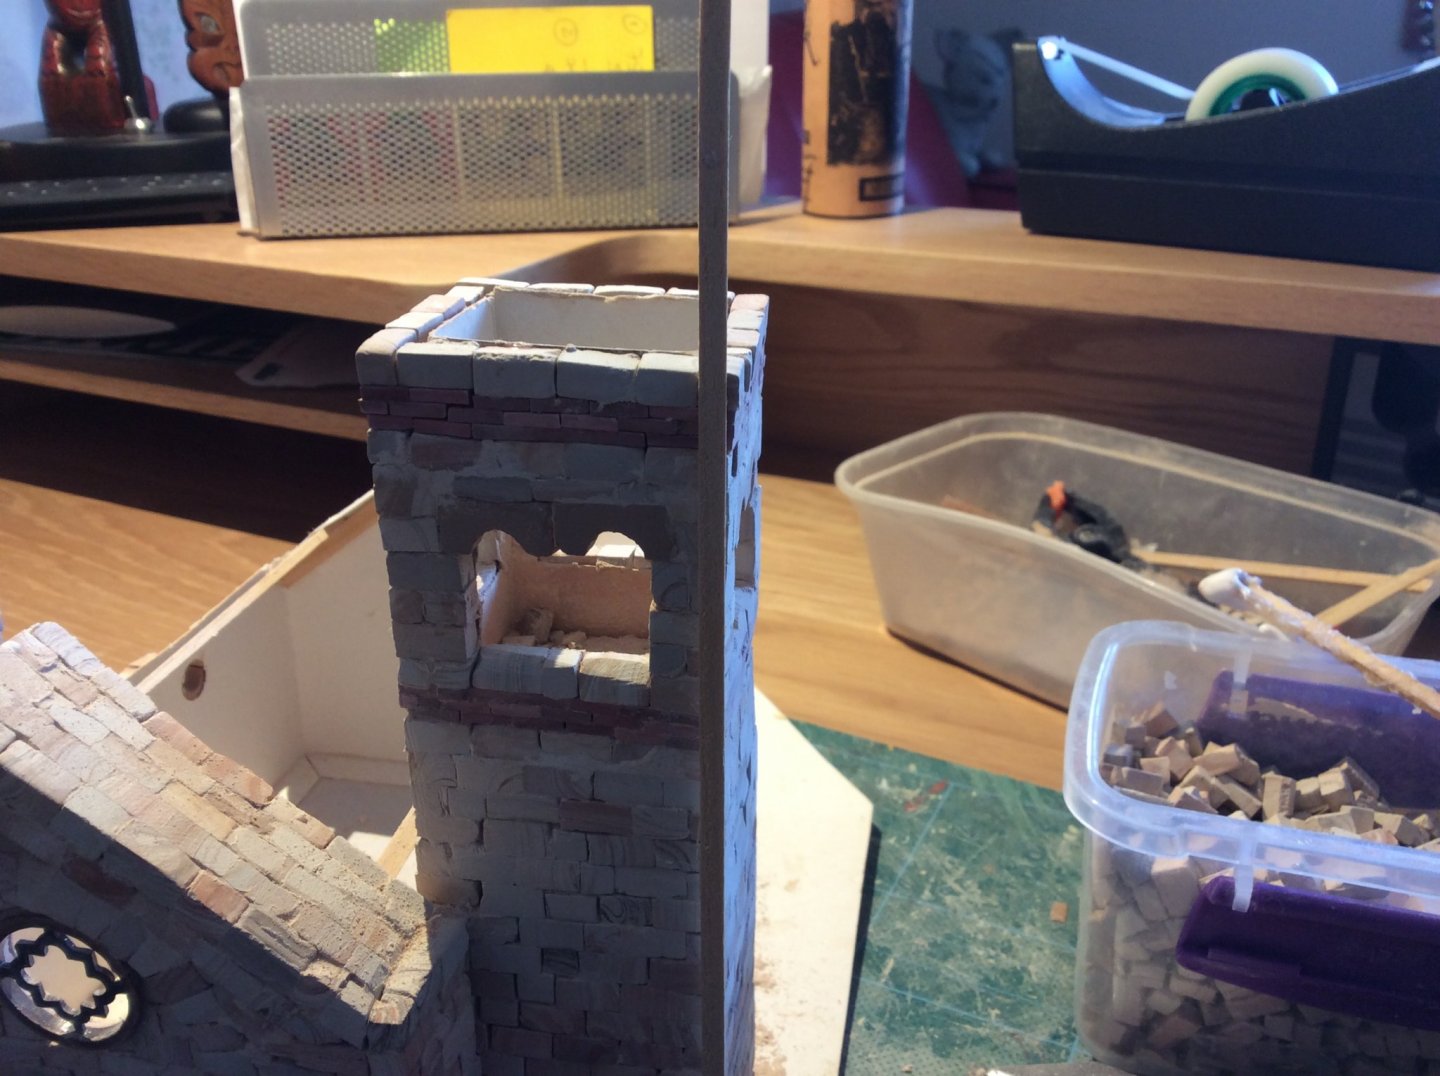
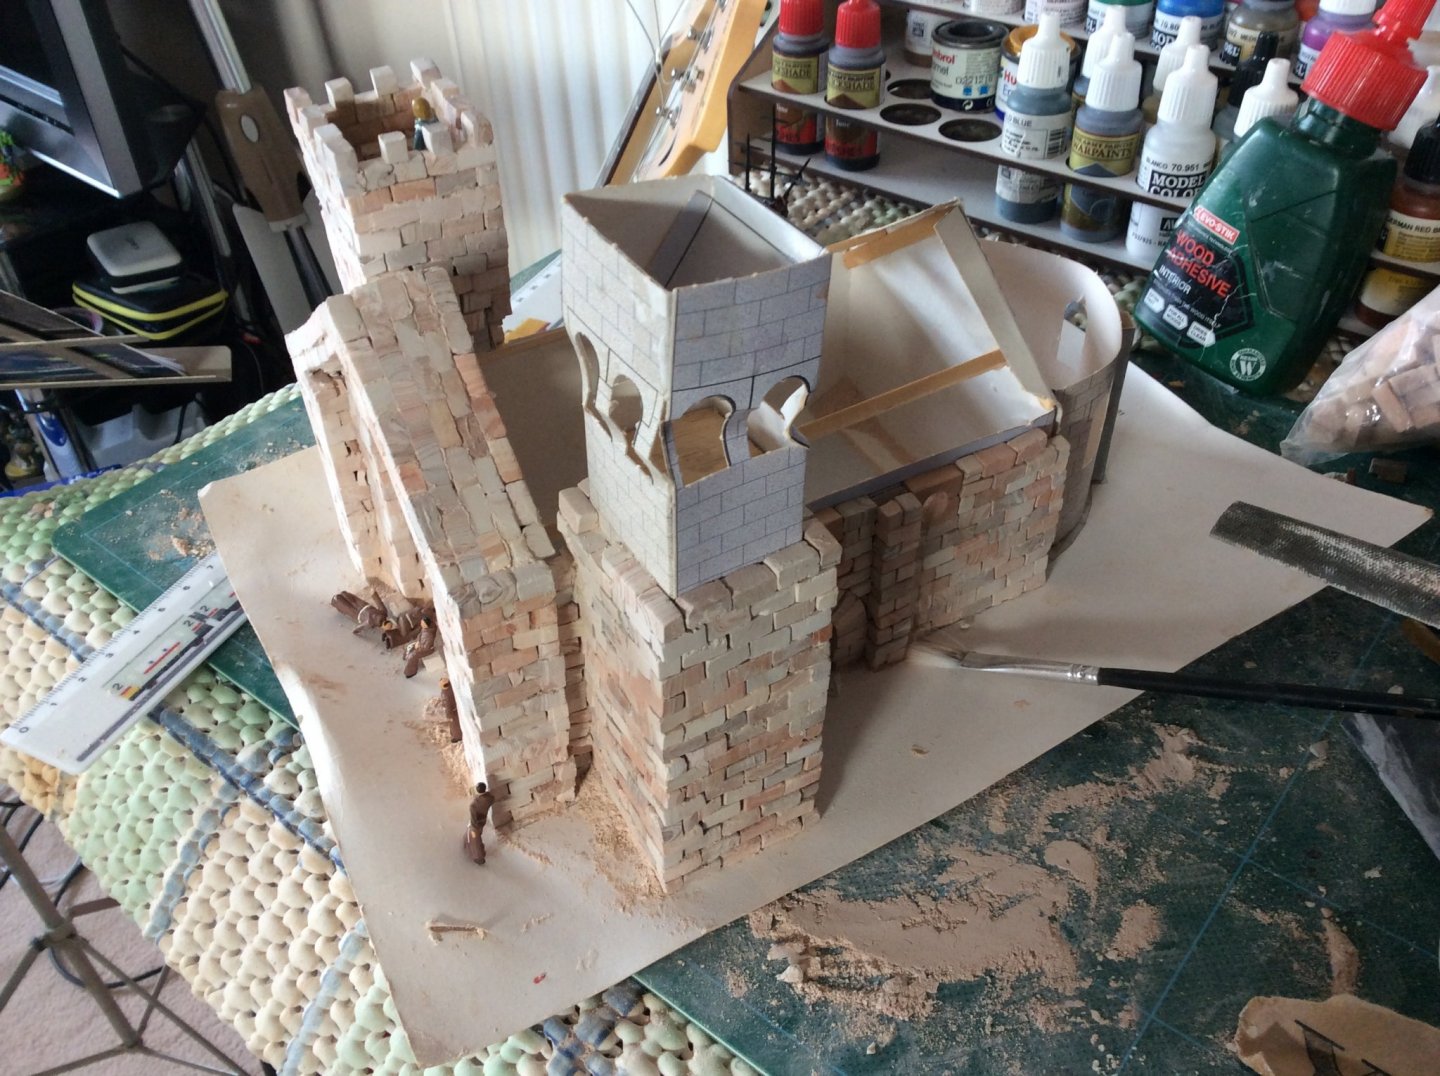
Thought it would be useful to post some of the tools that I have found useful: Saw - this is good for cutting bricks to size but needs to be done carefully as they can shatter Craft knife - similar to the above for smaller trimming Files - the bigger one is invaluable for shaping bricks before fitted but really good for filing back bricks to give a more consistent finish as removing the high points give a less rustic look Modelling Clay- just started using this and it is good in filling in gaps and also levelling off uneven layers that filing can’t improve. It does leave a plastically and rubber feel but fine sand paper seems to remove any excess Brush - this is really useful given my ineptitude there is a lot of filing going on and the dust settles everywhere so regular brushing surfaces before clueing is important The Stick (trademark pending) - the most useful tool. Been using it to tap down the bricks and to flatten down a course of bricks. Also noticing that overtime the layers tend to lean out so this allows to correct this and where necessary, as in the photo, gives some indication of how much filing is required to bring it back into line
- 211 replies
-
- 11
-
-
Building a Medieval fortress - by Waitoa - Del Prado 1/87
Waitoa replied to Waitoa's topic in Non-ship/categorised builds
Thanks, I am going to go with the story that this stronghold has been sacked a number of times. I am getting better due to the help of a file. Once I get past the bell tower windows will post some learnings. Added a layer of terracotta bricks for contrast and also applied a Matt varnish to that level.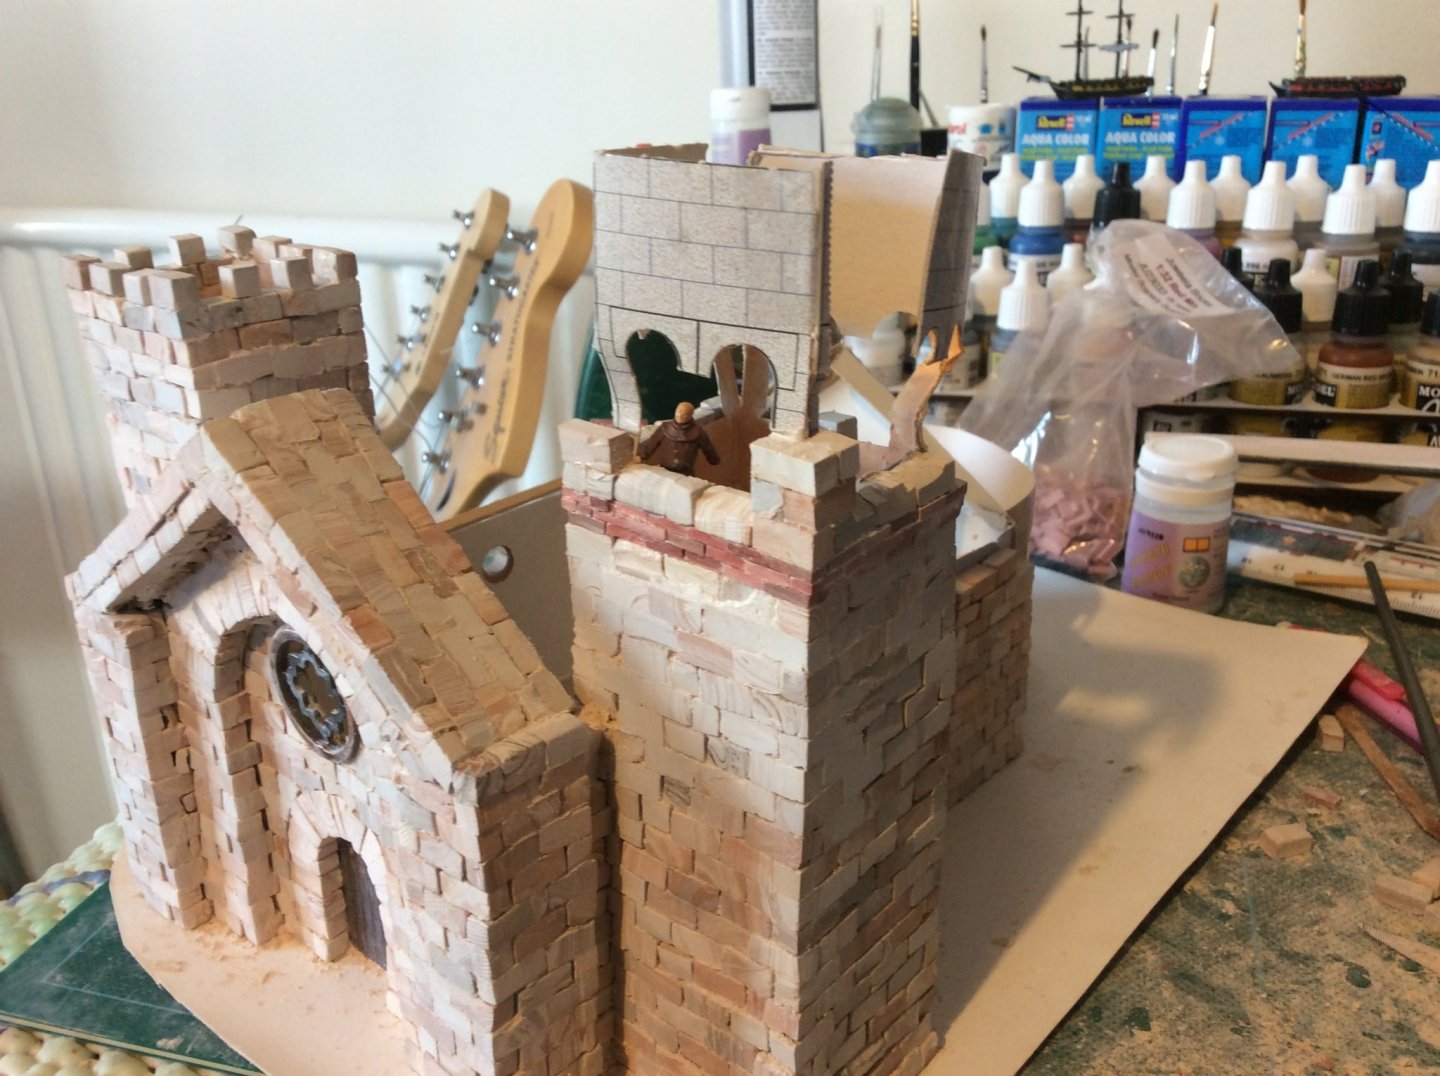
- 211 replies
-
- 12
-
-
Building a Medieval fortress - by Waitoa - Del Prado 1/87
Waitoa replied to Waitoa's topic in Non-ship/categorised builds
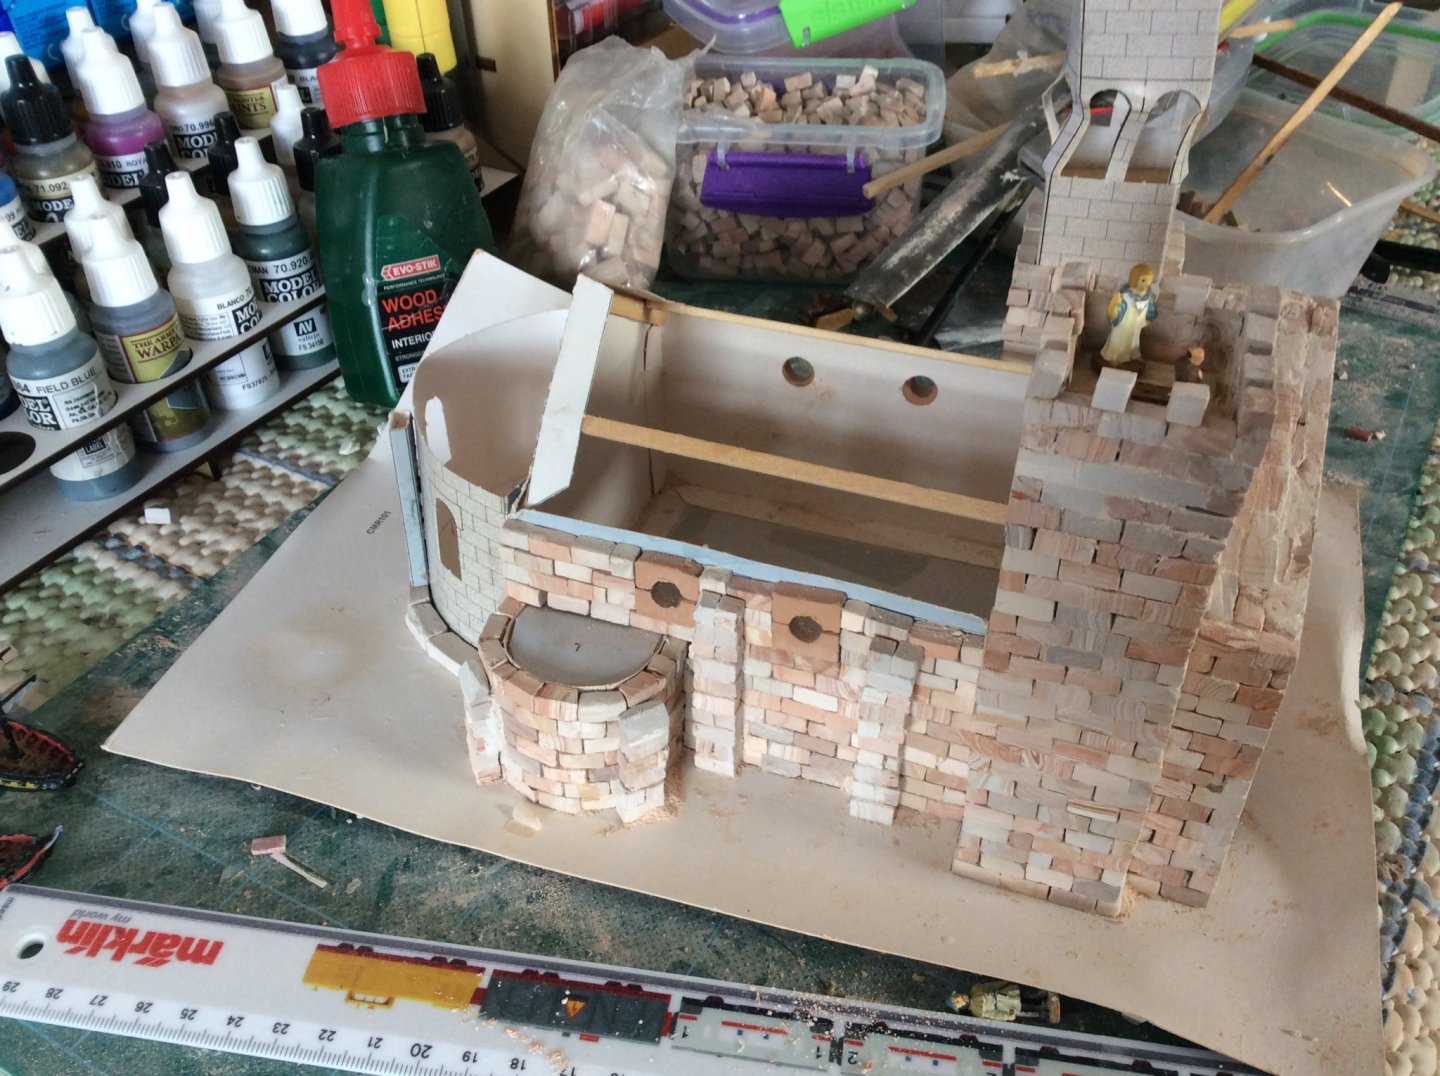
Hi, As I am new to this type of modelling thought I would post some learnings. Filing the individual bricks is a challenge. When if first started this I would do three to four courses of bricks in one sitting with a view of sanding later. This meant small uneveness was multiplied throughout the model given the bricks a slumped look. I am now laying one course and allowing to dry before filing flat which is starting to provide a more consistent look. Once finished will go back and correct the rougher work and collecting the filings as should be able to create a clay to pack the worse gaps. Thinking of calling the church St Jude as he is the patron Saint of lost causes.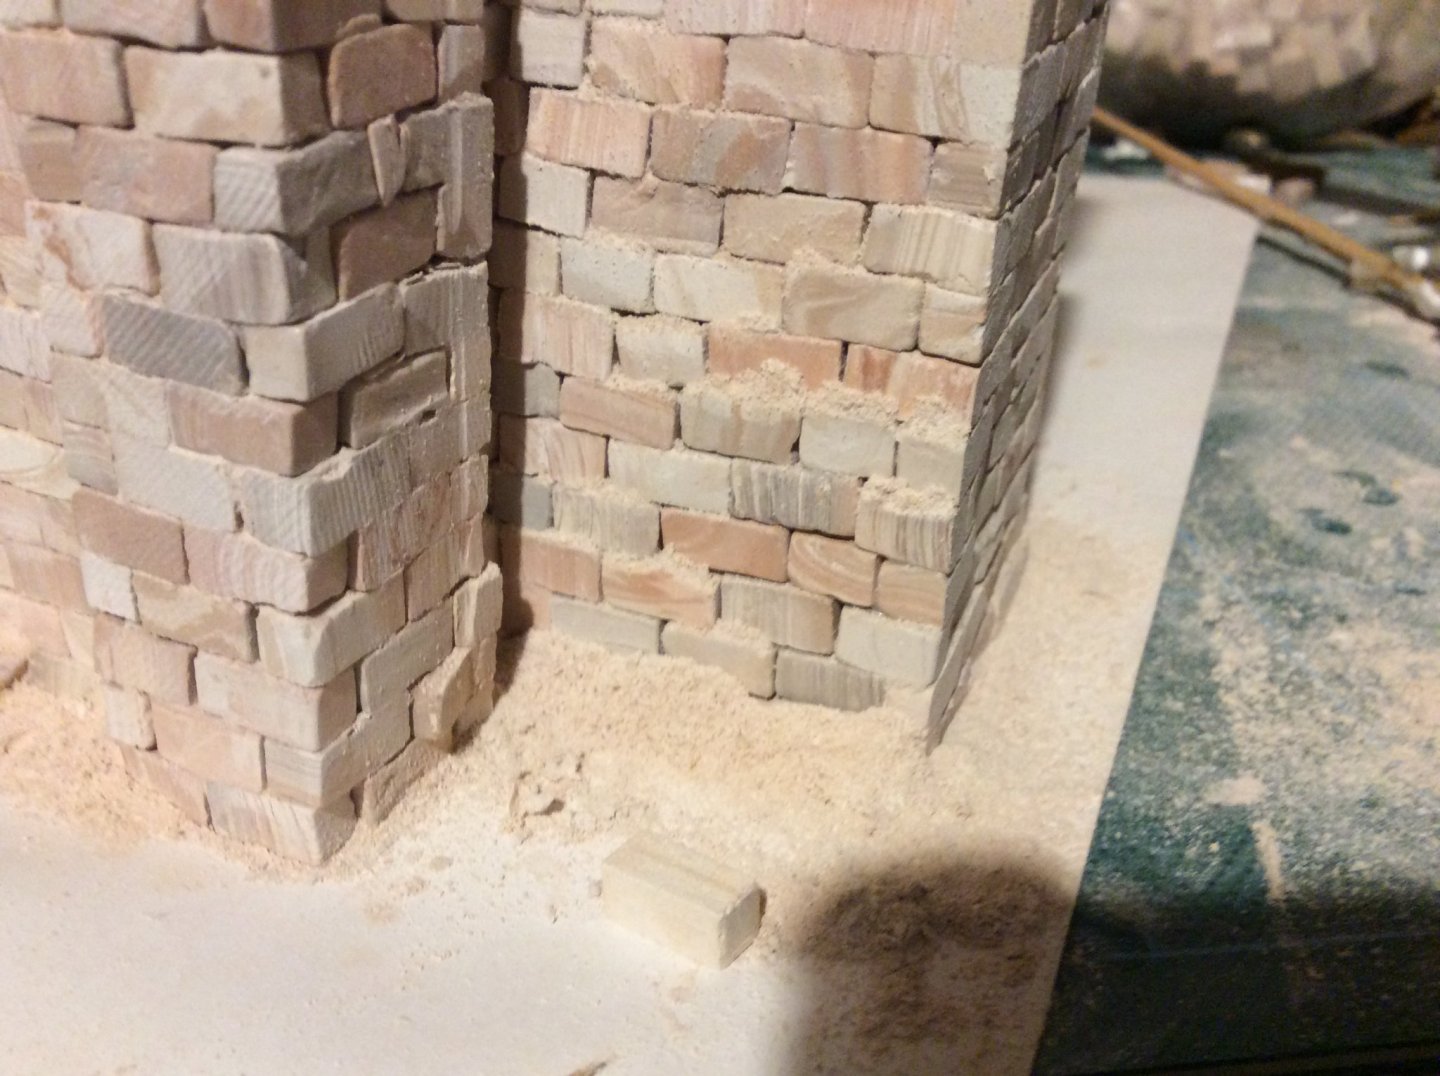
-
Building a Medieval fortress - by Waitoa - Del Prado 1/87
Waitoa replied to Waitoa's topic in Non-ship/categorised builds
Mea Culpa maxima, the previous owner had opened the packs but all the sins on this one is mine -
Building a Medieval fortress - by Waitoa - Del Prado 1/87
Waitoa replied to Waitoa's topic in Non-ship/categorised builds
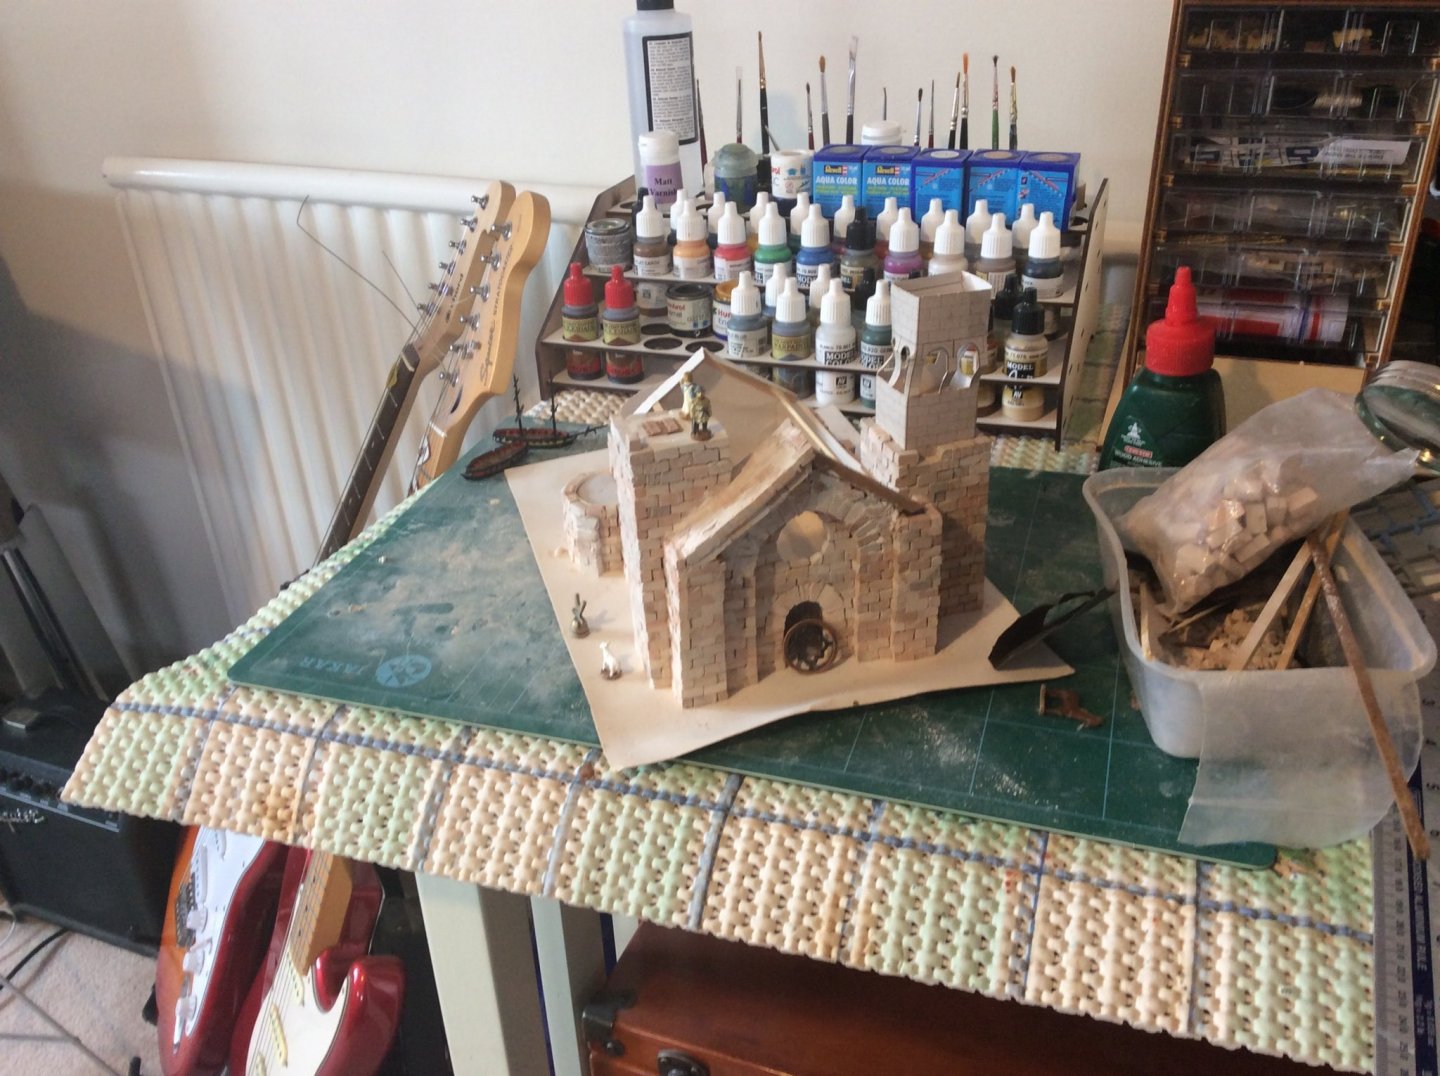
I started building this about 7 years ago but put it aside due to work pressures. With the lockdown and Ekis’ excellent build decided to revive it. Initially I made a number of mistakes as I did not strengthen the cardboard structure which I think is essential with these types of models. Also as it was second hand I started with the loose bricks. A number of these had been damaged and I did not take enough time filing them appropriately. This means that the look is very “rustic”. I understand that generally Church buildings were of a higher quality and Masons were more careful so not to imperil their immortal soul. Based on my work guess I am going to hell then. Starting to make progress and bought some Monks for scale. Will finish the Church and then plan the rest of the fortress as think there are a number of modifications I think I will make to the overall kit.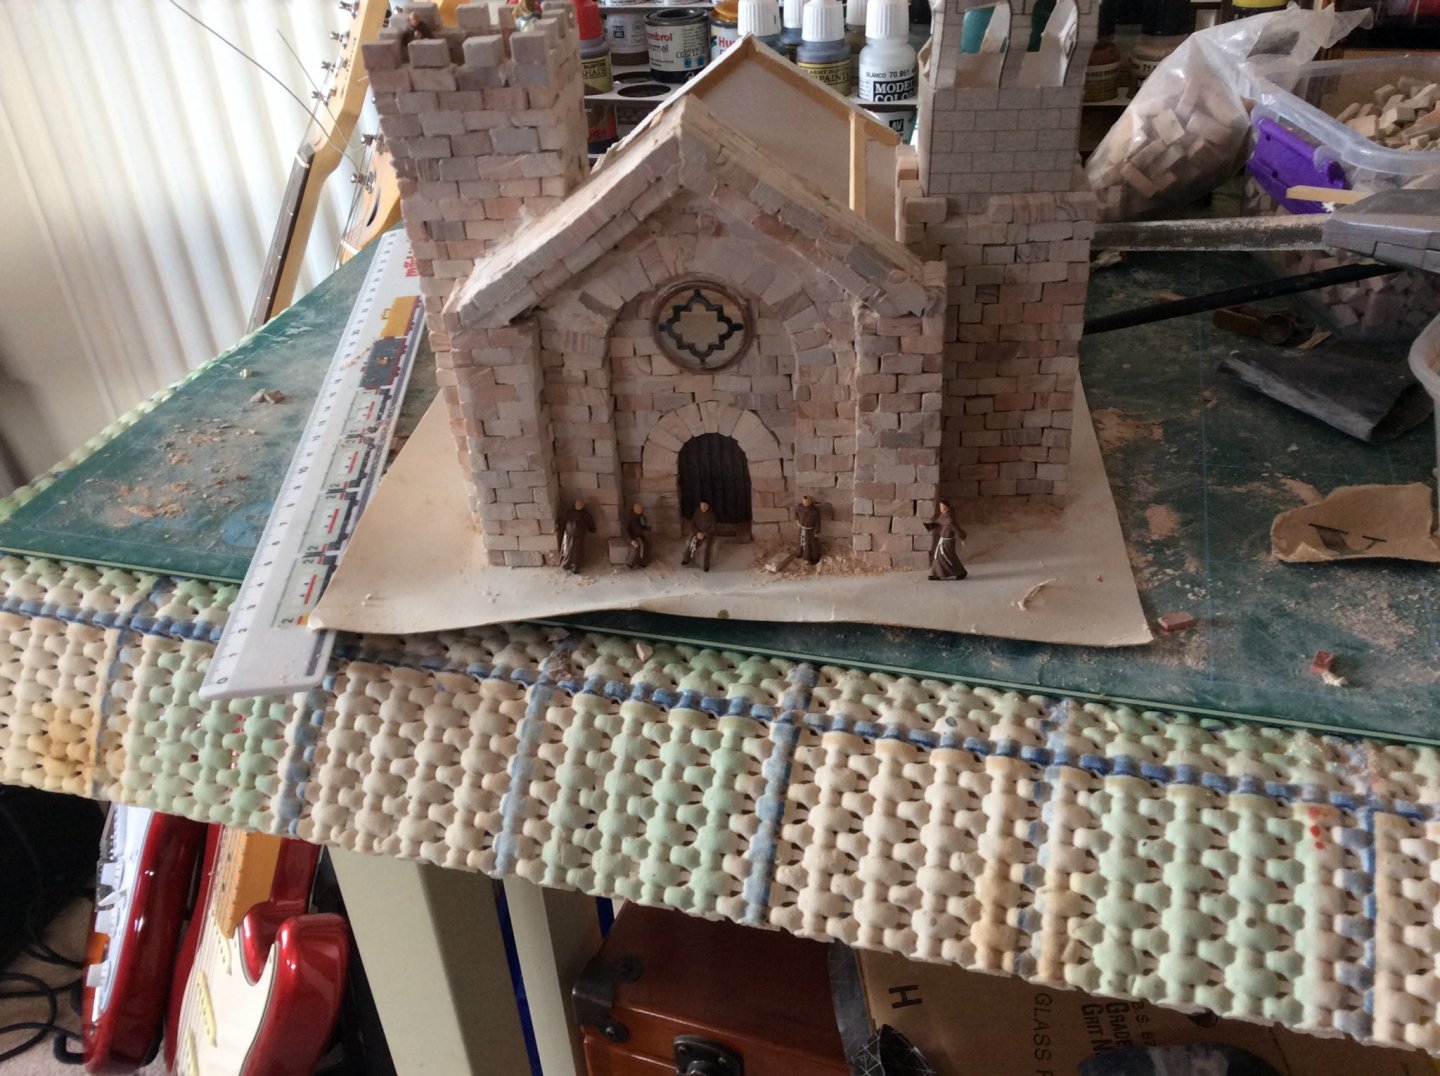
- 211 replies
-
- 13
-
-
Hi, Will create a log of my current build of an old Del Prado kit that I picked up second hand. I am sure it is mainly complete but will try to supplement as I go with other pieces and Inspiration from Ekis’ great build Waitoa
-
Well being in lockdown is providing some motivation, the intention is to keep building and ordered some terracotta bricks from a company called Juweela to add some layers for contrast. More Roman than Medieval but hopefully will provide some more inspiration.
-
Hi, As long as you don’t laugh too much. Only started on the Church and has gotten a bit battered as my hobby area has moved around the house. On YouTube there is a guy Medieval Modeller that is building a number of similar kits which is worth checking out. Waitoa
- 789 replies
-
- 11
-
-
Hi, What you are doing with this kit is a joy to watch. I have a slightly battered version of this model that I need to dust off and complete but very jealous as I can get nowhere near the quality of your build. Rgds Waitoa
-
Thanks may inspire me to finish mine, gotten busy with work and life
- 188 replies
-
- 2
-
-
- surprise
- artesania latina
- (and 1 more)
-
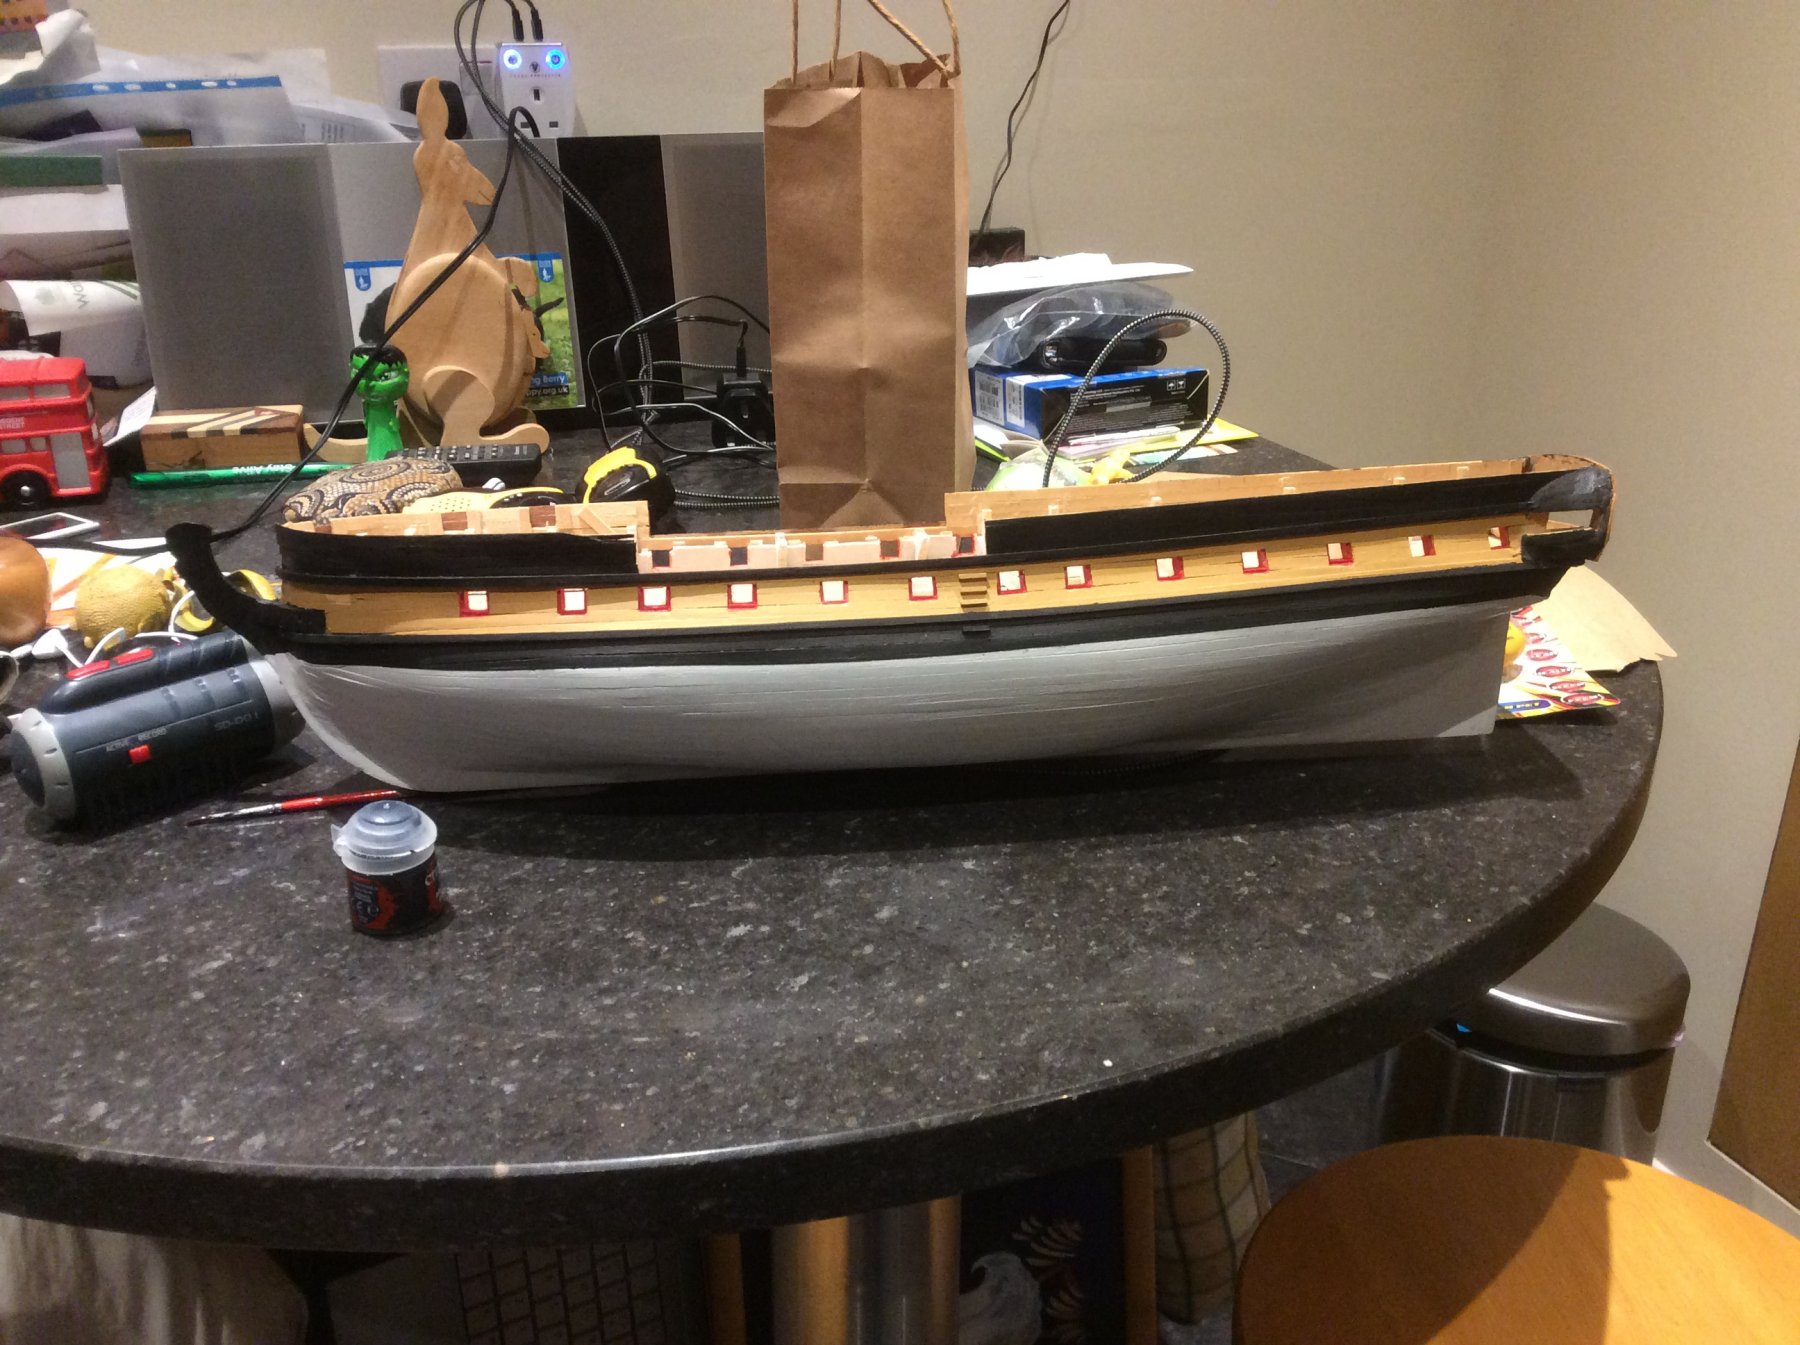
Hi Small update as been very busy with work and travel. Losing motivation a bit so painted the upper deck although this still needs more work. Will try to work on some of the smaller tasks so I keep going while I build up the courage to do the stern.

-
Truly an amazing build, this was the first ship I built and what you have done with this kit is great
-
Thanks will have a look and see how I get on,

-
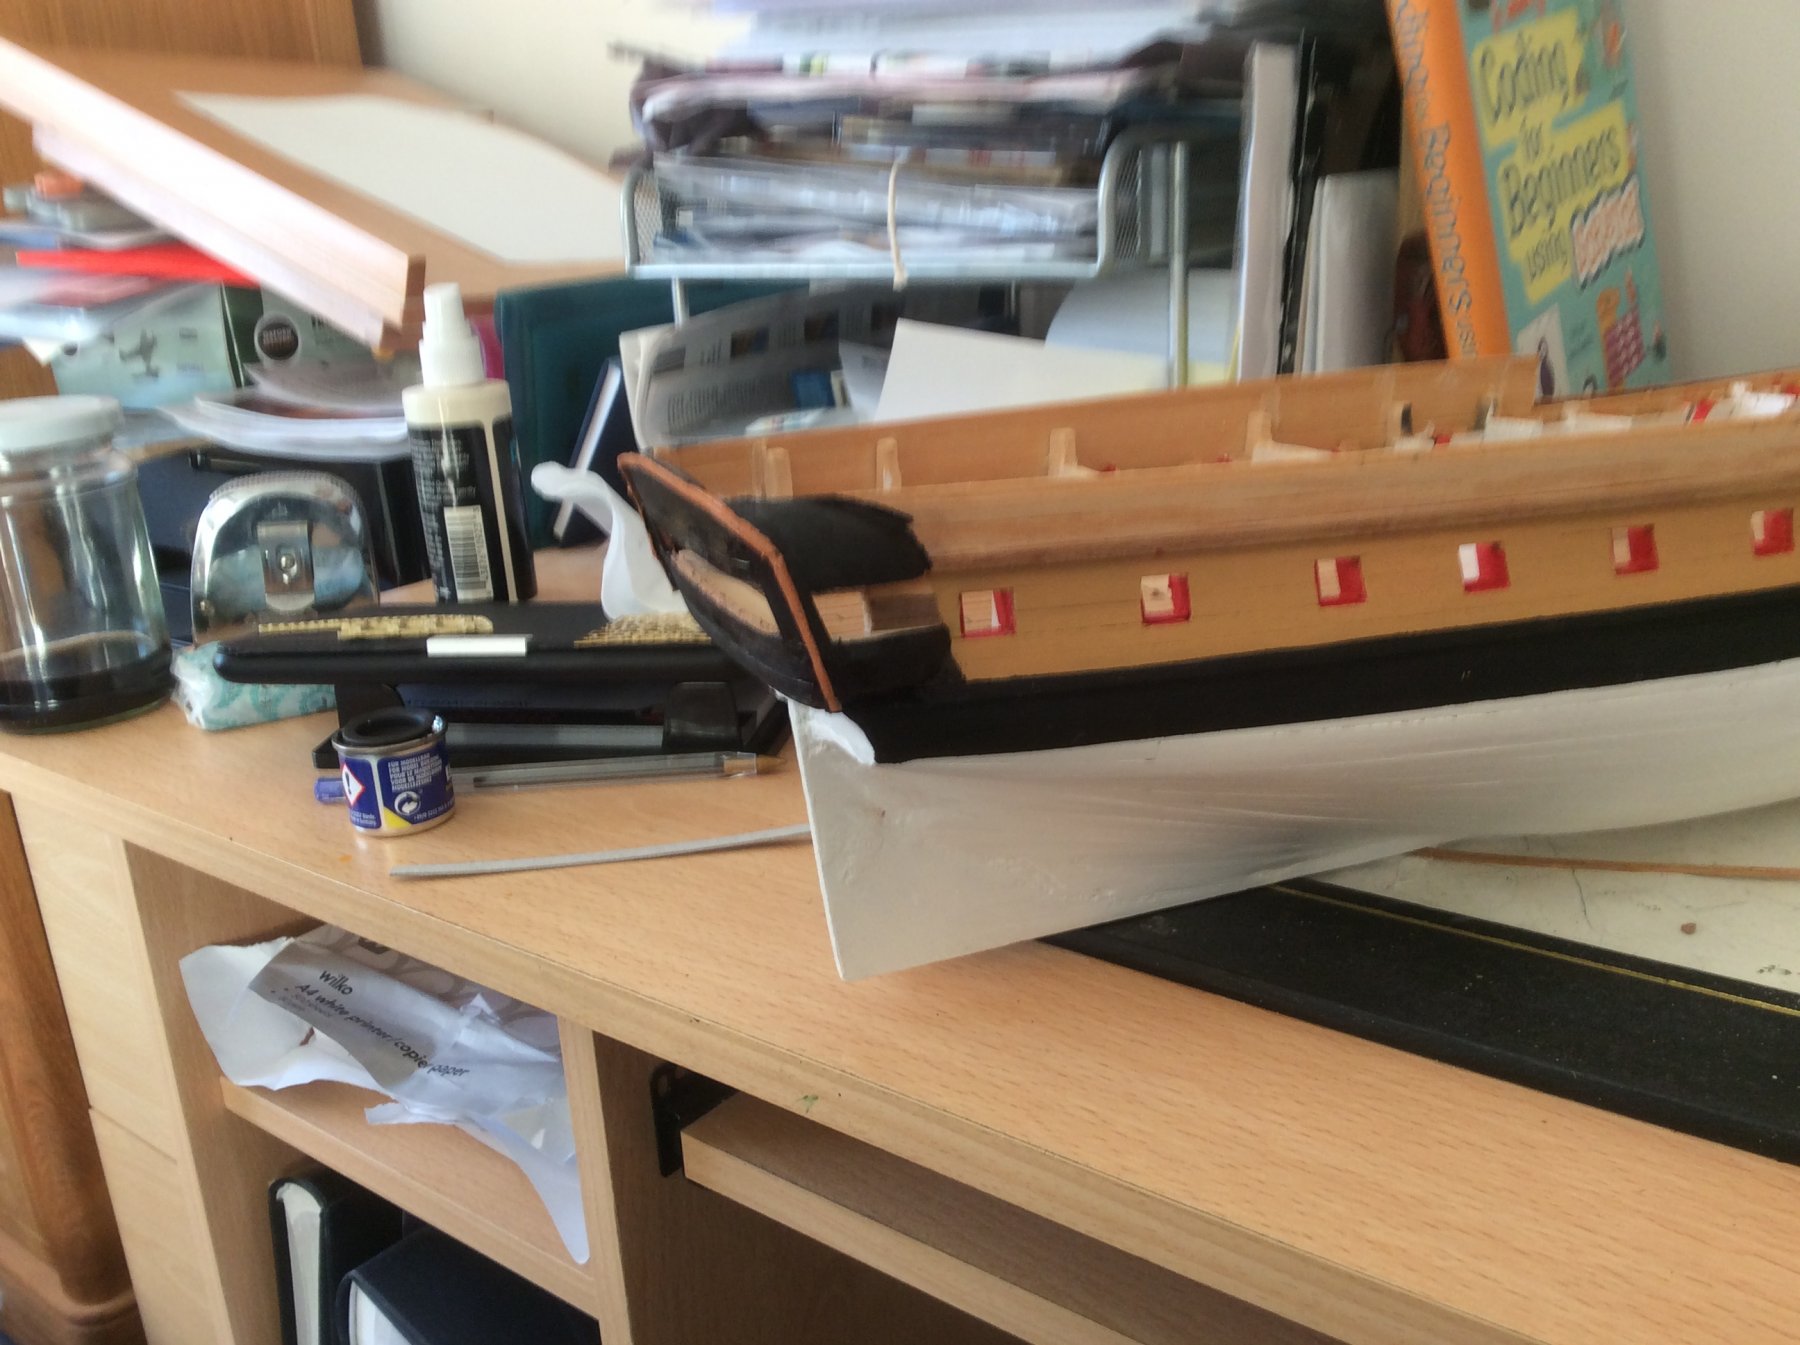
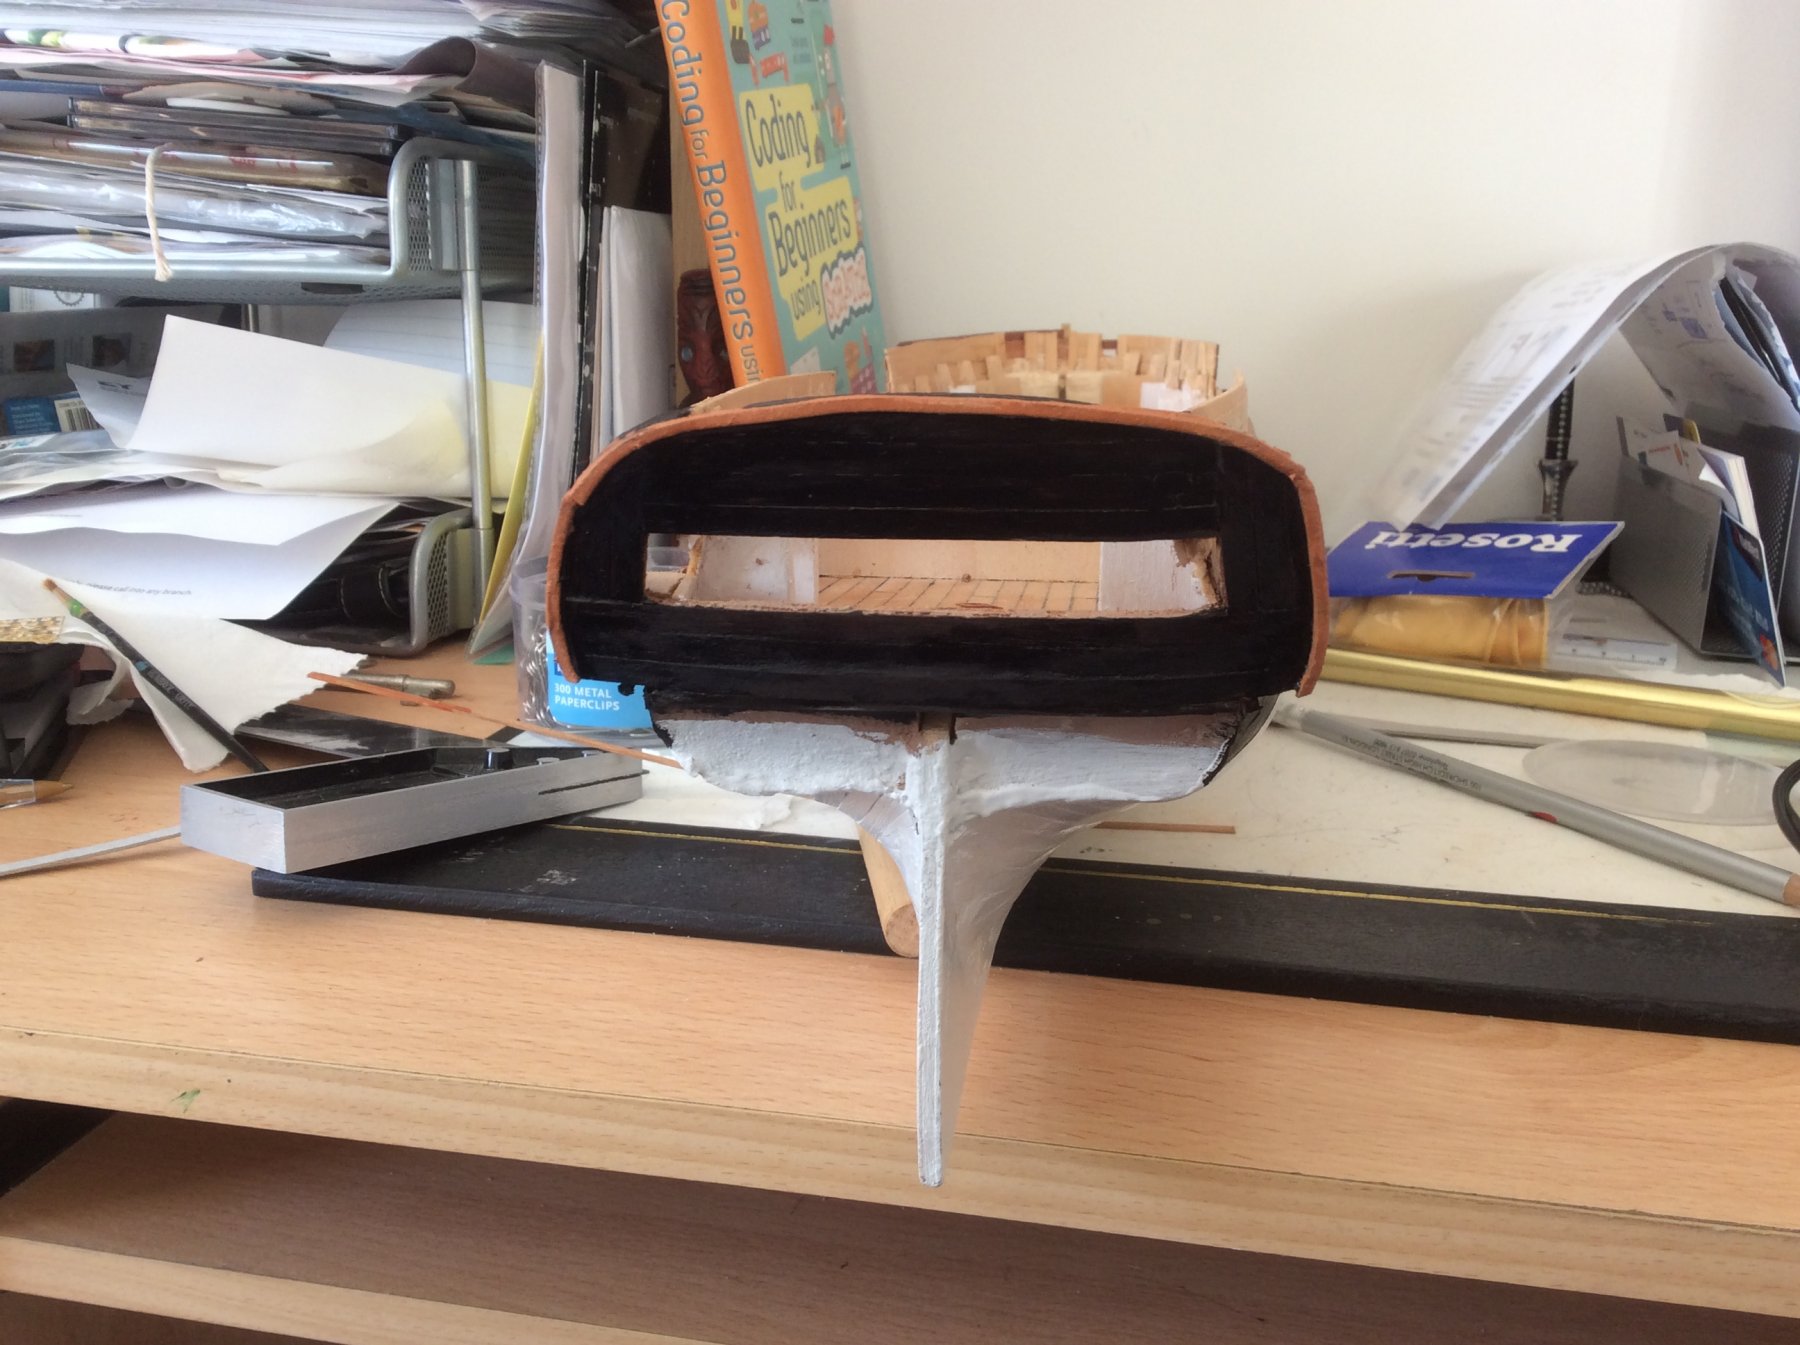
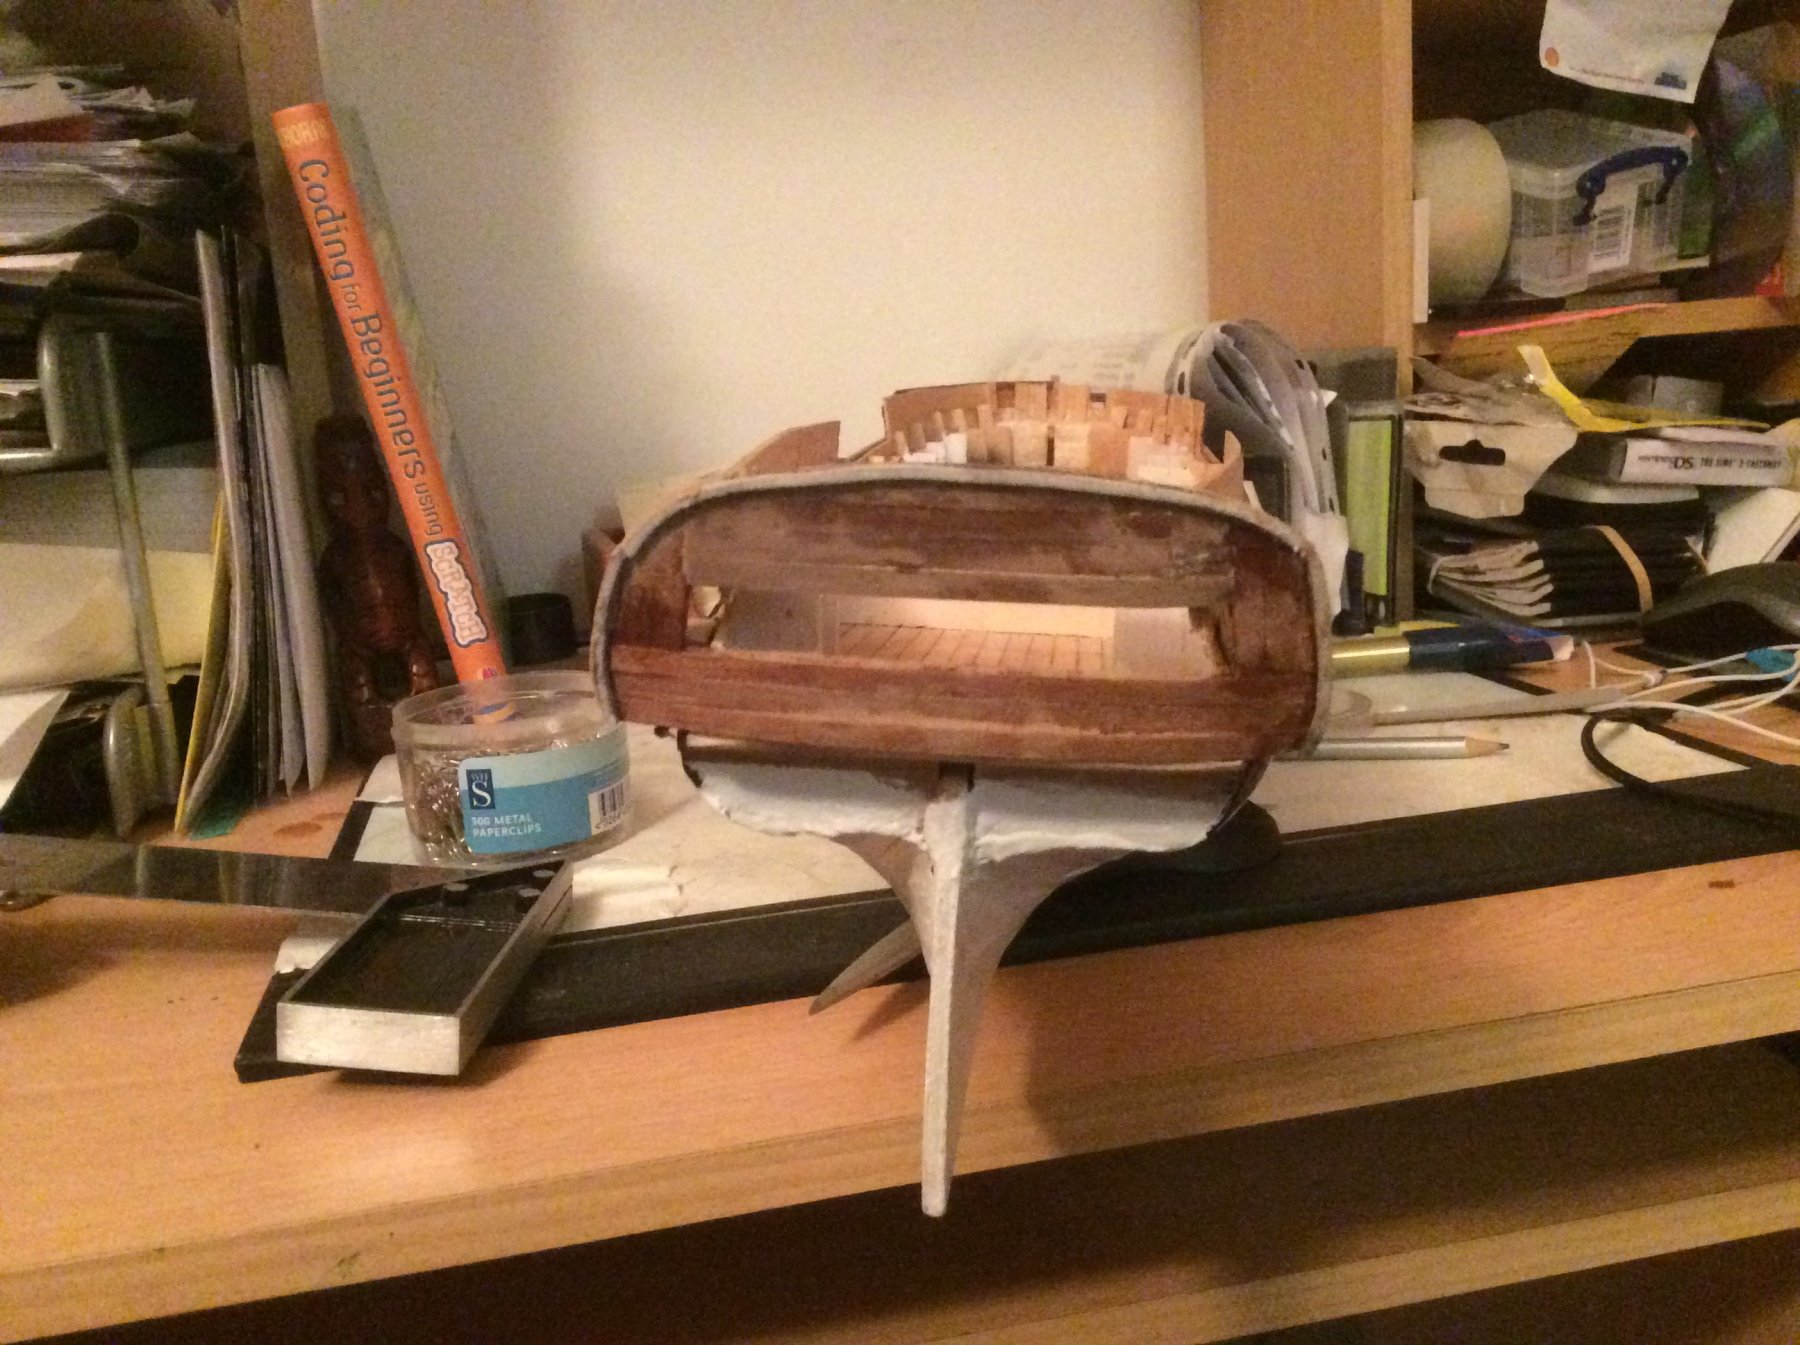
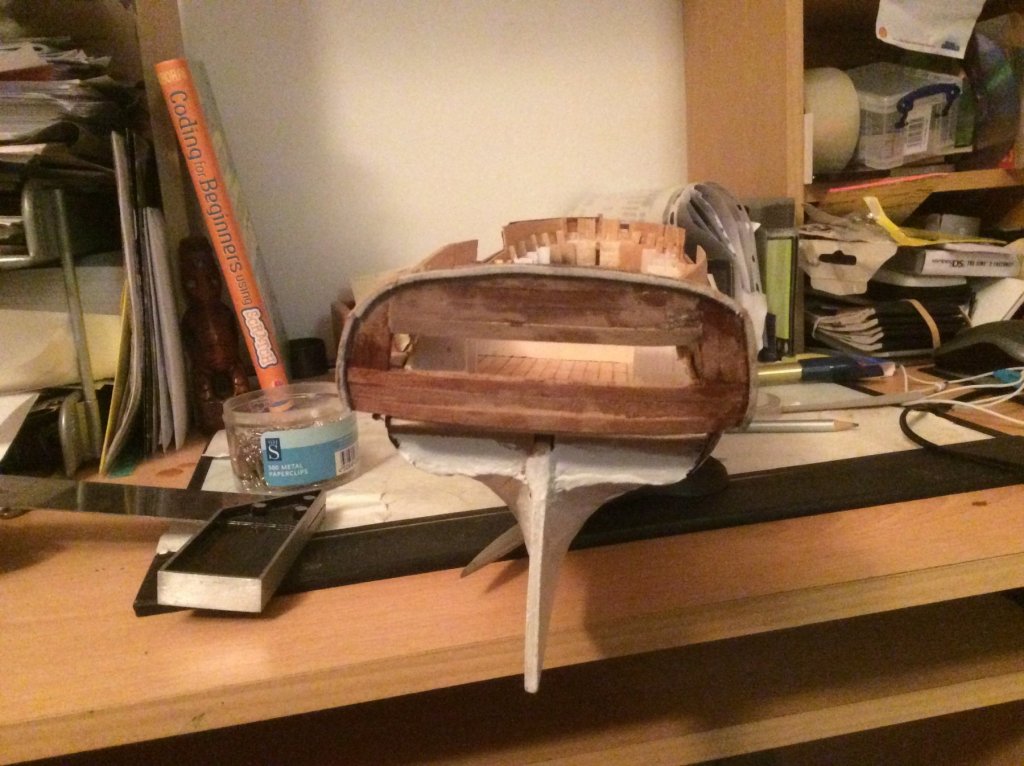
With the Bristish summer ending decided to get back to the boat building. As per the previous post the metal was broken and far too small so having to scratch build the stern. Keen to get suggestions on how to build the windows as not sure what to do.

-
Hi, I am building the Mamoli Surprise and did away with the white metal frames. The extra boxing wasn't fun but happier with the end result. Looking forward to your build. Waitoa
-
Thank you for posting yours as I will be borrowing some ideas from it, I am enjoying this build even though I have made a number of mistakes. Each one though I have learned some new techniques or really had to think my way out of a self inflicted issue.