HOLIDAY DONATION DRIVE - SUPPORT MSW - DO YOUR PART TO KEEP THIS GREAT FORUM GOING! (78 donations so far out of 49,000 members - C'mon guys!)
×


hamilton
-
Posts
1,933 -
Joined
-
Last visited
Content Type
Profiles
Forums
Gallery
Events
Everything posted by hamilton
-
 Collingwood - looks like you're motoring along...I've never seen or heard of any techniques for lightening the blanks (though I imagine if it's been done then someone on this forum has done it...maybe post a question in the the forum area dedicated to questions about planking. The first thought that comes to my mind is - replace the planking! That might not be an option. Anyway - best of luck hamilton
- 455 replies
-
- 1
-

-
- slightly modified
- greyhound
- (and 1 more)
-
Sheesh - if my blood and sweat planking looked anything like your crazy quilt planking I'd be a happy man! she's looking very fine Bob! hamilton
- 1,477 replies
-
- 1
-
-
- essex
- model shipways
- (and 1 more)
-
The collar looks great! I tried serving mine on the Blandford, but it was far too small a scale to get it to look right, even with sewing thread. hamilton
- 800 replies
-
- 1
-
-
- snake
- caldercraft
- (and 1 more)
-
Looking great - I like the angled bees hamilton
-
She looks beautiful! Will you be leading us through the crafting of the pins? I can't imagine making 80 of these! hamilton
-
Hi Jason: This is an interesting point. I've seen kit plans (including those for the Greyhound, which are notoriously unreliable) that show many deadeyes on a single collar. However, reading Lees, It seems that each collar has only 1 deadeye. This is much easier to conceive.... hamilton
-
Looks like you're doing an expert job on the sails - can't wait to see them bent and rigged up hamilton
-
Great looking work here hamilton
-
Hi Mark: Jast catching up on your build - thanks for posting the profile shot - she looks a beauty! hamilton
-
Looks great - I love the colours hamilton
-
Hi Collngwood - as with my Greyhound, it seems like bulkheads 9 & 10 on yours are a little high off the bearding line. You'll need to shim those up - though I don't think as much as I had to by the look of things. When you run your battens along the hull to check the run of planks, you may find that the deficiencies in bulkheads 9 and 10 run quite far up the edges - mine did. Though maybe you won't have as serious a problem to deal with.... hamilton
- 455 replies
-
- 1
-
-
- slightly modified
- greyhound
- (and 1 more)
-
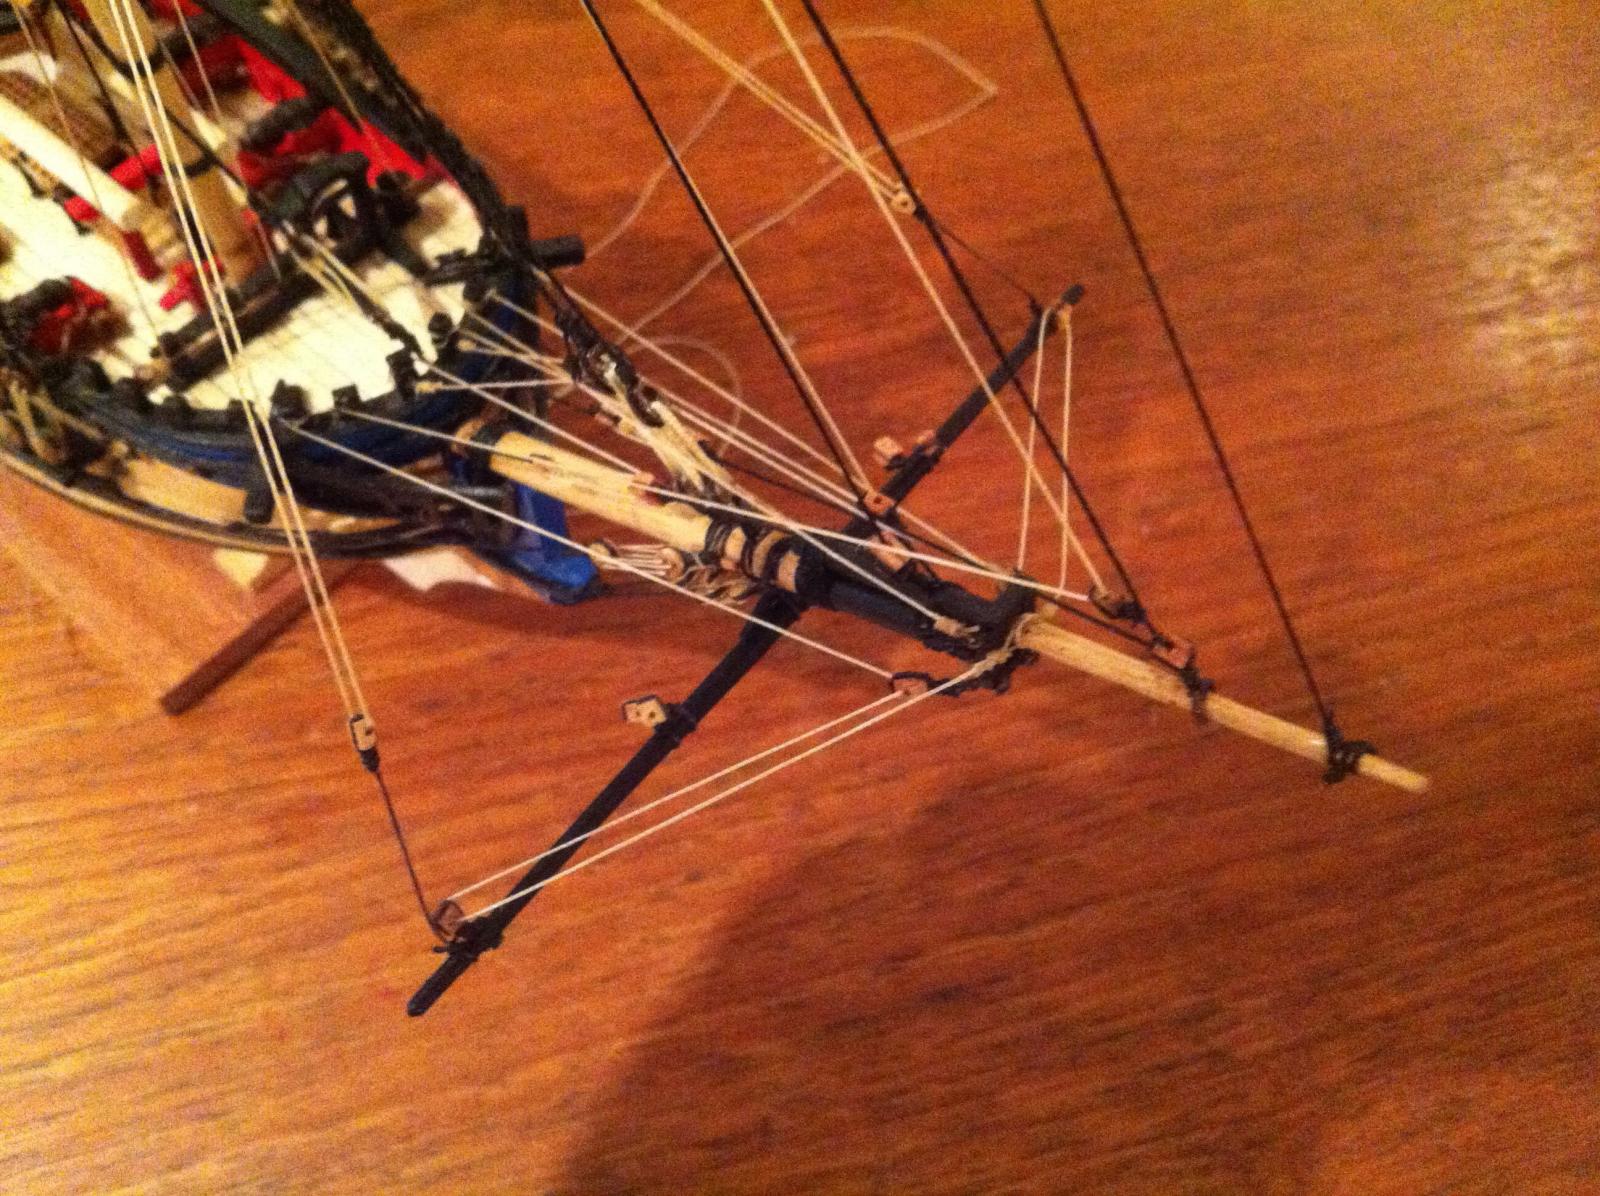
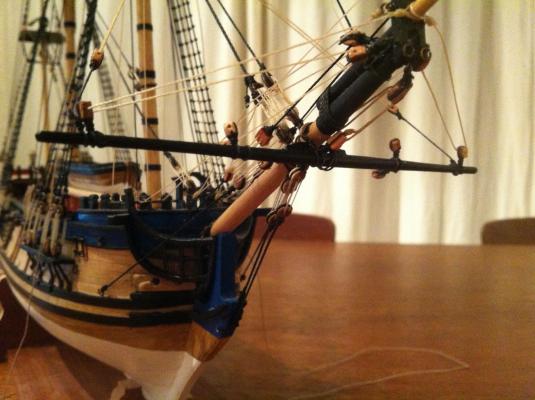
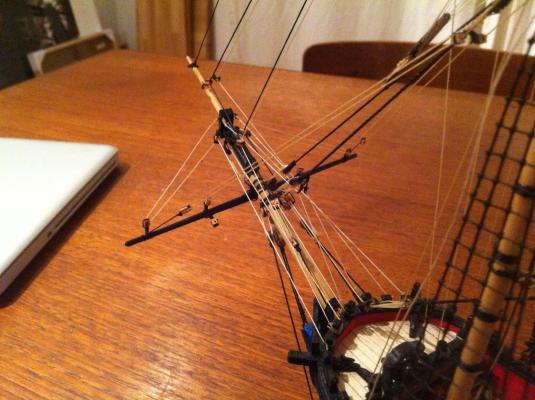
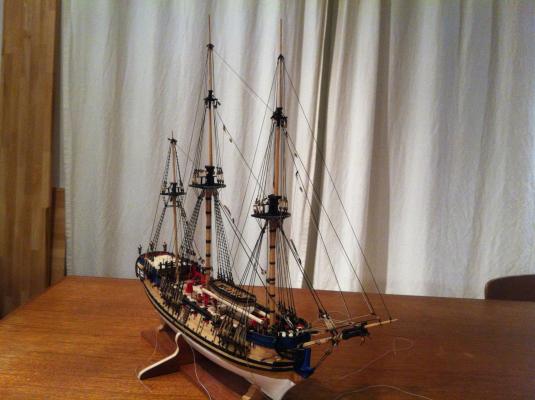
Hello all: First of all, for Ferit I have the photo of the port side fore lower shrouds and ratlines (first photo below) - hope this is what you're looking for. The night before last I shaped, finished and outfitted the spritsail yard, and this evening I installed and began rigging it. I had hoped to add the clews and sheets as well, but I only managed to add the sling, the halliard, the lifts and braces. I also added jibboom guys and guy falls (as noted in Lees), but ended up removing them because I felt they made the model look too cluttered. I'm now cursing the absence of a fairleader block on the bowsprit - which Goodwin features, but which I didn't feel confident in making - now I'm not satisfied with the chaos of lines at the bow, and yet don't feel up for dismantling all my work.......I will live with it, I suppose. Anyway, I'll hopefully have a chance of finishing the spritsail yard rigging tomorrow - from there I'll start the spars from the mizzen mast forward.....Enjoy! hamilton


- 594 replies
-
- 15
-
-
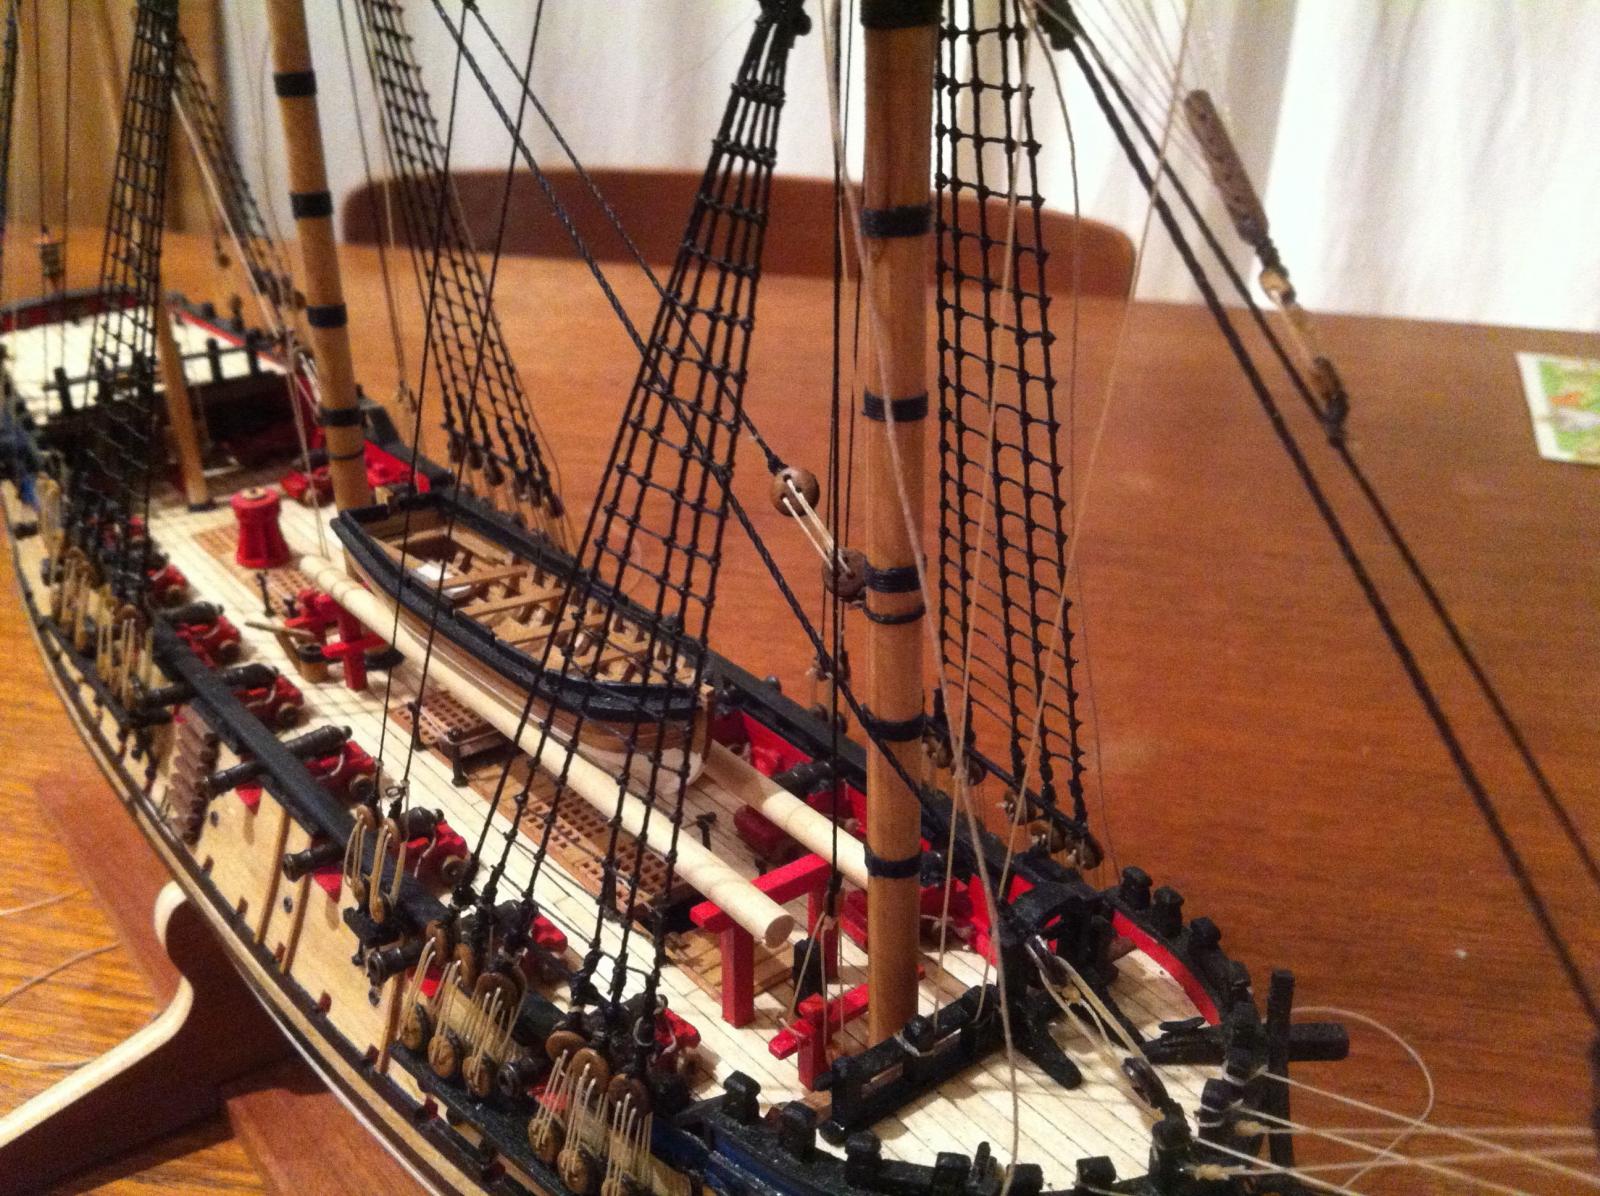
Hi Collingwood - that's how the Blandford is represented in Goodwin's book - and also how I finished my variation on the Greyhound kit...I used a mixture of Golden Oak and Natural stain (minwax) to obtain the finish on the outboard bulwarks. hamilton
- 455 replies
-
- 2
-
-
- slightly modified
- greyhound
- (and 1 more)
-
Hi Ferit: I agree about taking a break - I've been feeling less pressure to work on the Greyhound, especially as my schedule fills up with other things... As for the decorative elements, I think I'm going to leave them off...at least for now. The bulwarks are now masked behind the shrouds, so I can't get at them even if I wanted - the transom I might still try something with and I will probably end up finishing the kit supplied figurehead and using that....we'll see. Anyway, thanks for coming by! Look forward to more of your Berlin soon hamilton
-
True enough Bob! I don't mind them too much, but after so many days it starts to feel like I'm in a deep rut.....in the past (for) now! hamilton
-
Hi Ferit - I was wondering where you were - haven't seen any Berlin updates recently! Nice to hear from you. I'm not in a position to post such a photo now, but will do so as soon as I can - gotta run hamilton
-
Thanks all! hamilton
-
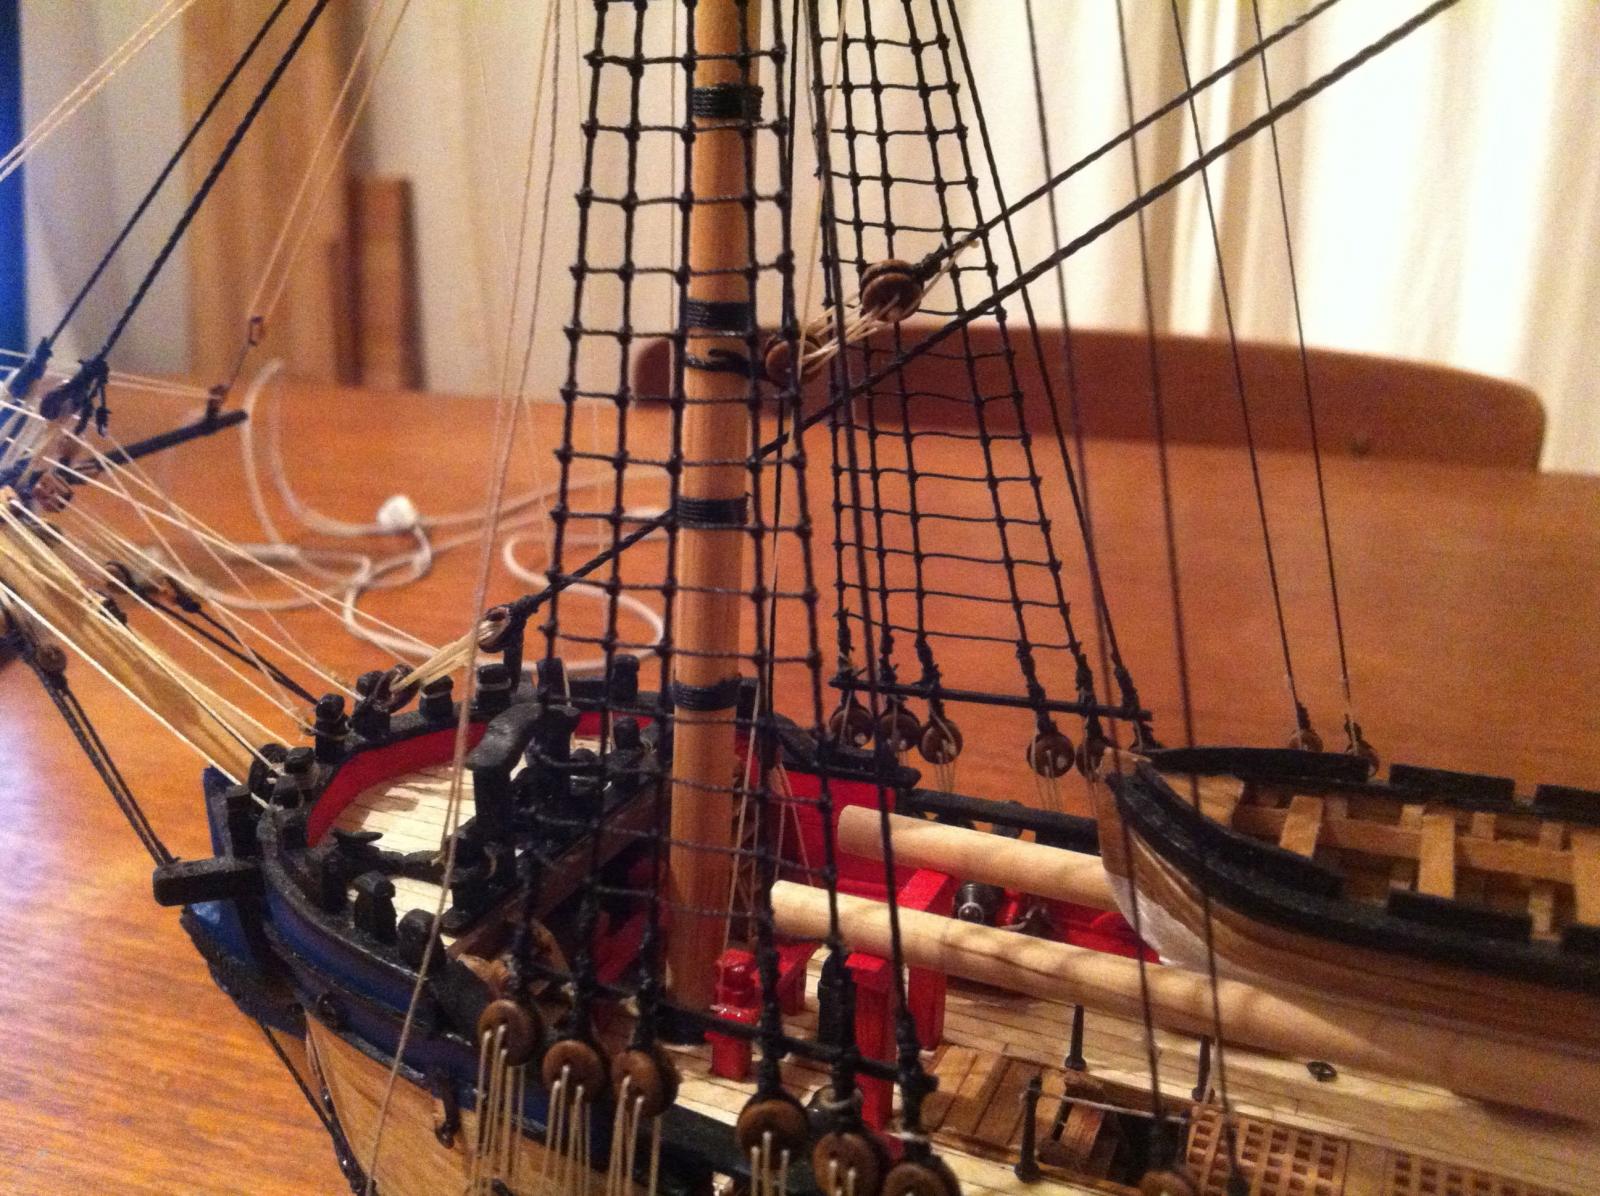
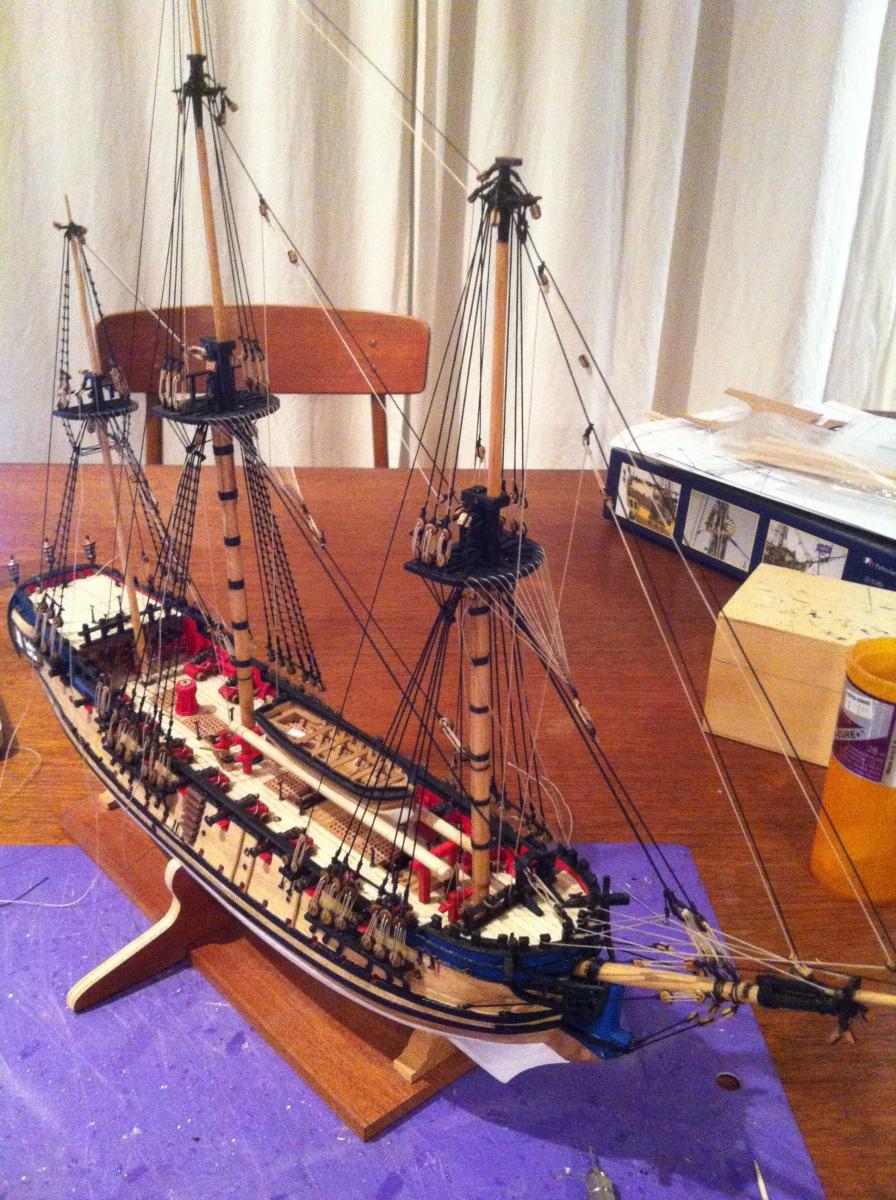
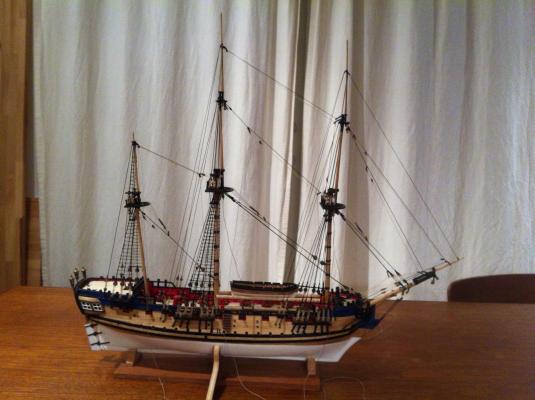
Well the ratlines are done - thankfully! This phase of ship modelling always feels like a weird stall...the repetitiveness of it, the endless clove hitches...I'm thankful it's done - now I know that it will feel like things are picking up again. Of course I probably won't have much time to work on Blandford in the coming weeks, but it's good to know that the standing rigging is now complete! Here's a photo. Enjoy and happy modelling hamilton
- 594 replies
-
- 12
-
-
Thanks all for the compliments - as always much appreciated! Still mired in tying ratlines, which I hope to finish this evening (if I can finish up some work this afternoon). Then finally it'll be back to some more interesting work on the build - namely, constructing, outfitting and rigging the yards....then on to the final stages - sweep ports, sweeps, anchors, finishing the lanterns and the figurehead. Probably won't finish until after Christmas at this point, but that just means more time with this build, which has been as fun as it's been frustrating. Bye for now hamilton
-
Hi Collingwood: Wow - this is commitment! I wonder - will this be at all visible once the hatches, etc. are added on the main deck? Or were you thinking of cutting out a section of the planking and showing an interior section at mid-ships - this would resolve the issue of having invisible interior details, though it might be a bit difficult to achieve....anyway, I admire your bravery in tearing this kit down to the nuts. I'll also offer my advice on the metal cabin bulkhed - ditch it!! If you're willing to make interior details that no one will see, then you should definitely apply your skills to crafting a bulkhead to replace the awful piece supplied by Corel! Anyway, this is shaping up to be a very interesting build - I'm very curious to see how it all comes together hamilton
- 455 replies
-
- 1
-
-
- slightly modified
- greyhound
- (and 1 more)
-
Looking great! hamilton
-
Sorry to hear of your loss Andy! Take care hamilton
-
The planking looks great. That stern looks like a bit of a challenge - but handled well. hamilton
-
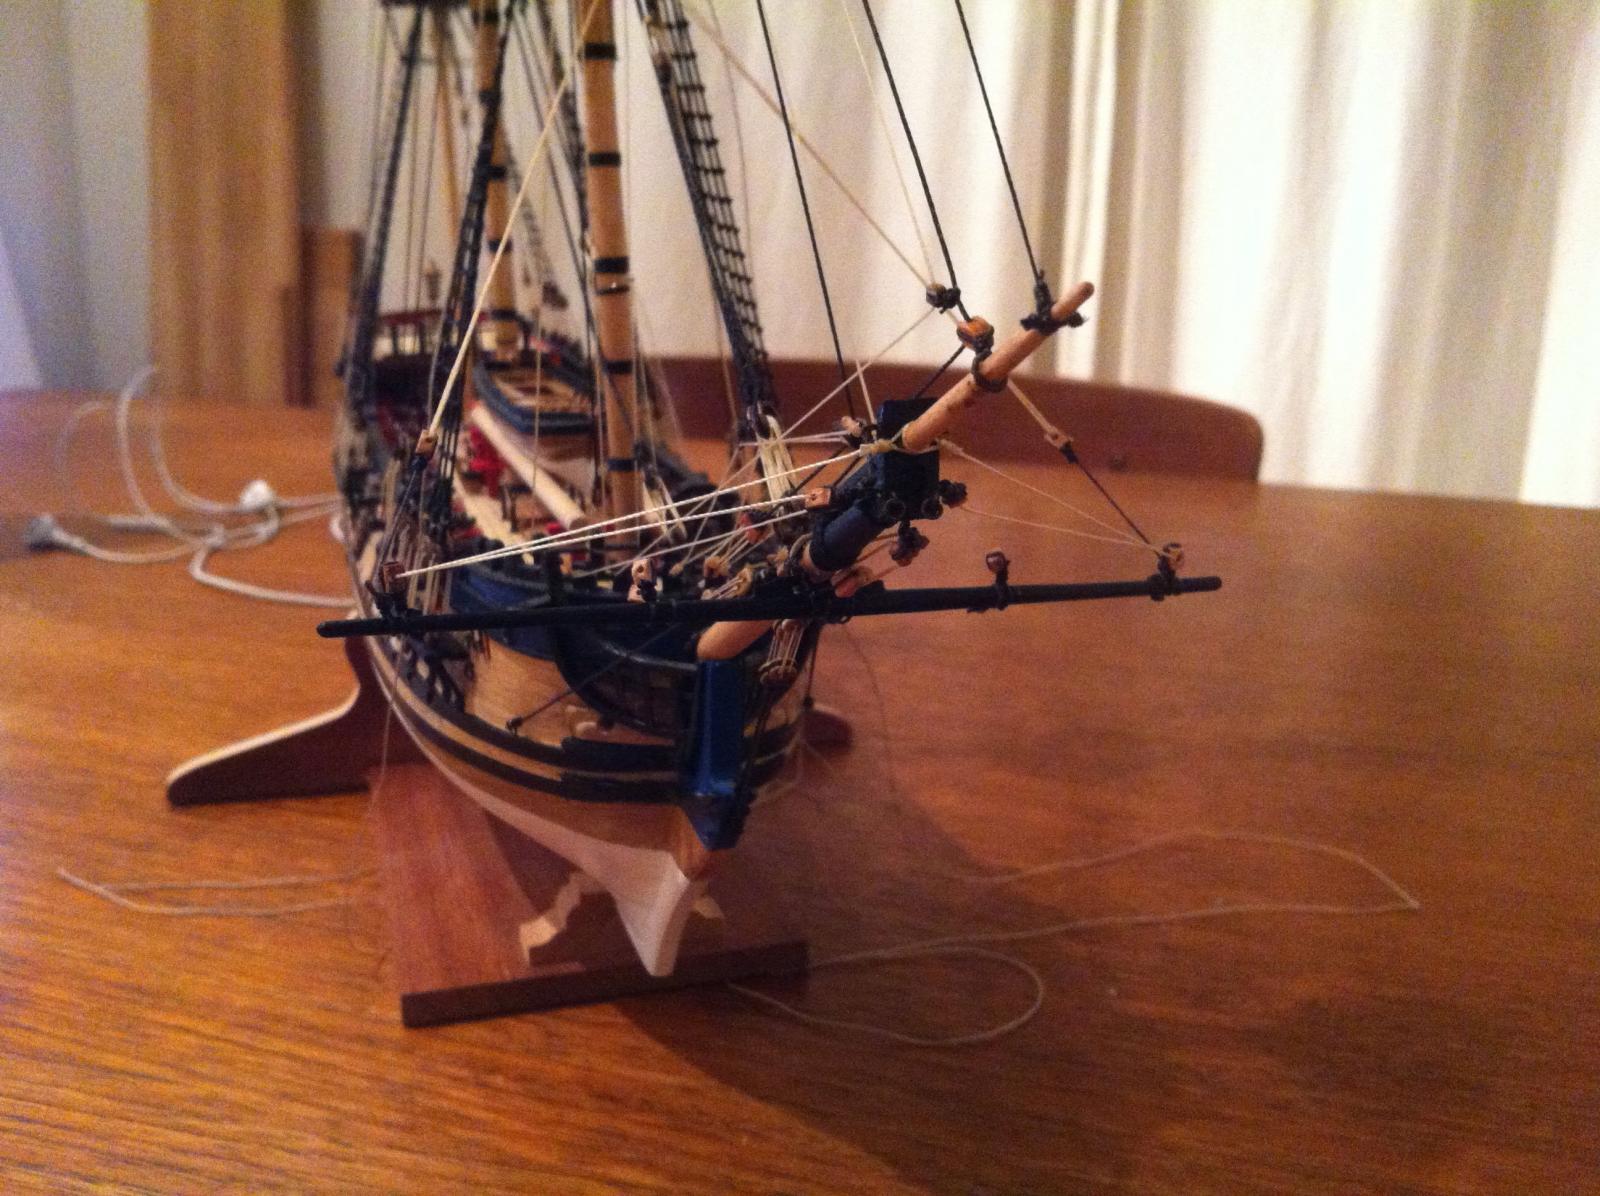
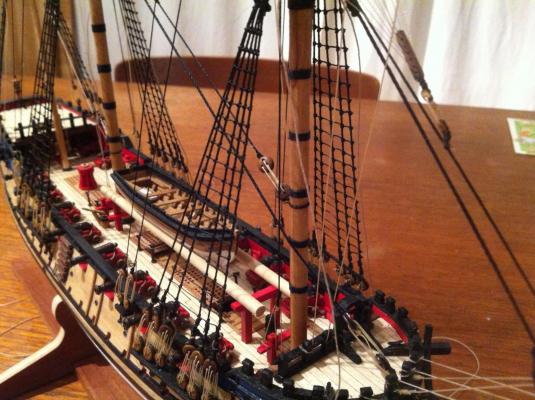
Well there's only been modest progress on Blandford lately - things are gearing up at work and there is no longer the time I used to have for modelling. I expect that I'll be slowing down considerably, between work, baby and upcoming holidays.....bits and pieces here and there I suspect....we'll see how things go. In the meantime, here are a few pictures - since last post I've attached and rigged the fore topgallant mast, added rigging for the fore staysail & jibsail and tied a whole bunch of ratlines (still the fore mast ratlines to go!!). Hope you're all having fun out there hamilton

-
Good planning and an interesting start - is the Lyme one of the later 6th rates of this class that has the squared off beakhead and the mizzen mast & ship's wheel on the quarterdeck? There are some images in the AOS Blandford that show some period models of 20-gun ships and the book talks extensively about the evolution of this class of vessel from the 1719 Establishment up to the early 1740s. Where the quarterdeck is extended, it also houses the mizzen mast and the ship's wheel is close to the forward edge - though I'm not sure this applies to the Lyme...... hamilton
- 455 replies
-
- 2
-
-
- slightly modified
- greyhound
- (and 1 more)