


niwotwill
-
Posts
586 -
Joined
-
Last visited
Content Type
Profiles
Forums
Gallery
Events
Posts posted by niwotwill
-
-
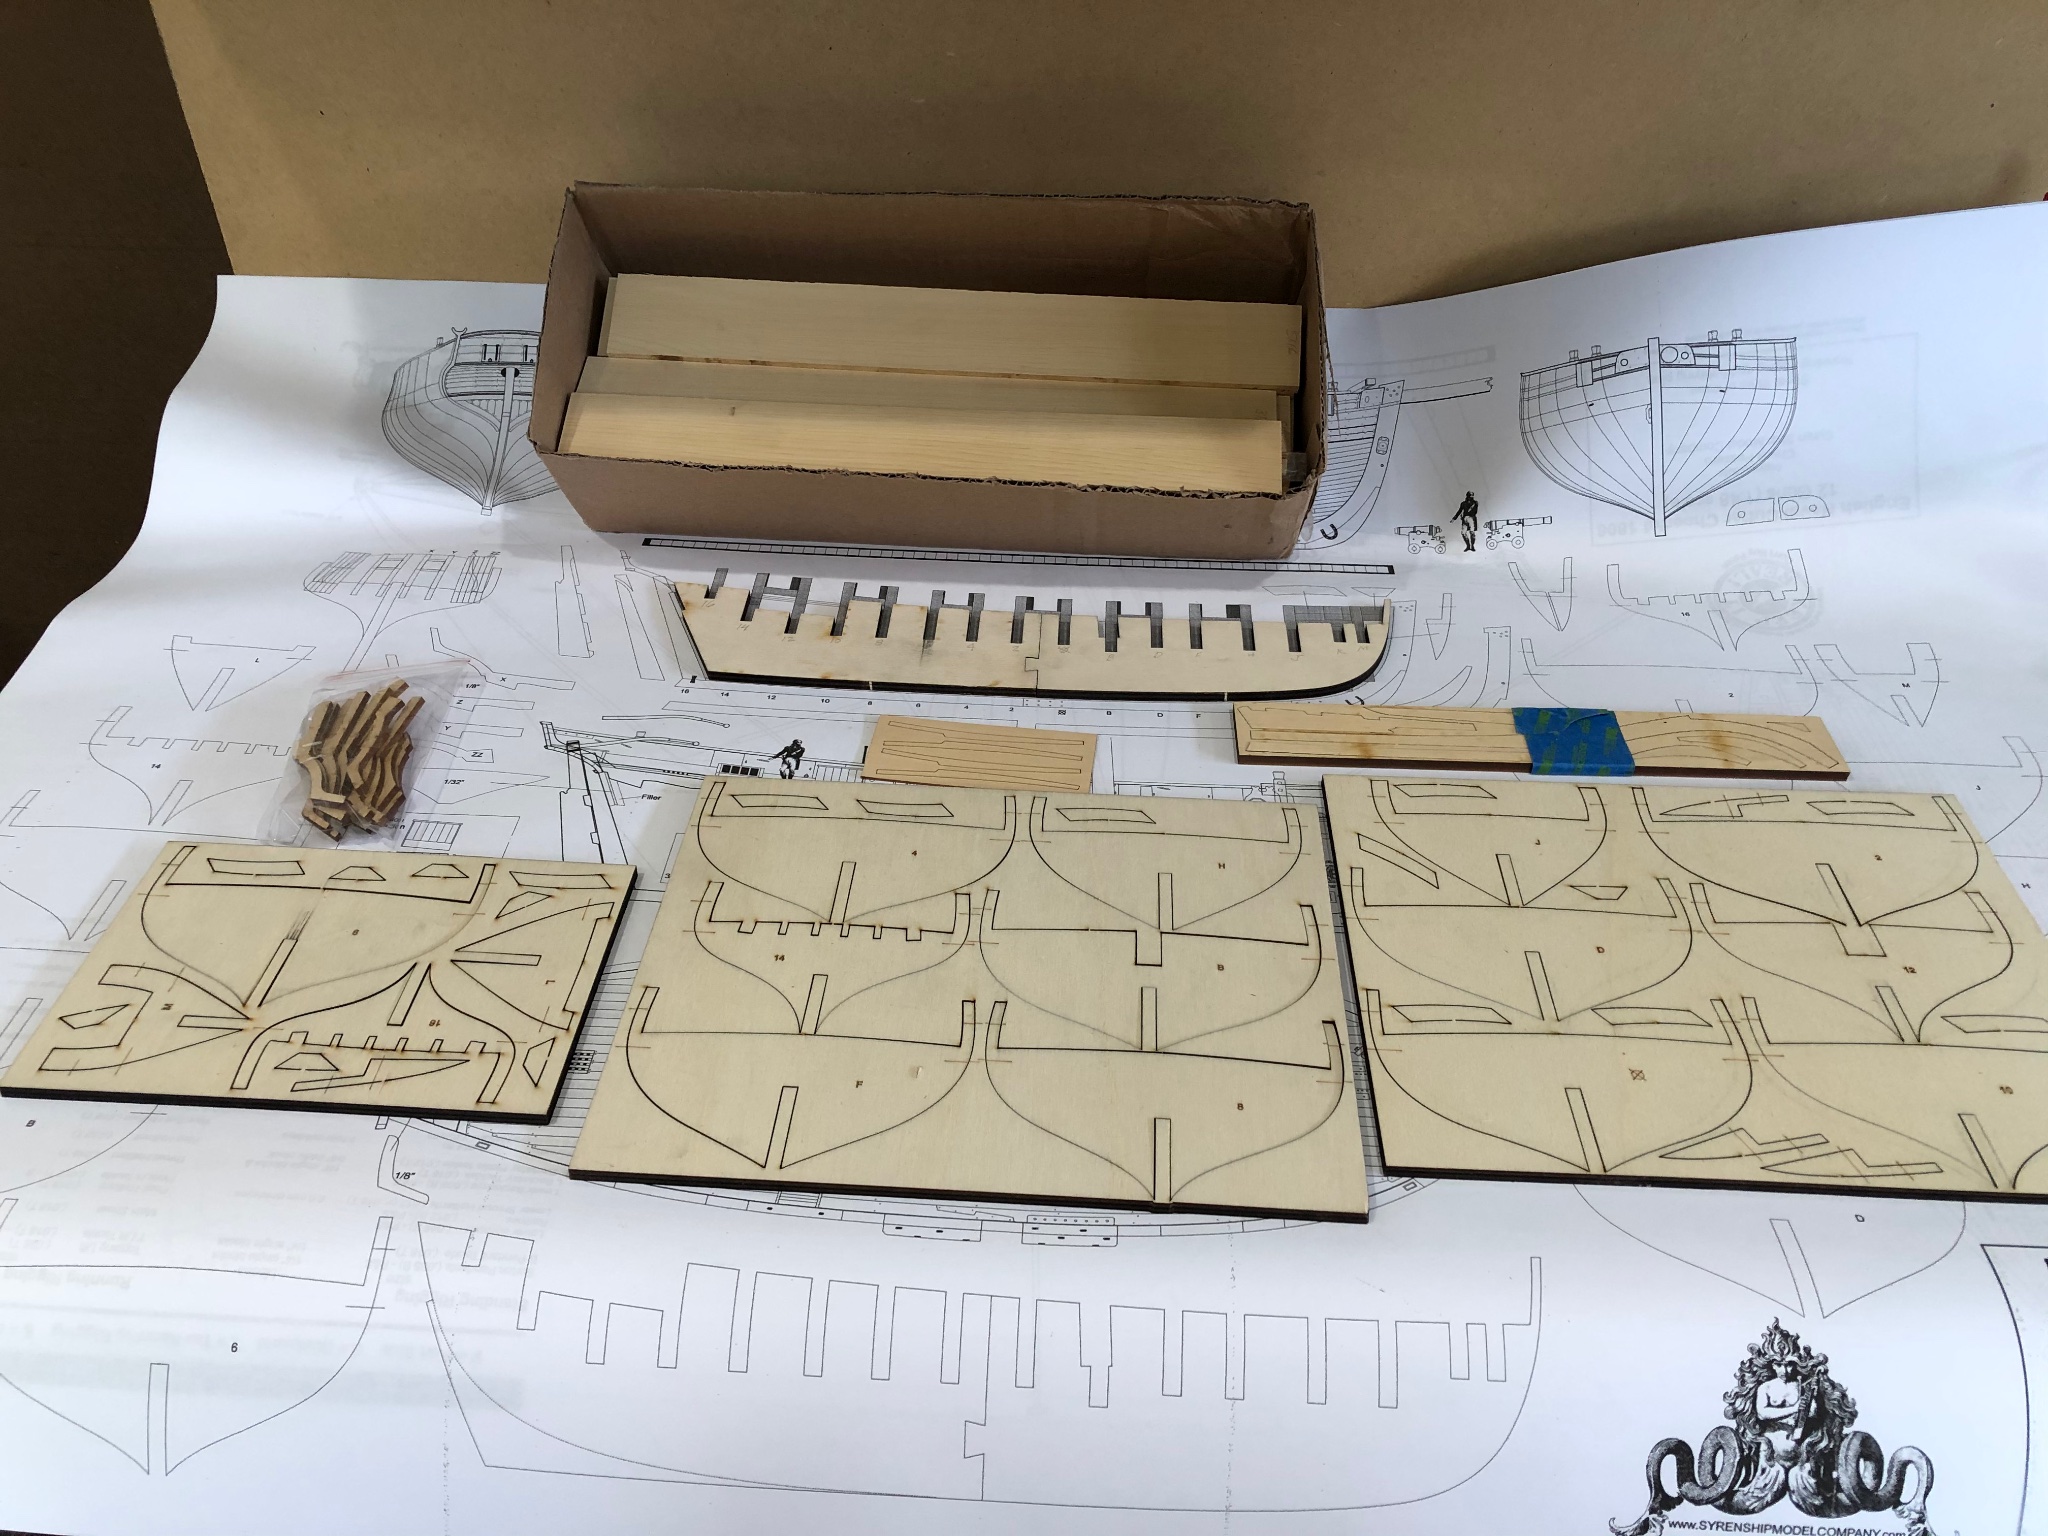
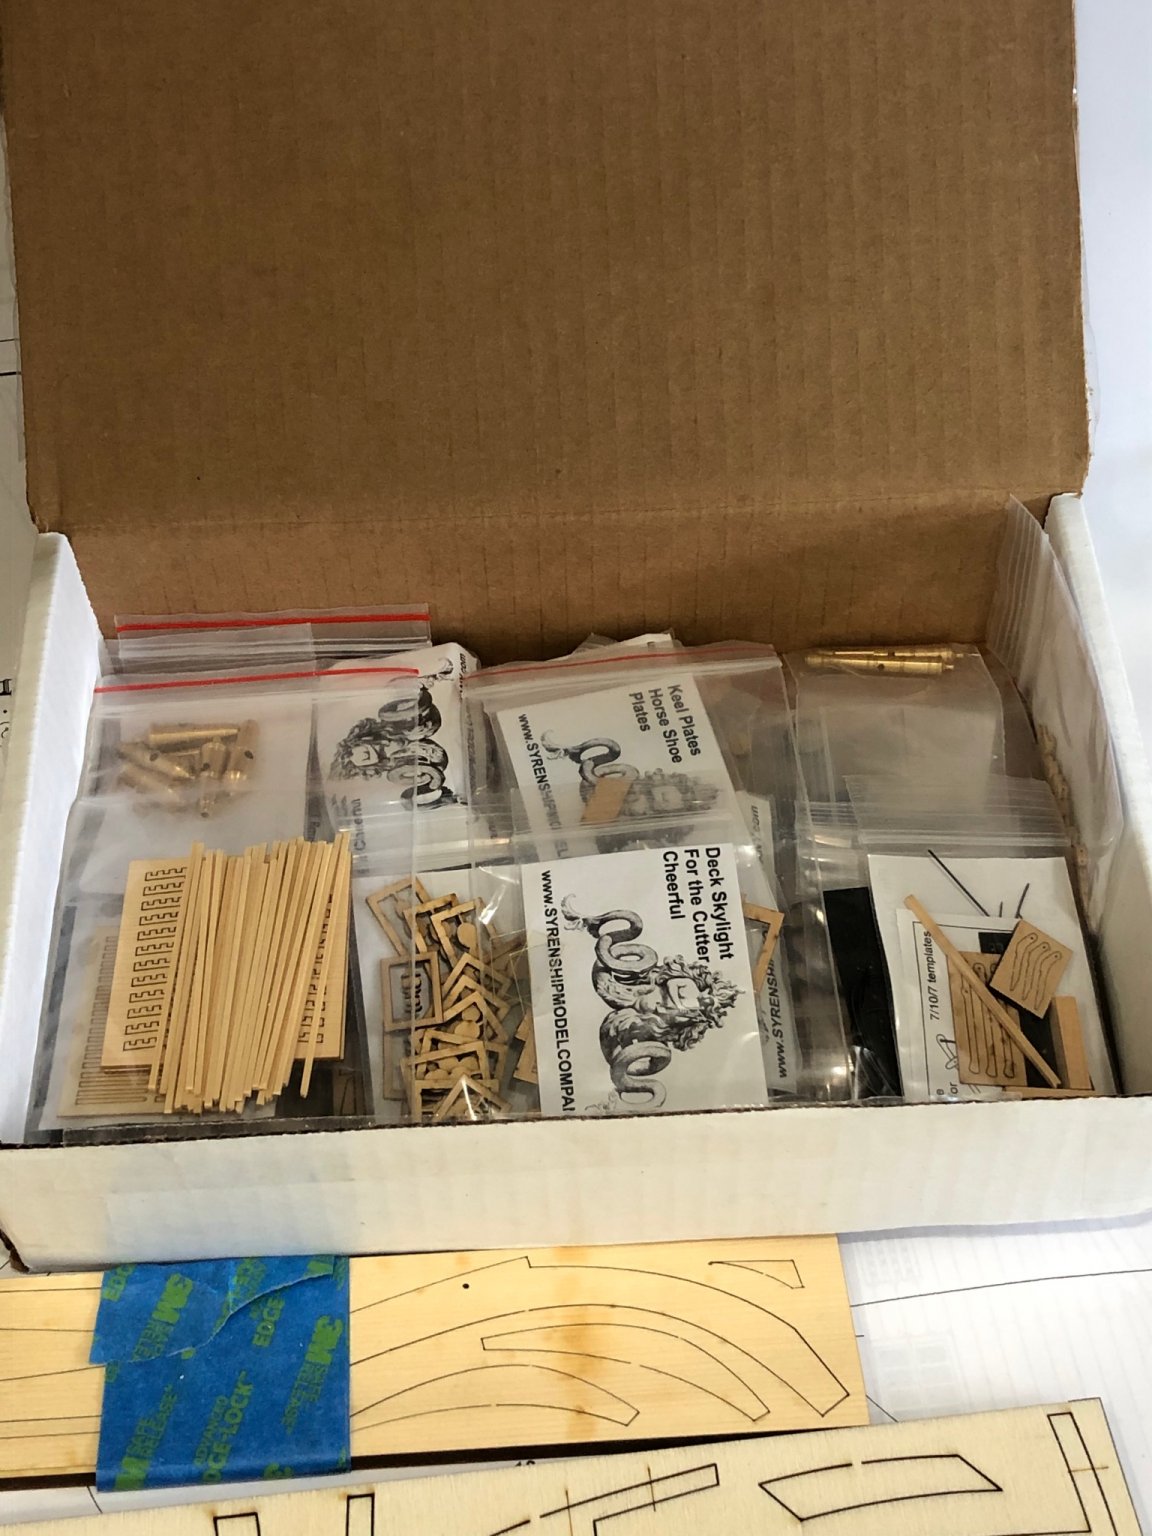
After spending months looking at Chuck Passaro's website and reading through logs of finished and in process Cheerfuls' I ordered the kit. This being a scratch built POB I ordered the starter kit from Syren Model Company. I've been following the Winchelsea group build using Alaskan Yellow Cedar as the building material. Reading comments and looking at photos of the wood with WOP helped me buy some AYC to try on other builds. I must say "I like the way it looks, cuts and finishes" so I bought the wood along with the starter kit.
When the Cheerful arrived in a large envelope and a small box upon opening the packages I immediately spread out the contents and started studying my loot.


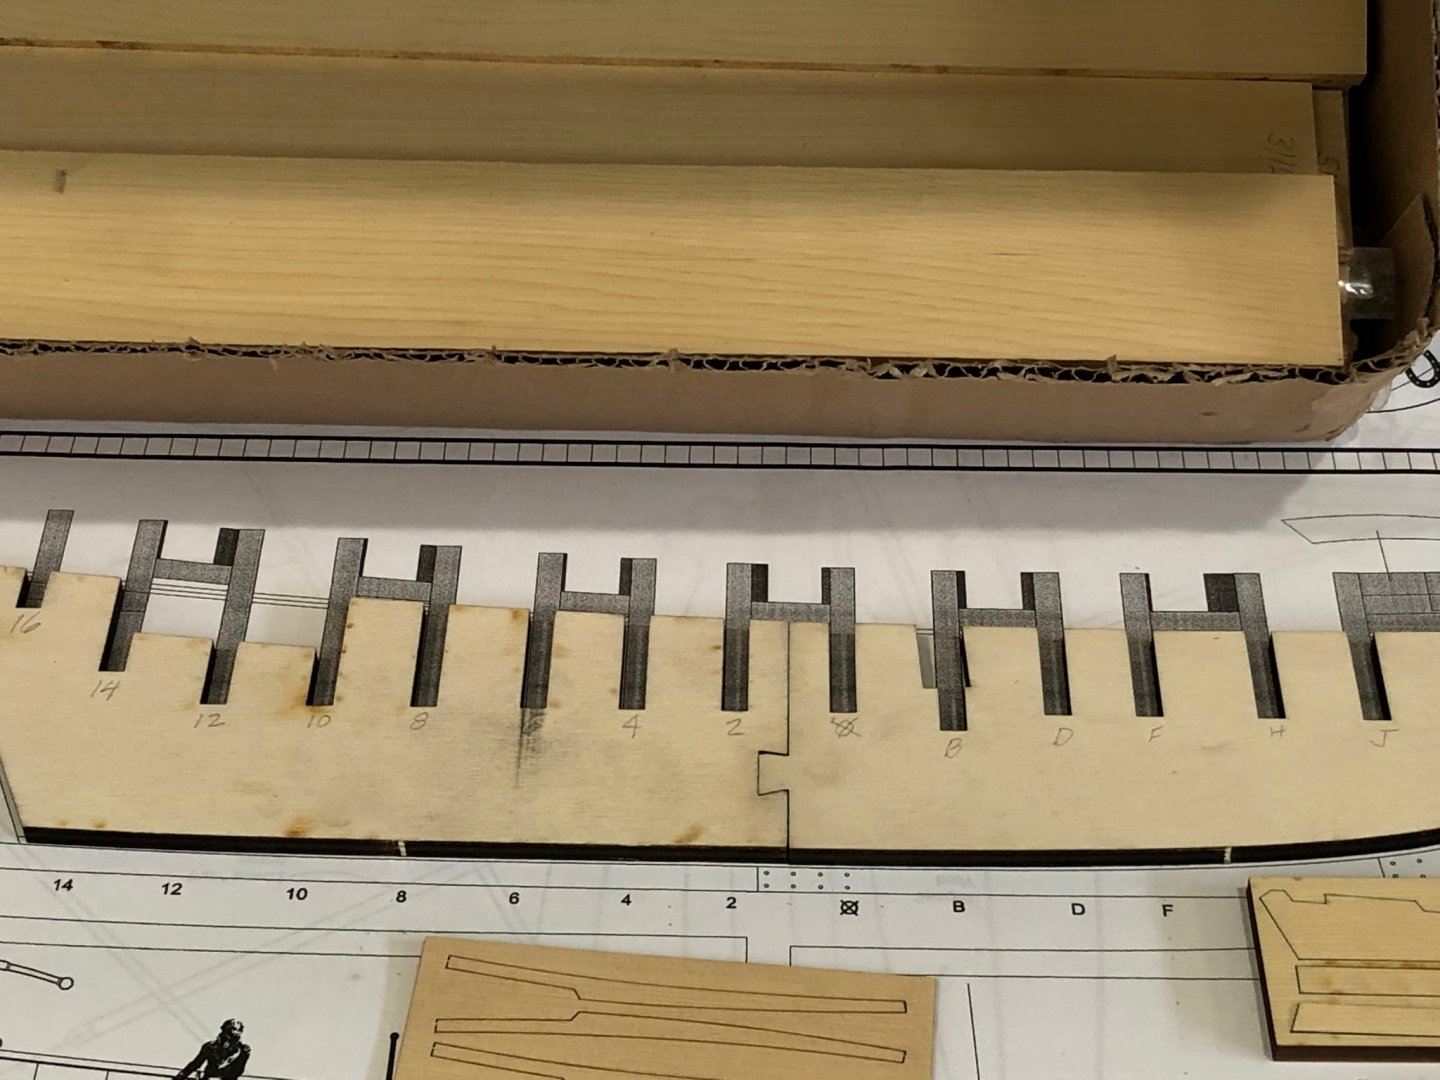
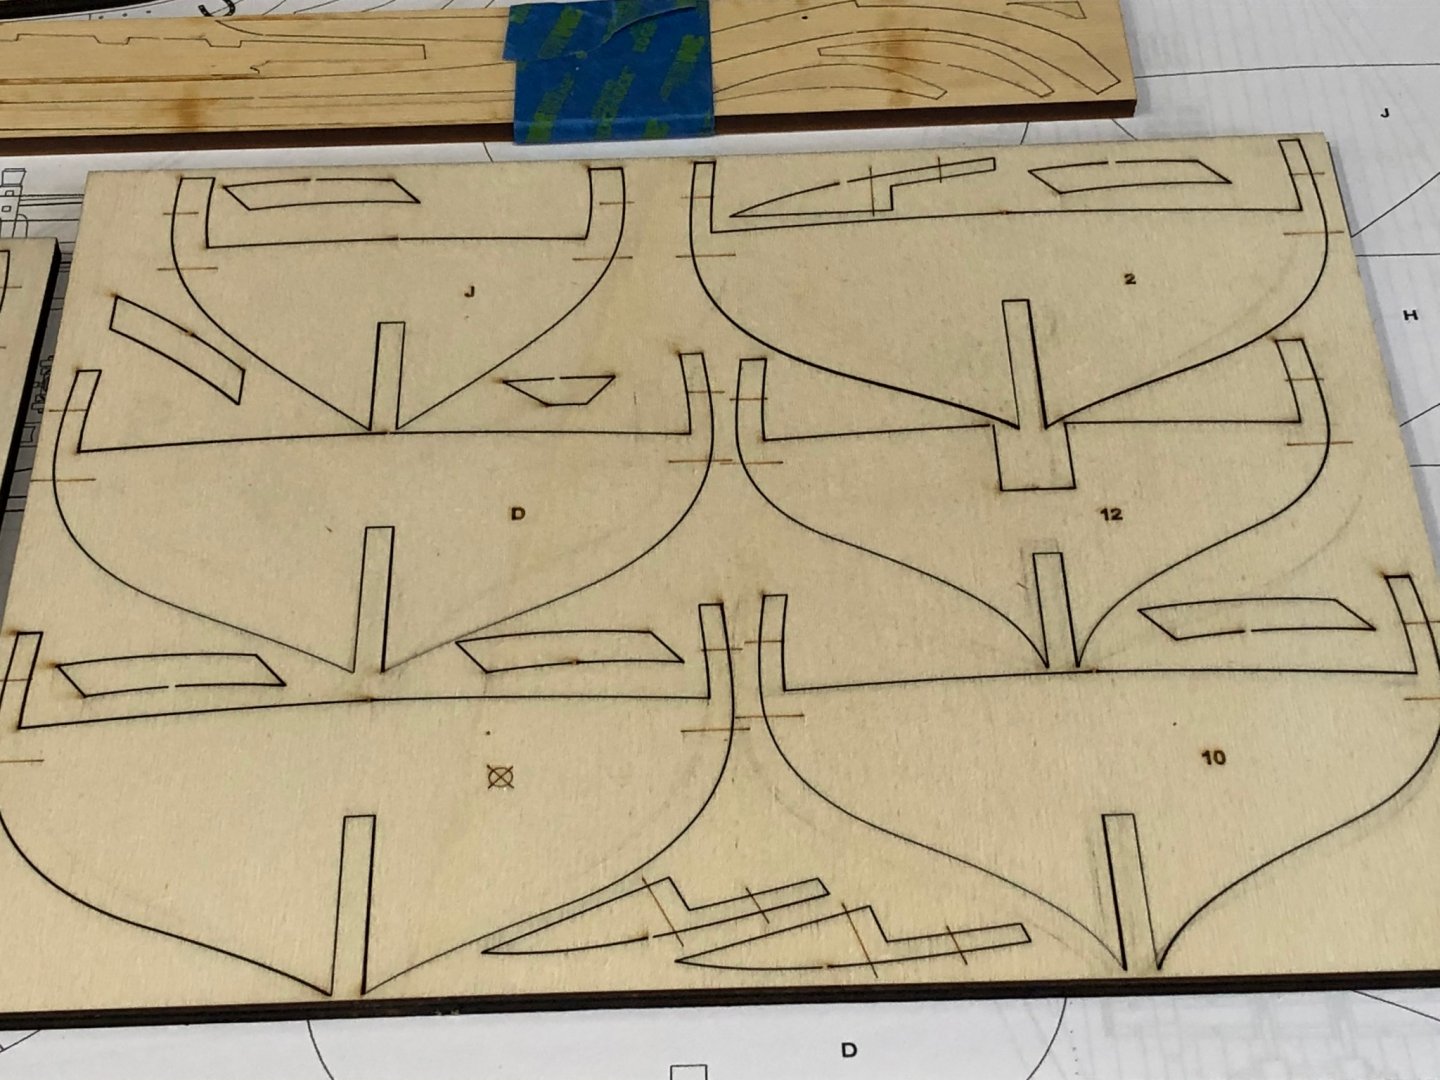
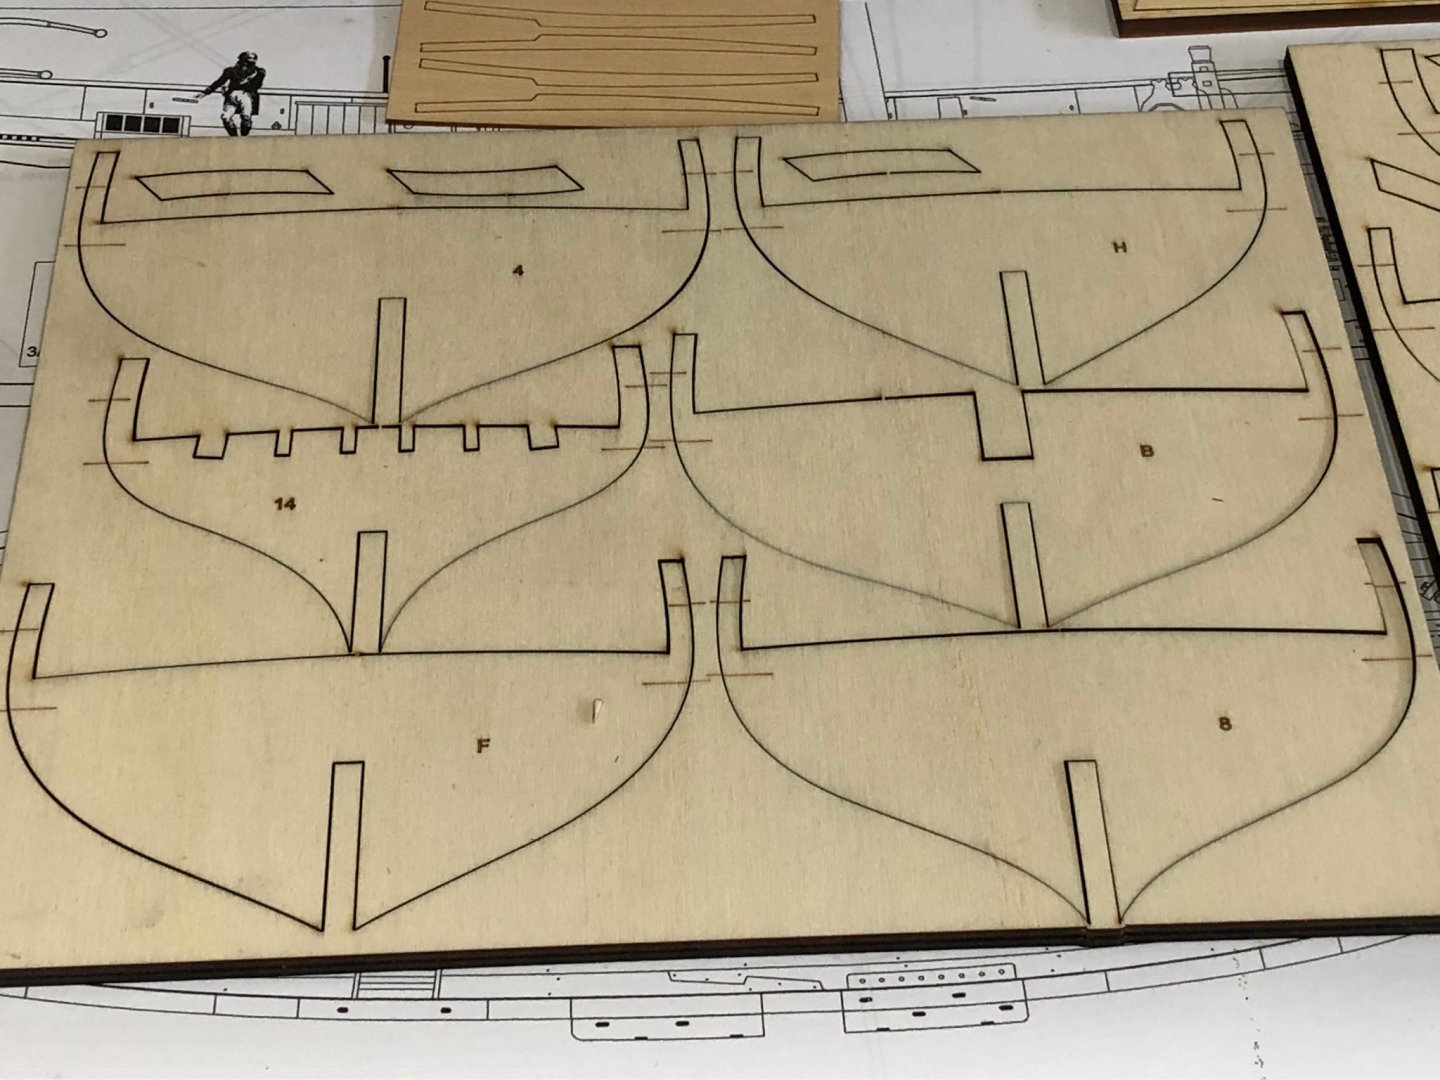
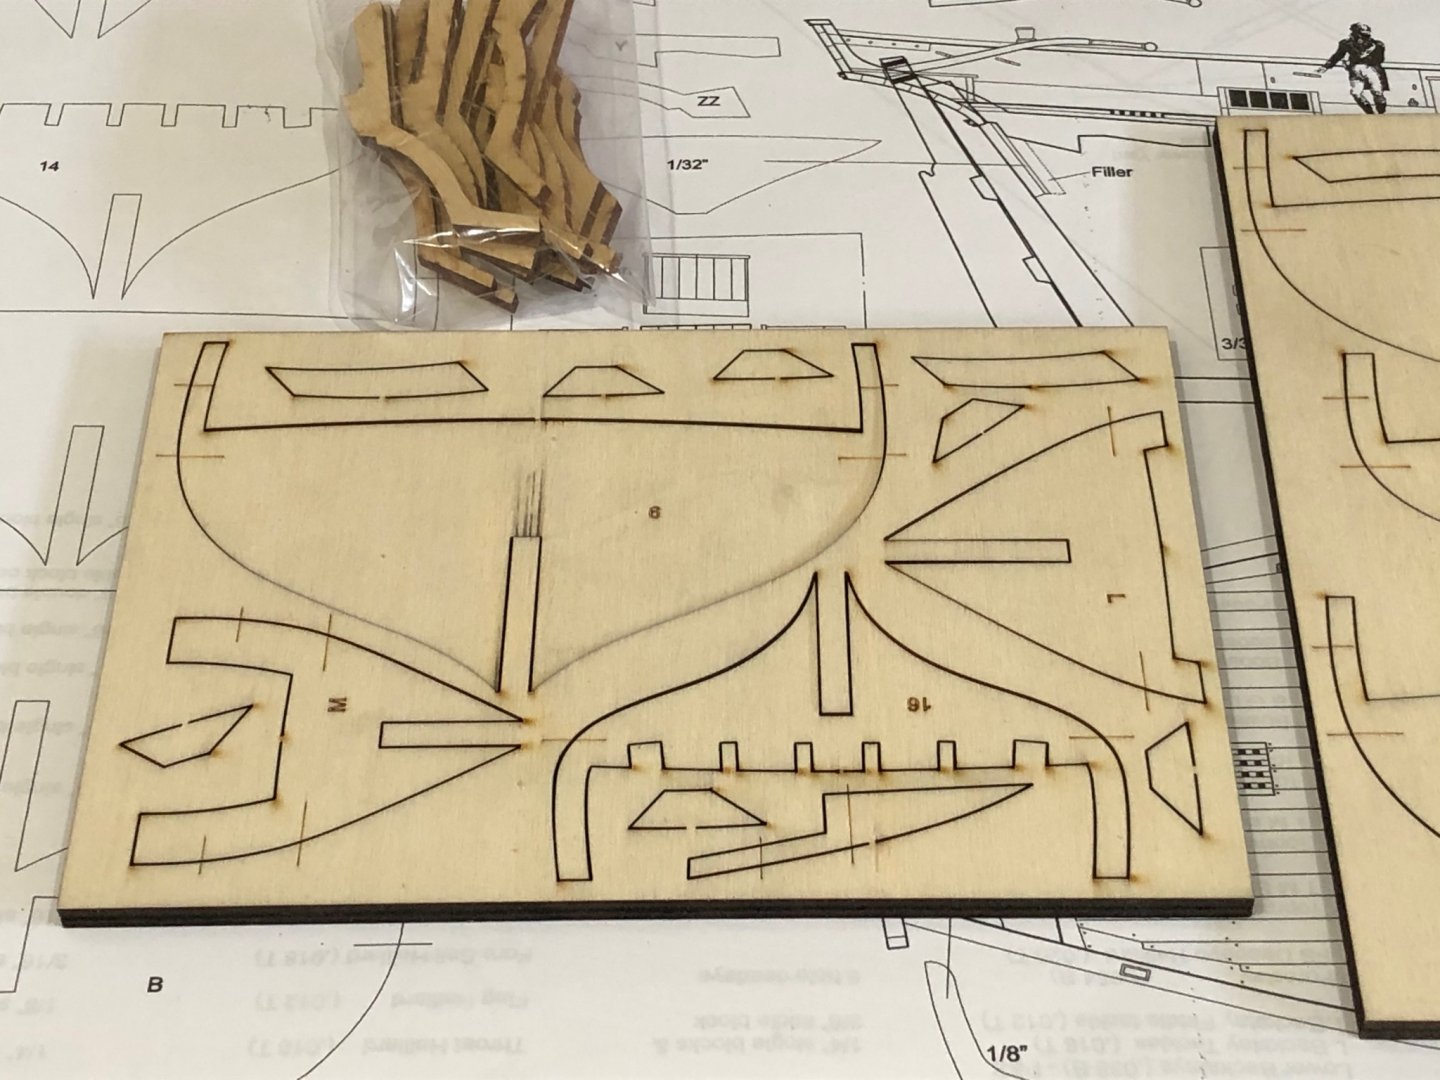
Let the journey begin. Now its back to reading the monograph and logs of how and what to start first
Stay Well and Stay Safe
Will

- Edwardkenway, Ryland Craze, alde and 9 others
-
 12
12
-
Looking good Andrew, Did you apply any finish to the frames? I had not study the bowsprit and now can see the detail craving that is required, yours is looking good. Be sure to add photos after the bowsprit is painted.
Stay Well and Stay Safe
Will
-
-
Hard to see the difference in the hook sizes both look great but I think I like the smaller. BTW what material do you use for your hooks?
I can't wait to start my Cheerful. I keep looking at the parts or should I say foundling them. Fit a frame here two frames there and I say finish what I'm working and put everything away.
This is a beautiful log with you dialog and photos.
Stay Well and Stay Safe
Will
- glbarlow and Edwardkenway
-
2
-
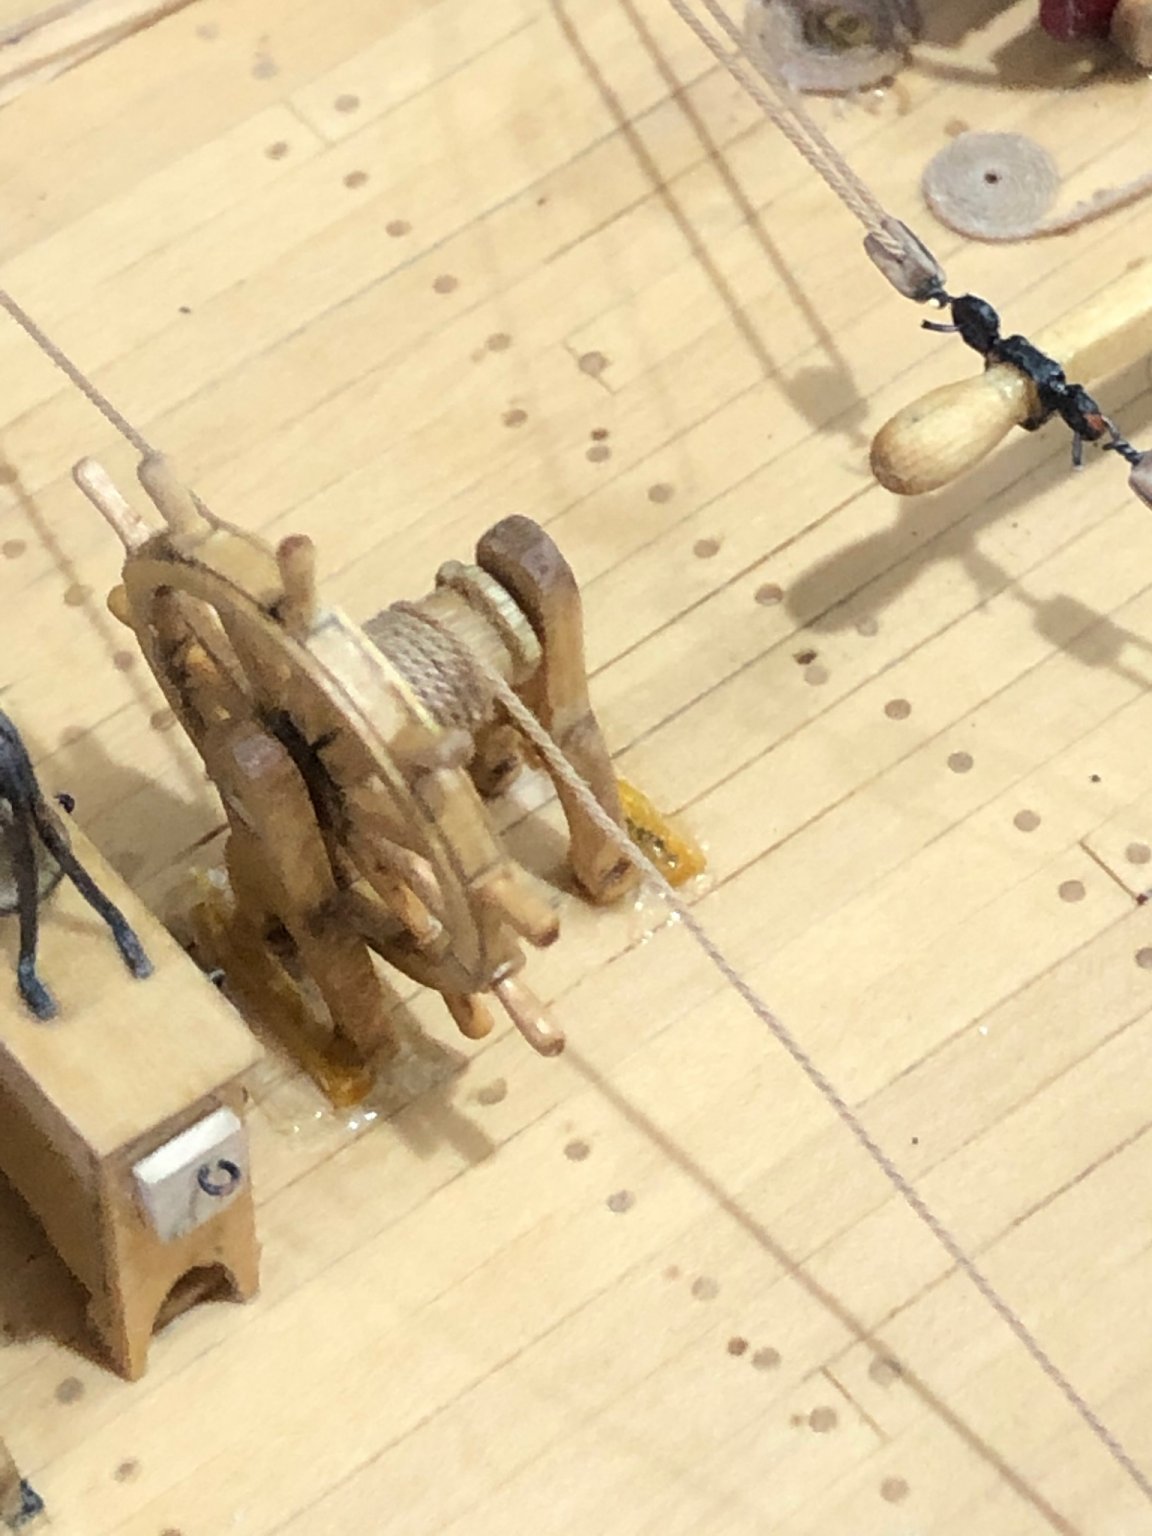
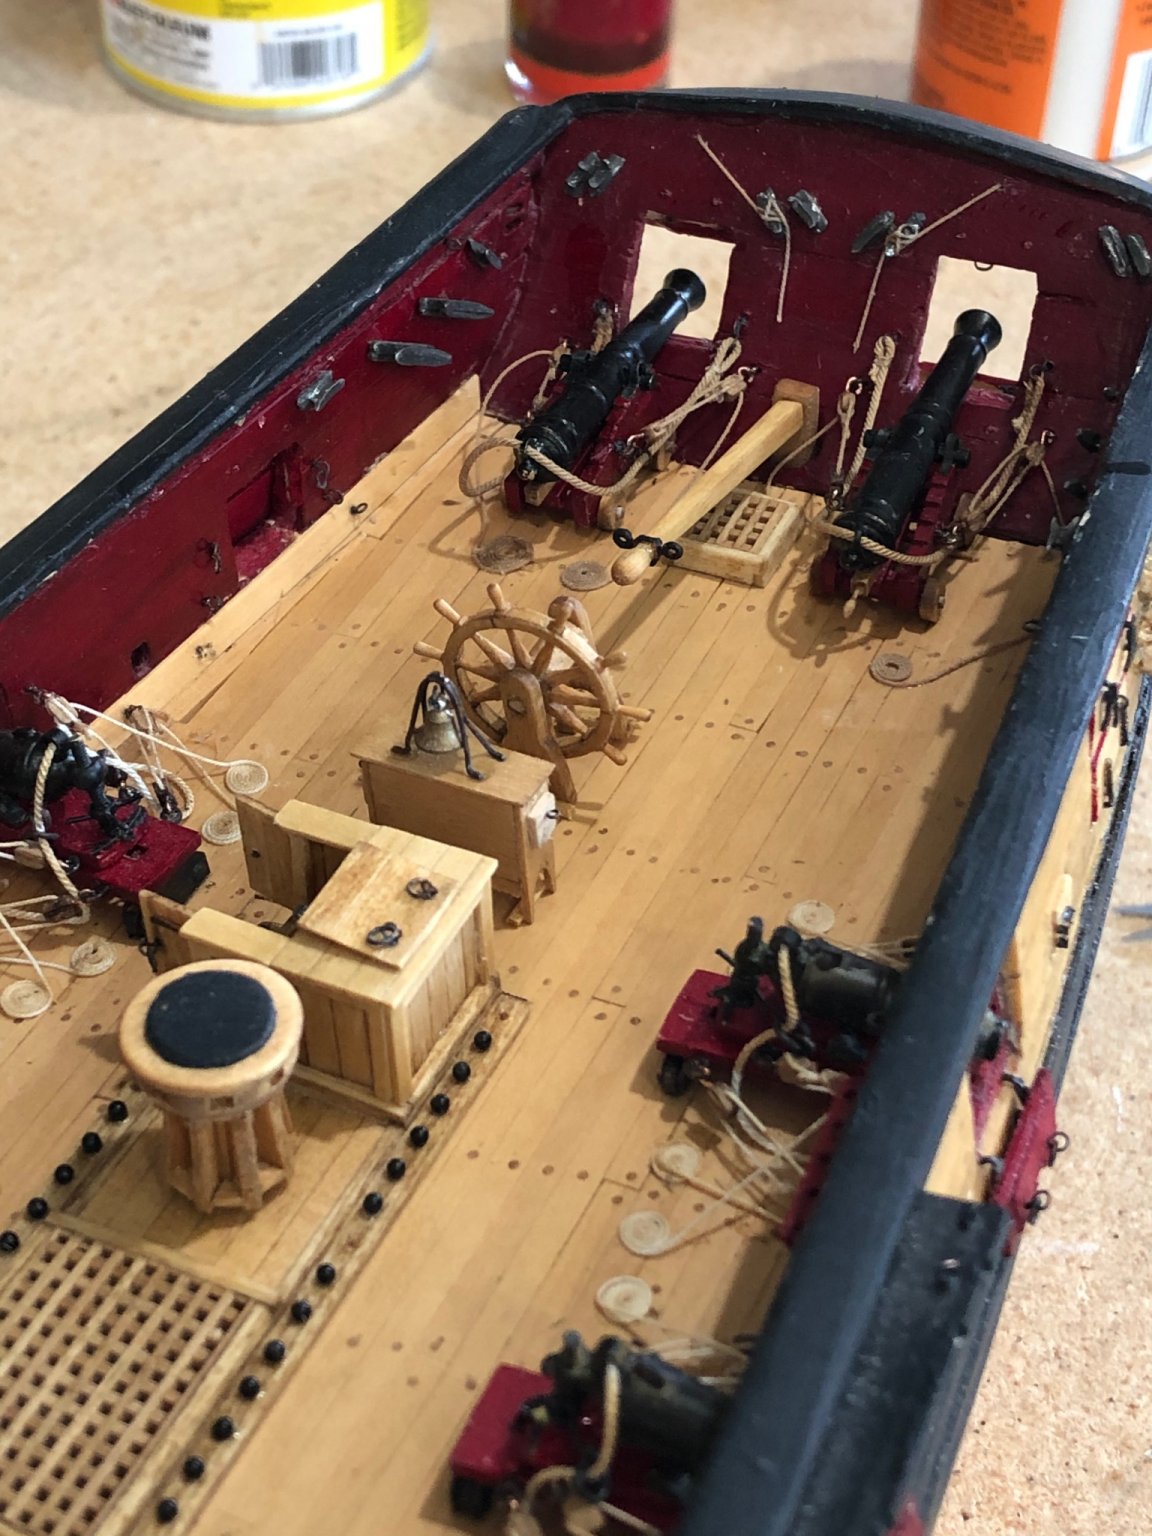
Yippee 🎉🎉 the steering is rigged and now I can get onto the pumps.

Stay Well and Stay Safe
Will
-
-
Great photos of the ship taking shape especially the sanding dust below the frames. I like your ideas of cross battens and frame fillers to strengthen the skeleton.
Stay Well and Stay safe
Will
-
Still hard to look ahead in a good book while still reading chapter 9 but I did and it is great. Love the rigging. Small comment on tools scissors I got turned onto suture scissors for rigging. I find them amazing to cut cleanly and close to knots. I am going to add heat shrink tubing to my alligator clips on the third or fourth had what a great idea holding rope.
Stay Well and Stay Safe
Will
- Chuck, Edwardkenway and glbarlow
-
3
-
Thanks for all the looks and likes. 😀
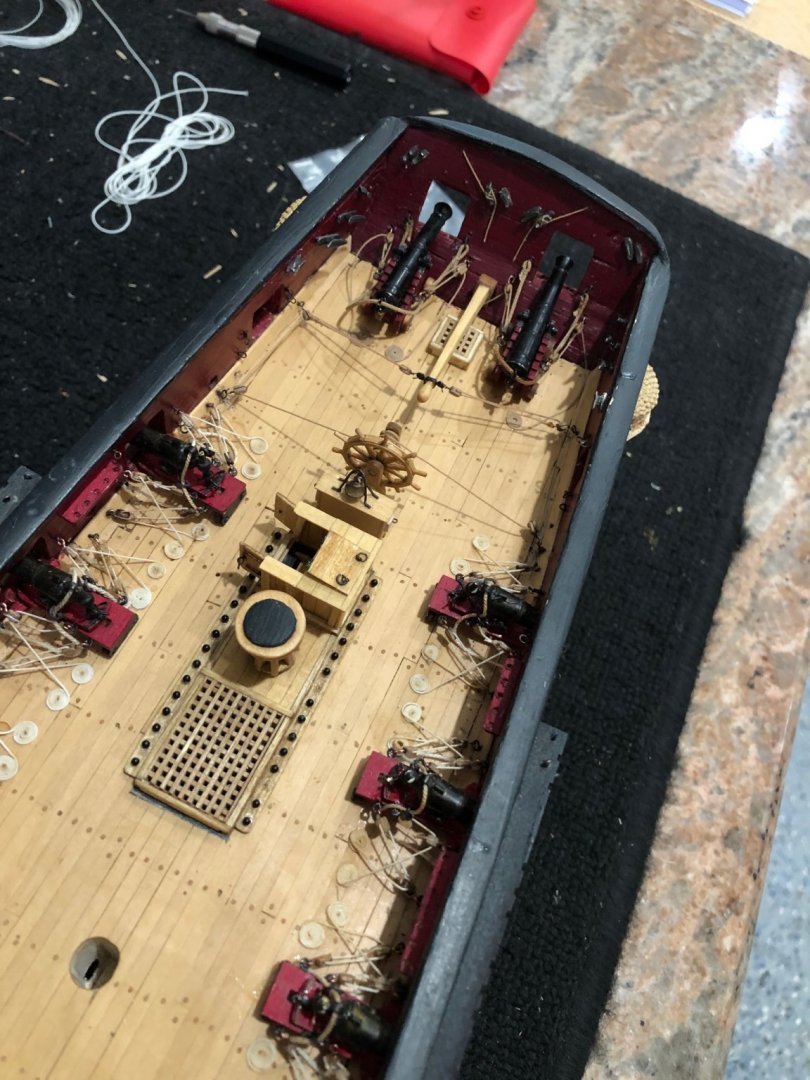
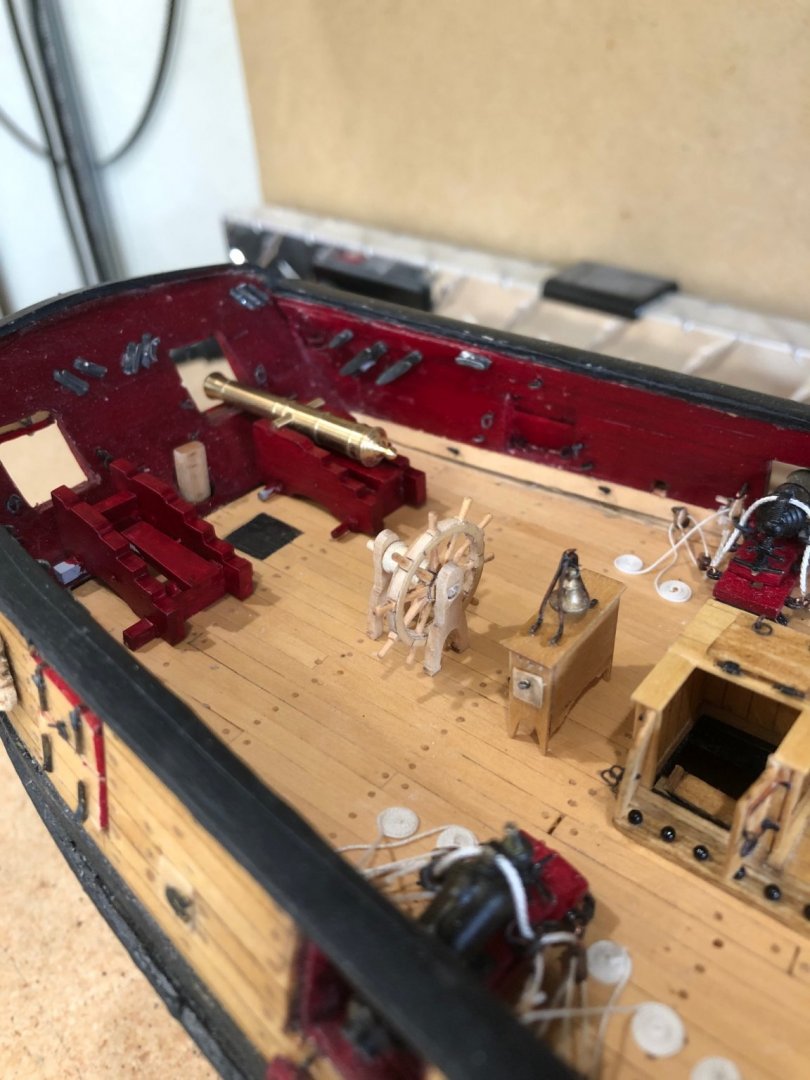
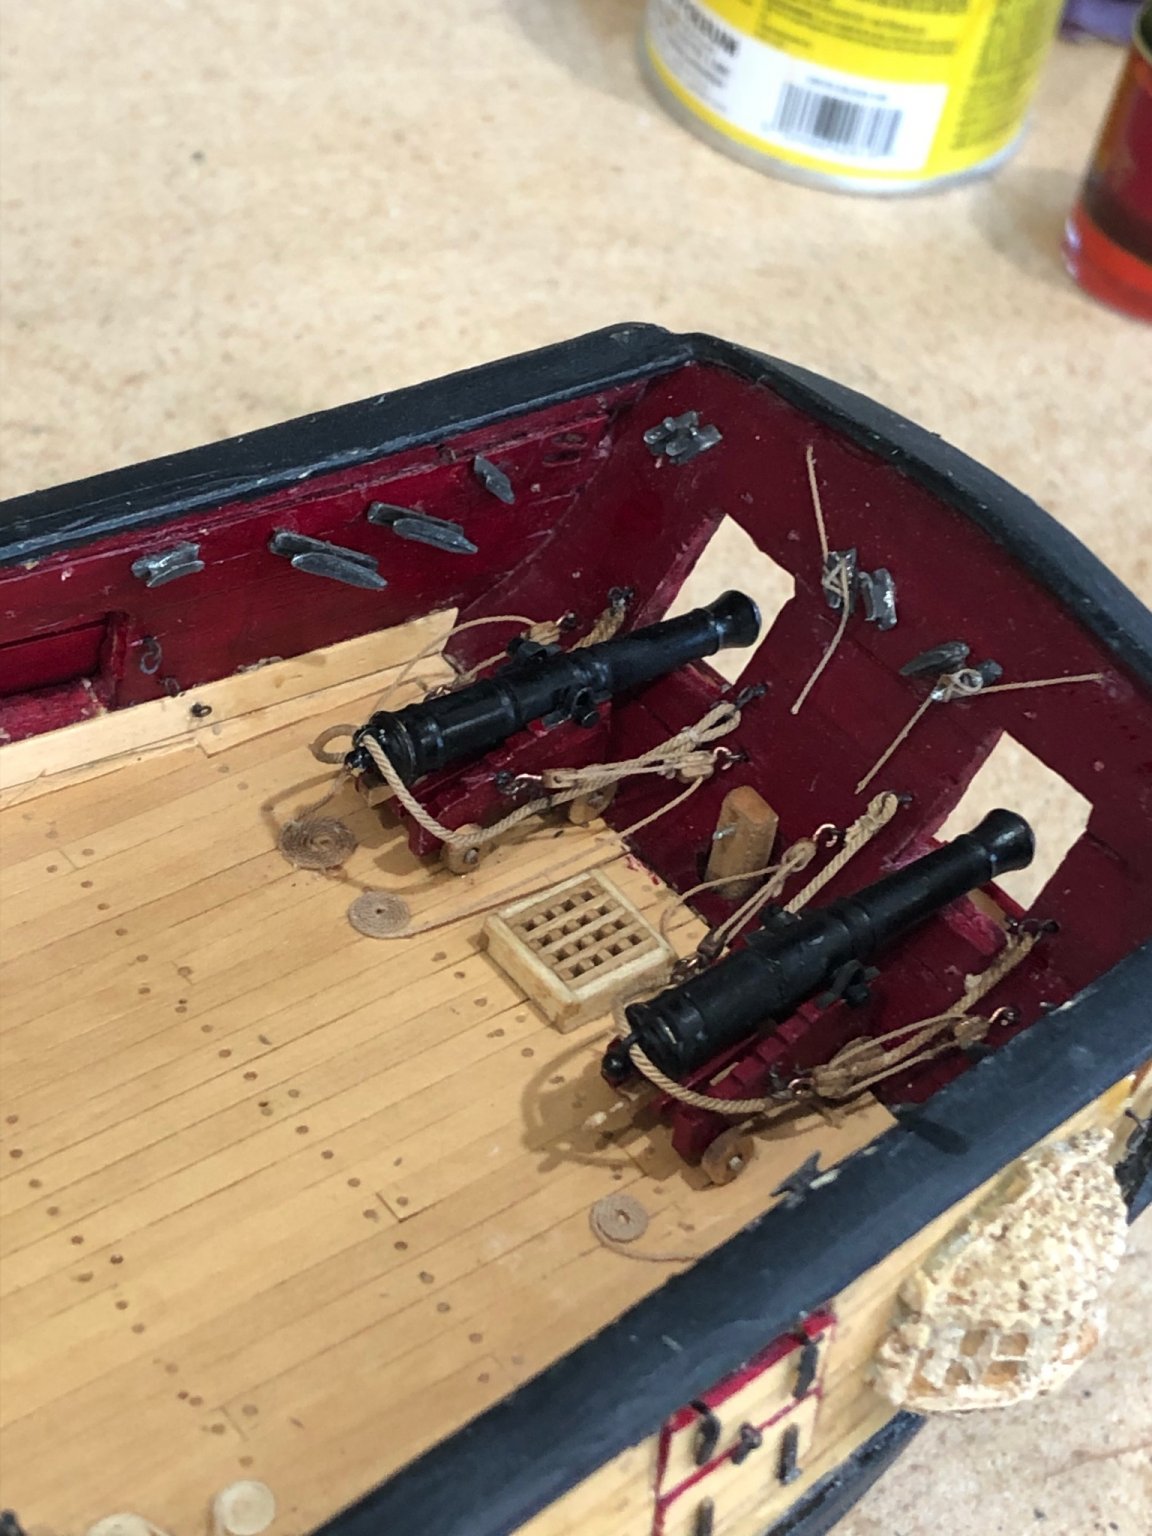
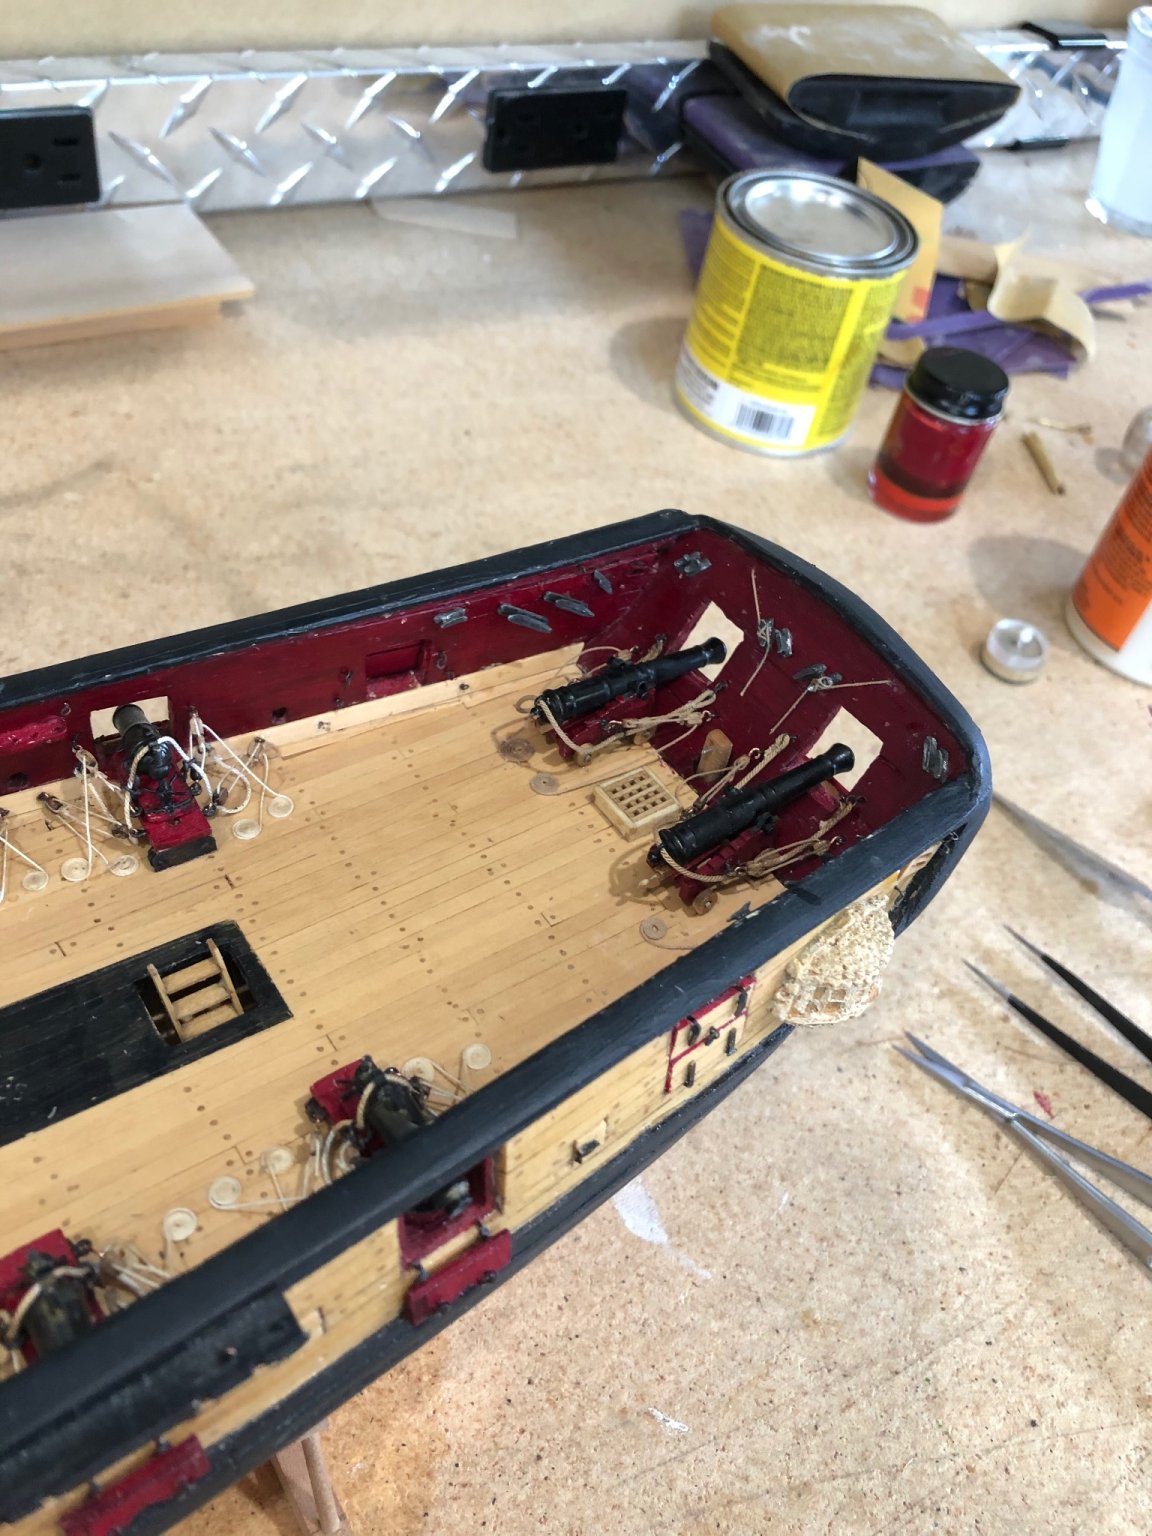
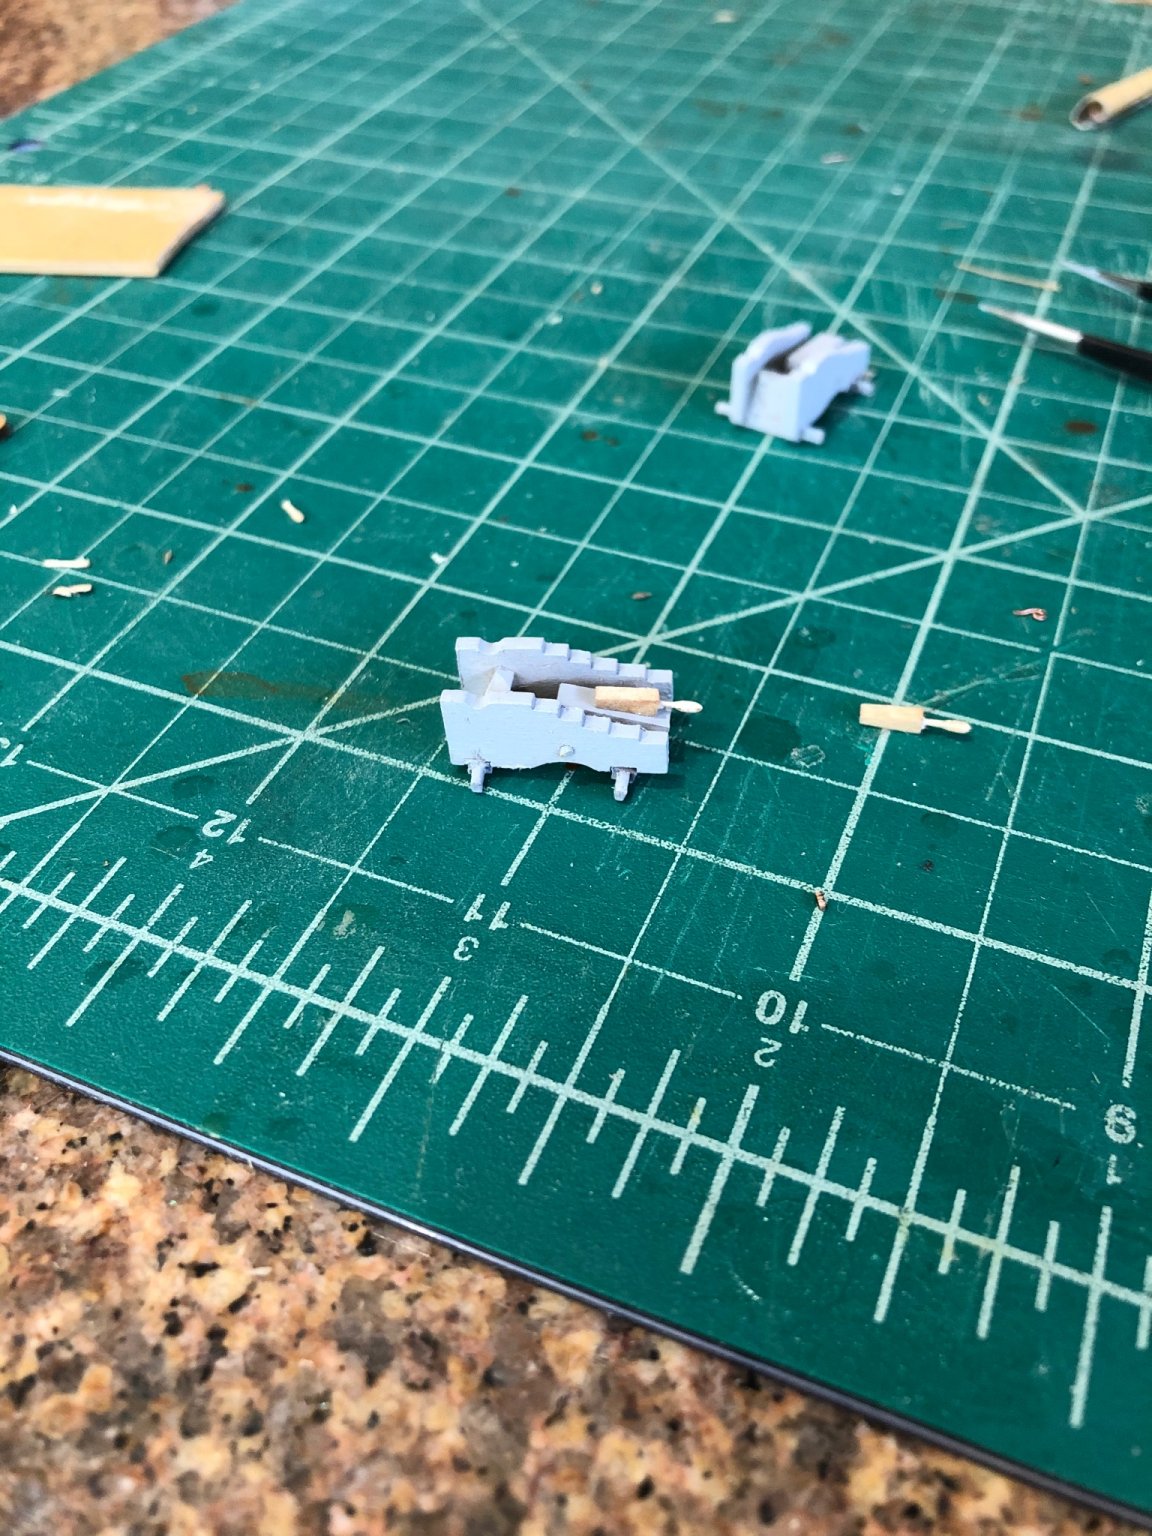
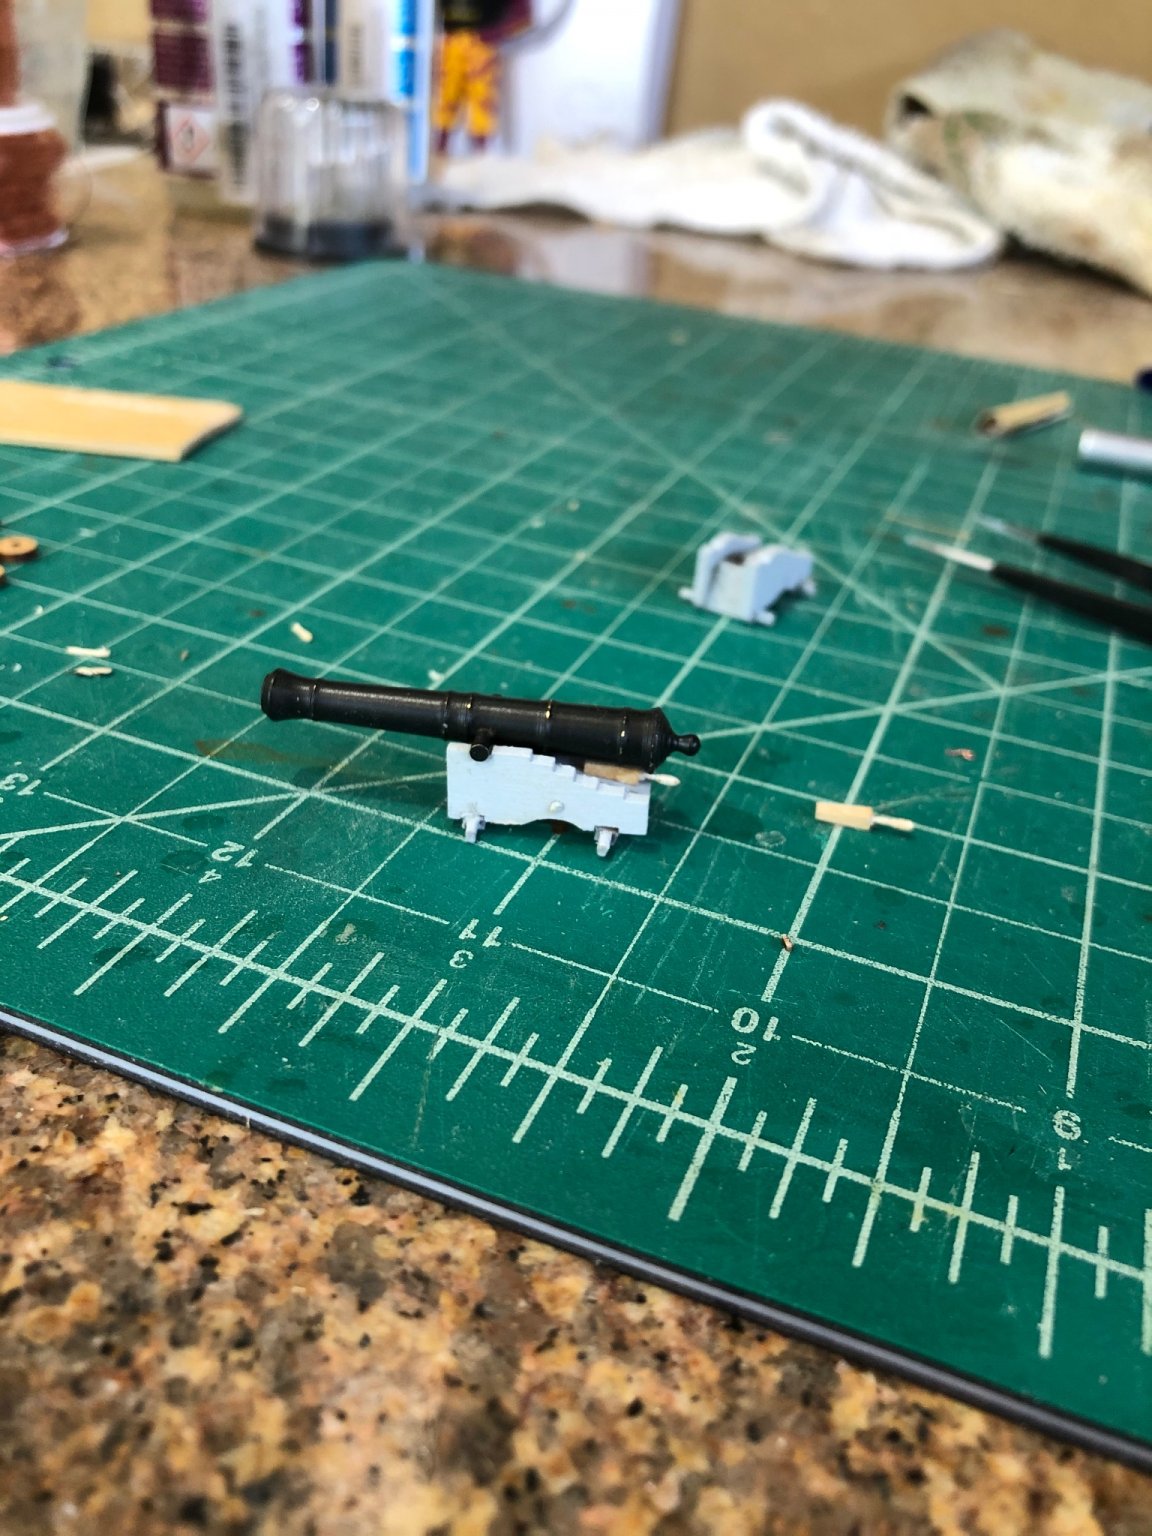
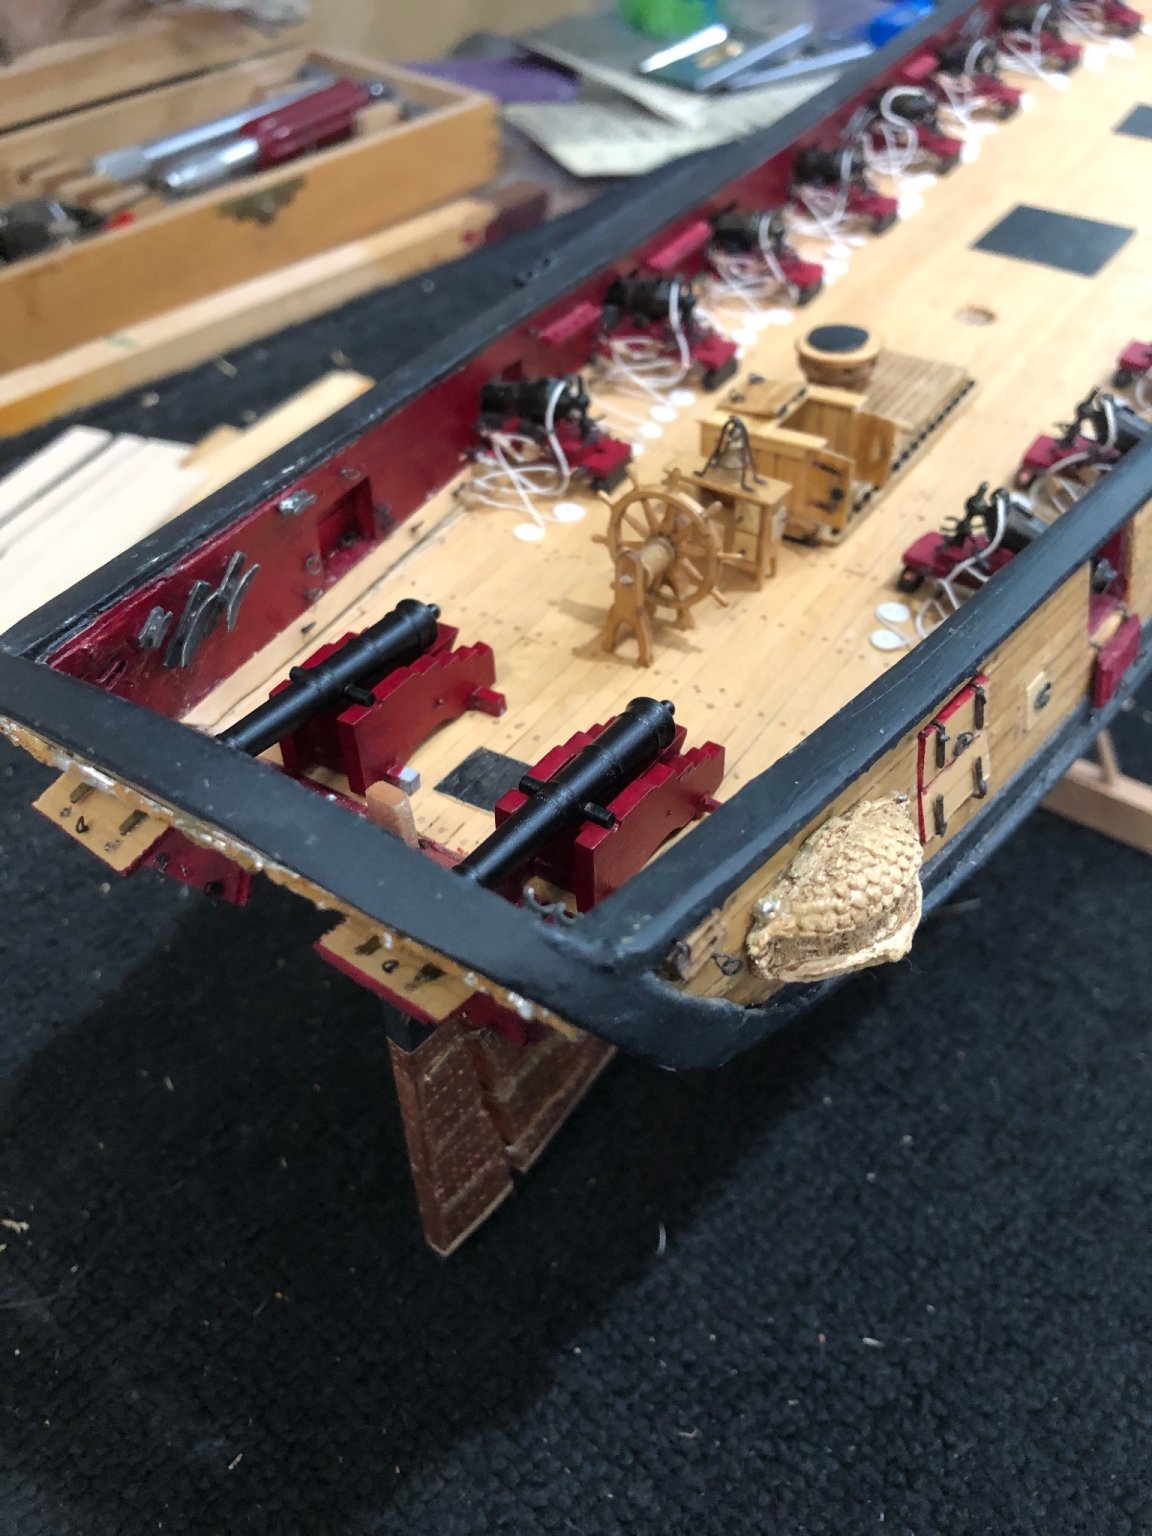
Good couple days of work finally finished cannons and associated items. Got the crate, tiller and rings, carriages painted, wheels mounted, quoins glued, cannons mounted with caps and the rigging complete. After rigging steering it is on to starting the pumps and then on to chapter 13 and hopefully a lucky chapter 13.
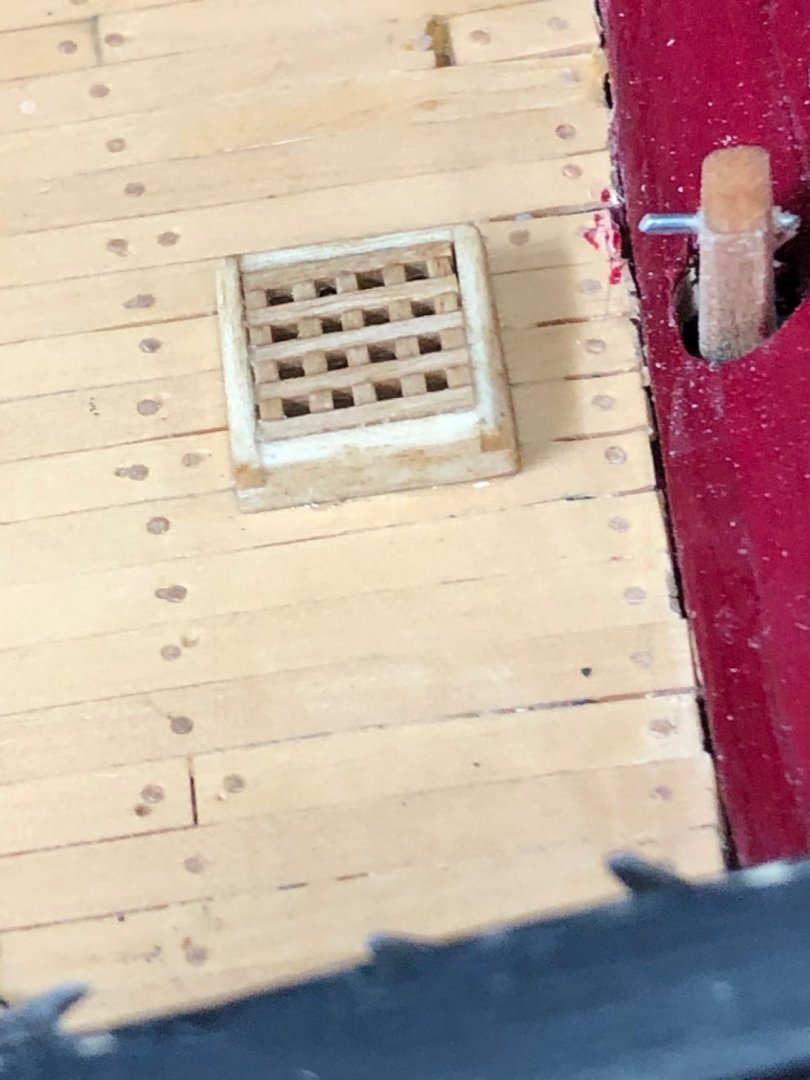
First was to finish the grating clearing the way to work on the cannons.
Next was the tiller and rings
The tiller was made from a 1/8" by 1/8" yellow cedar and carved to shape and as Chuck suggested I made it thinner that the drawings. I made the rings mounting with a hammered flat 22awg bare copper wire and soldered the two rigging rings. A stainless wire holds the tiller in position waiting to be stained, painted and glued.
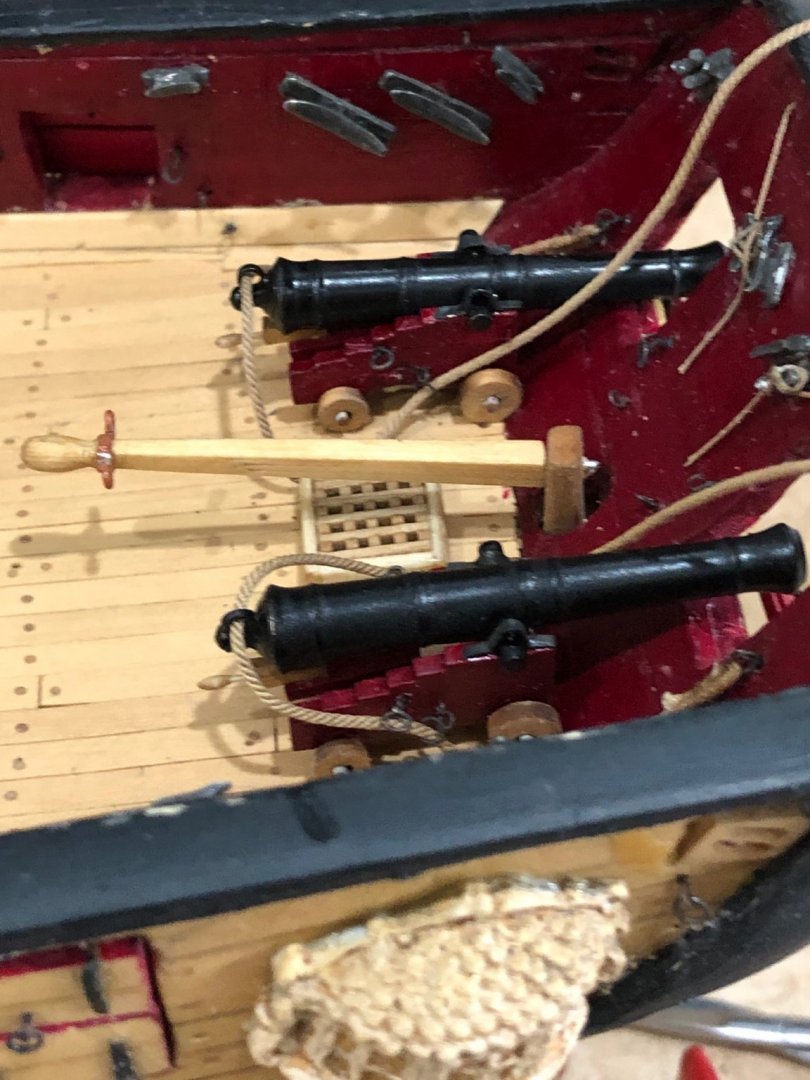

Deck furniture placed to show how everything will fit.

Tomorrow to rig the steering ropes and then on the pumps.
Stay Well and Stay Safe
Will

-
-
These are great.
Stay Well and Stay Safe
Will
-
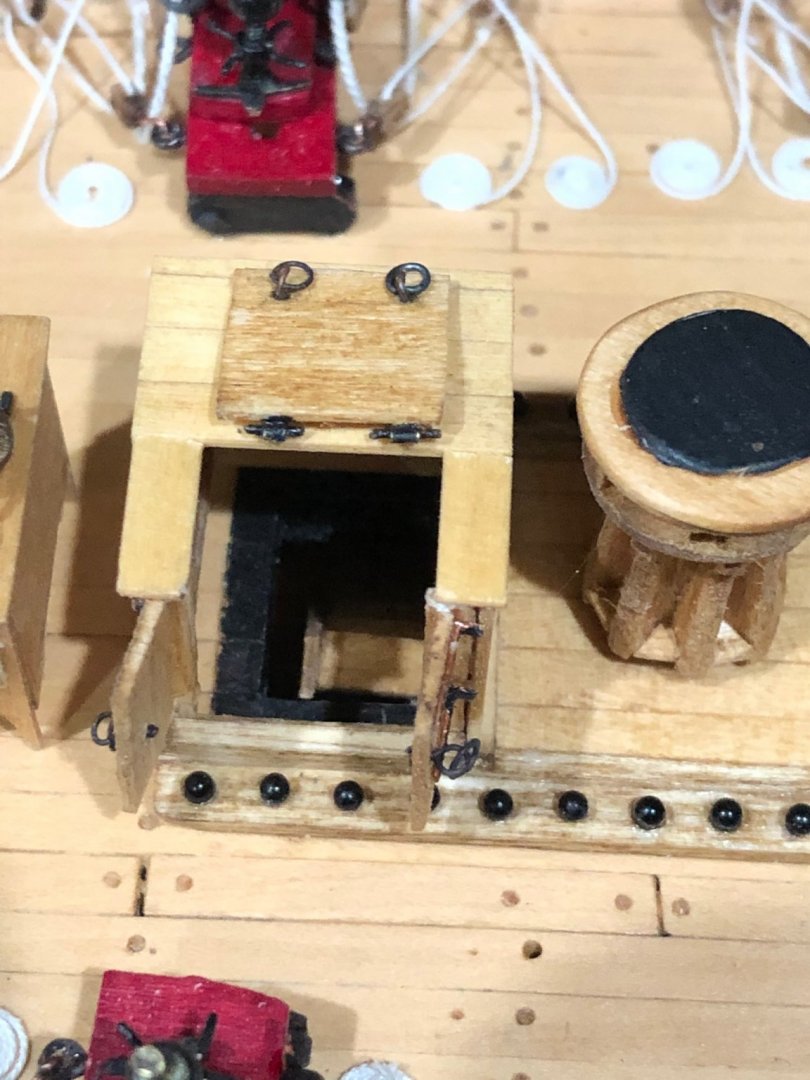
Thanks John much easier to see the details. So this like a heater not a cooking stove, is that correct?
It looks really good I like the door and handle
Stay Well and Stay Safe
Will
-
Great job the shackles look great. And a great big thank you for the drill bit info and link. Do you have a photo of the stove without the light glare?
It looks great but Its hard to see all the detail.
Stay Well and Stay Safe
Will
-
Thanks for the comments and likes it keeps me motivated.
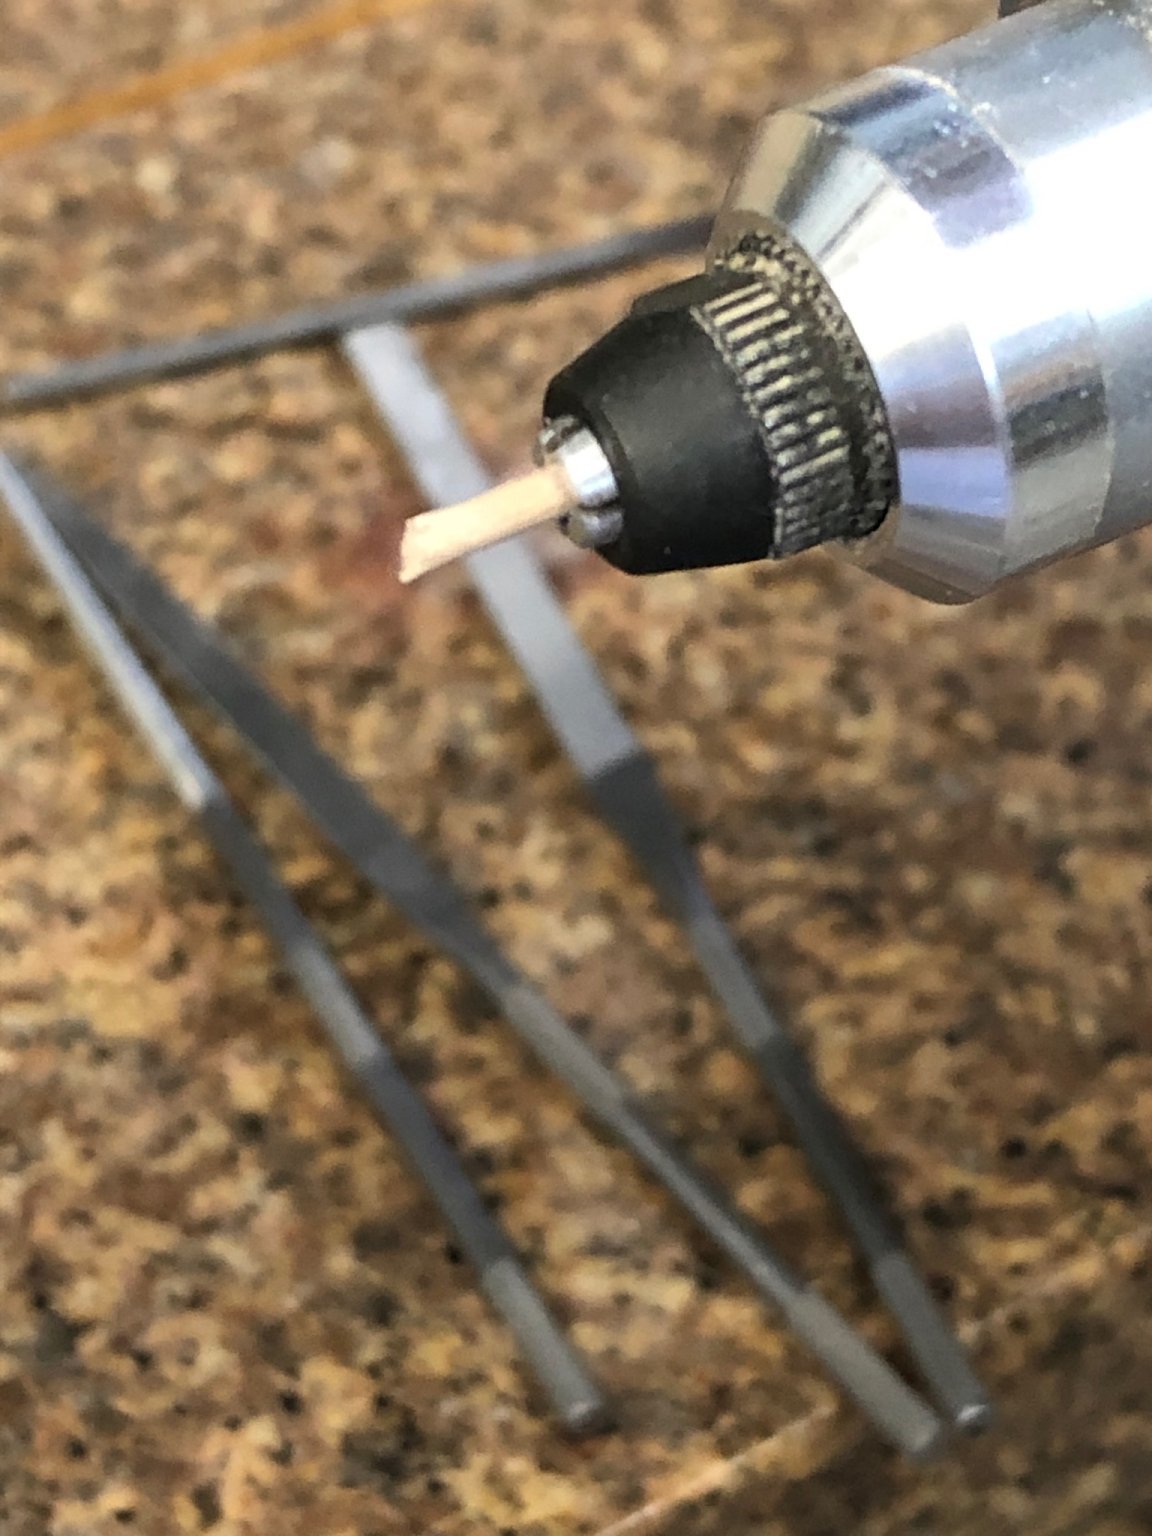
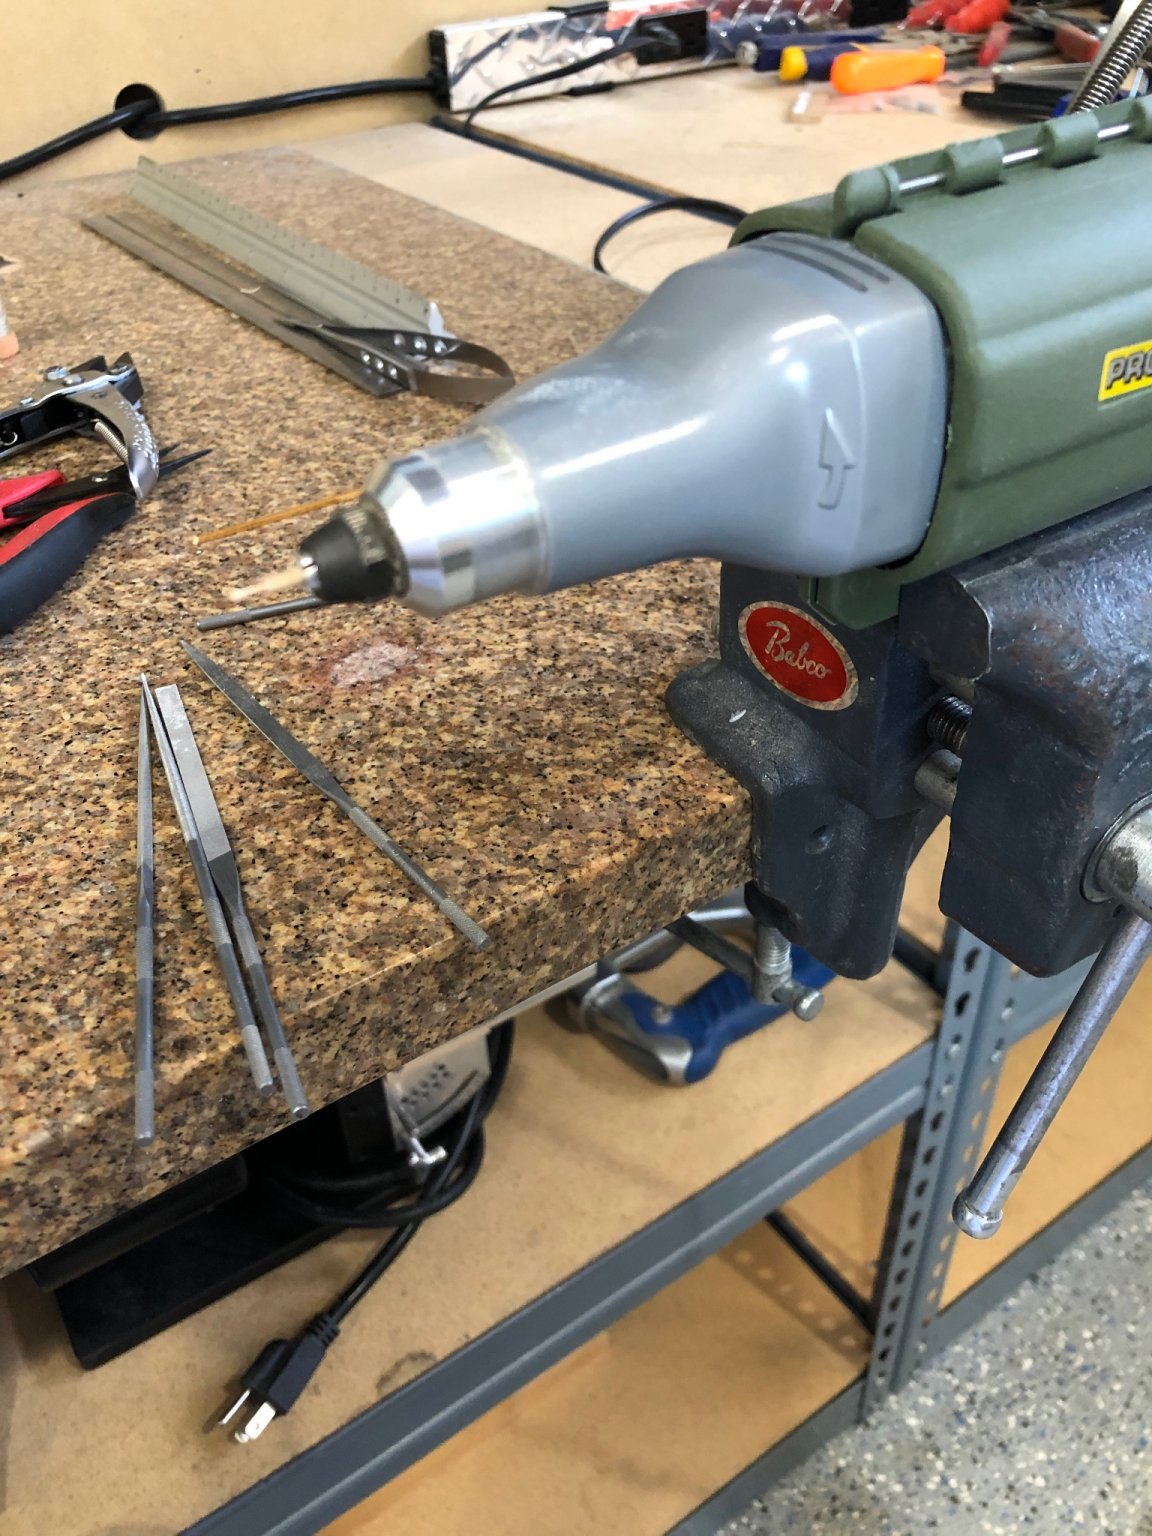
I discovered a problem with the cannon carriages from Chucks kit. They are too big and intrude into the tiller rigging area so i've gone back to the kit pieces. First step is to remove everything from the boards. I glued the sides, axles, transom and bolster together making the basic shape of the carriage. This made it easier to remove and smooth the char from the edges.
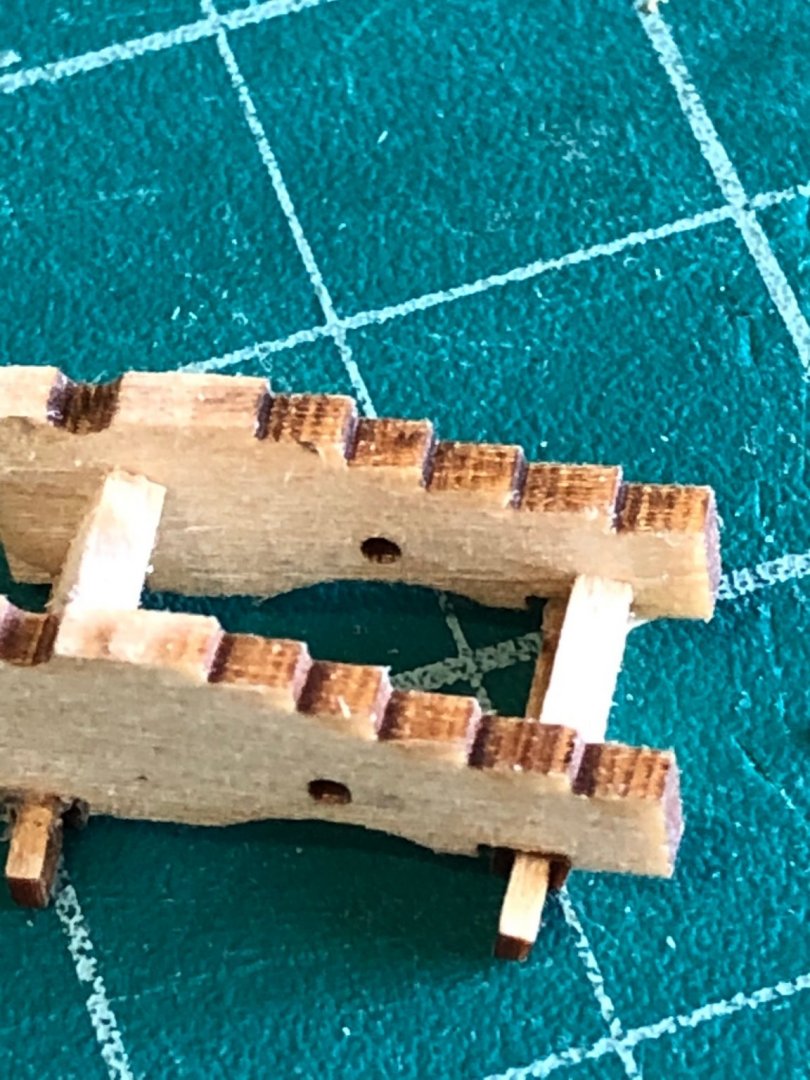
In the closeup you can see the char stutter (my description) and assembled it was easier to keep everything evenly smoothed.
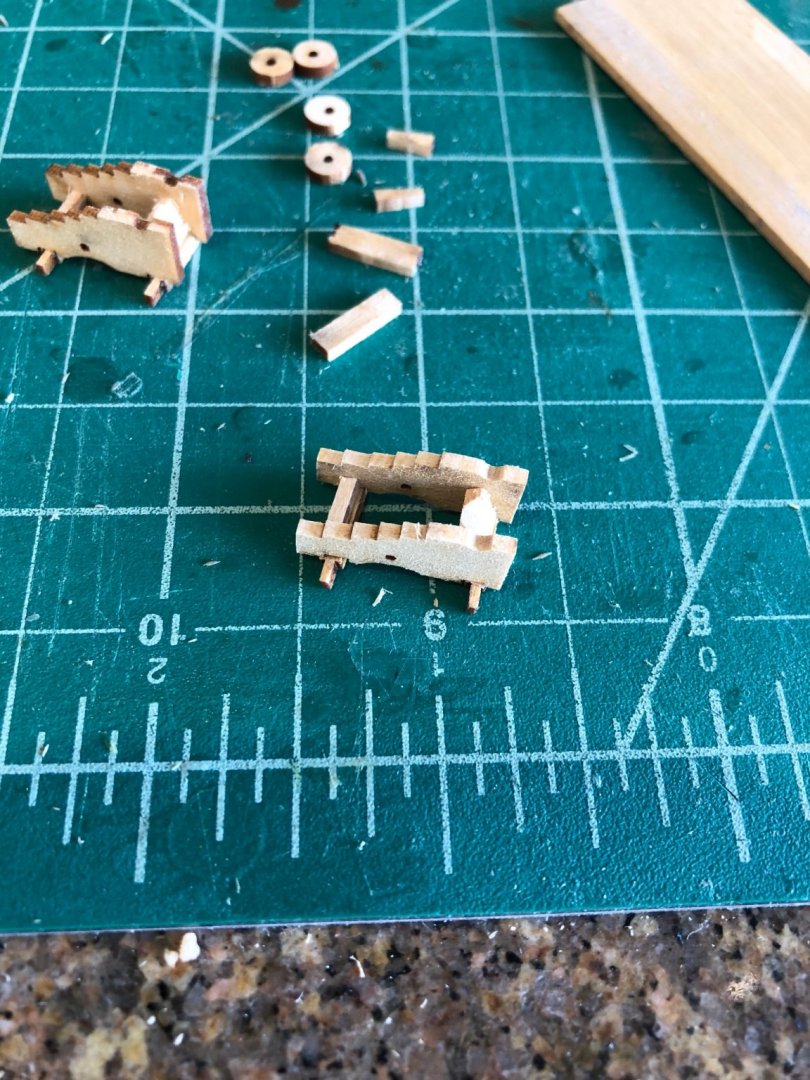
The char removed and the axles rounded for the wheels to be fitted.
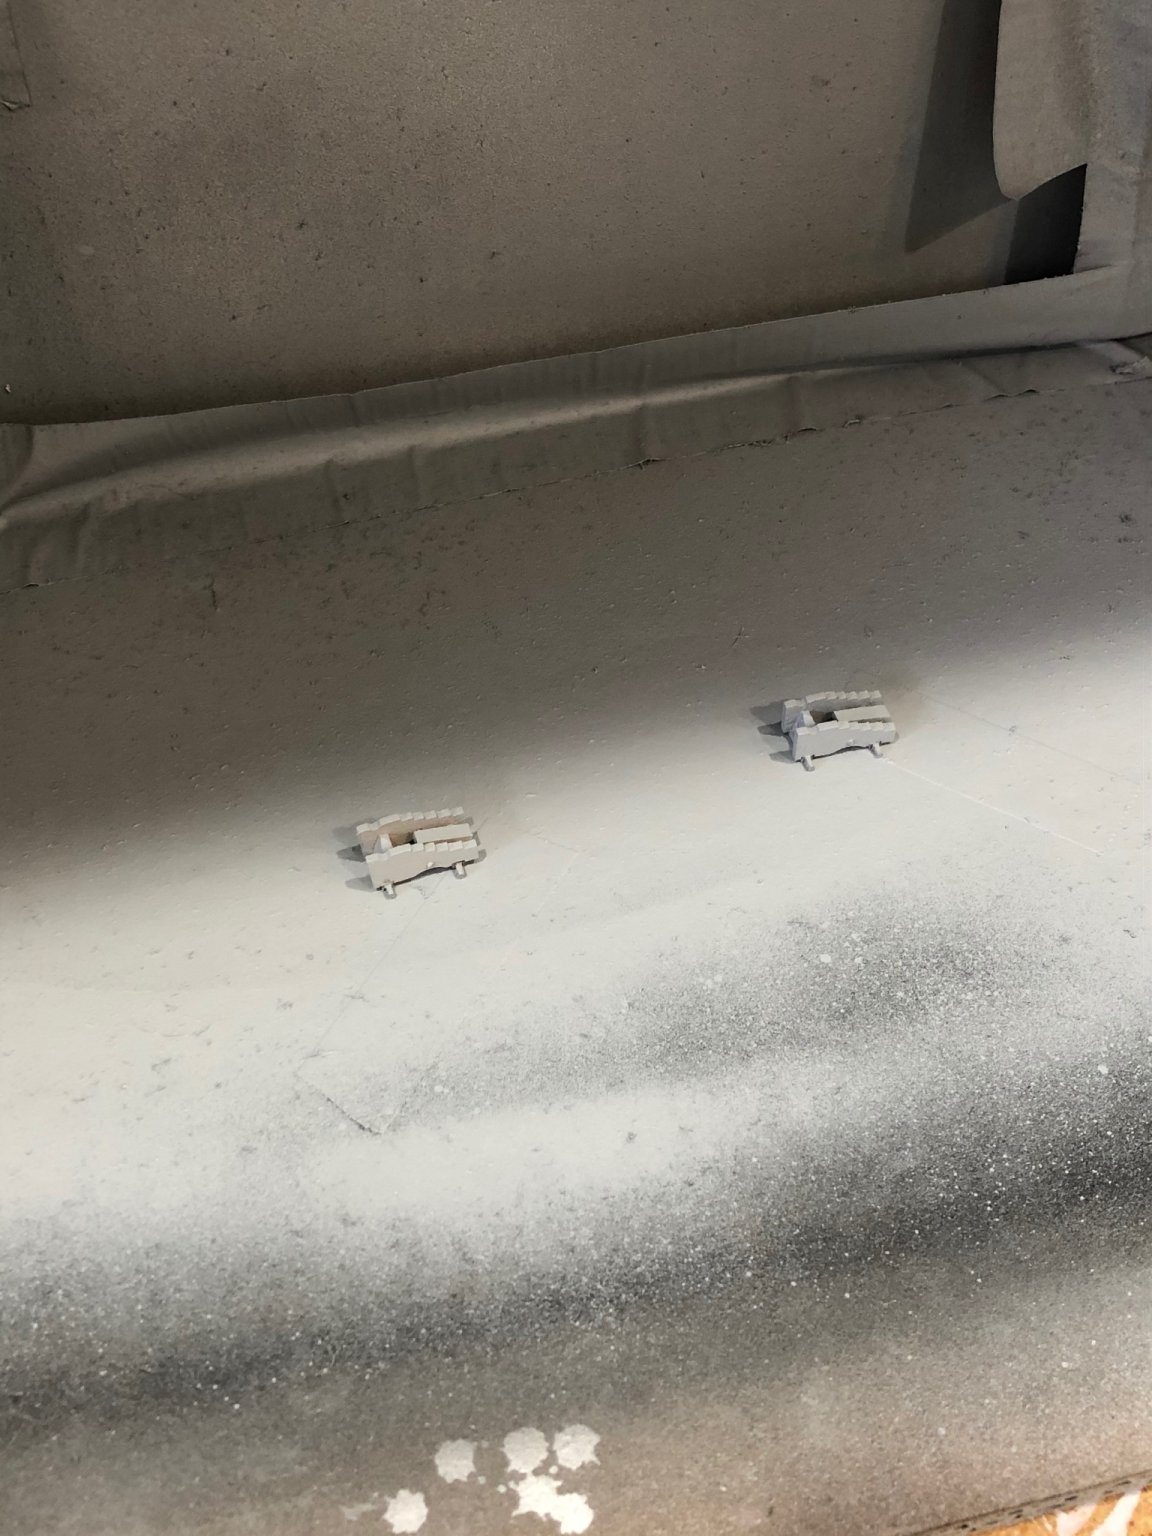
Next I glued the stool bed (there description) and inserted a 1/32th brass rod. When all this had dried it was time to paint the primer. I borrowed using automotive rattle can primer method from David Antscherl. It makes a nice surface for the paint to adhere. Sprayed the parts in my makeshift spray booth (cardboard box outside) and left to dry.

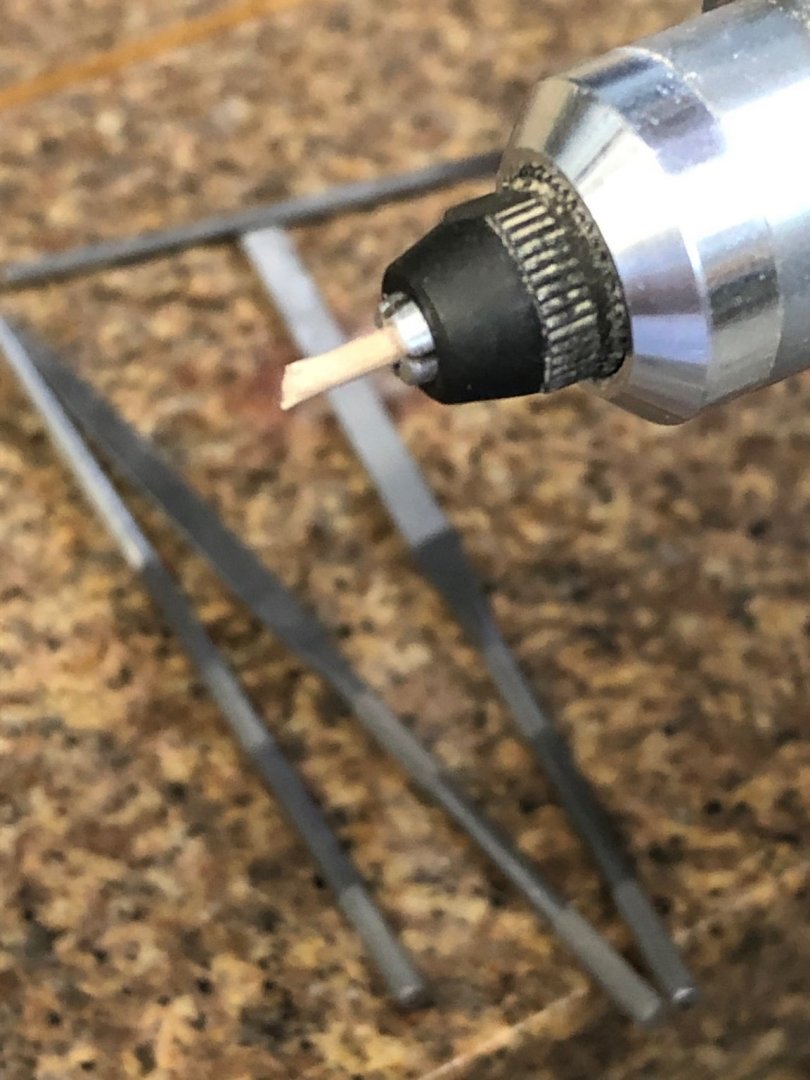
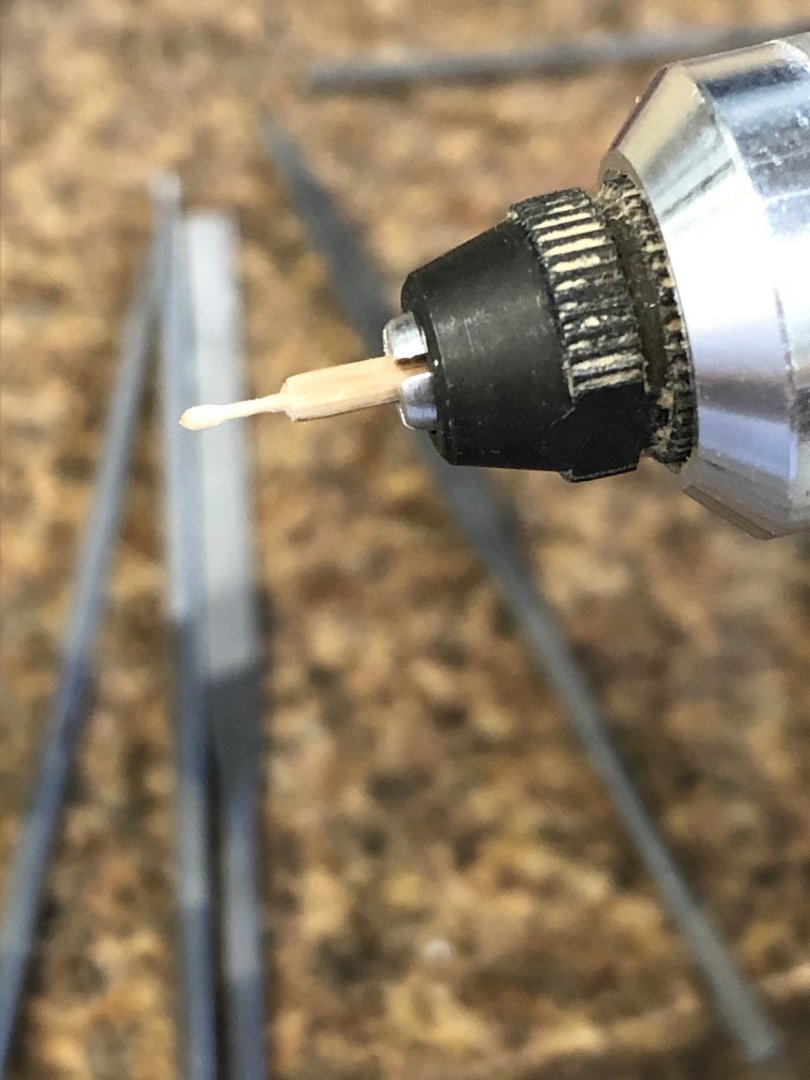
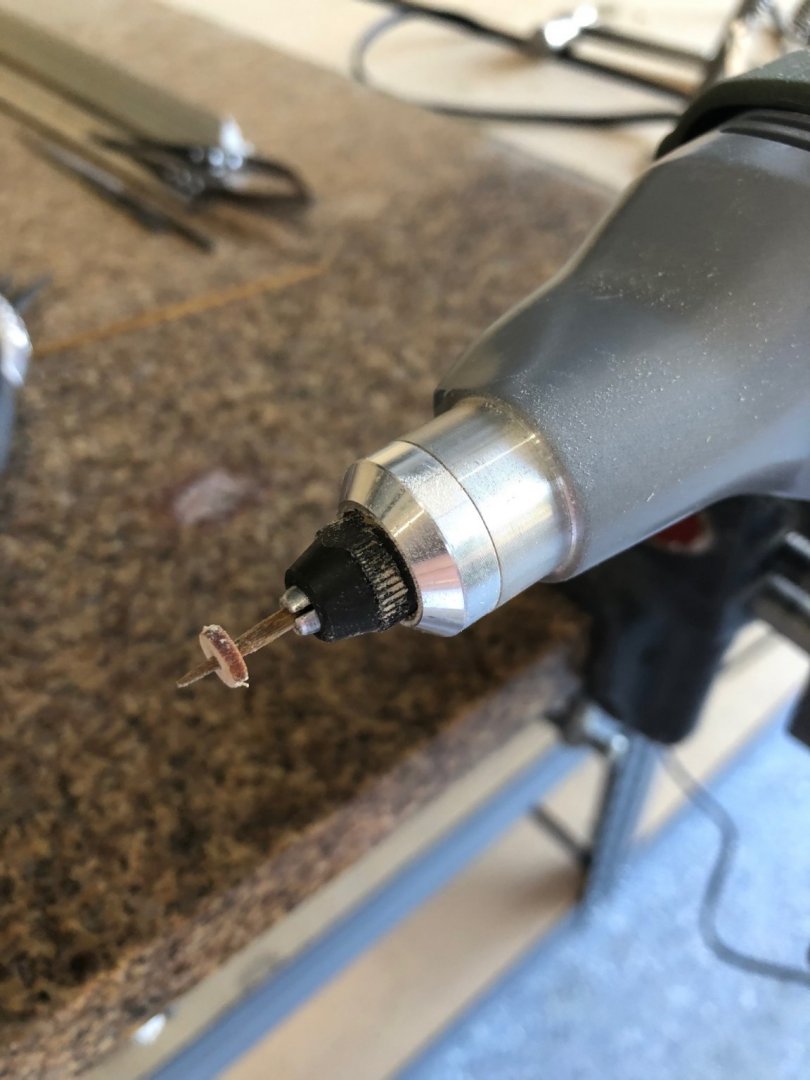
While drying I made the quoin handles again using toothpicks. (great wood)

Paint dried had to see how everything looked


While paint drying I removed the char from the trucks again using toothpicks. The manual says the trucks are two sizes larger in front but trucks in my kit are all the same size so I might use the trucks from Chucks kit.

Red paint starts tomorrow
Stay Well and Stay Safe
Will
- Edwardkenway, Ryland Craze and CiscoH
-
3
-
Glenn I can't stop reading its like spell binding novel so I'll pull ip a chair and follow along as the story develops with all its twists and turns. Now I'll go back to page 7.
Thanks for the wonderful narrative and photos explaining your work. Which is amazing by the way.
Stay Well and Stay Safe
Will
- glbarlow, Moab and Edwardkenway
-
3
-
I feel like I just read the last page of a book. She's fantastic. Great work. I'm following along but I started reading the log and have gotten to page 7 so that's the feeling of reading the last page.
Looking Great
I have the starter kit on order waiting for delivery so I really enjoy your log and read the monograph as I go along.
Stay Well and Stay Safe
Will
-
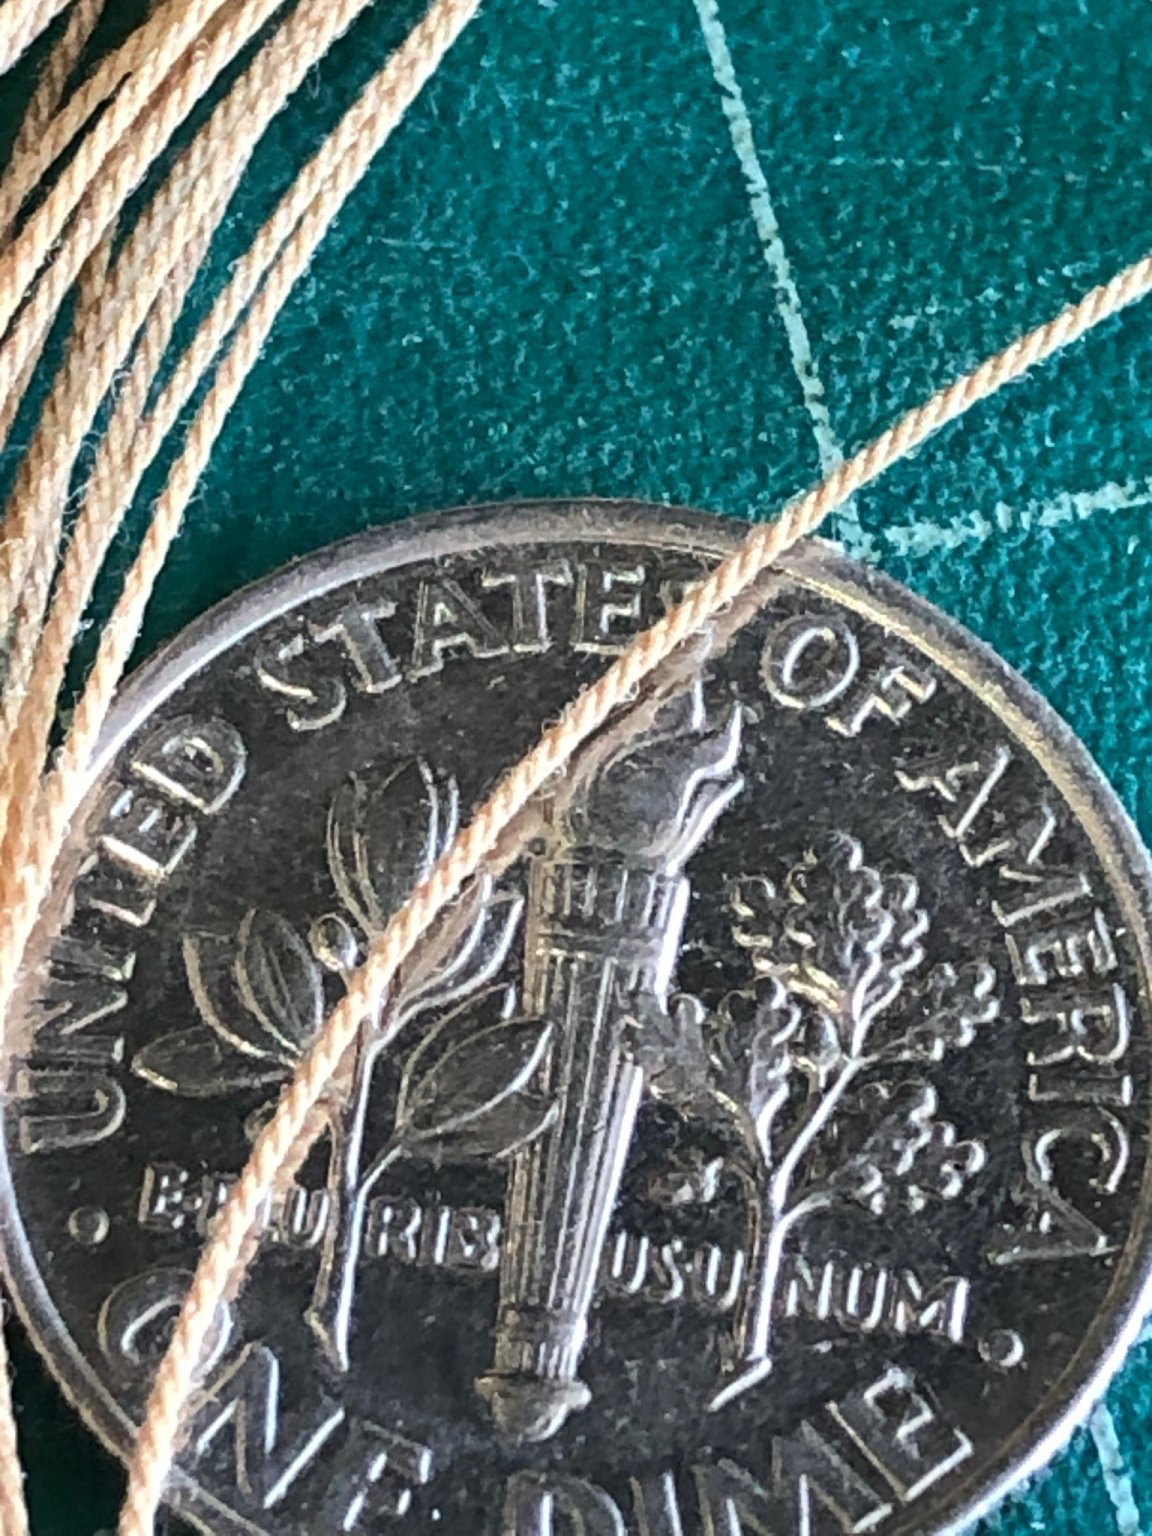
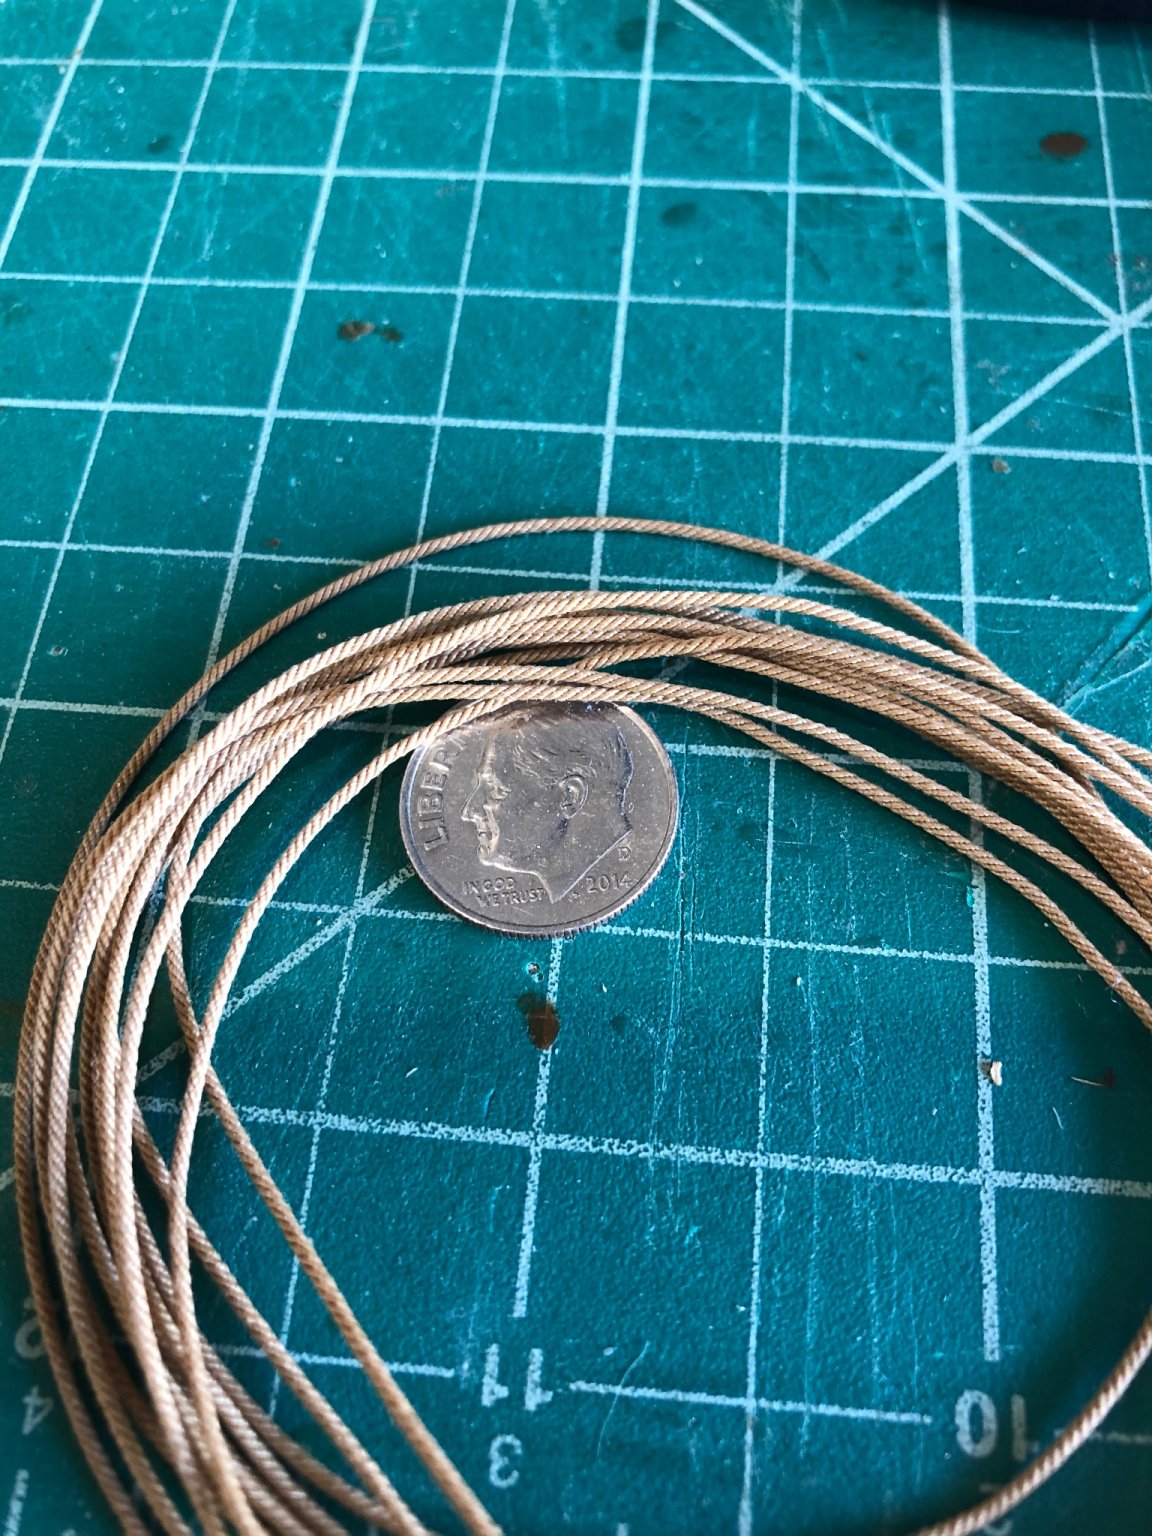
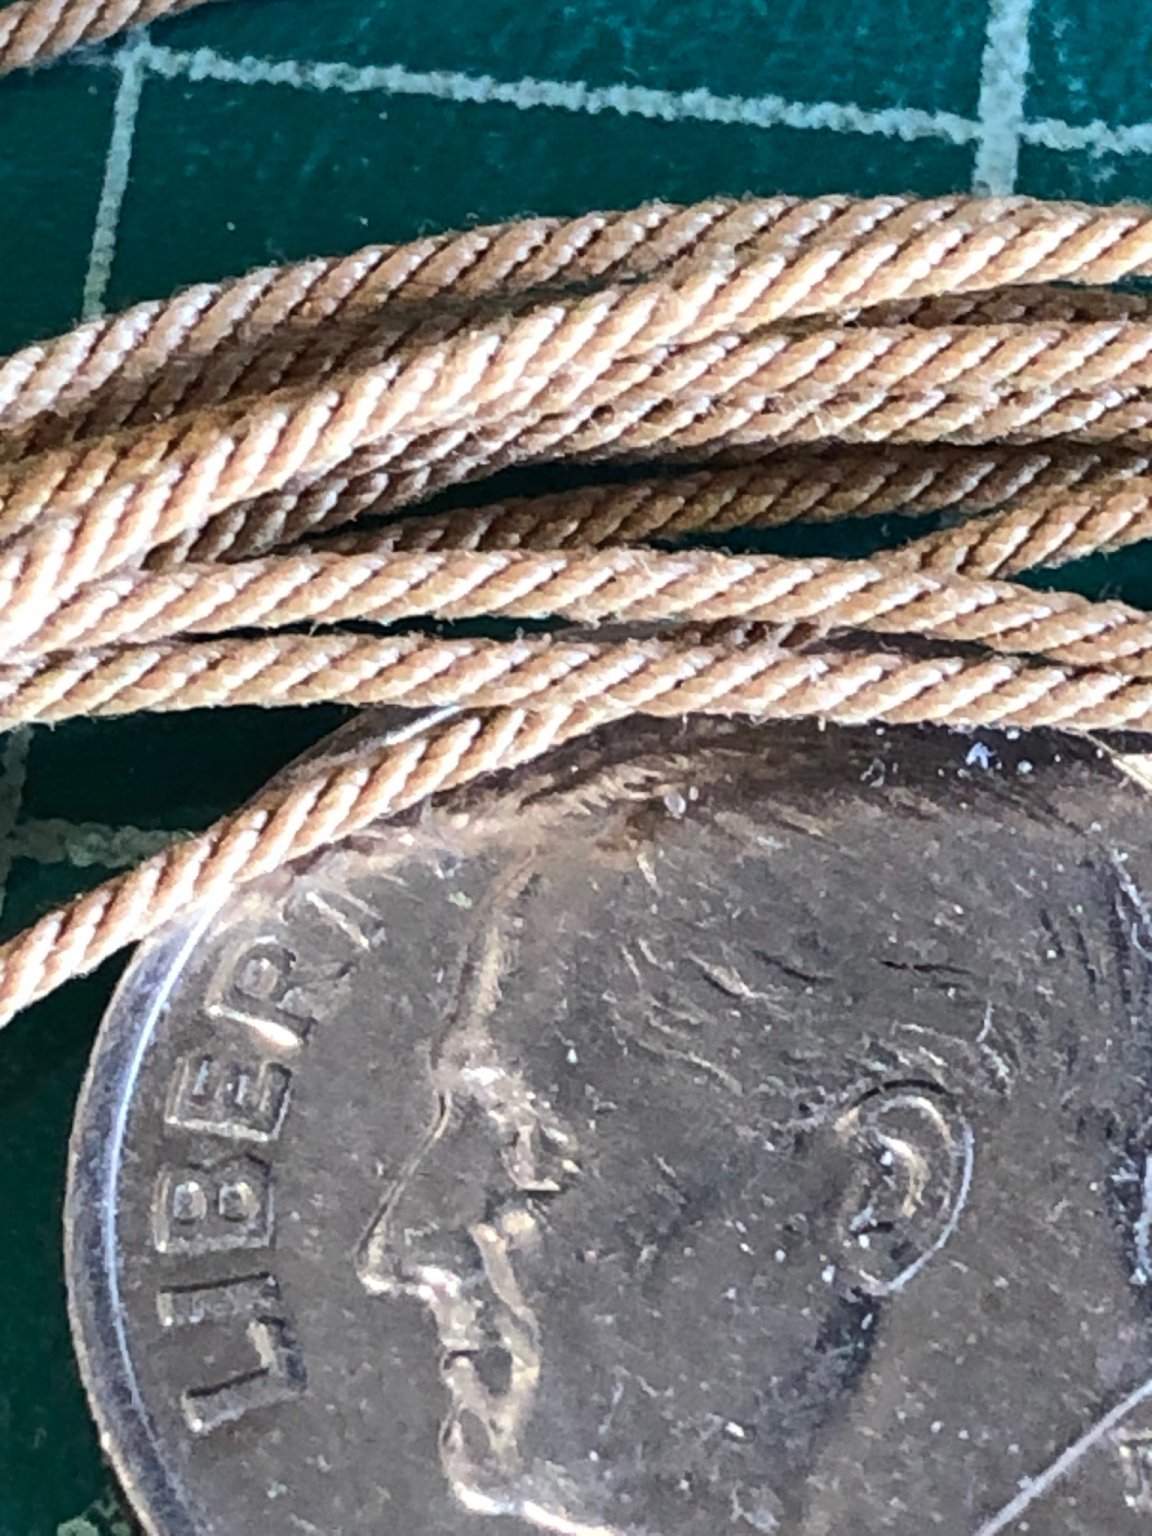
Made some sample rope using the Mara polyester thread and Chucks recipe for sizes and baking. I had to bake at 375 degrees in my toaster oven to get a fixed rope. Many thanks to Chuck Passaro for the Rope Rocket and Serv-O-Matic. I can't recommend them enough they are great tools to have.
I made 3 sizes of rope
The first used 3 strings of Mara 120 to make .008 rope


The second used 3 strings of Mara 70 to make .020 rope
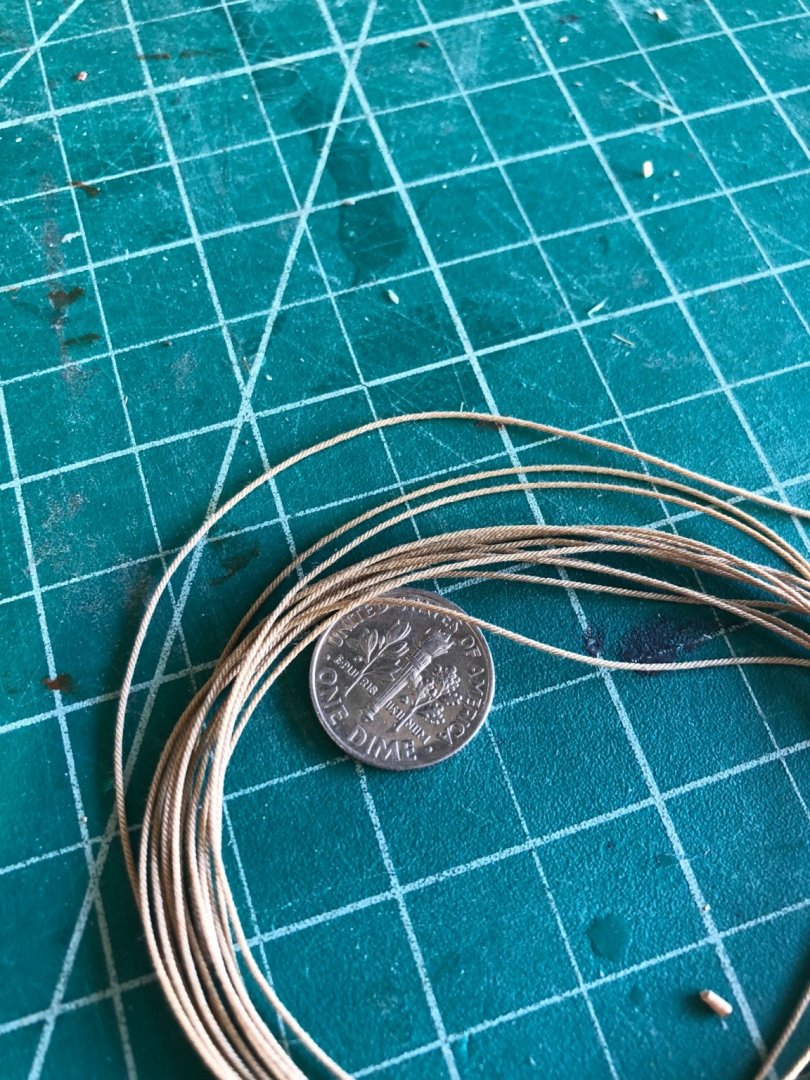
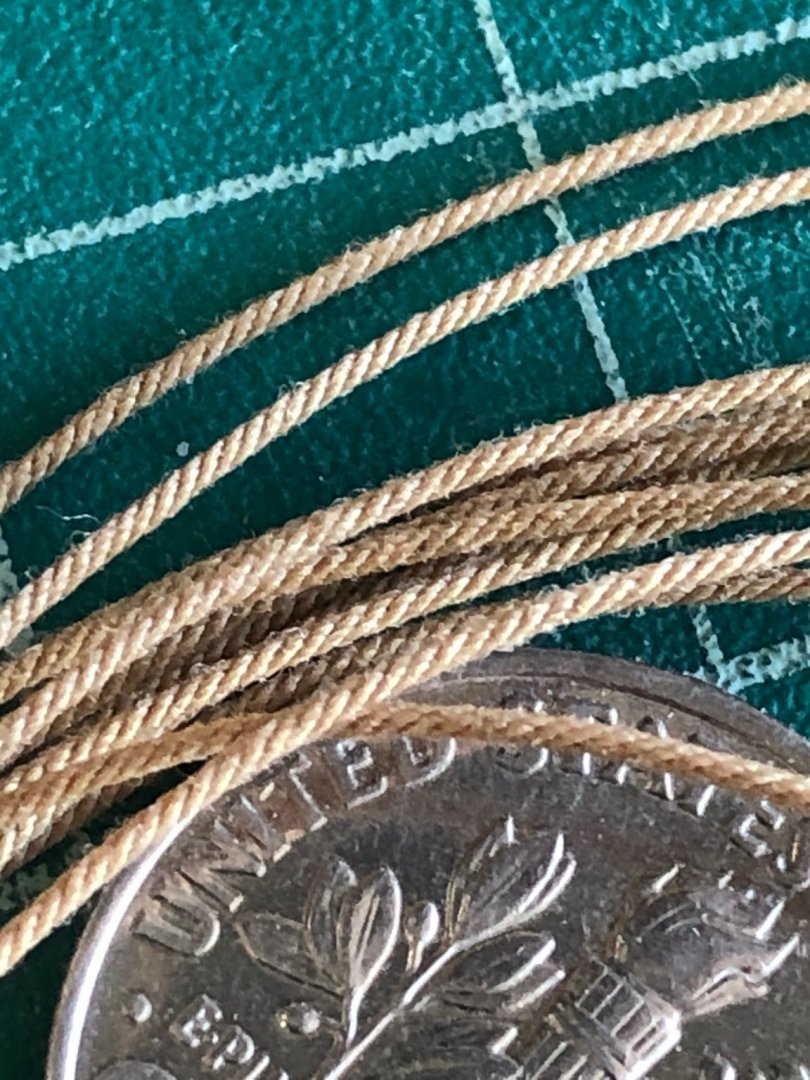
The third used 4 strings of Mara 30 to make a .028/9 rope
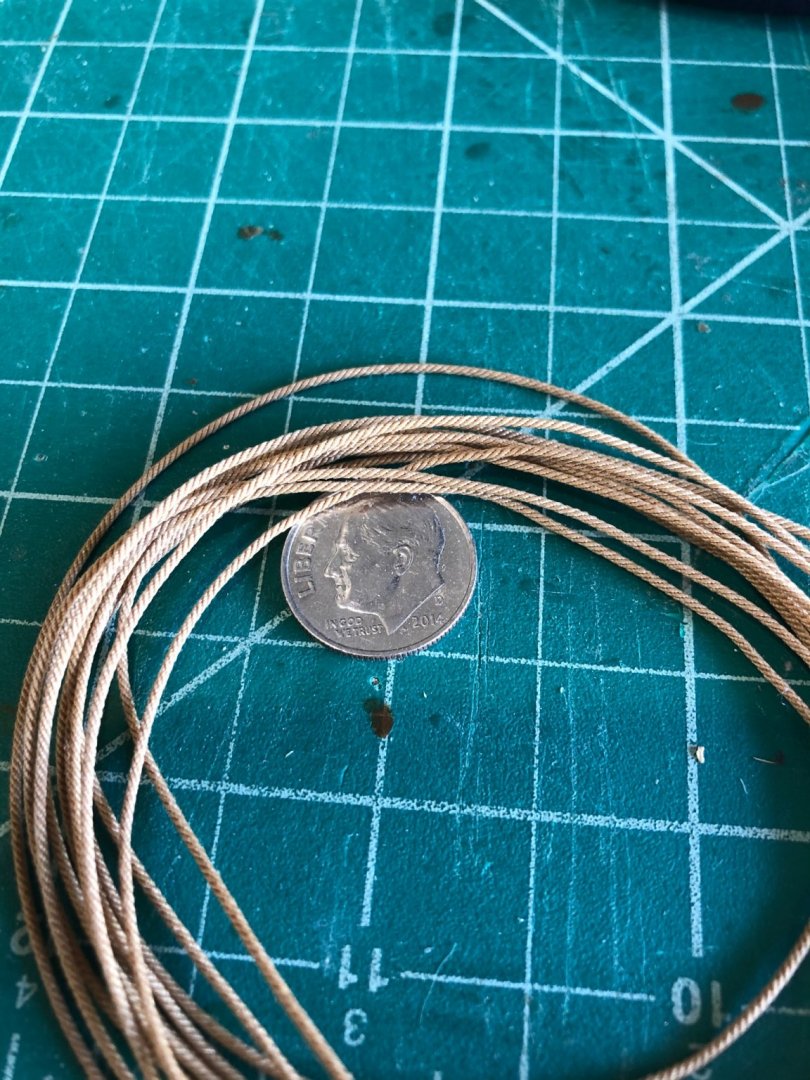

This rope is fantastic to handle keeping a shape and no fuzzy. I'll be using this in the future.
Stay Well and Stay Safe
Will
- Ryland Craze, CiscoH and Edwardkenway
-
3
-
Its looking good except for those holes in the bottom 🤔 hee hee. What are you building in the backyard? Also back to the leds did you ever find how to dim them? If you still need to work on the lights I found this at a HO railroad shop and they were really great being used as street lights etc. They are micro chips all the way down to a nano size and their web site is www.evandesigns.com
Stay well and Stay Safe
Will
-
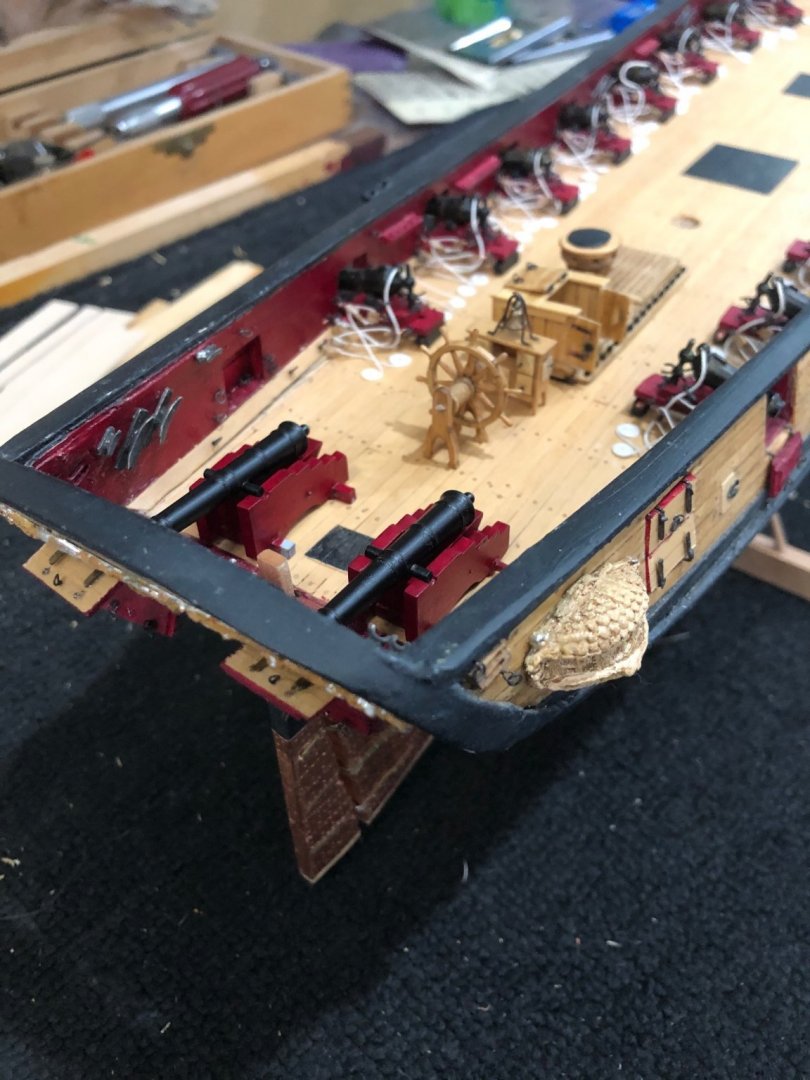
Completed the wheel assembly, cannon carriages and cannons. I must say that the Syren steering wheel mini-kit is fantastic. I really enjoyed working with this wonderful project all the parts fit perfectly without and modifications except removing the char. The hardest part was turning the spokes but with so many extra I made them all and the last were better than the first. Spent a large amount of time sanding the wheel so the stain would be a consistent color.
Finished painting the cannon carriages now only need to radius the axles on one more carriage. Need to make the pinion straps holding the cannons in the carriages and the rigging rings. Painted the cannons and letting the paint harden before any handling.

Stay Well and Stay Safe
Will
-
Well I couldn't wait for tomorrow to see if the companionway door was crooked. It was the camera angle and slightly off to the left on the bottom. I removed the door and reattached in the correct orientation. Cameras never lie. 🥵
Again cameras don't lie
Stay Well and Stay Safe
Will
- Edwardkenway, Matt D and WalrusGuy
-
3
-
Thanks everyone for the likes and looking in on my progress.
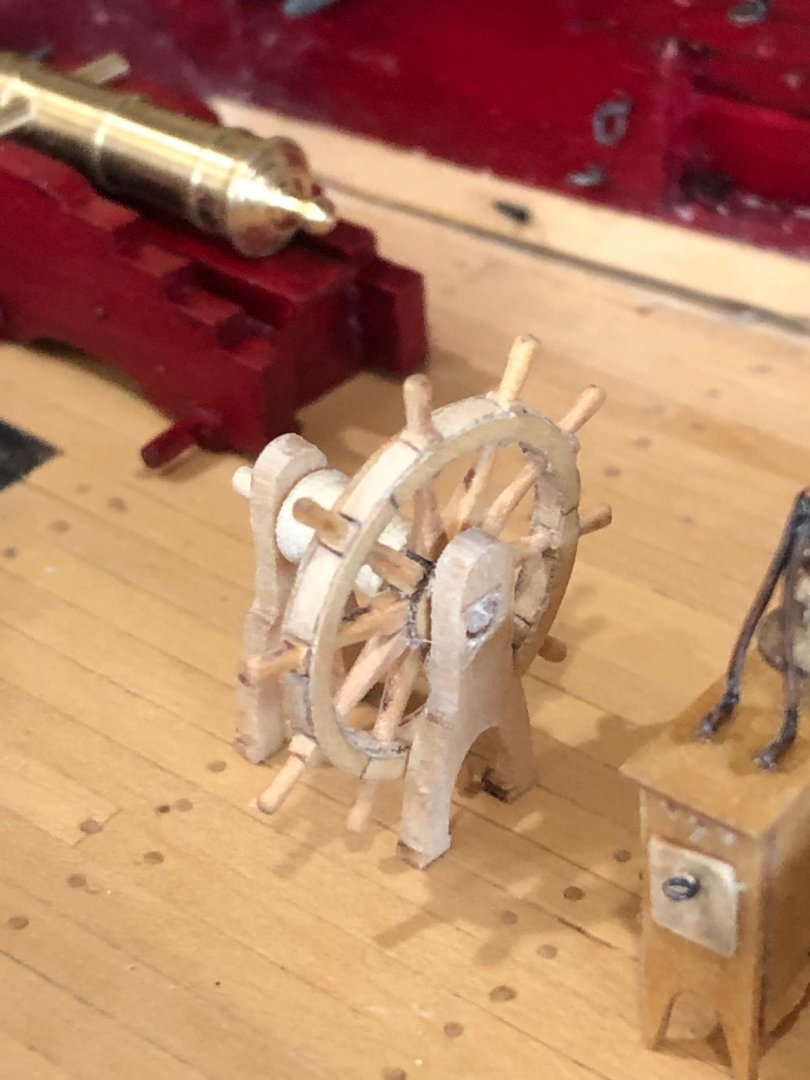
Finished the ships wheel assembly and the basic sanding getting ready for staining. All the worry and trepidation about putting the spokes in the center hub and the outside ring was for naught. Having so many spare spokes I decided to try my 80 year old eyes and hands a go to assemble the wheel. I sort of followed Gahms method but didn't use paper instead I glued the outer ring to the jig with lepage white glue. It's water soluble so it came right off with just a drop of water and 5 minutes waiting. Used a pointed toothpick to hold the center star in place with the jig hole. Went in and had lunch. When glue dried turned over the wheel and glued the outer ring sections and again the toothpick for the center disc. A lot of delicate sanding and more to go.
Cleaned the char from the wheels' support legs and sanded them for staining, still need to soften the edges of the supports before staining. I used a 3/16" rod to turn the rope drum to 5/32" leaving the ends at 3/16" rather than centering and glueing the furnished discs. While in the lathe drilled a hole in the center for a toothpick to press into with the wheel and drum able to rotate through the support legs.
Dry fit everything and set on the deck to admire my work. My hands still work on these tiny pieces but I did learn I need new/better tweezers my old ones keep twisting on the part being held.
I gotta go back and check the companionway door I know its straight maybe the camera angle but I will go check tomorrow.
More finish sanding but I'm pretty happy with the results.
Stay Well and Stay Safe
Will
- Edwardkenway and WalrusGuy
-
2
-
-
Nice job on making shackles
Stay Well and Stay Safe
Will
-
Your bands look amazing I like you method of halves and soldering them together. I'm anxious to hear about the jewelry bits you ordered.
Looking good mate.
Stay Well and Stay Safe
Will


HM Cutter Cheerful 1806 by glbarlow - FINISHED - 1:48
in - Build logs for subjects built 1801 - 1850
Posted
Just a note, I believe that the upper deadeyes are upside down. Should they not be opposite each the lower deadeyes. The knotting looks fantastic its really going to be magnificent.
Stay Well and Stay Safe
Will