
GrandpaPhil
-
Posts
5,022 -
Joined
-
Last visited
Content Type
Profiles
Forums
Gallery
Events
Posts posted by GrandpaPhil
-
-
Dan,
What kind of glue do you use for your card models?
Phil
- mtaylor, popeye the sailor and Canute
-
 3
3
-
- mtaylor, Omega1234, FriedClams and 4 others
-
 7
7
-
-
-
-
-
-
-
Your build is looking good!
I built this kit years ago. I had a blast with it. Unfortunately, it got put in storage for five years and didn’t survive. I want to build La Reale again one of these days.
-
-
-
It’s a matter of personal preference.
I just traced the body plan, reflected it over the centerline and made multiple scaled copies of that, to cut the bulkheads, for my current build.
- mtaylor, Adamjoyce1 and IgorSky
-
 3
3
-
-
-
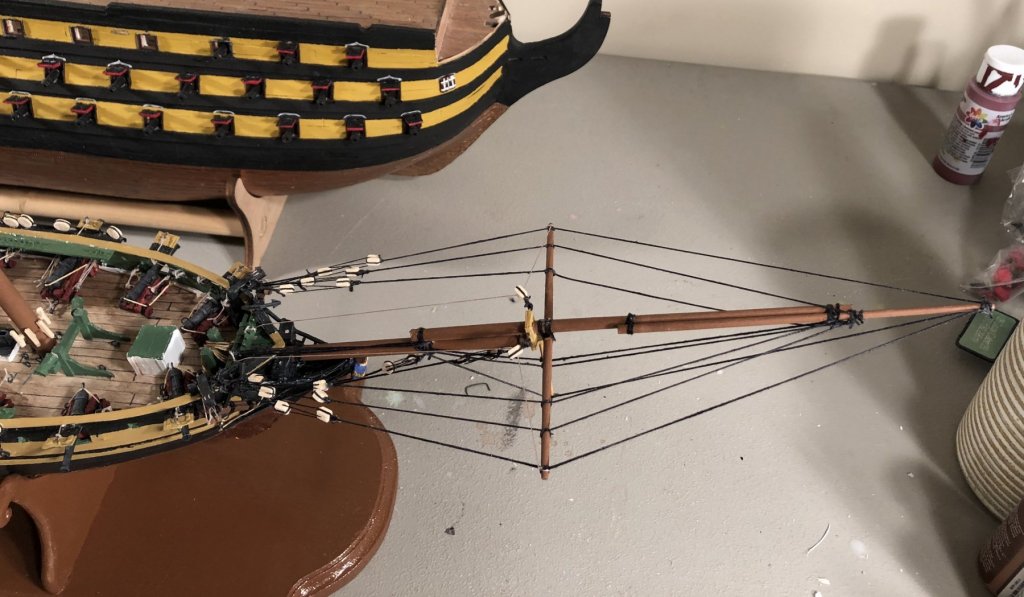
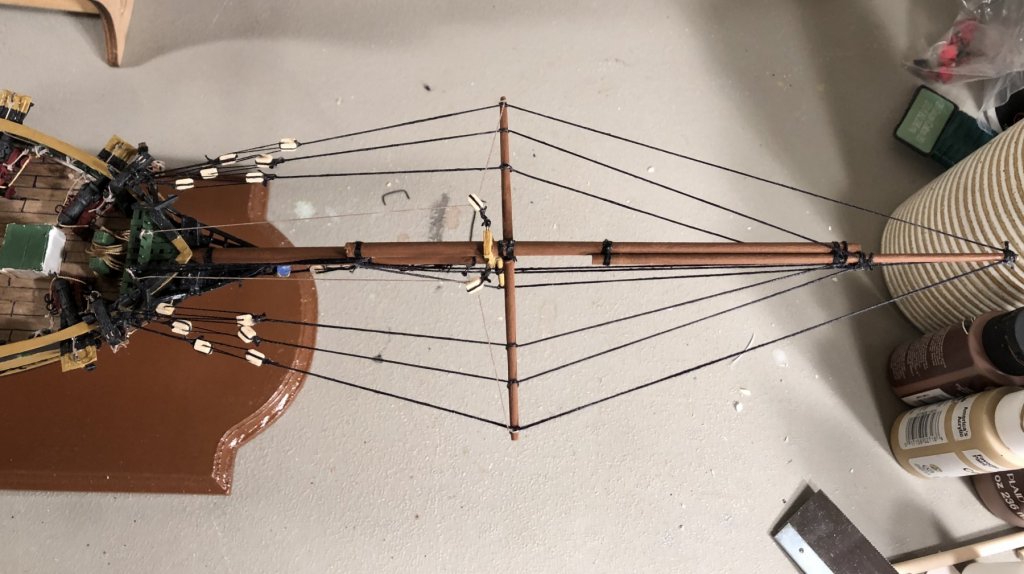
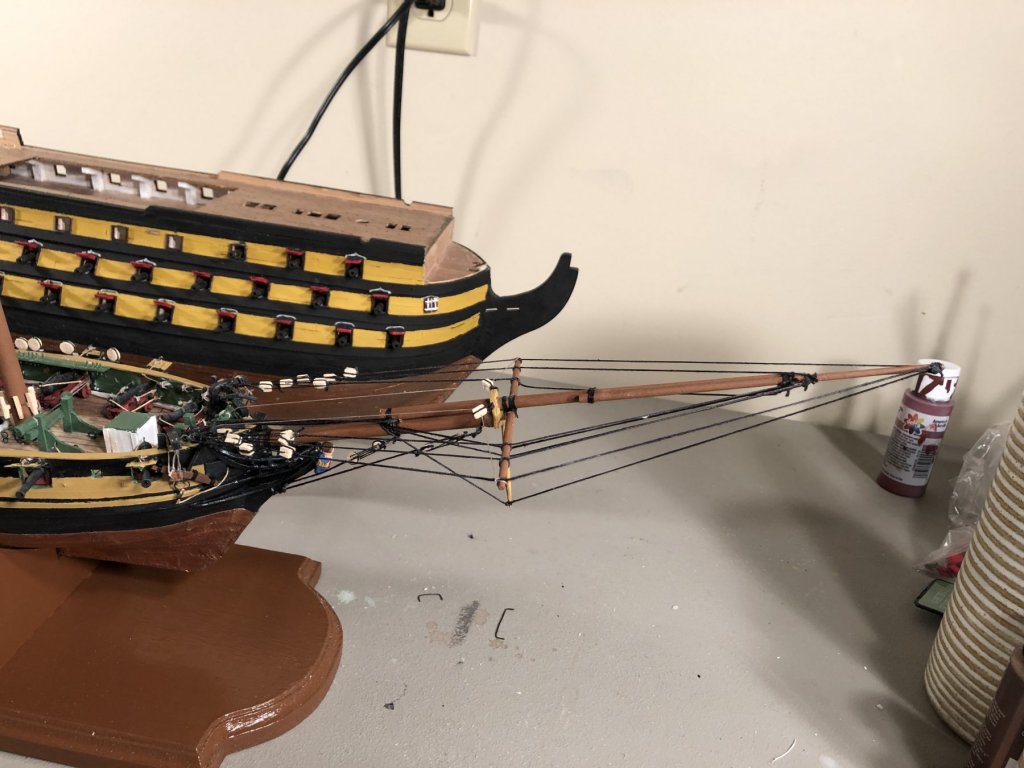
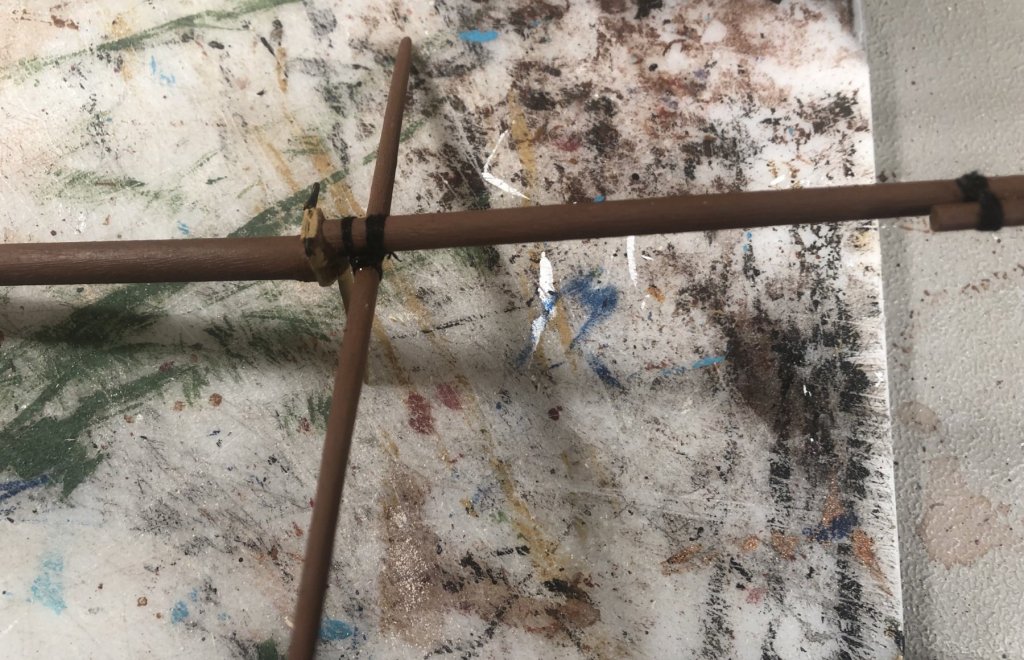
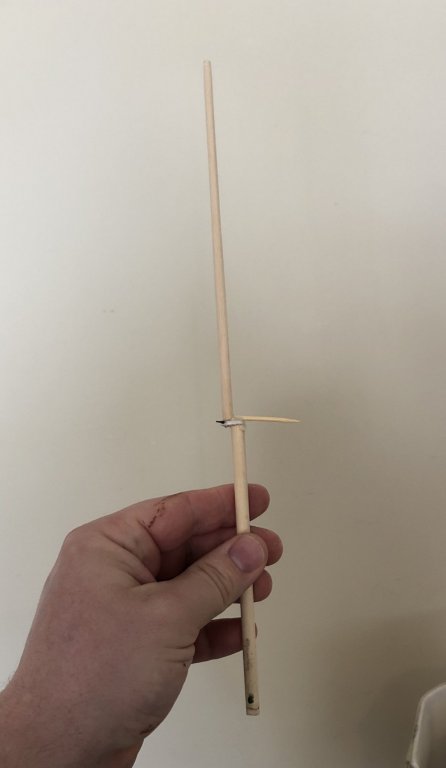
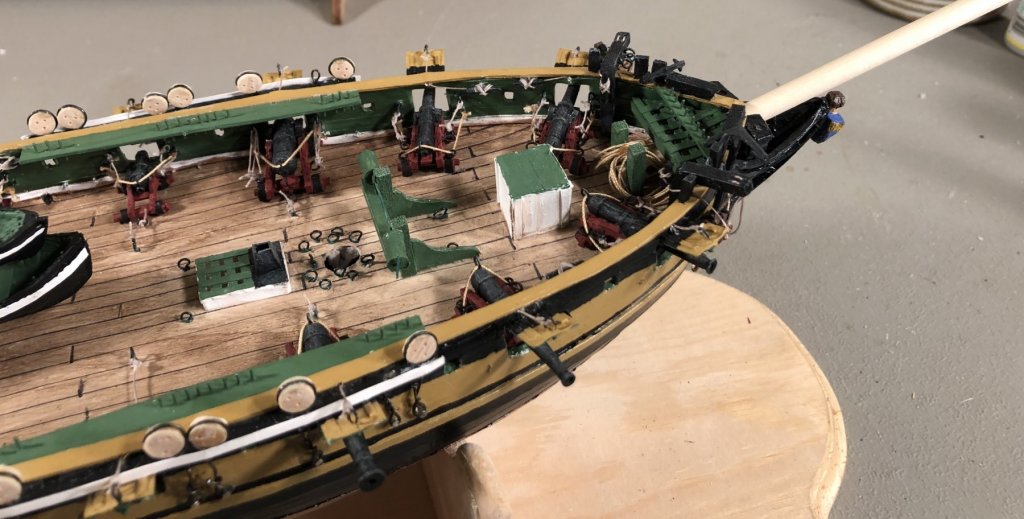
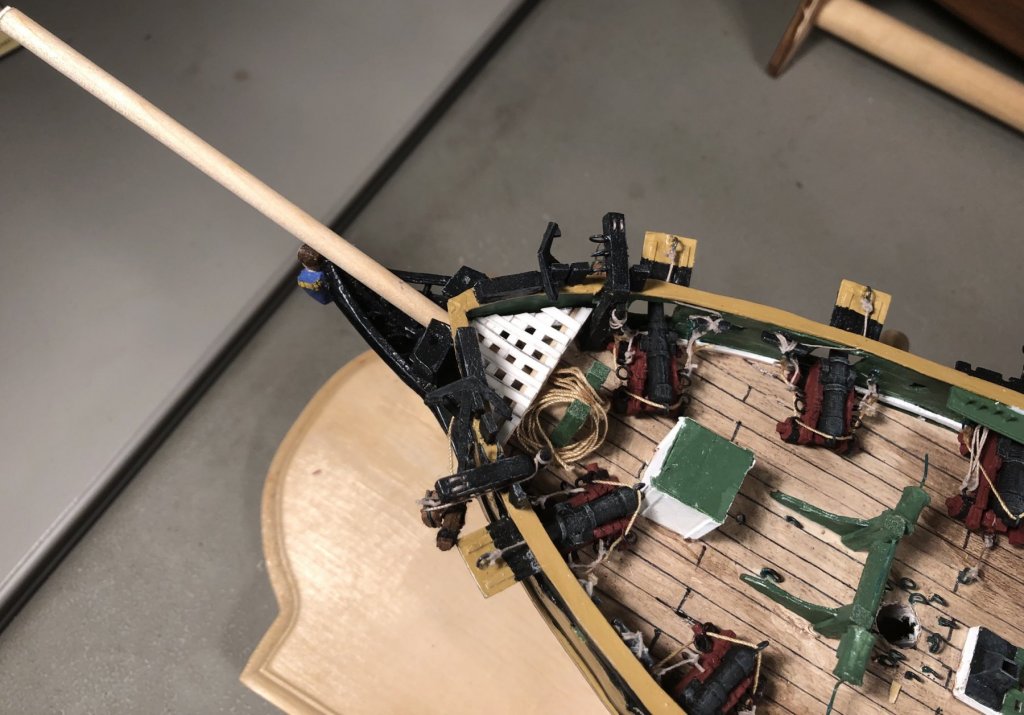
Discovered that I made it wrong. Disassembled the bowsprit.
Oh well, that’s how you learn, lol.
- tkay11, mtaylor and FriedClams
-
 3
3
-
-
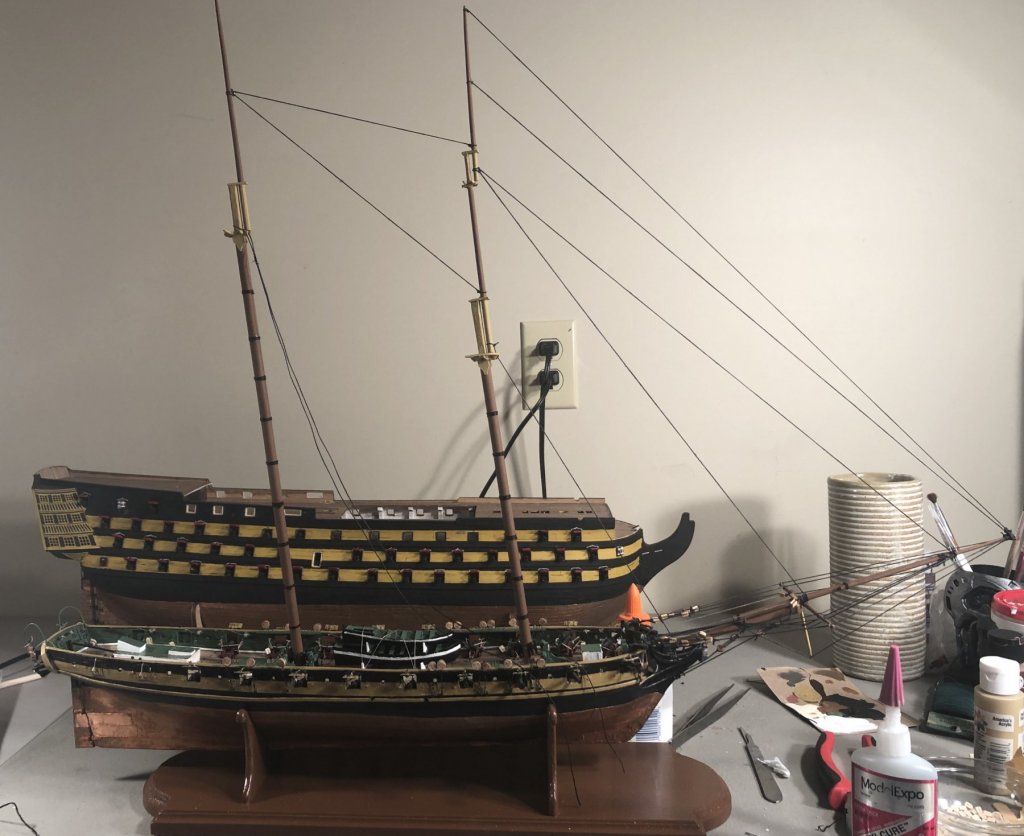
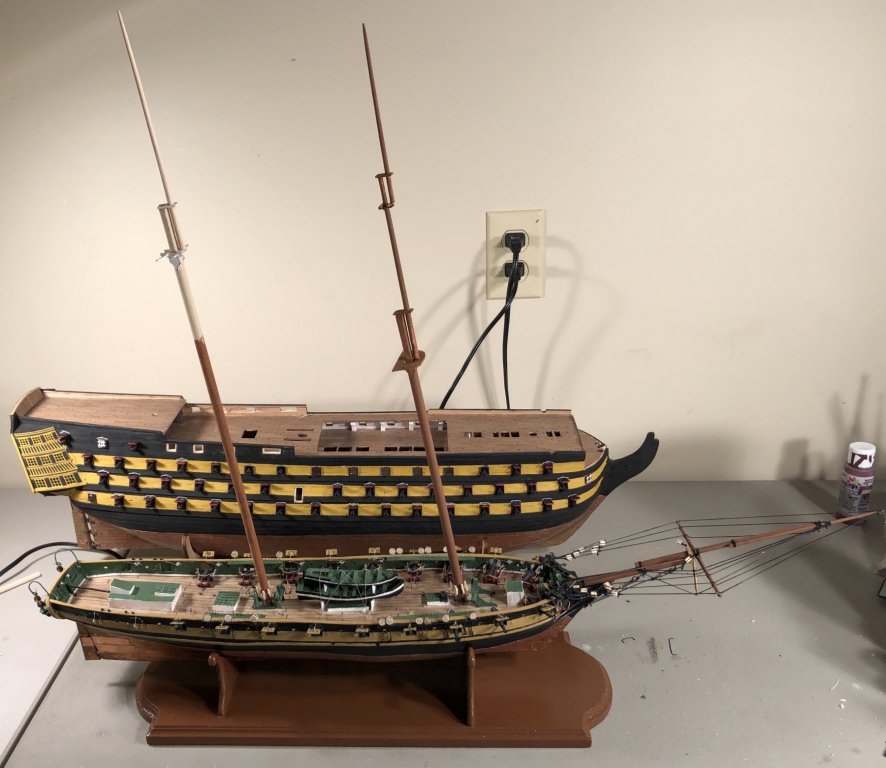
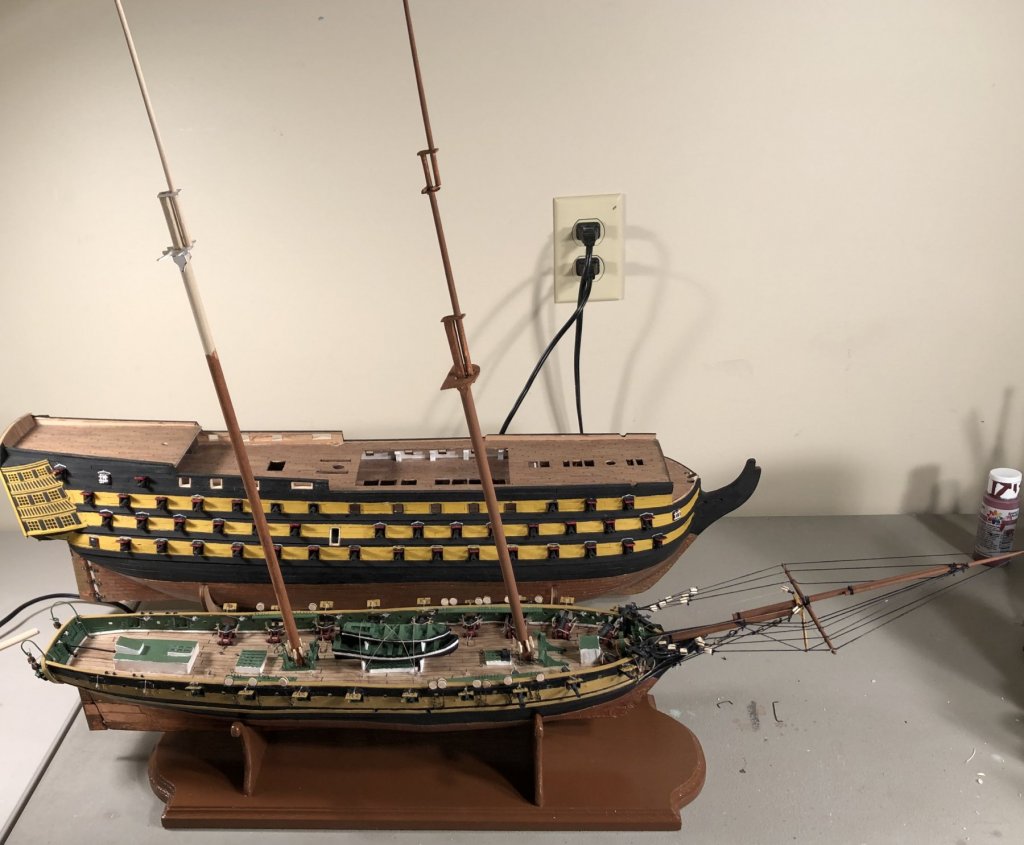
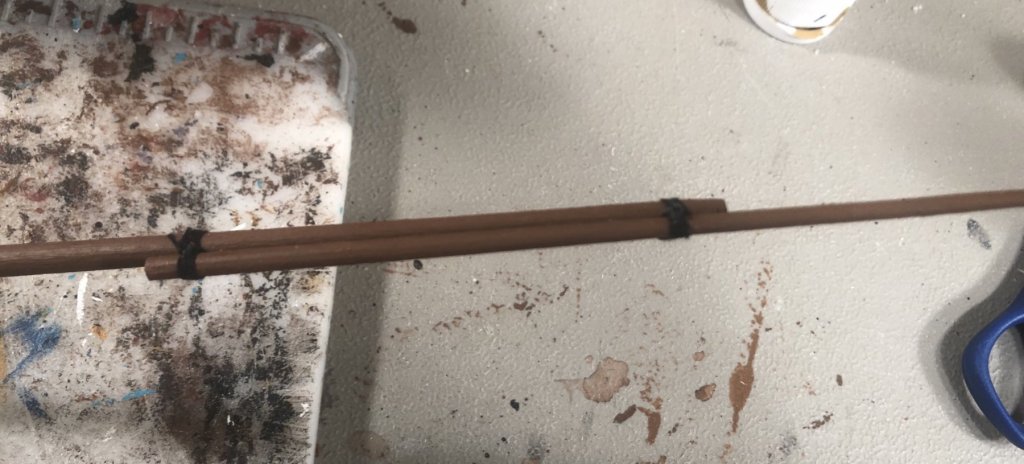
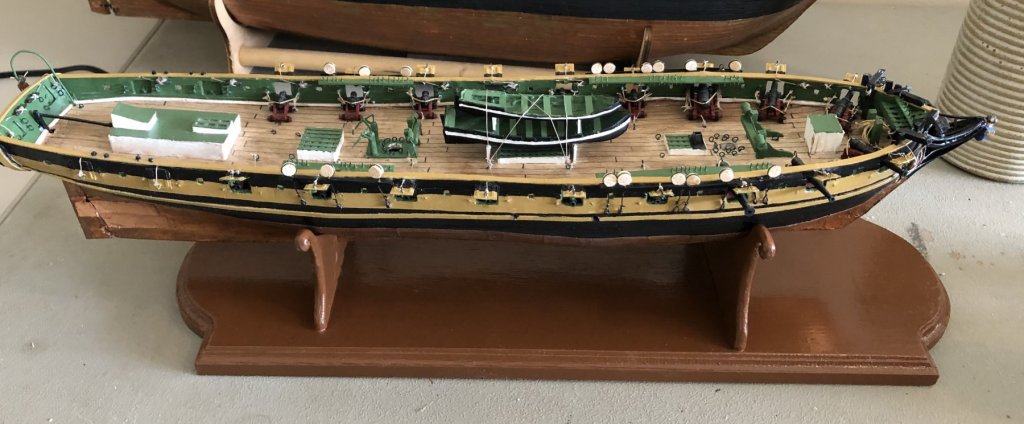
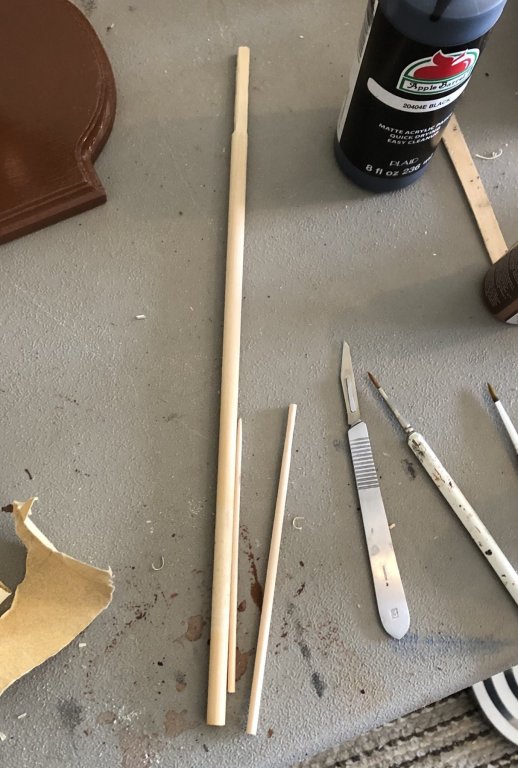
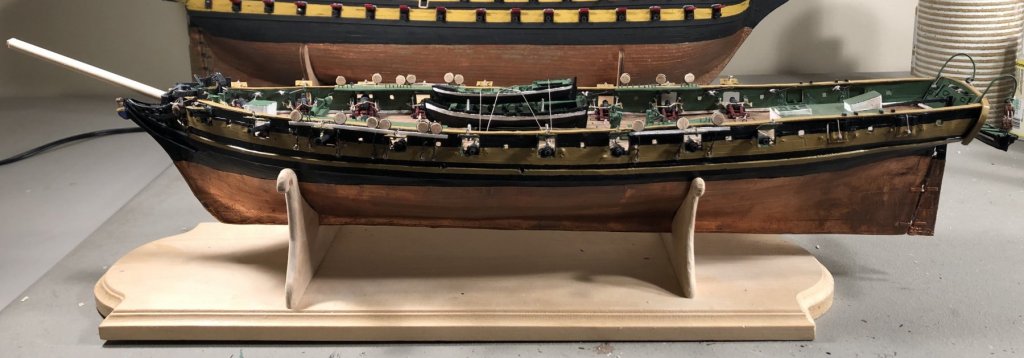
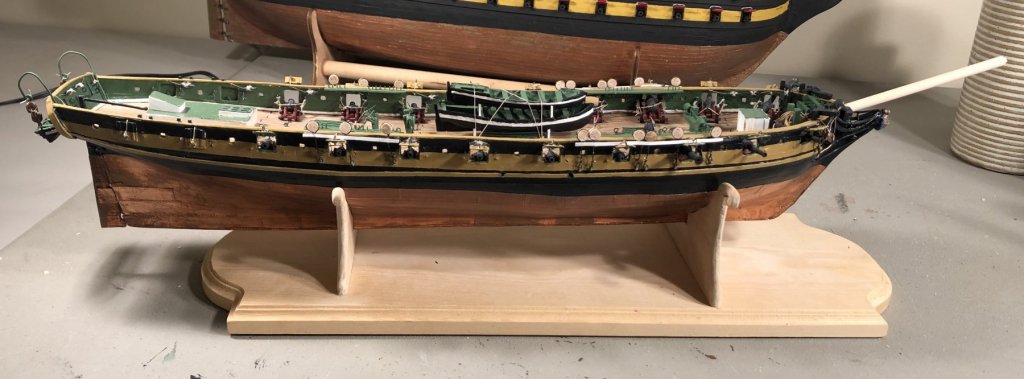
The hull is done. The base is done. I made the parts for the foremast. I made the main mast, itself, I still have to make the main top mast. I made the parts for the bowsprit, including jib boom, flying jib and spritsail yard.
I am waiting on the mast tops and caps to dry so I can laminate them onto another piece of cardstock, then I will assemble the masts, paint them and install them.
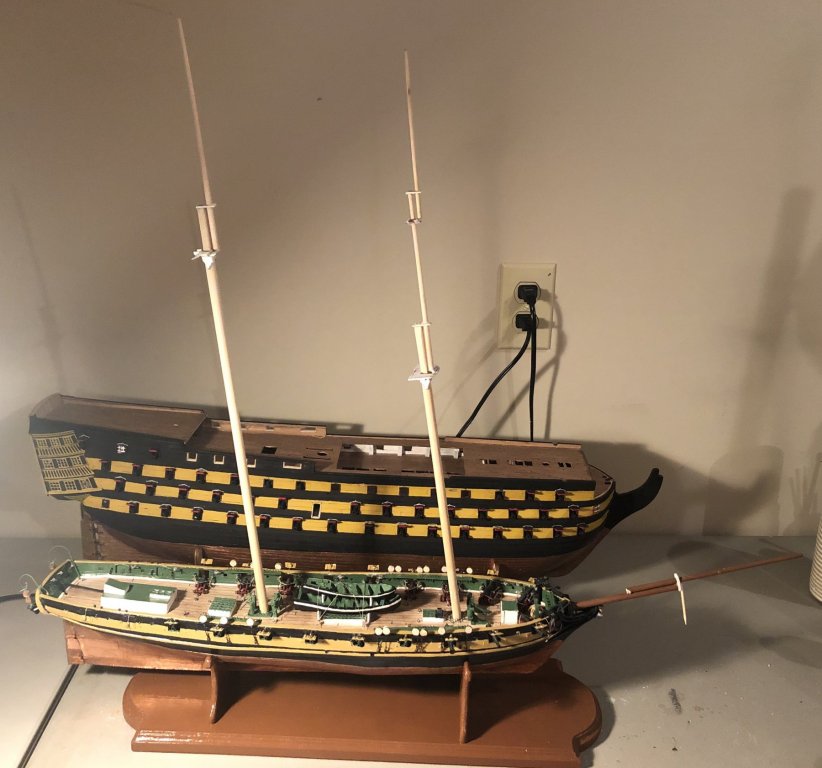
I measured it out, the model will be about 36” long by about 24” tall and 16” wide, with studding sails run out.
- rafine, FriedClams, mtaylor and 2 others
-
 5
5
-
Thank you, much appreciated!
Next time I do this, among my lessons learned is that I’m going to use 1/16th inch basswood for my underdecking to prevent the waves that are in the deck. I’m also going to reinforce the bulkheads better to prevent the warping that occurred. I discovered that the entire hull has a slight twist in it, after I had painted it. I started putting large books on drying pieces after that.
I made a mistake in my tracing of the bulkheads related to the spacing of the midships frames, in part because of the spine of the book, that I did not discover until after I had covered the hull, which caused the bulges around midships.
I’m also going to try and not rescale images, from multiple sources, with multiple scales unless I am drawing up my own complete set of plans, which I did not do for this build. That caused me some problems as well.
I’ve learned a lot on this build. It’s been a learning curve, but it’s been a lot of fun.
- Omega1234, tkay11, FriedClams and 2 others
-
 5
5
-
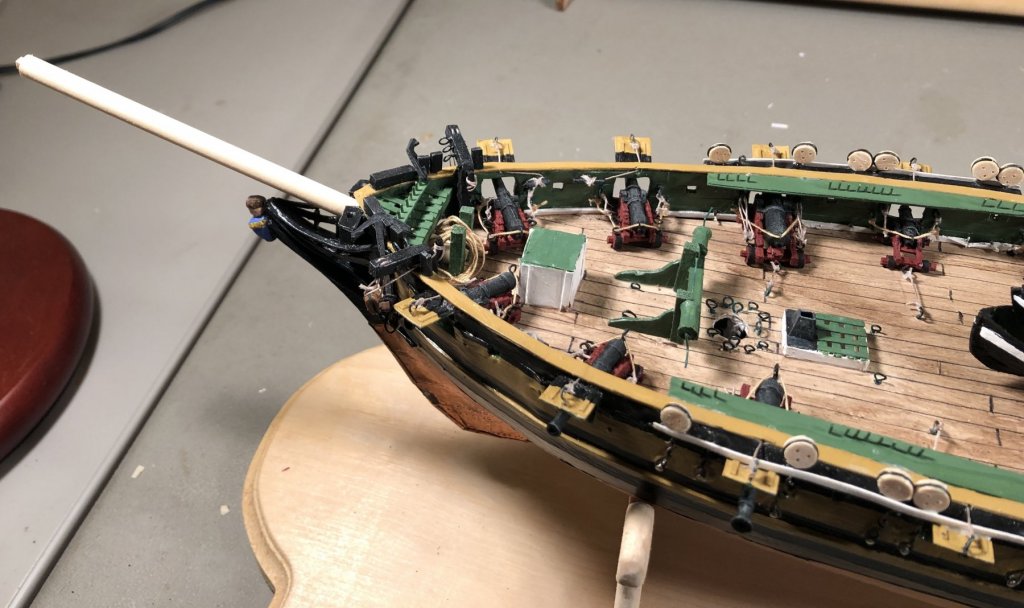
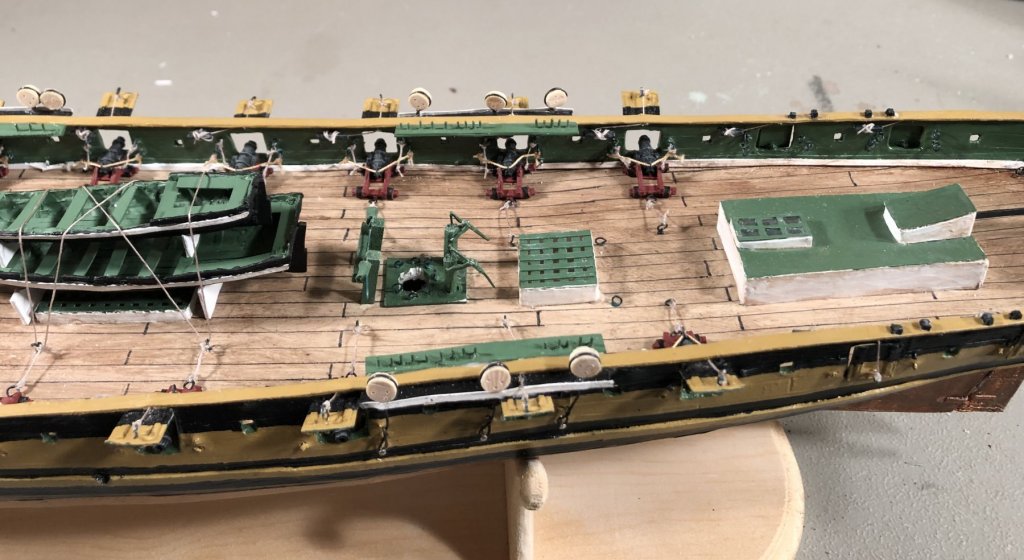
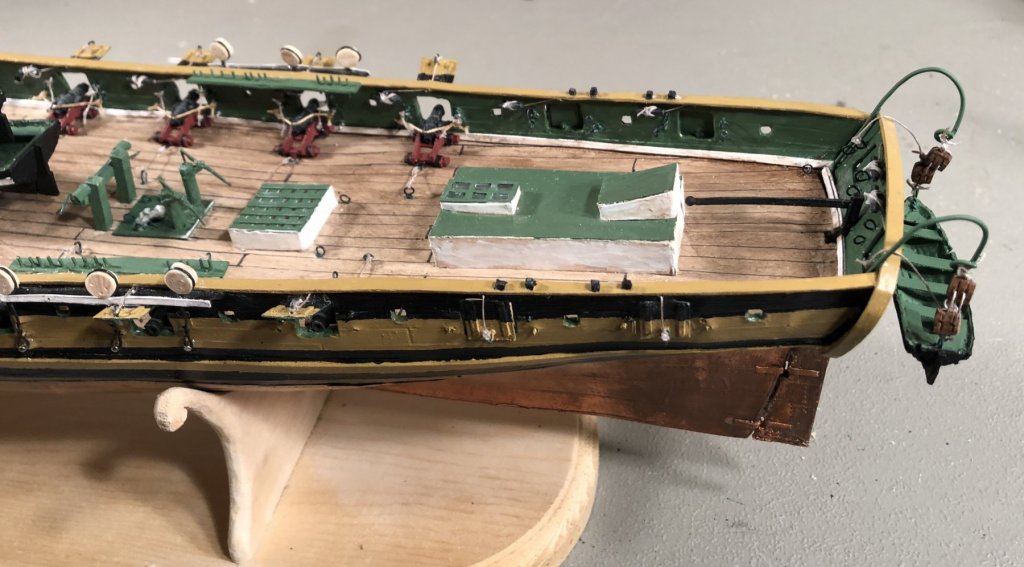
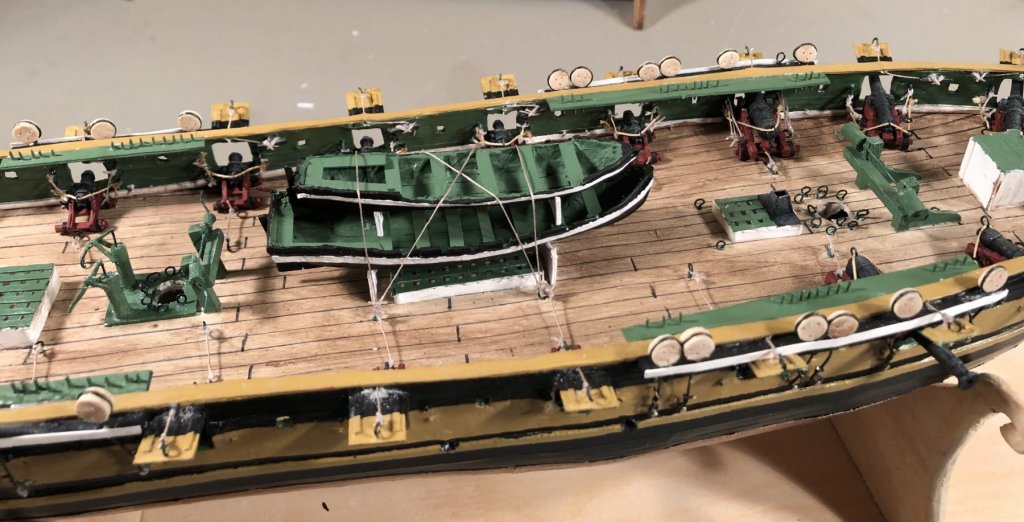
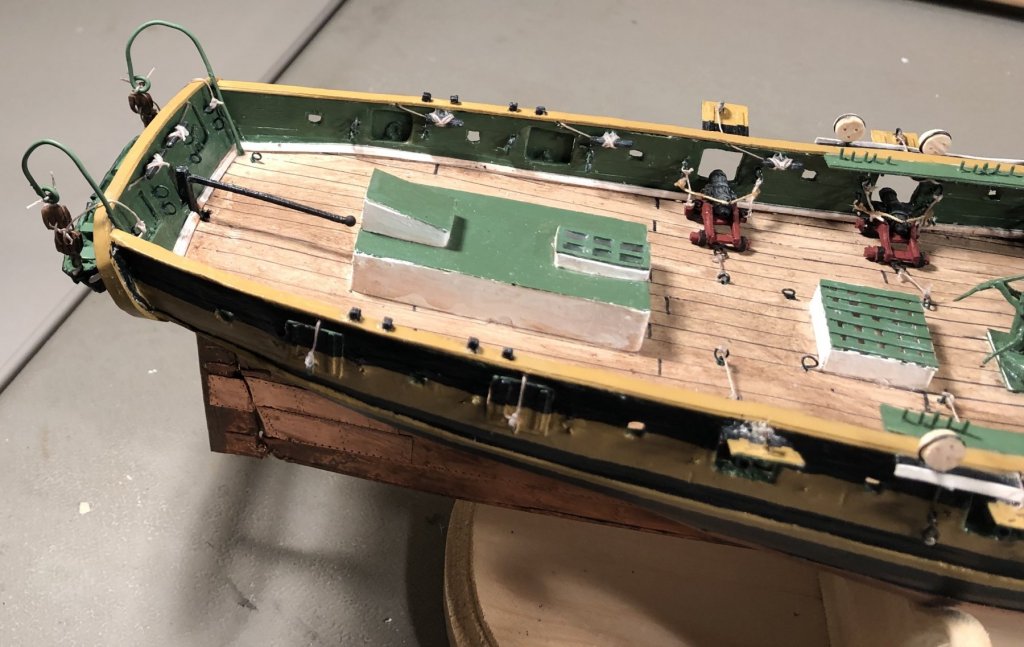
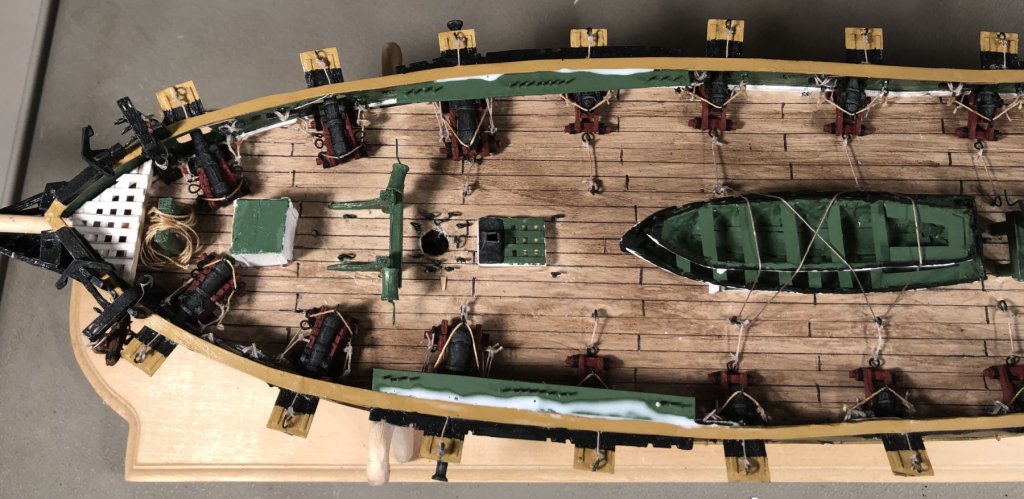
I just installed the bow platform, the bow pin-rail and the chain-plates. I also put a strip of card over the channels to hold them in place. This means that the hull is done, except for some minor touch ups and a little bit of paint work.
I’m pretty excited because I’ve never scratch built a model ship before. Making the hull is the difficult part for me. I’ve never really had any difficulty once I got to the point of fitting out the hull. Although, it’s a different ballgame when you have to make your own fittings.
This has been a lot of fun.
-
I finished and installed the foremast pin-rails. The bow platform test fitted successfully. I measured off and cut out the bowsprit pin-rail. I also made the cap for the bowsprit. I’m going to make the dolphin striker, jib boom and flying jib here shortly.
The original masting dimensions are on Plate 3 across from page 236 of The Search For Speed Under Sail. I’m using those for my dimensions.
-
1 hour ago, CPDDET said:
Looking great!
Thank you very much!
-
-
-





Sydney Opera House by Dan Vadas - FINISHED - Schreiber-Bogen - 1:300 - CARD
in Non-ship/categorised builds
Posted
Okay, thank you!