


GrandpaPhil
-
Posts
6,141 -
Joined
-
Last visited
Content Type
Profiles
Forums
Gallery
Events
Posts posted by GrandpaPhil
-
-
Congratulations! Nicely done!
-
-
-
-
Welcome!
-
Welcome!
- Paul L and Admiral Rick
-
 2
2
-
-
It was a supply boat in the Gulf of Mexico tending the oil rigs. I helped the Chief Engineer and worked the deck as needed.
I had an AB (Able-Bodied Seaman) license and was frequently utilized as an oiler.
I learned a lot that year.
-
I spent about a year working on a workboat 20 years ago.
I spent most of my time working in the engine room.I am skilled at making machines work.
-
I got dibs on the engine room!
It’s been a few years, but I think I still remember how to work on a marine diesel!
-
-
Very well done on the restoration of Sovereign of the Seas!
She looks amazing!
- Knocklouder, Keith Black and Coyote_6
-
2
-
 1
1
-
I usually apply a dark tone wash (thinned down paint or a dedicated wash) and then apply a drybrushed highlight coat for a final detailing coat.
They are miniature painting techniques, and exact tutorials can be found on YouTube, which would help that explanation make a whole lot more sense.
- Canute, Ryland Craze and k-slak
-
2
-
1
-
-
- Baker, Geordie Tyne, woodartist and 8 others
-
11
-
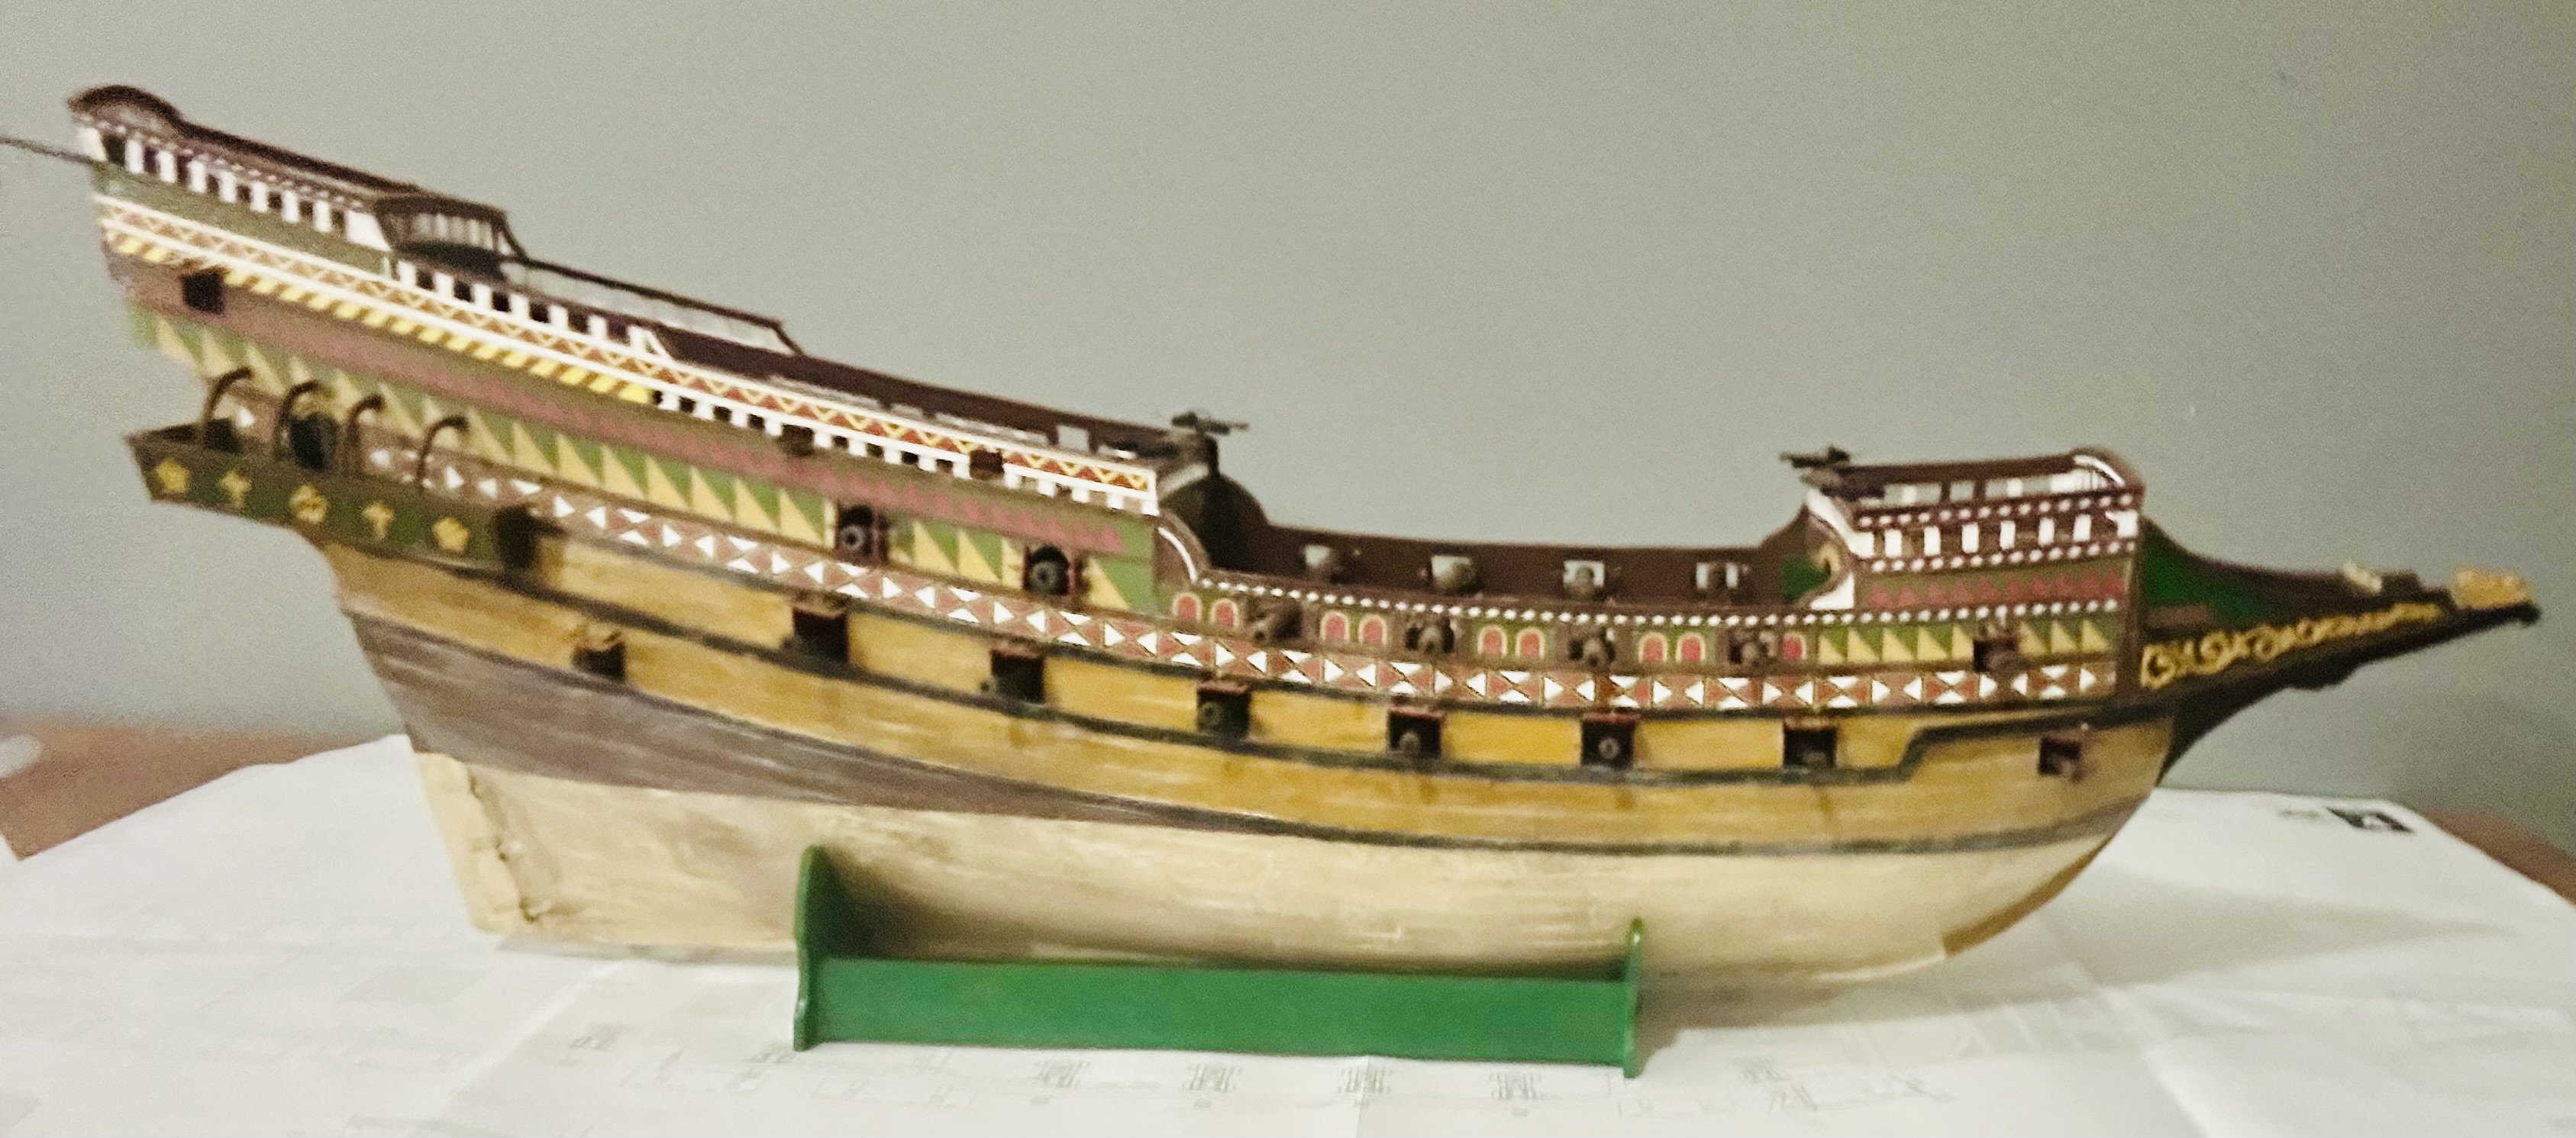
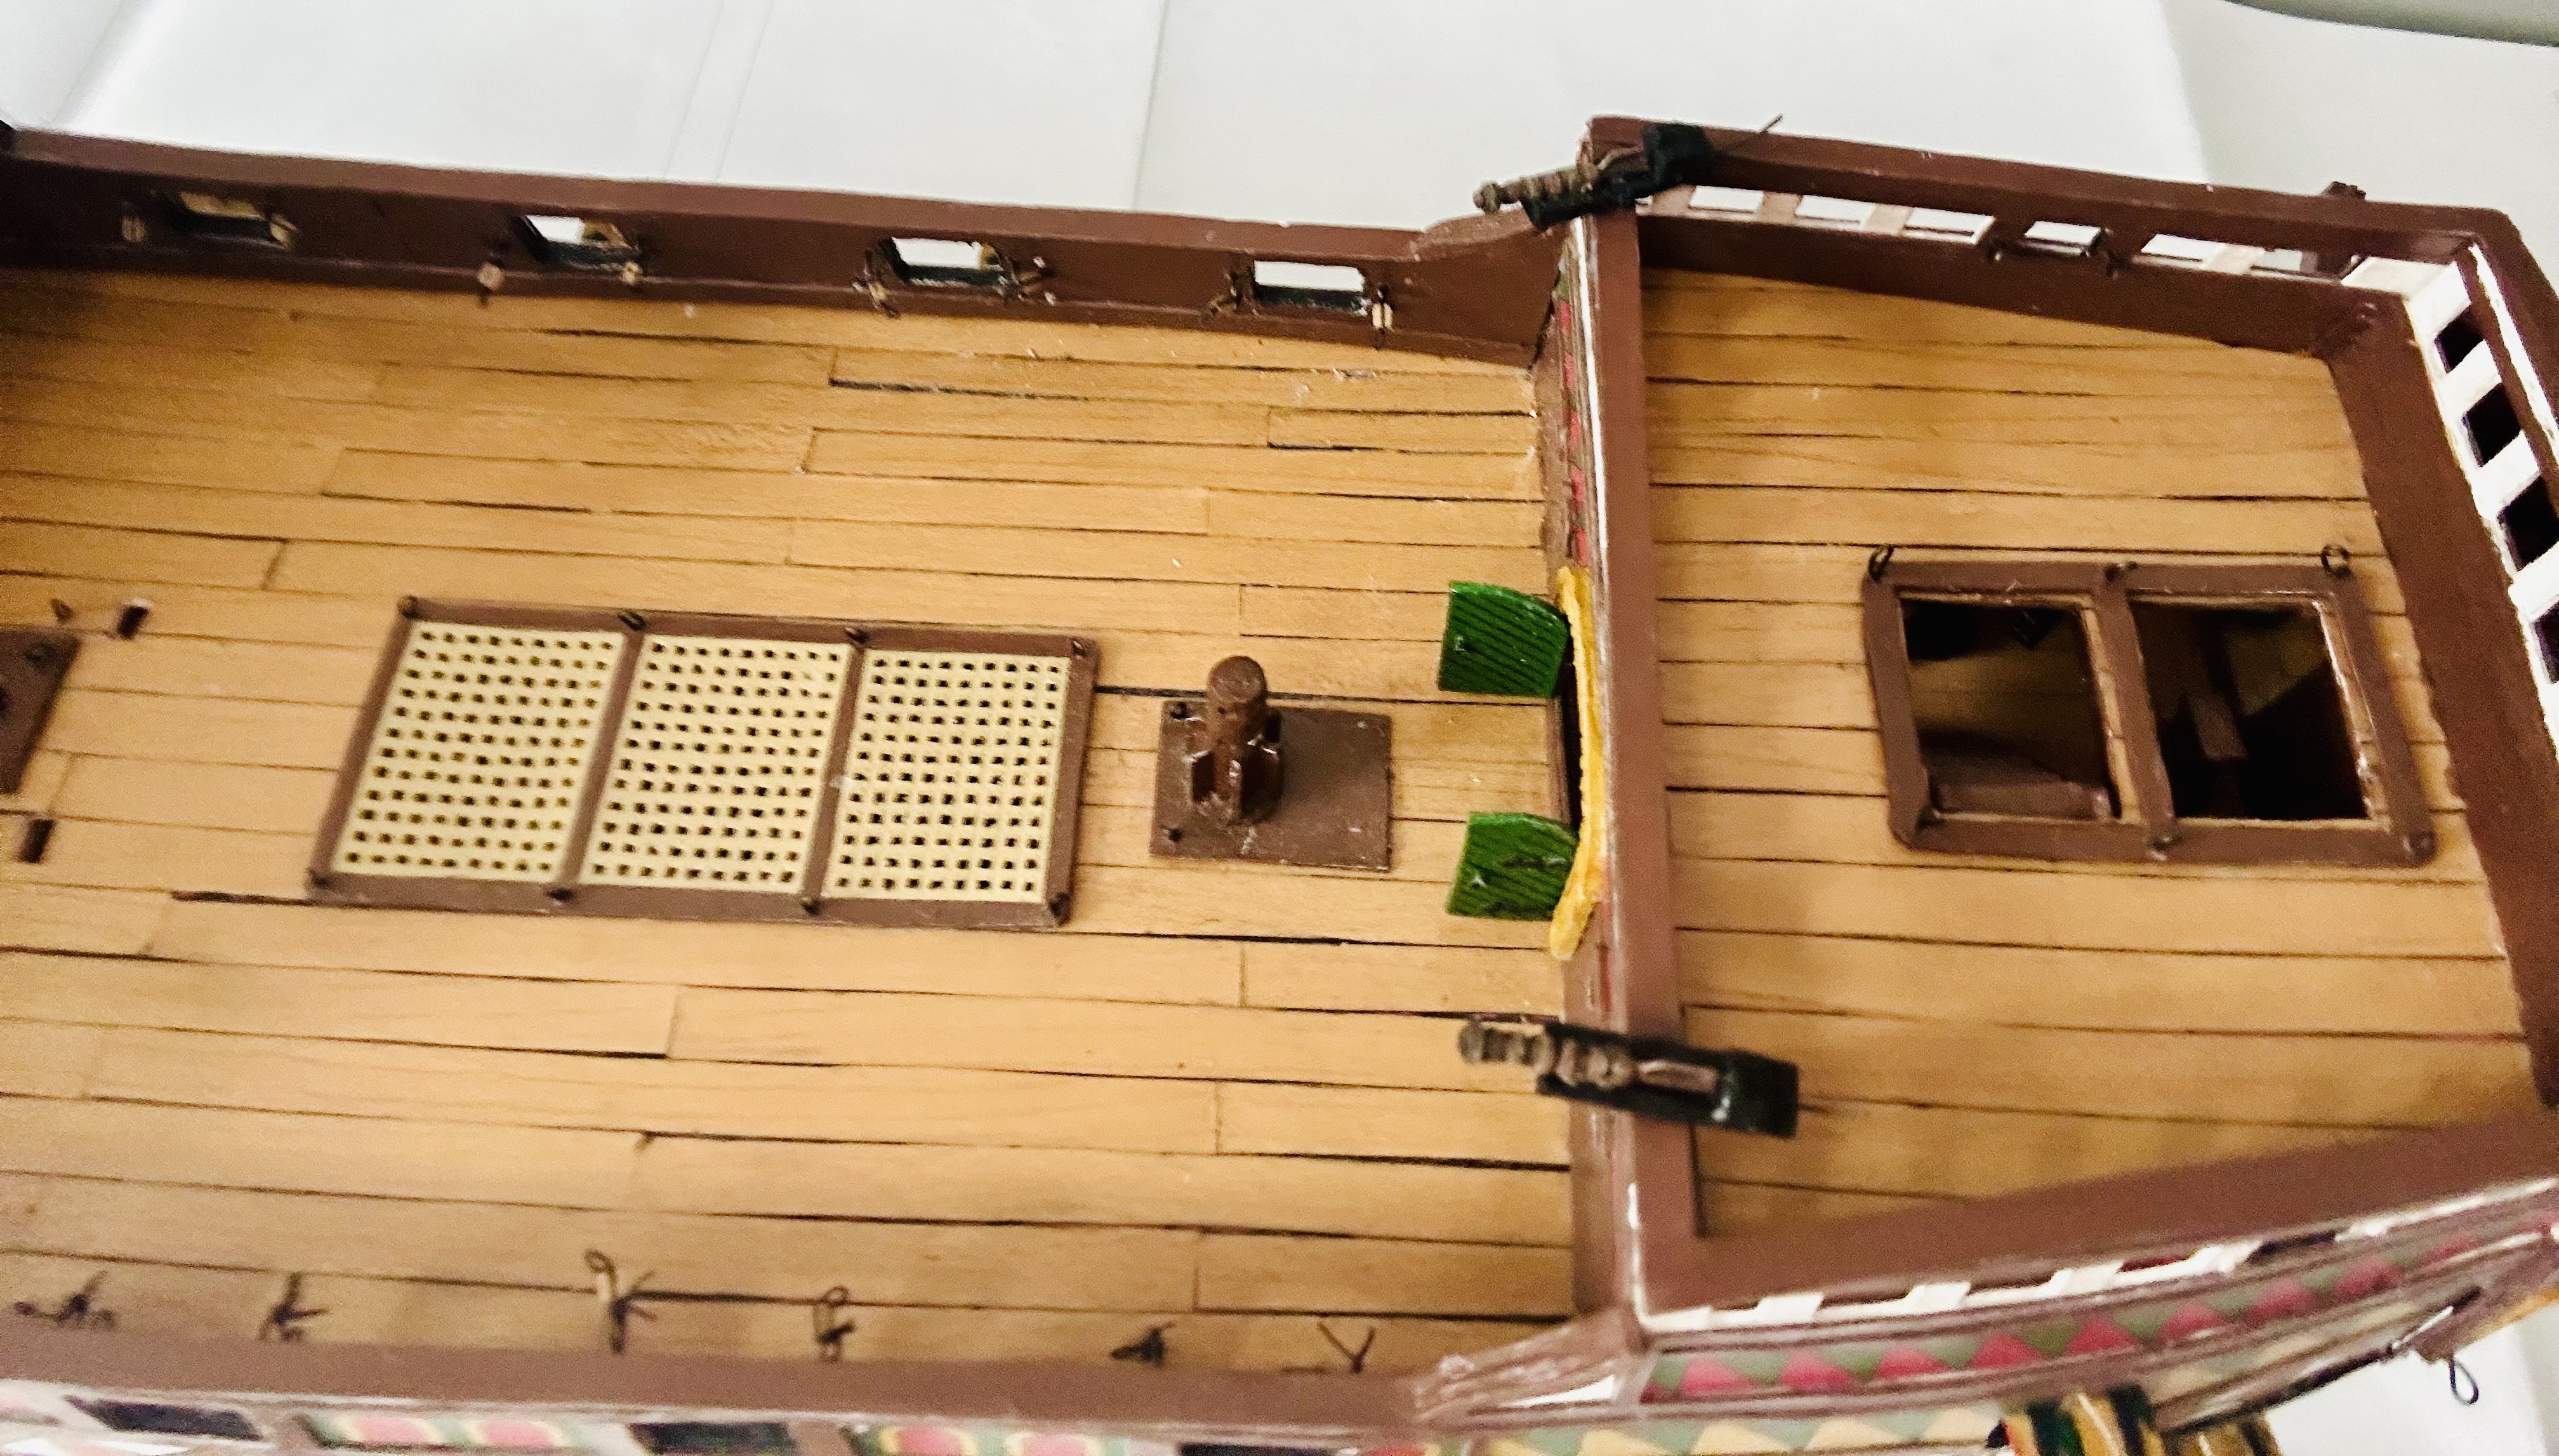
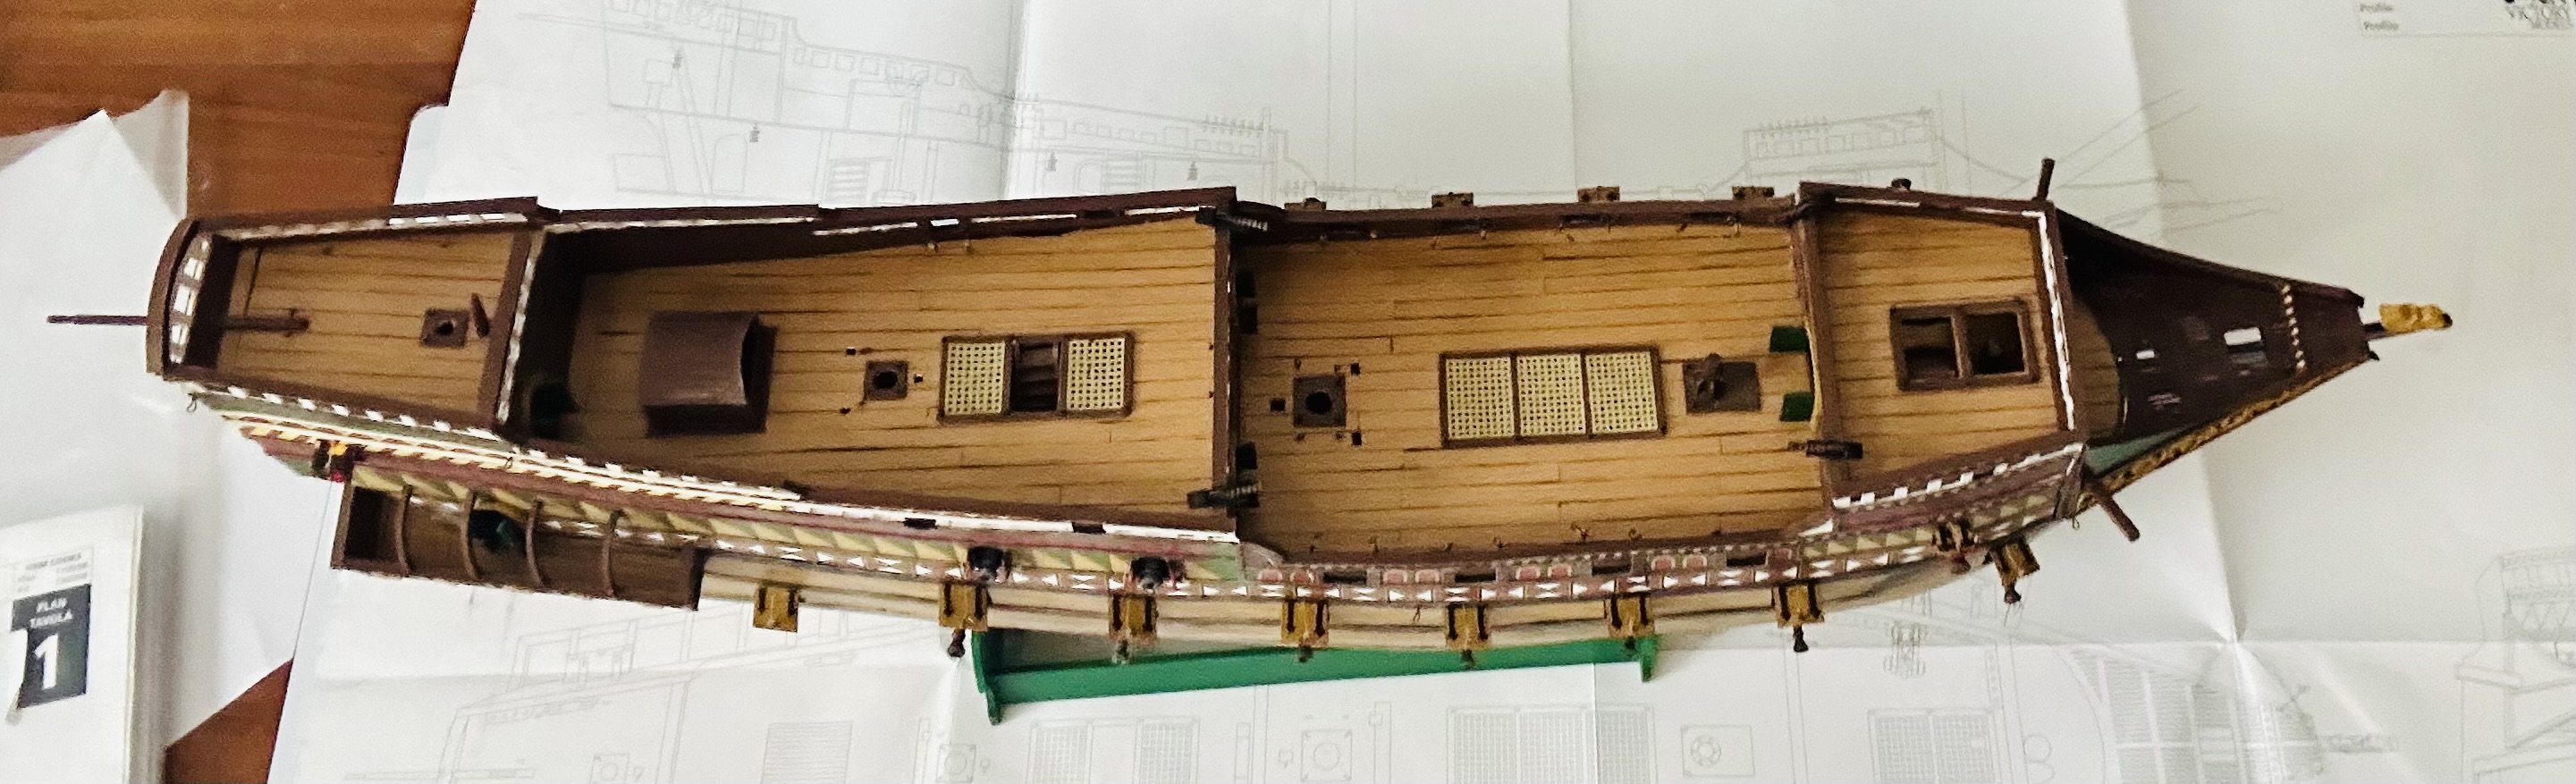
The hull and decks are ready to take the remaining guns and then fittings:

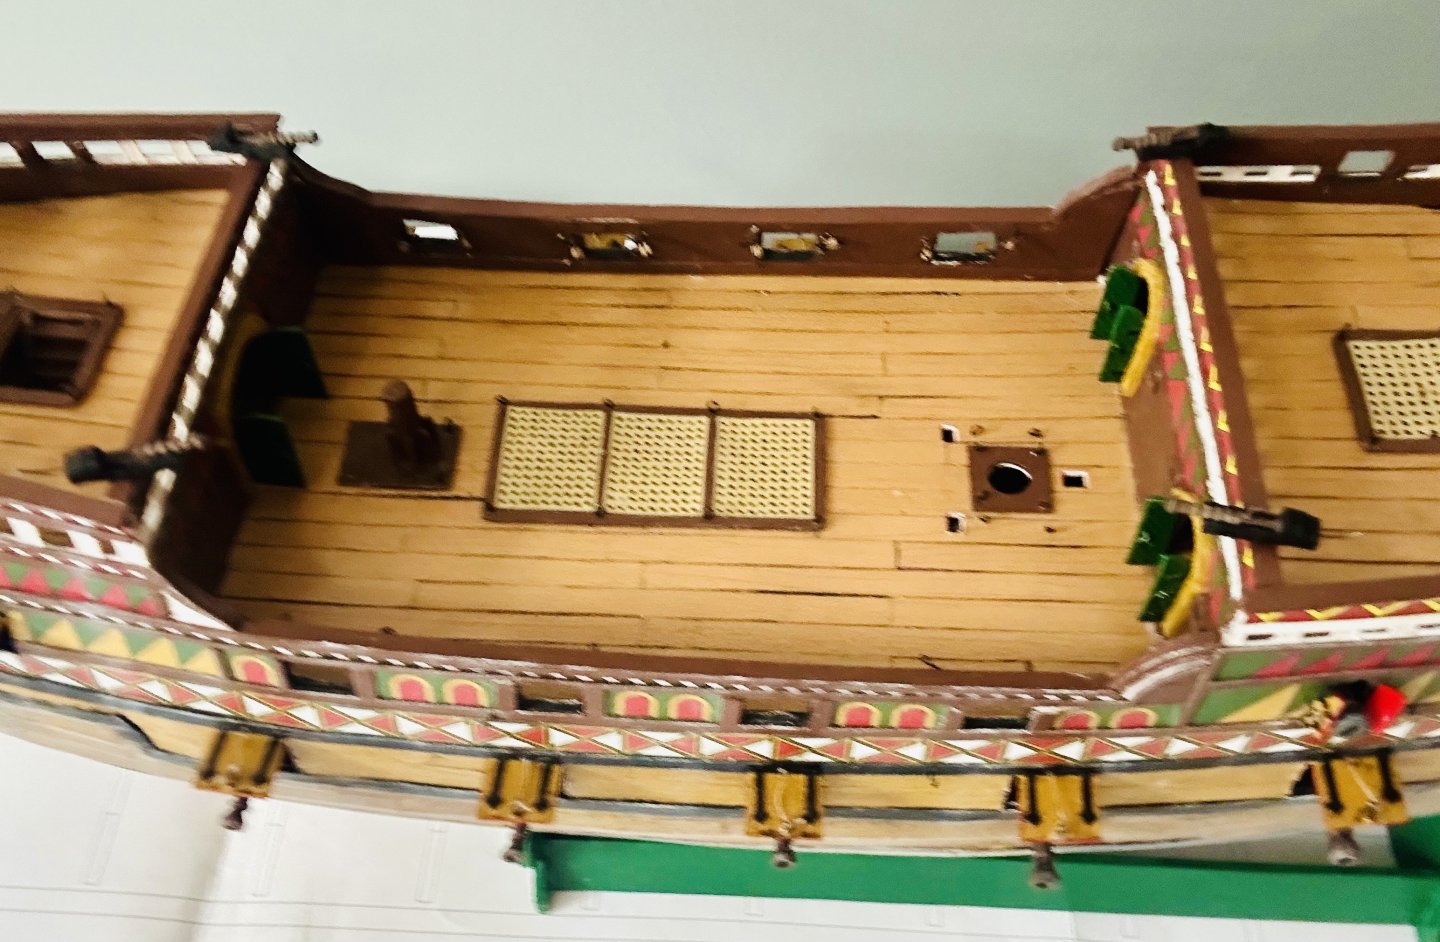
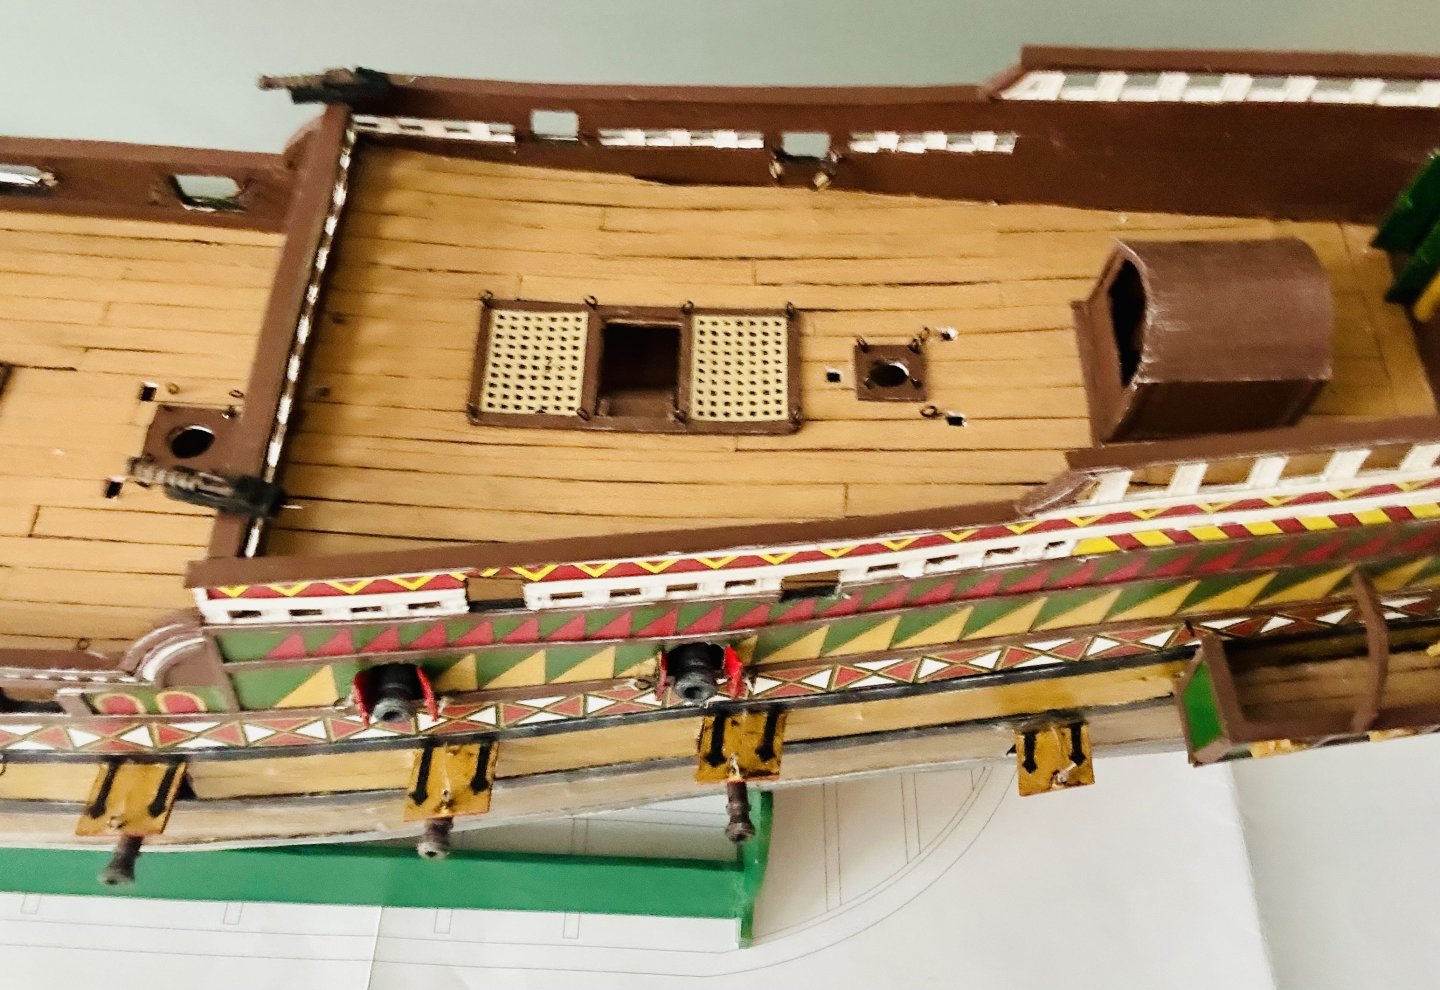


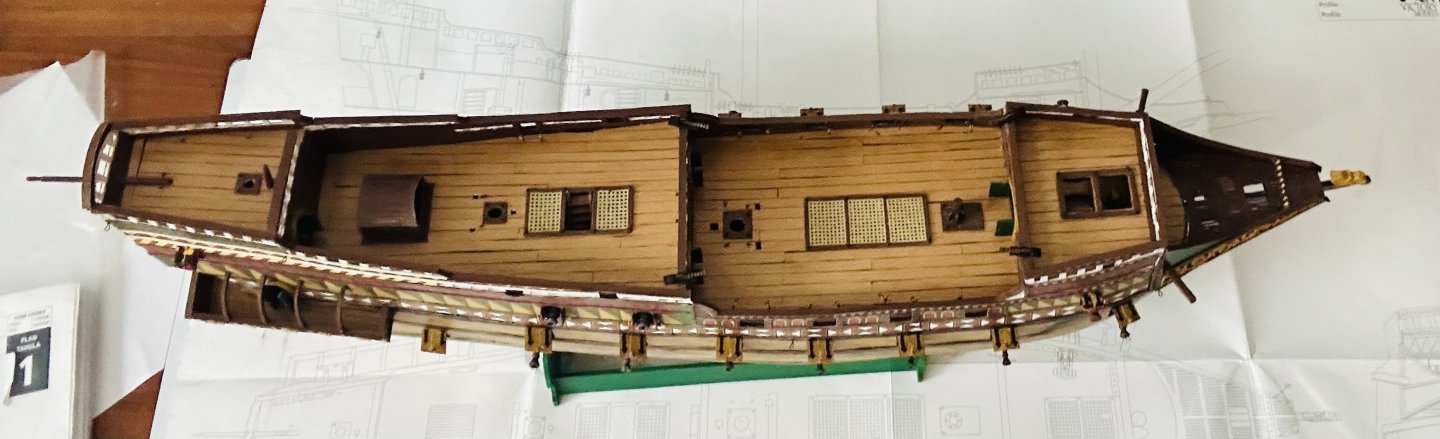
The Revenge is proceeding well!
I am very happy with how it is turning out.
I never actually expected to get this far in this build.
I almost have the hull done and soon it will be time to make masts and rig the model.
- Ronald-V, Glen McGuire, Ryland Craze and 12 others
-
13
-
 2
2
-
Welcome!
- Keith Black and Admiral Rick
-
2
-
Welcome!
- Keith Black, Admiral Rick and AJohnson
-
3
-
I would imagine any of them would be good to get. I am on my third copy of the 1989 edition. I use them so much that they end up falling apart on me.
- Balclutha75, Dr PR and Canute
-
3
-
Welcome!
- AJohnson, Keith Black and Giovi
-
2
-
1
-
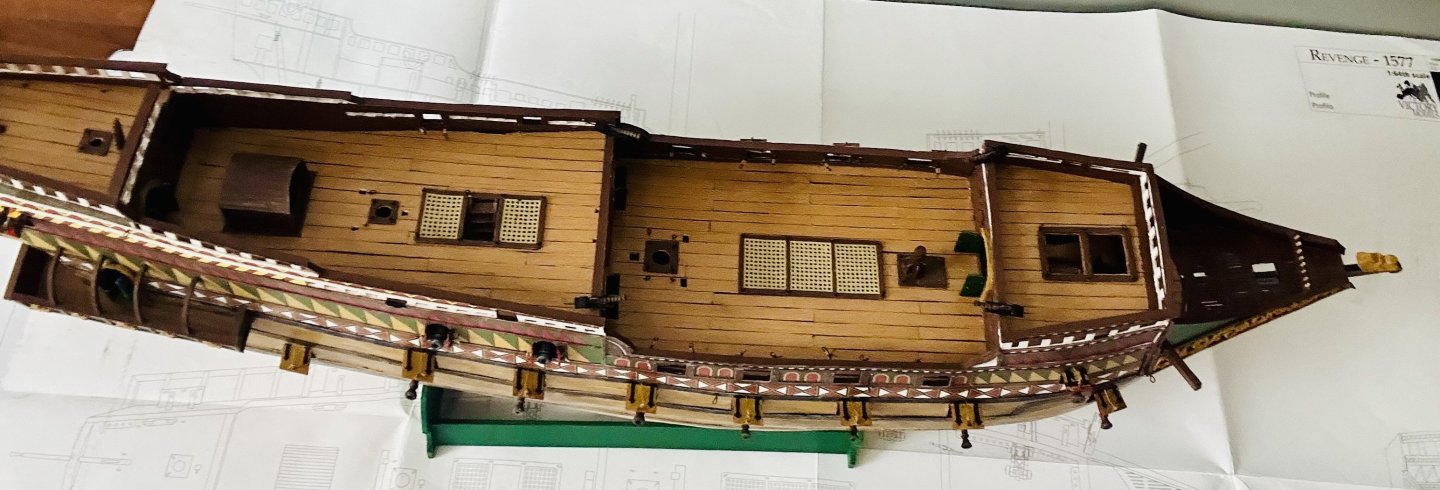
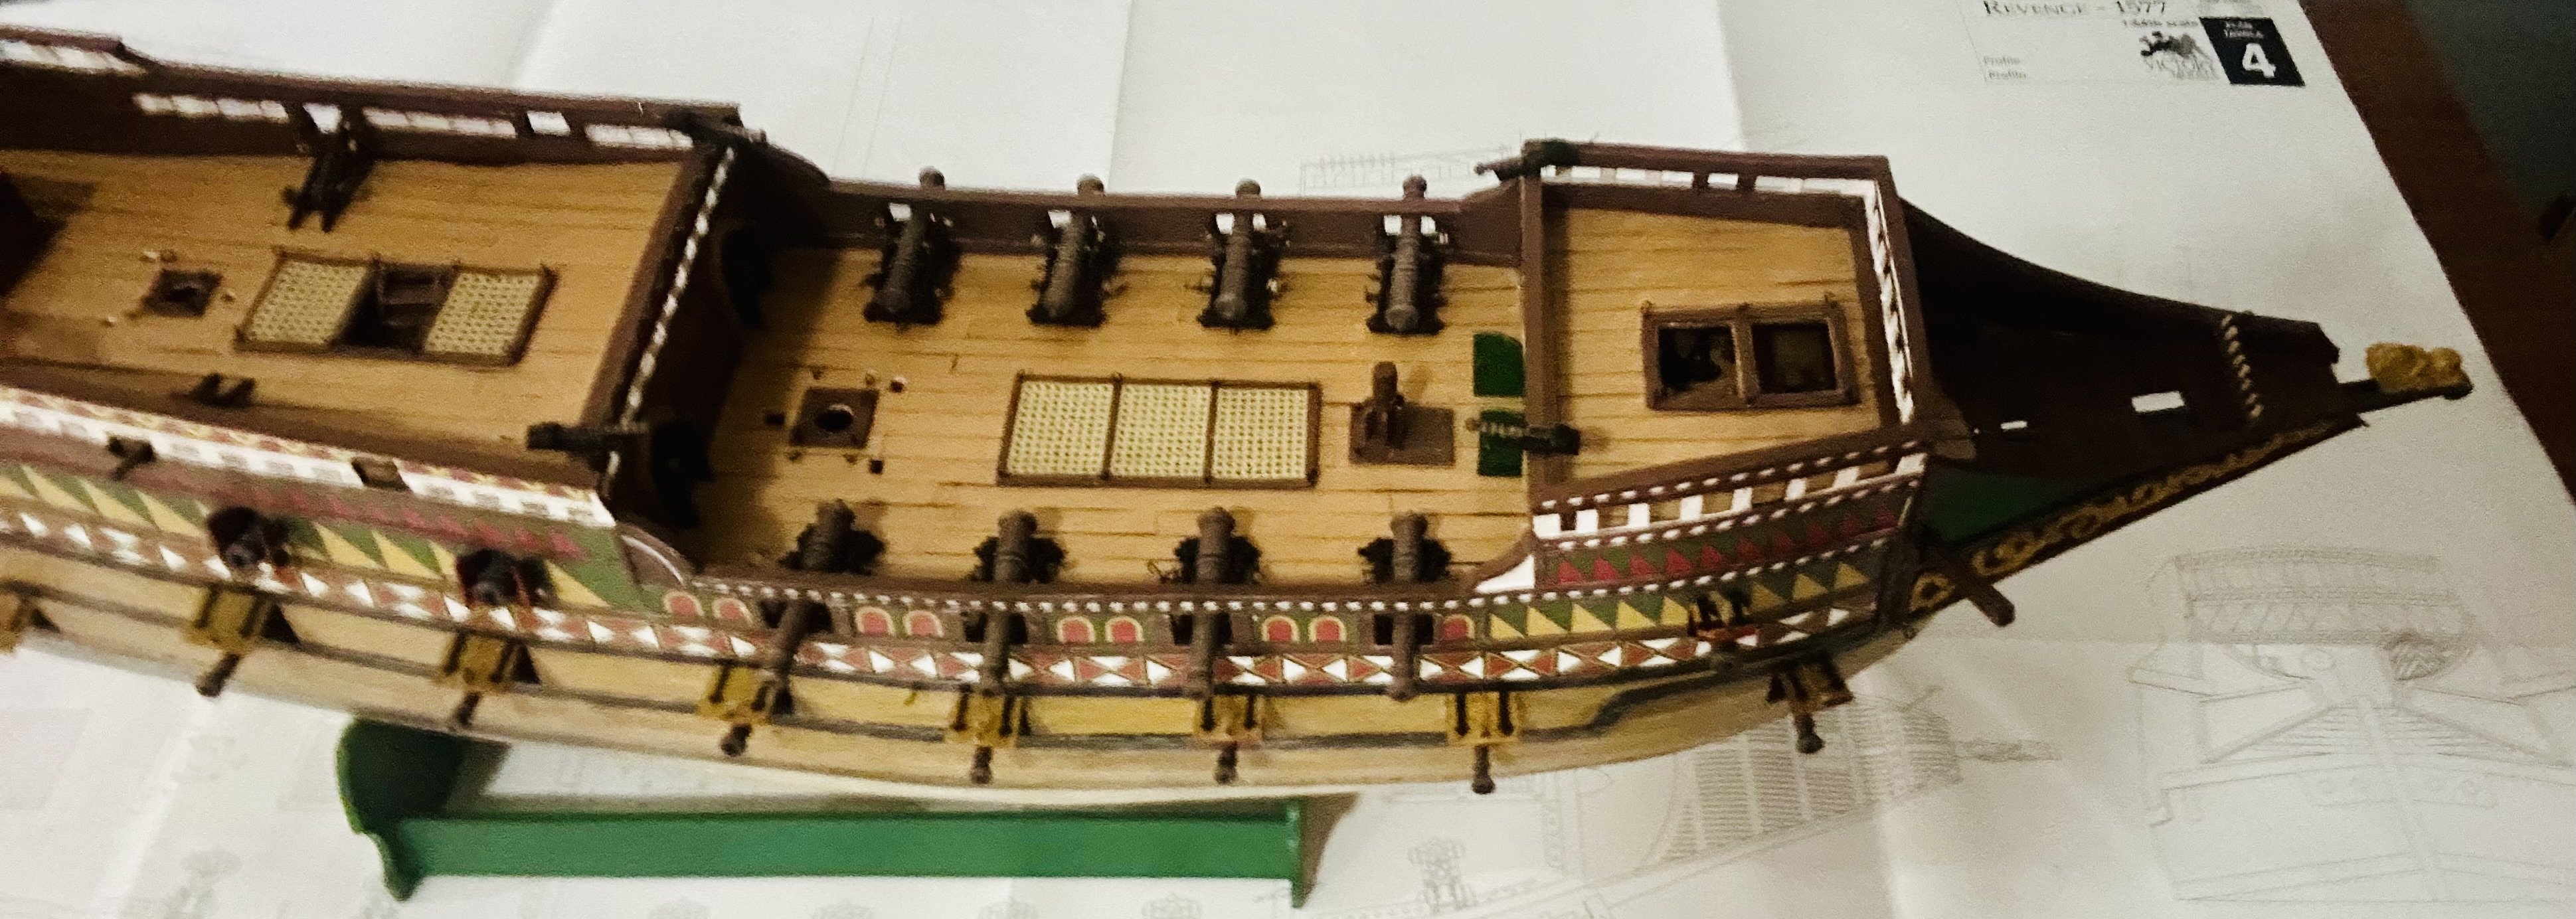
Good morning all and Happy New Year!
I’m working on finishing out the Revenge to clear my work area!
I have everything I need to get started with de Zeven Provincien, which is currently occupying my side table in my workshop!
As soon as Revenge is completed, de Zeven Provincien will commence in earnest!
I am very much looking forward to building de Zeven Provincien!
-
Foudroyant and Royal George would both be incredible models!
- TJM, Canute, chris watton and 5 others
-
8
-
Thank you very much!
The running rigging and sails are intimidating. I let my Dutch Cat Ship sit for an entire year in the same state, for that reason, before going back to it and finishing out. At least with the Revenge, the scale is large enough that belaying won’t be too bad, although 16th Century running rigging is redundant to say the least. I look forward to seeing yours progress!
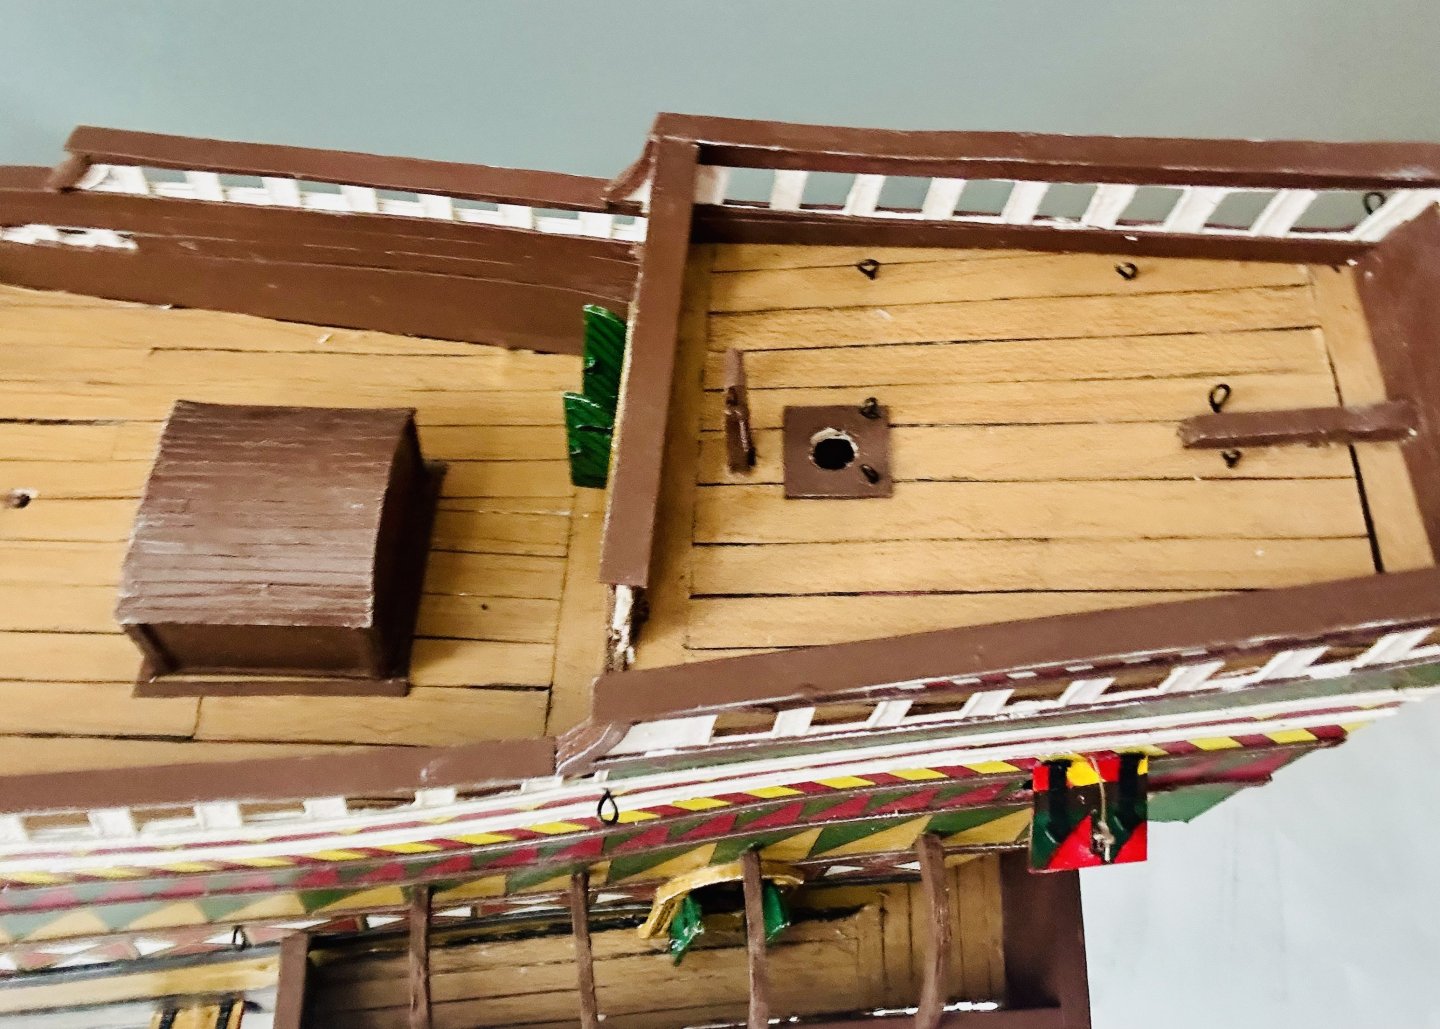
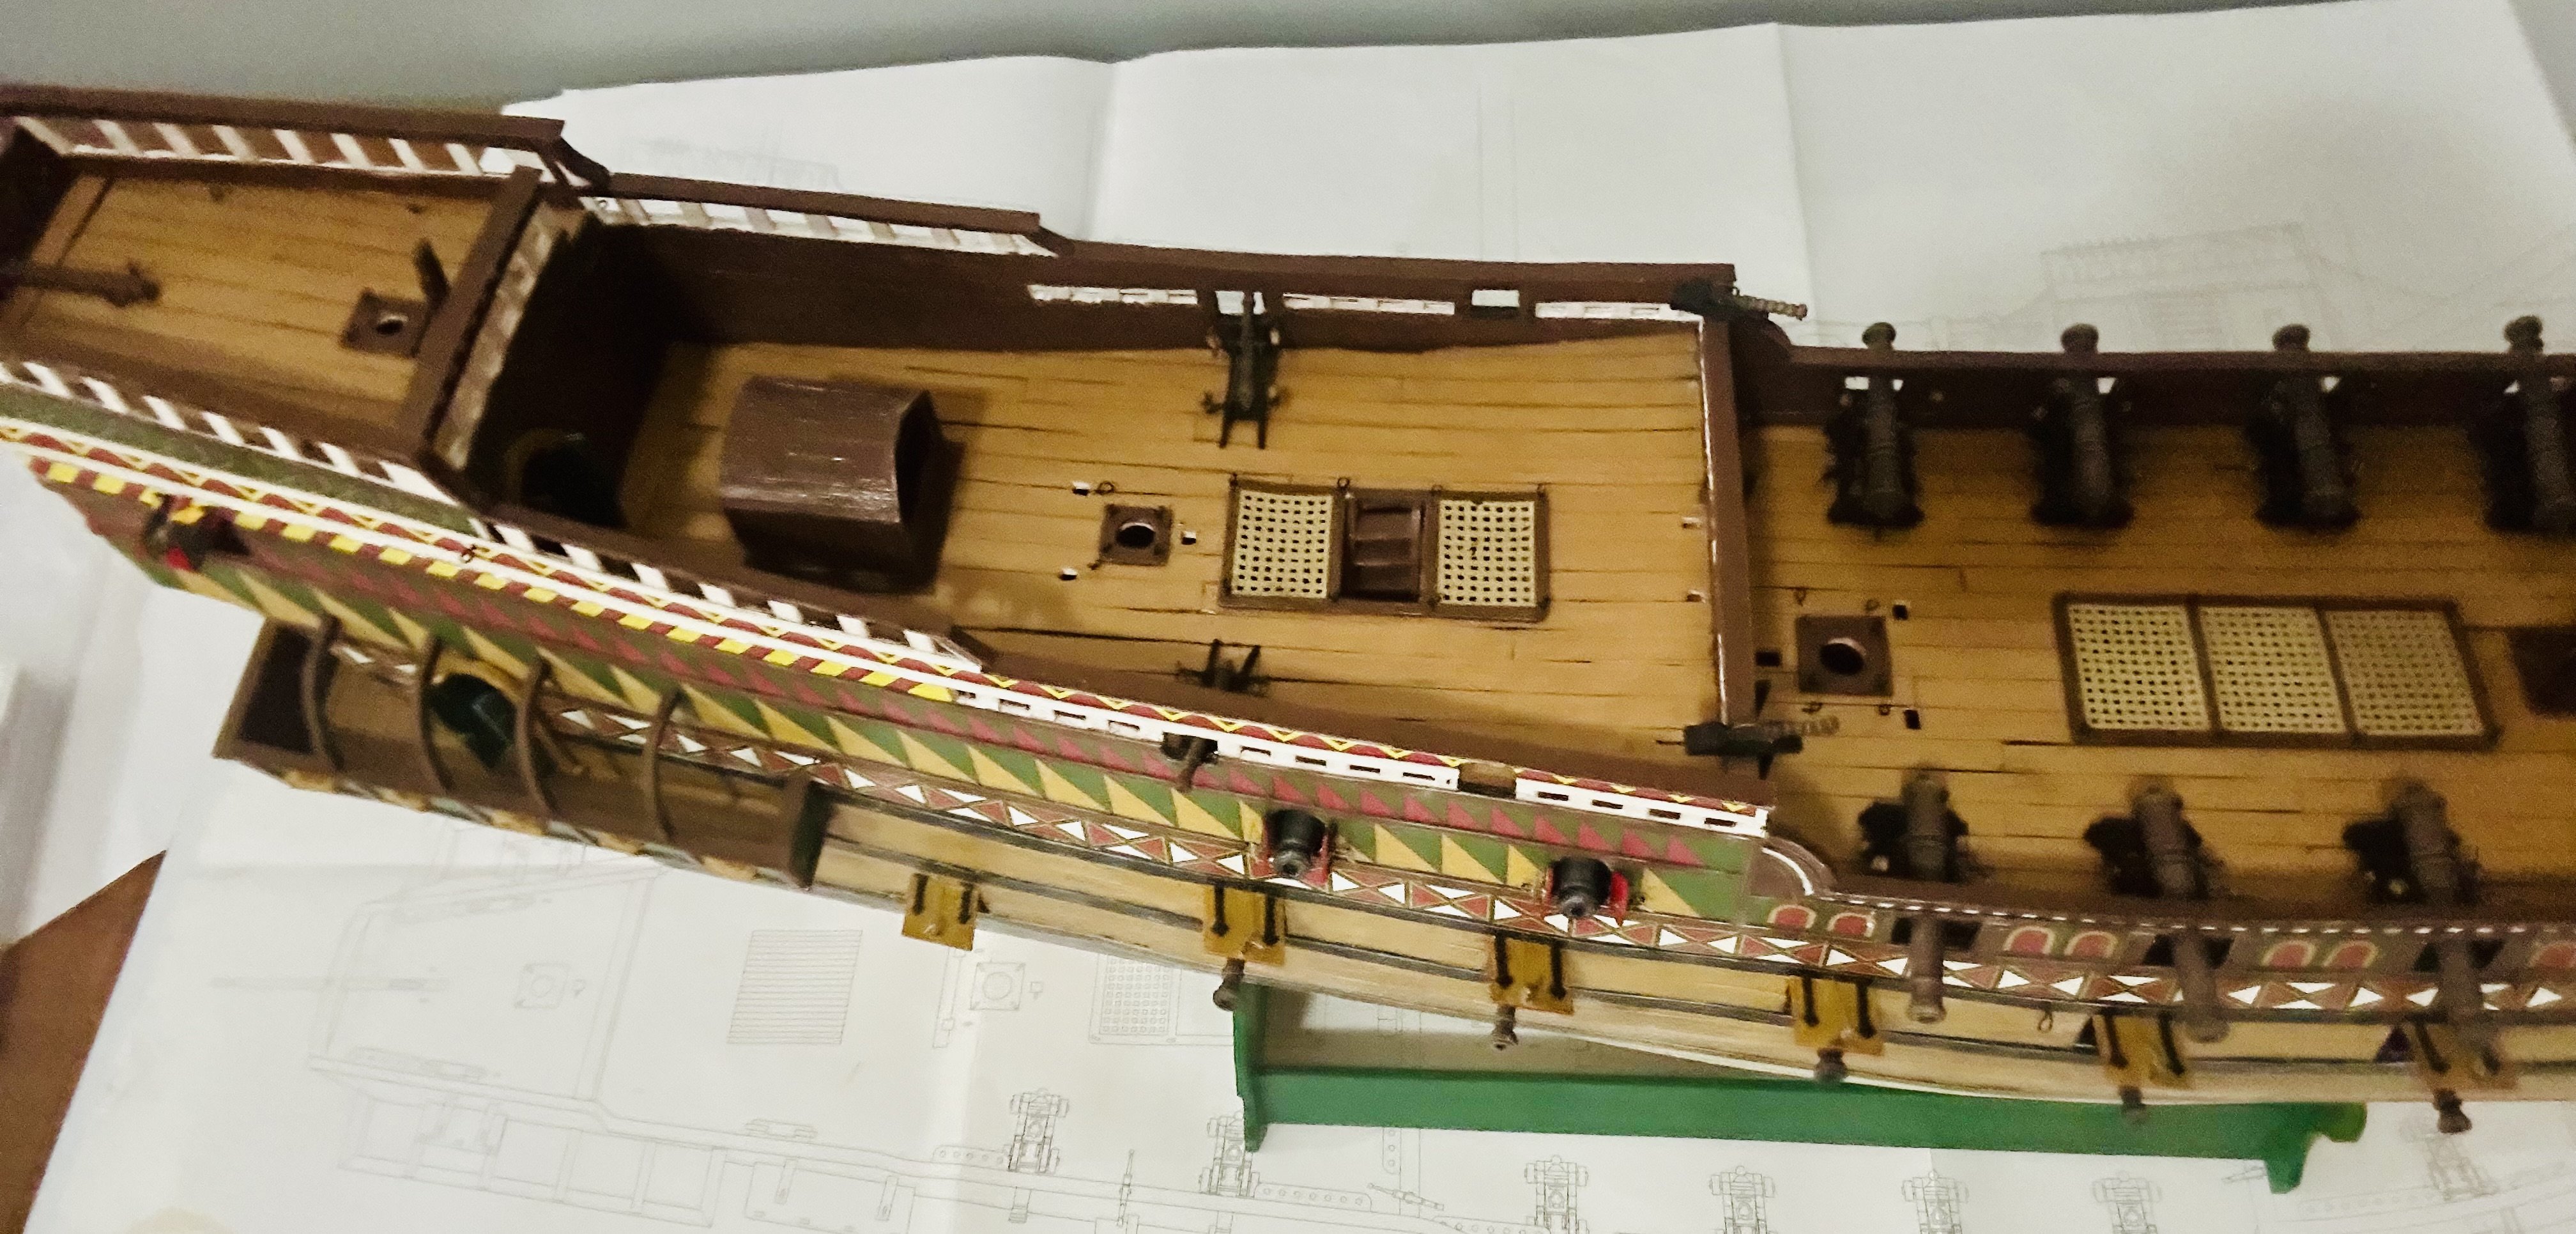
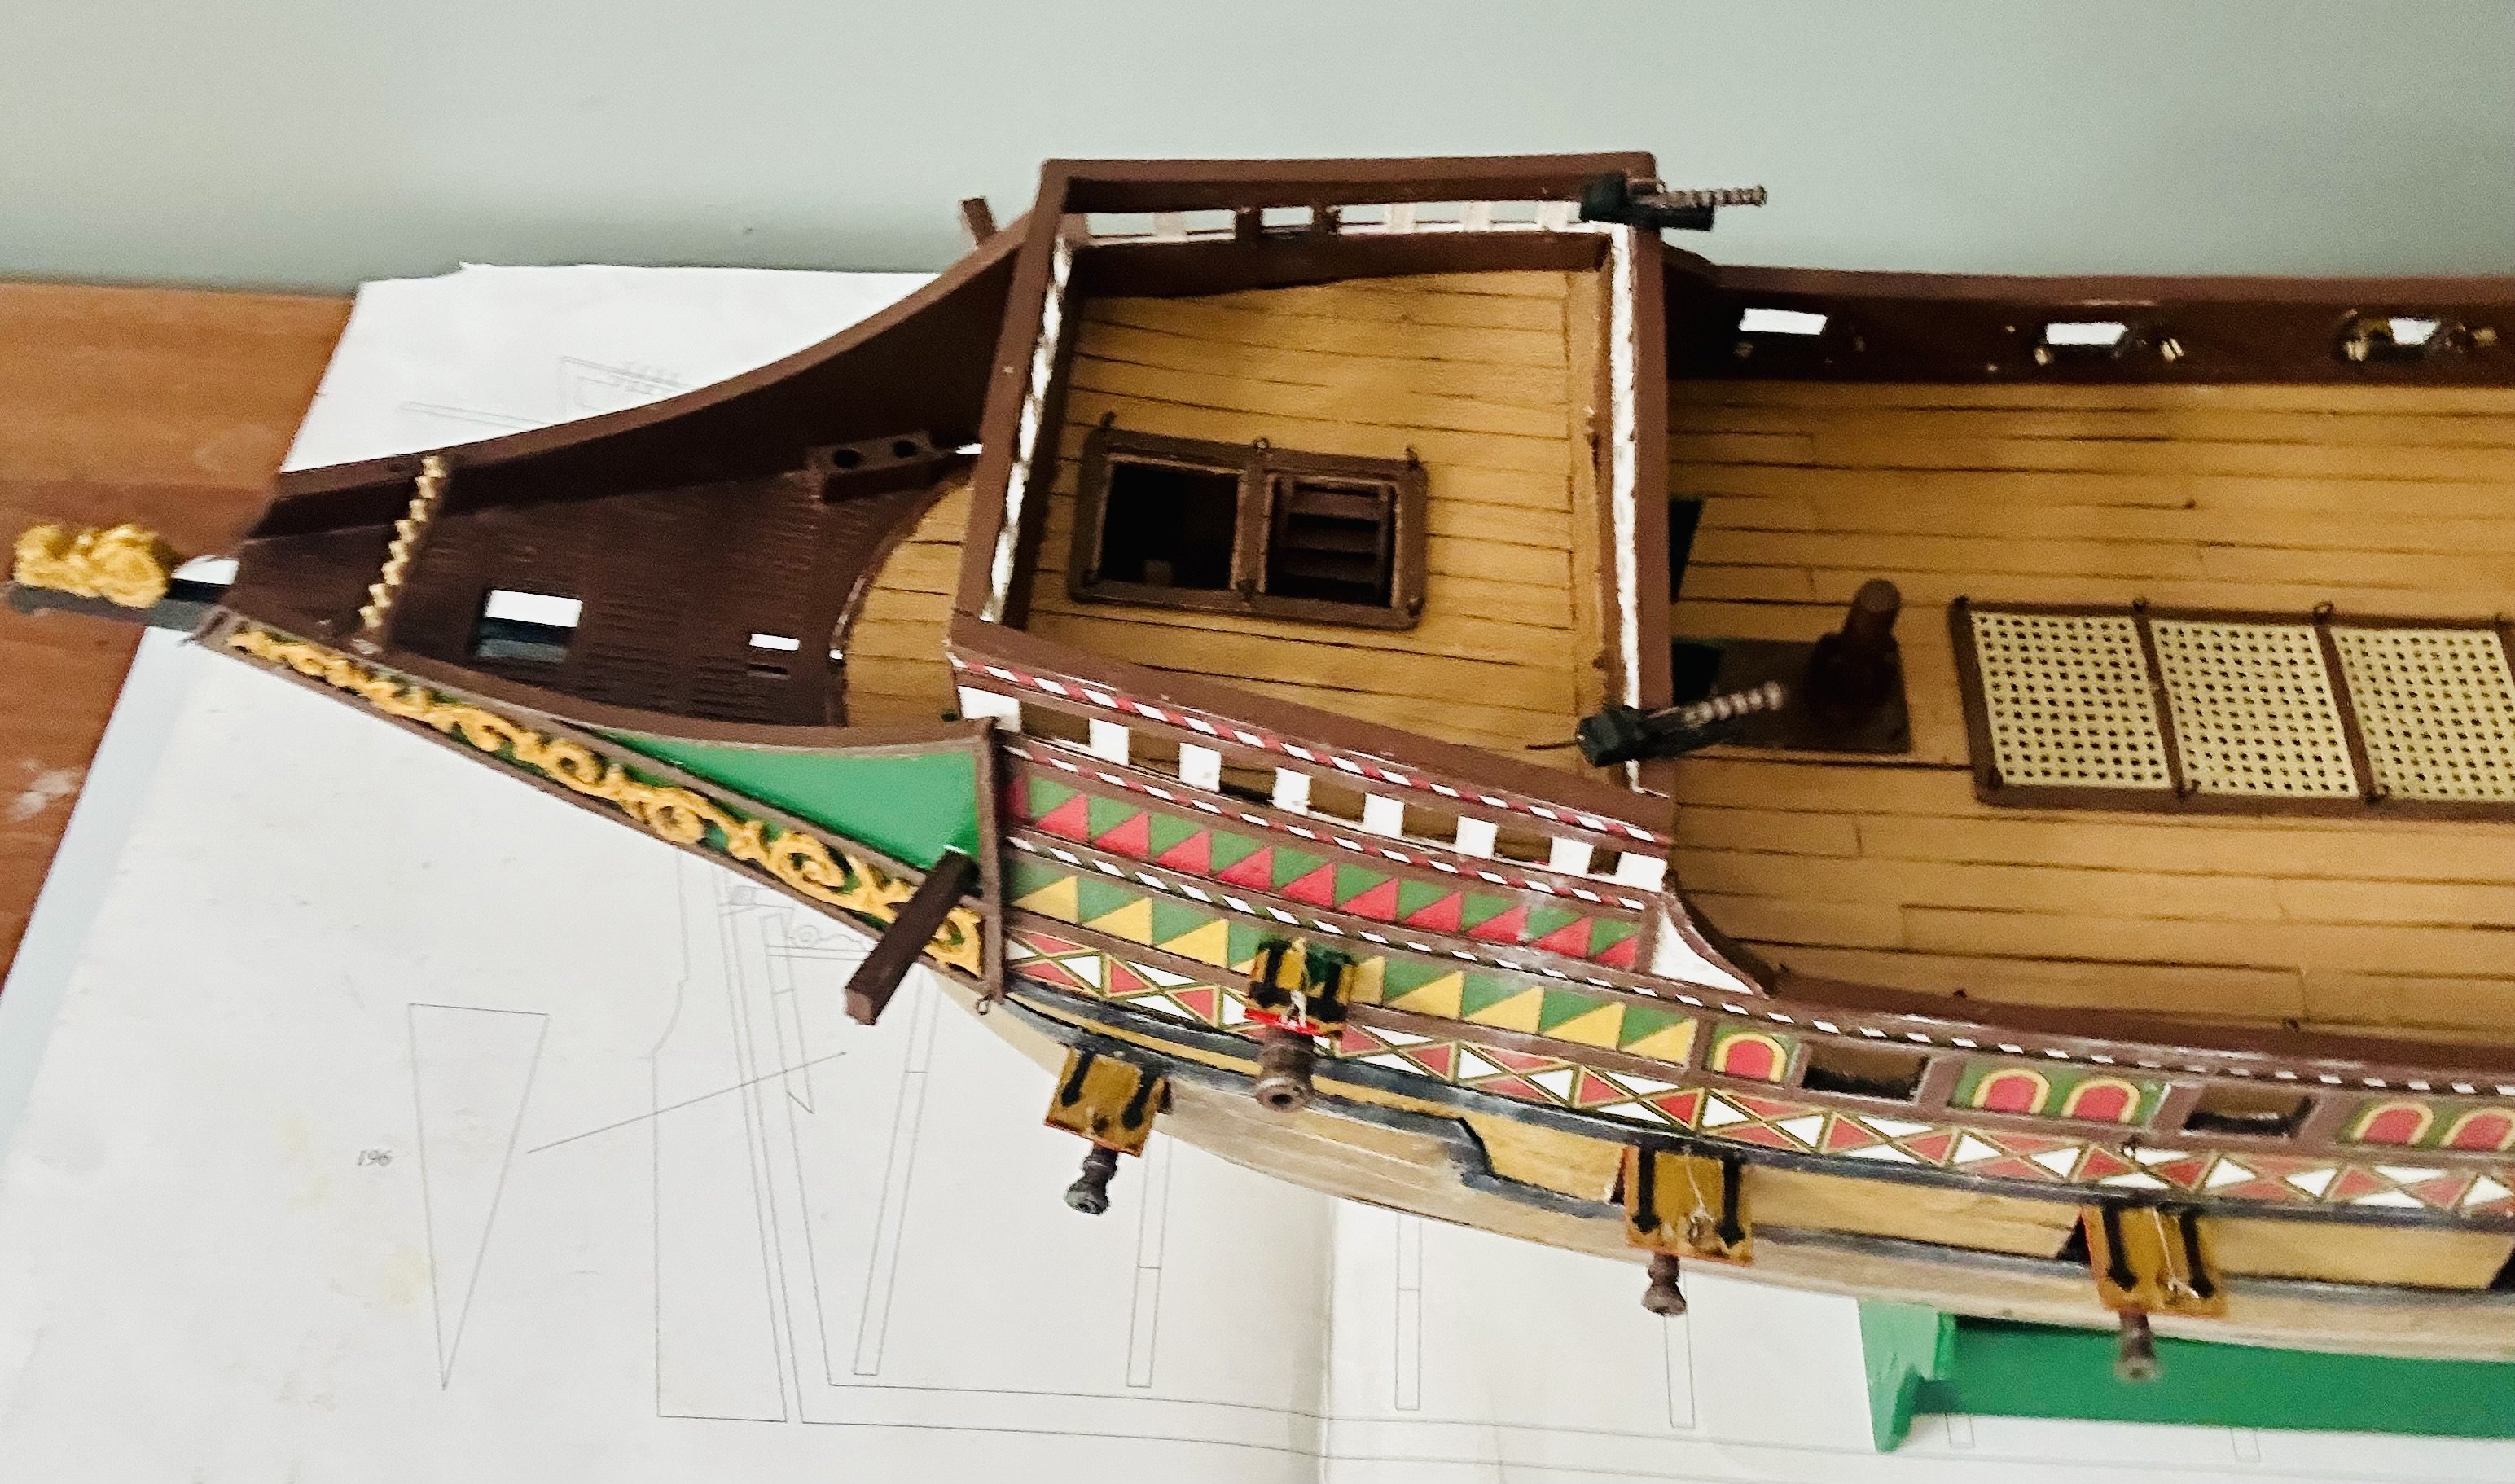
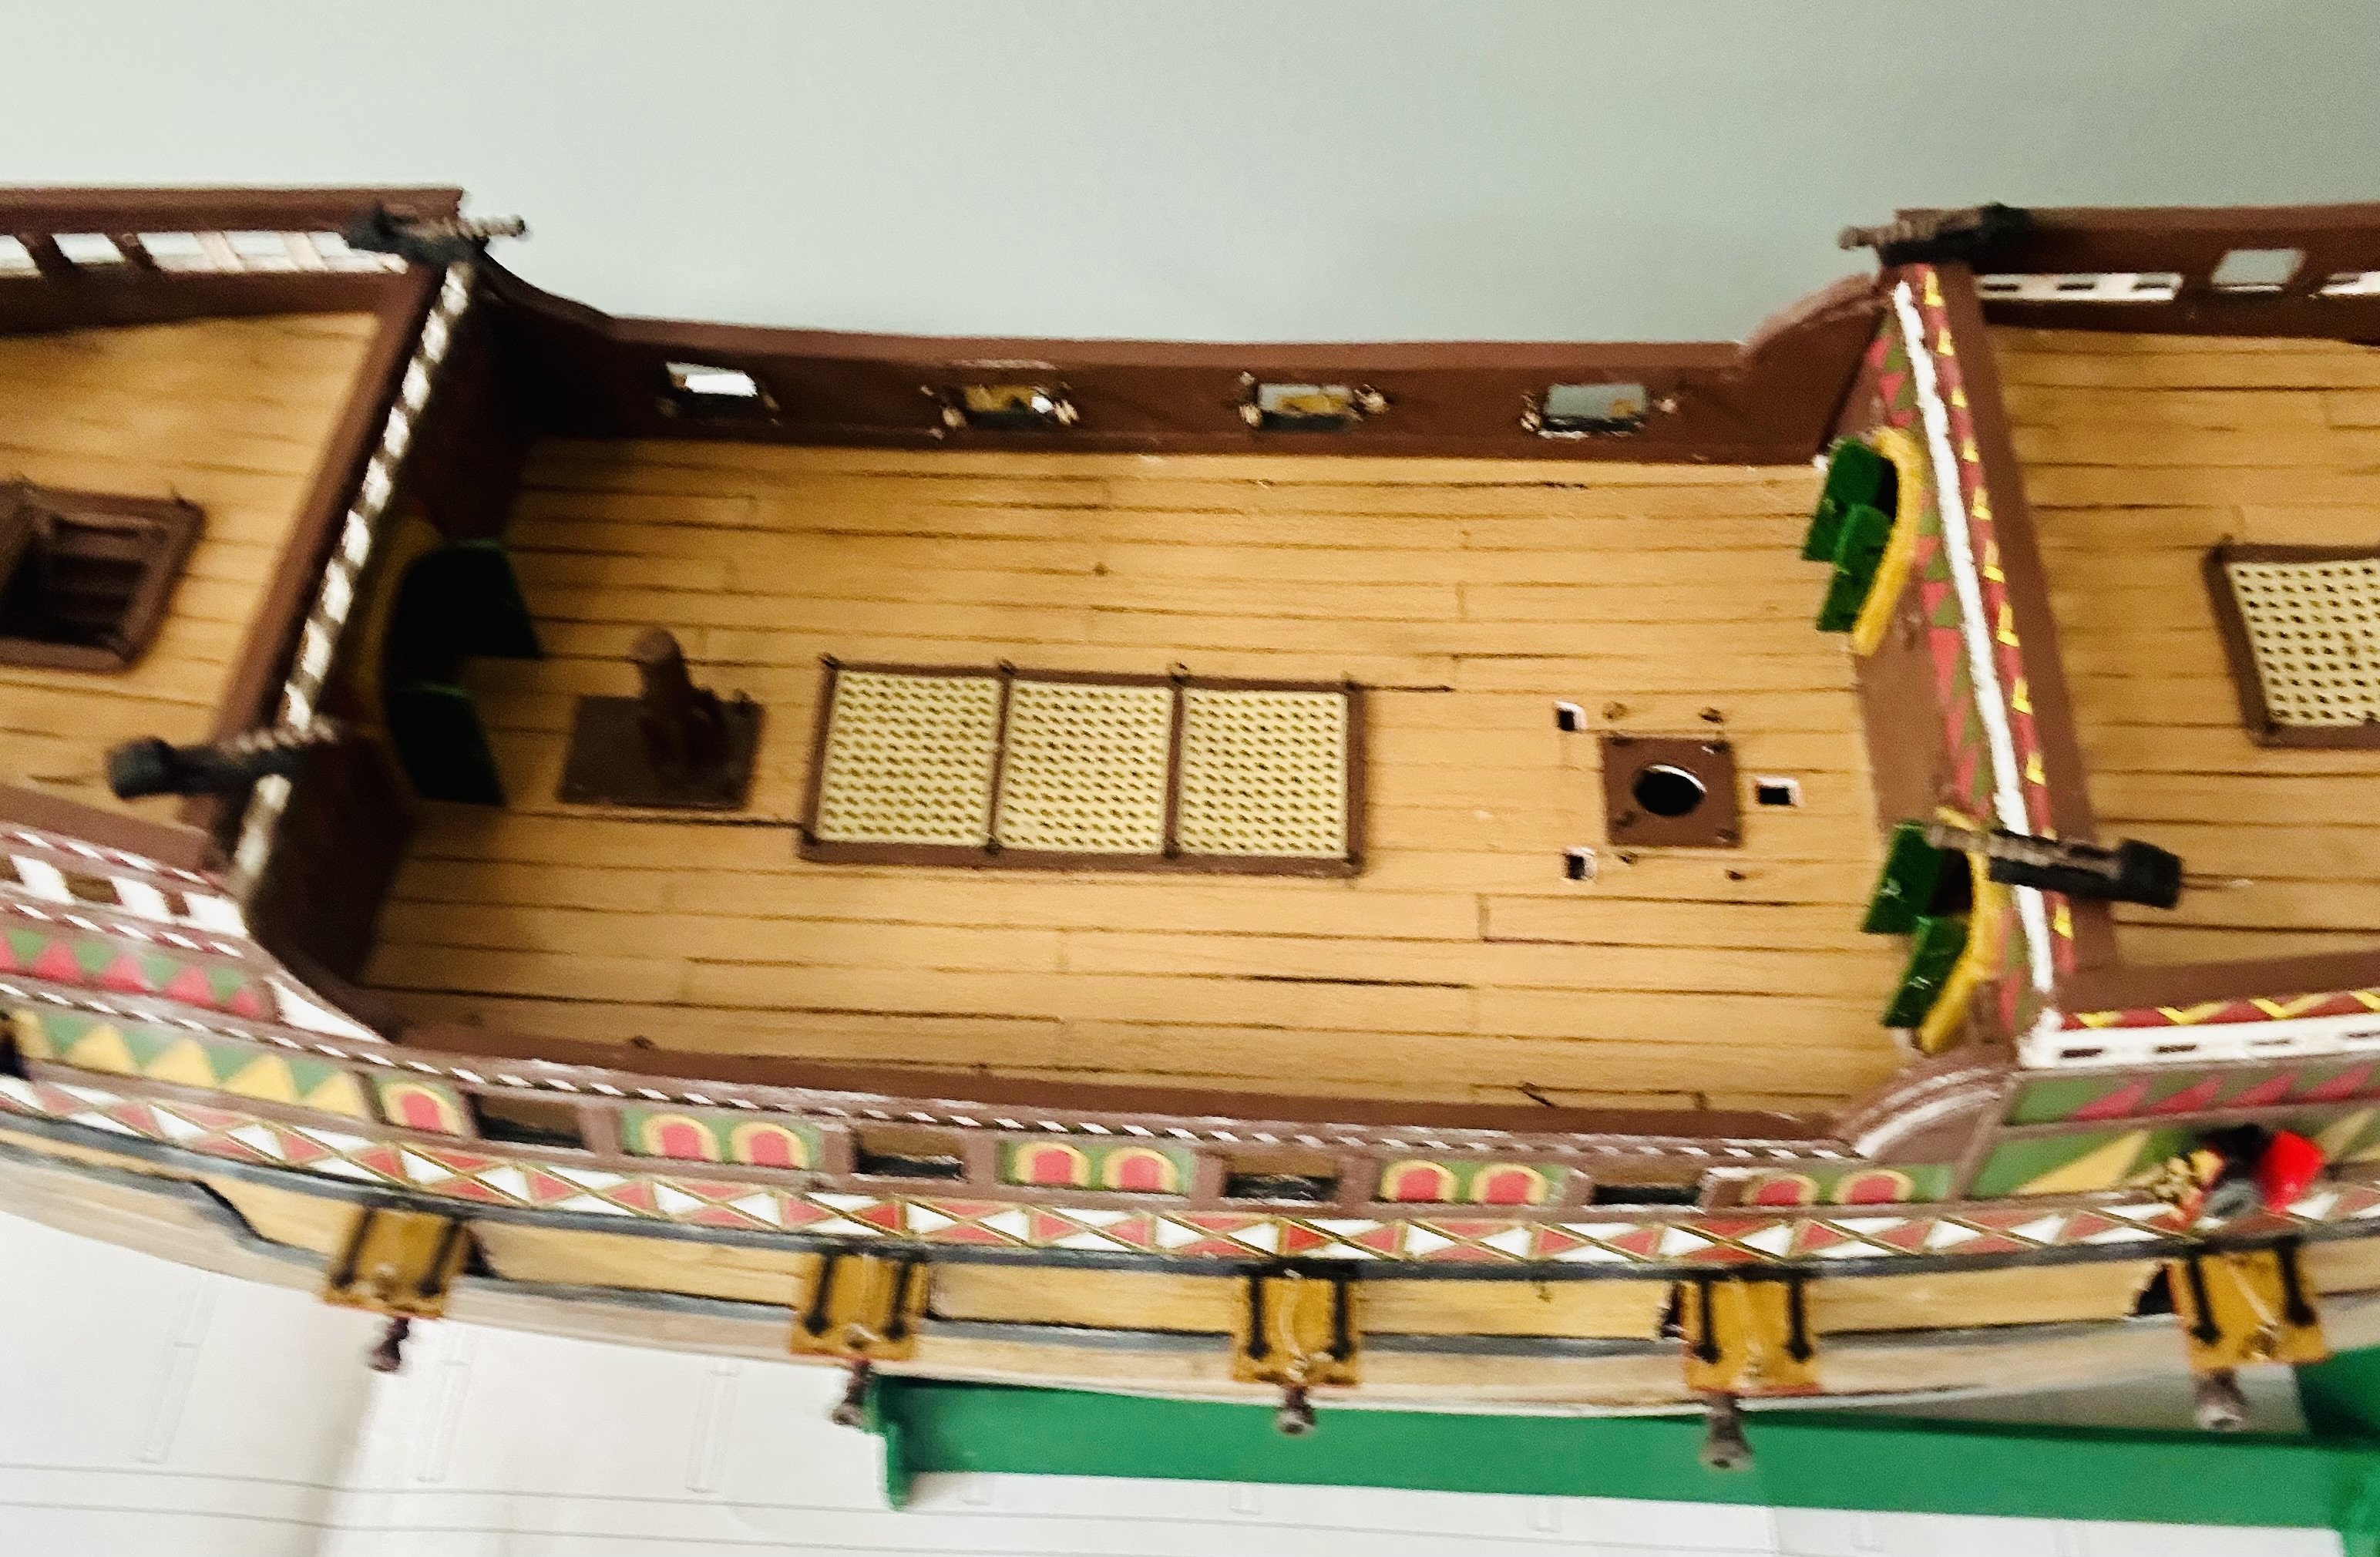
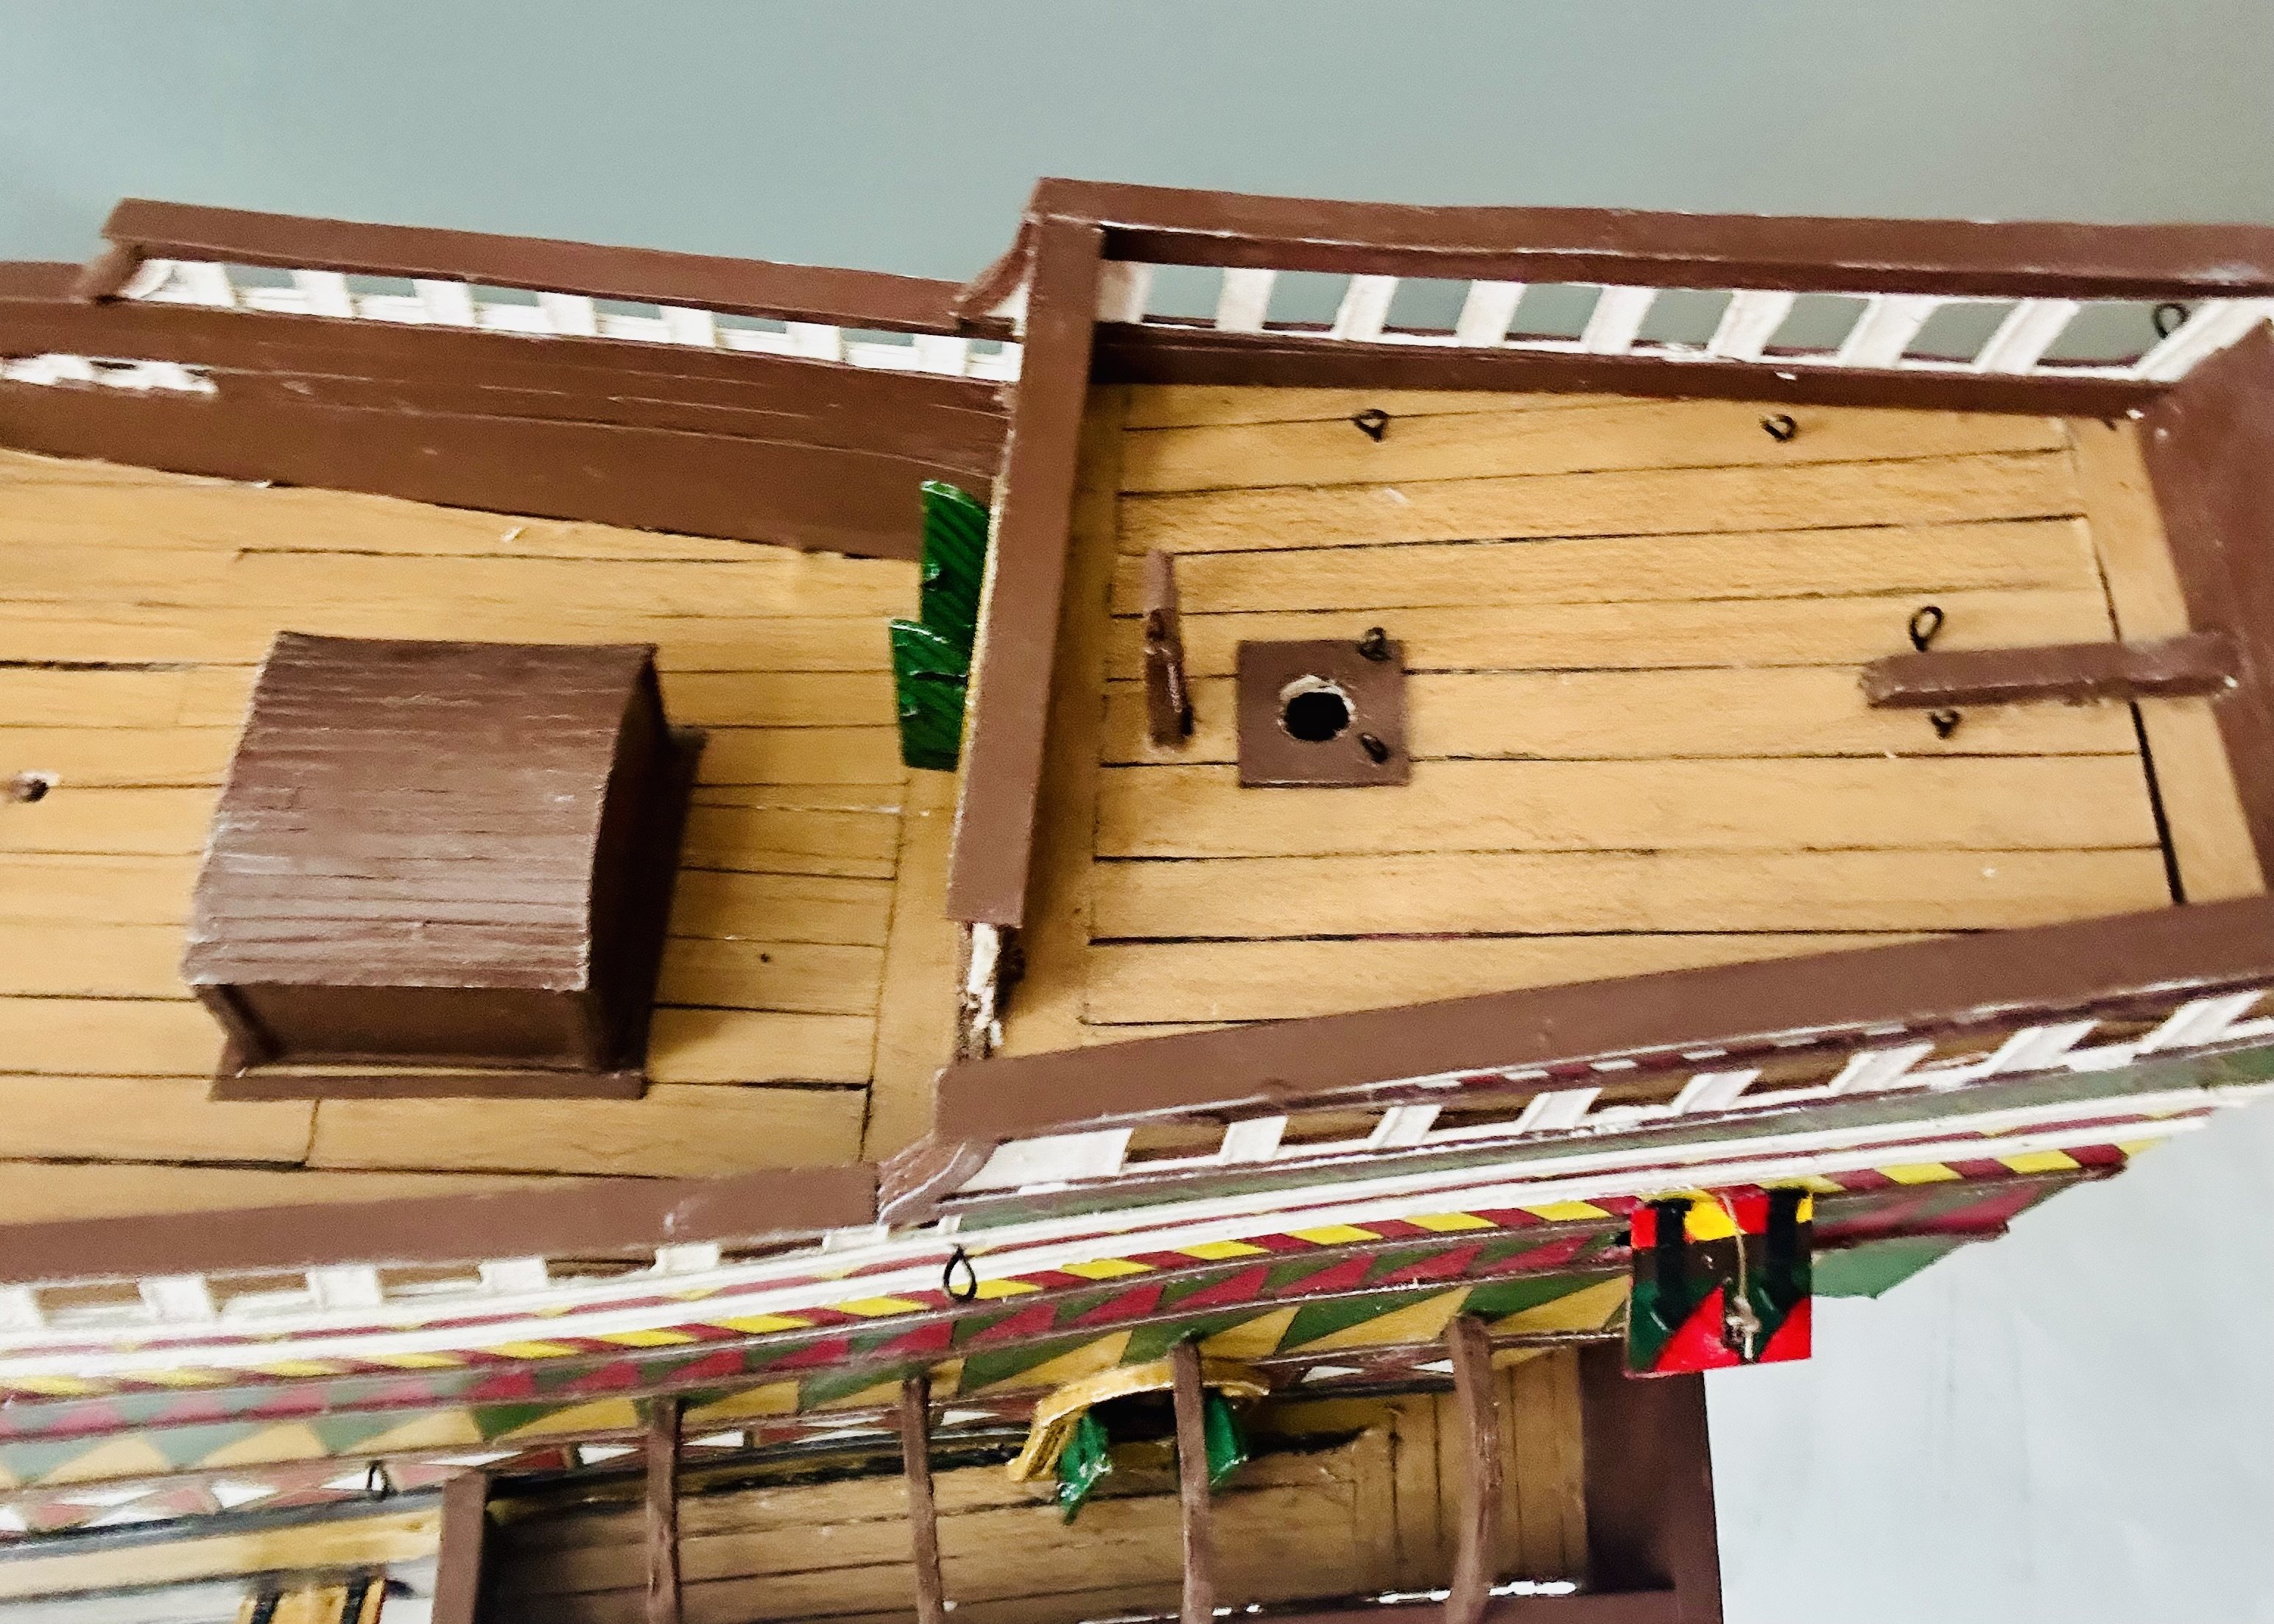
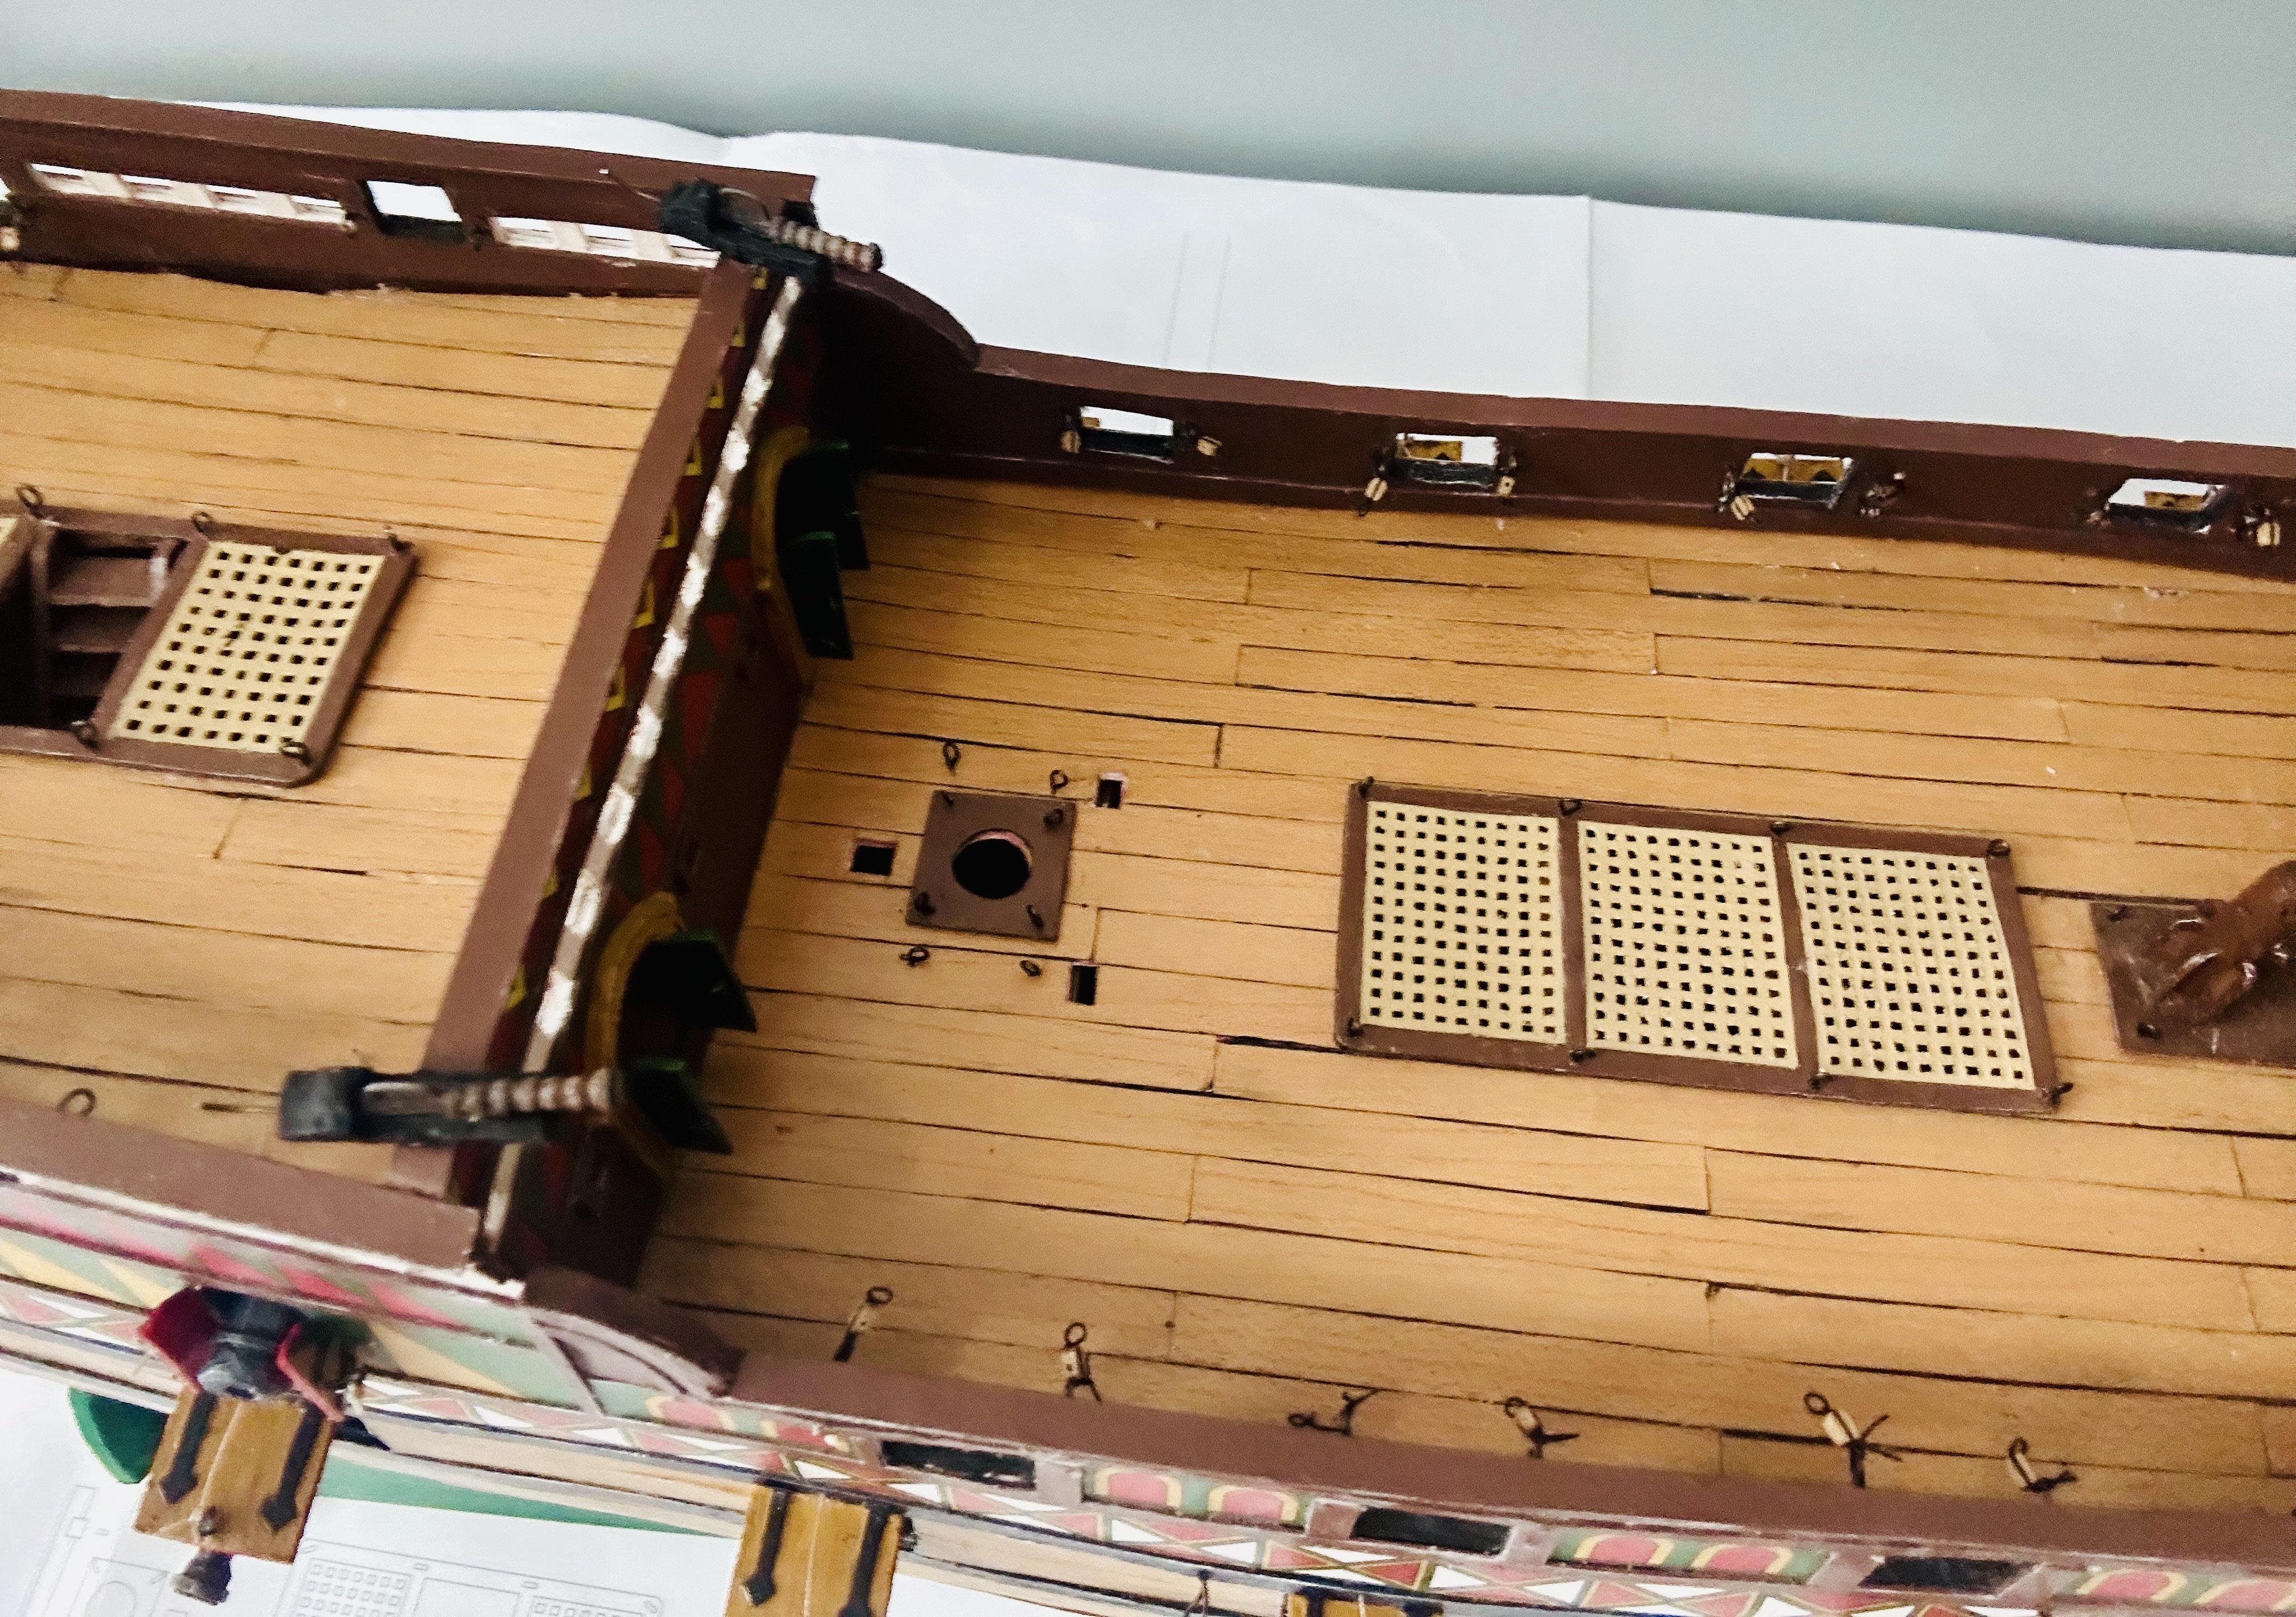
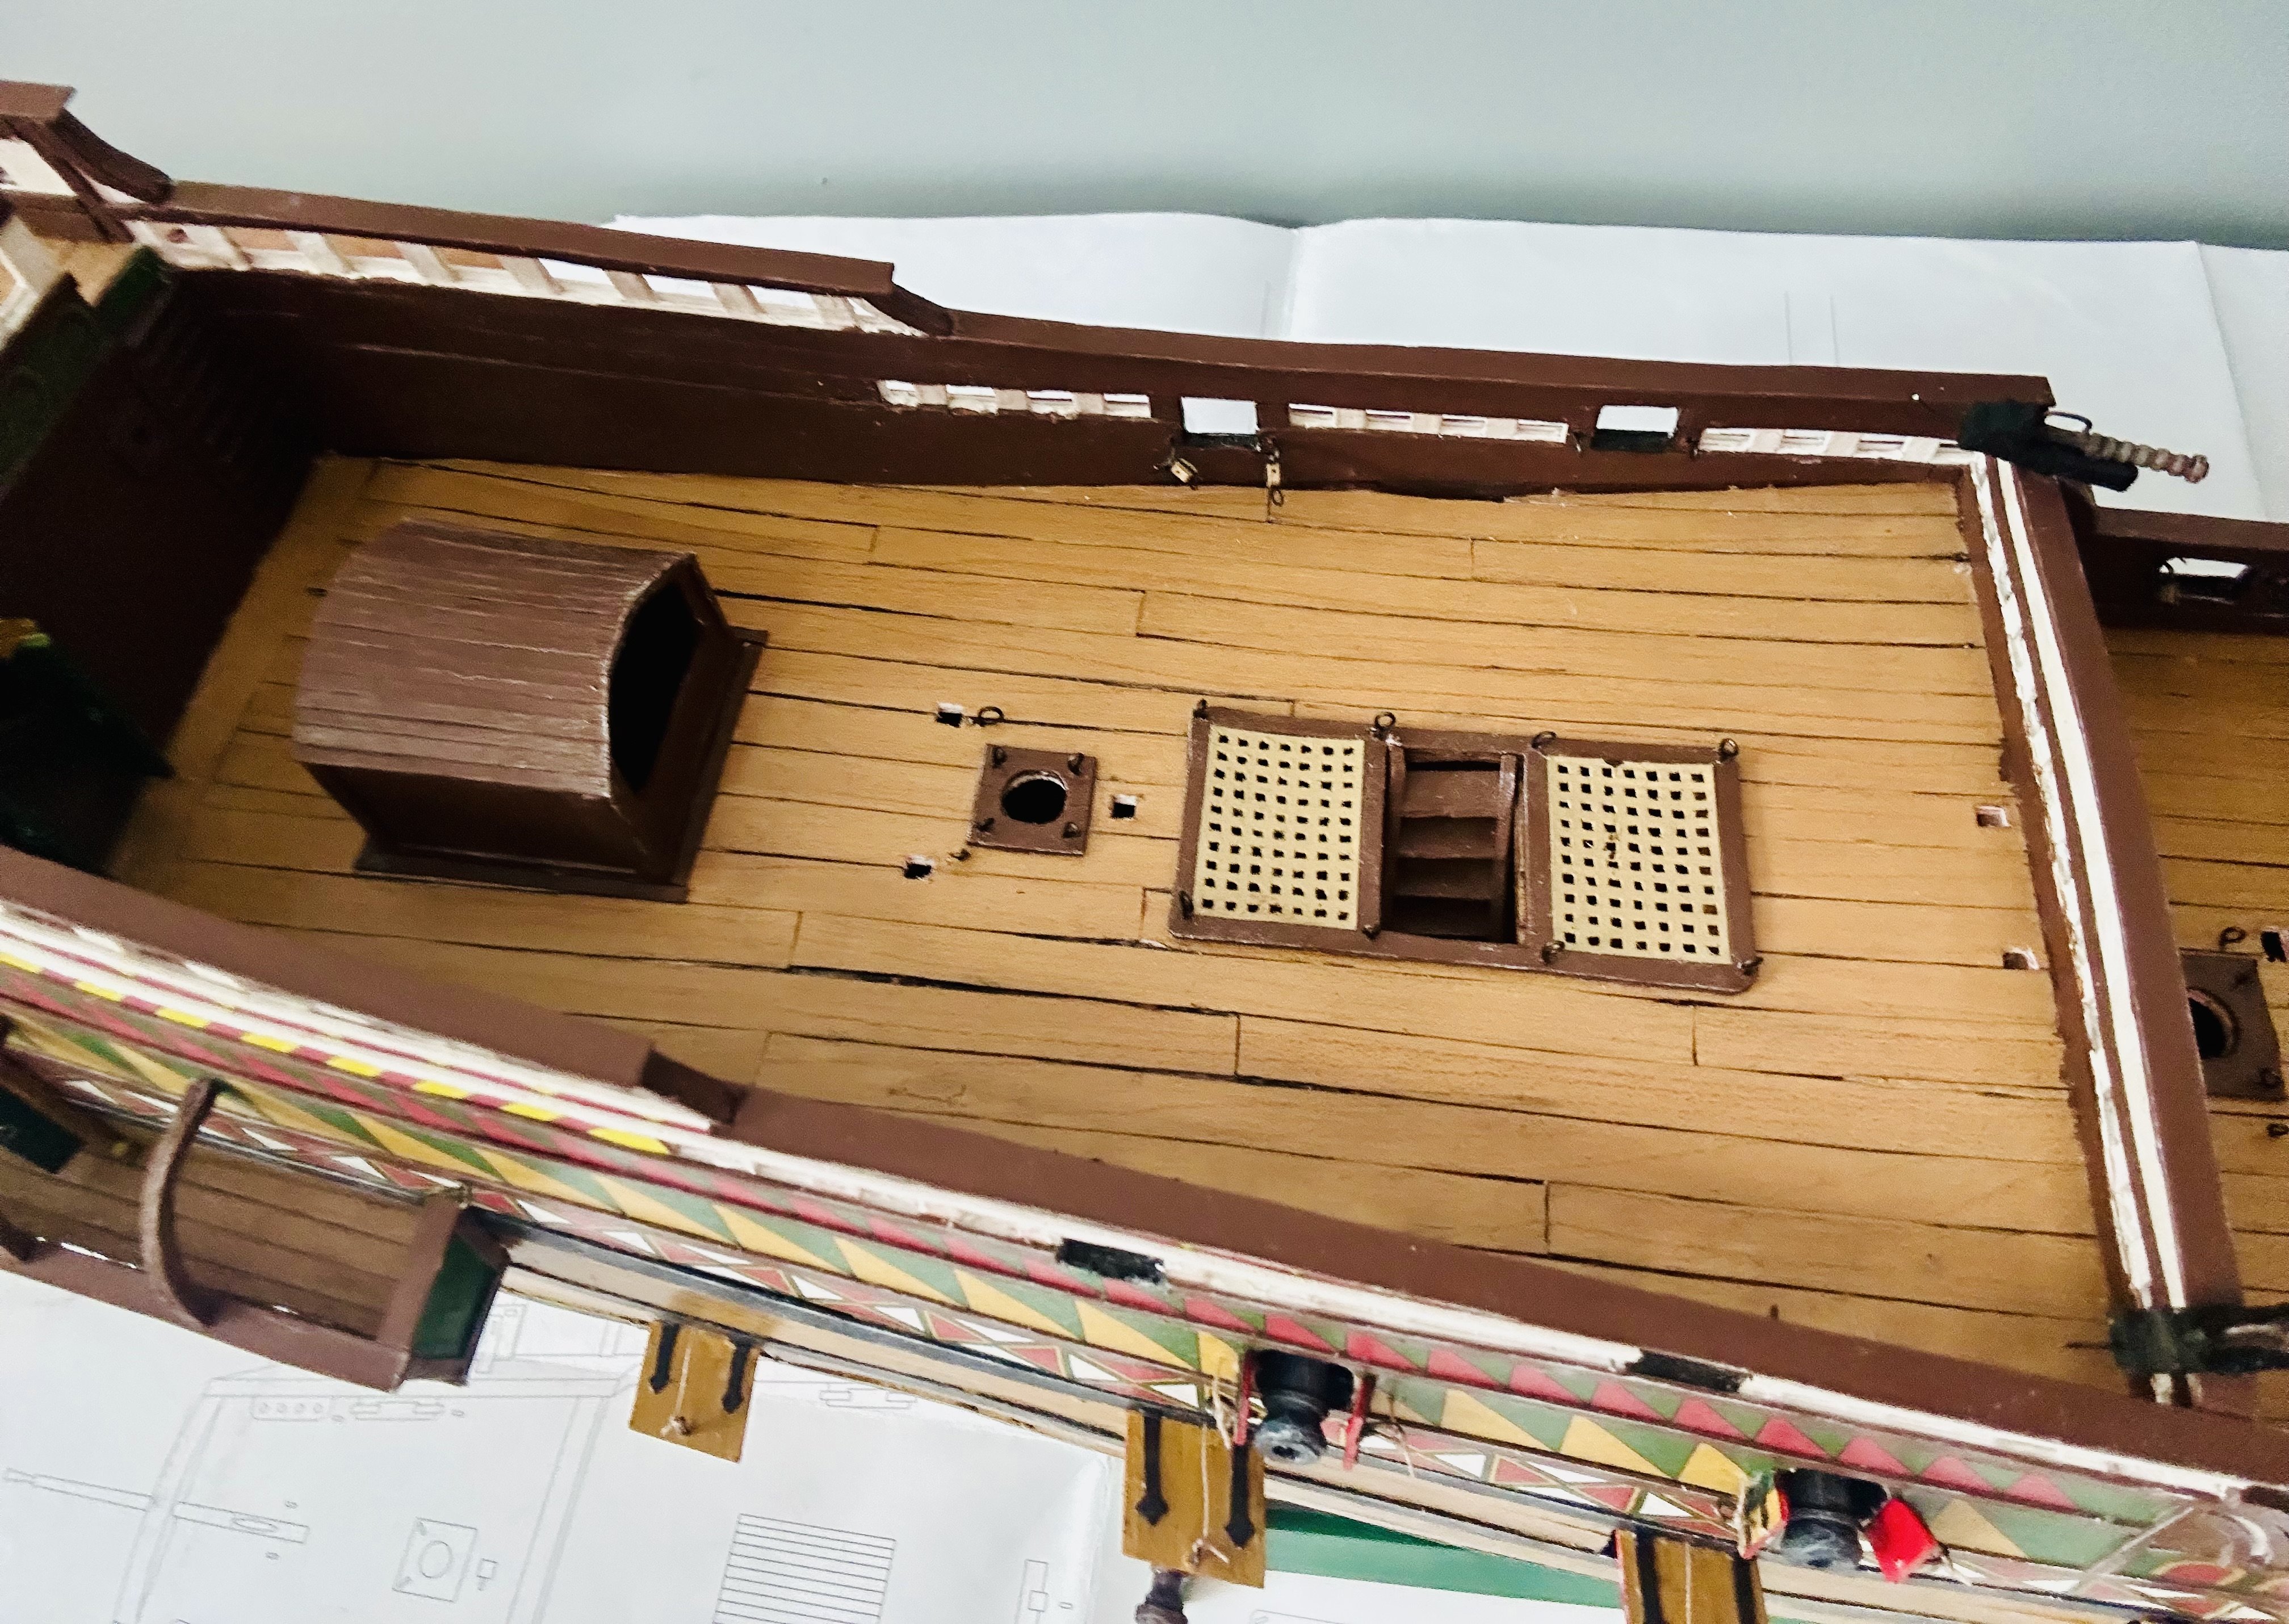
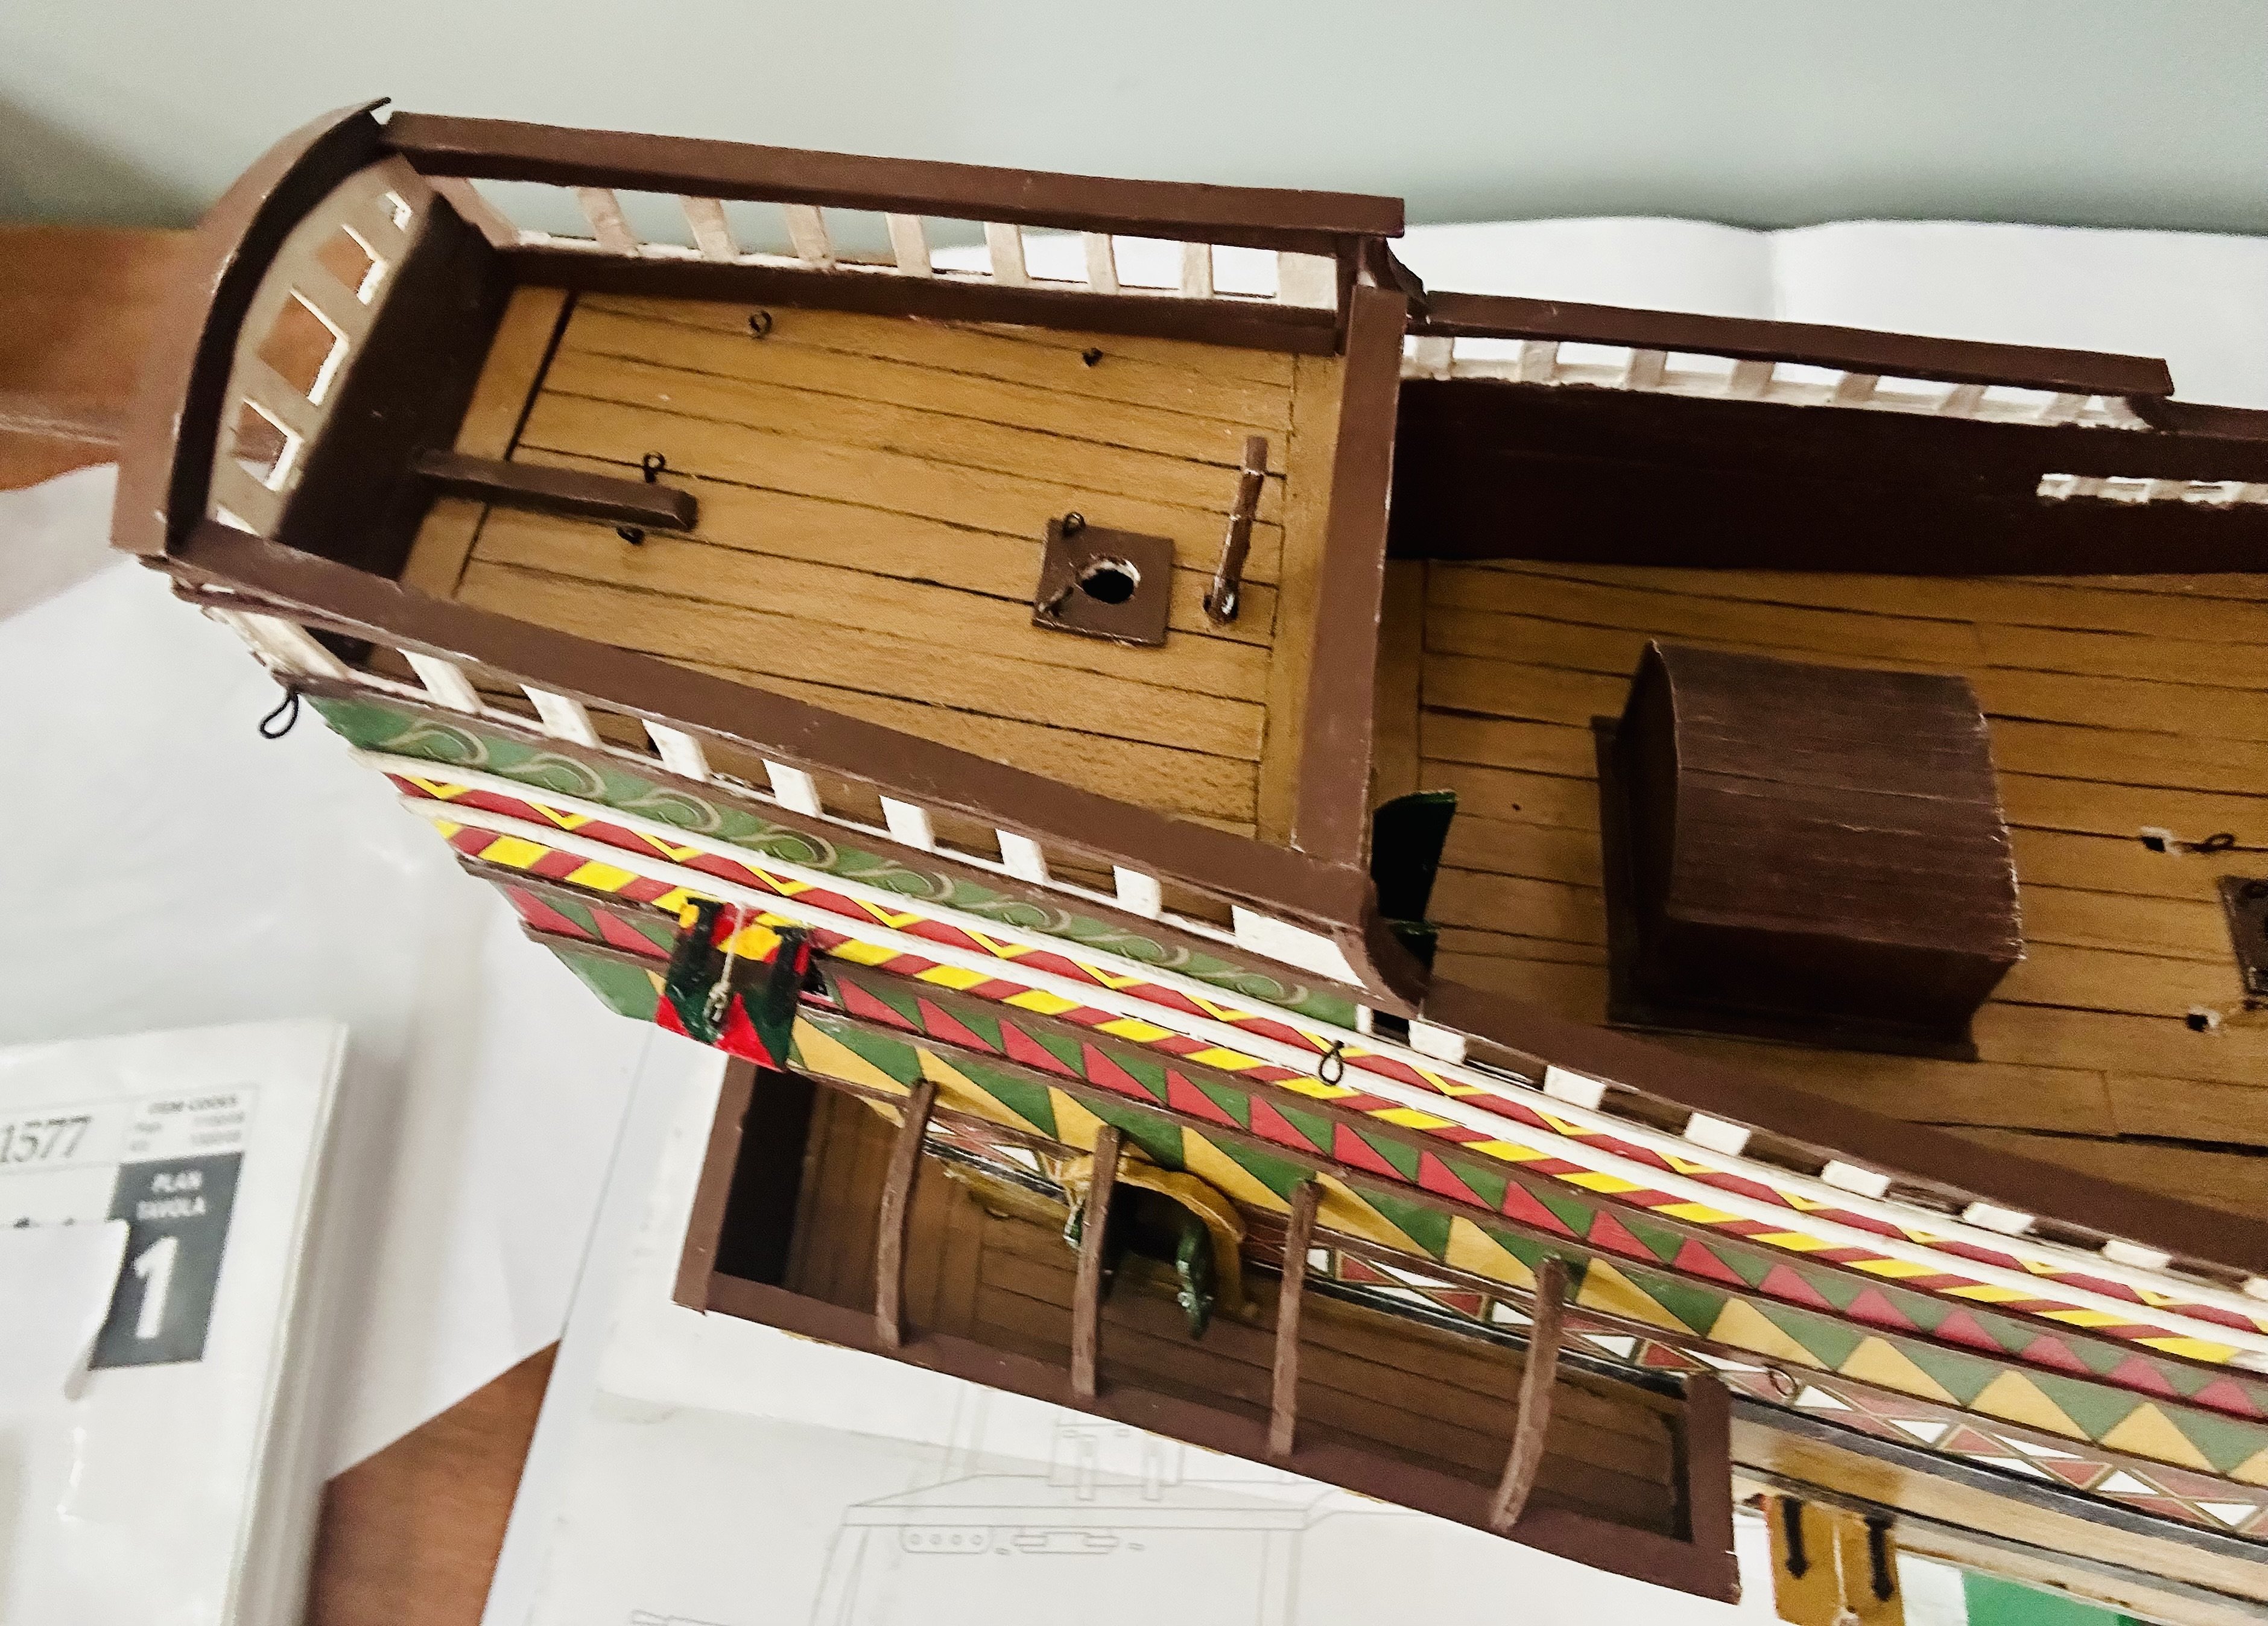
The quarter gallery arches are complete and installed:

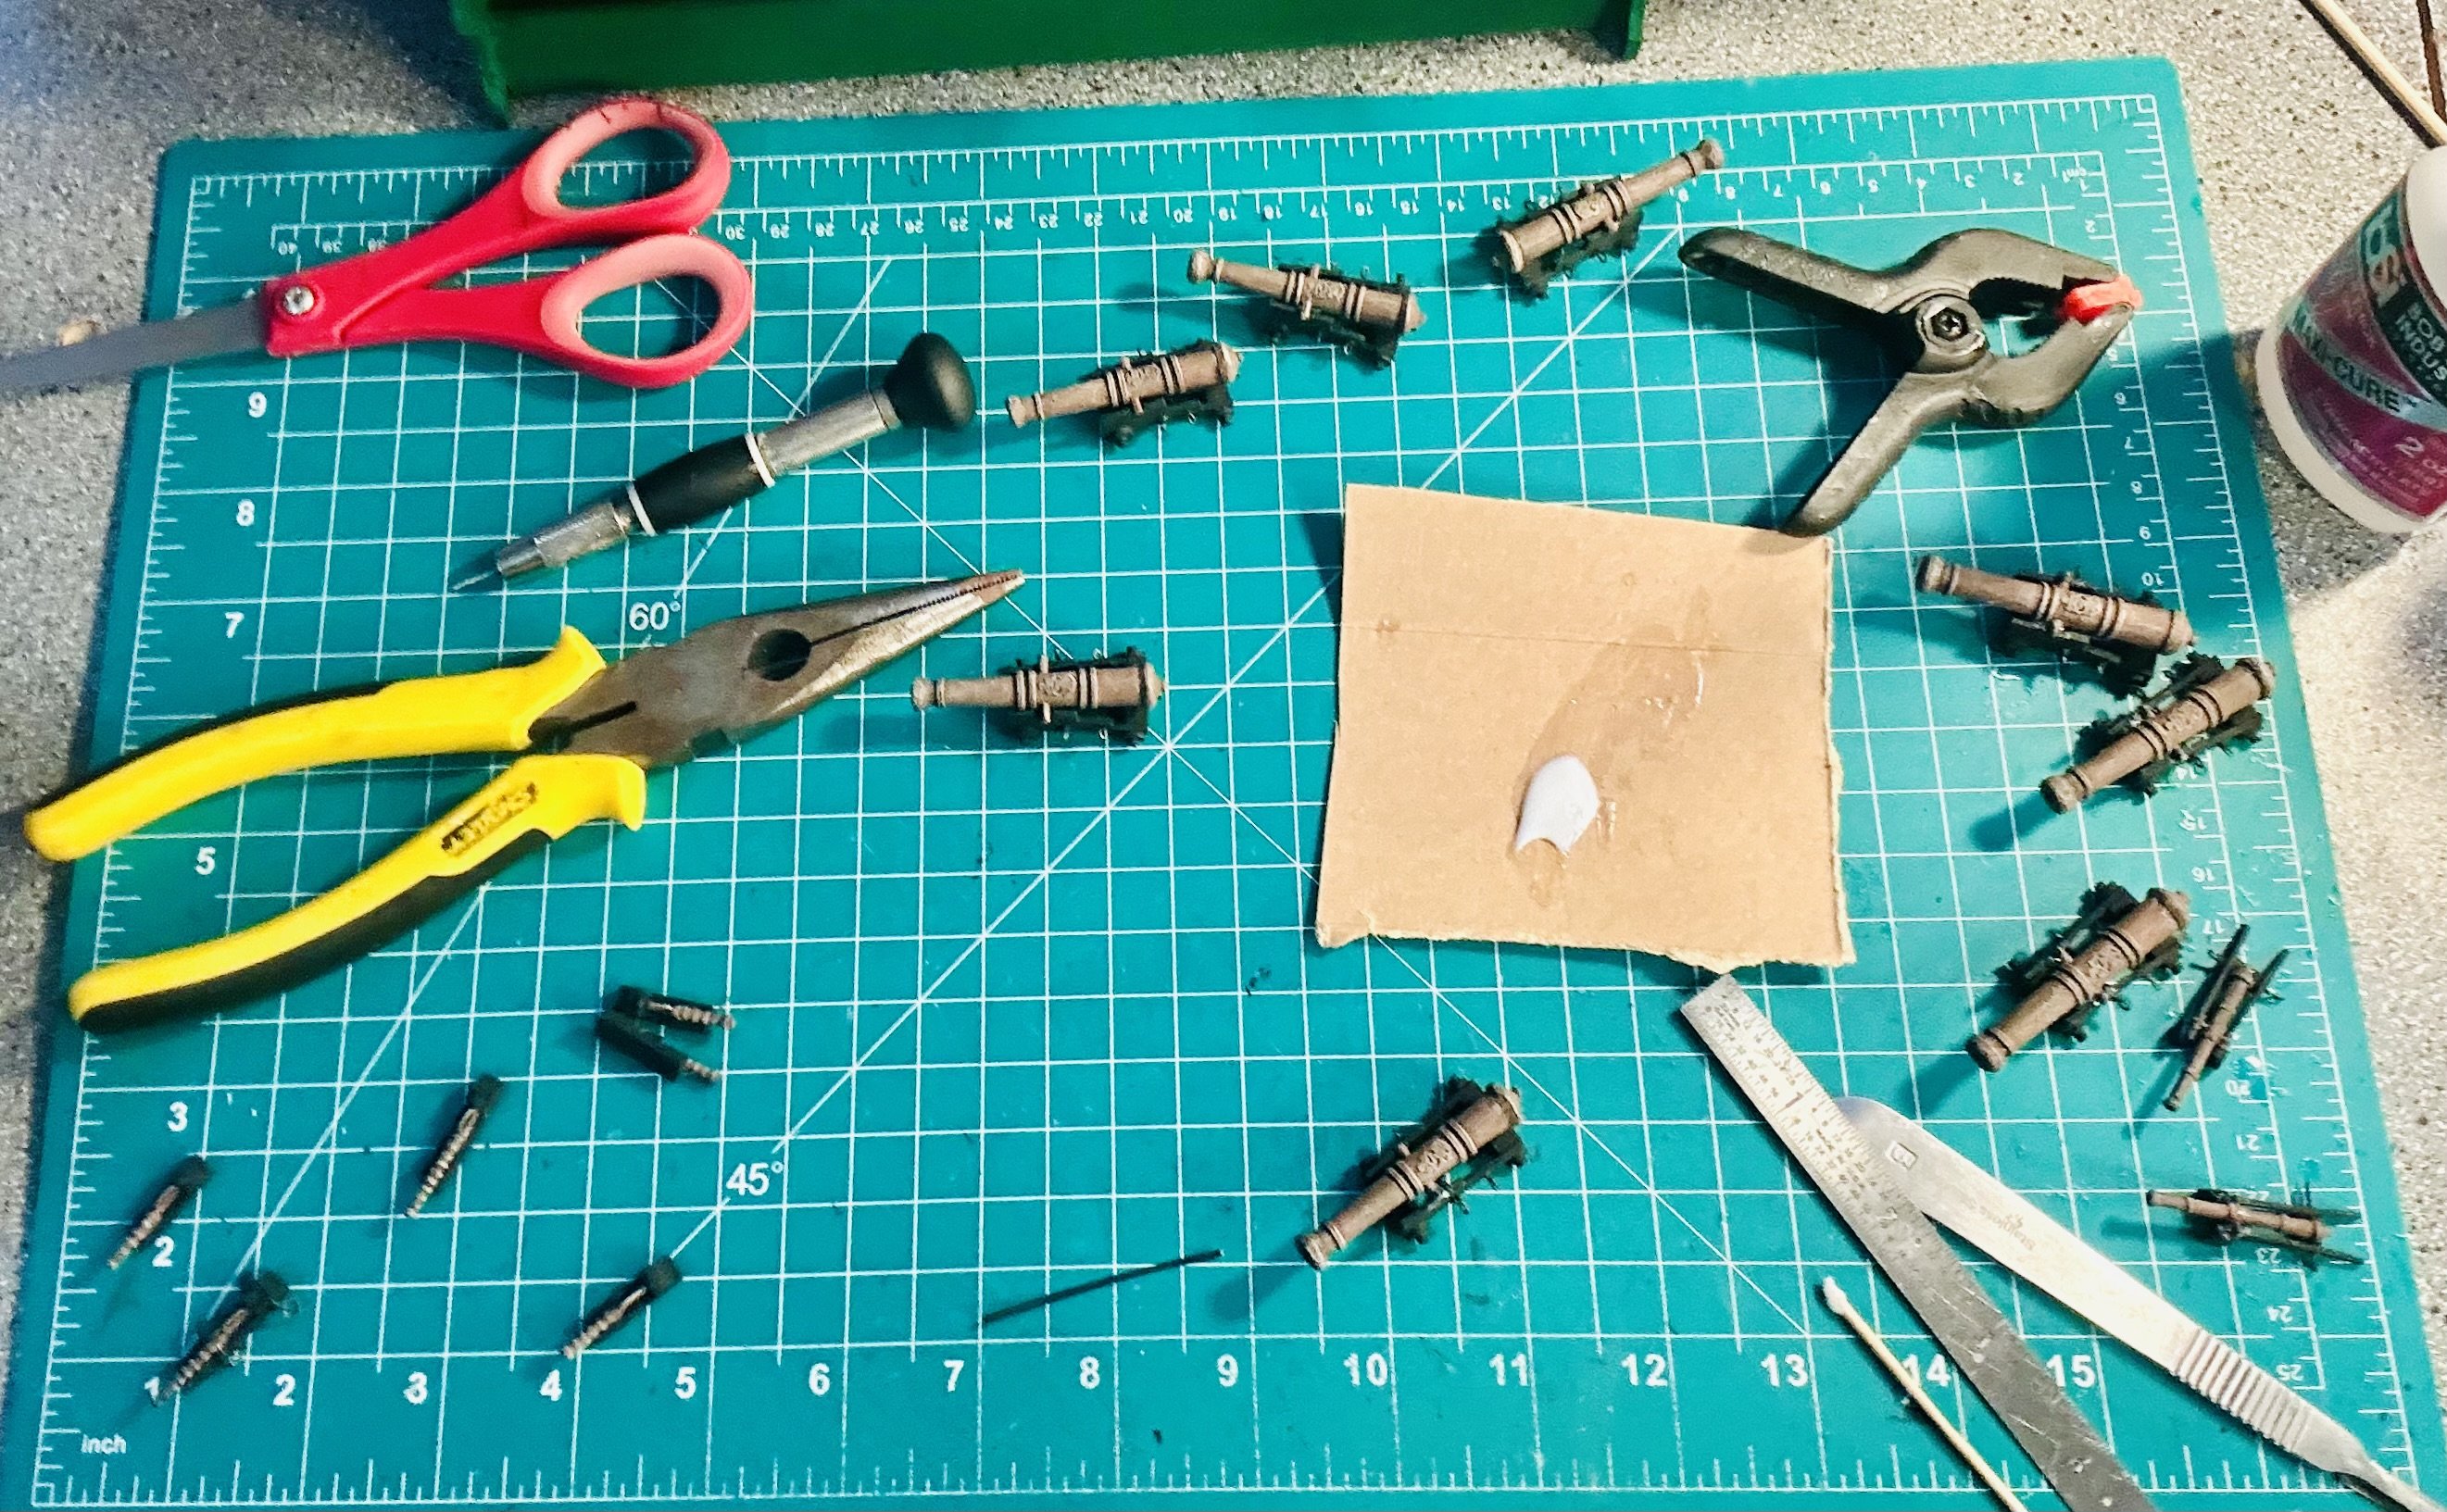
Working deck artillery now: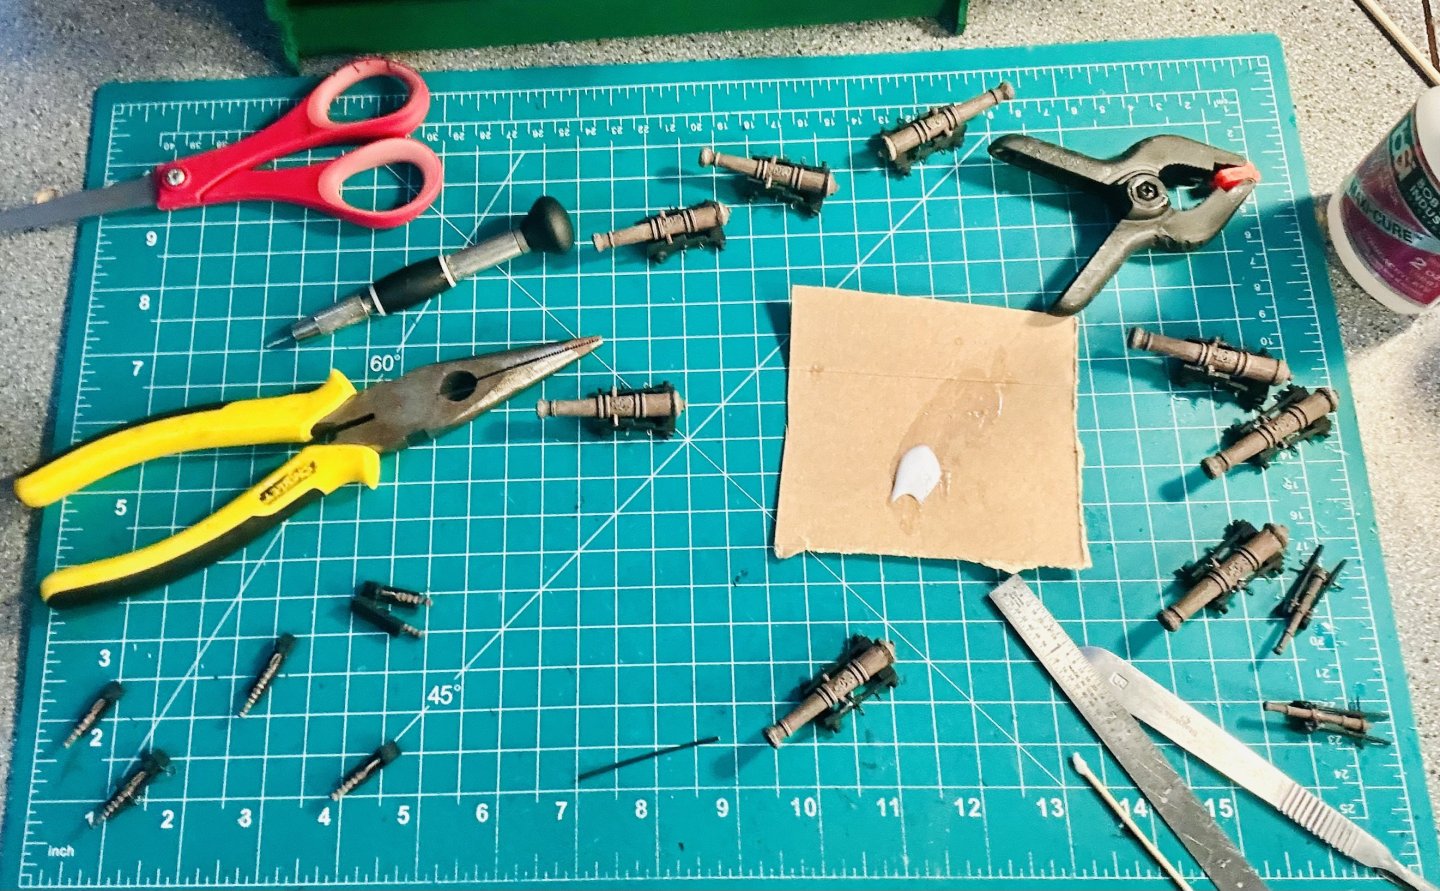
All guns are carved from wood.
The sakers and the falconets are sitting in card carriages.
The breach loaders have the wood block type mountings.
- Canute, Baker, John Fox III and 1 other
-
4
-
Welcome!


Bristol Bulldog by Danstream - FINISHED - Airfix - 1/48 - PLASTIC
in Non-ship/categorised builds
Posted
Very nicely done!