


GrandpaPhil
-
Posts
5,715 -
Joined
-
Last visited
Content Type
Profiles
Forums
Gallery
Events
Posts posted by GrandpaPhil
-
-
Quick discovery (read lesson learned), next time I really need to make sure that I get everything square and even.
I have a 1/4” difference on the beakhead.
I will do better on Triton.
-
I had to resize and modify the middle head rail on the starboard side due to my failure to account for the 3-Dimensional shape of the head rails.
I also made the port side knee for the cathead and installed it. I need it to dry before I can resize the port middle head rail.
Slowly but surely.

-
-
Welcome!
Albatross is a schooner, which means that it’s a great starting model.
The hardest part, in my opinion, is just getting started.
For planking help, I would recommend Chuck Passaro’s guides.
The only tools that I would recommend buying as an absolute need, over what you have, would be a good pin vise and a razor saw.
I would recommend carefully reading the instruction booklet and reviewing the plans. After that, start a build log and ask questions as you go.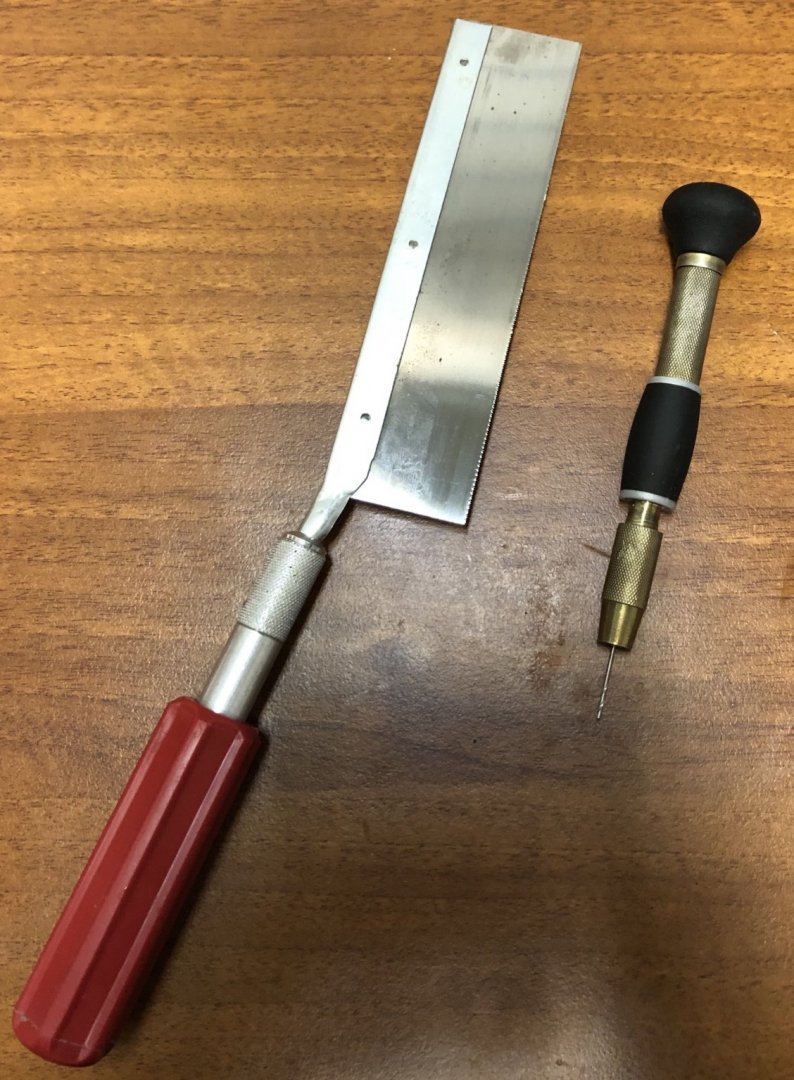
-
I haven’t forgotten about Triton.
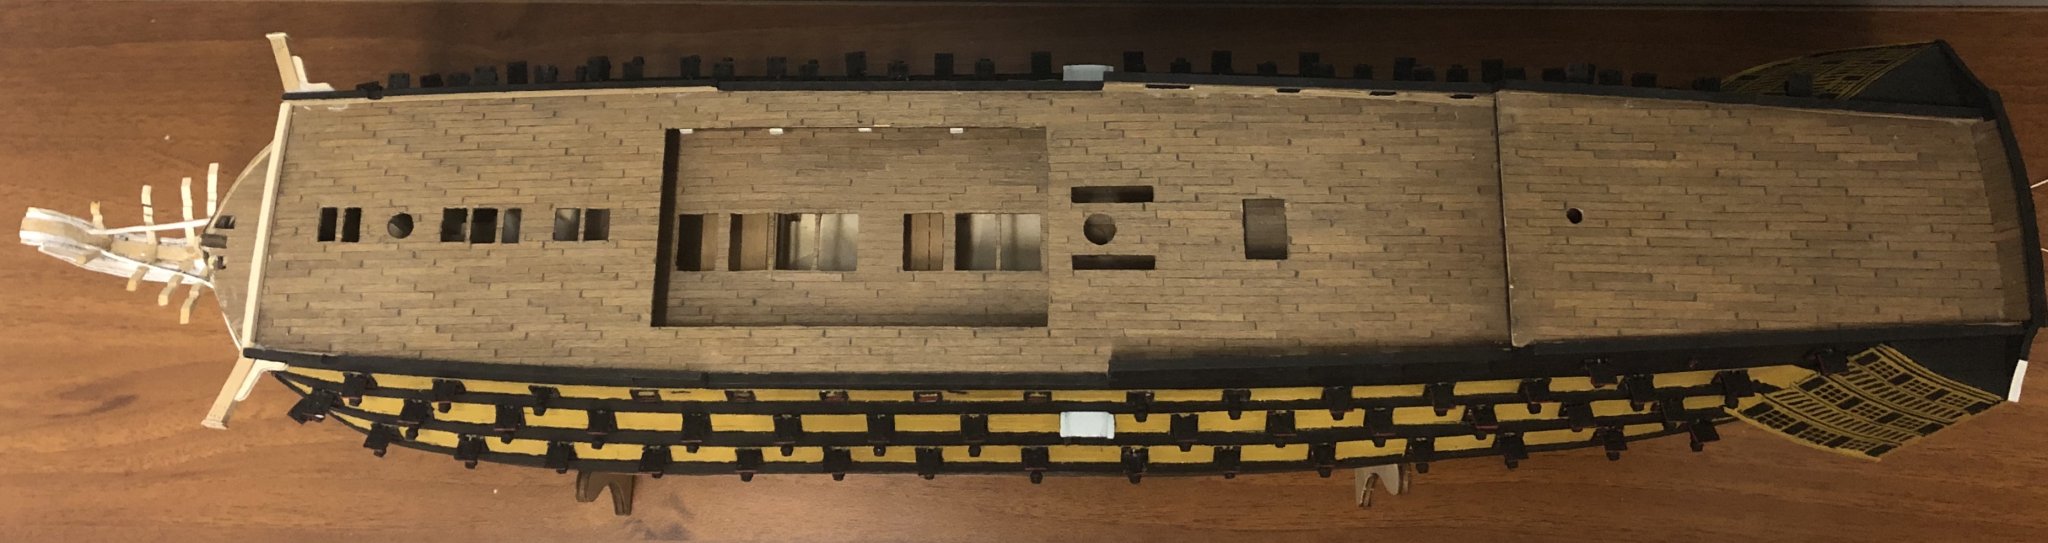
I’m about halfway through Victory. I’m in the process of building the head.
- Edwardkenway and mtaylor
-
 2
2
-
I haven’t forgotten about Winchelsea.
I’m still working on Victory and in the process of building the head.
- Chuck, VTHokiEE, FrankWouts and 1 other
-
4
-
-
-
-
13 hours ago, mtaylor said:
What a lot of do is drill small holes well inside the line for the port opening. Then use either an X-acto knife or the micro saw. Finish it up with files or sanding sticks.
This is the method that I use too.
As a quick lesson learned, I’m going to frame in the gunports next time and plank around them.
-
-
Looking good!
Good call on the AOTS for the Victory. The AOTS plans have been invaluable to me.
-
-
The front part of the second wale is off.
I’ve broken several major parts and reglued them so I’m going to let the Victory dry over night.
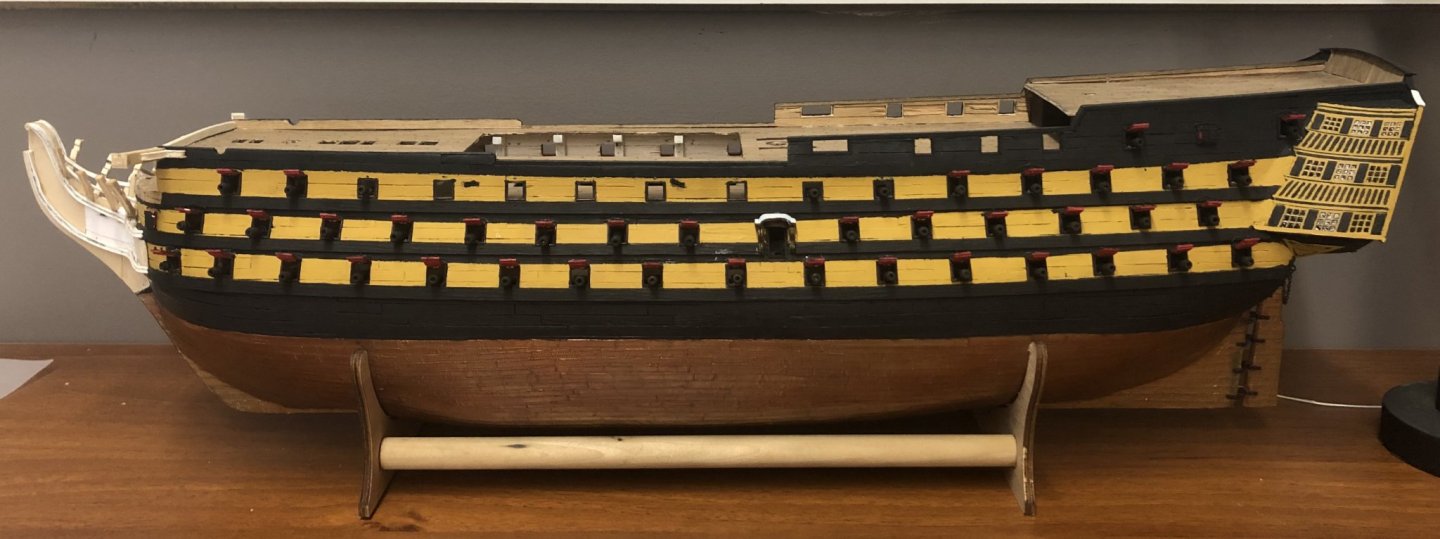
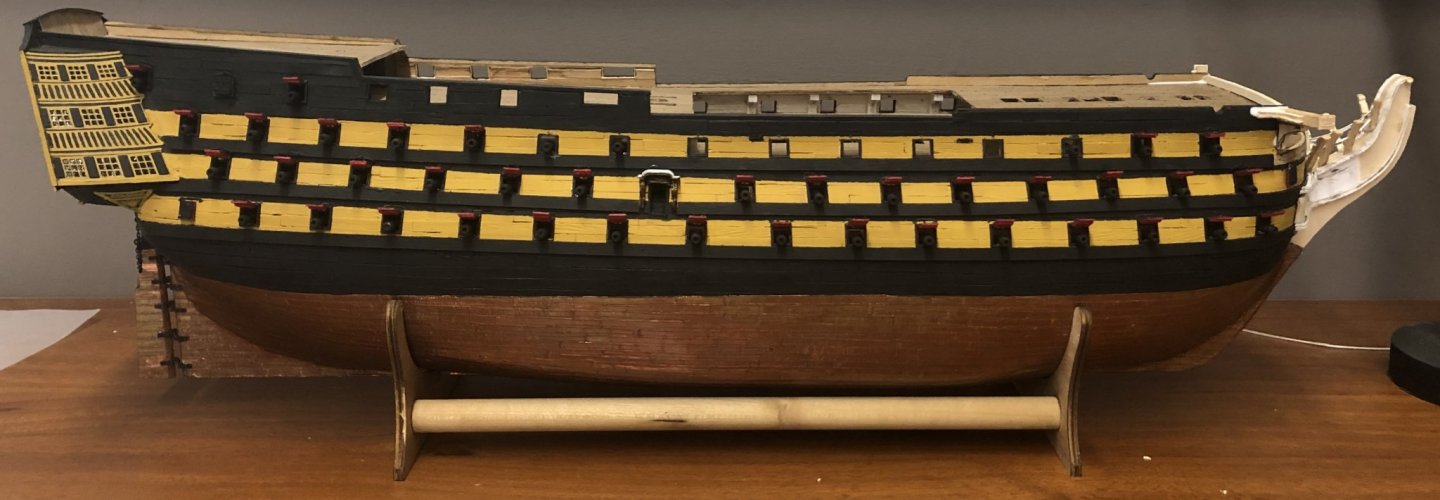
Having said all that, I’m making good progress and having fun with it.
The Victory is coming along and I’m learning a lot.


- Retired guy, J11, SIDEWAYS SAM and 3 others
-
6
-
-
The first side is out.
I have to wait for the knee to dry before I can start building up again, so I’m currently working on the other side.
- Edwardkenway, SIDEWAYS SAM, J11 and 1 other
-
4
-
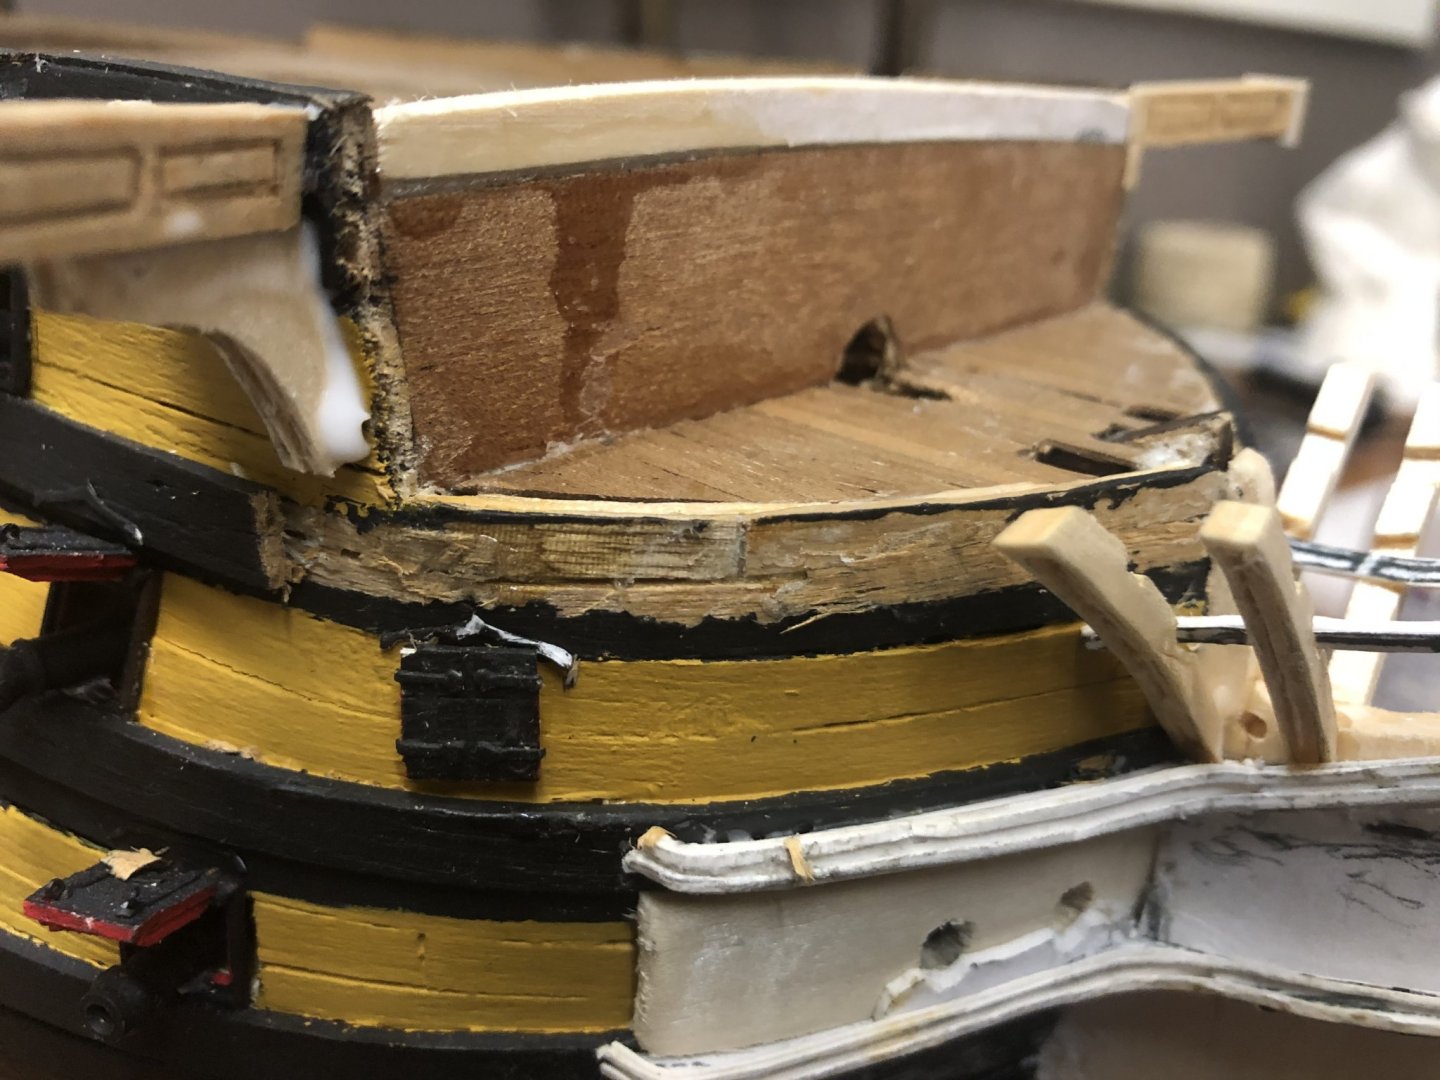
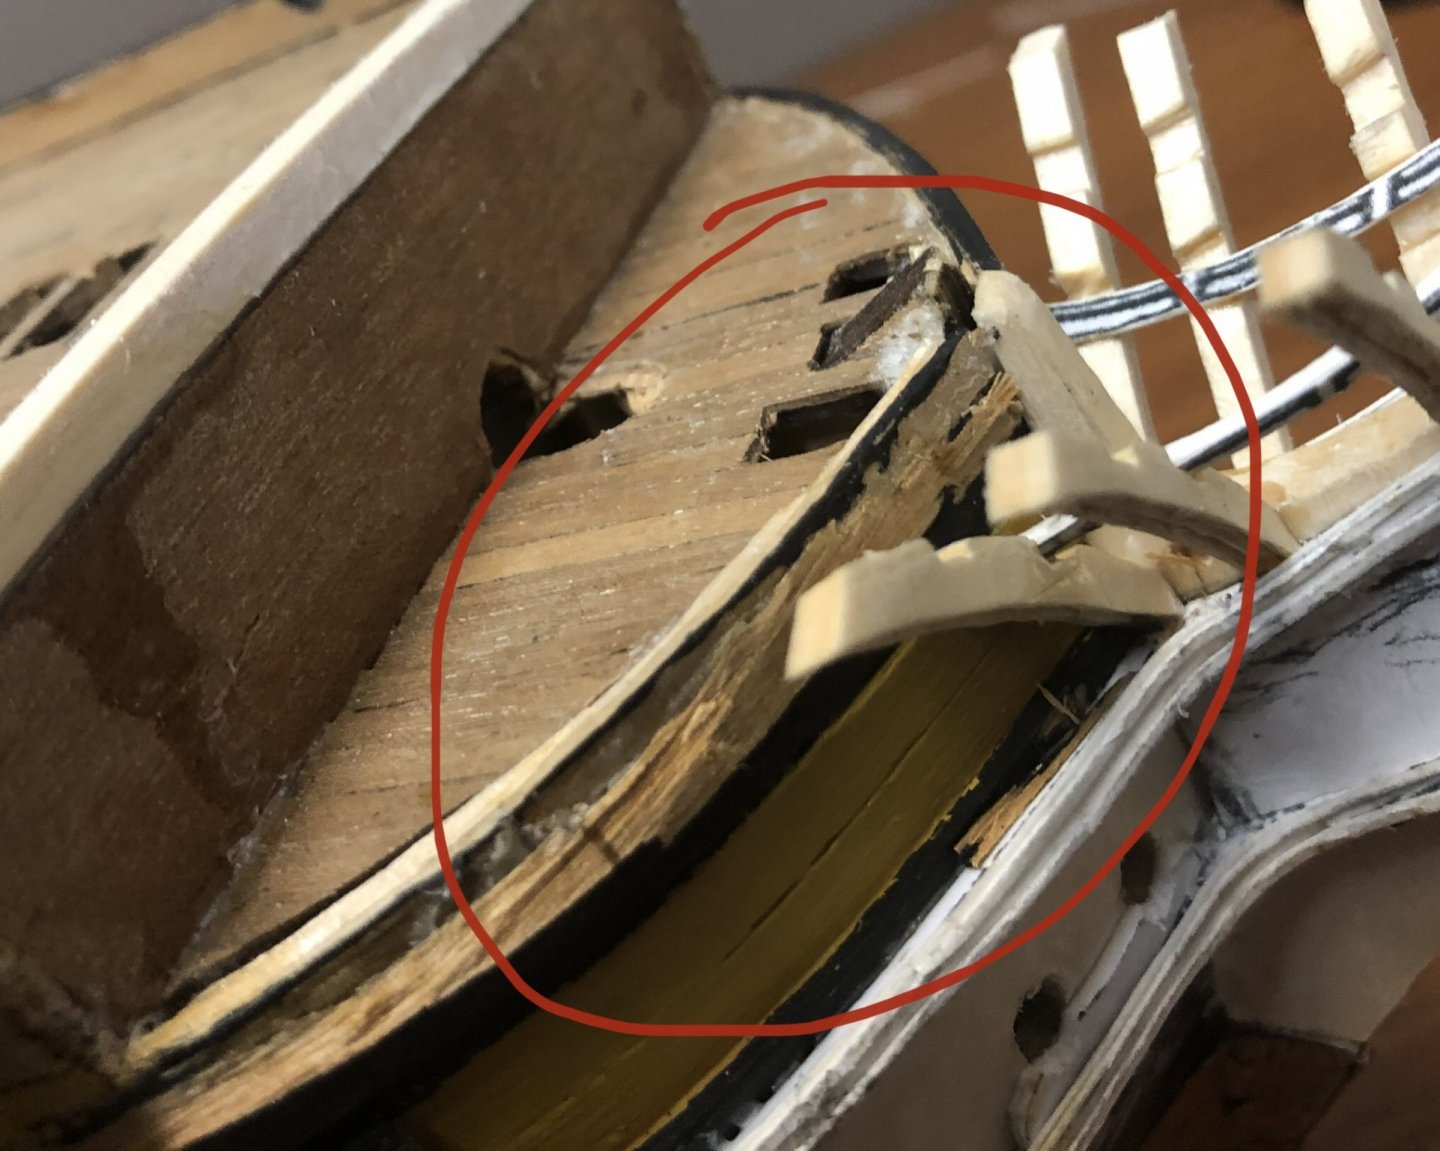
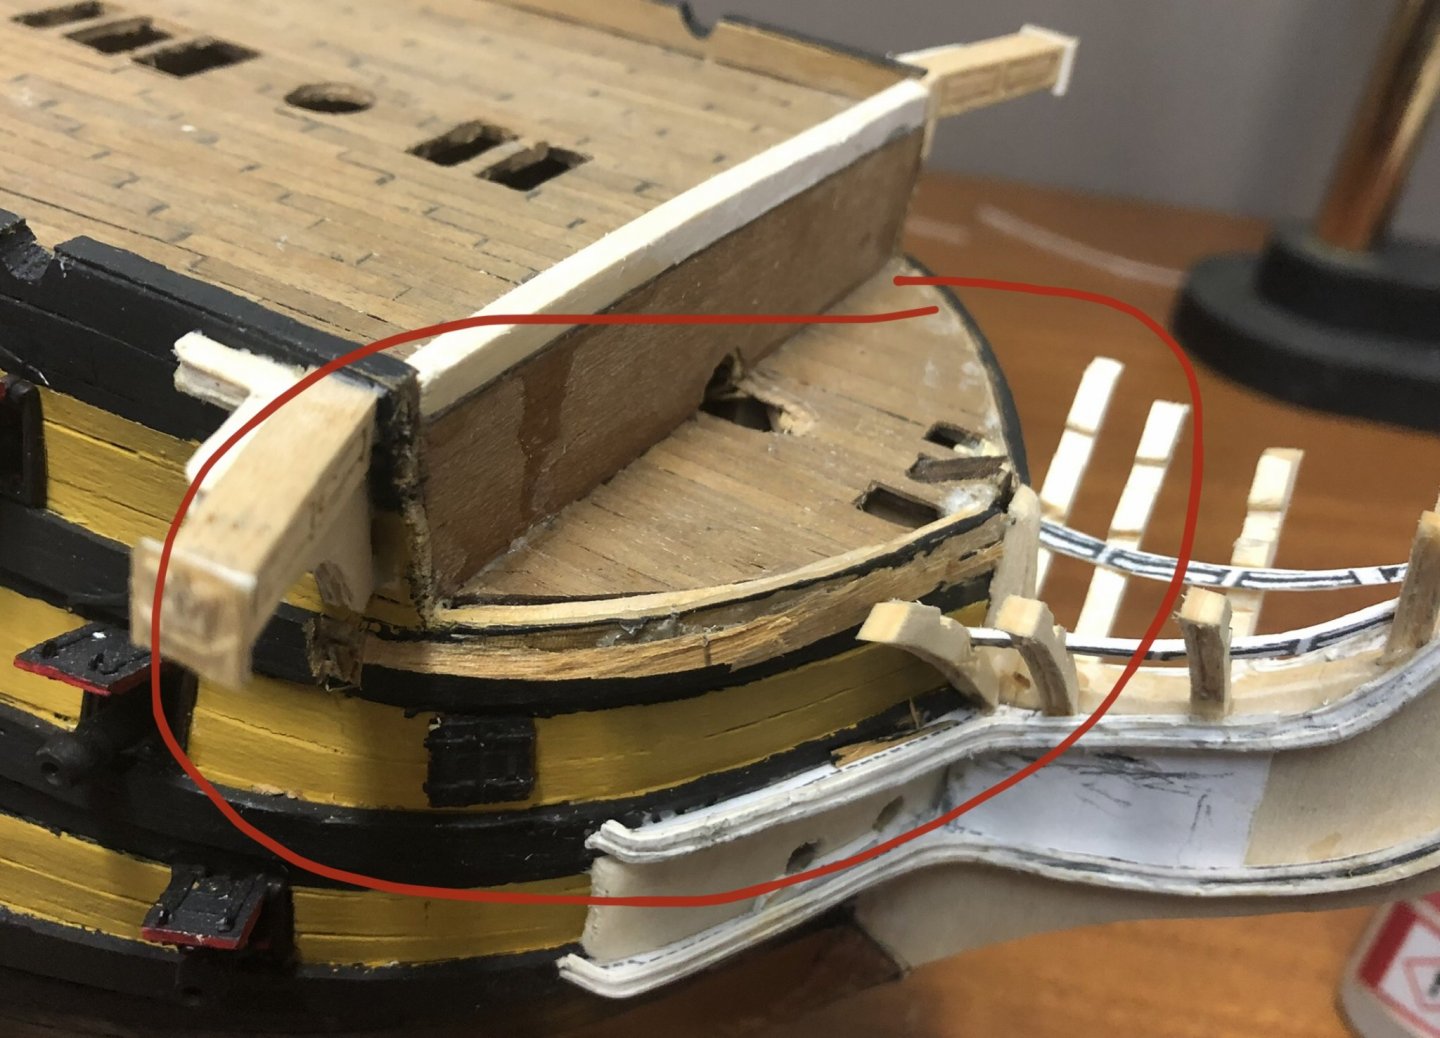
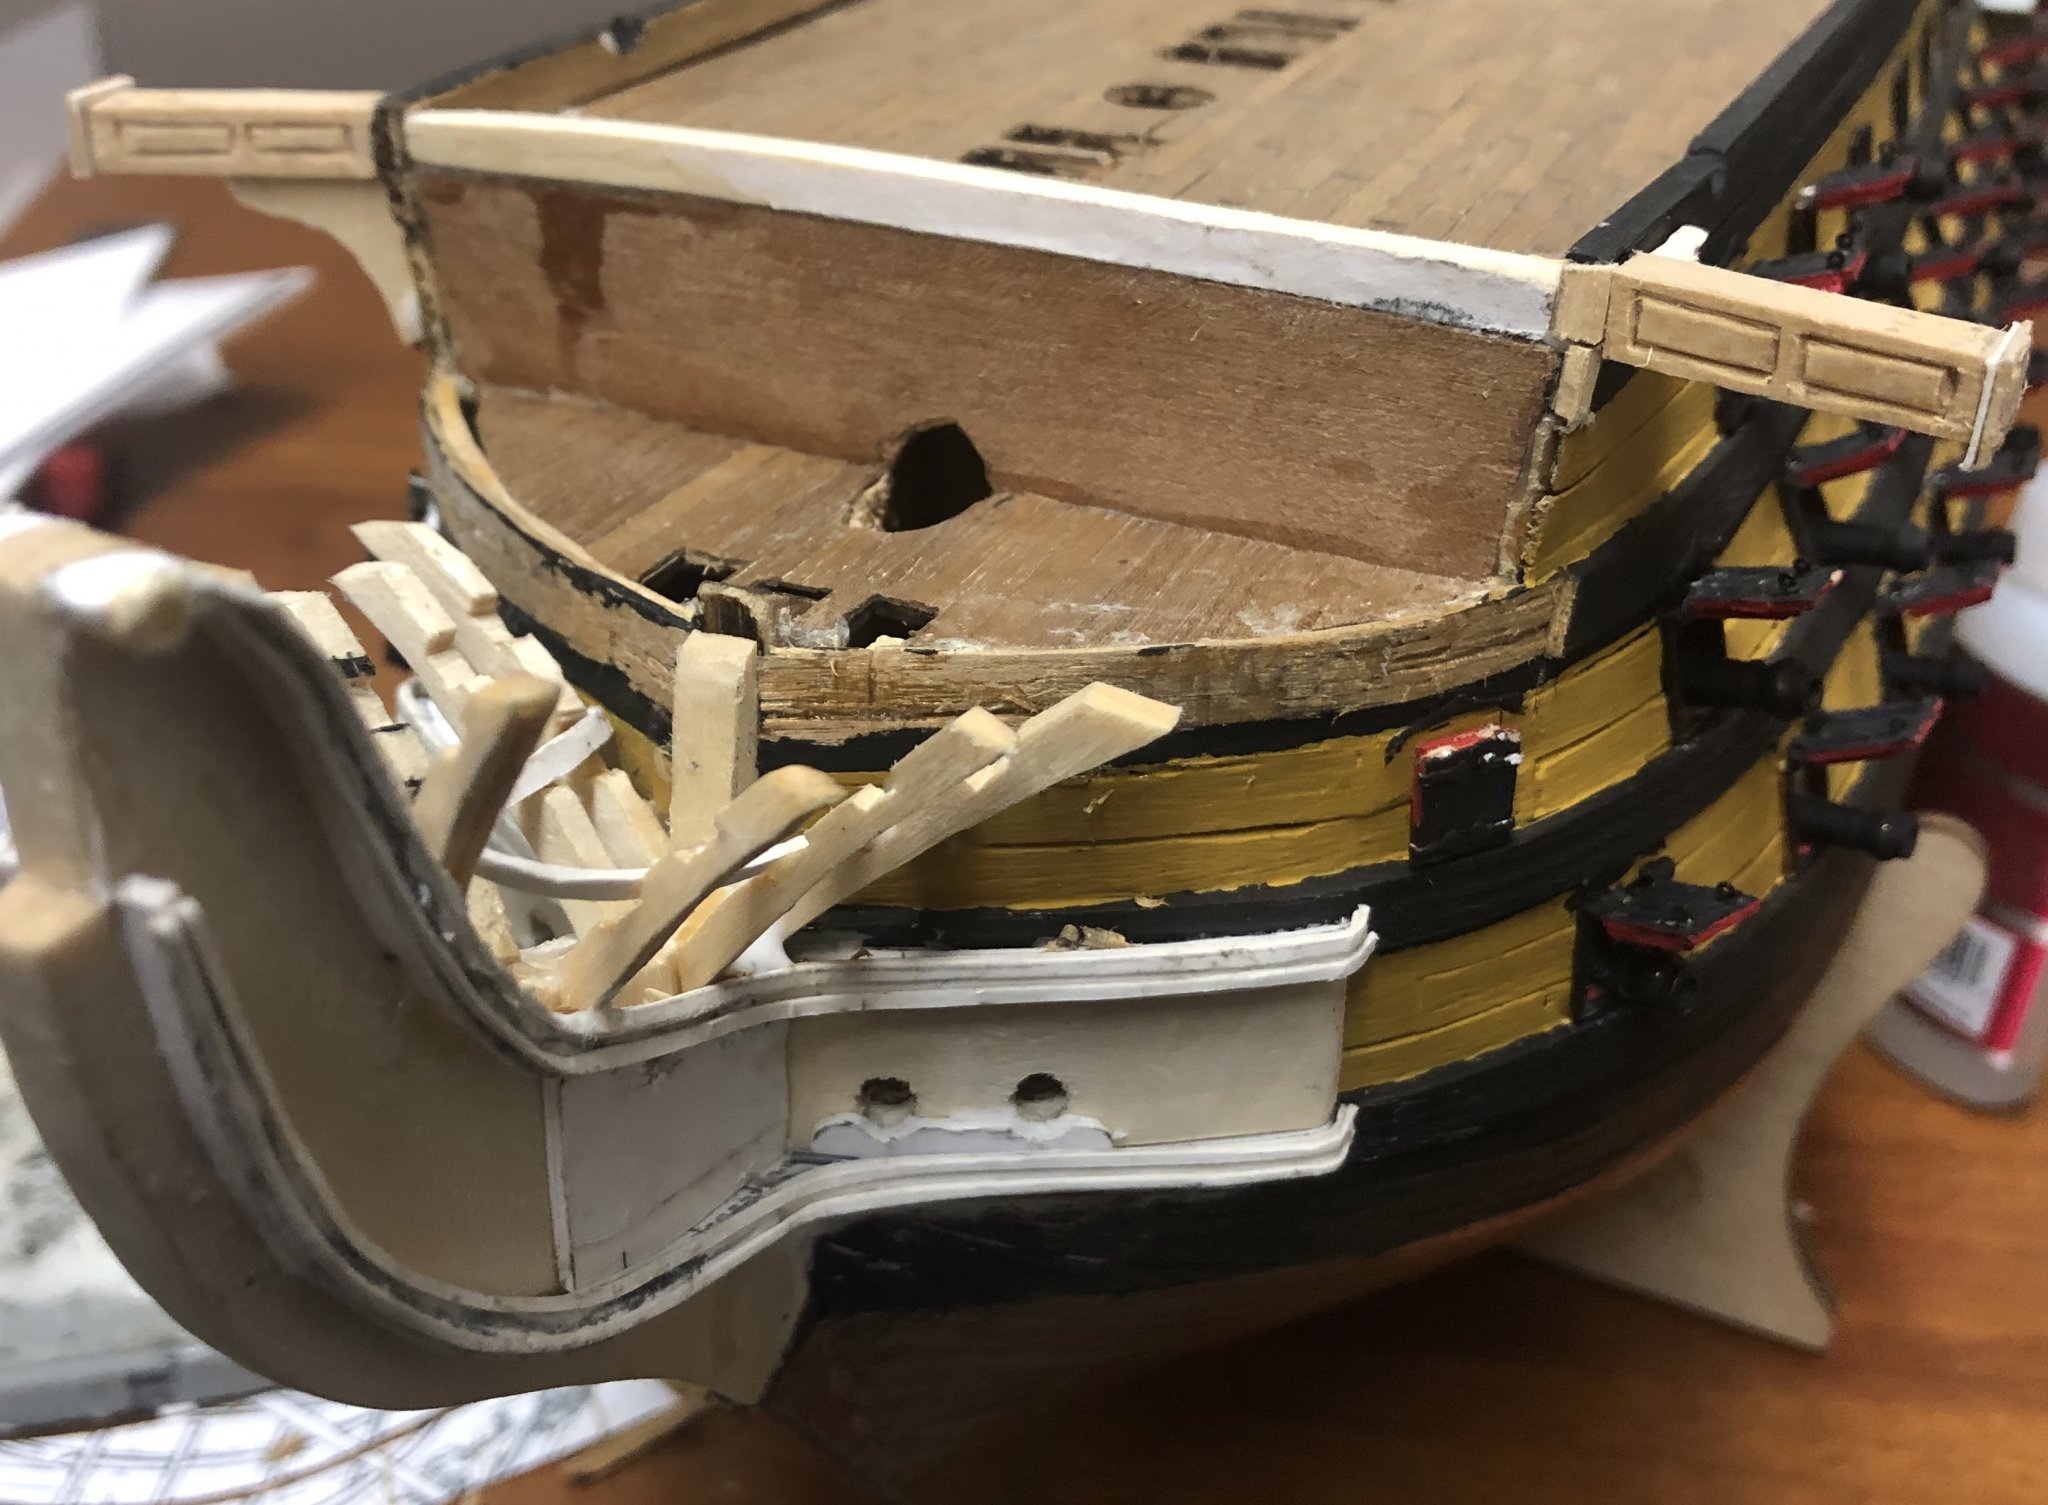
I found a problem with the wales provided with the kit that I installed as per the kit, before I started using the AOTS plans.
The wale has to come off ahead of the catheads to allow for the head.
I broke a head timber while removing it so I’m letting the head timber dry for a bit.
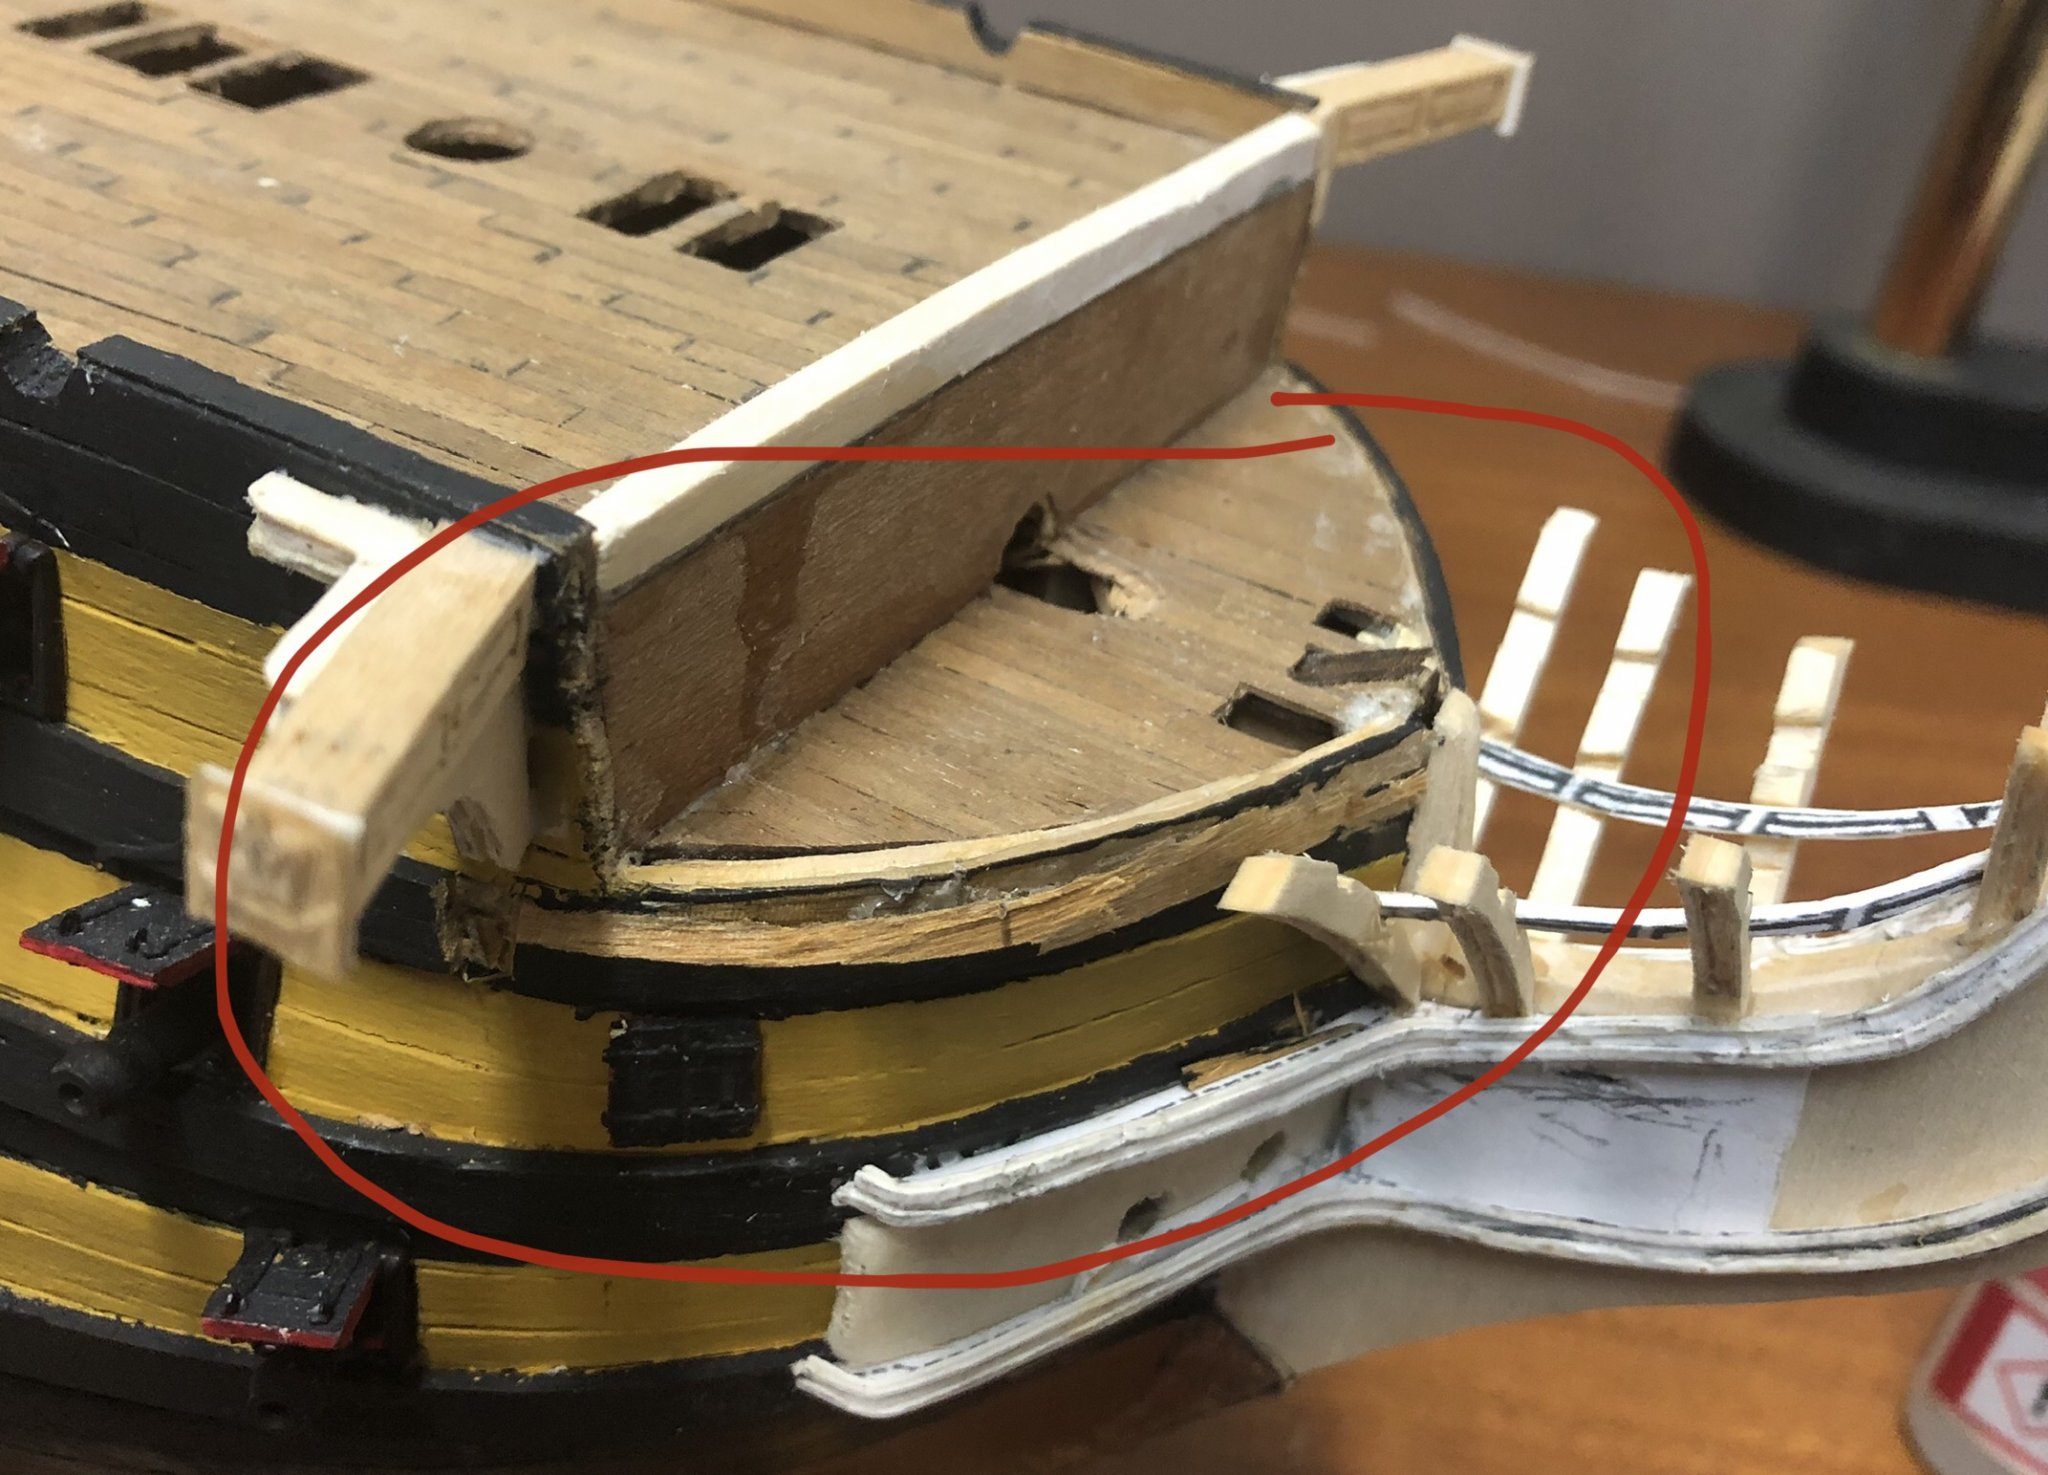
The pictures look ugly, but that’s how demolition is.
I circled the parts I’m having difficulty with.
-
Once I get the head rails (with the heads of the main rails) done, I’m going to do a round of paint work.
I’m in the process of figuring out how exactly I’m going to make the main rails with all associated mouldings.
- J11 and Edwardkenway
-
2
-
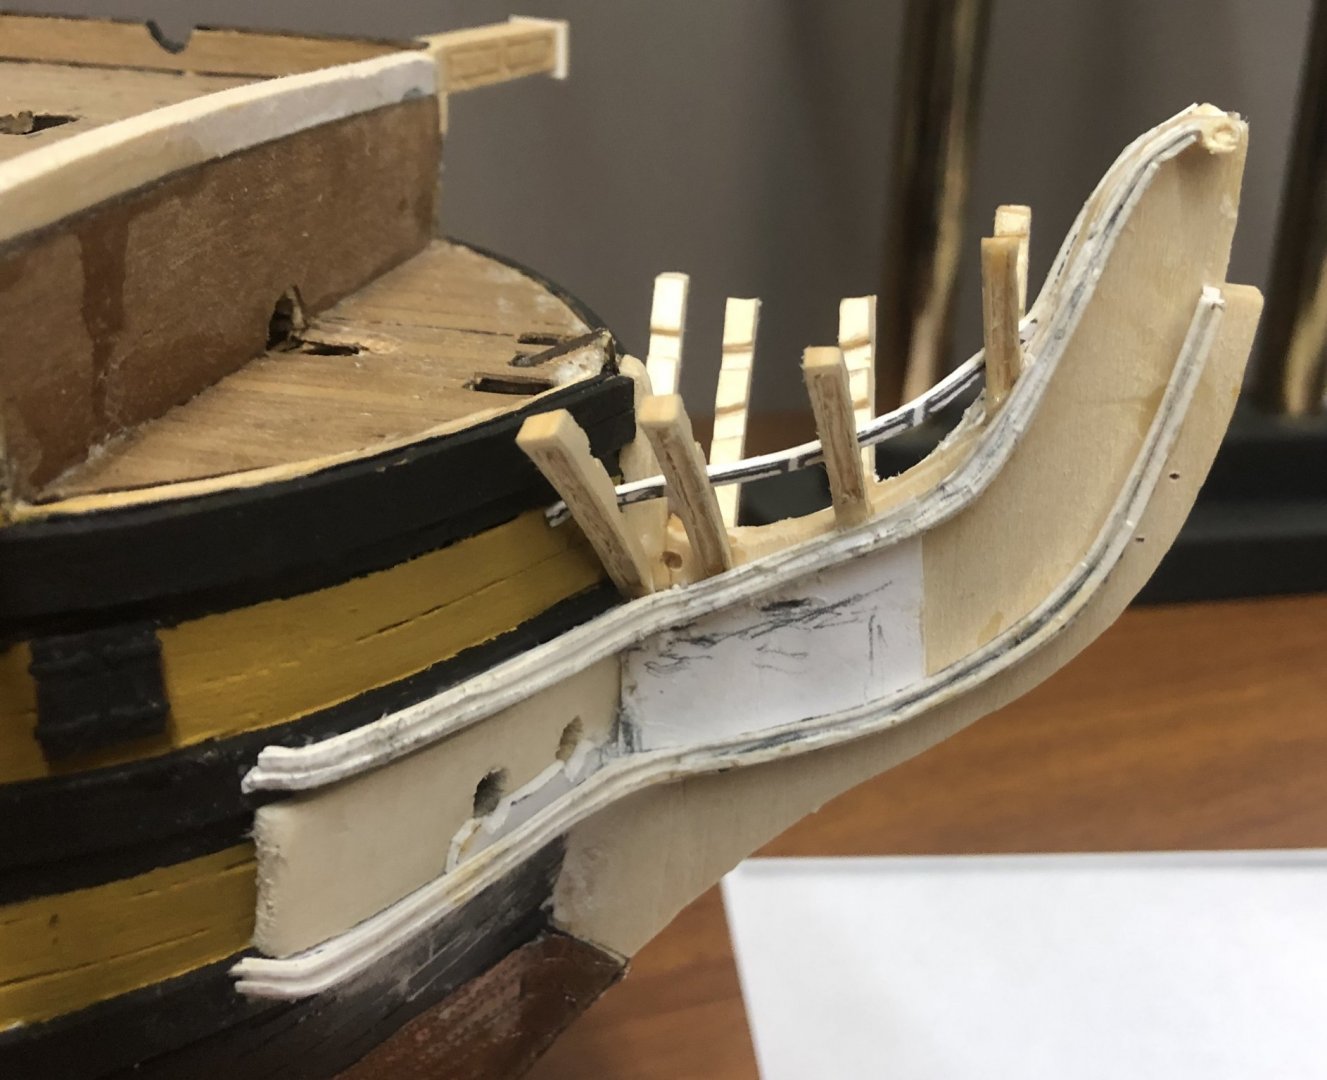
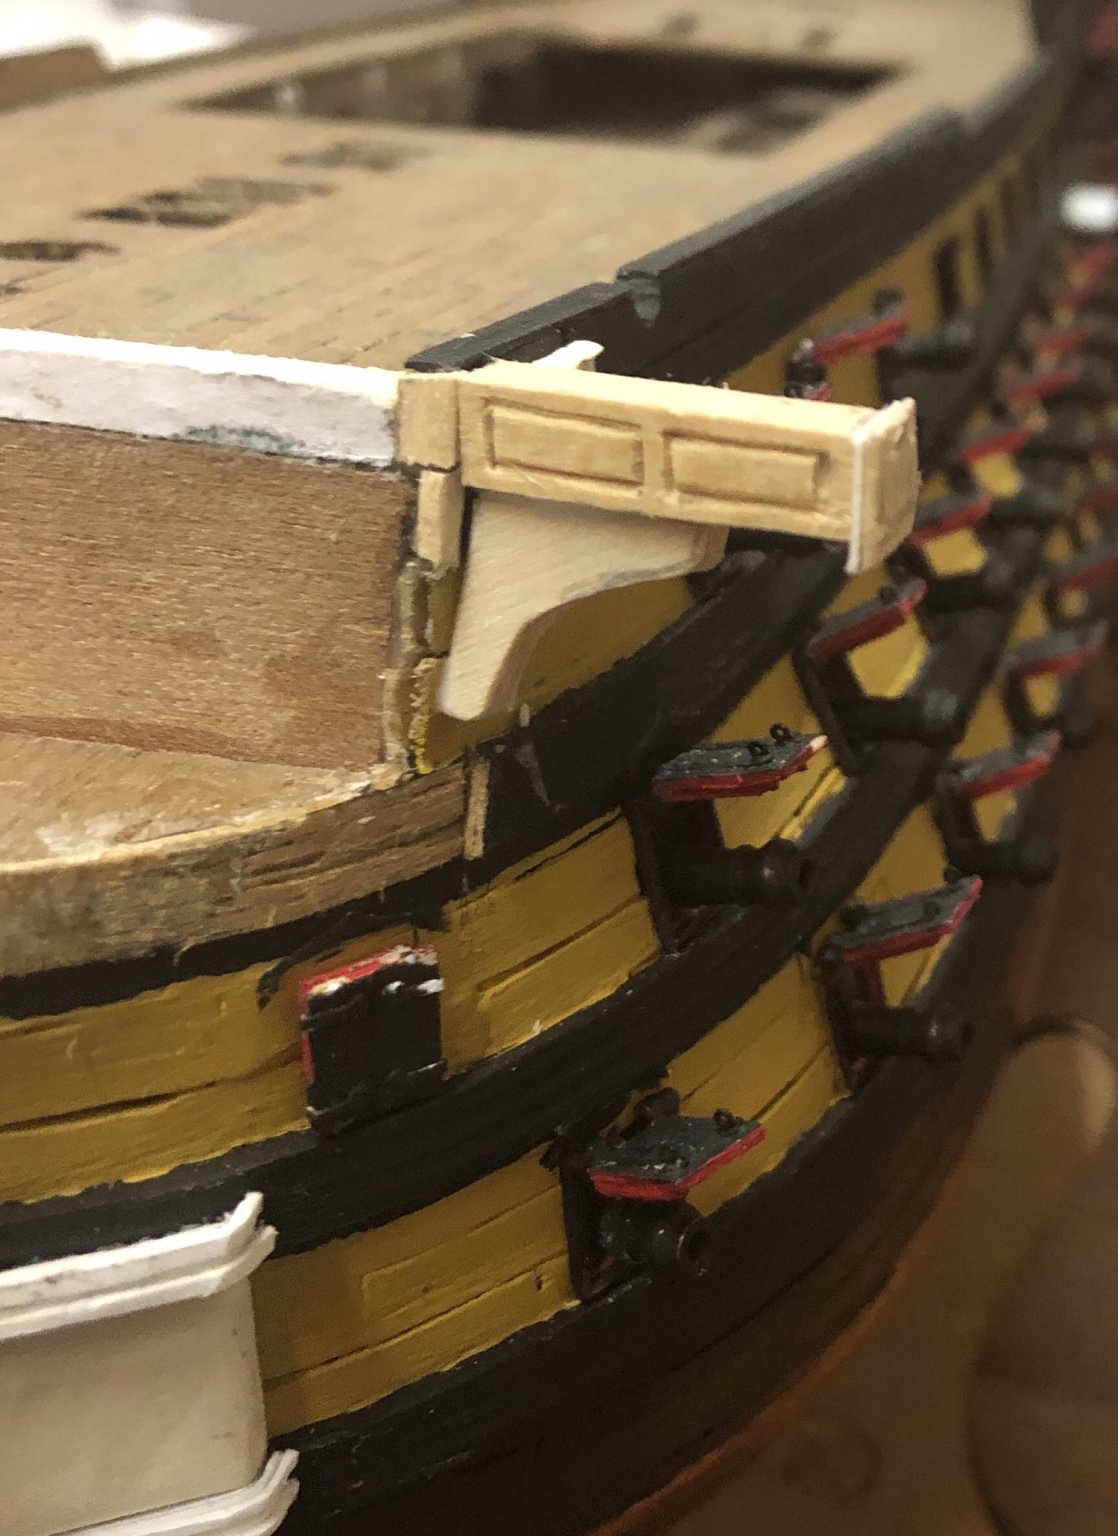
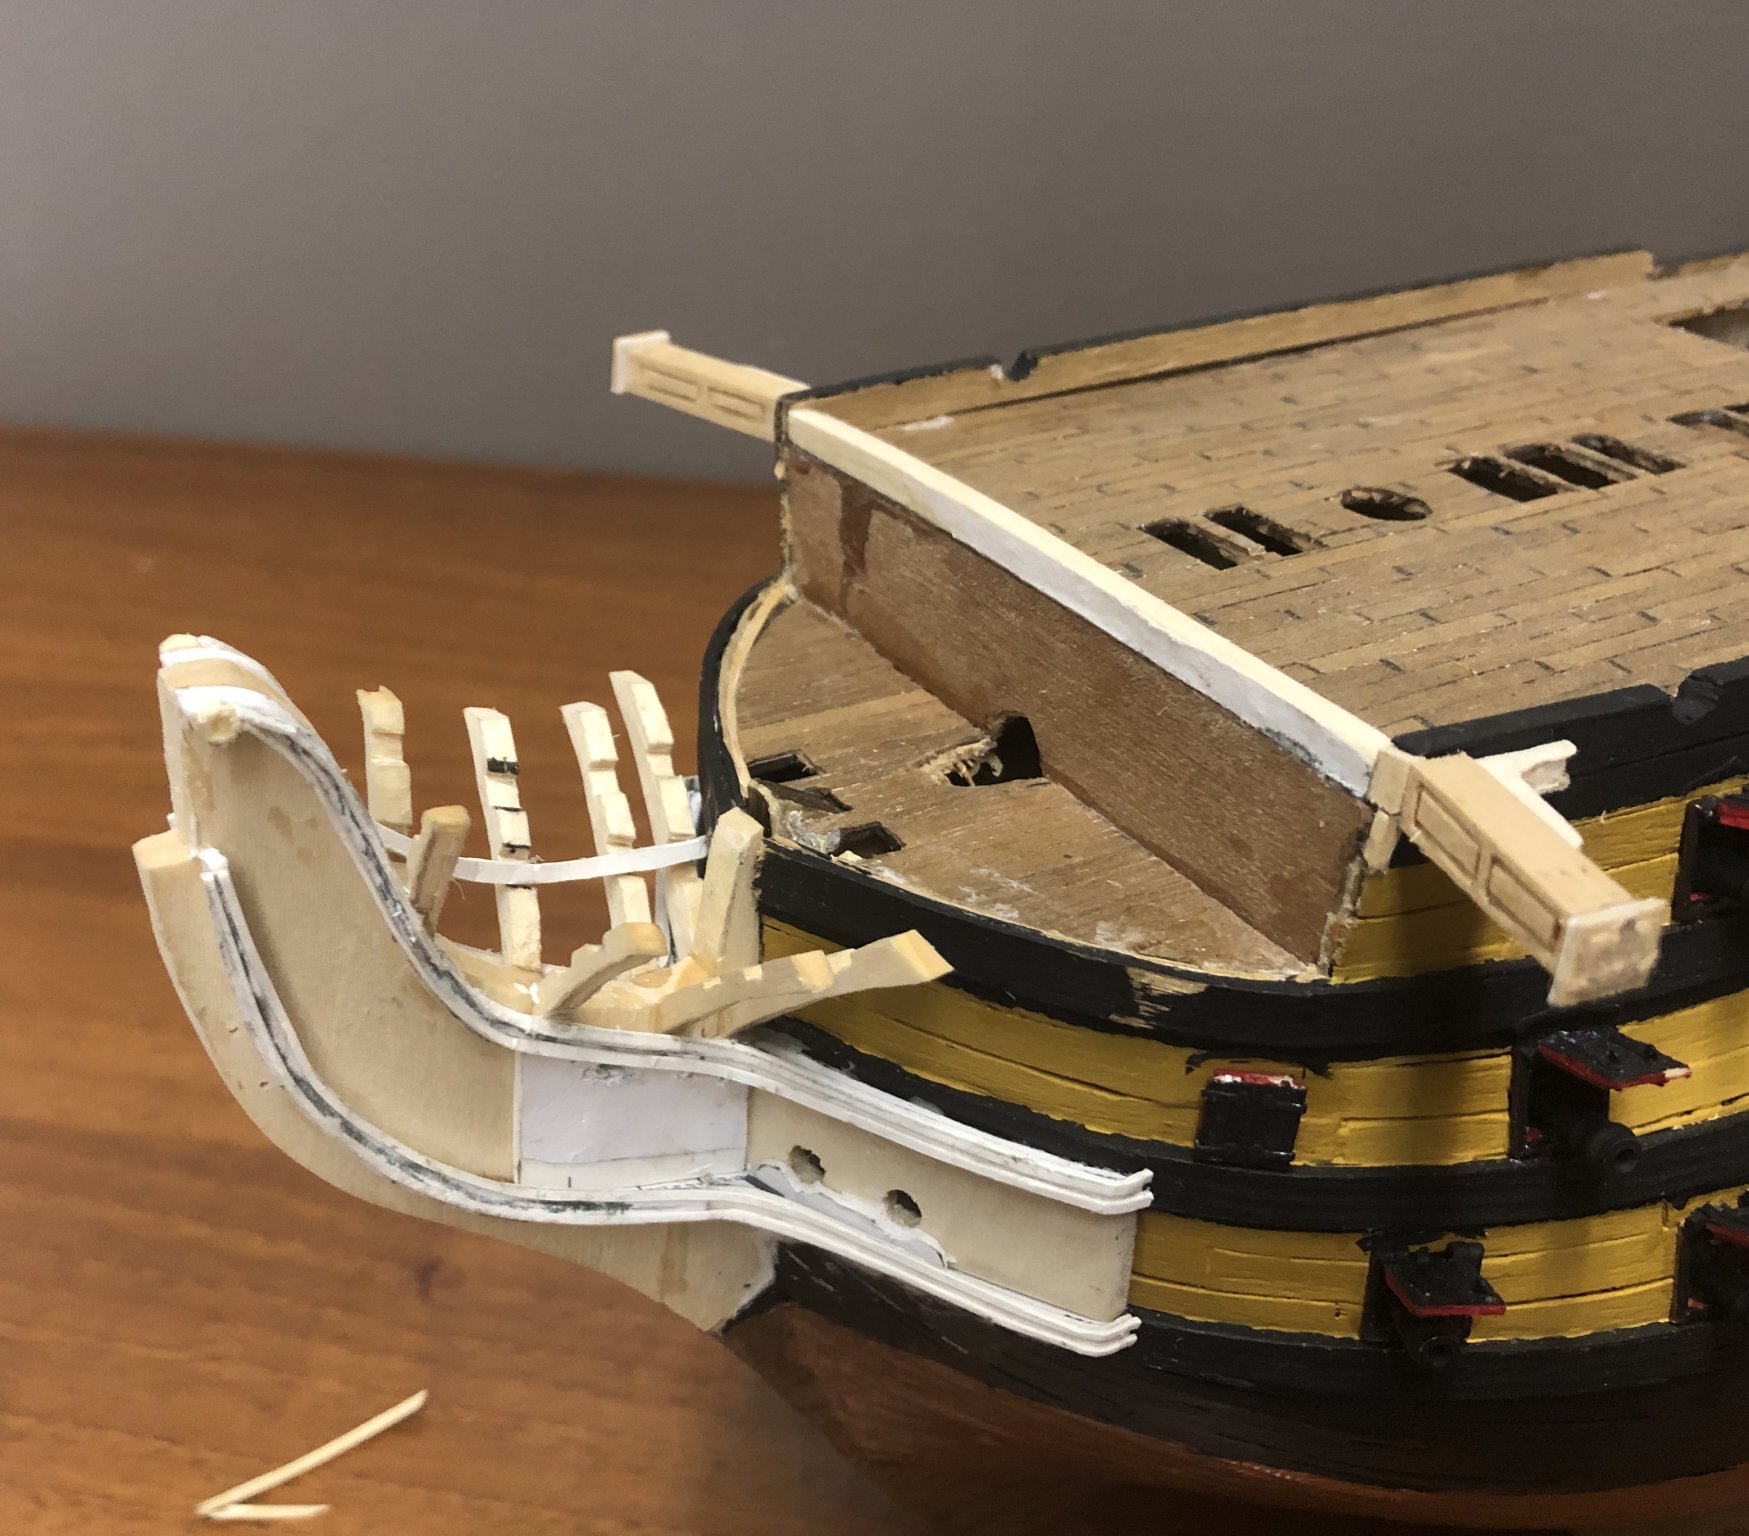
The other head rail is installed and I’m working on the knees for the catheads which blend into the second set of head rails.
- J11, Tom E and Edwardkenway
-
3
-
Thank you, Mark!
I have finished the head timbers.
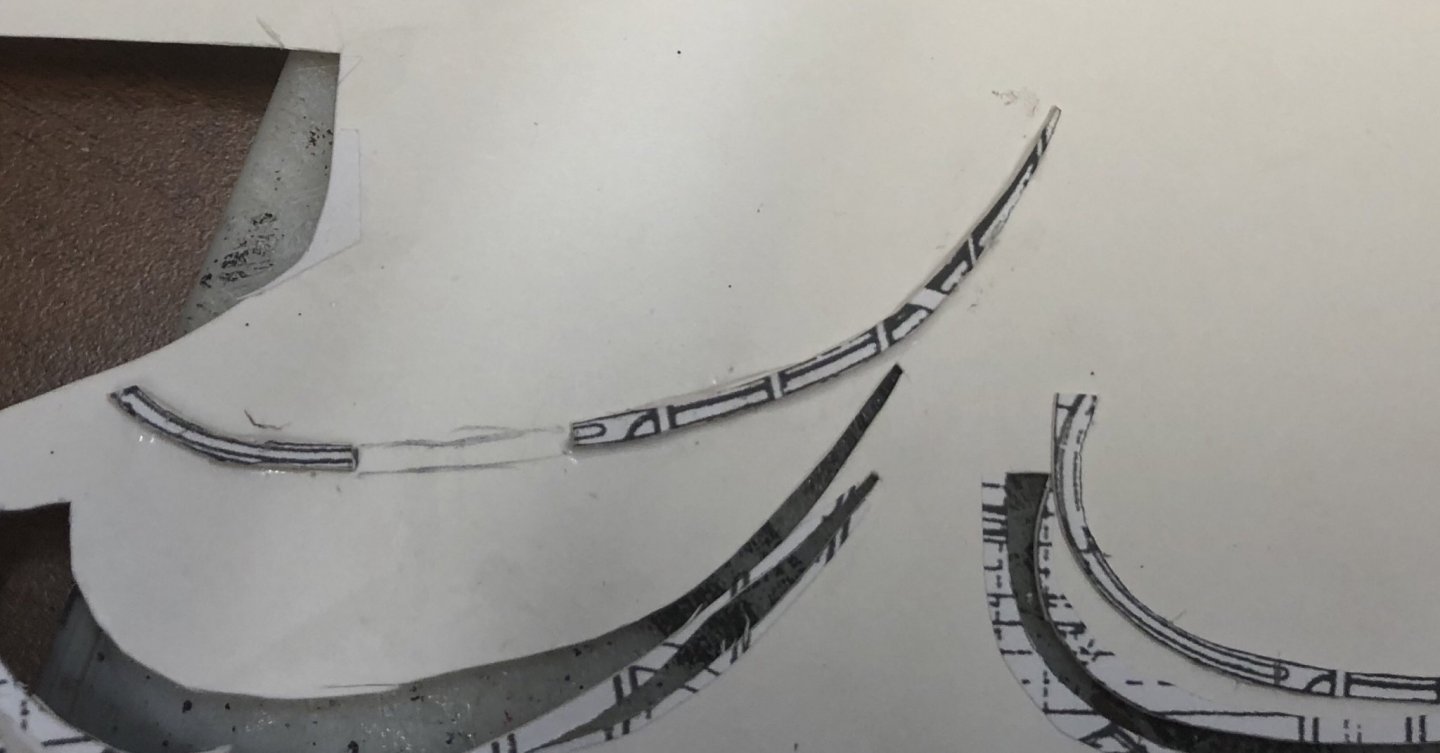
I have a head rail made and installed. I have the opposite one made, but not installed.The head rail that is installed is actually my second attempt. The first attempt is the splintered piece of wood in the second picture. The second attempt is 1.6mm card.

- Edwardkenway, Tom E, J11 and 2 others
-
5
-
-
I built this kit several years ago.
Replacing the pvc planking with mahogany is definitely a good call.
I did not and regretted it.
I’m looking forward to seeing progress.
- CDW, popeye the sailor, mtaylor and 2 others
-
5
-
-


HMS Victory by GrandpaPhil - Mantua - Scale 1:98 - Kit-Bash
in - Kit build logs for subjects built from 1751 - 1800
Posted · Edited by GrandpaPhil
And now for something completely different!
A 54mm British Infantry Officer from the American War of Independence (AWI):
I think it’s a Call To Arms figure, but I’m not really sure.
I’m a little out of practice, but I think it came out okay.
It just needs some flock around the base after all paint dries.