


GrandpaPhil
-
Posts
5,023 -
Joined
-
Last visited
Content Type
Profiles
Forums
Gallery
Events
Posts posted by GrandpaPhil
-
-
-
Congratulations! Very nicely done!
-
-
11 hours ago, CPDDET said:
I could use Bob Hunts suggested method: use a pin vise with small drill bit and drill from the inside, next to each false frame timber. Then use a #11 X-acto to square up the holes. It's a bit risky but I might try it. Since there aren't yet any false frame timbers or bulwarks on the starboard side access would be a bit easier.
I can vouch for this method. I used a similar method to cut gunports and scuppers on my model of the Victory.
-
-
4 hours ago, Wallace said:
I have other things going on here that are keeping me from the shipyard and my Victory right now too Phil. I have a workshop filled with my lawn and garden machinery (we have 10 acres of land up here and need a lot of stuff to maintain it) that need servicing/fixing. I even have one taken apart and awaiting some valves. Priorities sir........
I understand very well.
-
-
-
-
-
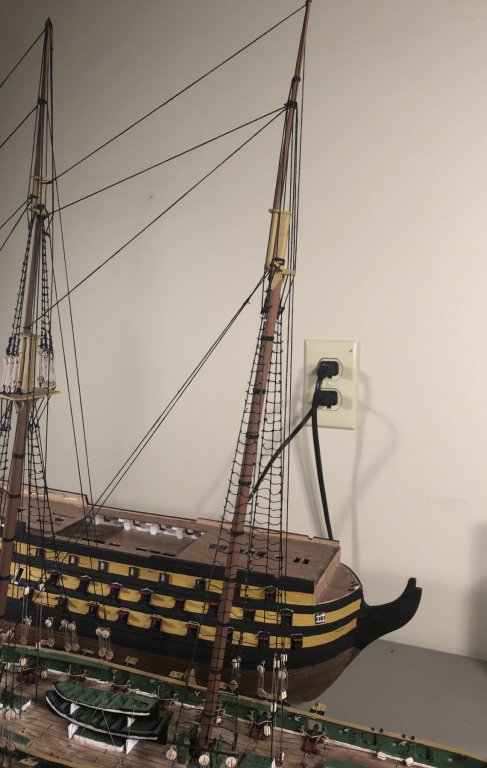
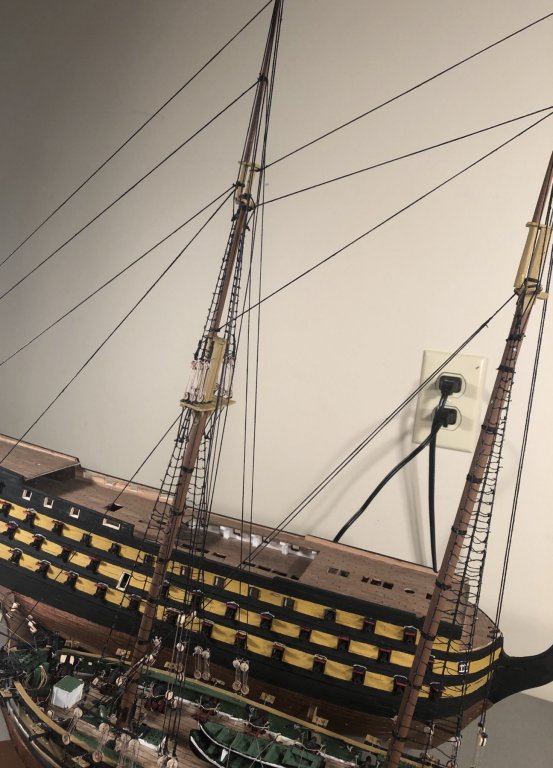
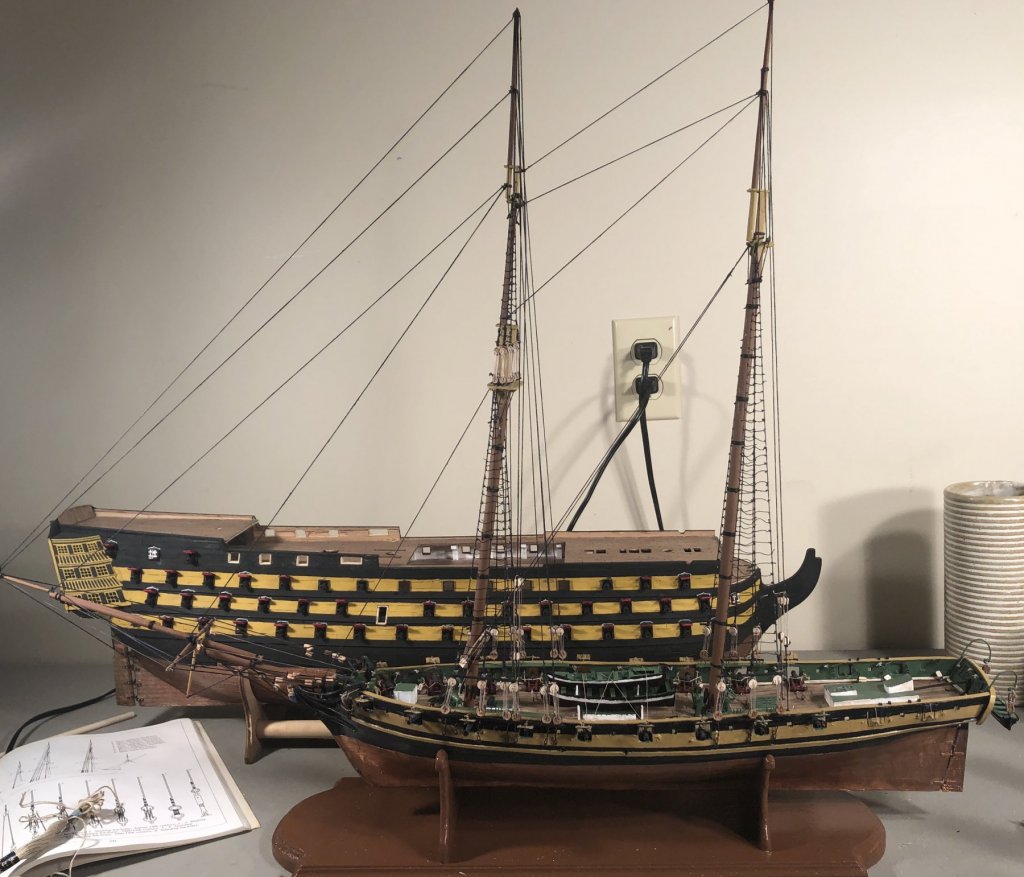
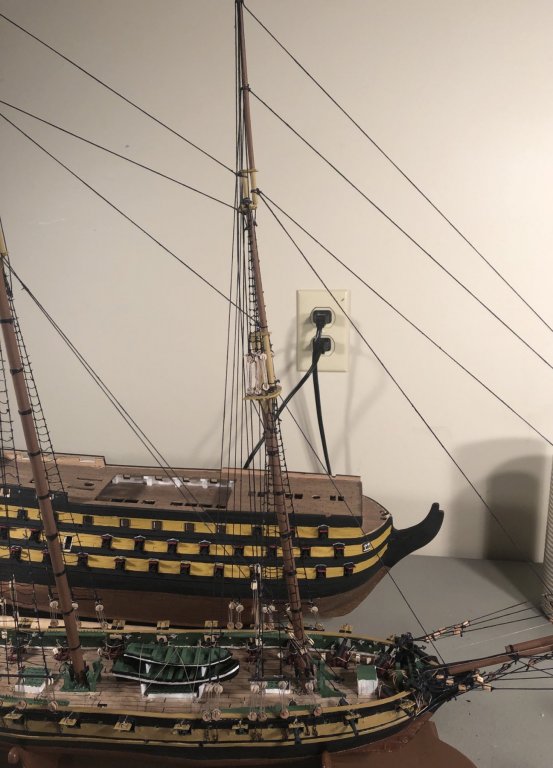
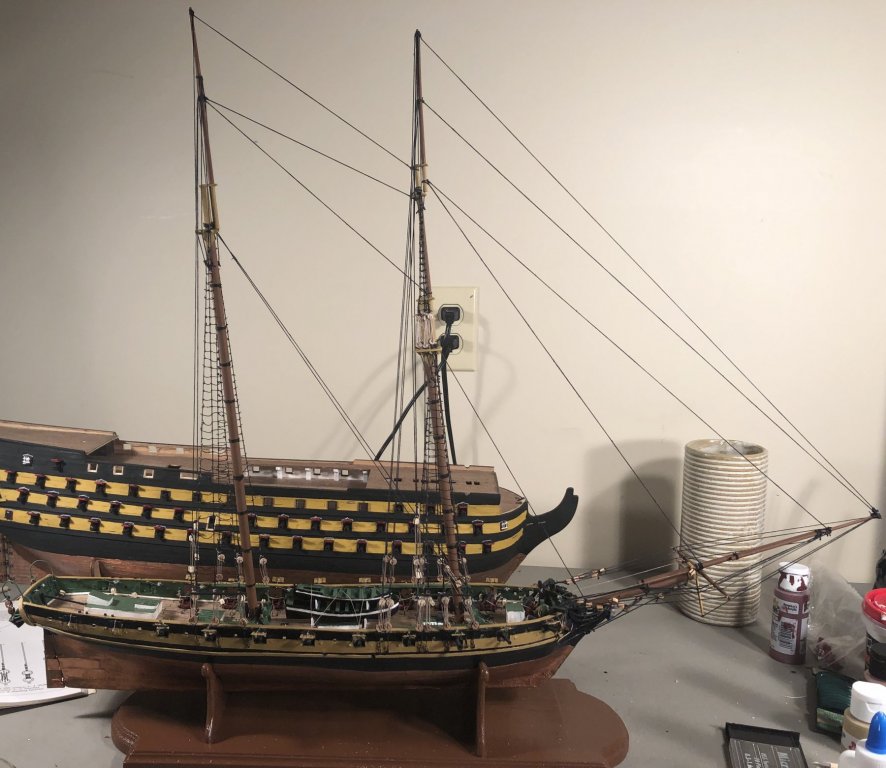
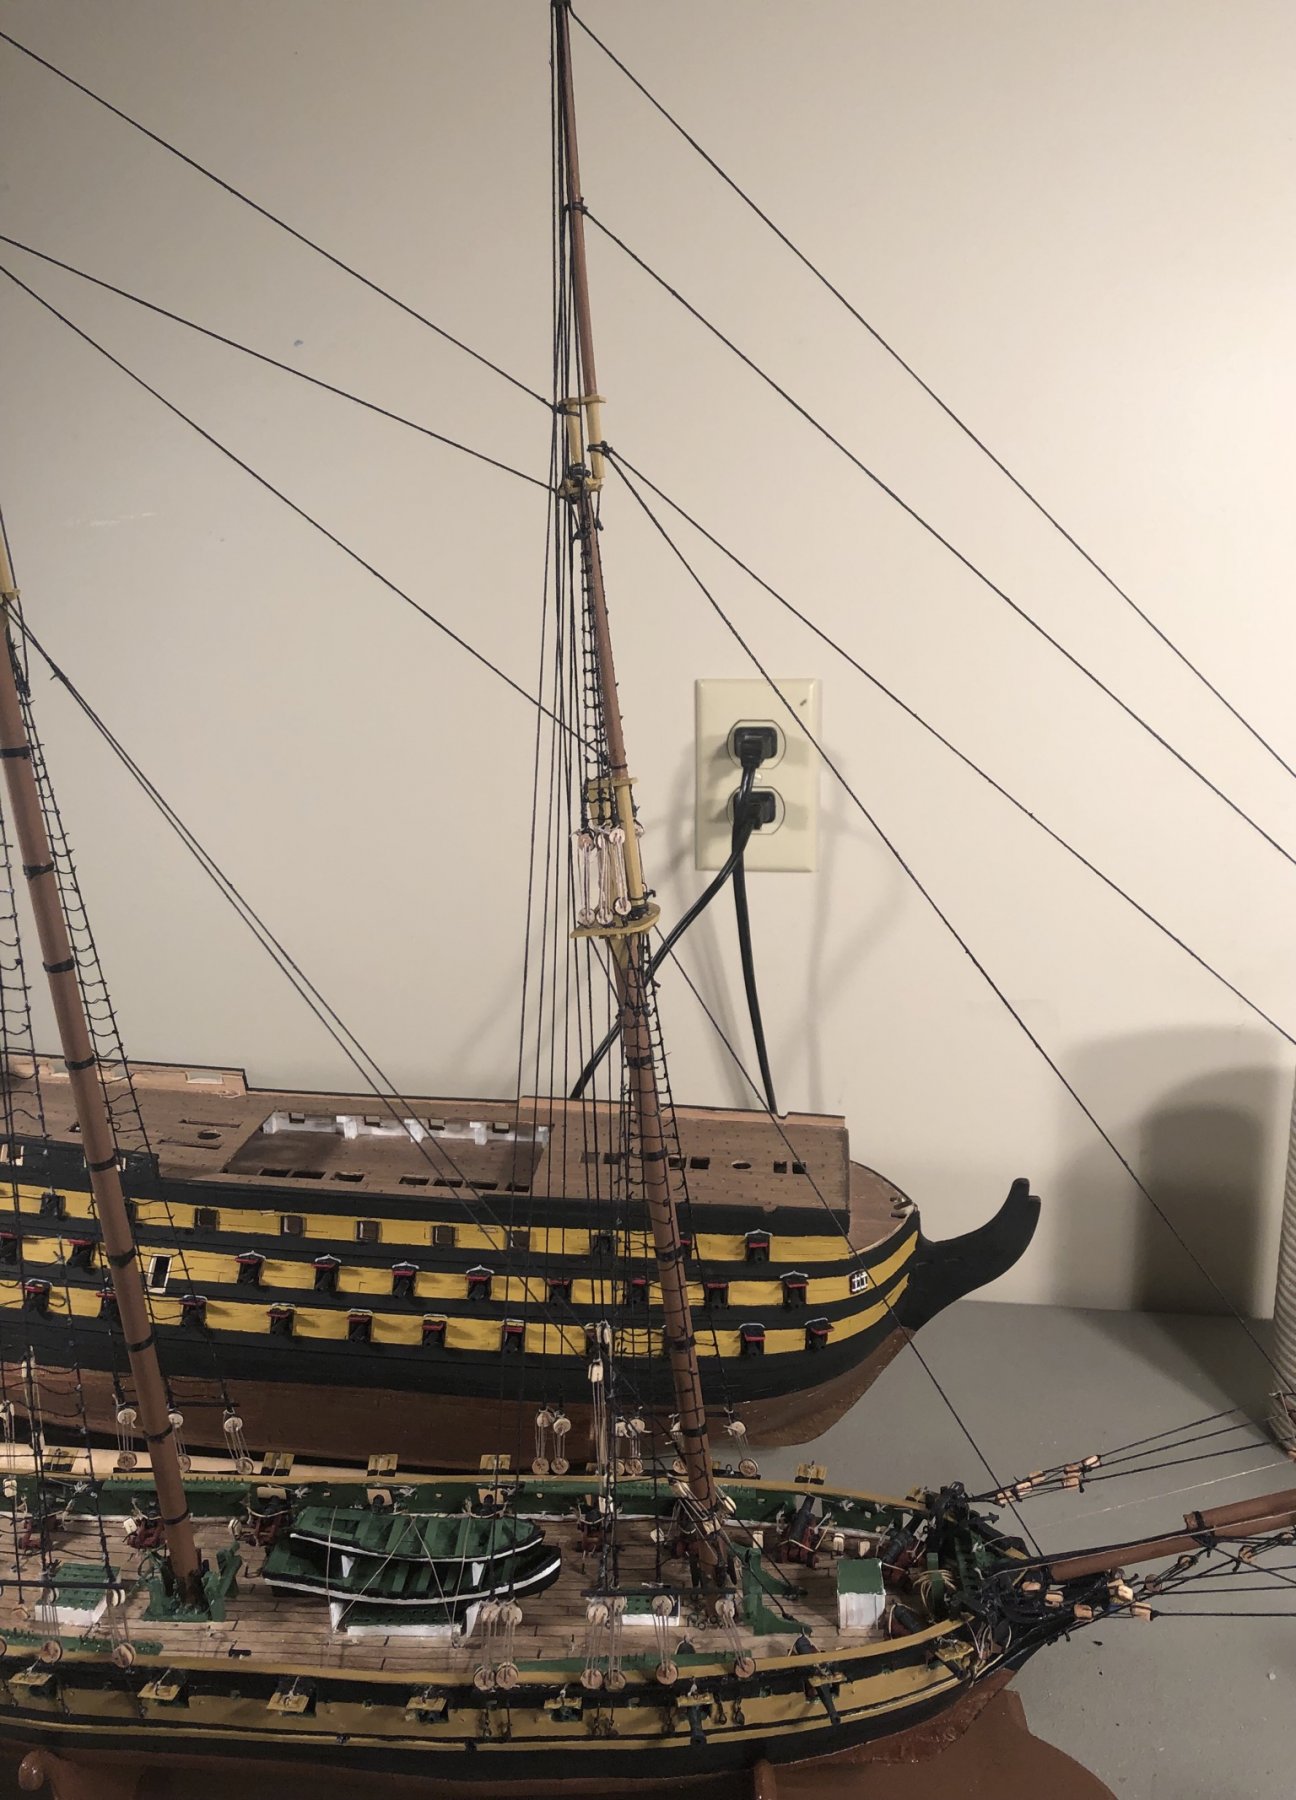
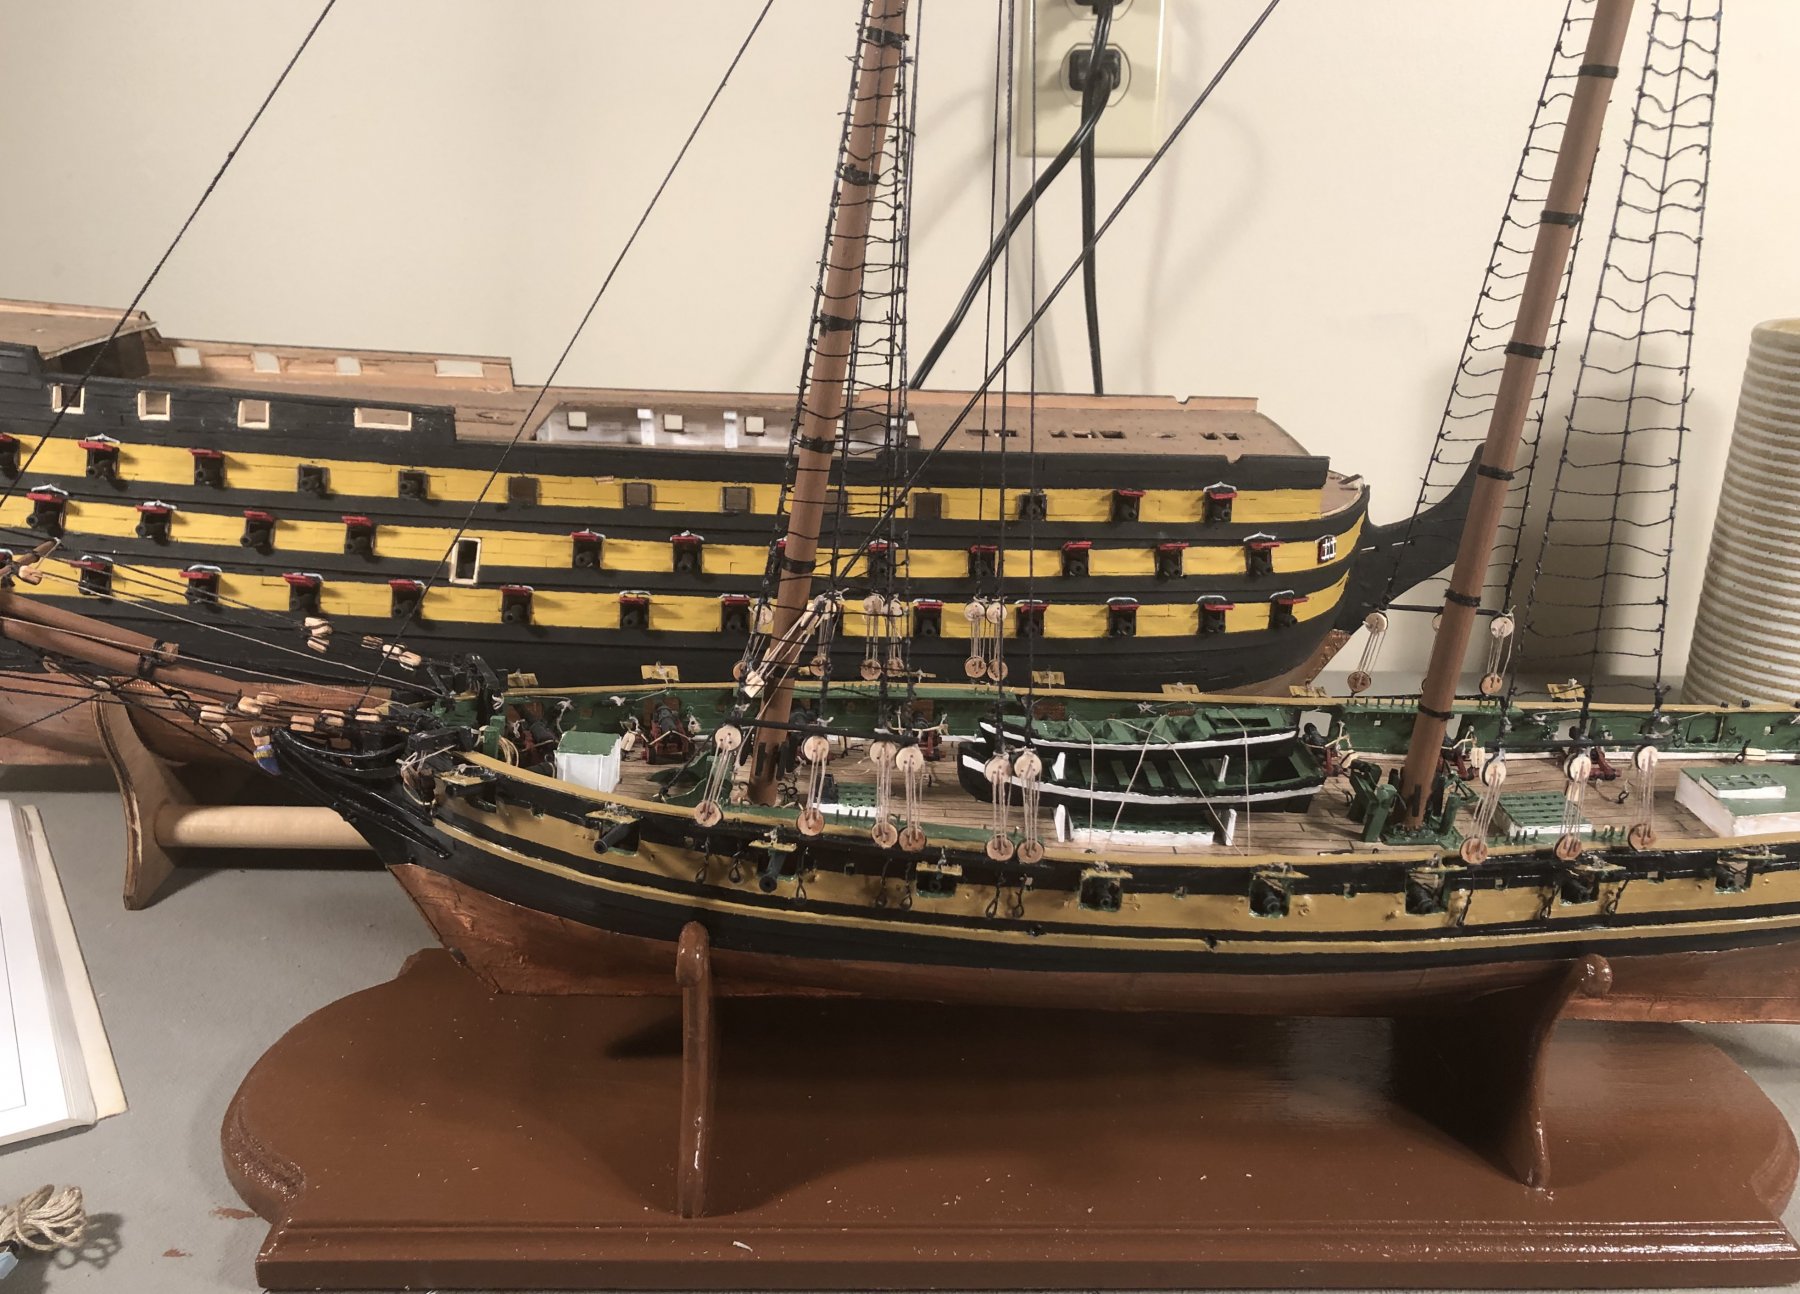
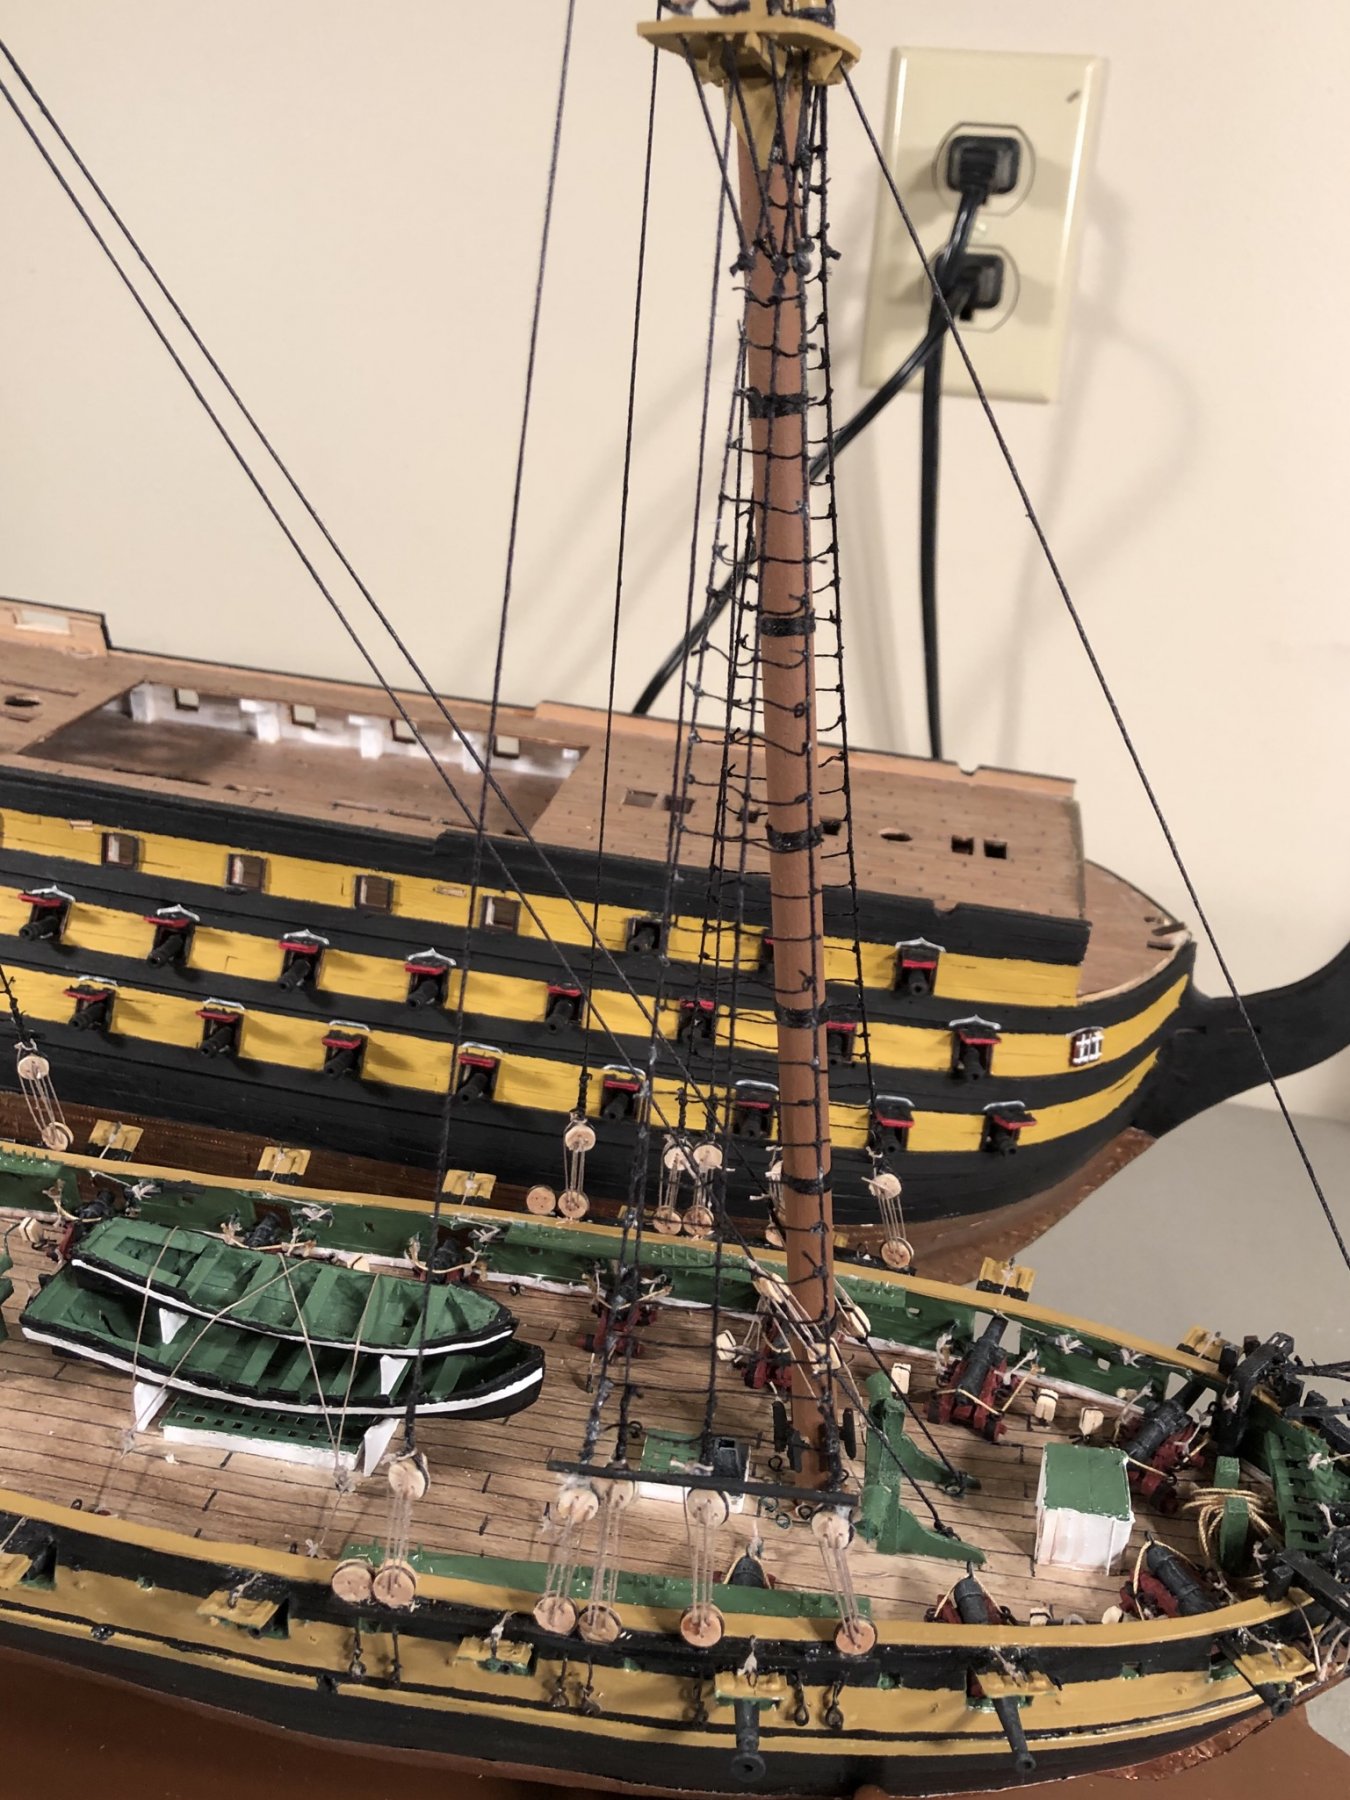
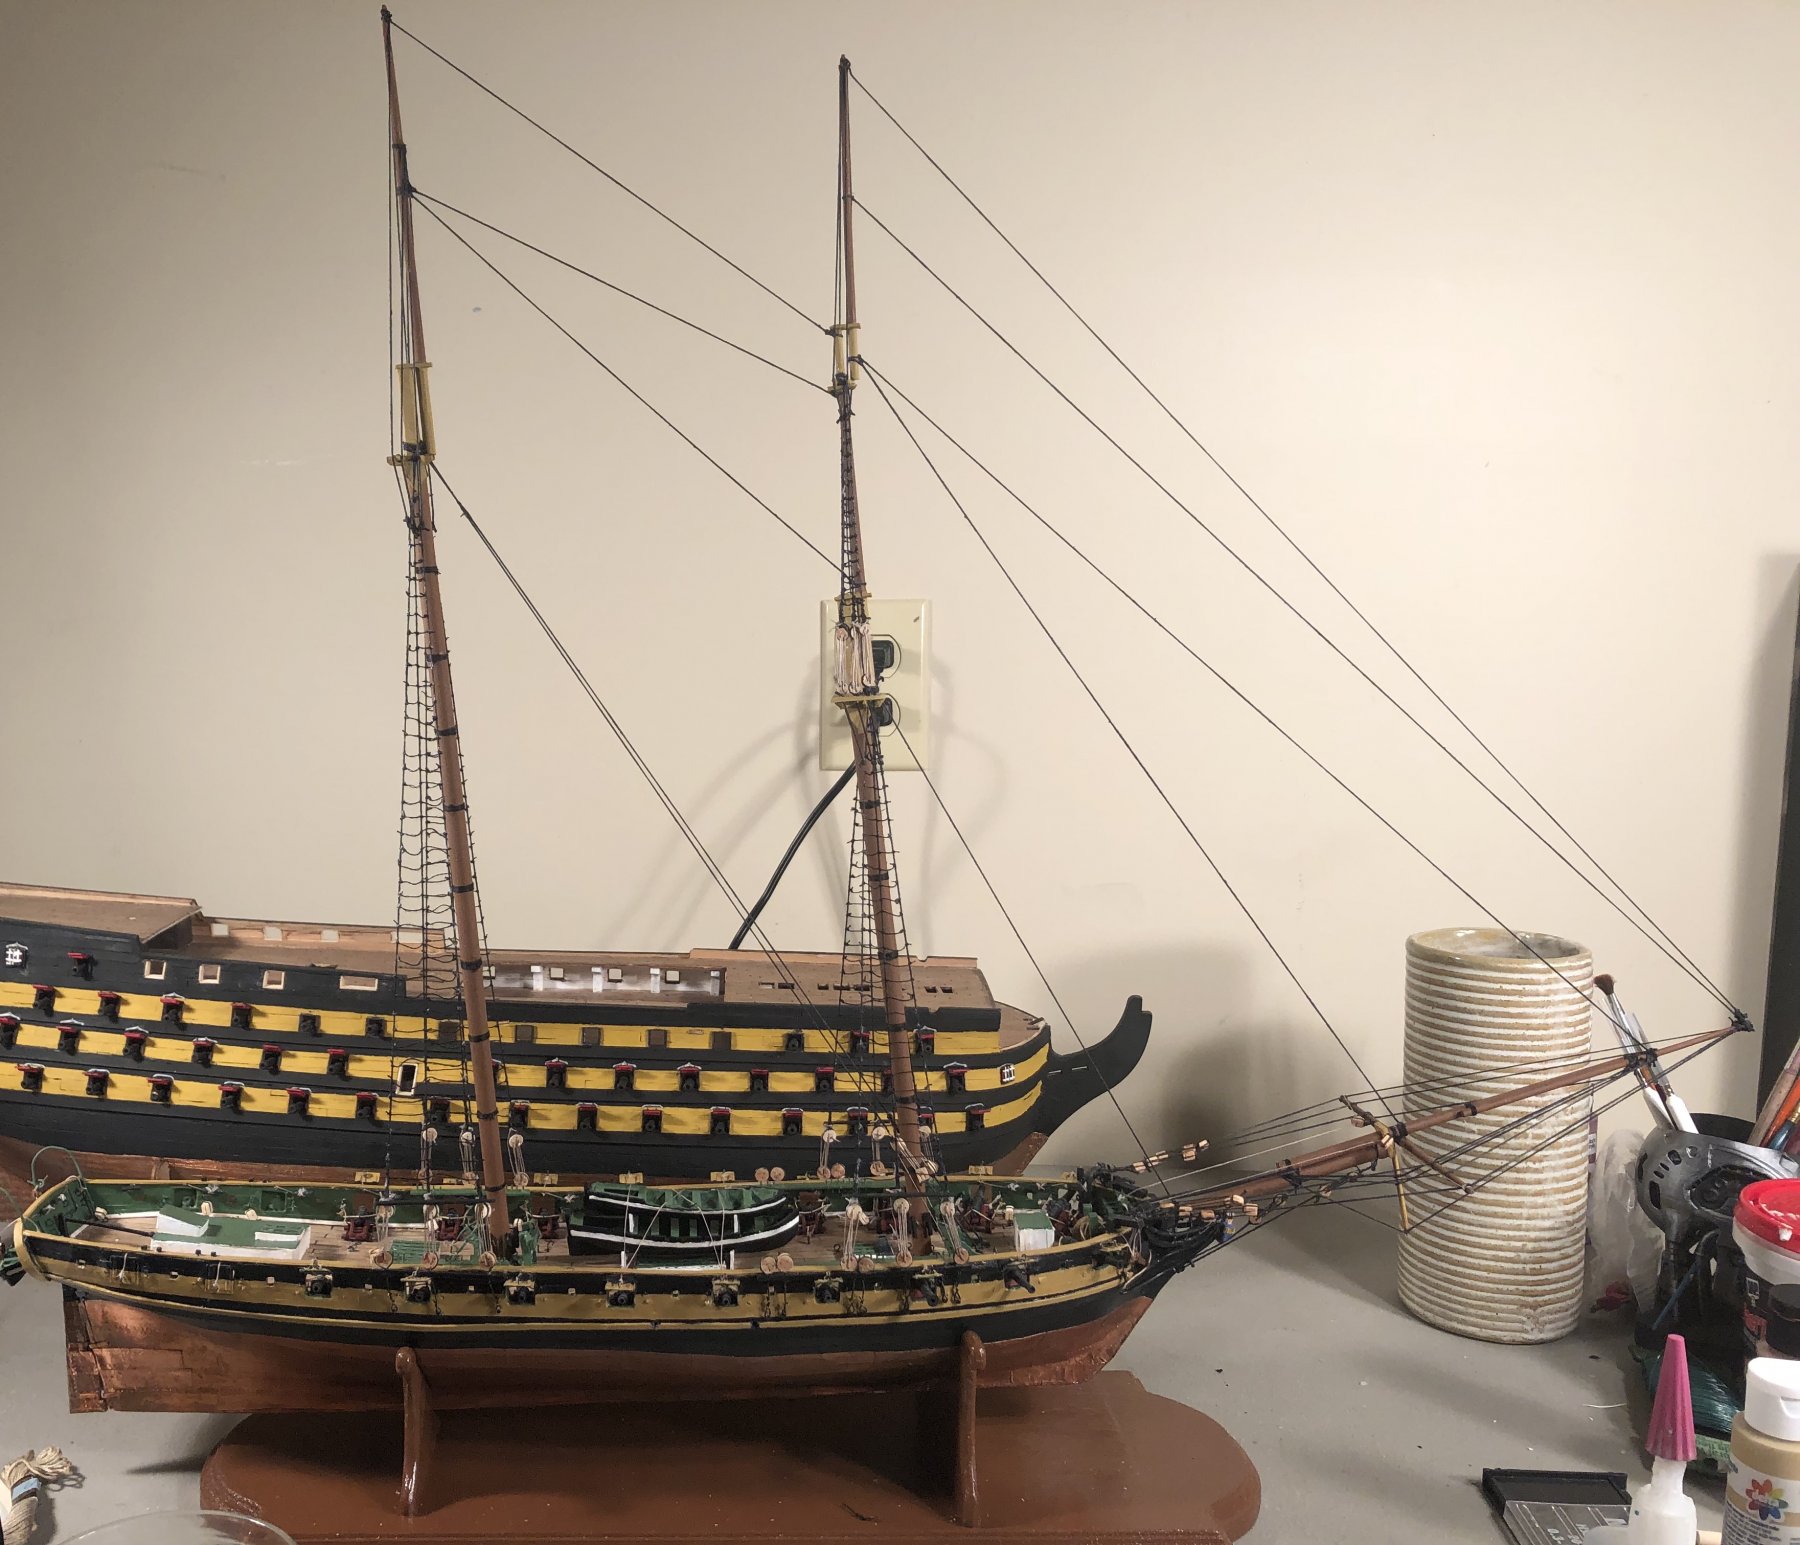
I have reached another milestone with this build. I am done with the standing rigging.
Next up, I will be making some booms, gaffs and yards.
Then, I will make sails.
After that, I have to install everything and install the running rigging.
The last thing I do on any model is to make and install flags and pennants.
As a quick side note, I never expected this model to get past the hull covering phase, but I’m too stubborn to give up. So, I’m pretty pleased with my progress. I’ve never scratch built a model before so I’m very happy with it. It’s not perfect, but it’s good enough for a first run. I’ve learned a lot and have gained much valuable experience that will help me in future builds.
Without further ado, I present the American Privateer Prince de Neufchatel with the standing rigging complete:
-
-
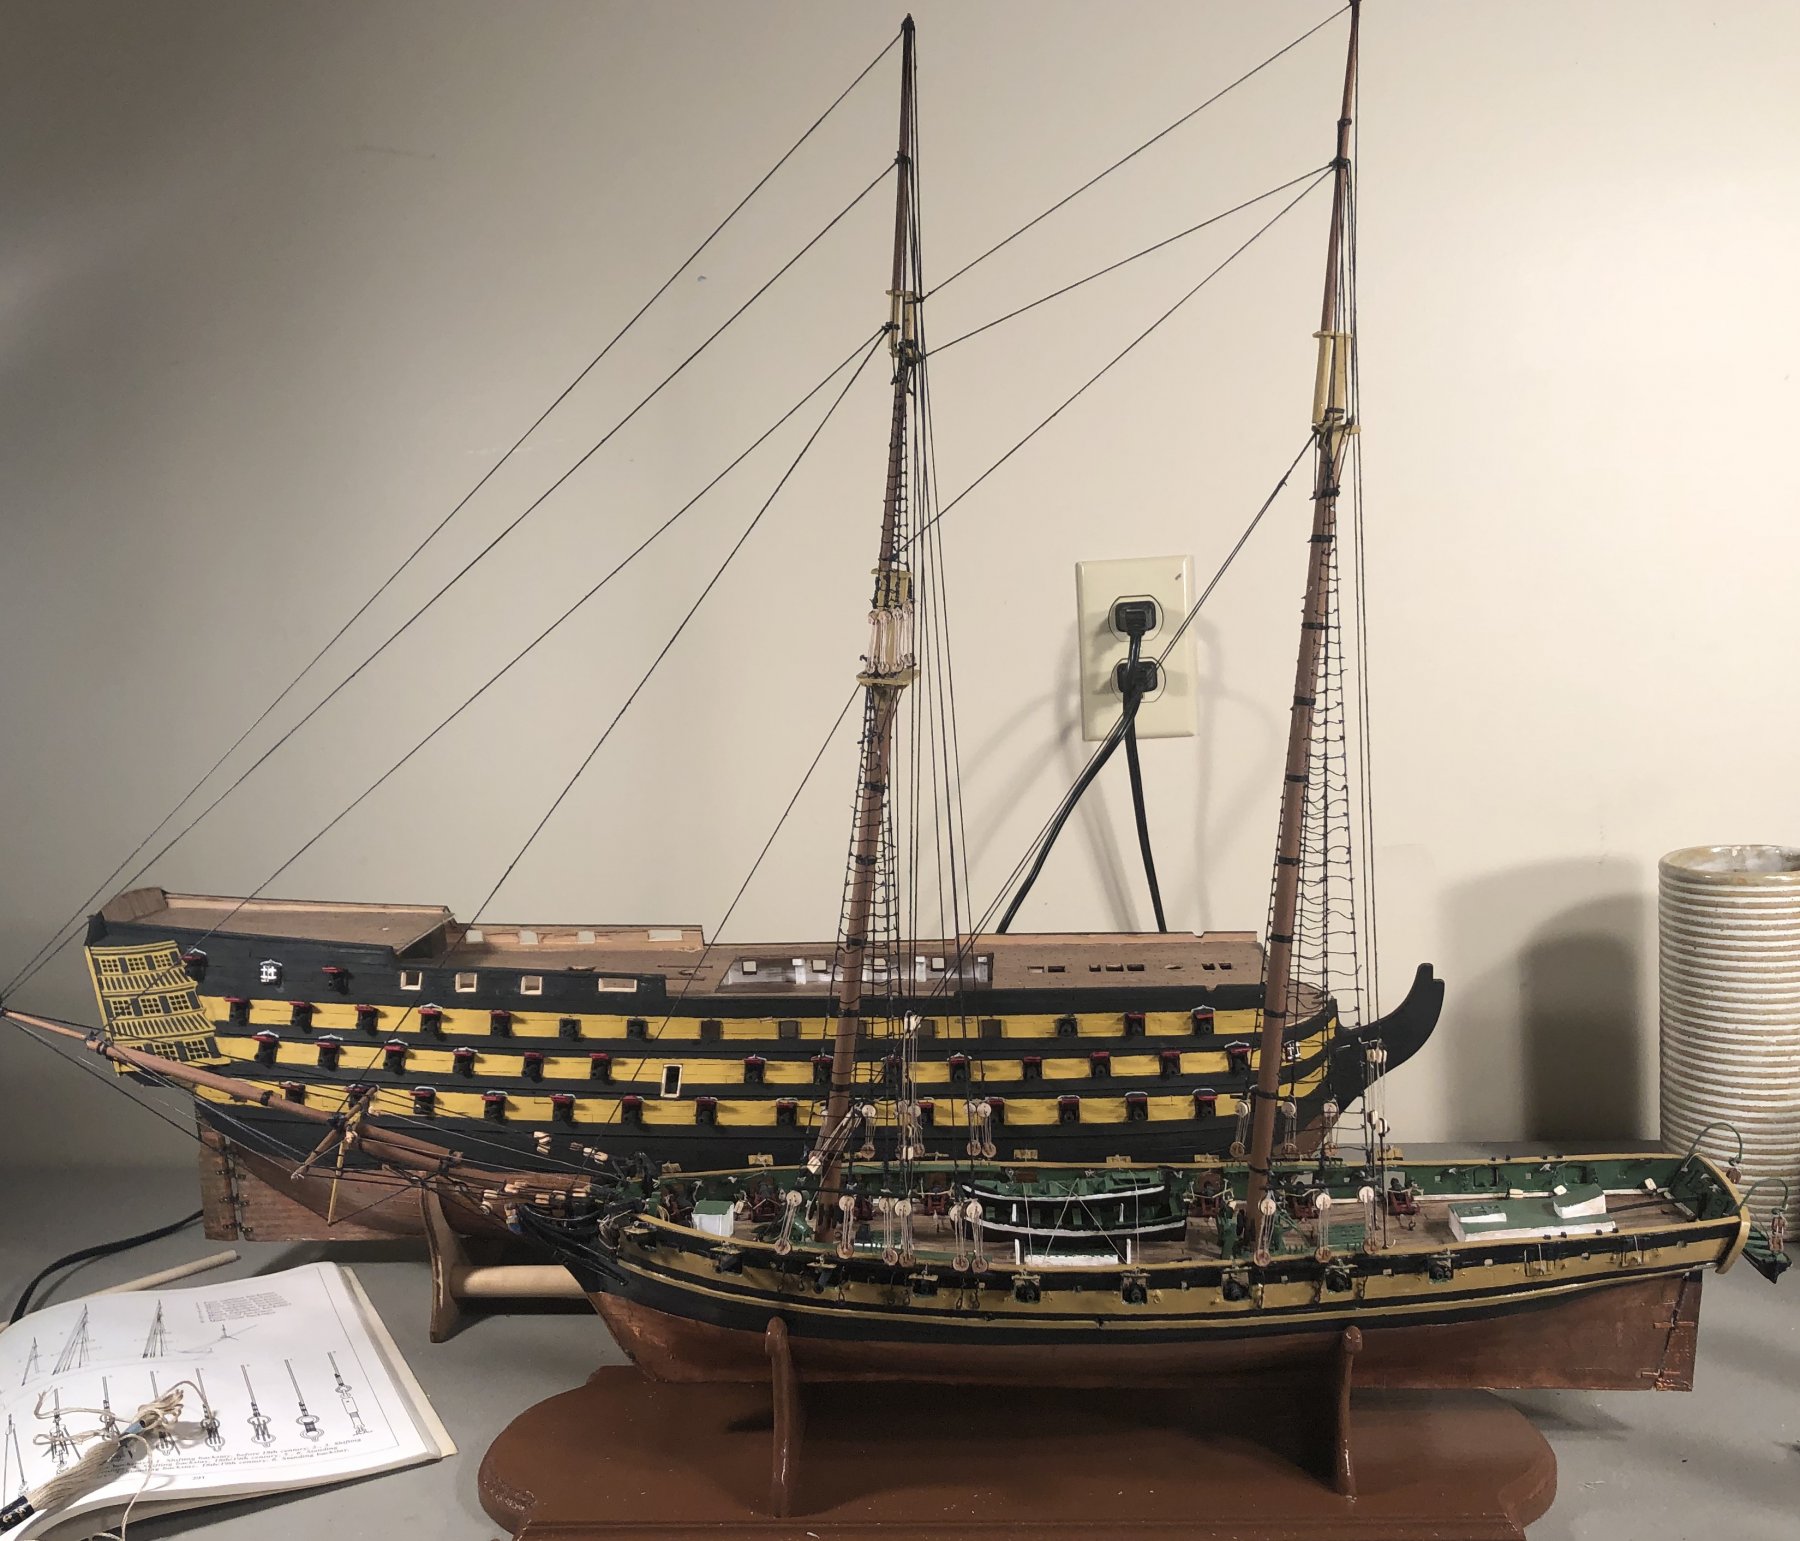
I’m in the final stages of the standing rigging on the Prince de Neufchatel so I’ll be getting back to the Victory shortly.
Using the Prince de Neufchatel as a learning project has worked wonderfully.
I believe that the Victory will go together quite nicely once I get back to it.
-
You have my most sincere condolences on your loss.
- Old Collingwood, mtaylor, Canute and 1 other
-
 4
4
-
Given the pictures that you have posted, I don’t think that you will have any difficulty rigging your model. Given your wood working experience, I don’t think you will have problems with anything that you will see in any kit.
I have never had a Caldercraft kit, but I’ve heard really good things about them. A schooner is a great place to start.
My first real ship model was the schooner Sultana by Model Shipways.
I am currently building my first scratch build and I chose a schooner because they are relatively simple (compared to a square rigged ship) and make a beautiful model.
I had no wood working experience when I started building ship models. I learned as I went.
From my experience since then, I have discovered that the hardest part is getting started with the intent to finish. Once you pass that point, the hard part’s done. After that it’s just a matter of actually building the model.
Take your time. Have fun. Don’t worry about making mistakes (my models are full of them). Learn from those mistakes and move forward.
-
-
-
Also remember, if the hull is okay, masting and rigging aren’t bad to replace.
It’s time consuming, but isn’t everything with this hobby?
If you decide to restore the model, be patient, take your time and enjoy the process. Use it as a learning tool.
- reklein, thibaultron, druxey and 3 others
-
6
-
I agree, the real question is how badly you want to restore it.
I’d start by pulling off the broken parts and doing a good solid damage assessment on what your base looks like. Then I would assemble my materials and plans to begin replacing the damaged parts.
-
-
-
-
-
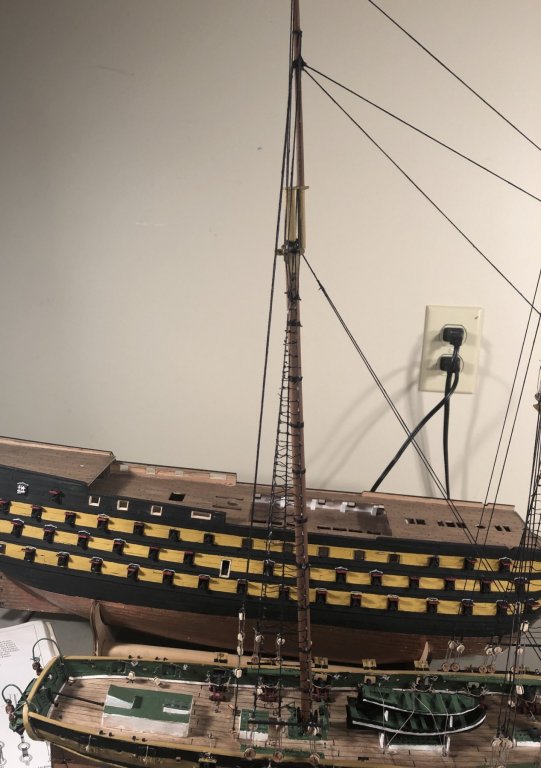
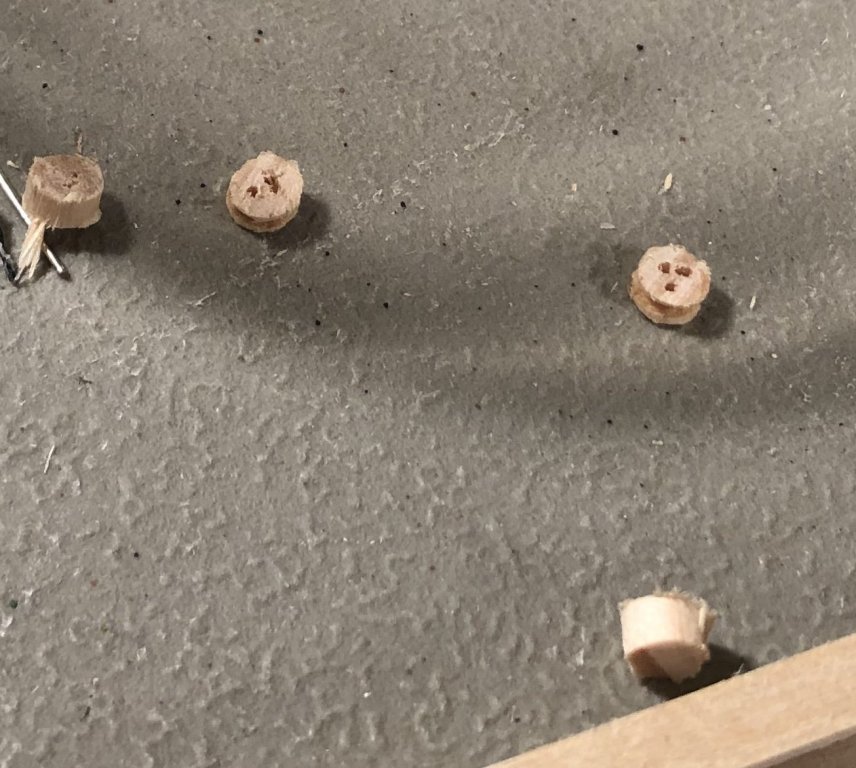
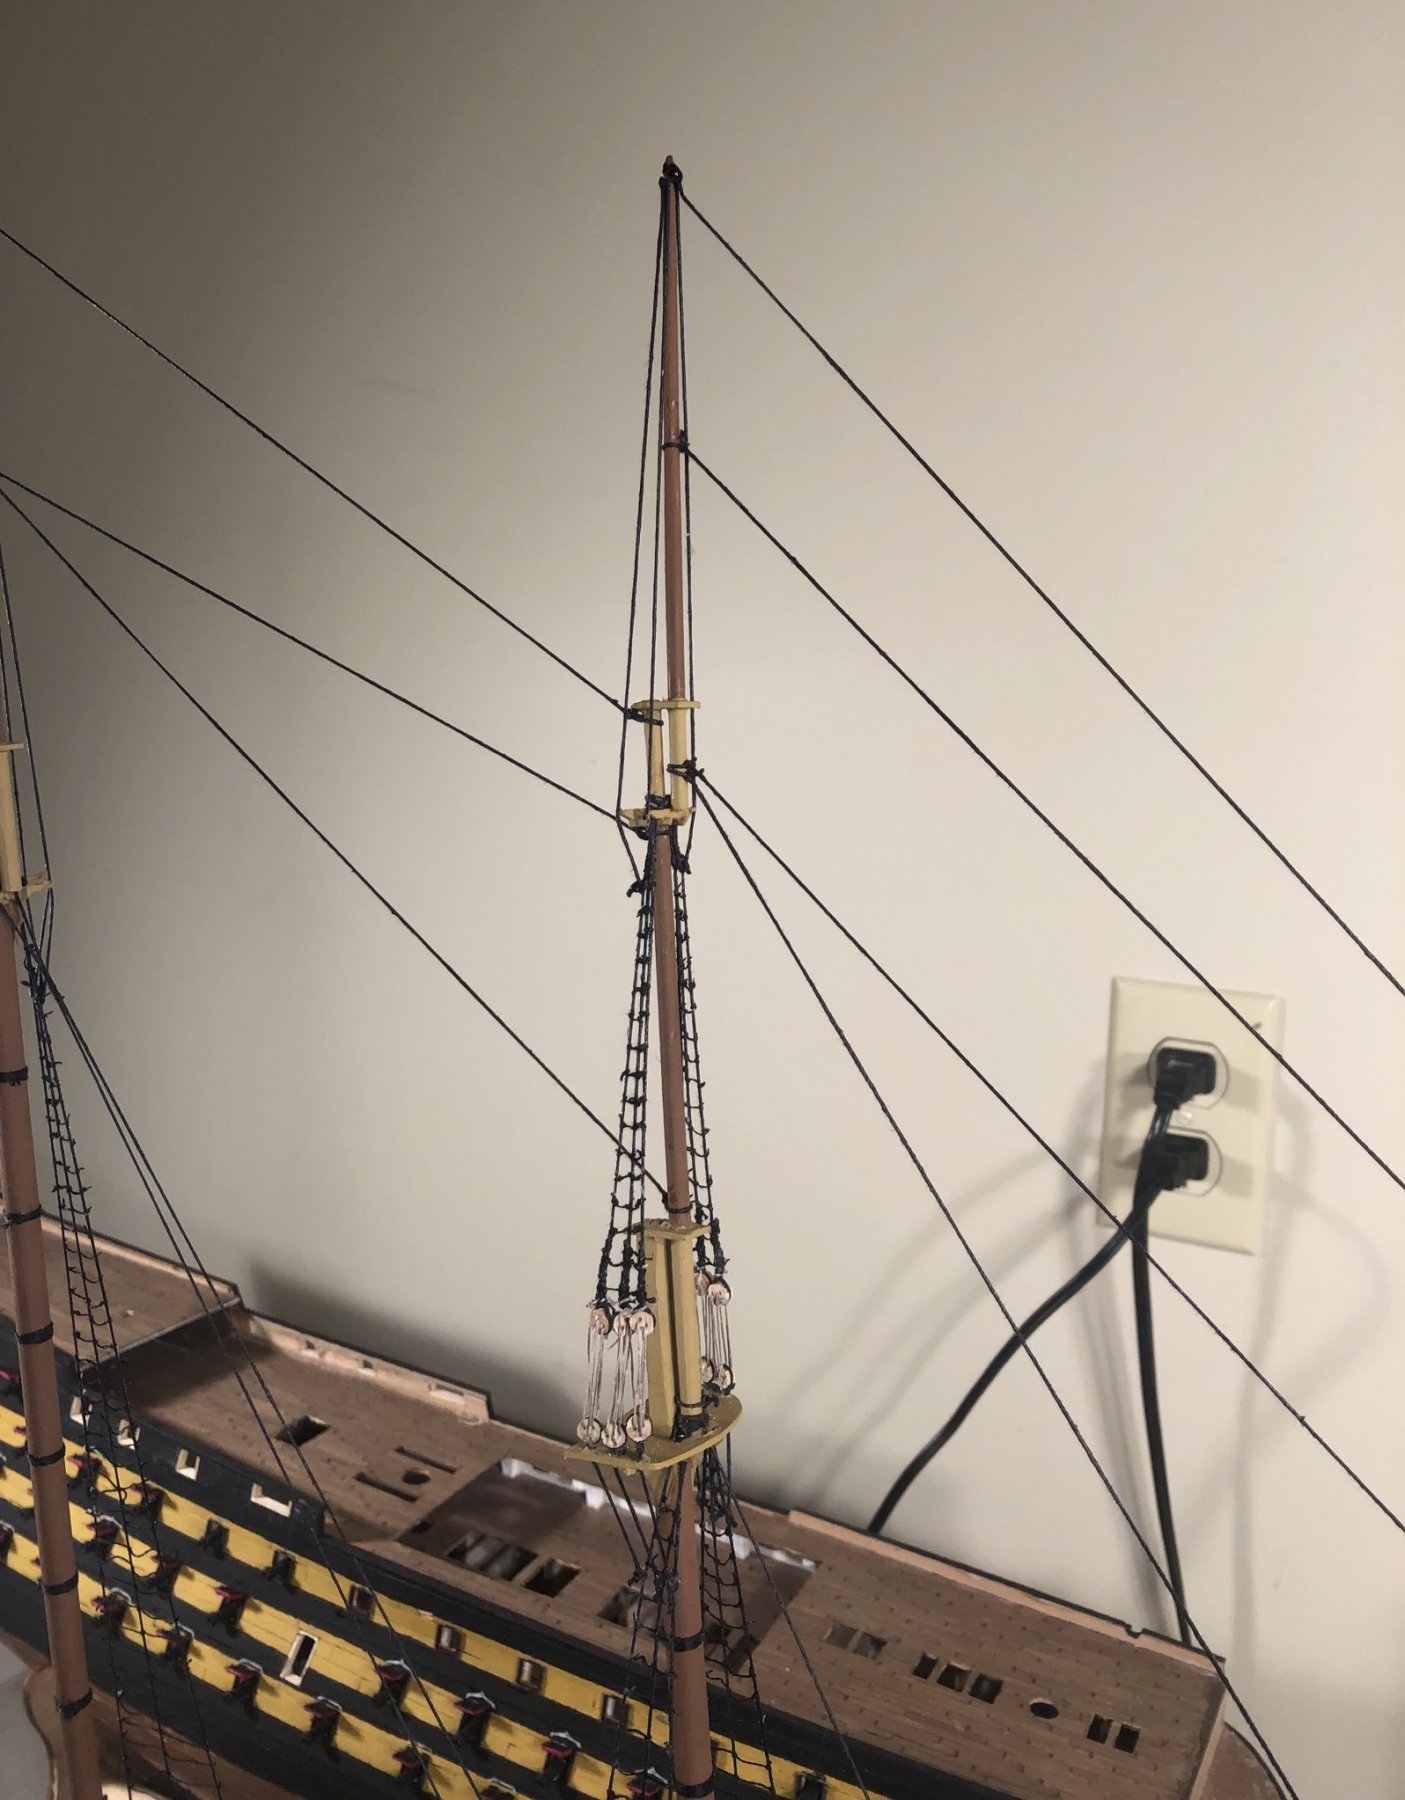
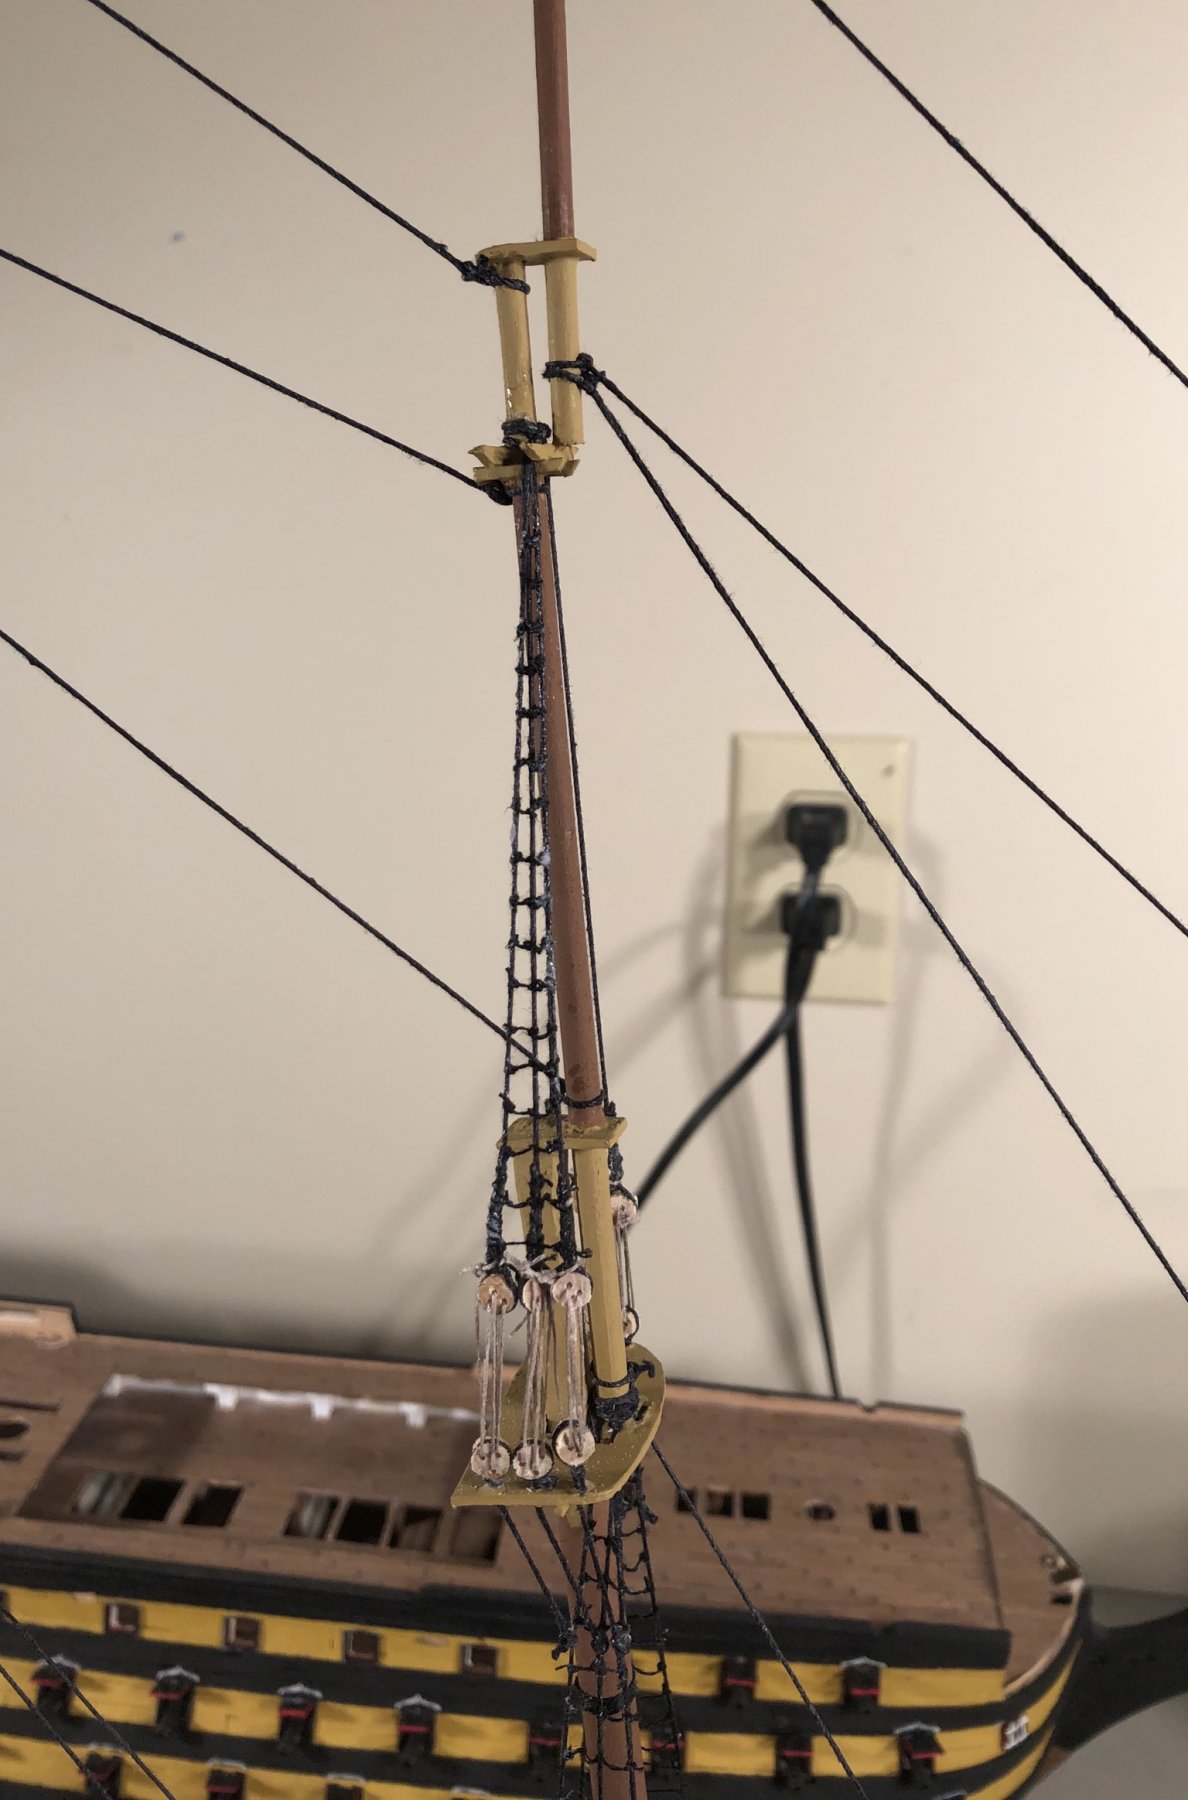
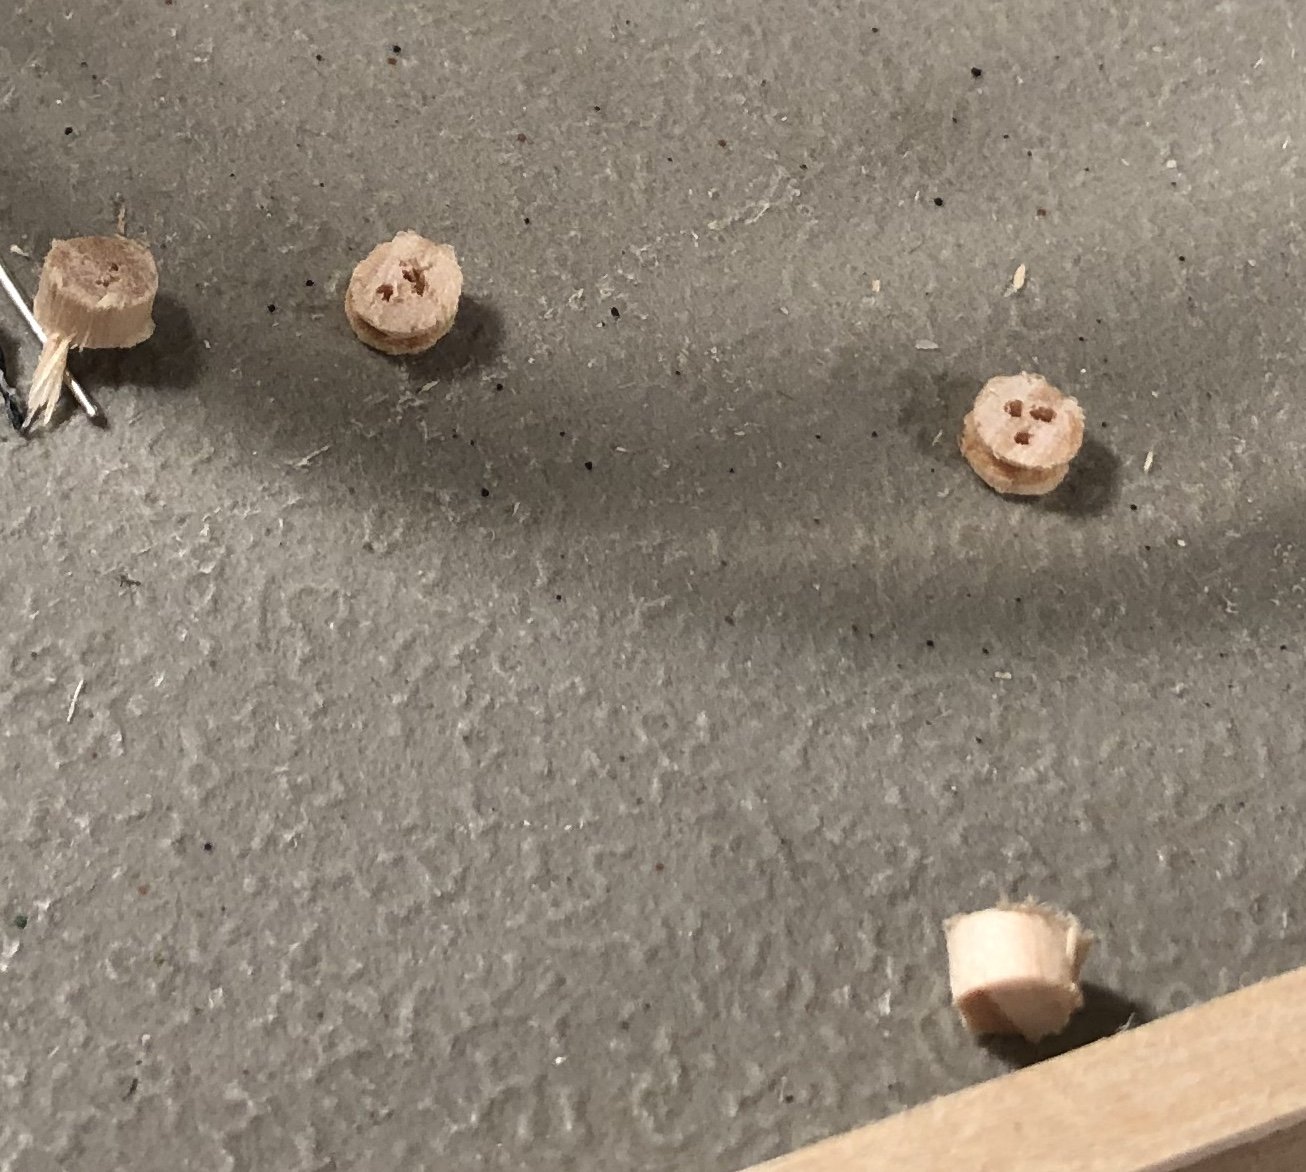
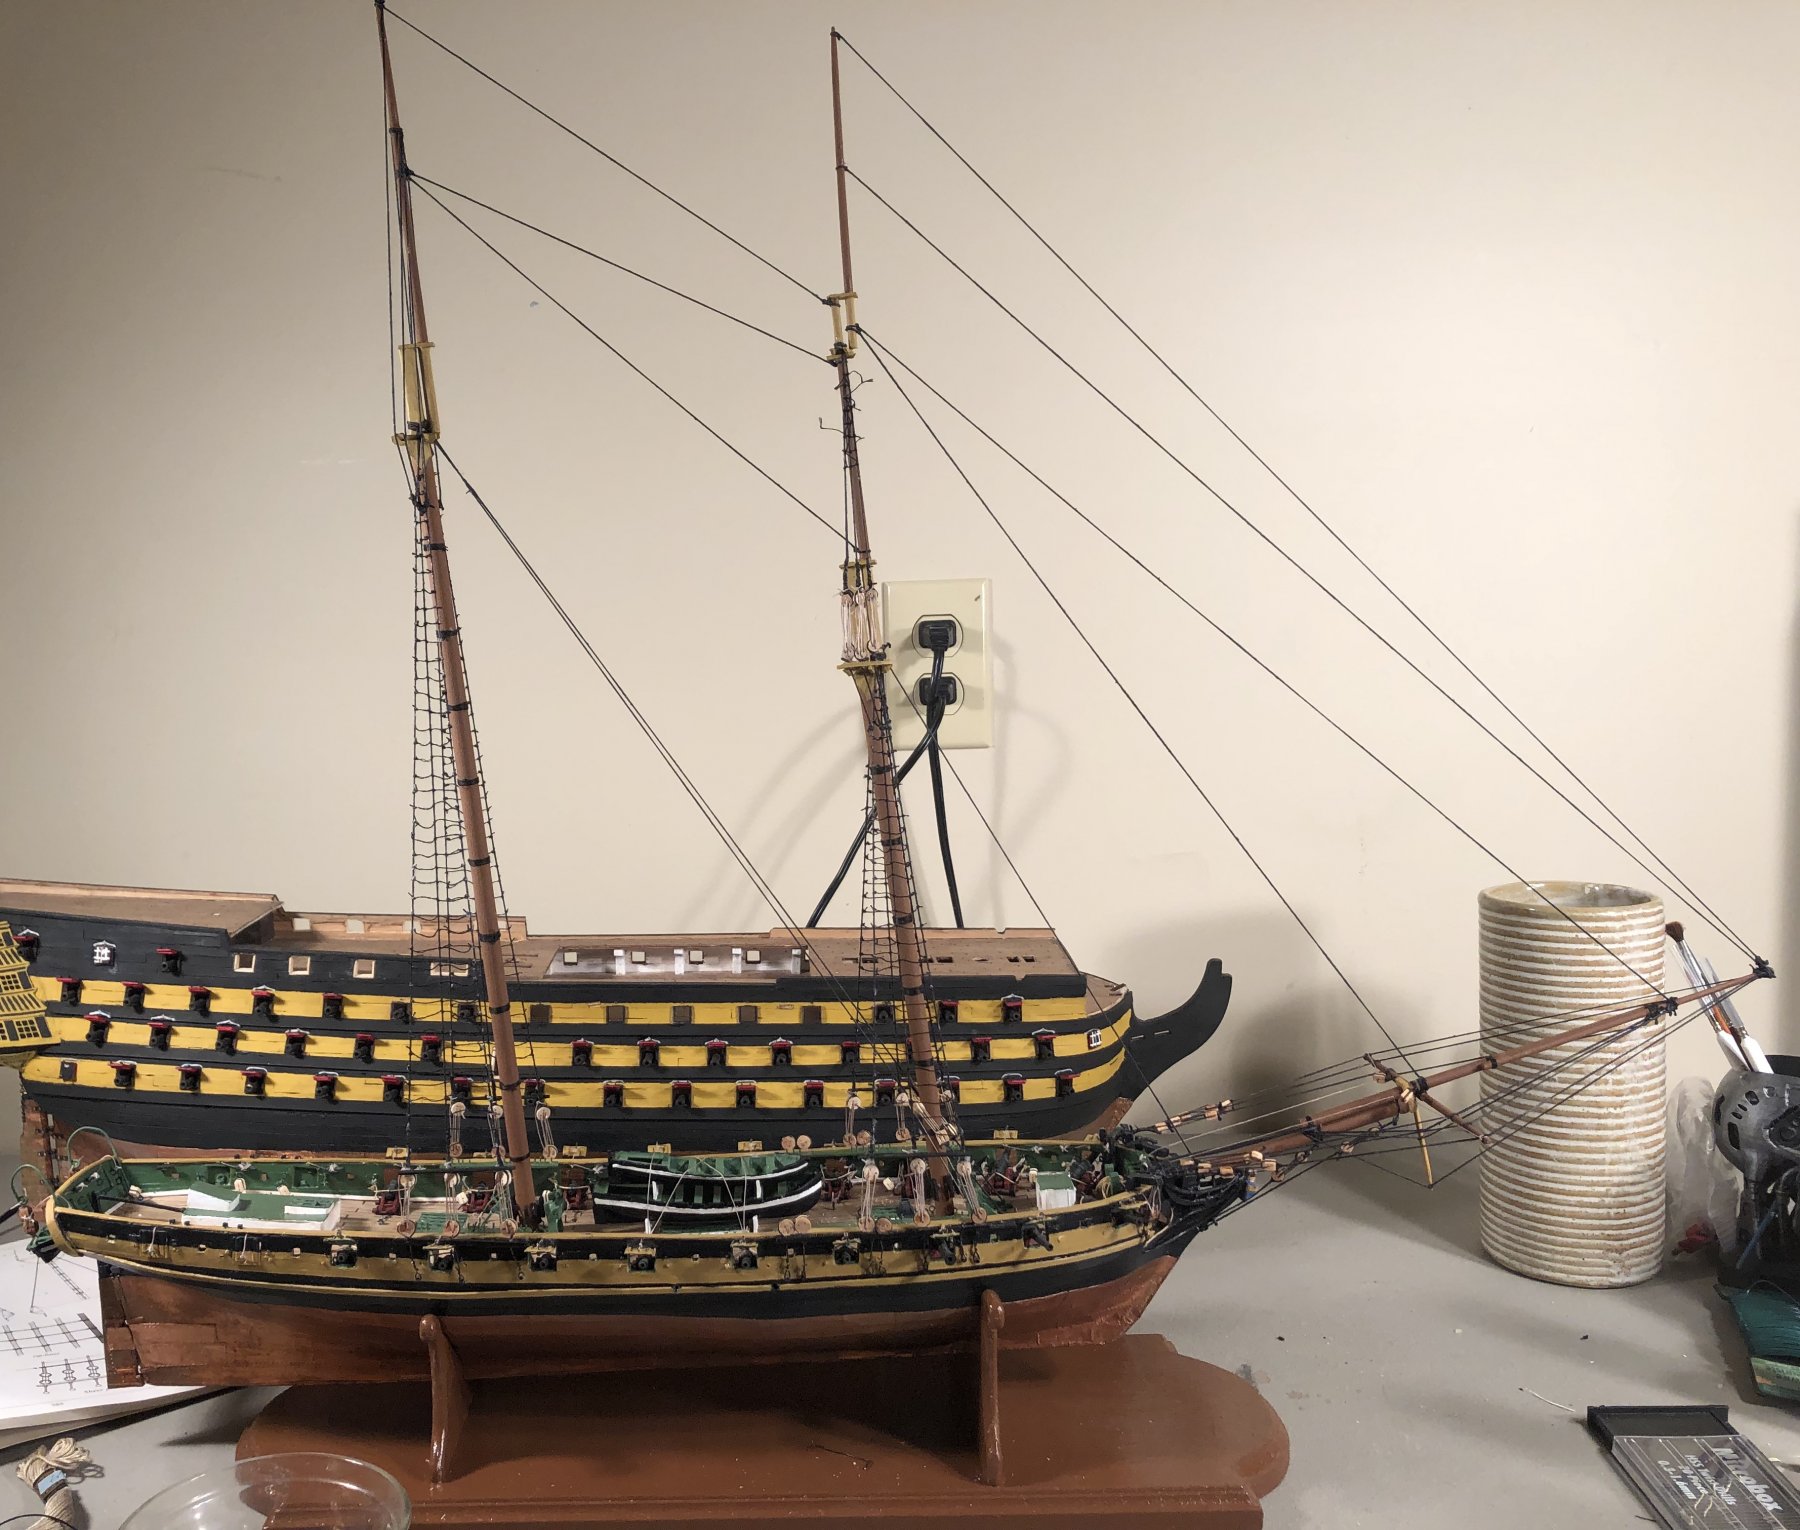
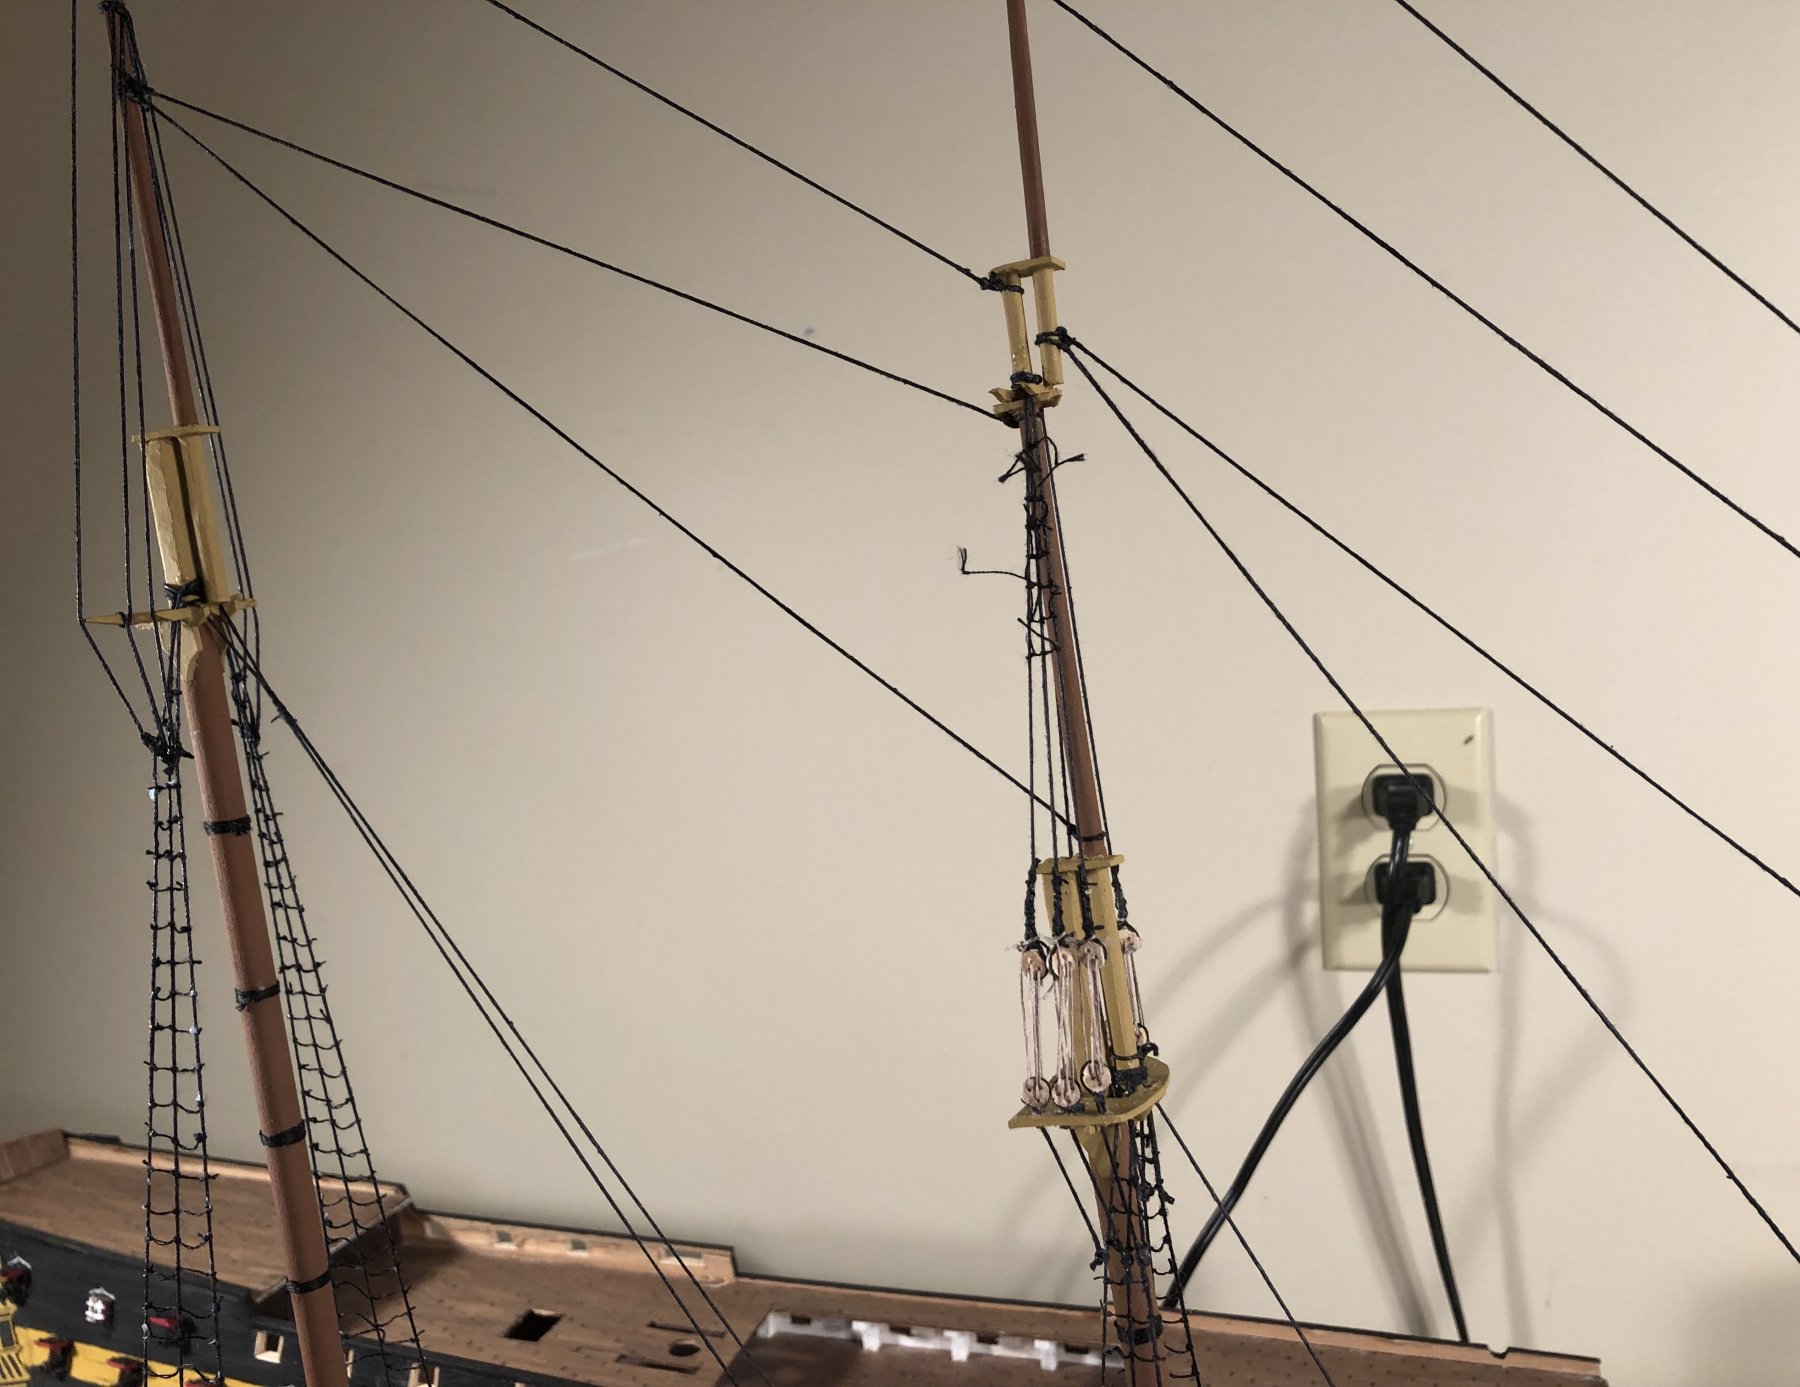
I got more done last night.
I made 6 more deadeyes with 4 failures while trying to make the 6th one, lol.
I removed a stay and rerouted it and added another that I had missed.
I also added the fore top shrouds and left it with the ratlines half done down the starboard side.
Quick note and lesson learned, I need to reinforce the mast tops better next time to prevent deflection under the stress of rigging.


Genesis by Omega1234 - FINISHED - 1/300 - 49 m Mega Yacht
in - Build logs for subjects built 1901 - Present Day
Posted
Awesome!