HOLIDAY DONATION DRIVE - SUPPORT MSW - DO YOUR PART TO KEEP THIS GREAT FORUM GOING! (Only 36 donations so far out of 49,000 members - C'mon guys!)
×


GrandpaPhil
-
Posts
6,079 -
Joined
-
Last visited
Content Type
Profiles
Forums
Gallery
Events
Everything posted by GrandpaPhil
-
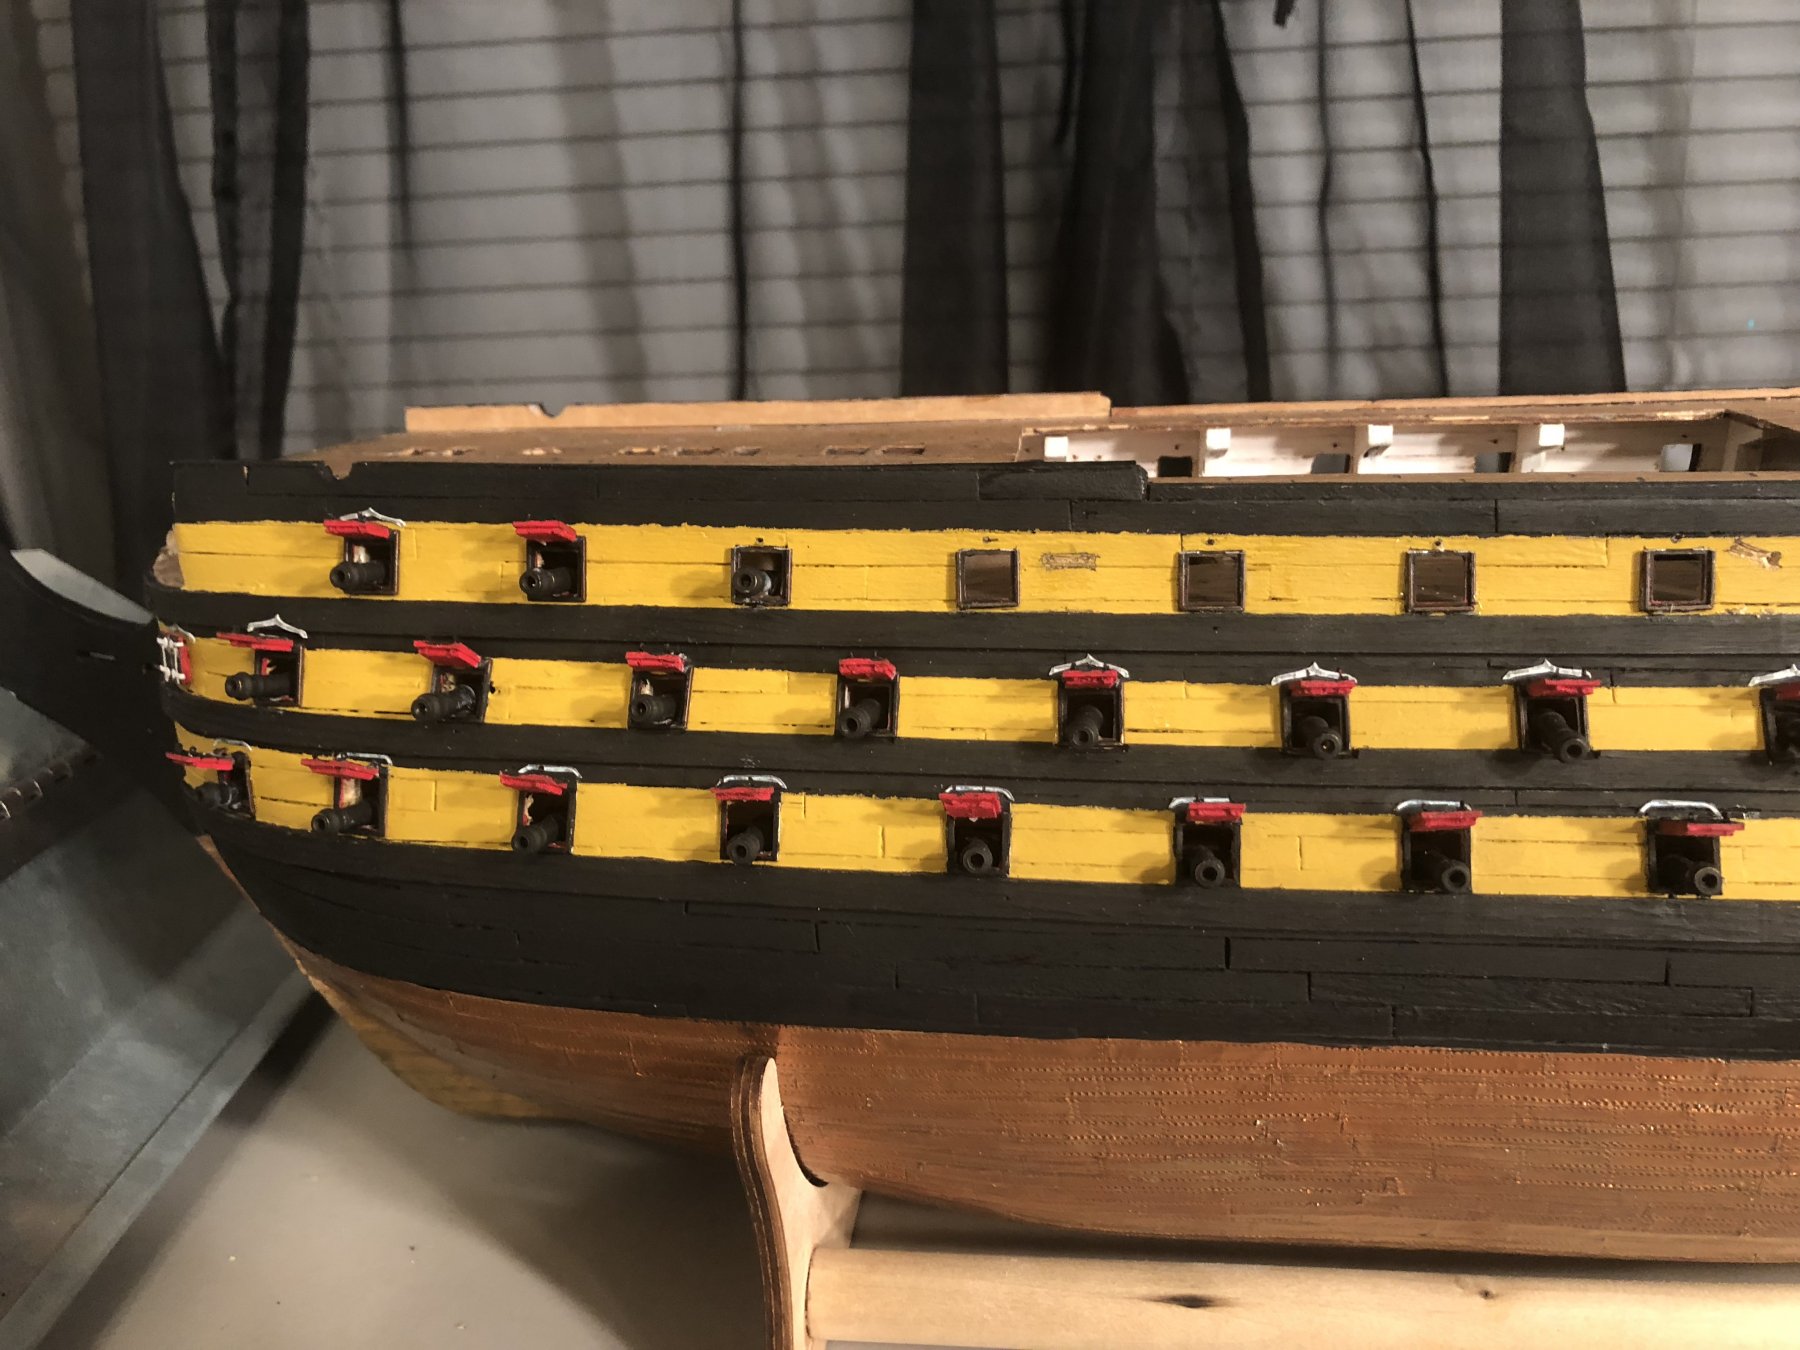
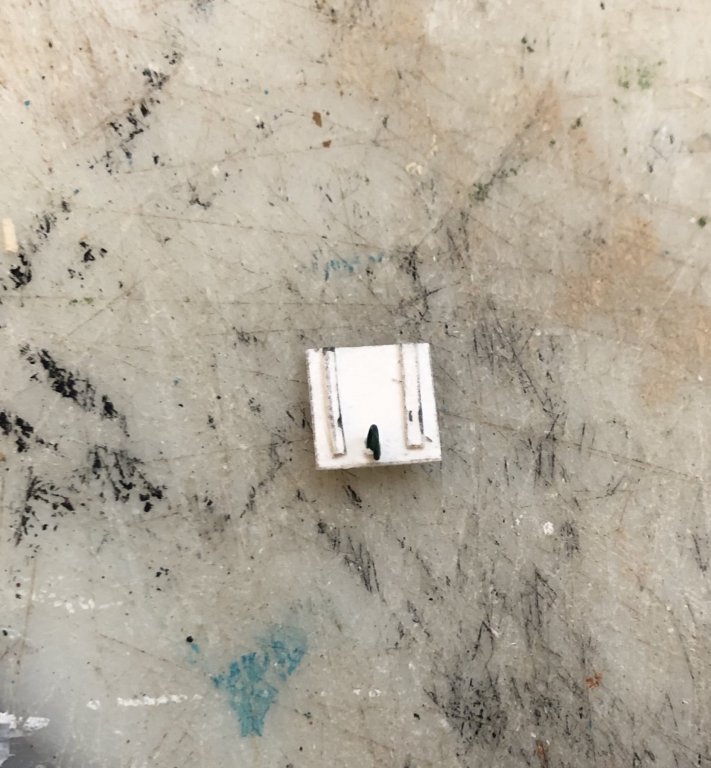
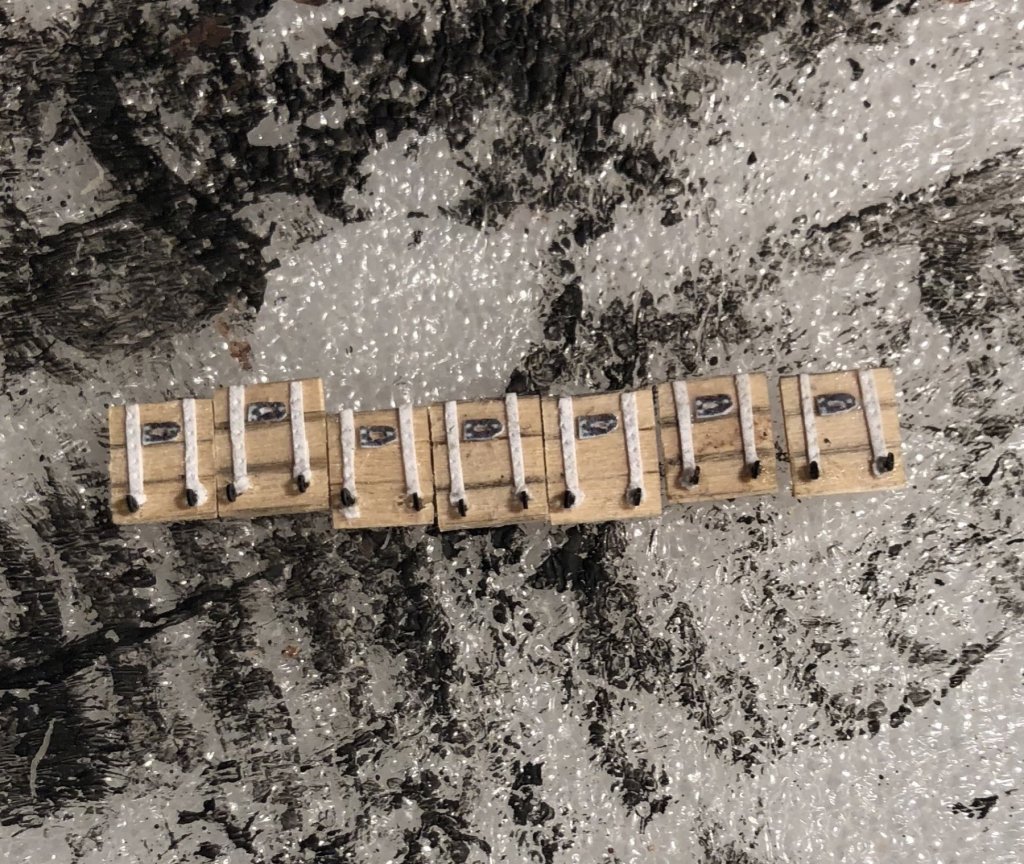
Now, I would like to finish my gunport lids and install them. First, I need to use a pounce wheel on the straps. Next, I need to paint the underside of the lids. Then I will install them and paint them. Lastly, I will rig them. However, in order to rig them, I need to make cleats to tie them off to. So, I will make them and install them in the near future.
- 355 replies
-
- 2
-

-
- prince de neufchatel
- schooner
- (and 3 more)
-
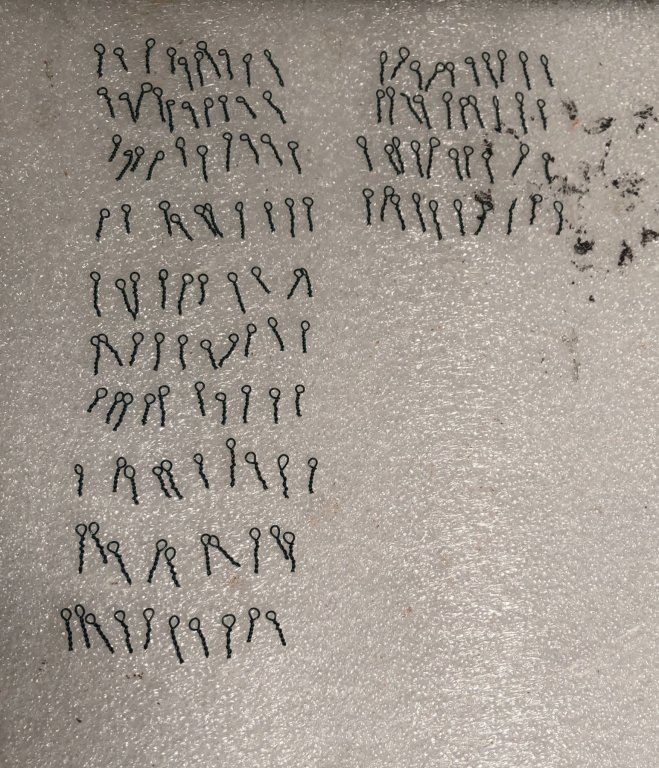
I think that I have installed all eyebolts going into the hull. I made more so that I have a reserve of 100 eyebolts for the carriages and masts/yards. If I need more, then I will make them.
- 355 replies
-
- 5
-
-
- prince de neufchatel
- schooner
- (and 3 more)
-
I made 140 more eyebolts. Time to get to installing them. 😀
- 355 replies
-
- 6
-
-
- prince de neufchatel
- schooner
- (and 3 more)
-
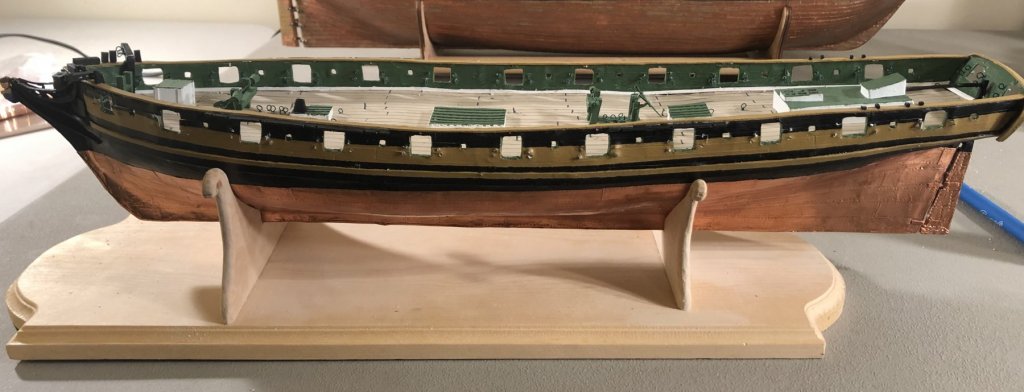
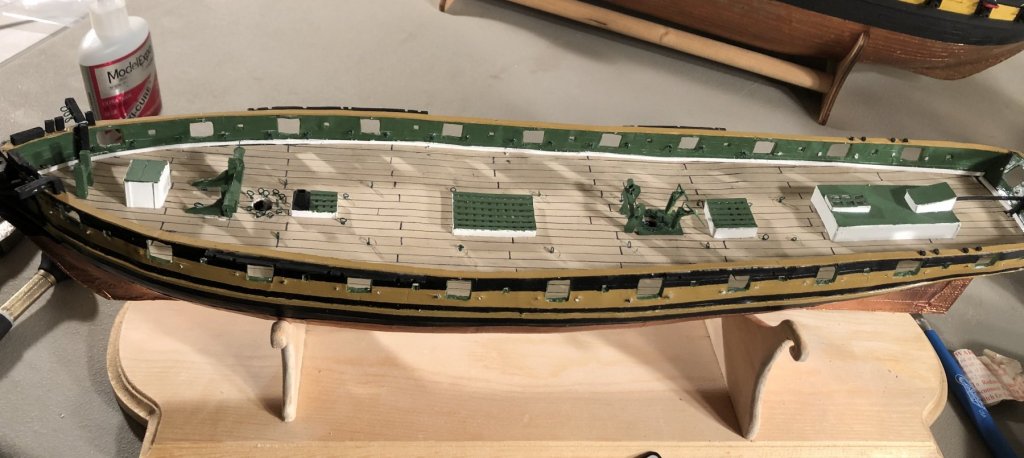
I’ve been moving. My shipyard is at my new house. It is now located in an attached garage. This means that I can have my heavy woodworking tools with it. 😀 I’ve been installing eyebolts. I used all 100 that I made, so I need to make more. I am going to be using British gun rigging because I put an eyebolt on the deck directly behind the gunports, in British fashion. Changing this would cause a bunch of problems since this is a card model. I am going to fully rig my guns. This will make the guns a little more complicated, but that’s okay because the whole point of this project is to learn what I can do. I also figured out how to make my cleats. I’m just carving them from wood. I am going to apply my skills that I’m learning on this build to the Victory. Then I’ll roll straight into the Triton. Here’s where I’m at now:
- 355 replies
-
- 8
-
-
- prince de neufchatel
- schooner
- (and 3 more)
-
I’m on my third copy of “Historic Ship Models” by Zu Monfeld. For me, it is an indispensable reference tool when I need quick answers.
-
I talked to my son who builds race cars. The yellow putty in “Bitchin’ Rides” is called Golden Extra body filler.
-
You’re looking for Bondo Body Filler. MrBluejacket is using it in his build of the Red Jacket.
-
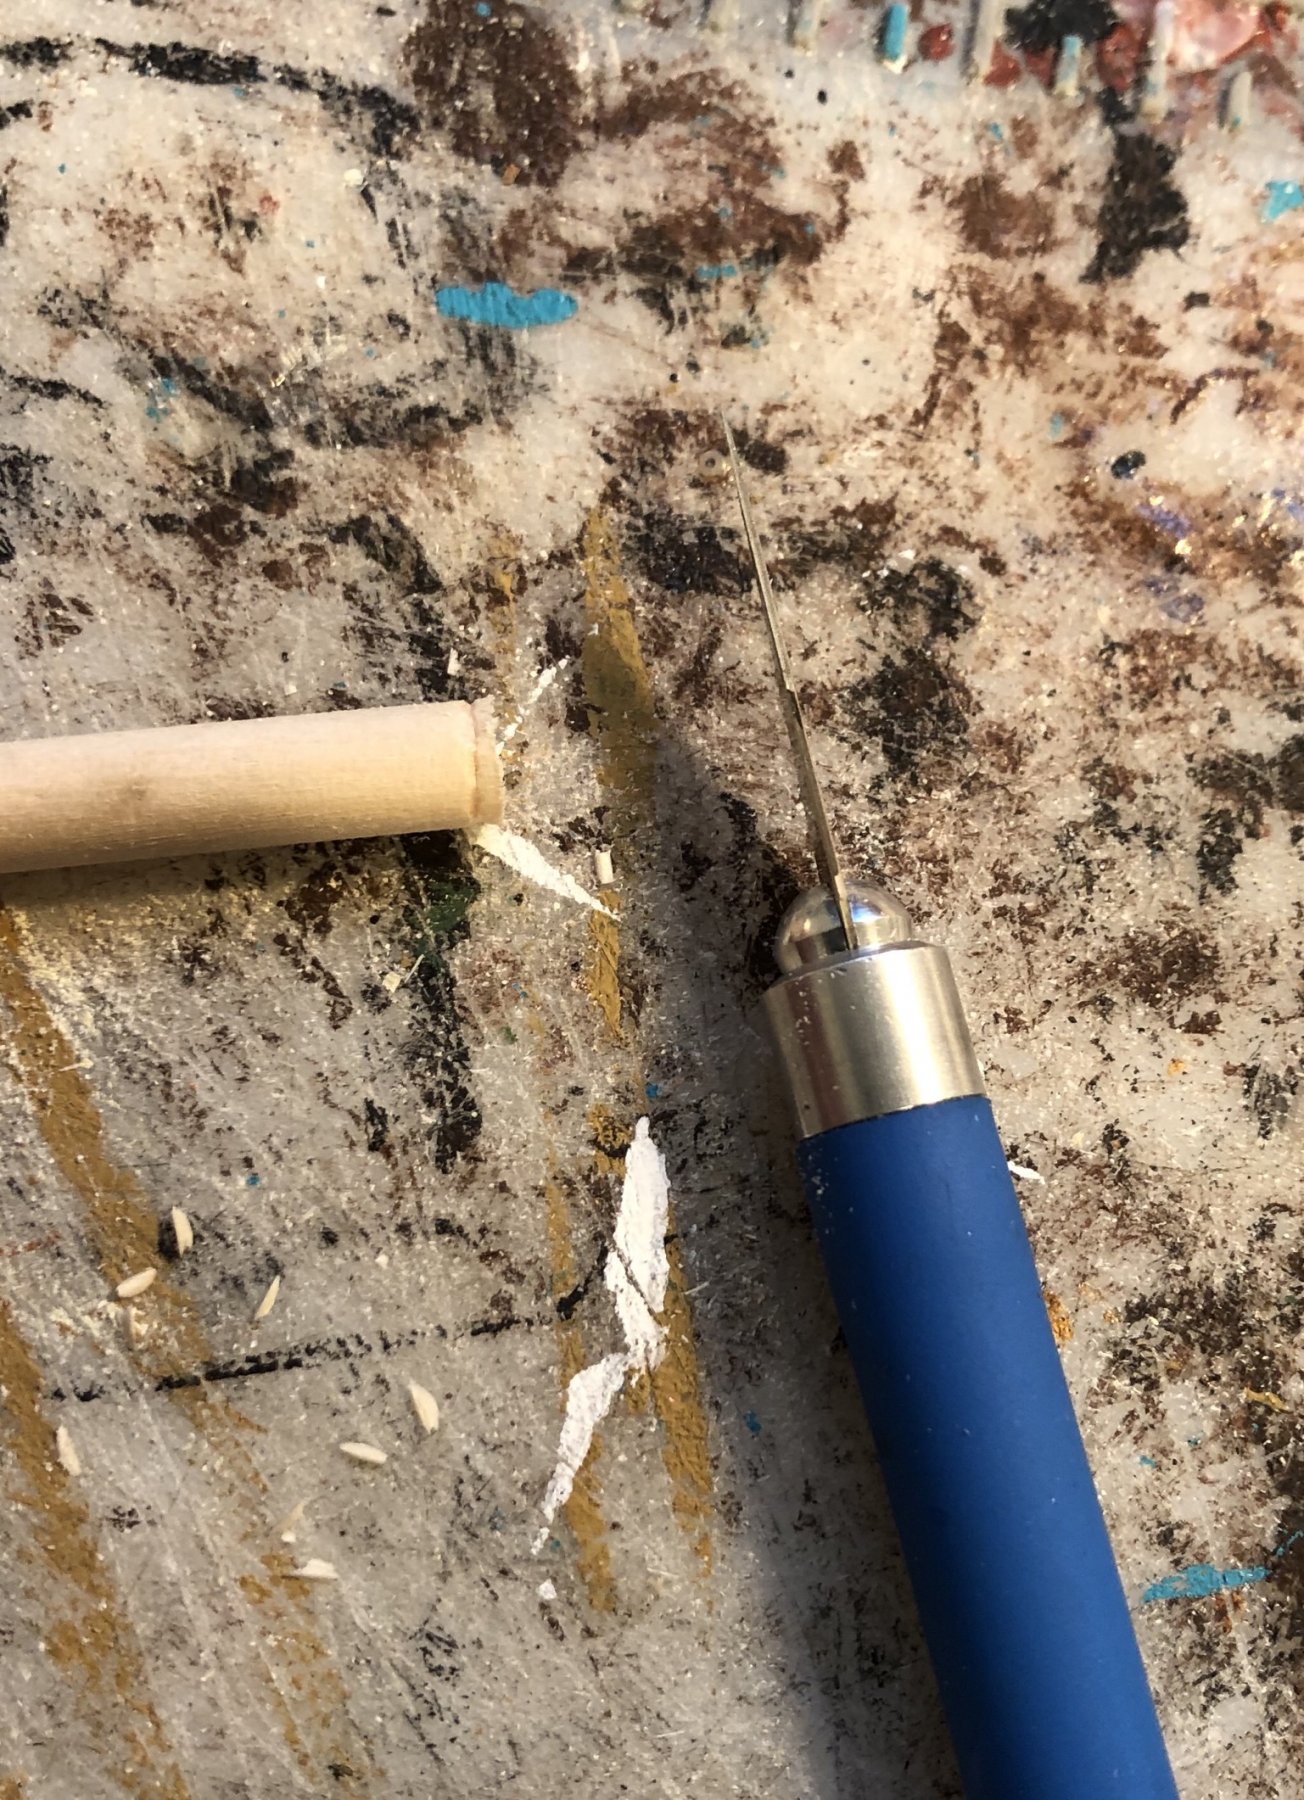
I bought mine in a three pack of Excel brand pounce wheels on eBay.
- 355 replies
-
- 1
-
-
- prince de neufchatel
- schooner
- (and 3 more)
-
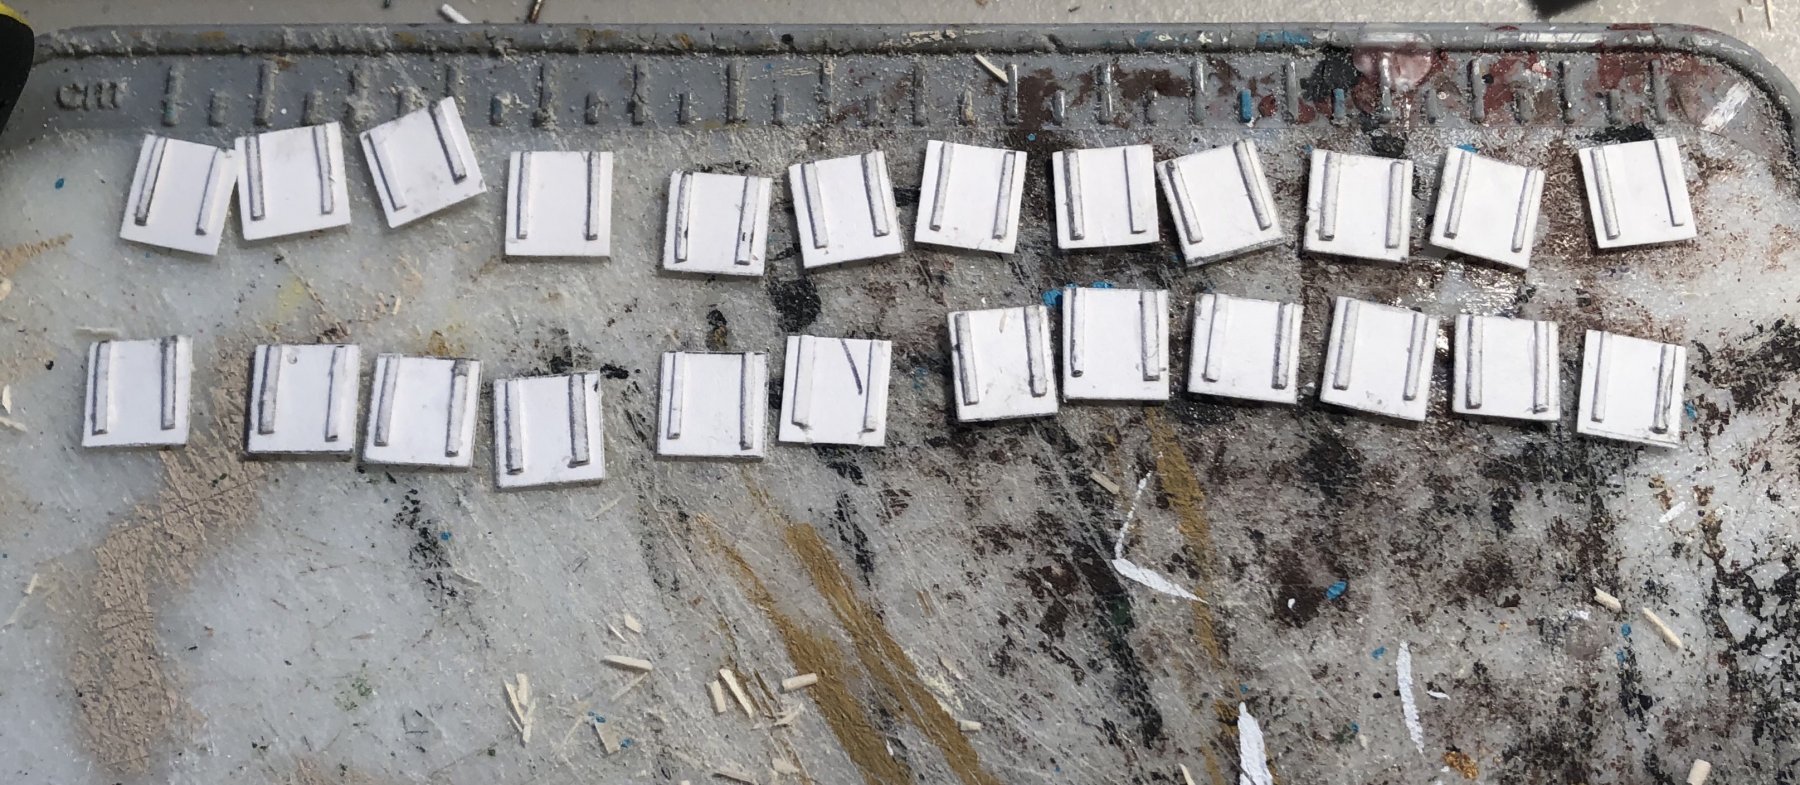
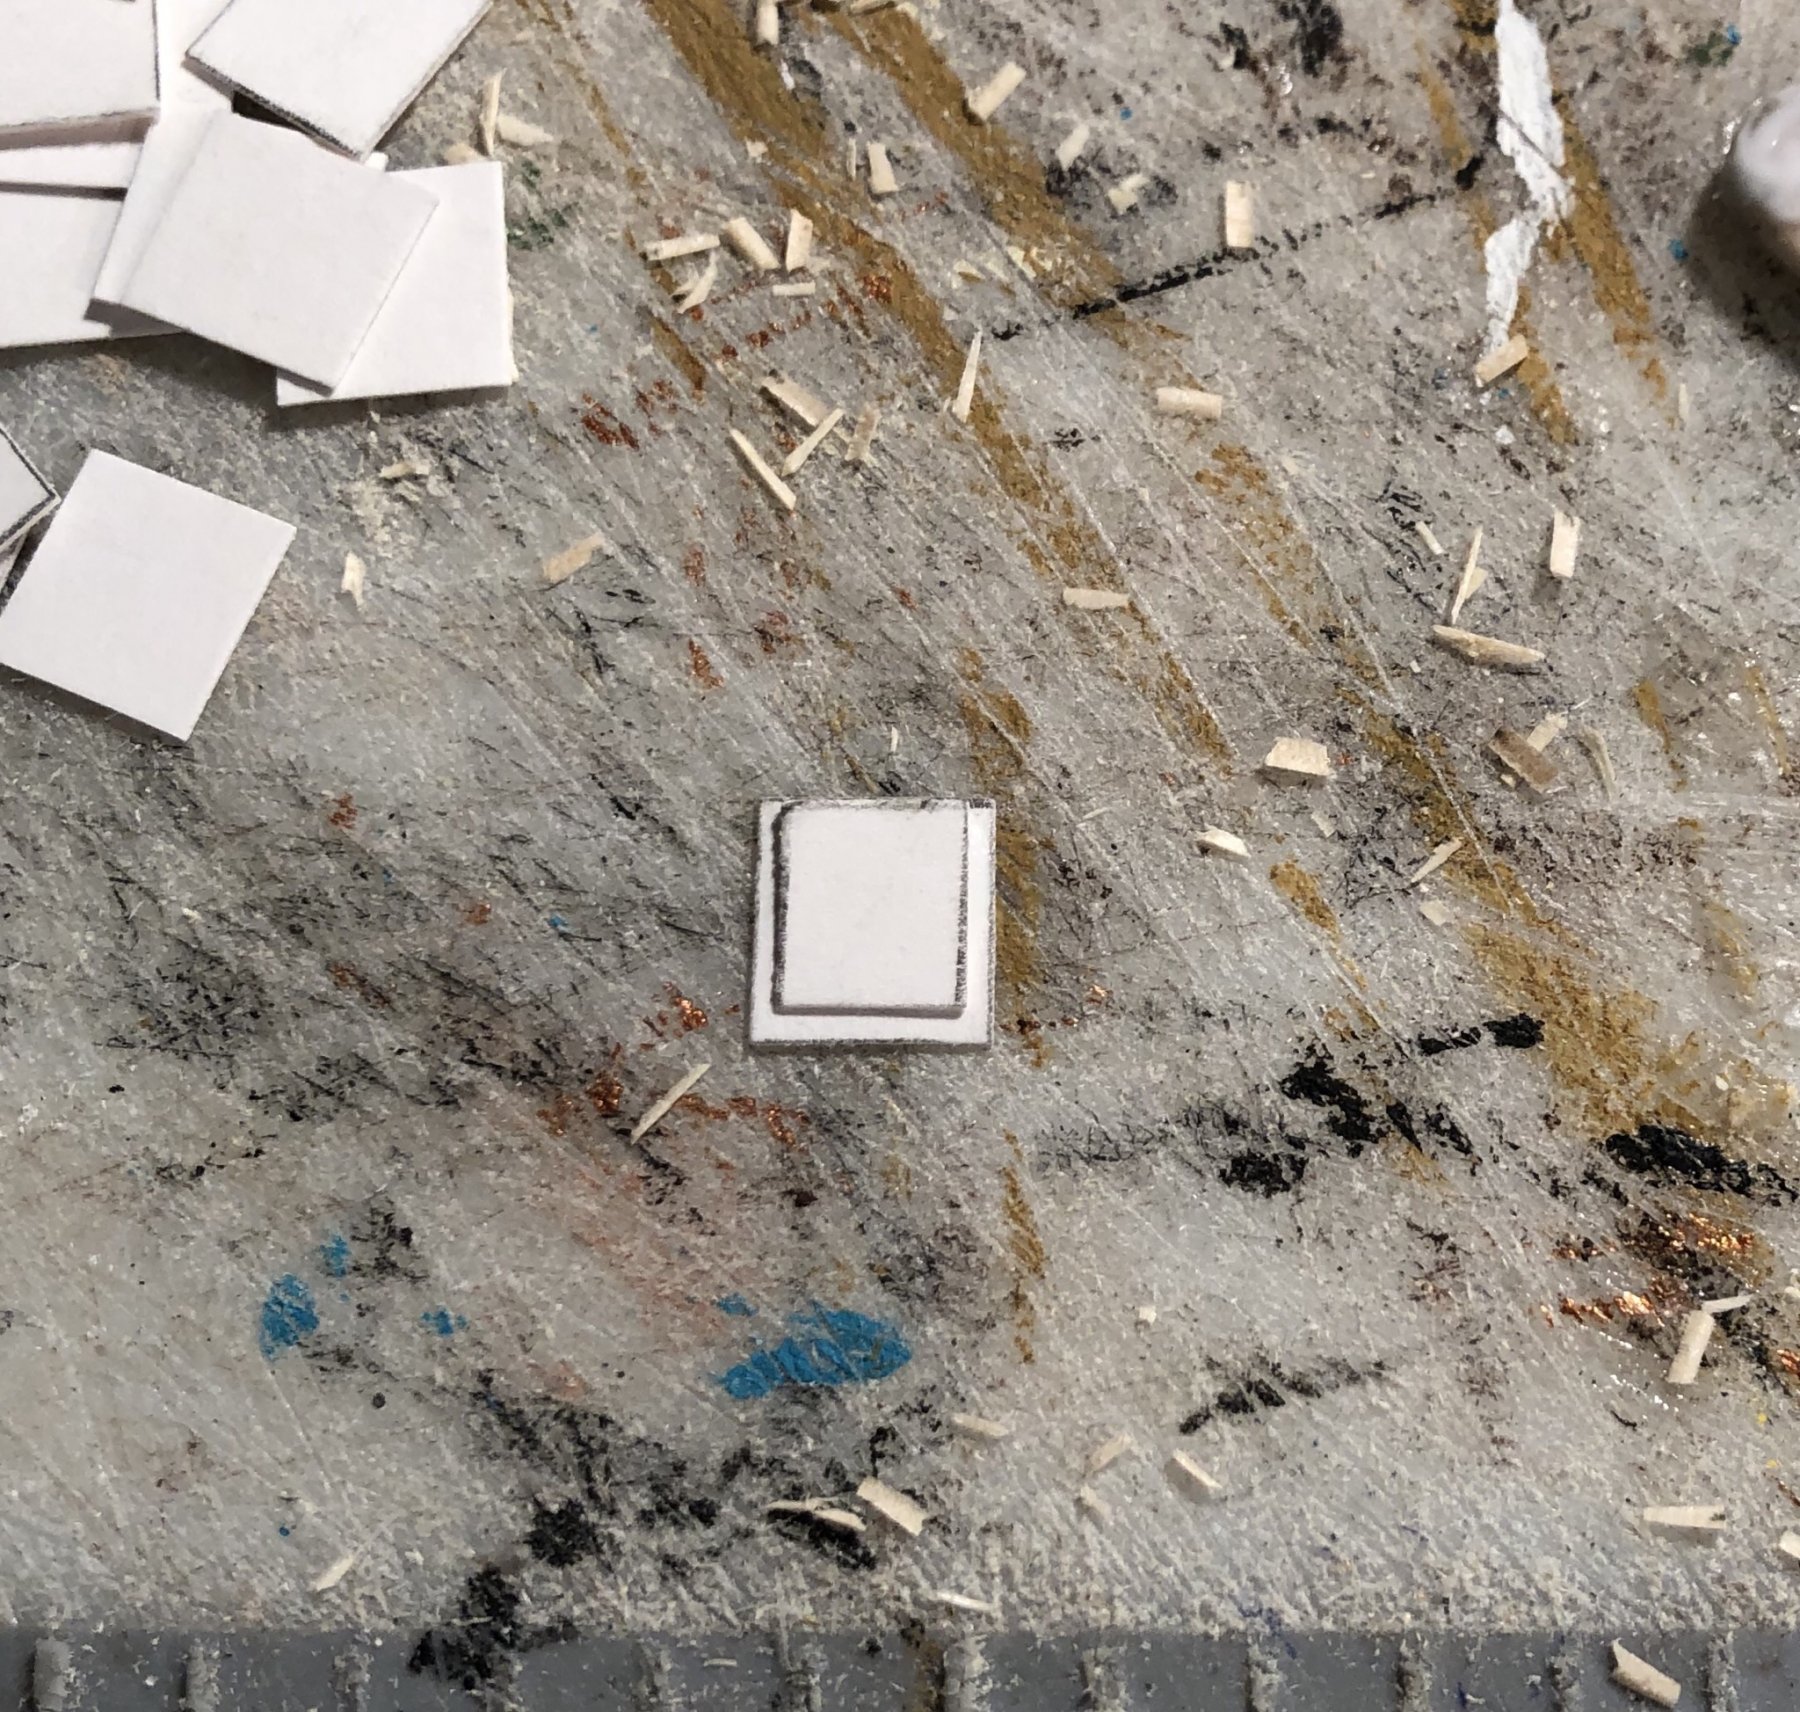
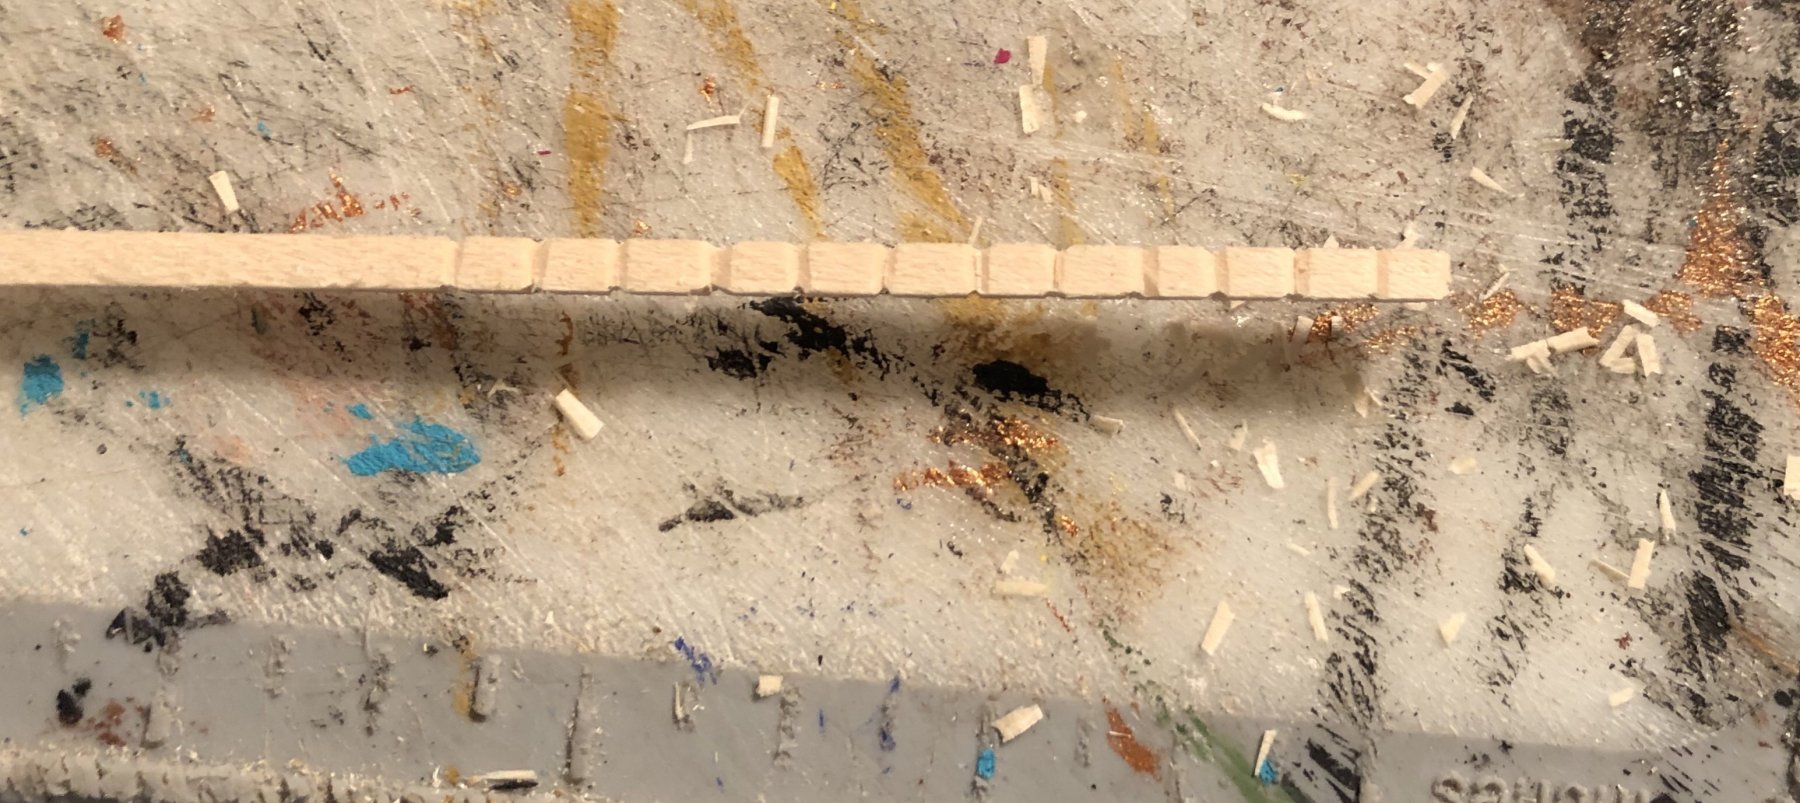
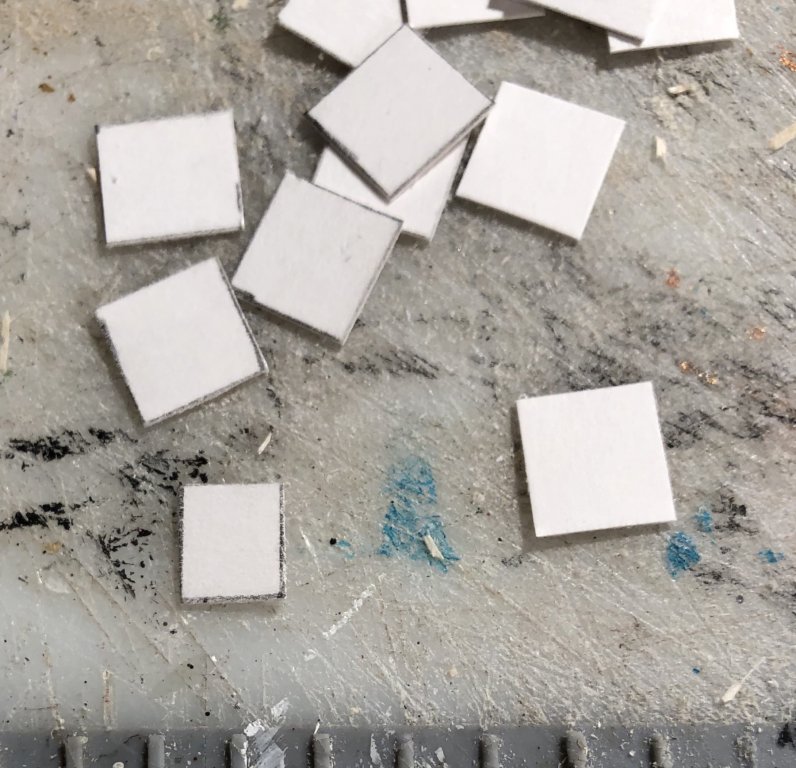
I assembled 24 gunport lids. I am going to use a pounce wheel on the lid straps, like I did on the Victory, to simulate rivets. I think getting the hull done this weekend was a little overly optimistic, lol. The blizzard wasn’t nearly as bad as the news said it was going to be. I had us dug out by the early afternoon. My driveway was dry by evening. Oh, well there’s always next weekend.
- 355 replies
-
- 4
-
-
- prince de neufchatel
- schooner
- (and 3 more)
-
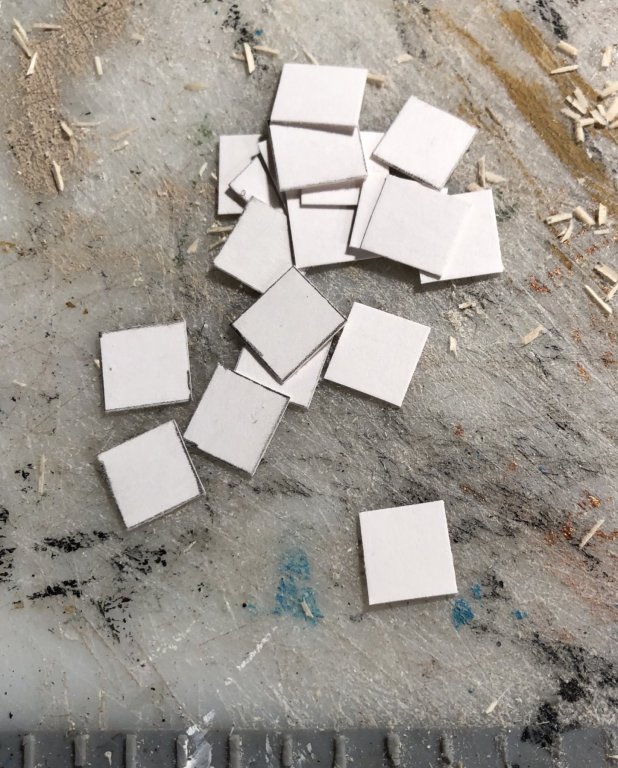
I’ve successfully used cardstock for making small details in relief. I would clear coat both sides of the cardstock first to make it stronger and easier to work. Once it’s painted, no one will ever know the difference.

-
I haven’t forgotten about Victory. I’m about 2/3 complete with the Prince de Neufchatel. I’ve been learning a lot with it. I now know how I’m going to make the gratings, the head and the figurehead which were the parts that I was worried about my ability to make.
-
I’m in the middle of a blizzard right now, so this is going to be a great weekend to get some work done in the shipyard. I’m going to try to finish the hull, including guns, this weekend.
- 355 replies
-
- 3
-
-
- prince de neufchatel
- schooner
- (and 3 more)
-
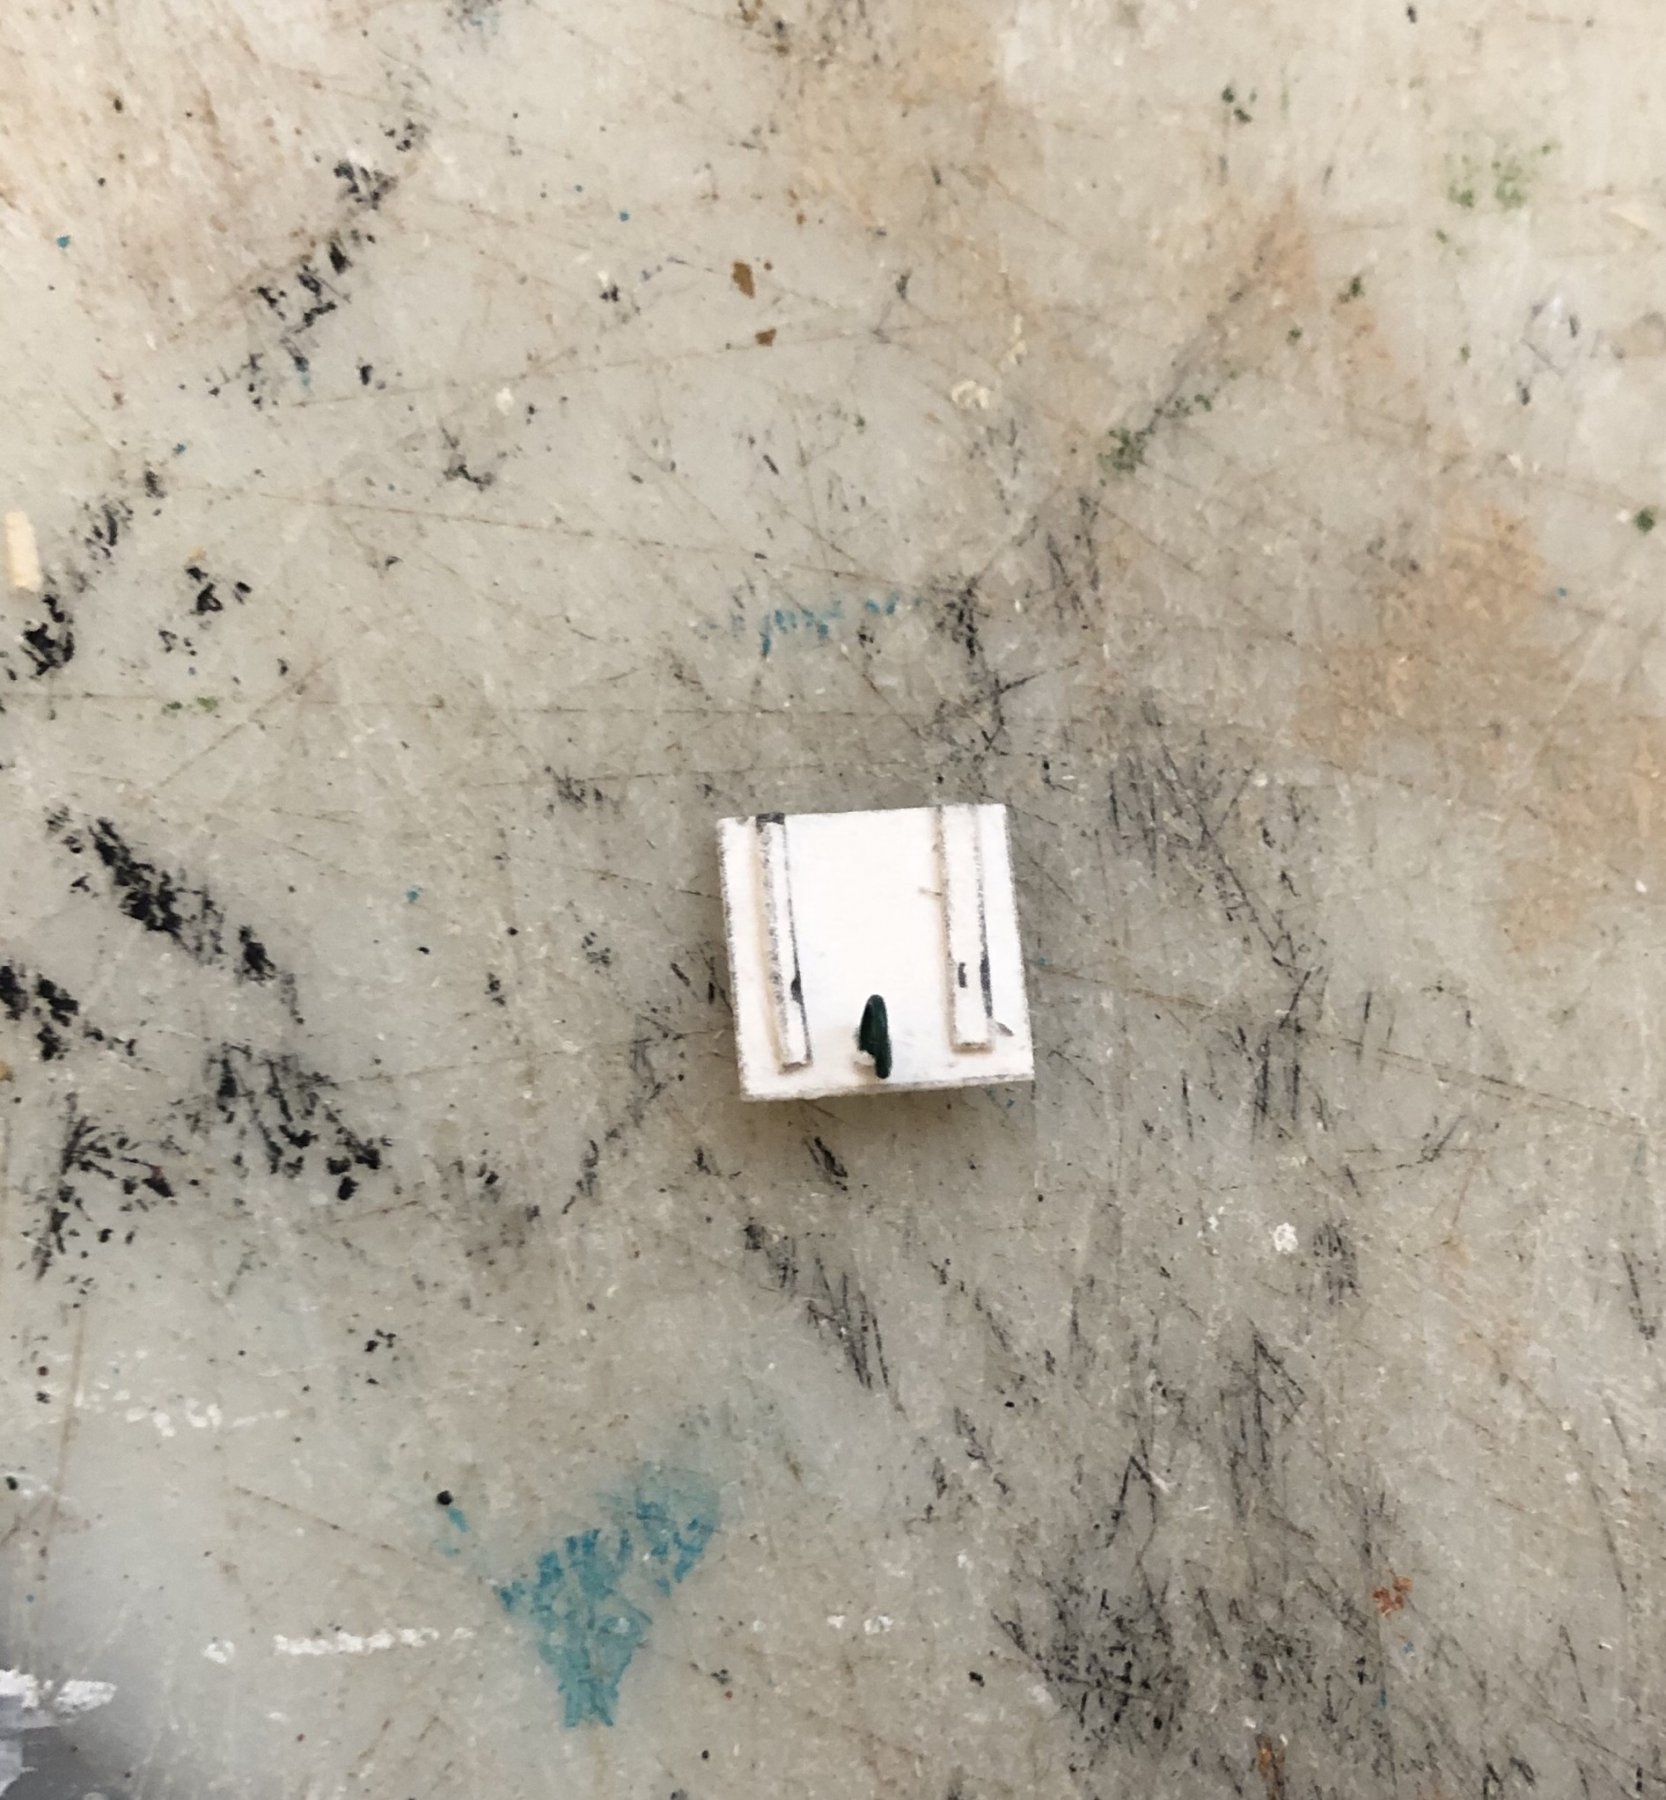
I’m making the gunport lids now (I feel like I was just doing this). I’m only making 24 this time. Plus, in addition to being larger, they are also card, which makes this much easier.

- 355 replies
-
- 5
-
-
- prince de neufchatel
- schooner
- (and 3 more)
-
What’s the best way to scratch build cleats?
-
Is it safe to assume that an American Privateer outfitted in France would have installed French guns with French gun rig, especially considering that she had a French Captain?
- 1 reply
-
- 1
-
-
Awesome! Congratulations!
-
My copy of “The Search for Speed Under Sail” by Howard Chapelle finally arrived today. It has full plans for the Prince de Neufchatel intended for the model maker. I’ve already learned a lot. If you’re going to build the Prince de Neufchatel, I strongly recommend it.
- 355 replies
-
- 4
-
-
- prince de neufchatel
- schooner
- (and 3 more)
-
I might make a block tumbler. I’ll have to look into it.
- 355 replies
-
- 2
-
-
- prince de neufchatel
- schooner
- (and 3 more)
-
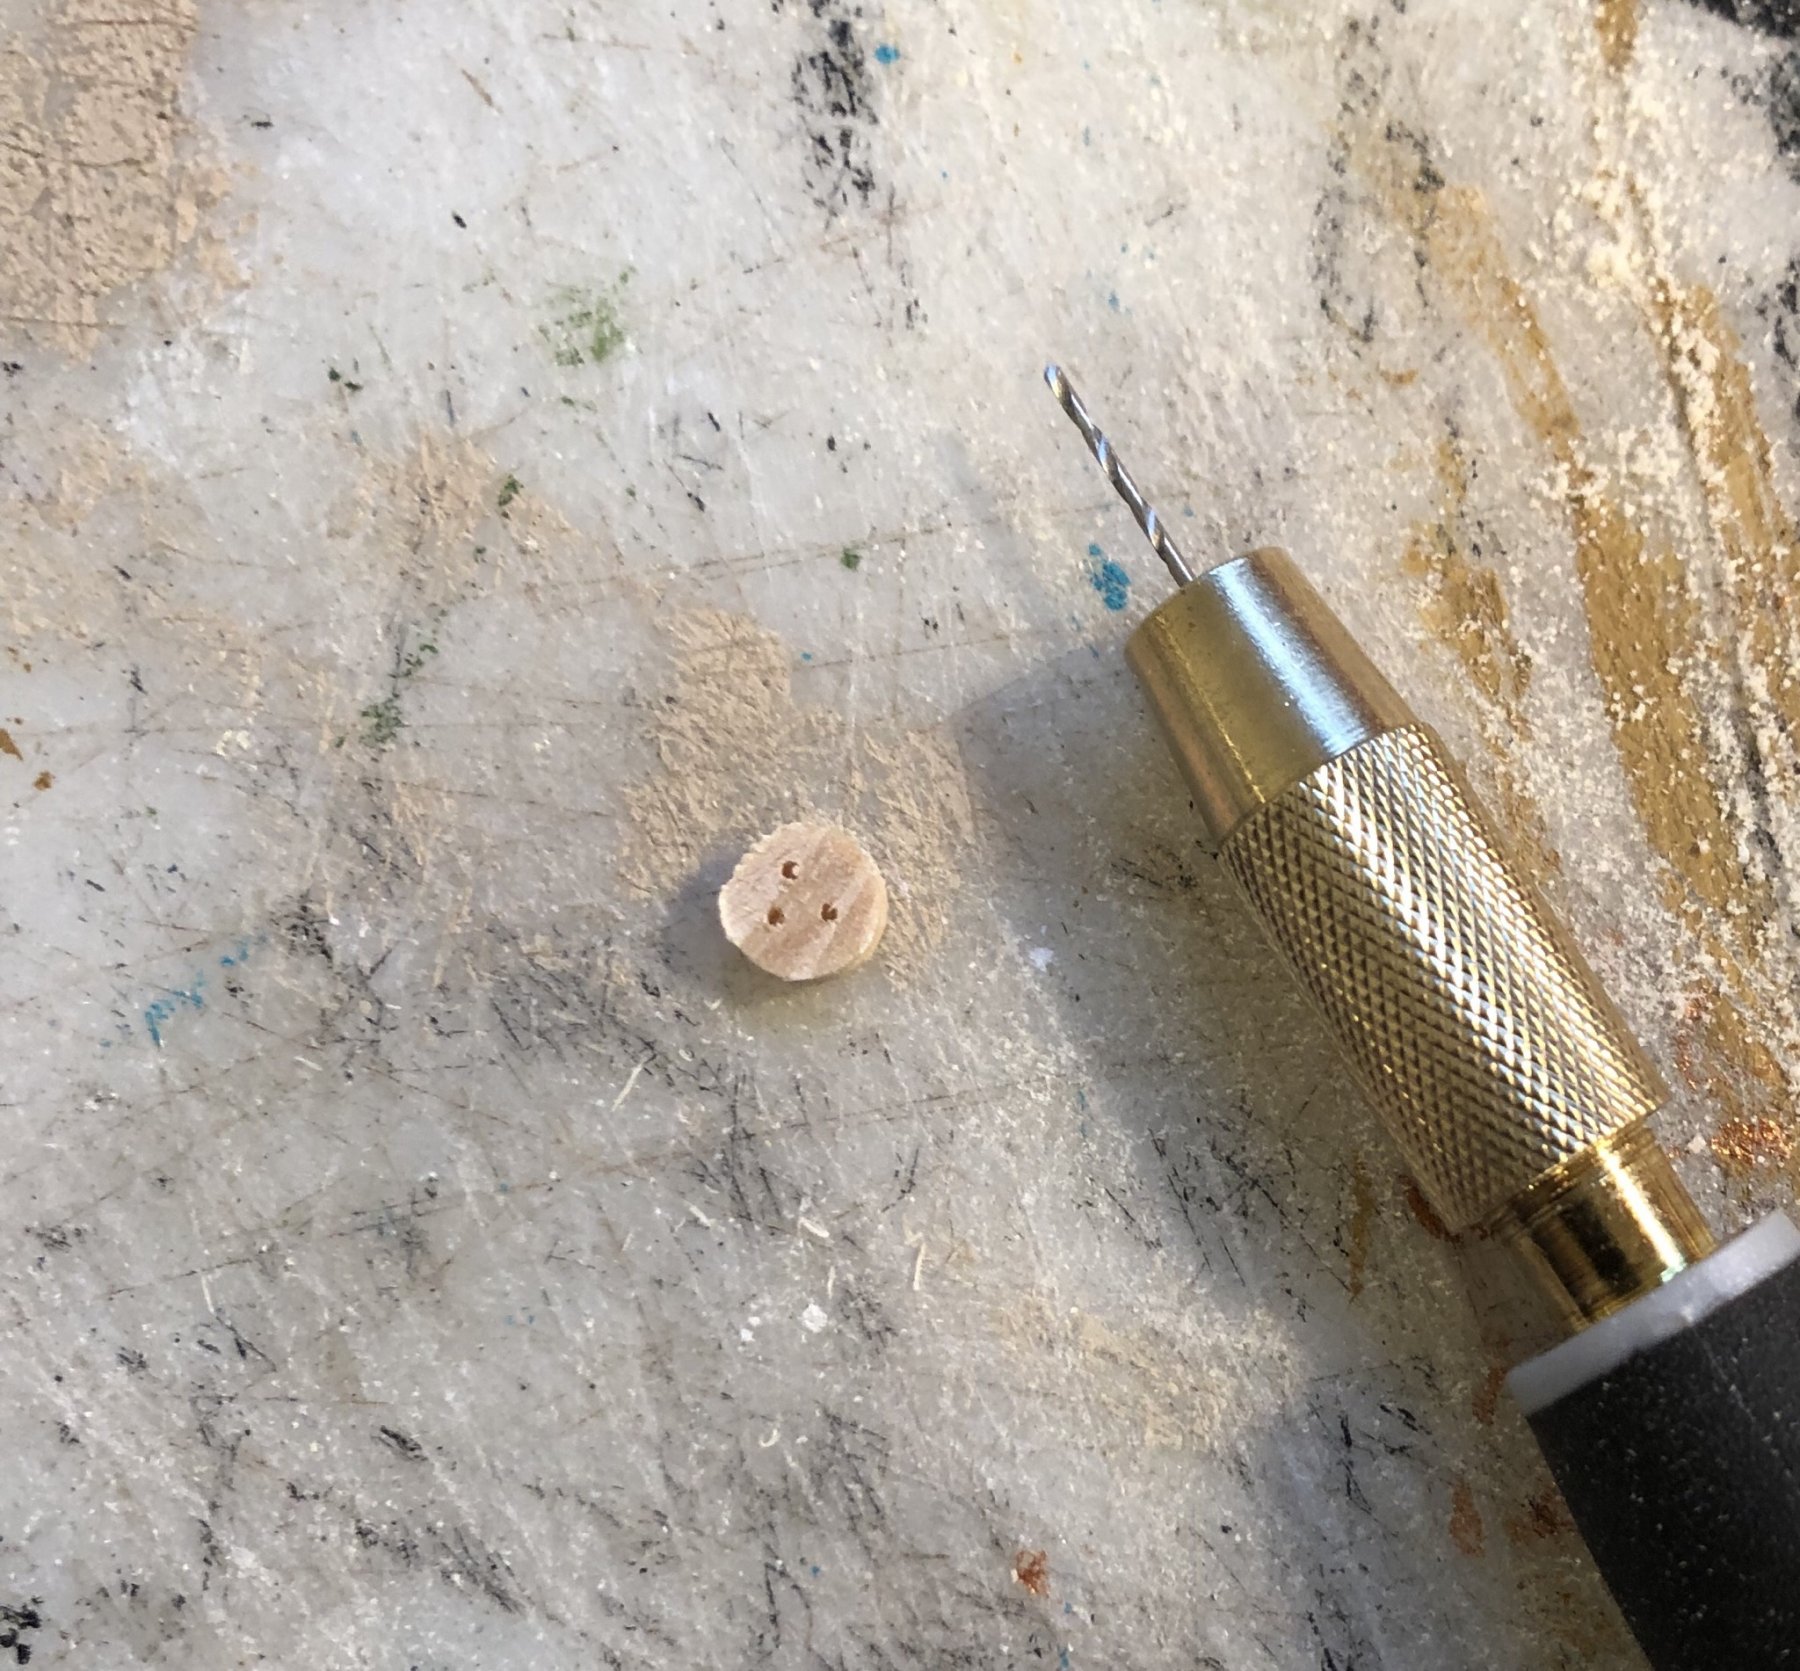
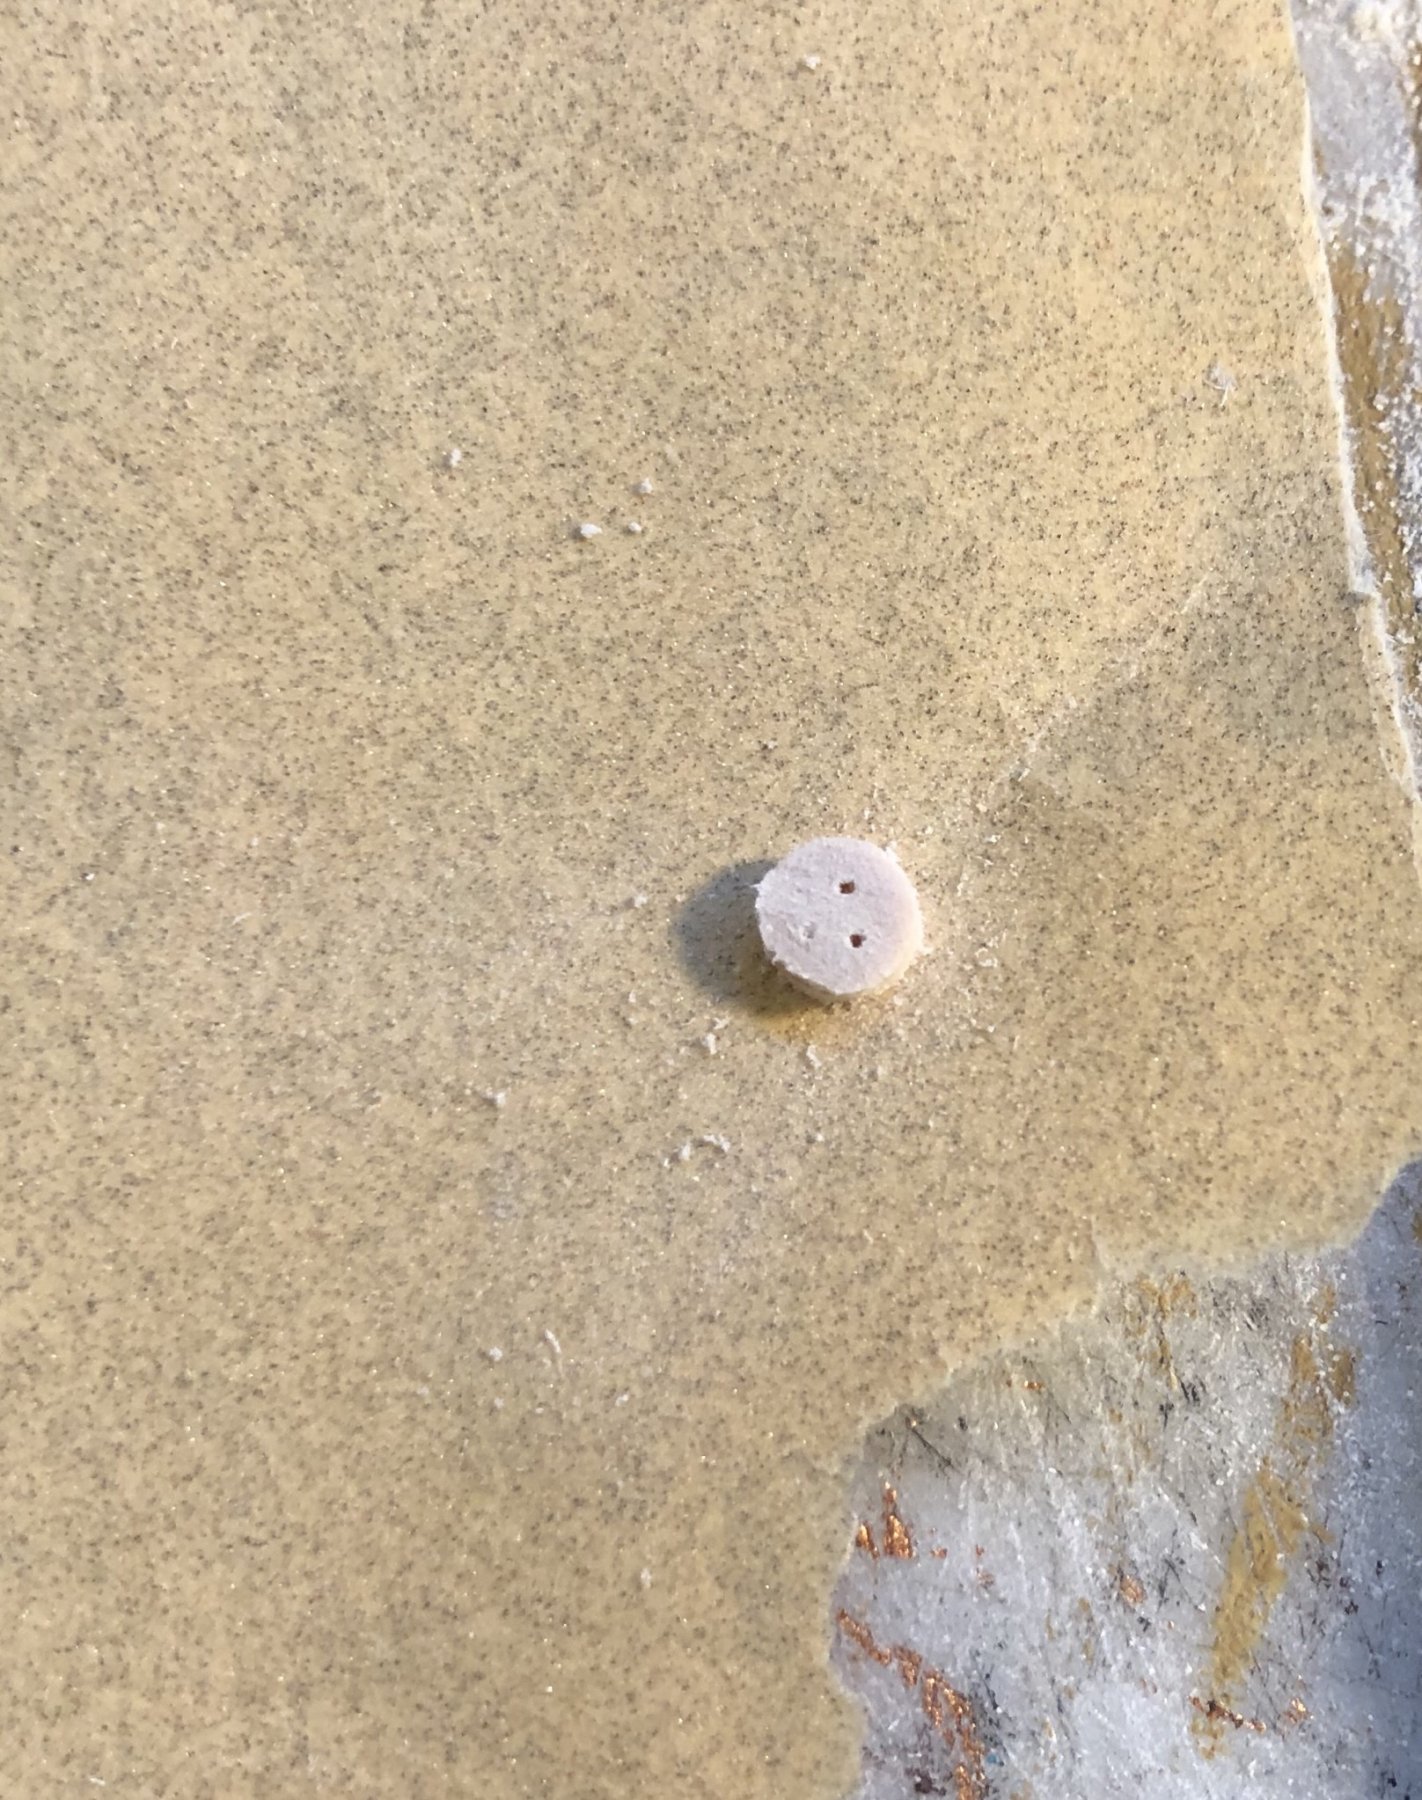
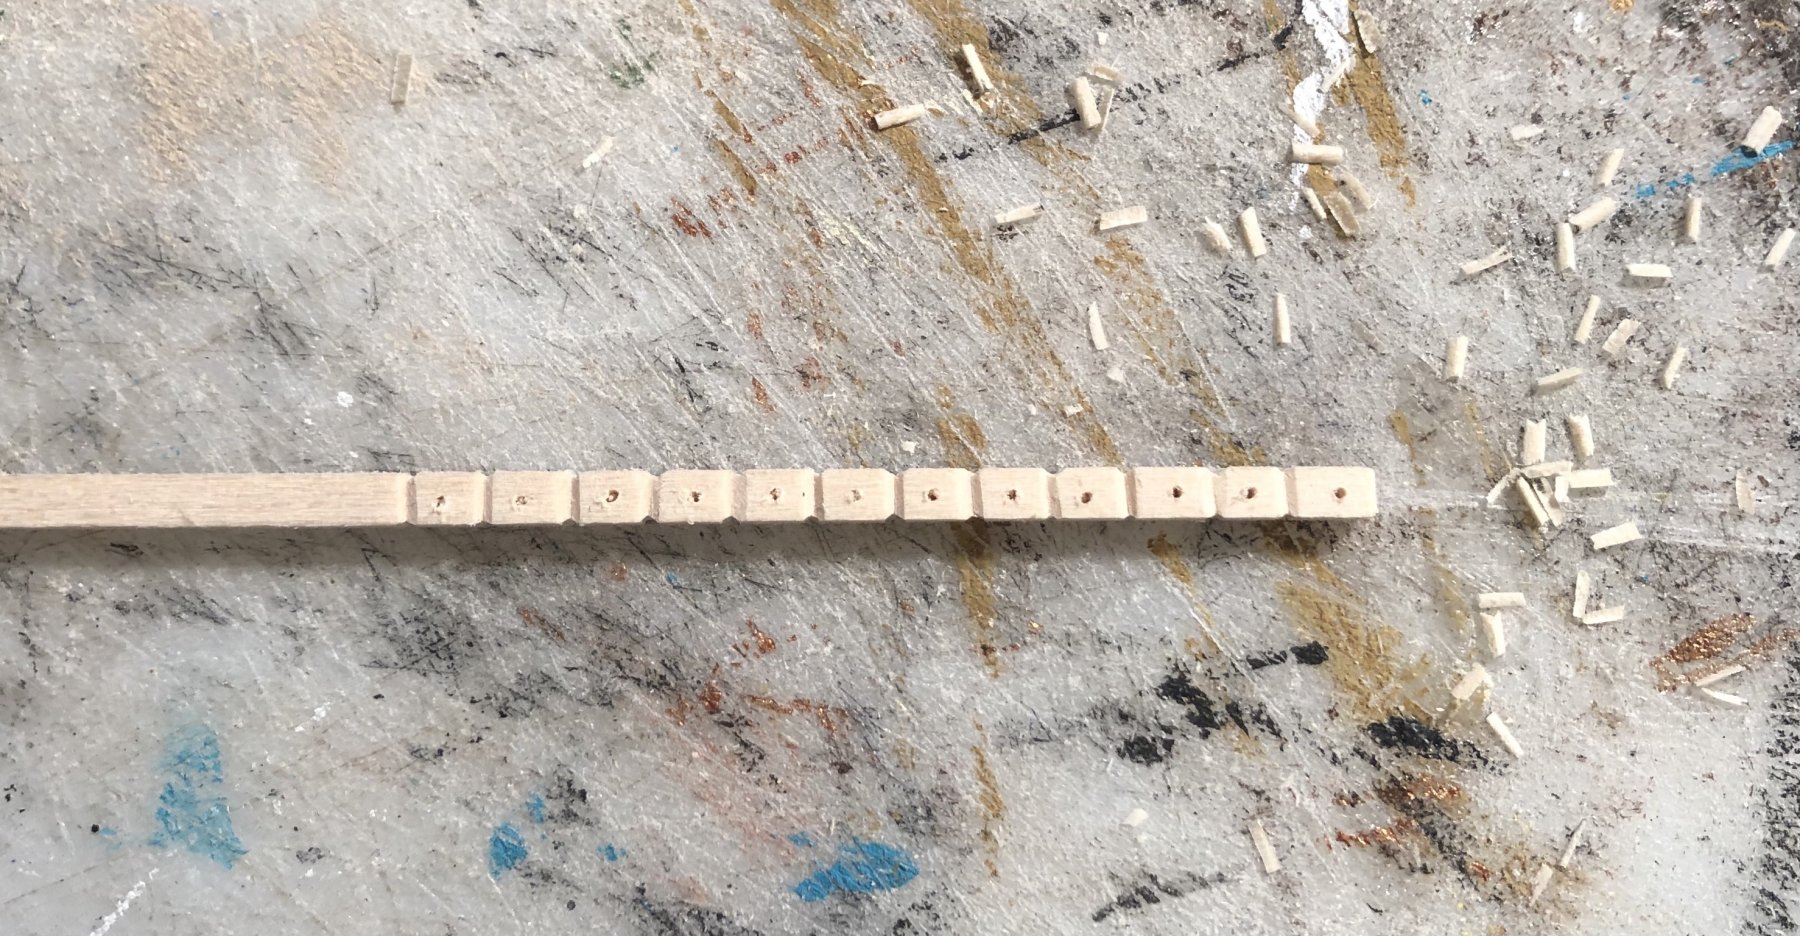
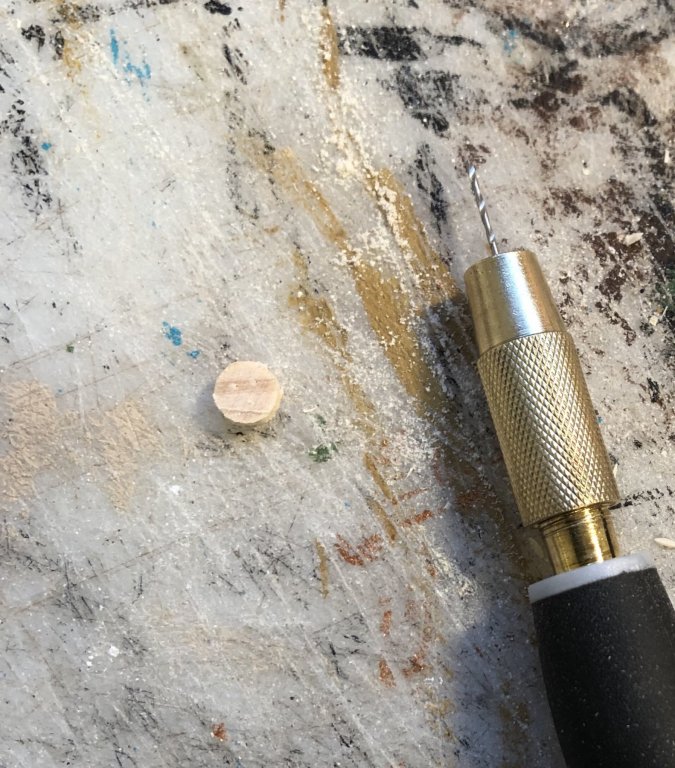
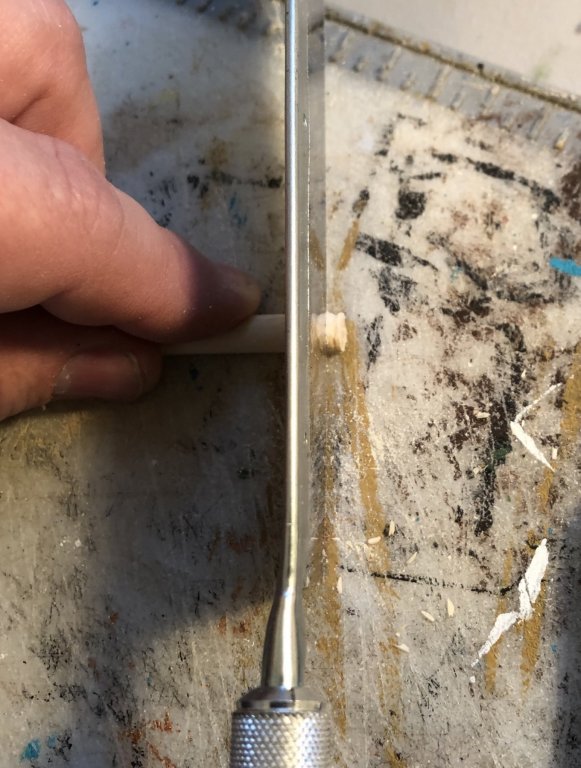
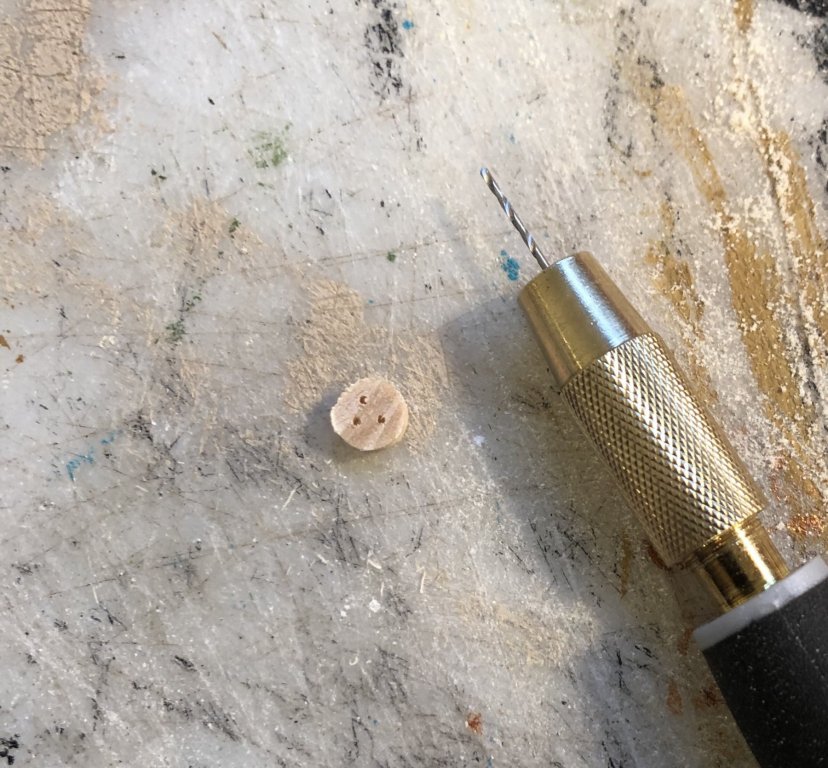
To make deadeyes I’ve been using dowel rods. I started by cutting the grooves with a knife. Make sure when cutting the groove you make the first cut from the outside-in, otherwise the wood will split. Next, I cut the deadeyes off. Then I drill the holes and sand the deadeyes smooth. I started out predilling the holes in the dowel rod, but that caused alignment problems. I used an Excel hobby knife with a #11 X-Acto blade and a pinvise.


- 355 replies
-
- 7
-
-
- prince de neufchatel
- schooner
- (and 3 more)
-
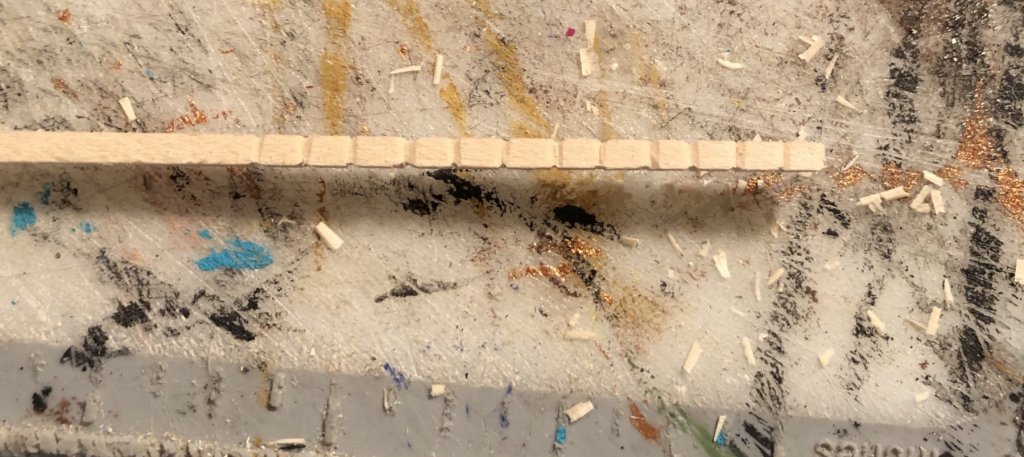
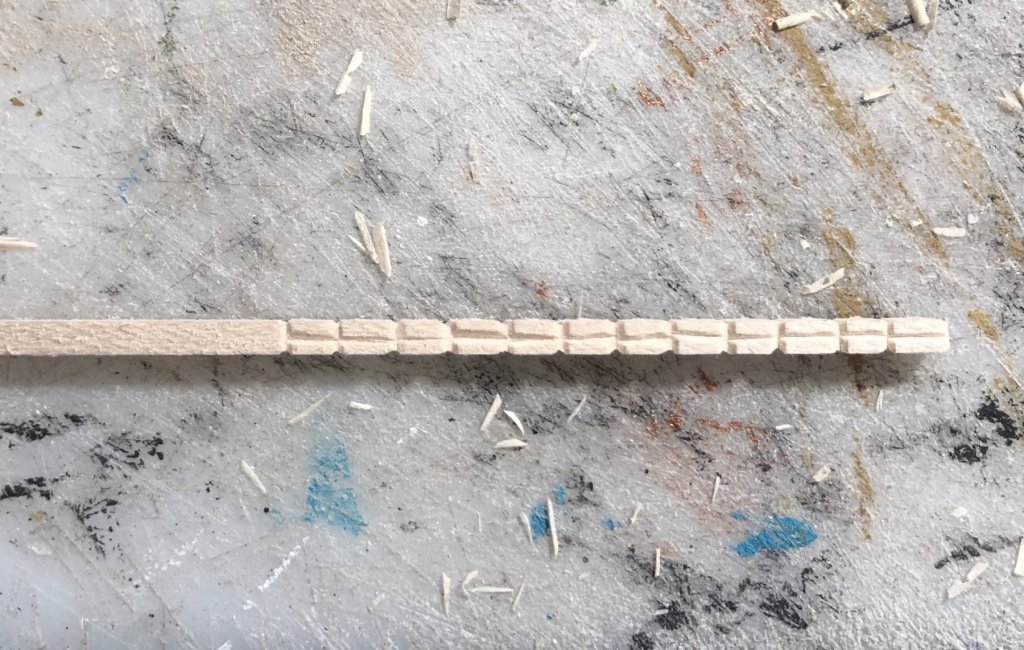
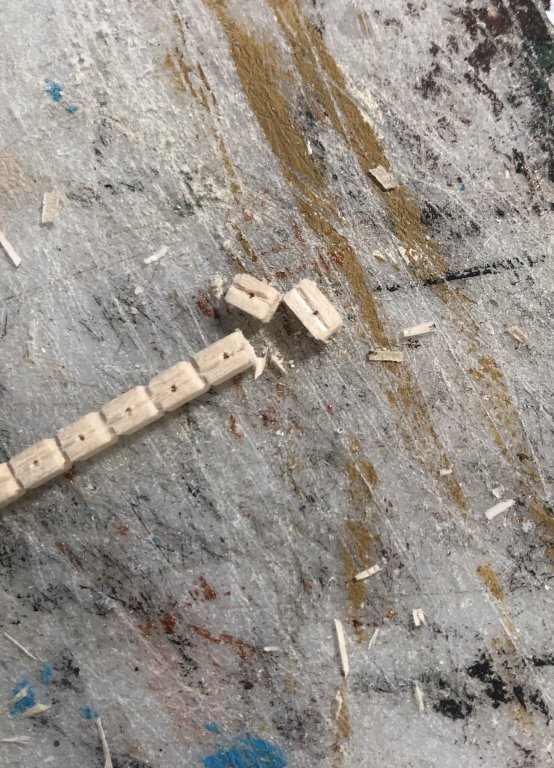
I’ve been making single-sheave blocks and deadeyes. I’ve been making the blocks out of 1/8” stock. I measured them off 13/64” intervals. I made a cross cut there on all four sides. I then drill the hole for the line and make a longitudinal line on all four sides. Then I cut the blocks free. I’ve been making 12 at a time.

- 355 replies
-
- 7
-
-
- prince de neufchatel
- schooner
- (and 3 more)