GrandpaPhil
-
Posts
6,161 -
Joined
-
Last visited
Content Type
Profiles
Forums
Gallery
Events
Everything posted by GrandpaPhil
-
Intro and interests, from a beginner
GrandpaPhil replied to Desert_Deckhand's topic in New member Introductions
Welcome! -
Which Soleil Royal, Sergal or Artesania Latina?
GrandpaPhil replied to Ryk's topic in Wood ship model kits
I have the Sergal plans for Soleil Royale. The Artesania Latina kit looks a lot nicer. As far as Sovereign of the Seas goes, the John McKay book is very good, and the Amati plans are very nice. -
If you have an actual bathtub, you can fill it with really hot water and submerge the model in it and apply pressure to take the bend out that way.
- 176 replies
-
- 2
-

-
- new orleans
- iron shipwrights
- (and 2 more)
-
I paint everything on my models. Then you can select the exact shade of brown that you would like.
-
Welcome!
-
Welcome!
-
Nice find!
-
First timer introduction and needing some advice
GrandpaPhil replied to Stuka's topic in New member Introductions
Welcome! -
Lol, I have the same bald head. Plastic masts, especially from old plastic kits, tend to end up fragile/brittle. I straightened the spars out on an old Heller La Reale with heat. They were fine for a couple of years, then they buckled. Between that and a couple other issues with that model, it ended up a total loss. I would remake the masts from wood personally.
-
Incredible work!
-
Greetings from the Nation's Capital
GrandpaPhil replied to AreyPotter's topic in New member Introductions
Welcome! -
Welcome!
-
Welcome!
-
I use CA for eyebolts.
-
Welcome!
-
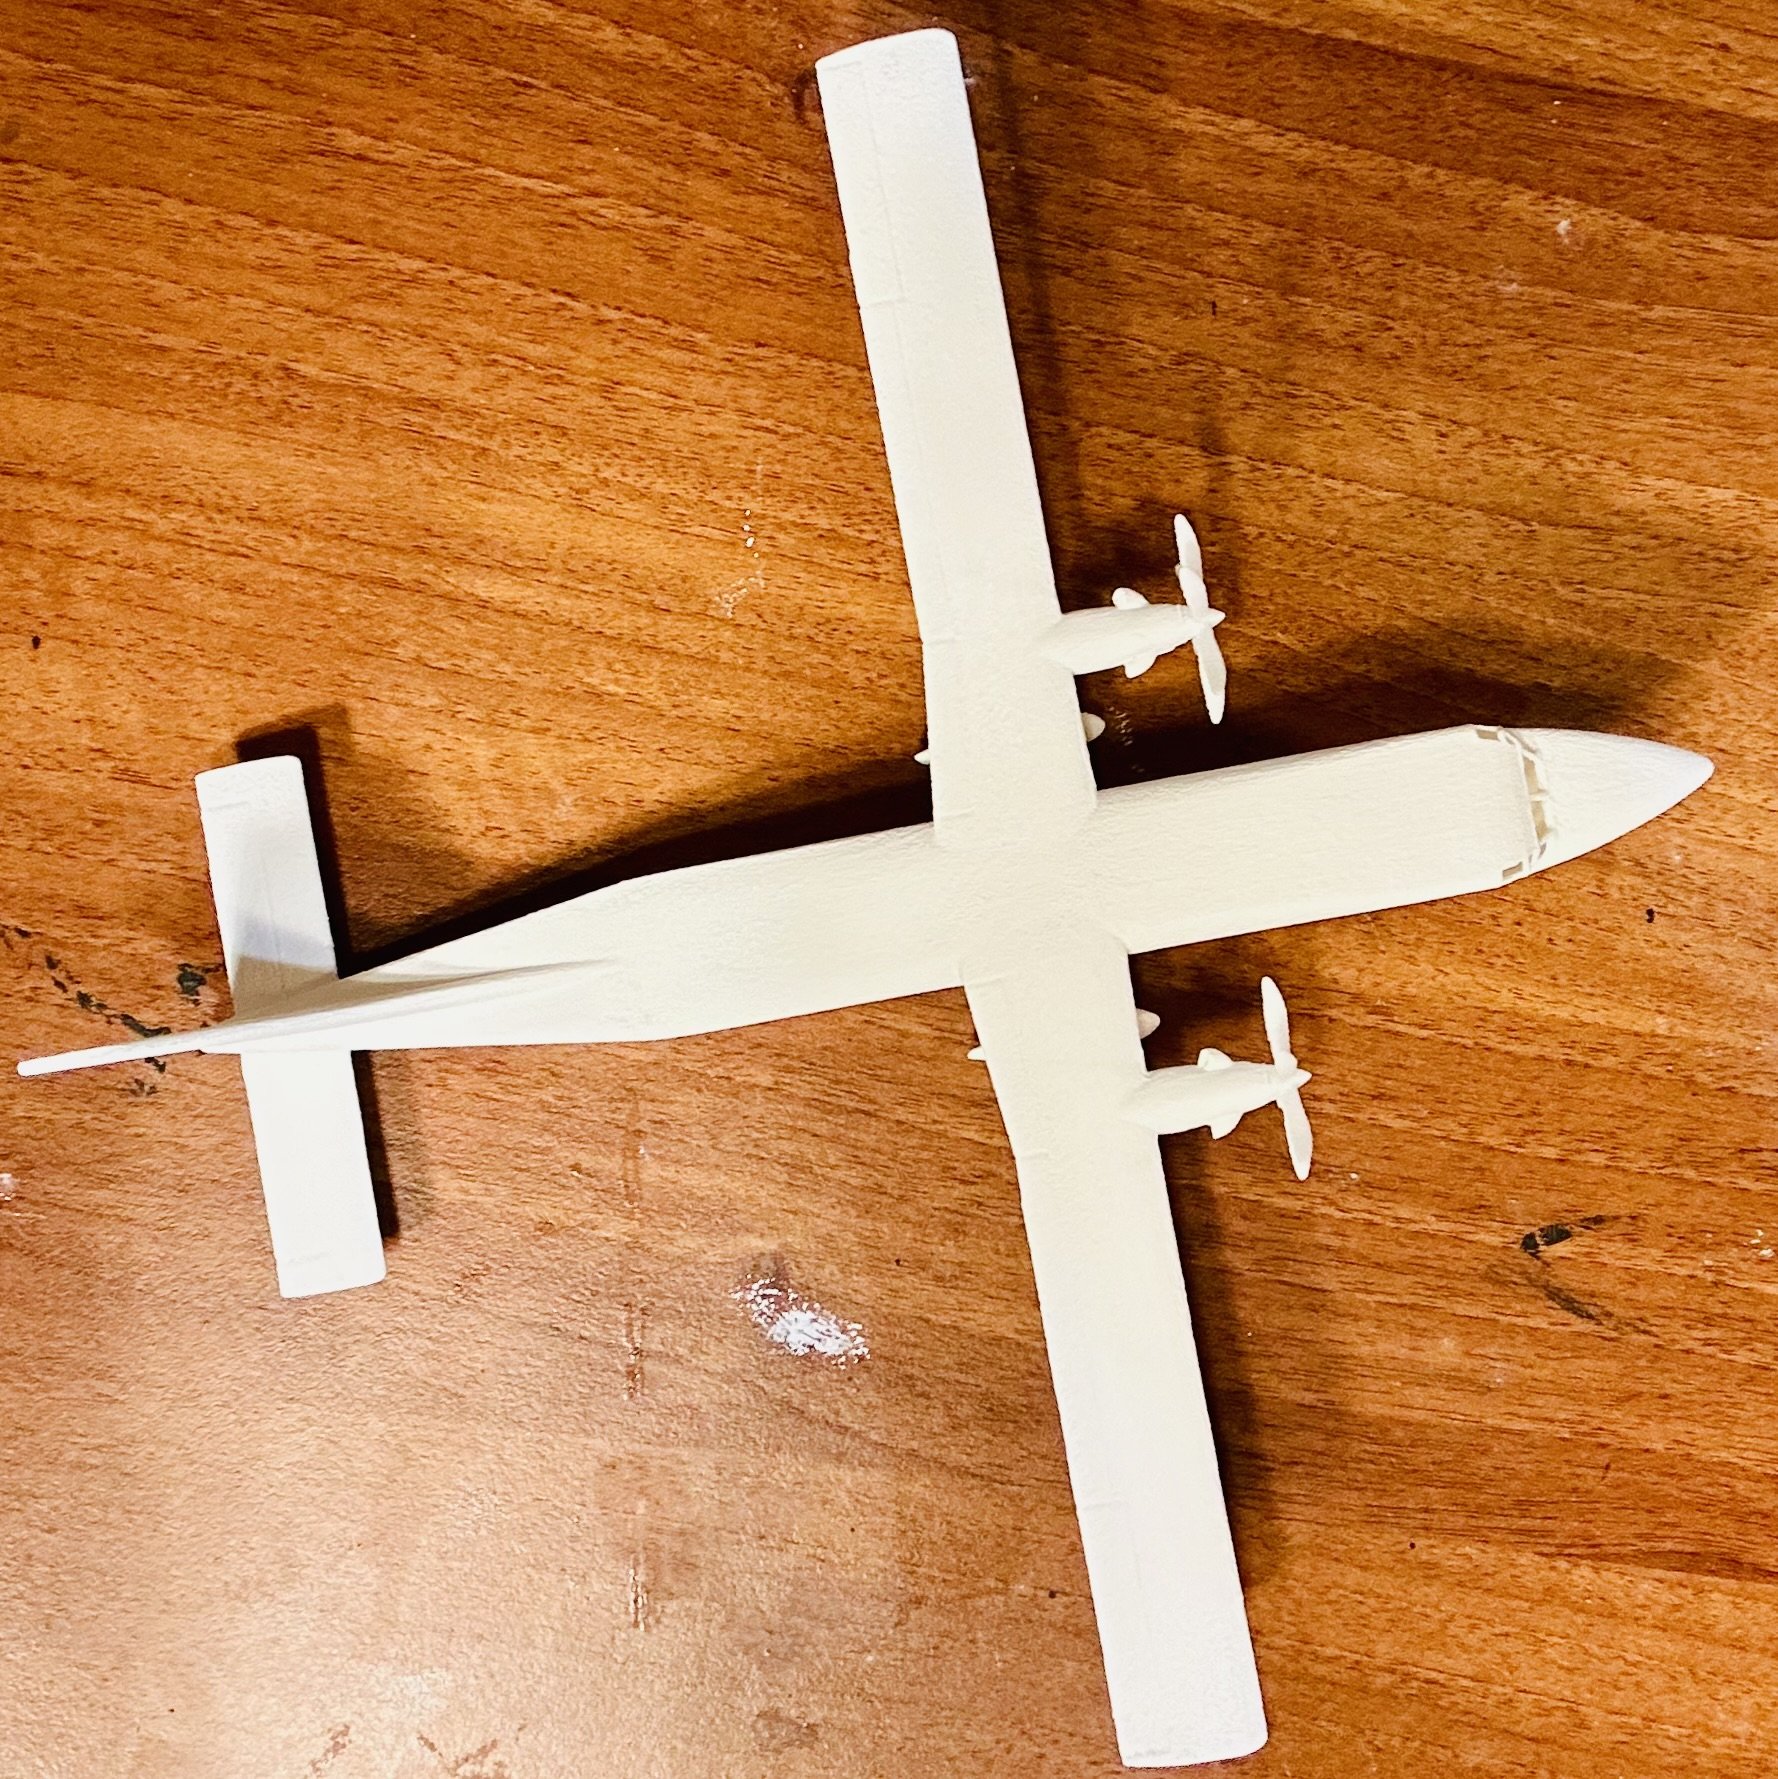
There is actually a company called 360 Clothing that sells shorts, lol. I found that out when trying to get information on the aircraft type. The aircraft looks like a good solid airframe.
-
Excellent work!
-
Ahoy, mates...from central California
GrandpaPhil replied to Capt. Kenway's topic in New member Introductions
Welcome!