GrandpaPhil
-
Posts
6,153 -
Joined
-
Last visited
Content Type
Profiles
Forums
Gallery
Events
Everything posted by GrandpaPhil
-
Beginner looking for advice on first kit
GrandpaPhil replied to O-Nurse's topic in New member Introductions
Welcome! A cutter or a schooner make great first models. -
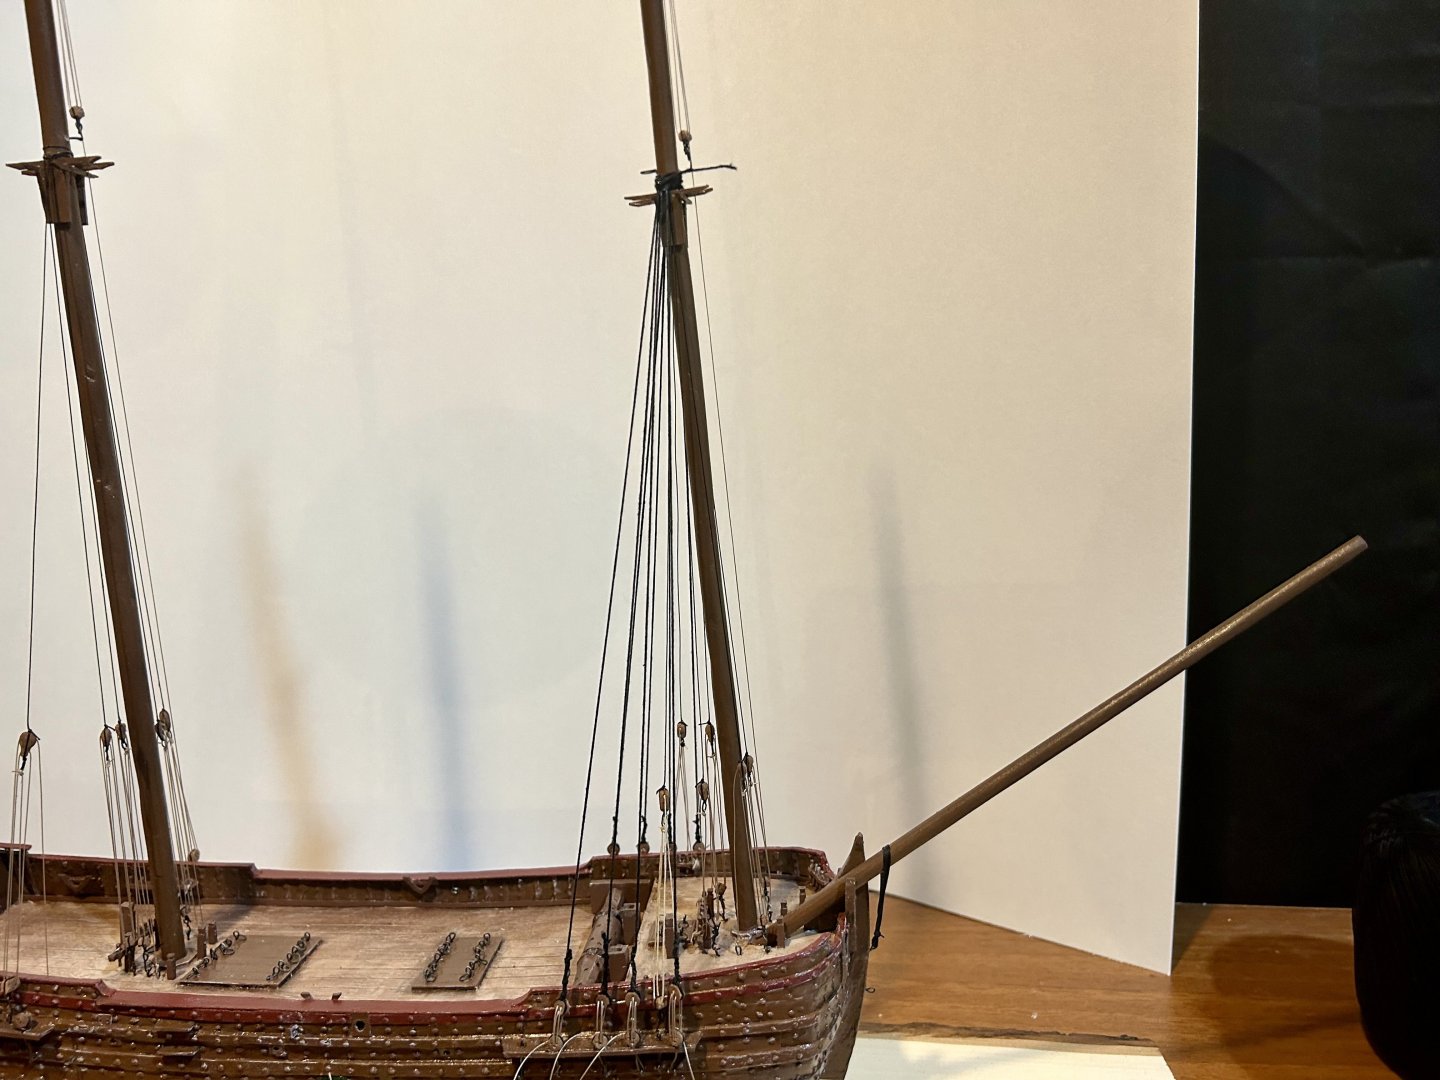
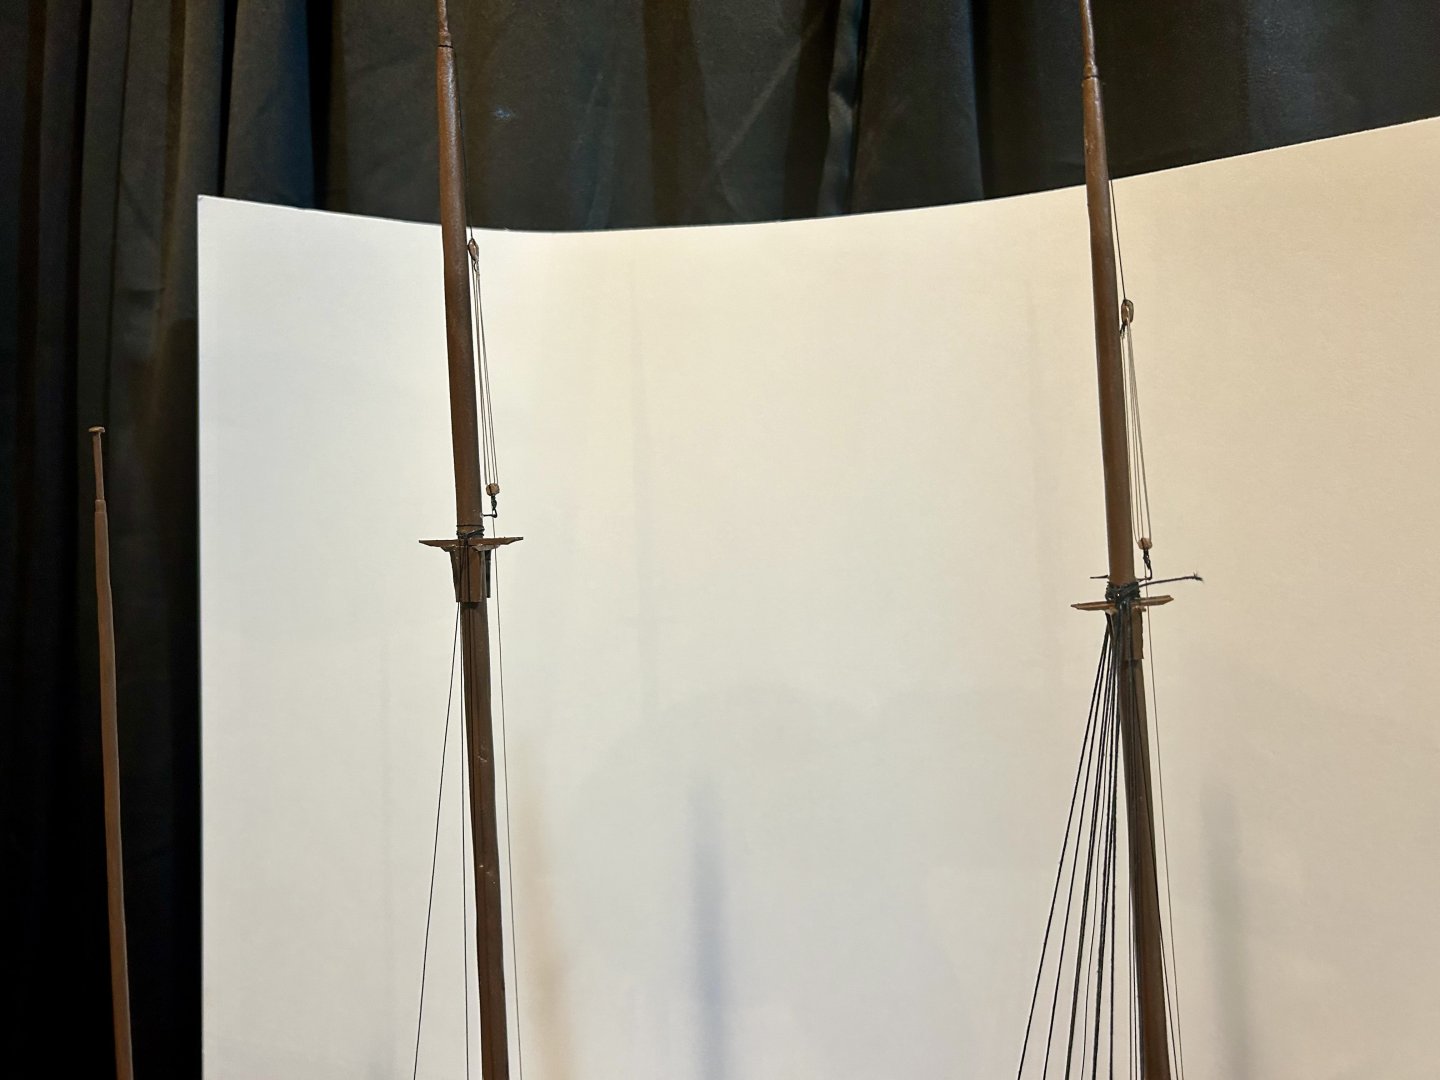
Loading tackles are done: Shrouds are going in with the foremast lower shrouds installed: No shrouds, stays or backstays will be tensioned until all standing rigging is installed and awaiting tensioning to prevent mast warping.
-
Blocks: wood, card or 3D resin?
GrandpaPhil replied to georgeband's topic in Masting, rigging and sails
Tony, Seahorse has some really nice stuff. Here’s their 3D printed stuff, to include the blocks. https://seahorse.pl/en/14--3d-printed -
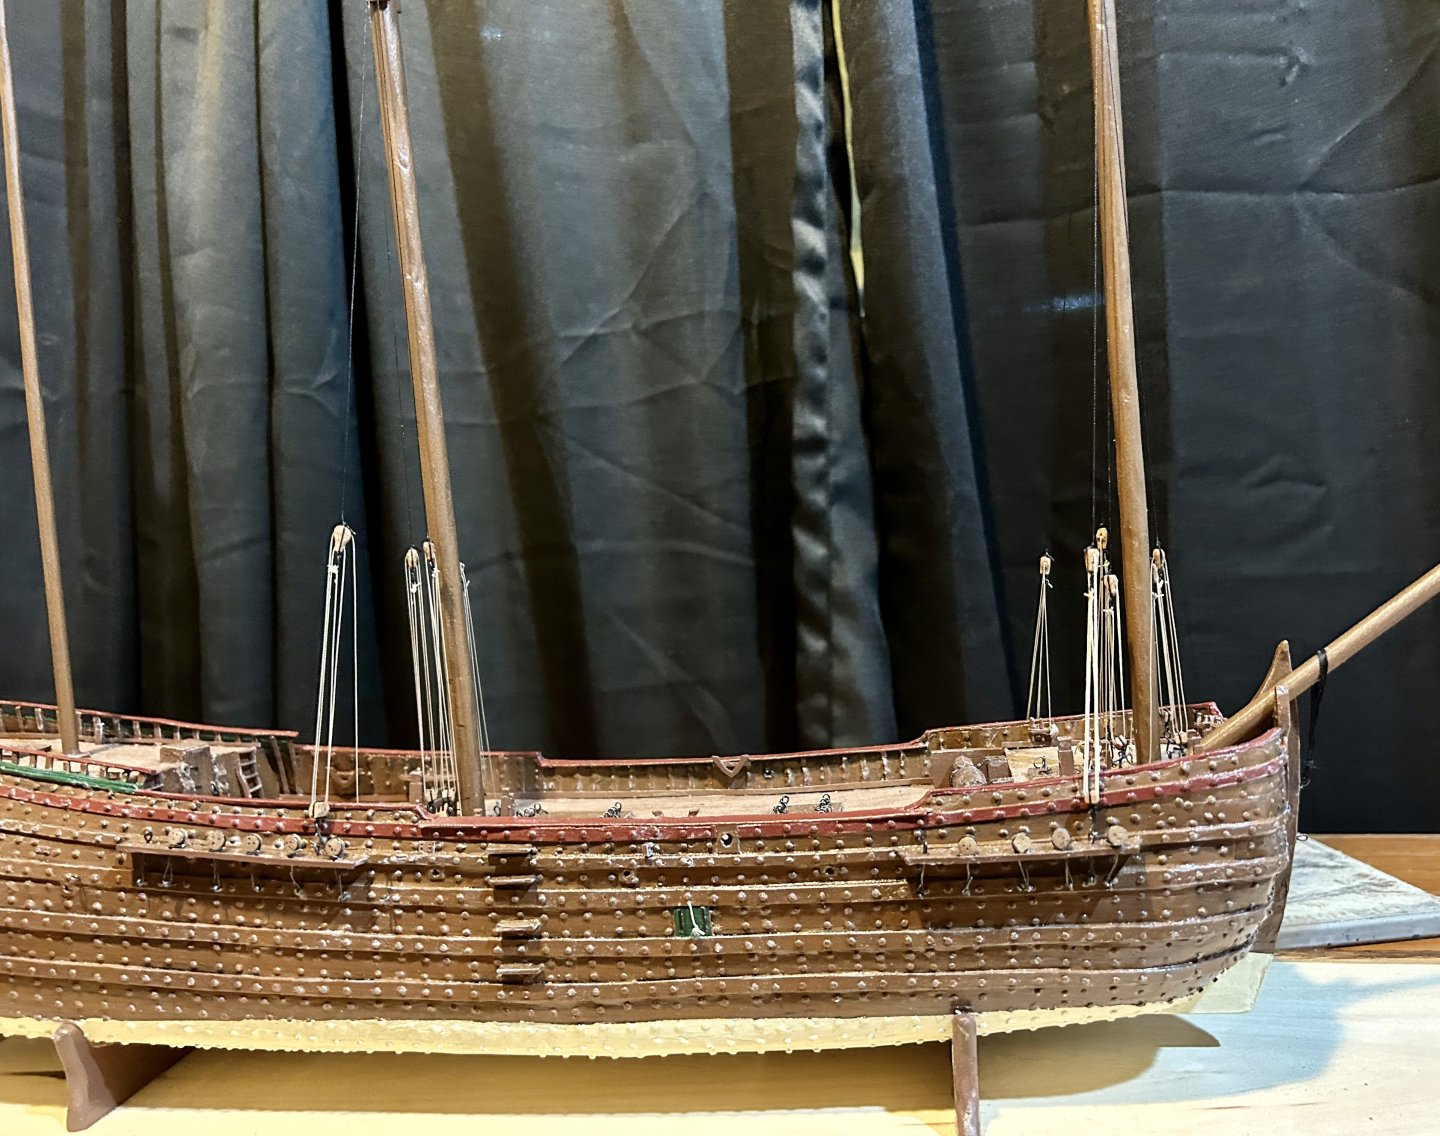
This one had 14 different loading tackles. There were 6 each on the lower fore and main mast and 1 each on the top fore and main mast. This was a merchant though.
-
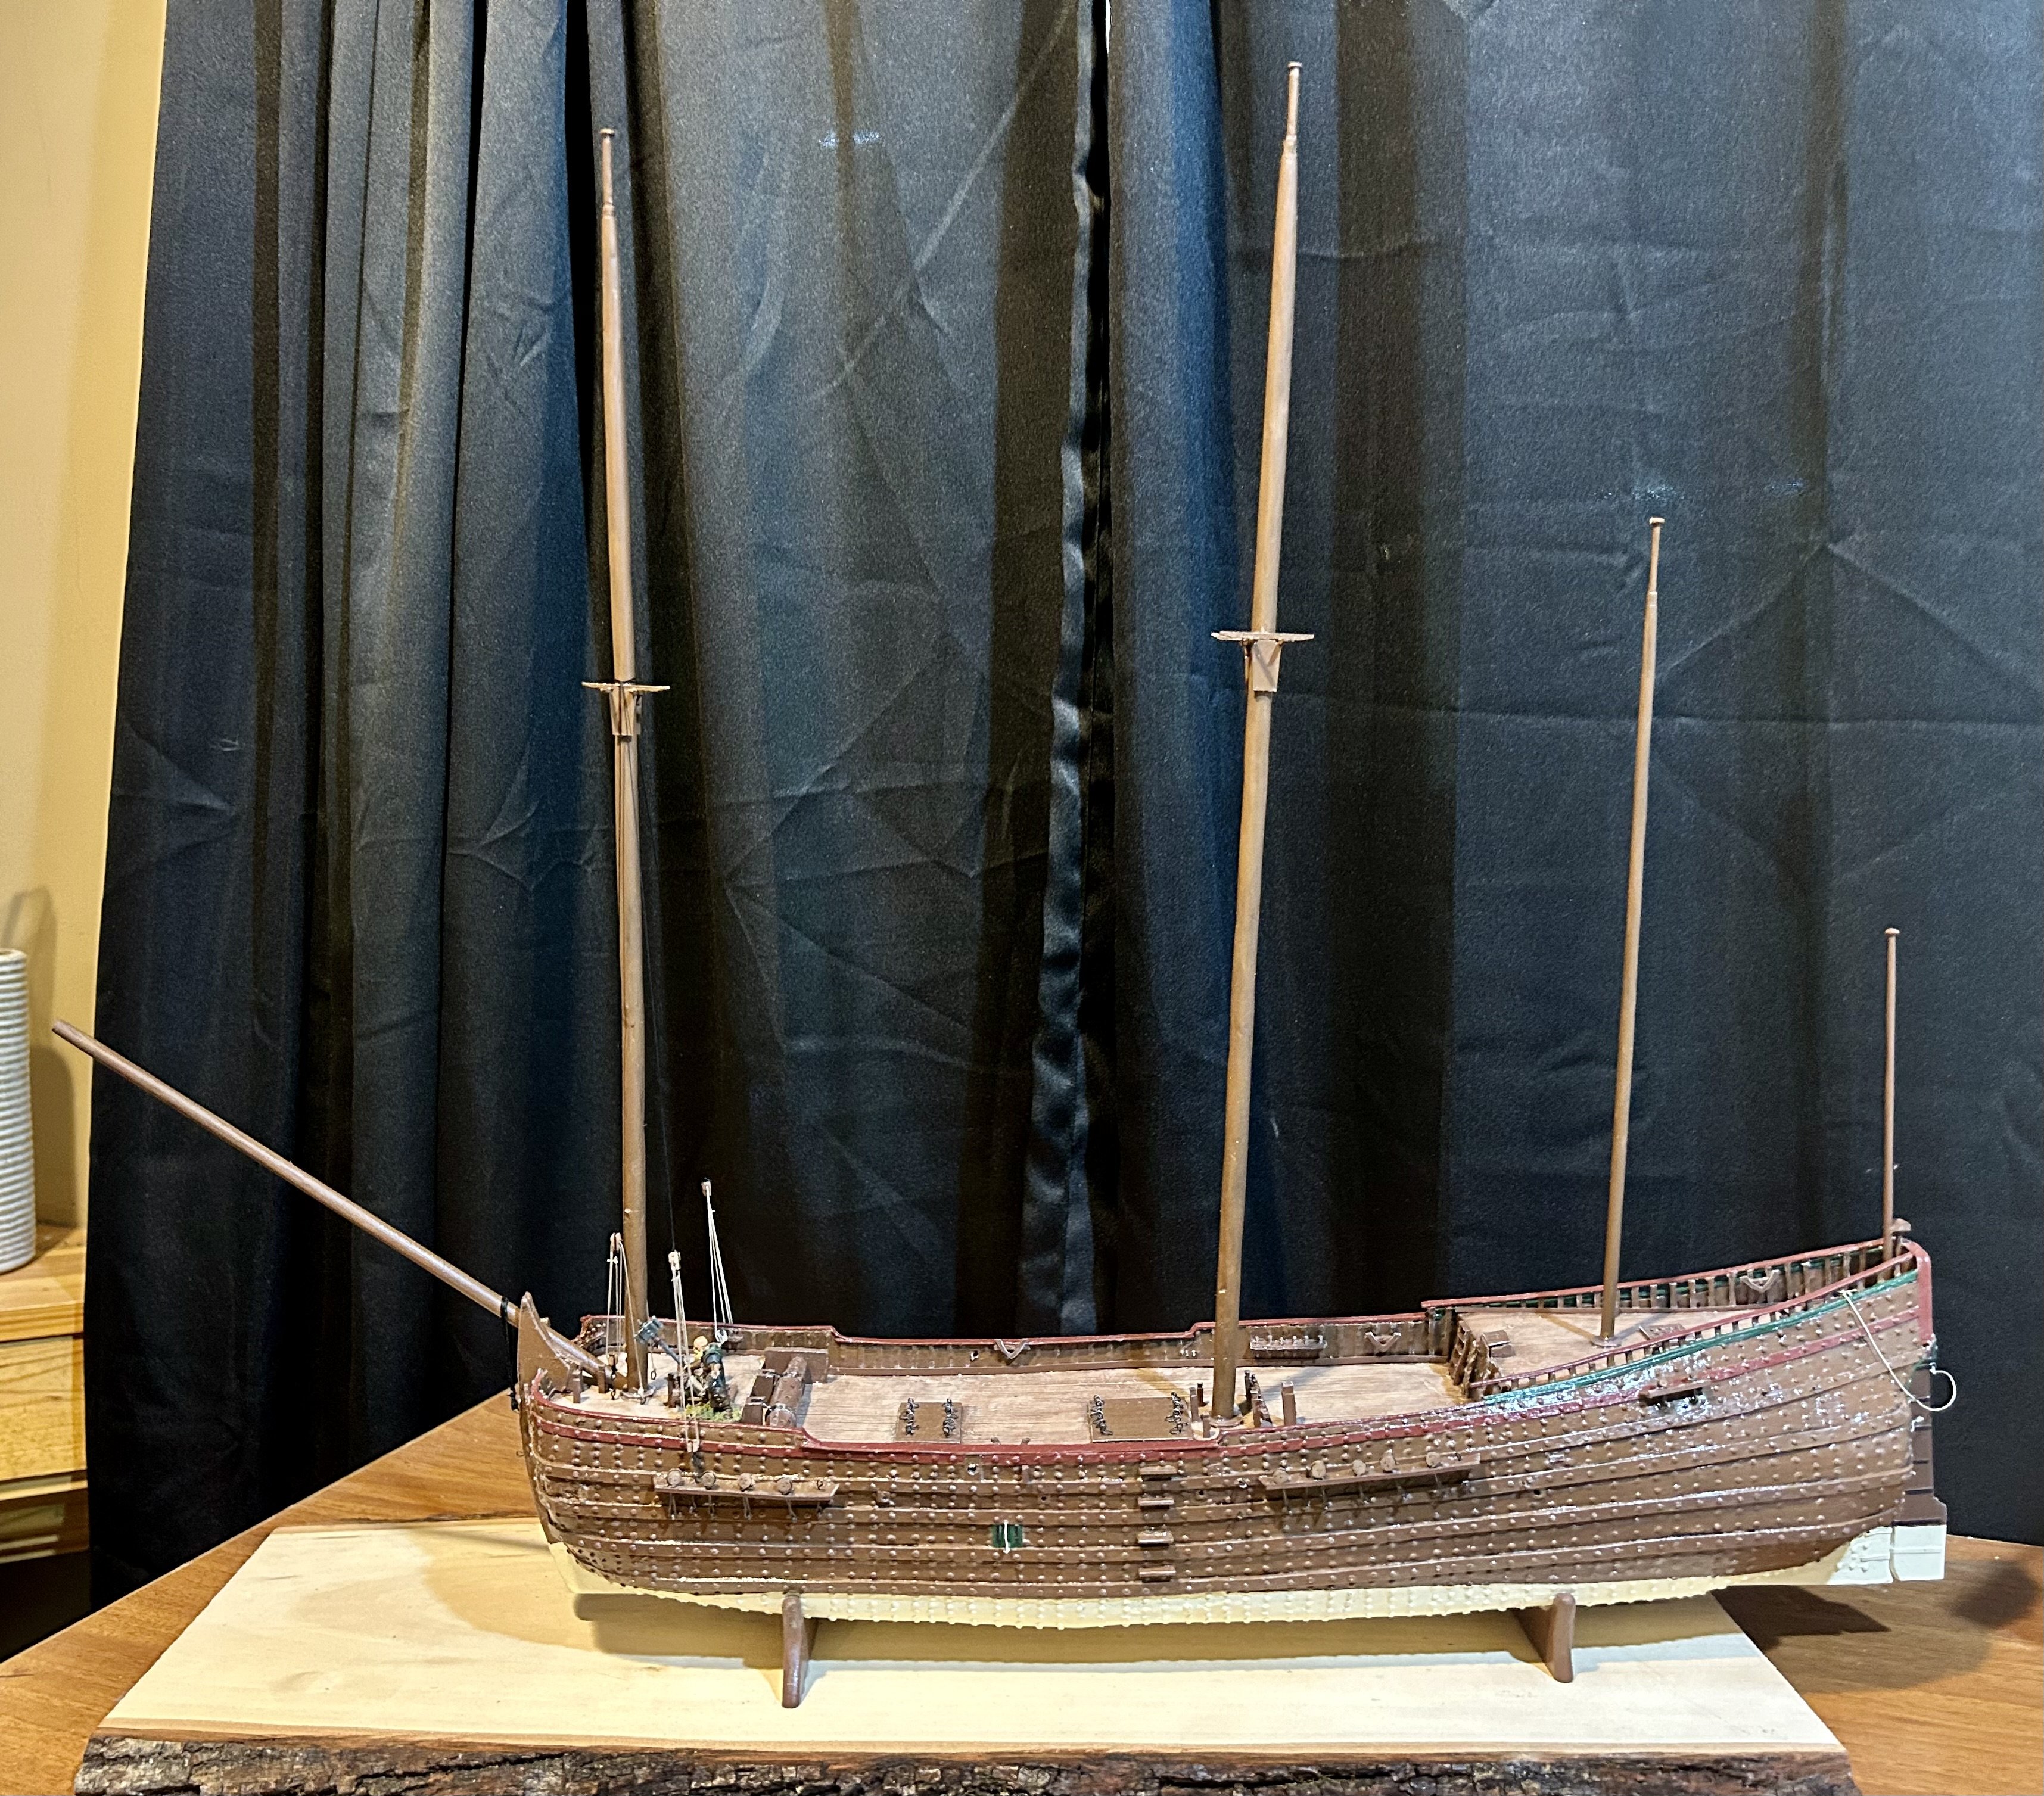
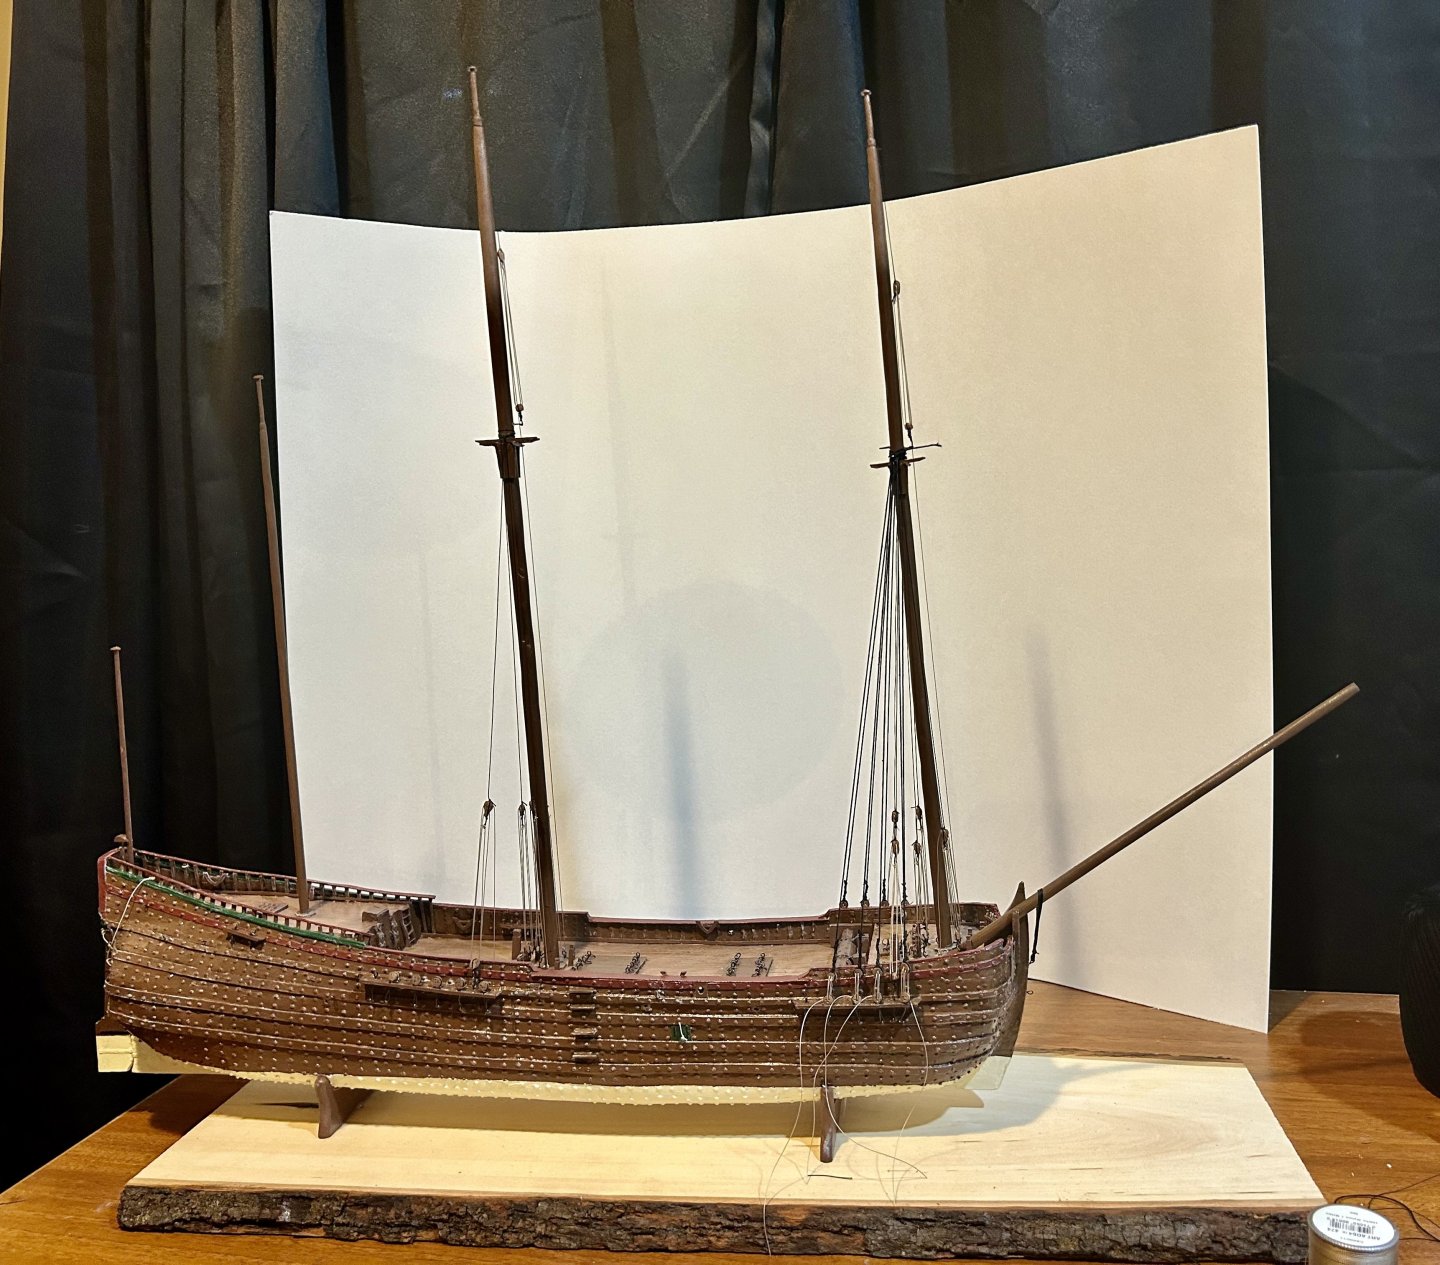
Thank you very much! All lower loading tackles are done: Here is a side on shot of the ship: I missed the third set of tackles on each lower mast and found a set on each top mast. That makes for 8 sets of tackles that I didn’t plan for. Needless to say, I made some more double blocks. The hooks are made from steel wire. I am being much more careful with reading the rigging plan so I don’t miss anything else. This plan is the most complete, rigging wise, that I have ever built from, so it is a learning process. The only other square rigger that I have ever built at decent scale was a Mamoli Endeavour which was 1/100 scale, and therefore still simplified significantly. The Solferino was pretty complete, rigging wise, but it was only 1/200 scale and therefore only had half the rigging it should have had. We’ll see how this turns out. Next up for me rigging wise is the Revenge.

-
Welcome!
-
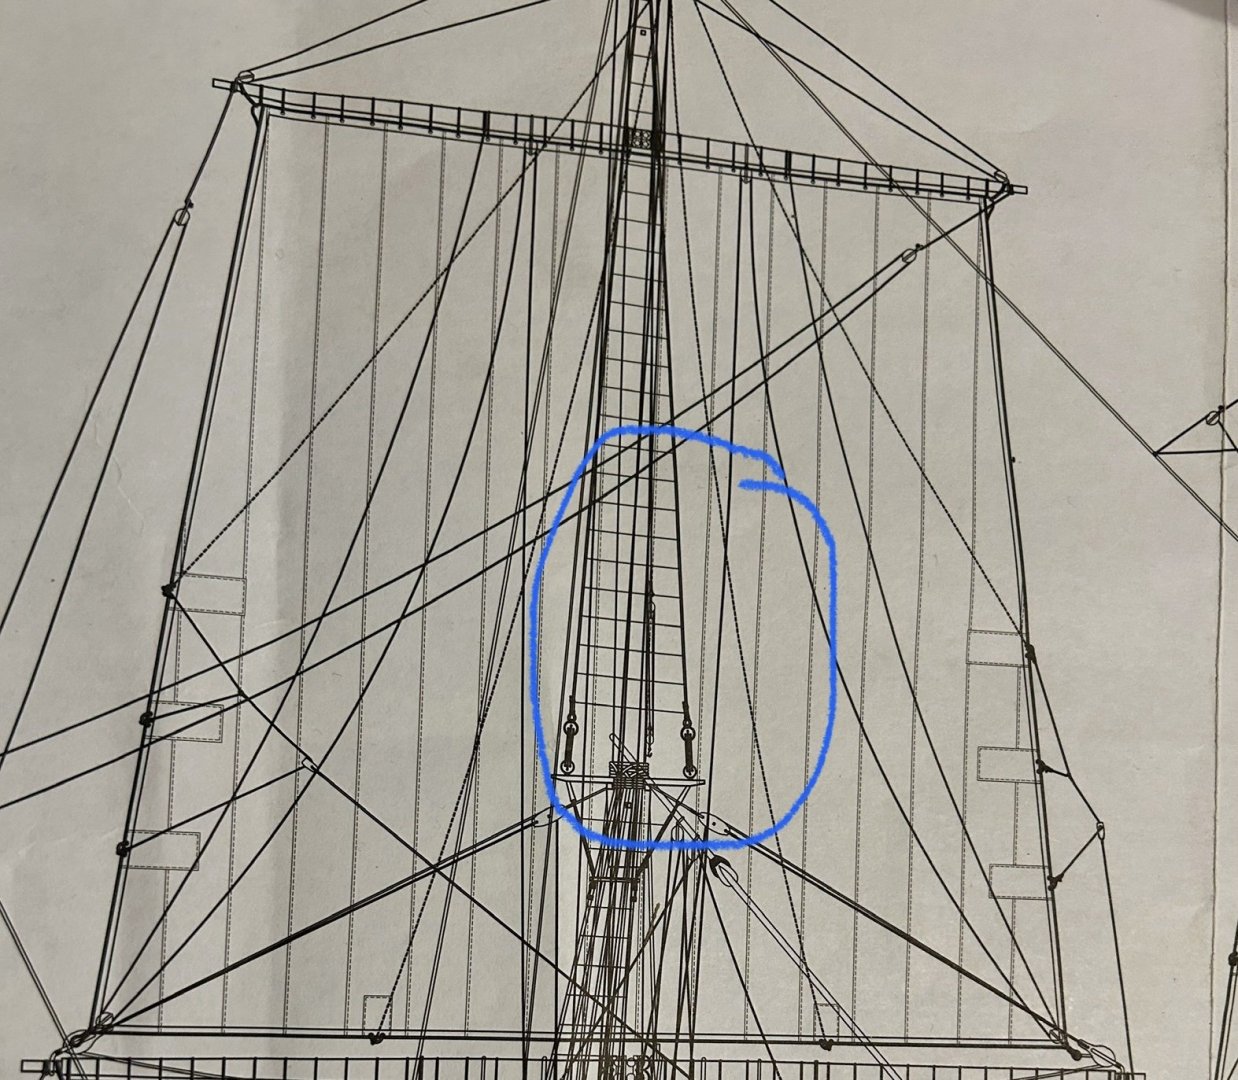
The plans for my Cat appear to have loading tackles on the topmast. What would the purpose be for those?
-
AMC DH9 by davec - FINISHED - Wingnut Wings - 1/32
GrandpaPhil replied to davec's topic in Non-ship/categorised builds
Very nicely done! -
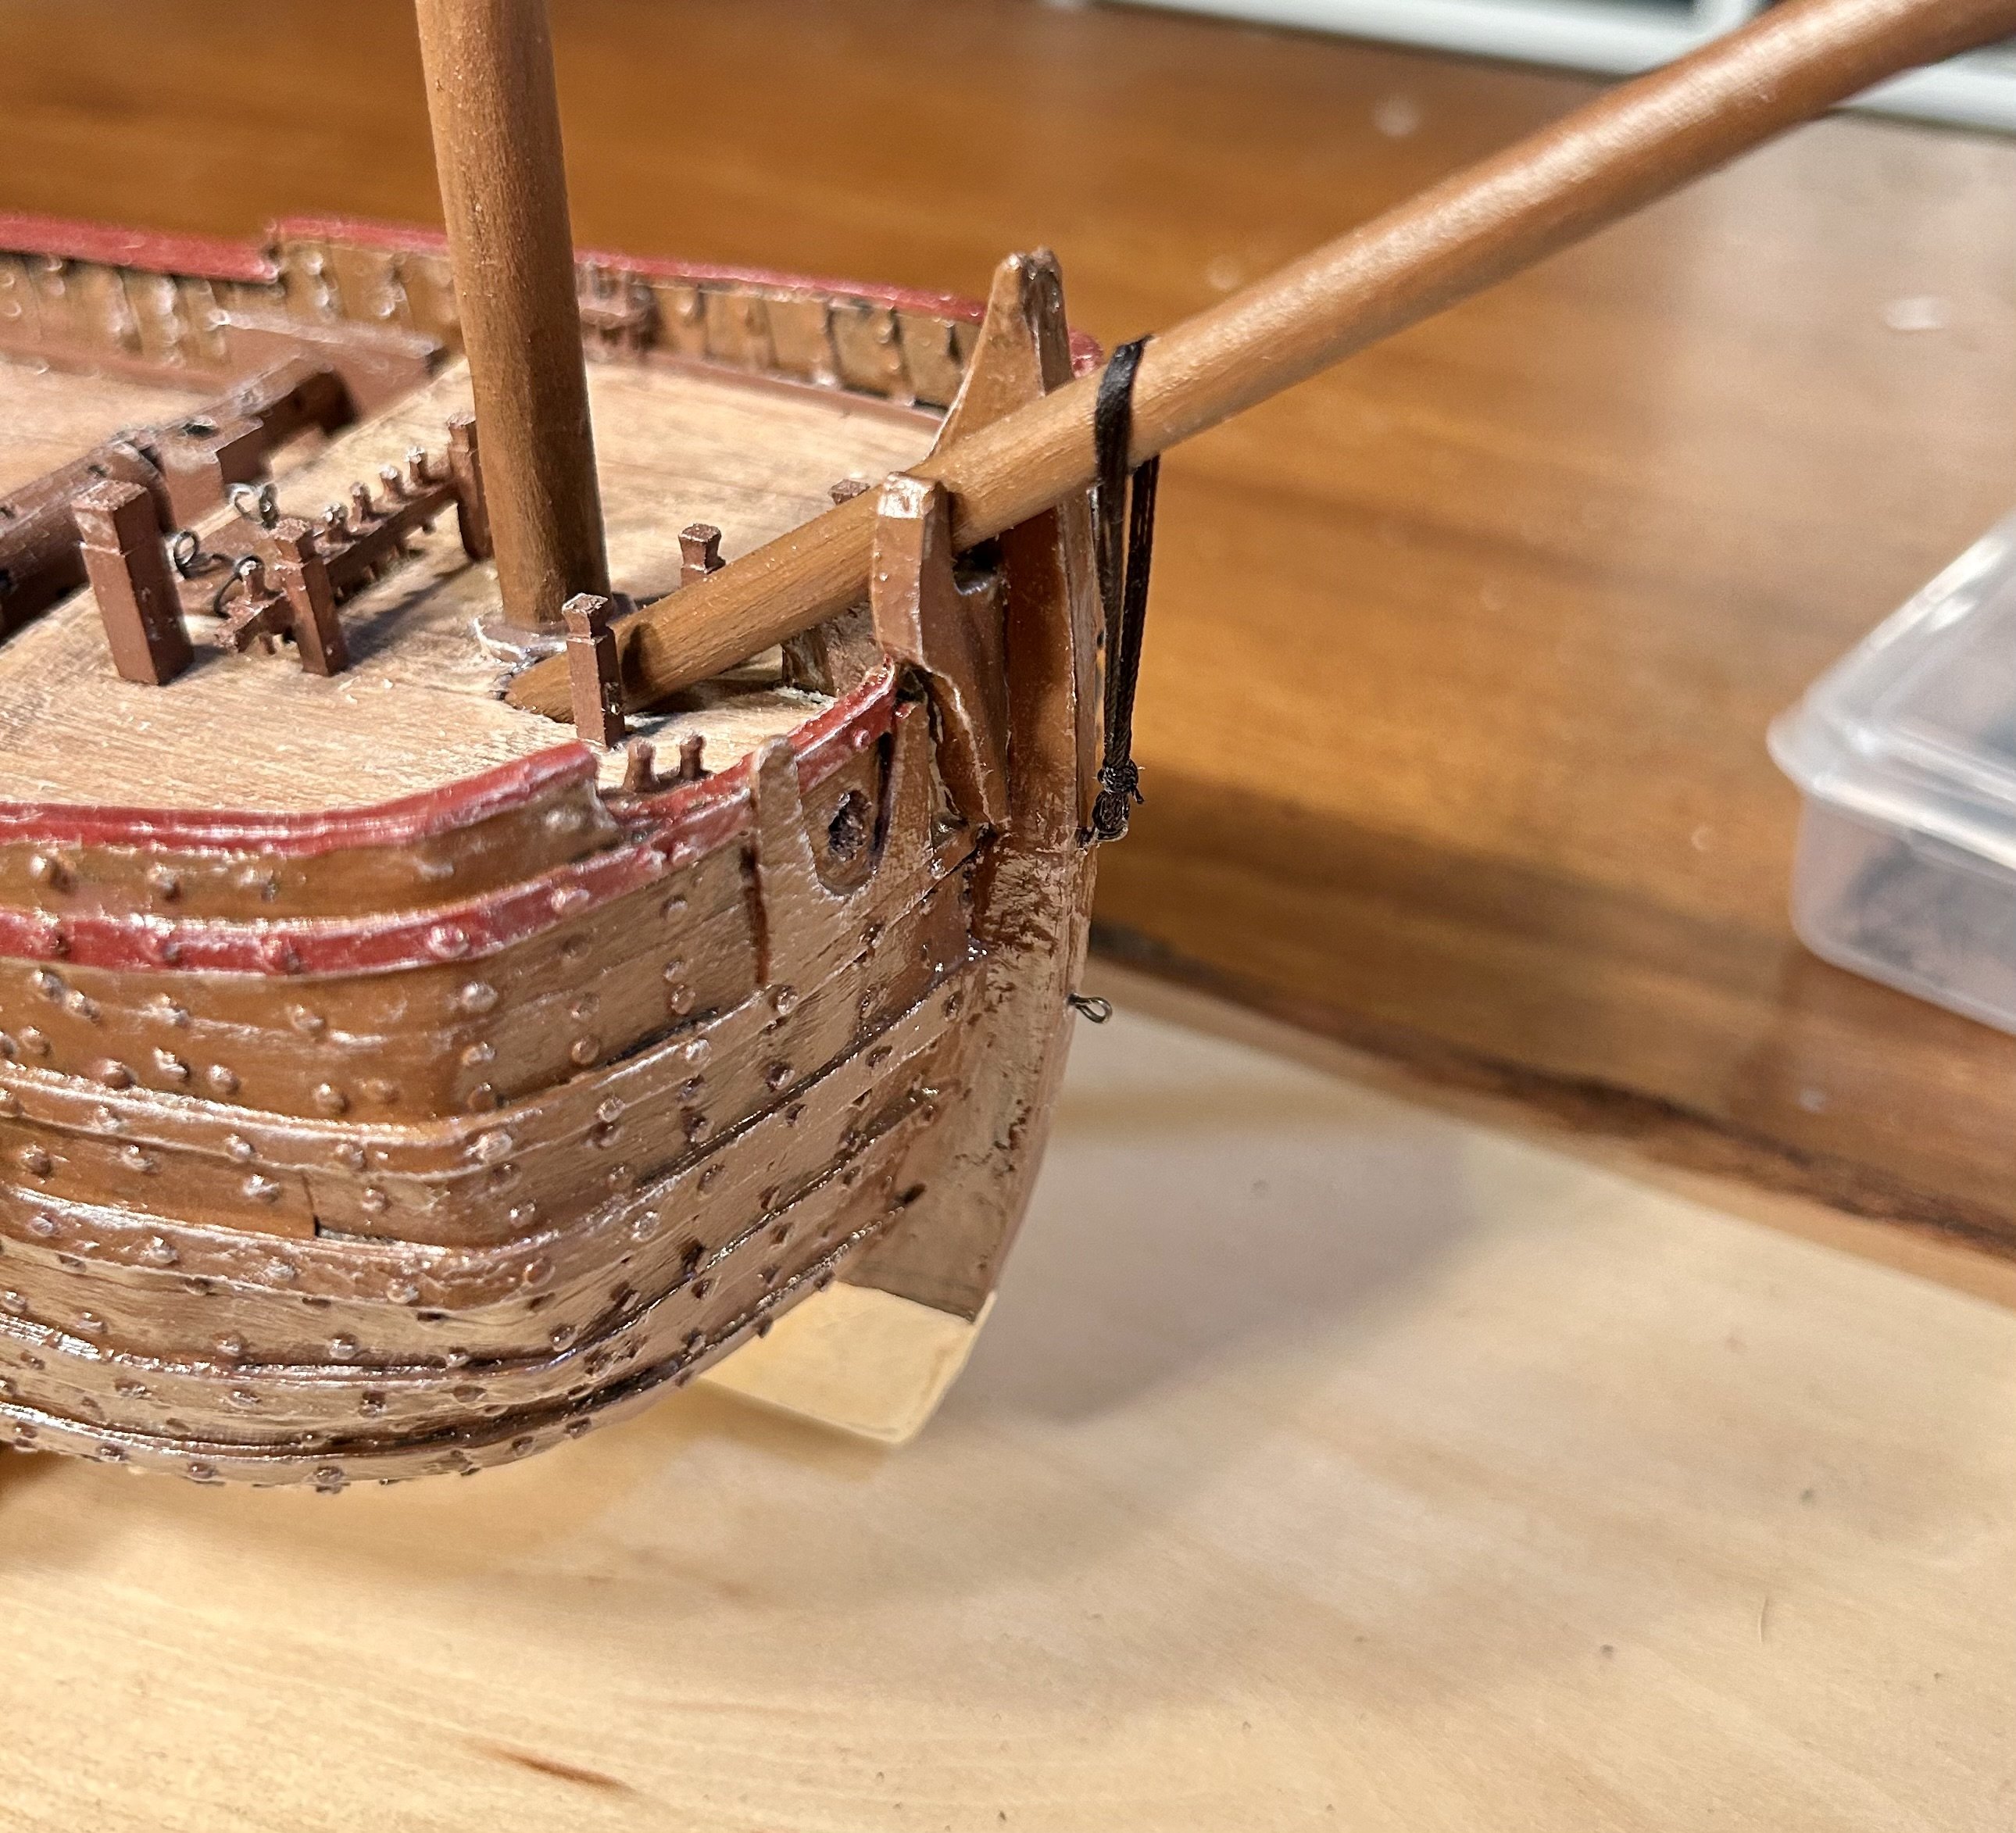
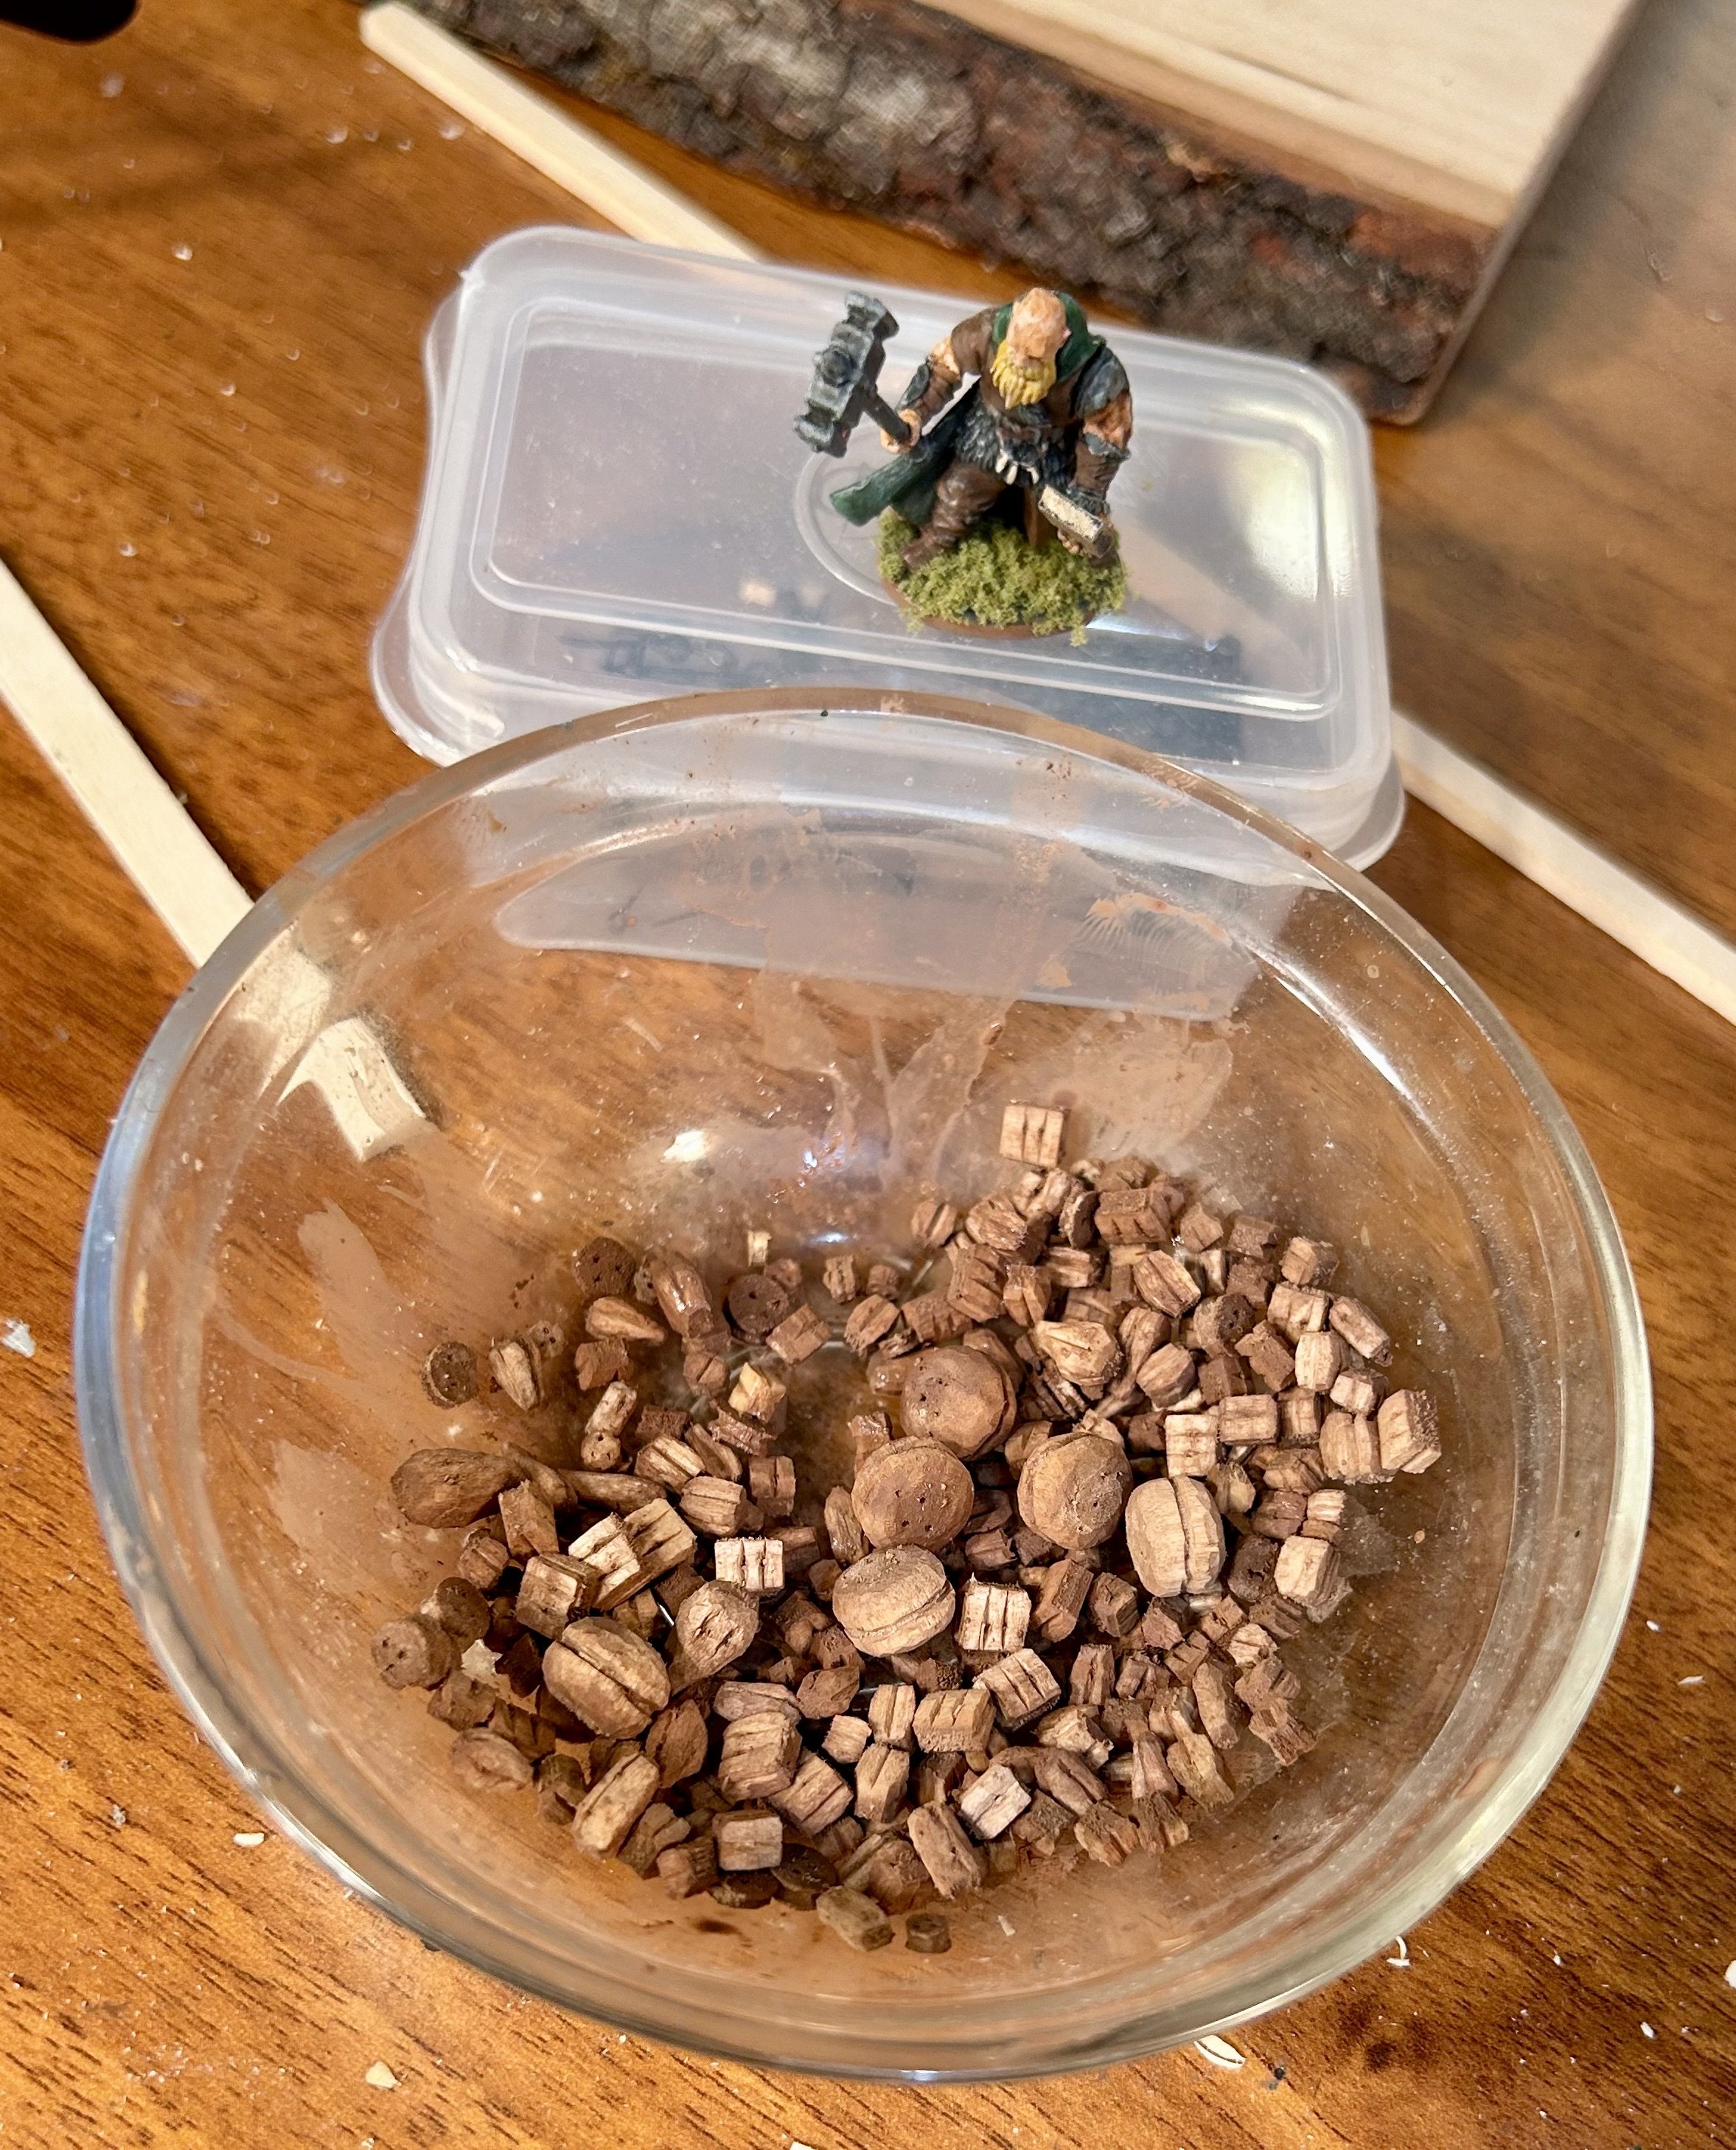
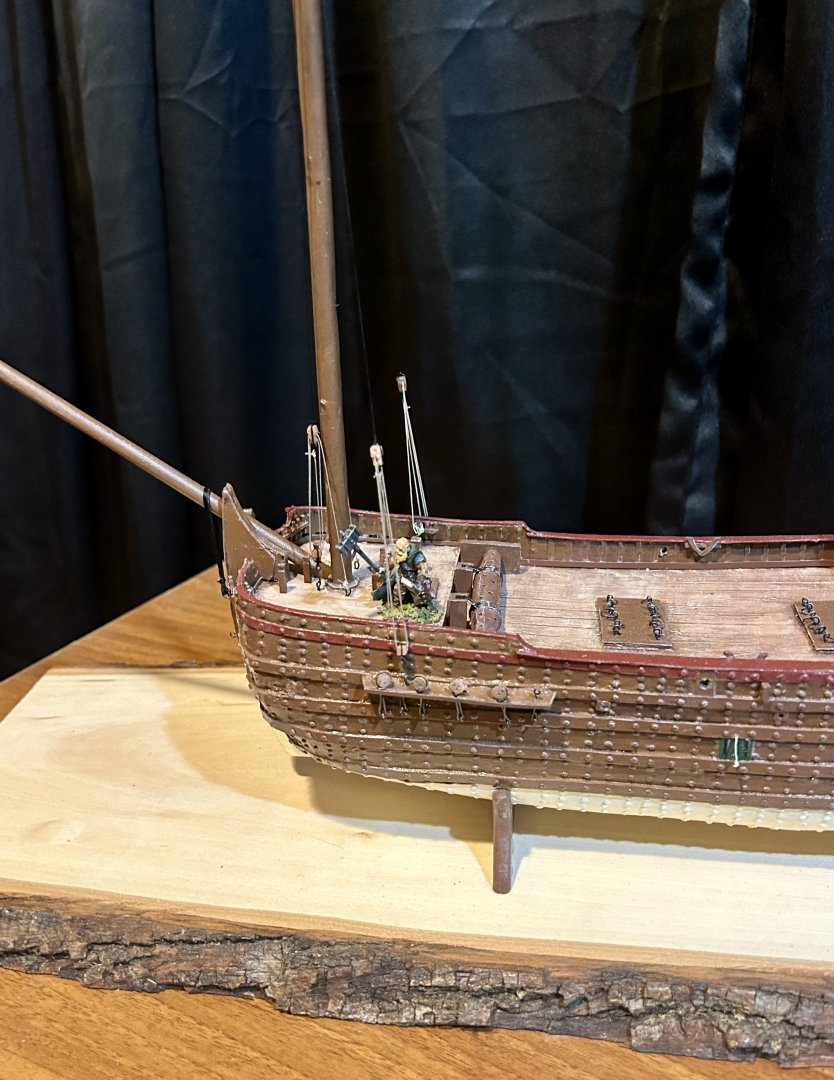
The foremast loading tackles are done: Griswold is pleased with his work, he can load his barrels of mead now:


-
Incredible work! Congratulations!
-
Blocks: wood, card or 3D resin?
GrandpaPhil replied to georgeband's topic in Masting, rigging and sails
I use that method and carve the grooves in with a scalpel. -
Very nicely done!
-
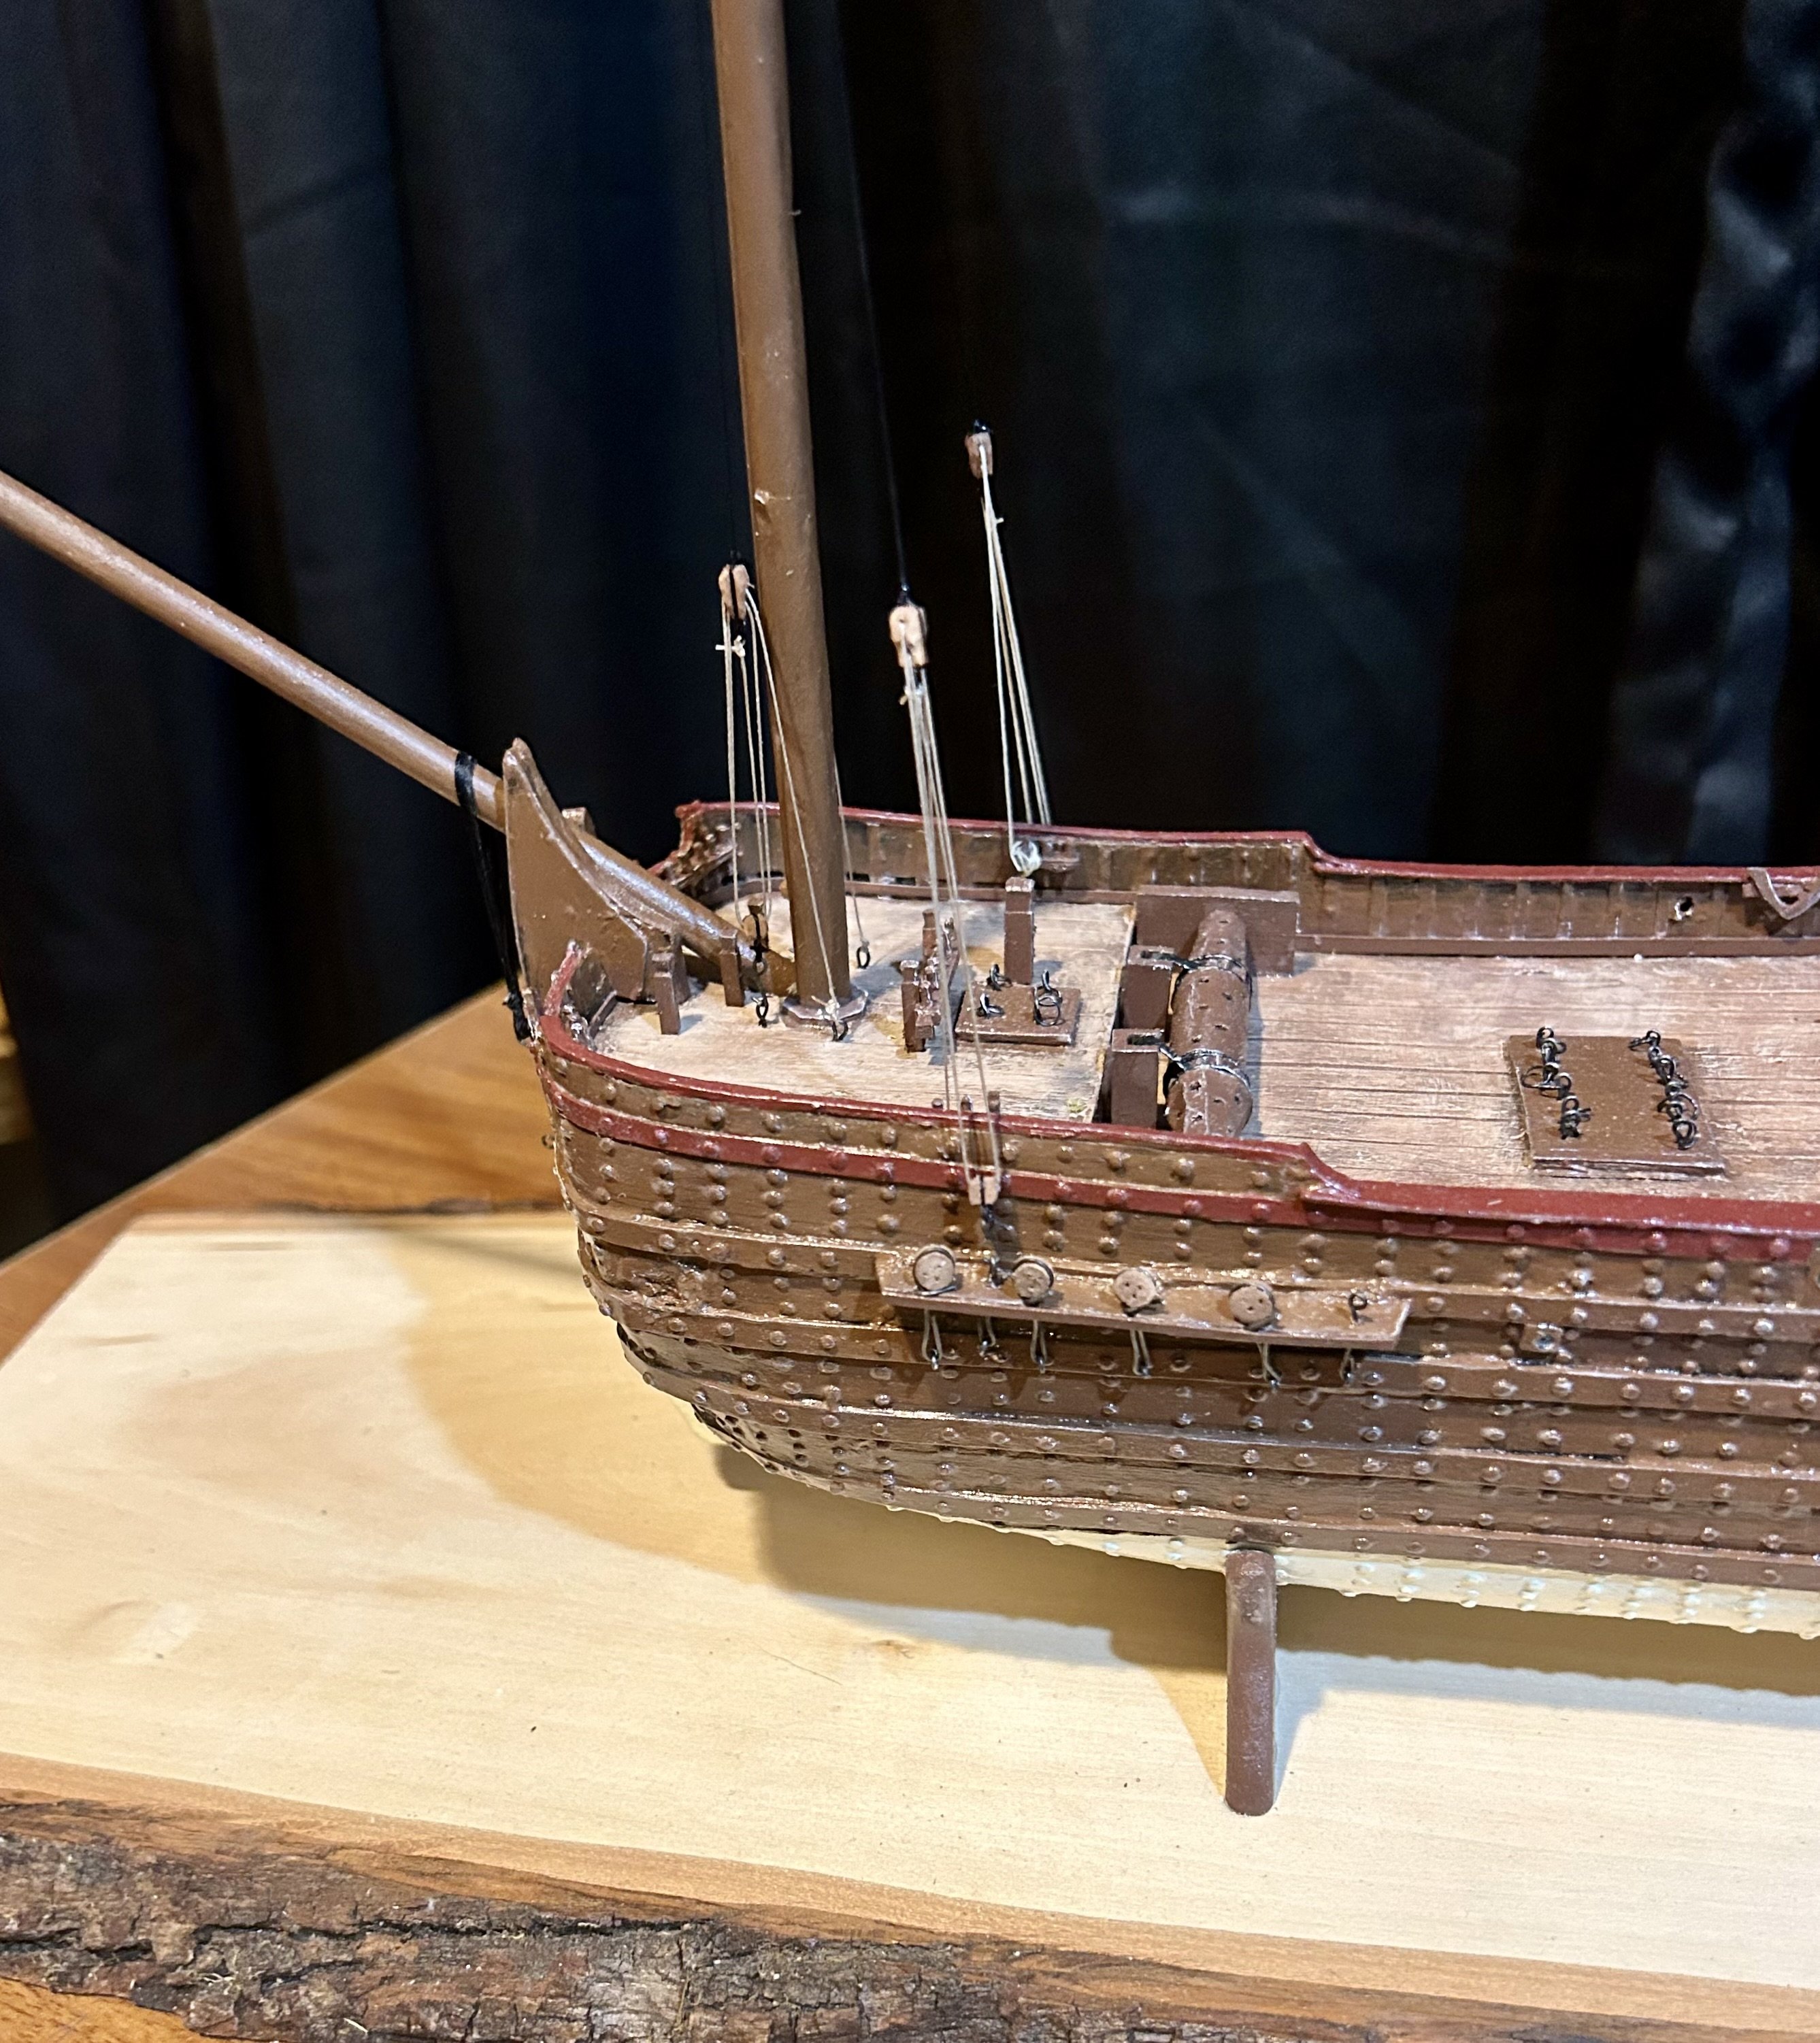
Thank you very much! Griswold finished all of the rigging fittings and inked them brown: This isn’t a warship, which has a lot more, but there were still plenty of fittings to make (at least a couple hundred).
-
It can be tricky, especially following the curvature of a hull. The Nautilus is one of my all time favorite submarines from fiction. Jules Verne is one of my all time favorite authors. So, I am very excited to see this build.
- 40 replies
-
- 5
-

-
- Nautilus
- Heinkel Models
- (and 2 more)
-
One trick that I have discovered with card models is preshaping and test fitting pieces prior to gluing. For curves pieces I usually run them over the edge of my work table to break down the fibers and make them take, and retain, the new shape.
- 40 replies
-
- 5
-
-
- Nautilus
- Heinkel Models
- (and 2 more)
-
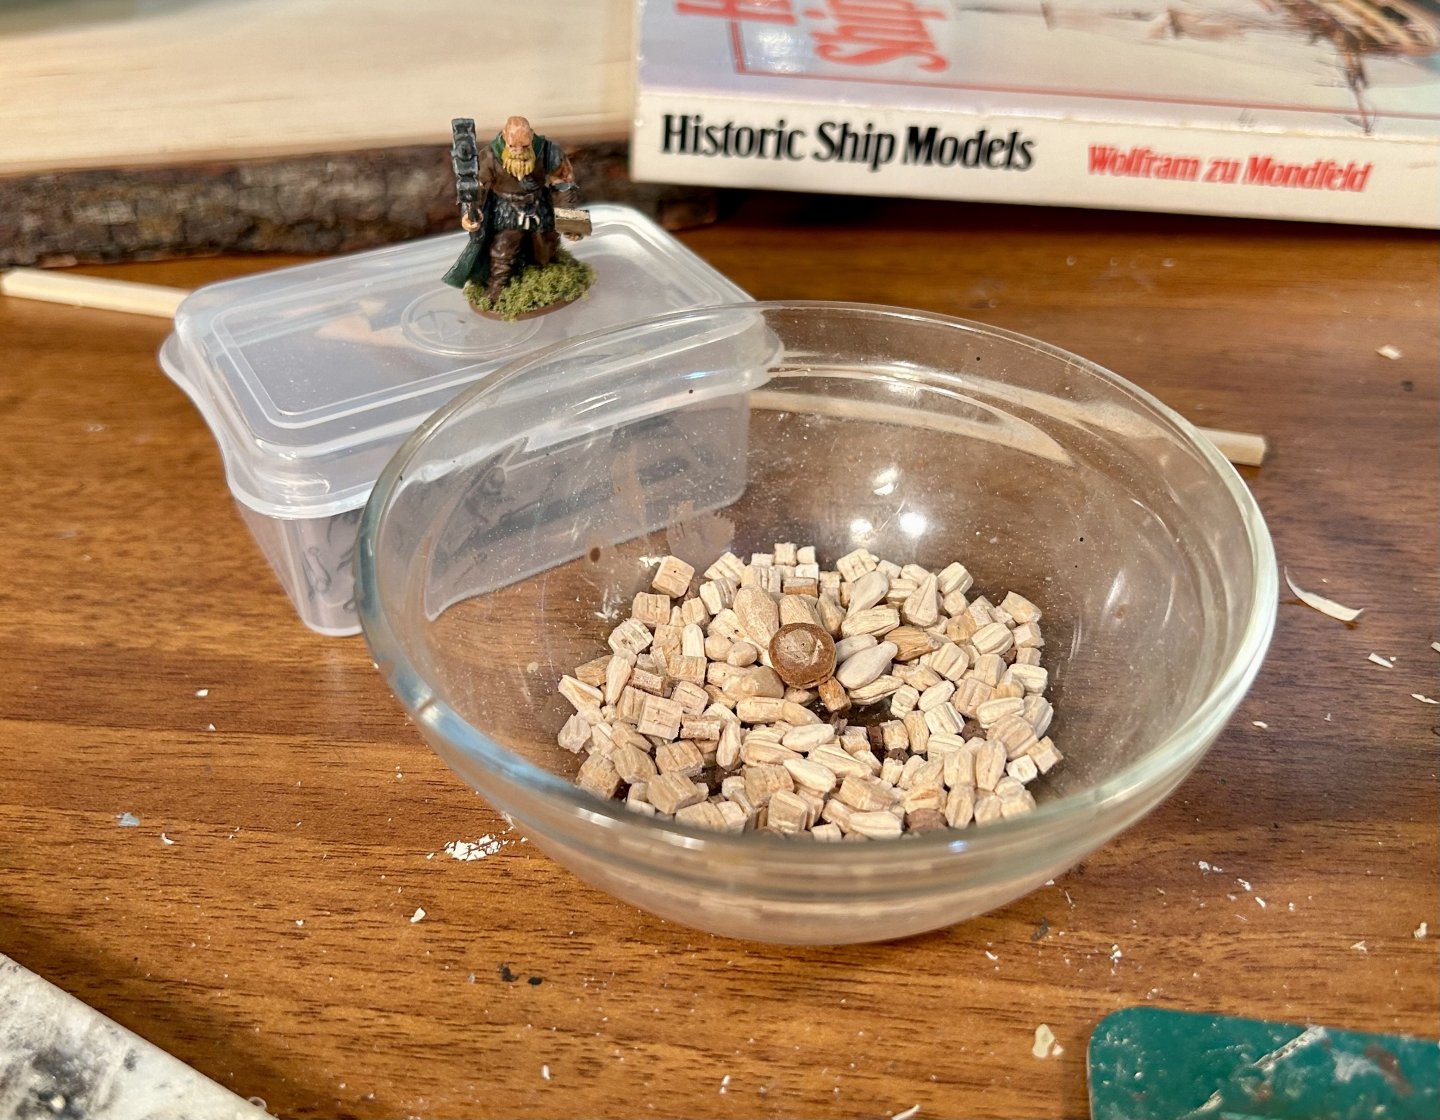
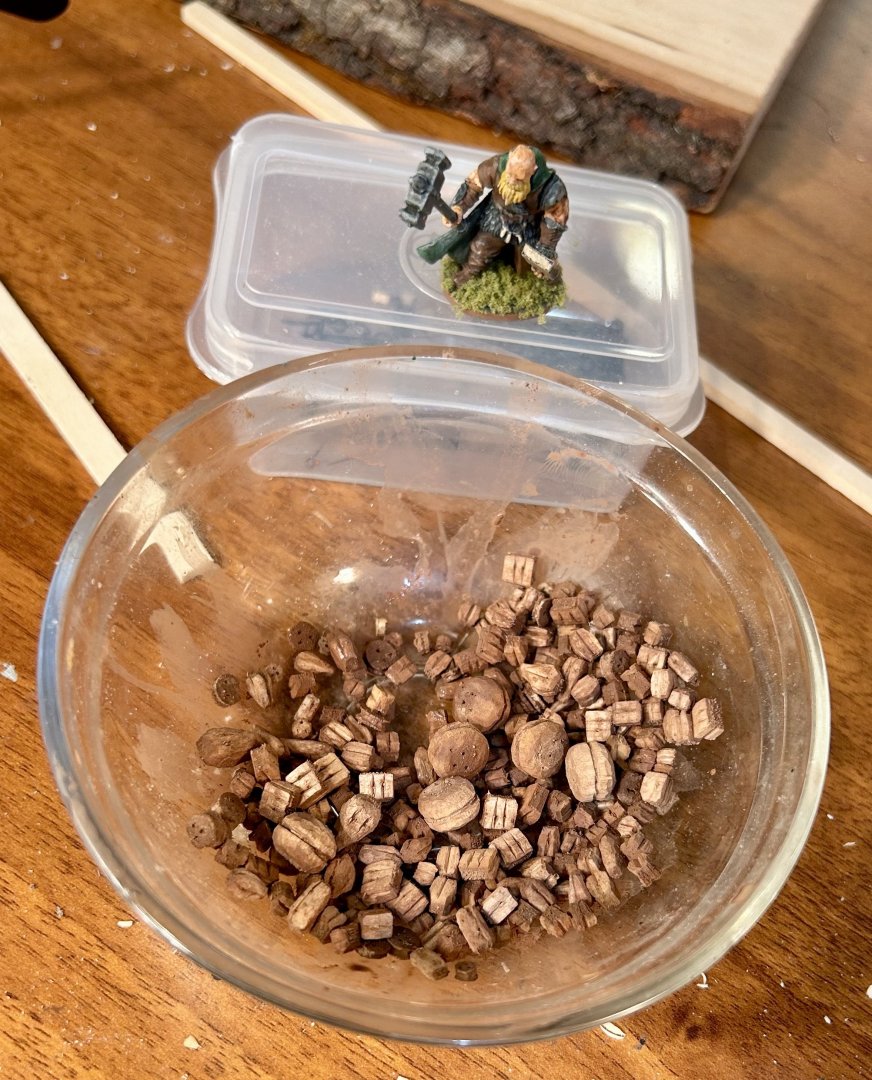
It should be noted that Griswold is mostly made from the pieces of a 28mm (1/56) scale barbarian from the game Frostgrave, that would be equivalent to a 7 foot (2.11 m) tall person in 1/64 scale. That will help with scaling perspective. The book is 14” (35 cm) tall and wide in 1/64 scale. I made the book from basswood.
-
Griswold finished all the blocks and is making the giant deadeye looking things. We only need 4, but are going to make 6. The first one is done. After we make these, we will make all of the mouses for the stays. Then all fittings will get painted and rigging will commence!