GrandpaPhil
-
Posts
6,161 -
Joined
-
Last visited
Content Type
Profiles
Forums
Gallery
Events
Everything posted by GrandpaPhil
-
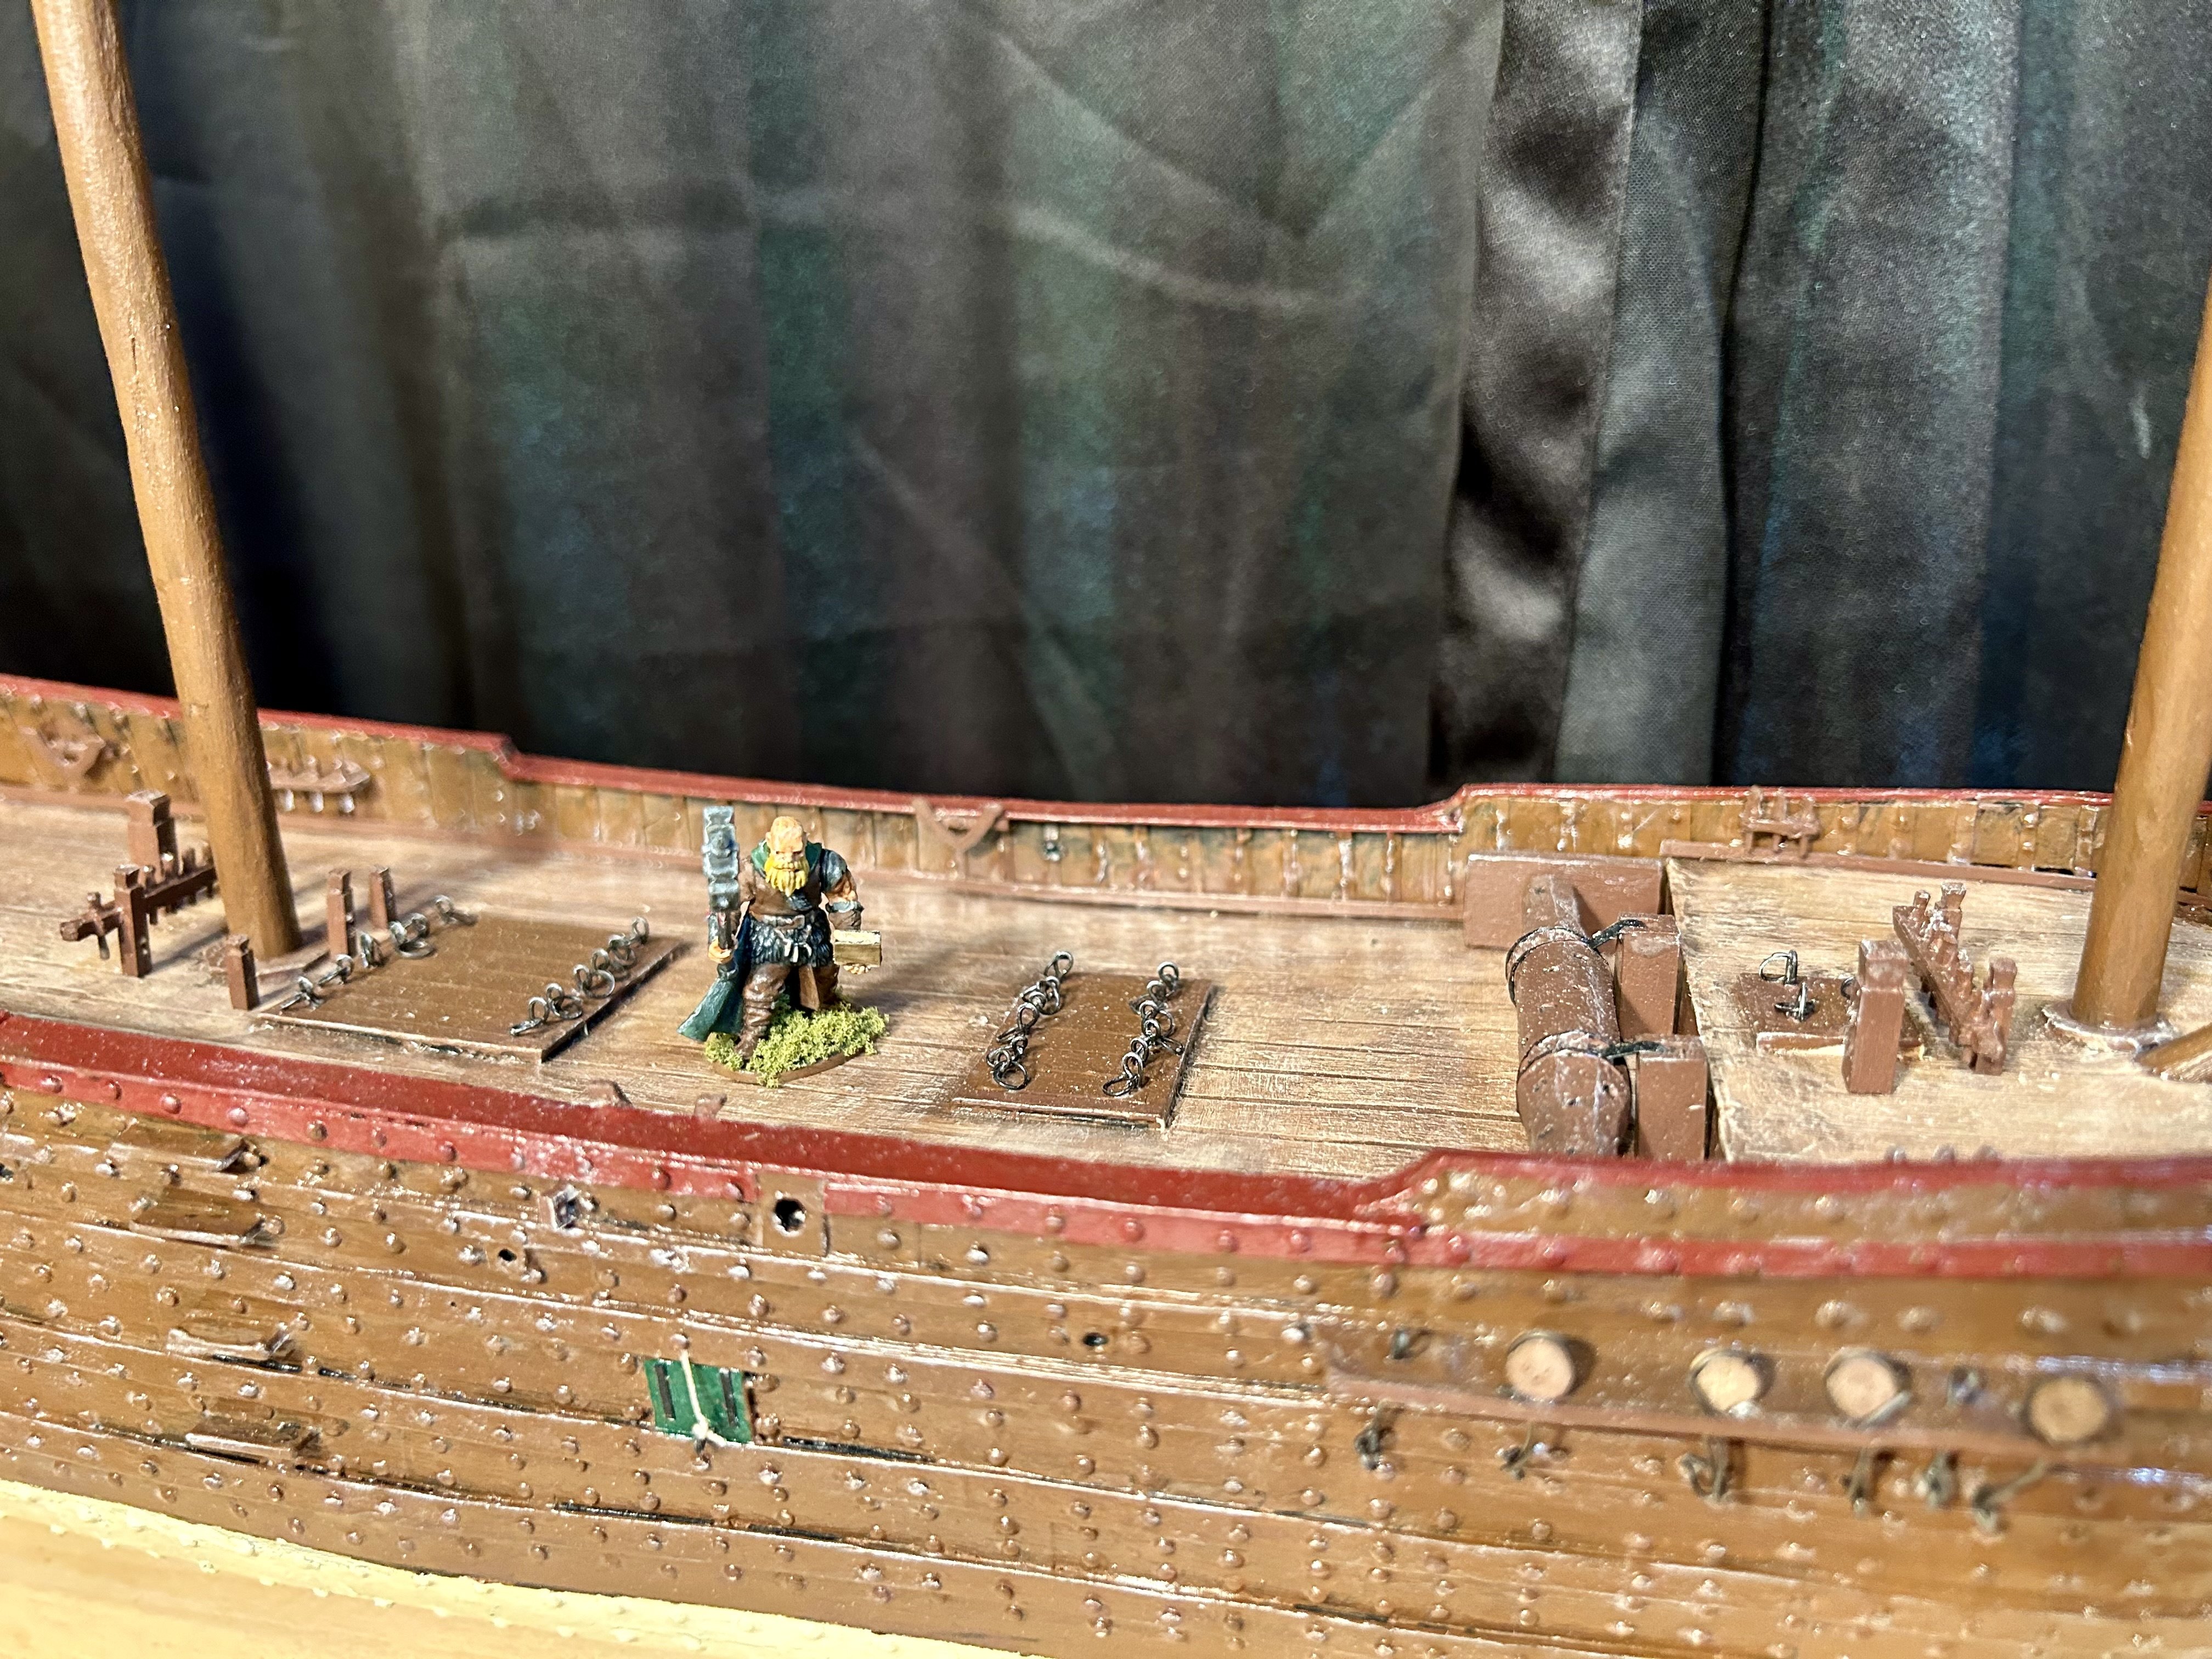
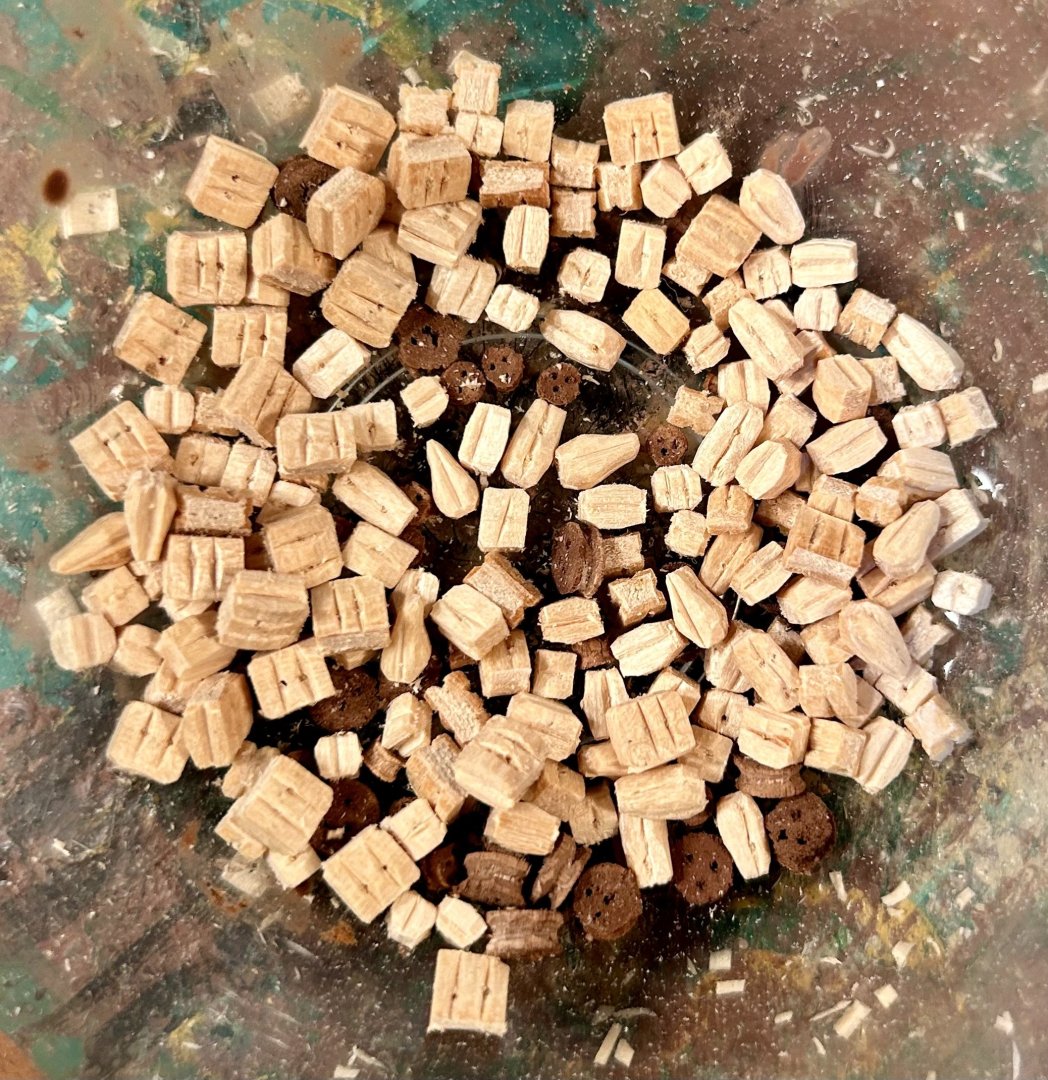
Thank you very much! Griswold finished all of the rigging fittings and inked them brown: This isn’t a warship, which has a lot more, but there were still plenty of fittings to make (at least a couple hundred).
-
It can be tricky, especially following the curvature of a hull. The Nautilus is one of my all time favorite submarines from fiction. Jules Verne is one of my all time favorite authors. So, I am very excited to see this build.
- 40 replies
-
- 5
-

-
- Nautilus
- Heinkel Models
- (and 2 more)
-
One trick that I have discovered with card models is preshaping and test fitting pieces prior to gluing. For curves pieces I usually run them over the edge of my work table to break down the fibers and make them take, and retain, the new shape.
- 40 replies
-
- 5
-
-
- Nautilus
- Heinkel Models
- (and 2 more)
-
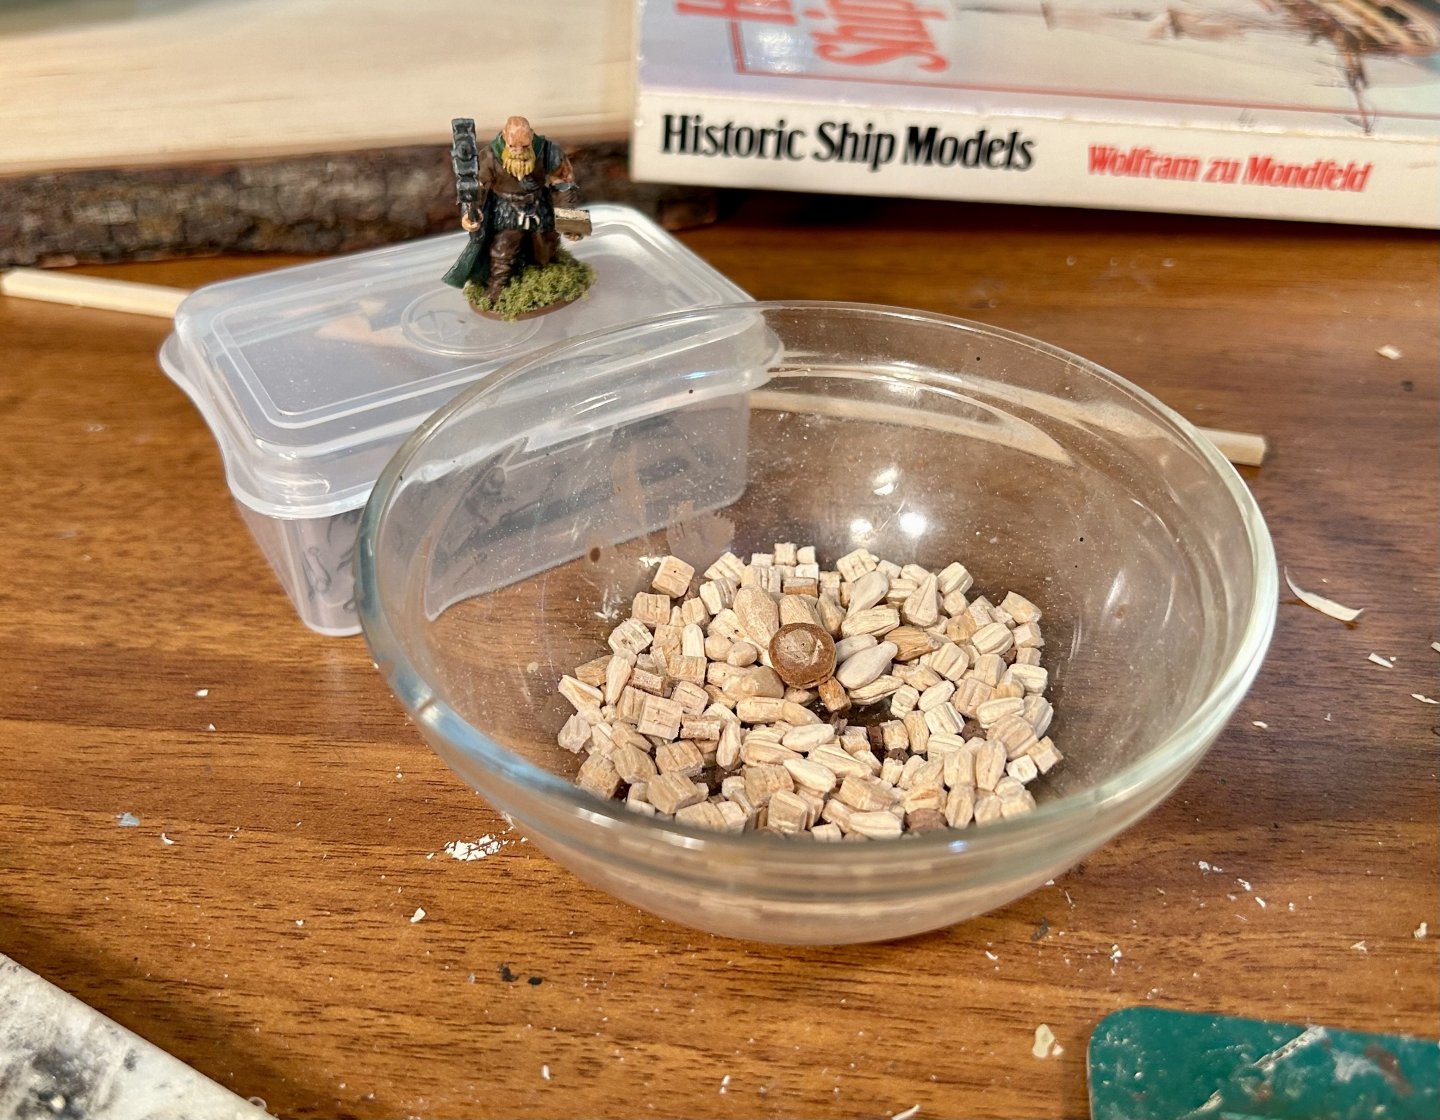
It should be noted that Griswold is mostly made from the pieces of a 28mm (1/56) scale barbarian from the game Frostgrave, that would be equivalent to a 7 foot (2.11 m) tall person in 1/64 scale. That will help with scaling perspective. The book is 14” (35 cm) tall and wide in 1/64 scale. I made the book from basswood.
-
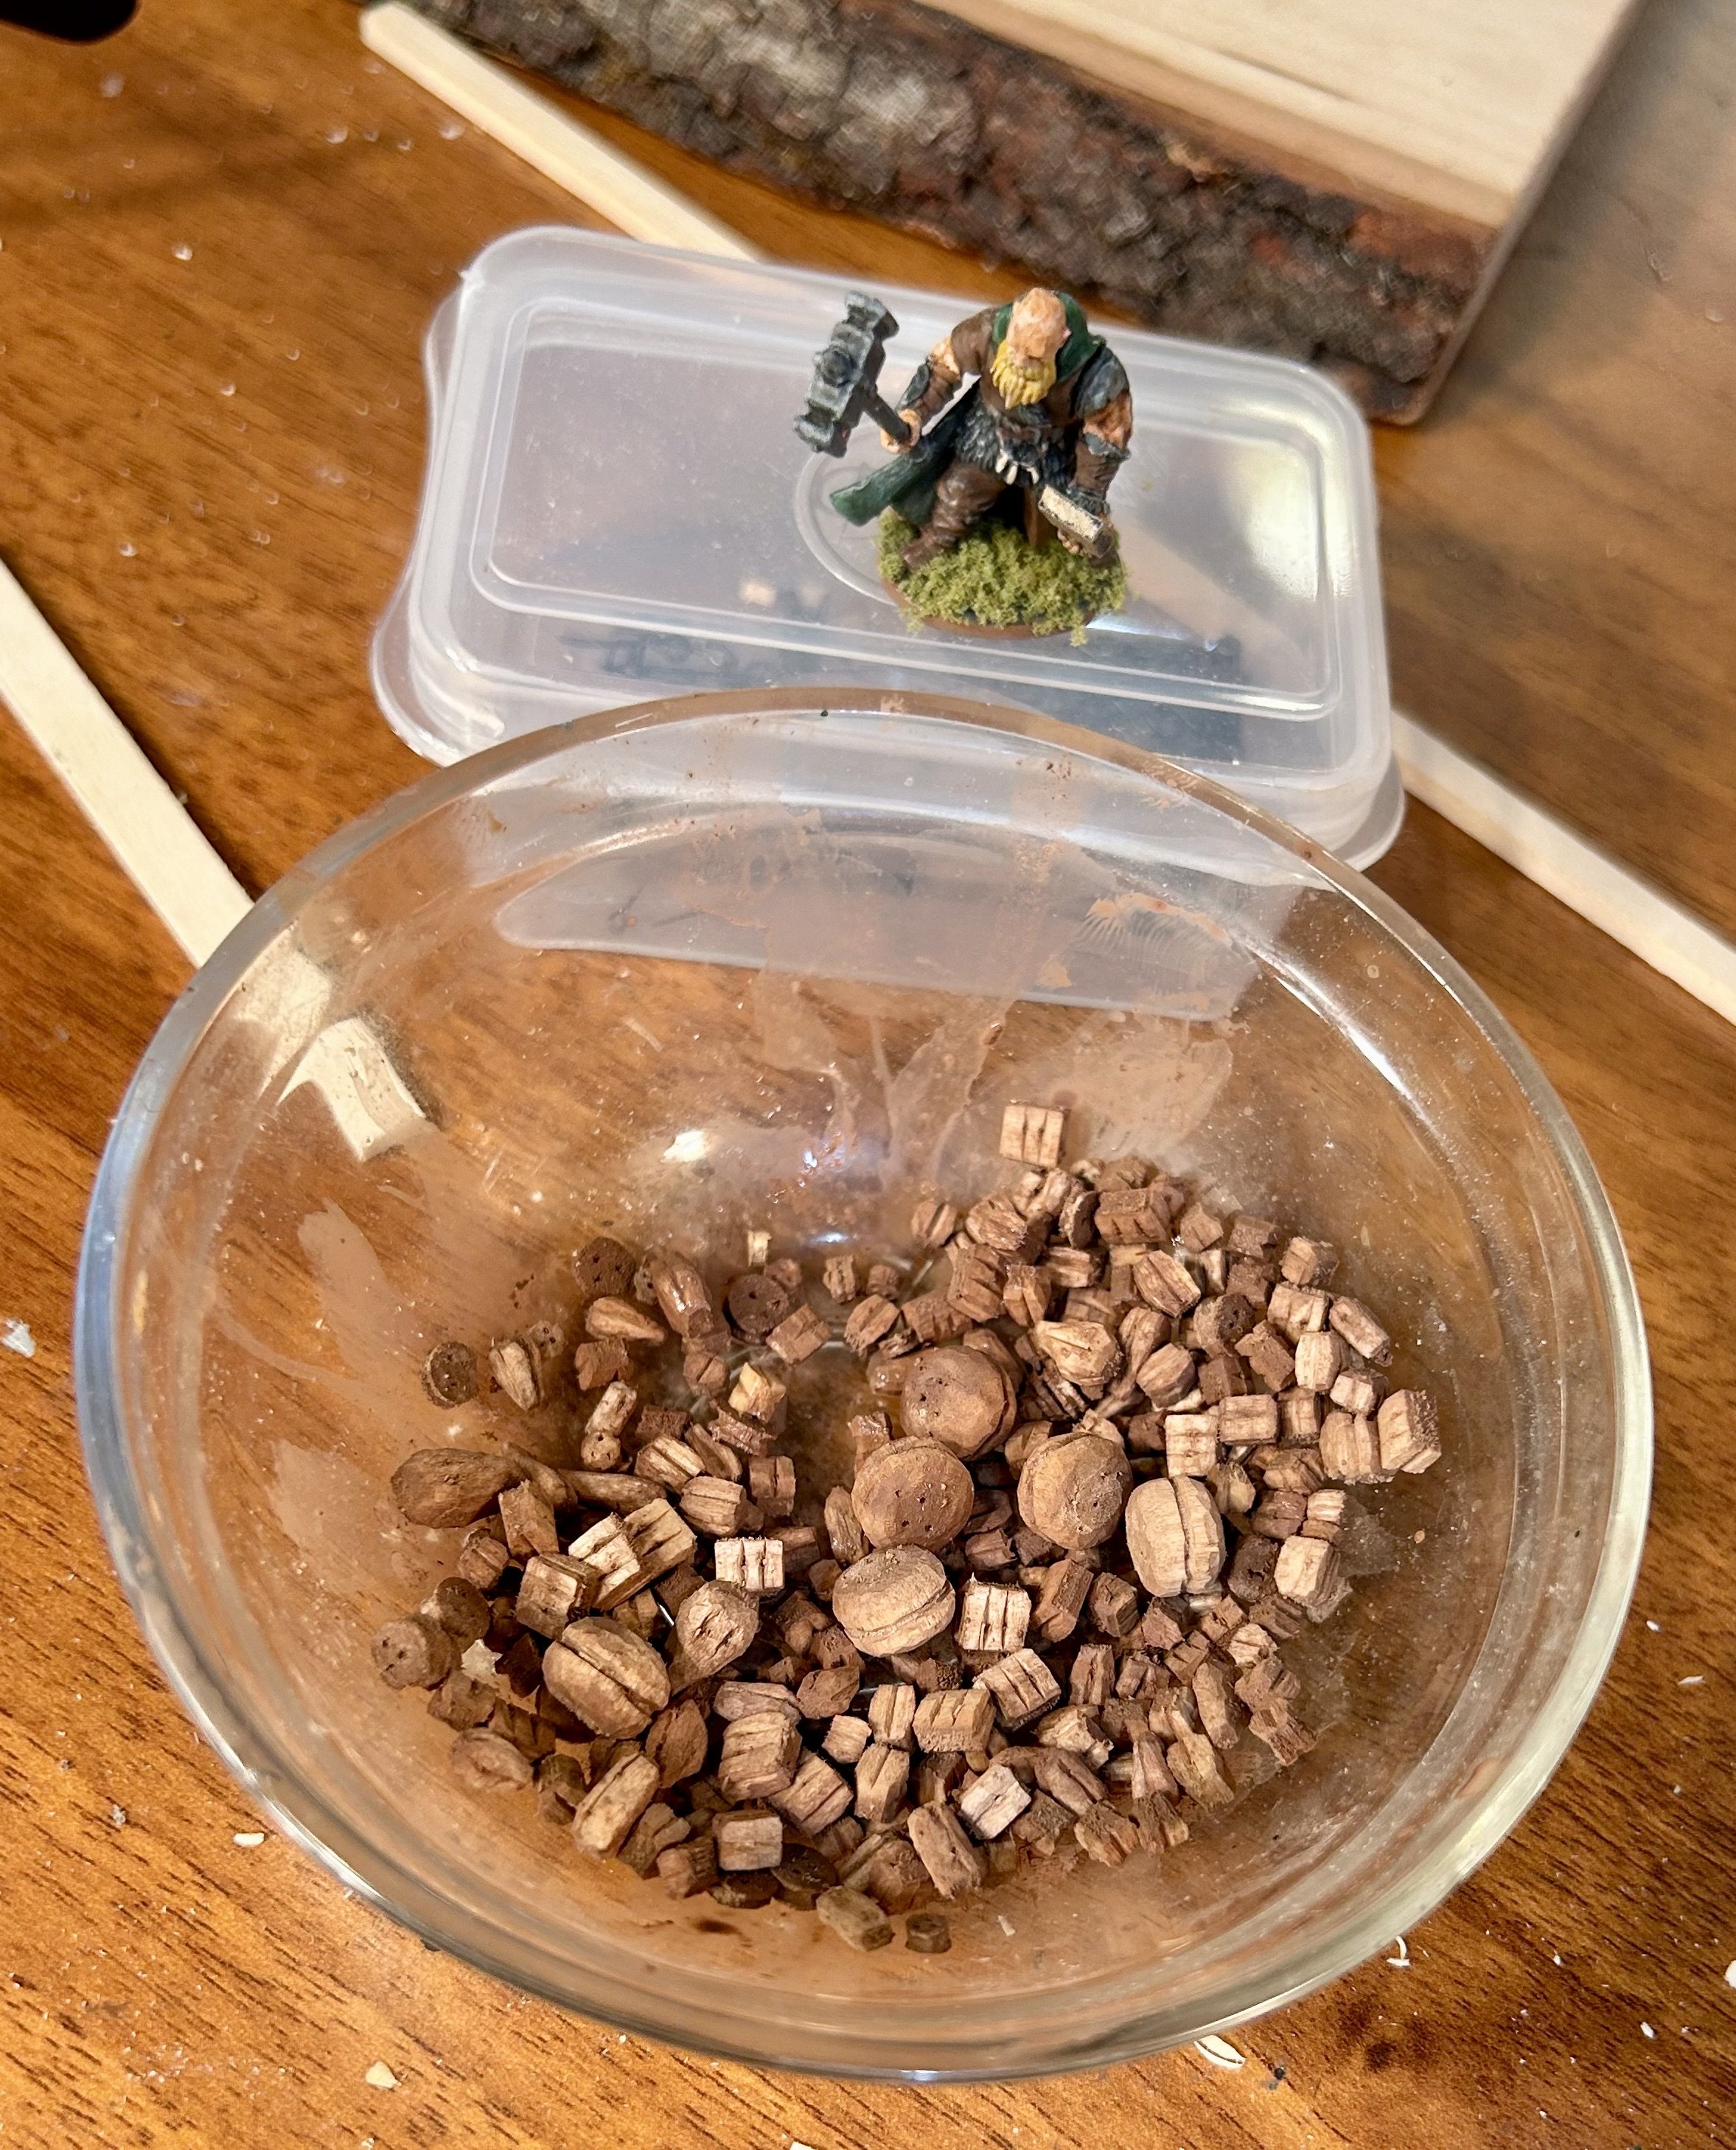
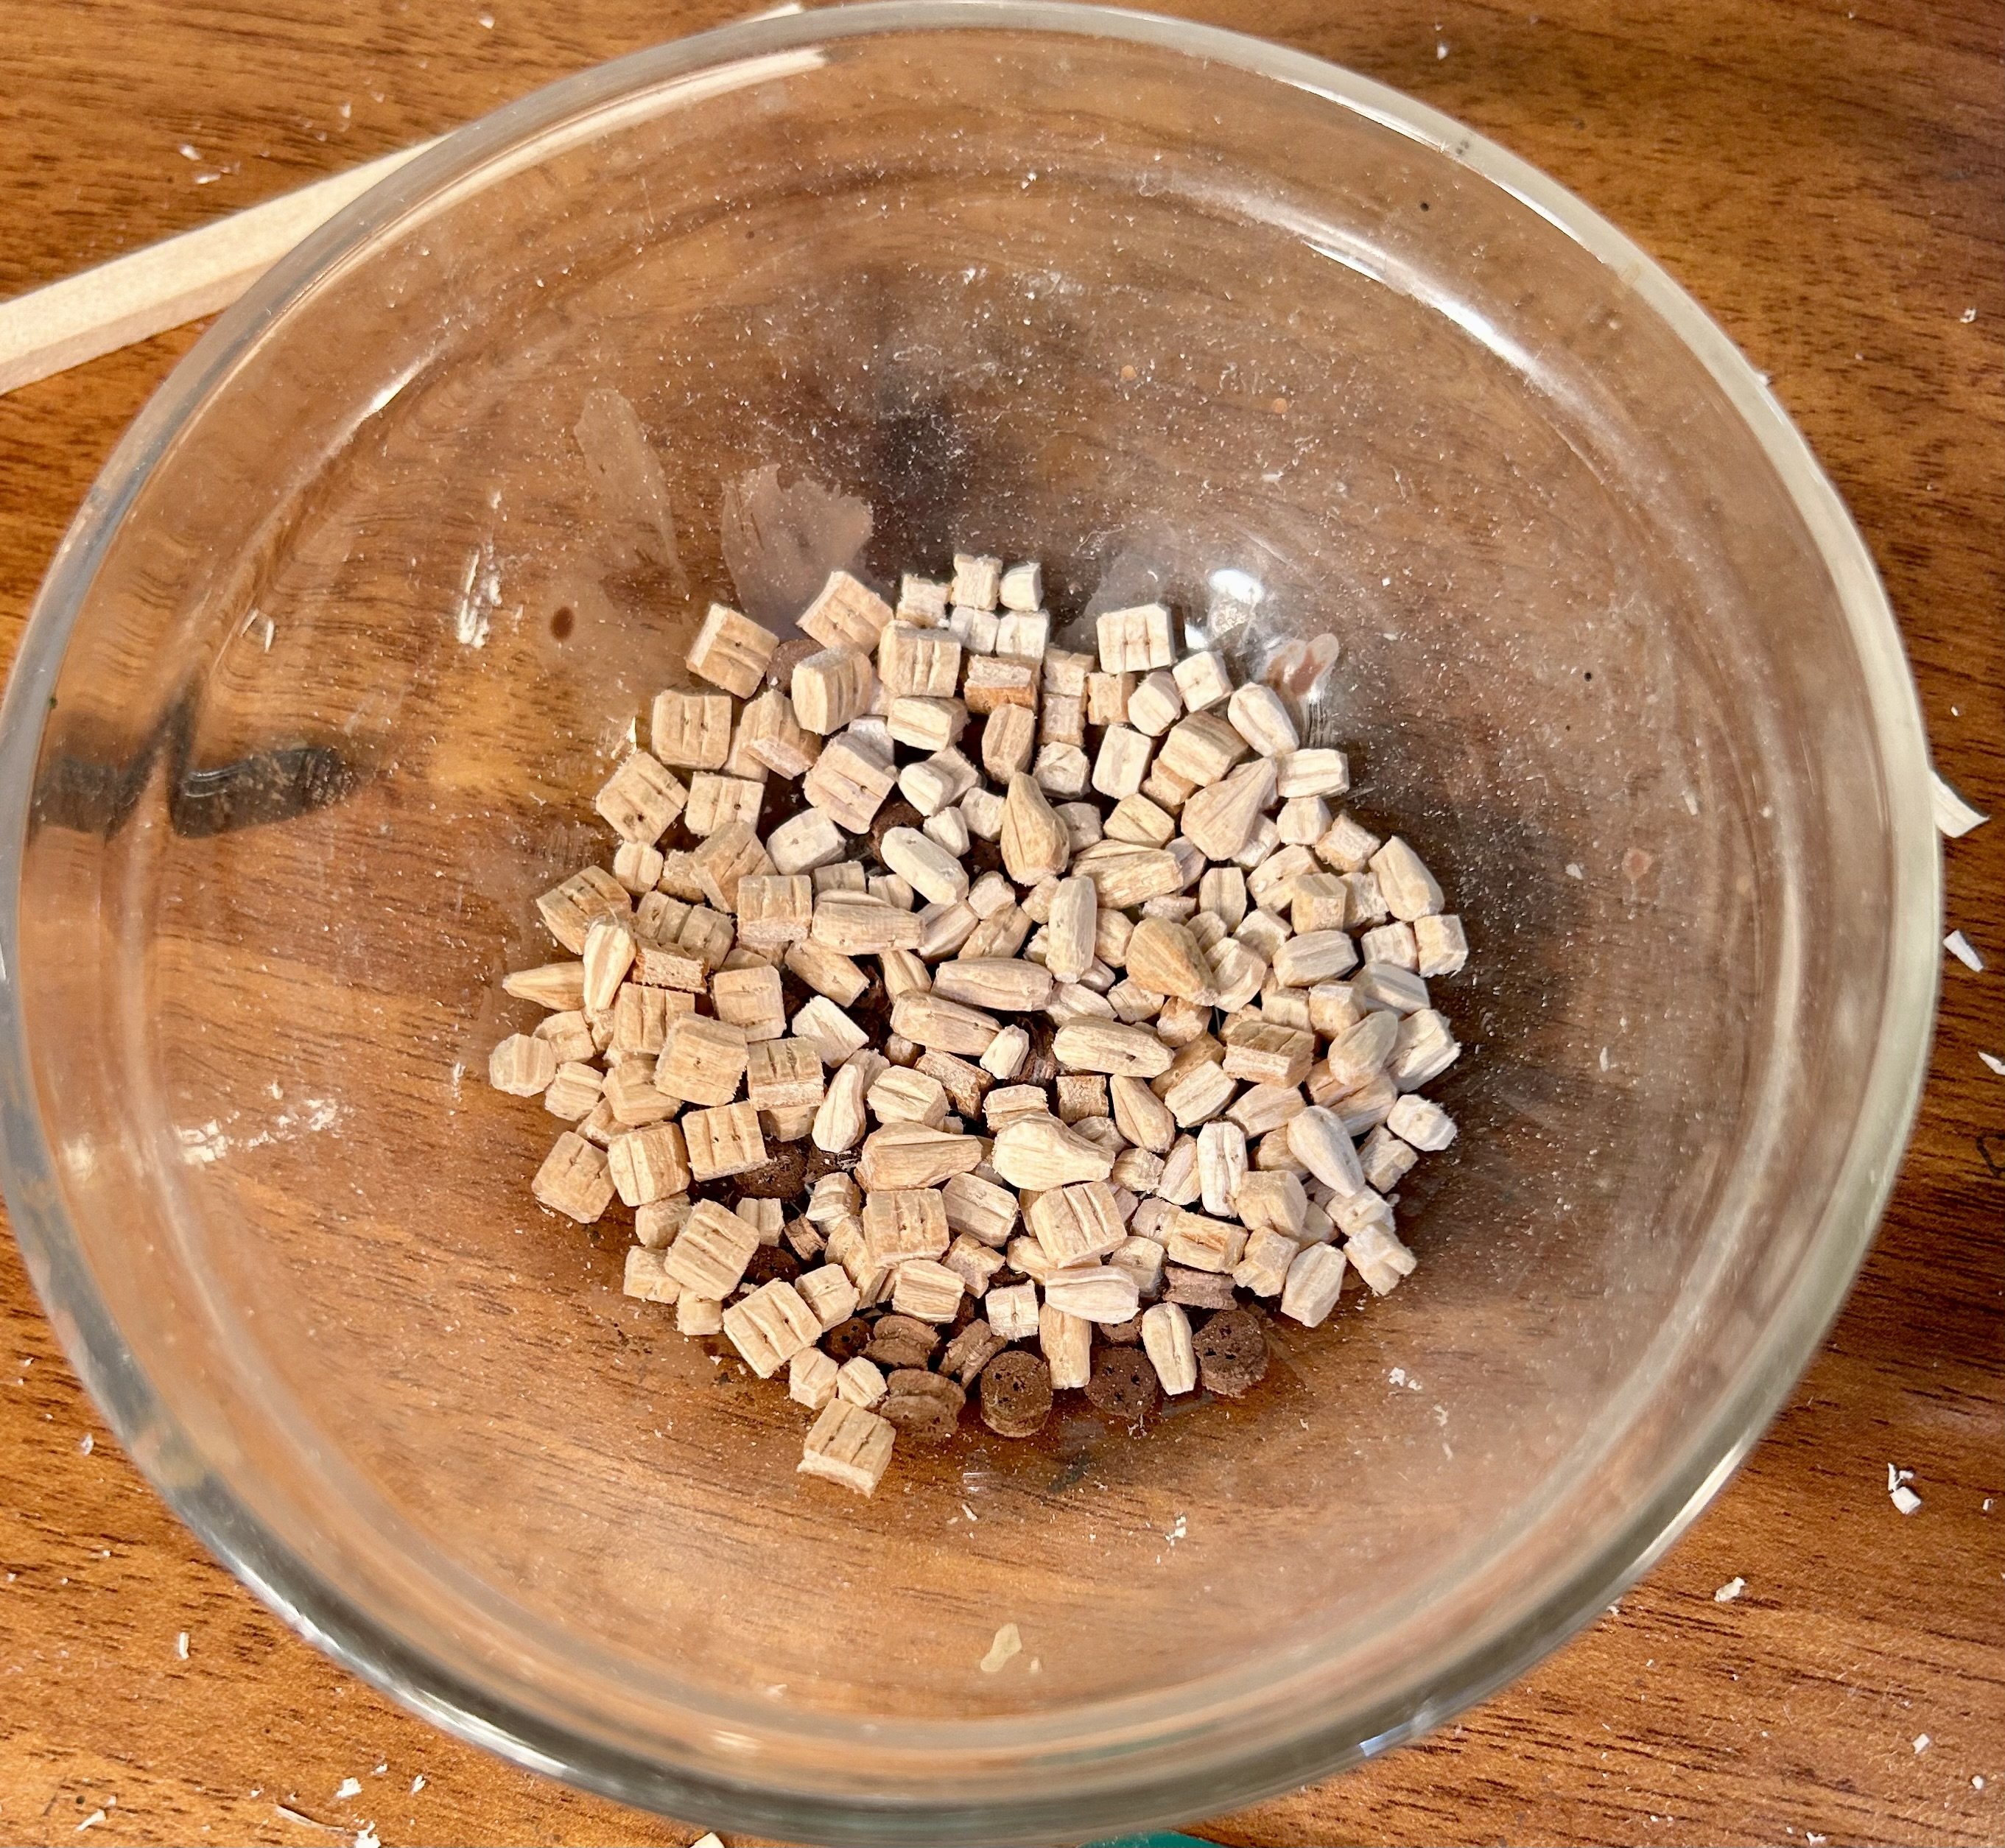
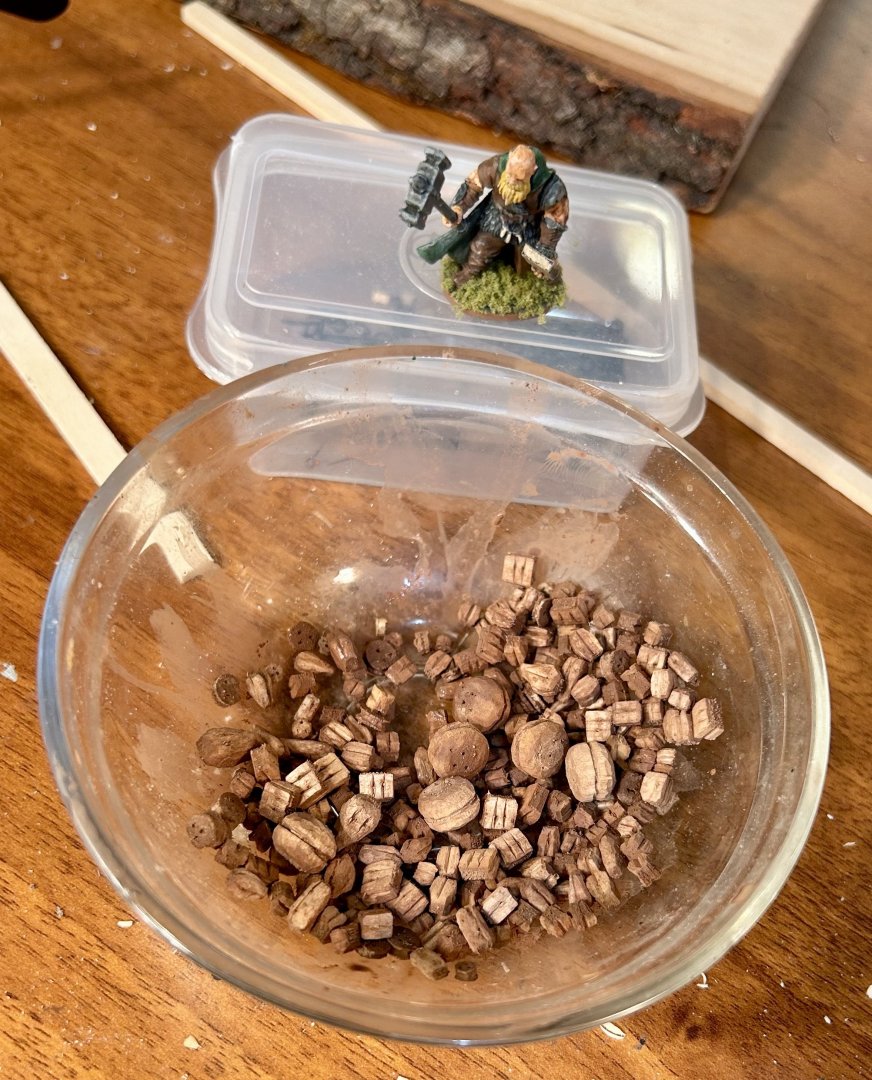
Griswold finished all the blocks and is making the giant deadeye looking things. We only need 4, but are going to make 6. The first one is done. After we make these, we will make all of the mouses for the stays. Then all fittings will get painted and rigging will commence!
-
Lol! He’s been knocking out all the different types of blocks: Now, we’ll see if he can get the rest of them done and all of the metalwork pieces for the rigging made and put that copy of Steel to use!

-
Got a new shipyard supervisor: That’s Griswold the Blacksmith. He showed up yesterday with a hammer in one hand and a copy of Steel’s Elements of Mastmaking, Sailmaking and Rigging in his other hand. Griswold said I have four hulls laid up in my shipyard that need finishing and offered to help get them done. So, I accepted.

-
Maquettes Gerard Schmitt model company?
GrandpaPhil replied to Frank Burroughs's topic in Wood ship model kits
It looks like an older kit. Model Shipways just released a new version of their Prince de Neufchatel kit. Also, if you have the books Search For Speed Under Sail and The History of American Sailing Ships by Howard I Chapelle, the plans of the Prince de Neufchatel are complete enough to build a model. Those are what I used to build mine. It came out quite nicely and was my first scratch build. -
OC, Thank you very much! All normal blocks and the small fiddle blocks are made: I’ve been making as many as I think I’ll need and then adding a few for the ones I probably missed.
-
alcoholic stain on blocks
GrandpaPhil replied to Frank Burroughs's topic in Masting, rigging and sails
Has anyone ever tried dipping wood blocks in tea to stain them? -
Welcome!
-
Congratulations! Excellently done!
-
Chris, Very nicely done!
-
Masts and Bowsprit - Glue or Not?
GrandpaPhil replied to Coyote_6's topic in Masting, rigging and sails
I glue, but it isn’t needed. The rigging holds the masts in place quite well. -
Welcome!
-
alcoholic stain on blocks
GrandpaPhil replied to Frank Burroughs's topic in Masting, rigging and sails
For those deadeyes in my Esther build, I used acrylic paint heavily thinned with water. I put them in a throwaway glass dish (which has been reused on multiple builds) and take a largish brush. I dip the brush in the paint and then in my paint water and then apply it to the pieces as an ink (in the same sense as in painting wargaming miniatures). It makes a good staining effect for wood pieces. I will do the same with all of the blocks that I am making now. It is a little messy, but it has always worked well for me. -
alcoholic stain on blocks
GrandpaPhil replied to Frank Burroughs's topic in Masting, rigging and sails
For small pieces like that on a plastic model, just paint them on the sprue. It’s quicker and avoids a LOT of frustration. -
New Occre Release 4-28-2024 La Belle Poule
GrandpaPhil replied to Ogontz's topic in Wood ship model kits
@Jaager Thank you very much for the information!