GrandpaPhil
-
Posts
6,161 -
Joined
-
Last visited
Content Type
Profiles
Forums
Gallery
Events
Everything posted by GrandpaPhil
-
I use a block of beeswax that I got at a hardware store on my rigging.
-
Welcome!
-
“Capt. Eddie” A-7 Corsair II by GrandpaPhil - 1/48
GrandpaPhil replied to GrandpaPhil's topic in Non-ship/categorised builds
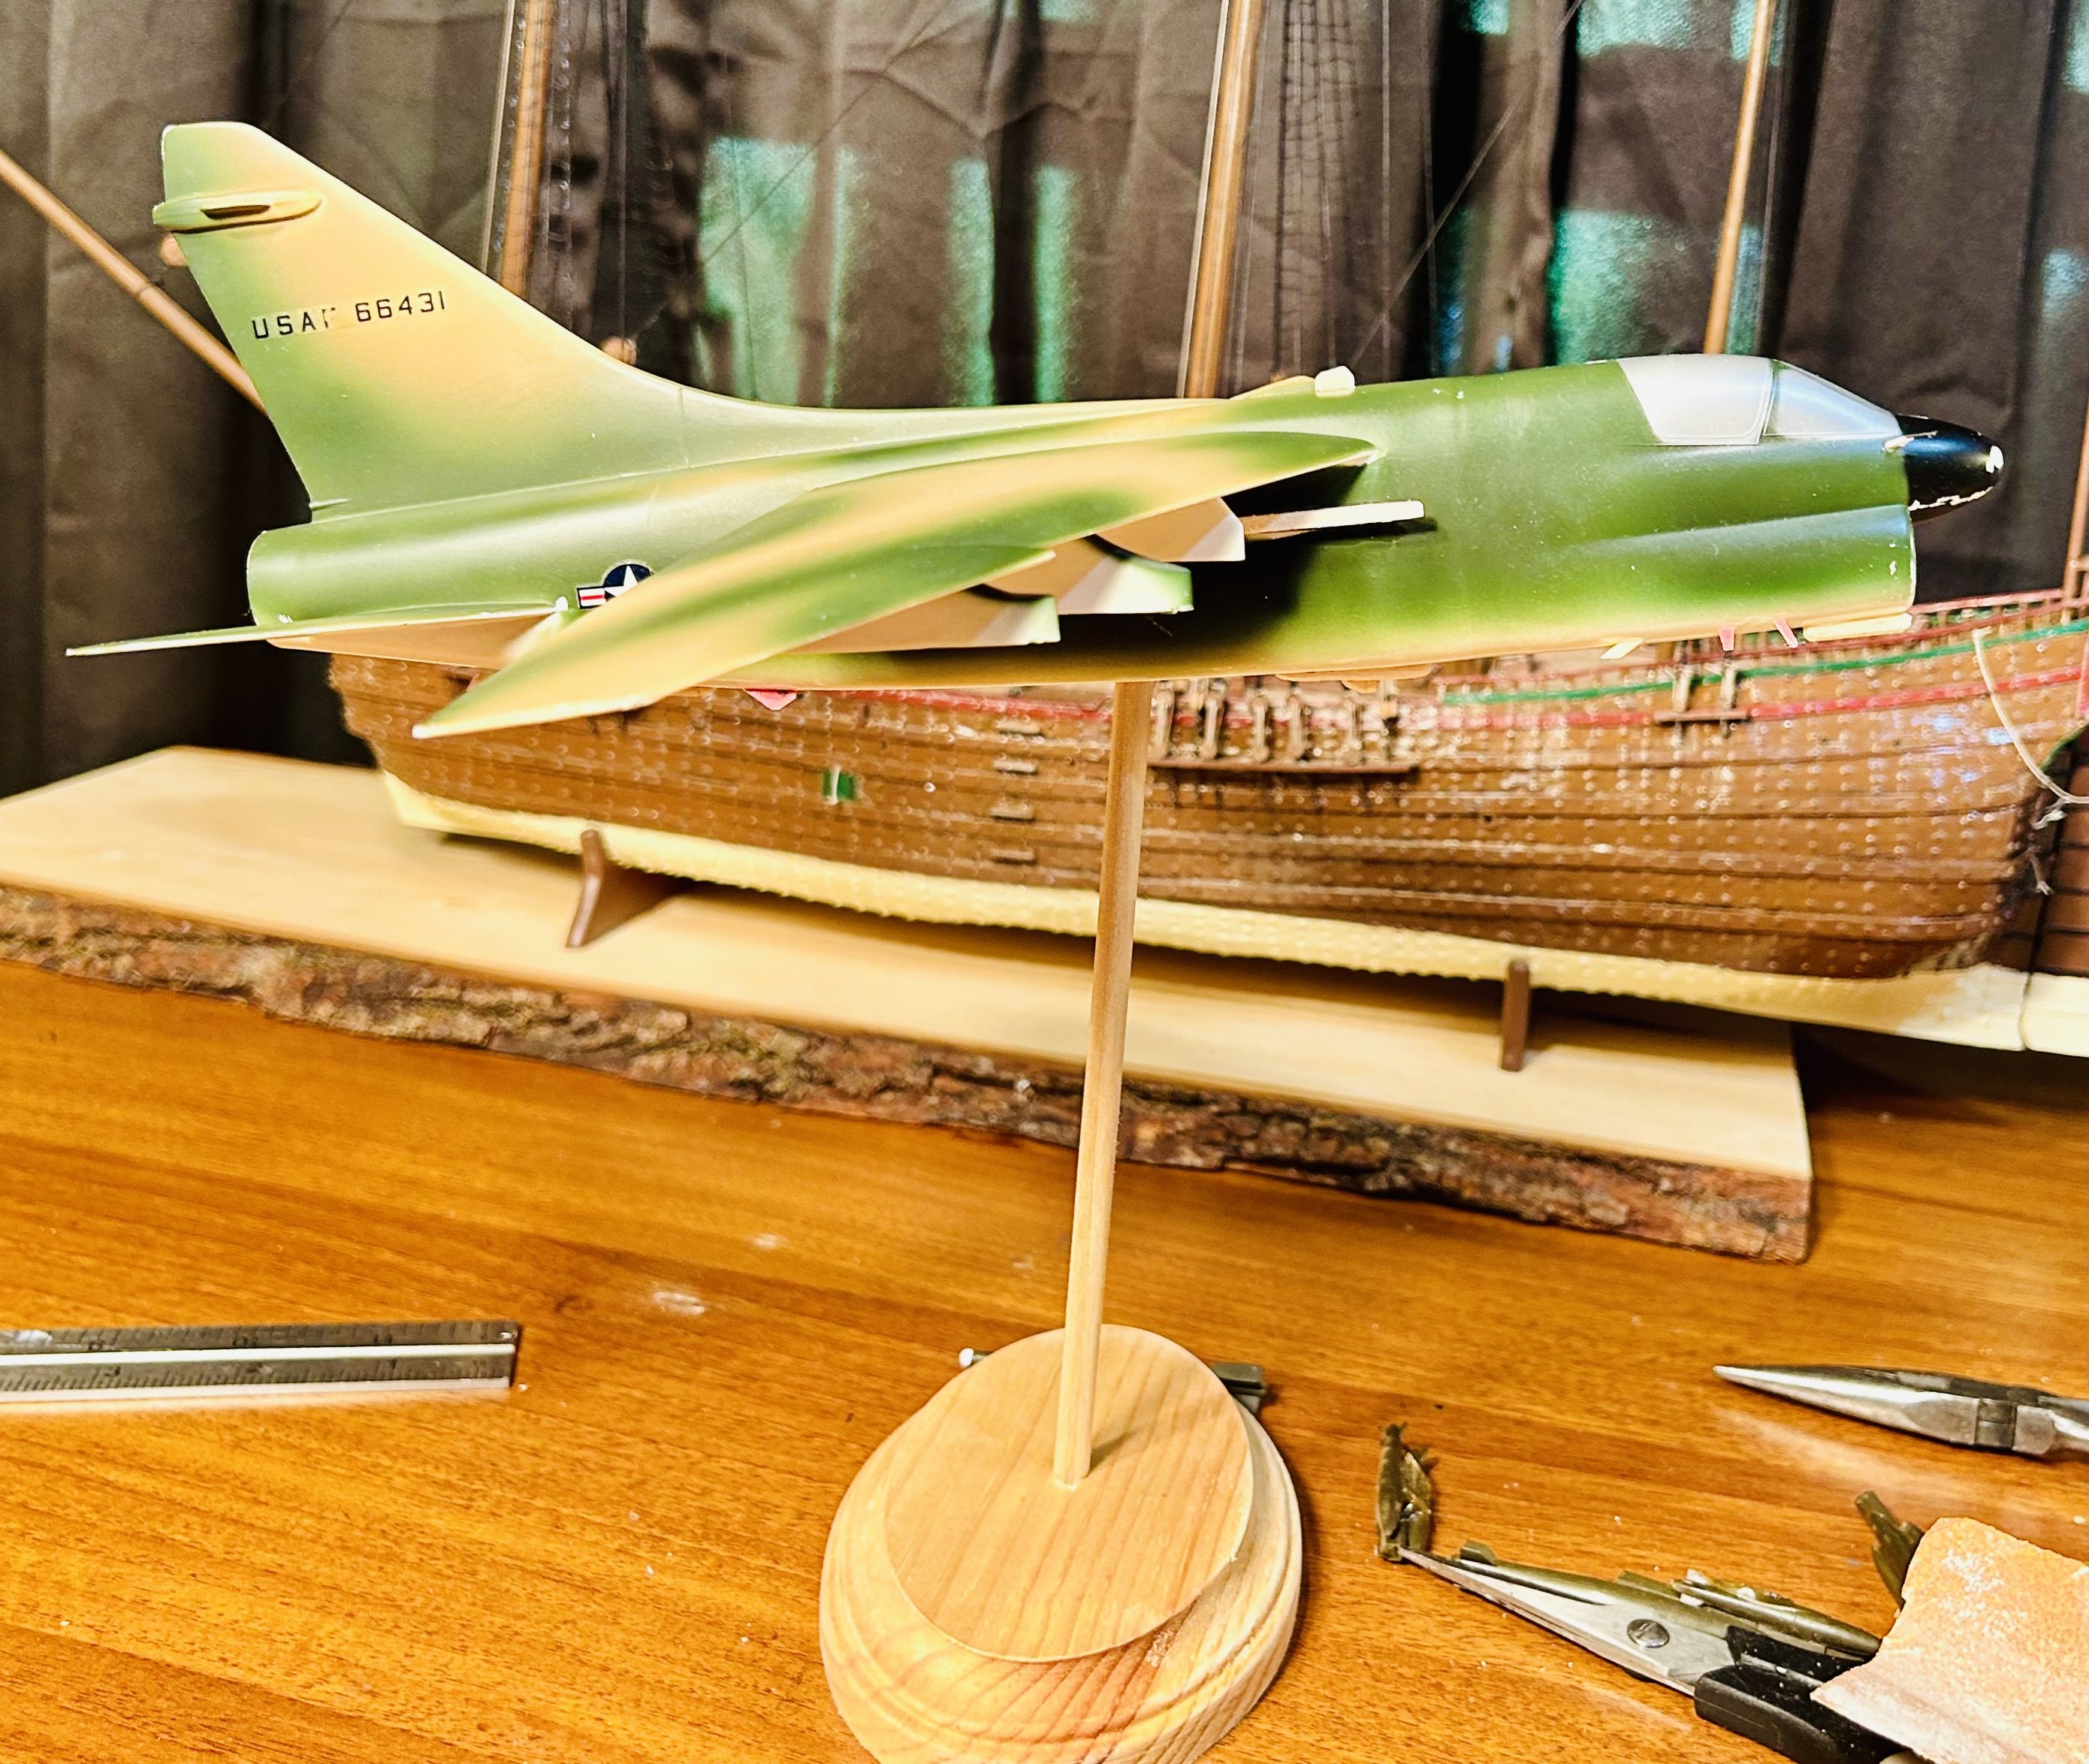
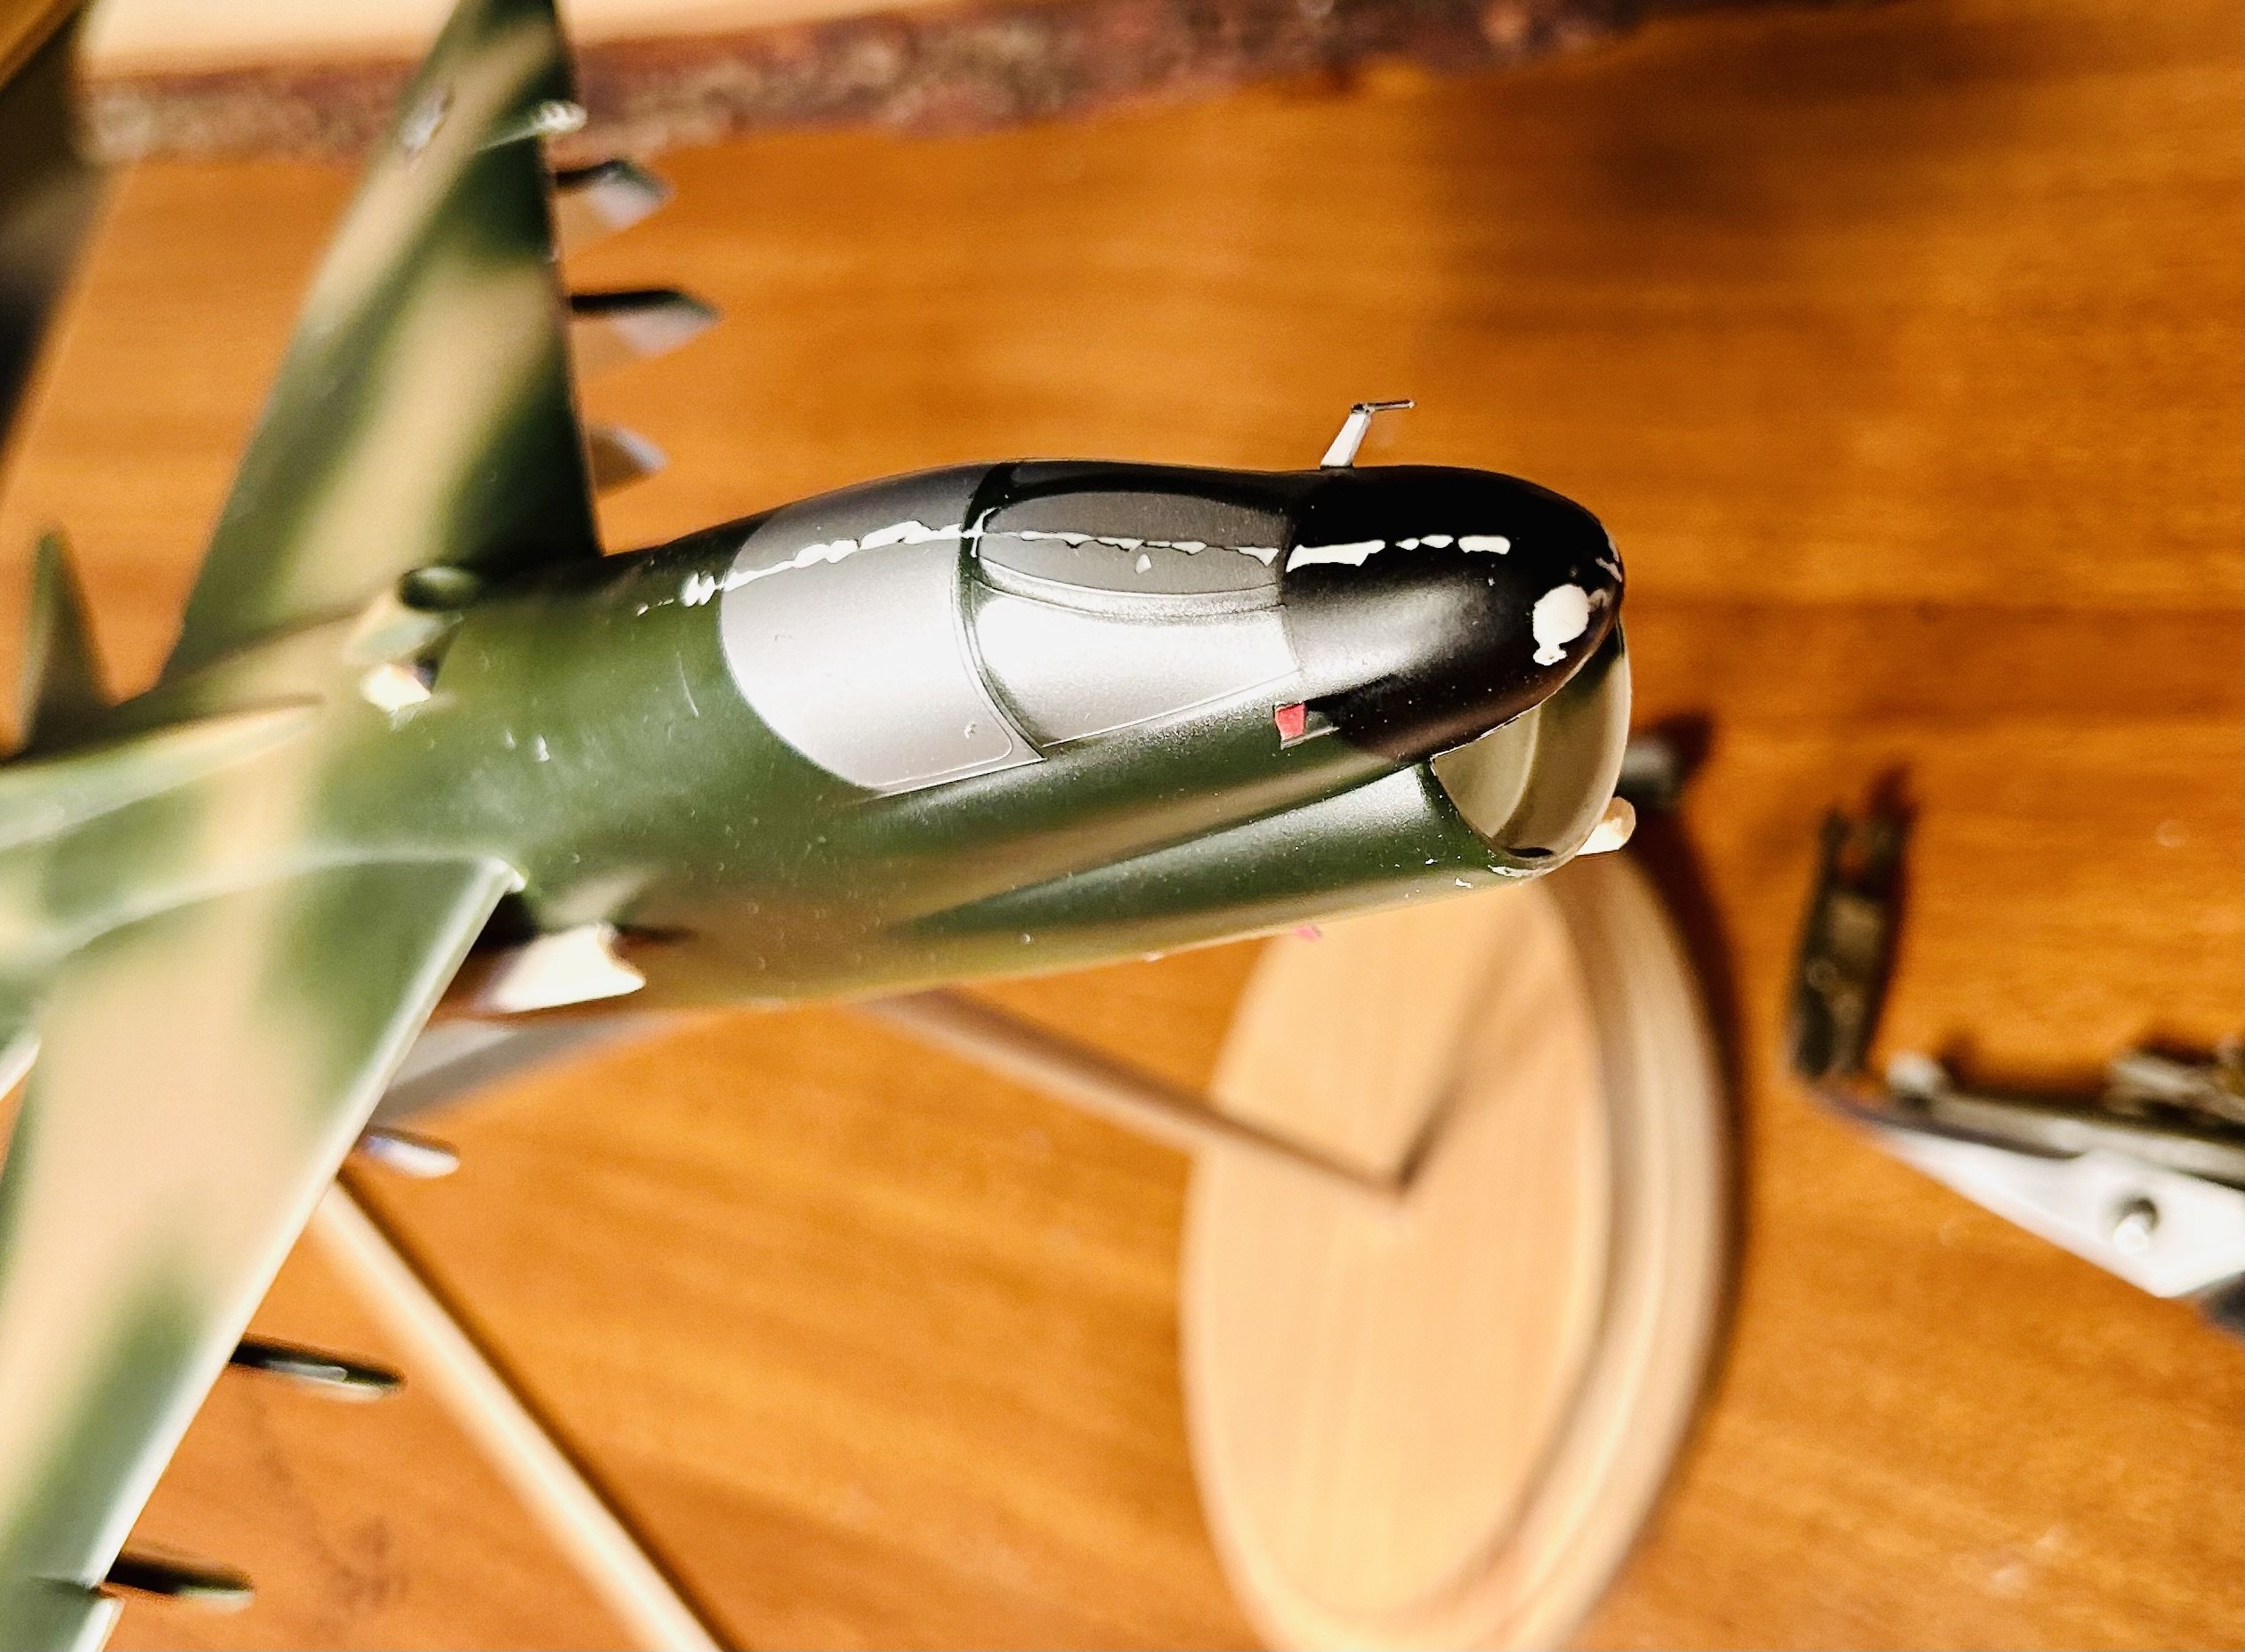
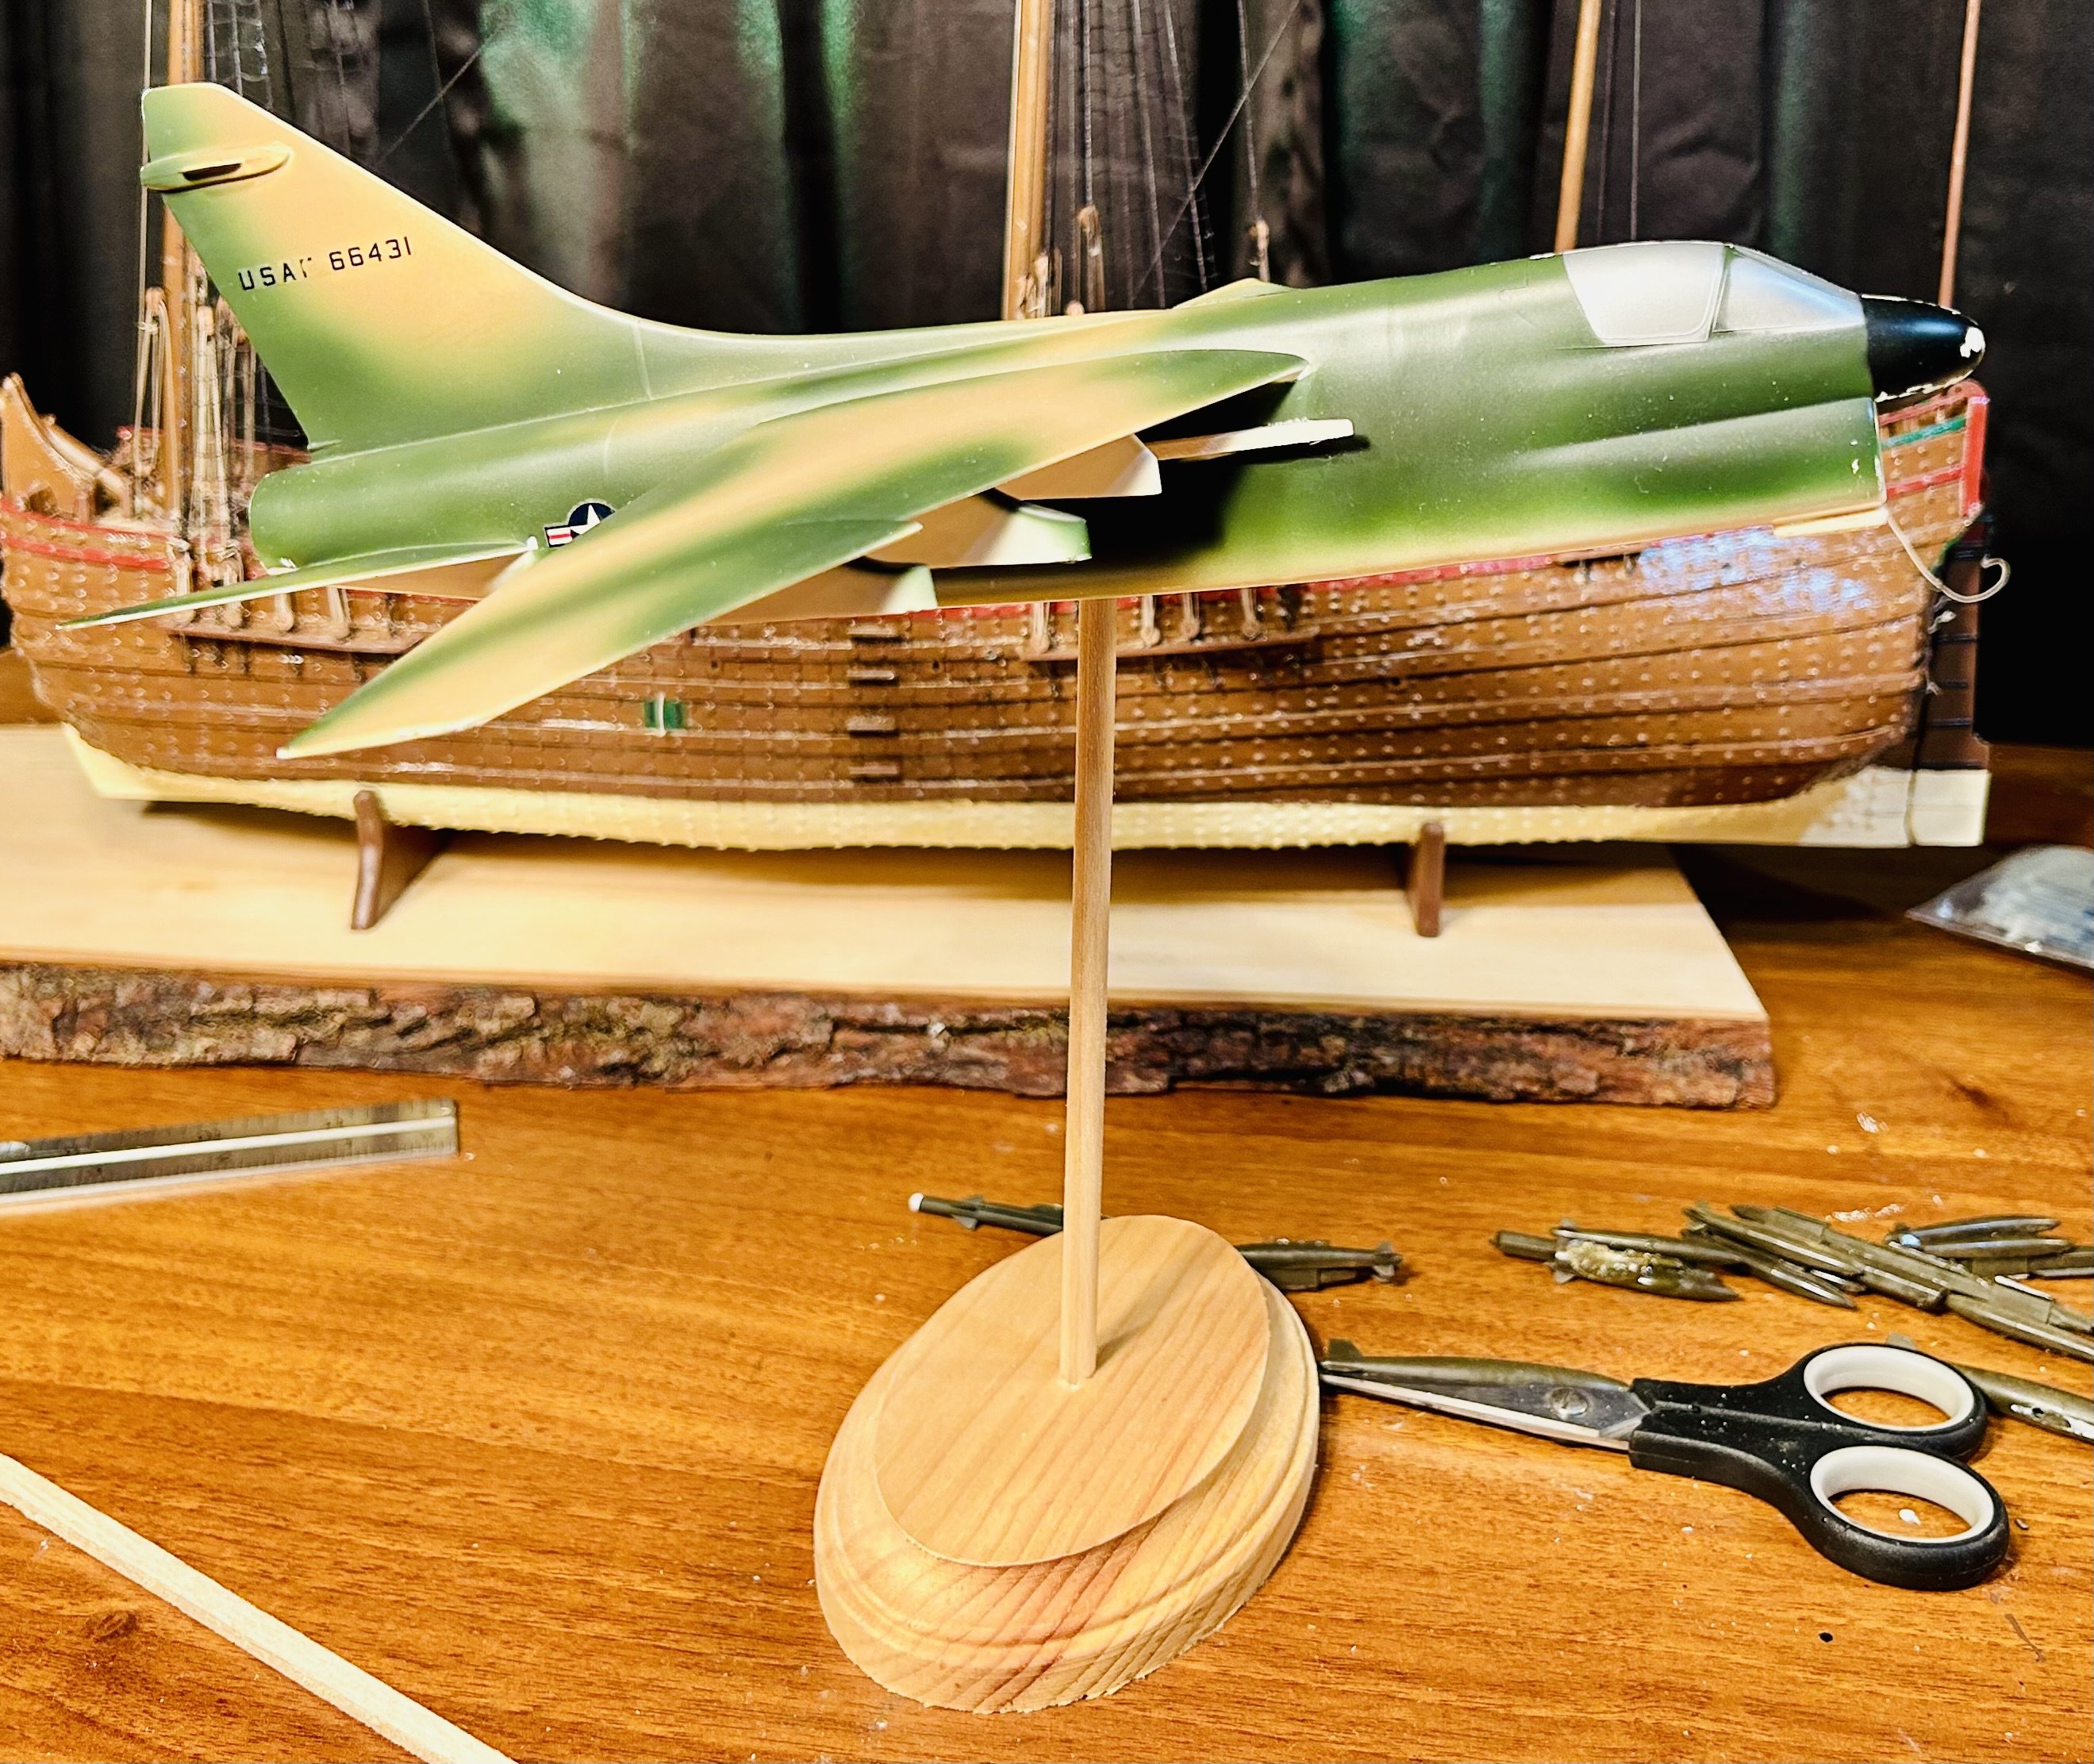
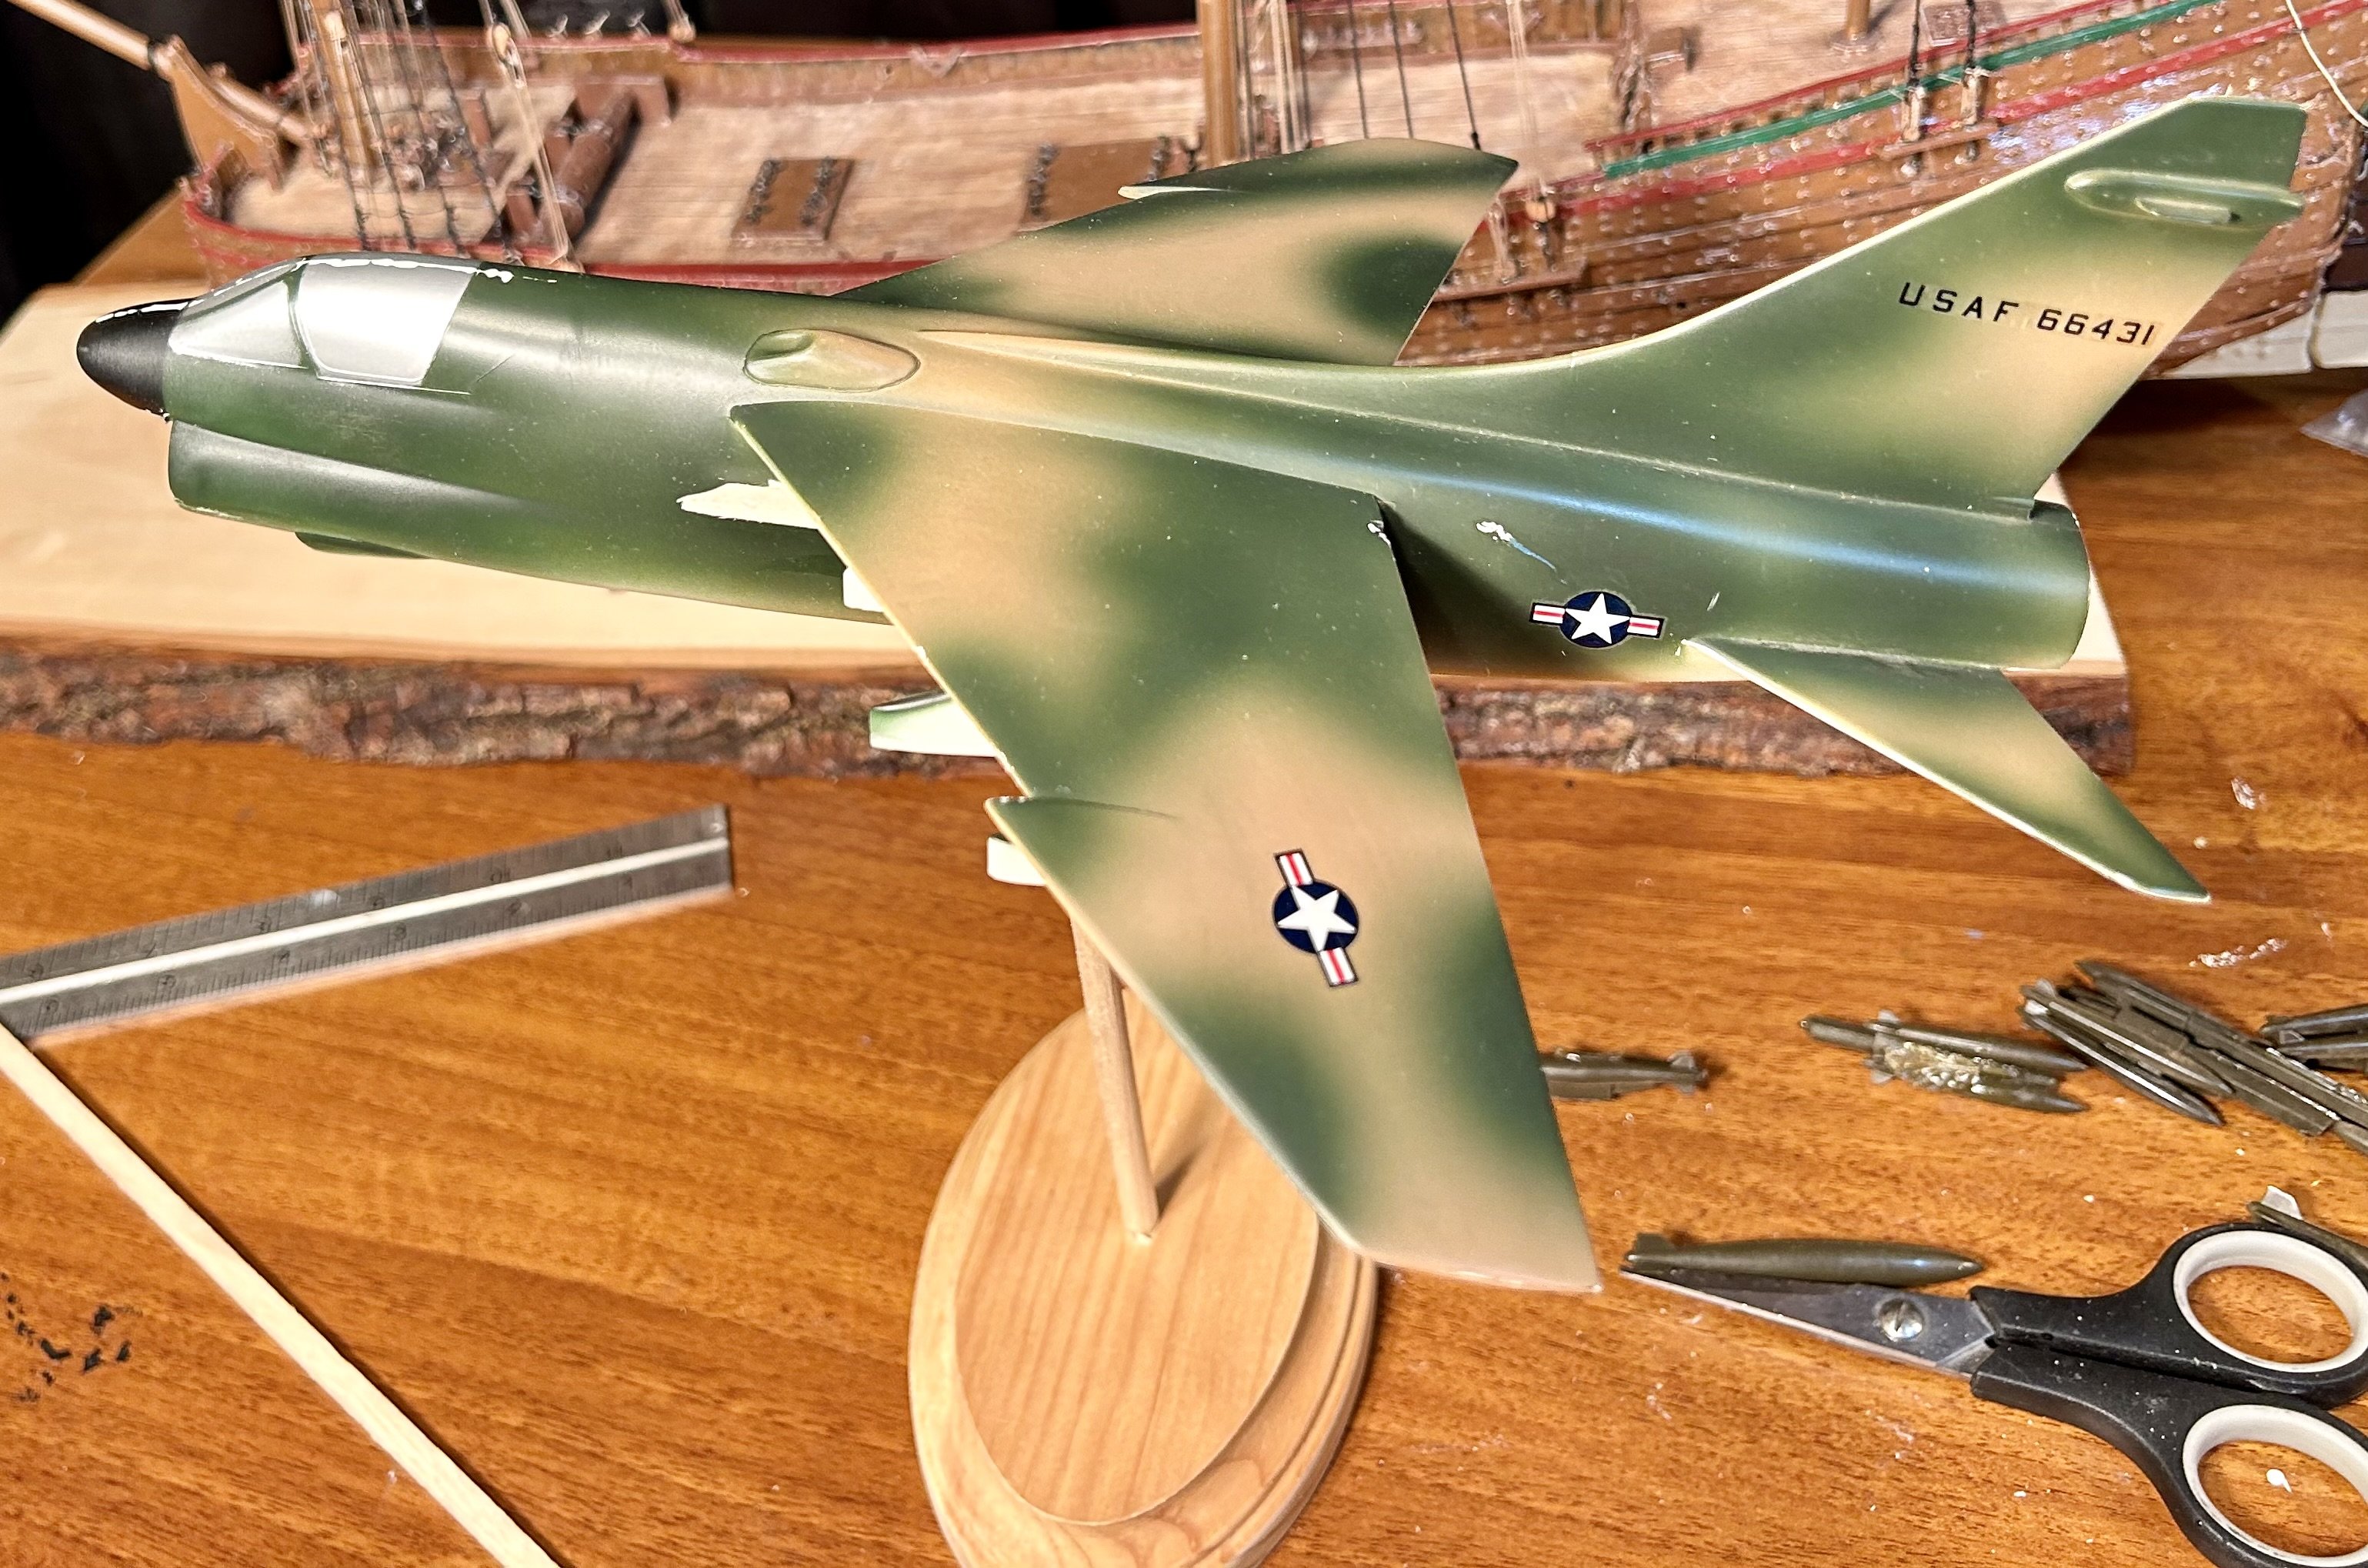
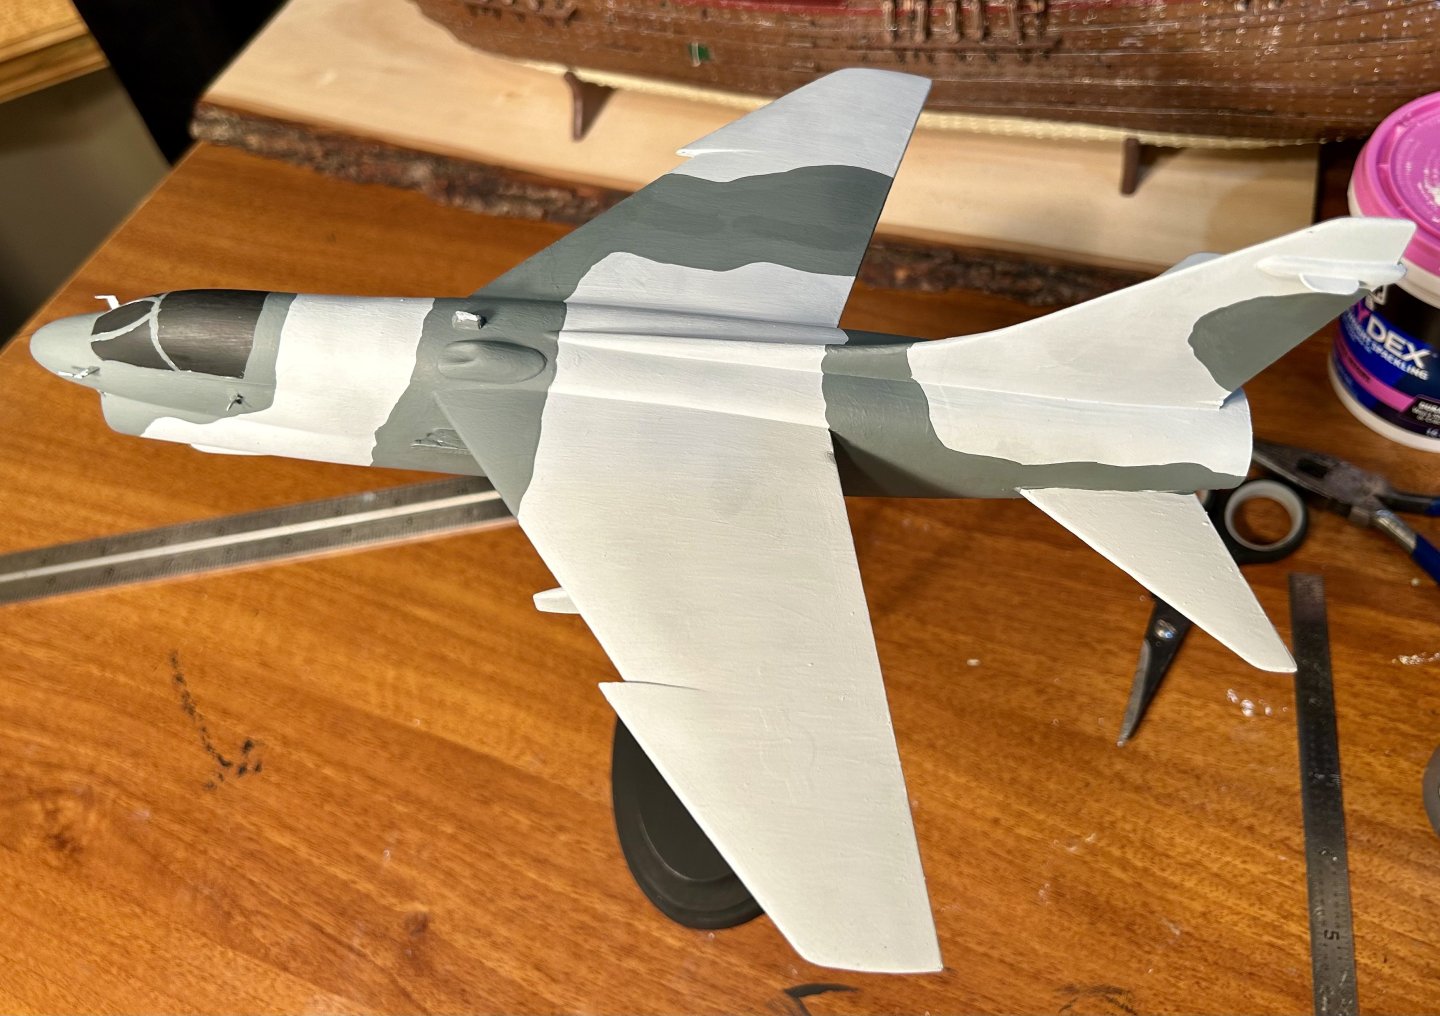
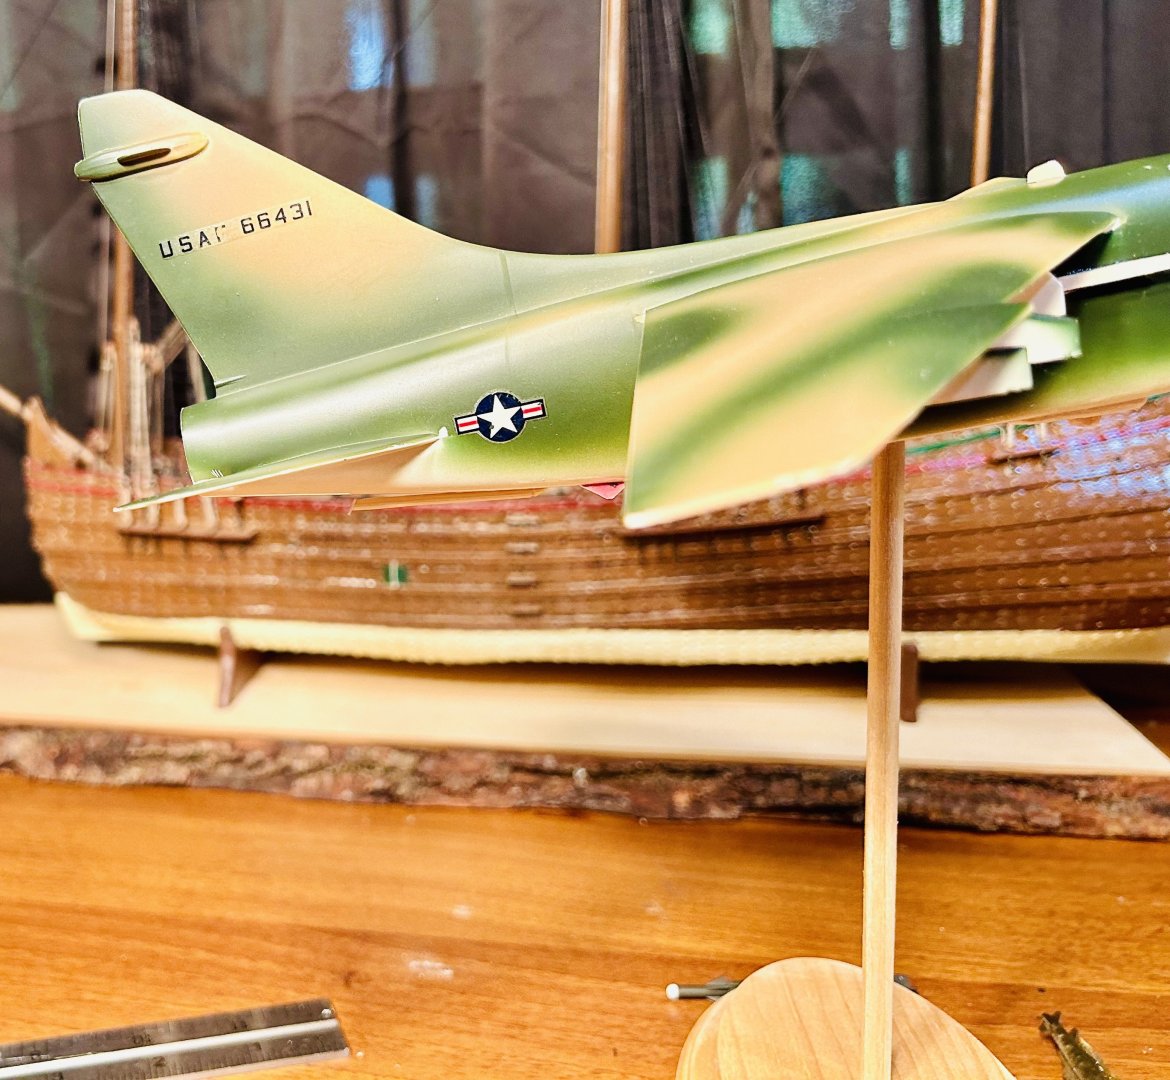
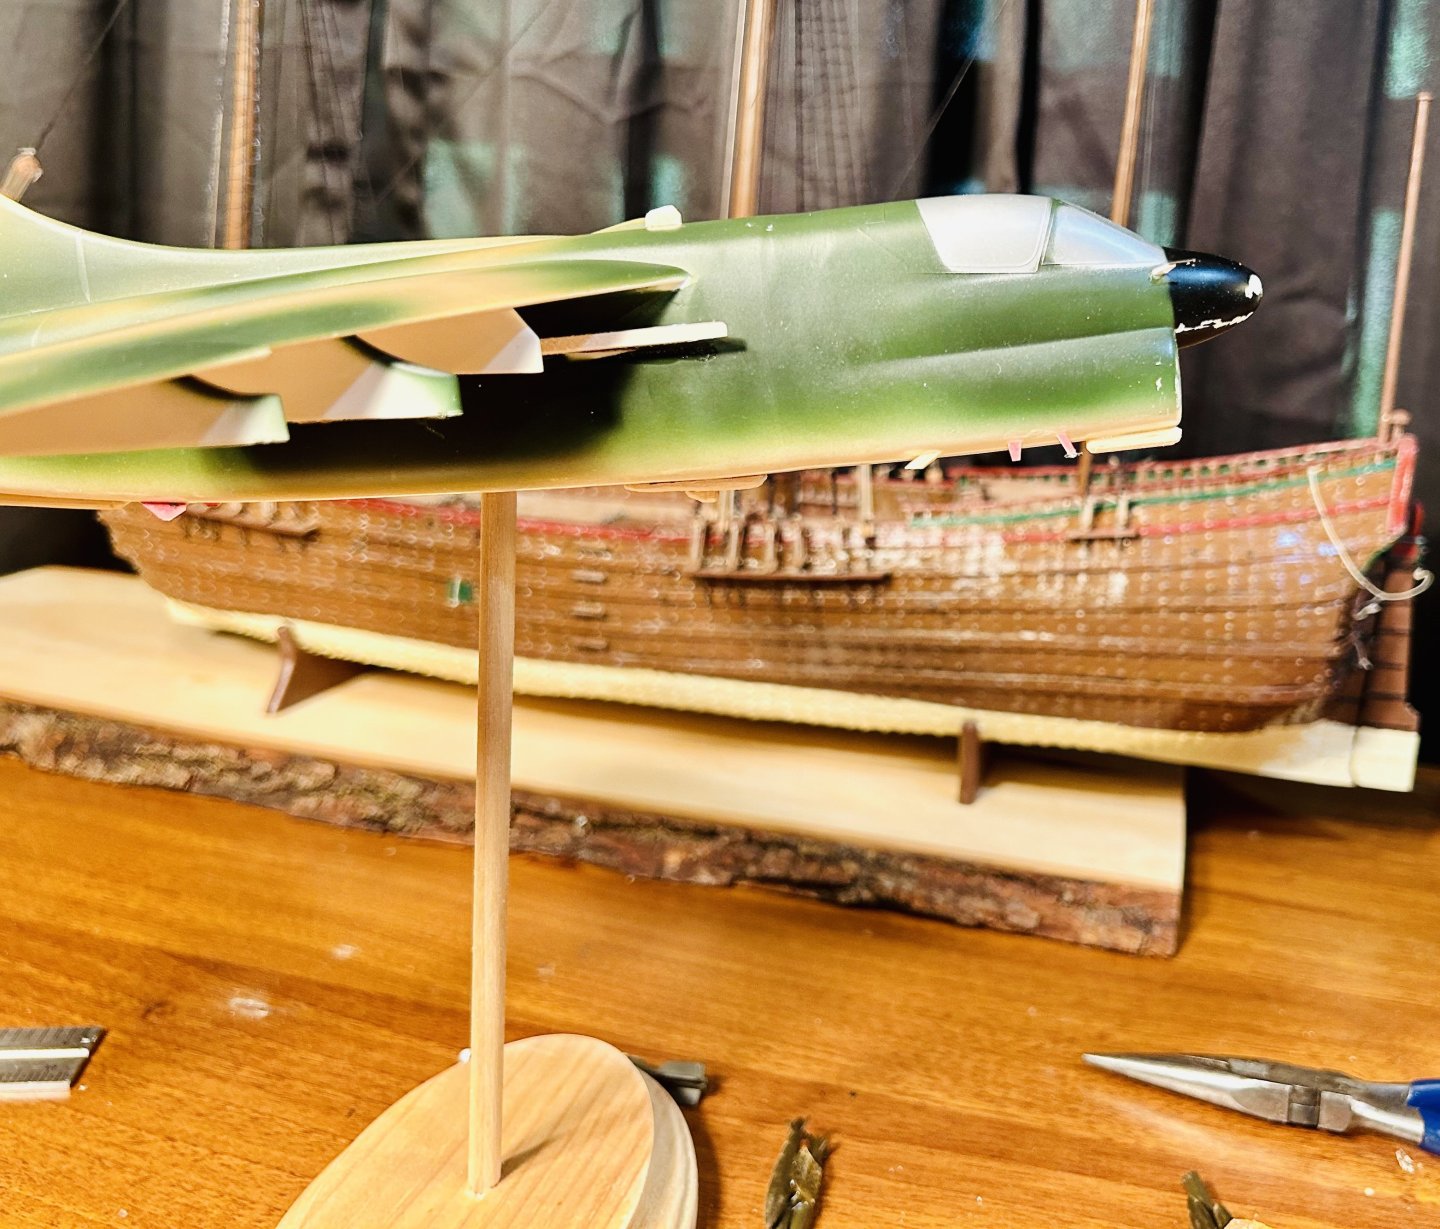
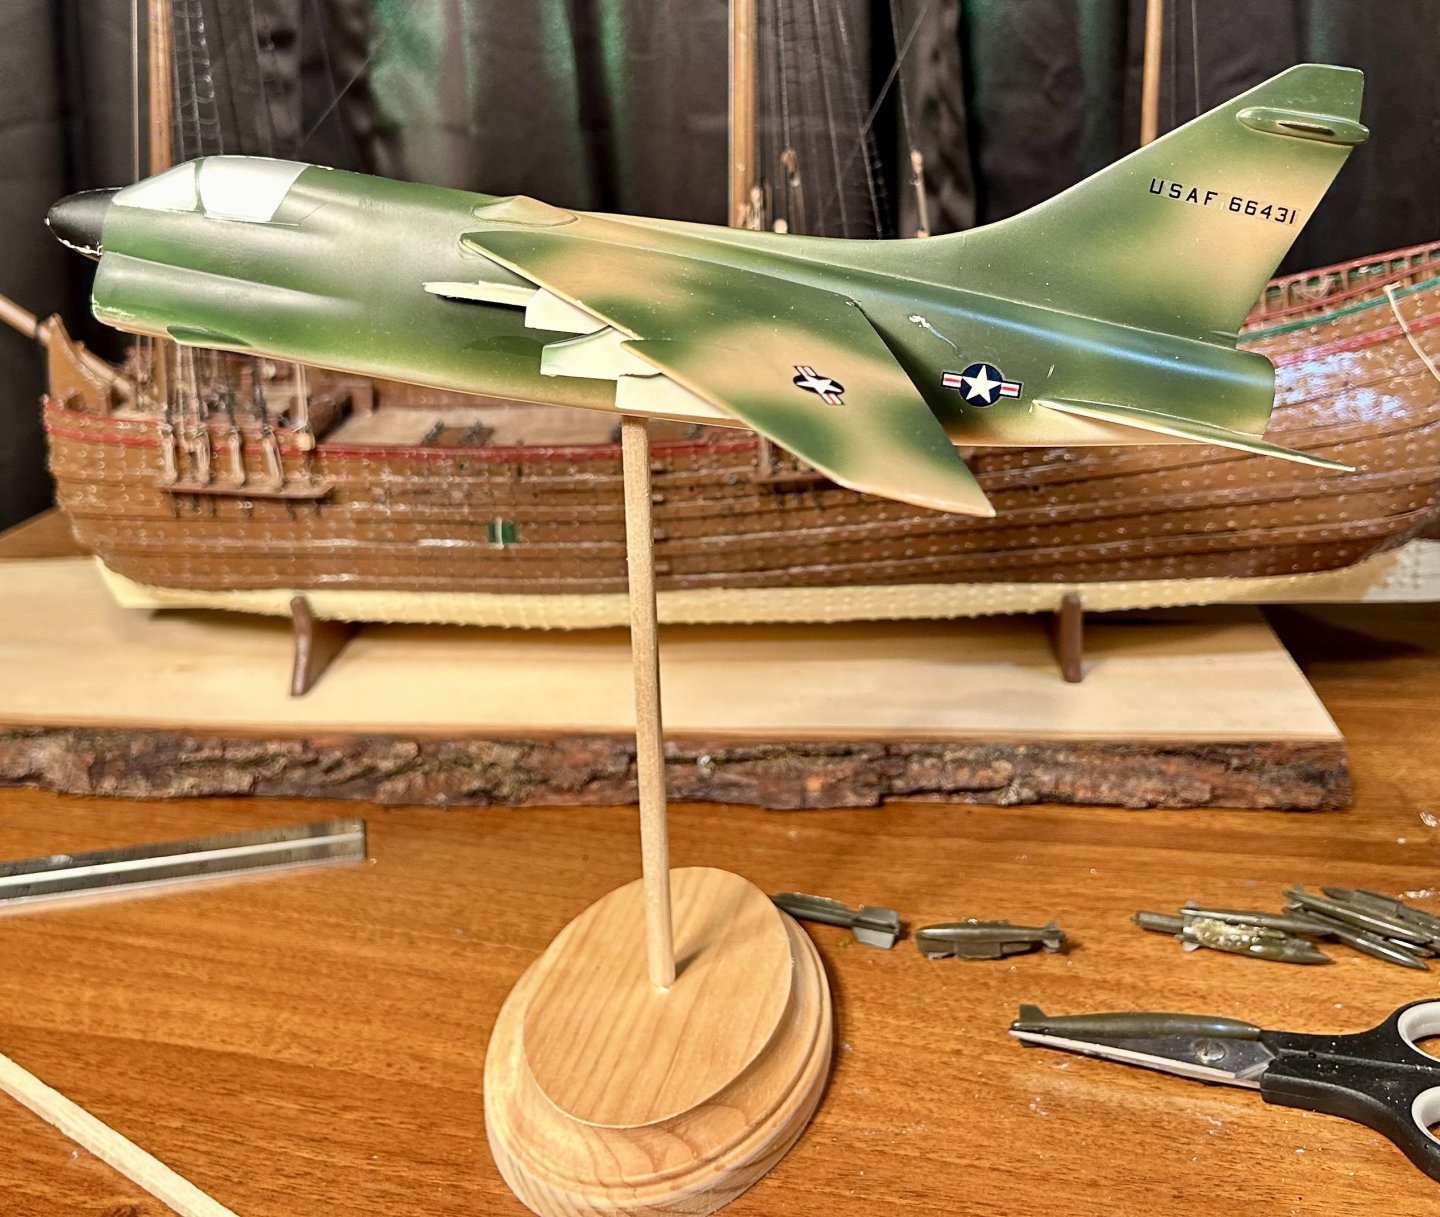
Thank you both very much! The camouflage pattern is painted on and looks pretty close to the original aircraft. The shades of gray are a little off, but the paint on the actual aircraft is pretty faded. The grays are a little darker than in the photos too. Next, I need to add a blue and white tail flash and do all the minor detail painting. Somewhere along the way I need to touch up the canopy and gloss coat the glass. I need to gloss coat the base too. I have photos of the actual plane to make markings from. I’ll import trimmed down pictures into Word and resize them. Then, I’ll print the markings in color and clear coat both sides of the paper, much like on a normal card model, and cut them out/glue them on. Hopefully, I’ll have this one done by Friday.
- 15 replies
-
- 11
-

-
Kit review Belle Poule - Occre - 1/90 - review by kevin
GrandpaPhil replied to Kevin's topic in REVIEWS: Model kits
Copper tape works beautifully for copper plating. -
“Capt. Eddie” A-7 Corsair II by GrandpaPhil - 1/48
GrandpaPhil replied to GrandpaPhil's topic in Non-ship/categorised builds
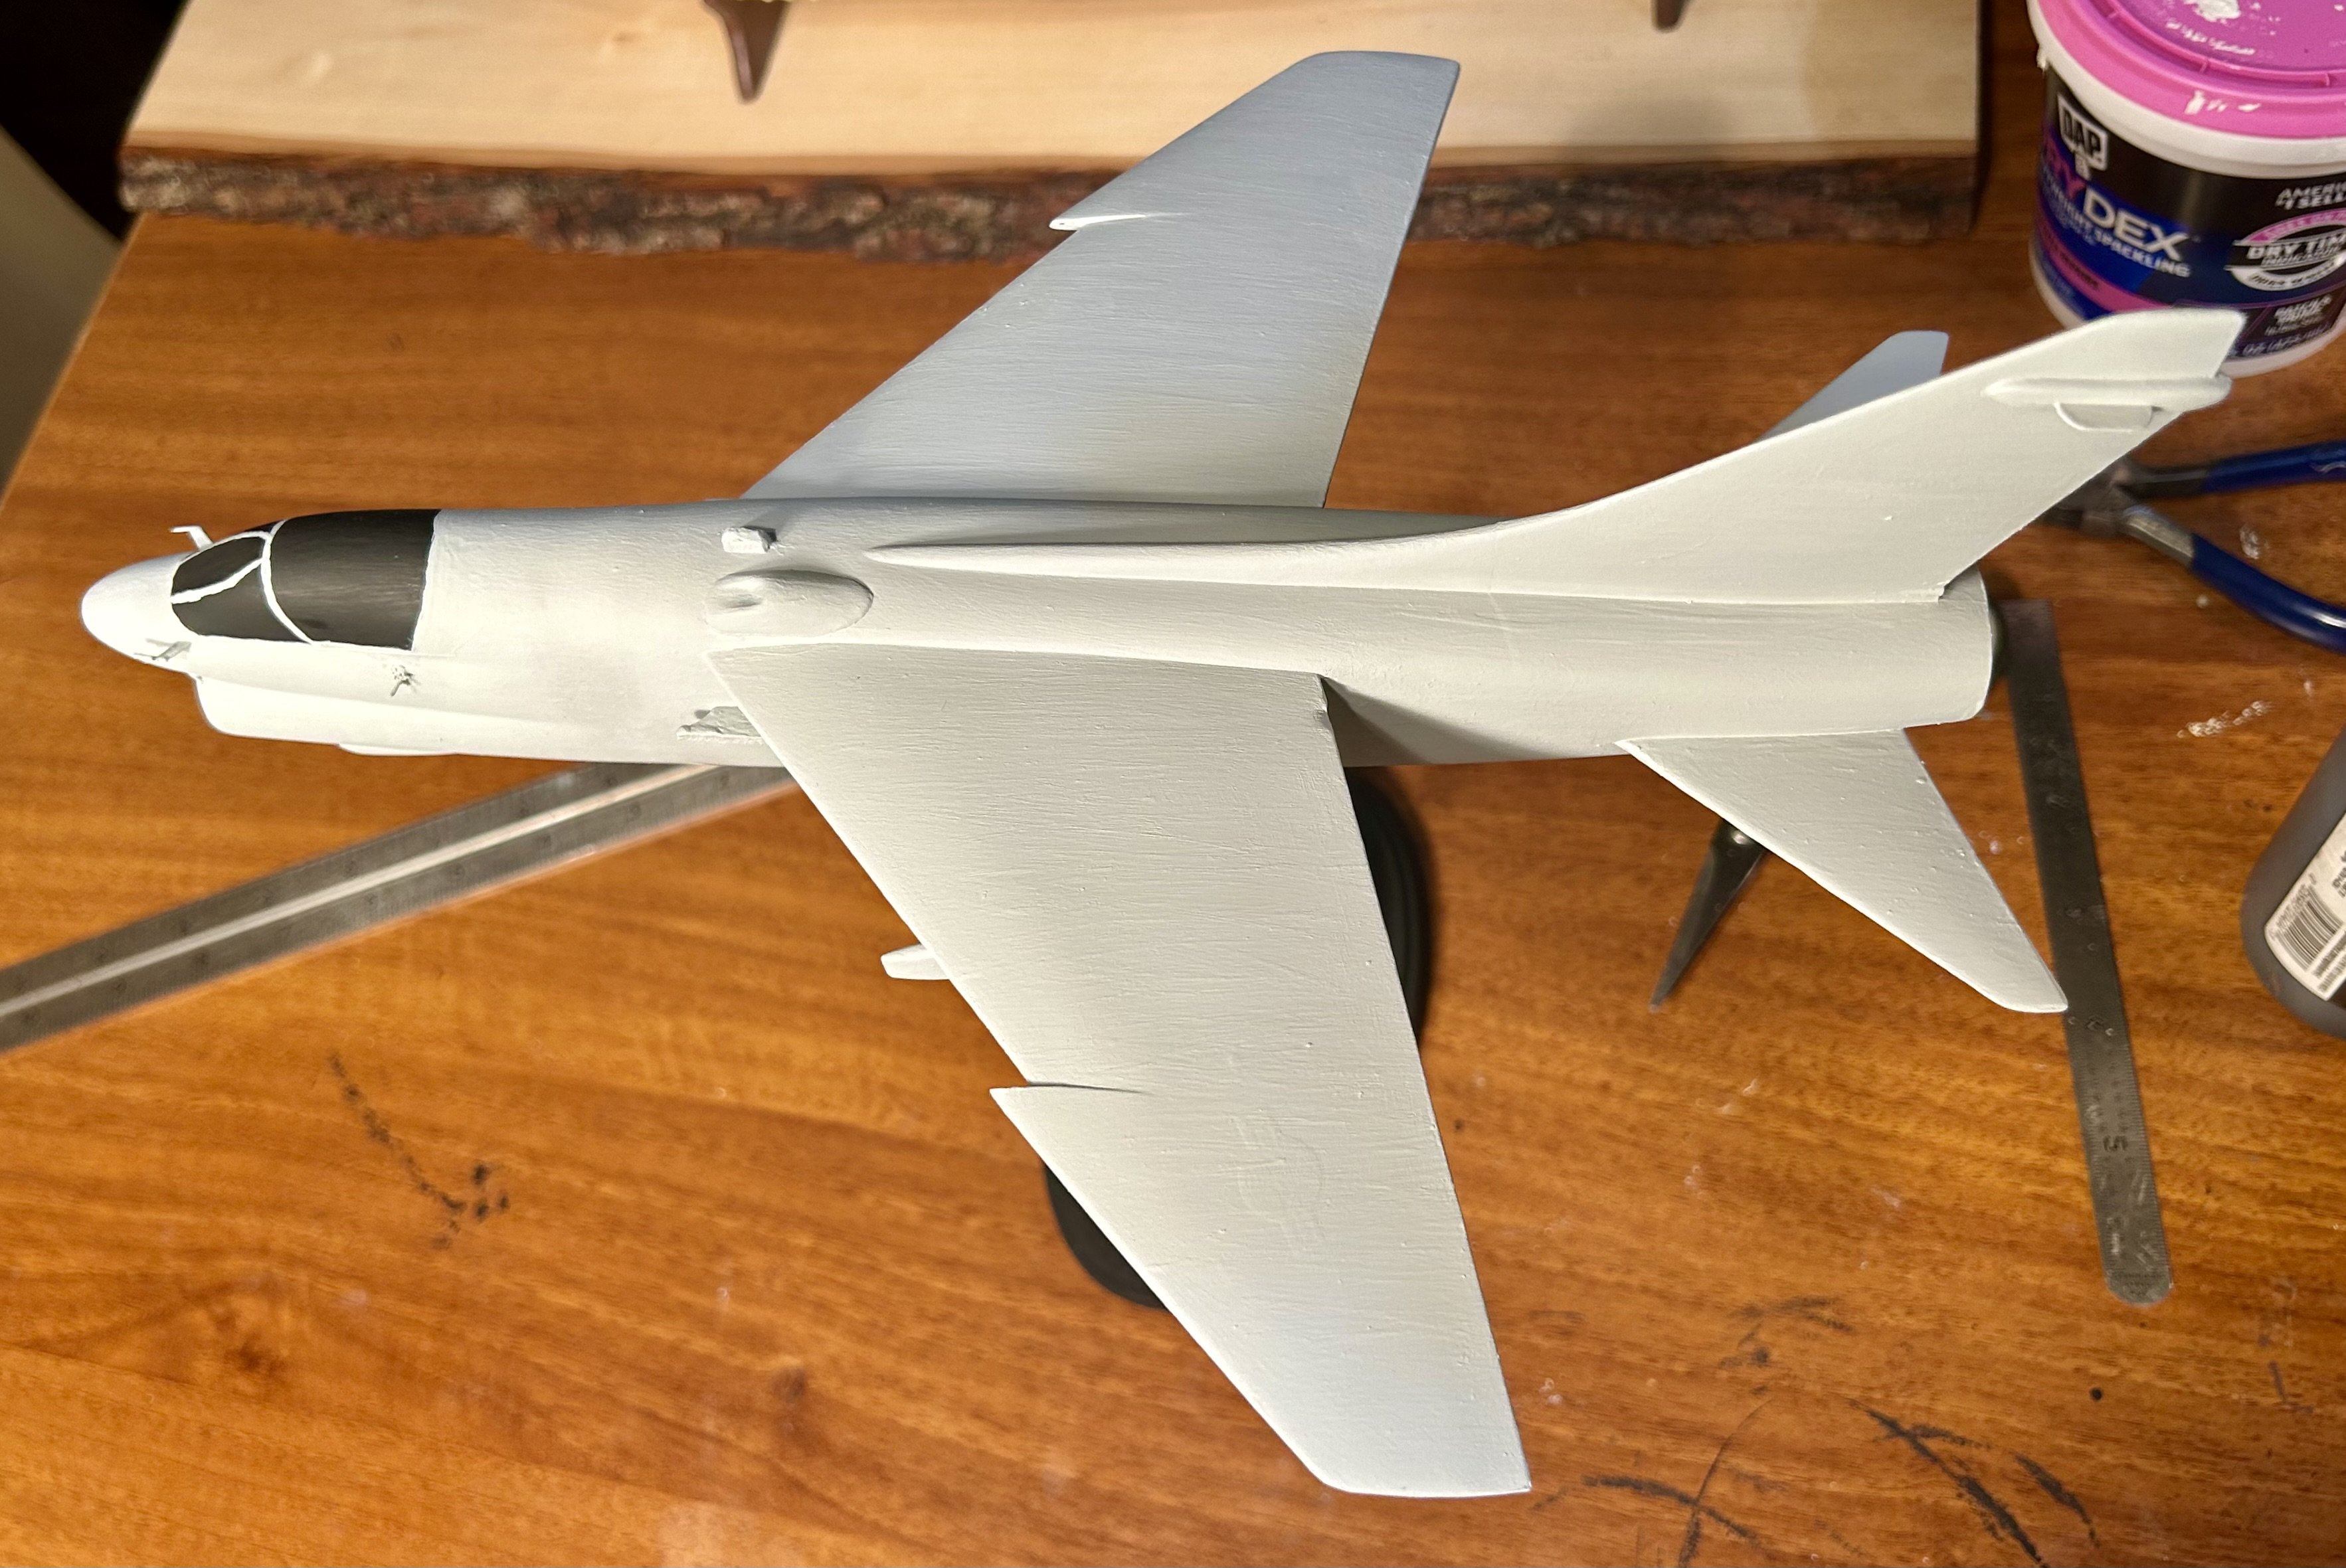
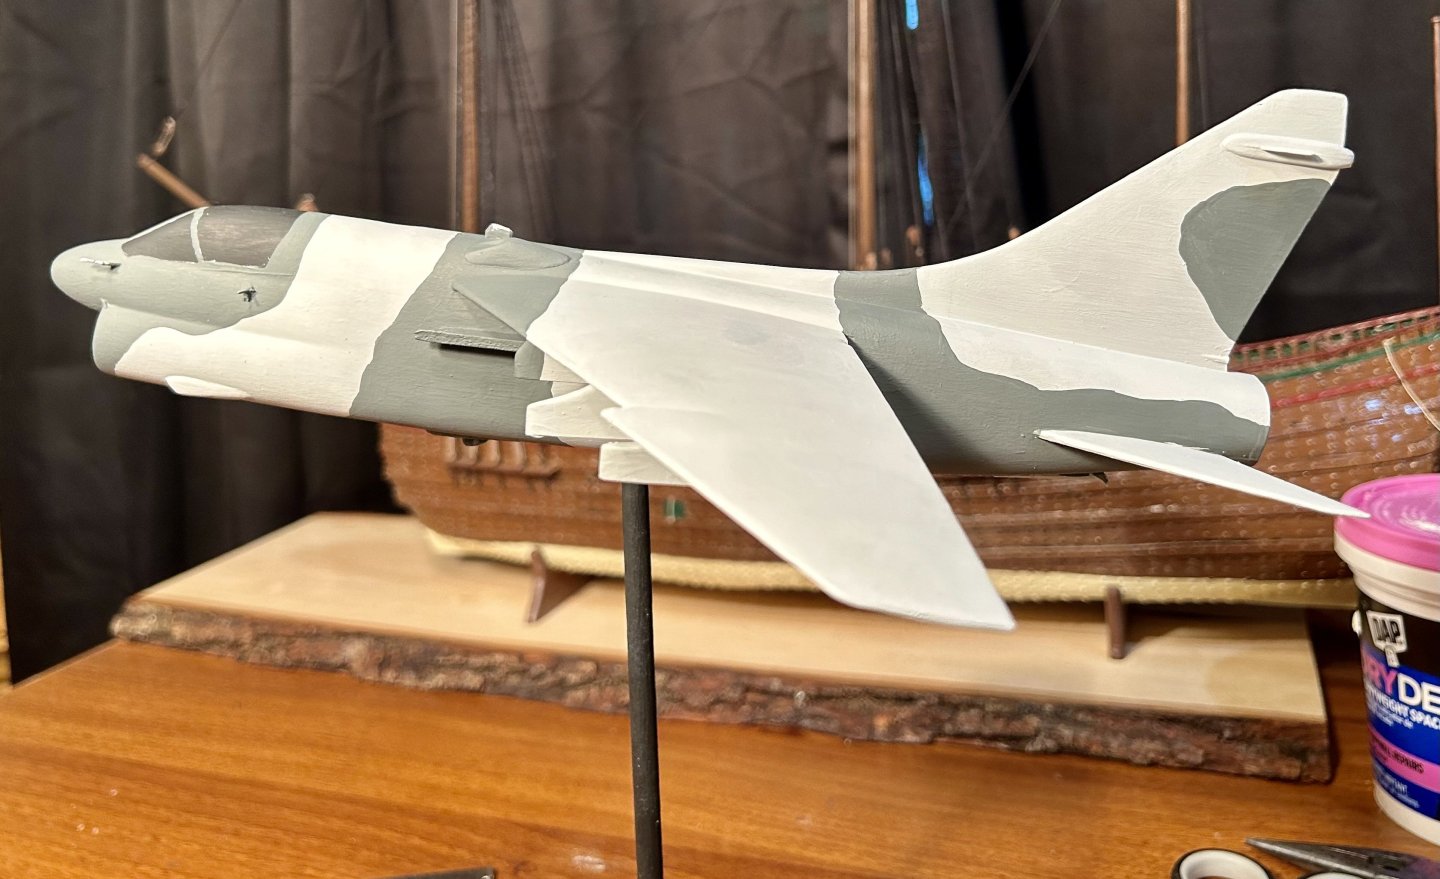
The model has been base coated light gray now: I hand painted the canopy. It needs touched up, but that will wait until after the model gets dark gray stripes. First, I need to let the model dry for about an hour.


-
Aluminum tape is commonly used for ductwork and is available at any hardware store. I think I paid about $5 for my last roll from Lowes. I thought about using it for armor plating on my next ironclad or steel warship, in addition to fixing ductwork in my house.
- 235 replies
-
- 5
-
-
- Banshee II
- Bottle
- (and 1 more)
-
I learned a LOT about transition era navies and ships while building the Solferino. There was a whole era of naval history that I had no idea even existed. Here is the link to the French Ministry of Defense’s archives: https://web.archive.org/web/20120113075641/http://www.servicehistorique.sga.defense.gouv.fr/02fonds-collections/banquedocuments/planbato/atlas/rec.php It has a very comprehensive listing of the plans for mostly their ships throughout the 19th century. They have many of their transition era ships and ironclads listed there. All drawings are in .tif format and are scans of the originals. They are all free as well. That is where I got the plans for the Magenta (using Solferino’s drawings).
- 235 replies
-
- 4
-

-
-
- Banshee II
- Bottle
- (and 1 more)
-
Welcome!
-
“Capt. Eddie” A-7 Corsair II by GrandpaPhil - 1/48
GrandpaPhil replied to GrandpaPhil's topic in Non-ship/categorised builds
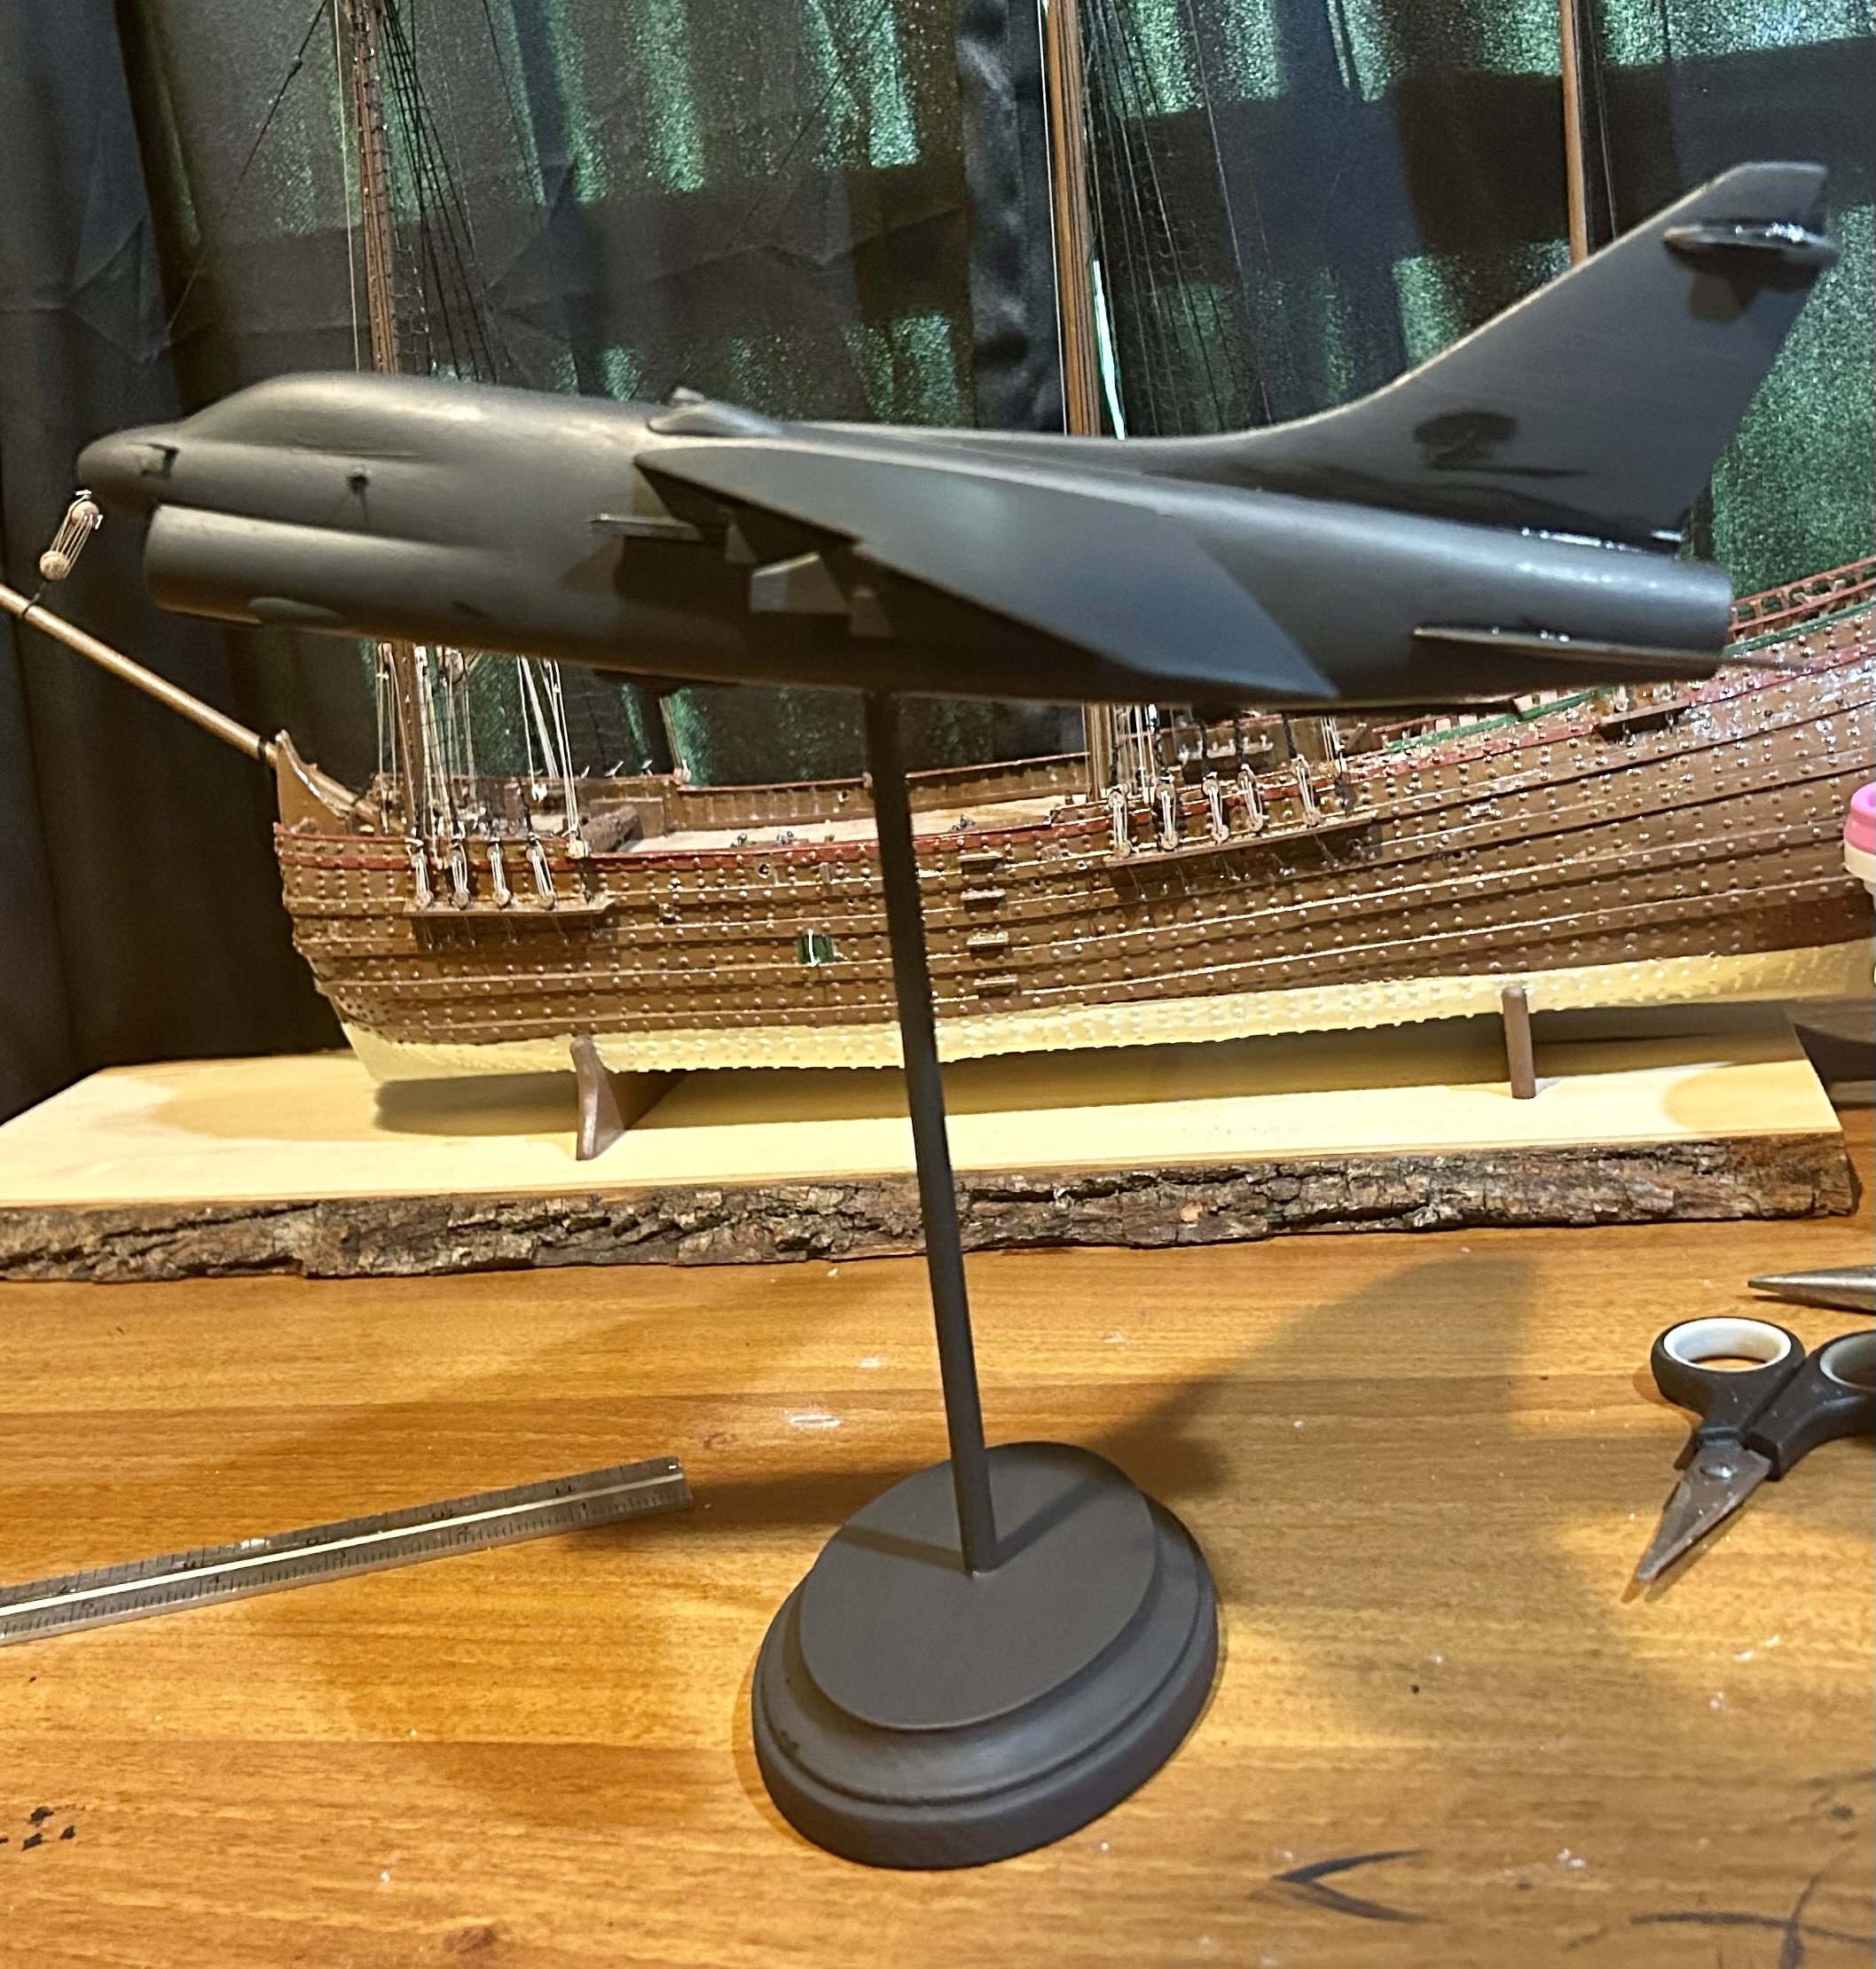
Thank you very much! The model has been primed black: The stand will now get gloss coated and the plane itself will be painted a light grey except for the canopy. The canopy will be gloss coated much like the faceplates of the last round of Terran Marines, from the Starcraft franchise, that I painted. Then I’ll add the darker gray stripes and start on some markings!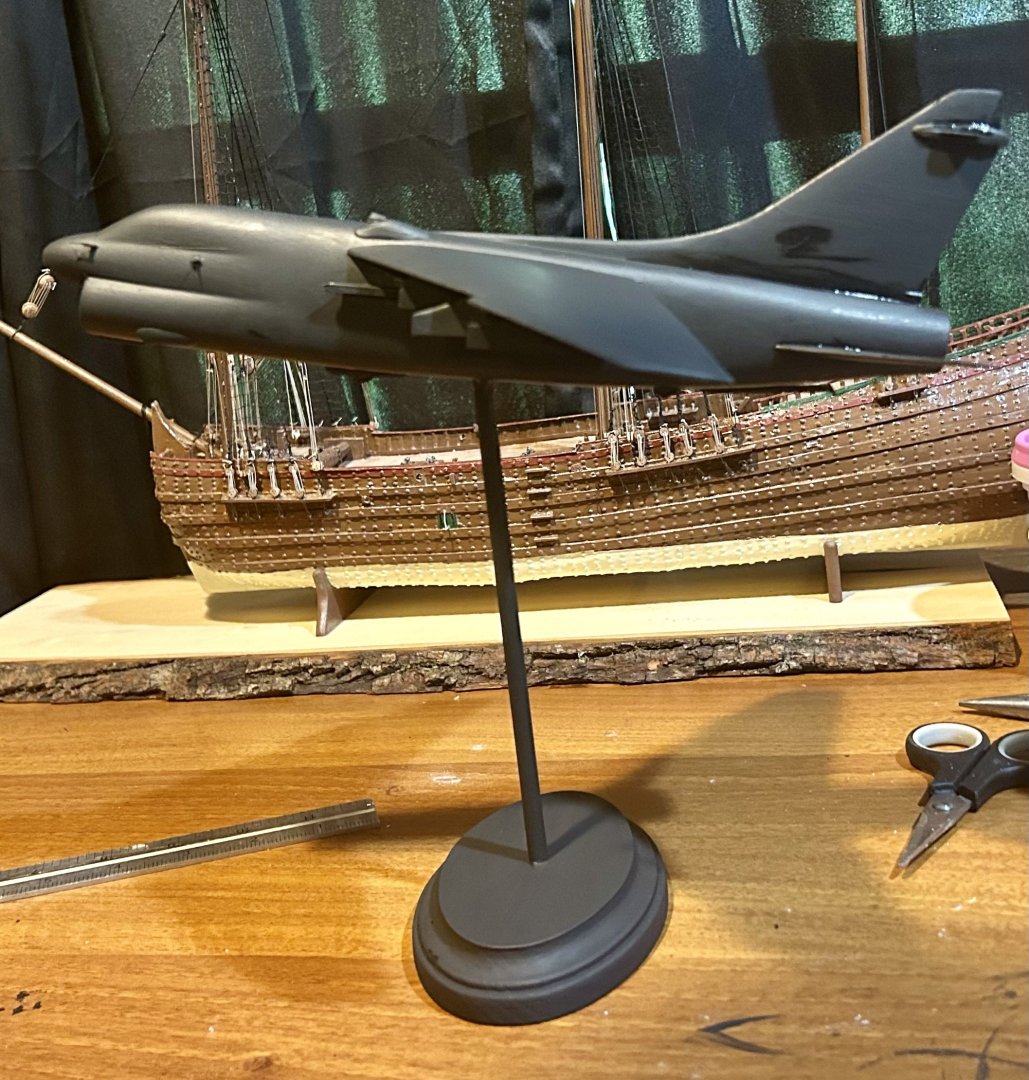
-
Either way, just have fun with it! I never worry about the outcome of a model. The fun for me at least is the crafting and the building. If working on the first one is a lesson in frustration, then build the second one. The Victory in my signature line became a lesson in frustration because my skill level increased exponentially over the build and I am not happy with the start of the model. I have everything ready to go to finish it, I just haven’t done it. I moved on to the other builds in my signature line. Build whichever makes you happy. You can always use the first one for spare parts.
- 146 replies
-
- 3
-
-
- Roar Ege
- Billing Boats
- (and 2 more)
-
Glen, Looking forward to this build! The transition era ships are some of my favorites. I have AAMM plans and Orel kits of several of them that I haven’t gotten to yet.
- 235 replies
-
- 7
-
-
- Banshee II
- Bottle
- (and 1 more)
-
Welcome!
-
“Capt. Eddie” A-7 Corsair II by GrandpaPhil - 1/48
GrandpaPhil replied to GrandpaPhil's topic in Non-ship/categorised builds
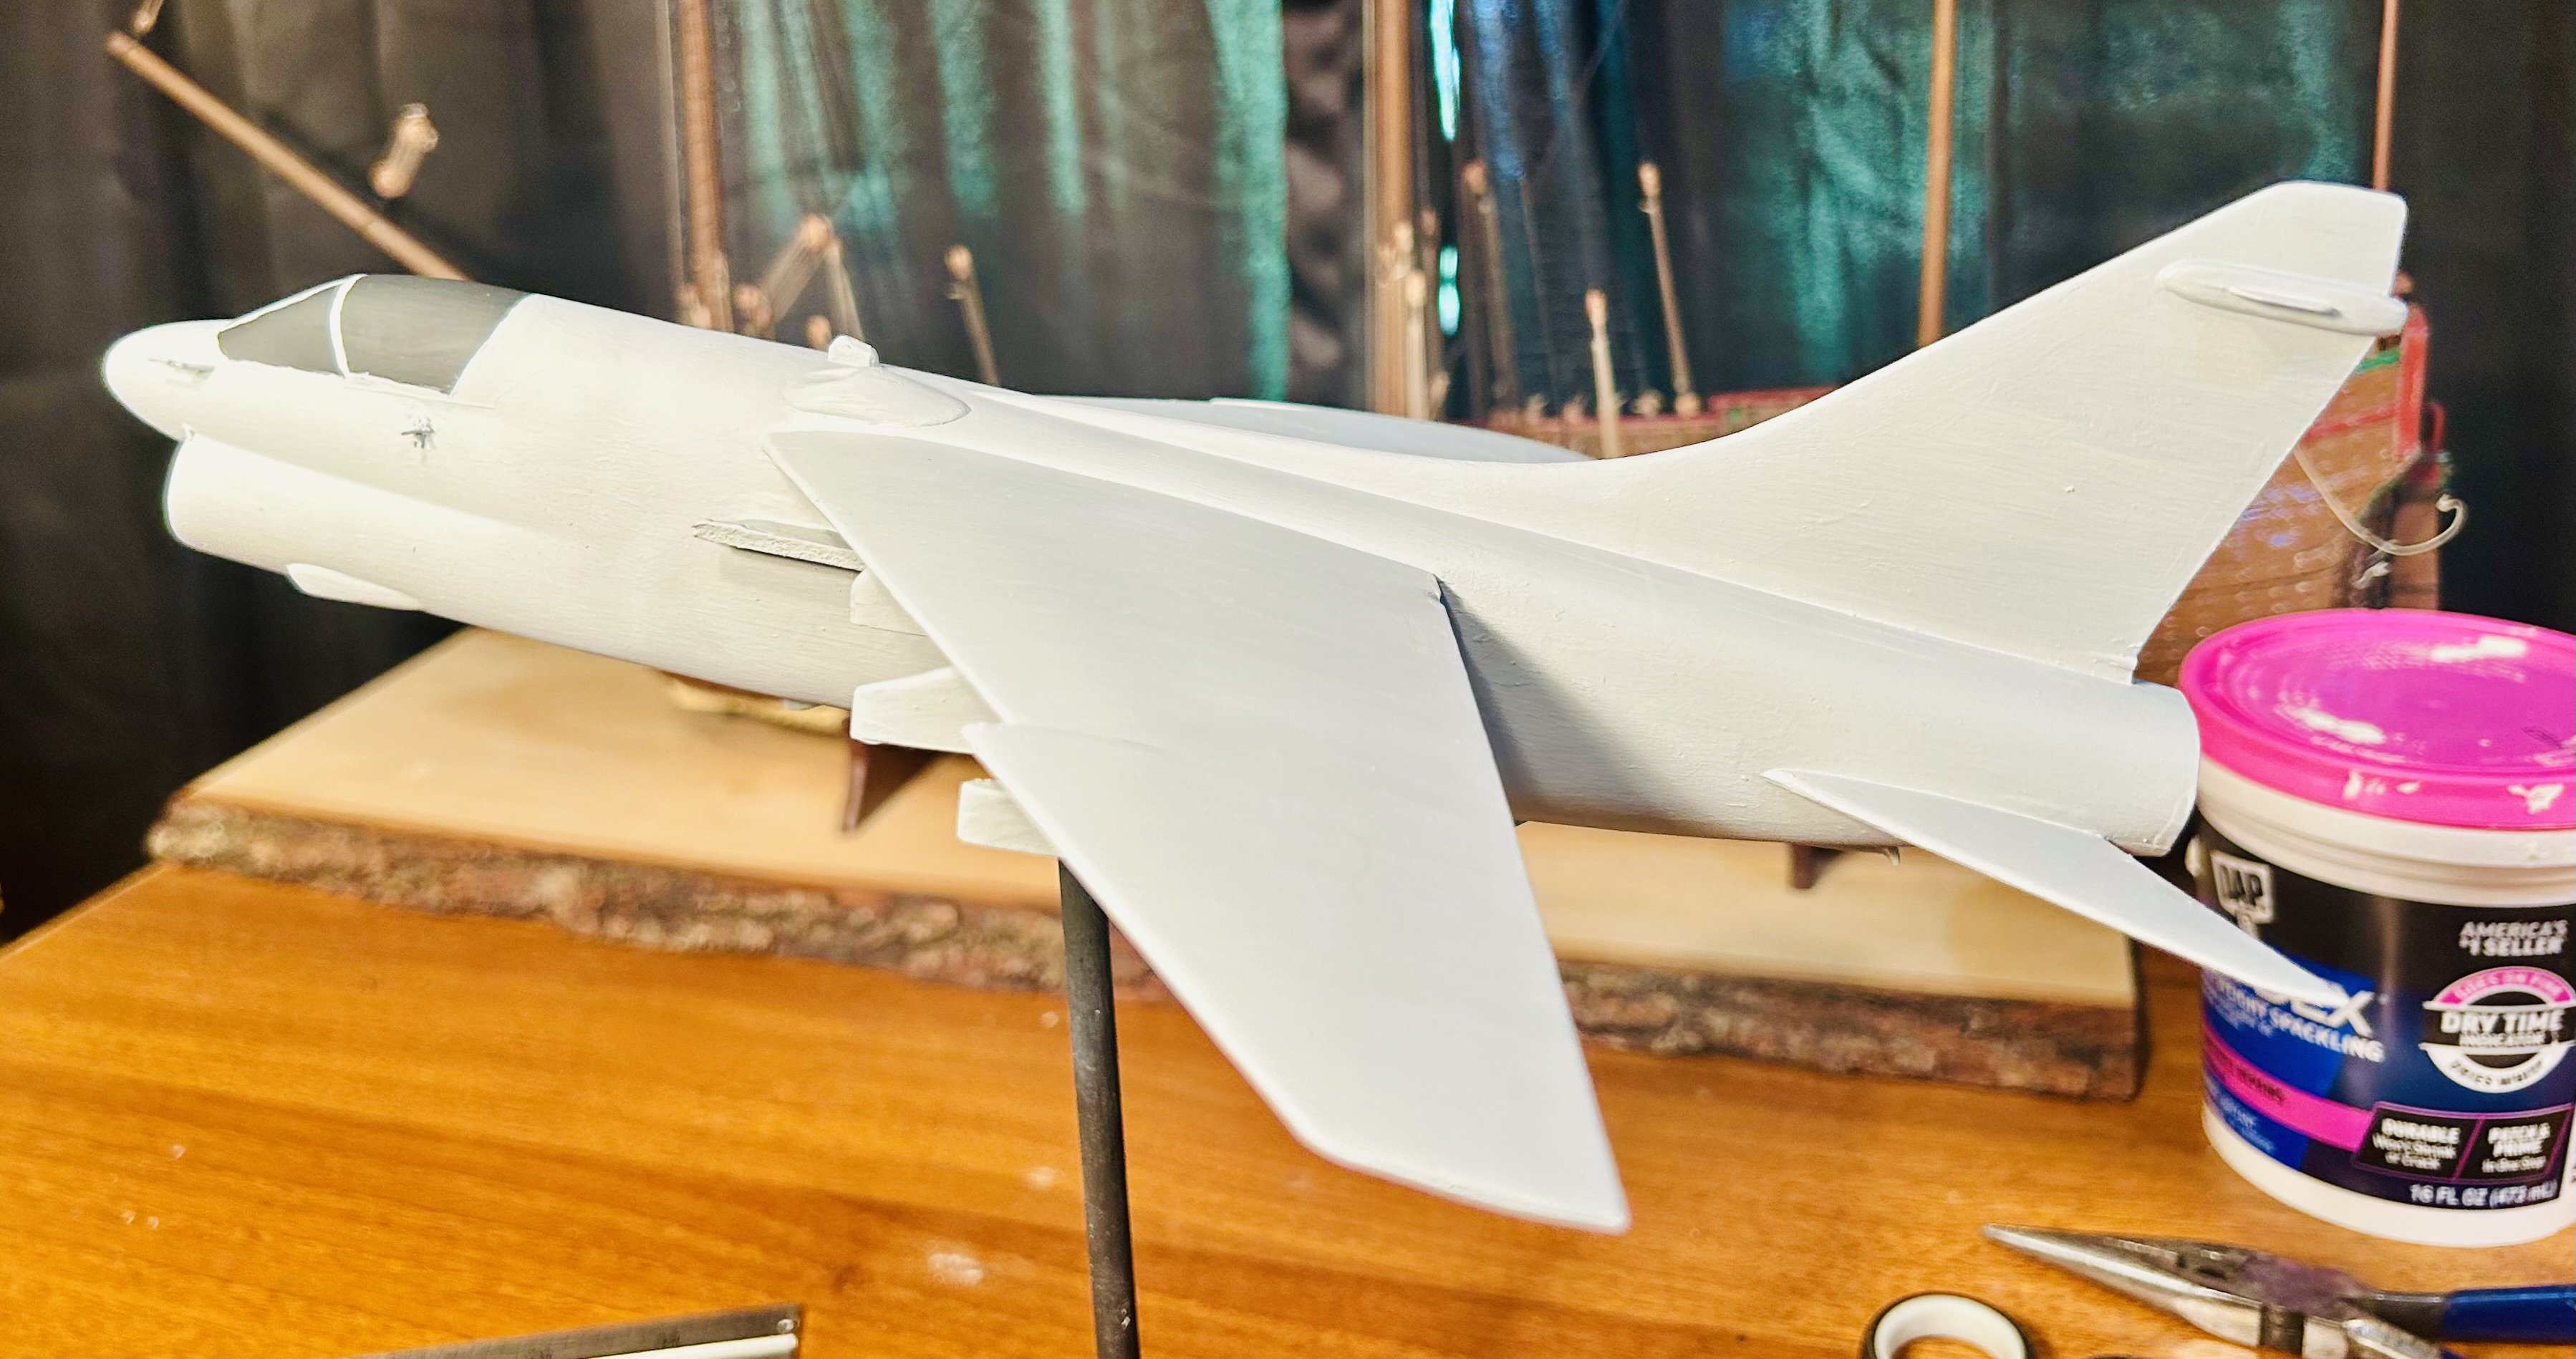
I added all the pieces that the old model was missing compared to the actual aircraft. Once the glue cures, I will seal the model and begin painting. I wasn’t going to do a build log for this one, because I’m just taking an old model and essentially bashing it into a different aircraft. But, there are many of you who are far more knowledgeable than I am about these aircraft.

-
“Capt. Eddie” A-7 Corsair II by GrandpaPhil - 1/48
GrandpaPhil replied to GrandpaPhil's topic in Non-ship/categorised builds
Ken, You are correct about the SAC markings. Upon a second look at my reference photos, that is the unit marking for an ANG tactical fighter wing, not SAC. Good catch! -
I’m turning an old commercial model of an A-7 into the plane that a friend of mine actually flew back in the 1980’s. The model is old, plastic and had been through a flood. It was in pretty bad shape. The weapons racks are broken and many of the bombs are missing. One of the sidewinders is missing along with its hard point. It didn’t have a stand either. When it is done, this plane will go to my friend’s former employer and be placed in one of their display cases for permanent display. I started working on the model a couple days ago. I cleaned it up and made a flight base for it. I removed the weapons racks. This model has a deadline so making new racks and replacing those missing pieces is contingent on how long the rest takes. I have already made new sidewinder racks that are much more accurate than the old ones. I added a FLIR pod and am currently debating on how to make a tail hook and the pitot tubes. I’ll make all of the antennas out of card. This one will have the gray camouflage scheme with Strategic Air Command markings.


-
Okay, my apologies. I keep looking at the Amati version of the plans on Ages of Sails. It would make for a fun build.
-
Kevin, They have them at Cornwall Model Boats too: https://www.cornwallmodelboats.co.uk/acatalog/San-Felipe-Construction-Plans-Set-976.html#SID=137
-
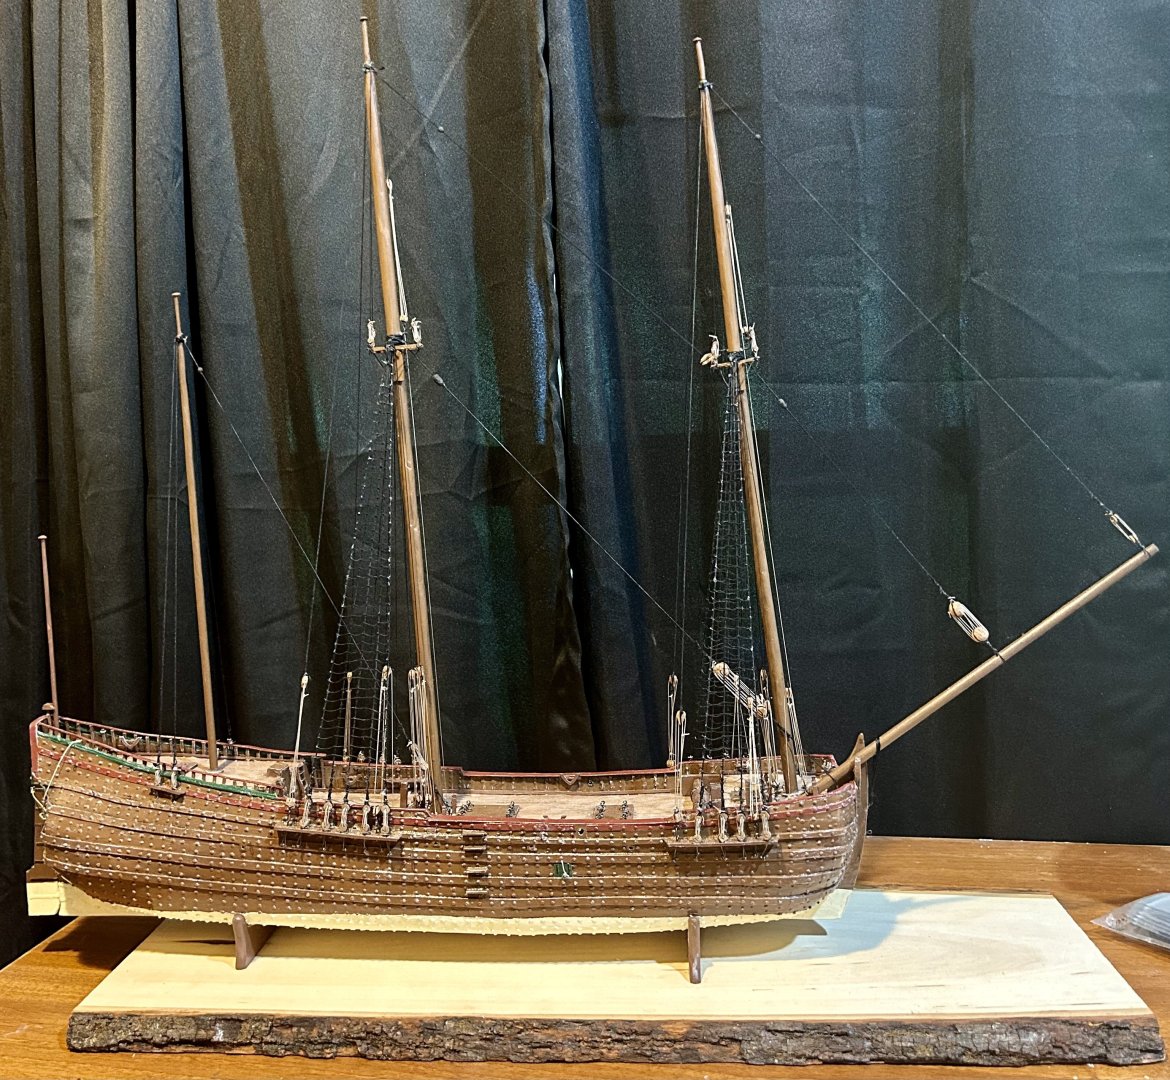
Working ratlines: The lower foremast ratlines are done and the lower starboard main mast ratlines are done.
- 145 replies
-
- 10
-
-
Looking good! What are you using for the rigging?
-
Triumph 3HW by Tim Moore - Italeri - 1/9
GrandpaPhil replied to Tim Moore's topic in Non-ship/categorised builds
Very nicely done! -
I would YouTube miniature painting tutorials. I personally use regular craft paint on my models, utilizing conventional wargaming or DnD miniature painting techniques. All of mine are brush painted.
-
Javlin, Thank you very much! This model has been a good learning model! All shrouds are done and I have started on ratlines!
-
Nicely done!