HOLIDAY DONATION DRIVE - SUPPORT MSW - DO YOUR PART TO KEEP THIS GREAT FORUM GOING! (83 donations so far out of 49,000 members - C'mon guys!)
×


GrandpaPhil
-
Posts
6,133 -
Joined
-
Last visited
Content Type
Profiles
Forums
Gallery
Events
Everything posted by GrandpaPhil
-
Keith, Your workboats are incredible!
-
Lotus 7 Replica Haynes Roadster Build
GrandpaPhil replied to J Snyder's topic in Completed non-ship models
Beautiful car! Very nicely done! -
How do you all choose your next build?
GrandpaPhil replied to Meekes's topic in Wood ship model kits
I choose by whatever is neat and looks interesting to me at the time. -
Hello and thank you for having me
GrandpaPhil replied to Danny_CZ's topic in New member Introductions
Welcome! -
Very nicely done!
-
My introduction on Model Ship World
GrandpaPhil replied to ANDY GRAY's topic in New member Introductions
Welcome! -
This is one of my favorite build logs on this forum. Your Soleil Royale is absolutely amazing! It has led to my purchase of Lemineur’s book for the Berain drawings and Sergal’s plans of Soleil Royale (which I believe is supposed to reflect the Tanneron model) so I can try to at least partially follow along with what you have done on paper.
- 2,697 replies
-
- 4
-

-

-
- heller
- soleil royal
- (and 9 more)
-
@LoydB, @Glen McGuire and @Geordie Tyne, Thank you all very much! I thoroughly enjoyed this build! It was a lot of fun to build!
- 42 replies
-
- 2
-
-
- card
- Speeljacht
- (and 2 more)
-
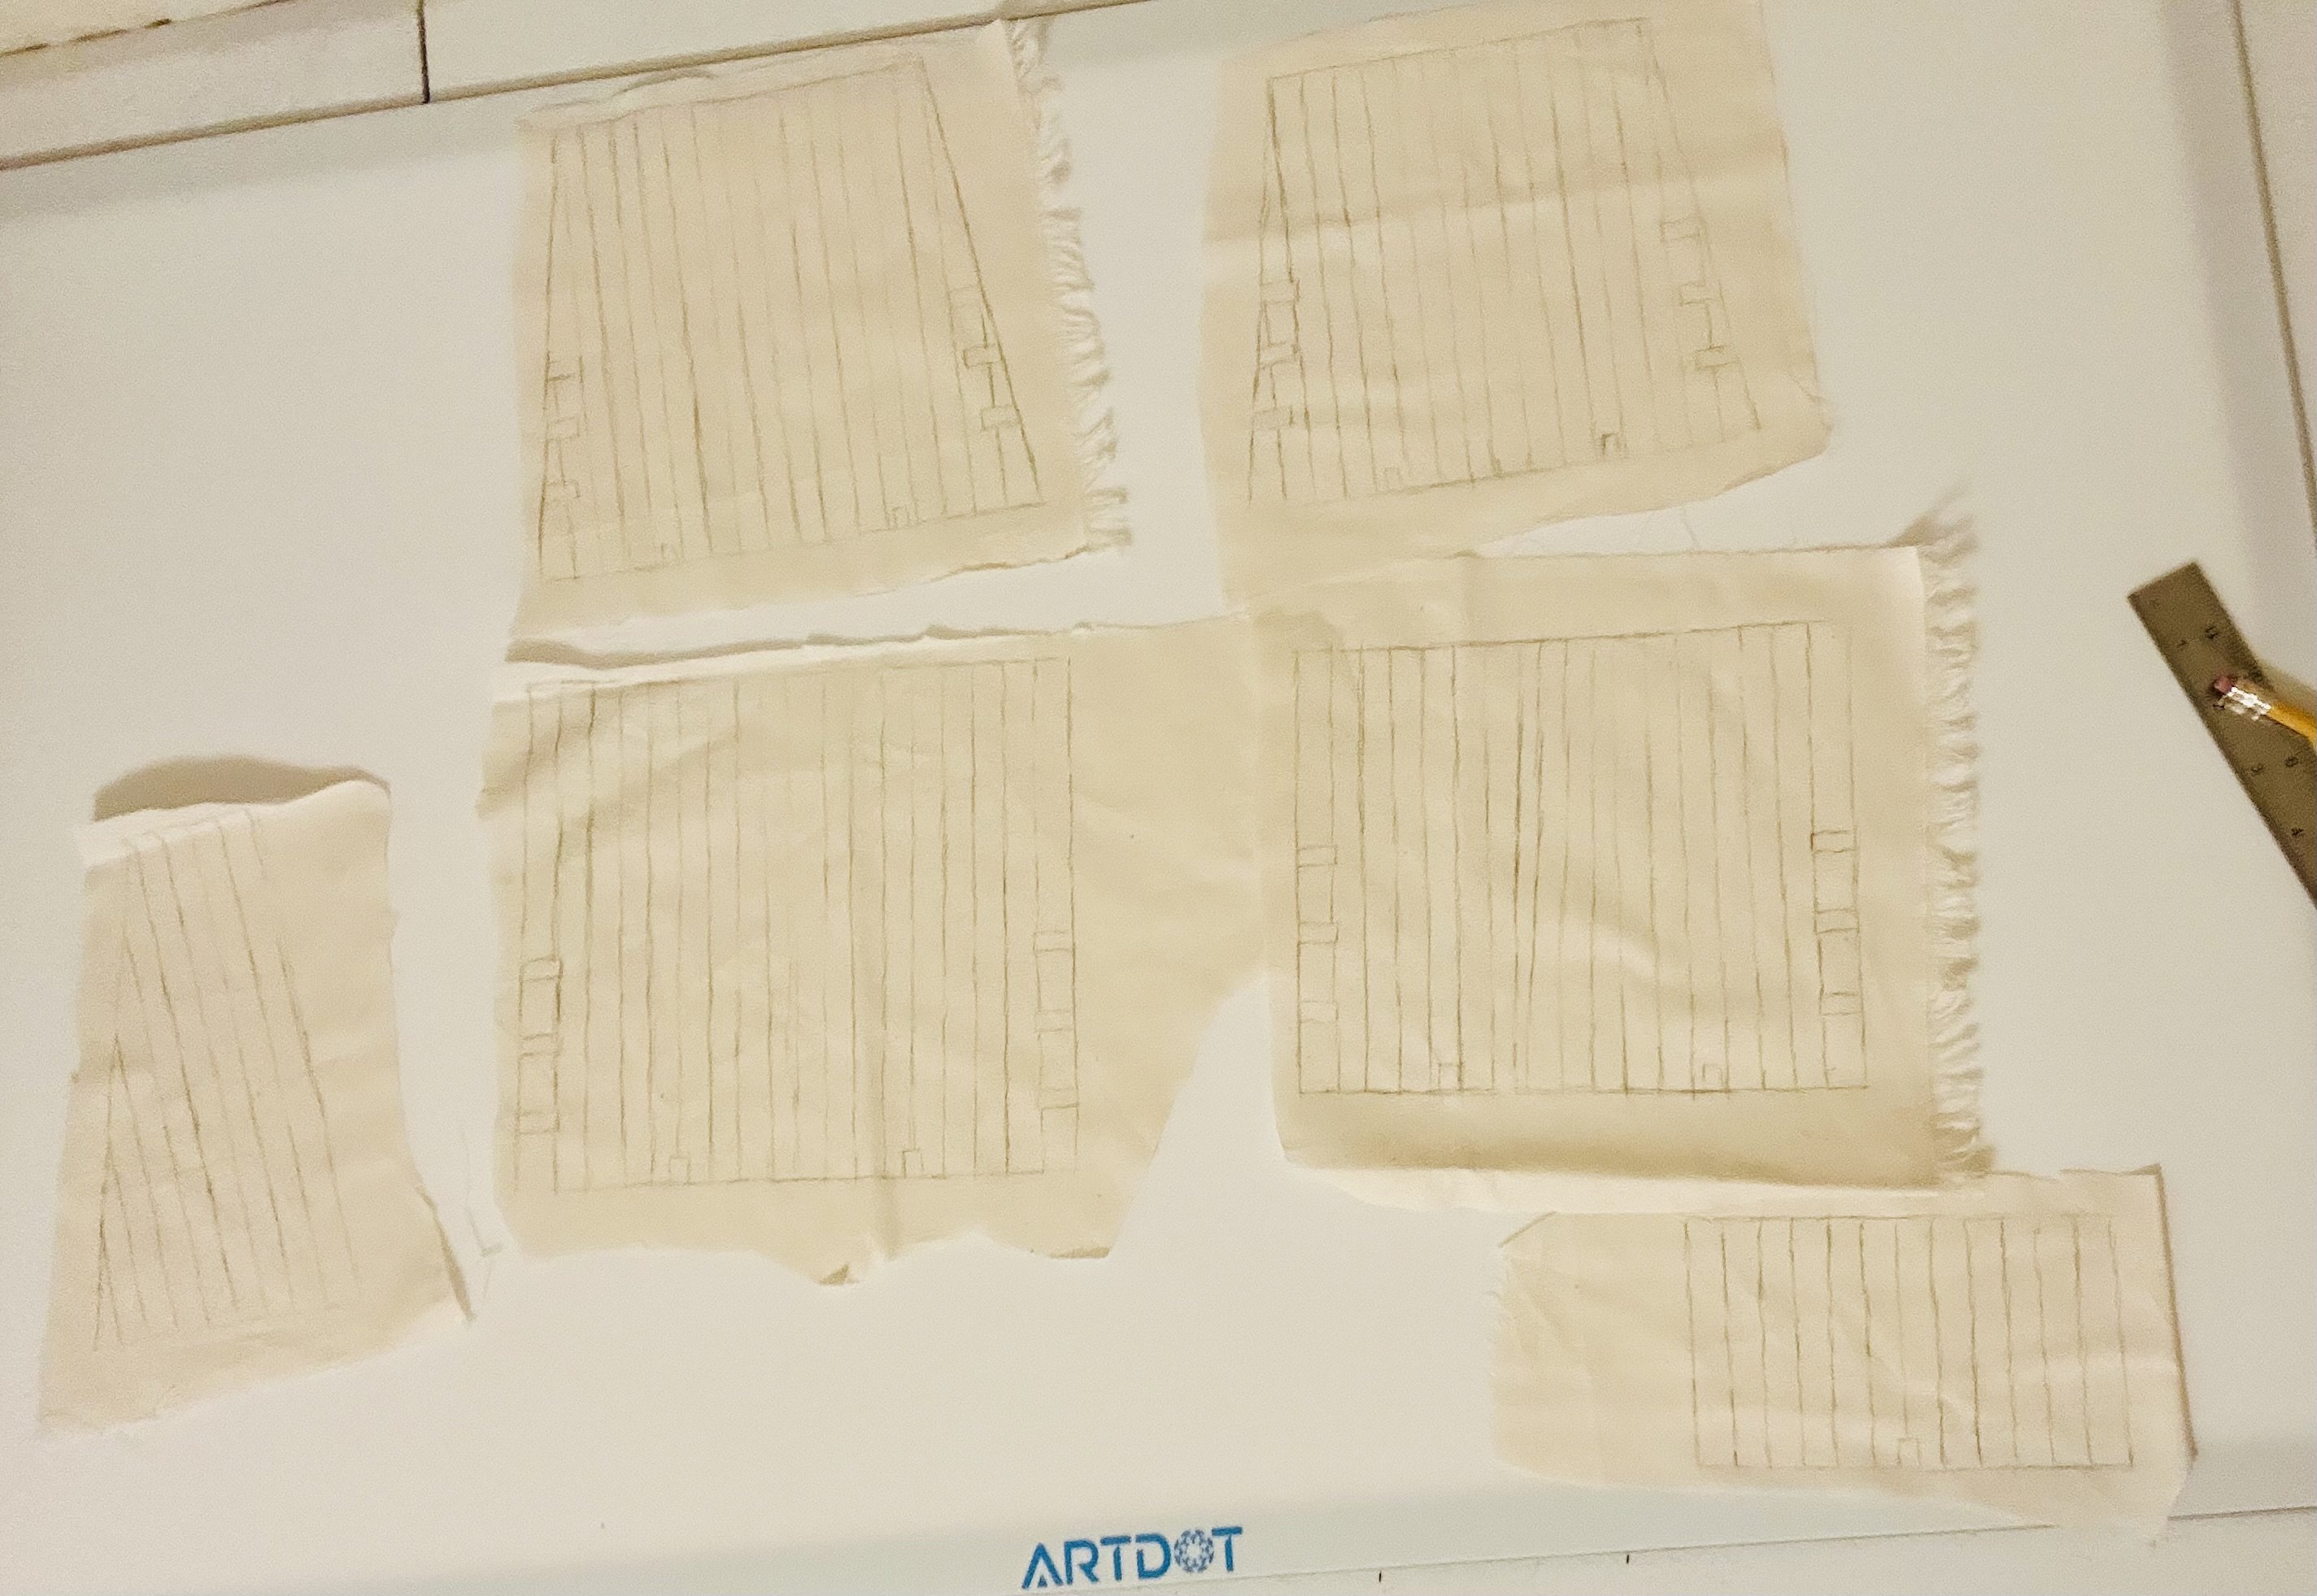
I had a blast building my Seahorse Speeljacht and I have wanted to build my de Zeven Provincien ever since it arrived in my mailbox in 2023. I figured that I’m not getting any younger, so I might as well build it. I am not a fan of small scale models so I always intended to enlarge this one. Originally, I was going to enlarge it to 1/64 to match my Revenge and my Katschip. However, I am not really worried about the scales matching. Both de Zeven Provincien and the Revenge are centerpiece models. Displaying them together, when I get everything completed, would be redundant, so they’ll have their own display areas anyway. I really enjoyed working at 1/50 scale. I would like to build a full ship at that scale. I am not certain that this will succeed, but I’m going to try it anyway. Here’s the basic kit that I am working from: And here is the start of just about every model that I have started/built for the last six years after going into a photo copying/resizing frenzy, lol: It’s printed on standard letter sized paper. I just printed in black and white to save on color ink. Also it isn’t going to matter because everything external is getting painted anyways, after adding wood grain contact paper. This thing will be a monster at 52” LOA (130cm for all of you metric types). I am looking forward to seeing how this goes together!


- 7 replies
-
- 12
-
-

-
- card
- De Zeven Provincien
- (and 1 more)
-
I have my sail making stuff out. I need to finish a couple small plastic kits (a 1/144 B-25 and a couple 1/144 F-100Ds) for a buddy of mine and then I’m finishing this one.
-
San Francisco cable car by kgstakes - FINISHED - OcCre
GrandpaPhil replied to kgstakes's topic in Non-ship/categorised builds
That’s absolutely incredible! -
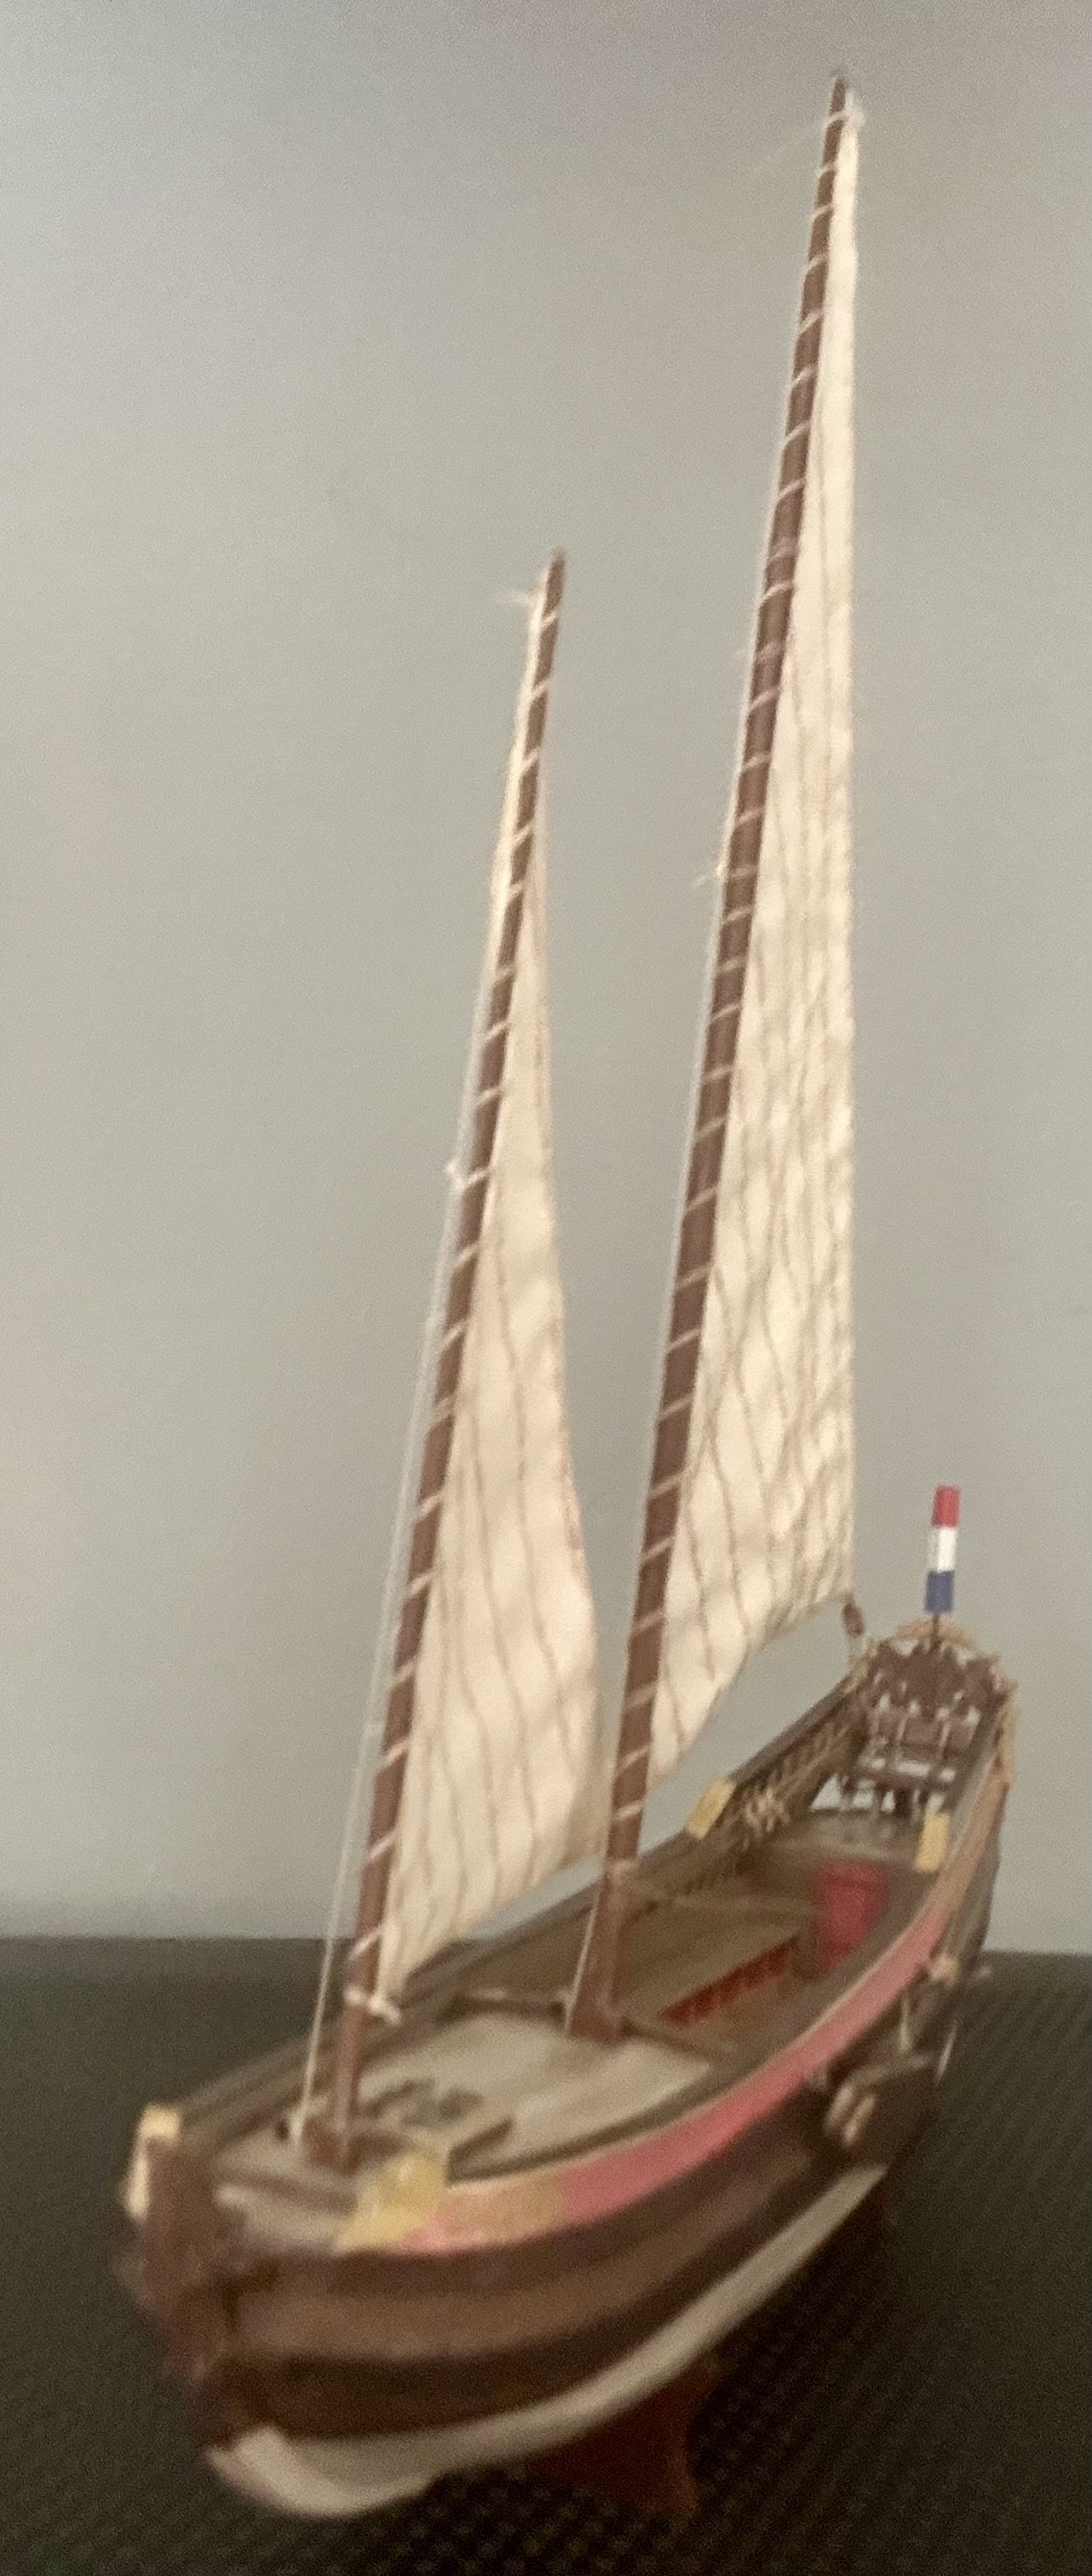
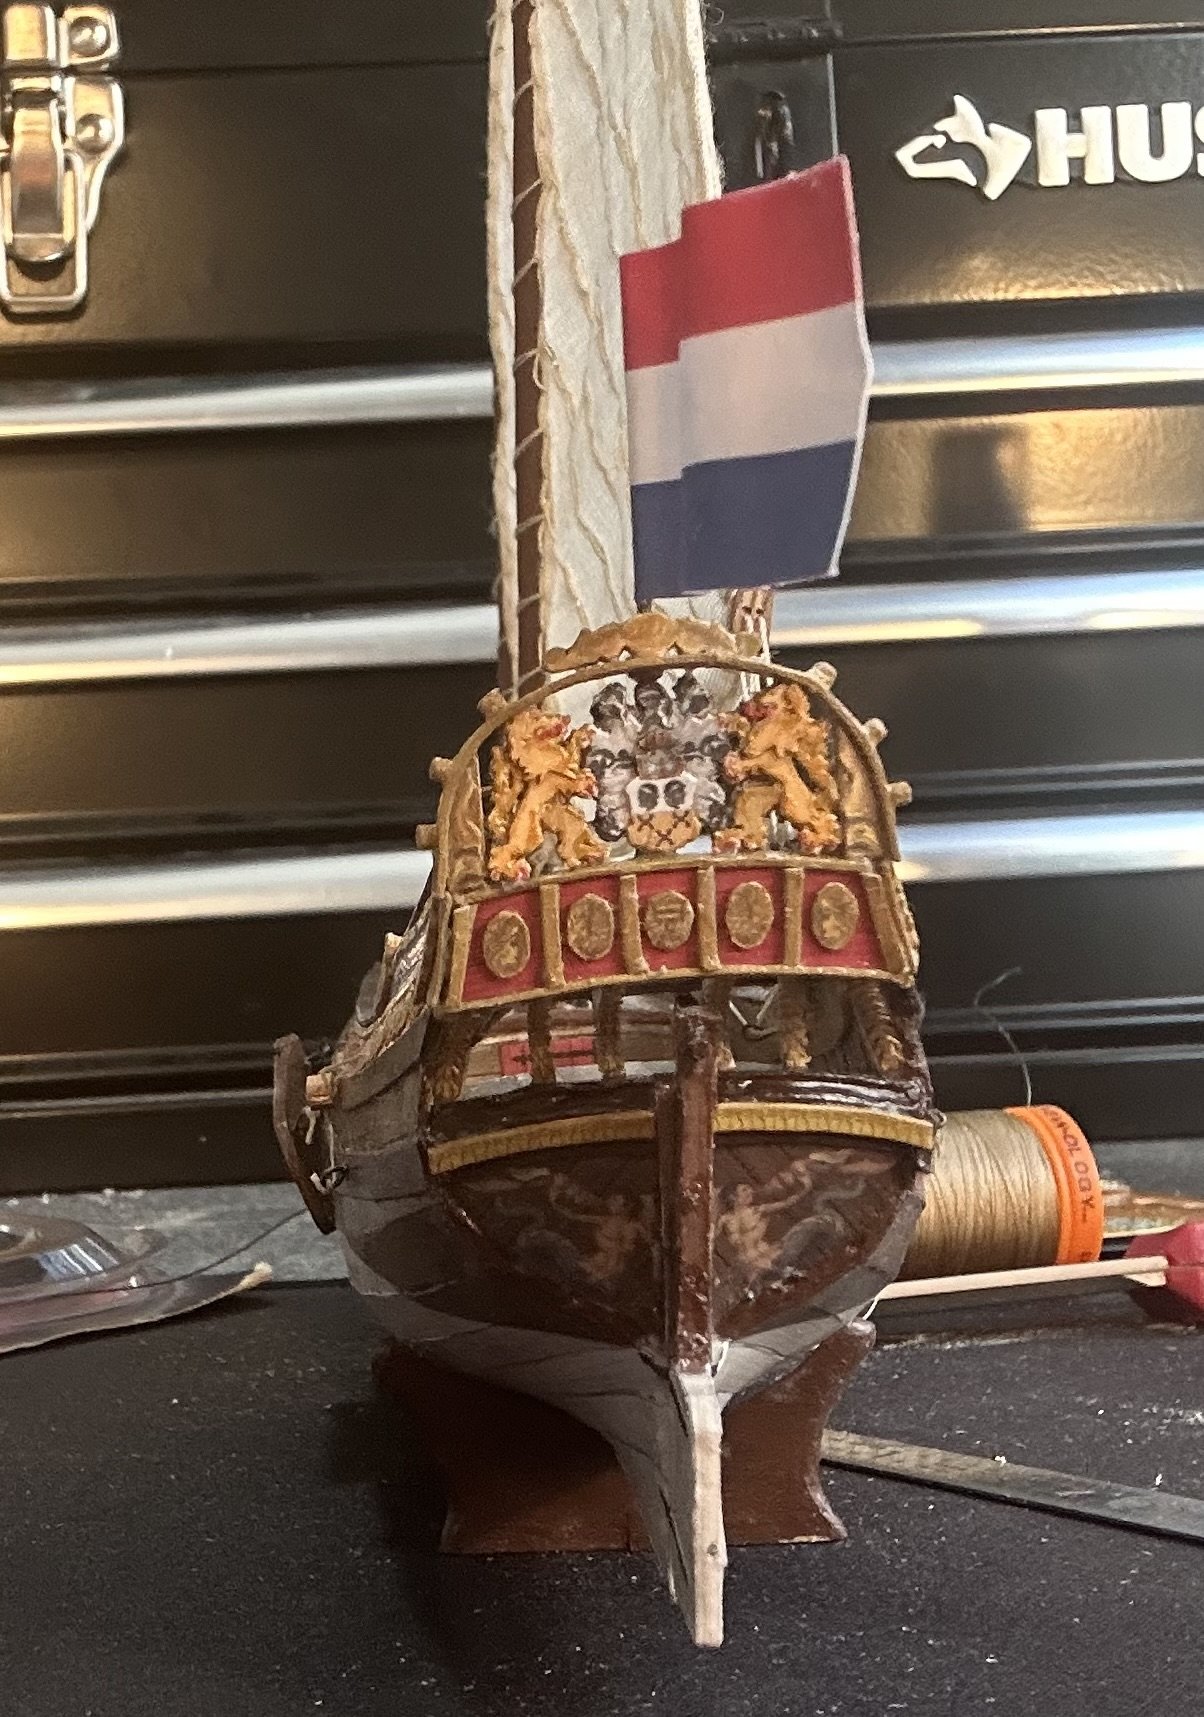
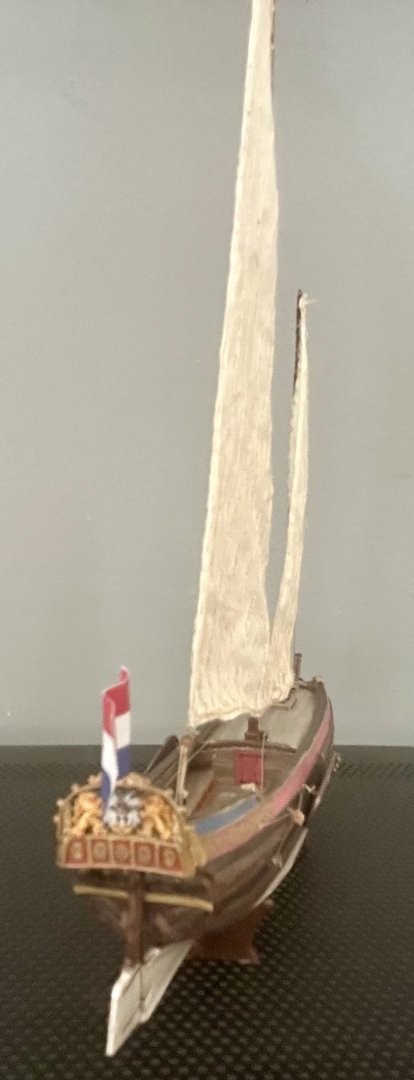
@72Nova, @Knocklouder, @ccoyle, @Michael Mash, @Baker, @Ronald-V and @Canute, Thank you all very much! I am very happy with how my Speeljacht turned out! The Admiral added it to our living room curio cabinet yesterday when I gave it to her. She was quite pleased with it! She decorates the main areas of our house with my ship models.
- 42 replies
-
- 3
-
-
- card
- Speeljacht
- (and 2 more)
-
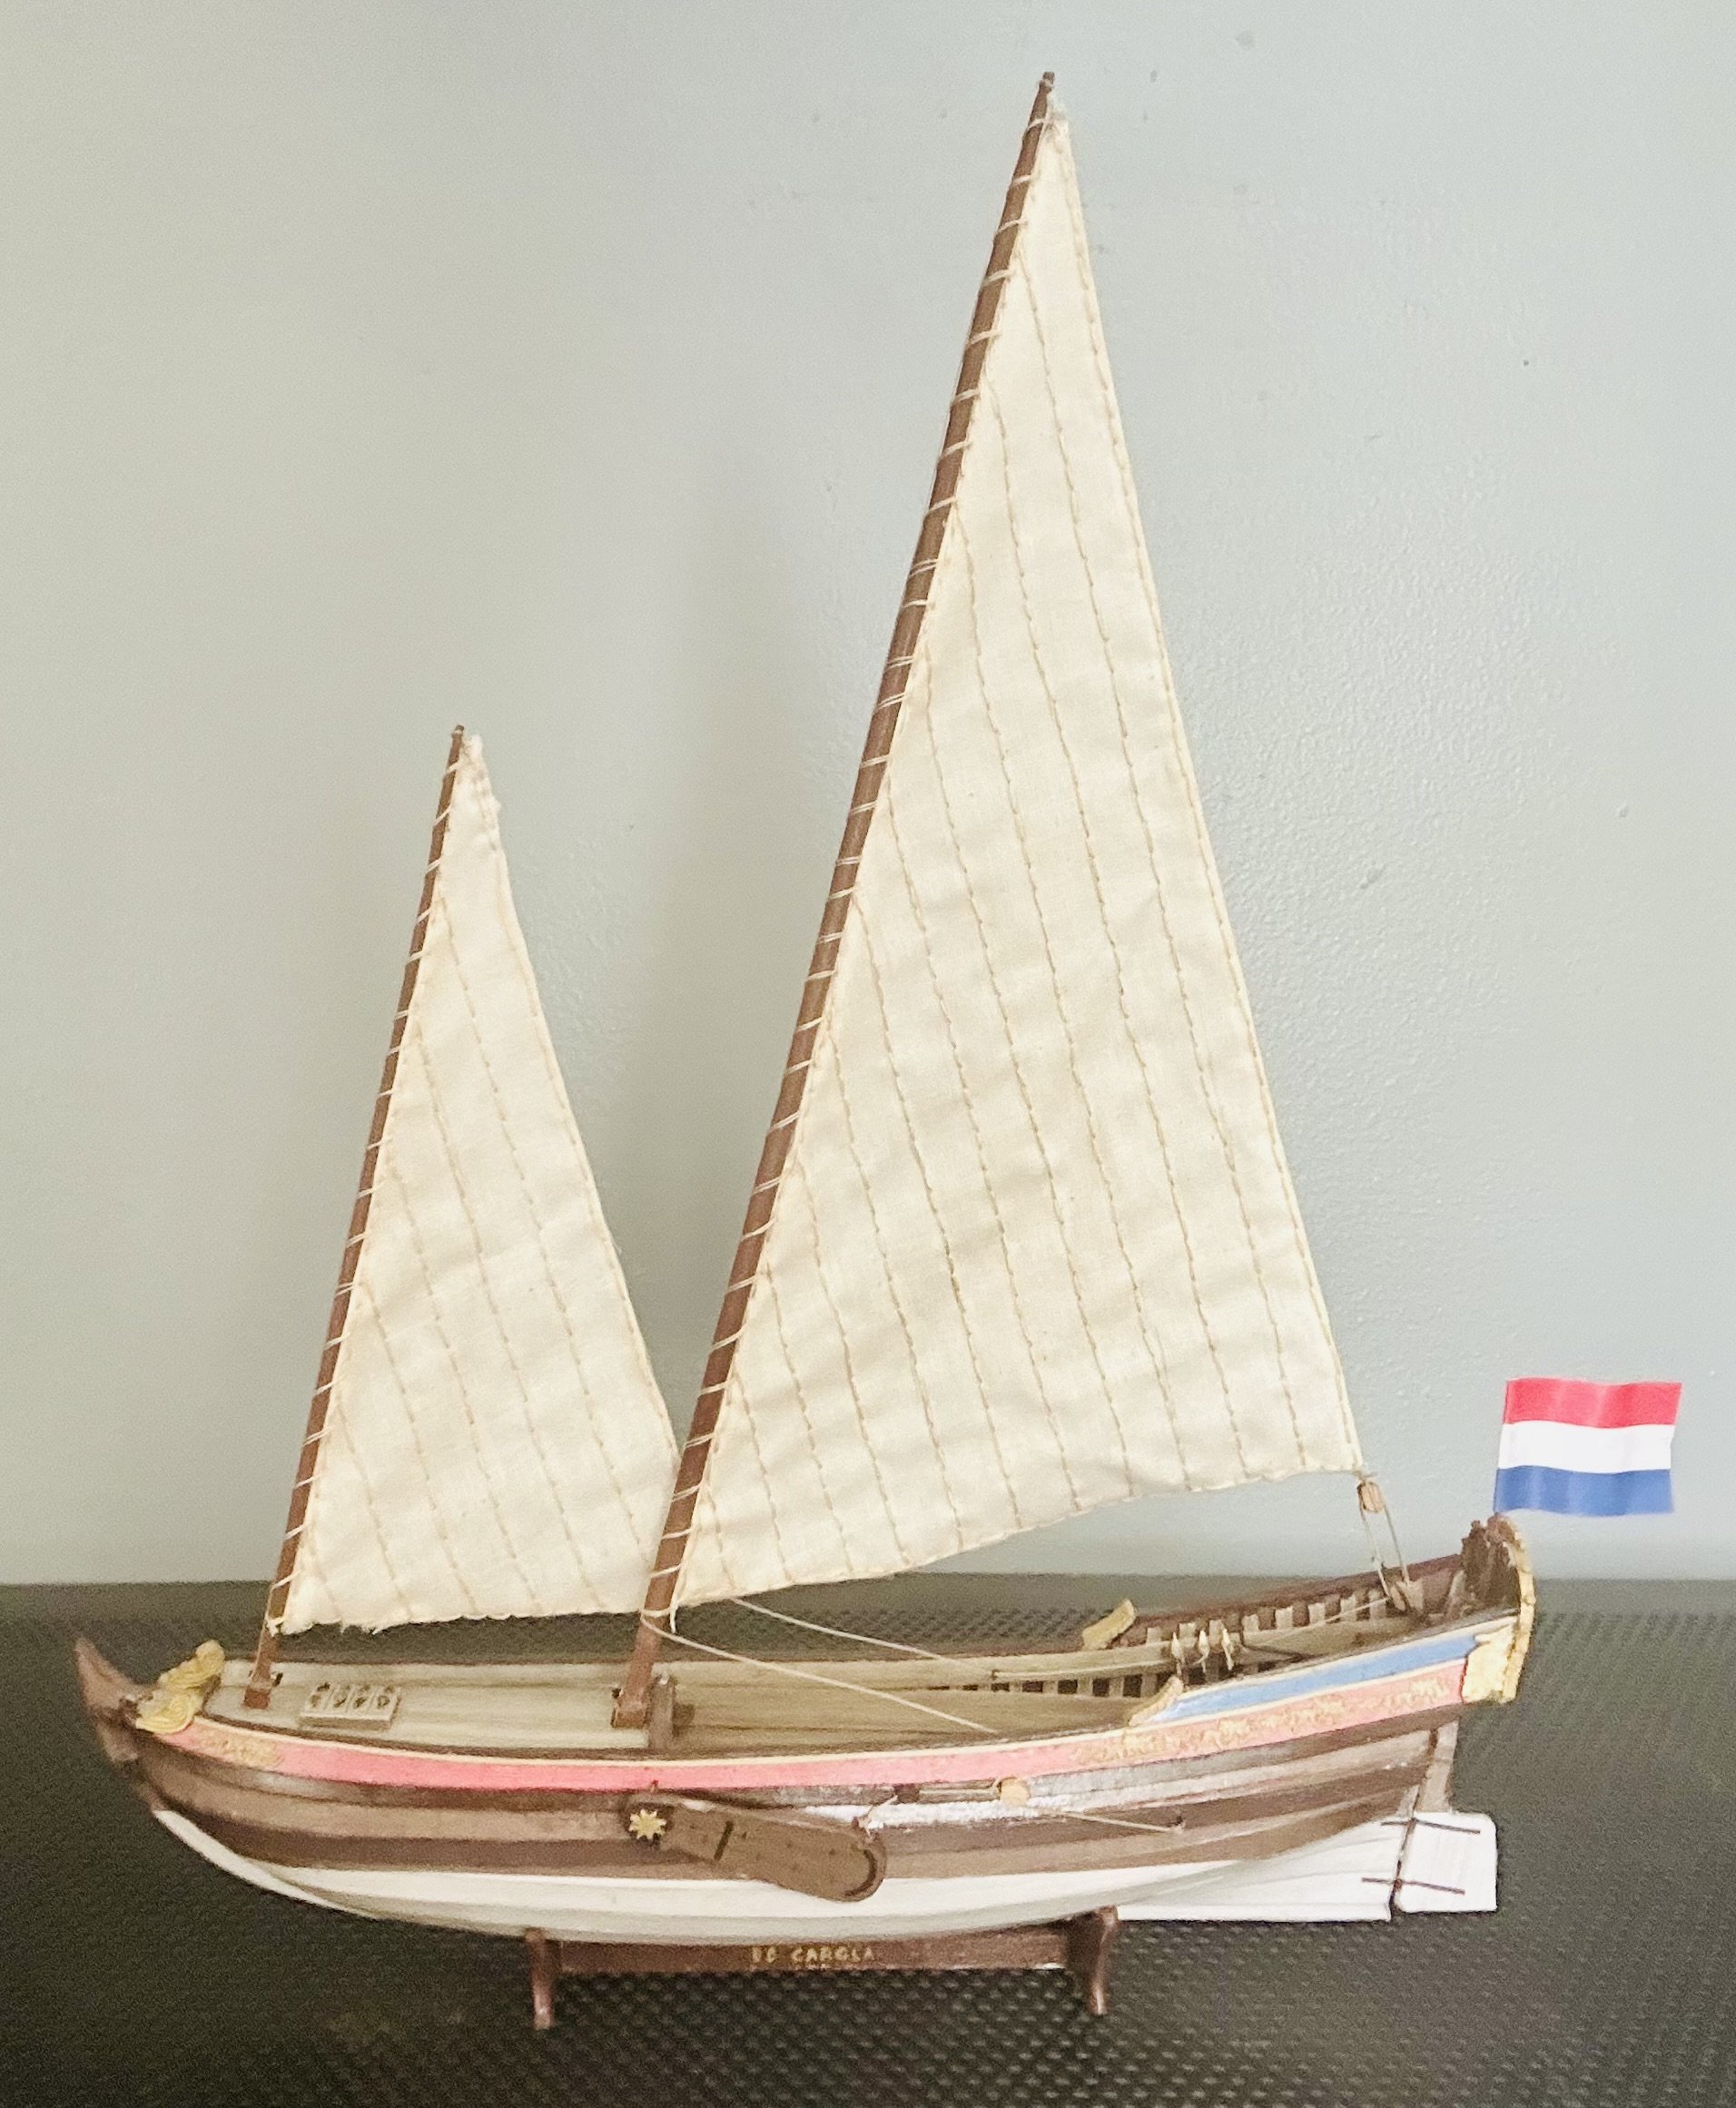
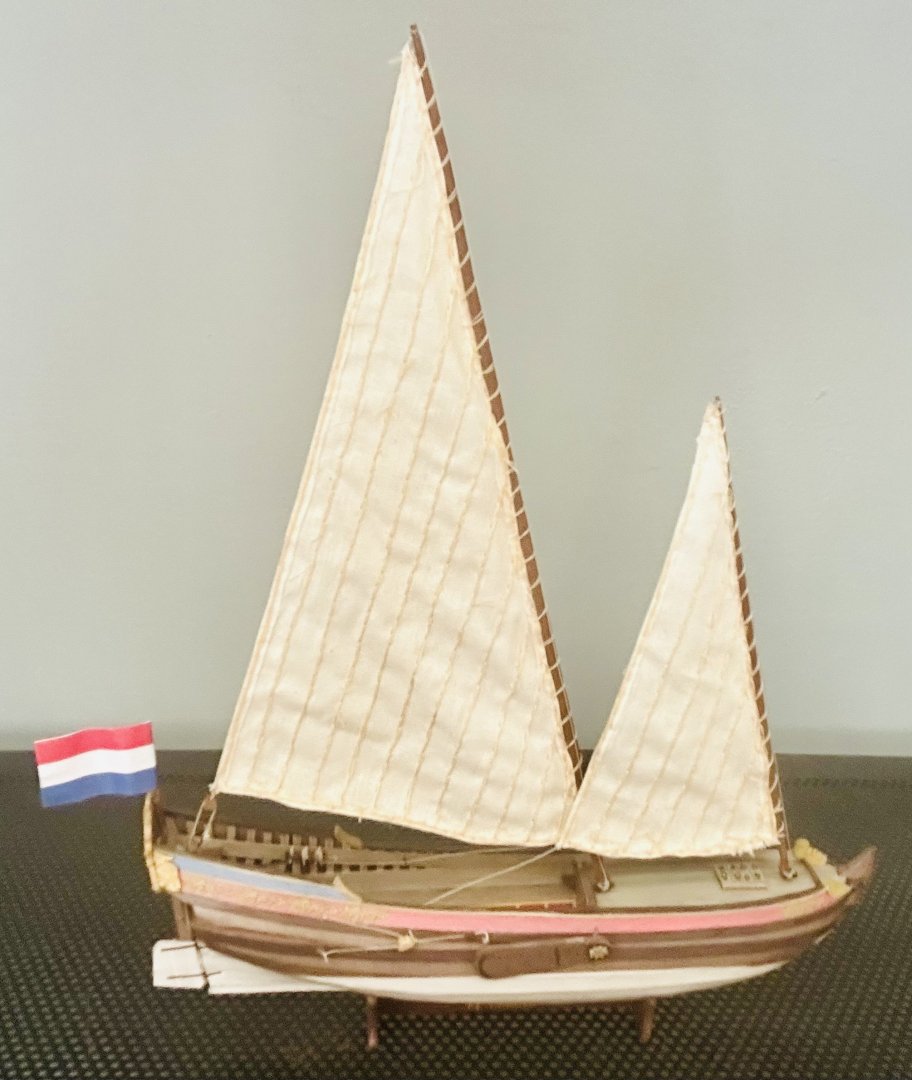
And done: This was a fun quick build! I enjoyed it immensely! I own most of Seahorse’s line of kits so there will likely be more Seahorse kits being built soon. Thank you very much to everyone who commented, hit the “like” button, or just stopped by!


- 42 replies
-
- 16
-
-
-
- card
- Speeljacht
- (and 2 more)
-
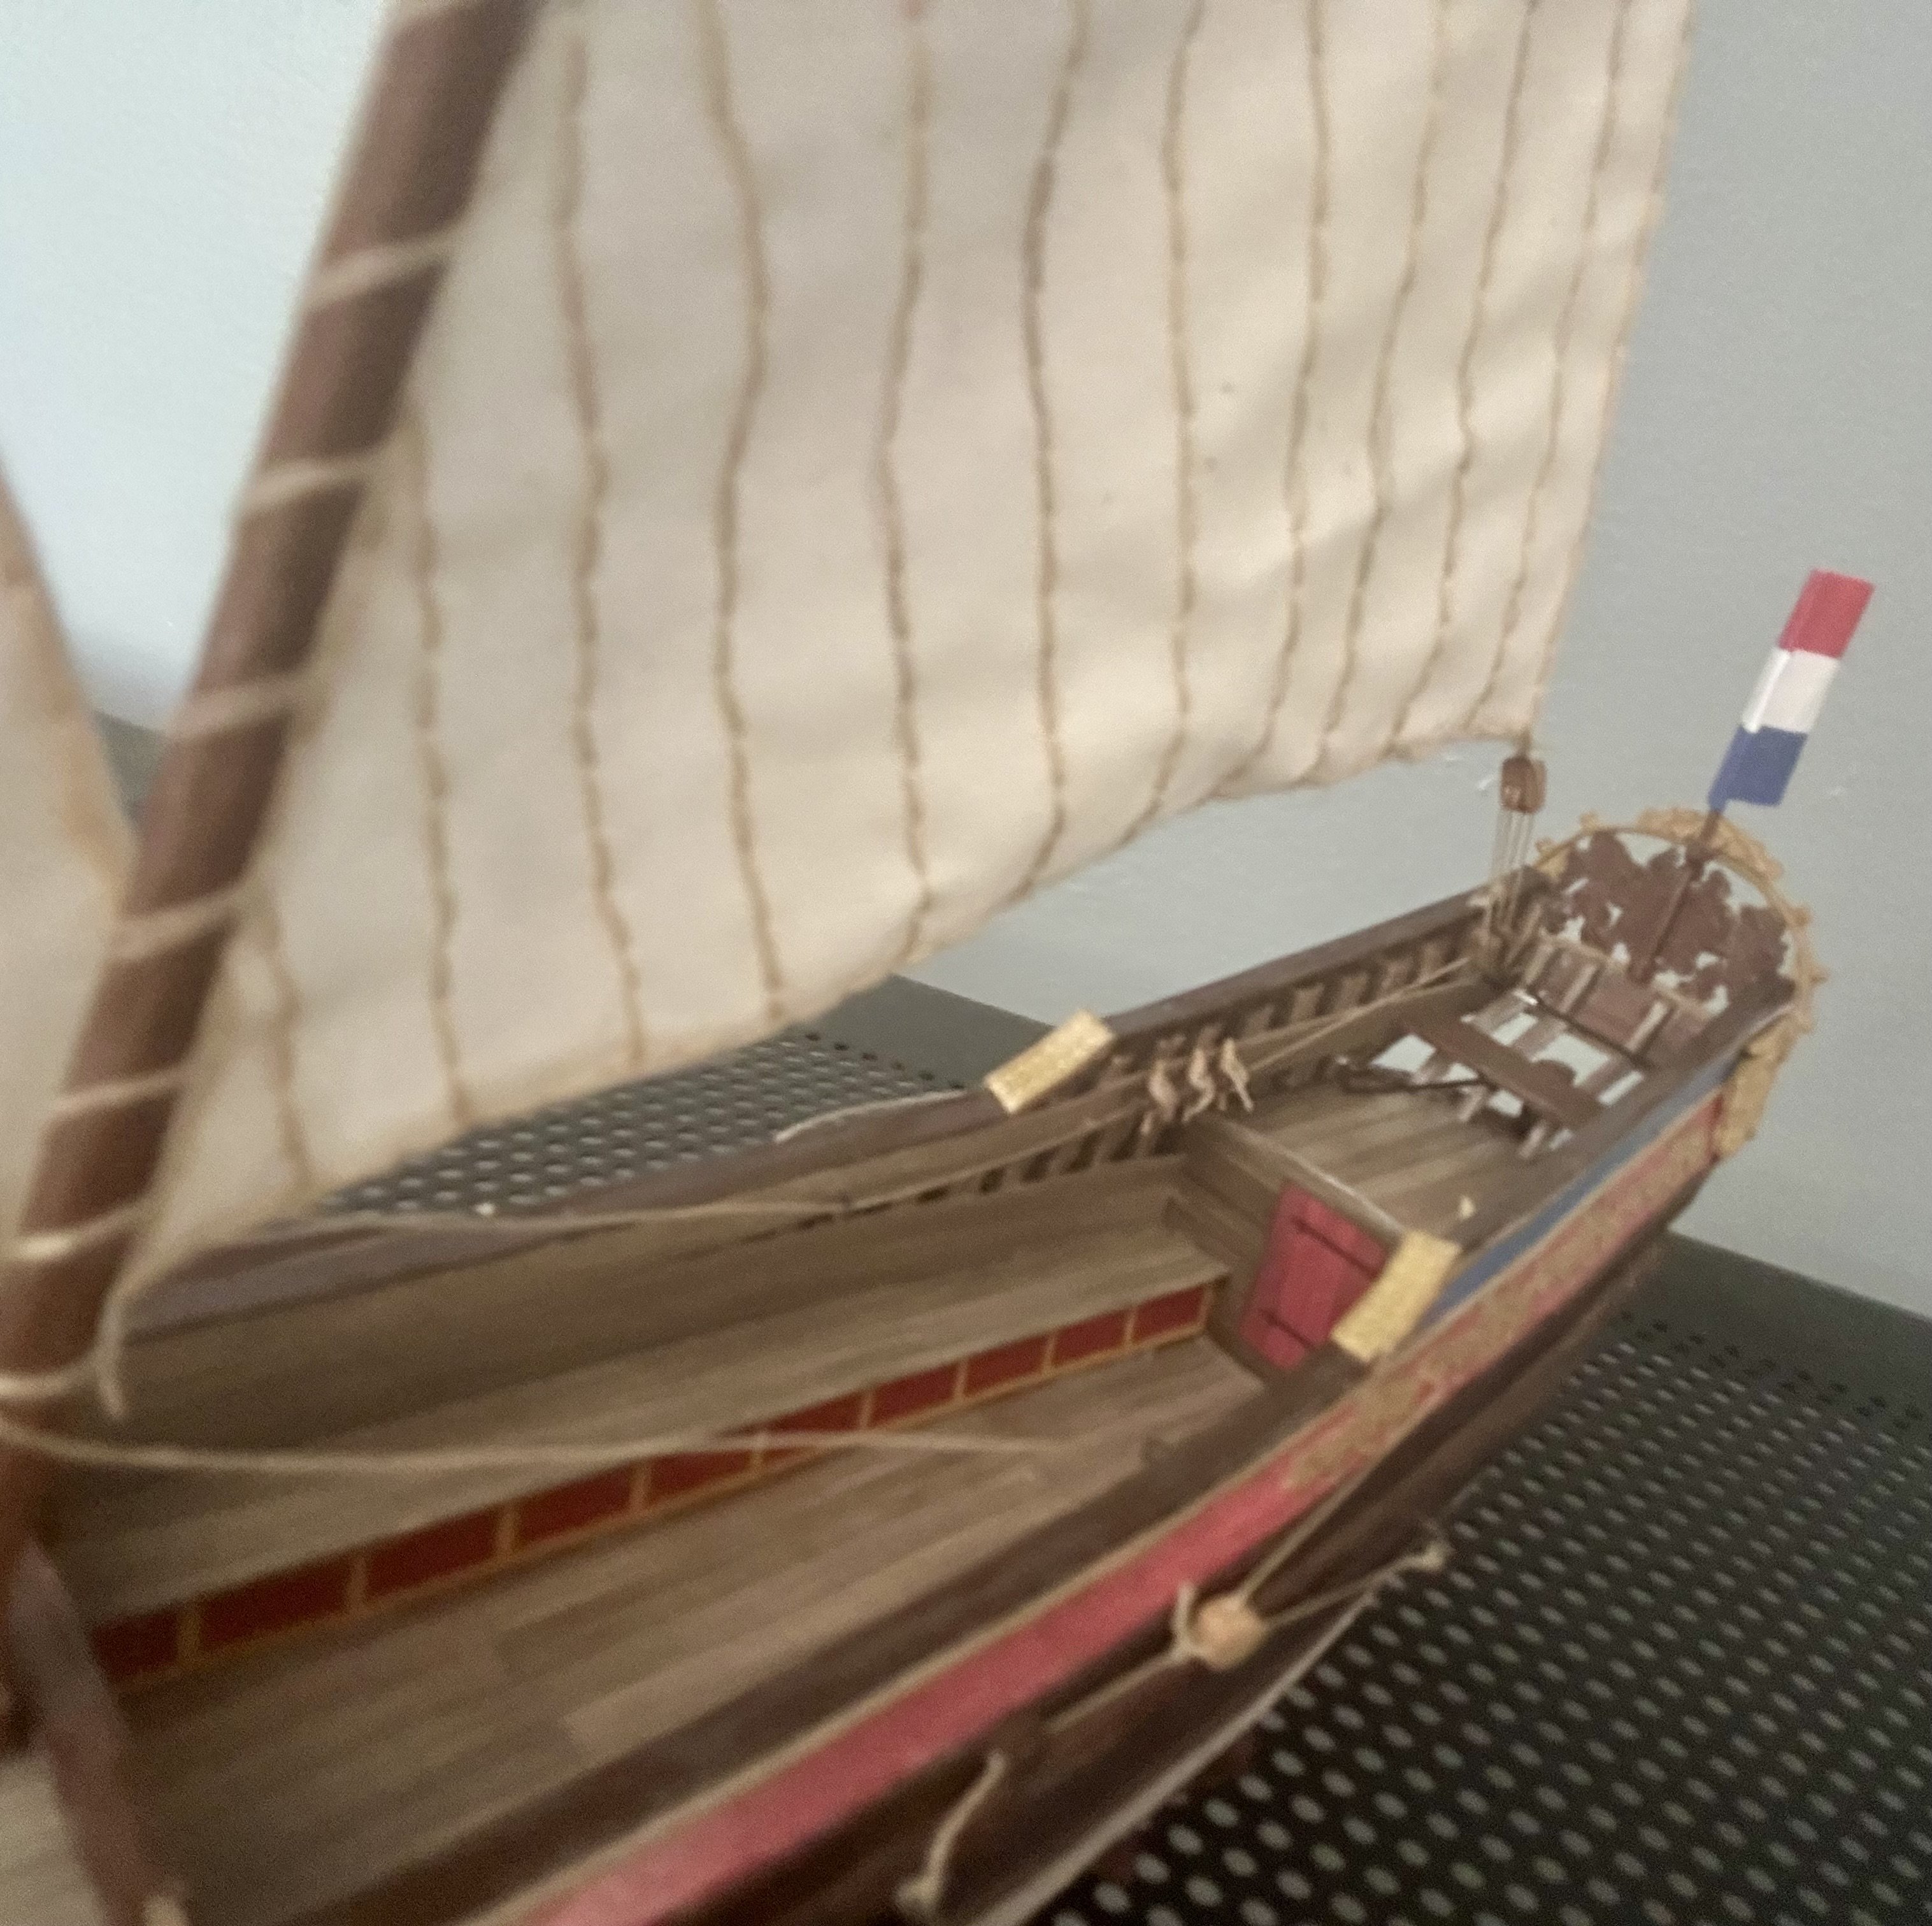
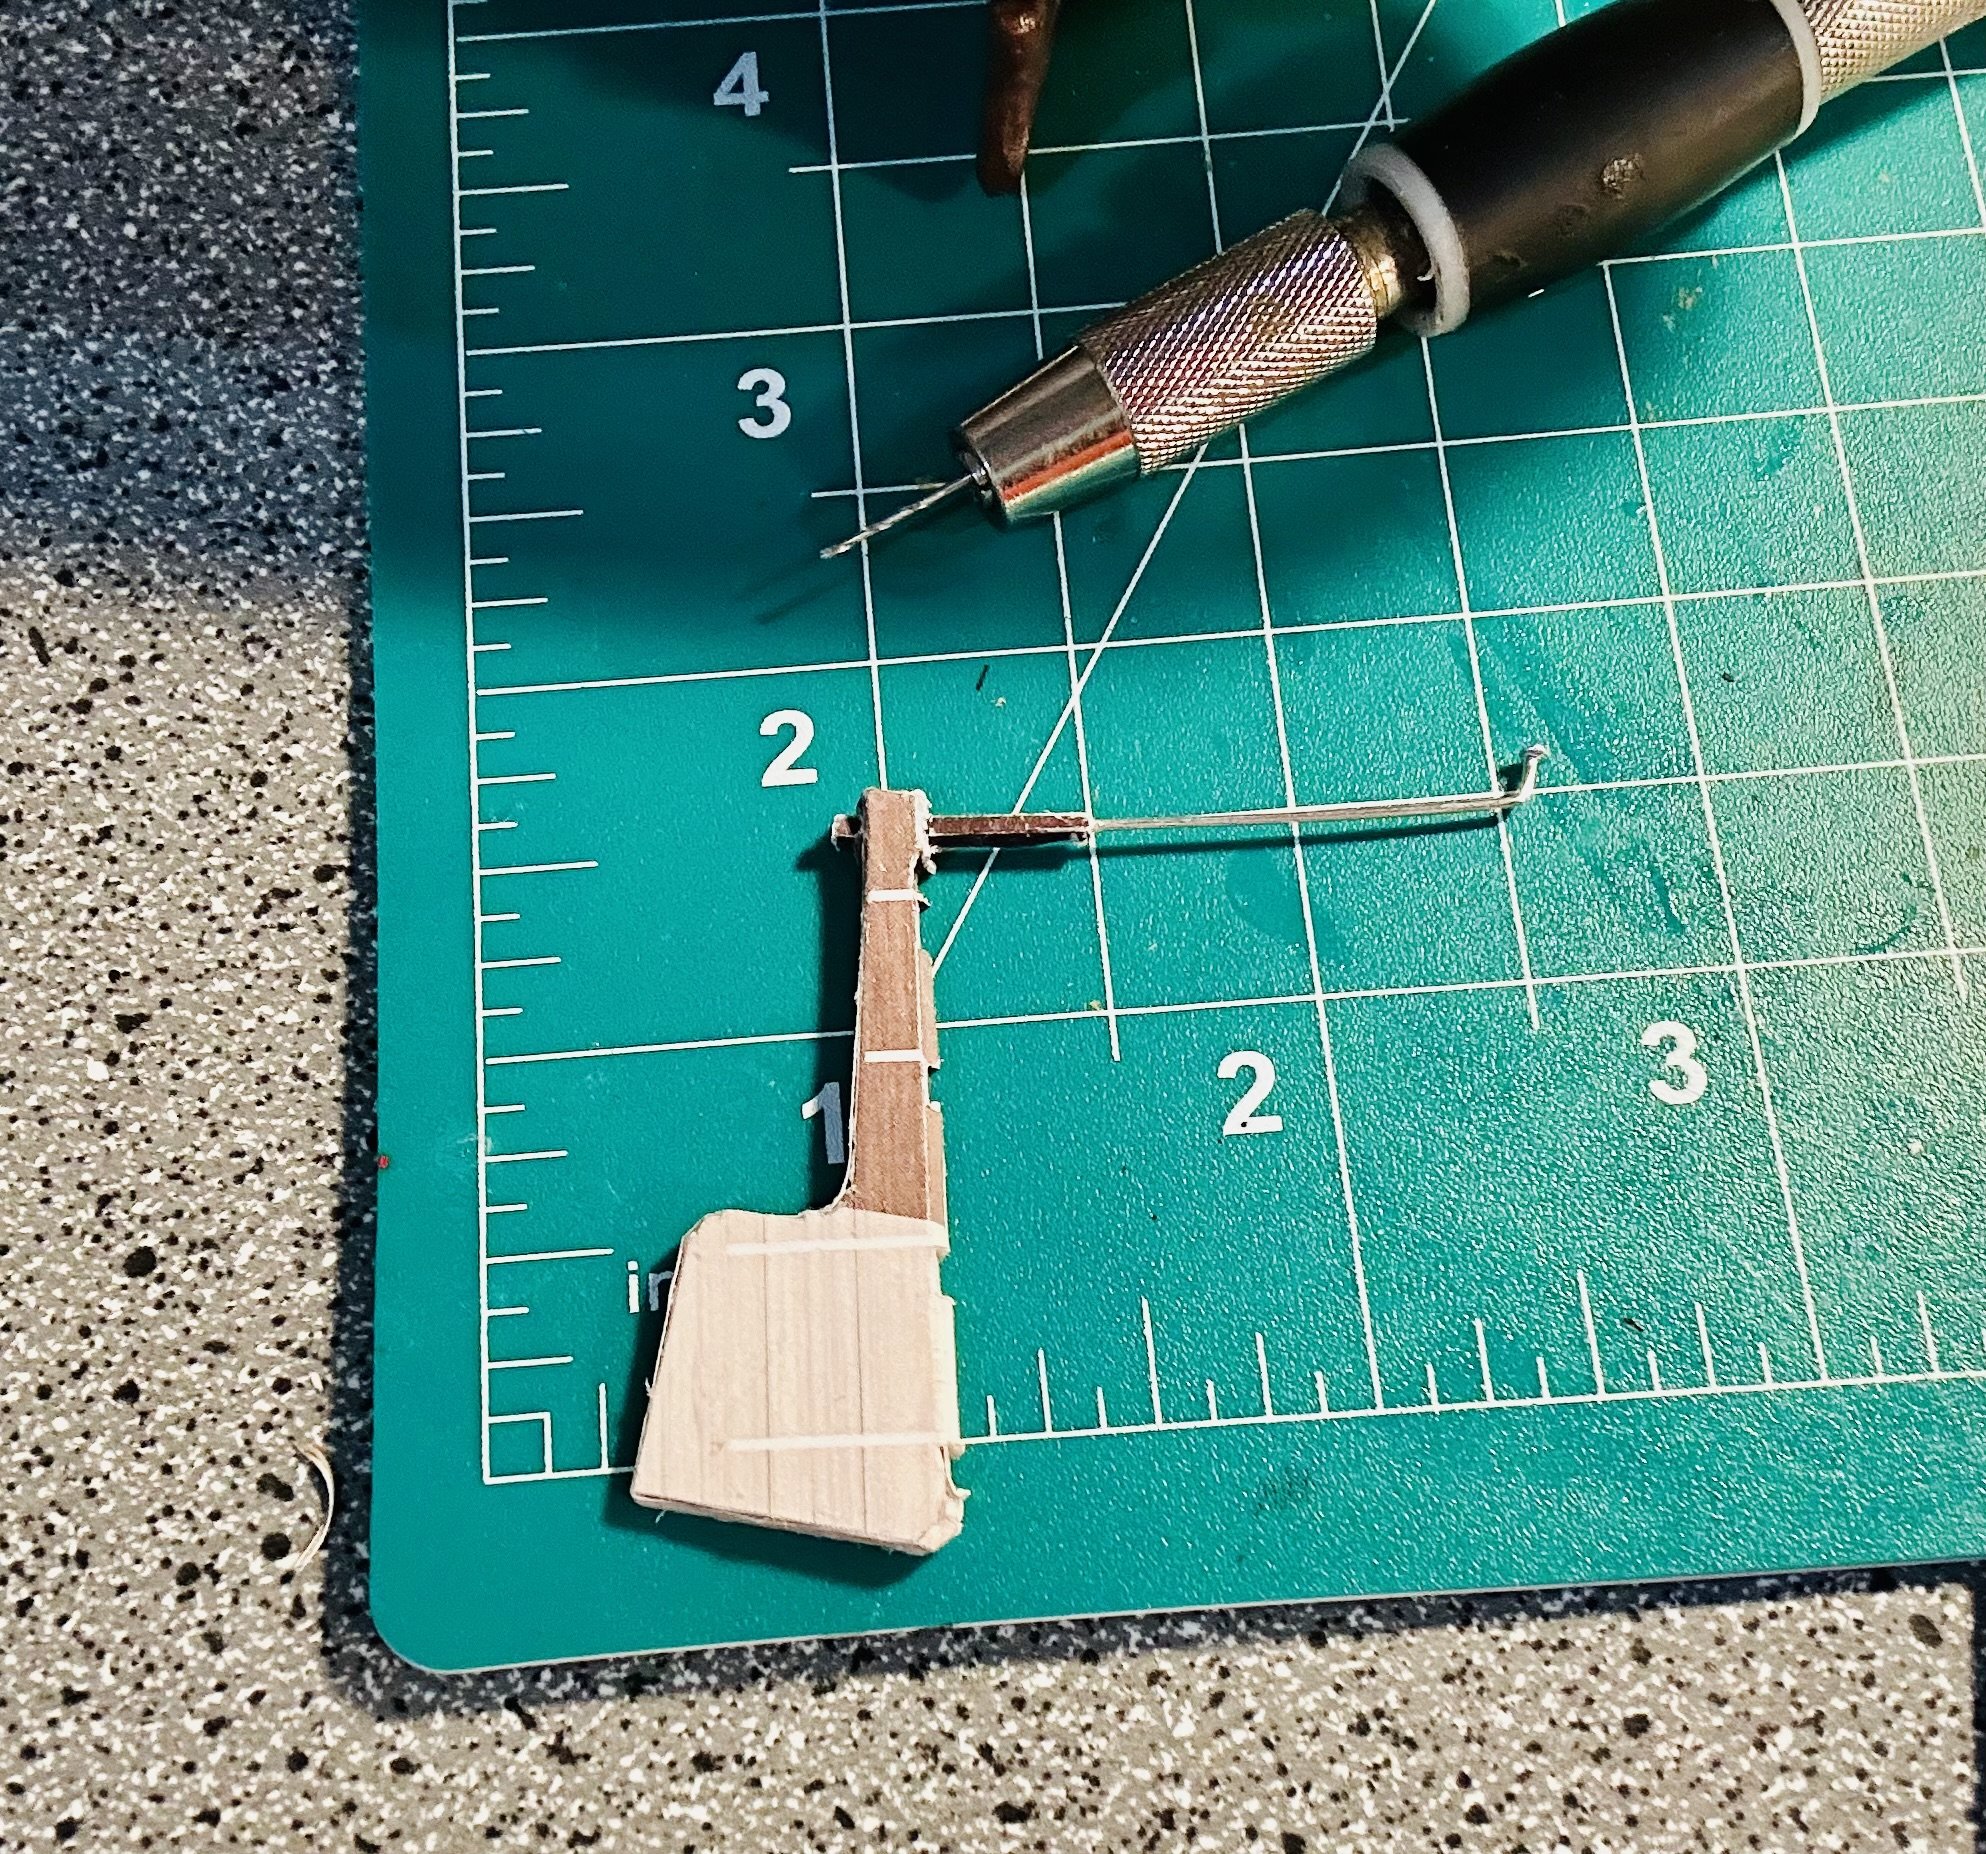
The rudder is done and installed. The starboard leeboard is finished, installed and rigged. I scavenged some blocks out of my bits bin too. I didn’t really care for the paper ones. I think I may let them dry overnight next time. But this one is getting leftover wood blocks.

- 42 replies
-
- 5
-
-
- card
- Speeljacht
- (and 2 more)
-
@Knocklouder and @mrcc, Thank you both very much! Thank you to all who have hit the “like” button or just stopped by! One very rough rudder: Once it dries thoroughly, there will be some trimming and minor painting in its future.

- 42 replies
-
- 6
-
-
- card
- Speeljacht
- (and 2 more)
-
Very nicely done!
-
Welcome!
-
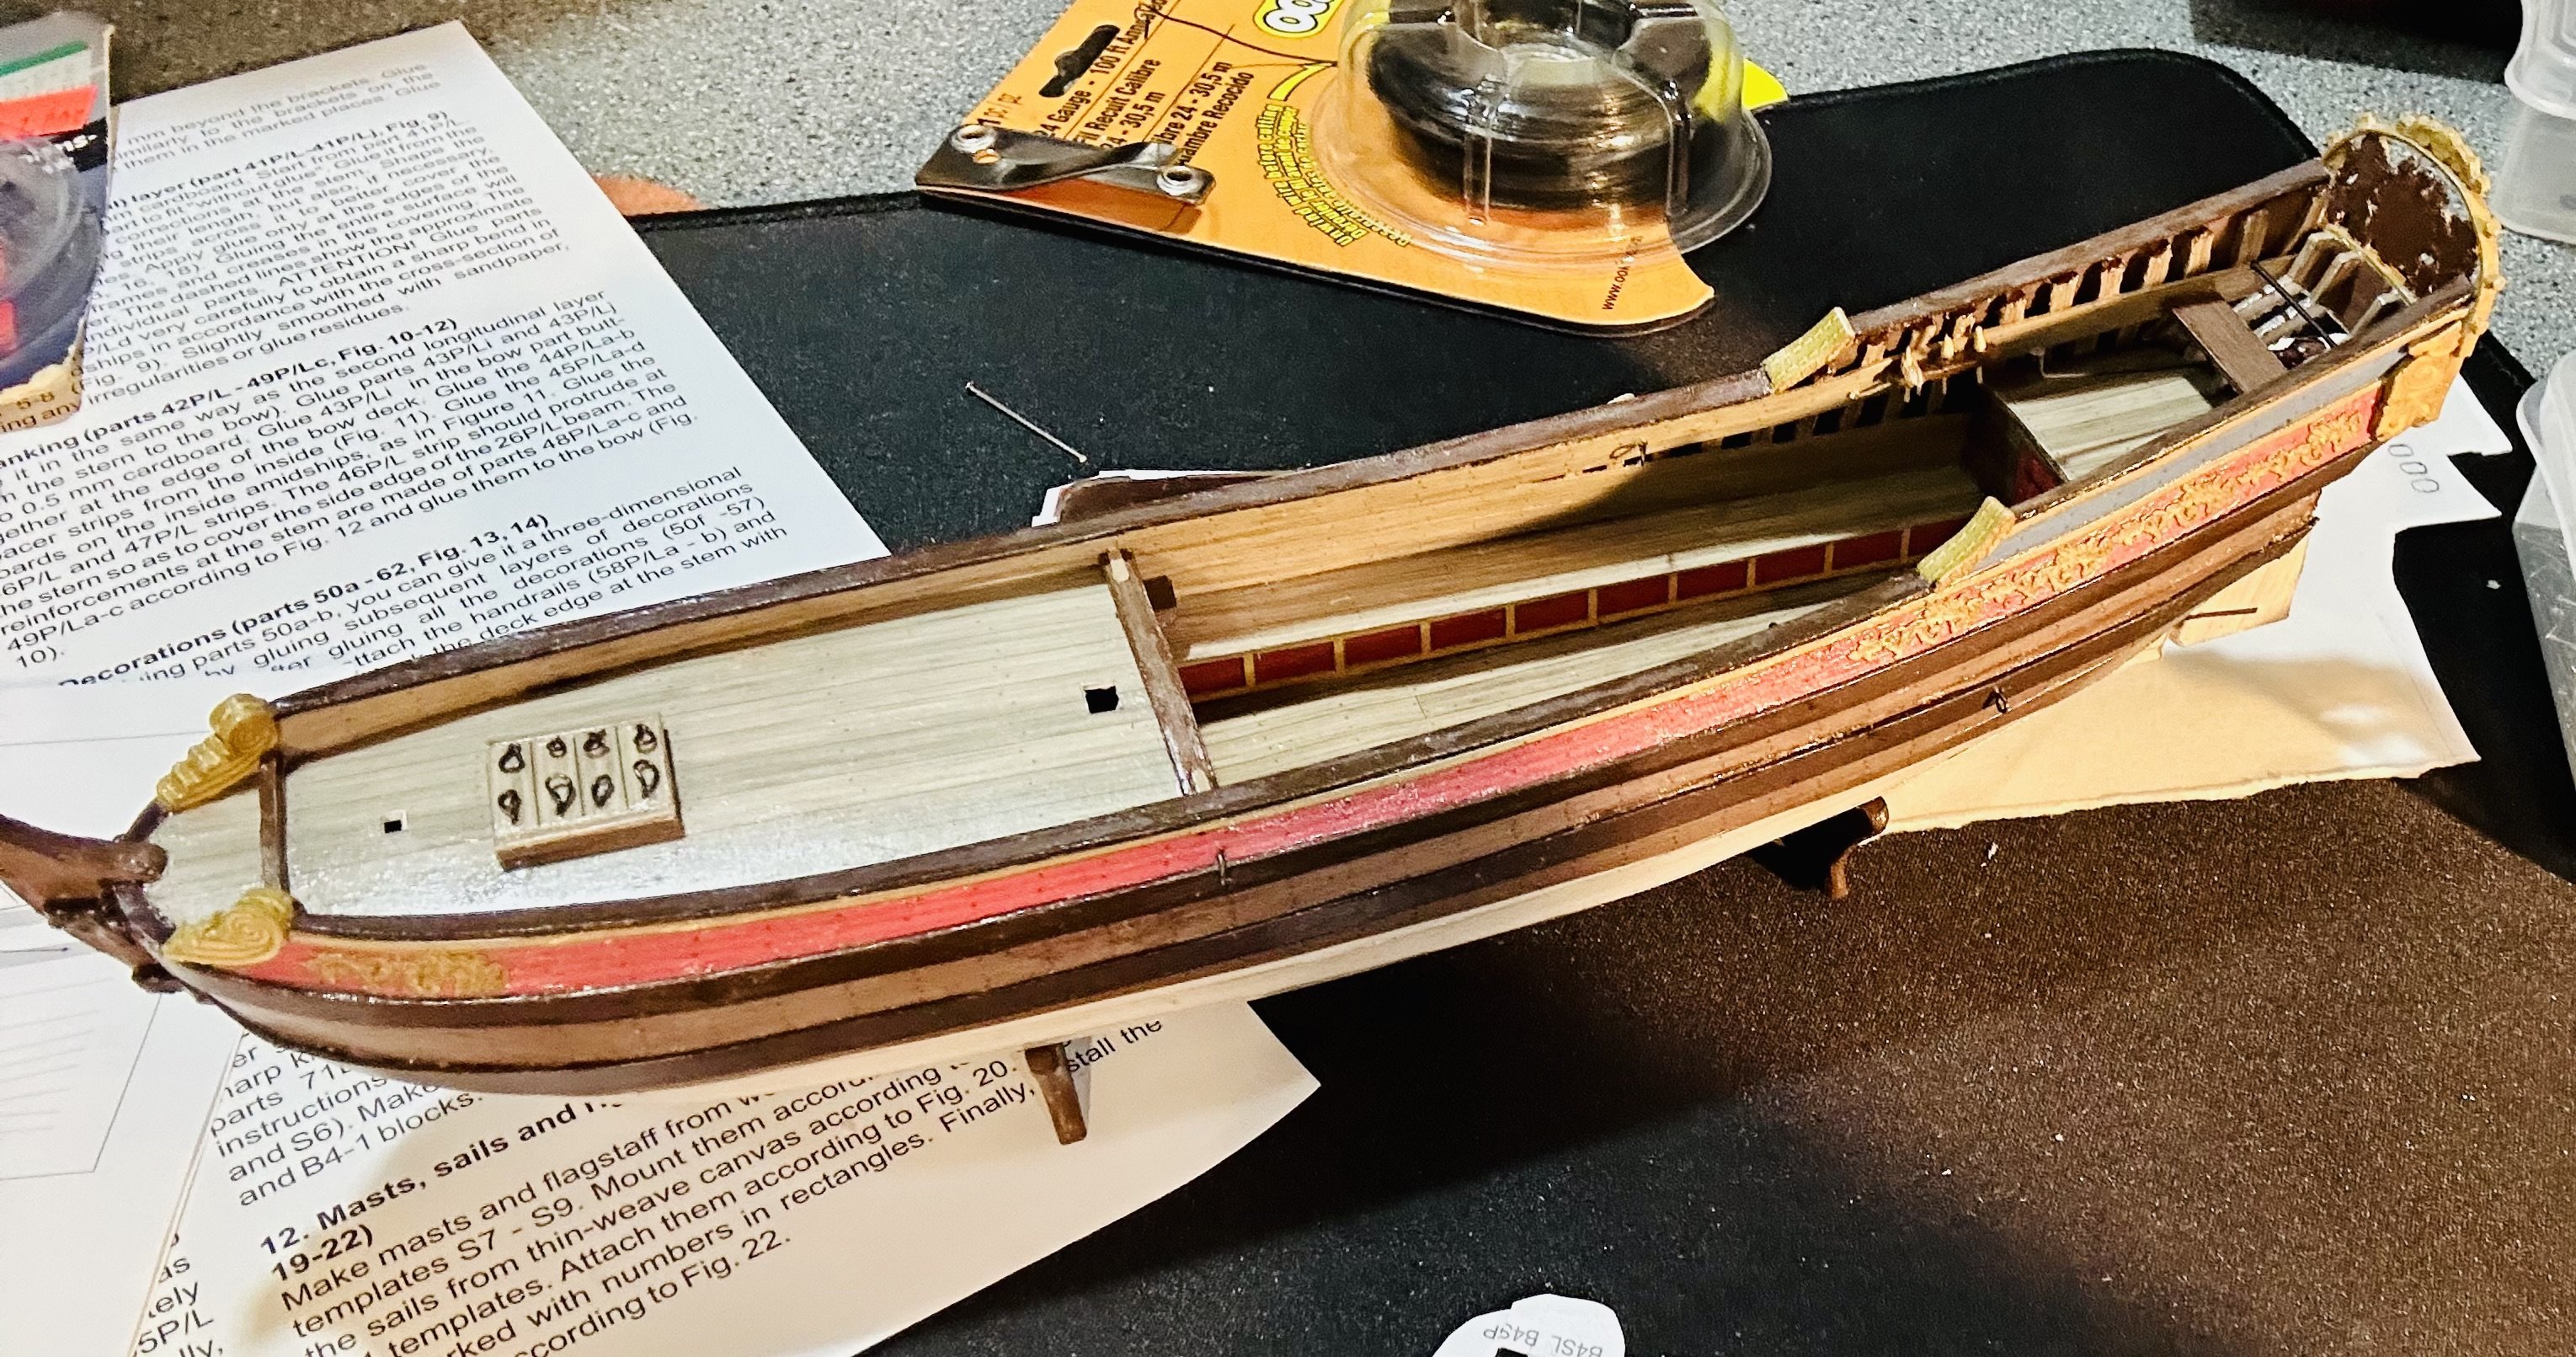
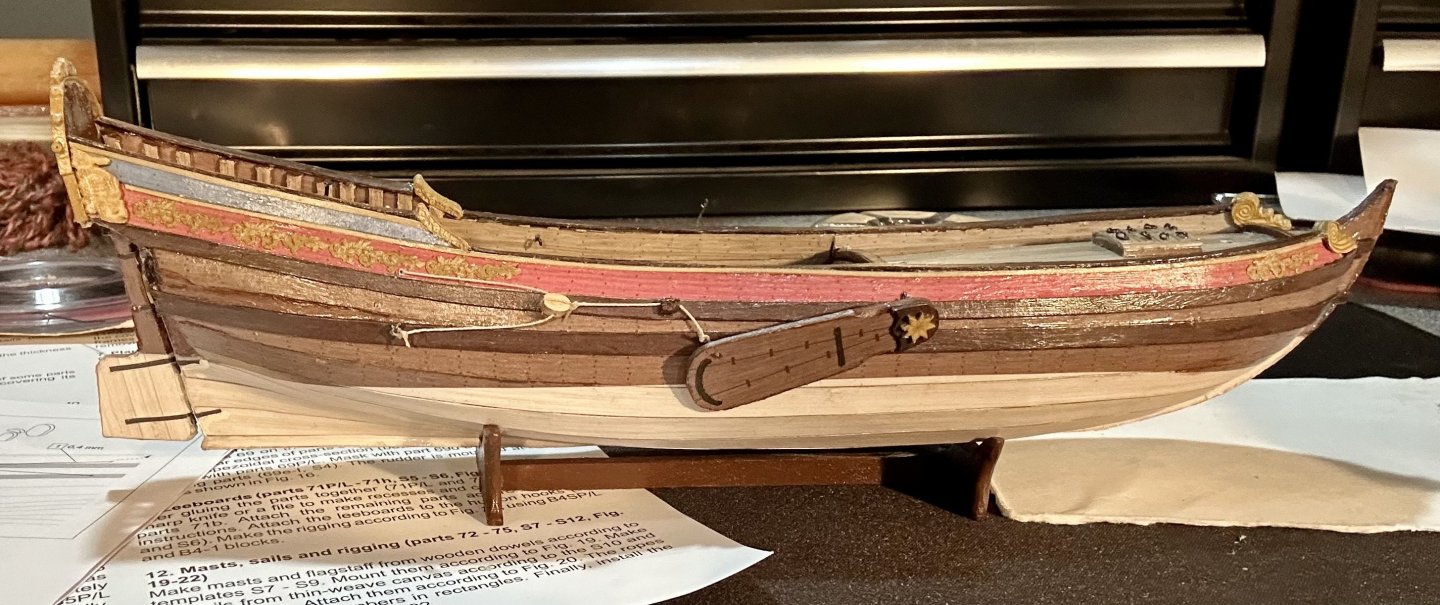
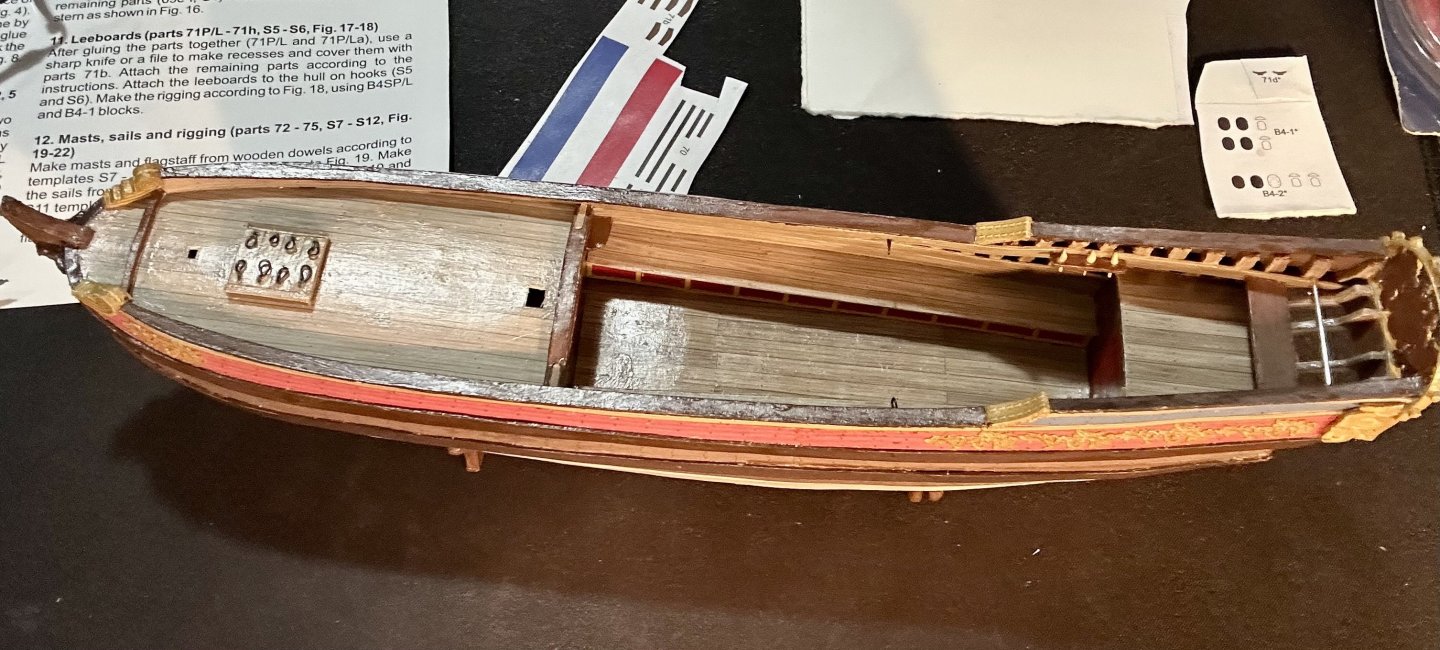
That’s the quickest set of interior and deck fittings that I have ever made: Moving on to first the rudder and then the leeboards. I’m pretty much just building sequentially, following the part numbering.
- 42 replies
-
- 6
-
-
-
- card
- Speeljacht
- (and 2 more)
-
Getting Started: From Dollhouses to the USS Constitution
GrandpaPhil replied to Jasennord's topic in New member Introductions
Welcome! -
The latest to begin the Model Shipways 3 kit set
GrandpaPhil replied to Taken Aback's topic in New member Introductions
Welcome! -
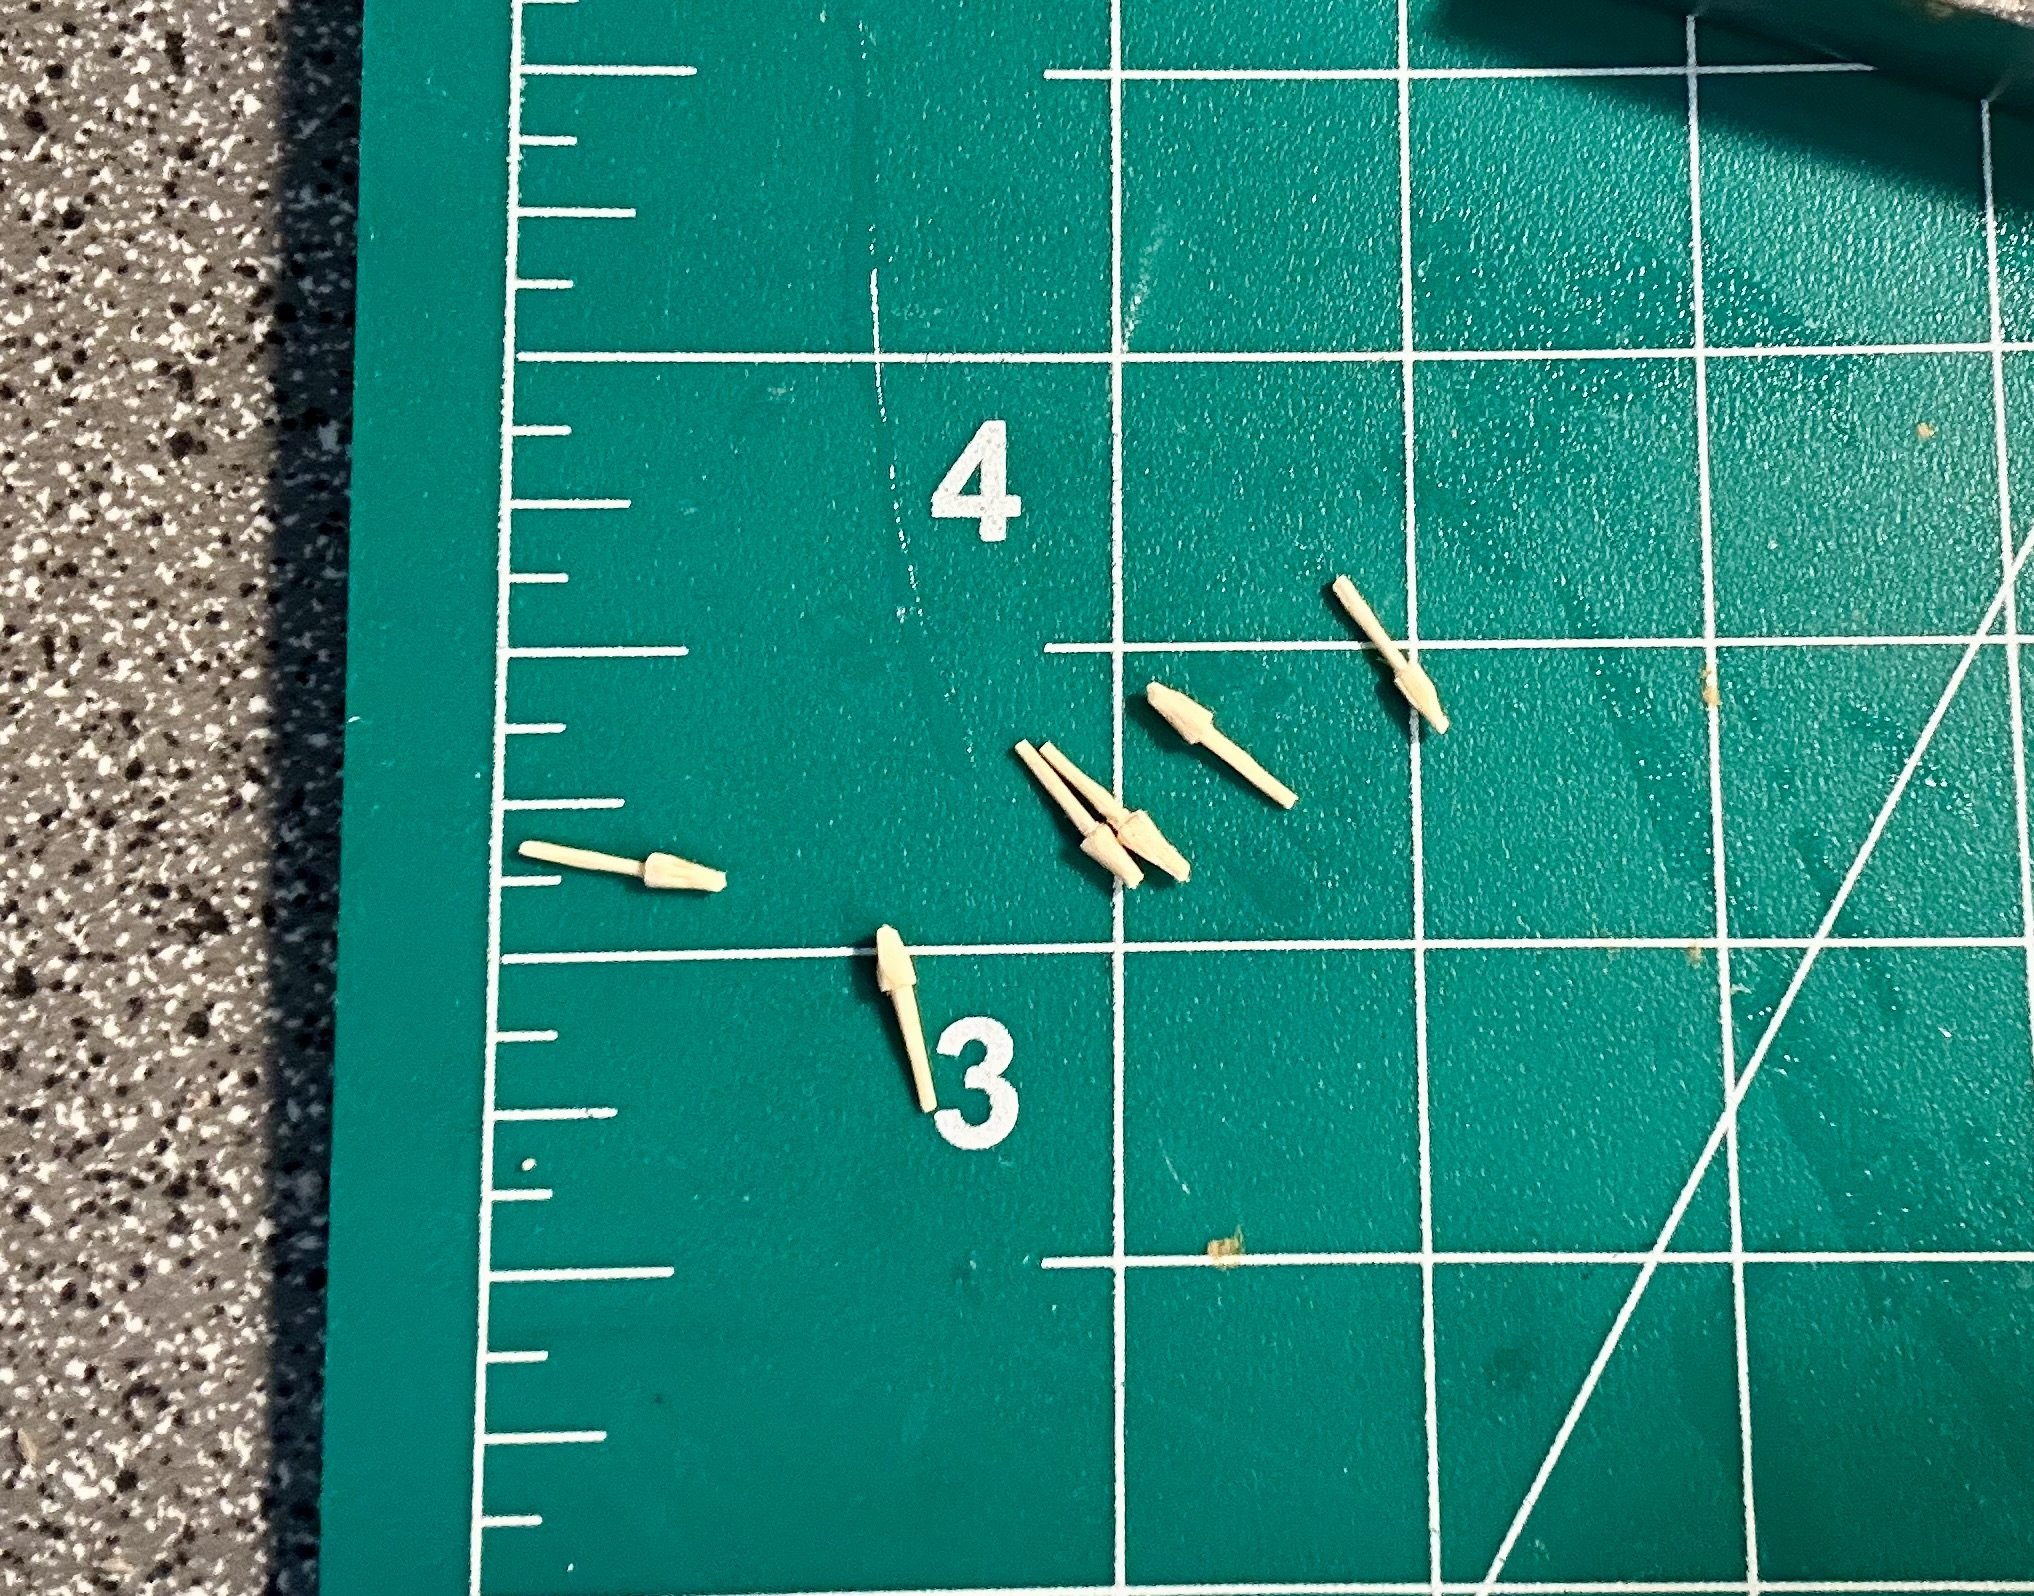
Quick money saving tip: Toothpicks make great belaying pins. I just carve them with a scalpel while slowly rotating the piece. I cut the finished belaying pin off the end of the toothpick after carving it. It can get tedious if you have many of them, but it is no worse than any other high volume part that we use. I have done a full galleon’s worth before, and it wasn’t too bad. That batch is shared between the HMS Revenge and my Dutch Cat Ship. In my opinion, they look better, and are more to scale, than what is generally commercially available.

- 42 replies
-
- 7
-
-
- card
- Speeljacht
- (and 2 more)