GrandpaPhil
-
Posts
6,153 -
Joined
-
Last visited
Content Type
Profiles
Forums
Gallery
Events
Everything posted by GrandpaPhil
-
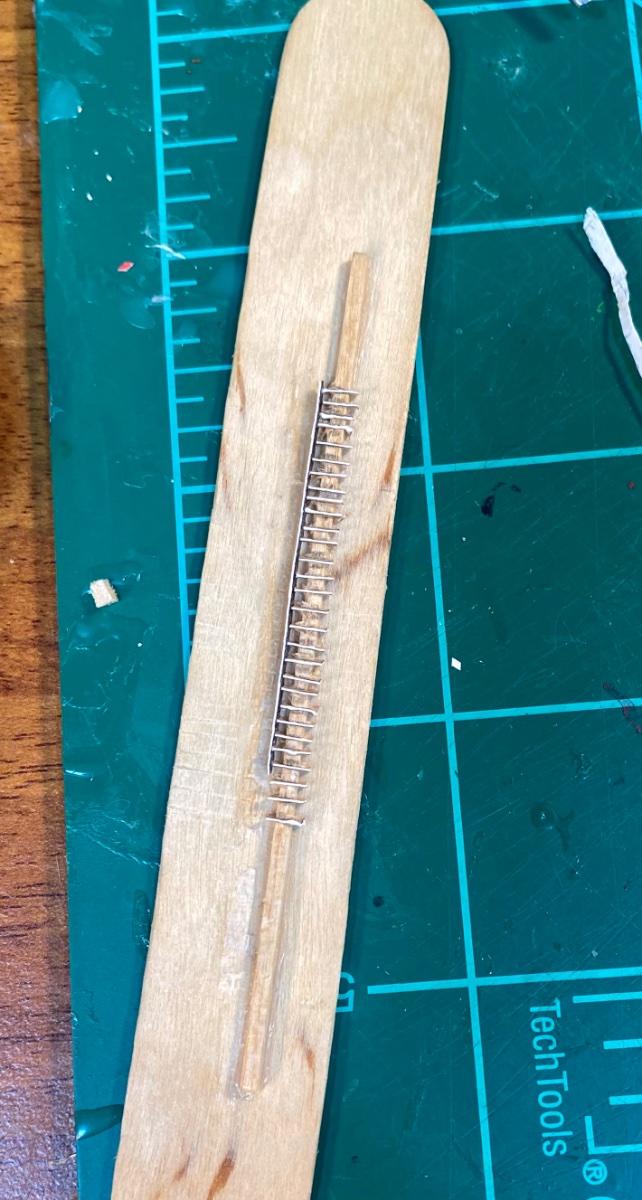
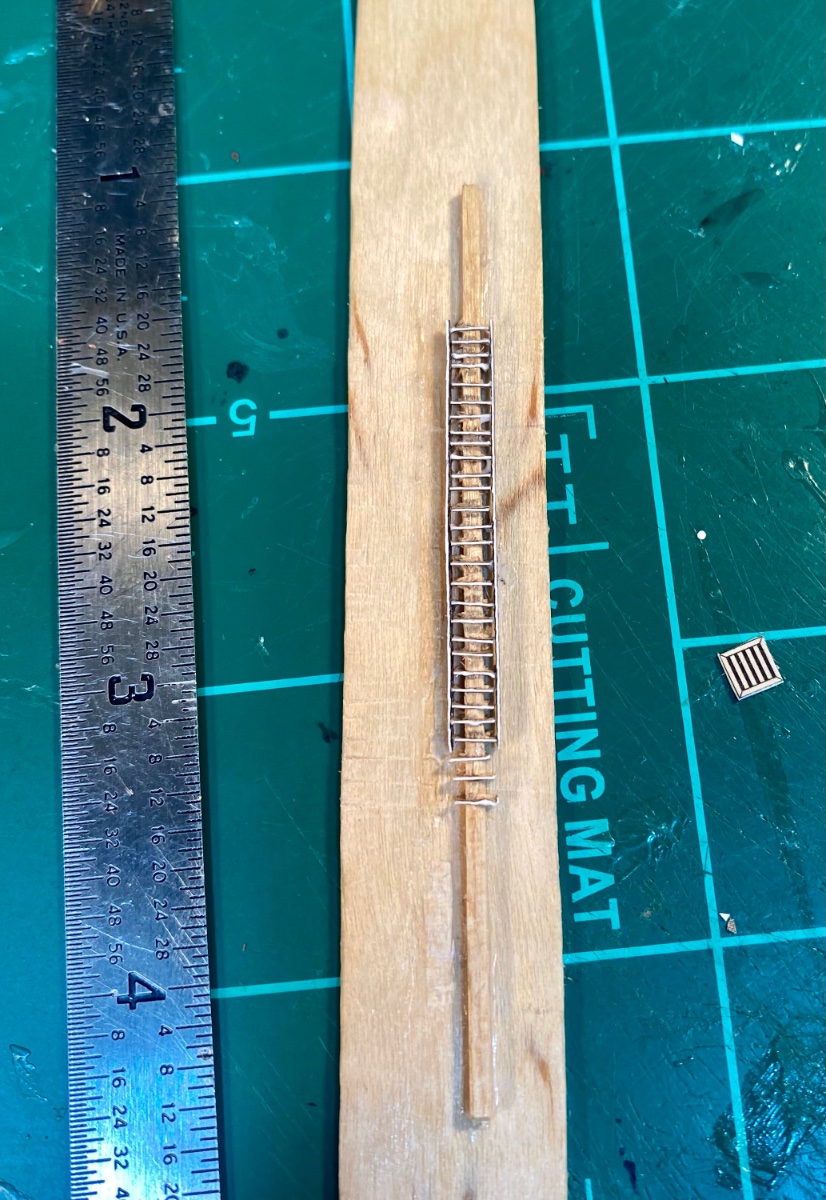
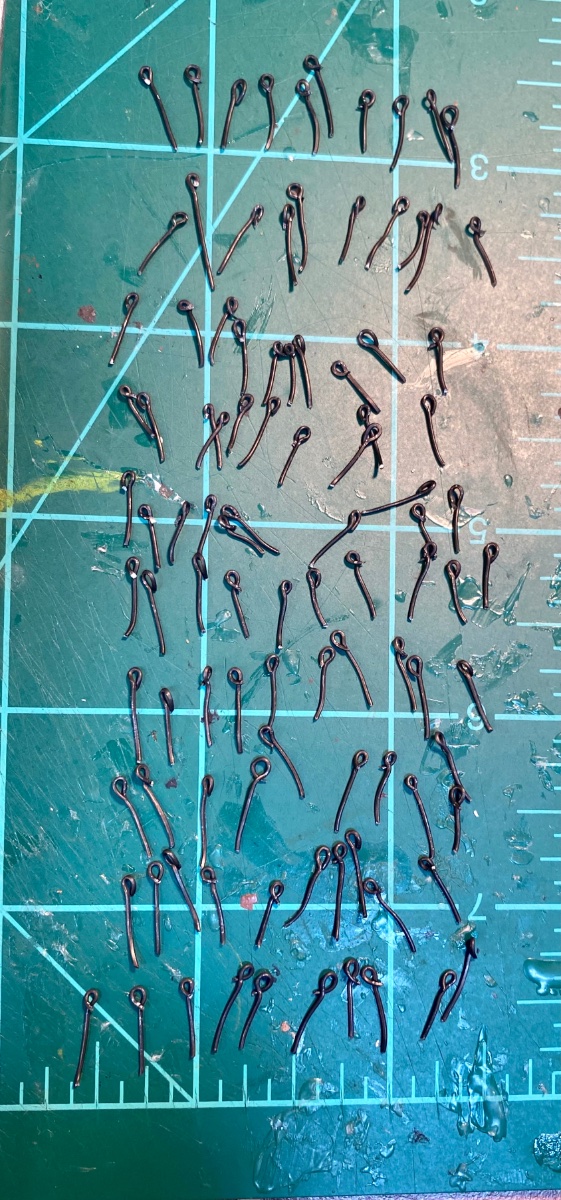
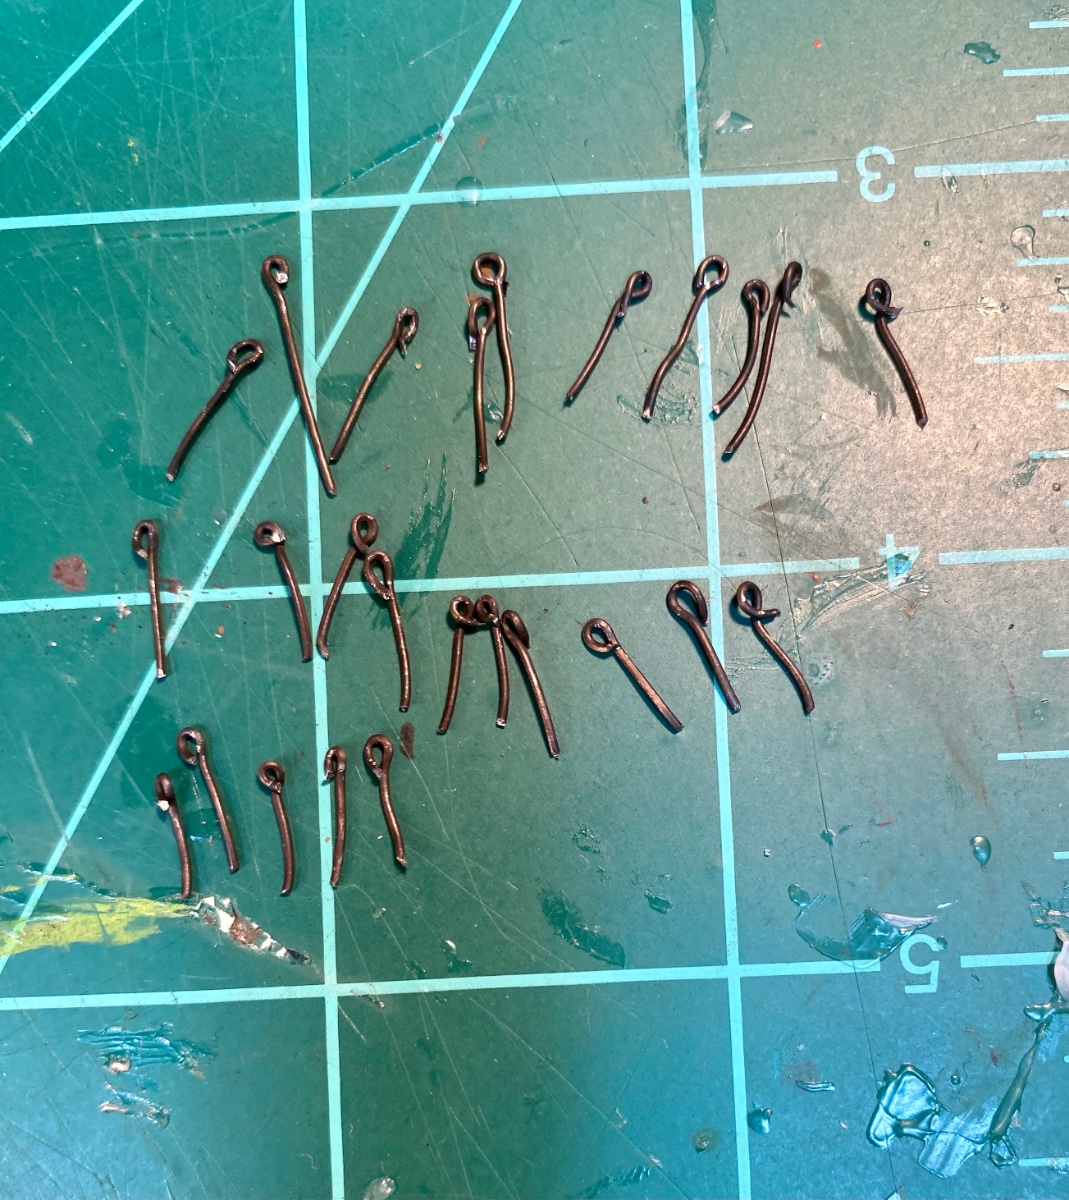
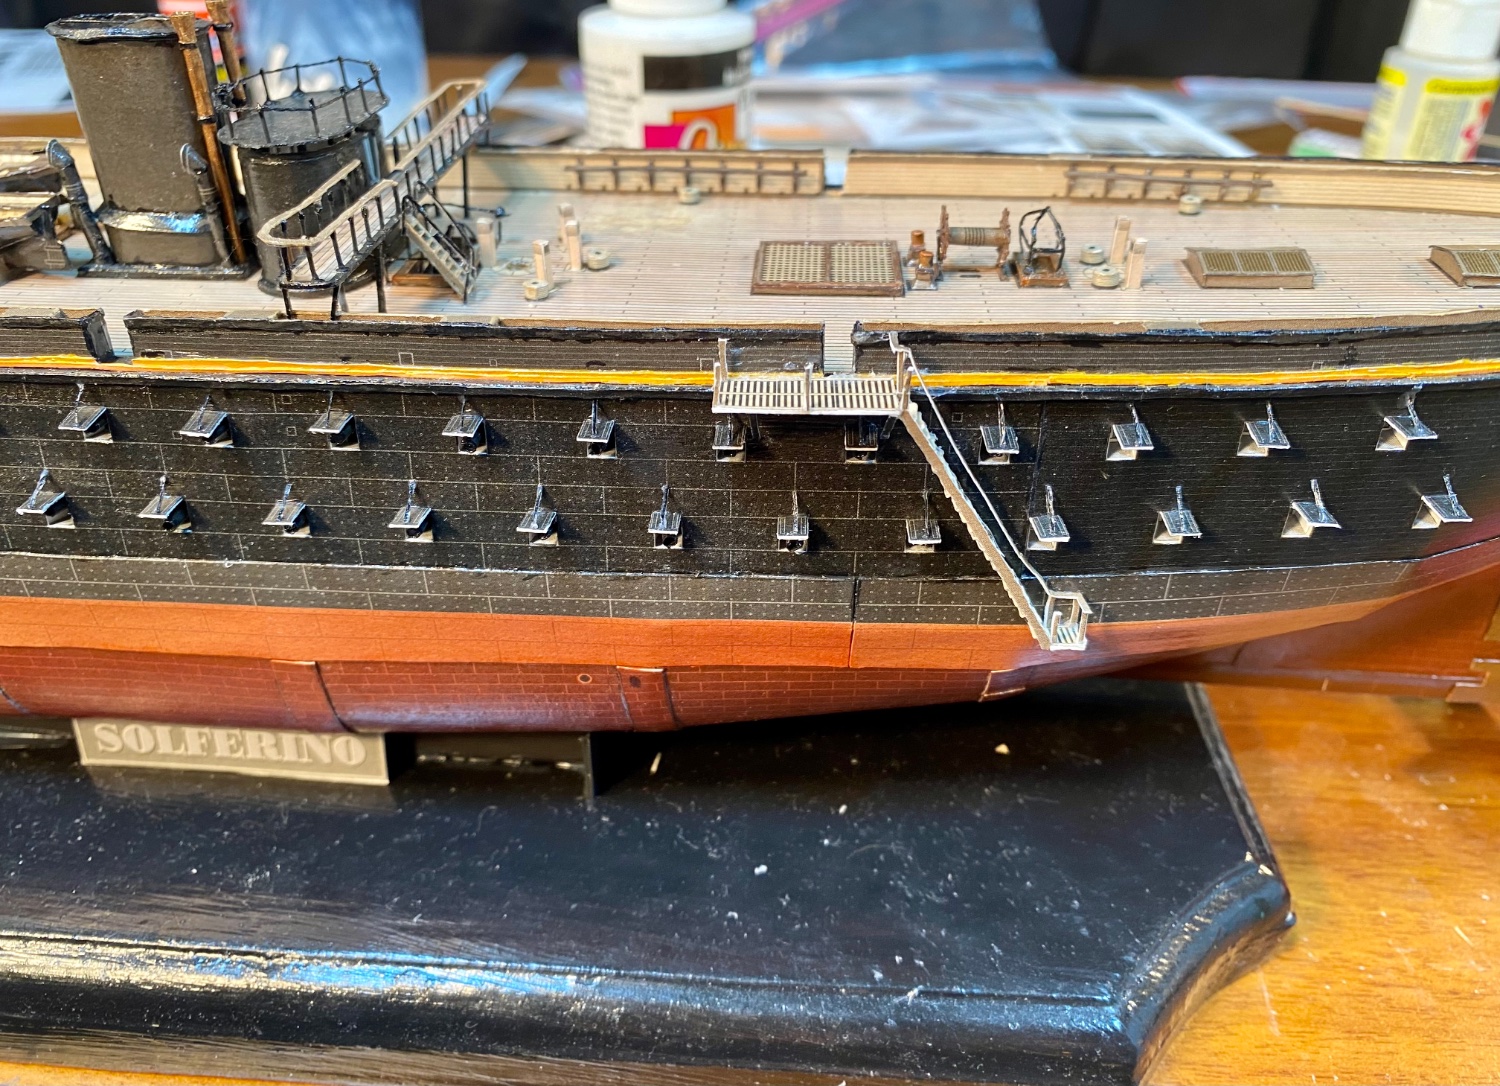
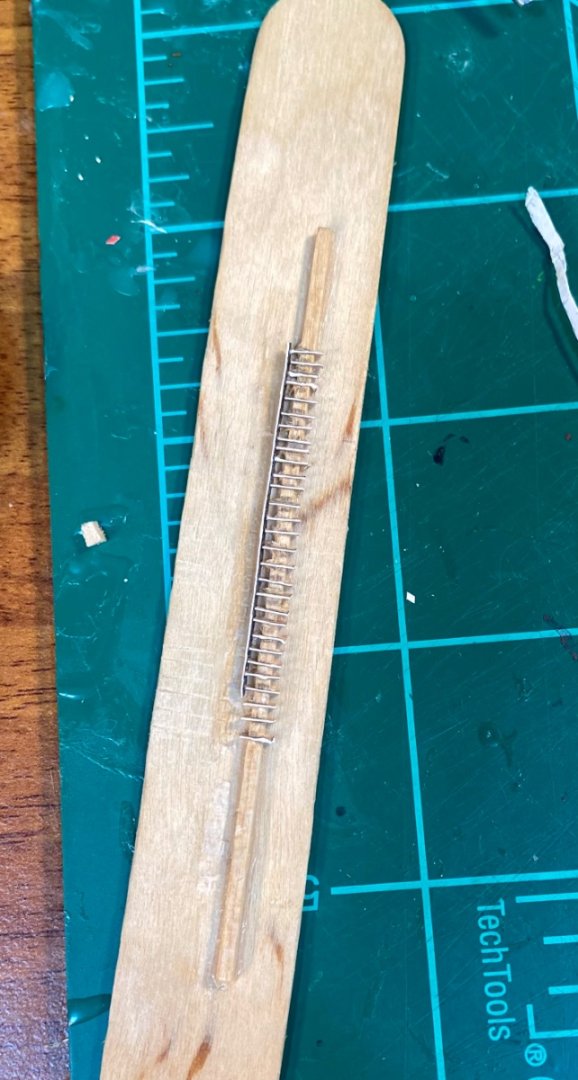
I started with 100 eyebolts. I’ll make more, when I use these up. These should get me through Solferino, if not, I’ll take an hour and make more. They are very easy to make and cost almost nothing. I use annealed wire from a hardware store. I remade my ladder making jig twice. I finally just used a piece of 1/16” balsa stock left over from a model airplane from long ago. I only have one ladder left to make and I have no plans to make another 1:200 scale ship anytime soon, so it doesn’t matter if this jig gives up the ghost when I pull the ladder off it. I’ll take another side on shot once this ladder is installed.


-
1936 Rolls Royce Phantom III by CDW - Revell - 1:16 scale
GrandpaPhil replied to CDW's topic in Non-ship/categorised builds
Congratulations! -
Nic, Nicely done on the new website! I signed up for your mailing list while I was there!
-
Paint protects against corrosion and weathering of material, whether wood or metal. This is especially valuable because salt spray destroys absolutely EVERYTHING. Paint is also one of the cheaper protective coatings. I do not know for sure, but I would imagine that as much as would be reasonably coated, would have been. In my time either on a ship or a workboat (I spent time as a sailor a long time ago), everything that could be painted, was painted. Everything that couldn’t be painted was otherwise regularly cleaned and lubed. Corrosion control is a big part of shipboard life.
-
While waiting on glue to dry, I started making eyebolts: I need about 500 of them, between Solferino and Mercury.

-
Thank you to everyone for dropping by, commenting and for the likes! Here’s where that port side boarding ladder is at: This model needs finished so I can finish my other two that are half built!

- 278 replies
-
- 11
-

-
Very well done!
-
Camel by RGL - FINISHED - Machinen Krieger - 1/20
GrandpaPhil replied to RGL's topic in Non-ship/categorised builds
Greg, Very nicely done! -
Does Shipyard Make a 1/96 HMS Bellona?
GrandpaPhil replied to GrandpaPhil's topic in Card and Paper Models
Thank you very much for the information! -
I found an ad for a 1/96 HMS Bellona card kit by Shipyard. Does Shipyard still make this kit? I have the AOTS for the Bellona and would like to build her some day in 1/72 scale. That would be a great resource if this kit were still available.
-
Shipyard Models has a complete rigging fitting set for the Victory in 1/96 scale. I saved it in my Ages Of Sail Cart and am going to try and get Admiral-Claus to get it for me for Christmas this year.
-
Chris, You’re a bad influence on me! Seriously though, looking forward to this build! Nice start! Your card builds are excellent!
- 46 replies
-
- 12
-
-
First planking on, how shall I fix this?
GrandpaPhil replied to ubjs's topic in Card and Paper Models
Here’s what I used, but it was on hought-board (like a paper pulp, the same stuff they make drink coasters of, for restaurants). I had planned on using it for my Mercury.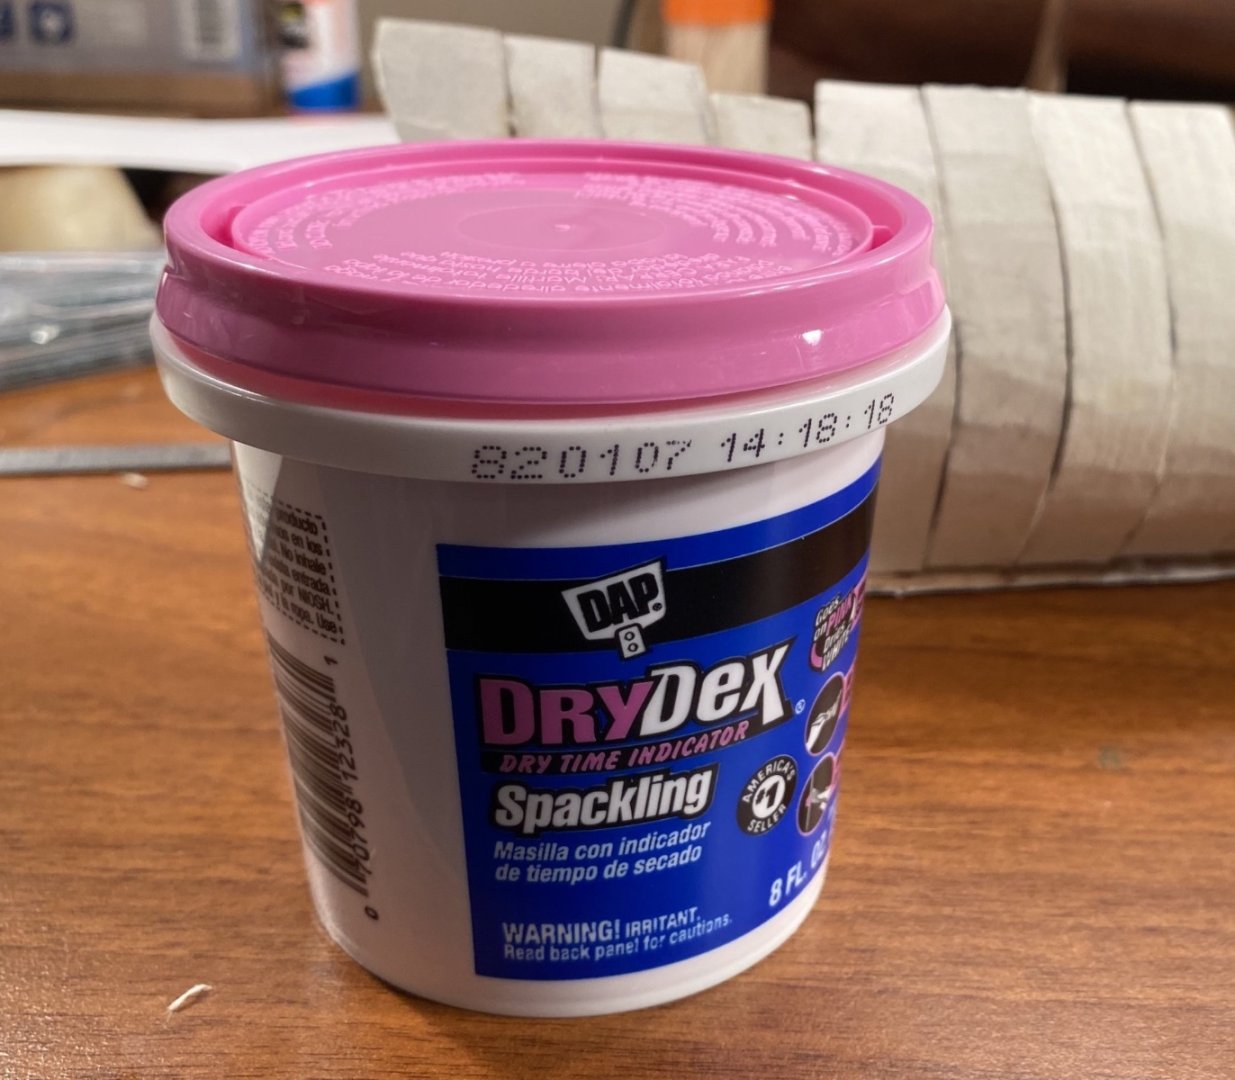
-
Quick note, and good news, for anyone looking at this model or any of the rest of Orel’s line, I got a newsletter from Orel’s retail website, Plastic-Model Store. Orel Models got their building, with all equipment, back and will be restarting production with their full line of kits and extra detail sets in the near future. Orel has a very large range of transition era ships and predreadnoughts. Most are 1/200 scale!
-
Camel by RGL - FINISHED - Machinen Krieger - 1/20
GrandpaPhil replied to RGL's topic in Non-ship/categorised builds
Incredible work! -
I have never seen GPM’s upgrade kits, but I am seriously looking at the Shipyard rigging fitting sets for this and my Victory (1:98). Rigging fittings at 1/96 scale are almost too small for my tooling. I probably could make them, but Shipyard has very nice complete sets. Plus, their research has been most excellent, as is their plan sets. So I am sure that they are complete. And then I can scale their fitting set up 50%, duplicate it and use the fittings for my future Winchelsea build too. PS: from what I’ve seen of the their Victory kit, it looks as completely detailed out as the their Mercury and it retails for less than $40 at Ages Of Sail.
-
First planking on, how shall I fix this?
GrandpaPhil replied to ubjs's topic in Card and Paper Models
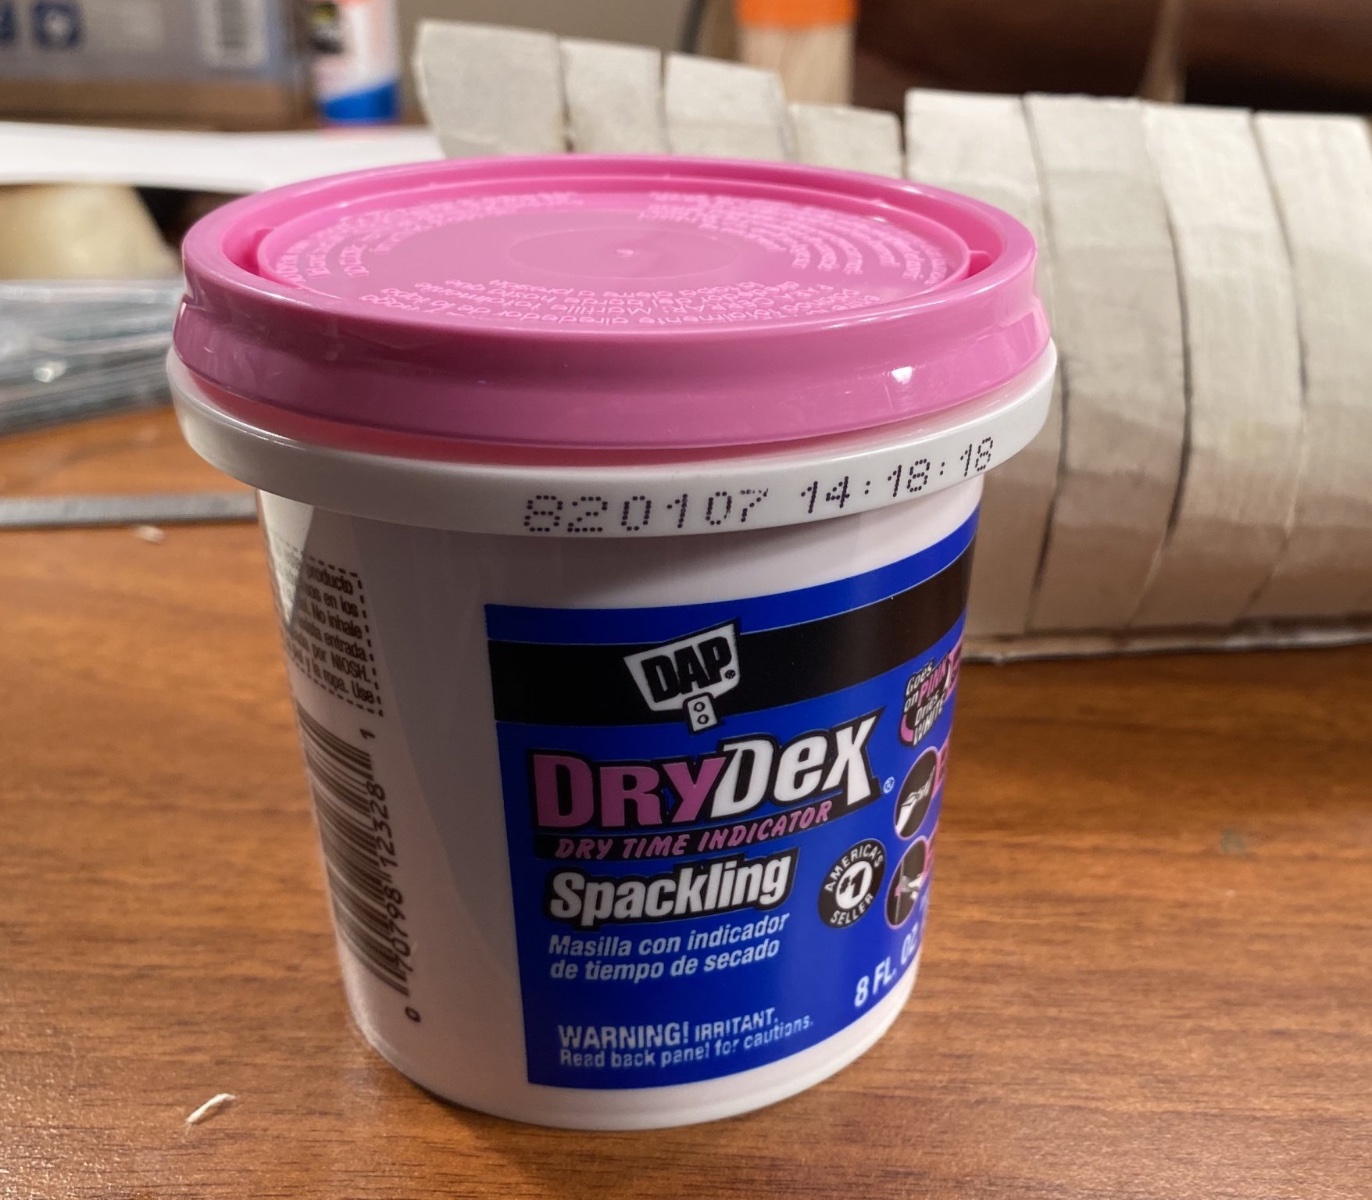
That’s actually a pretty good base. I like to use drywall spackle as filler. It sands easy and works quite well for card models. After you fill and sand a couple times, everything will look much better. When you plank it a second time, I have heard it is better to just add glue to the frames so the second planking stretches between them. -
I have had a lot of fun with card kits (and card modeling in general). The Shipyard 30th Anniversary combo sets are very nice. All of the Shipyard kits are very nice. I don’t think I have ever seen the level of detail in these kits, from any other kit manufacturer (at least from the ones I’ve built), in any medium. If you try one, you won’t be disappointed. Card lends itself very handily to ship models, both for kits and for scratch building. Also, there is not much difference between scratch and kit building with card ships (the same applies to wood ship models as well). So, it is an easy jump to scratch building if that is where your inclination lies.
-
Very cool build, OC!
-
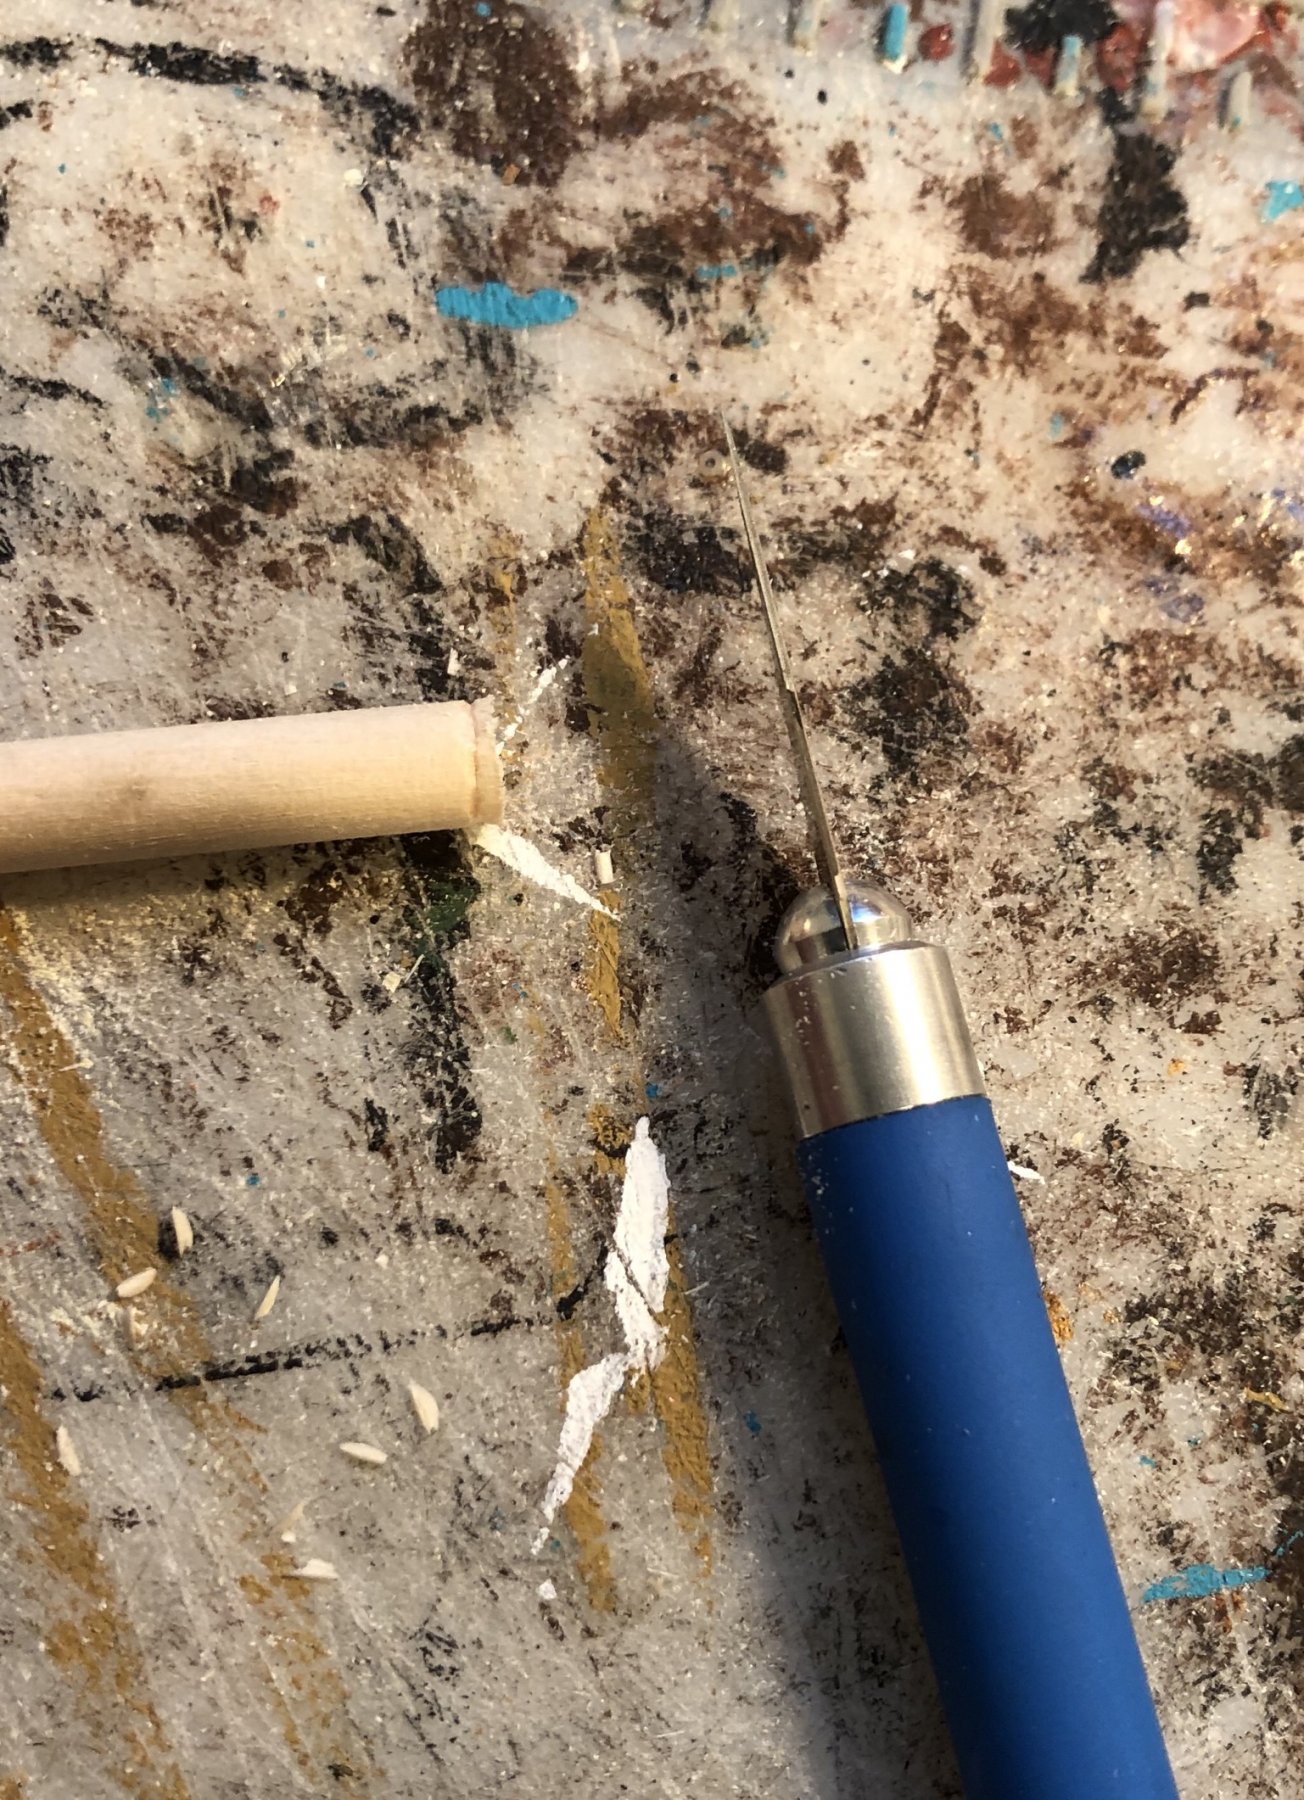
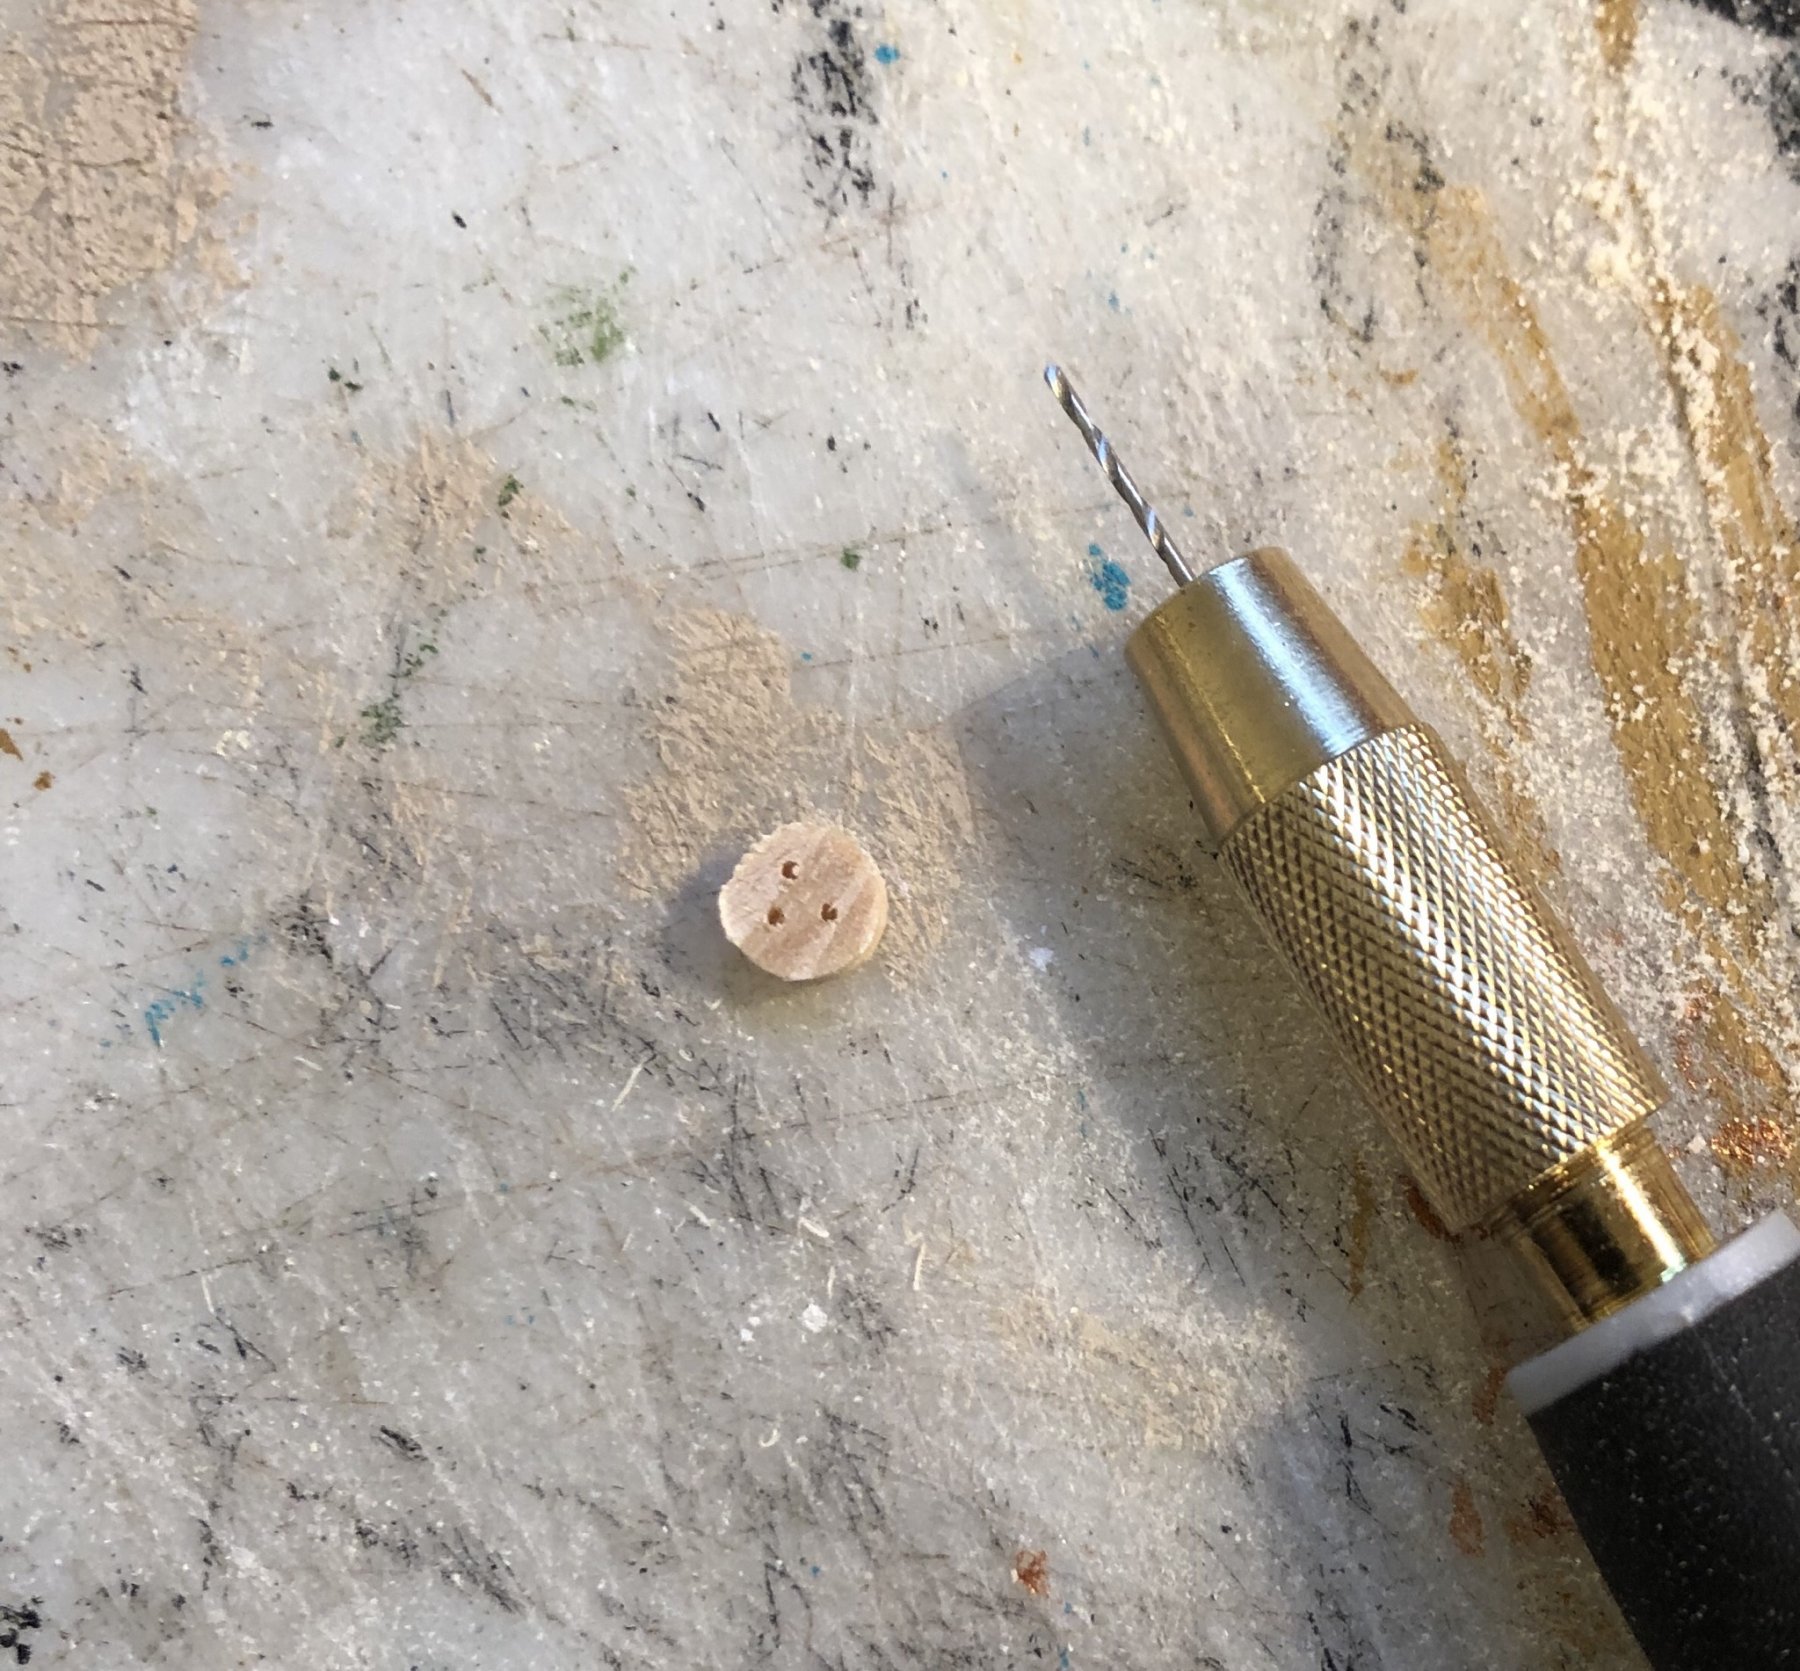
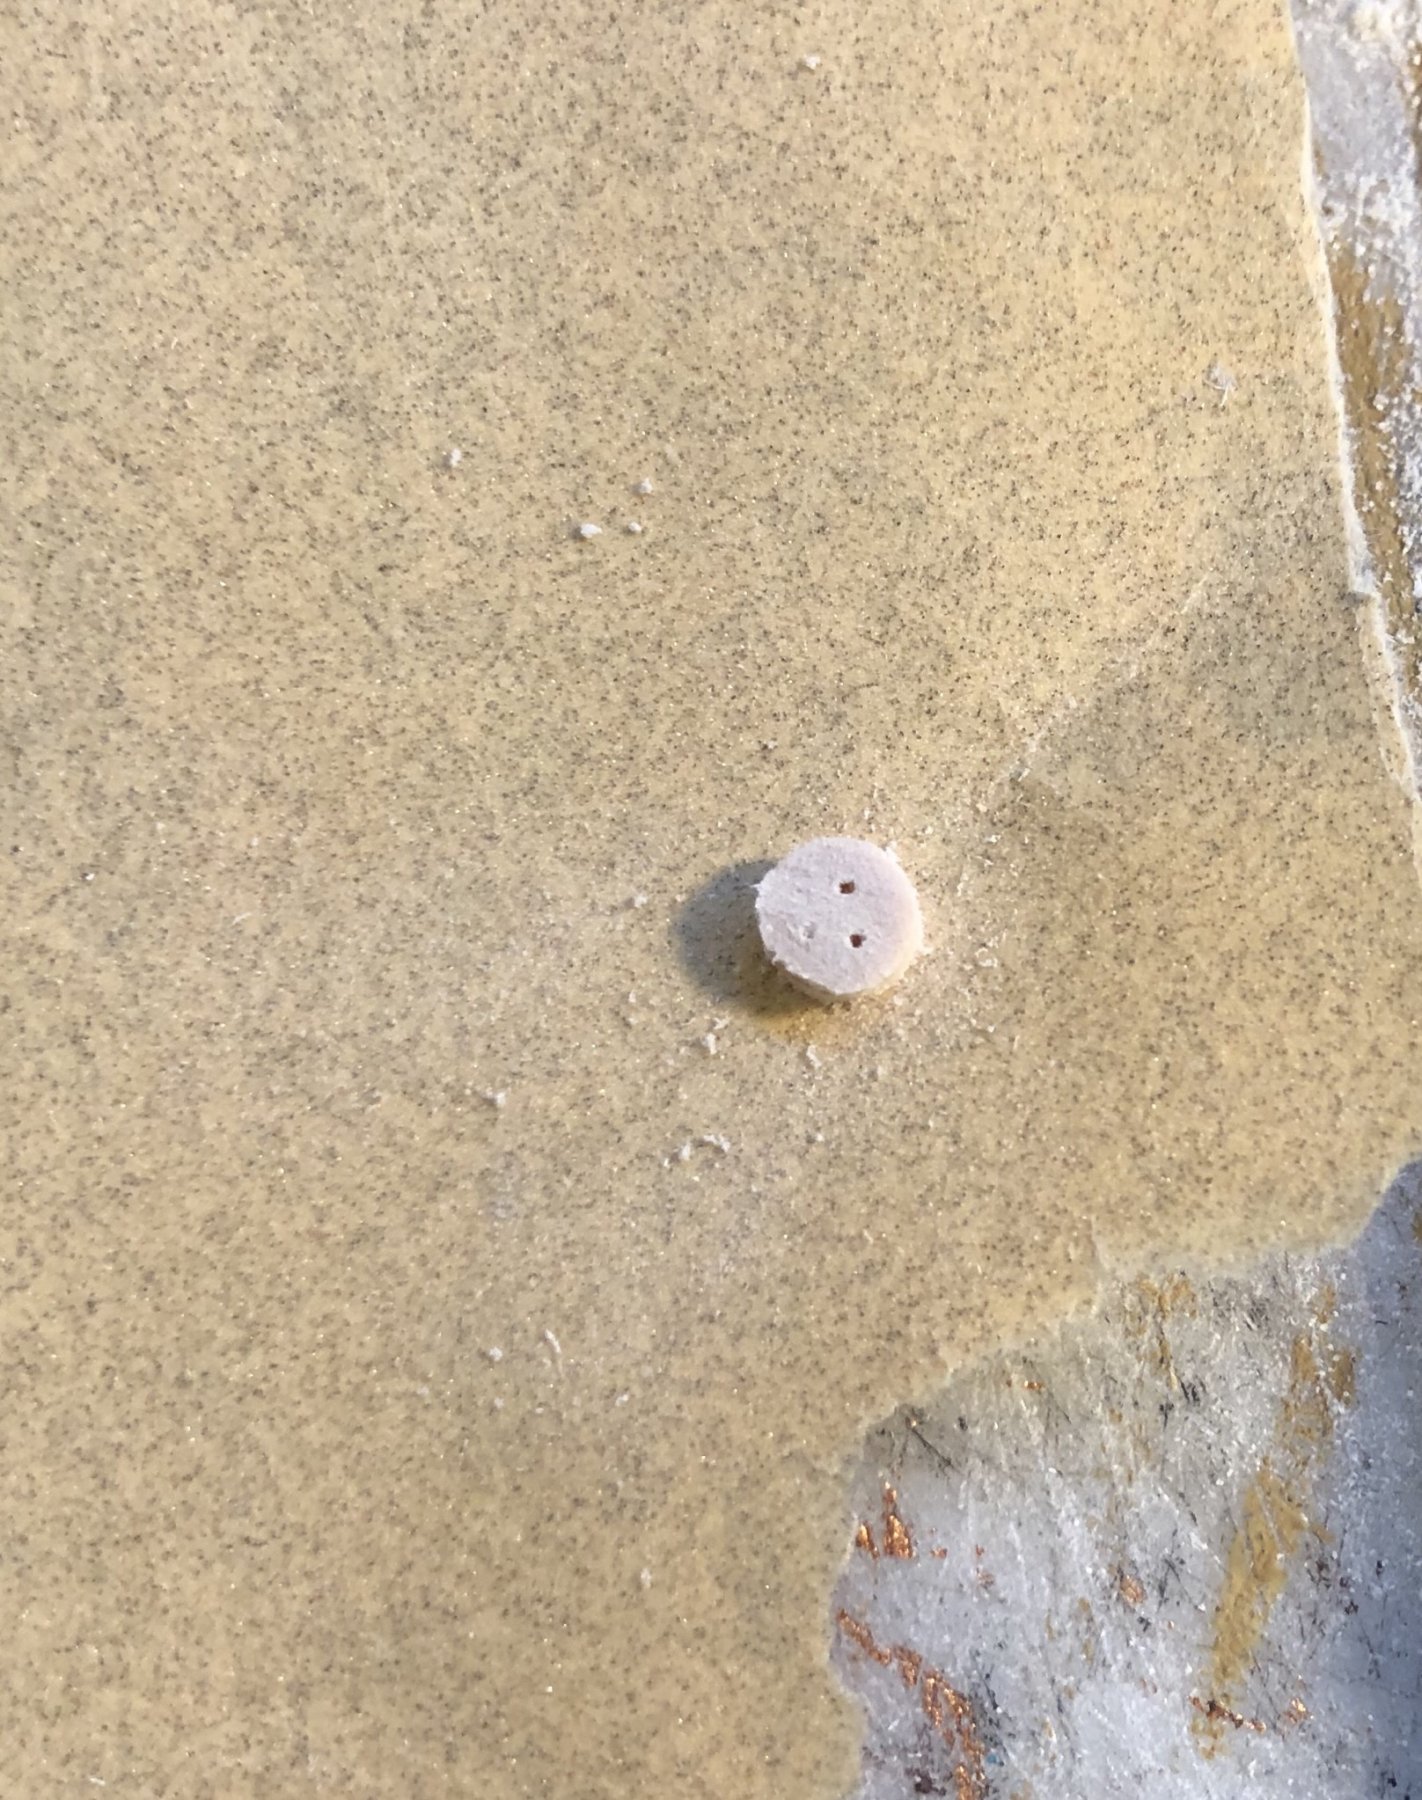
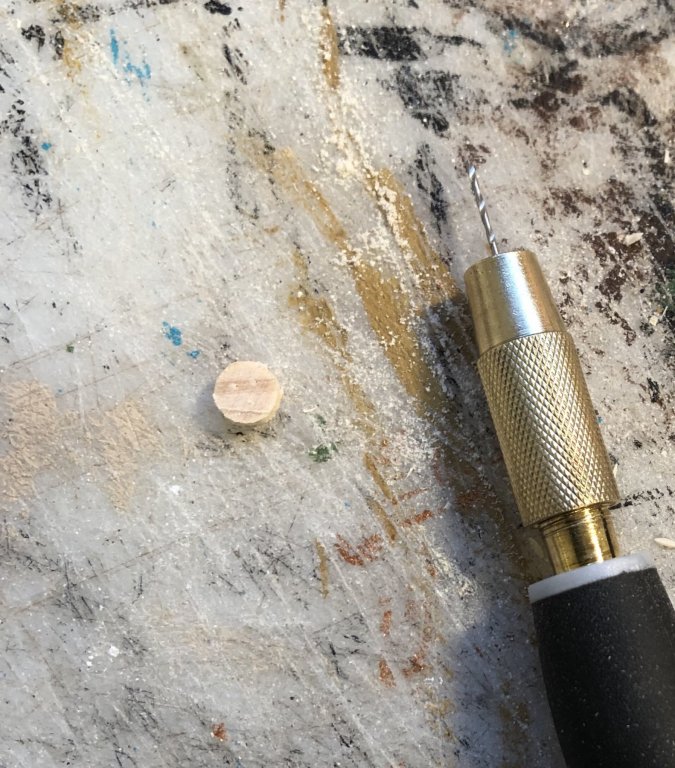
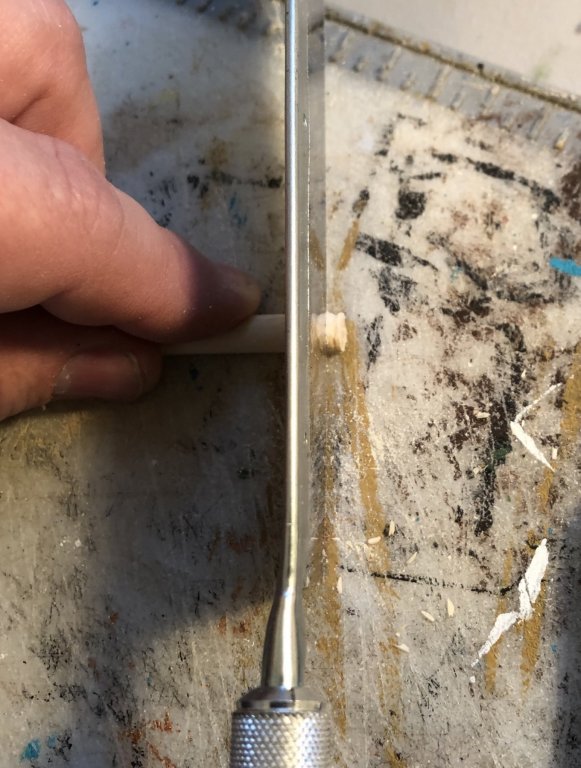
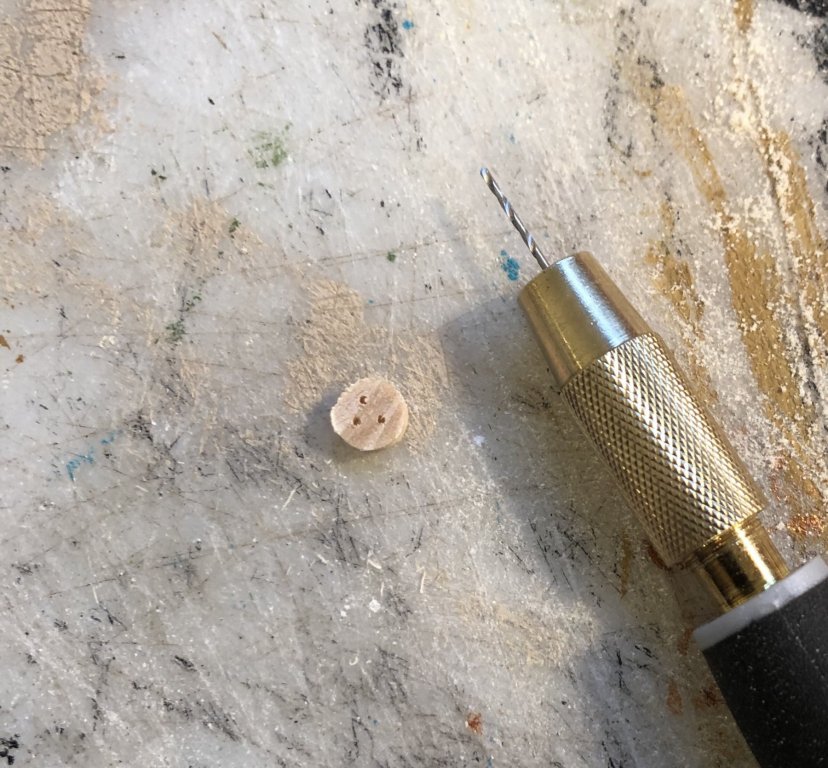
That’s how I did it using a knife, a pinvise and a razor saw. It would work for the 5mm, but for smaller deadeyes, it’s tricky unless you have a high density wood. I usually buy smaller deadeyes.


-
Billing Boats Zwarte Zee - rare find
GrandpaPhil replied to popeye the sailor's topic in Wood ship model kits
Very nice find! I’ve seen your work before, it is excellent! I’m sure that the lack of the fittings kit won’t slow you down in the least bit! I’m looking forward to seeing the build log for this one! -
I like to seal brass (as well as other metal/wood/plastic/resin/card) fittings with a sealant (so the paint sticks better) and then have a paint-a-thon. Then, you can just assembly line them and paint a whole bunch at one time. I should also state that I typically brush paint with acrylics.