GrandpaPhil
-
Posts
6,154 -
Joined
-
Last visited
Content Type
Profiles
Forums
Gallery
Events
Everything posted by GrandpaPhil
-
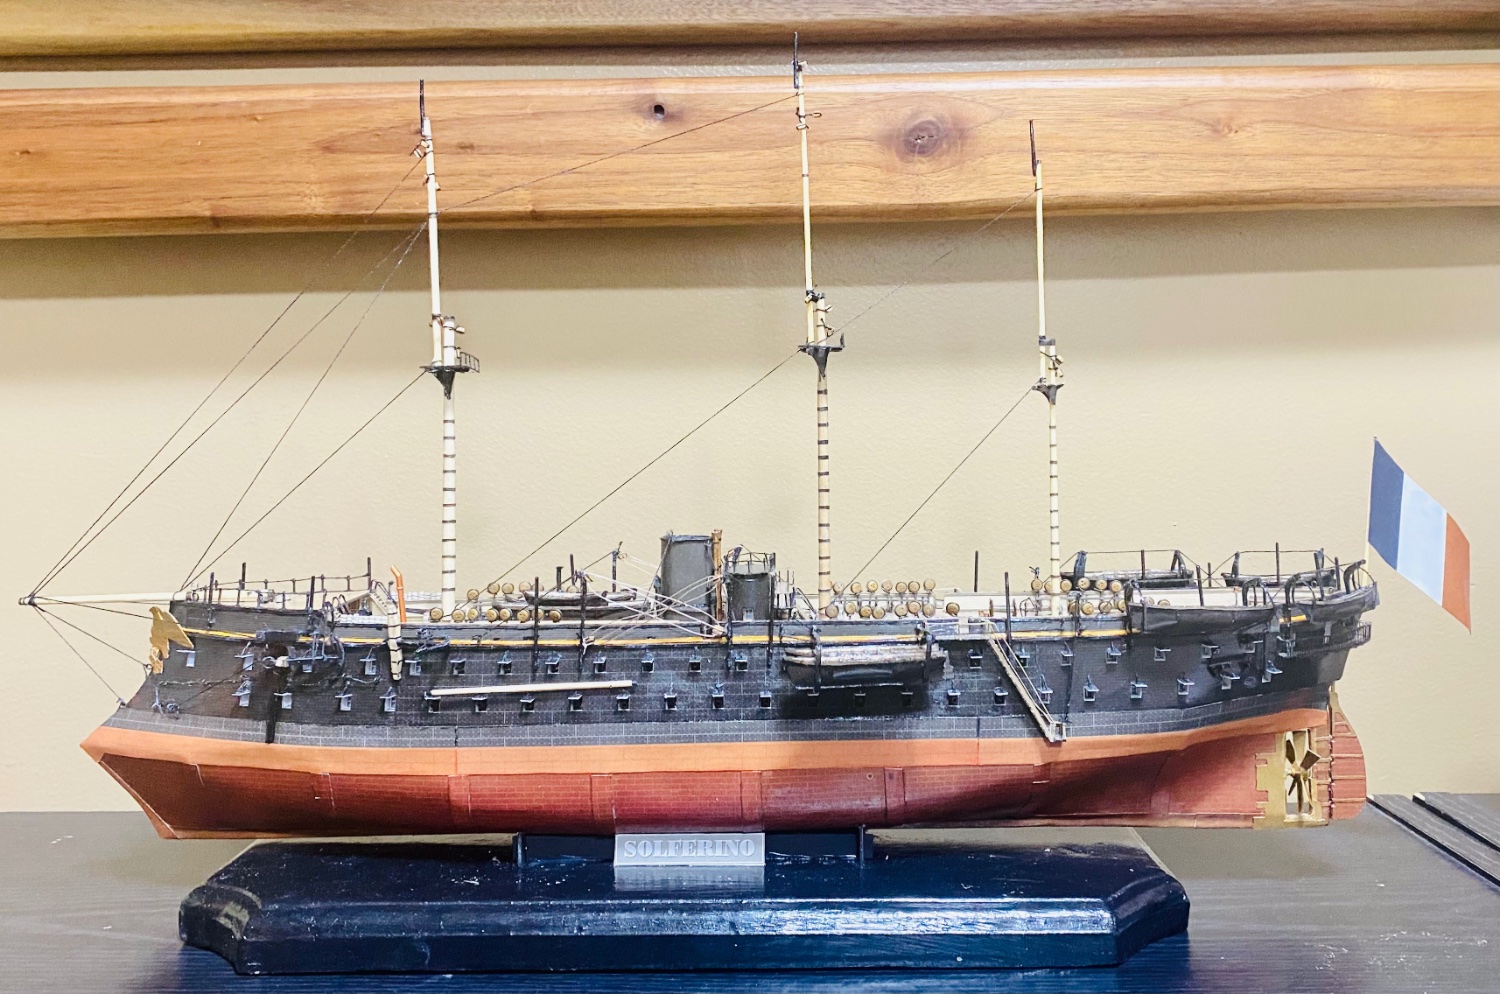
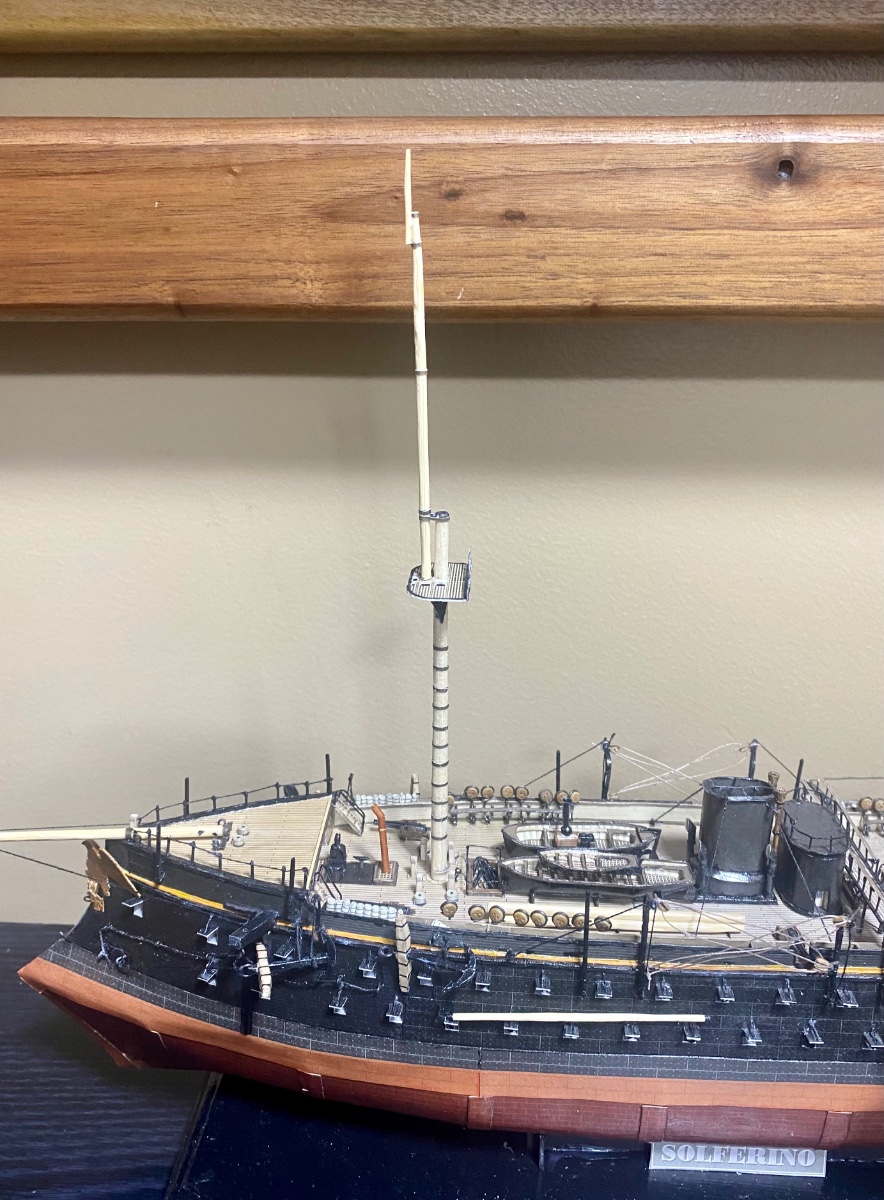
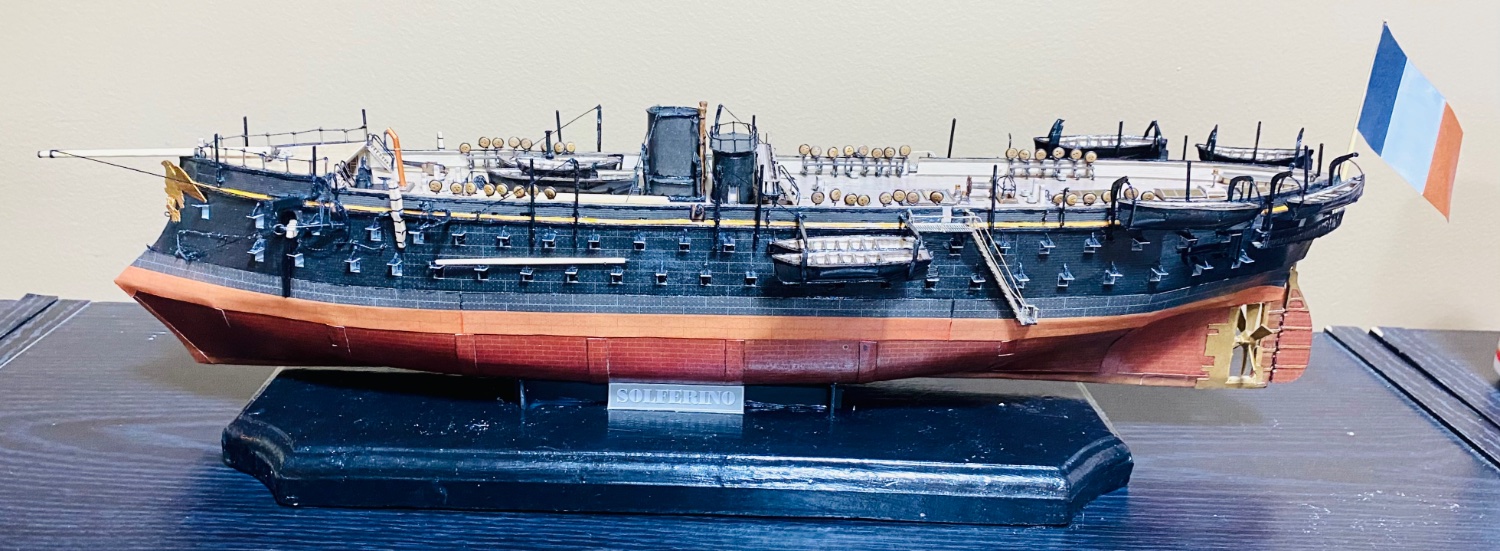
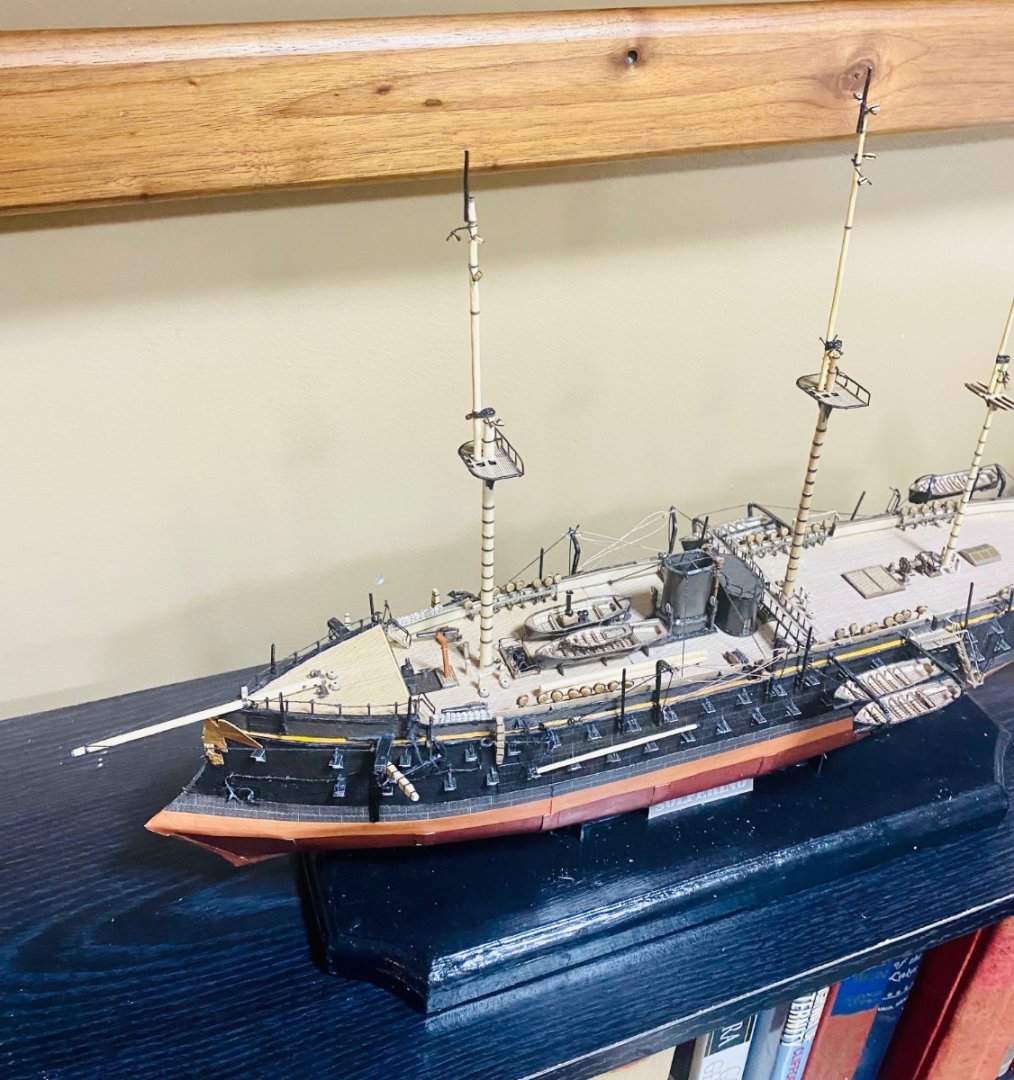
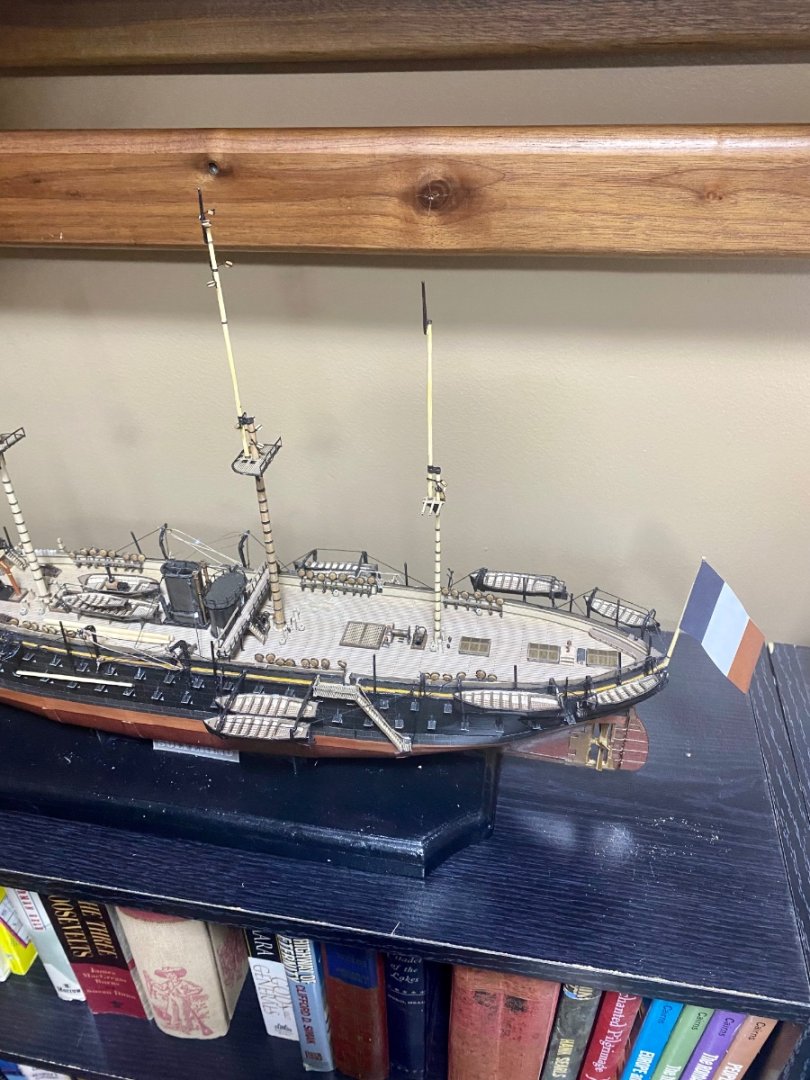
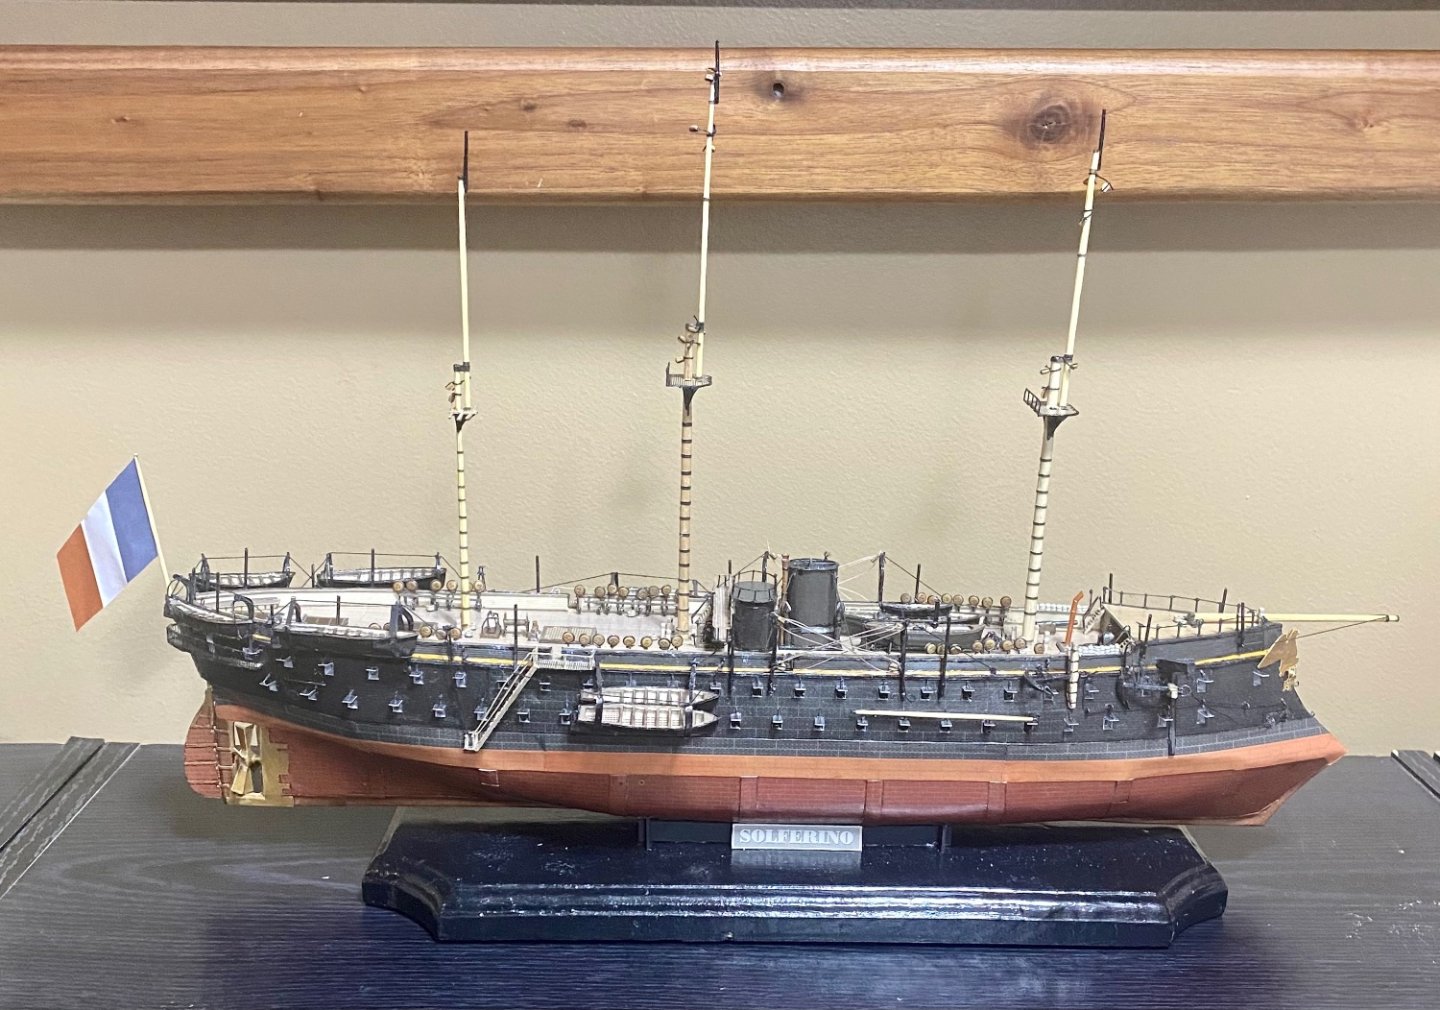
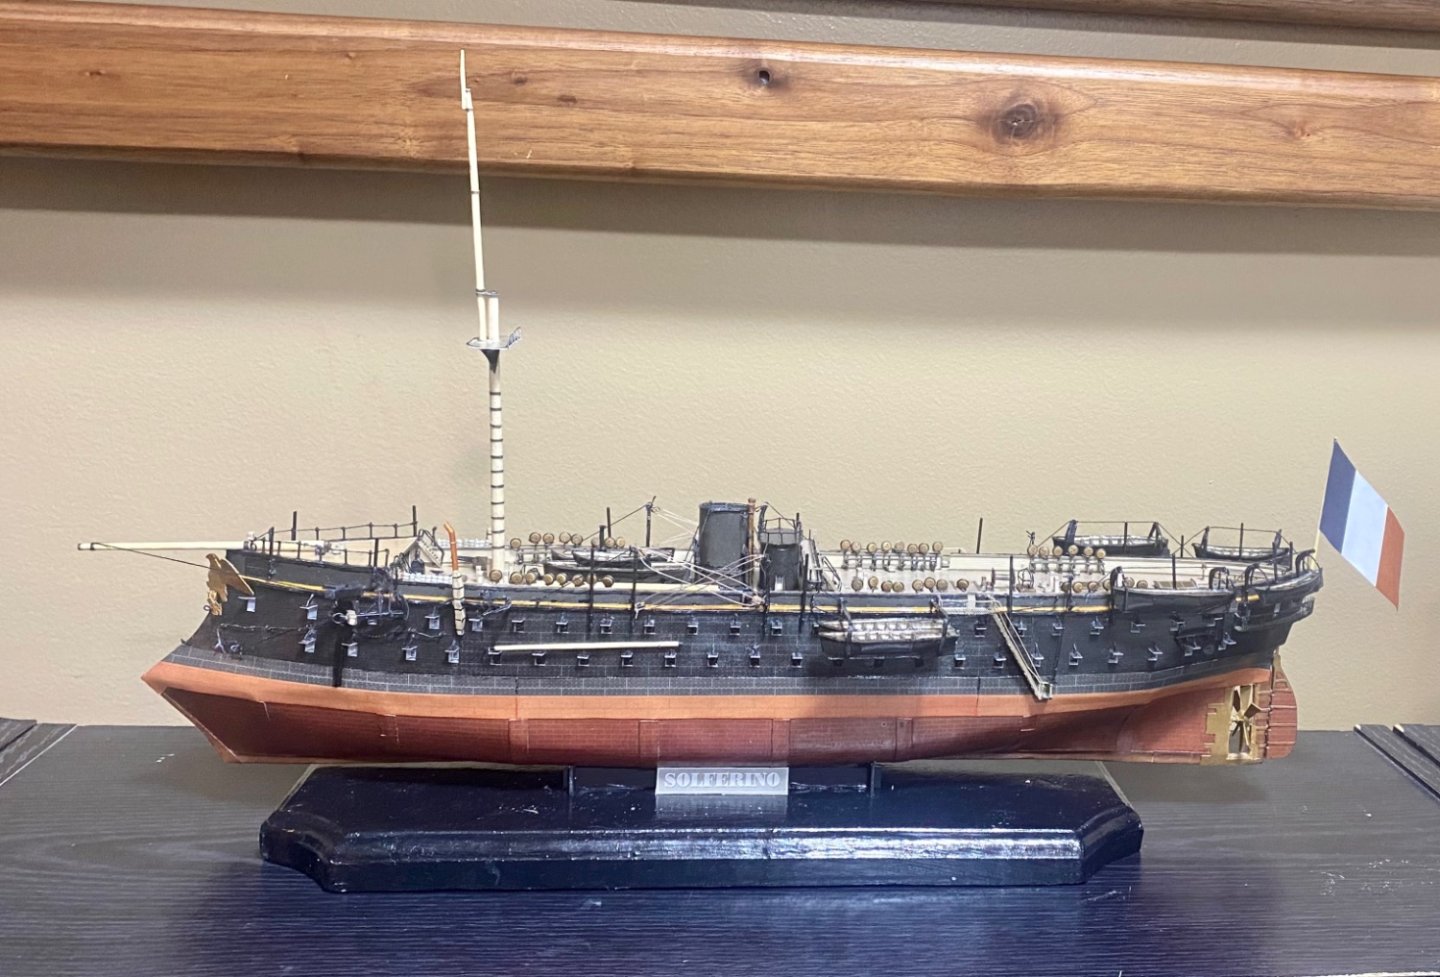
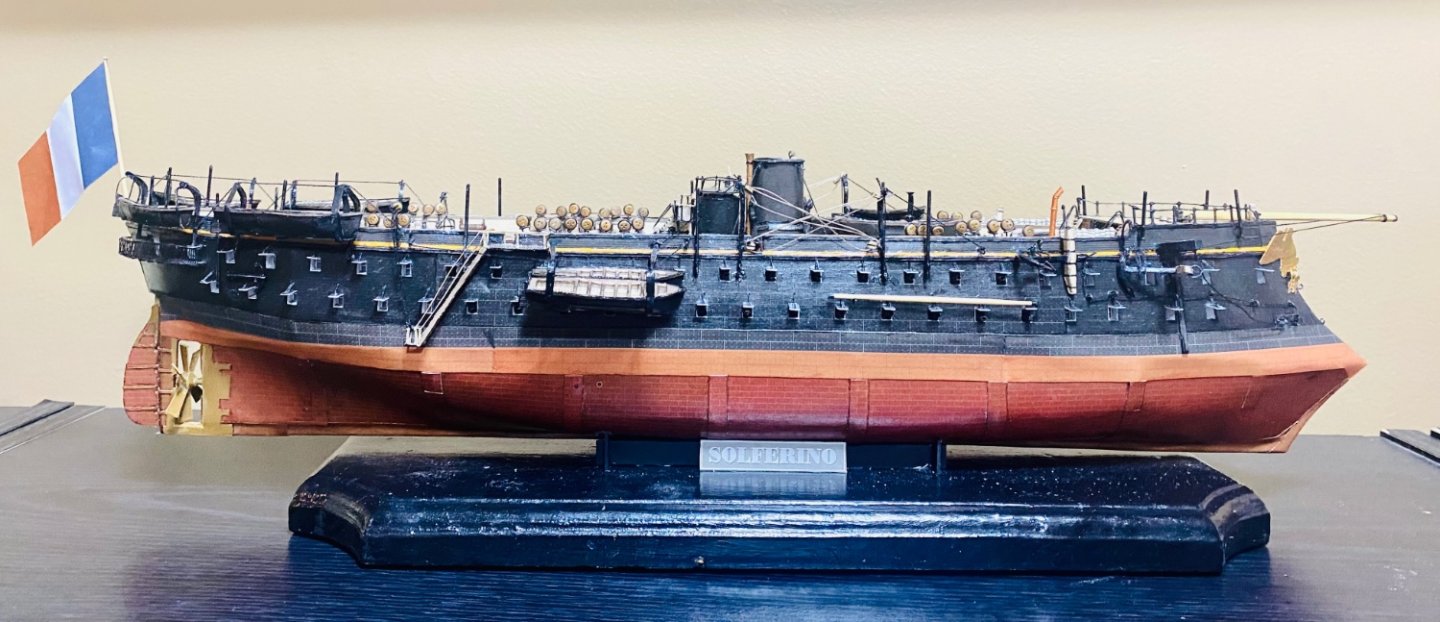
The Solferino has masts: They all have blocks and are permanently installed. Rigging will commence once the glue (PVA) sets up and after I assemble the toy box that I bought for my newest grandson for his first Christmas.

-
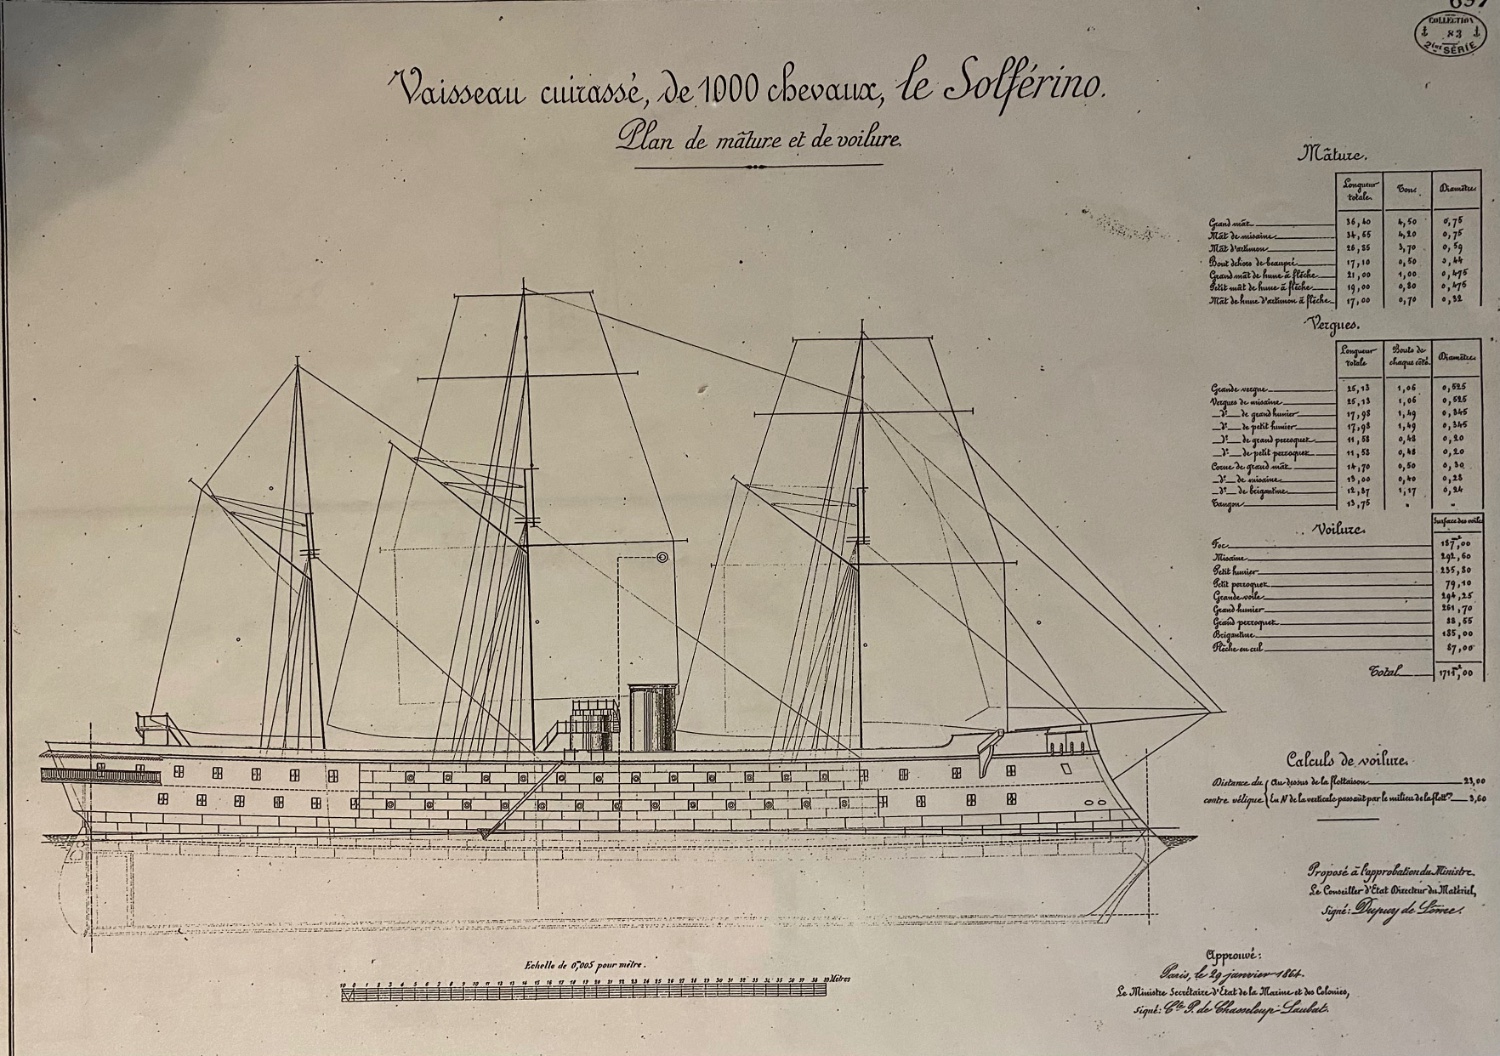
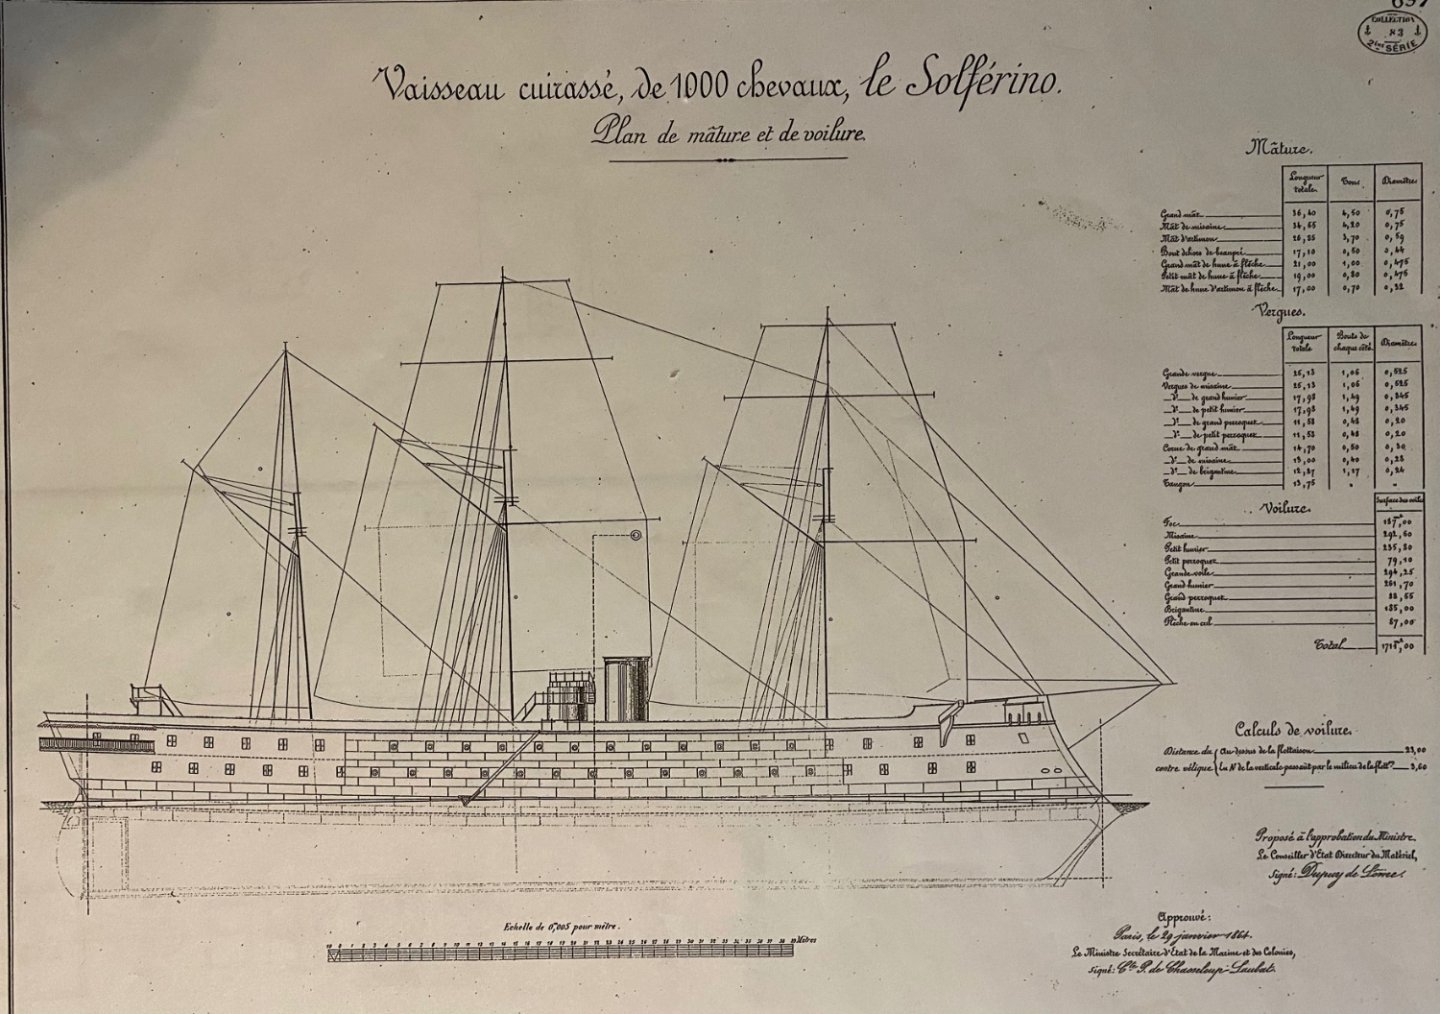
Here is the original rigging plan (Courtesy of the French Ministry Of Defense Historical Office) as approved in 1864 for the refit from a barquentine rig to a barque rig: You can’t really tell if there is any mast rake from the pictures that came with the kit. However, from the original sail plan, you can tell that rake, for our purposes, at 1/200 scale, is negligible. Now, for the Magenta, which will be 1/72 scale, that may change.
-
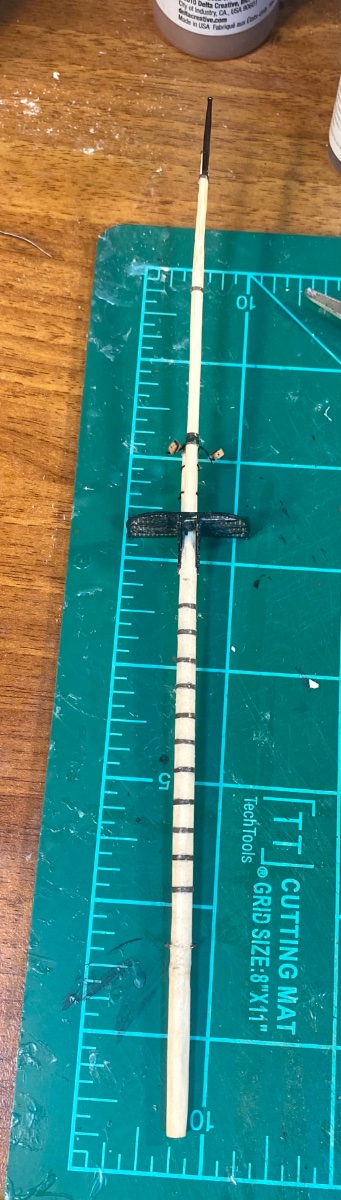
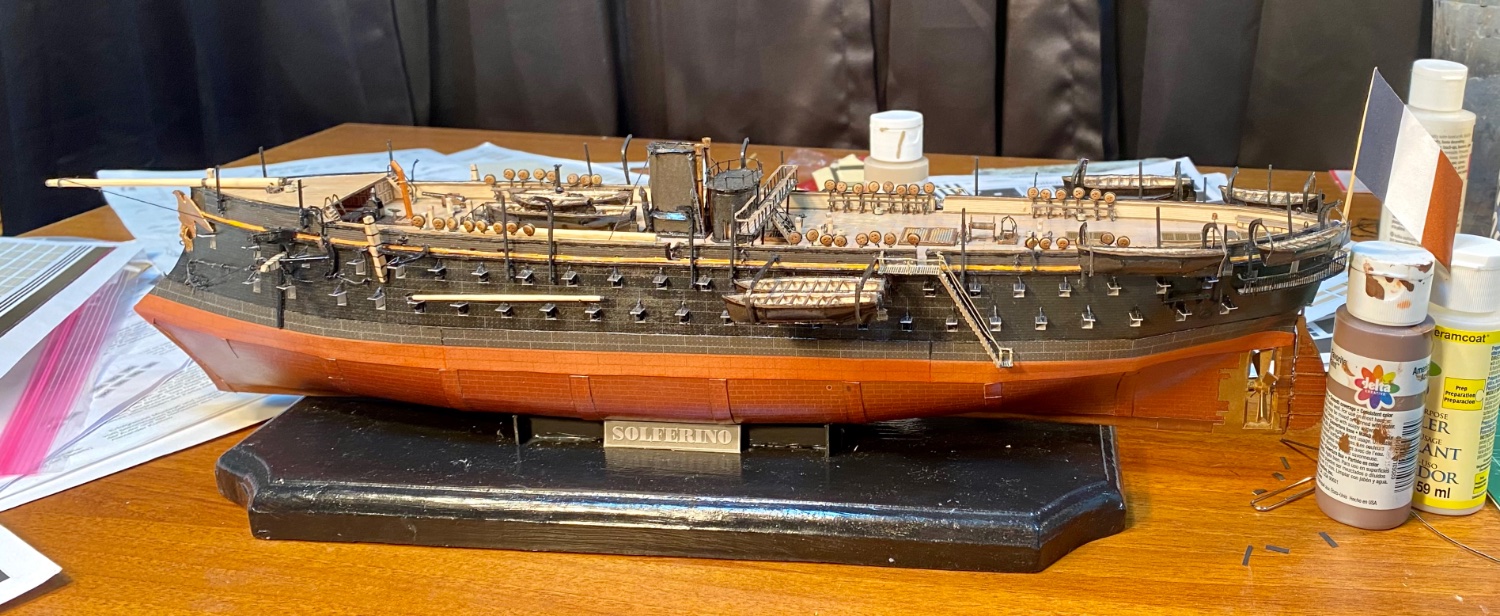
The foremast getting blocks: Note: the mizzen mast is painted and awaiting sealant after the paint dries. It is quite cold here which is negatively effecting drying times. The rigging plan for this model is very simplified due to the scale, so I am only going to running about a third of the lines as in a normal barque rig, even with sails. By comparison, my Mamoli Endeavour (the Captain Cook one, not the yacht), which also had a barque rig, took three months to rig. I took holiday (vacation) next week to try and finish this model. And, due to the rigging simplification, it might actually happen.

-
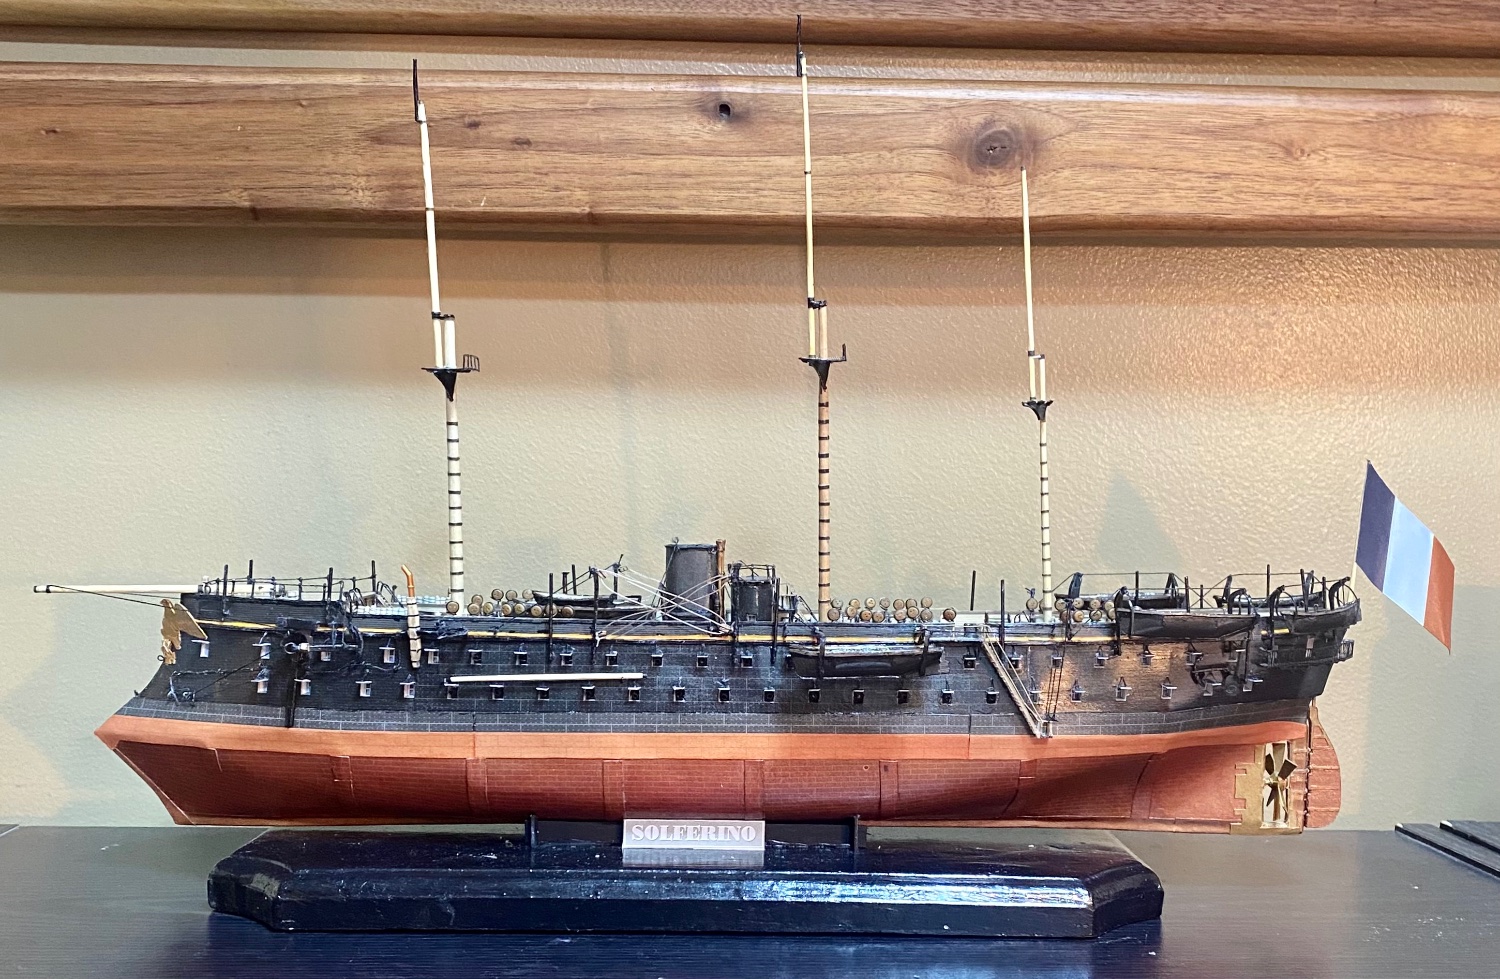
The foremast and main mast are done: The mizzen mast still needs finished. I still need to attach blocks before I glue down the main or foremasts. The stays will probably be done tomorrow. And then the shrouds. I will be honest, the shrouds are one of the hardest parts of a model for me.

-
The main mast is partly made! I am making good use of being snowed in, lol. My Prince de Neufchatel went from a framework to a fully covered, painted and coppered hull with a deck and the head done on a four day weekend from a winter storm, lol.
-
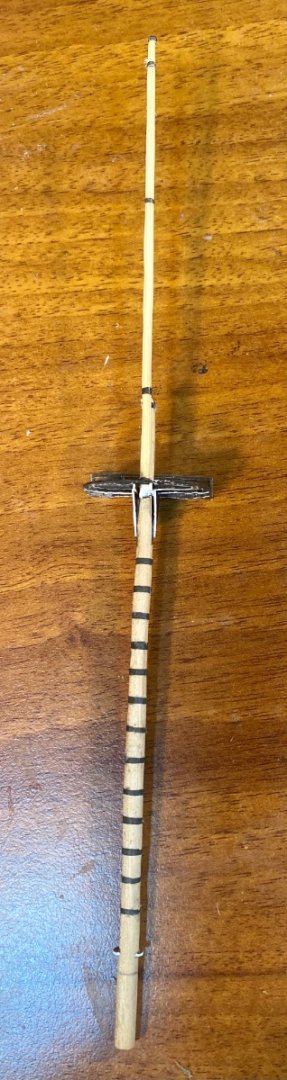
The foremast is made and temp installed: It still needs paintwork and sealed. I just made my own mast, but I used the kit’s mast tops and fife rail. The mast is made from a dowel rod, a bamboo kitchen skewer and a toothpick. I shaved them down with a scalpel and sanded smooth with 220 grit sandpaper. Mast hoops are made of paper.

- 278 replies
-
- 11
-

-
The Shipyard kits are very nice. I bought one of the 30th Anniversary combo sets and started their Mercury. The level of detail is incredible. The laser cut frame that comes with the kits is fall together quality. From there, just take your time.
-
Incredible work!
-
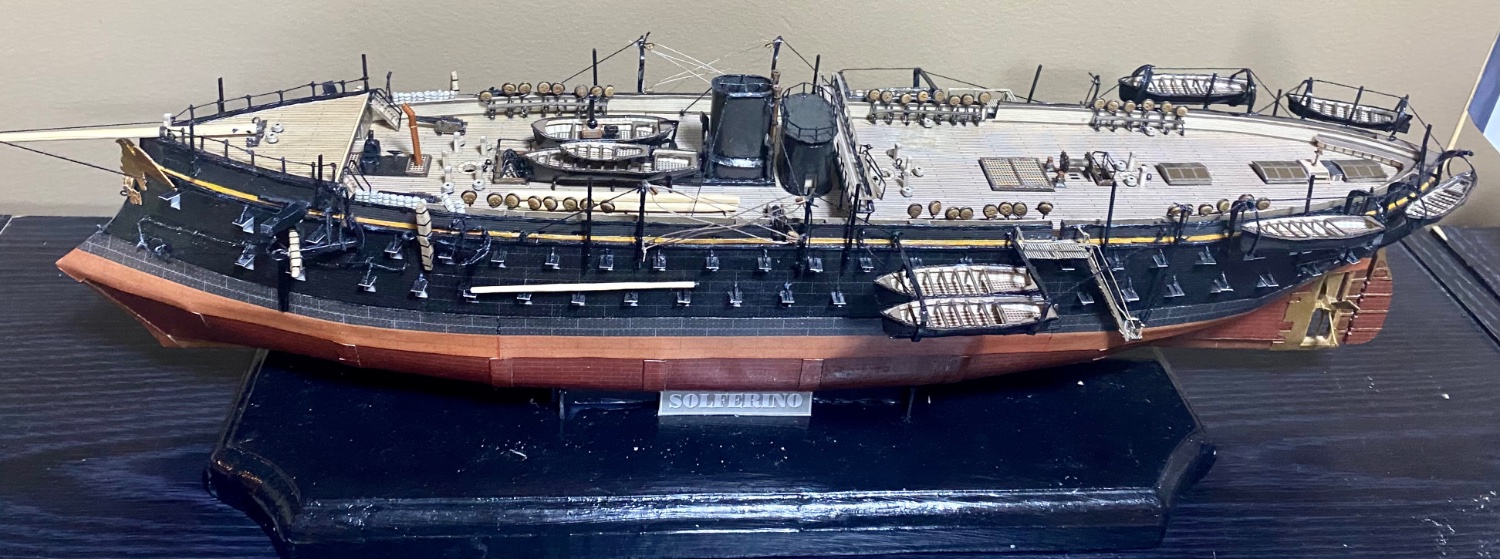
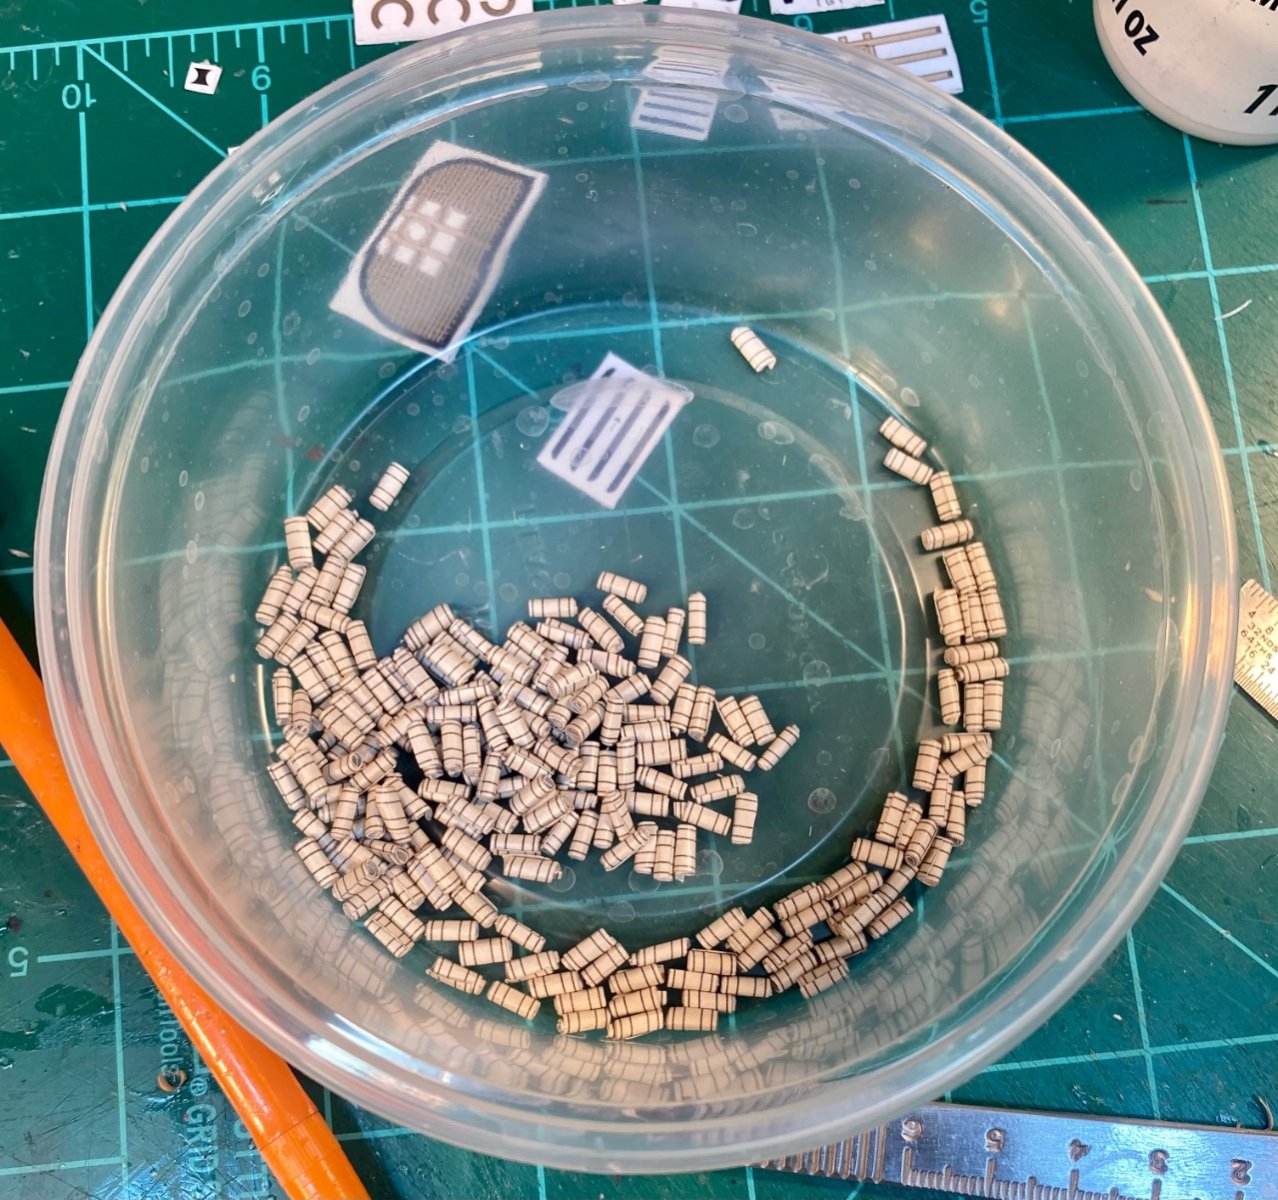
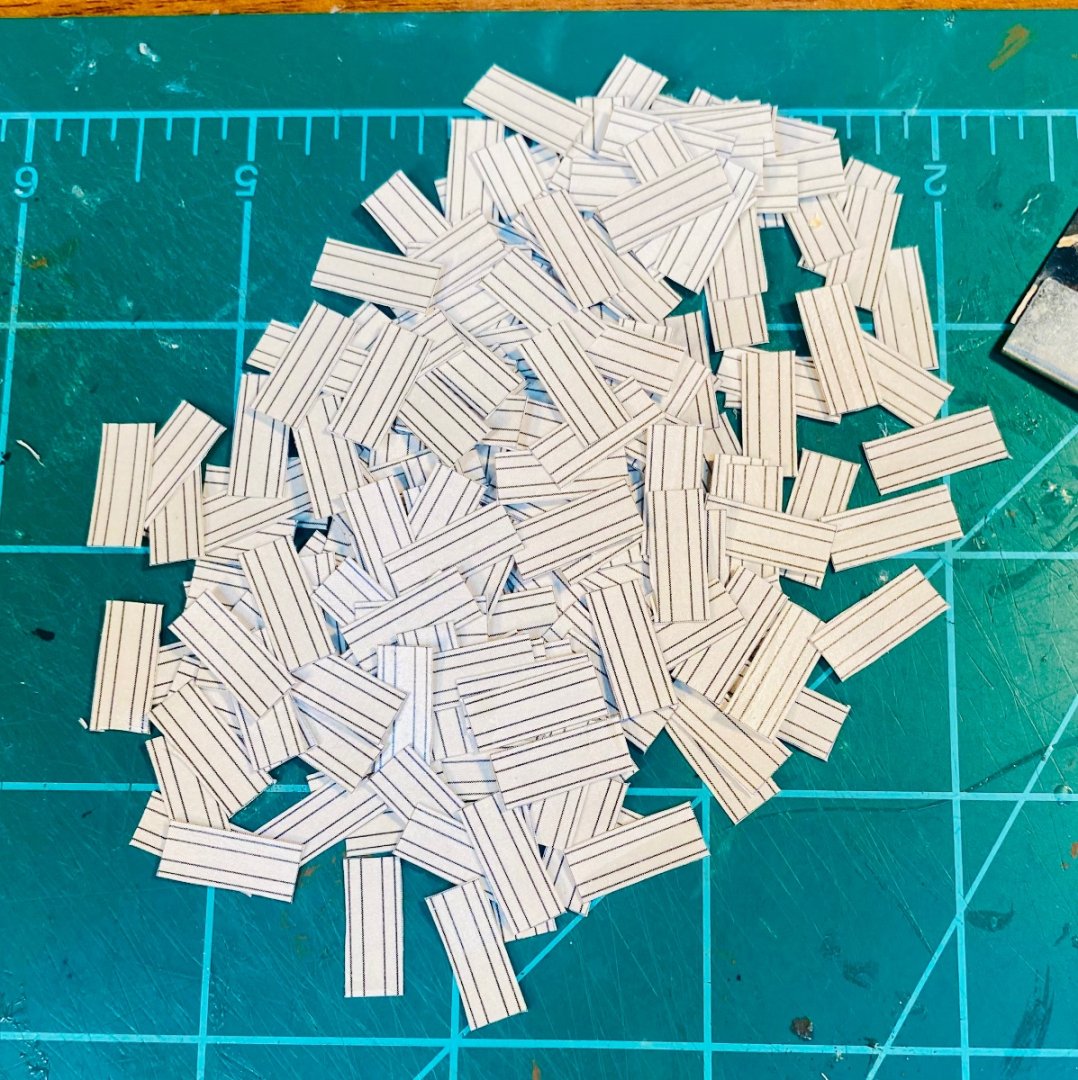
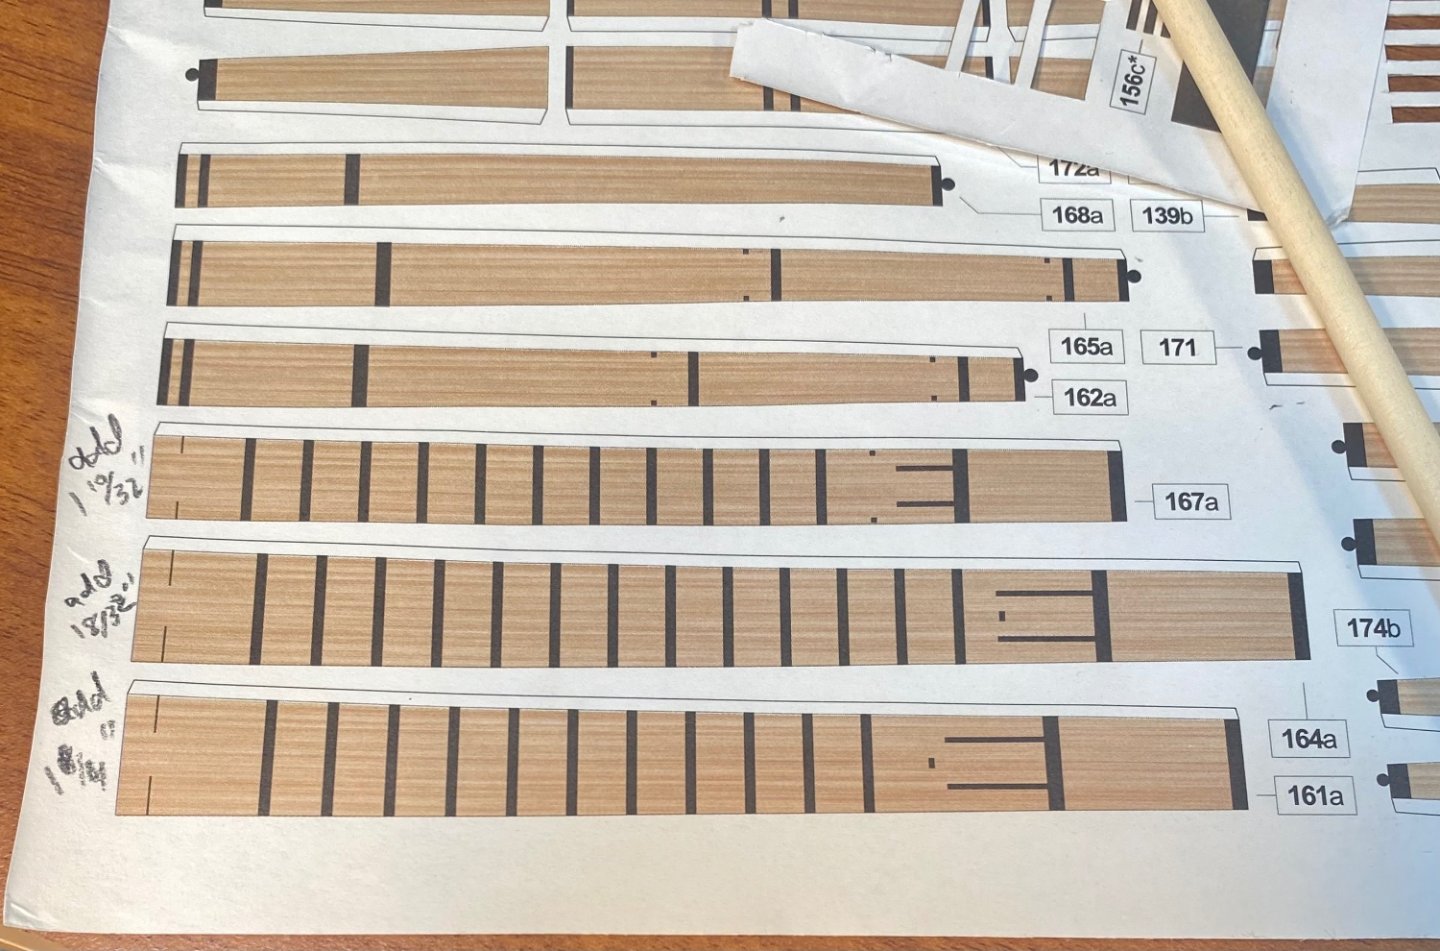
Thank you very much! Solferino is ready for masts! I started on the hammocks, but discovered that they would interfere with the lanyards on the deadeyes. So, I rolled them and put them in the plastic container that I stored the ship’s boats in. I have no idea how many I made, I didn’t keep count. I started on Solferino’s masts: I found out in a test fit of the lower foremast that the kit version of the masts only go to the deck. I had to use the first foremast I made as a depth gauge to figure out what I needed to add to each of the masts. I then annotated said addition by the pieces from the kit. Needless to say, I have to make another foremast. Oh well, live and learn. I’m making each full mast, one at a time to prevent confusion as to what goes where. I will make yards and gaffs after I finish and install the masts.


- 278 replies
-
- 11
-
-
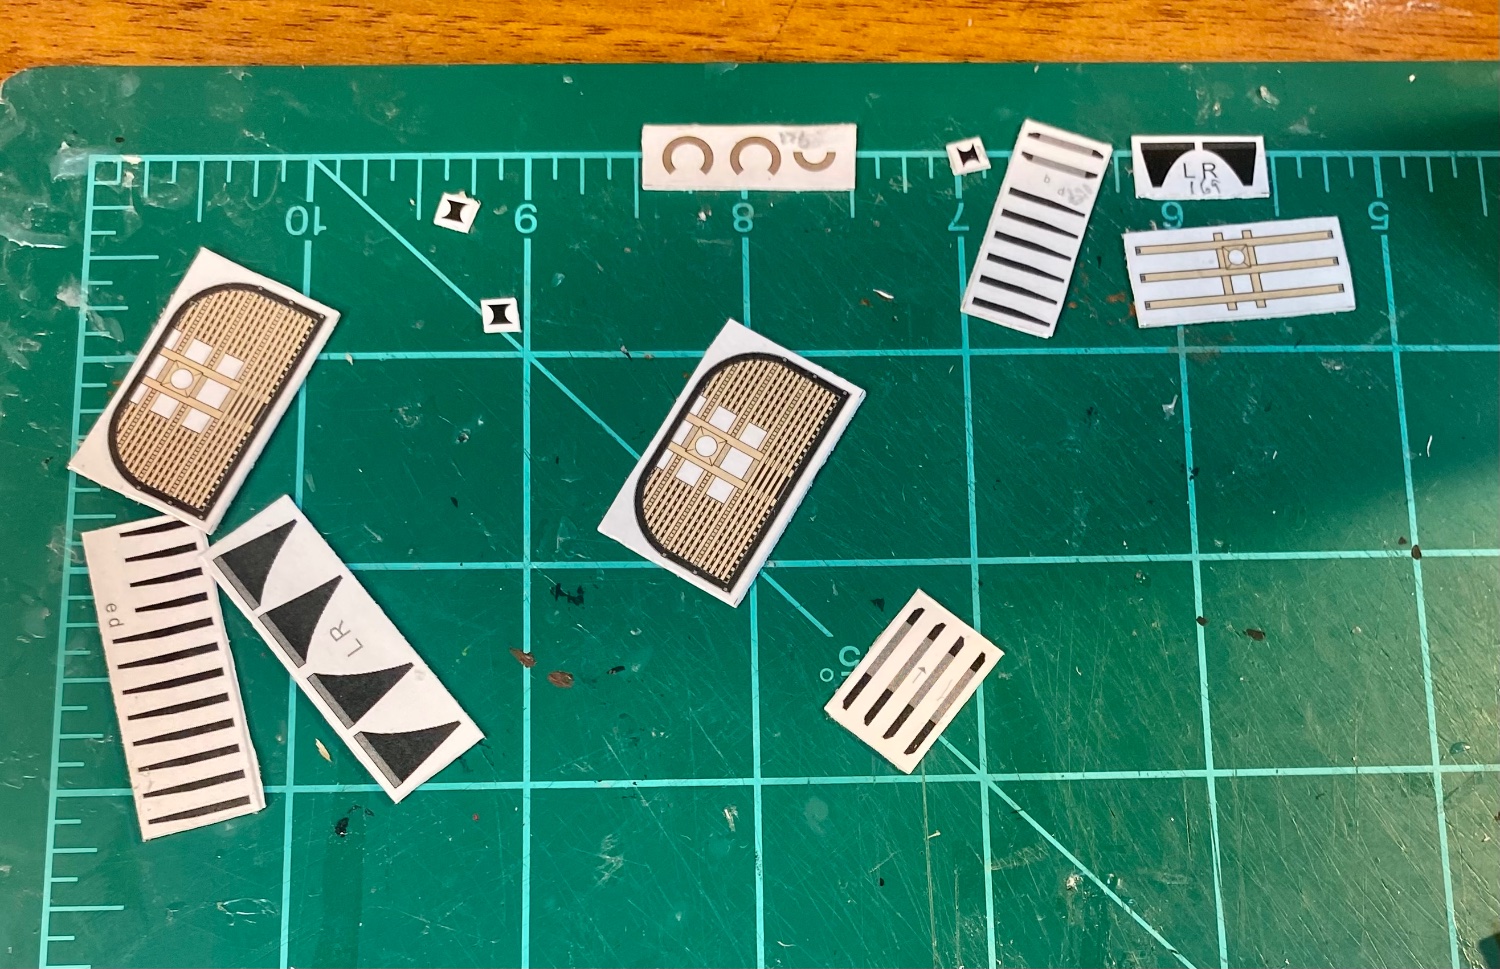
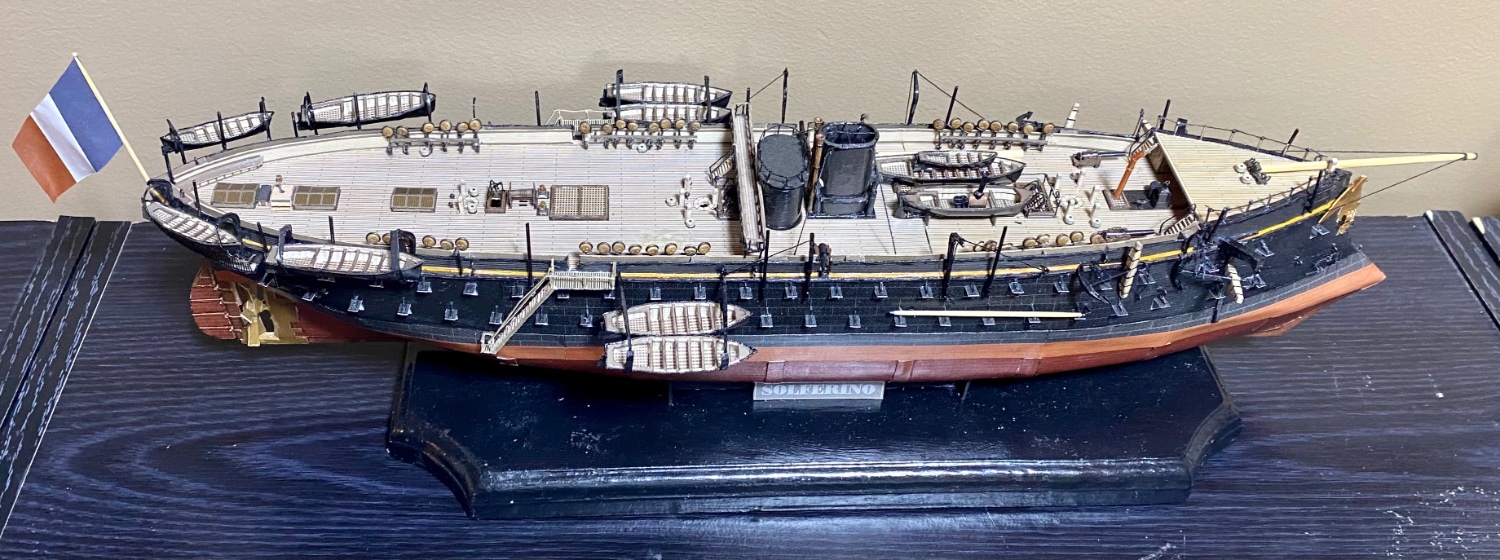
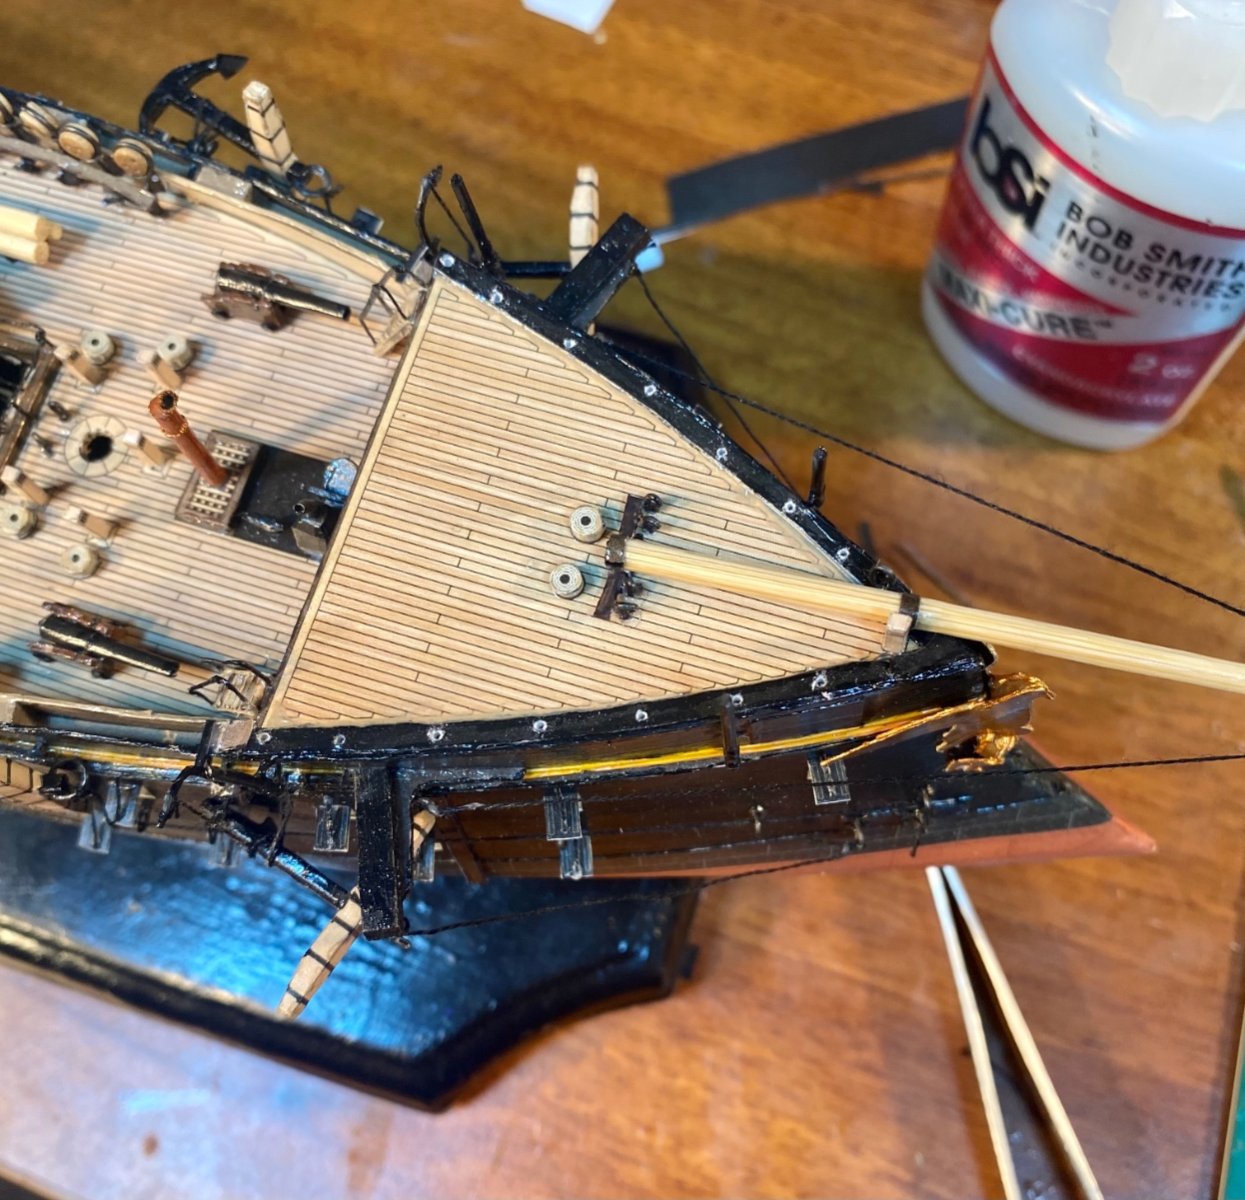
Here are some pictures of the prep work for the railings: The hull rigging will be installed from fore to aft, with each side getting its respective rigging as I work my way down the hull so nothing is forgotten.

- 278 replies
-
- 10
-
-
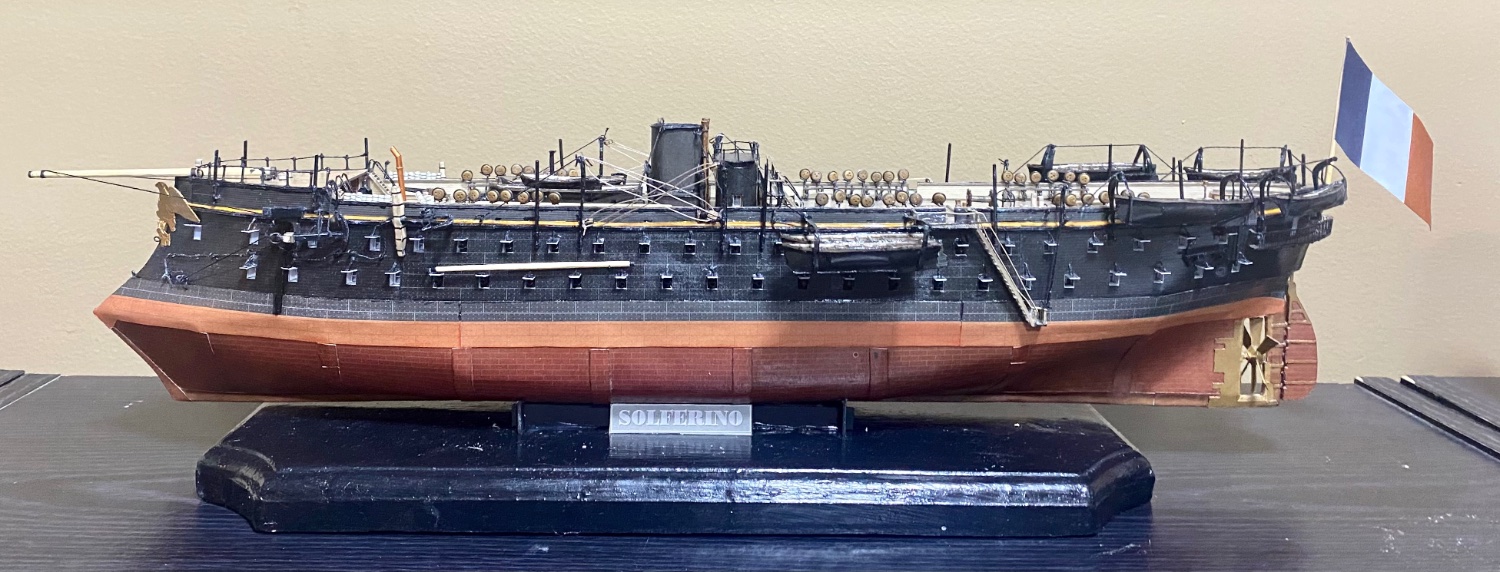
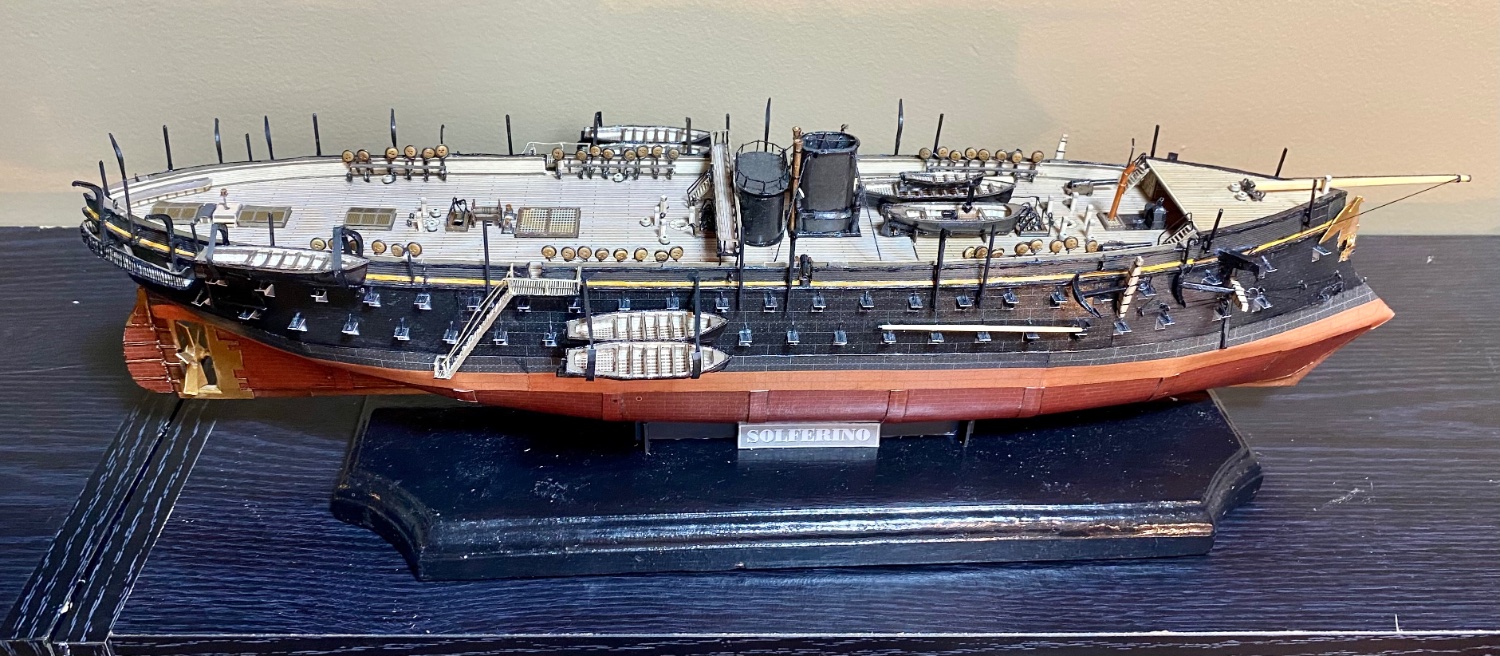
Thank you very much! I’m working hull rigging and getting railing stanchions made from wire for the forward railings. I already touched up all paint and sealed my work in. I will paint the railing pieces after installation. I’m trying to finalize the hull so I can go ahead and make/install the masts. At some point in the nearish future, I need to put a highlight coat on the hull. That is when you VERY lightly drybrush white on the upper surfaces and edges of a model to give the impression of lighting and shadows. It should be done prior to installing the masts.
-
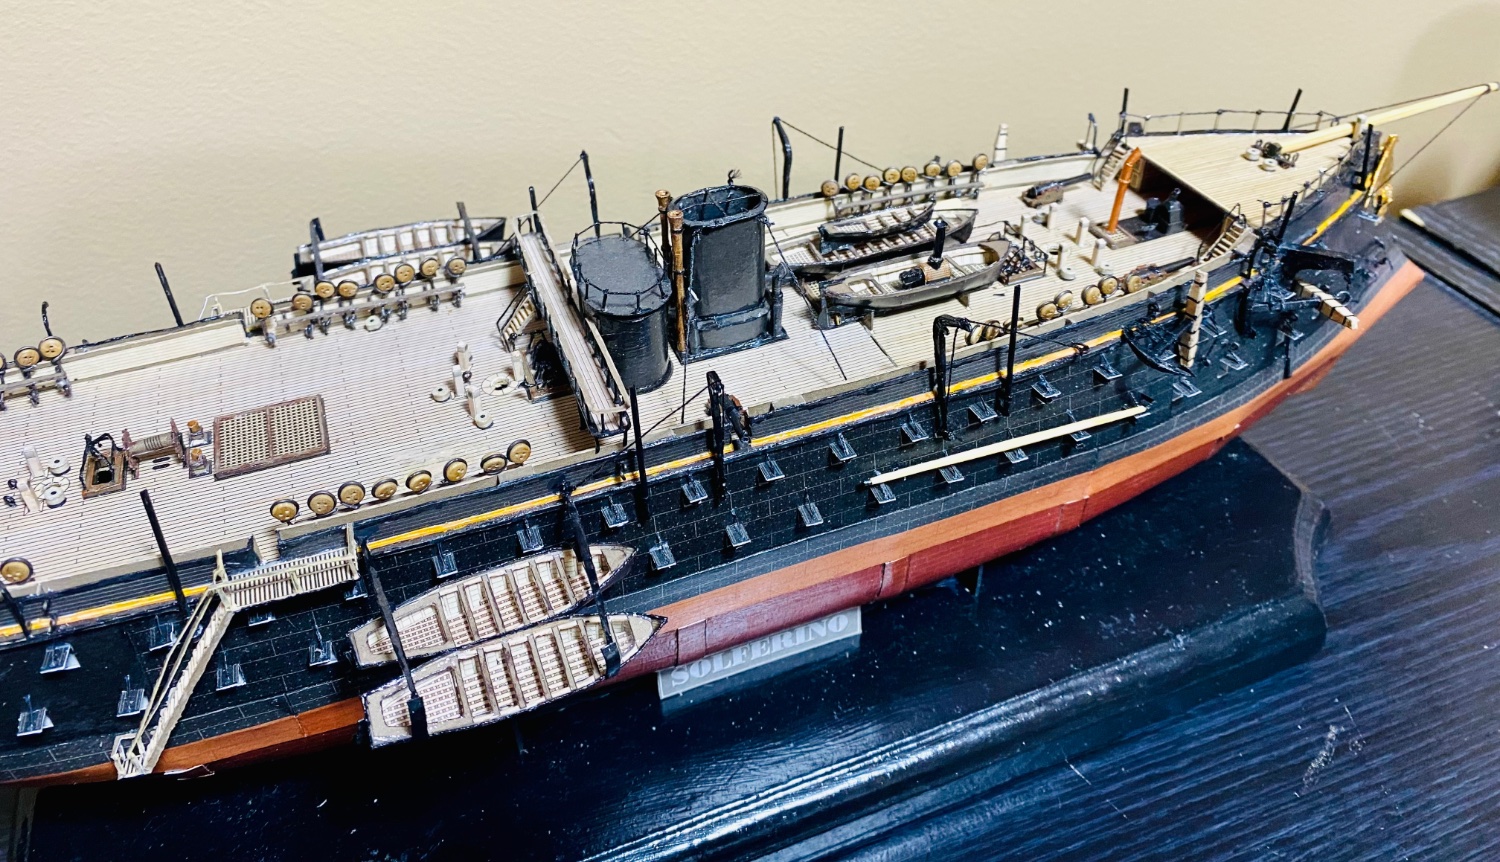
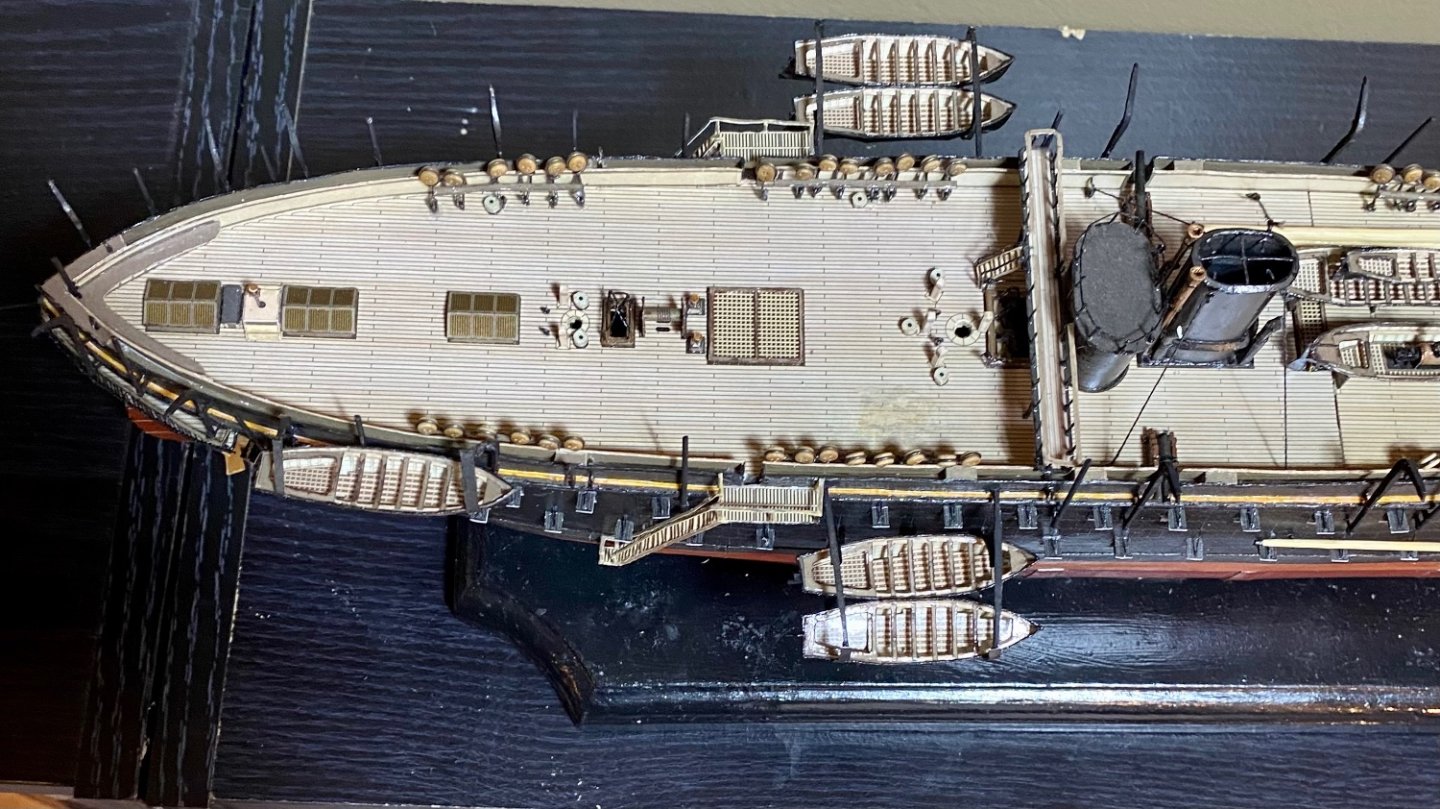
Thank you very much! I am adding ship’s boats to davits: A couple of the straps are too wide and I shouldn’t have made them from the thicker card. Oh, well, live and learn. In other news I touched up the black. The tan needs touched up and then the whole model needs sealed. Speaking of sealant, I just bought a couple cans of that Krylon Matte Spray sealant that @ccoyle recommended. Thank you very much for pointing me in the right direction. I am acquiring a pretty significant card model collection. I keep buying Shipyard kits. I can’t help it. They are so cheap to buy, but are such high quality. And with the 30th Anniversary combo packs, how can you pass them up? Even if they are 1/96 scale, card kits are so easy to resize at will and build them however you want to. Orel has a bunch of kits that I want as well. The same scaling issue applies there as well.

- 278 replies
-
- 11
-
-
Introduction - André Dethioux
GrandpaPhil replied to Wonko the Sane's topic in New member Introductions
Welcome! -
Welcome!
-
The Vanguard Sphinx looks incredible!
-
The drawing on the right is the side-on drawing of the first cant frames. They appear to take the shape of the curvature of the keel when set at an angle.
-
Valeriy, I greatly look forward to seeing the finish of the Varyag! It is one of the best builds that I have ever seen! Stay safe! Phil
-
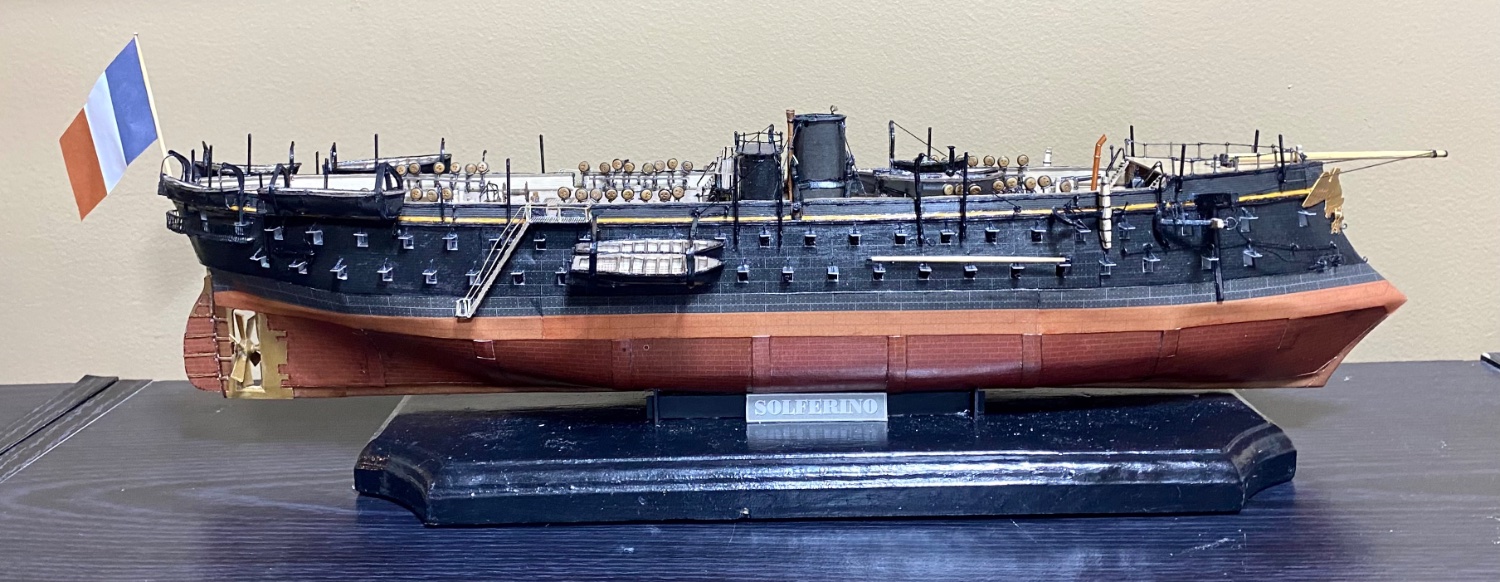
Thank you very much! Good news! Solferino is going into her final stages of construction! The Victory will be back on my workbench in the very near future!
-
Nicely done!