GrandpaPhil
-
Posts
6,158 -
Joined
-
Last visited
Content Type
Profiles
Forums
Gallery
Events
Everything posted by GrandpaPhil
-
I have had a lot of fun with card kits (and card modeling in general). The Shipyard 30th Anniversary combo sets are very nice. All of the Shipyard kits are very nice. I don’t think I have ever seen the level of detail in these kits, from any other kit manufacturer (at least from the ones I’ve built), in any medium. If you try one, you won’t be disappointed. Card lends itself very handily to ship models, both for kits and for scratch building. Also, there is not much difference between scratch and kit building with card ships (the same applies to wood ship models as well). So, it is an easy jump to scratch building if that is where your inclination lies.
-
Very cool build, OC!
-
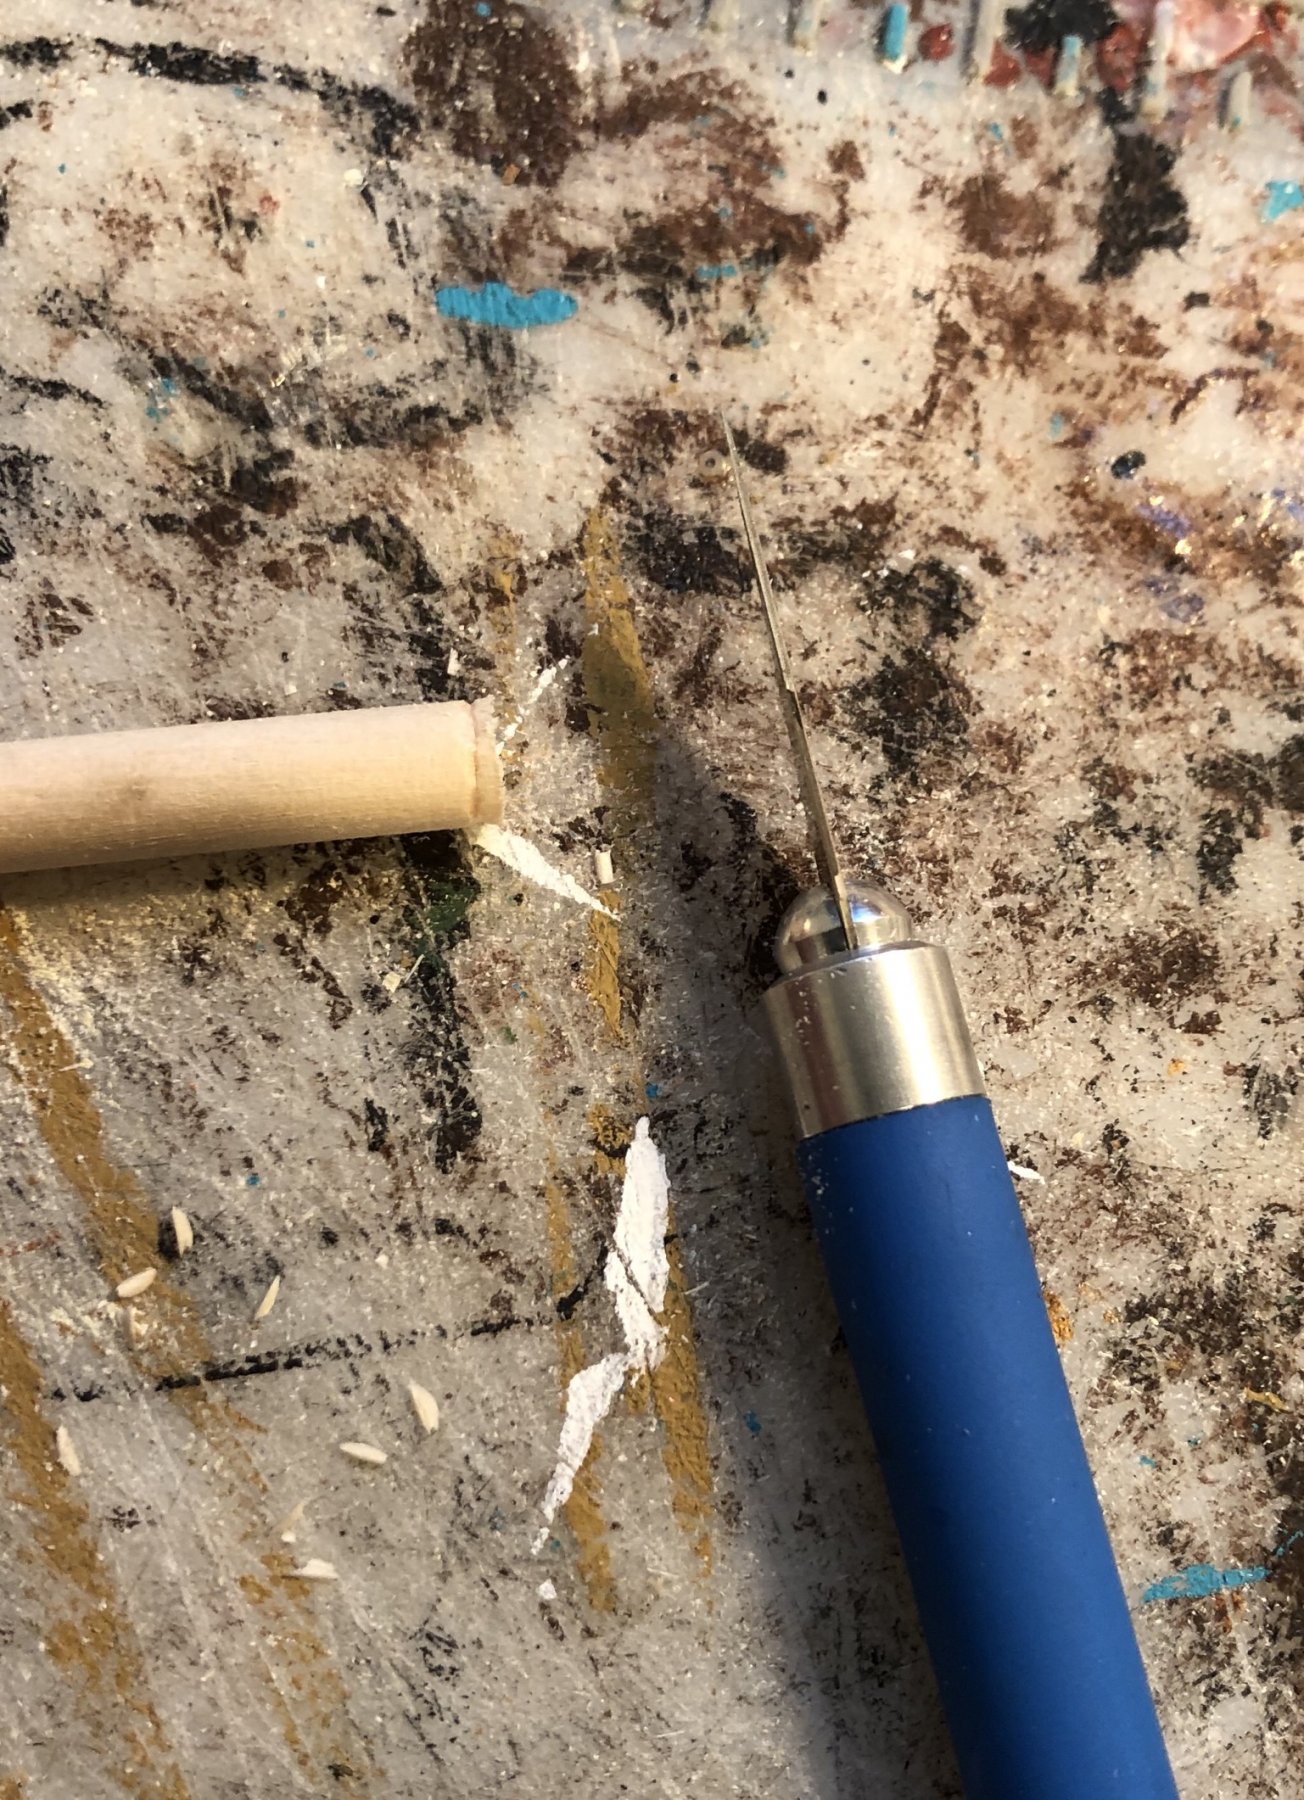
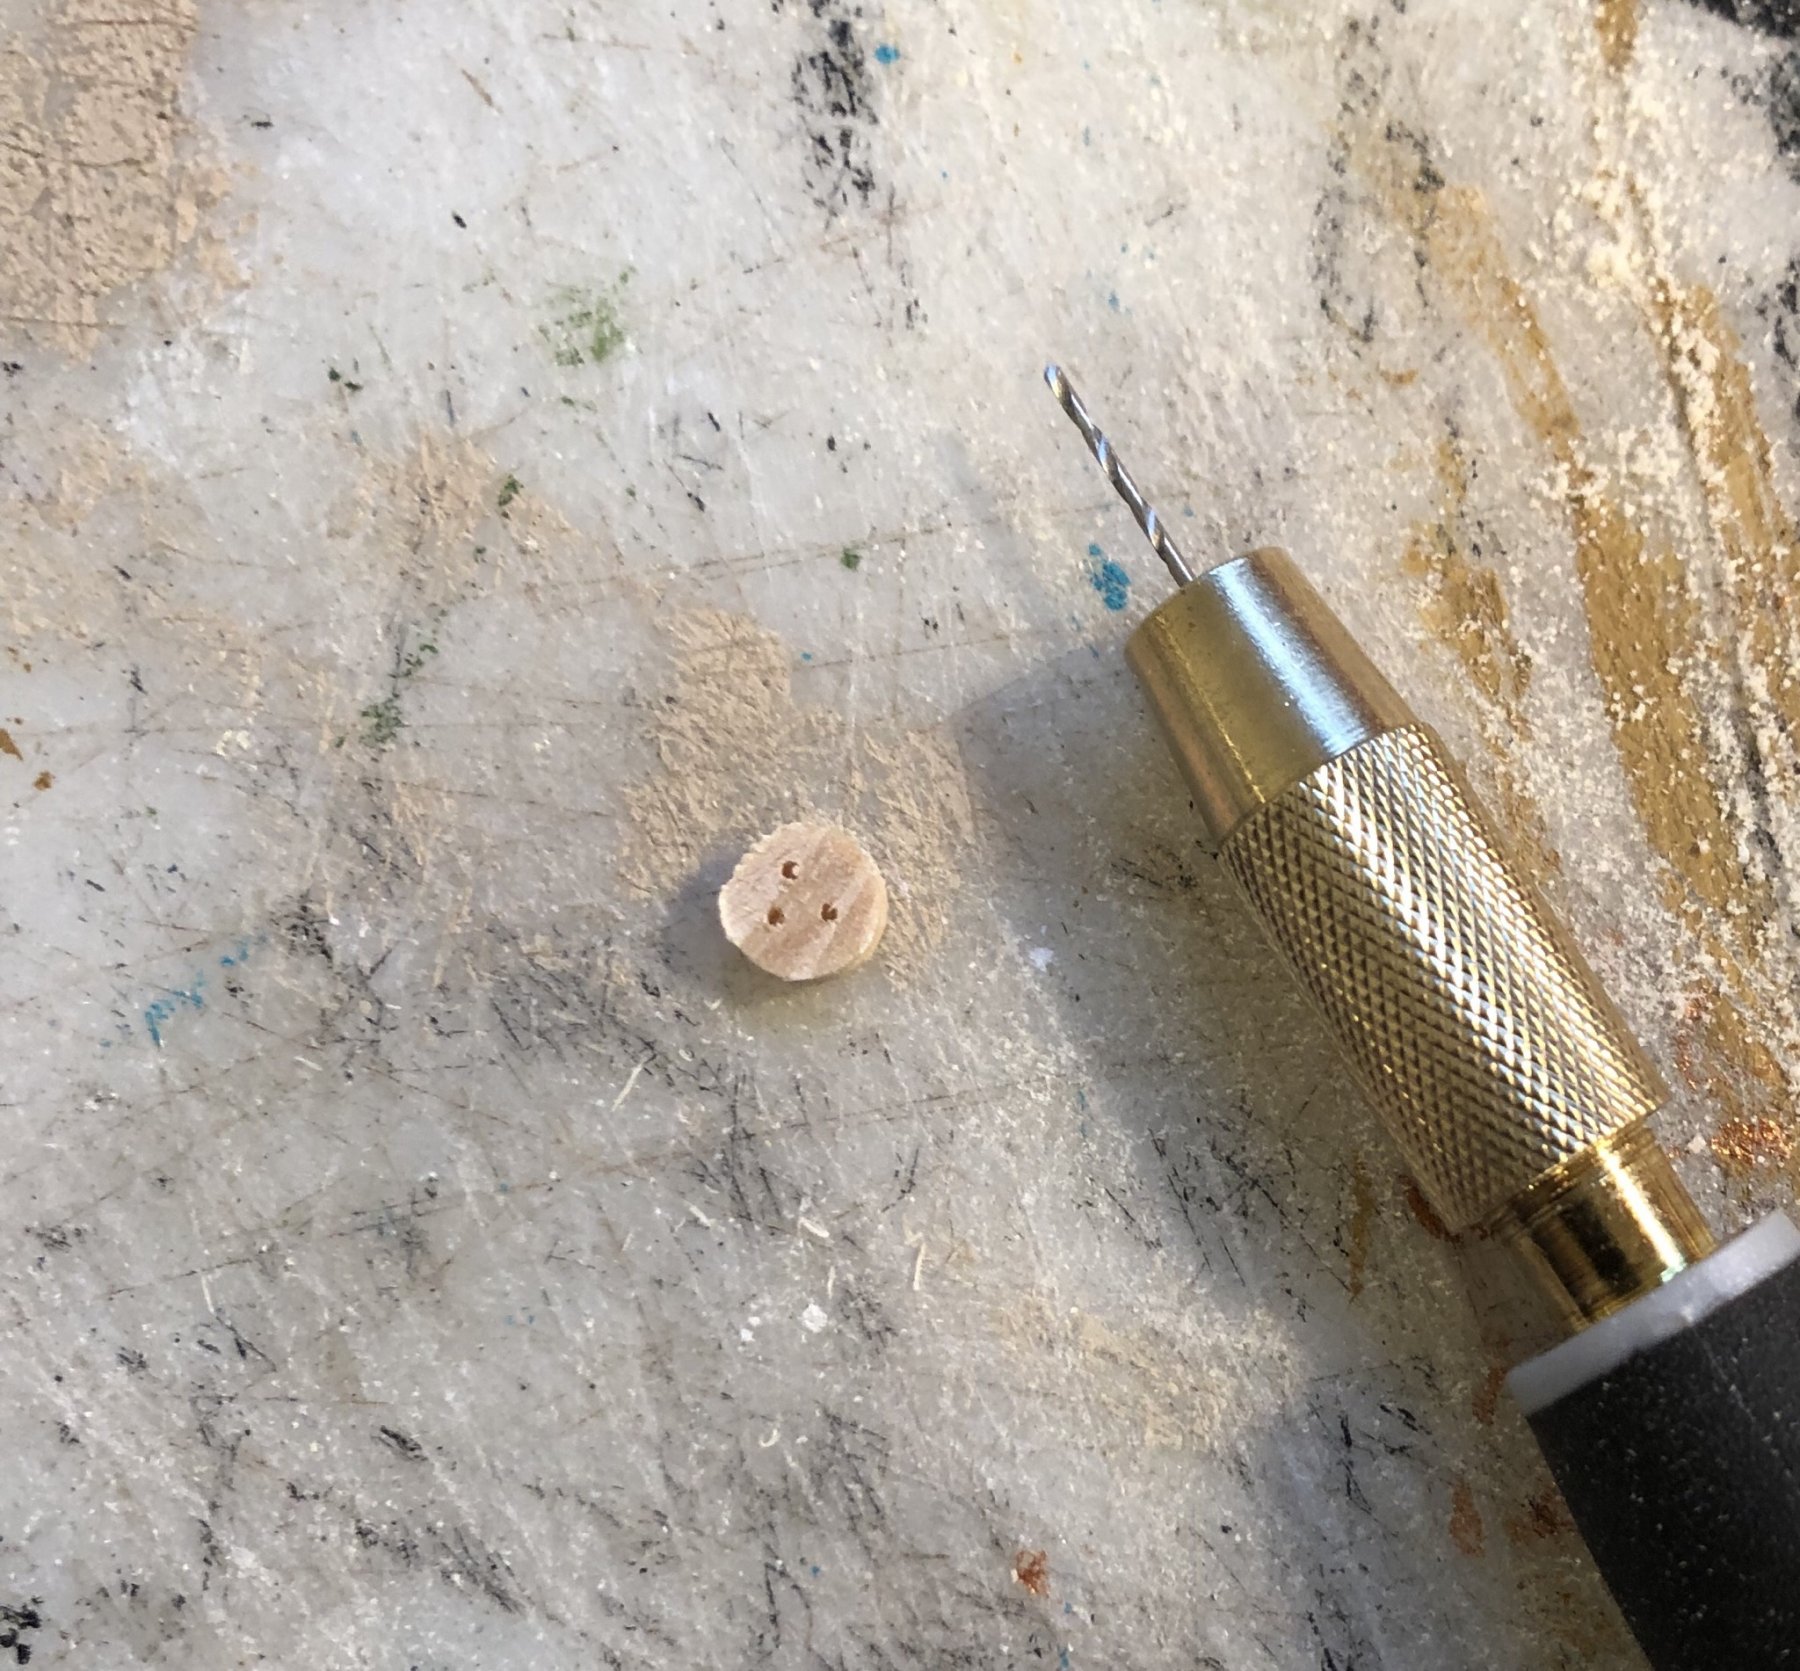
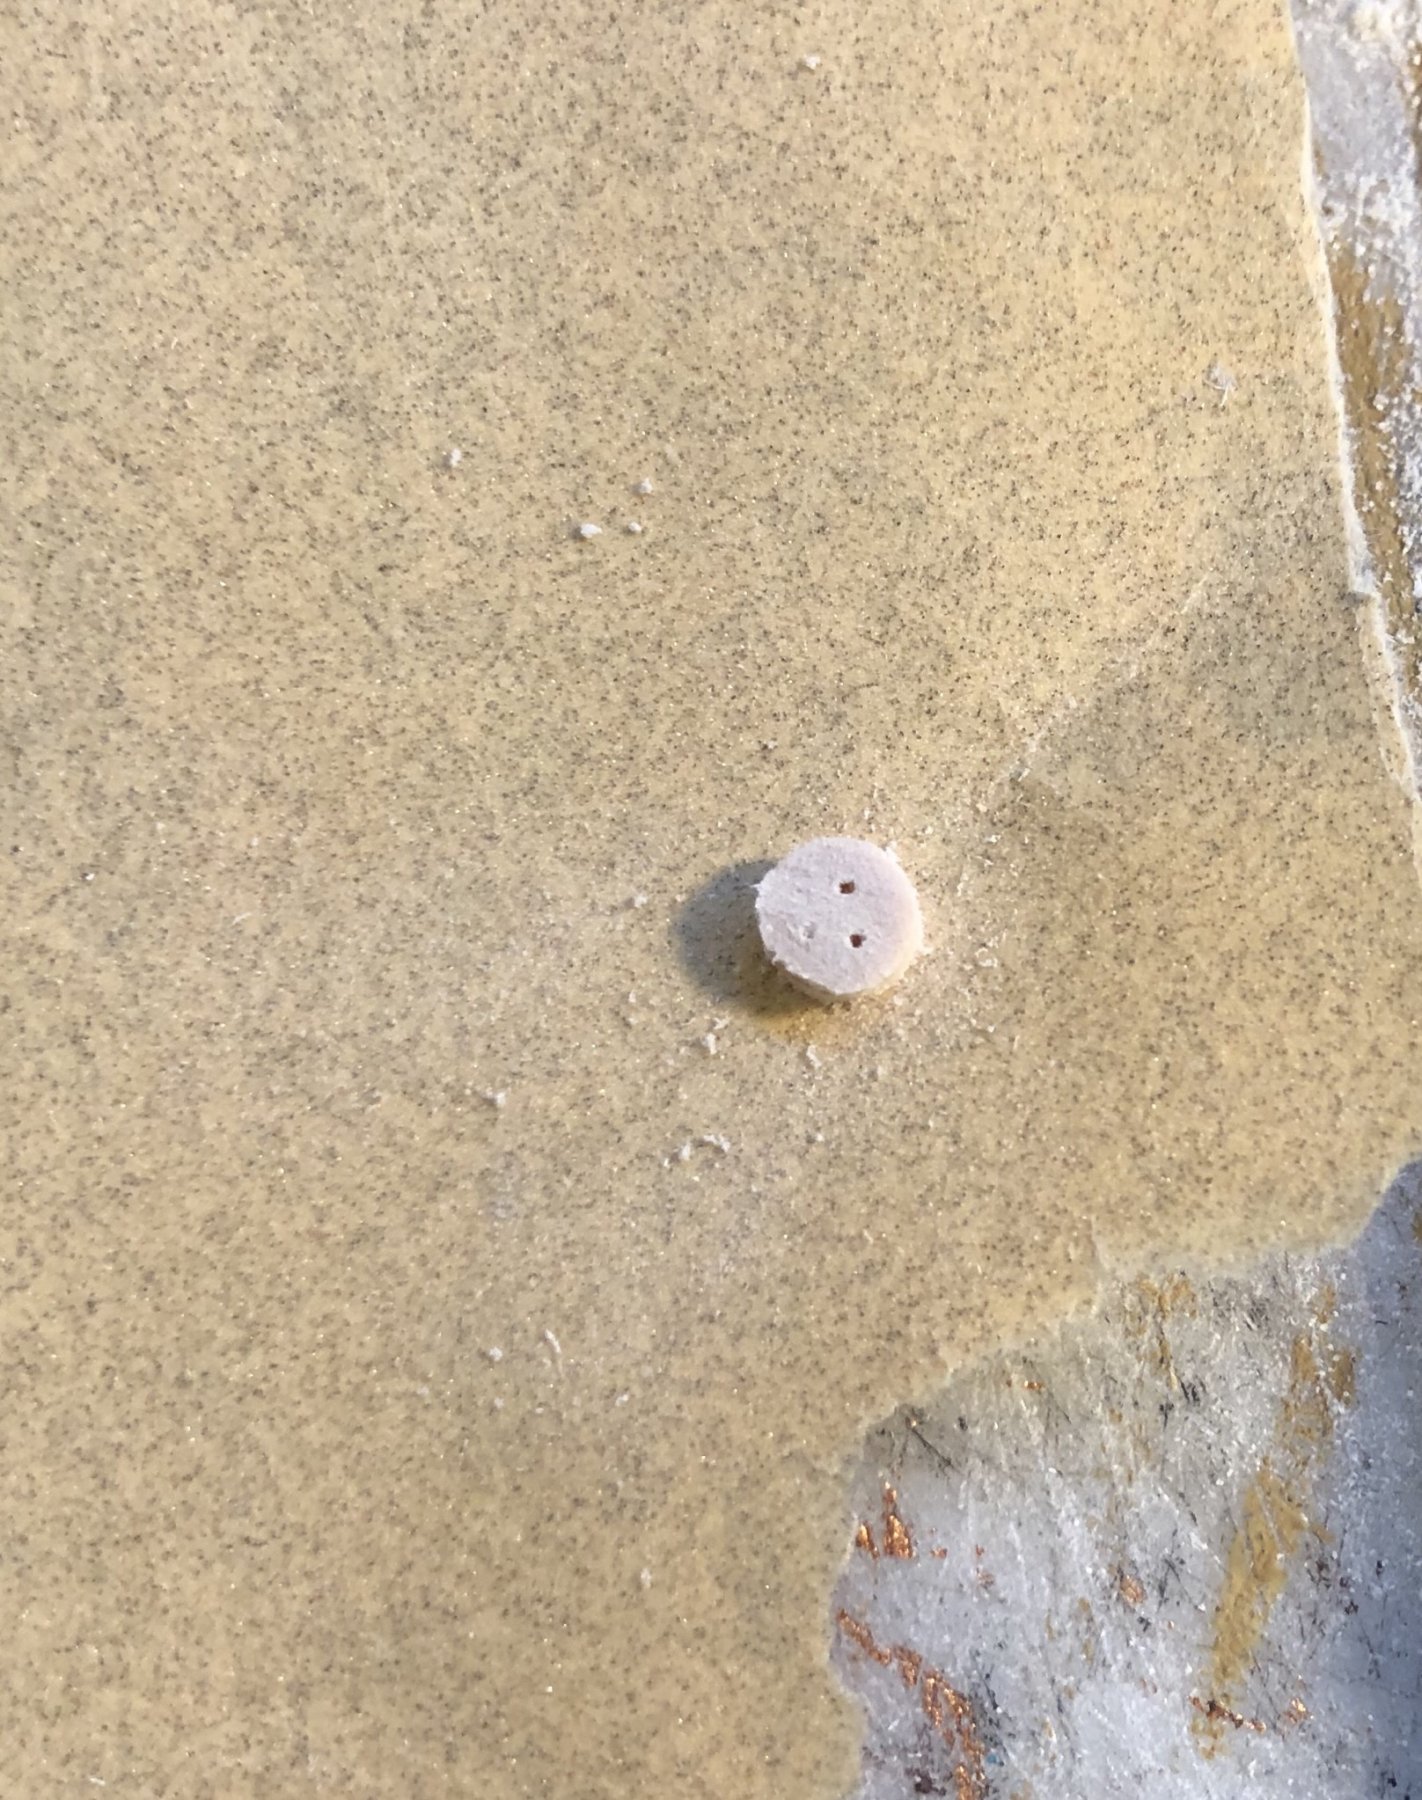
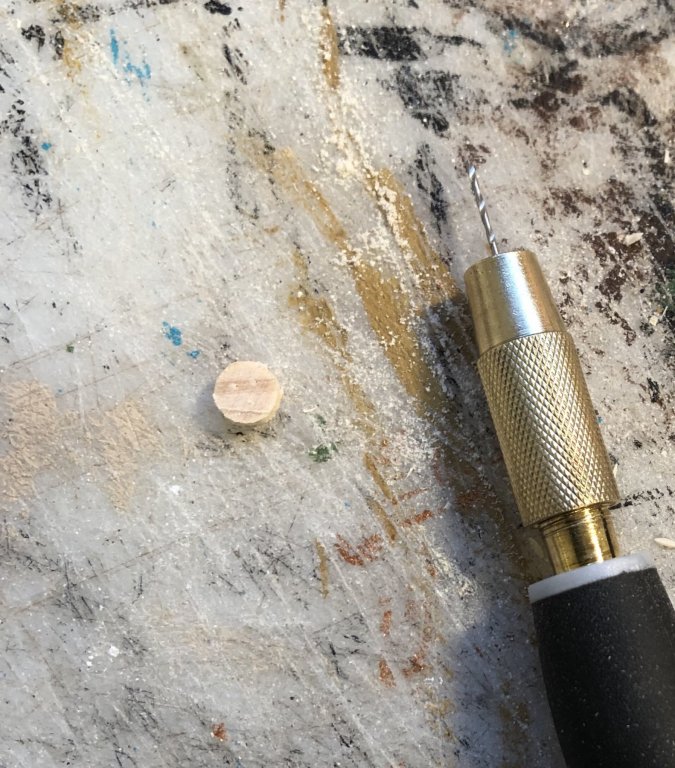
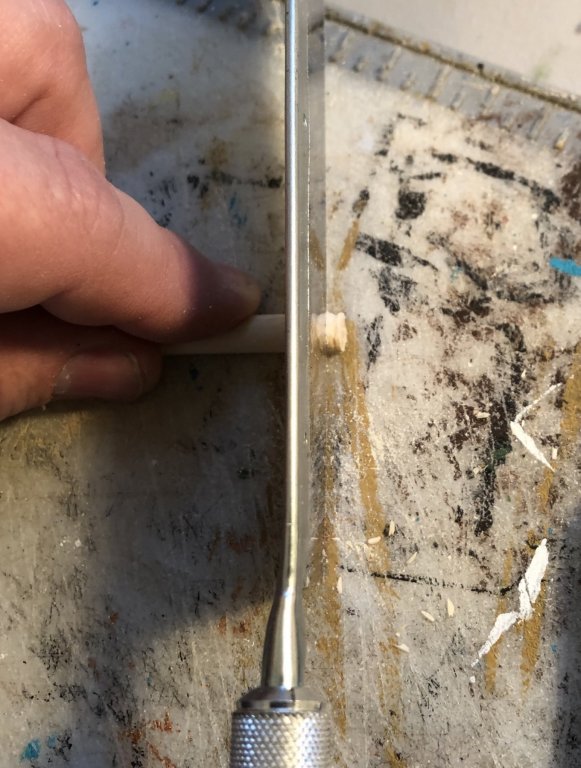
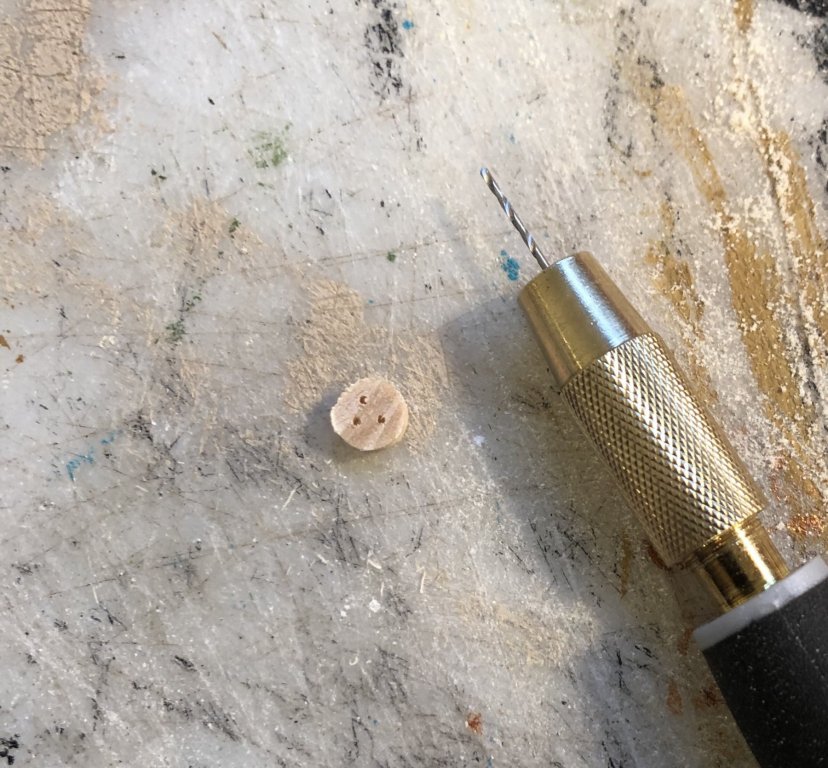
That’s how I did it using a knife, a pinvise and a razor saw. It would work for the 5mm, but for smaller deadeyes, it’s tricky unless you have a high density wood. I usually buy smaller deadeyes.


-
Billing Boats Zwarte Zee - rare find
GrandpaPhil replied to popeye the sailor's topic in Wood ship model kits
Very nice find! I’ve seen your work before, it is excellent! I’m sure that the lack of the fittings kit won’t slow you down in the least bit! I’m looking forward to seeing the build log for this one! -
I like to seal brass (as well as other metal/wood/plastic/resin/card) fittings with a sealant (so the paint sticks better) and then have a paint-a-thon. Then, you can just assembly line them and paint a whole bunch at one time. I should also state that I typically brush paint with acrylics.
-
Welcome back!
-
Welcome!
-
Marc, Soleil Royal is looking great! Your carvings are fantastic!
- 2,699 replies
-
- 7
-

-

-
- heller
- soleil royal
- (and 9 more)
-
Hello from Minnesota, a few modeling questions
GrandpaPhil replied to Scratchie's topic in New member Introductions
Welcome! -
I personally like sails. It adds something to the model, for me at least. So, I make sails for all my models (I like 1/72 scale models, generally speaking). Having said that, it’s a lot of work and sometimes they come out right, sometimes they don’t. I just bought the sail making supplement from Seawatch Books, to learn how to make sails from silk span. The test model is going to be my 1/200 Solferino. I sewed the other ones I’ve made for my other models.
-
Rob, Congratulations! Incredible work!
-
Very cool! Congratulations!
-
I use Mod Podge to seal metal or soft plastic parts or miniatures to get paint to stick. I let it dry for 24 hours before painting. Just make sure you clean the parts or miniatures thoroughly first.
-
Taubman’s plans sells them too. http://www.taubmansonline.com
-
I have some of their old lead models and they are phenomenal!
-
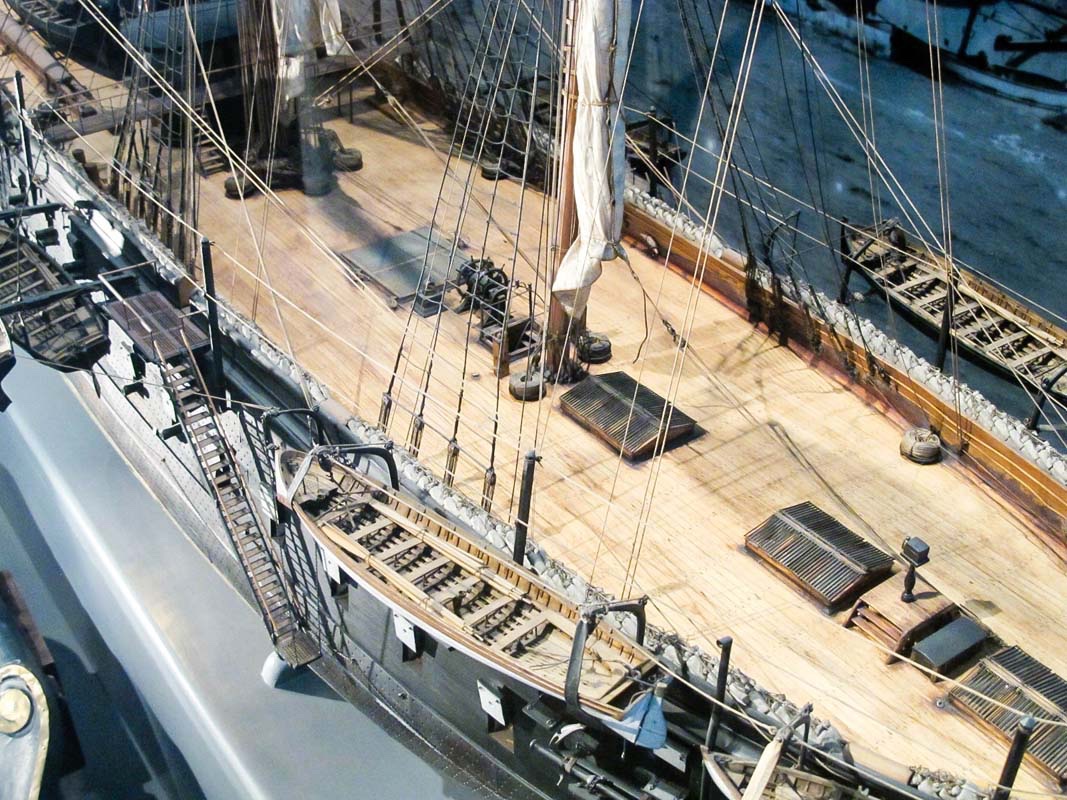
Those pieces of wire are a life saver. I first started using them with my Prince de Neufchatel. However, the tricky part about this particular model will be rigging the lanyards inside the bulwarks, instead of outside, like normal. This is the only ship I’ve ever seen like this. It will make tensioning the shrouds interesting, especially with the small deadeyes. Although, it is also the only ironclad that I have ever built. So, maybe this became a thing in the latter half of the 19th century. I will have to do more research.
-
I don’t really mind the small deadeyes. The tricky part is that the channels are internal! I have no ideas how I’m going to rig the lanyards on the deadeyes! That is going to be very much a case of make it up as I go along!
-
I have used metal working shears for cutting parts out of brass sheets before, with great success. That was how the stern and quarter galleries came on my Mantua Victory.
-
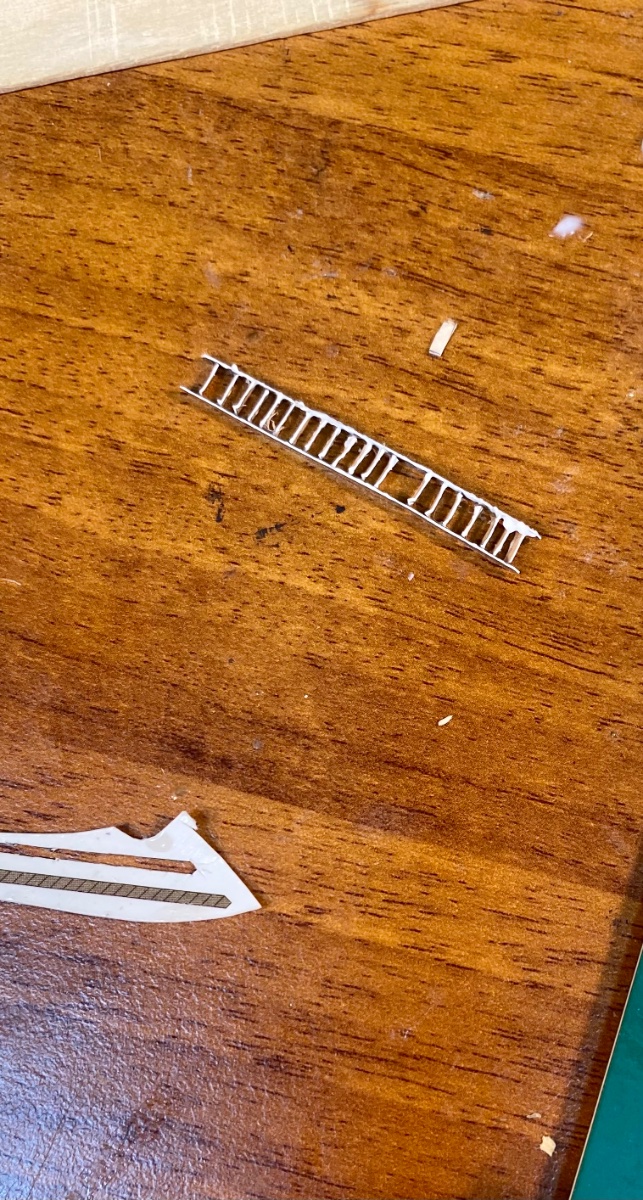
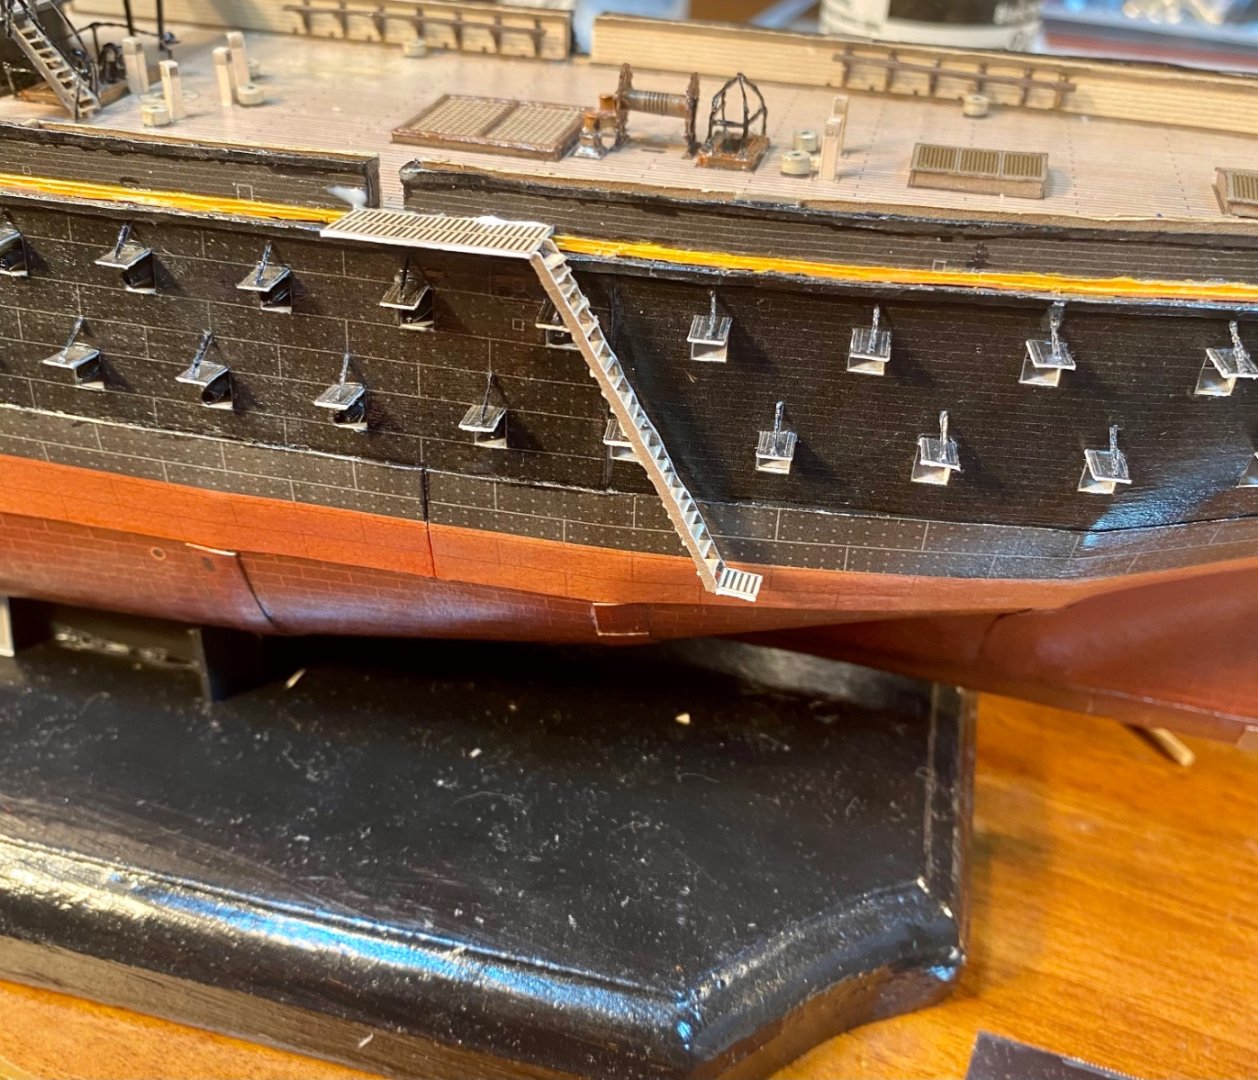
For future reference, balsa is a definite no-no for model jigs: It didn’t work particularly well (it disintegrated when I took my ladder off of it). And, it became a single use item. But, I salvaged the ladder (still pending railings).

- 278 replies
-
- 15
-
-
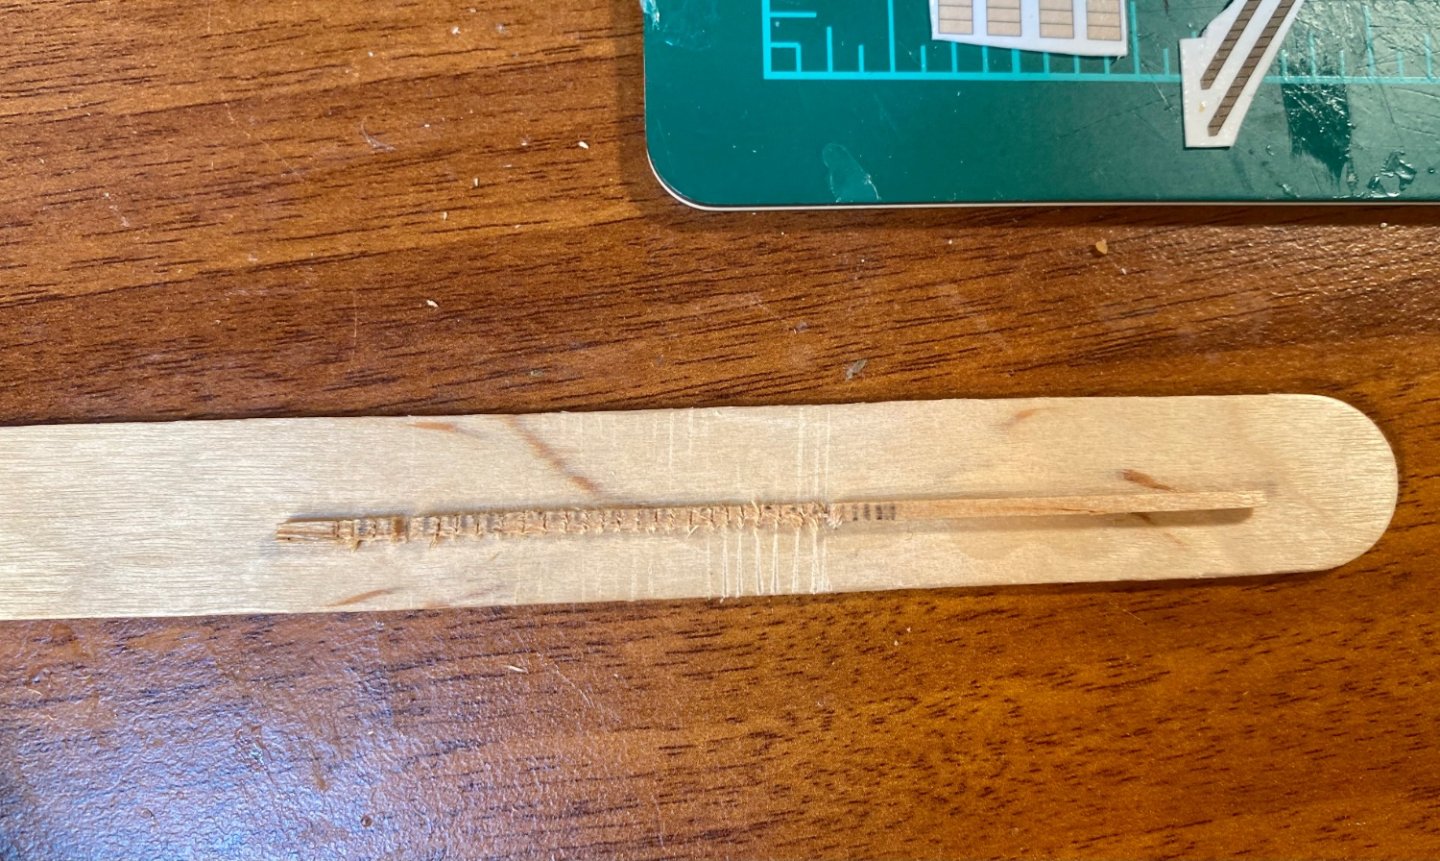
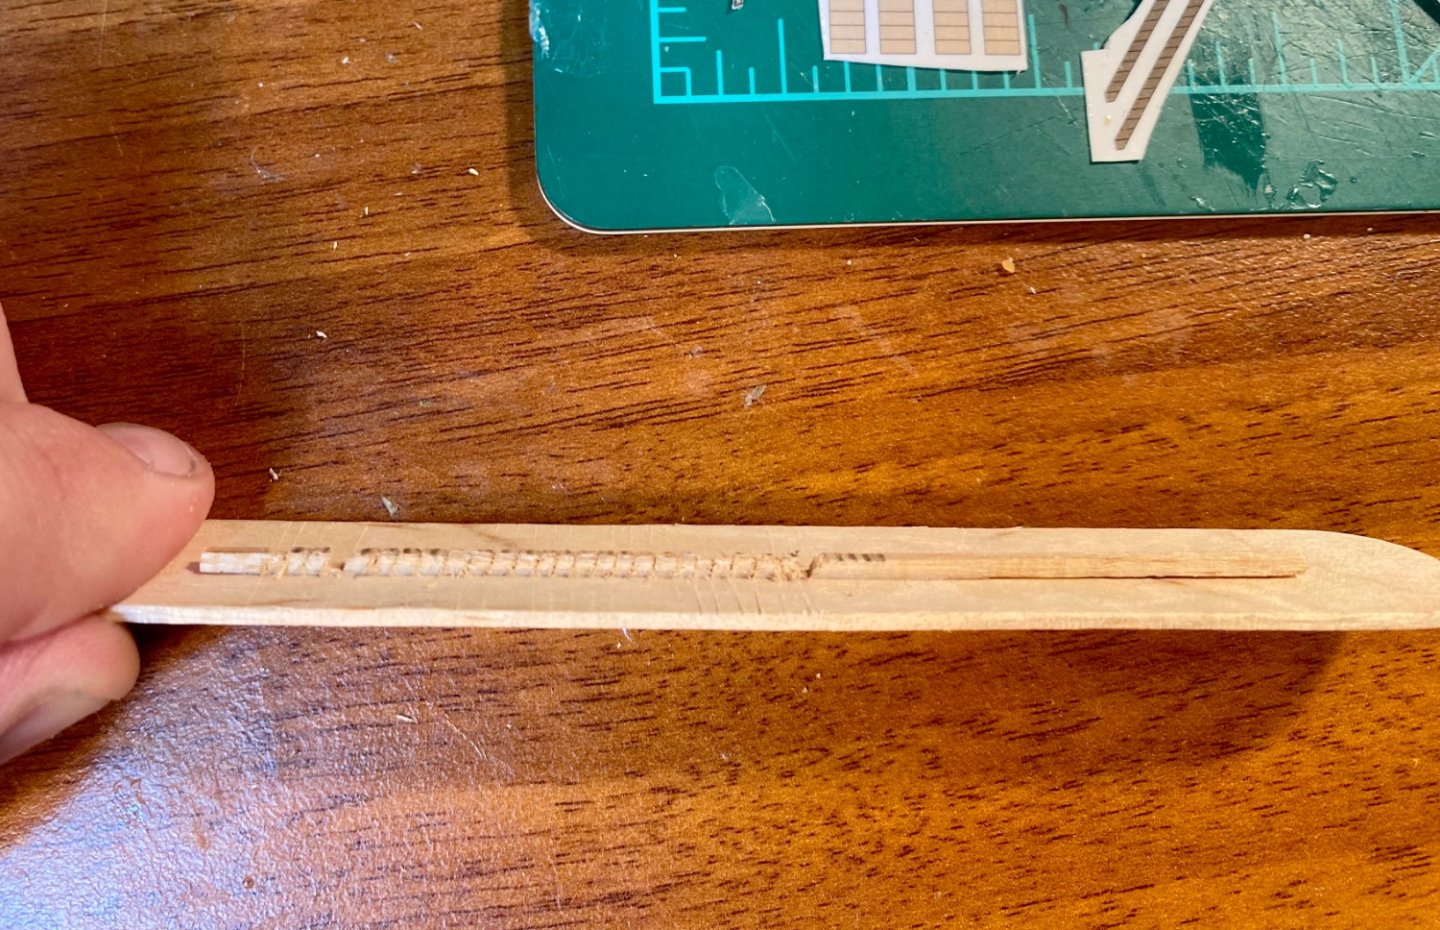
I finally finished my puzzle. It took me nearly three weeks. A typical 2000 piece puzzle takes me about 4 days. Continuing on, I made another ladder jig a la Zu Monfeld: It doesn’t look like much, but it will work most adequately. Although, I probably shouldn’t have used balsa for the top strip. Oh well, live and learn. Time to make the boarding ladders! Also, until Model Expo discontinues selling ZHL products, those deadeyes that I bought are the last Model Shipways products that I will buy.