


SIDEWAYS SAM
-
Posts
248 -
Joined
-
Last visited
Content Type
Profiles
Forums
Gallery
Events
Posts posted by SIDEWAYS SAM
-
-
Waterways and king plank fitted to gun deck. I tried bleaching the strip walnut but this was a complete failure.
Wrong type of walnut or weak European bleach. Will be using this for hull first planking so won't be wasted.
Gone for 1mm lime for the planking and 2mm thick for the waterways. These have been edge bevelled to
1mm thick adjacent to planking.
The king plank is symmetrical at the mast locations - photo taken from an unfortunate angle.
Sam.
- Edwardkenway, BobG and marktiedens
-
 3
3
-
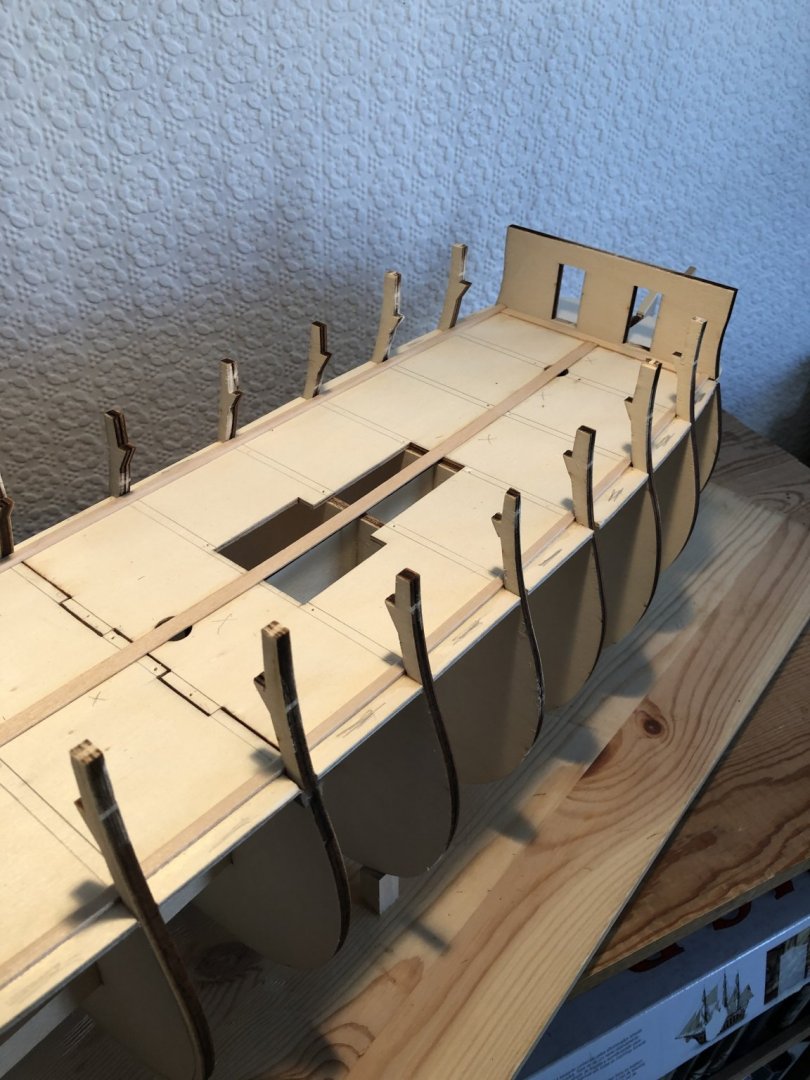
Gun deck positioned and glued. Before planking I will fit the hatch coamings covers and gratings.
Looks better if the planking butts up to the framing rather than plonk the hatch on top.
Also will need to start experimenting with bleaching the deck planking (good tip for using up stock walnut
from marktiedens postings for this kit).
The deck fitted much better than I expected and, the ply sheeting was excellent.

- Edwardkenway, sferoida, BobG and 2 others
-
5
-
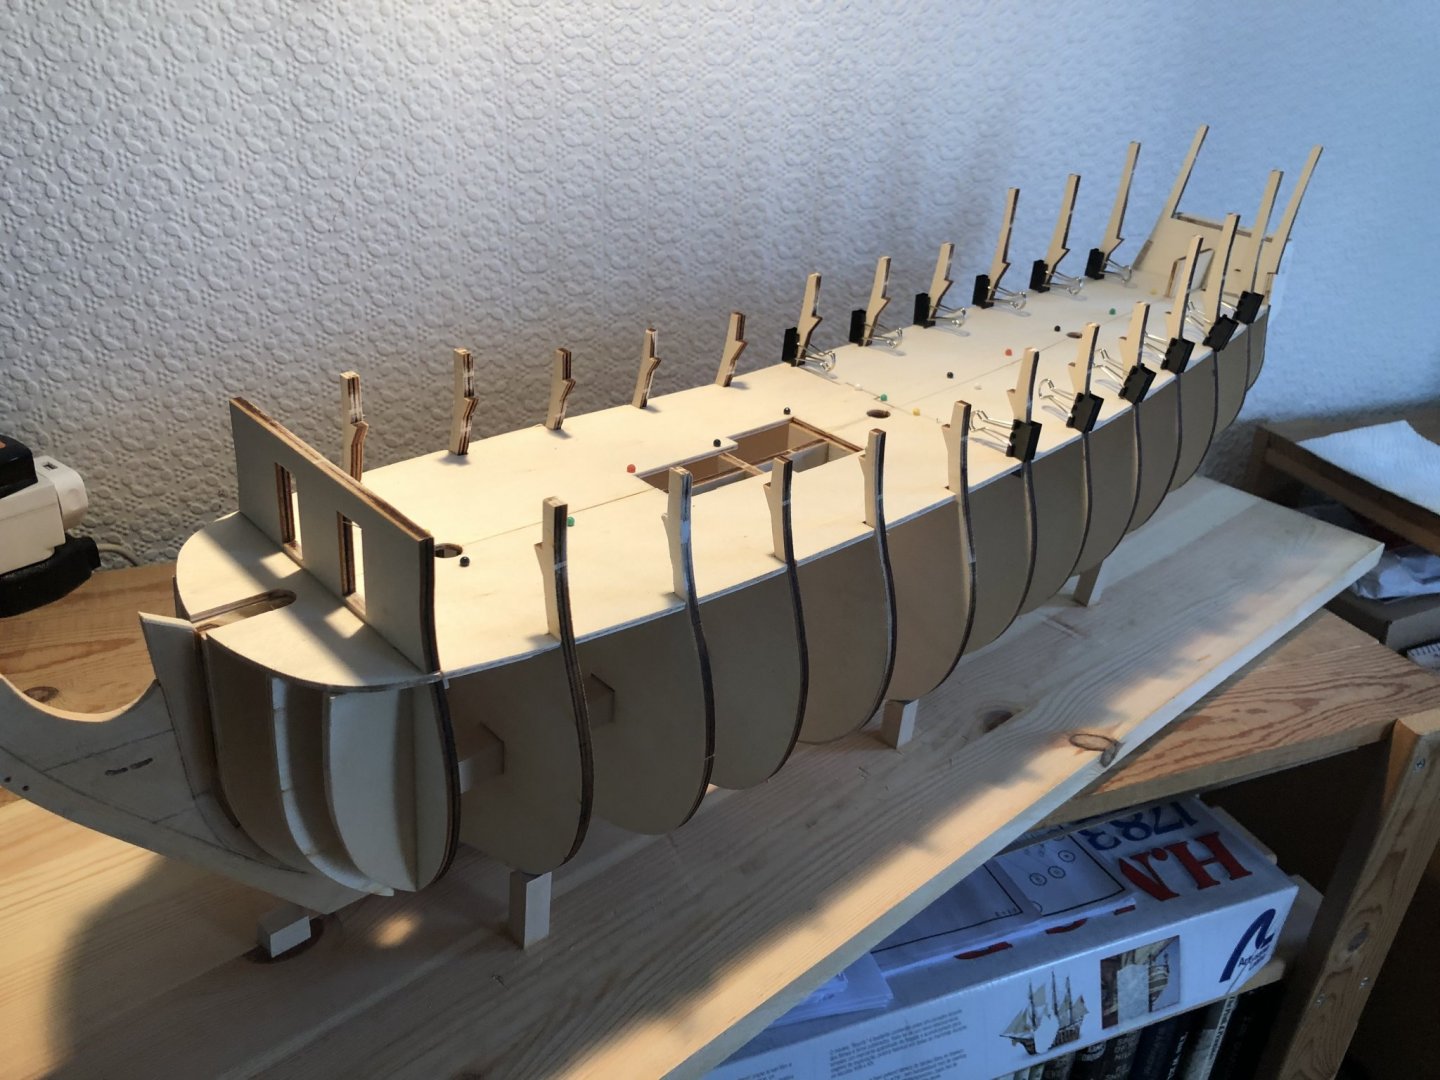
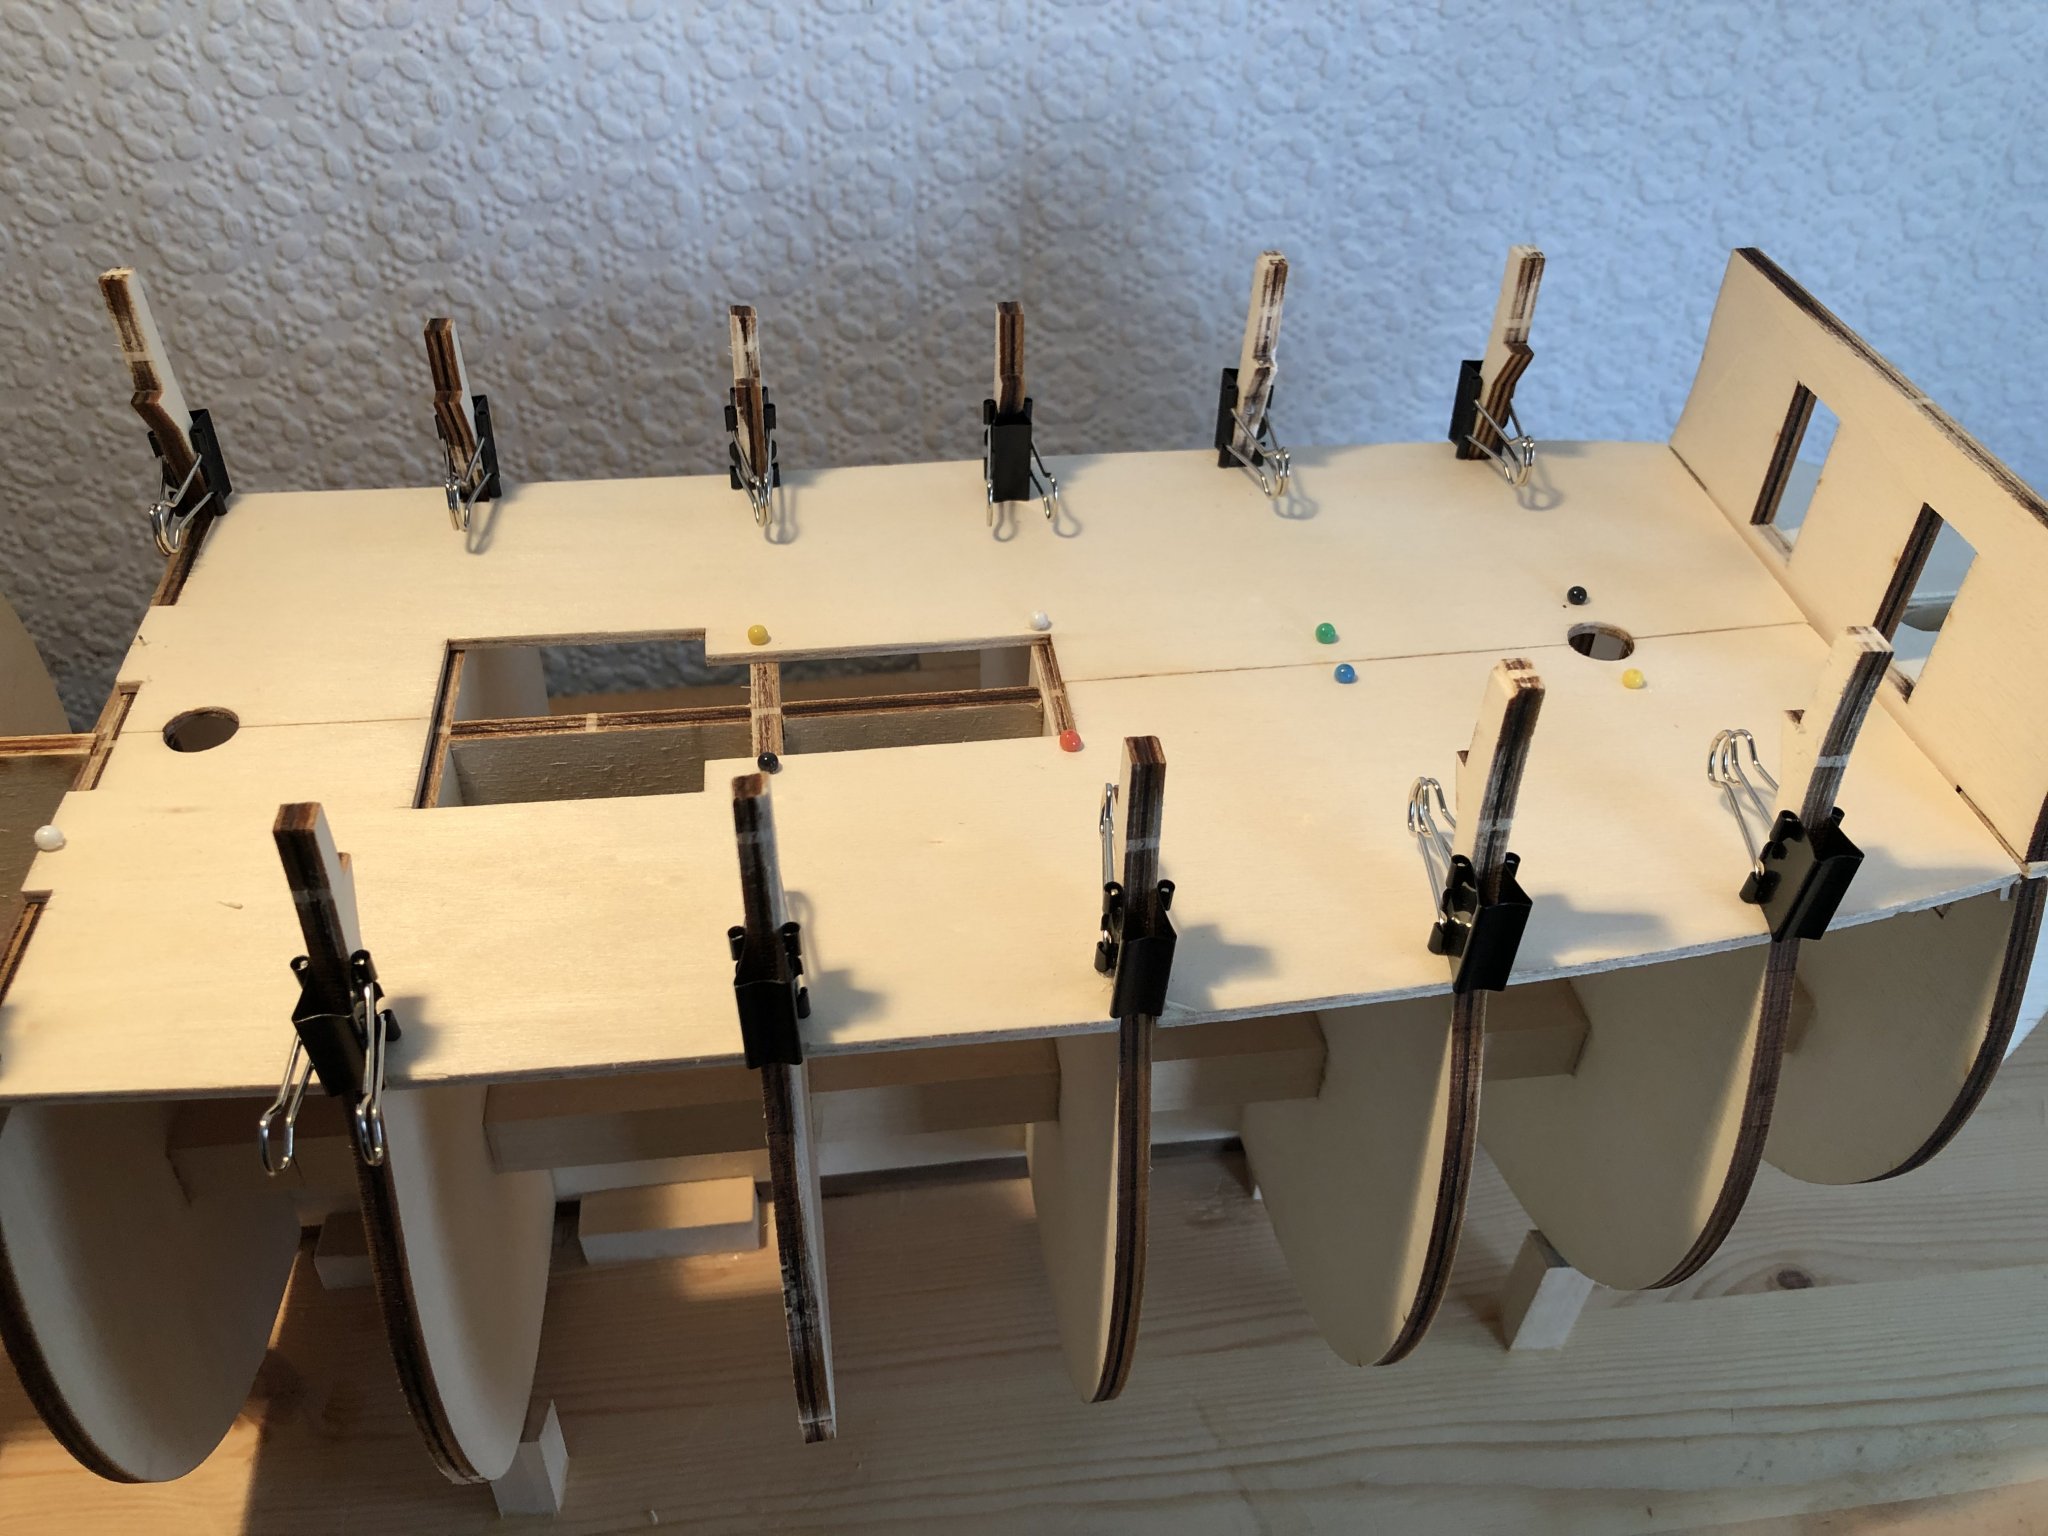
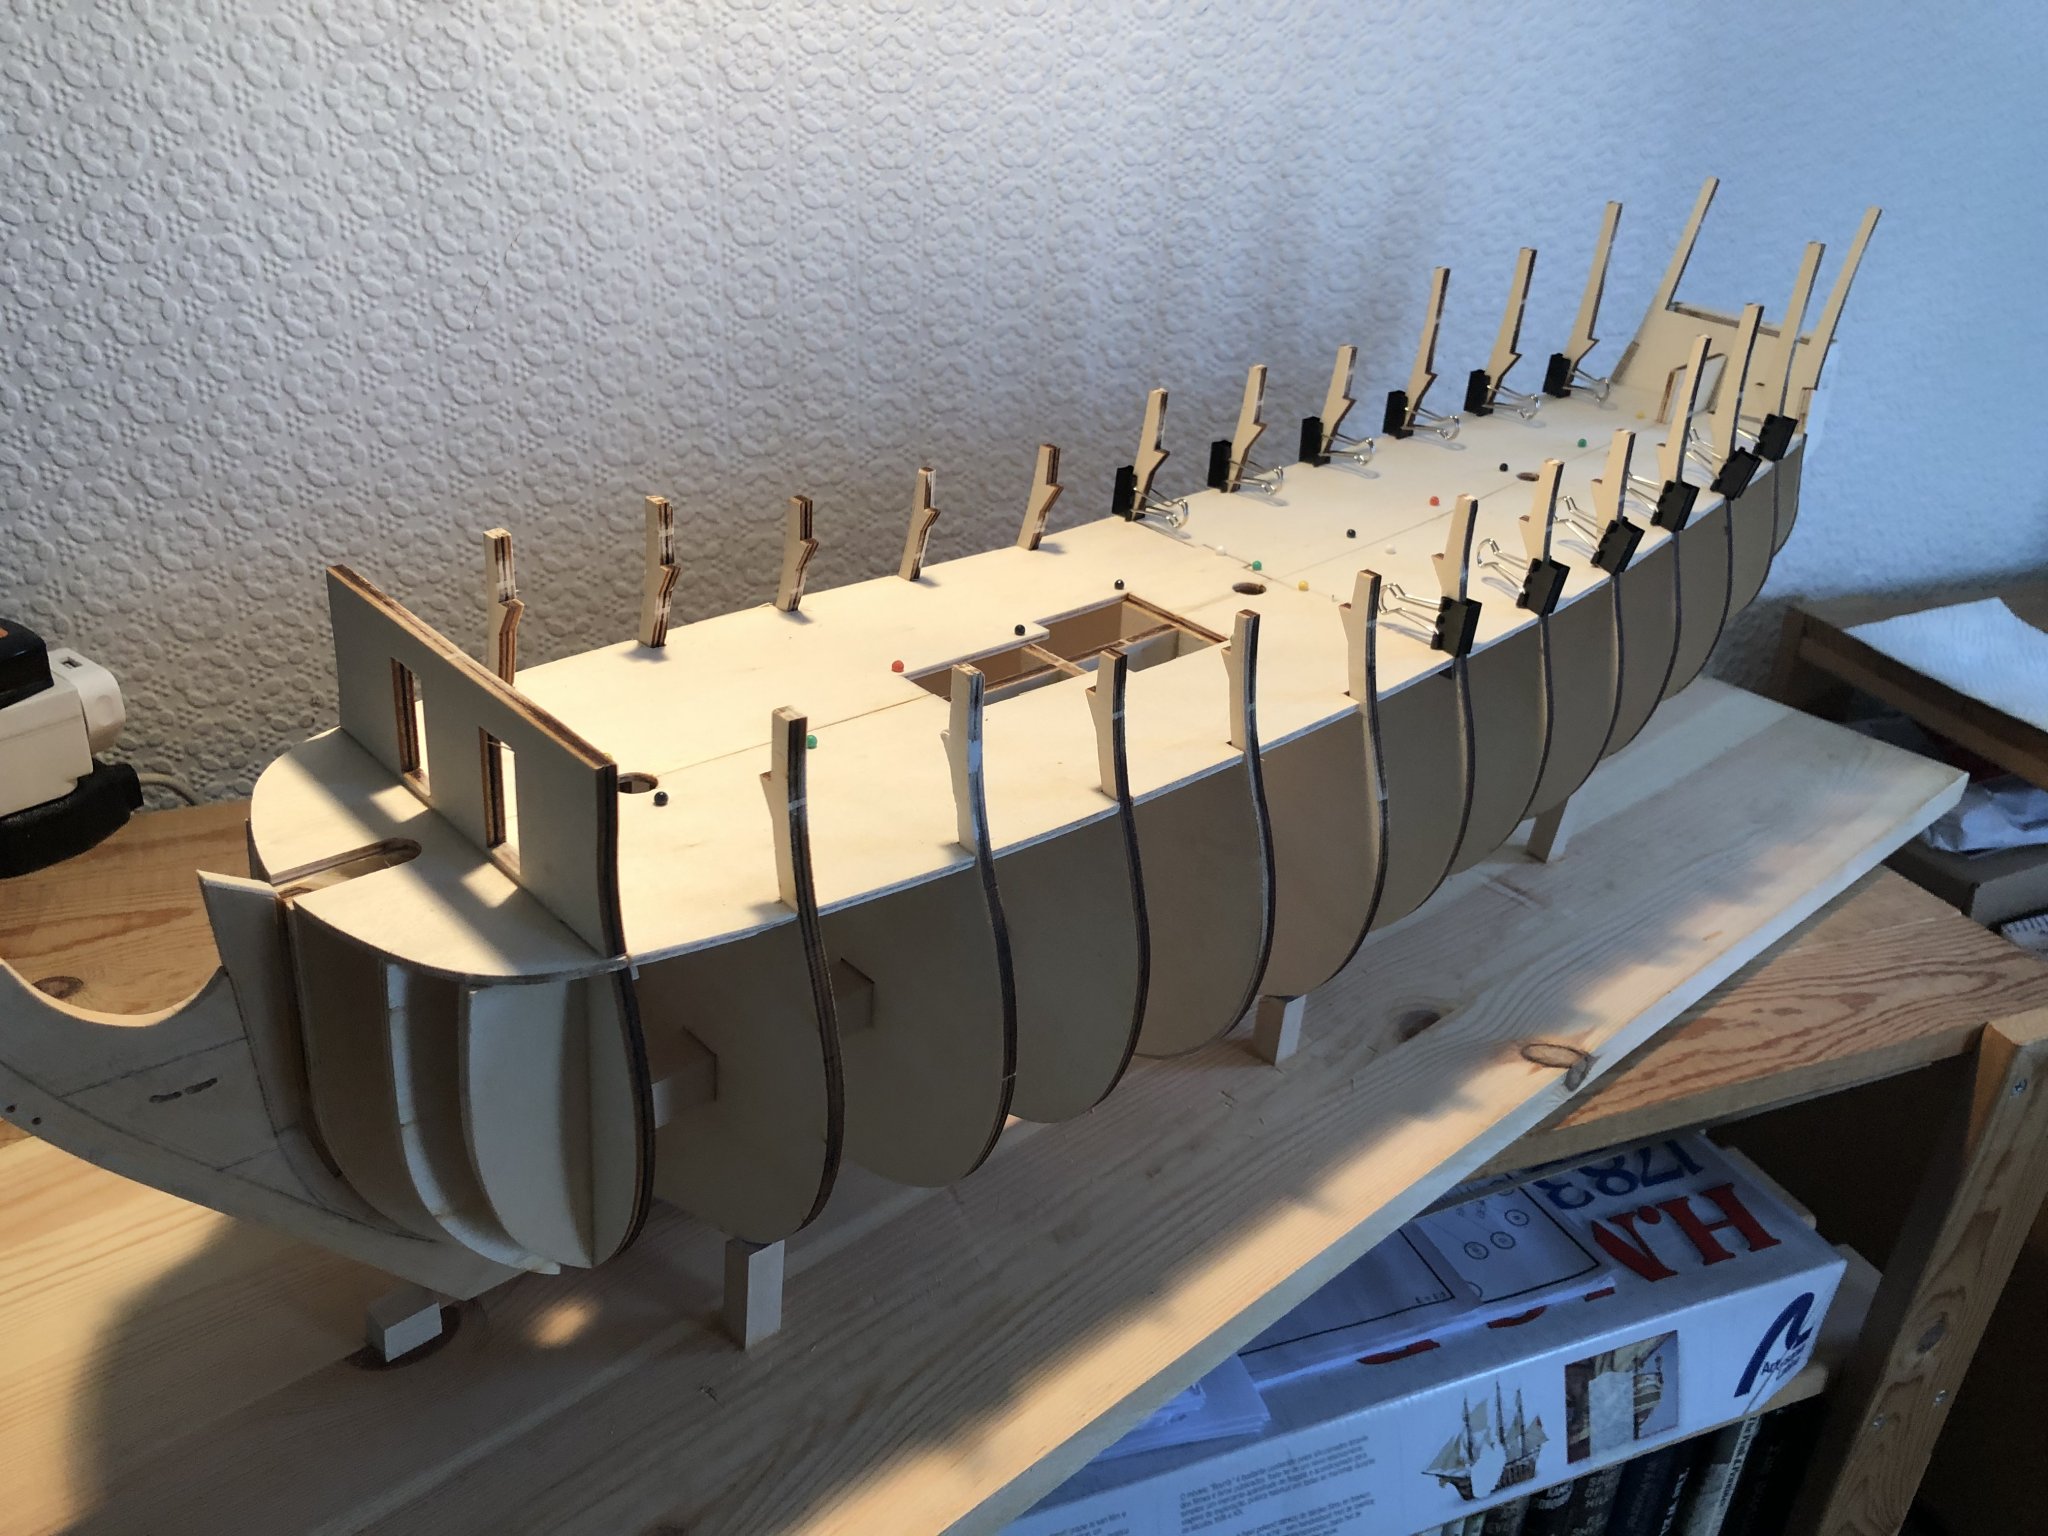
 Basic carcass finished, next step is to fit the lower gundeck. This will be added before the deck is planked.
Still considering material choice for this. Marks solution of bleachingstock walnut strip is favourite.
I have a lot in stock from previous builds and it seems warp free. Also considering fitting a waterway
to this deck - if it goes well I will do the same for upper decks.
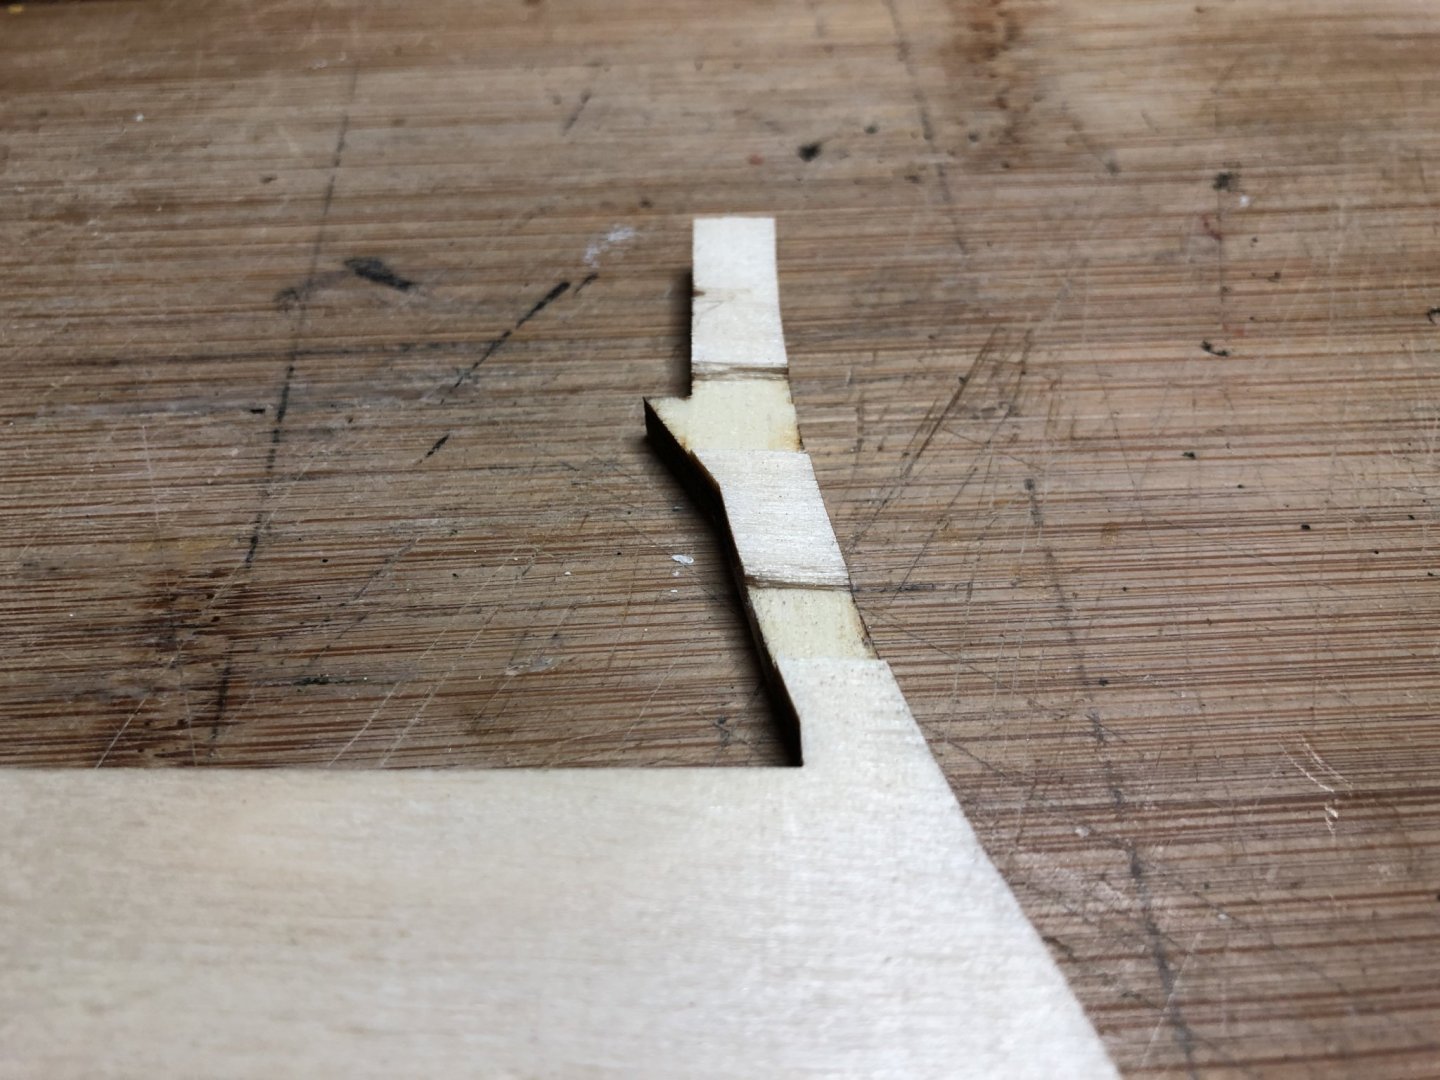
Stiffeners either side of the stem have been rebated to suit the bowsprit (fitted temporarily).
Easier now than later.
Second photo shows stern with additional supports for planking adjacent to rudder housing.
Again rudder located for photo.
Sam
- Edwardkenway, marktiedens and BobG
-
3
-
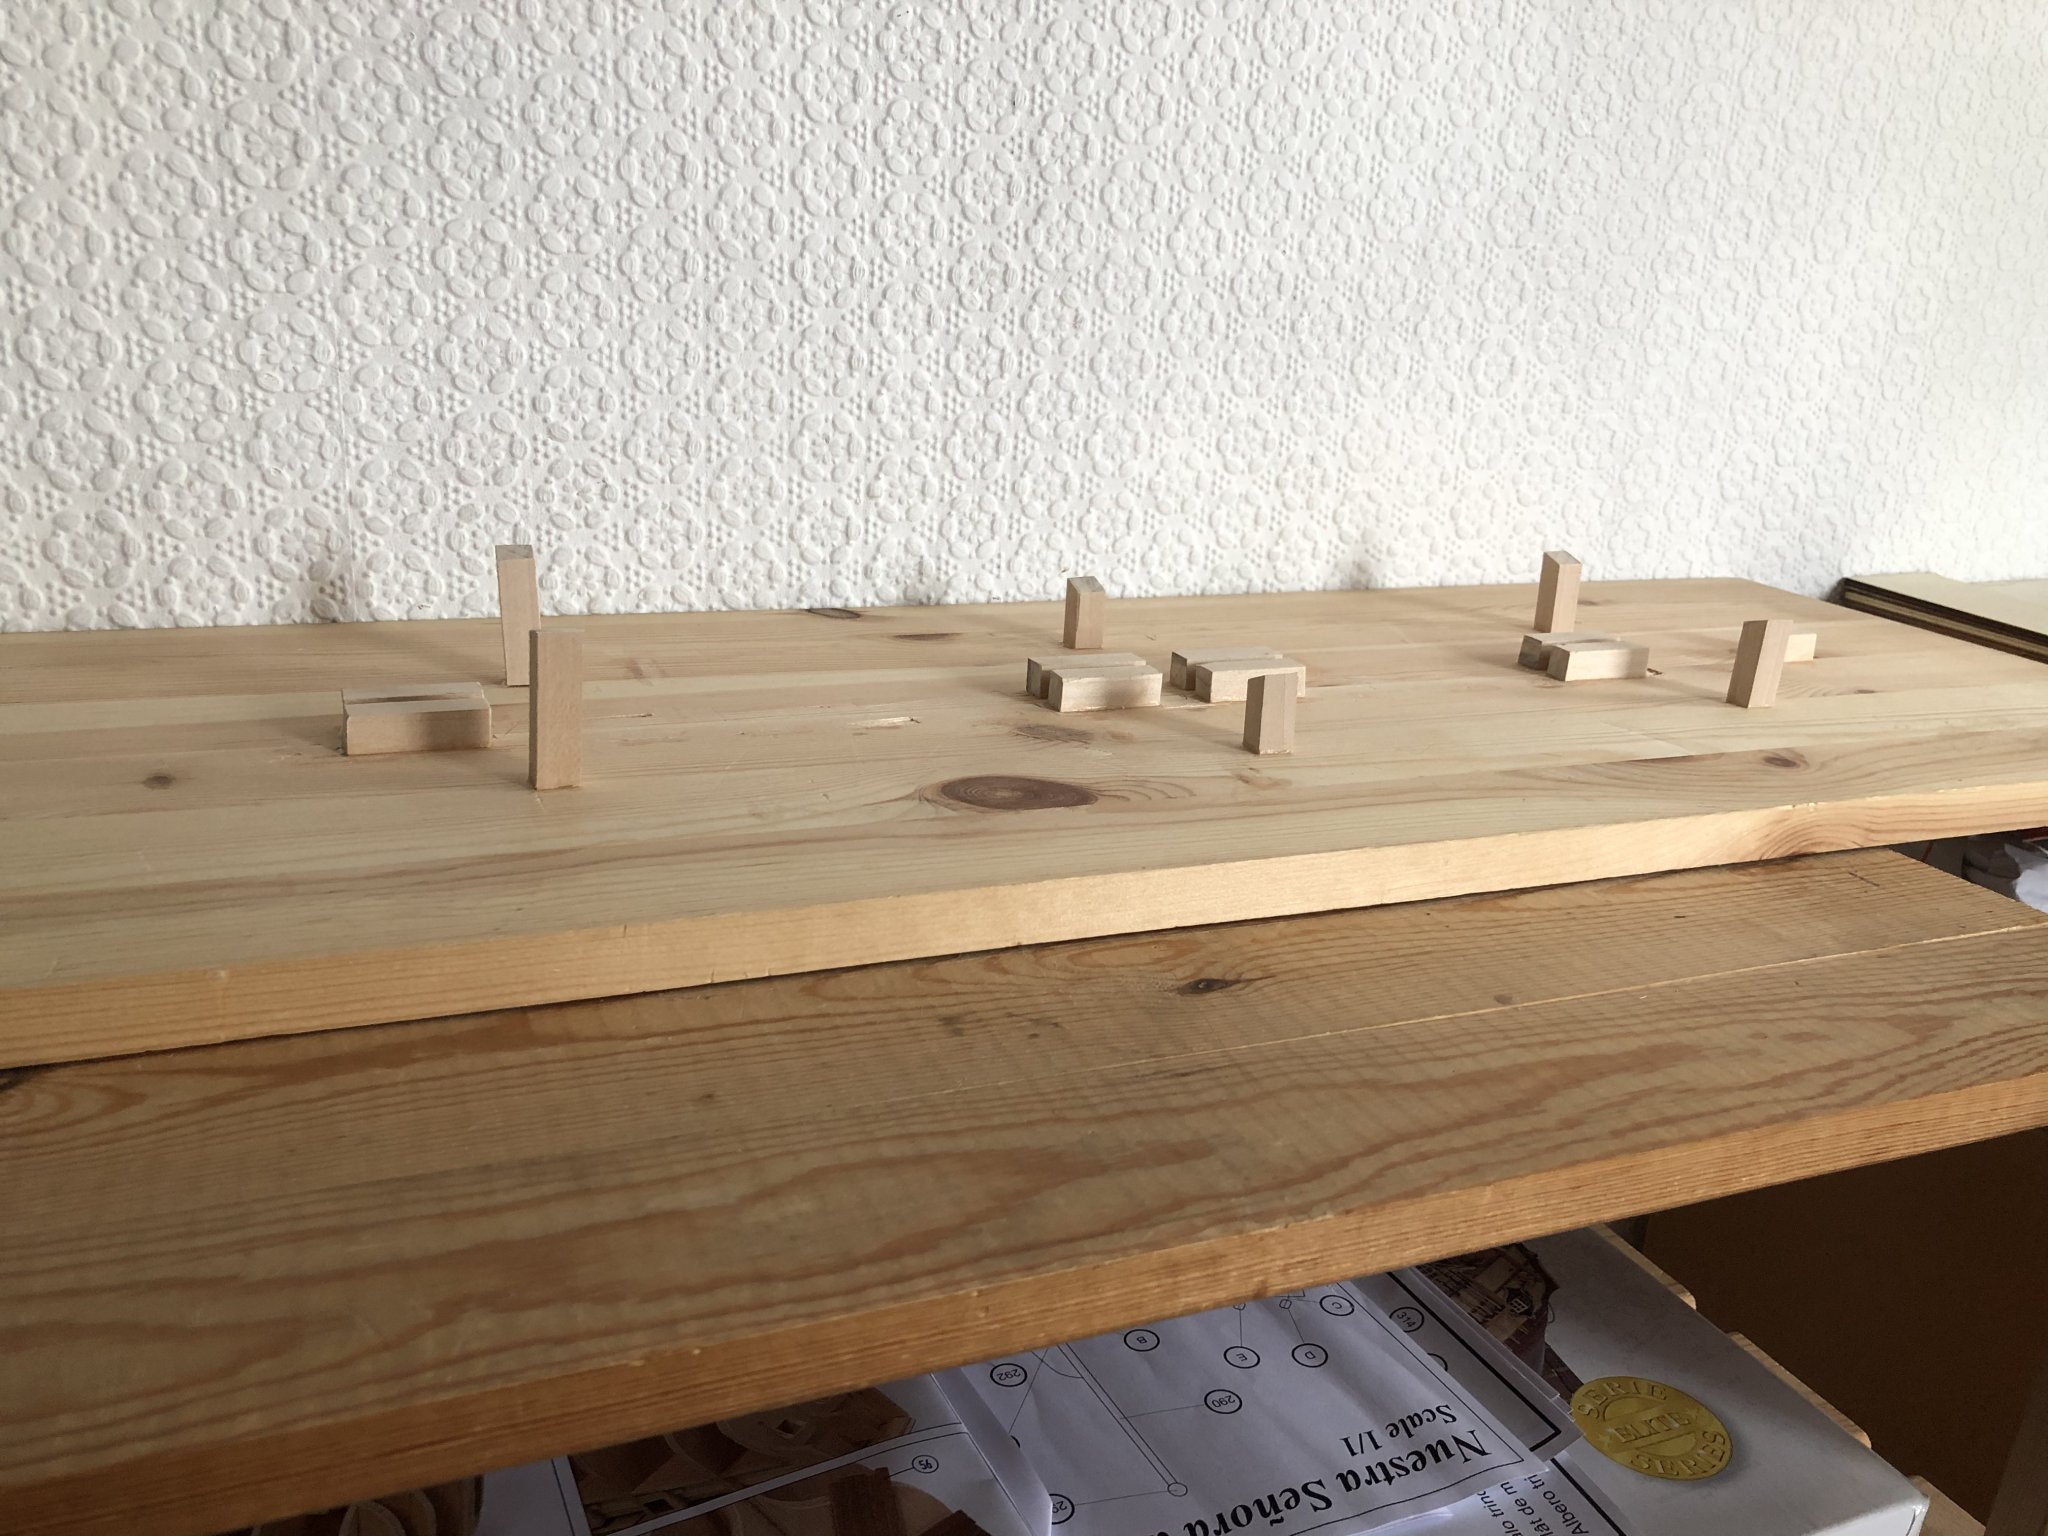
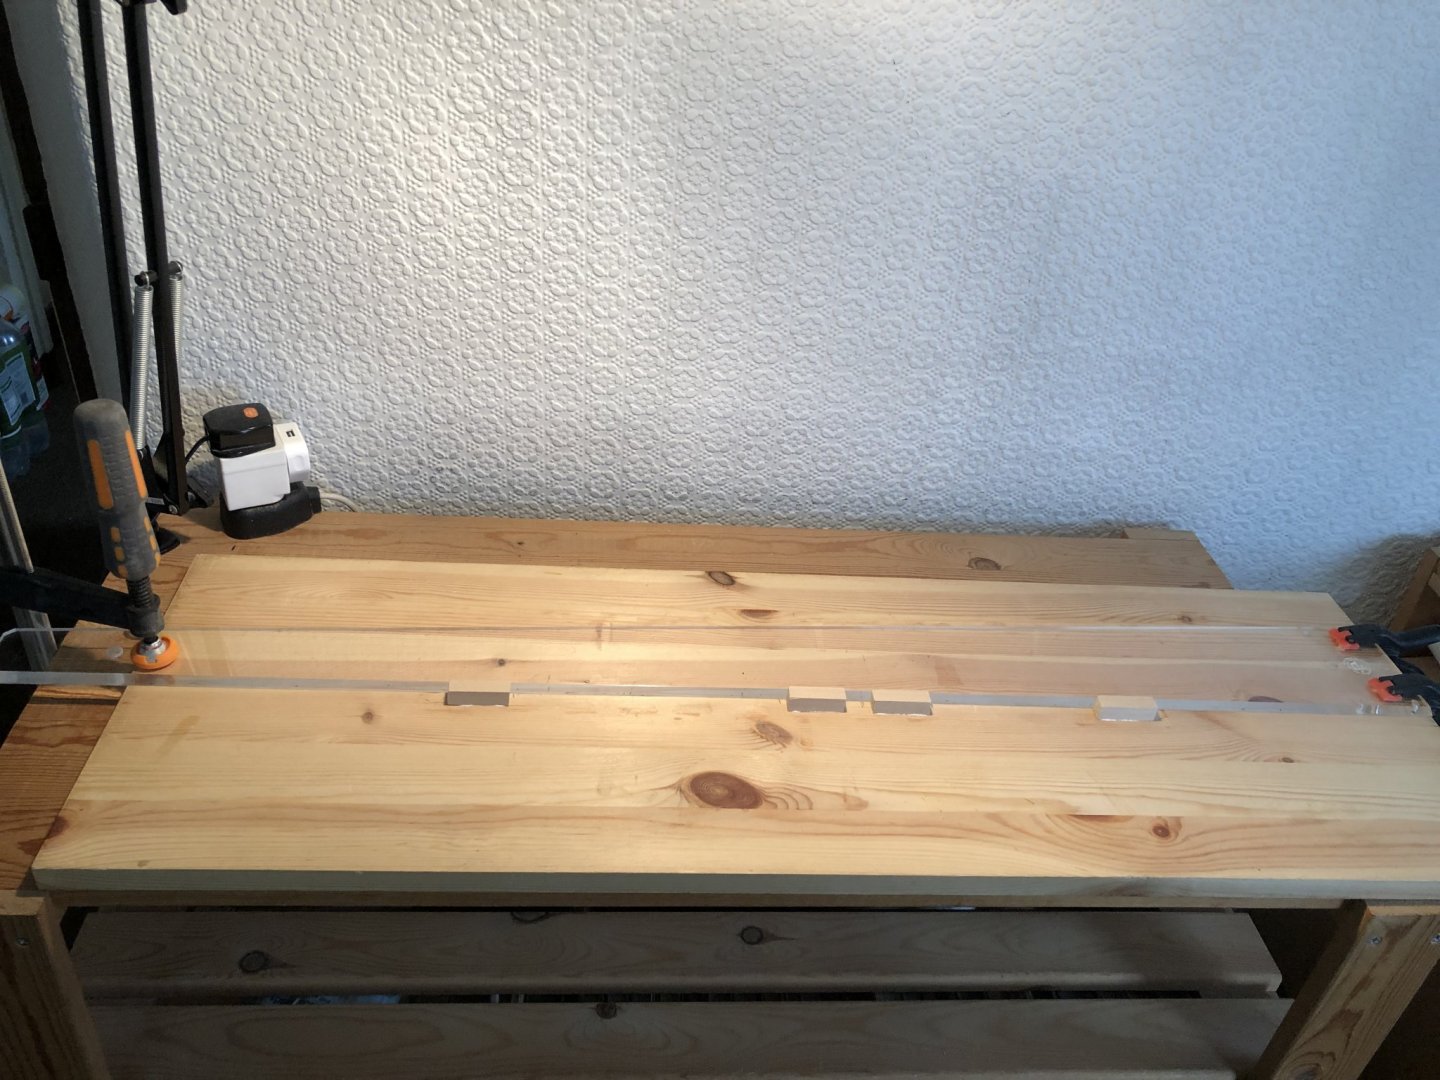 The building cradle - the straight edge is the perspex blade from a tee square.
It's straight, flat and wide. It will hold its shape. Clamped down to shelf and used to position
one side of keel clamps. Leave overnight for glue to dry. (4No. blocks located between bulkheads).
 Using an off cut of plywood from the keel sheet position the other side of each keel clamp and glue.
 Insert keel and wedge so that model keel is perpendicular to building board.
Then add the vertical shores under bulkheads as required.
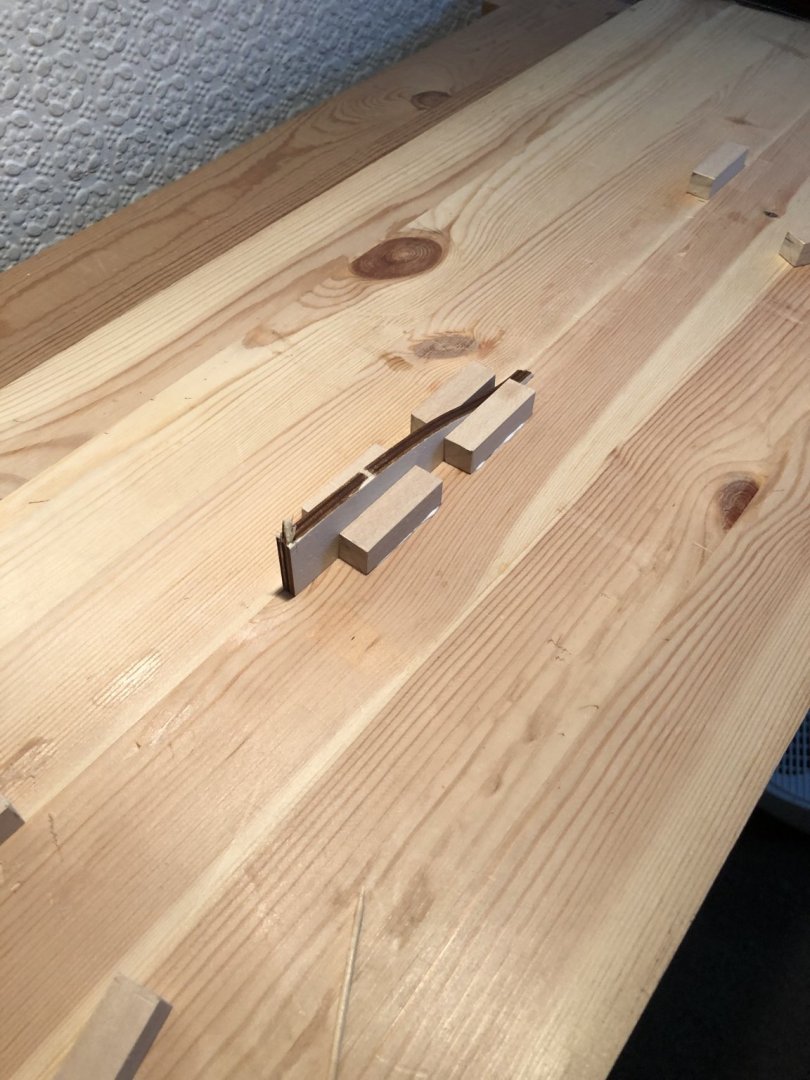
After the glue dries drop the model into position. The transverse block at the bow end
gives a positive lock in position. This method gives a high level of rigidity and can be used
to support the model until it is completed whilst allowing removal and relocation within seconds.
Obviously this jig will need re-packing after hull planking which is why the keel clamps are so high.
Sam.
- BobG, marktiedens and Edwardkenway
-
3
-
Hi Mark and Geowulf and thanks for the comments.
Decided to add material while the piece is still off the ship. Much easier to do it now rather than after fitting.
Geowolf - thanks for the background and the link. I have been having trouble collecting information of any sort.
Mark - On examining the carcass this morning I noticed that some. not all, of the warping had gone.
Need to look in my attic to see if there is a picture of this ship falling to pieces !!
Sam
- Geowolf and marktiedens
-
2
-
Thanks for all the likes and welcome to Tarbrush and Chris Watton.
Sferoida - welcome, I have been checking out your build for some time. Very impressive.
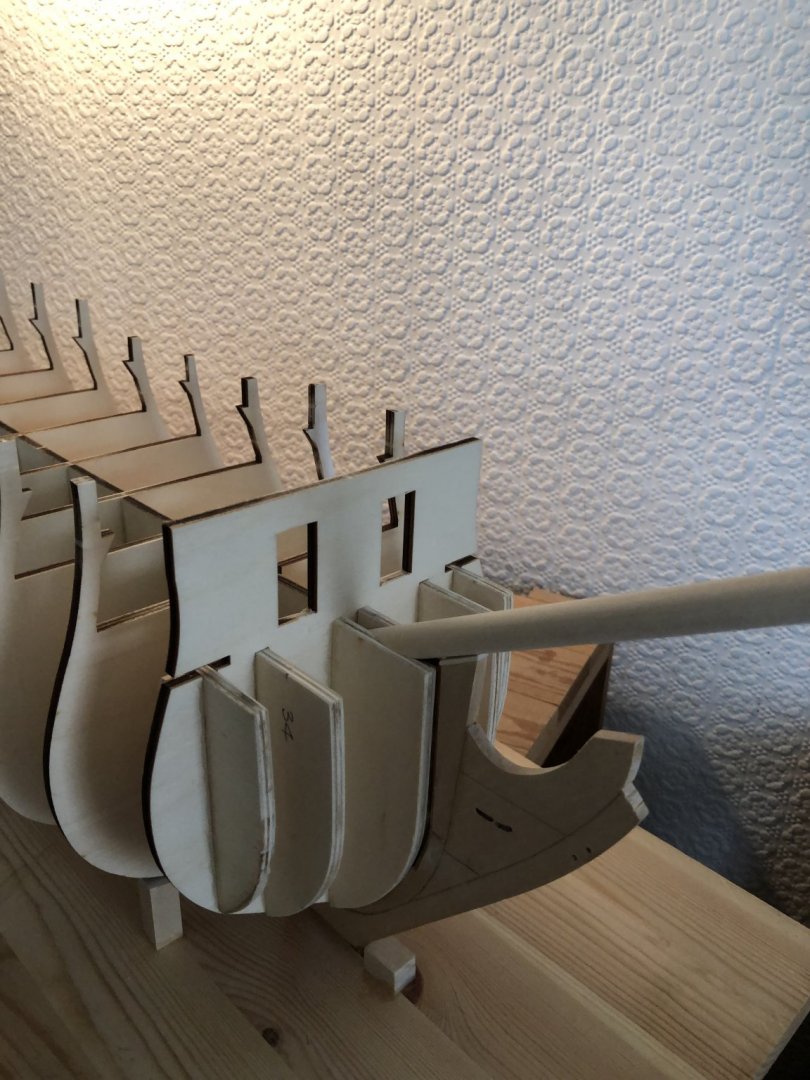
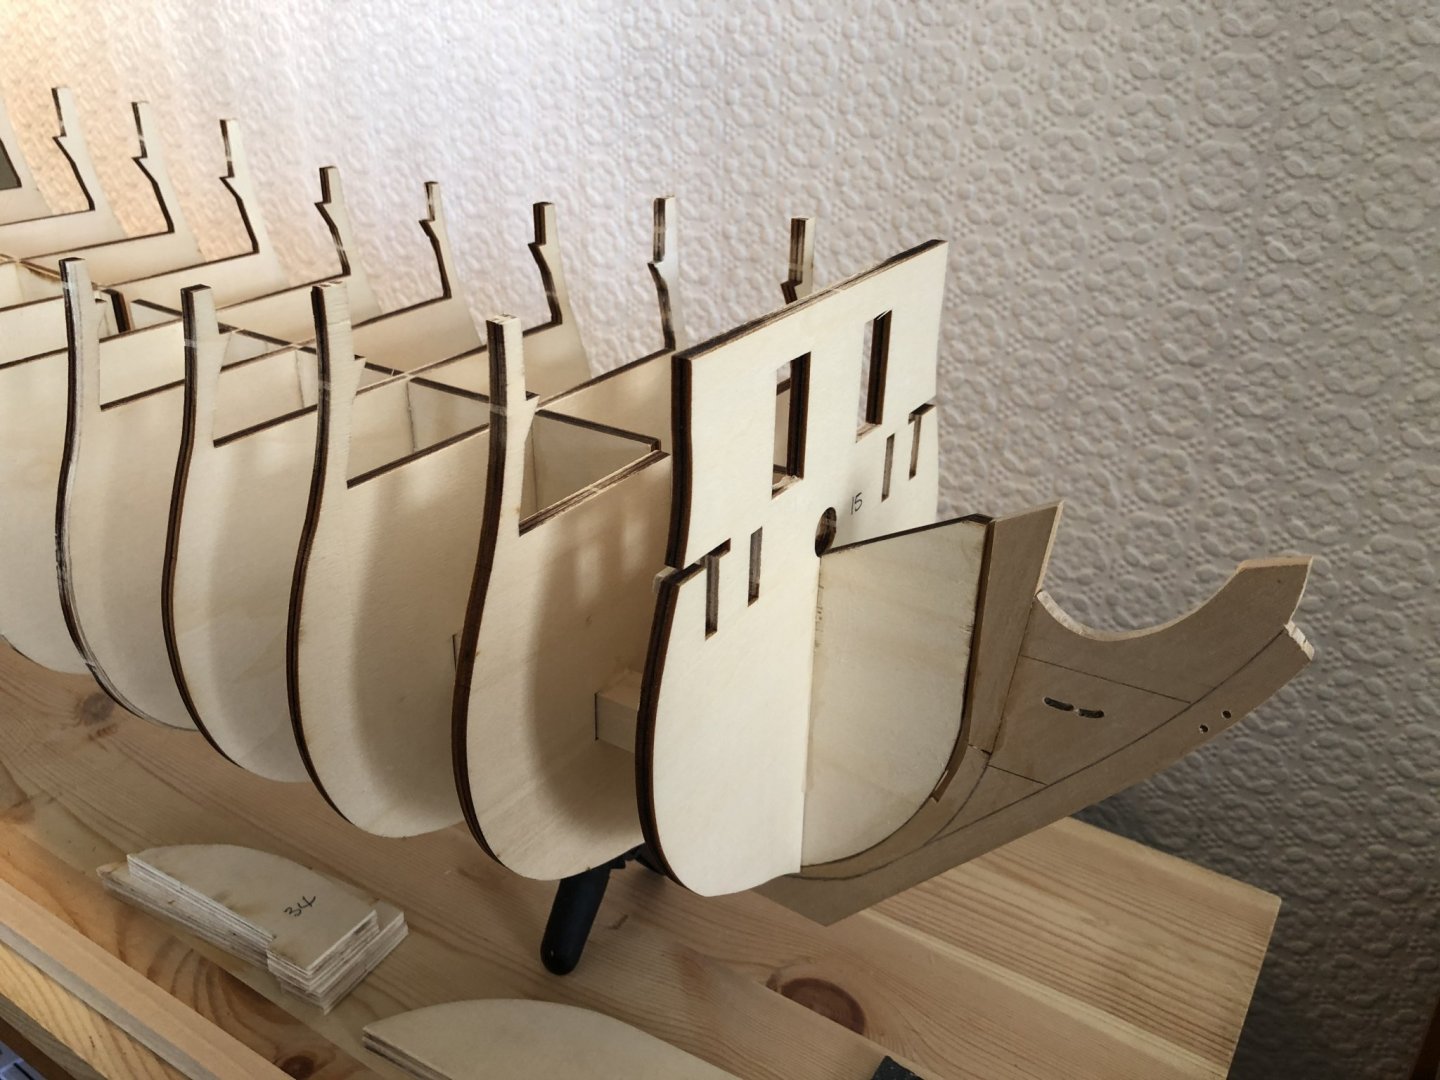
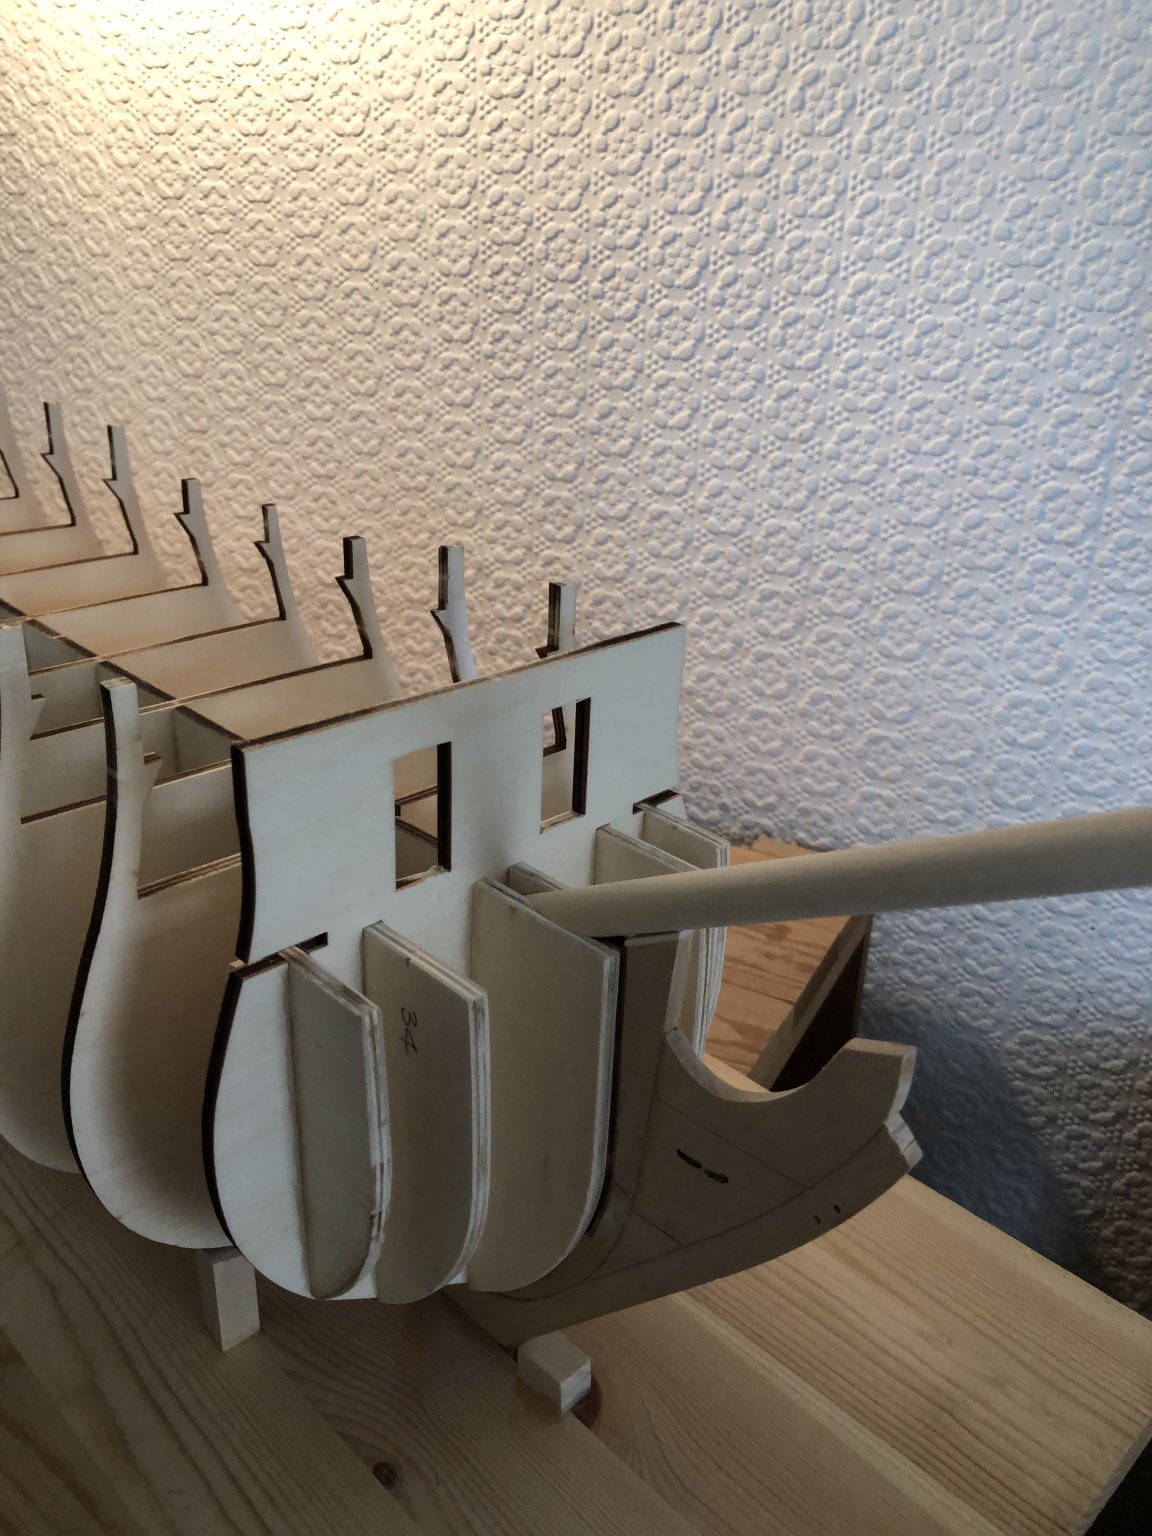
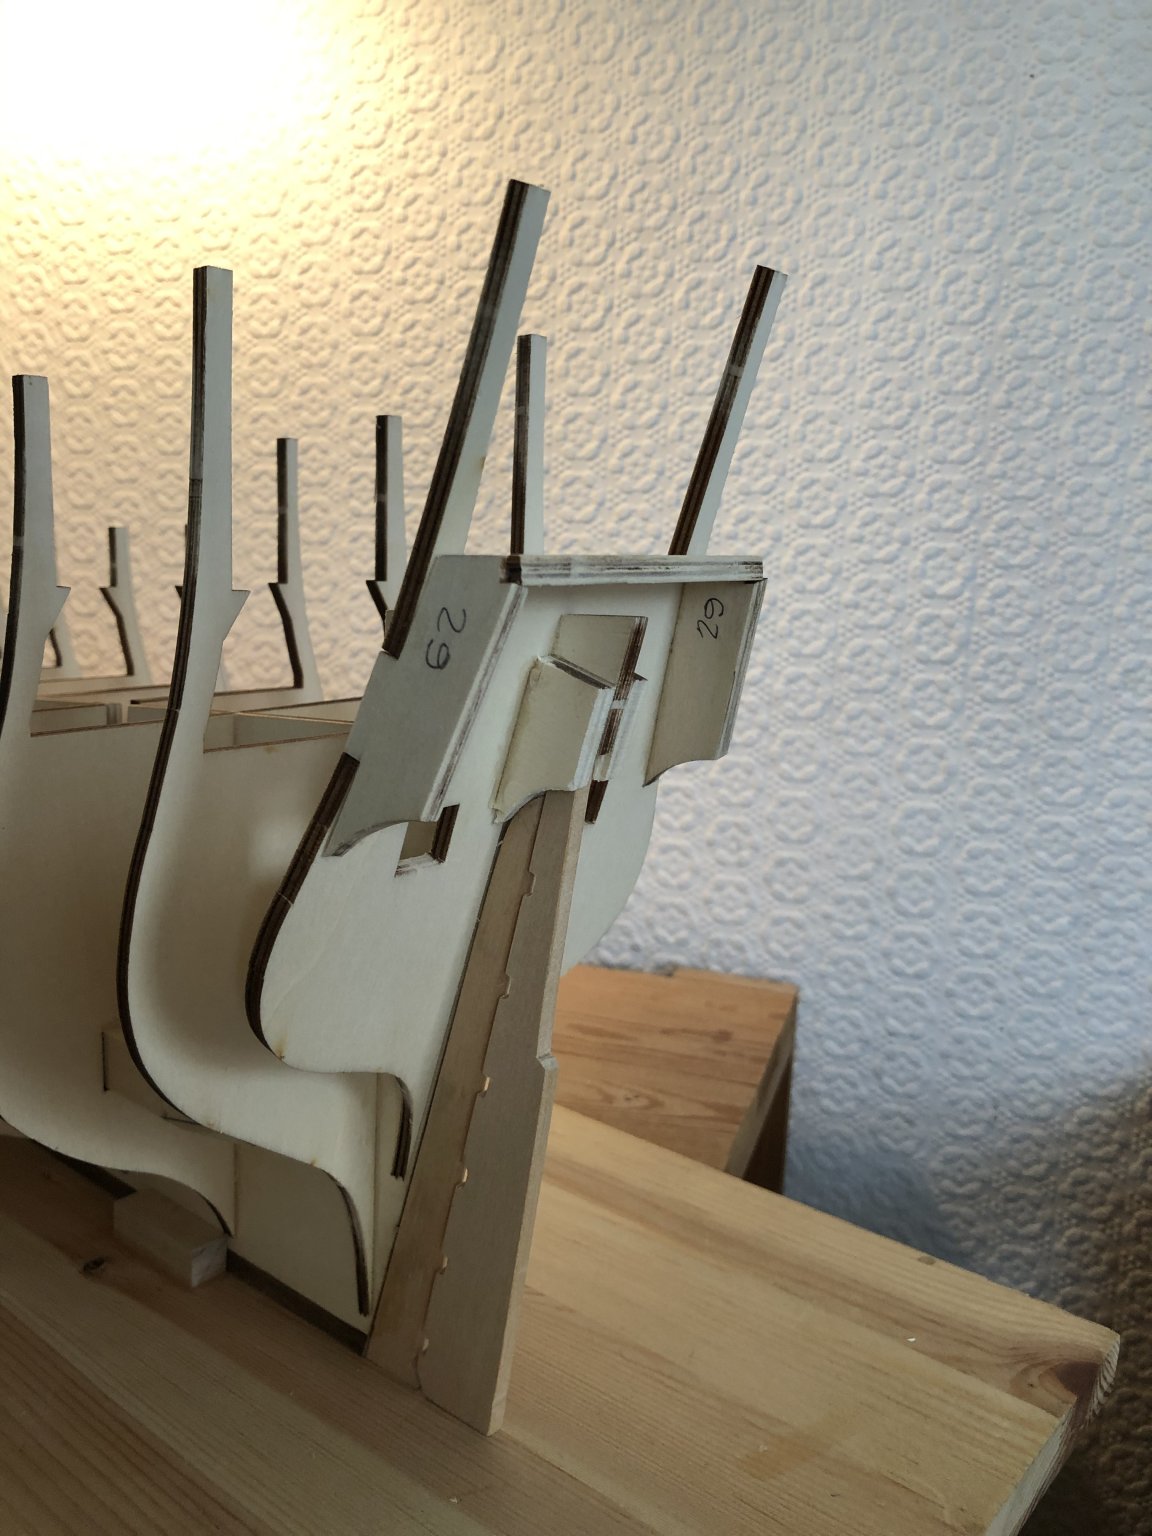
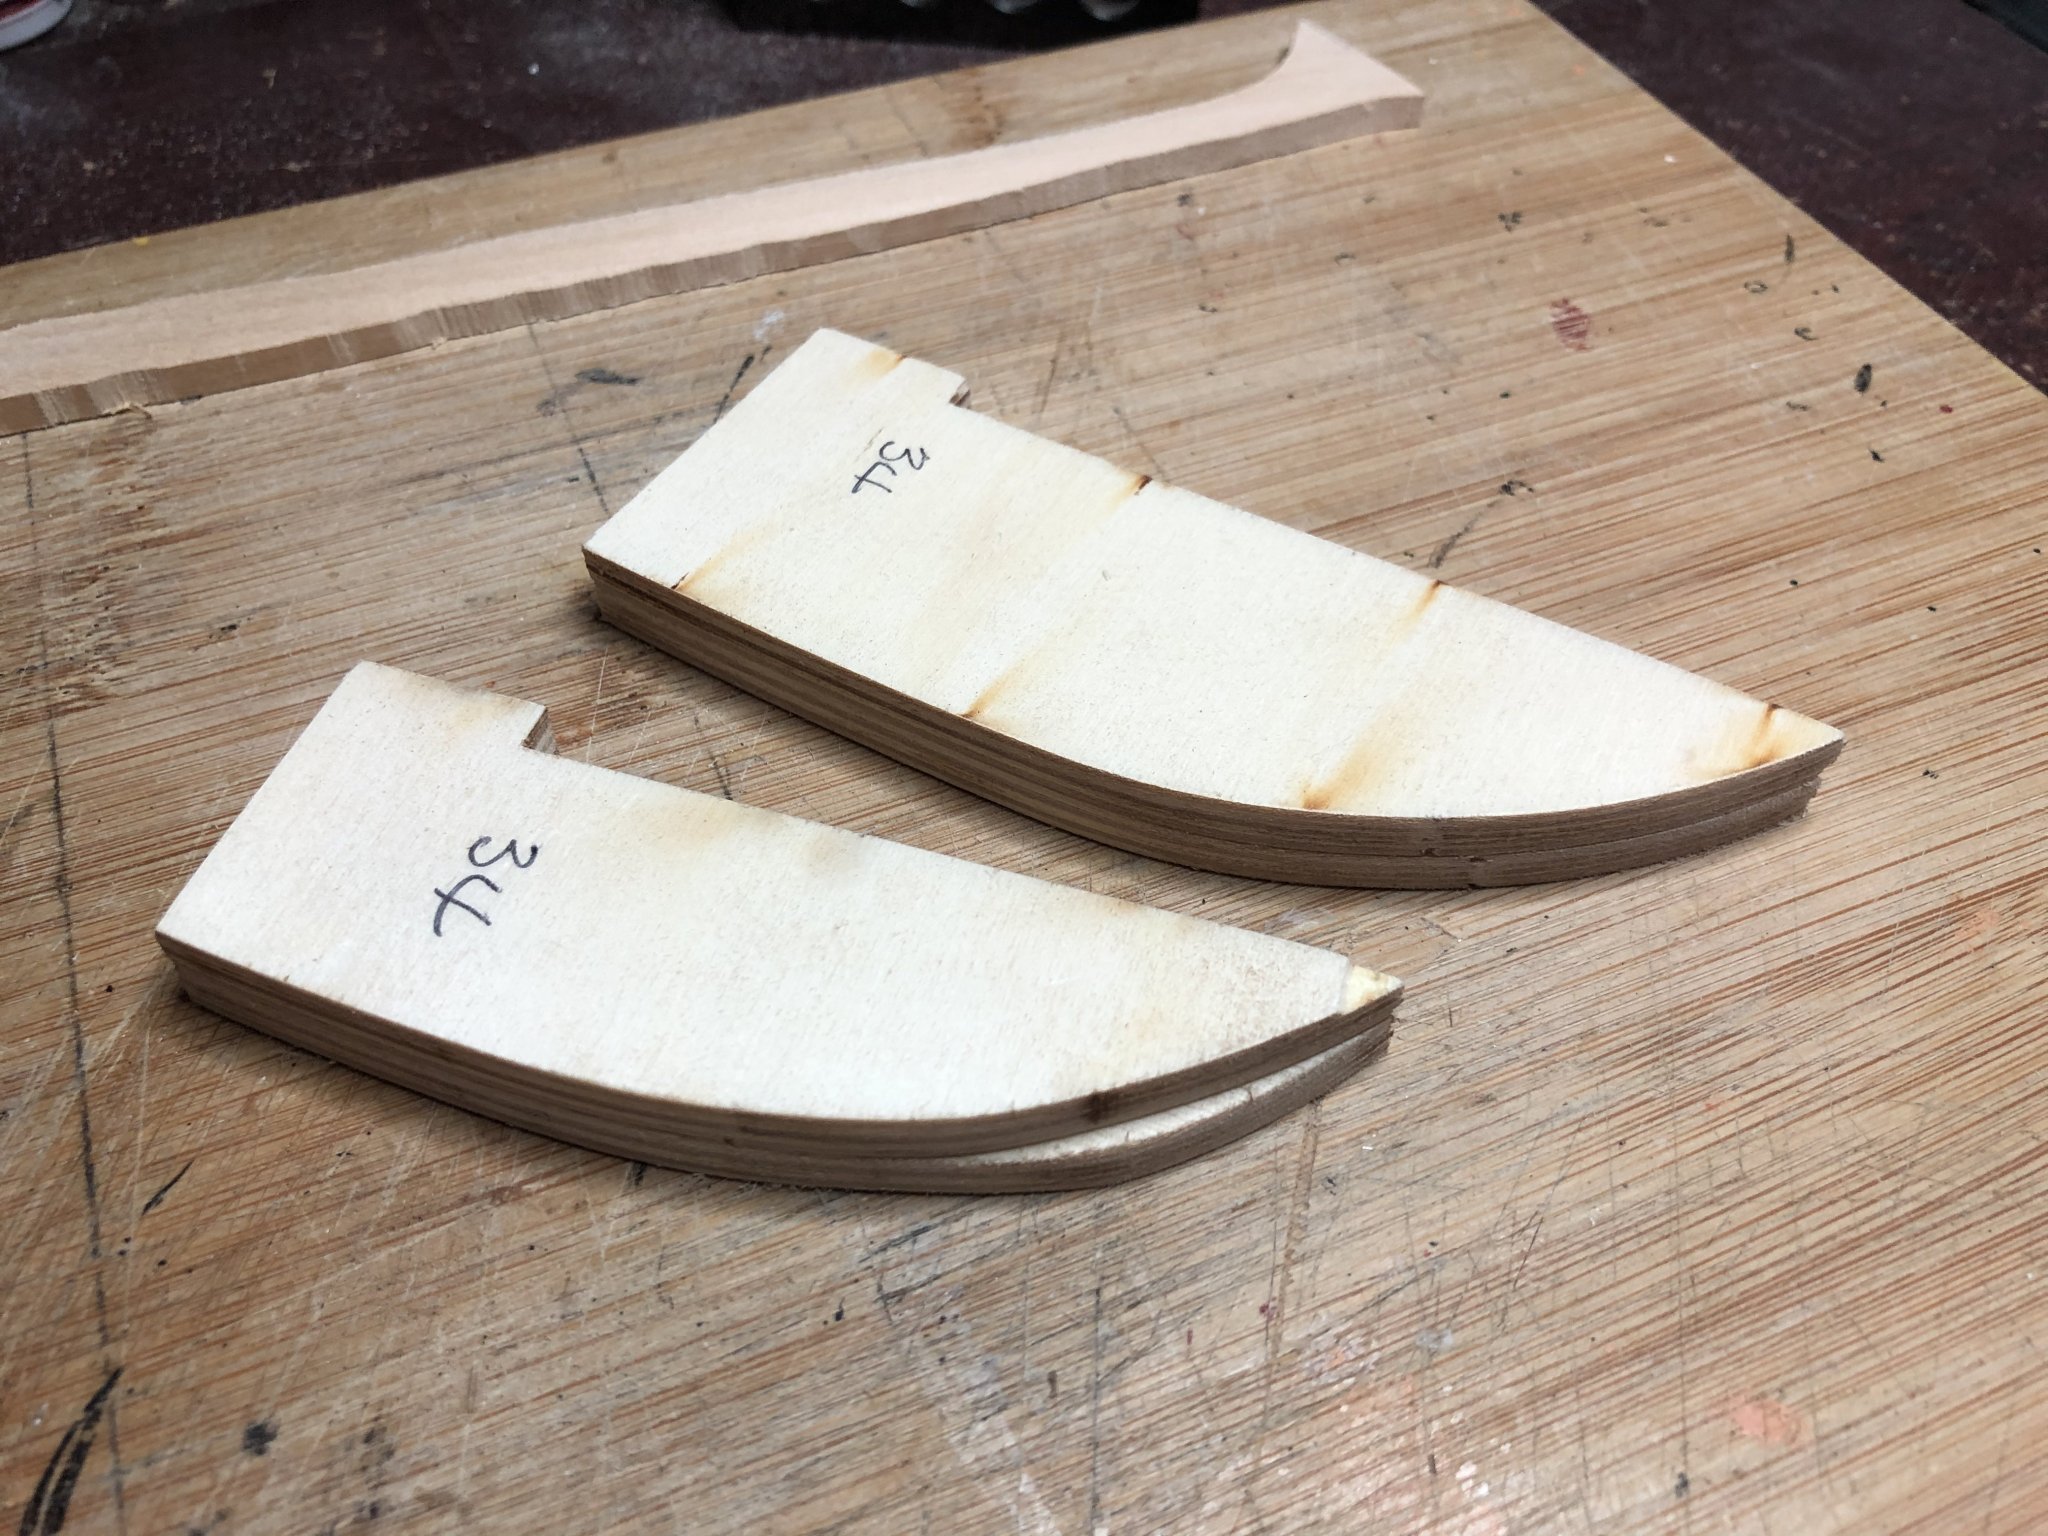
First photo shows bulkhead 15 fitted.and stiffs ref. 34 removed from sheet and ready for fitting. Or maybe not.
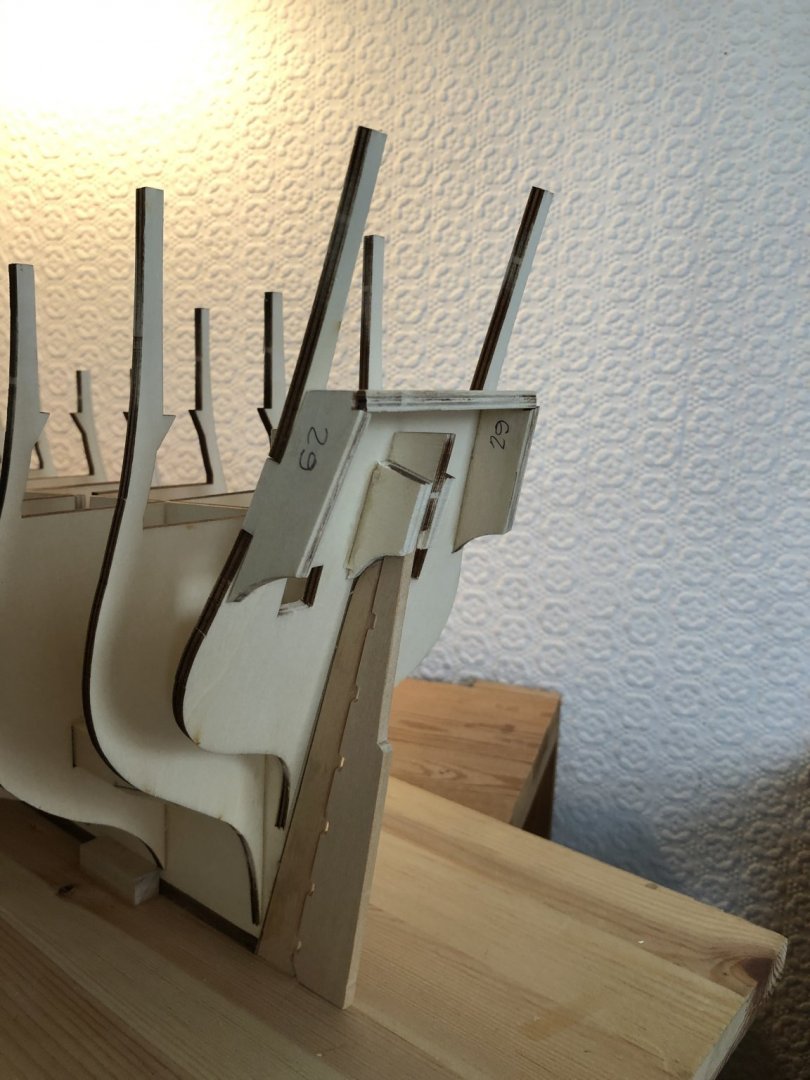
Second photo shows stern bulkheads 16 and 17 fitted, also shapes 29 and 30.
Third photo shows stiffs ref. 34. The smaller pair are not identical. These are laser cut and should be.
Do I reduce the oversize one, build up the smaller version or not bother and try to get a good shape on the
balsa infill later ? Also the bow stiffeners ref. 33 will need to be rebated on inner faces to suit the bowsprit
which fixes all the way back to bulkhead 15.
Thoughts up to now - In spite of the wingeing I think that this could make up into quite a good model.
All the false keel/bulkhead connections needed filing to suit. I like this, it gives you a waggle free fix.


- marktiedens, Geowolf, BobG and 1 other
-
4
-
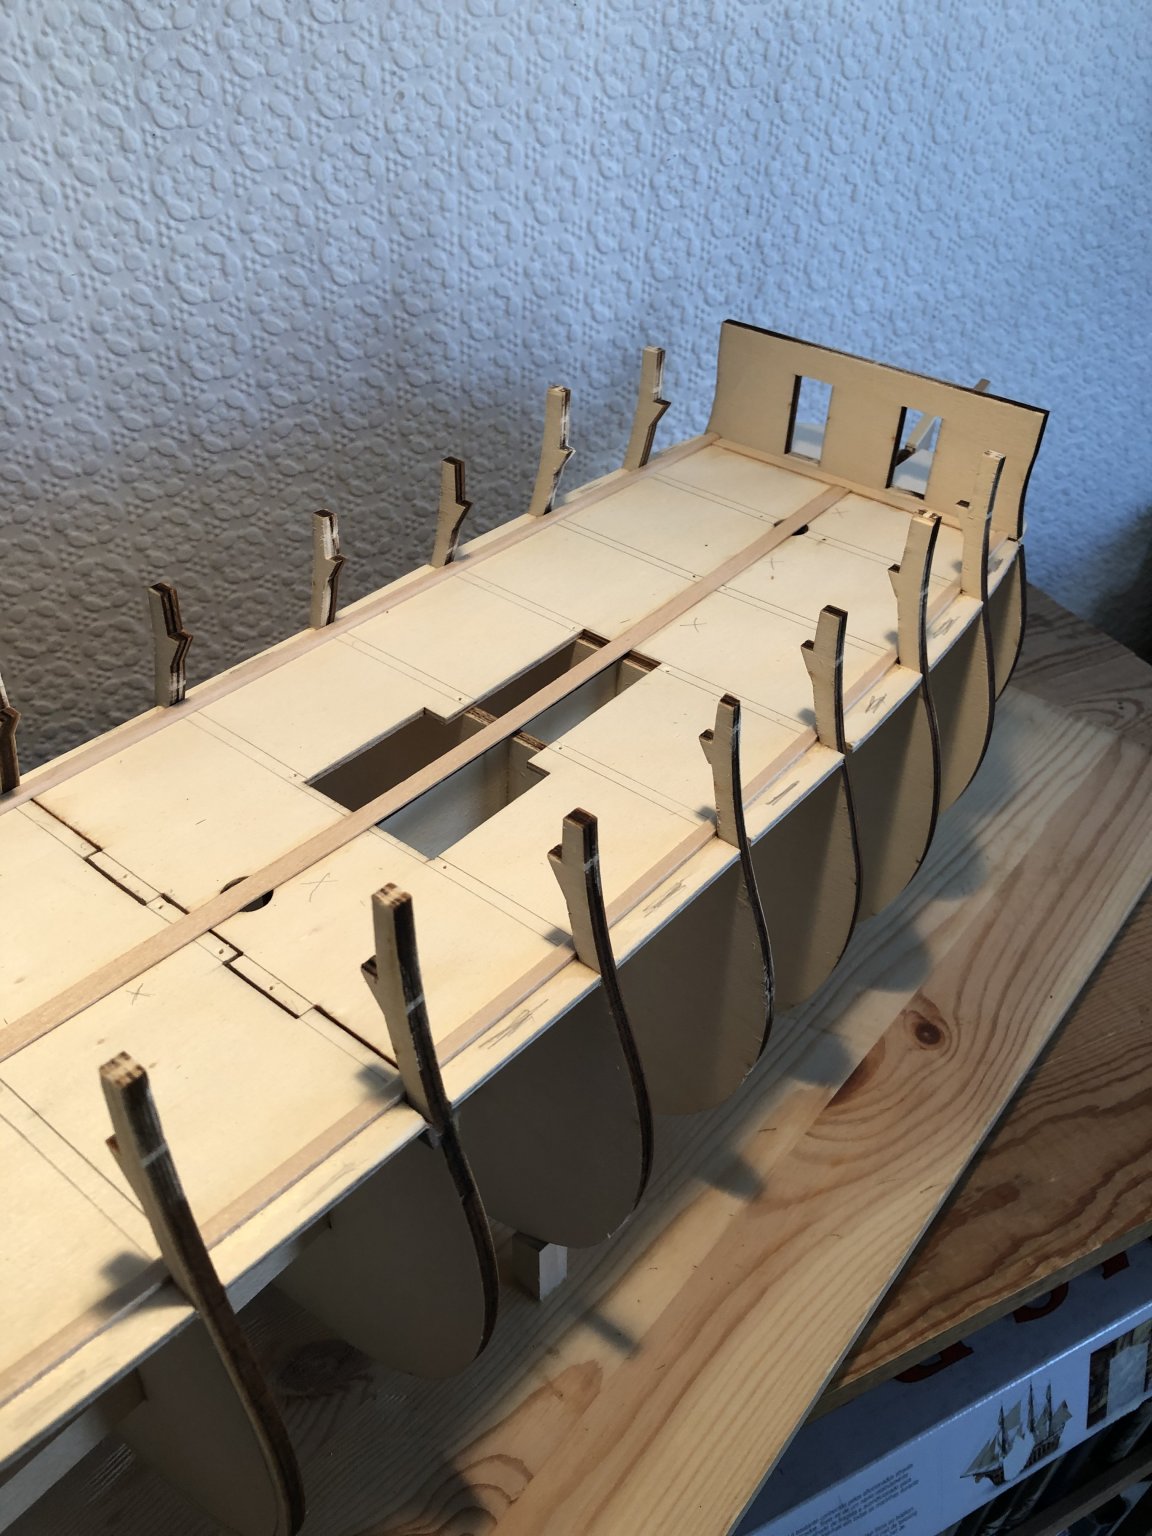
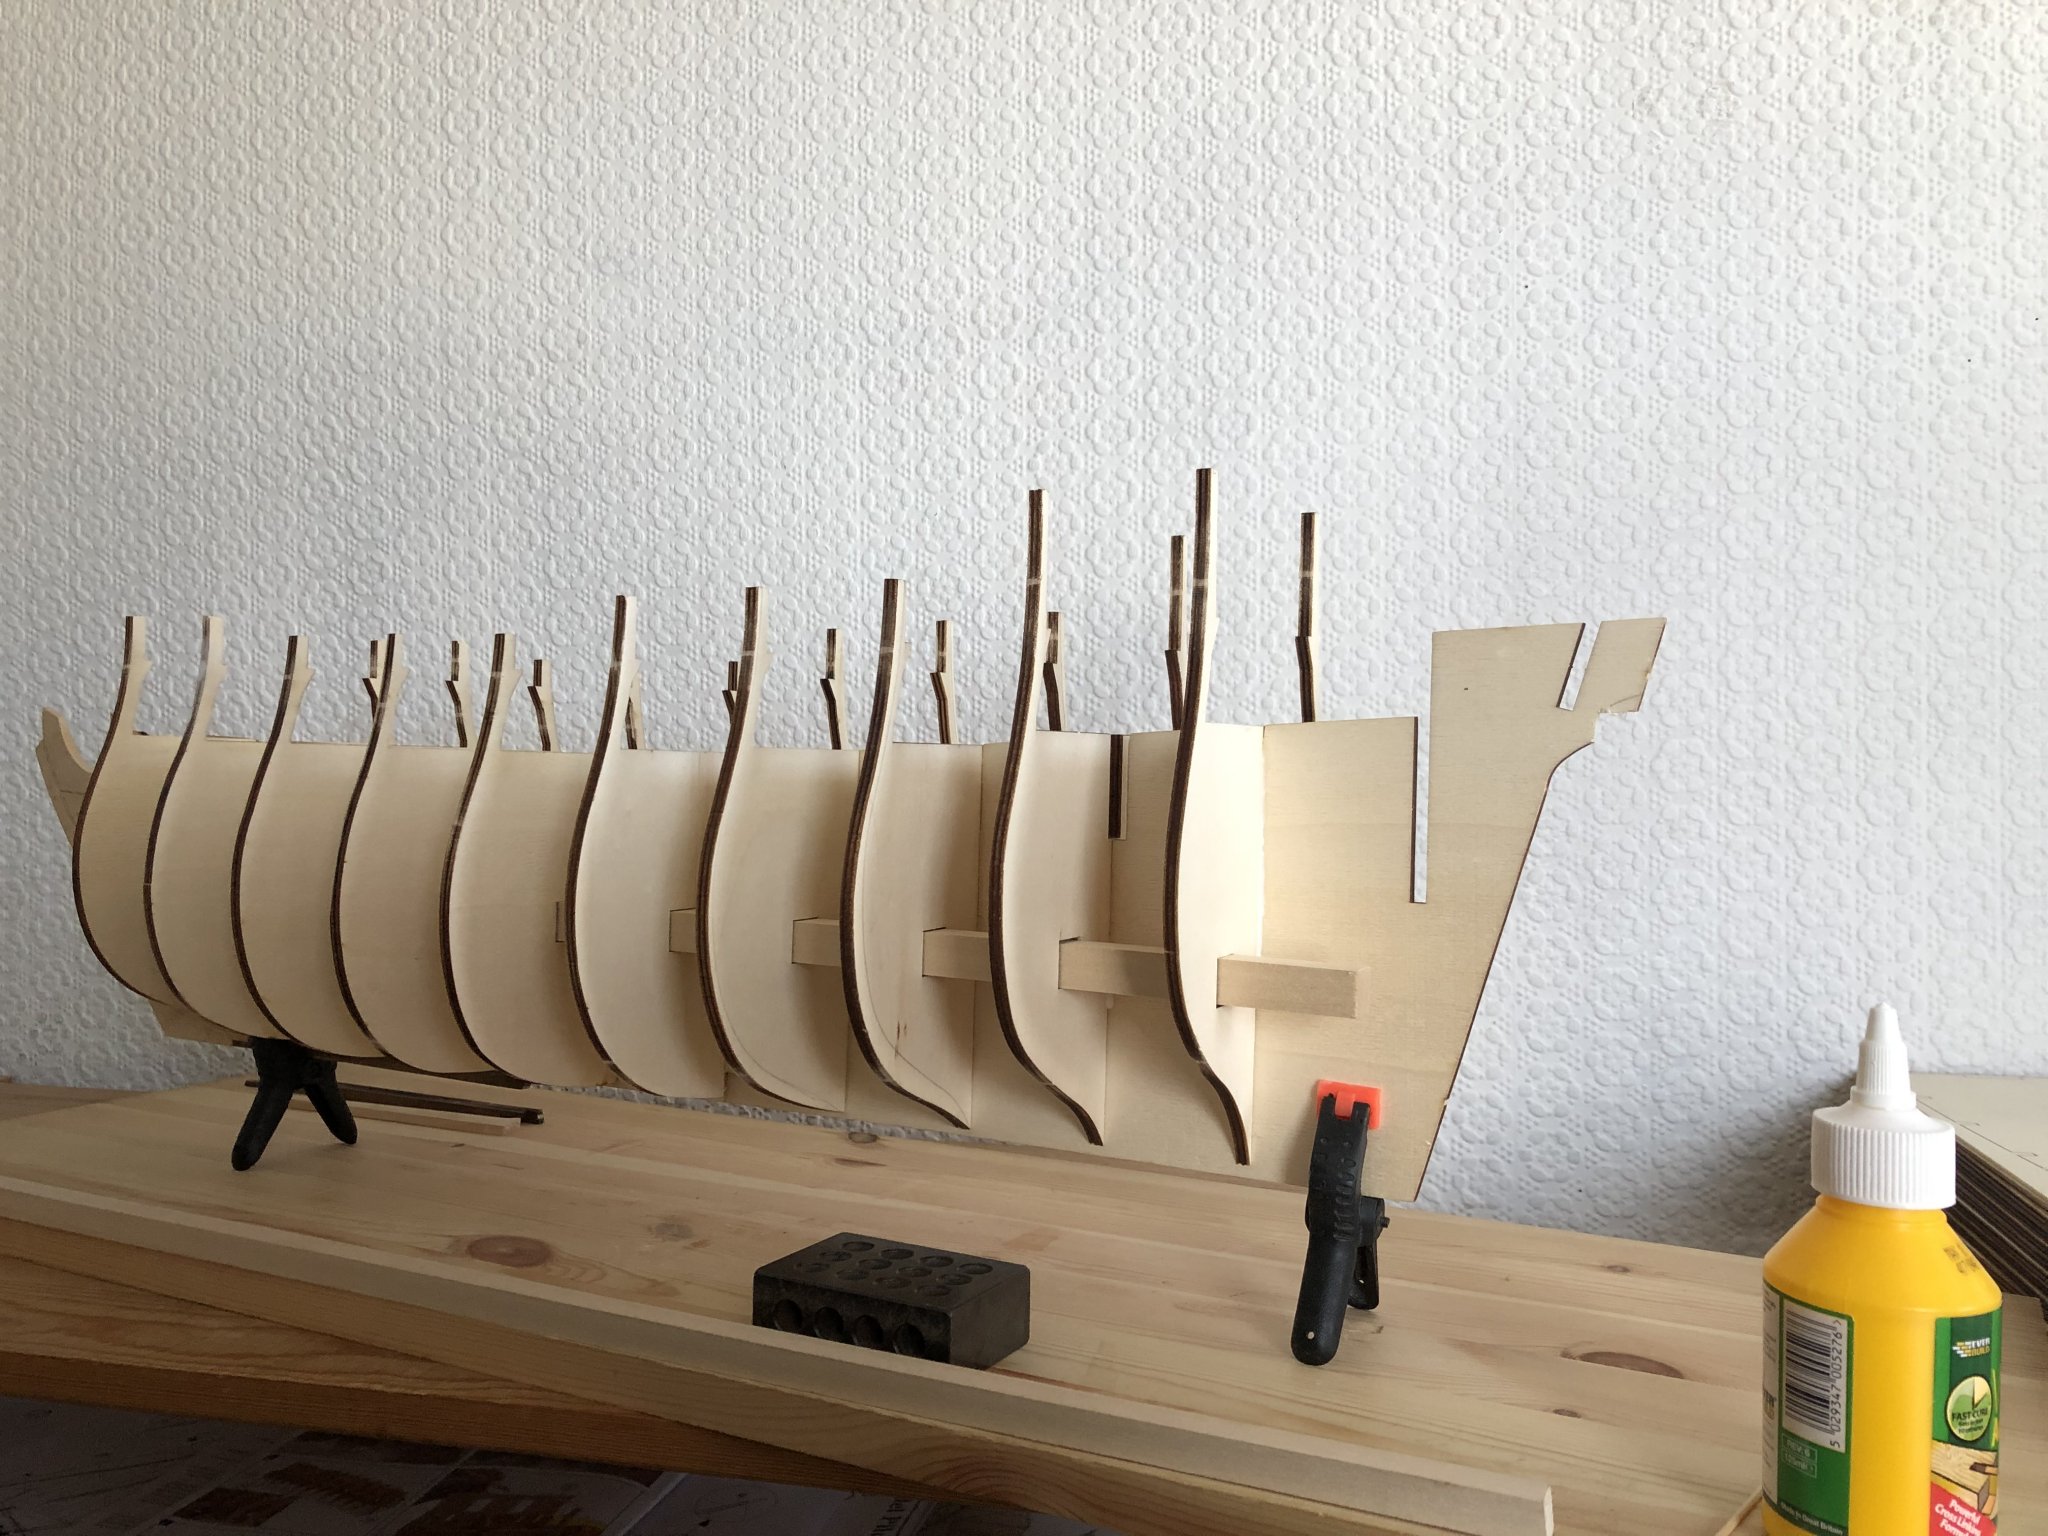
Bulkheads 04 to 13 installed. Also stem and part of keel.
The plywood sheets containing bulkheads arrived flat so, just the delaminating problem.
After detaching from the ply, supporting and fixing in position I sat and watched them warp.
Just like Marks kit. The reinforcing bars are dry fixed and will be cut to length and glued after
bulkheads 15, 16 and 17 are in position. I hope to drag the warped bits back into location then.
Tops of the upstands are correctly located as is the lower gundeck. Bulkheads are perpendicular
to the false keel then go banana shaped on plan as they approach the hull planking line (some are OK).
Mainly 2mm out of line so am OK with this. Will only use plywood where it can't be seen.
Had hoped that the bad joint in the stem would be under the waterline as shown on the side elevation
but after looking at the rigging plans it is not. This is the first kit I have built that does not provide 1:1 plans.
 The notch cut at the back of the false keel is for the rudder. The instructions on my last kit didn't mention this
requirement until after the stern planking was fixed then casually told me to drill a 6mm dia. hole adjacent
the stern piece. Not trying to do that twice.
In spite of the above nit picking I am happy with the way all this fitted together.
Now to do something about that stem joint.

- Edwardkenway, tarbrush, sferoida and 4 others
-
7
-
Hi,
Thanks for the comments edwardkenway, SkerryAmp and marktiedens.
When looking for my next build I found Marks log of an excellent model.
Marks comments about poor quality ply (and so much of it) and the state of the supplied planking
didn't put me off. Especially after viewing the finished article.
I intend using the bad stuff only where it can't be seen.
Currently working on the skeleton. Will post photo' later.
Sam
-
Hi and thanks for the likes and comments.
Thanks for looking in ccoyle, catopower, Bossman, BobG and coxwain.
marktiedens - your finished build kit makes good reading and is an enormous help.
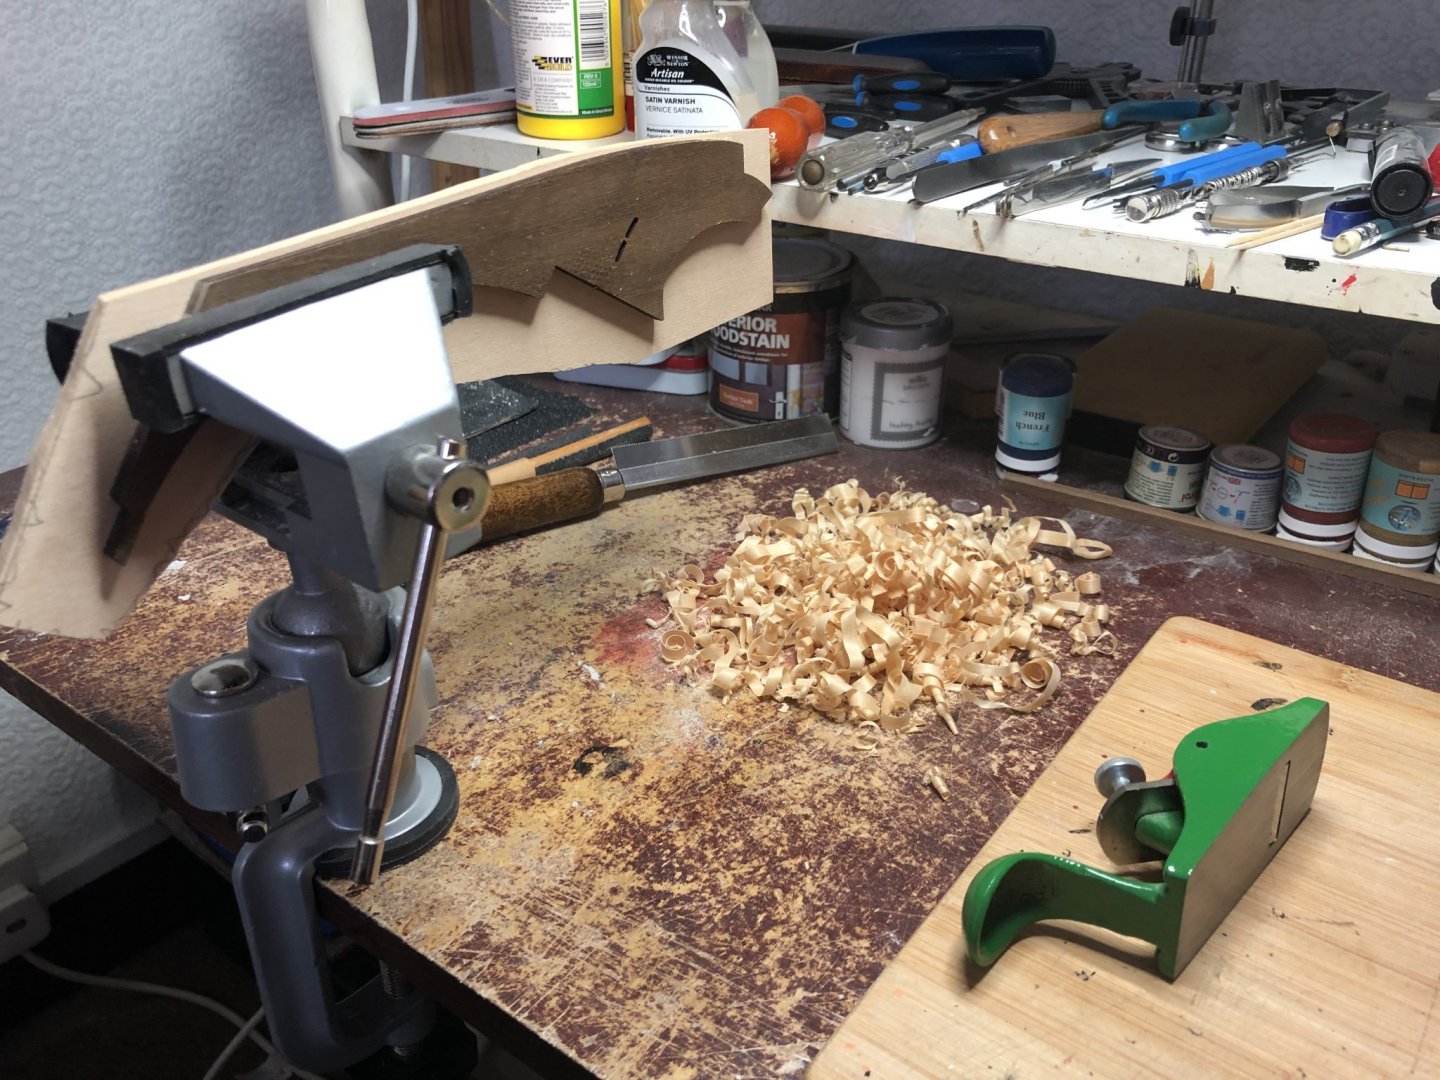
ASAT - Welcome. Mostly a coping saw, squirrel tailed plane and scalpels. Also jewellers files, a good pin vice and drill bits.
I need the larger scale kits these days. Cataracts and first signs of arthritis means that 1/63 and 1/96 kits are out for now.
Above shows bulkhead five and de-lamination of some poor quality plywood.
Fortunately the only casualty (up to now). Will have to take extra care shaping the edges.
Sam.
- BobG and marktiedens
-
2
-
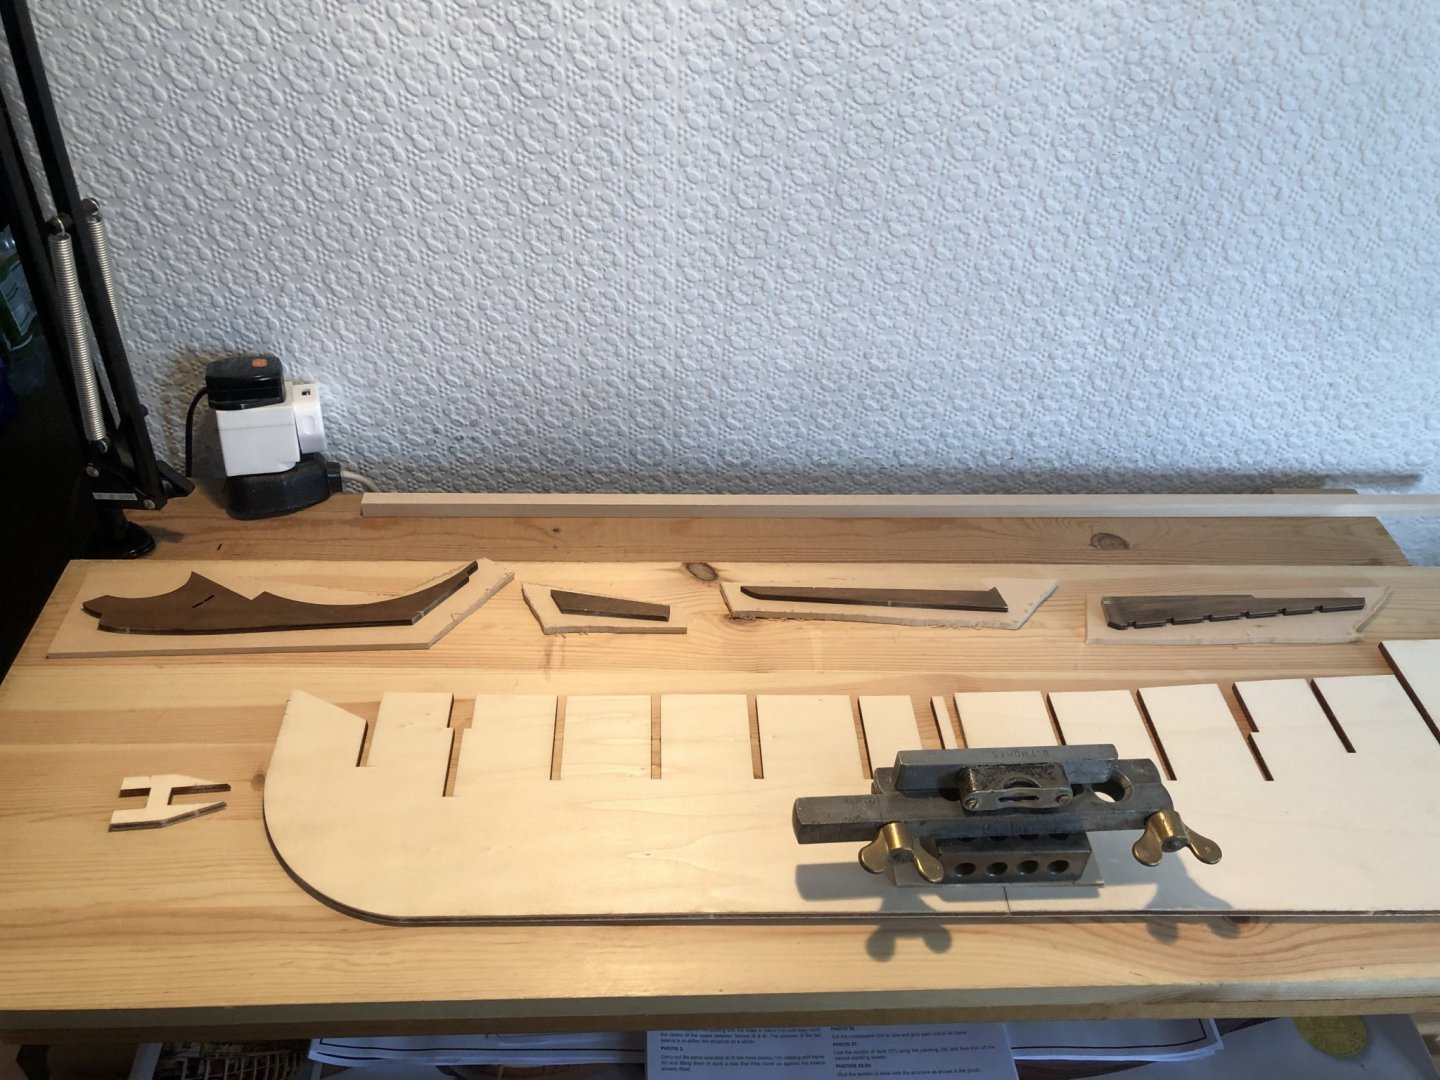
Replacement stem, stern and rudder blanks.
After a more thorough read through the instructions and plans I have provisionally decided on the following -
Supplied hull and deck planking and inner bulwarks will be replaced with more suitable material.
I intend to double plank the hull rather than single.
The hull will be covered below waterline with anti fouling. More research required to decide colour.
No other painting except fittings, wales, rubbing strakes and parts of stern.
Deck fittings will be scratch built and painted as necessary.
Based on previous experience this will probably take 24 months to build.
Even with the extras this should cost £4 approx. per week. This is a cheap hobby.
Found three posts on MSW for this kit, one of them finished, will be using these for guidance.

- tarbrush, Fernando E, HardeeHarHar and 4 others
-
7
-
Hi RMC,
Sorry for your troubles but keep up the good work.
I especially like the foot rope solution.
Good luck with the locusts.
Sam.
-
A brief introduction - This is not my first kit but, the first attempt I feel confident in showing to others.
As mentioned in other posts on this Forum there is a lot of plywood and coarse grained timber planking supplied.
Also some good quality fittings so overall I am happy with materials and plans supplied (I also have plenty of
research material and, a well stuffed spares box).
Assembled keel. Very slight warp which will ease into position later.
 Supplied stem, rudder and stern (poor plywood) being replaced with 5mm lime sheet from spares box.
I intend fixing these pieces to keel before ribs and lower deck are fitted.

- Duanelaker, Edwardkenway, ccoyle and 3 others
-
6
-
Hi Phil,
Still here, still watching, still learning.
This build is fascinating.
Sam.
- Edwardkenway, Keith Black, mtaylor and 2 others
-
5
-
Hi Phil,
This really is a fascinating build to watch.
Looking good,
Sam
-
-
Like the cannon carriages.
Extras like these turn a kit build into something special.
Sam
-
Why, on every kit I buy, do I have trouble with yard rings ?
I like your solution.
Also - that rigging is exceptional.
Sam
-
Hi Phil,
Good tutorial on the capping rails.
Have been using this method on wooden kits ever since a kit instructions told me to edge bend
2 x 12 mm walnut.
I cut and scarf joint extra wide strip of the required thickness to follow the rail plan curve
then mark the bulwark line and width as your instructions.
This approach lets you follow the grain around the bow portions and give a more realistic finish.
This is really starting to look good.
Keep up the good work.
Sam
- GrandpaPhil, mtaylor, Keith Black and 1 other
-
4
-
Thanks for the tutorial on making bases.
Your builds are really worth watching.
Sam
-
Hi GP,
I agree with vaddoc, this build is fascinating.
Started watching mainly out of curiosity about a new building material
but staying with it as a very useful tutorial.
Enjoyed your Victory build so already familiar with your skills.
Keep posting. This is good.
Sam
-
Might give this a go.
You make it look interesting.
Sam
-
OK, found the postings and will be following your unique approach with interest.
Admire your choice of raw materials.
Sam
- Keith Black, GrandpaPhil, mtaylor and 1 other
-
4
-
Will miss your posts on this thread.
Will also keep following for when you start up again.
Looking for the schooner Hannah post.
Good luck with the build.
Sam.
- Old Collingwood, J11 and GrandpaPhil
-
3
-
Coming along nicely Rowboat. Considering this for my next build so following closely.
Agree about the "won't take a minute" job lists getting longer at the moment.
Have you tried a little distraction theory ???
Keep safe,
Sam


 S
S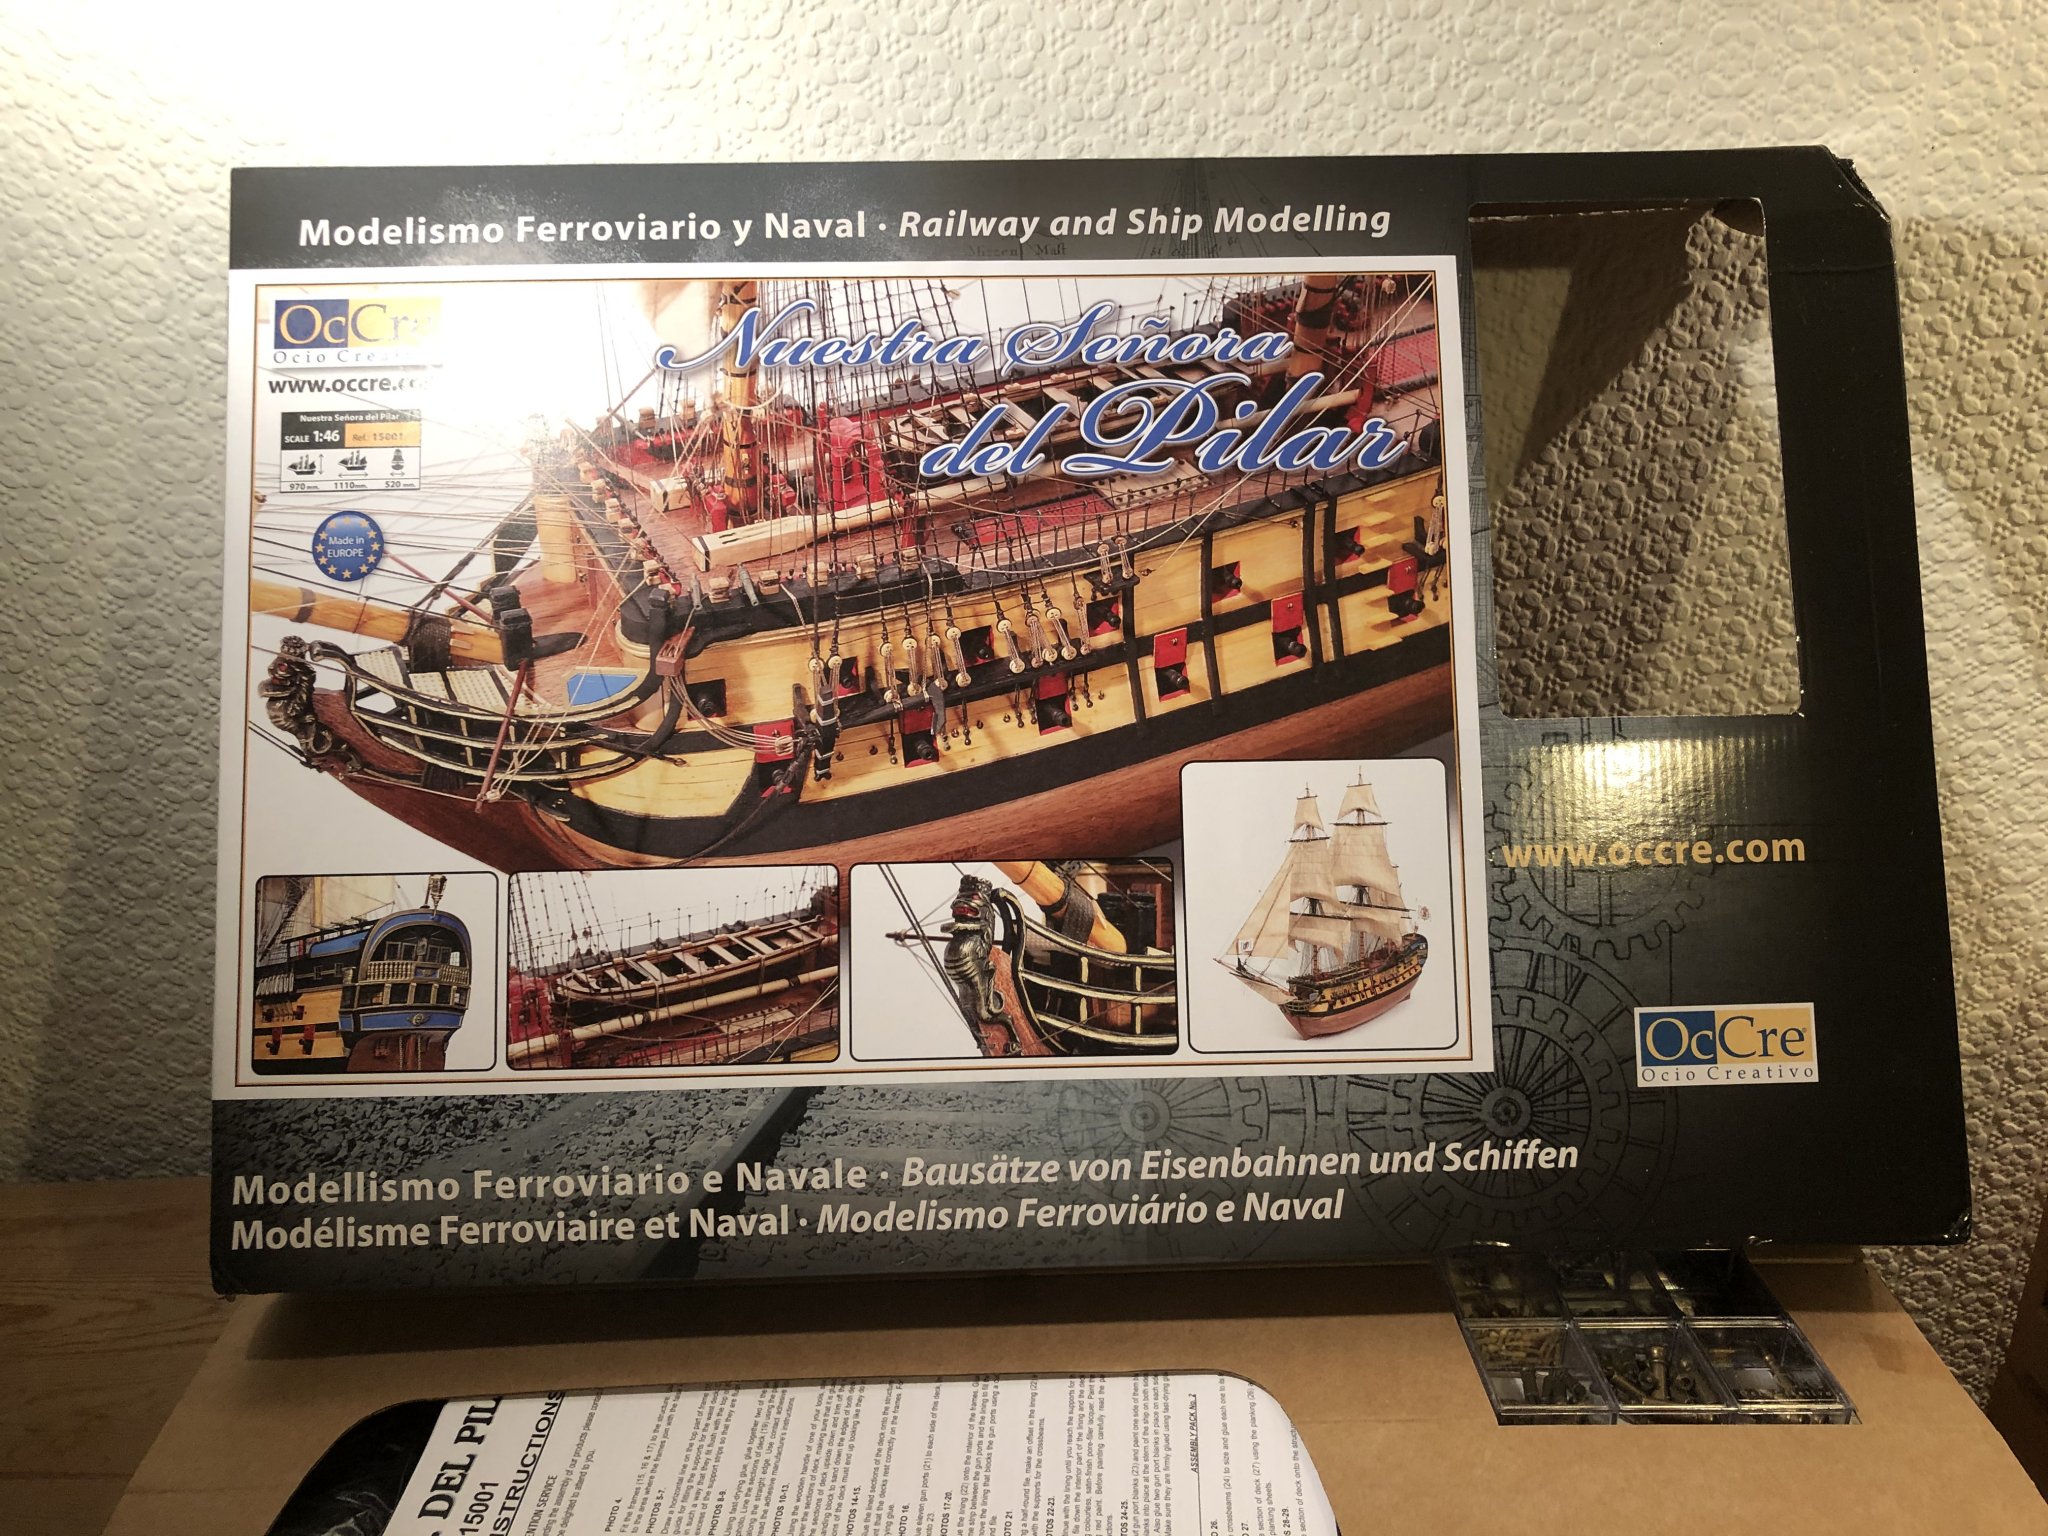
Enterprise 1799 by Rowboat - FINISHED - Constructo - Scale 1:51
in - Kit build logs for subjects built from 1751 - 1800
Posted
Top left hand deadeye starts with a knot then just follow the sketches to the right.
From outside of the hull the three vertical lines should be parallel.
I have also seen this done in reverse - starting with the right hand hole then top centre then bottom left.
Either way you finish with half hitches around the shroud.
Hope this helps,
Sam.