
Capt. Kelso
-
Posts
169 -
Joined
-
Last visited
Content Type
Profiles
Forums
Gallery
Events
Everything posted by Capt. Kelso
-
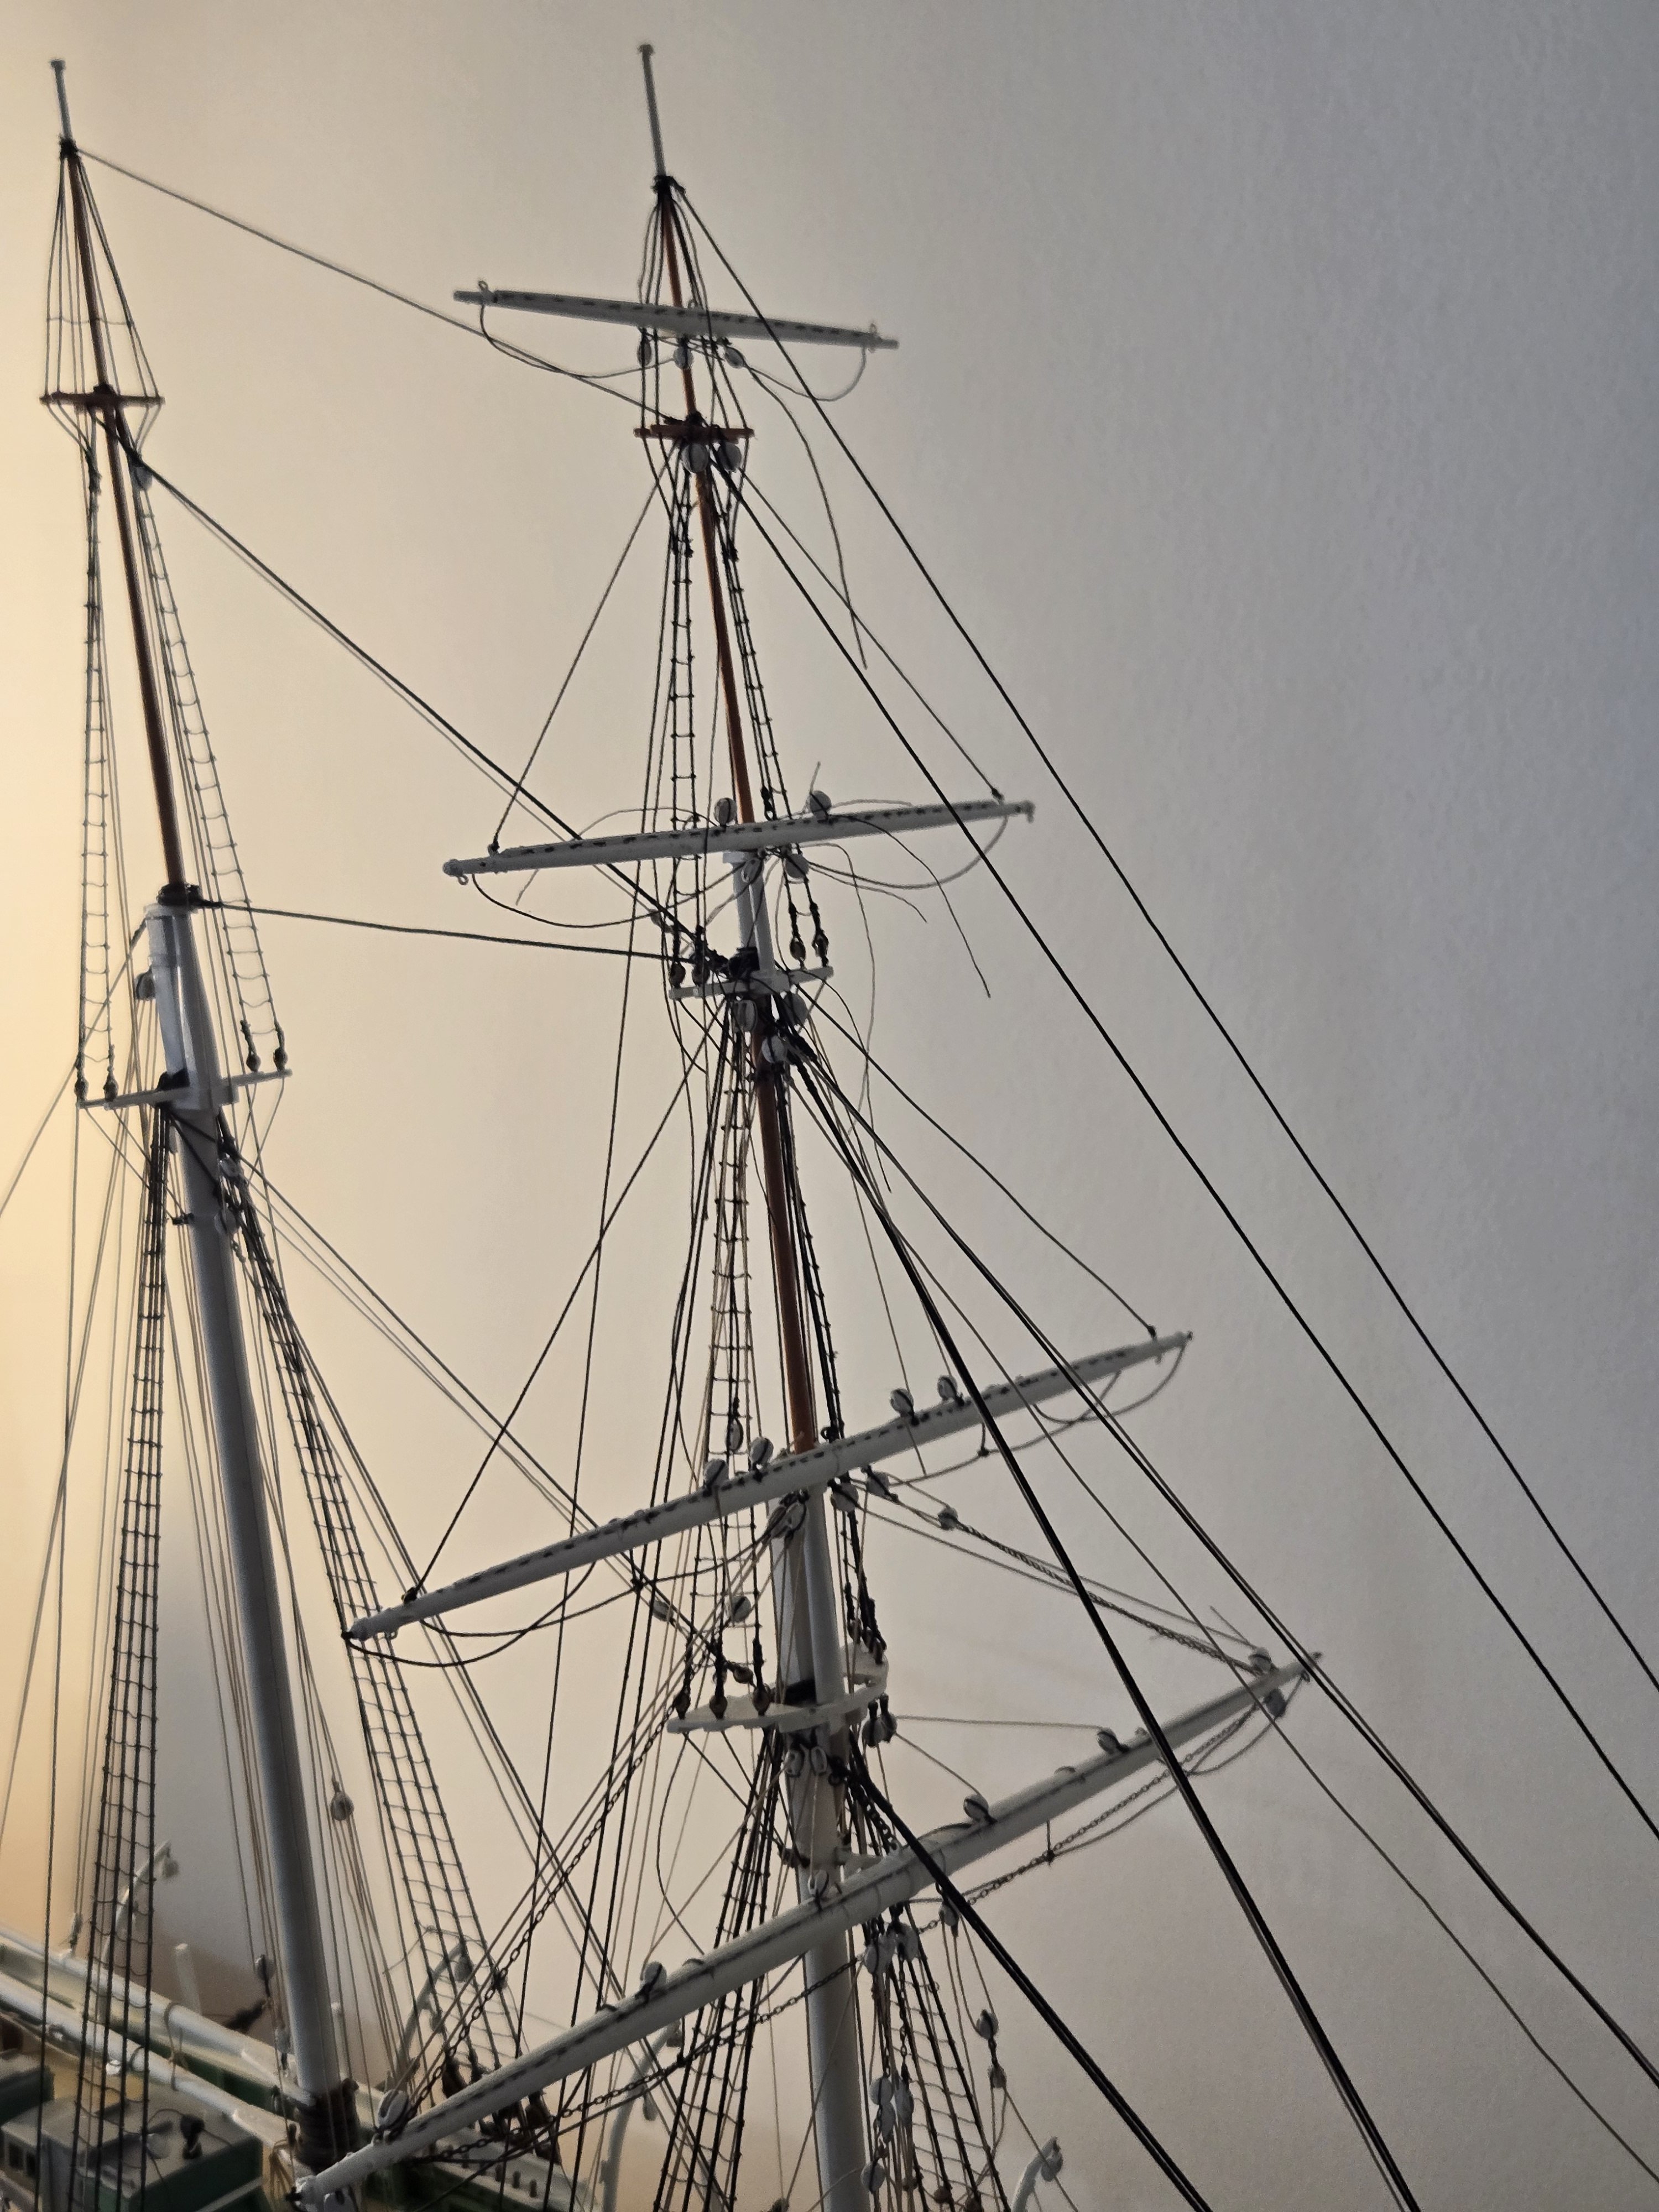
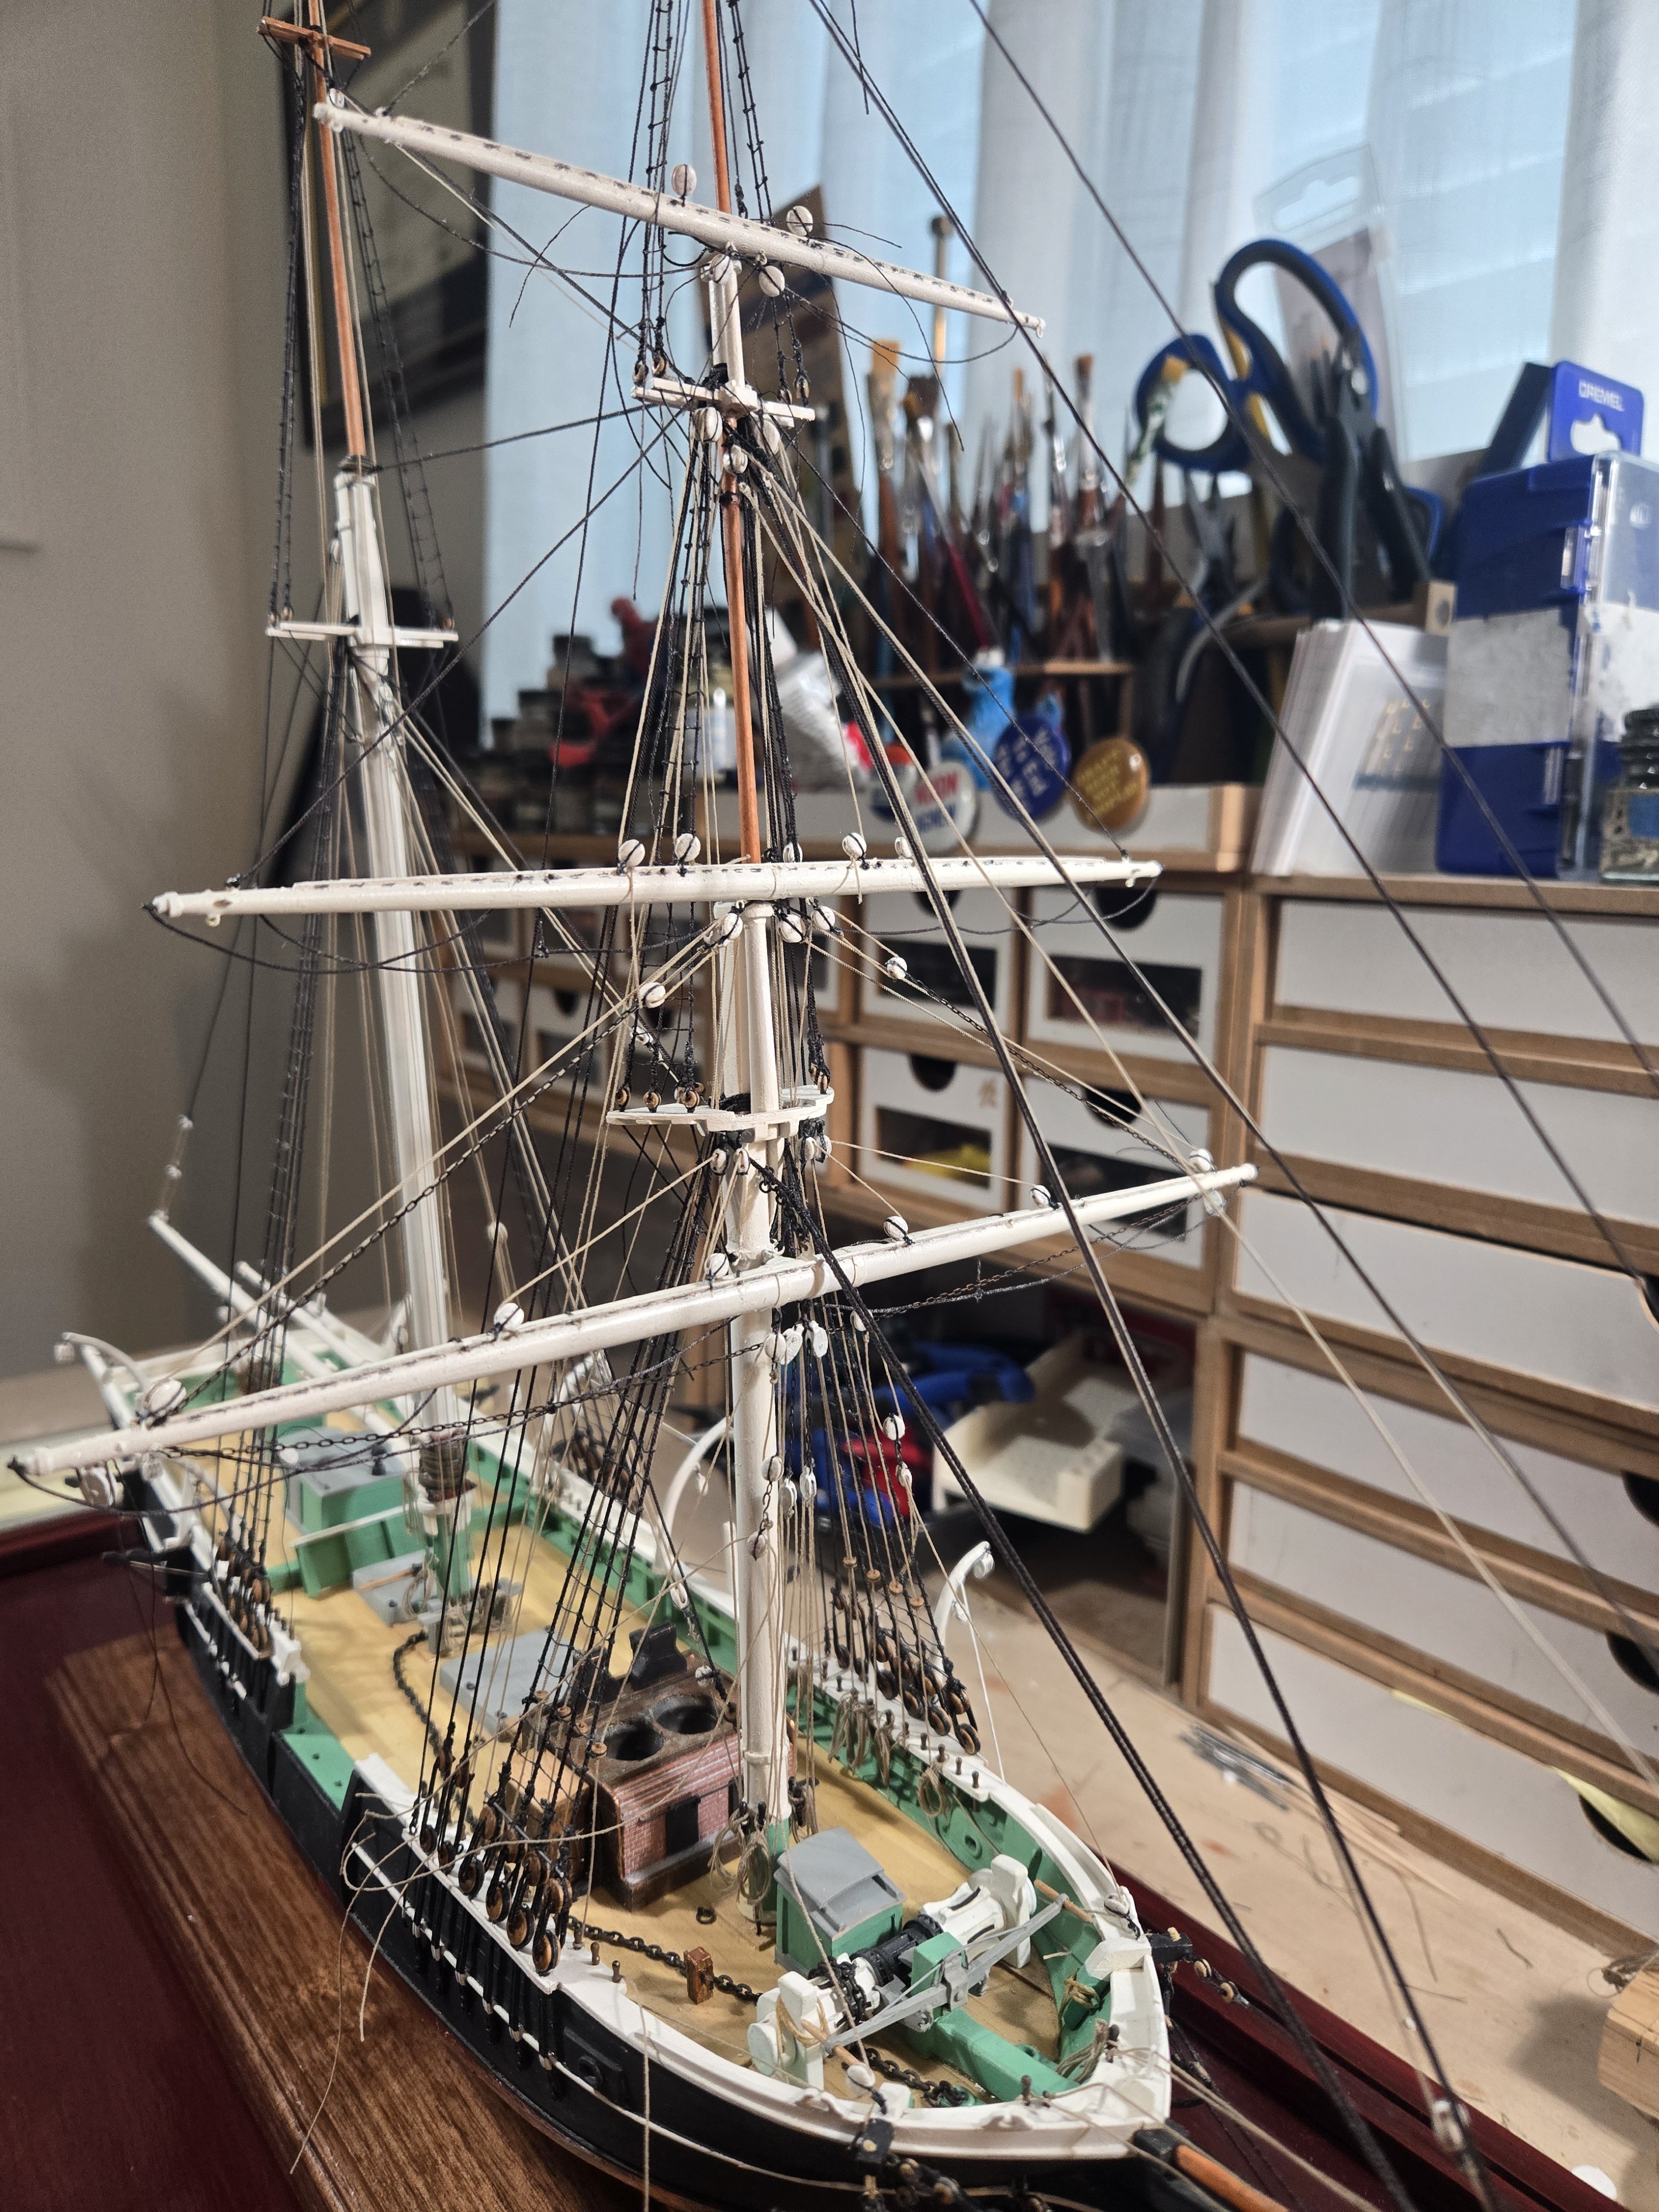
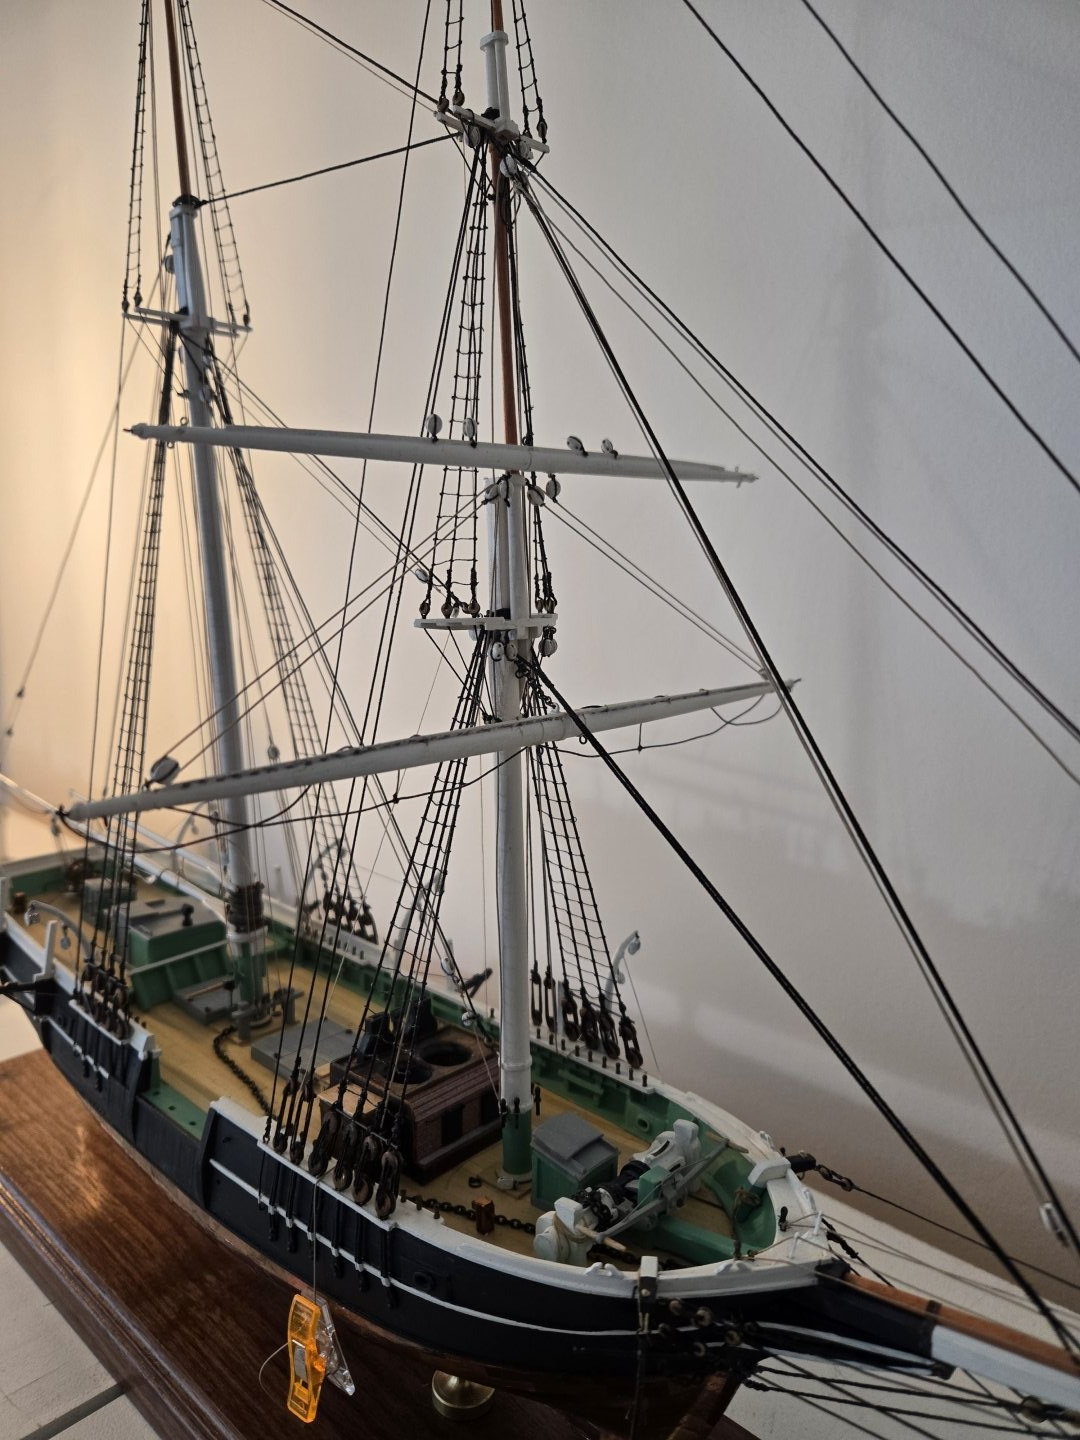
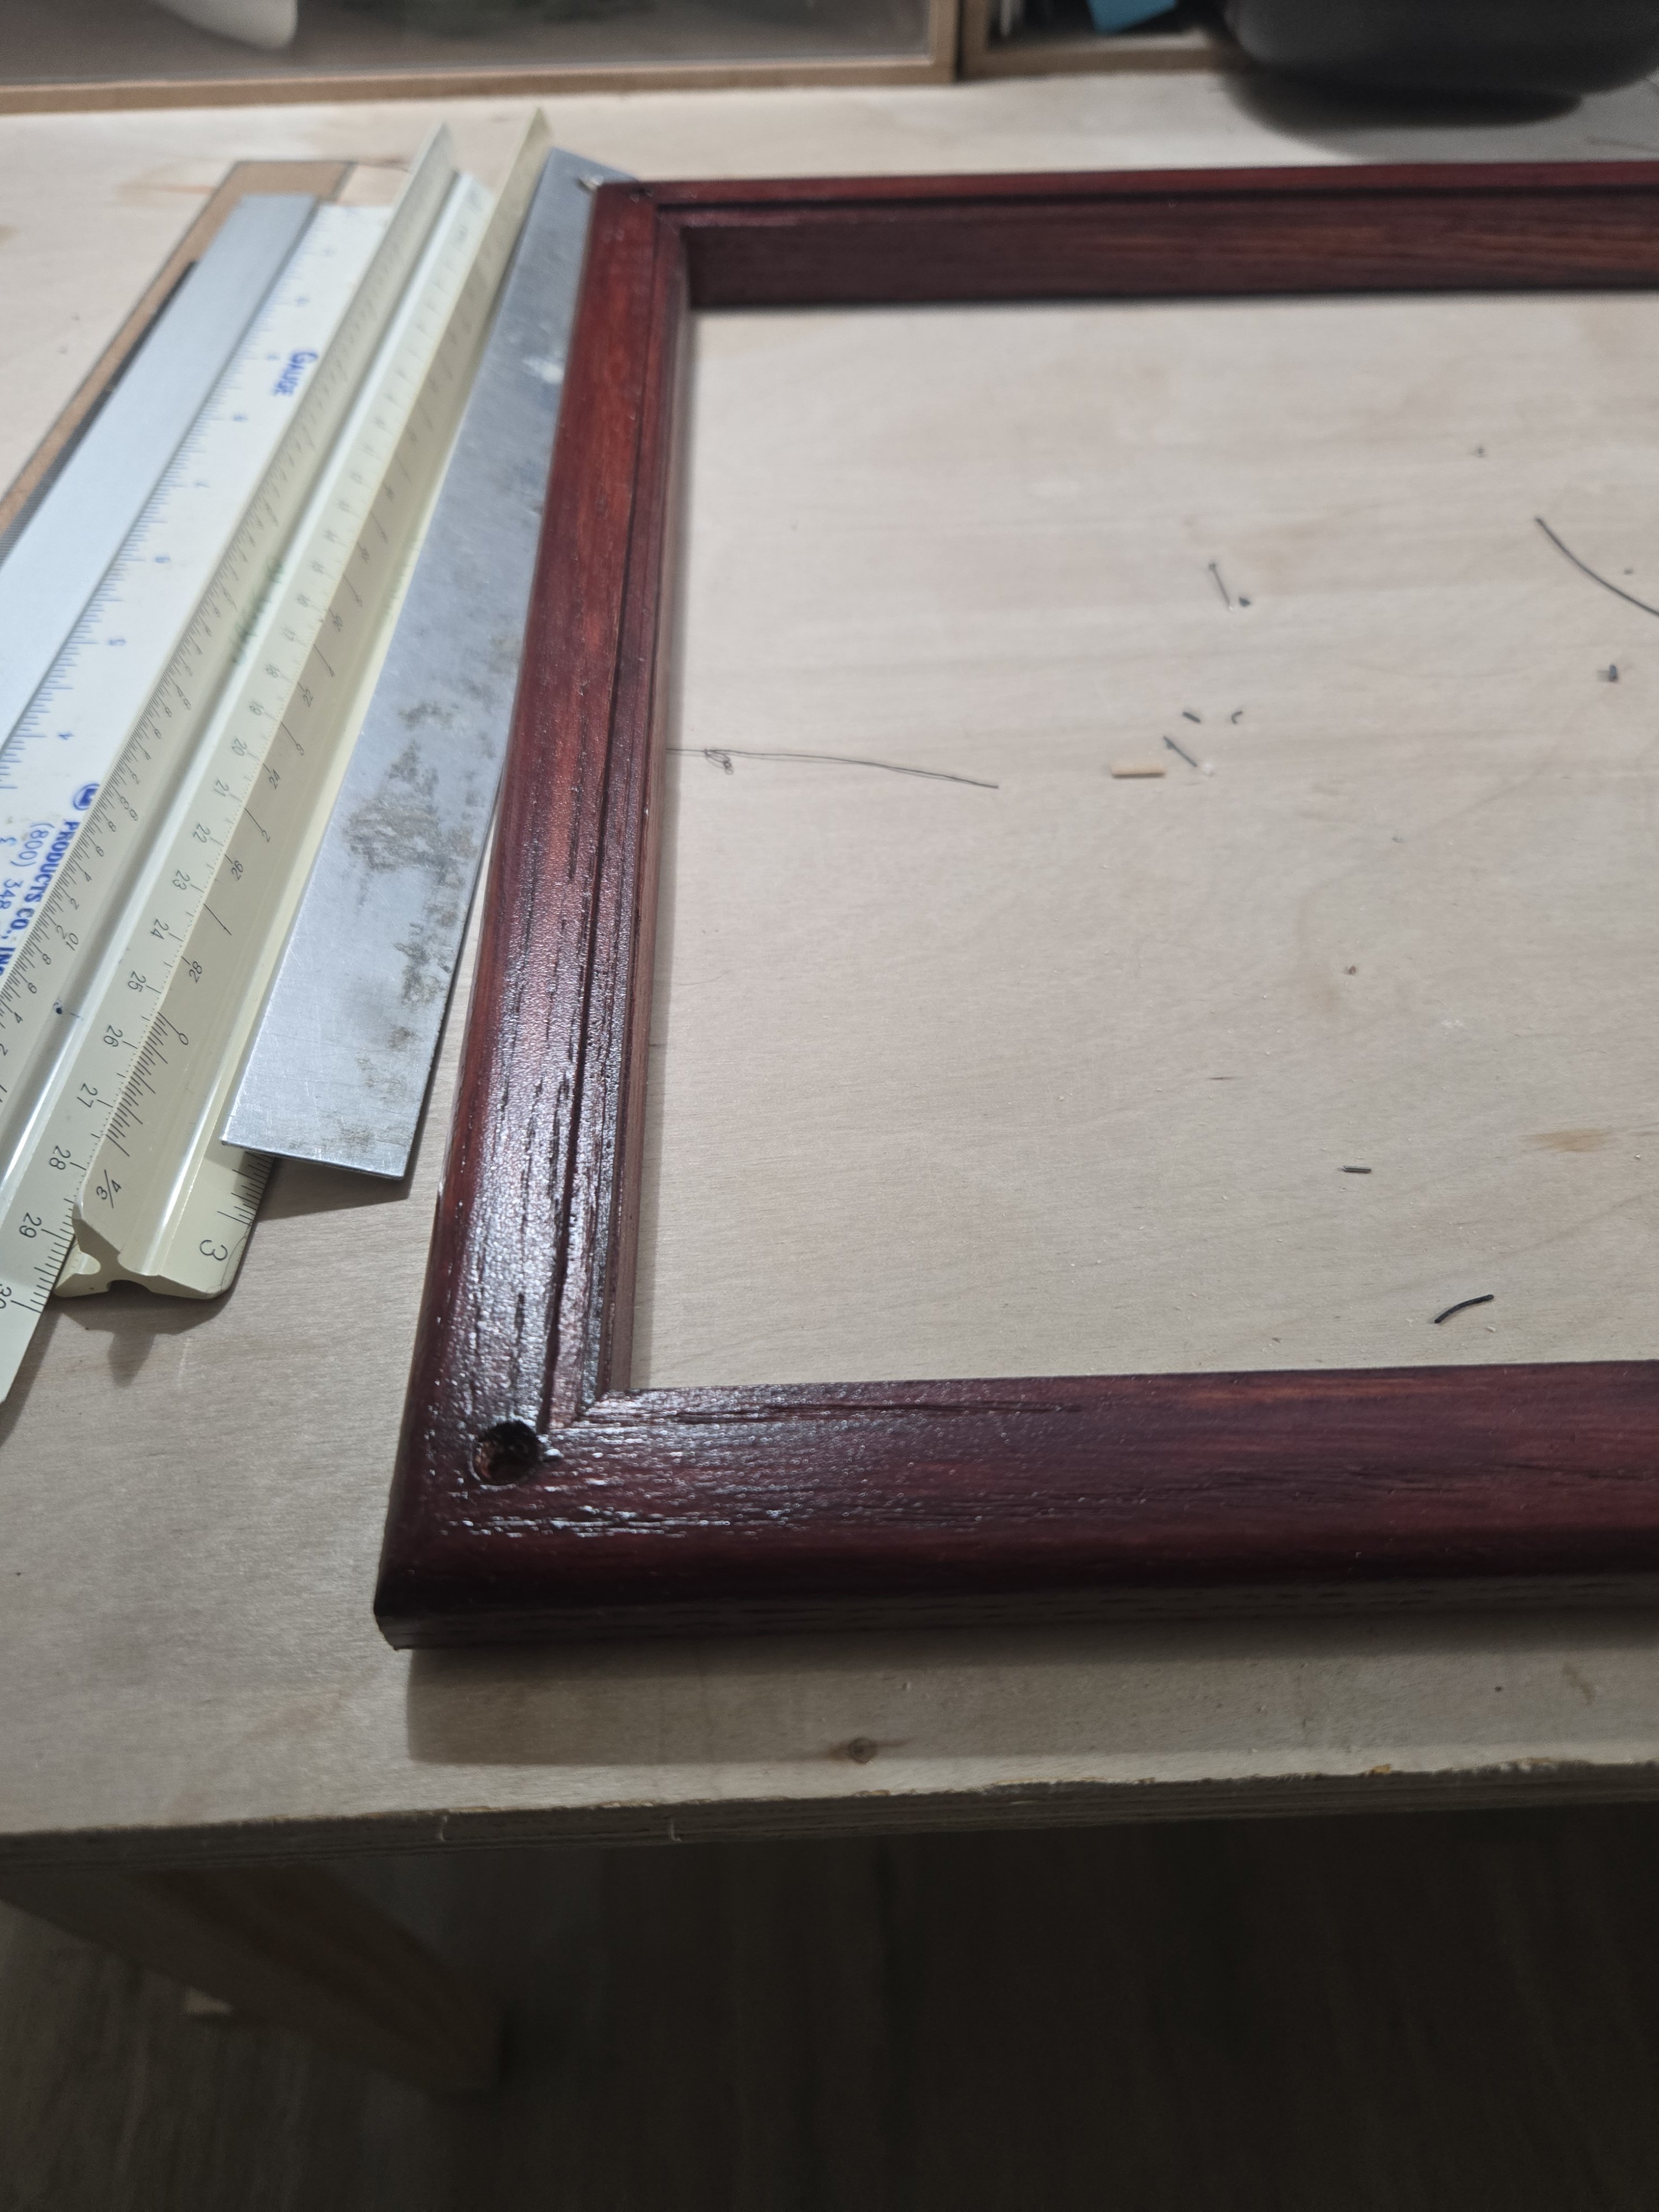
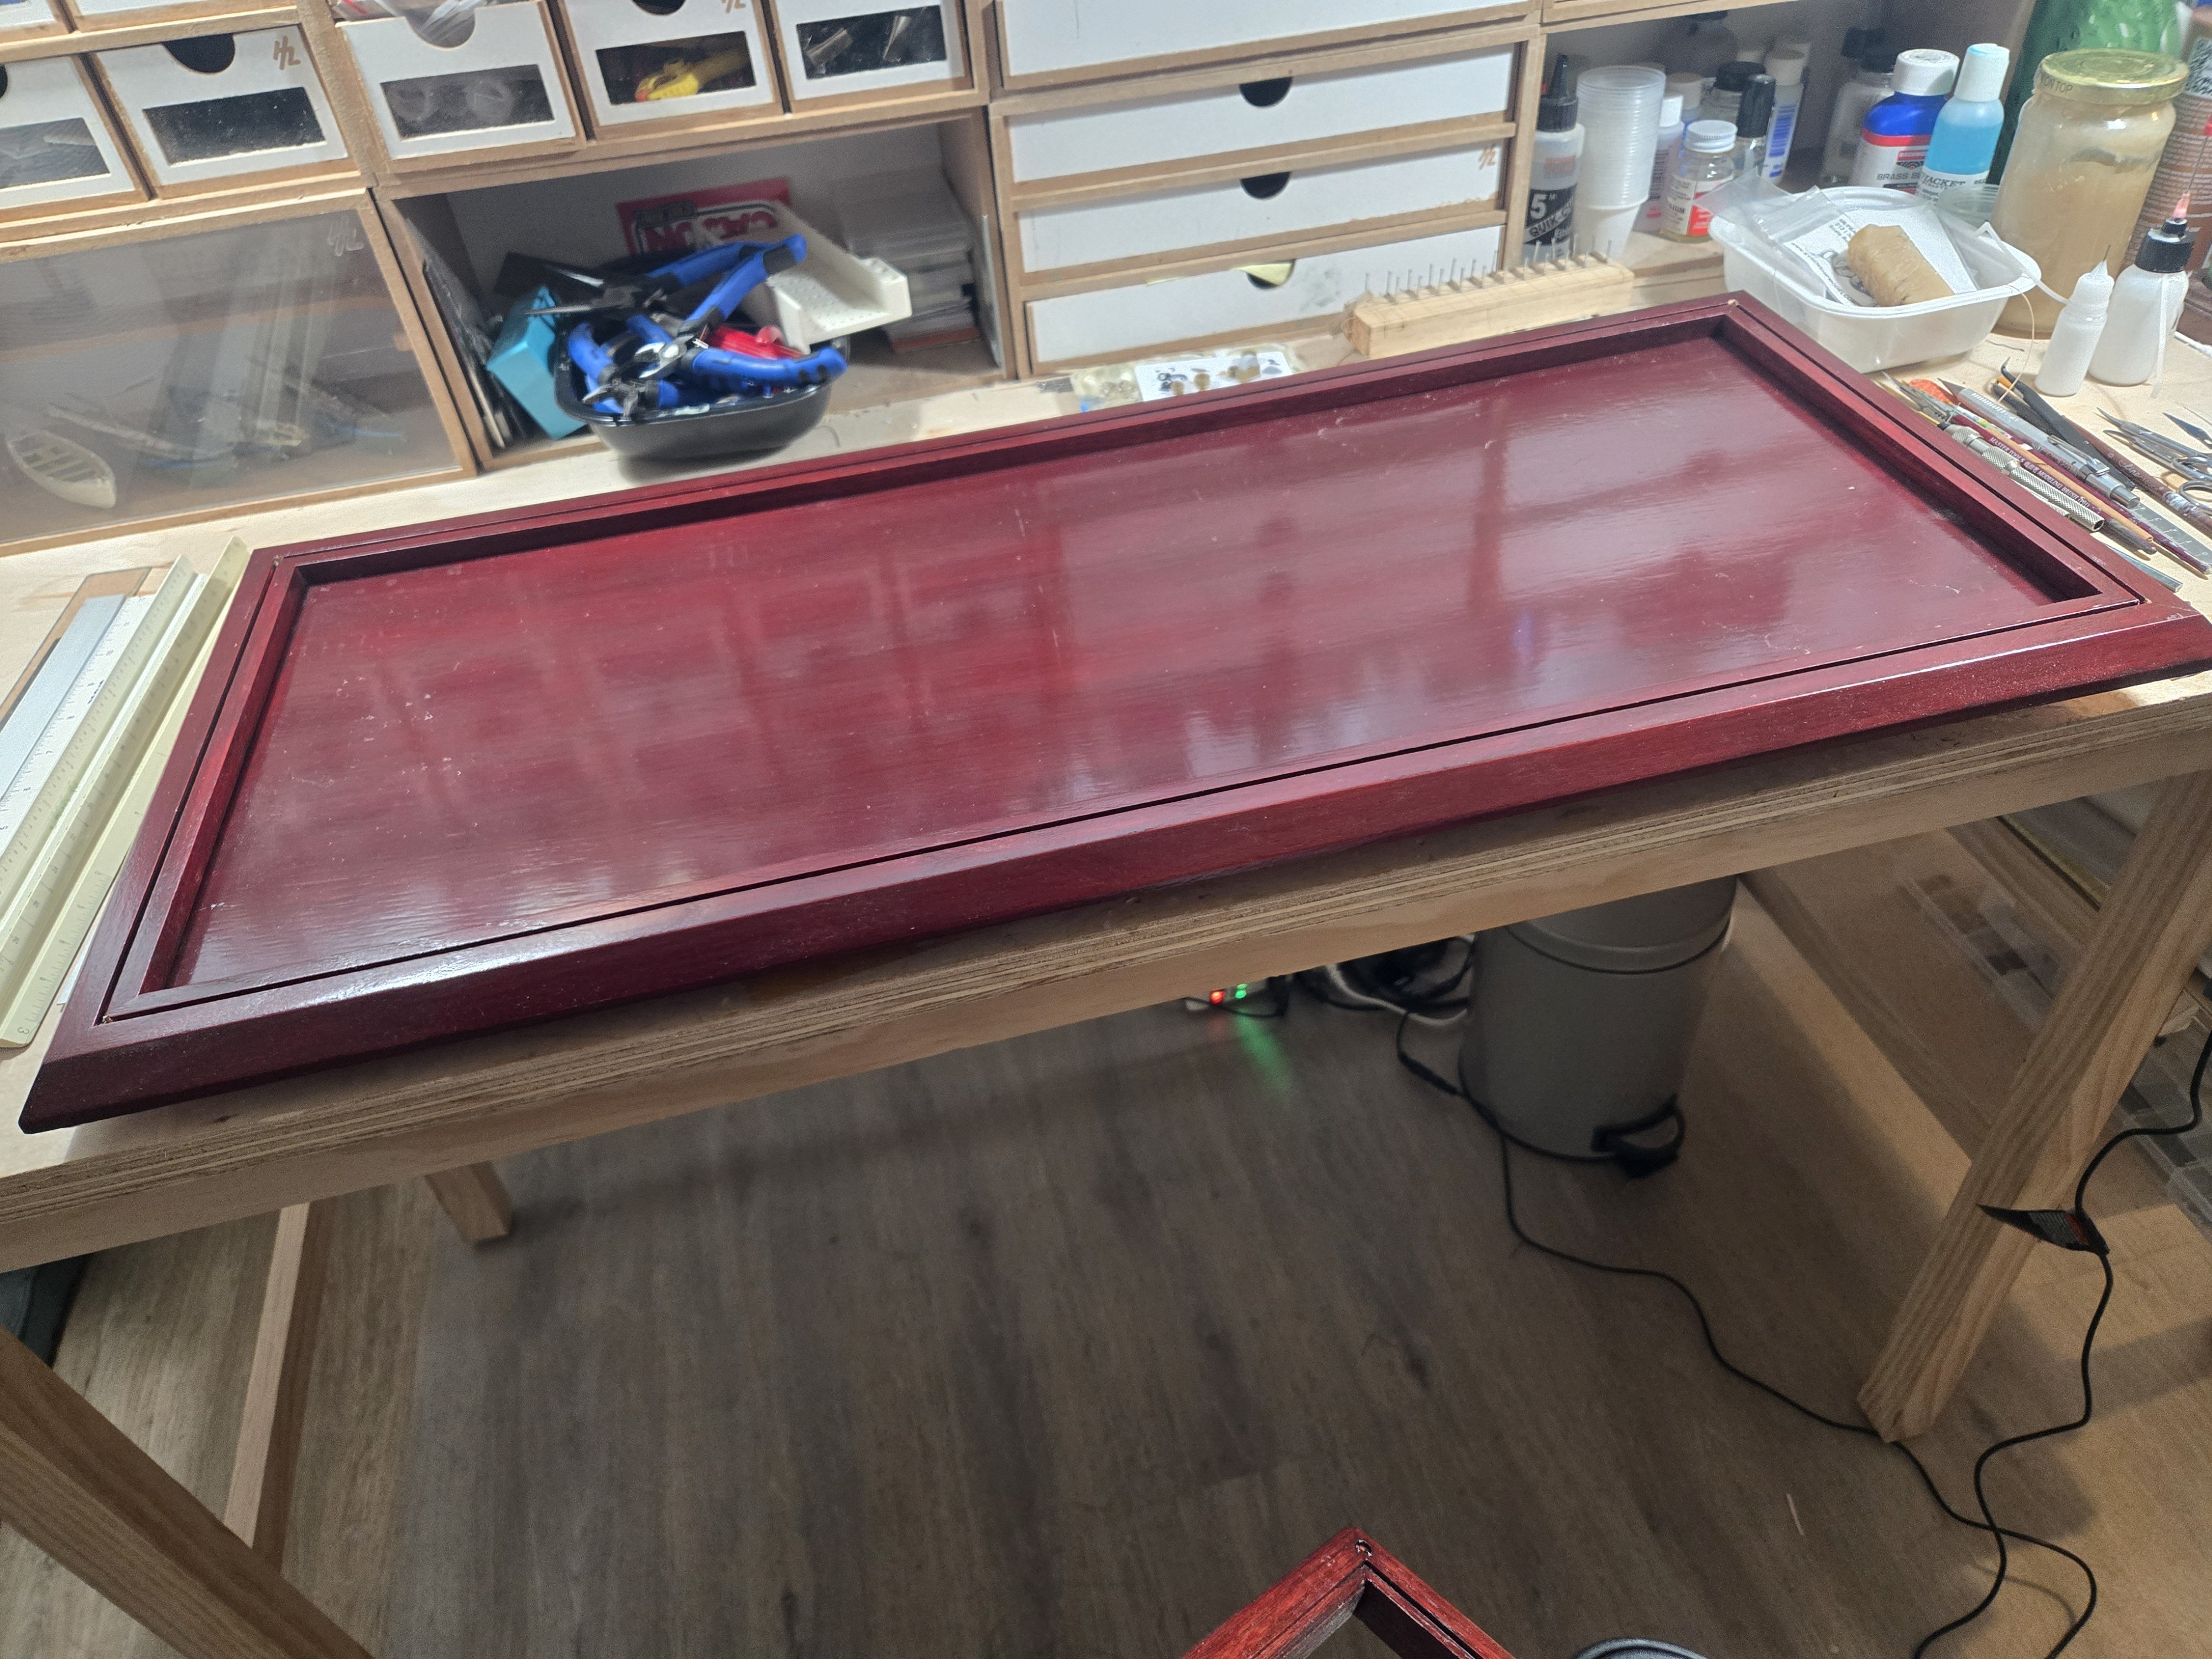
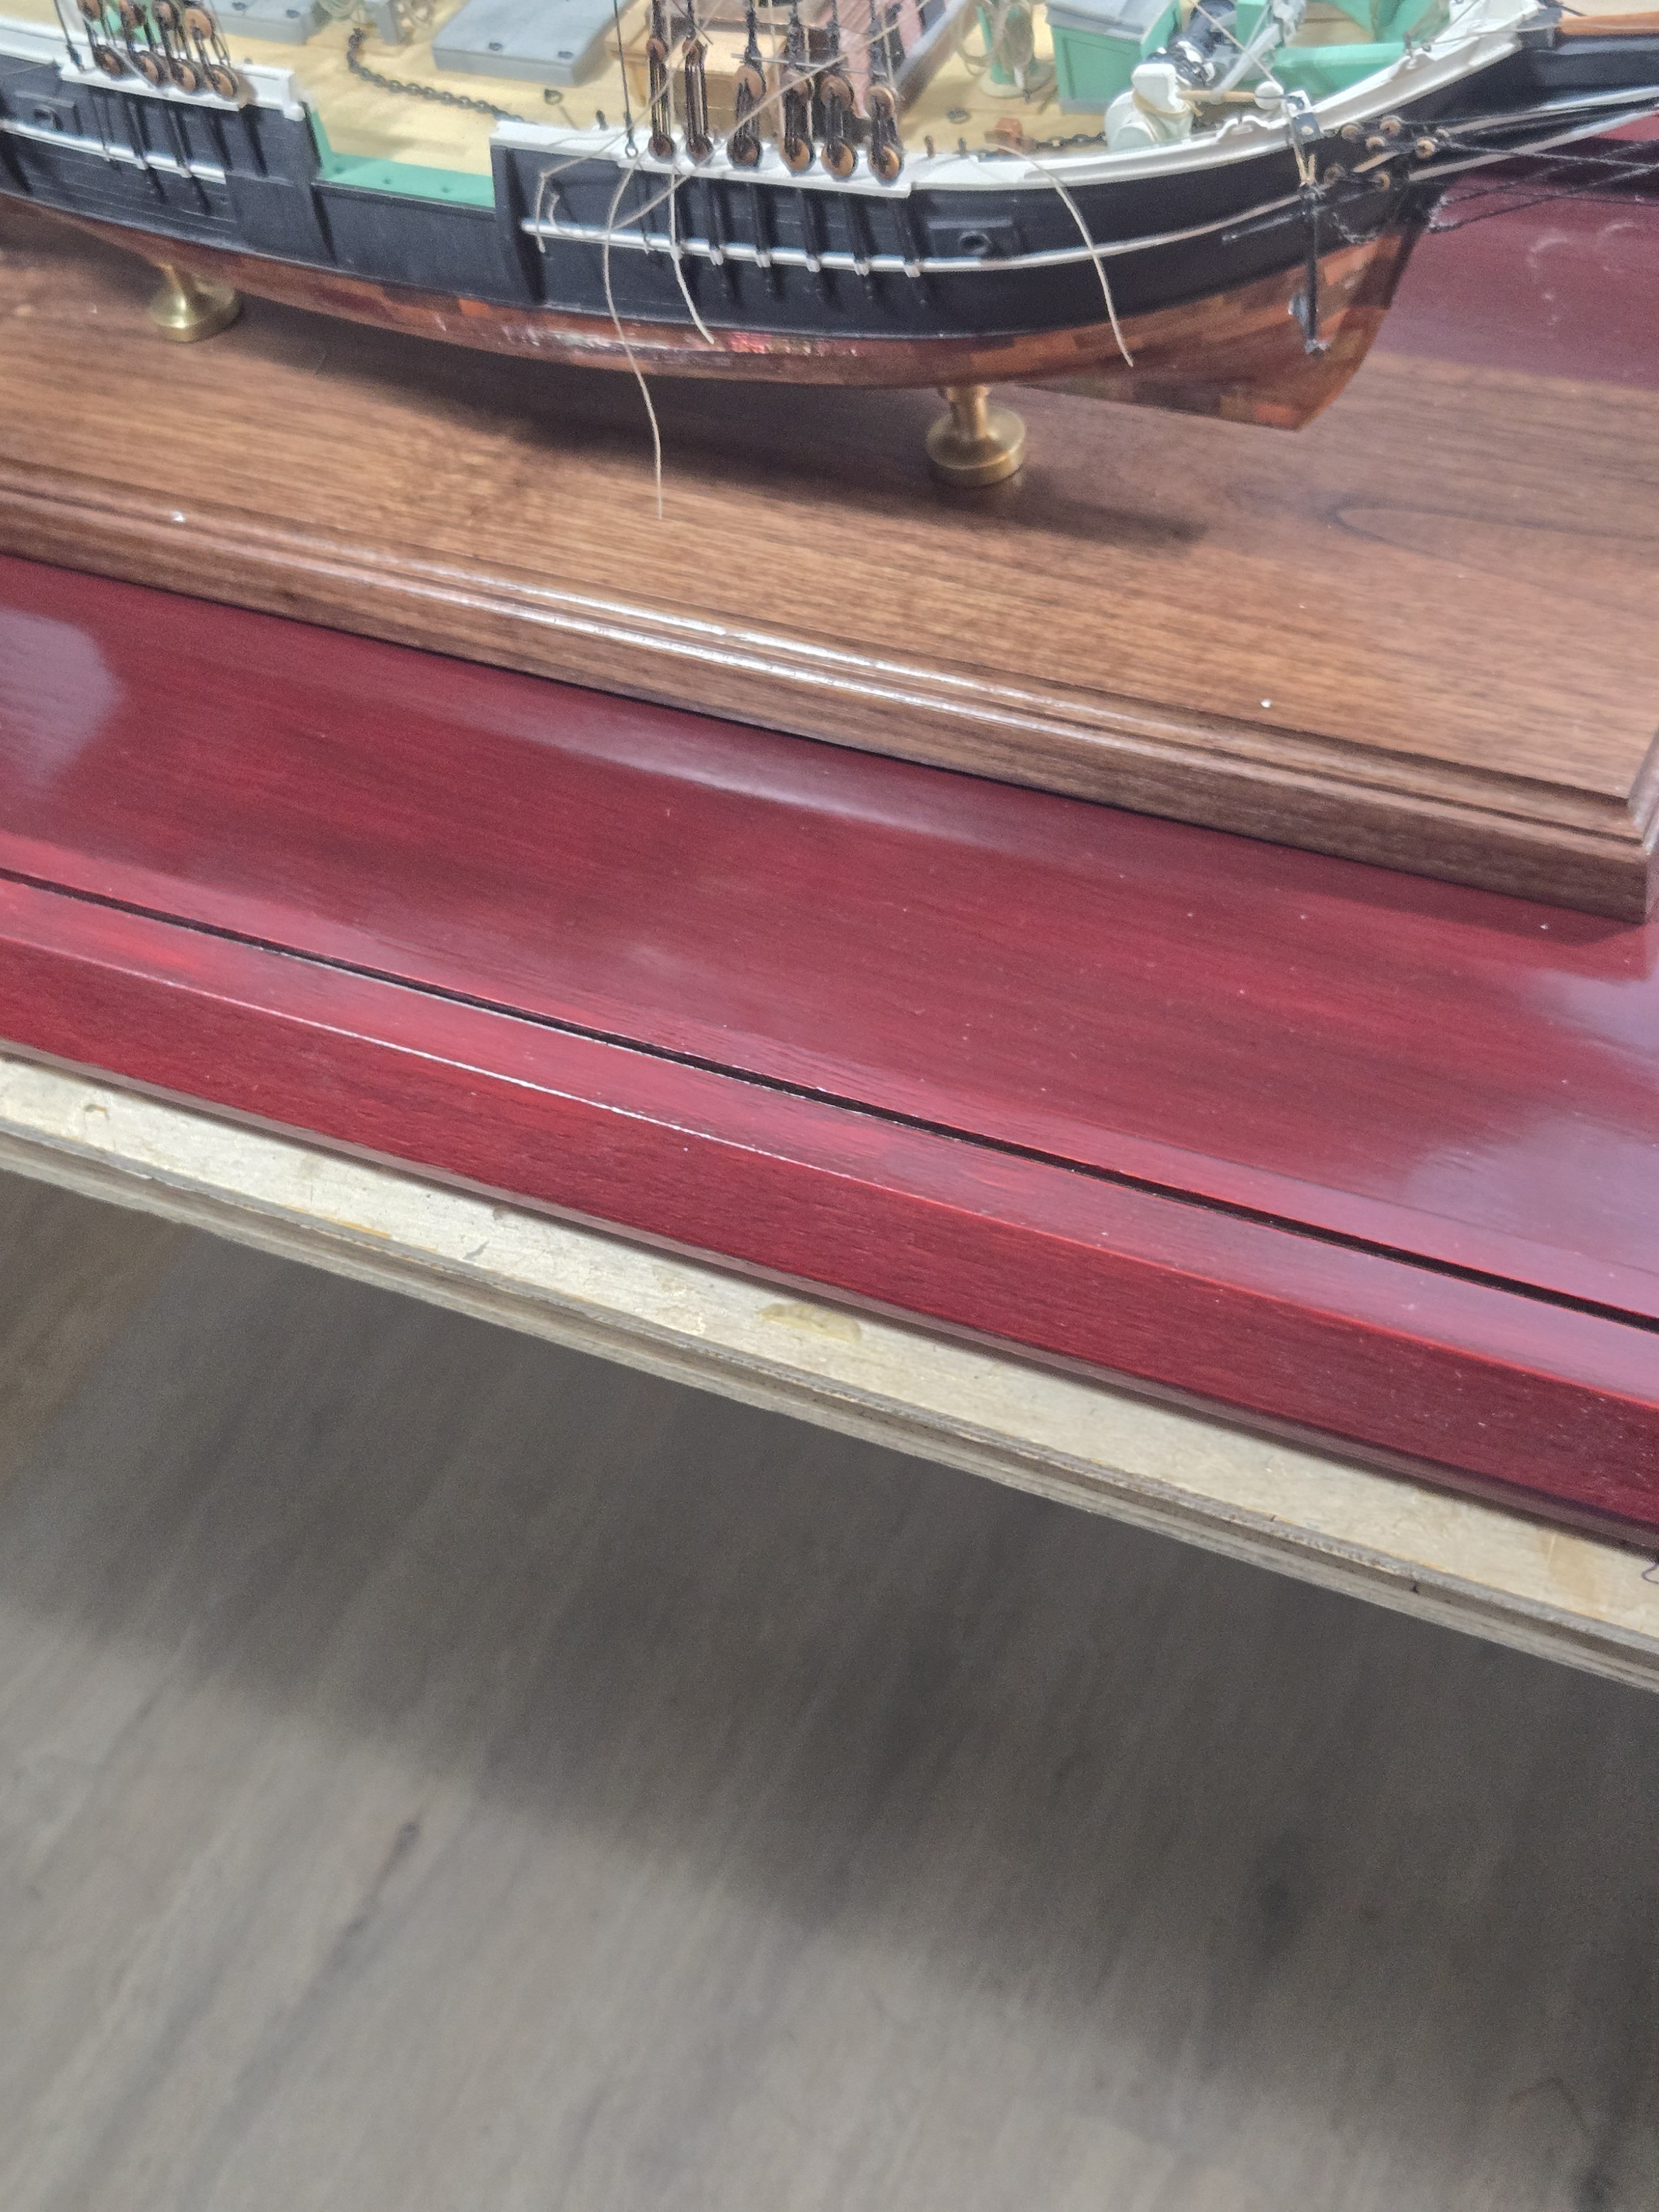
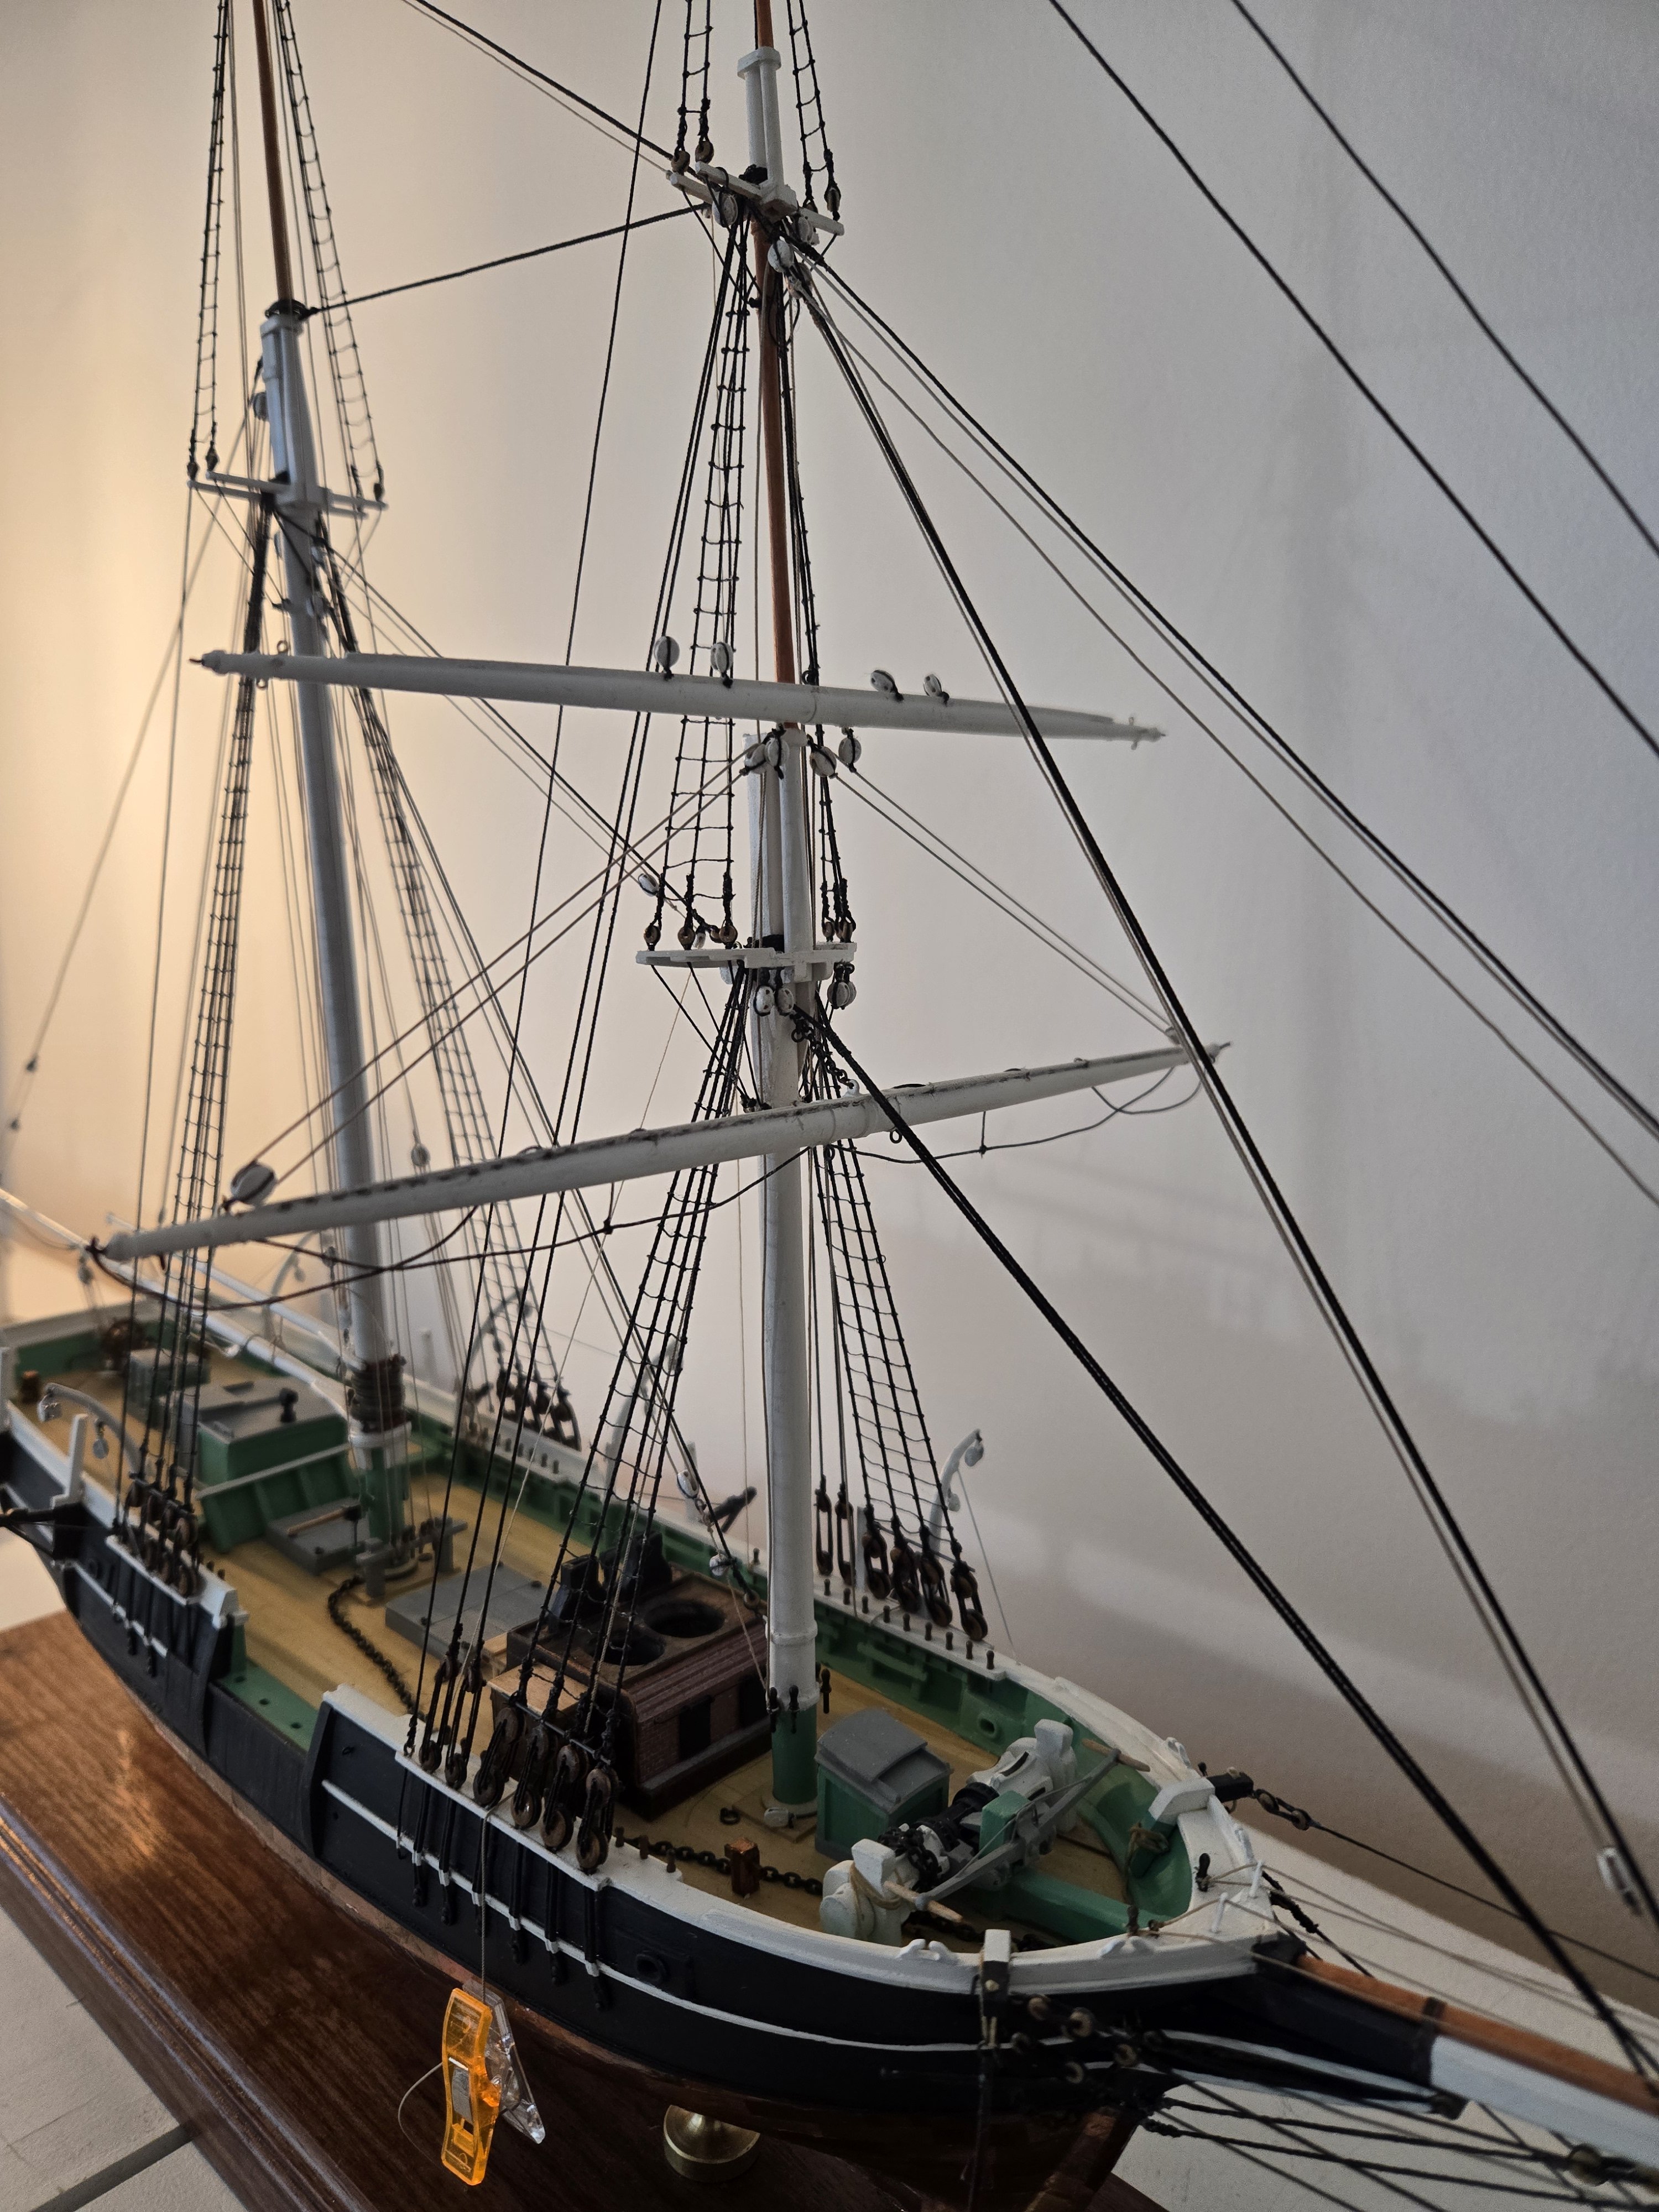
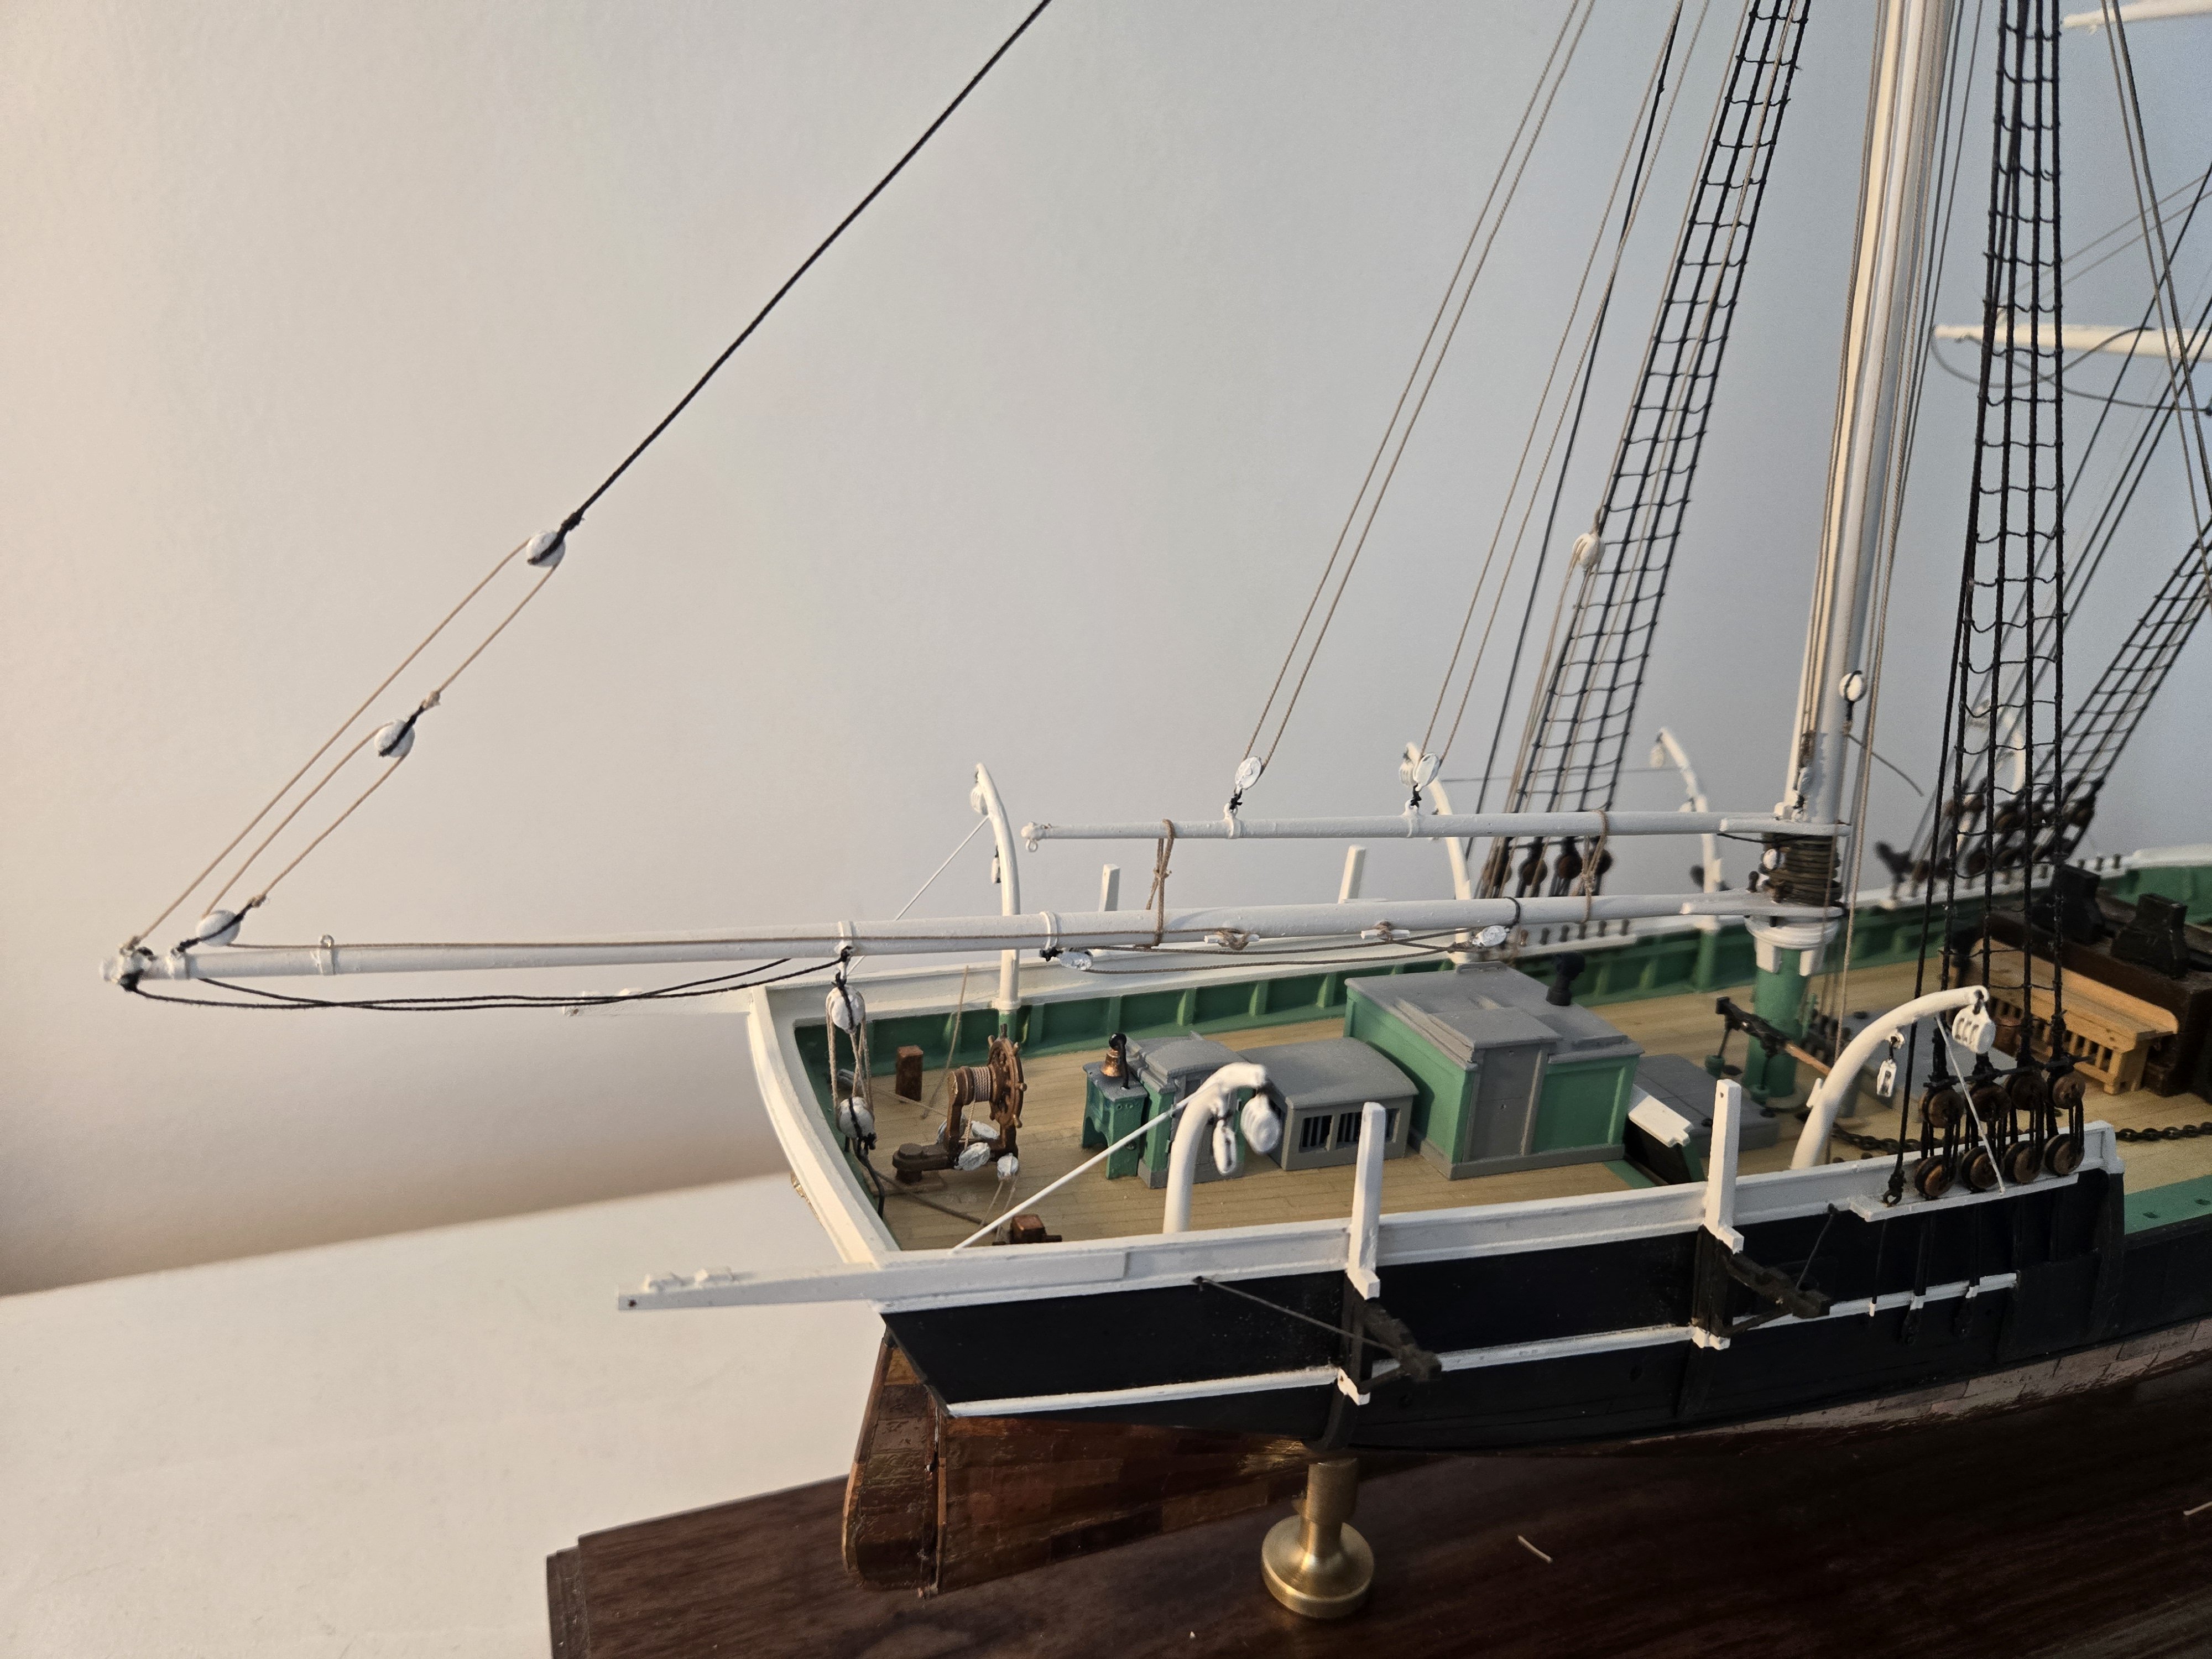
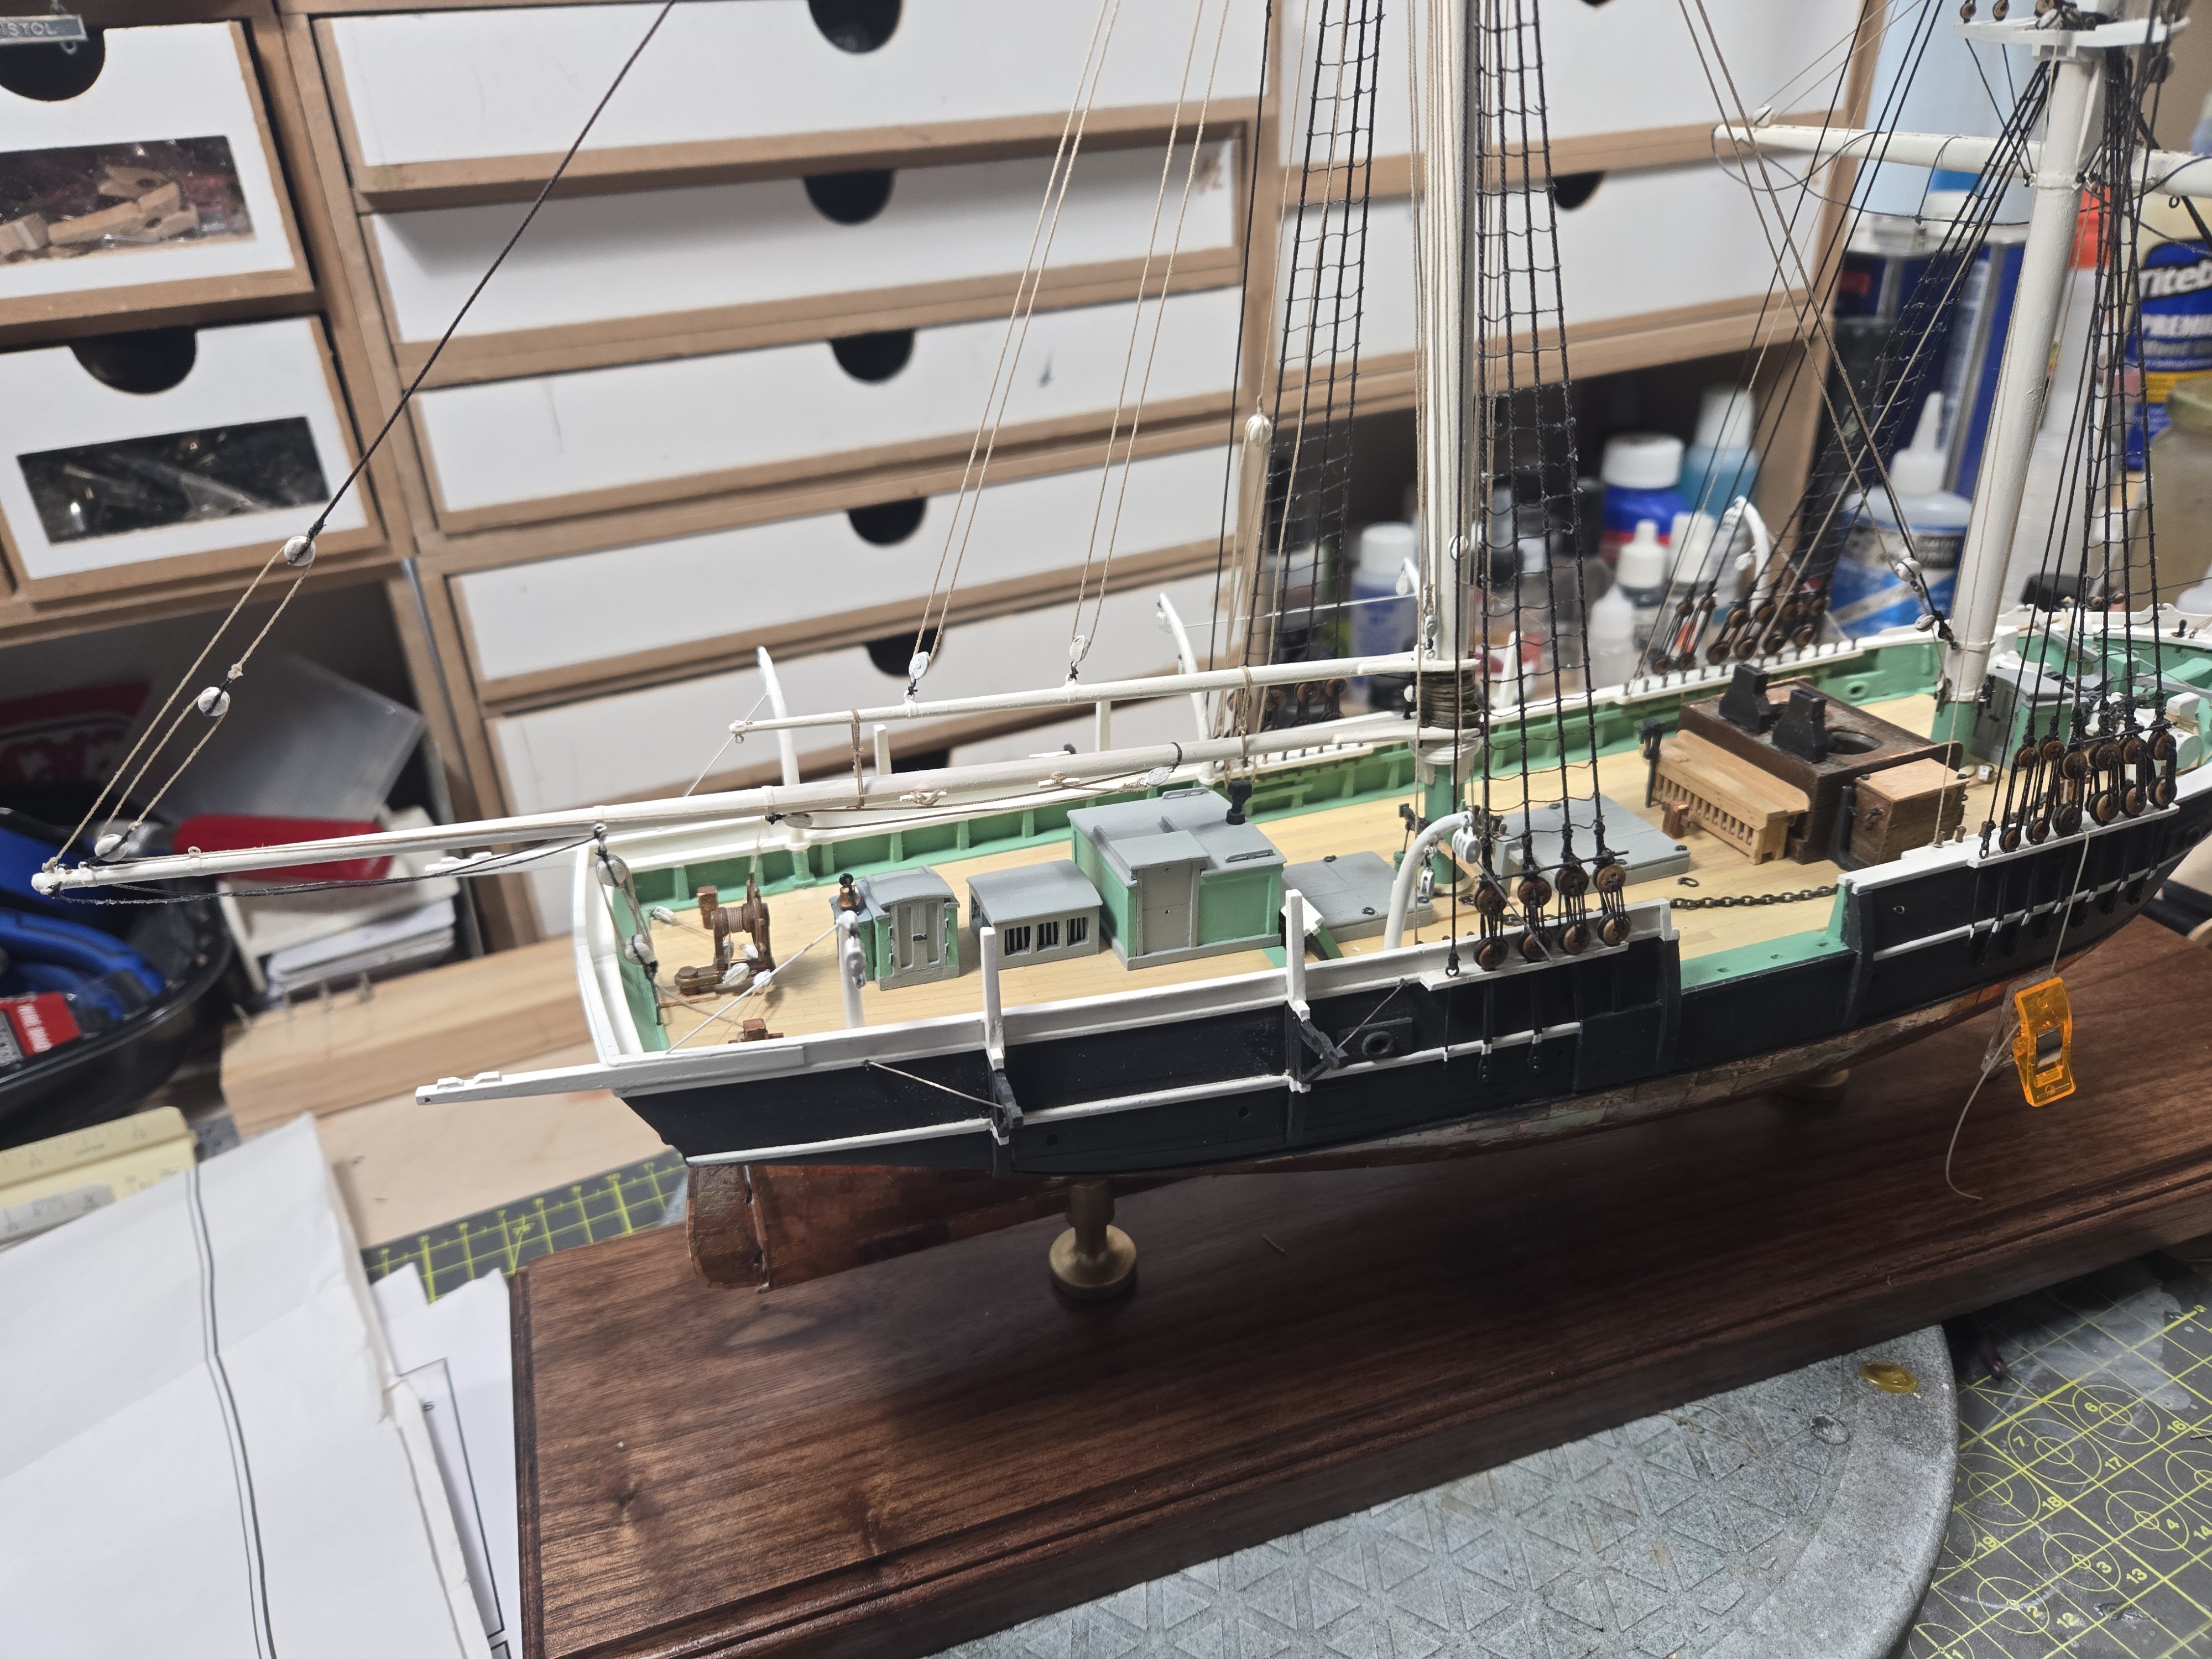
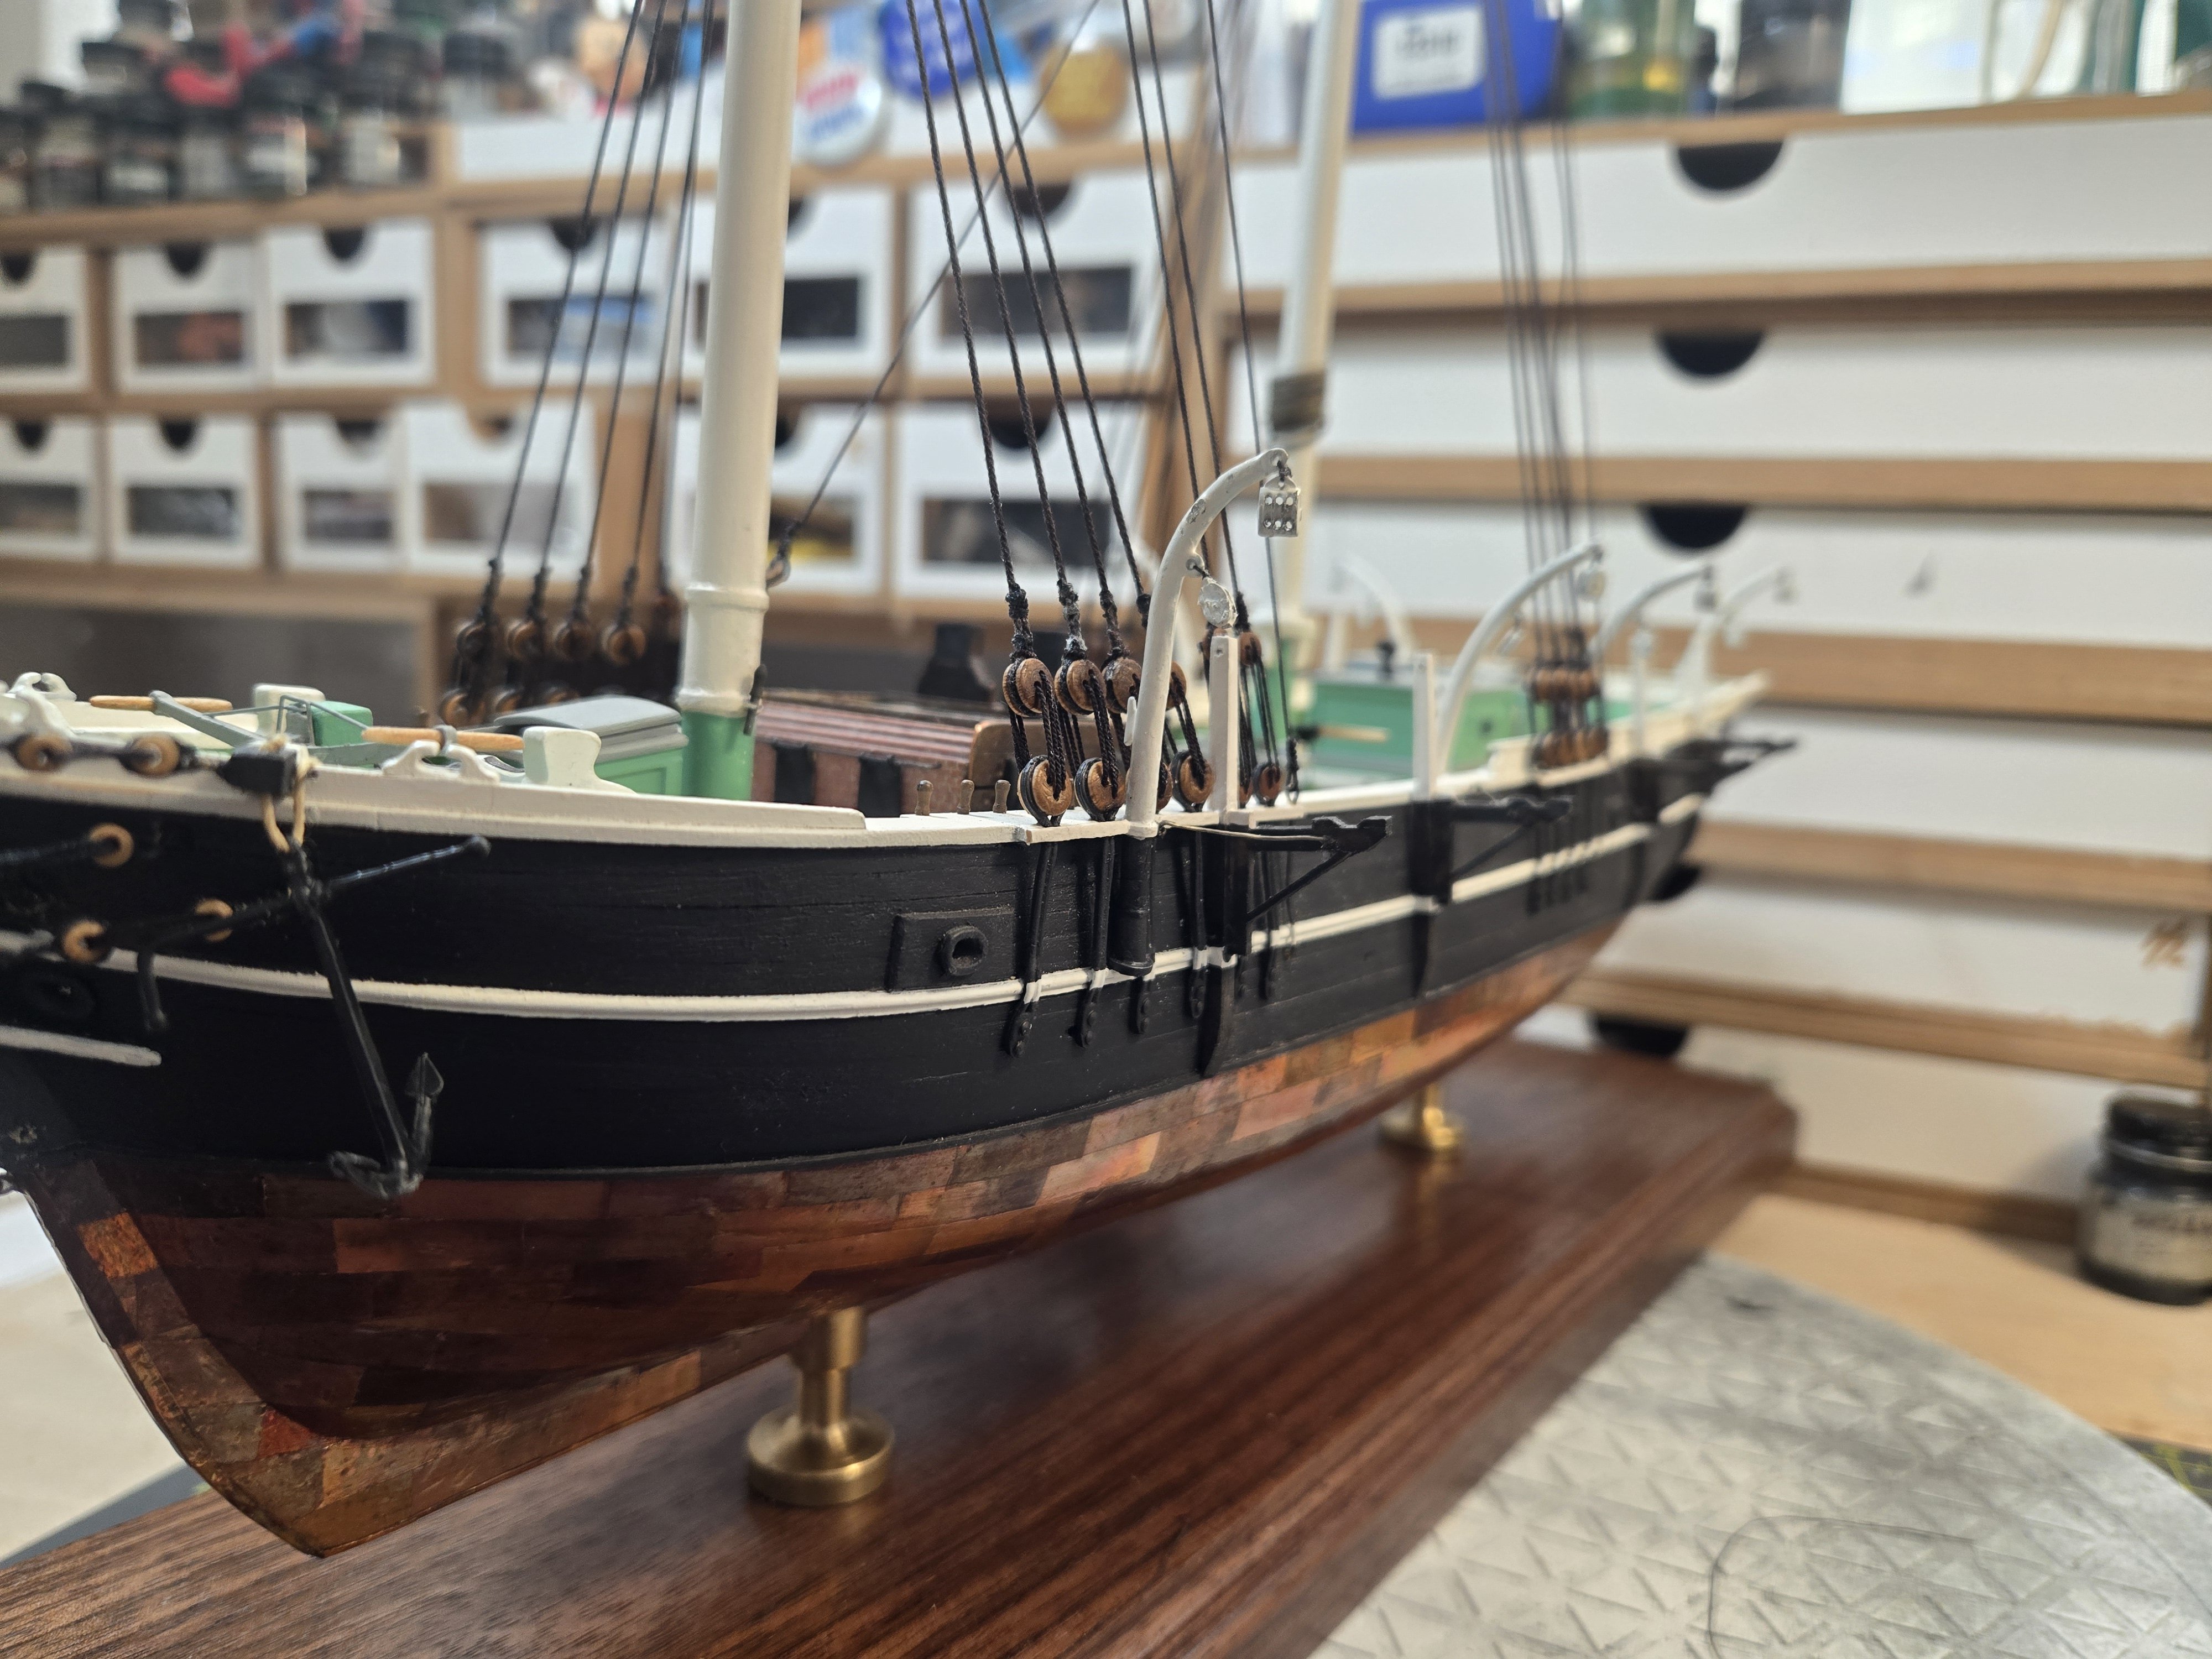
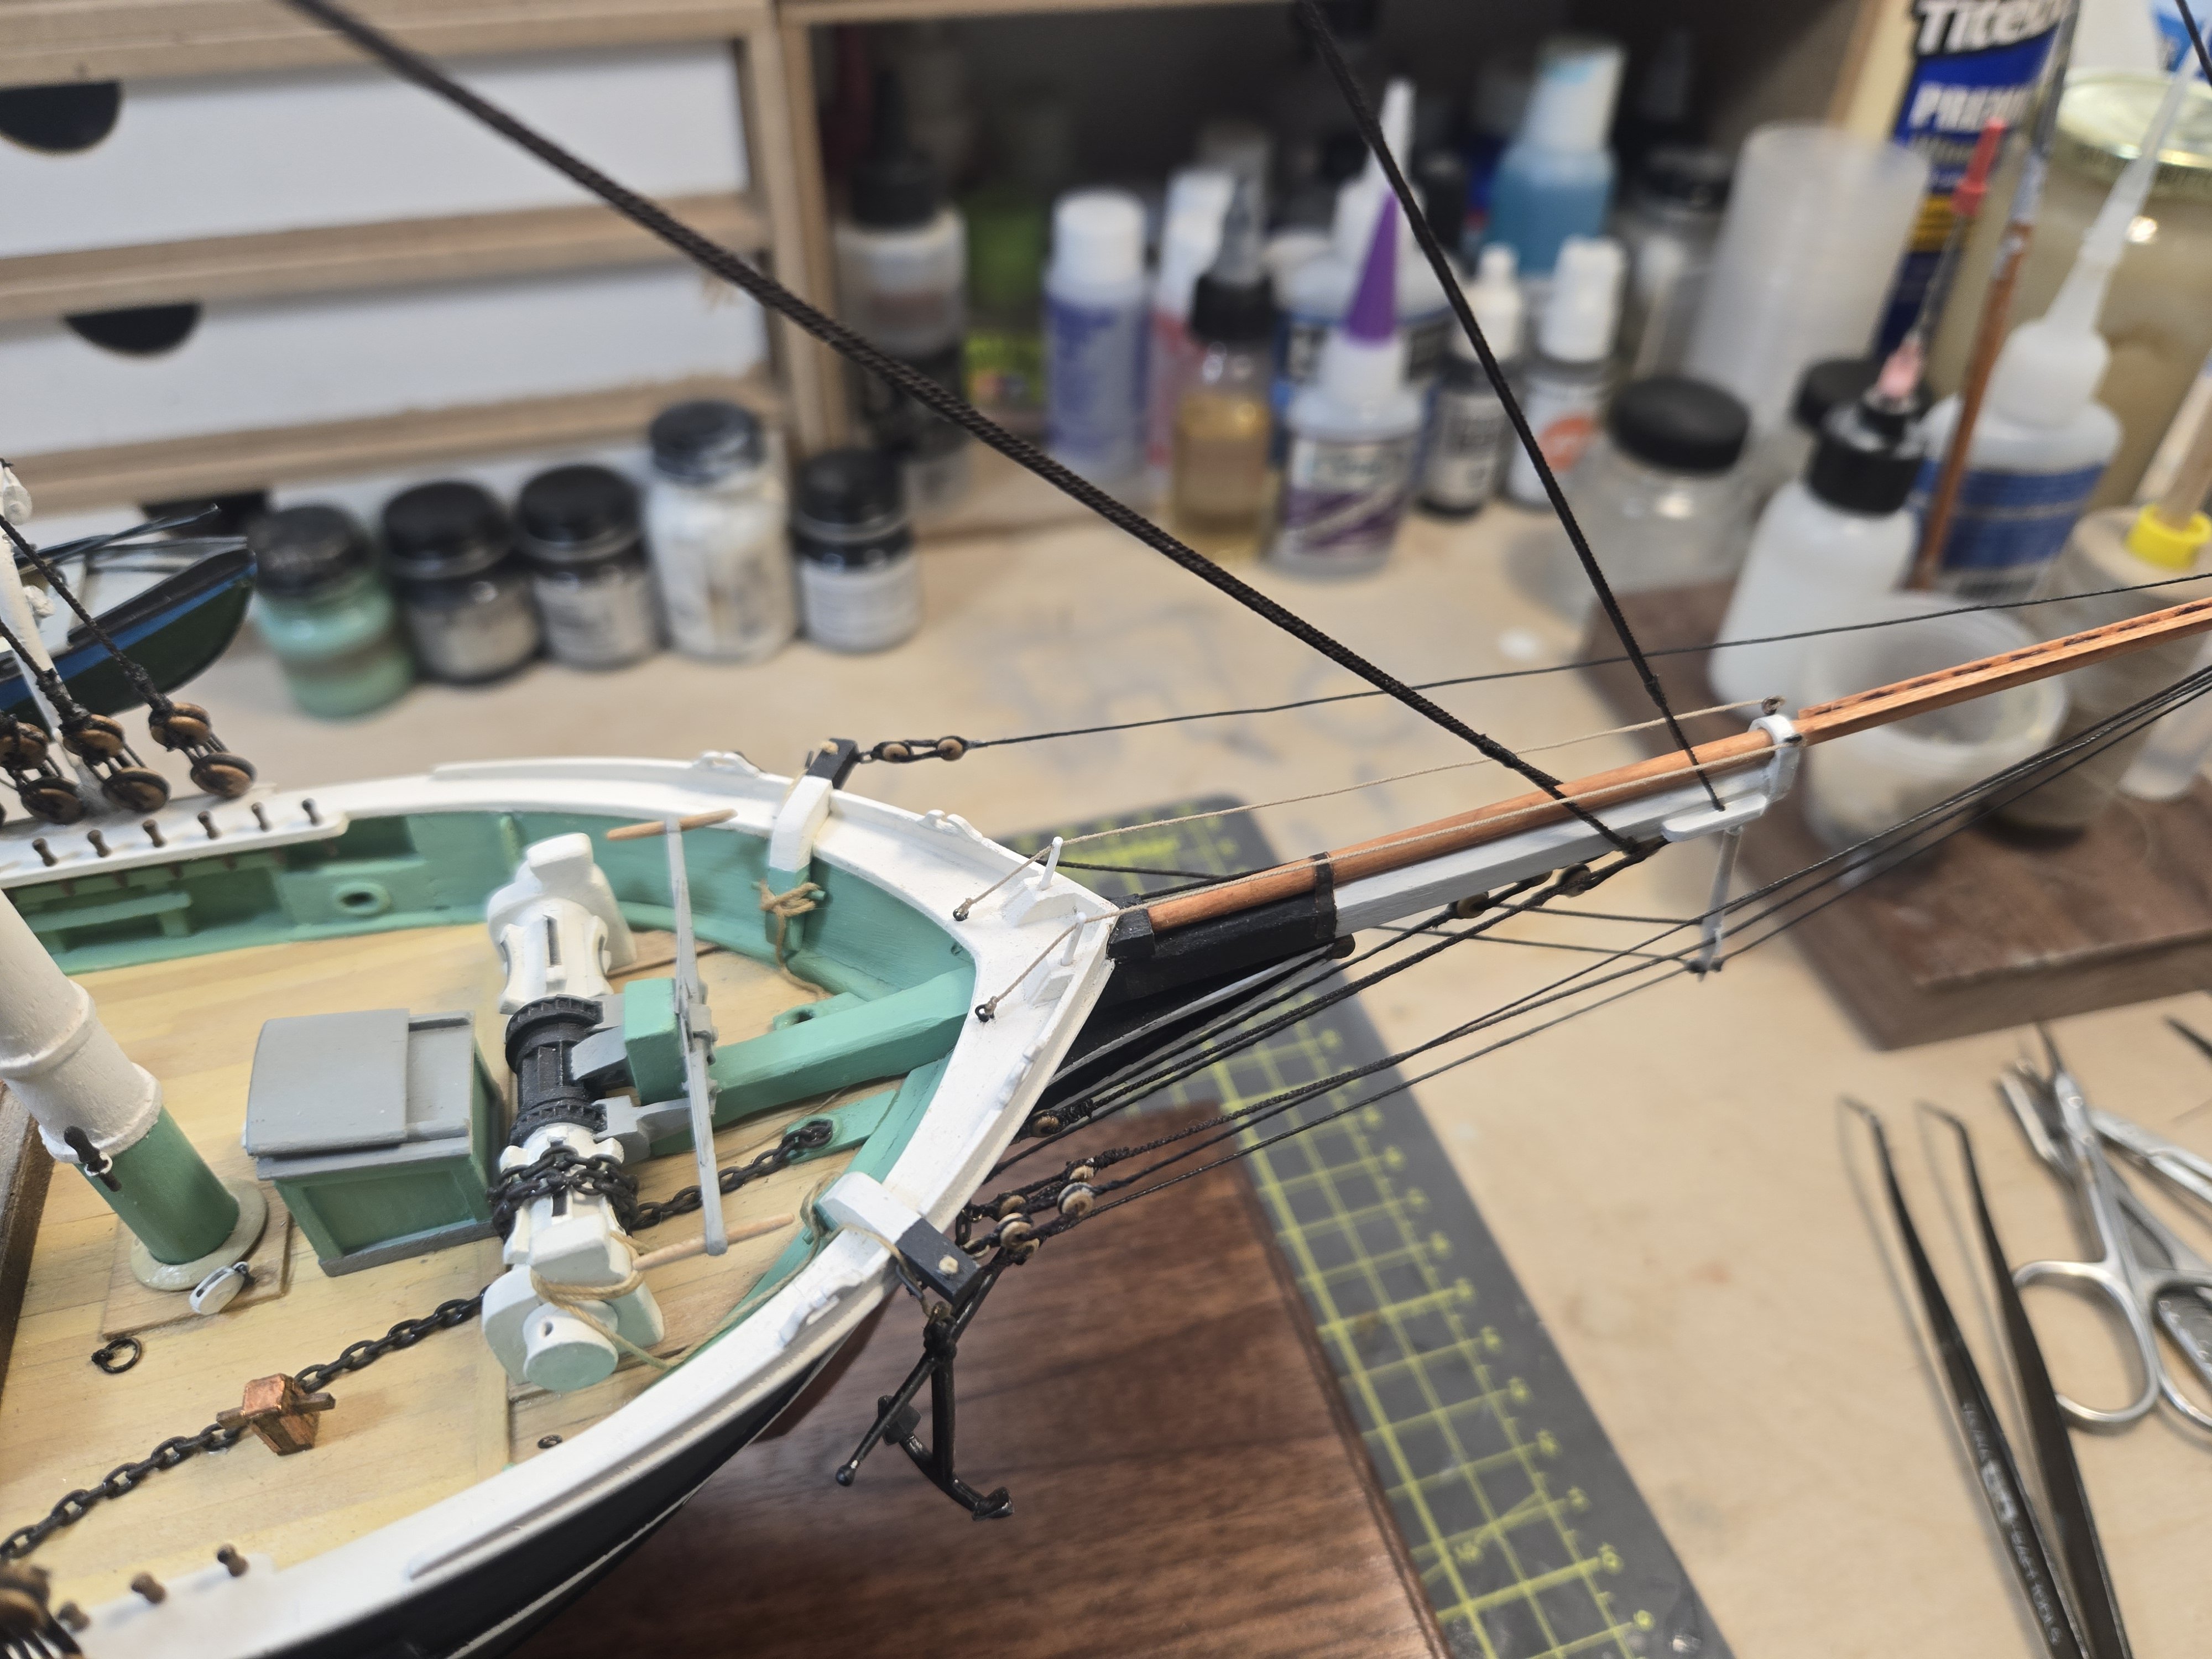
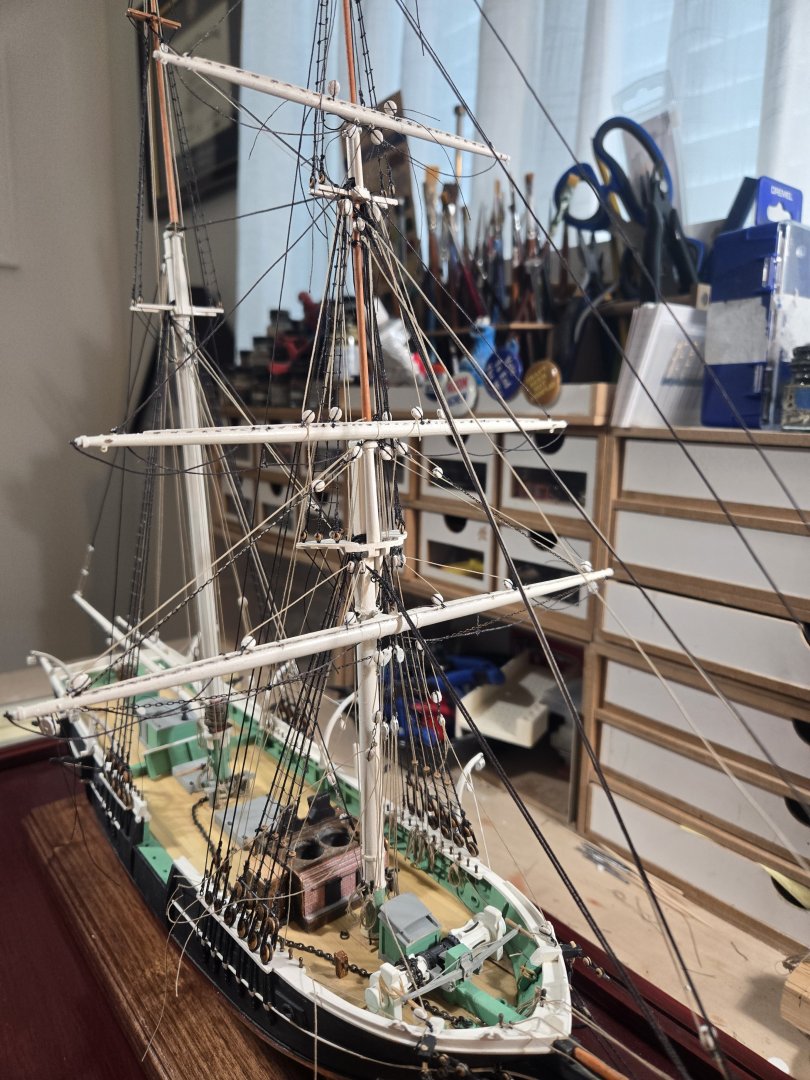
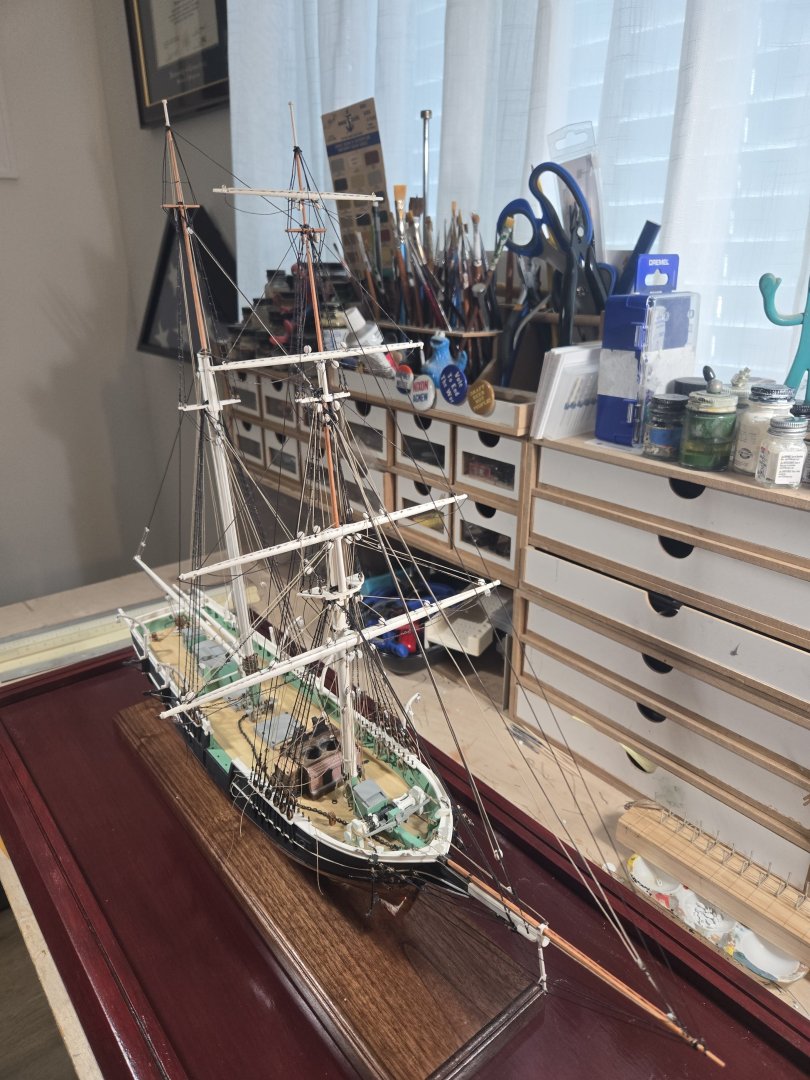
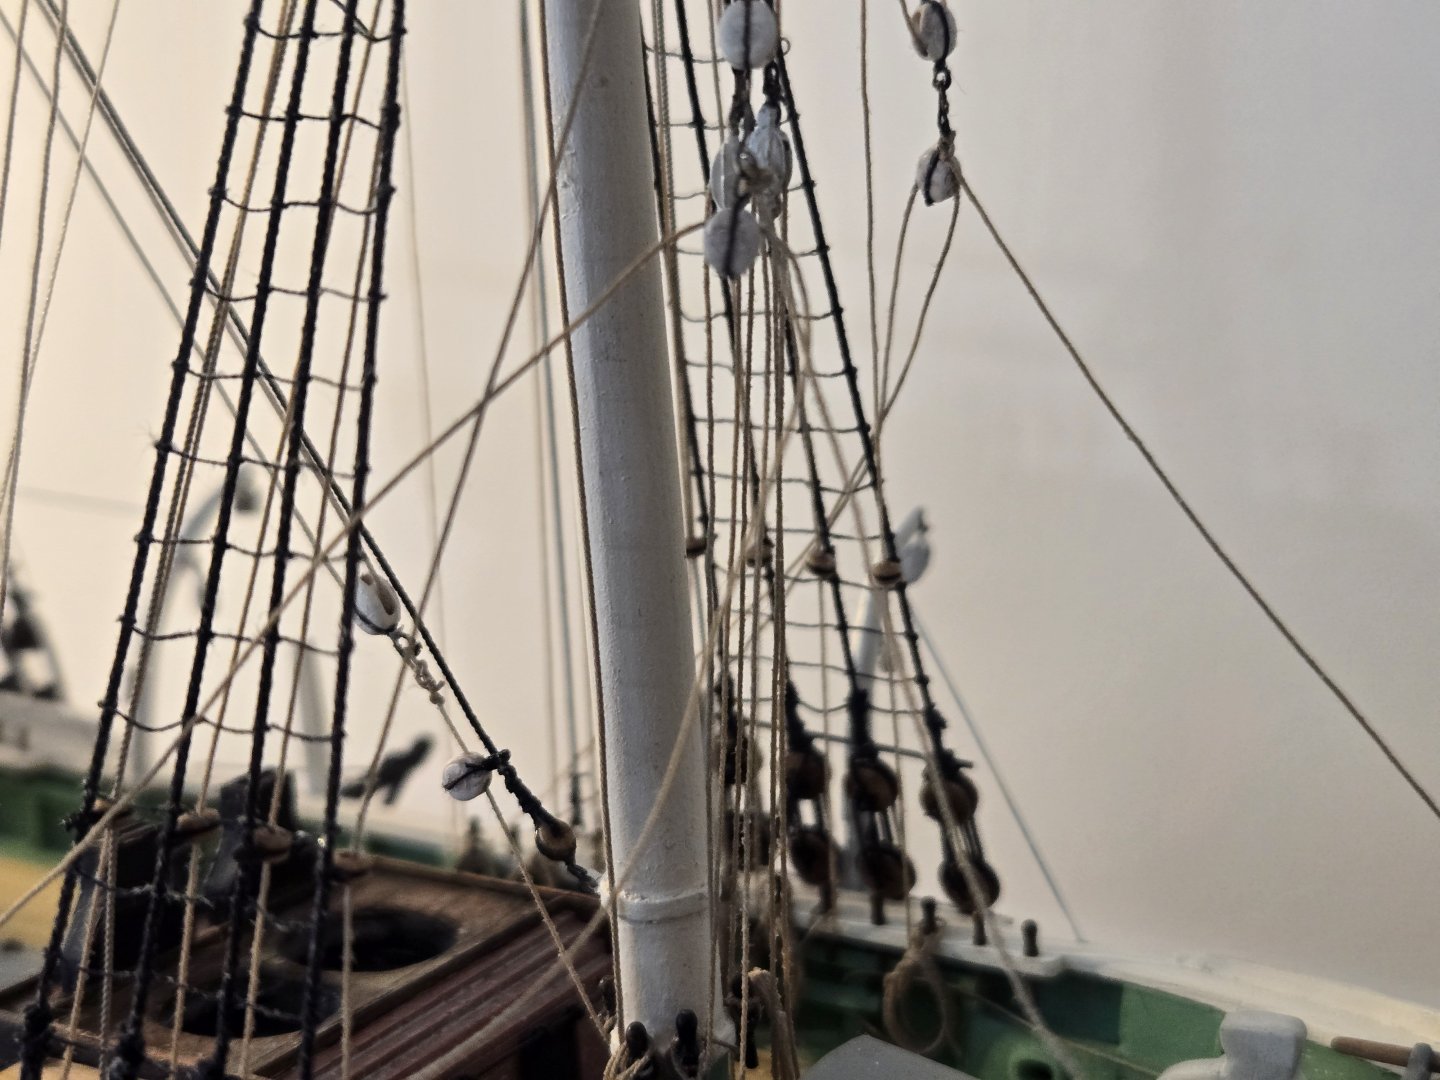
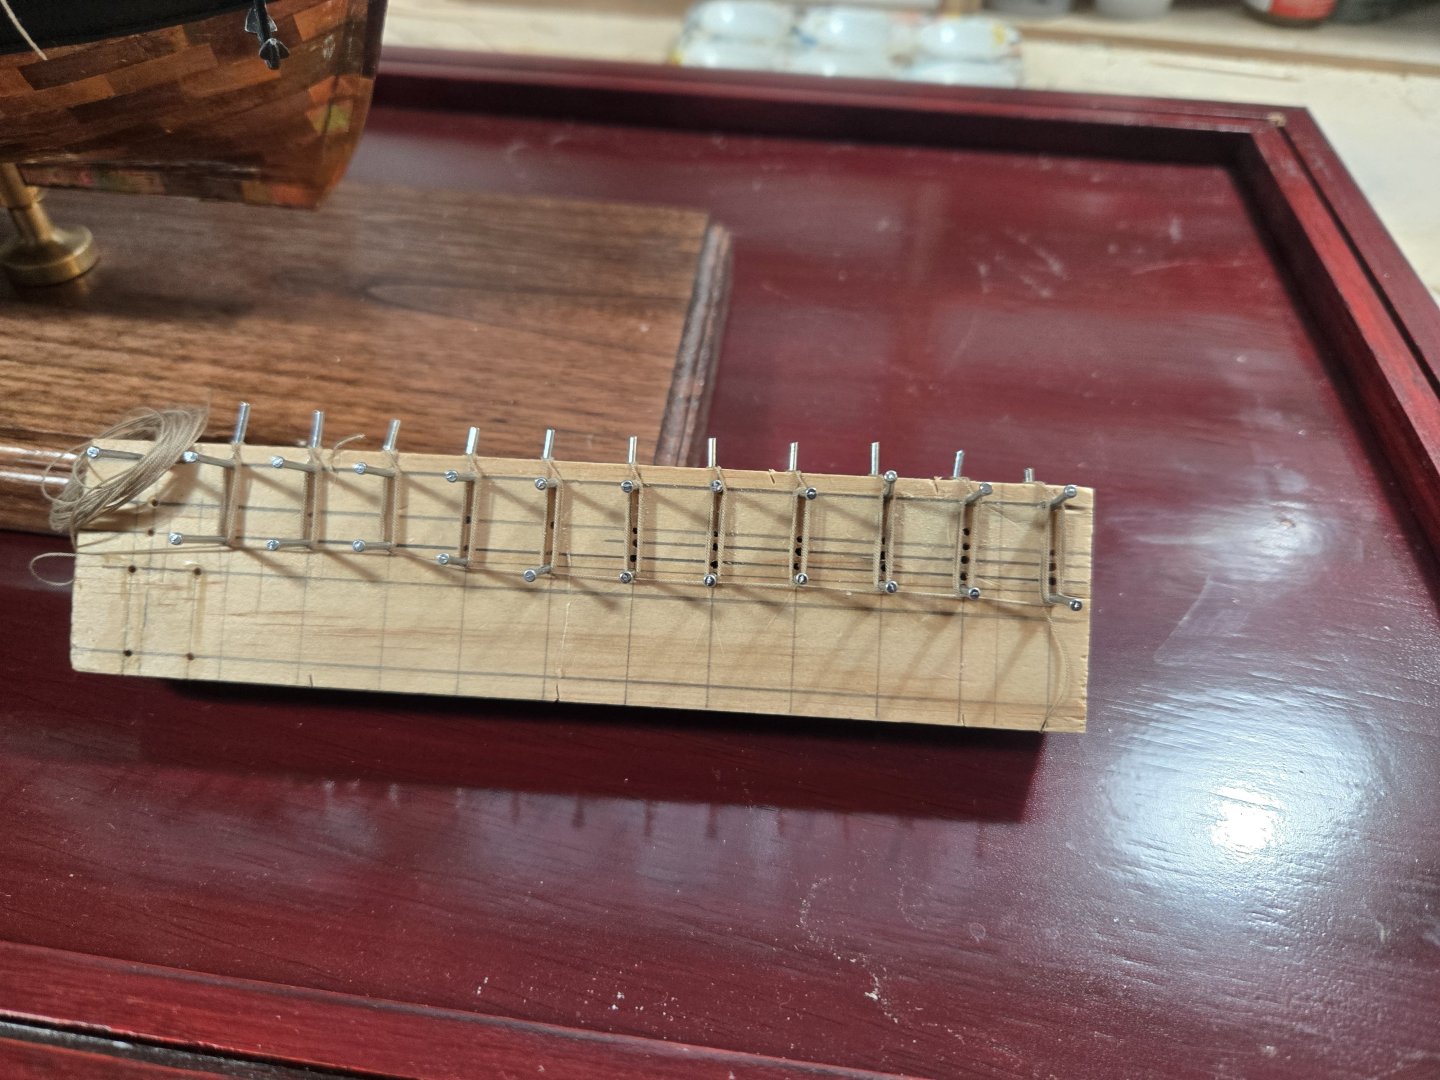
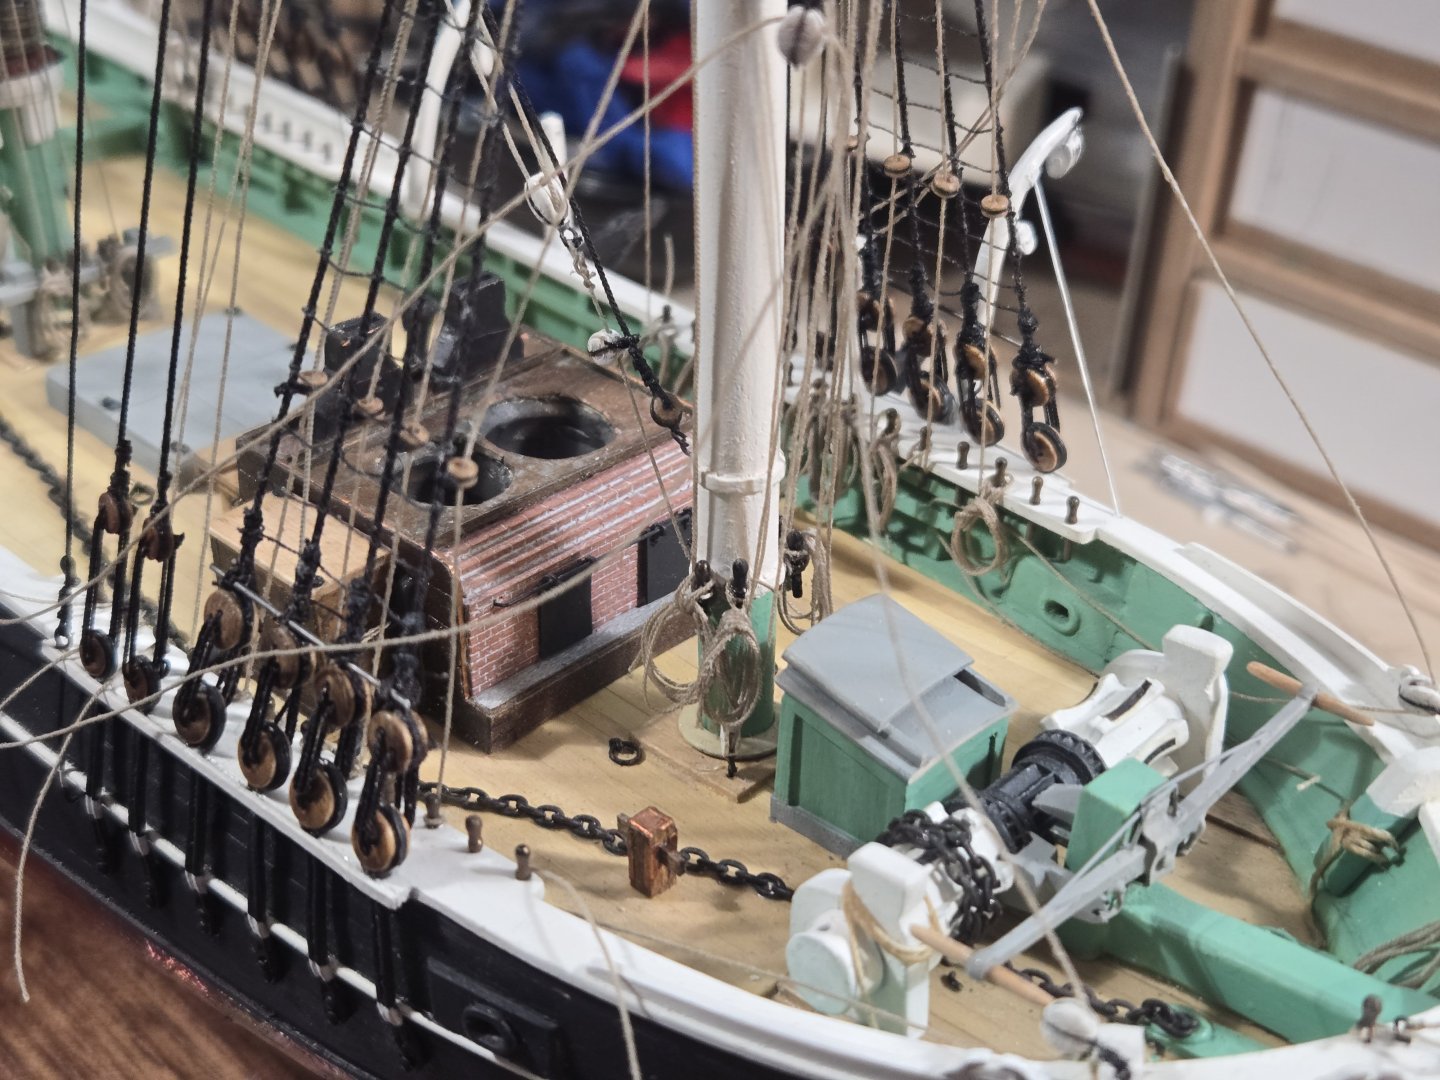
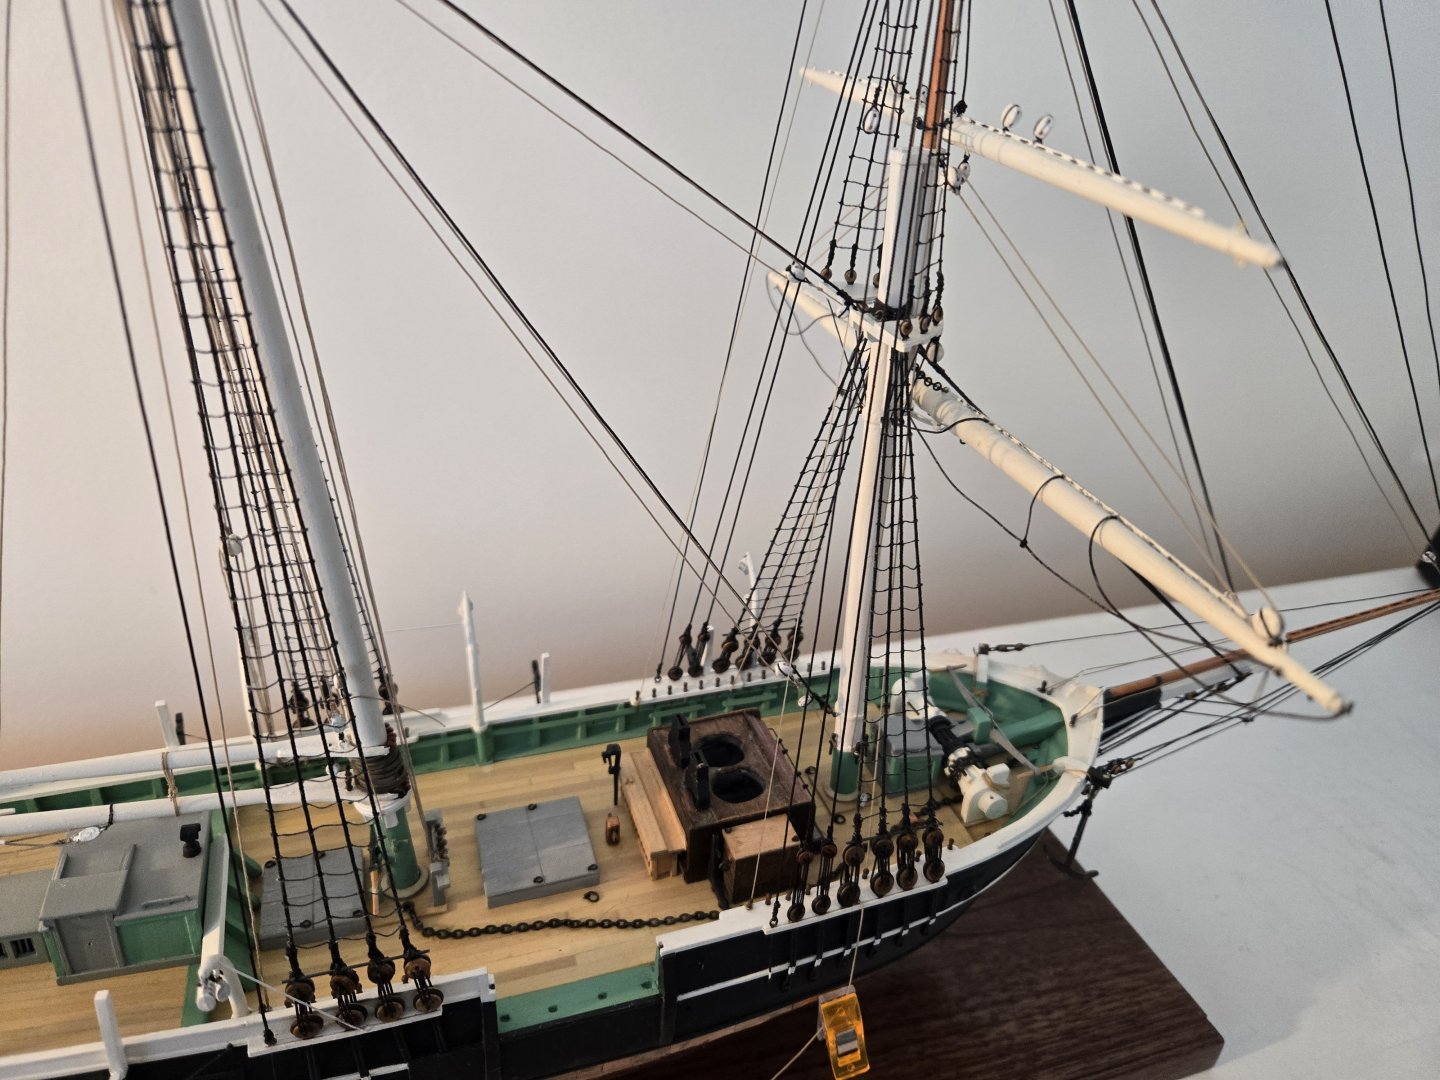
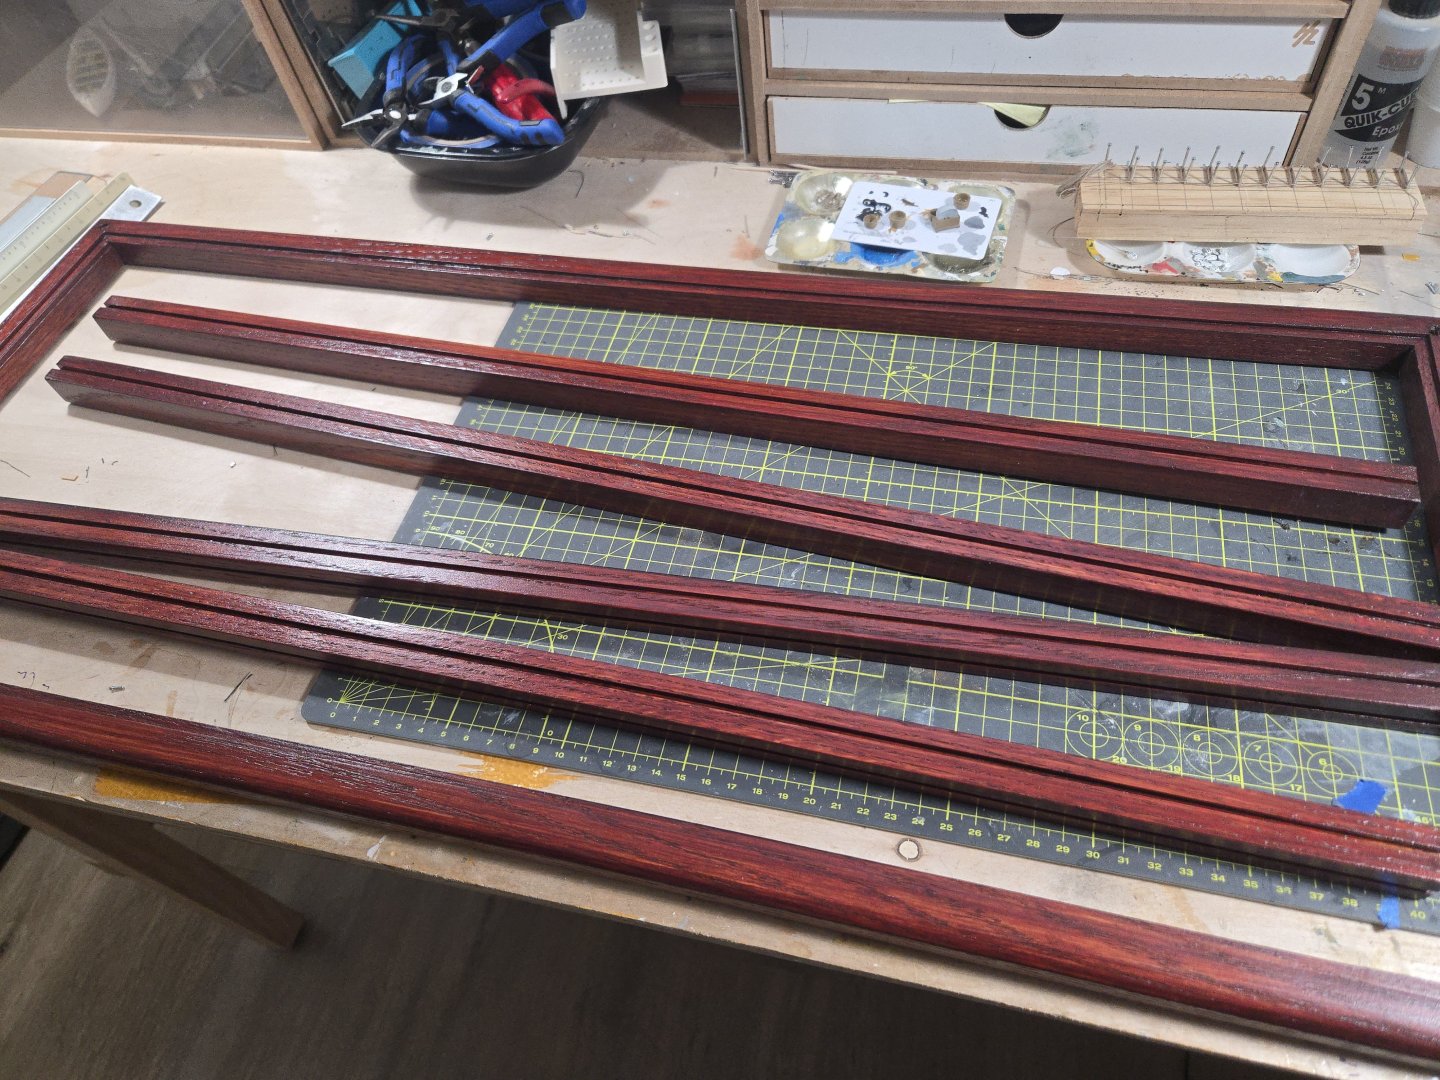
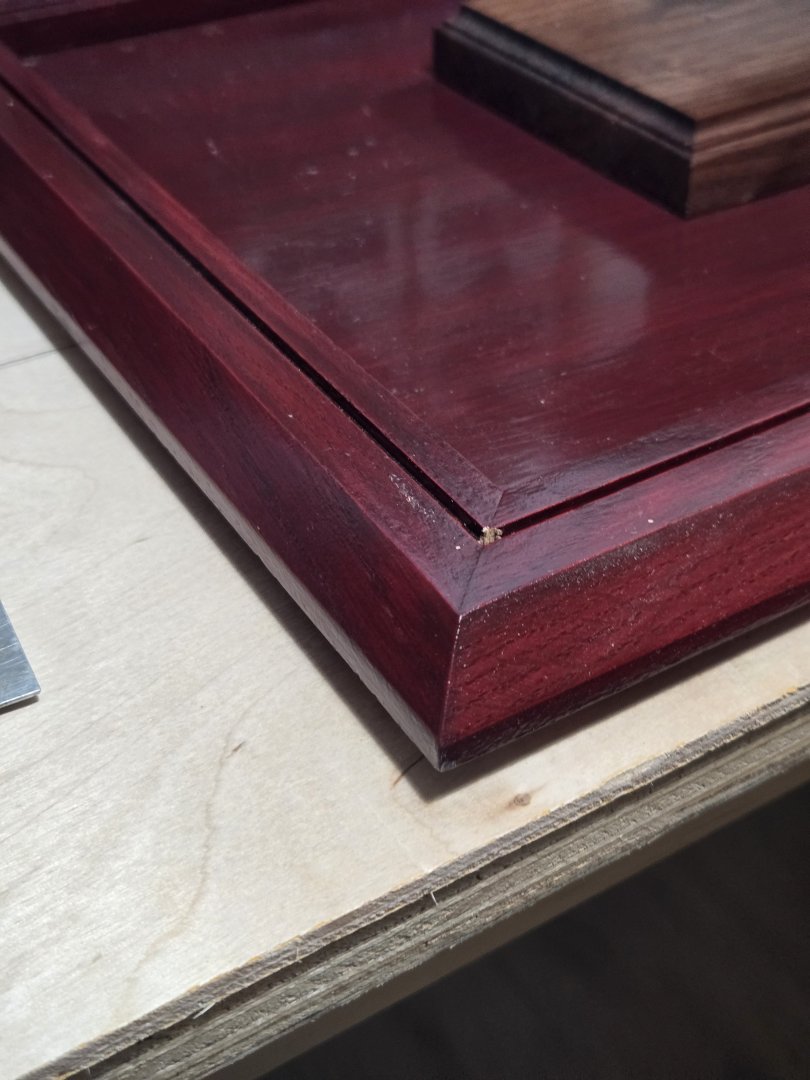
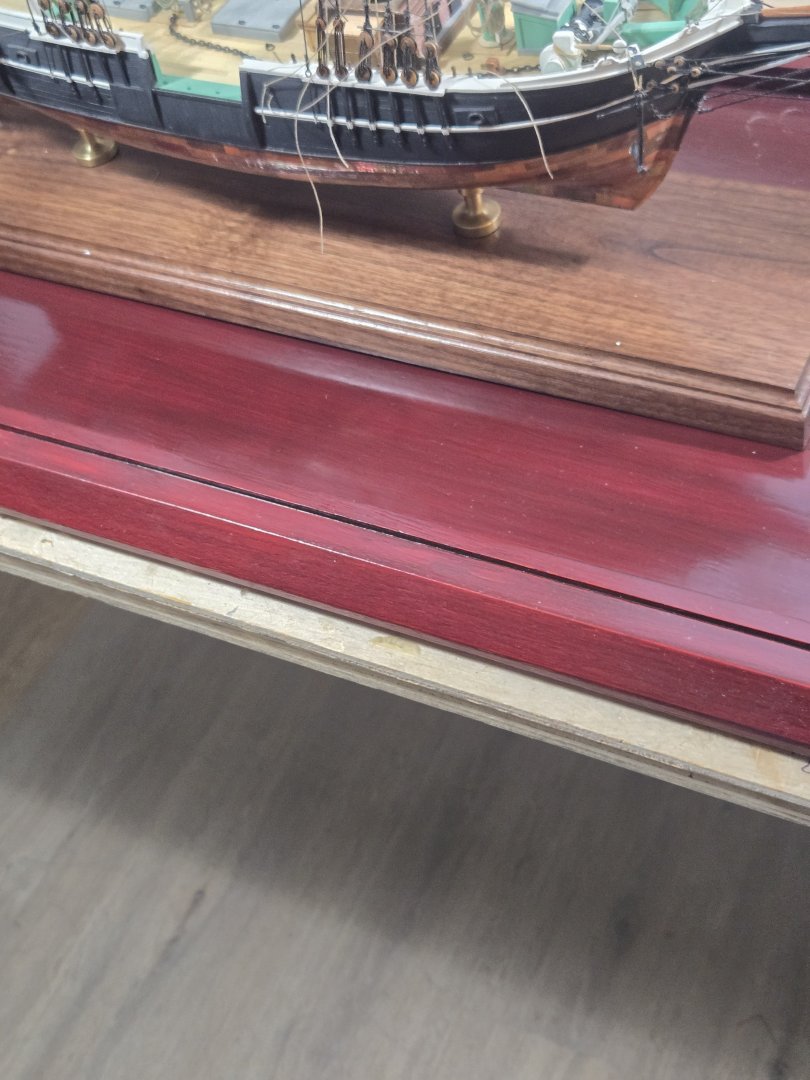
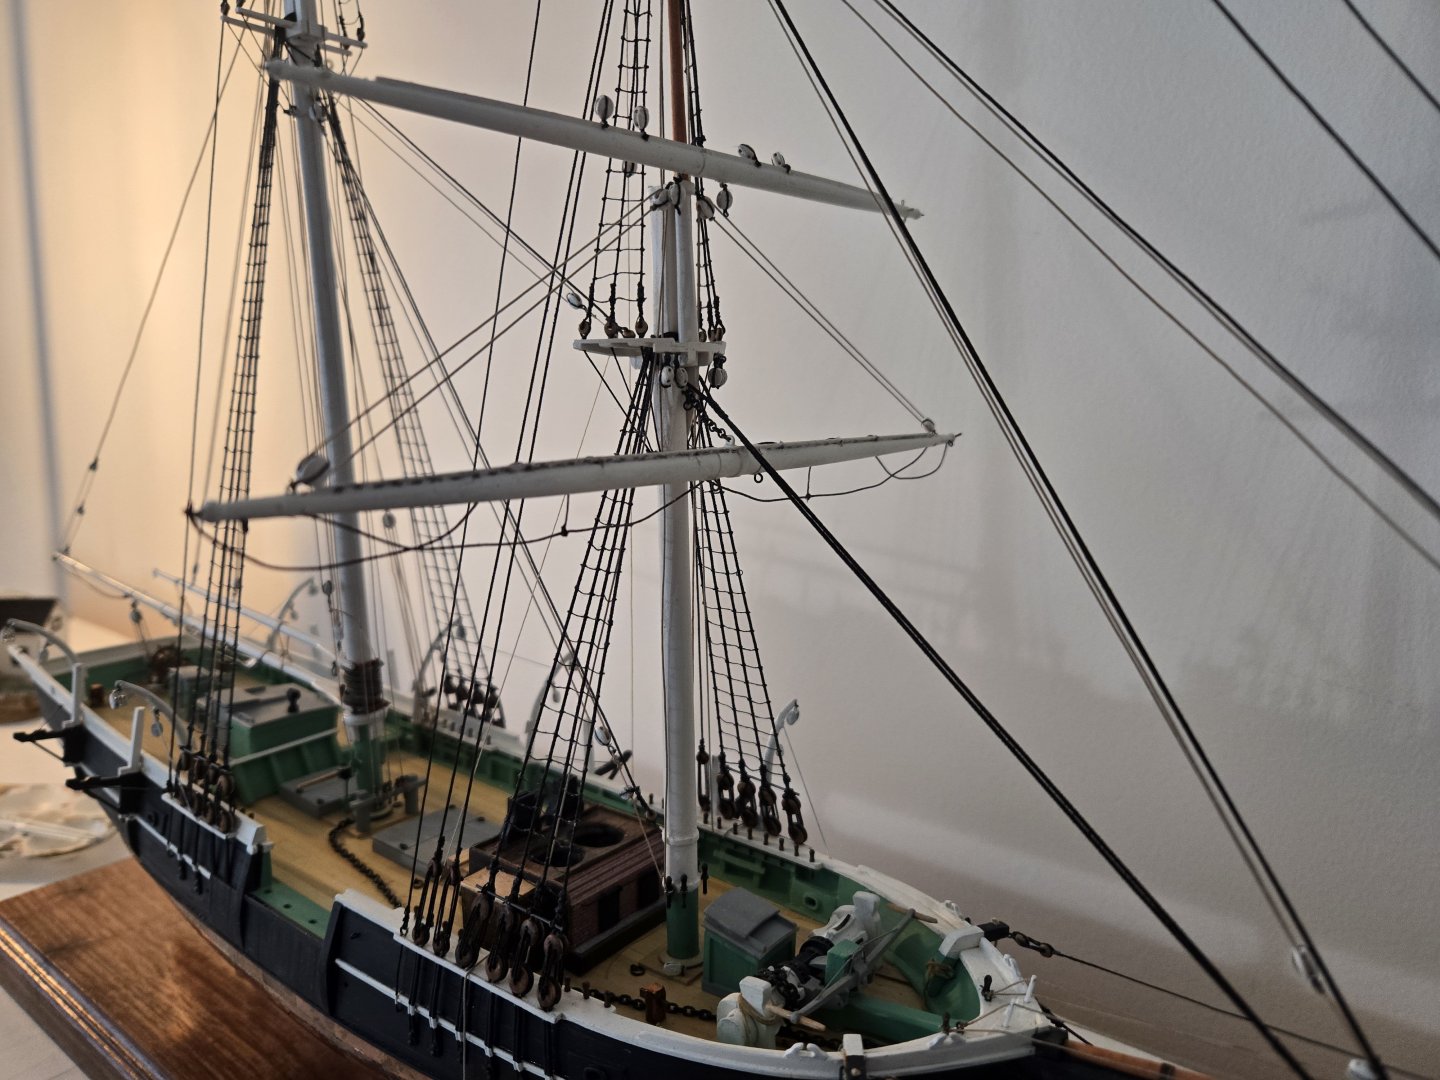
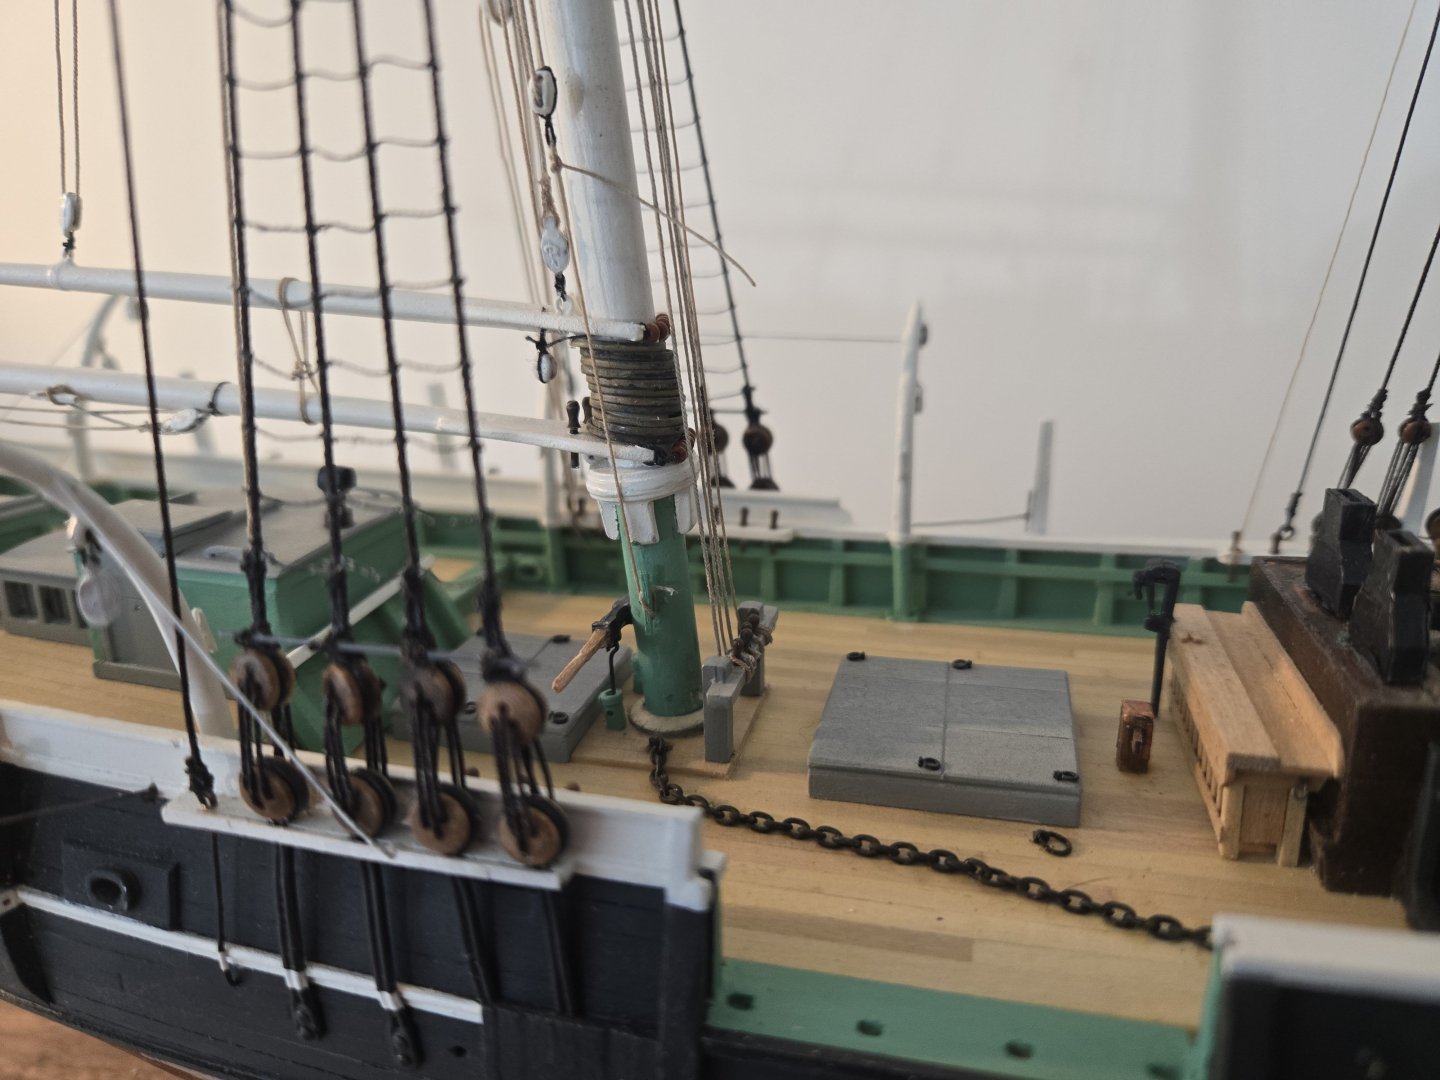
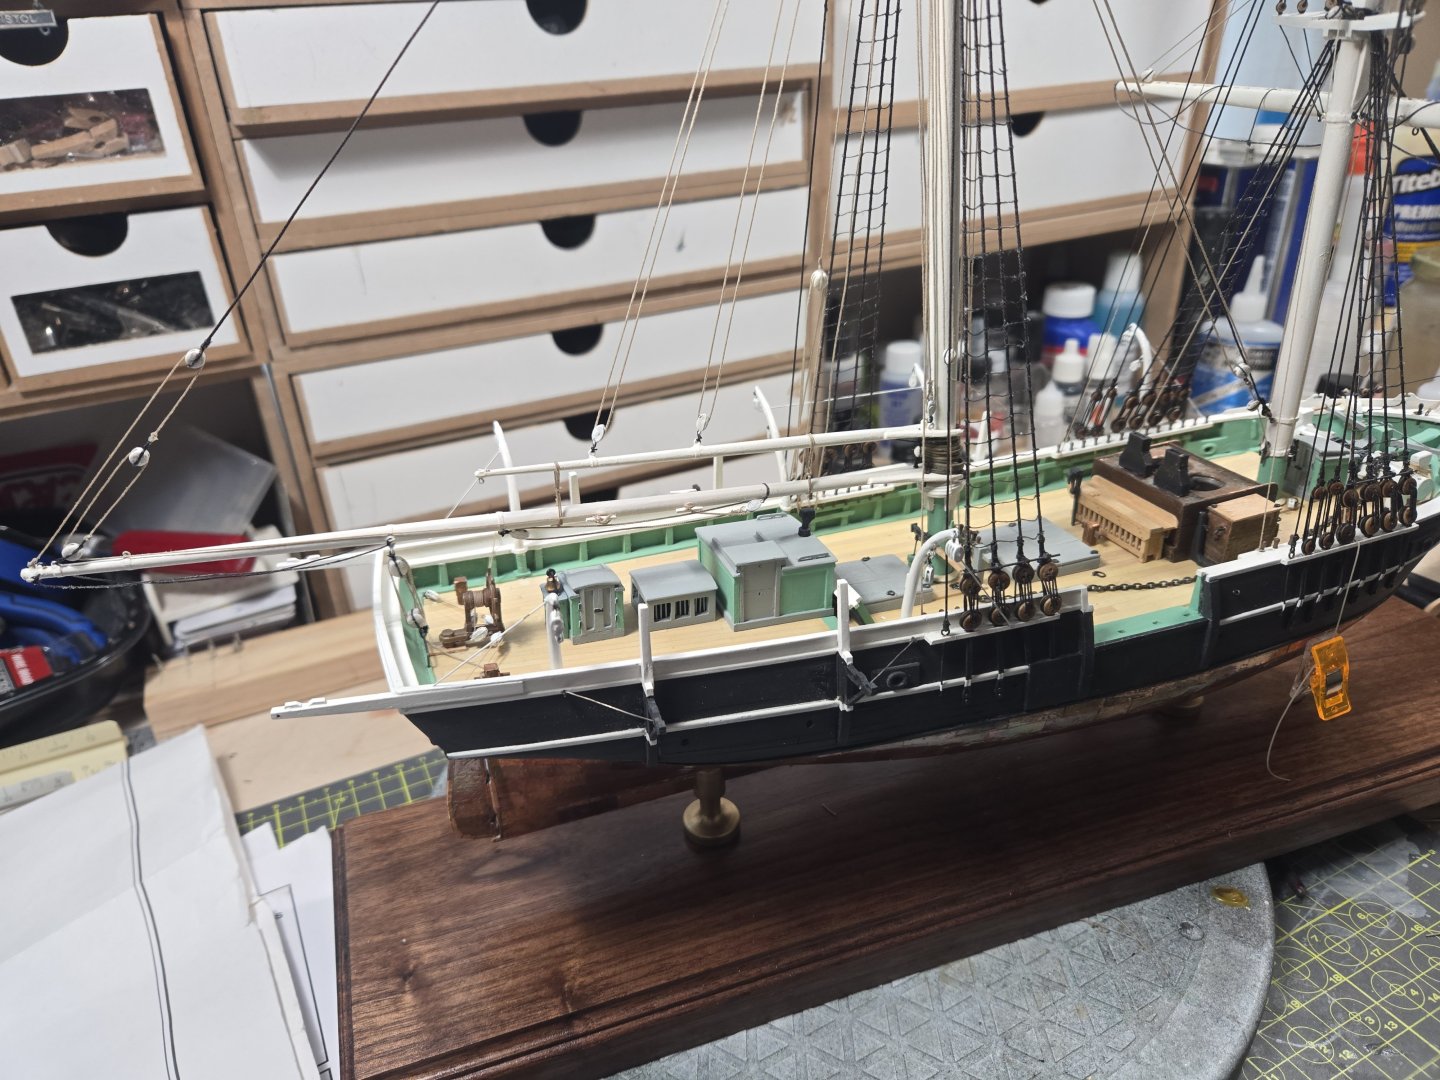
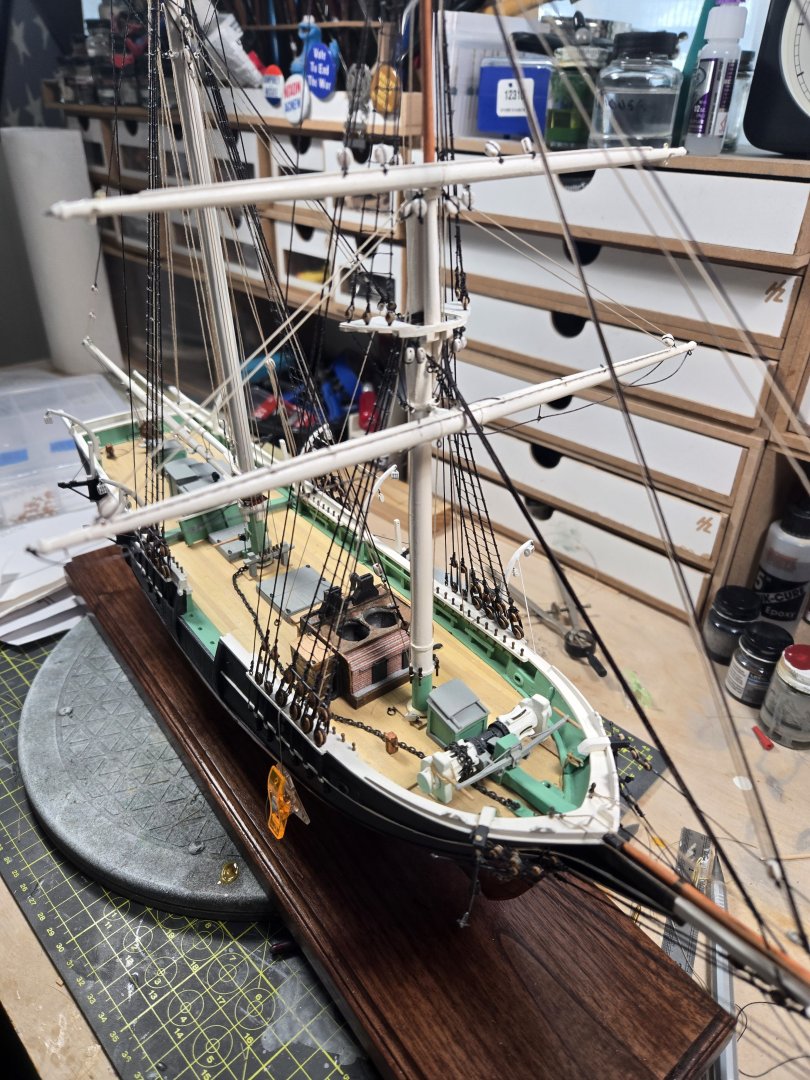
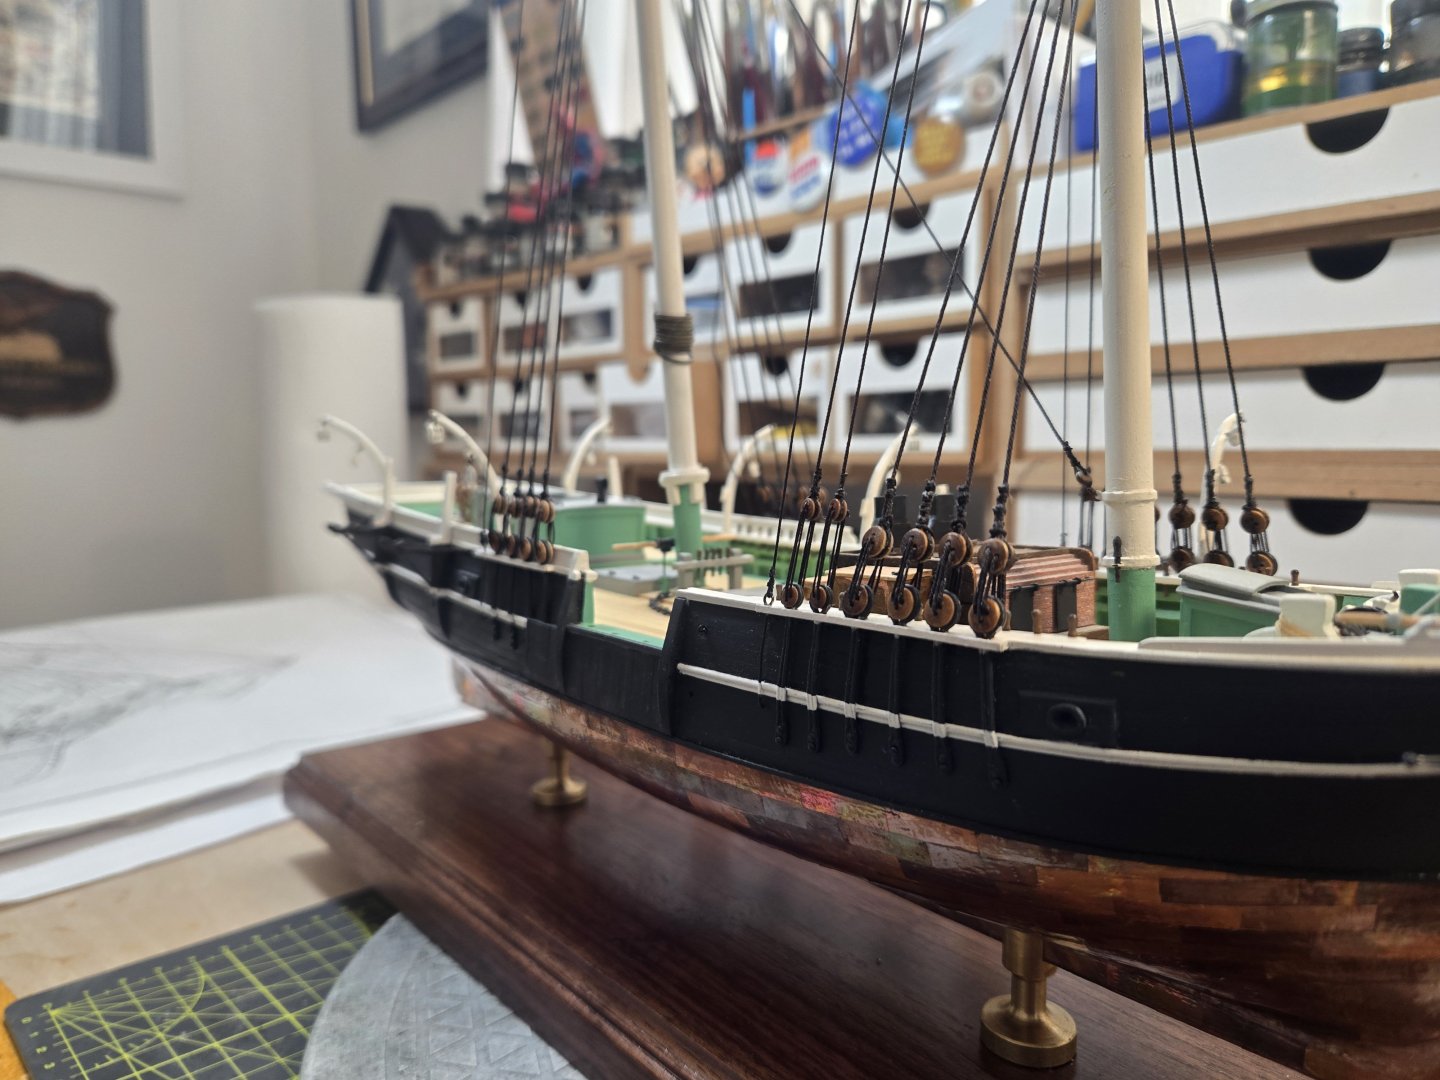
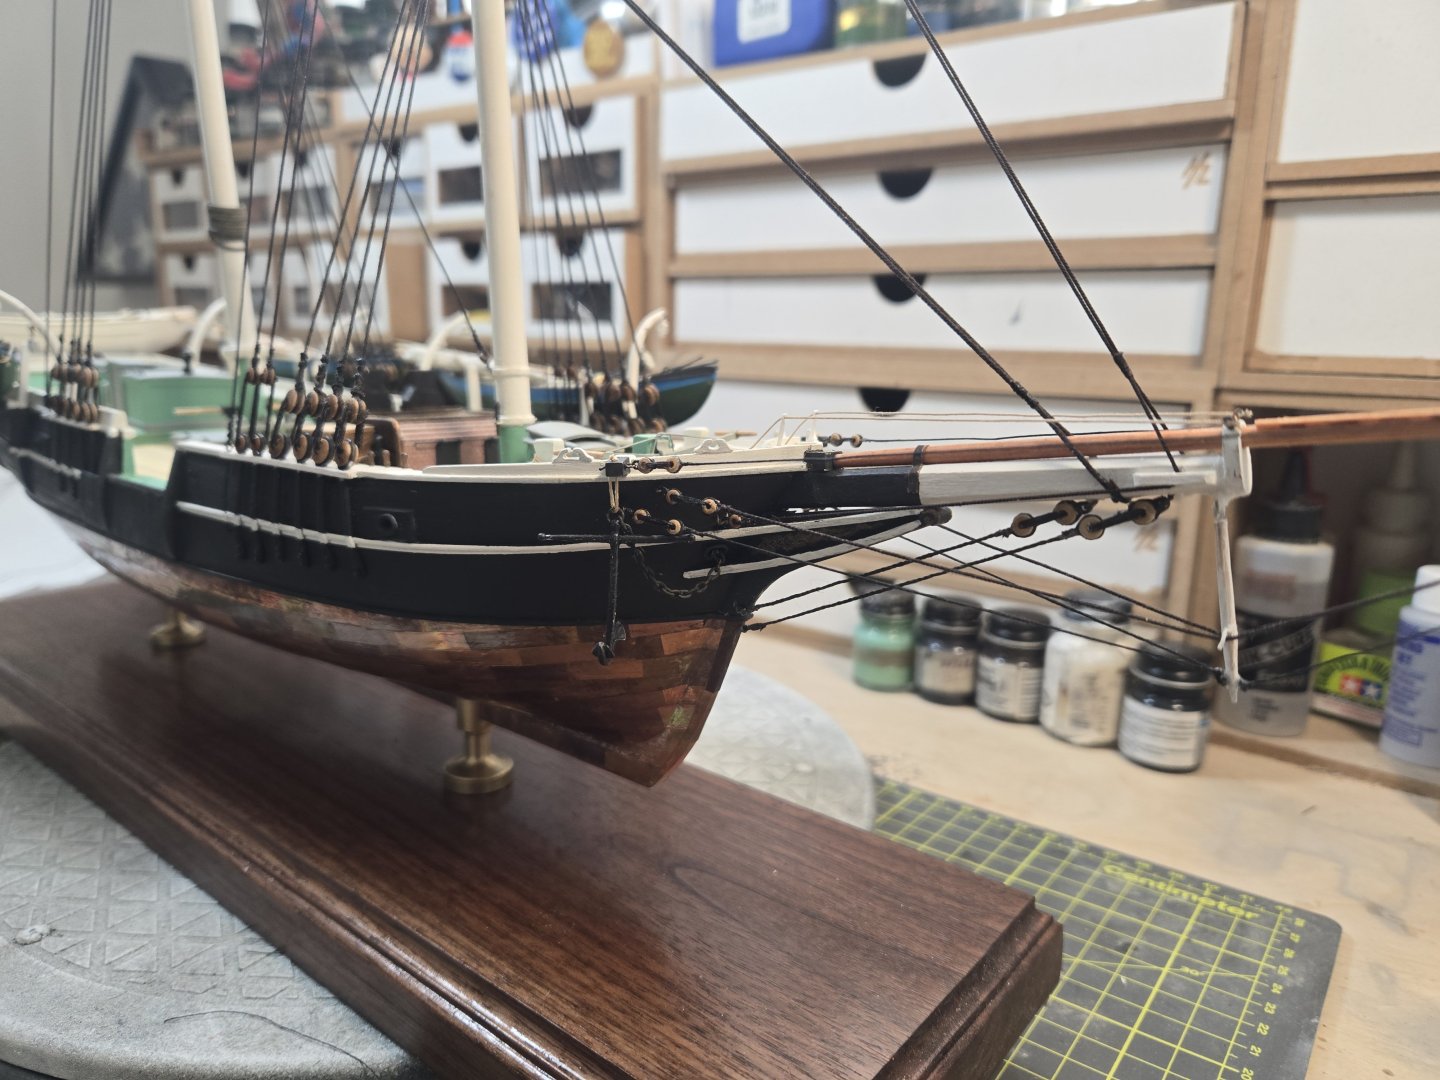
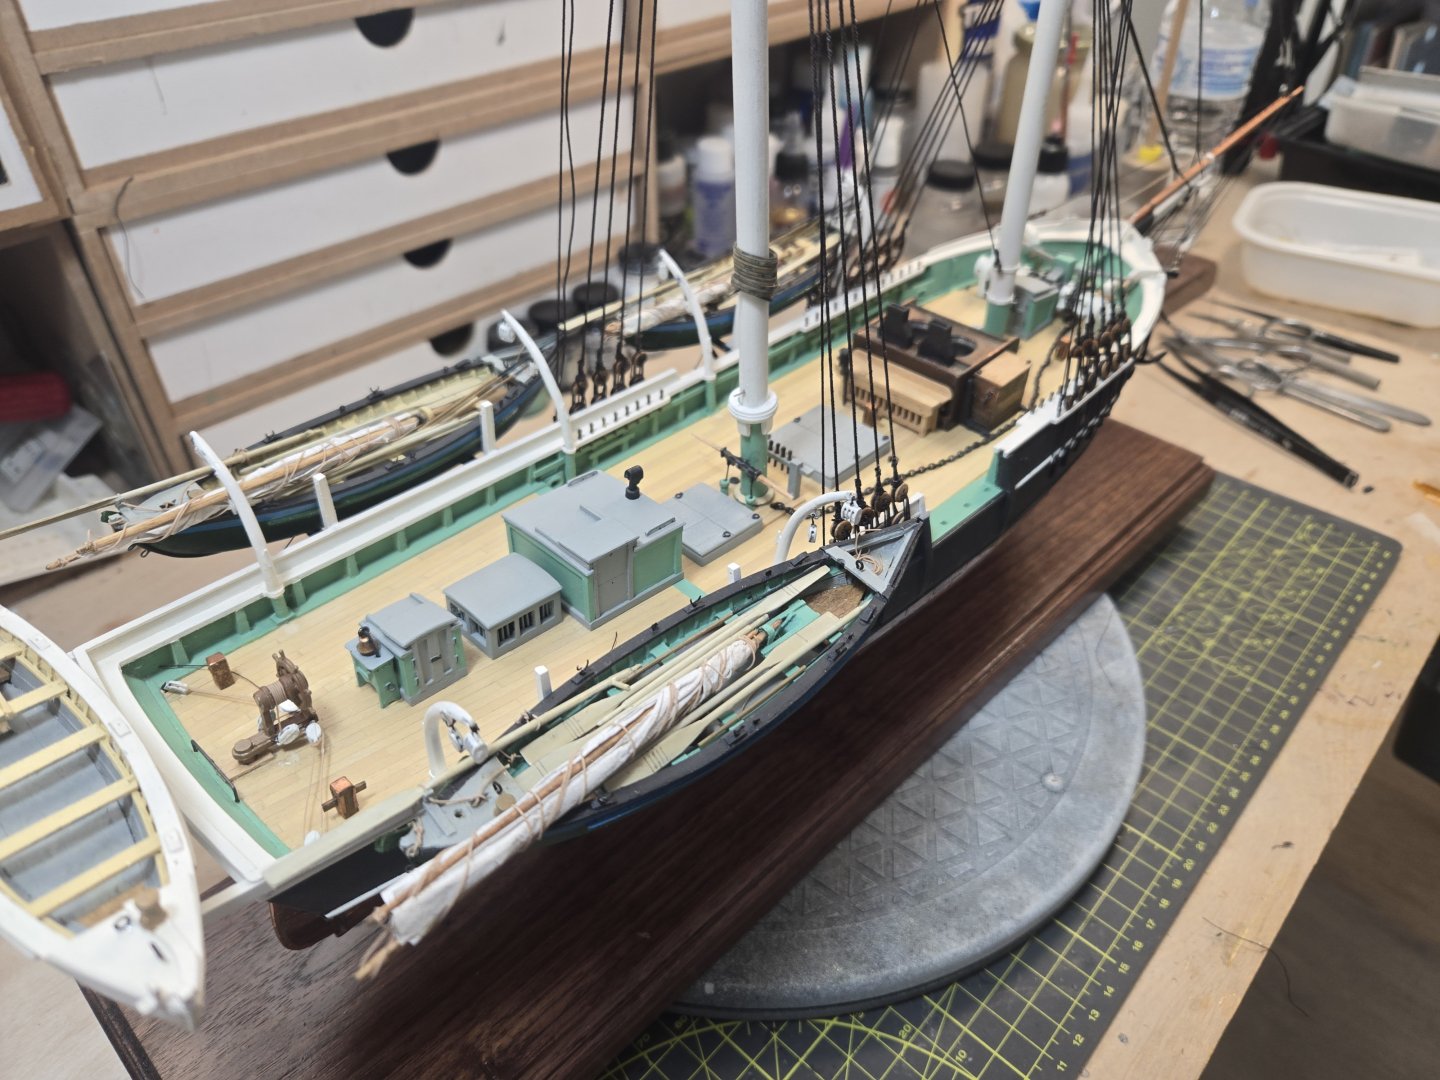
 Added the Fore Royal Yard which completes the Fore Mast and finishing the rigging. I substituted 1/8" bullseyes for the fairlead blocks, instead of deadeyes, seized to the shrouds, found they were easier to work with. Without sails, not all the rigging is necessary but I'm adding as much as practical, looks better. One of the tougher rigging issues I had was adding the topsail sheet chain. First, finding the correct scale and one that works through the blocks. Consistent with the museum plans I've used a mix of iron stropped and wood blocks. For the sheet chain tackle I used 3/16" iron stopped. I'll also use these for the Yard braces. While I had some breaks waiting for glue to dry, worked on the hanks/rope coils using a jig I found on YouTube. After countless tries they seem to be looking like "hanks". The issue was finding a glue that works best. Found CA to be the worst, too stiff, not flexible enough. Settled on Elmers Clear, diluted. In the photo are a few I placed on the rail to check sizes. Still experimenting with different sizes. This is a relatively small-scale build 3/16", sometimes it's hard-to-get crisp detail. × Worked on the display case, just some finish work at this point. The original case I was building was made of Walnut but I wasn't happy with how it matched with the model (it will go better with my Skipjack). So made another out of select pine with Traditional Cherry finish. Now need to make a new base for the model to match the case. Regarding the Cutting Tackle, there are a couple of options. A document Richvee sent me, by Erik Ronnberg Jr. noted "Cutting tackles were customarily stowed down until whales were taken, although the tackle pendants were usually rigged aloft early in the voyage and seized to the main shrouds, starboard side, until needed". You could also rig the Cutting Tackle as noted in the kit plans. At this point I'm inclined to stow the cutting tackle on deck. Ratlines. While reviewing the document by Ronnberg, Rigging Specifications and Color Scheme, I noted a ratline variation not included in the kit plans. As an alternative to ratlines crossing all four shrouds, only the forward three need to be crossed, with every sixth ratline extending aft to the fourth shroud. This applies to the main mast as well. As crazy as it sounds, I may change over to this variation if it doesn't require much effort.


-
Have visited the exhibit at Mystic Seaport many times. There may be some helpful information available on their website: - Mystic Seaport Museum- Good luck with the build.
-
Resin ice effects
Capt. Kelso replied to JKC27's topic in Painting, finishing and weathering products and techniques
Impressive! -
Richvee. At this point I plan on doing the cutting tackle. Some of the bunt and leech lines aren't necessary without sails. Aesthetically it looks better with them, not sure how much I'll add at this point. It's starting to become a slow frustrating process interpreting the rigging plans. Thanks for the tips!
-
Rigging has been going slower than I expected. Have had difficulty at times trying to interpret the plans. Also, have been frustrated with shaping some of the lines to give a natural appearance. For example, the footropes. I applied coats of beeswax which helped shaped them, but they don't keep their shape. Hopefully over time they'll fall more naturally. If you're building this kit, or plan to, there is lots of tiny detail in the plans which is not obvious, like adding cleats to the masts for attaching hauling lines. Also, there are several eyebolts that need to be added to the cap rail for attaching lines. I didn't find these details until I noted them on the belaying points in the plans. A couple of "learning curve issues", attach as many blocks as possible, especially the Fore Course and Fore Topsail Yards! And I underestimated the amount of running rigging line needed when factoring in hanks and coils.


-
Very impressive!
-
Welcome. Lots of posts regarding the Model Shipways kits on this Forum. May be of help.
-
2025 MSW Holiday Fund Drive
Capt. Kelso replied to ferretmary1's topic in NAUTICAL RESEARCH GUILD - News & Information
At 78, I'm a long-time ship modeler and have always considered NRG as my go-to resource. I've thought about the resource advantages newer modelers as well as myself this Forum provides and encourage everyone to contribute to keep it available! Contribute what you can! -
Sounds like the book would have saved me a lot of frustration!
-
Actually, did not receive the book. I did get the plans directly from New Bedford Whaling Museum. Does the info in the book differ from the plans? At this point I am about 80 percent done with the rigging, between the kit plans and Museum plans I've been able to figure things out. Also, Tom Lauria's build on YouTube has been a tremendous resource. Oddly enough, I researched the build for years, even found old NRG articles from the 80's, no mention of the Ronnberg booklet. Nice job with your Kate Cory build. Thanks for the offer!
-
Welcome!
-
Rick, I'm unclear what you mean by "preserve the etchings/laser engravings"? Do mean still be visible after applying paint over them?
-
I finished this build in April 2025, it was challenging!
- 73 replies
-
- 4
-

-
- Steam Cutter
- Harriet Lane
- (and 2 more)
-
Thanks everyone for the feedback. Chris, actually I never looked at the paint schemes in the instructions and just saw the reference to "red lead". For a build reference I tend to refer to Tom Lauria's build. Tom has been very helpful in answering questions and gave me a paint mix ratio for green used on the bulwarks and deck structures.
-
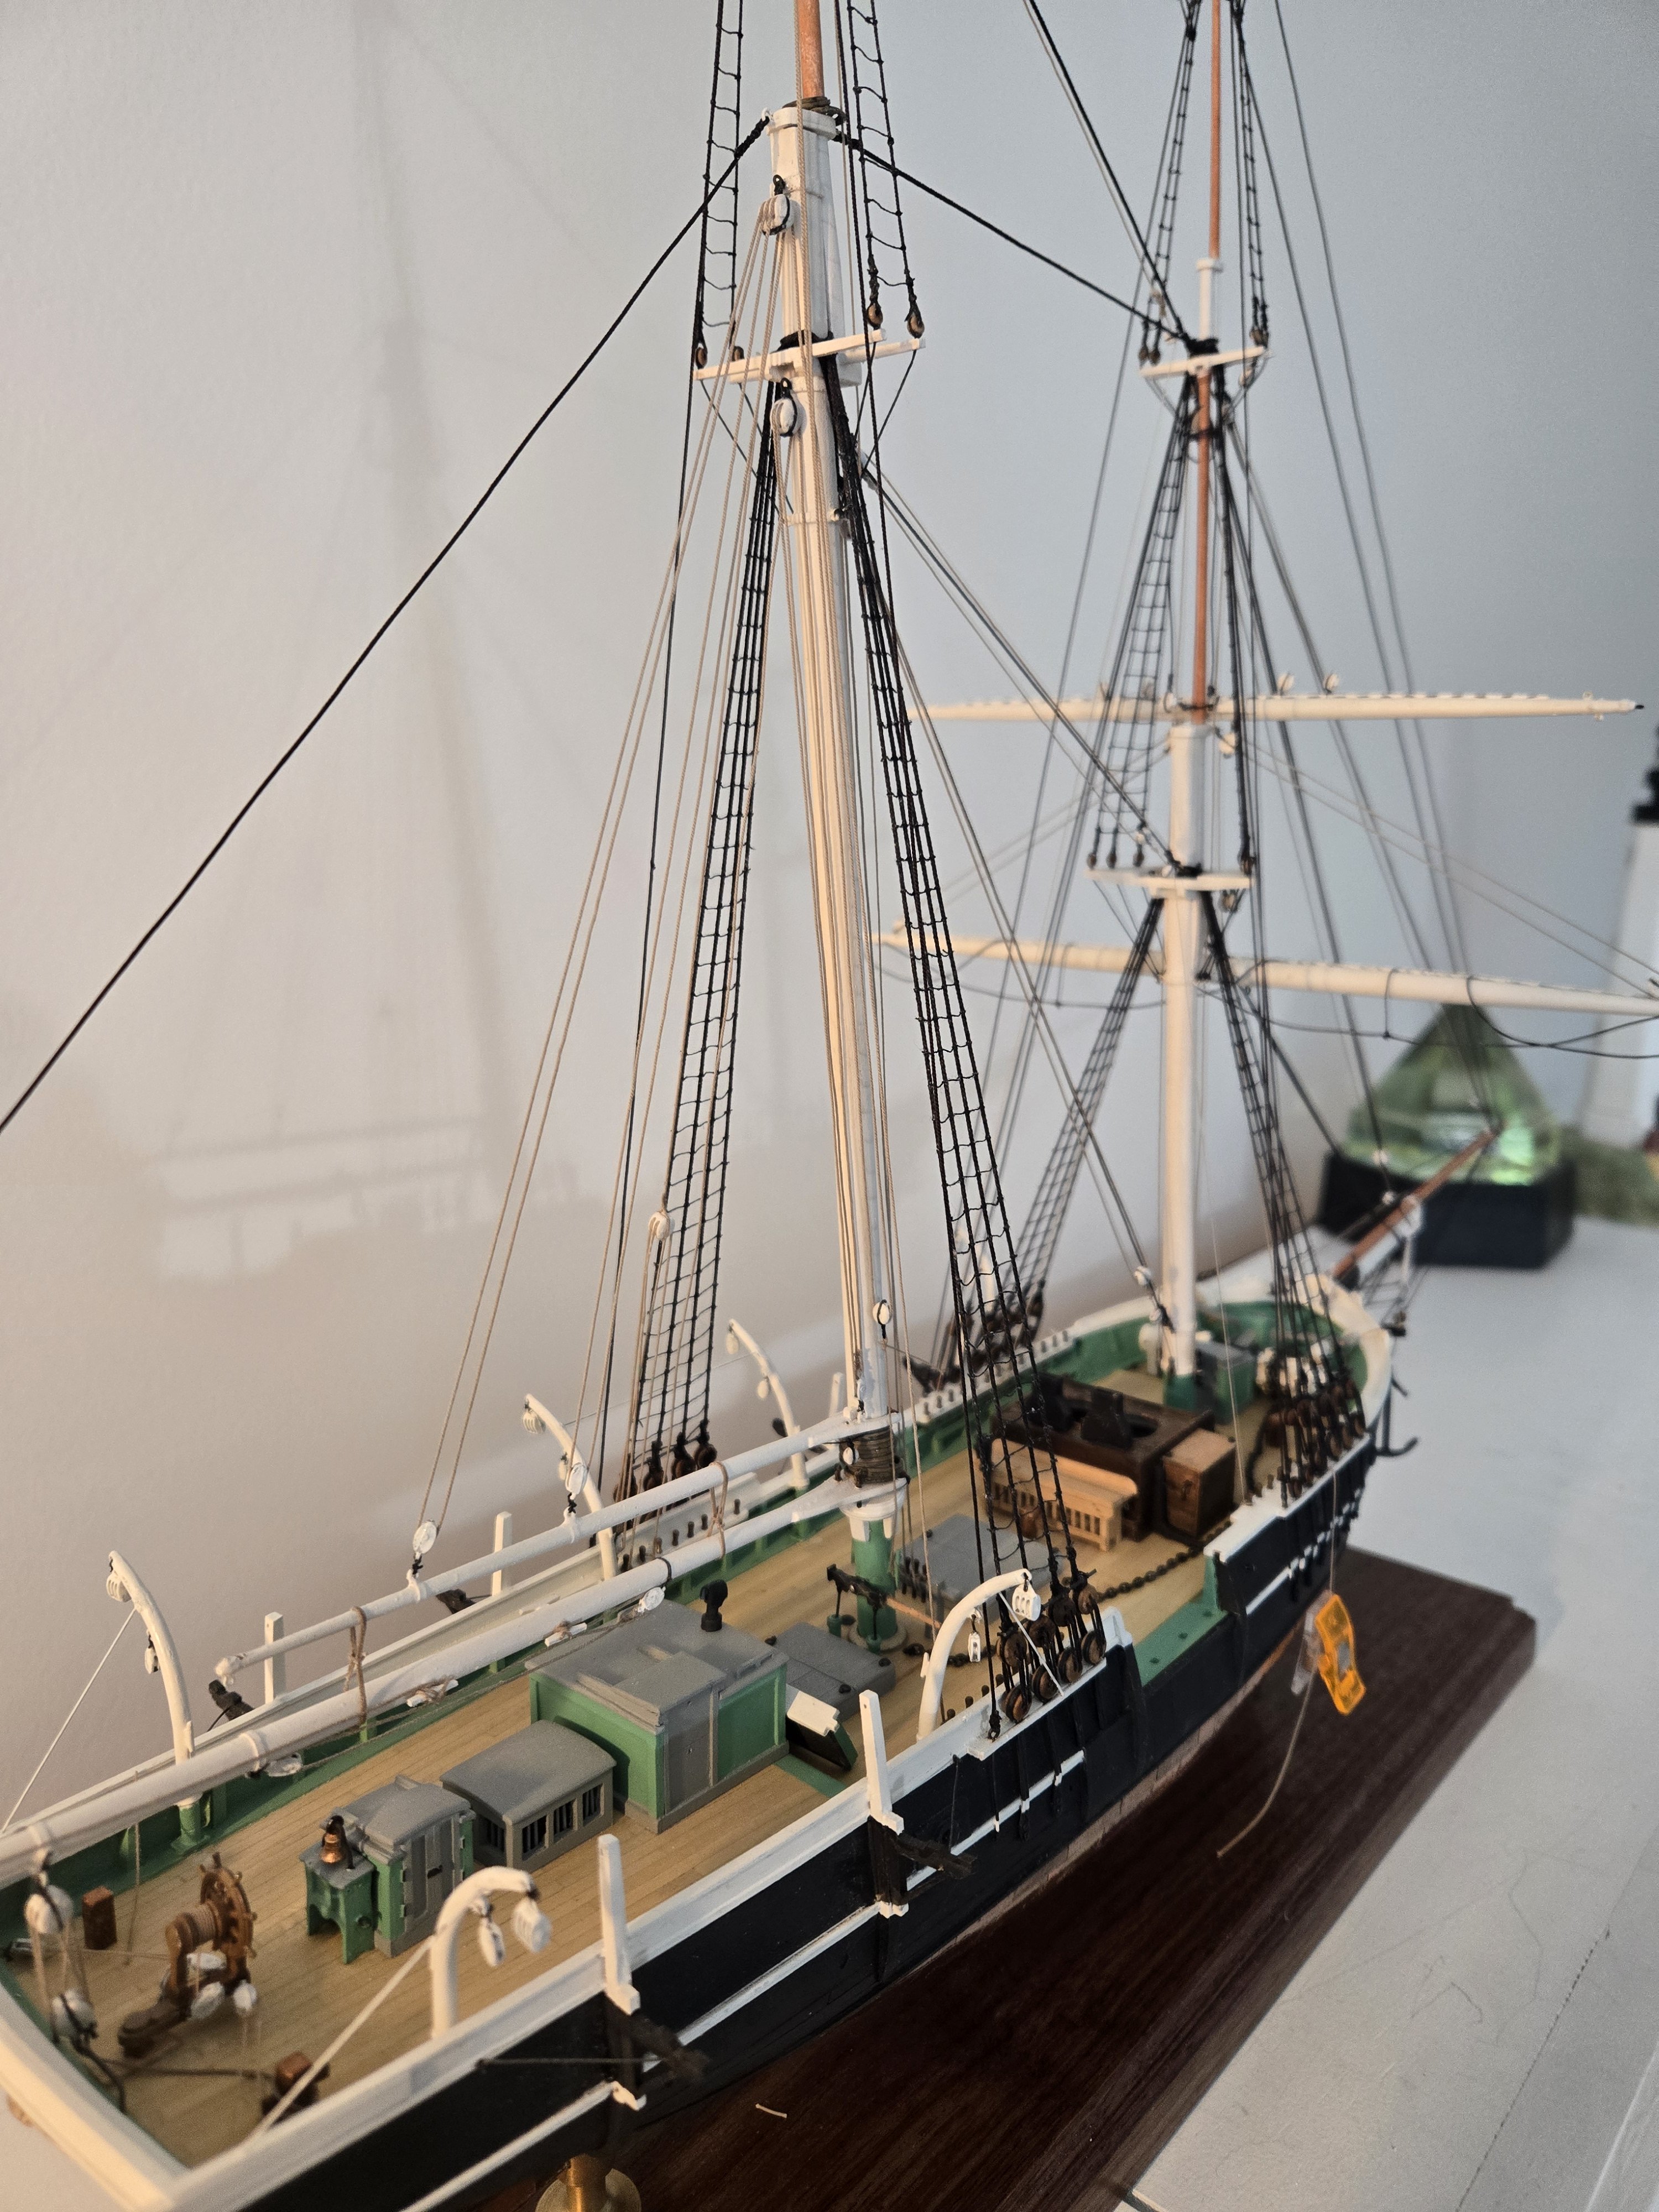
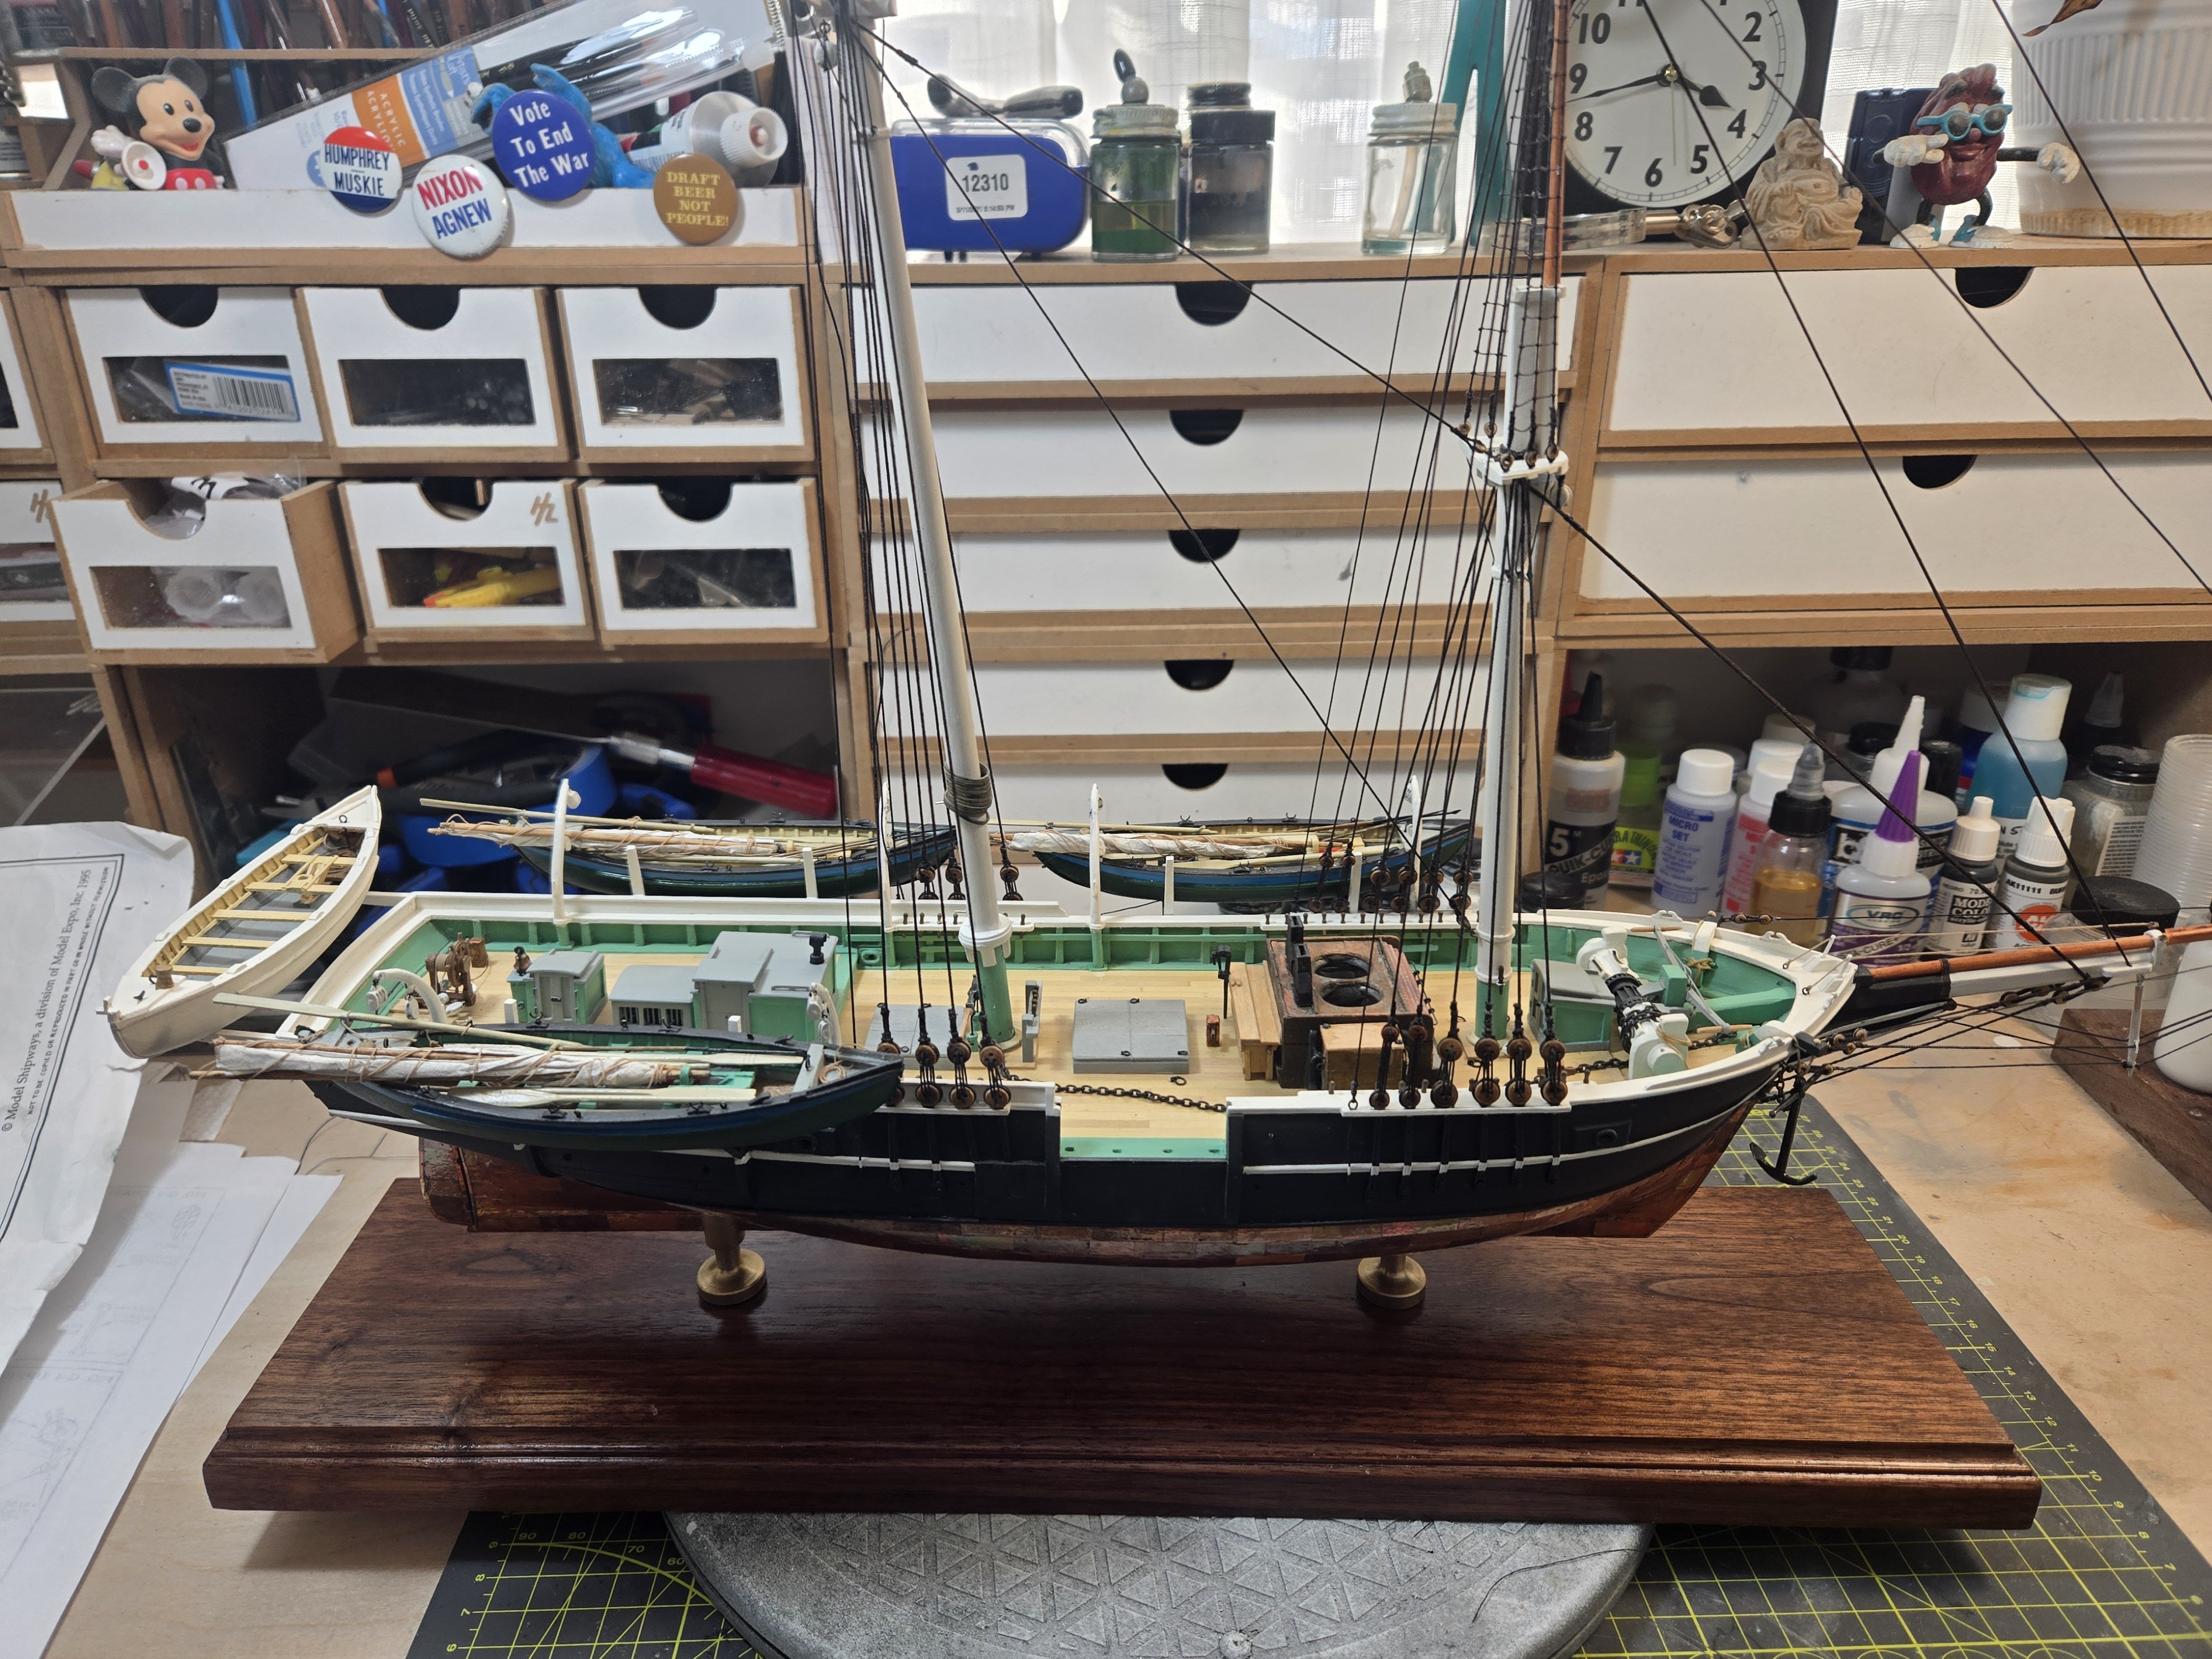
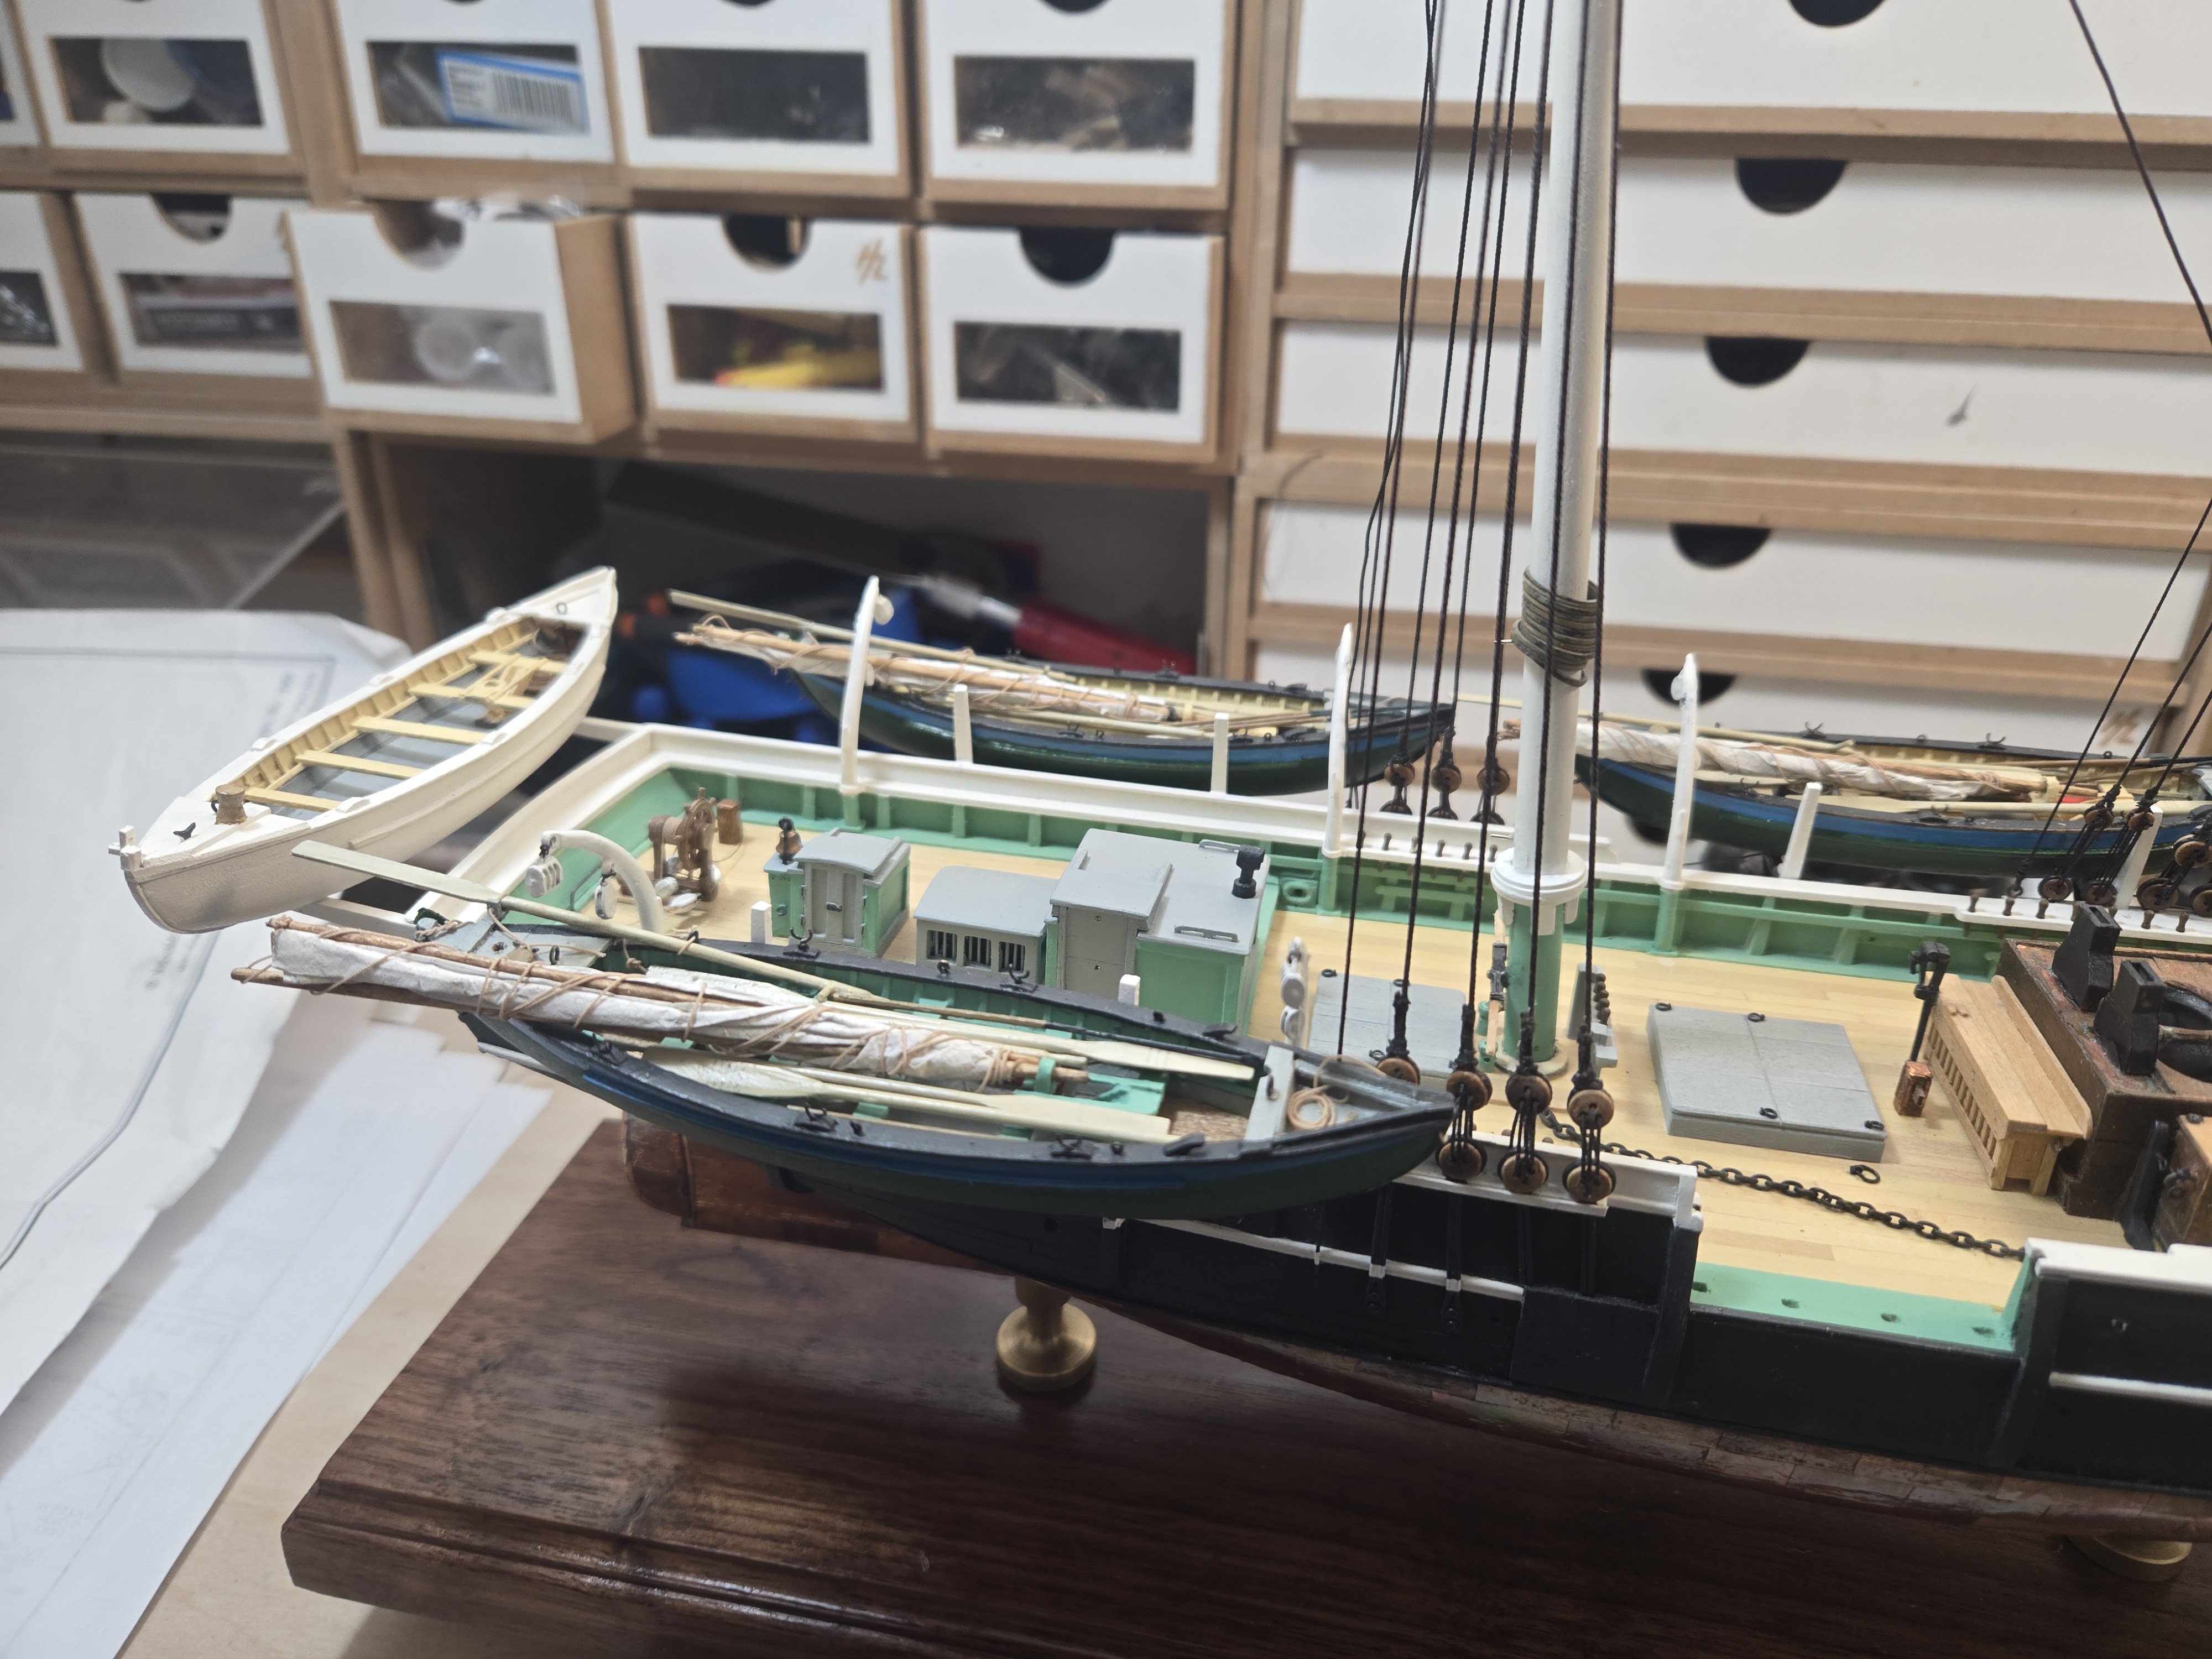
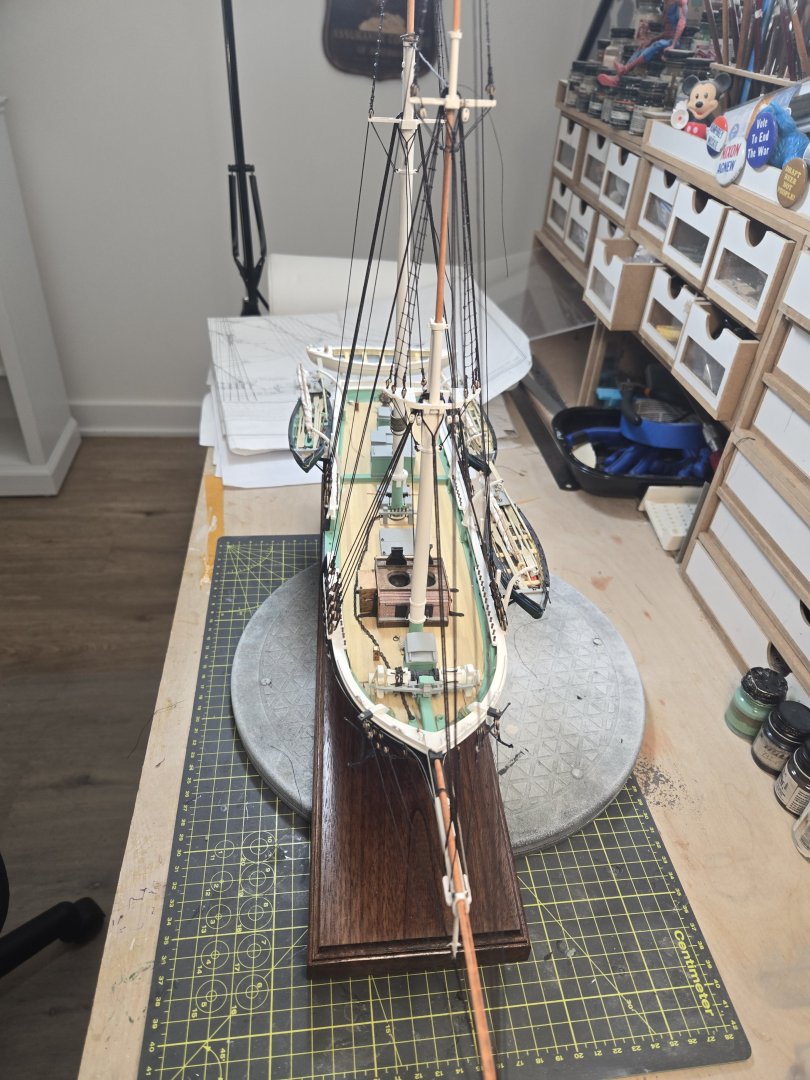
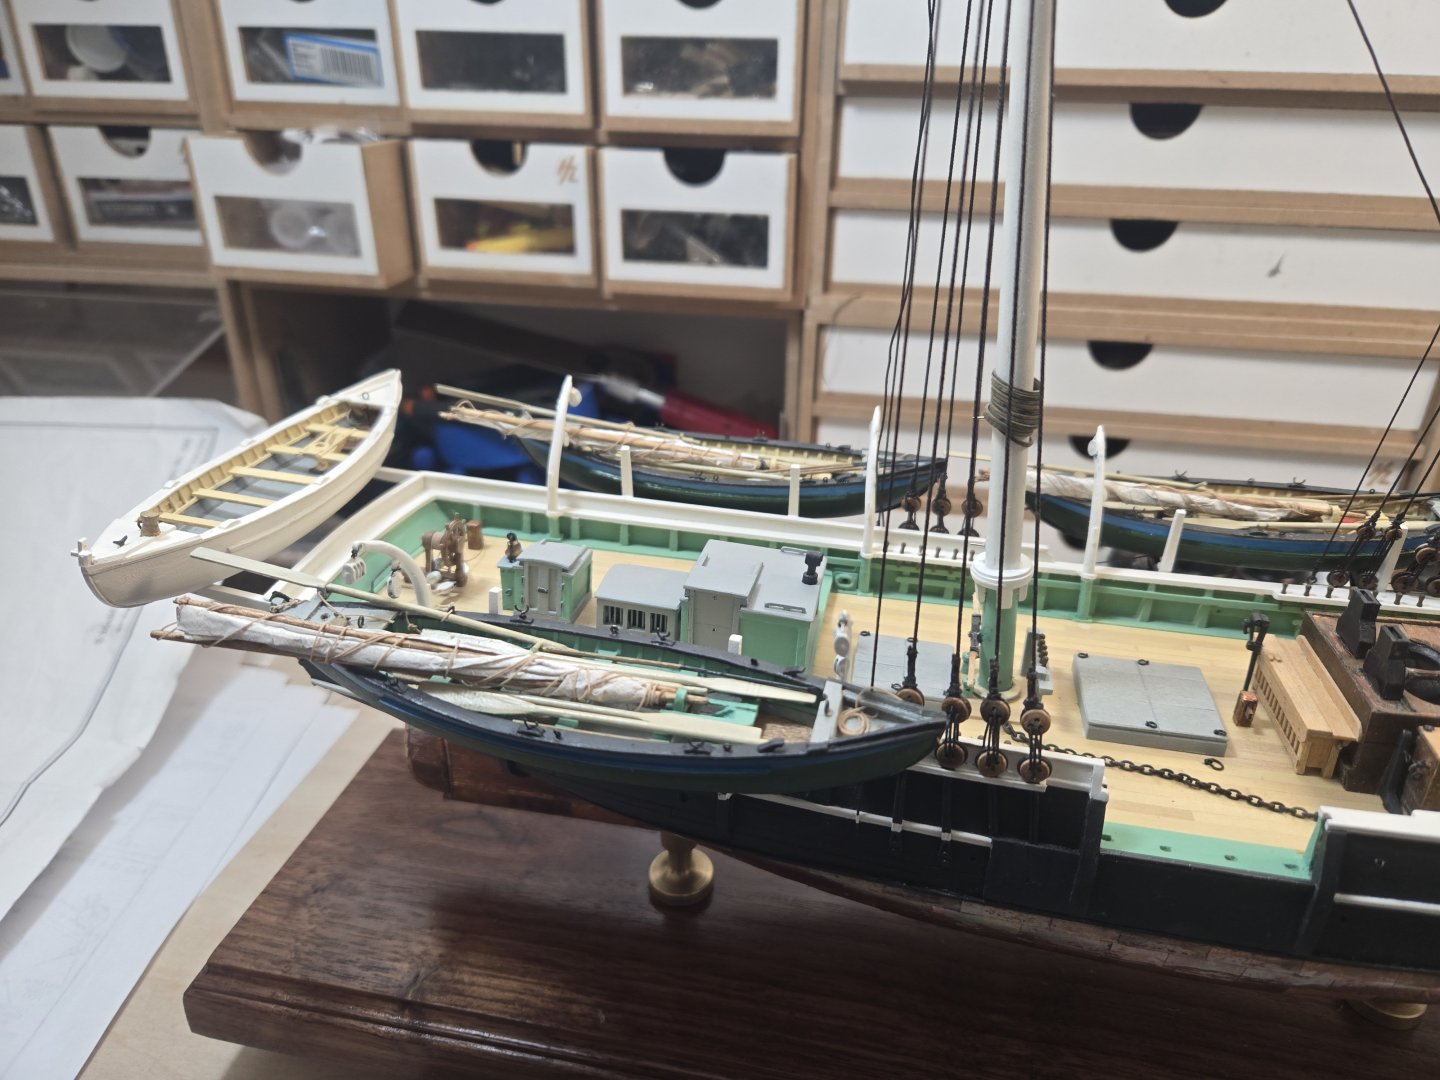
Finishing the standing rigging, next step is the ratlines! Not one of my favorite steps. Decided to stage the whaleboats and am really pleased with the alignment. I've decided to add them last, thinking it would be easier to finish the running rigging without working around them. At this stage I plan on methodically going over the build and doing any touchup and cleaning before the ratlines. Fortunately, I already had finished the yards and boom. So, running rigging should move quickly. Will also start working on the display case. I love this build!!!!!!


-
You might want to search the site for similar builds. Welcome and good luck.
- 12 replies
-
- 1
-
-
- benjamin w latham
- Model Shipways
- (and 1 more)
-
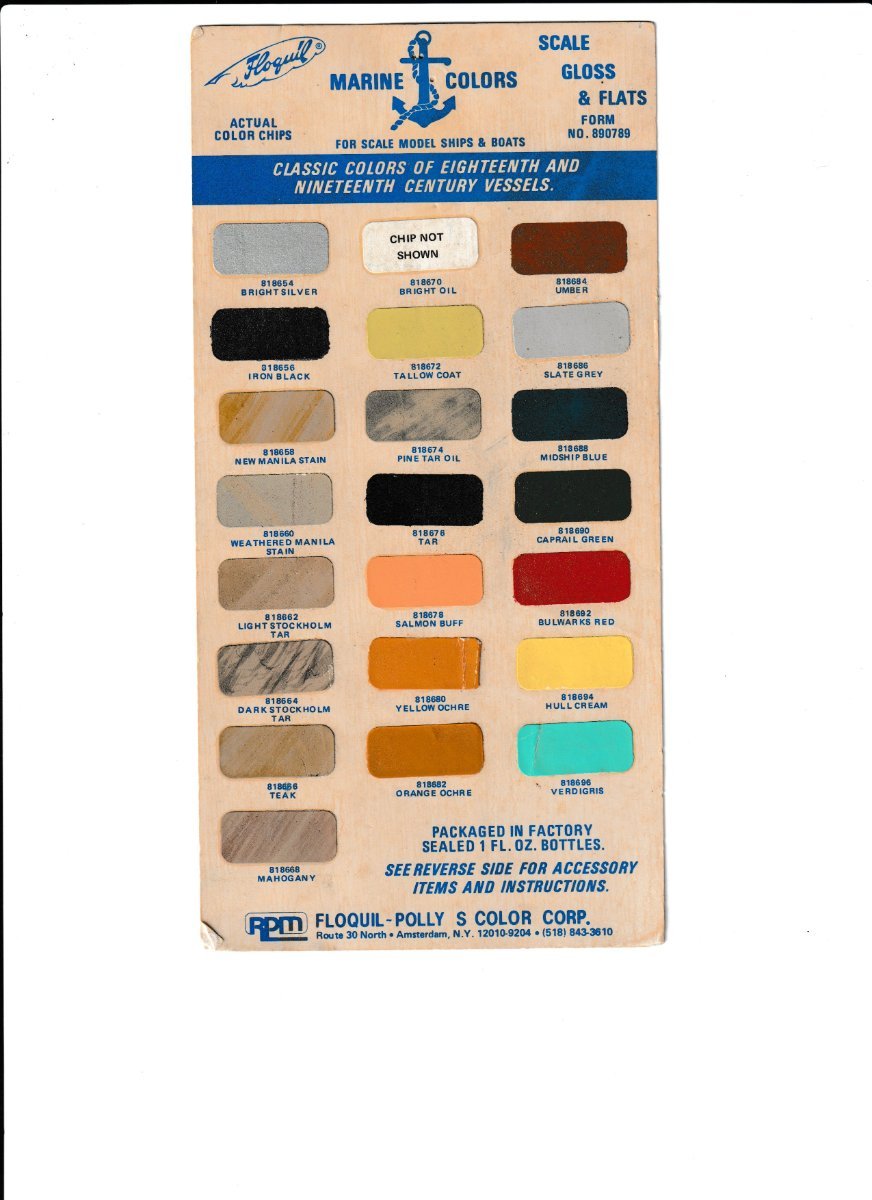
Here's an old chart I have. The quality of the copy is not very good; Hull Cream is not yellow! But it may provide some reference. May want to consider the colors used on whaleboats and Dory boats of that time period.

-
Basswood Strips
Capt. Kelso replied to DGraley's topic in Building, Framing, Planking and plating a ships hull and deck
Where are you located, it will make a big difference on cost. -
question about waxing thread
Capt. Kelso replied to ford34tom@comcast.net's topic in Masting, rigging and sails
Have been using beeswax for rigging the past 40 years with no problems, it hasn't rotted and fallen apart. It was recommended to help preserve the rigging. As for it being acidic, I'm no chemist but I just did a search: Bee's wax is not acidic; it is primarily composed of esters of fatty acids and various long-chain alcohols. This composition means that bee's wax does not contain significantly acidic compounds, making it pH neutral and suitable for various applications, including cosmetics and preservation of artifacts. Wikipedia+2 -
Bullseyes & Lanyard - some help please.
Capt. Kelso replied to Capt. Kelso's topic in Masting, rigging and sails
Thanks everyone for the responses, they have been very helpful! -
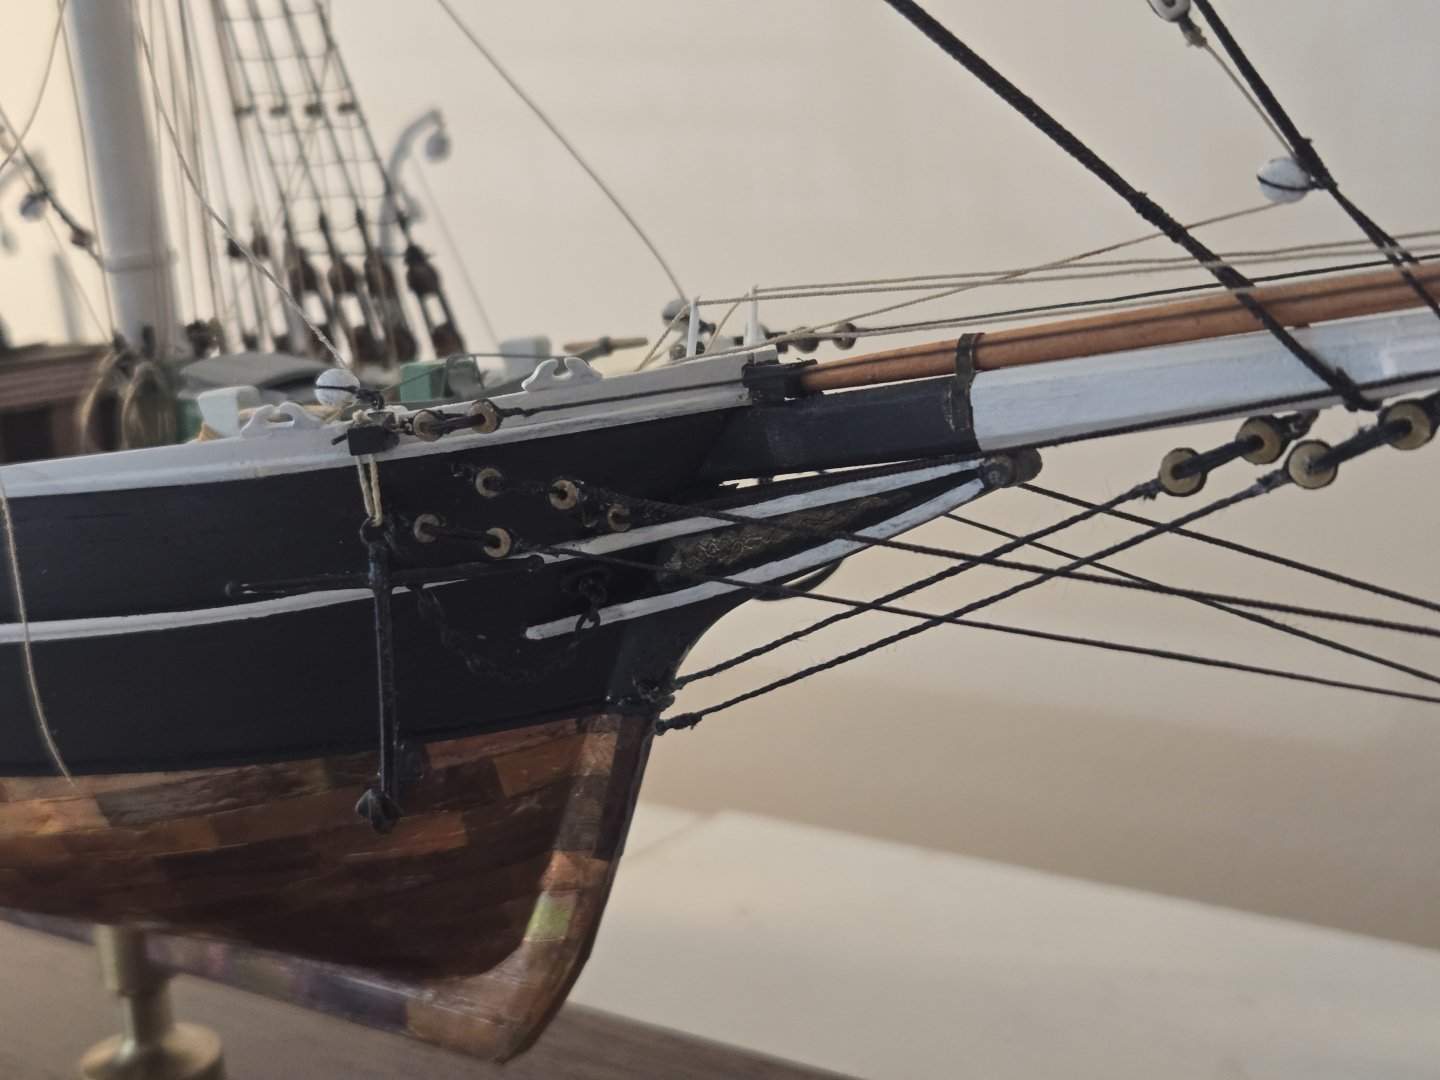
The plans for my current build (Kate Cory) note the use of numerous "Bullseyes & Lanyards". Basically, all involving the Bowsprit standing rigging. I have no experience with these although they look easy enough to assemble. The plans are vague and provide little detail, essentially, two bullseyes joined by rope. Searched the internet and my books but can't find any specifics on how these are put together. Is there a standard or rule of thumb distance between the bullseyes? How many times does the rigging/rope loop through the bullseyes? These details, or lack of, drive me nuts! Any help is appreciated.
-
Classic old kit. Nice job! I used to live in Brunswick, miss it!
- 165 replies
-
- 1
-

-
- Red Jacket
- Marine Model Company
- (and 2 more)