


LyleK1
-
Posts
531 -
Joined
-
Last visited
Content Type
Profiles
Forums
Gallery
Events
Posts posted by LyleK1
-
-
It really is the builders choice.
I've done both. I certainly like the "new" look but I think that aging a model makes it look more realistic.
However, it can be over done.
Covering walnut or any other quality wood is a sin, IMHO! Especially, with the amount of work put into making it look great.
I'm sure there will be others that agree and disagree.
- Knocklouder, DaveBaxt and Canute
-
 3
3
-
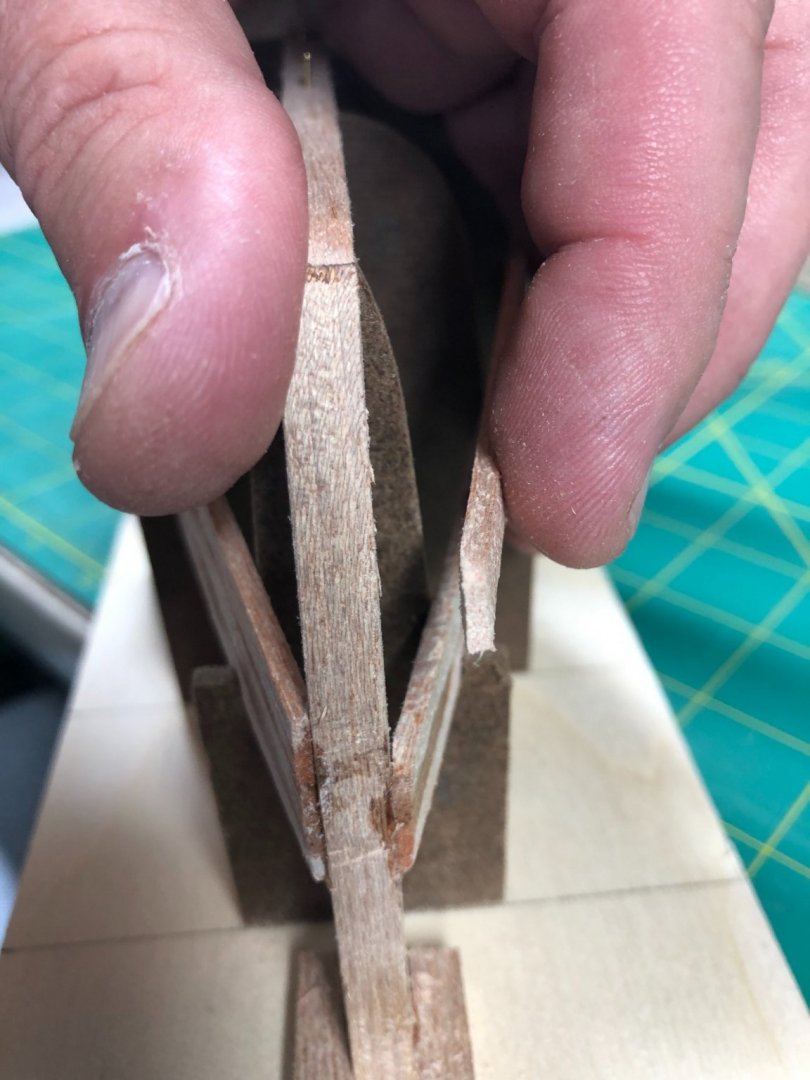
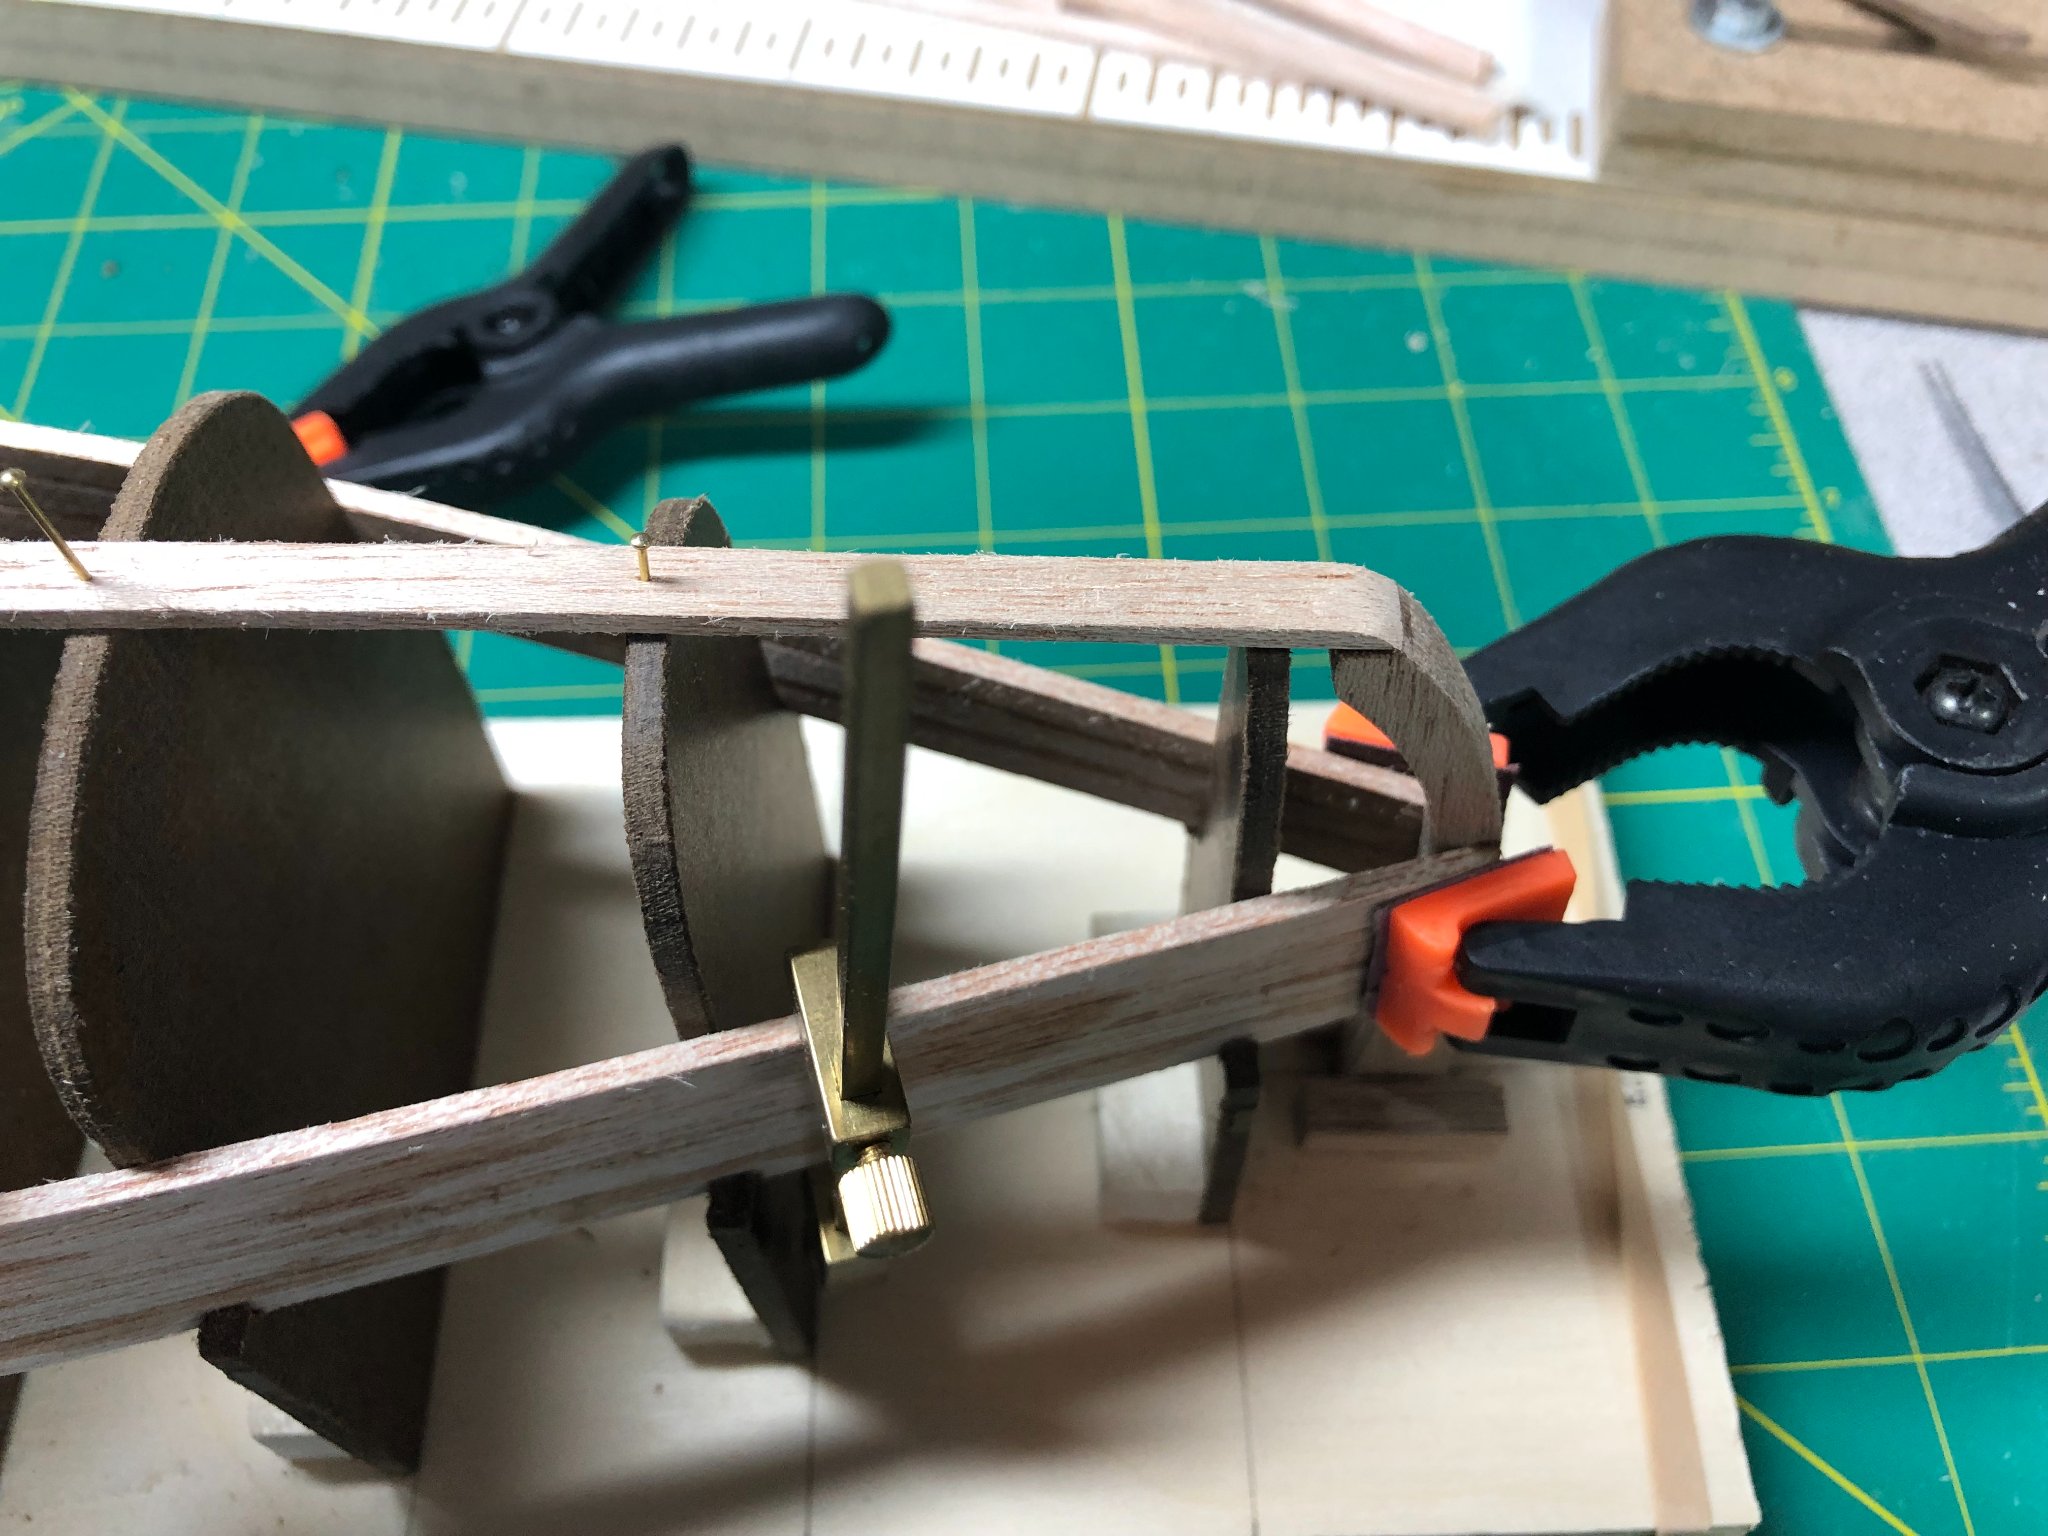
I've managed to get one side planked to the seventh row and the other side to the sixth.
Pretty easy....... well, that changed with those two rows as the curve of the hull is in play now. I've had some difficulty with the planks wanting to pull away from the frame:
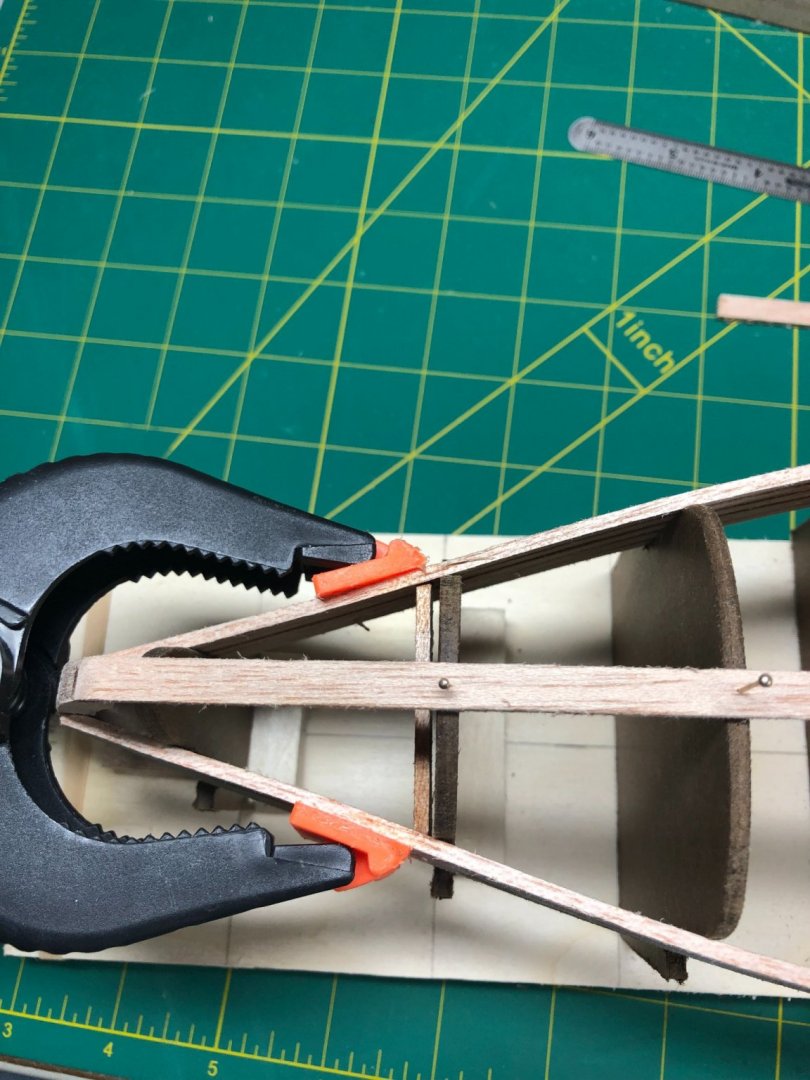
I used a piece of scrap to pull the frame together and glued into place. It held for the two planks but popped loose when I was fiddling with the clamps!
On to the next idea:
I read on another build log that he tried soaking and clamping the plank to pre-shape it. I've done it many times with harder woods but I think I'll try it tomorrow. It might relieve some of the stress of making so many bends on a single plank!
- TOM G, G.L., Chuck Seiler and 1 other
-
4
-
-
7 hours ago, Chuck Seiler said:
No, I am talking about the joints plank-to-plank along the same strake. Attached is an example, but with far too many joints. Figure 5.12 and Foldout 1 of Waschmann show these, but hard to see.

Gotcha!
Interesting… I had not seen or read that in the book. Maybe I’m not far enough into it… over halfway but no mention of it.
At any rate, as you’ve seen, the planks are a single run on the model.
- Chuck Seiler and thibaultron
-
2
-
52 minutes ago, Chuck Seiler said:
You are making great progress.
Uhhgggg! No, not the actual mortise/tenon joints themselves. That would be some chore. I was thinking more the line of the actual joint.
Are you thinking plank to plank seam?
If so, they are quite tight right now but that changes after the next plank or two... I'll need to cut the bevel into about three rows of planks. Shouldn't be too tough.
-
-
21 minutes ago, Chuck Seiler said:
Lyle,
The Excavations of an Ancient Boat from the Sea of Galilee by Shelly Wachsmann (hereafter known as Wachsmann-Excavations) shows the planks have diagonal butt joints. Will you be modeling that into your build...or leave well enough alone?
I read that as well, but no, at this scale it hard to follow the exact method. The Mortise and tenon joints would be interesting to build in a bigger version.
But not on this scale.
- thibaultron and Chuck Seiler
-
2
-
The first two planks on each side are full sized planks (width). The first fits into the notches cut into each form. I had to modify the form closest to the stern to accept the plank at the right angle. The stern end needed to be sanded to the proper angle to meet the sternpost. Once achieved it was glued into place using a medium thick CA (I'm using that for all the plank ends, per the instructions). The remaining plank is fitted into the notches, cut at the bow and sanded slightly to match the bow piece.
The first plank:

The second plank was done the exact same way:

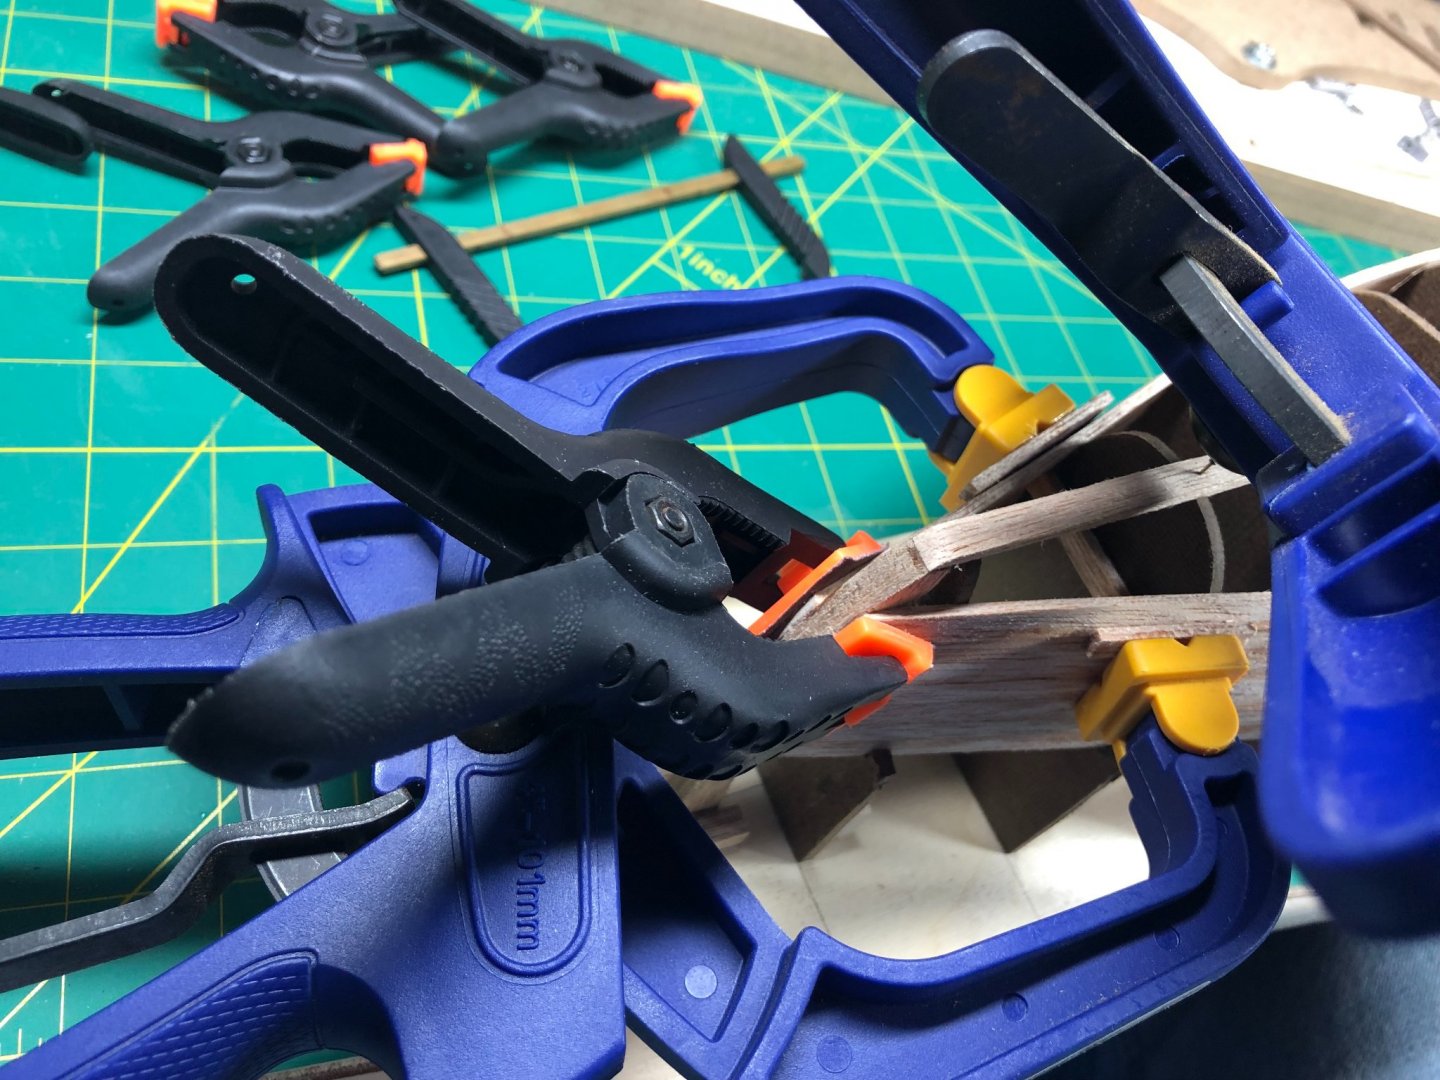
I tried various clamps to get the fit as perfect as possible, using some to keep the "clinker" effect to a minimum and the others to hold the seams between planks nice and tight. Once everything is fitted, I used a thin CA to "weld" the joints between the planks being as careful as possible not to get any of the glue on the forms... not sure how successful I was and I'm sure I'll find out later!
The next several planks are tapered and I received the kit with the tapering already done.
The process to prepare a plank is as follows.


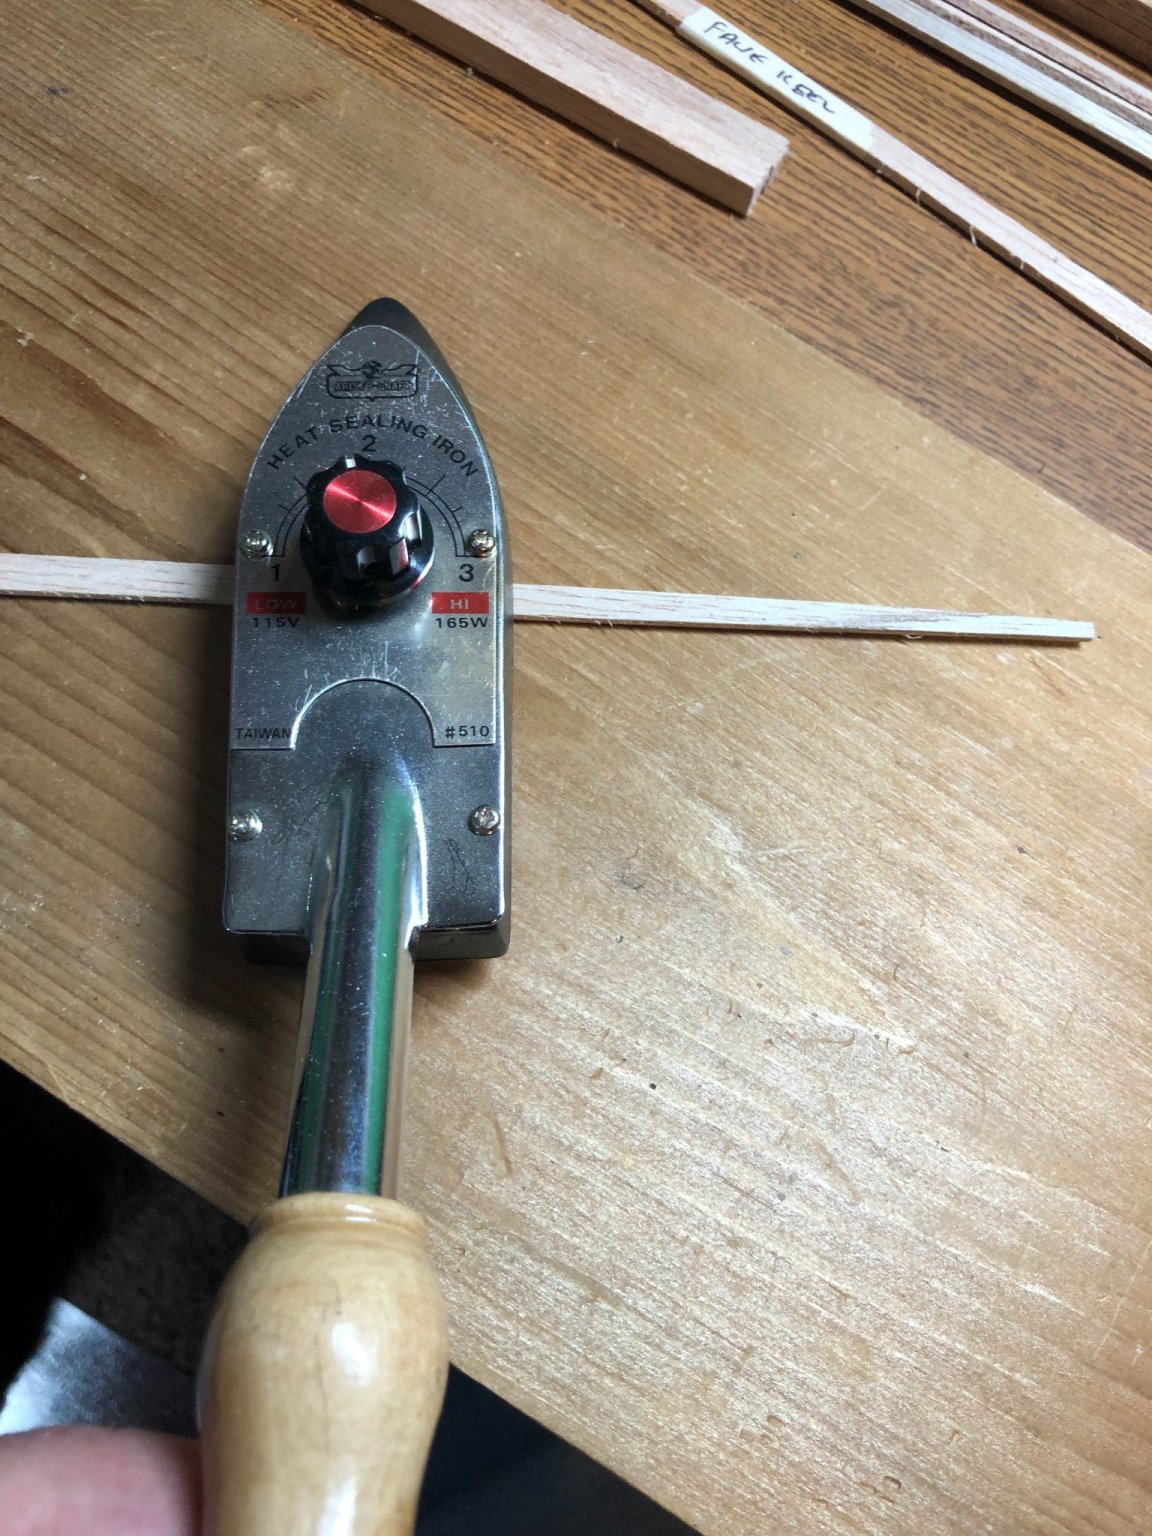
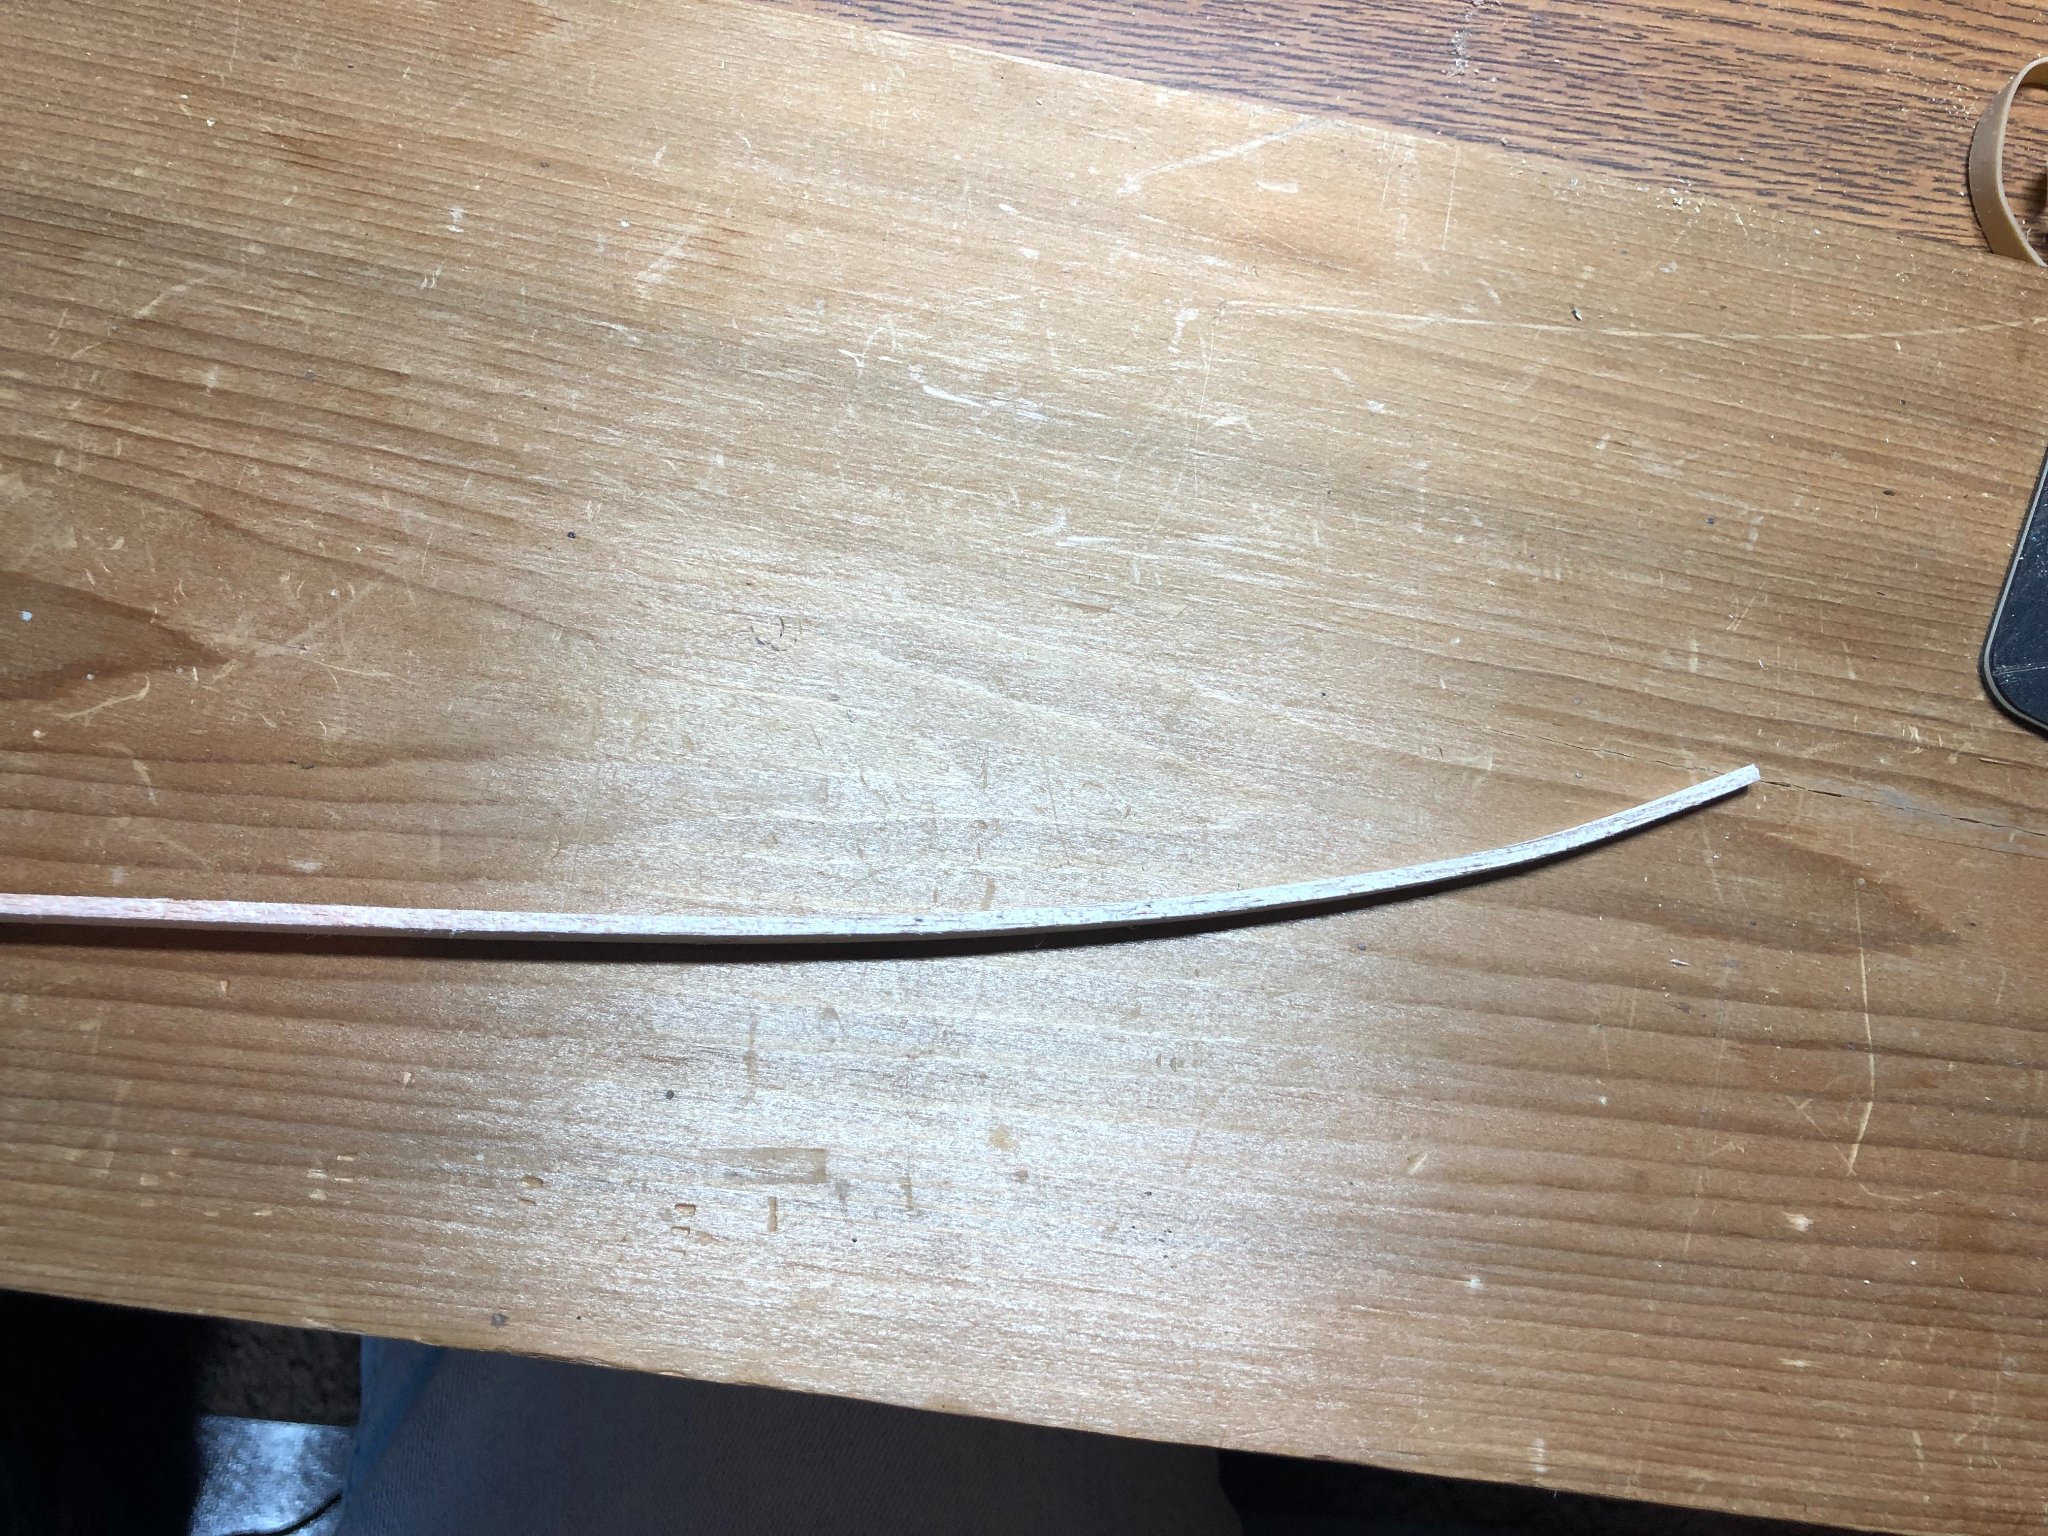
I heated and bent the plank just to help ensure they don't break.
Some light sanding and forming at both ends:
And then gluing into place just like the first two planks.
Clamps hold the planks against the forms and against each other. At the stern, the previously mentioned (and shown) post comes into play to keep the clamps from sliding off:
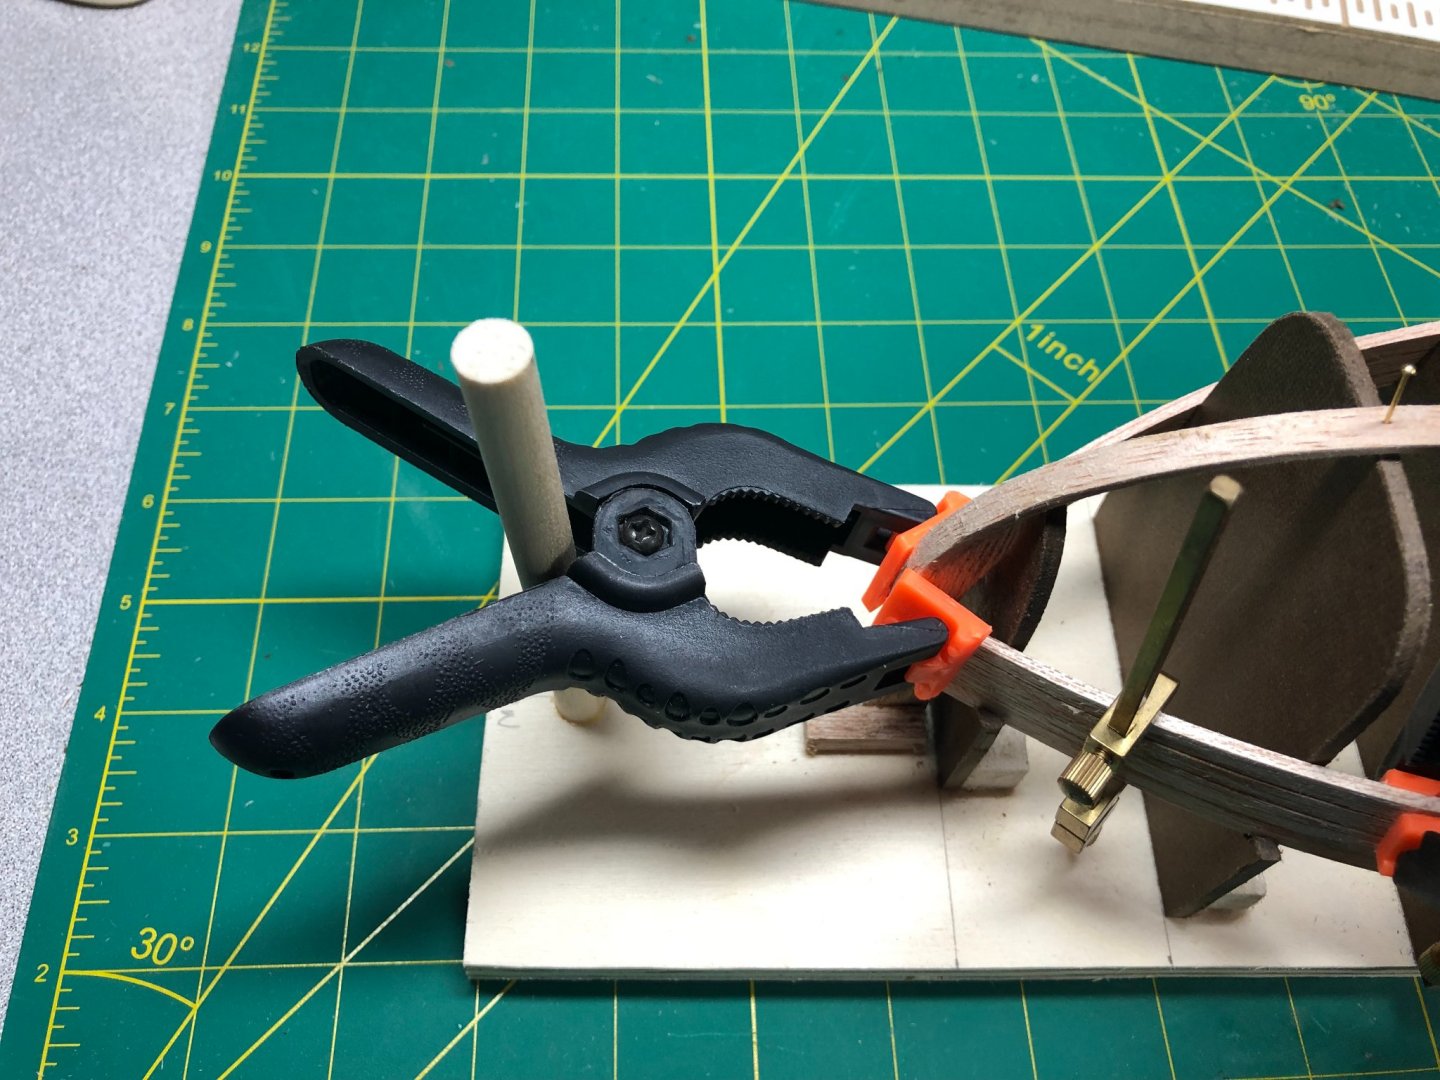
And at the bow, I've modified a clamp by gluing sandpaper to the clamp surfaces to keep it from sliding off:
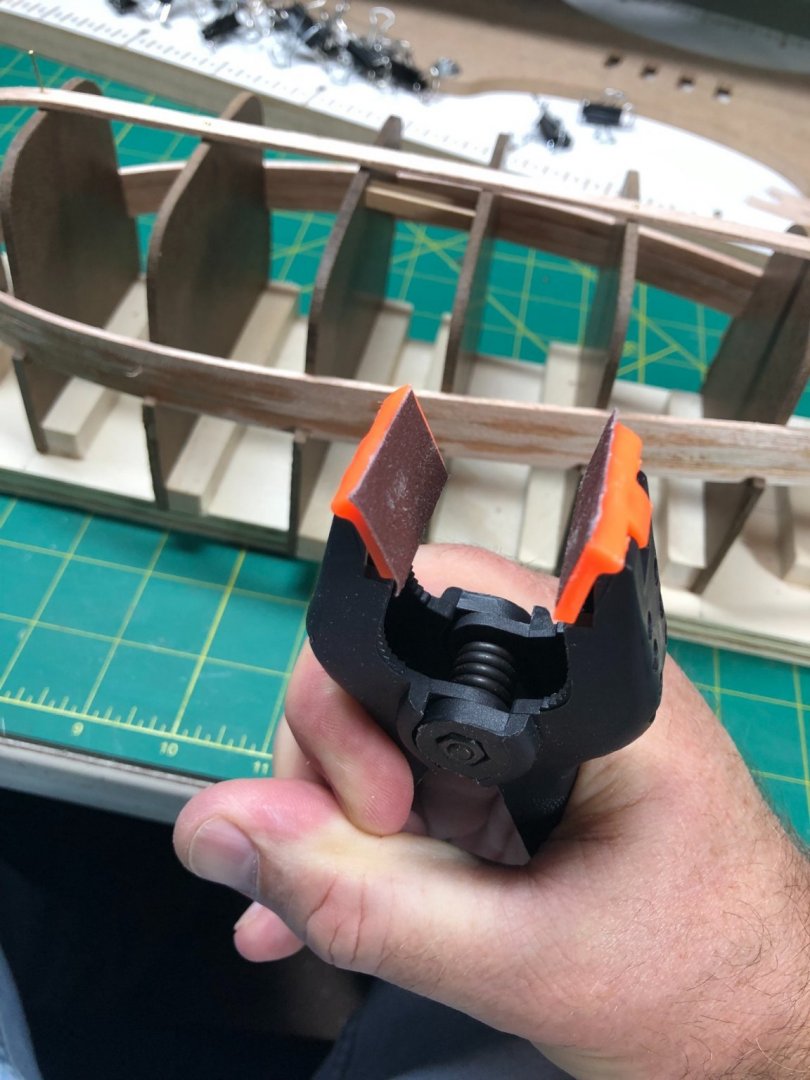

It works really good!
Clamps are installed:

And thin CA to "weld the joints:

I've completed five planks on each side, alternating as I go to keep thing from getting out of whack.
Here is where I stopped for today:
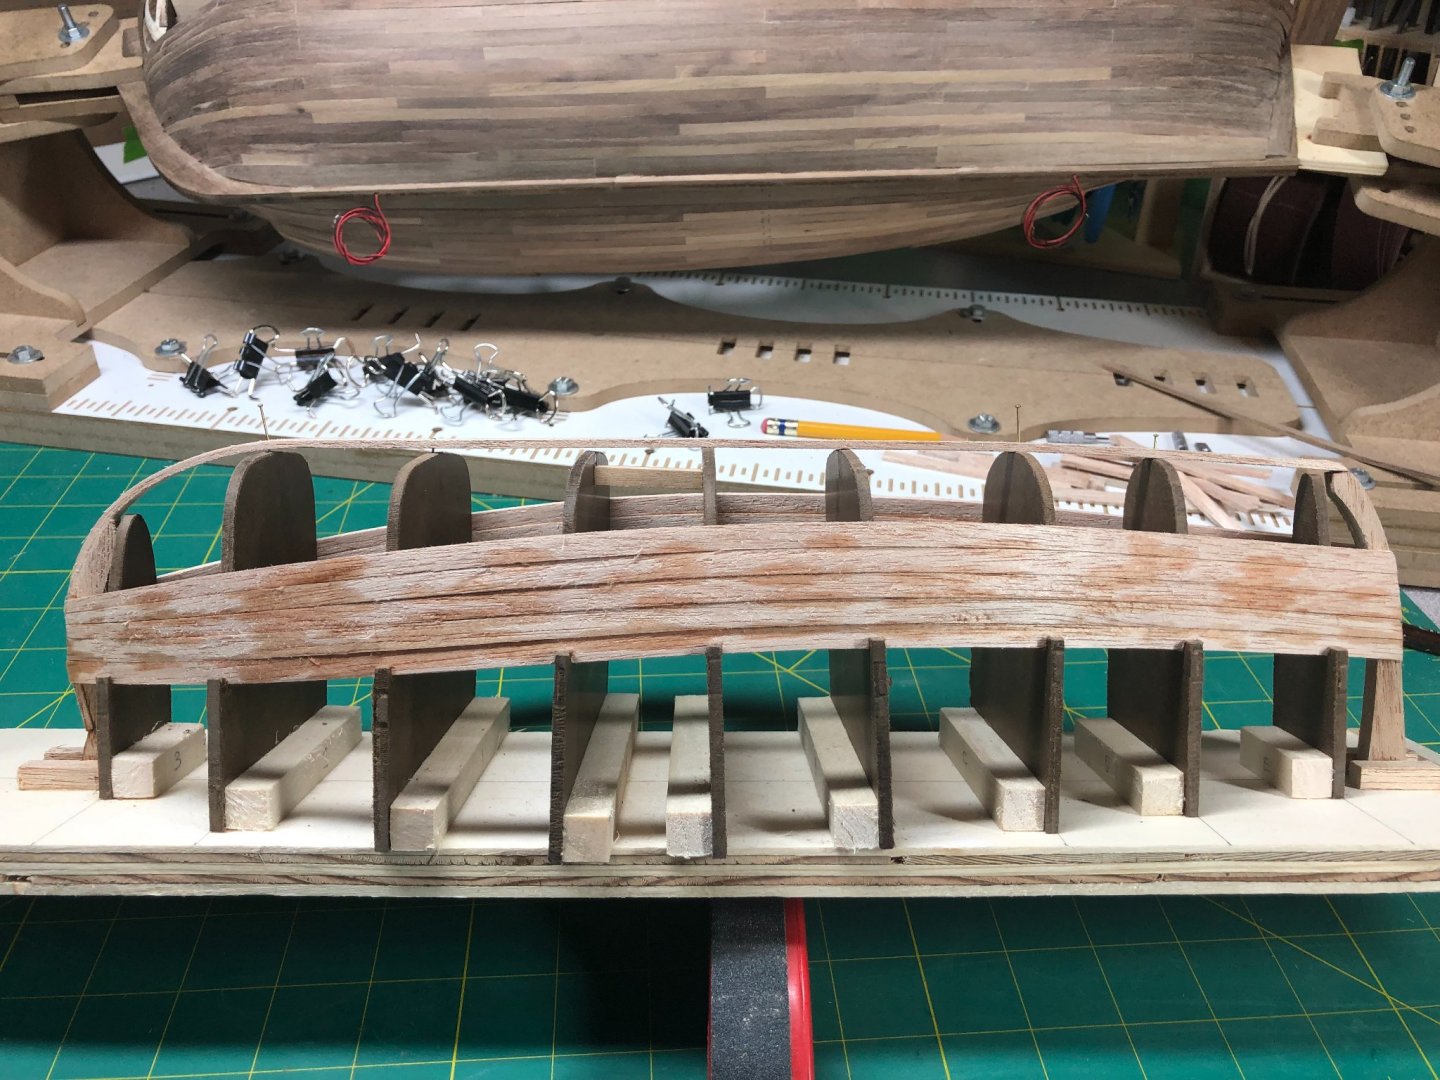

One or two more planks and I'll be to the curve in the hull and things will get a bit tougher but nothing like working with walnut as is being used on the Bounty in the background!!
More in a few days.
- G.L., Chuck Seiler, TOM G and 2 others
-
5
-
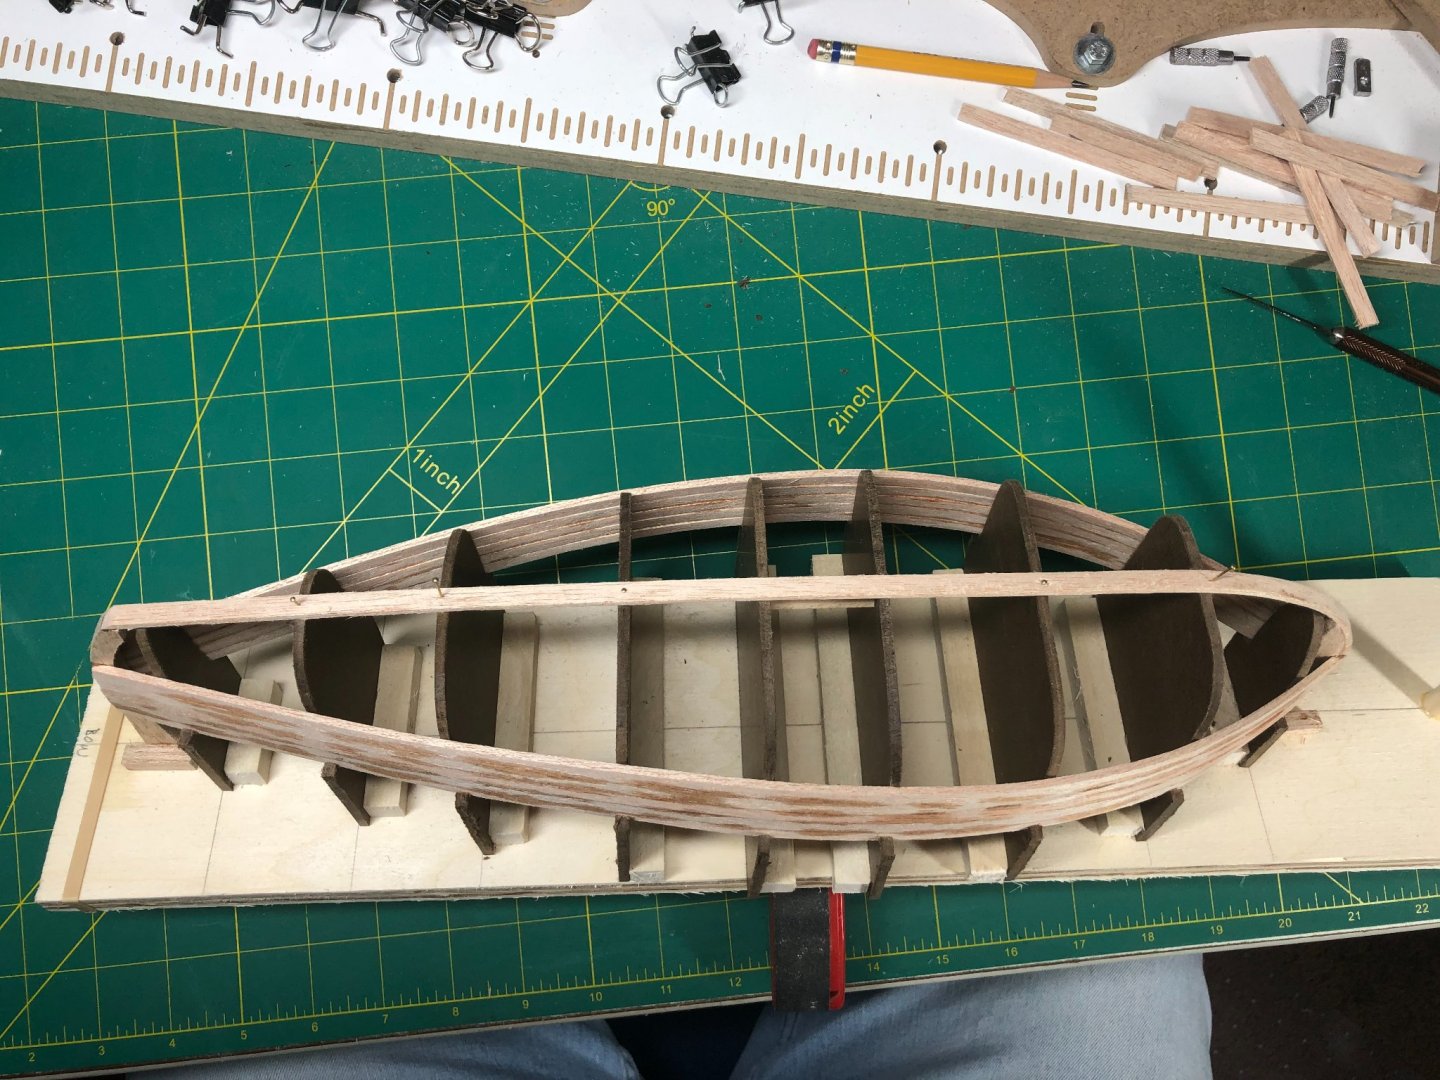
I've made some decent progress!
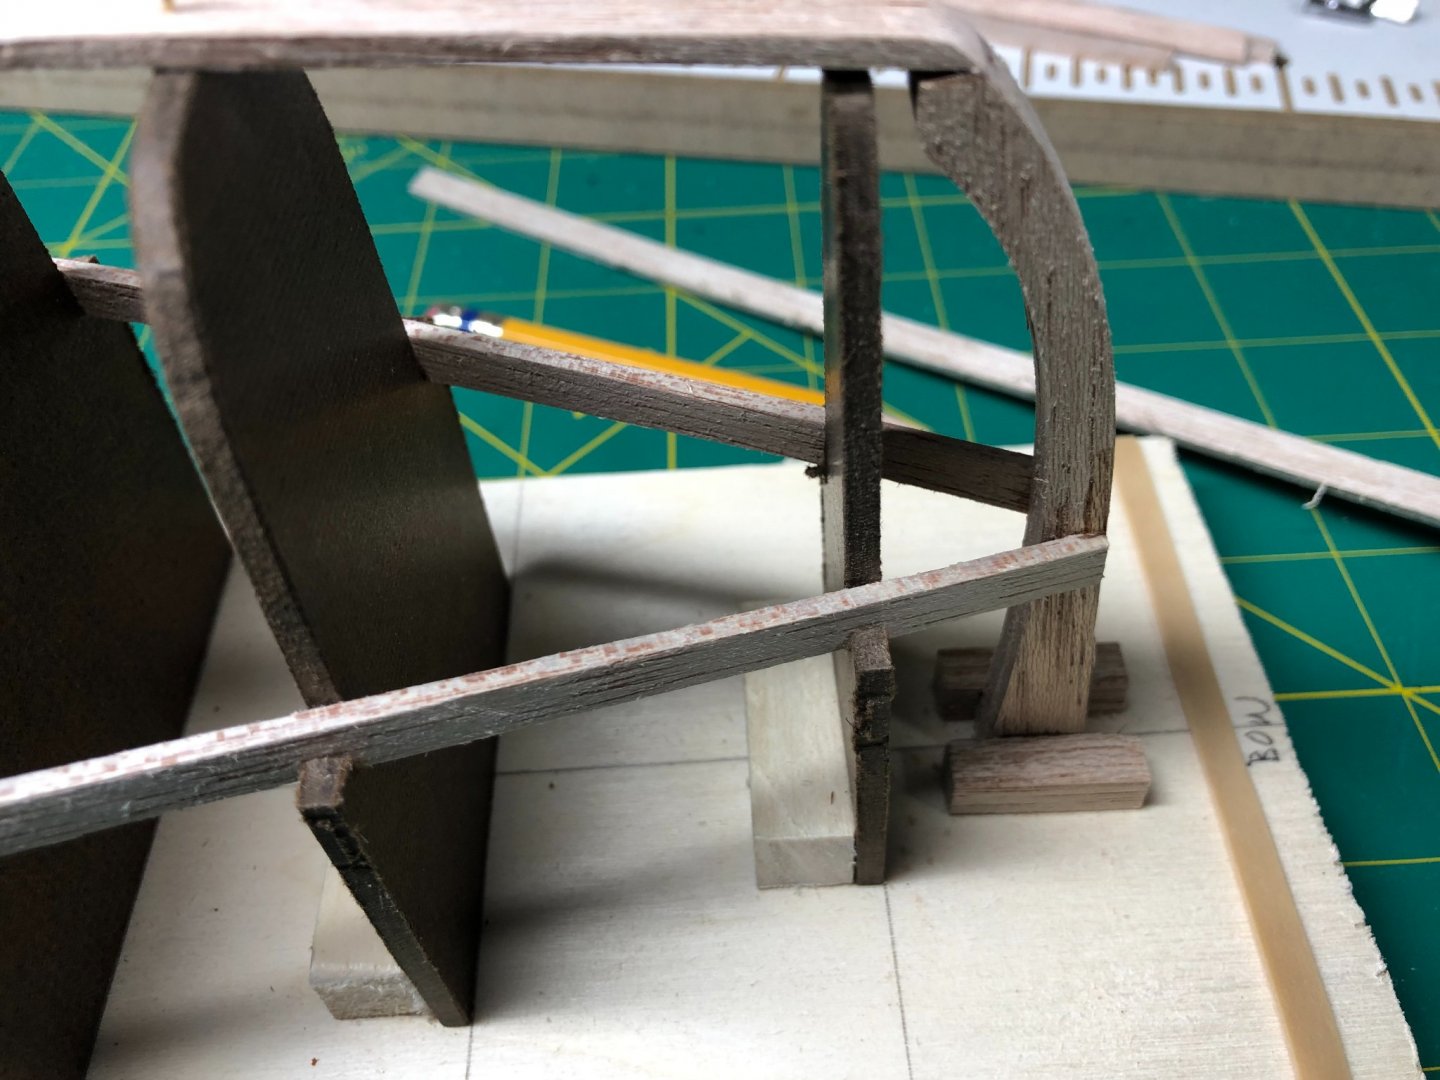
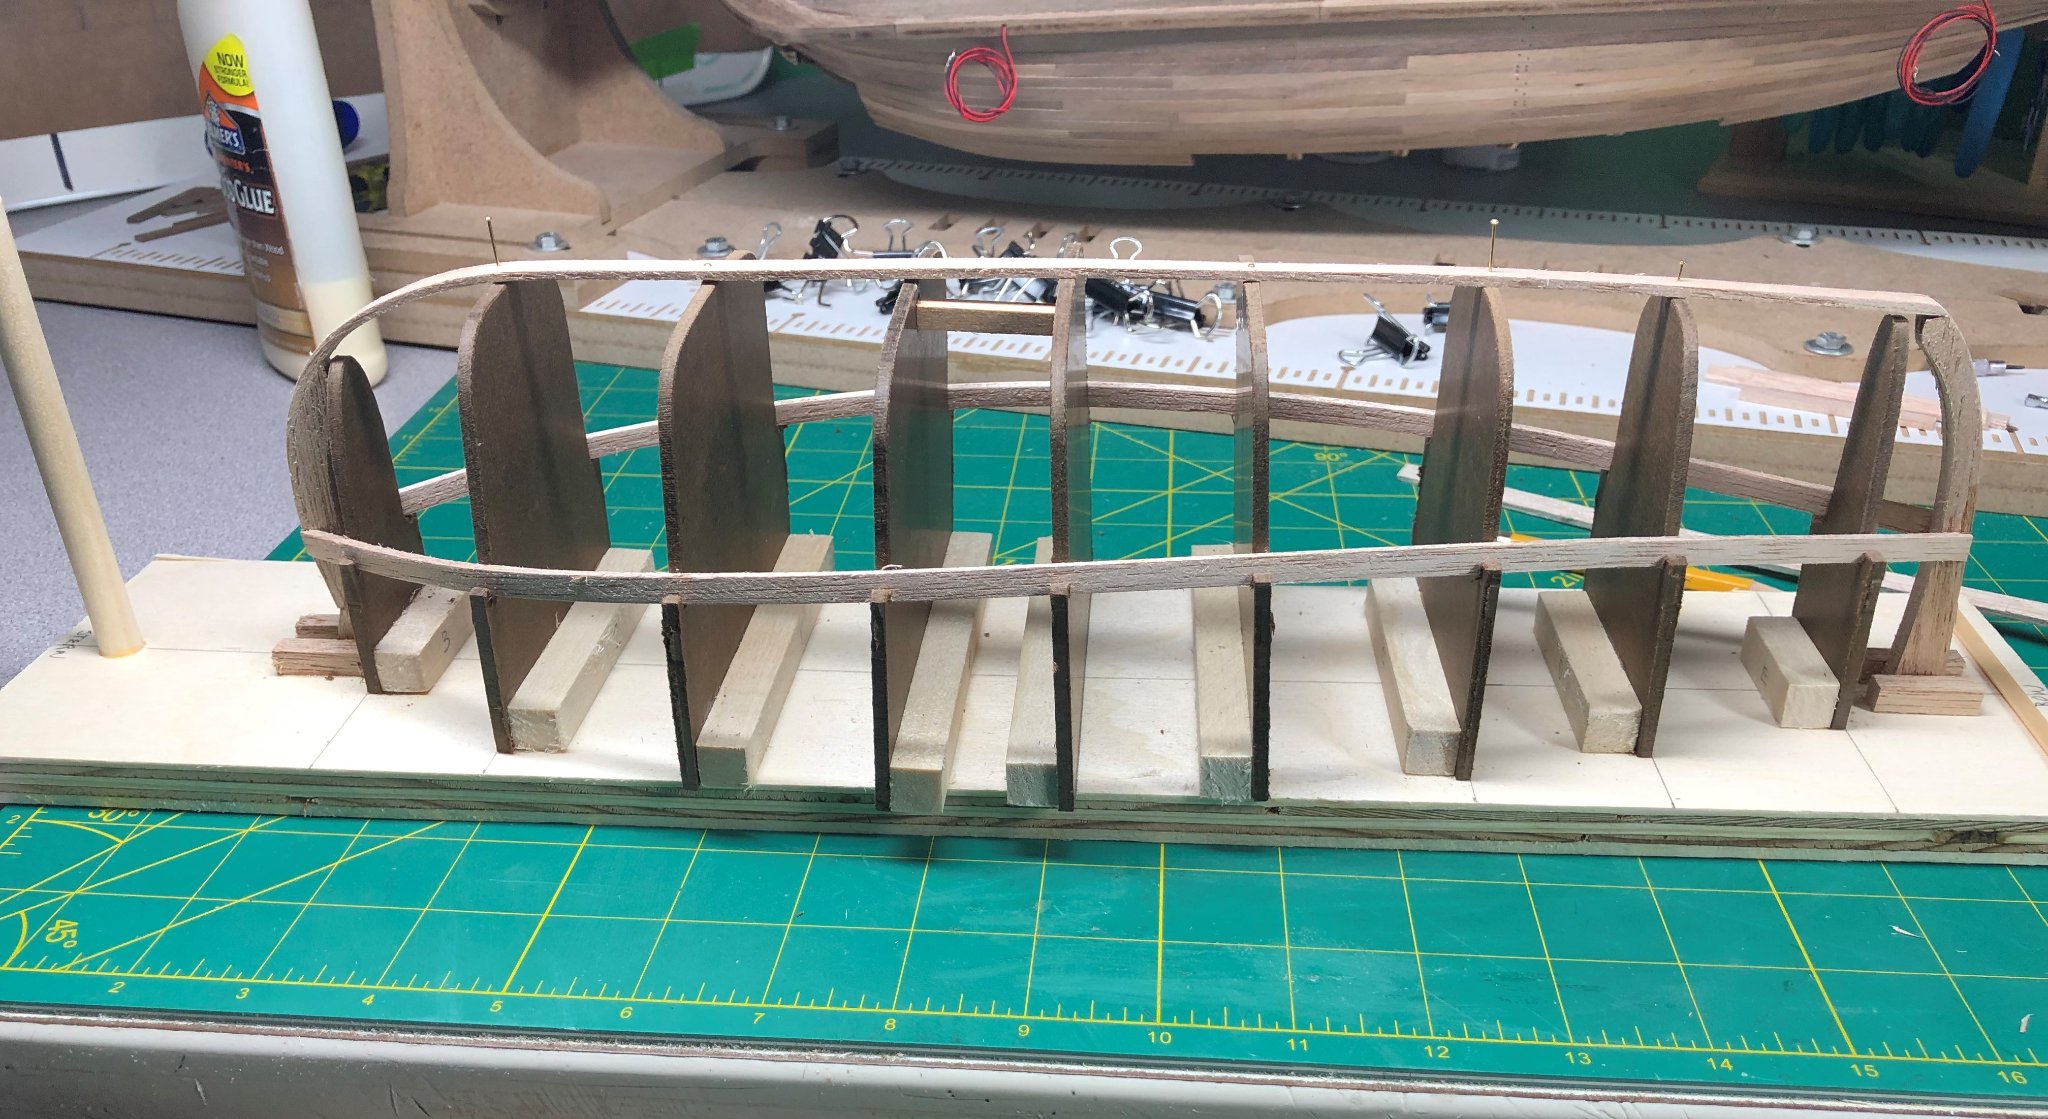
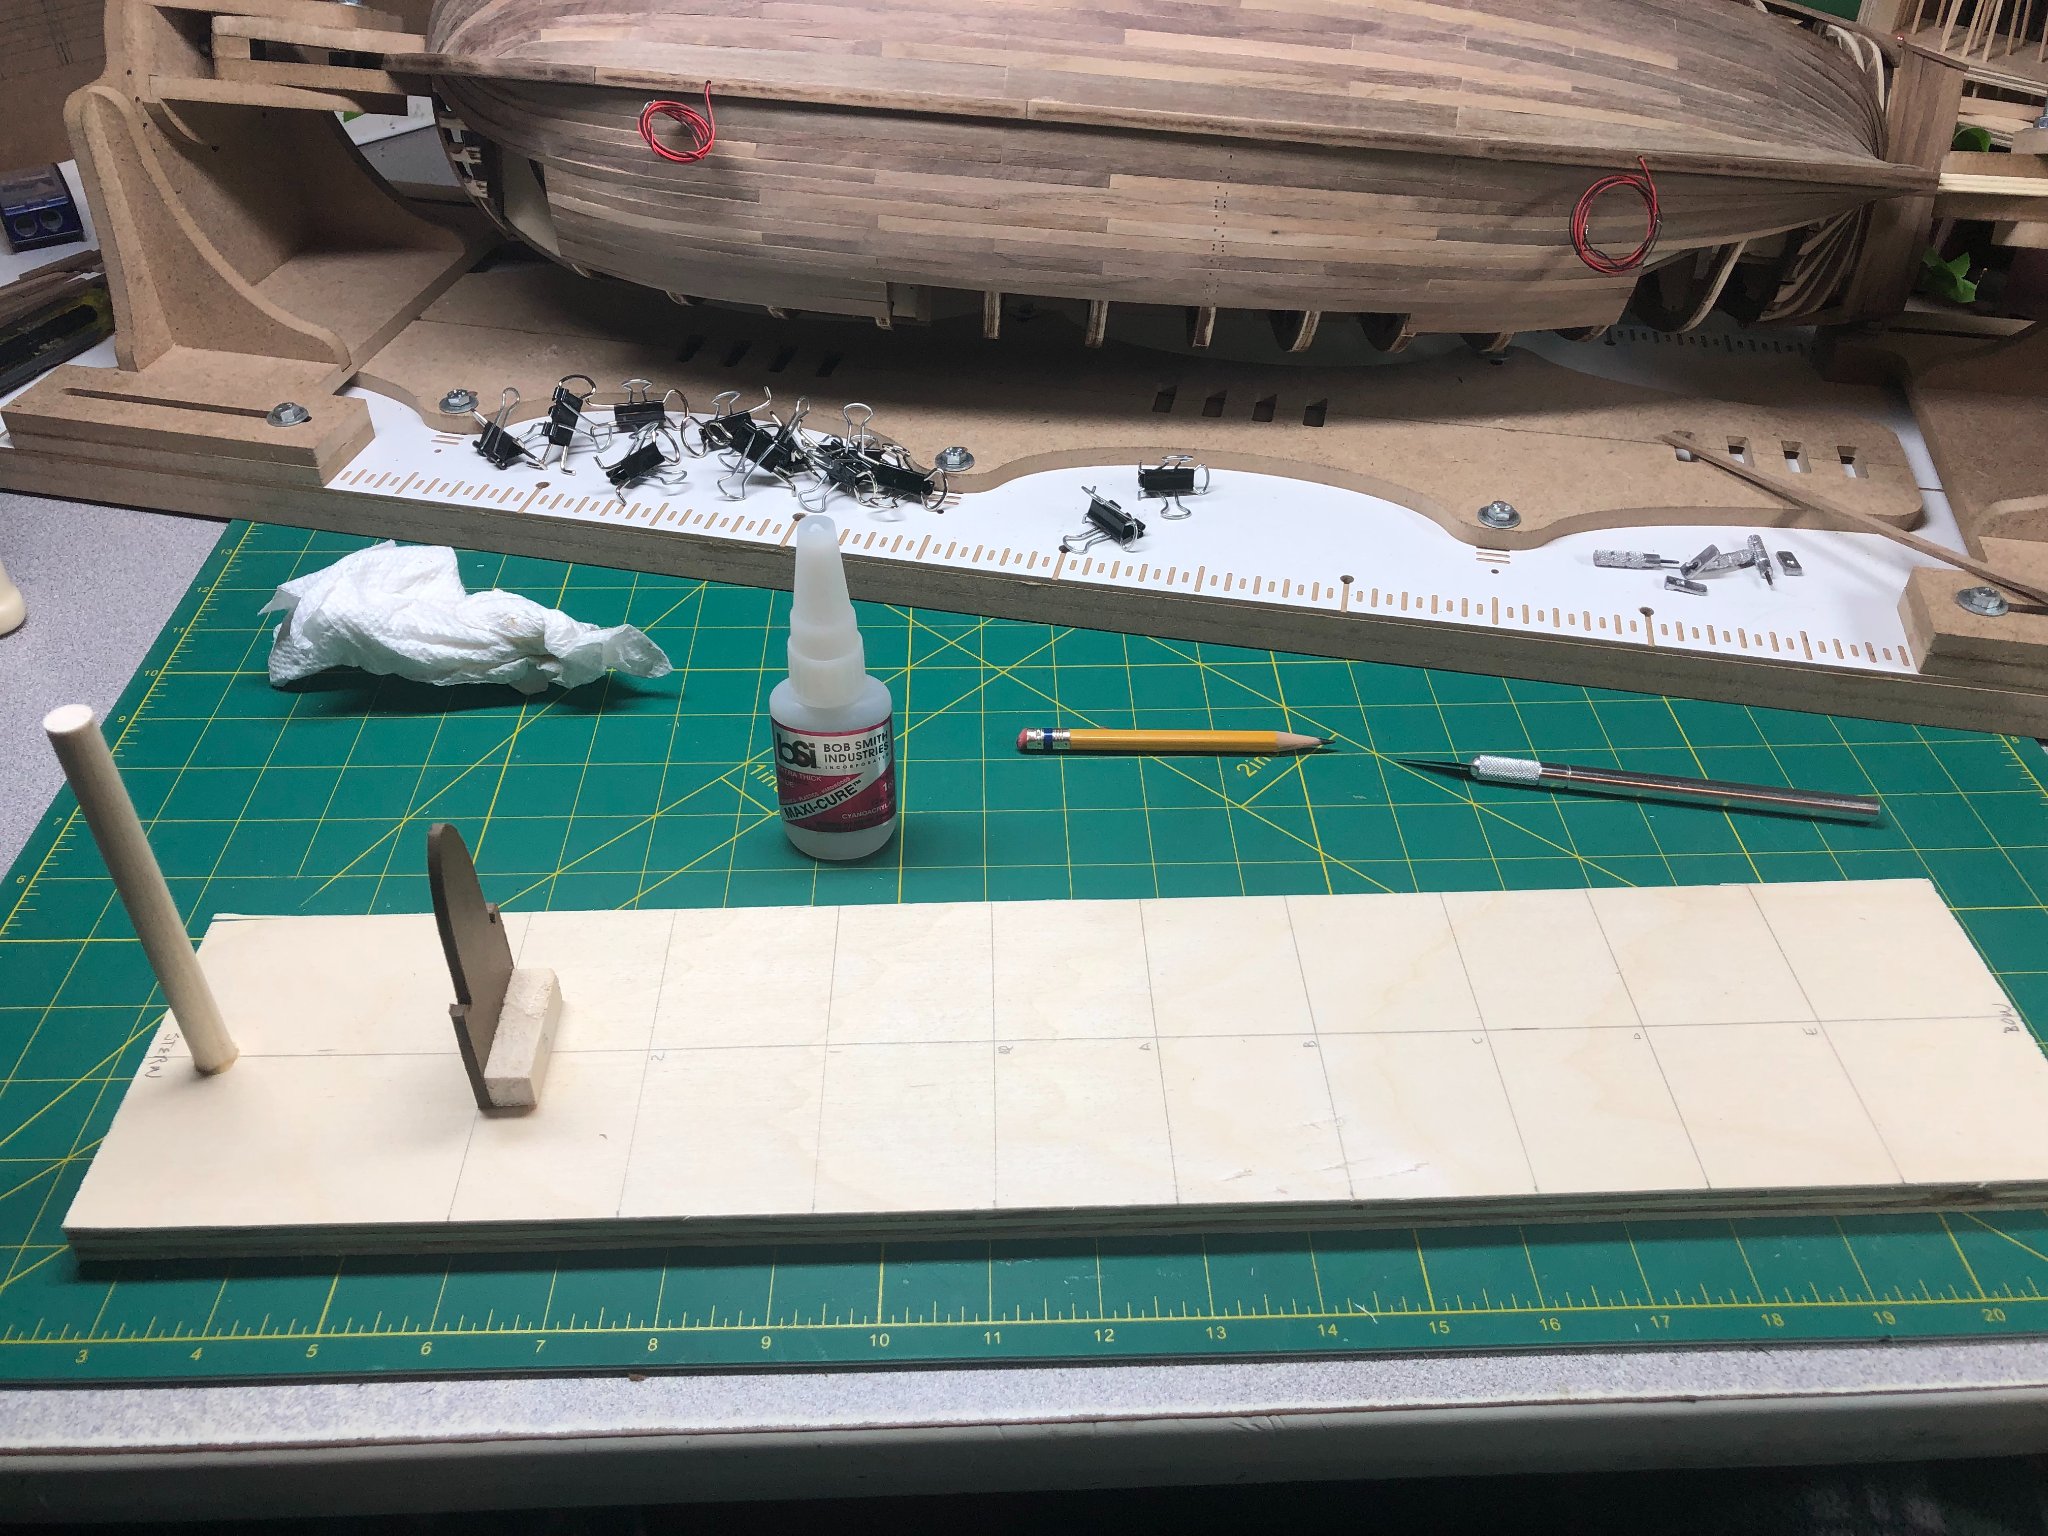
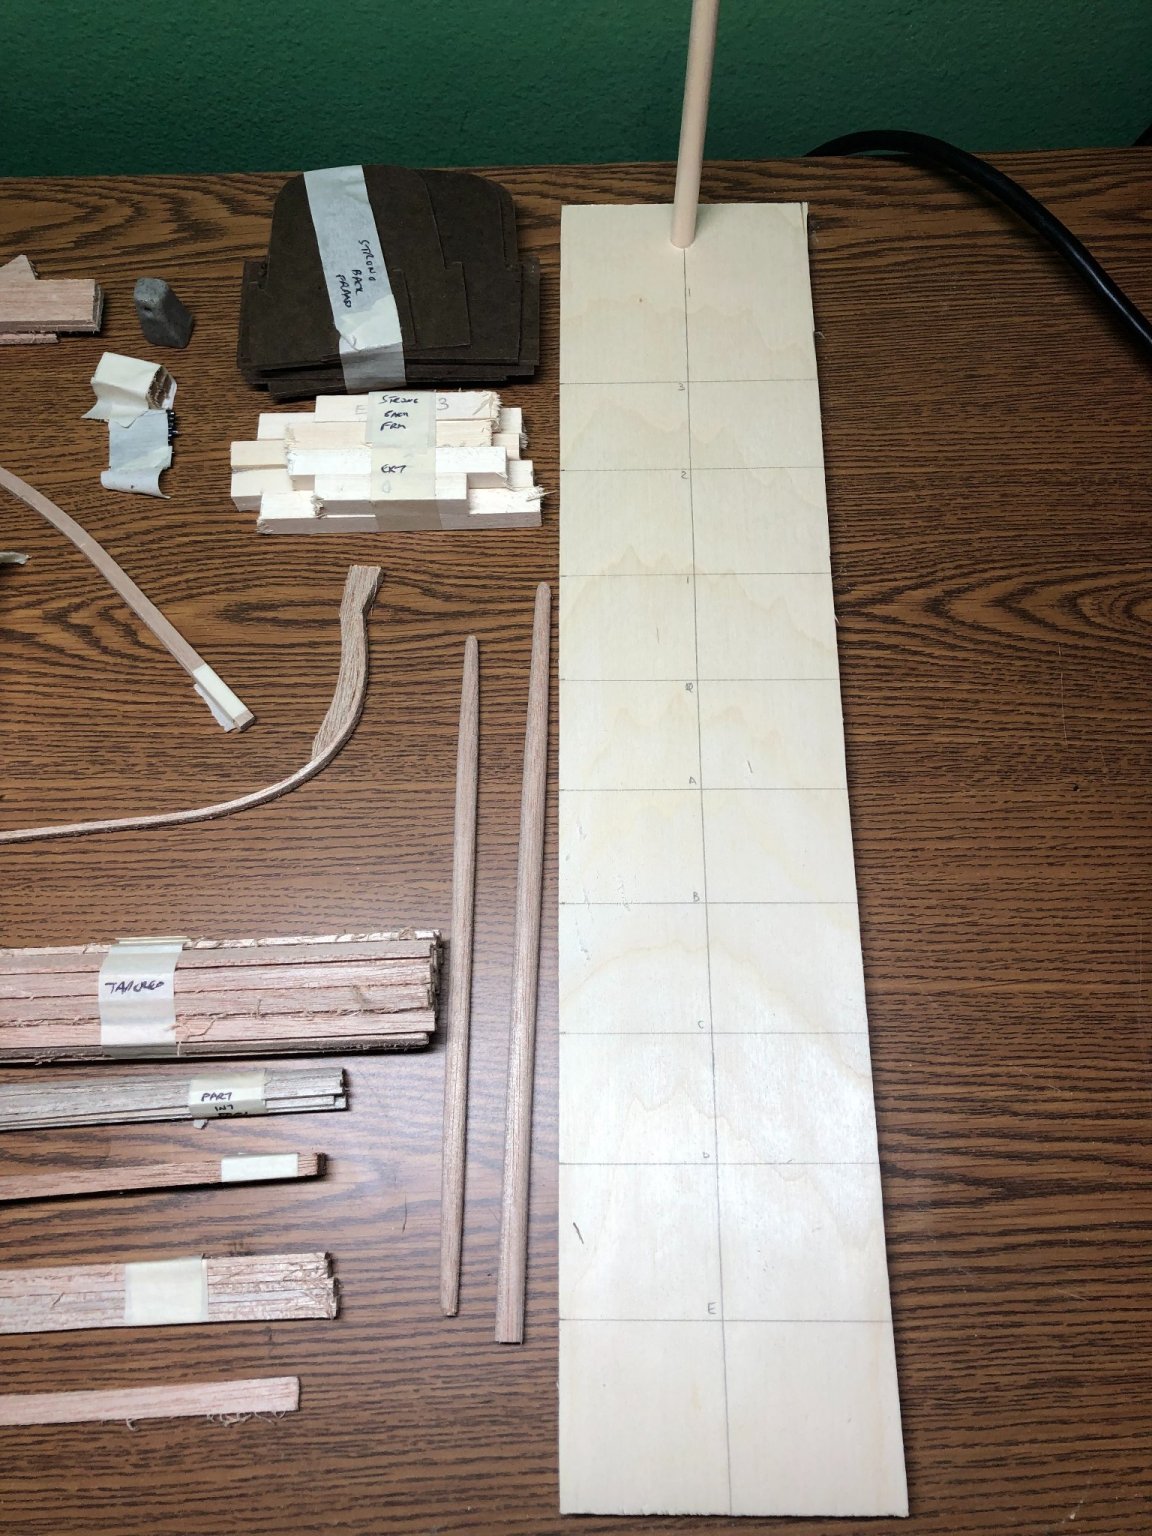
The first steps were to build the strongback. Straightforward and pretty simple:
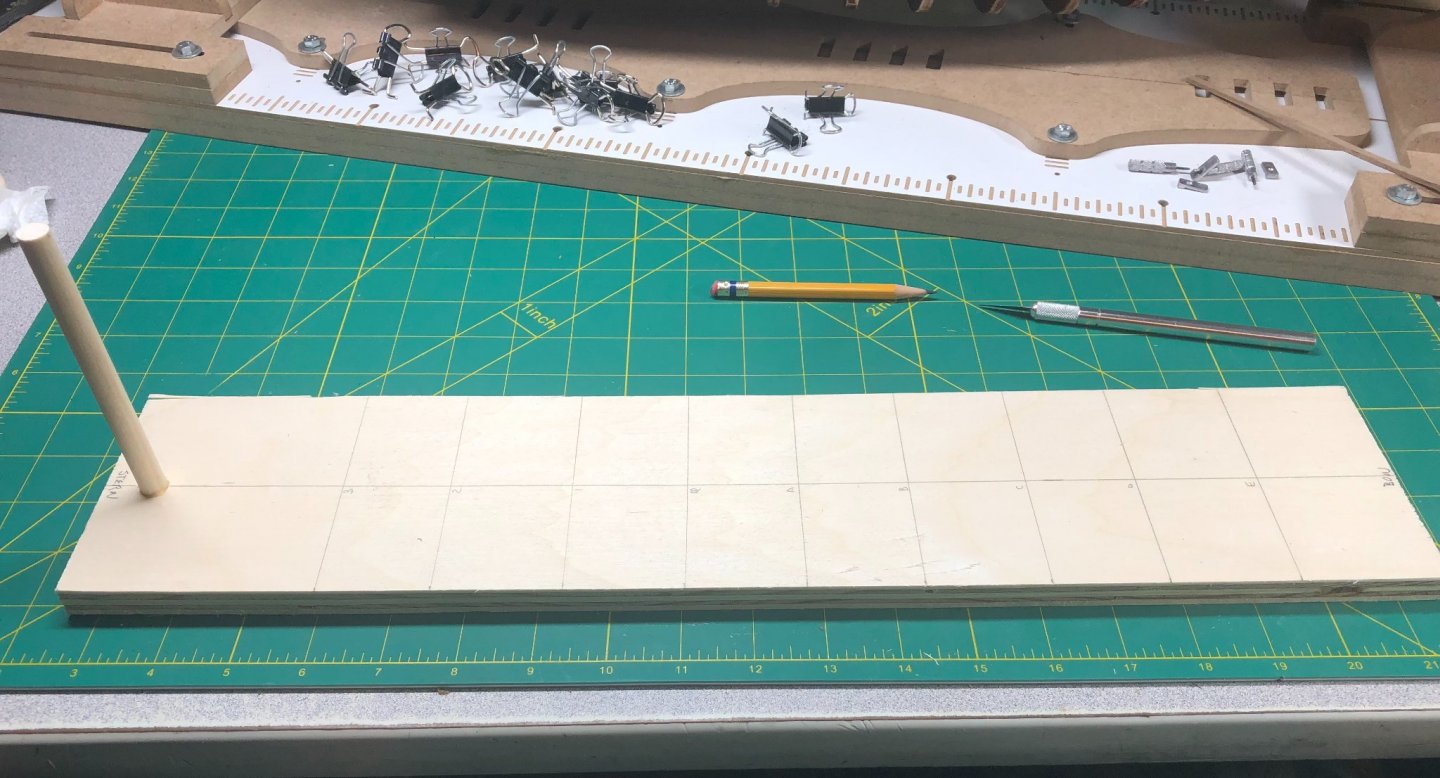
The board came pre-marked with a centerline and locations for each of the forms. The post at the stern is not part of the boat but comes in real handy later
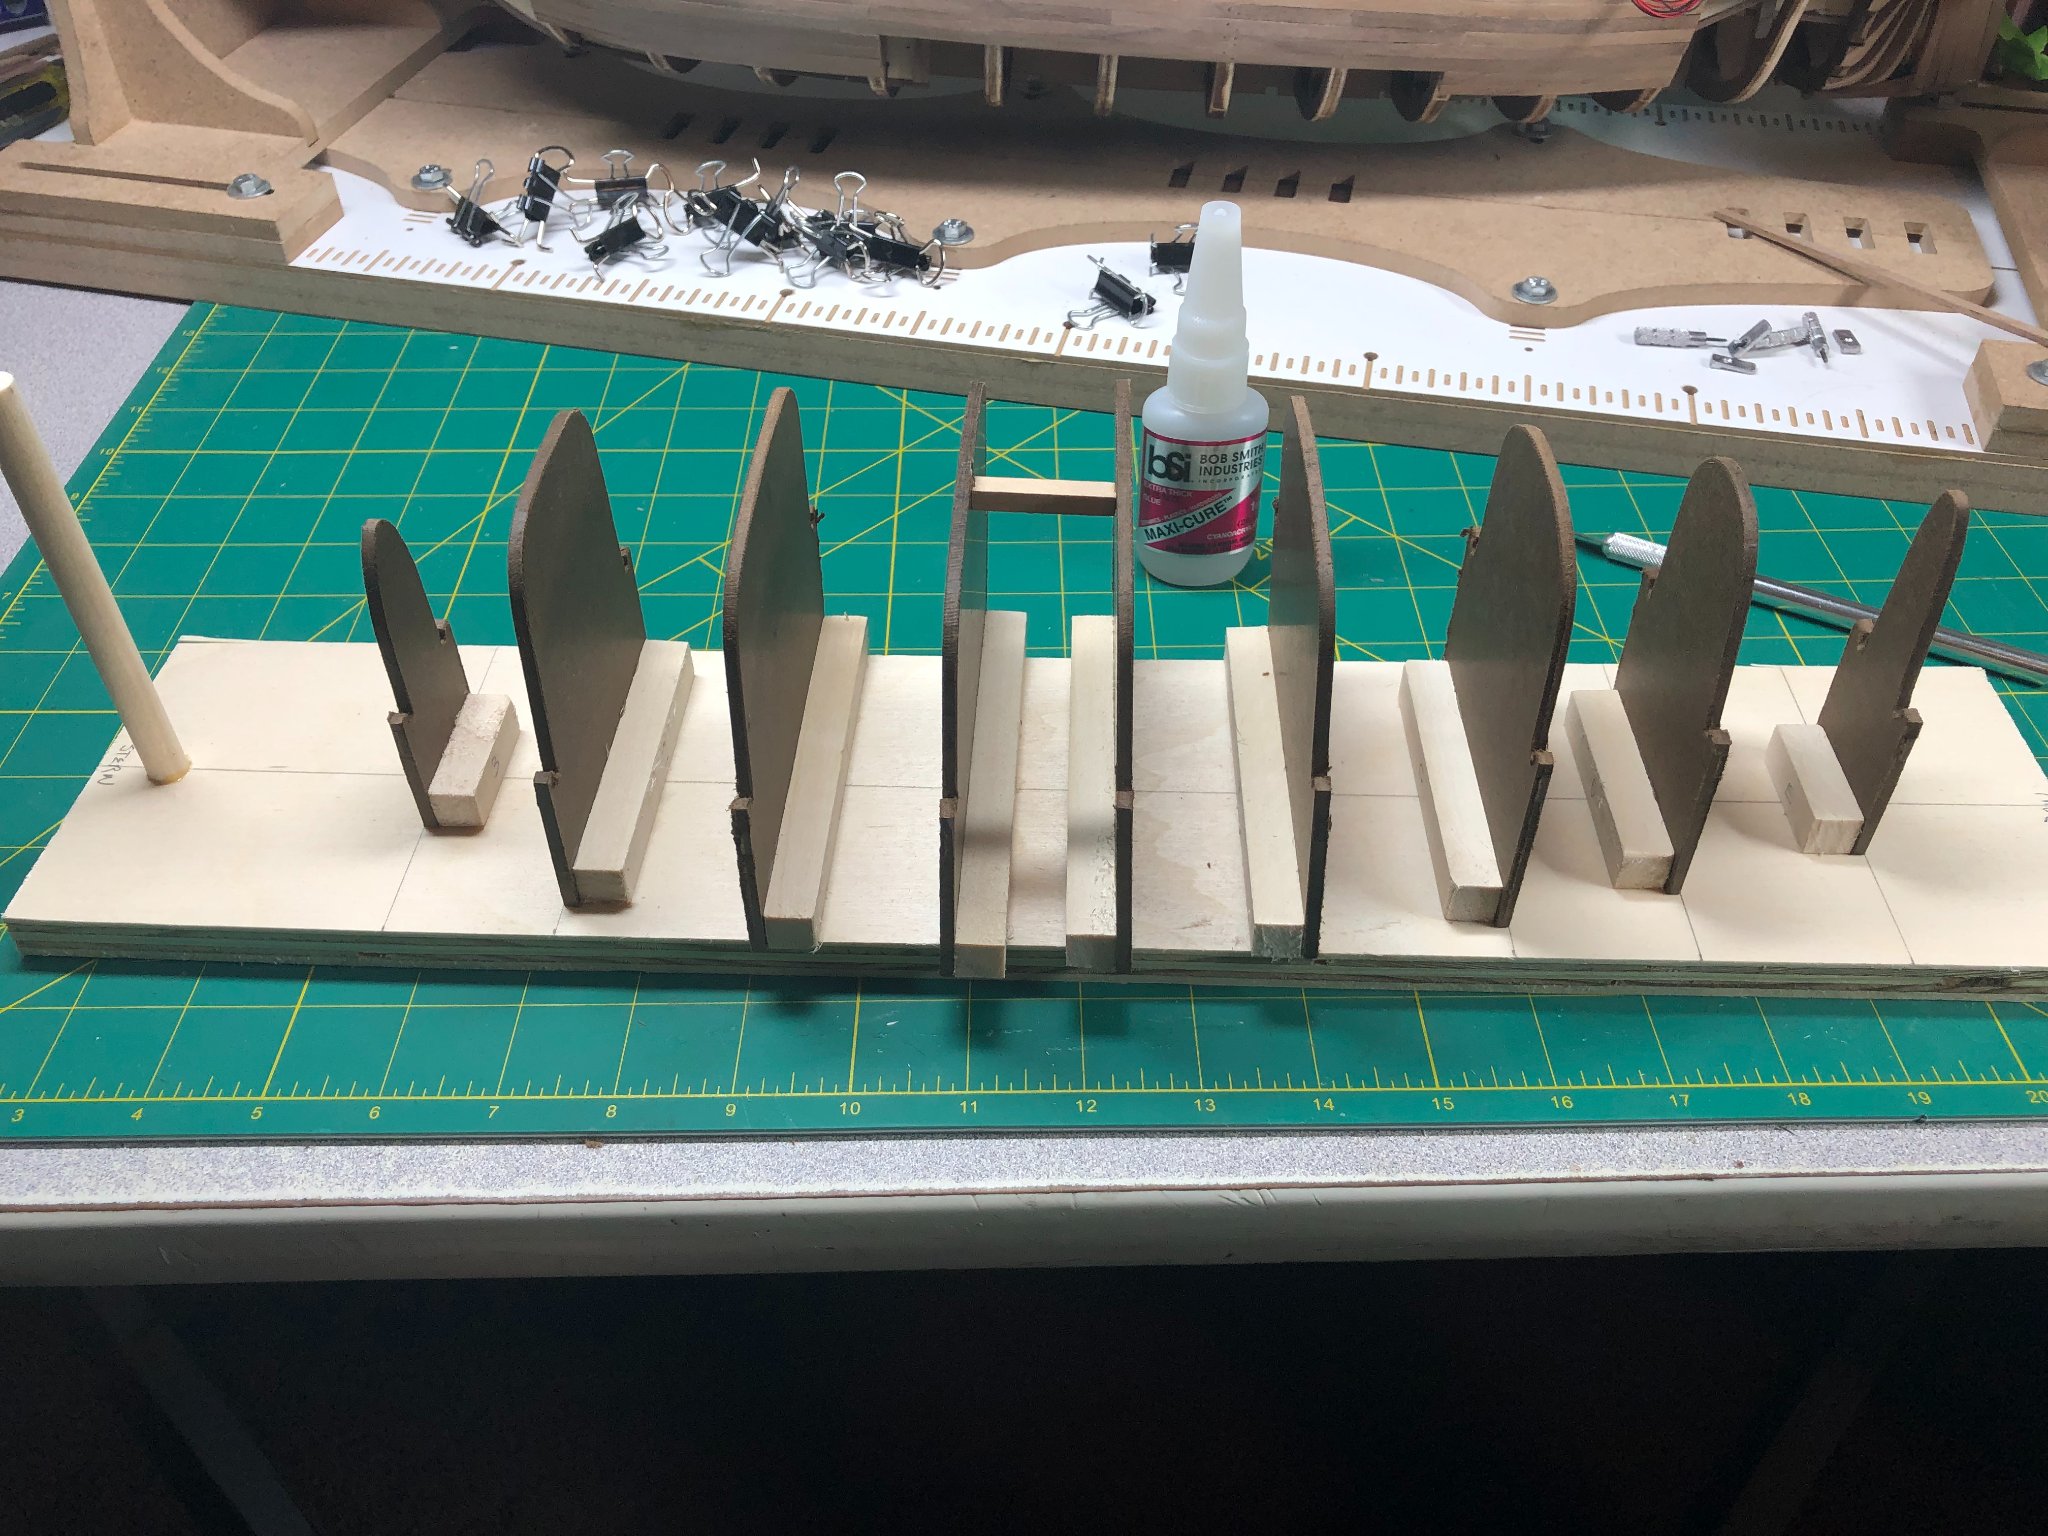
I glued the marked form pieces together. Again, very easy and straightforward:

The only real issues was making sure the pieces were flush at the base. I used regular wood glue for this portion of the job to ensure I had the ability to adjust the pieces, if needed.
Next, I glued the forms down on the board per the instructions:
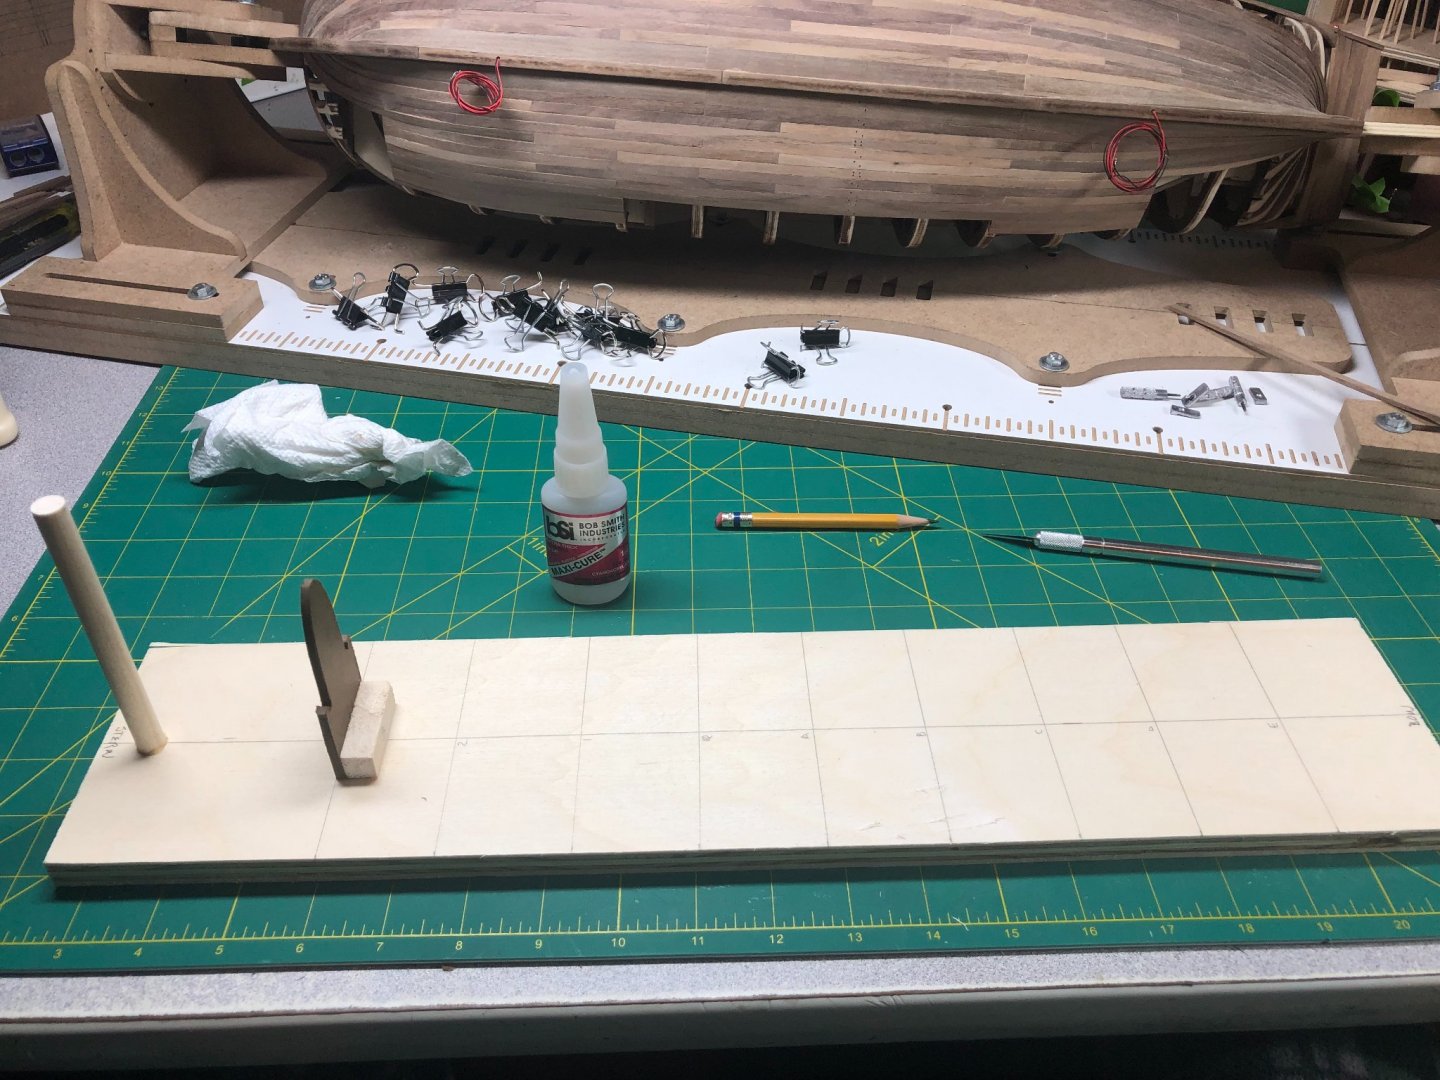
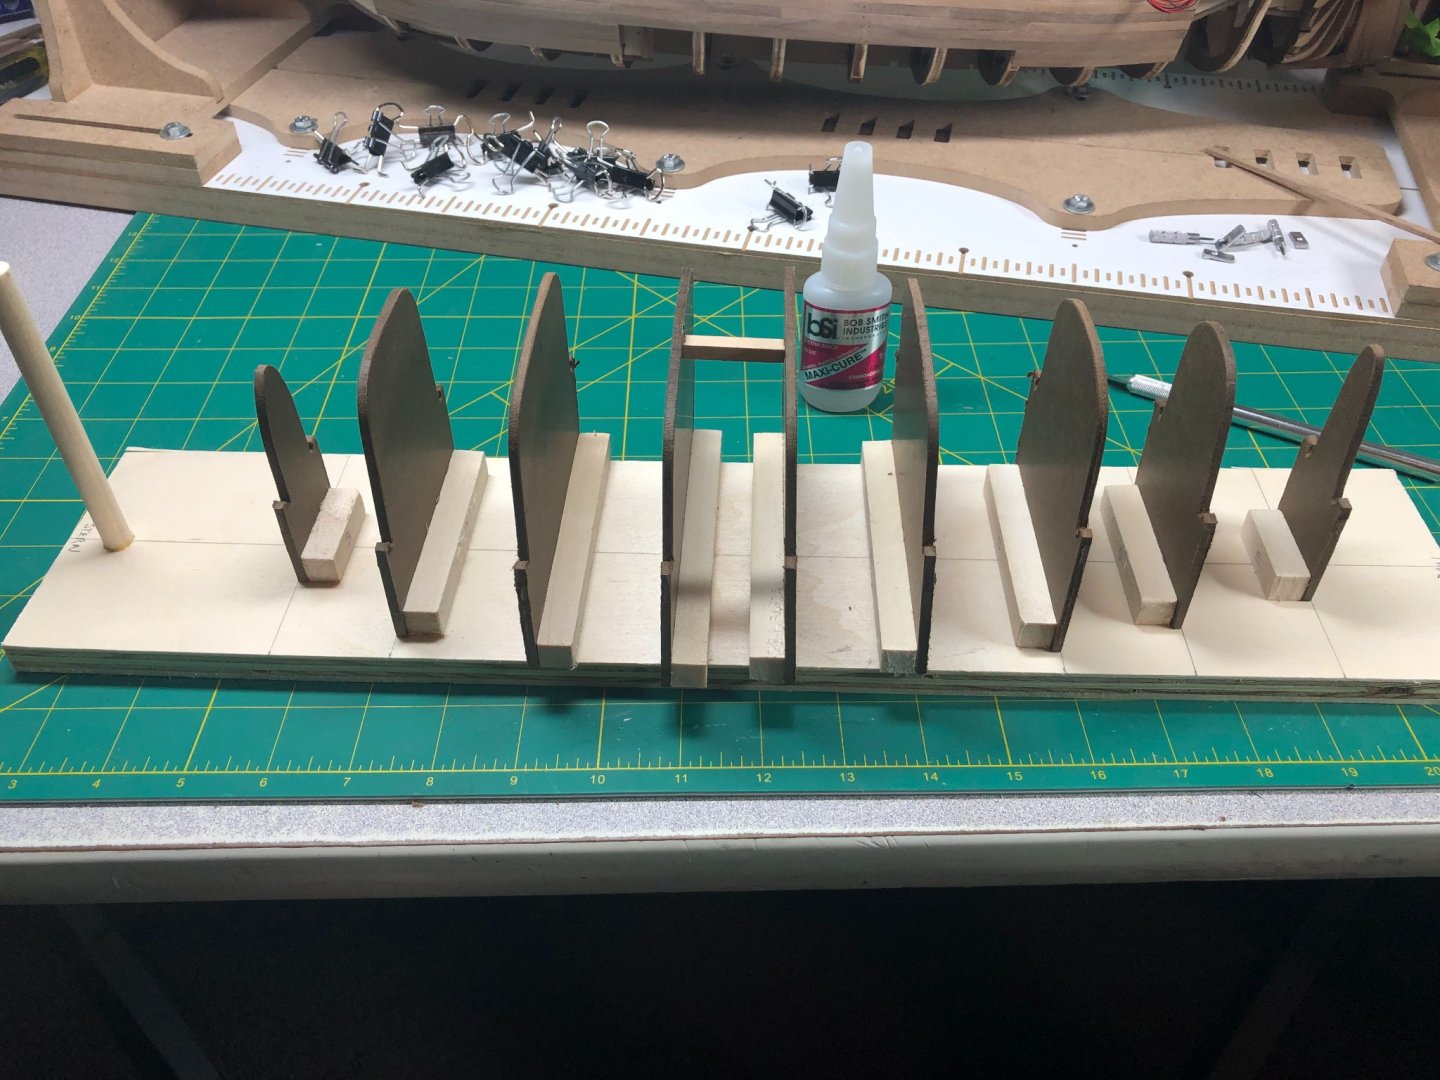
I used the thick CA glue for this process. The center two forms were not perpendicular and I added a brace to fix that problem.
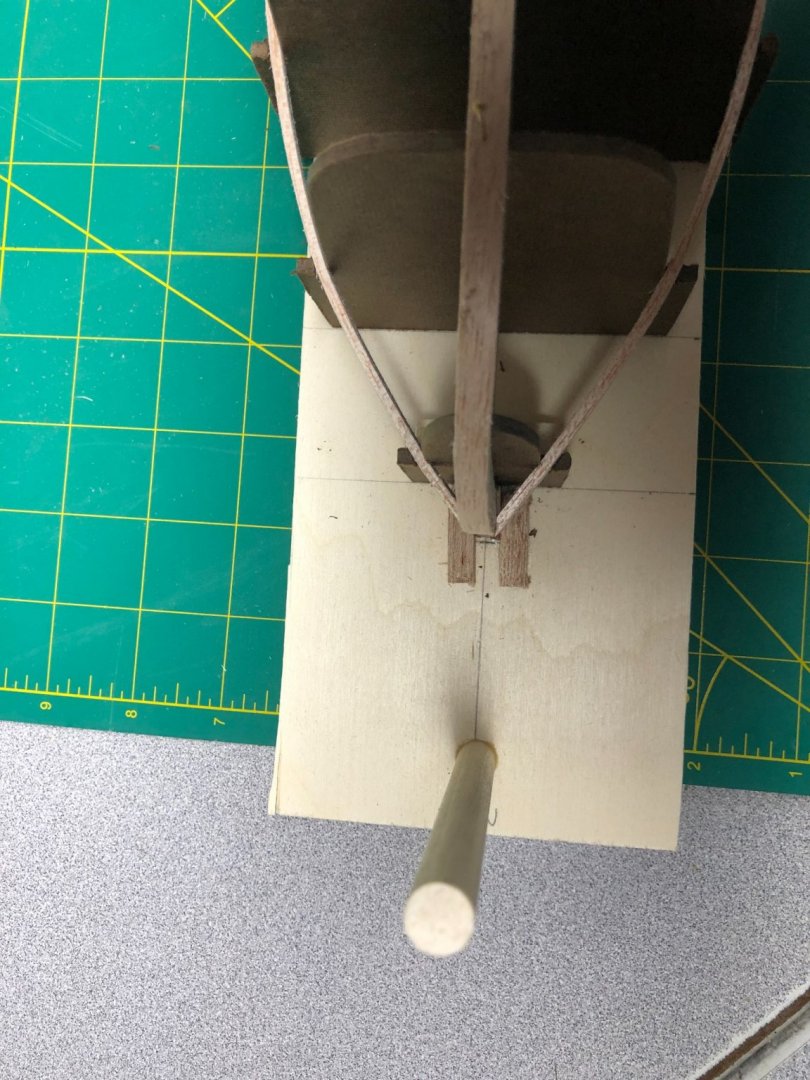
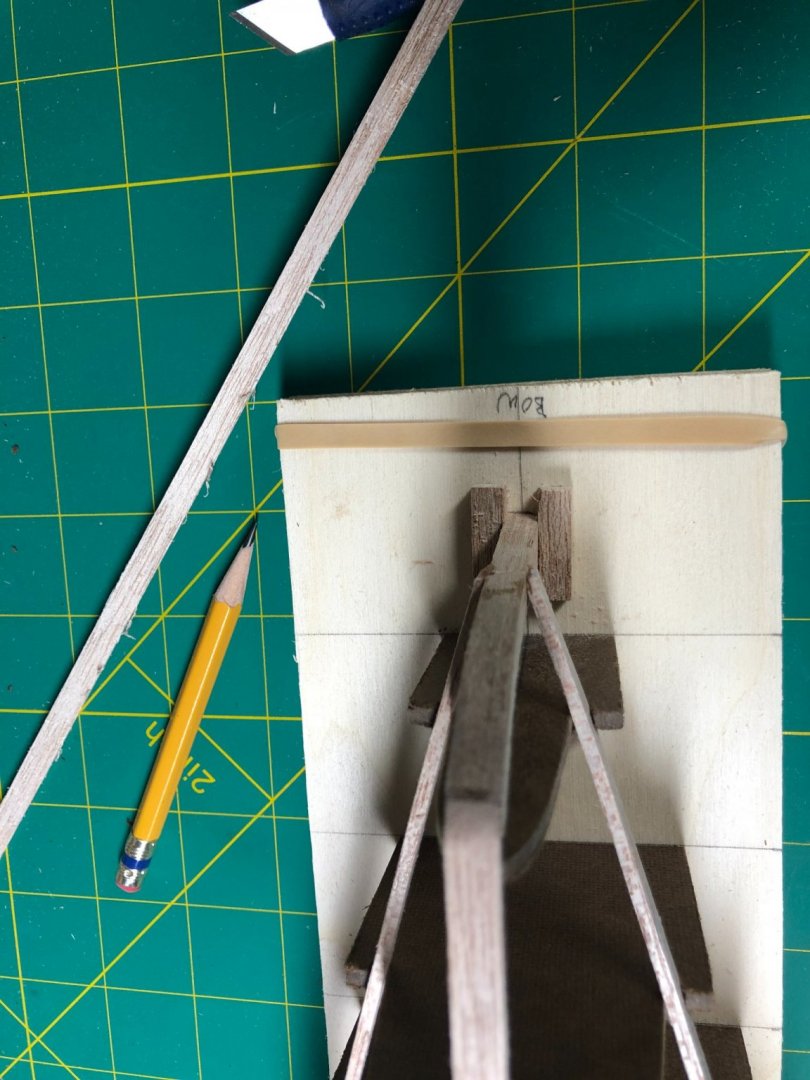
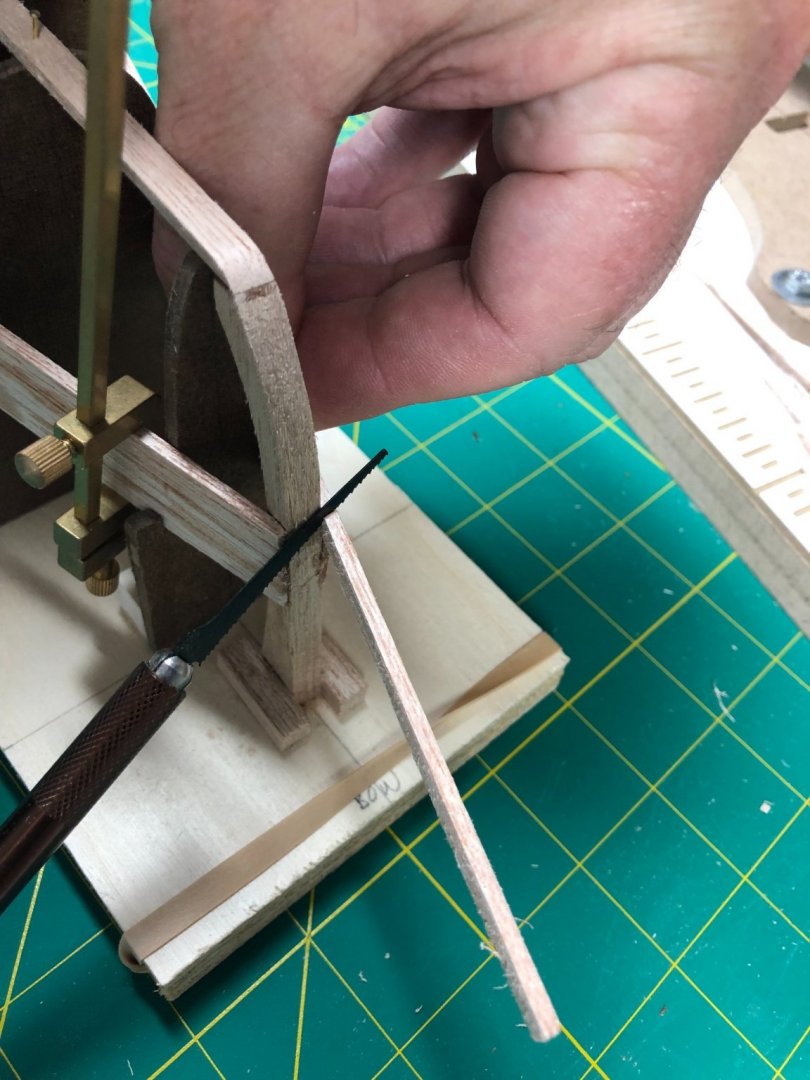
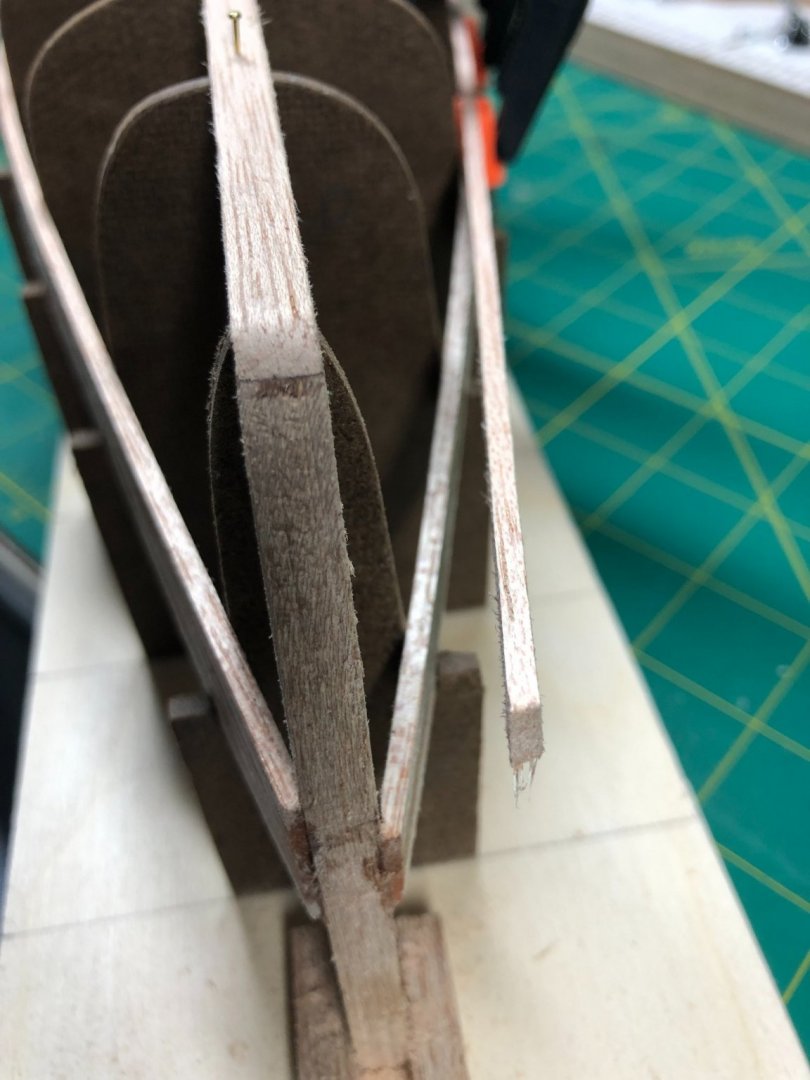
The keel and stern post came pre-assembled. I still had to shorten the post a bout 1/4" and heat and bend the keel section near the stern as it was not curved correctly... an easy fix. Once satisfied I glued it down per the instructions:

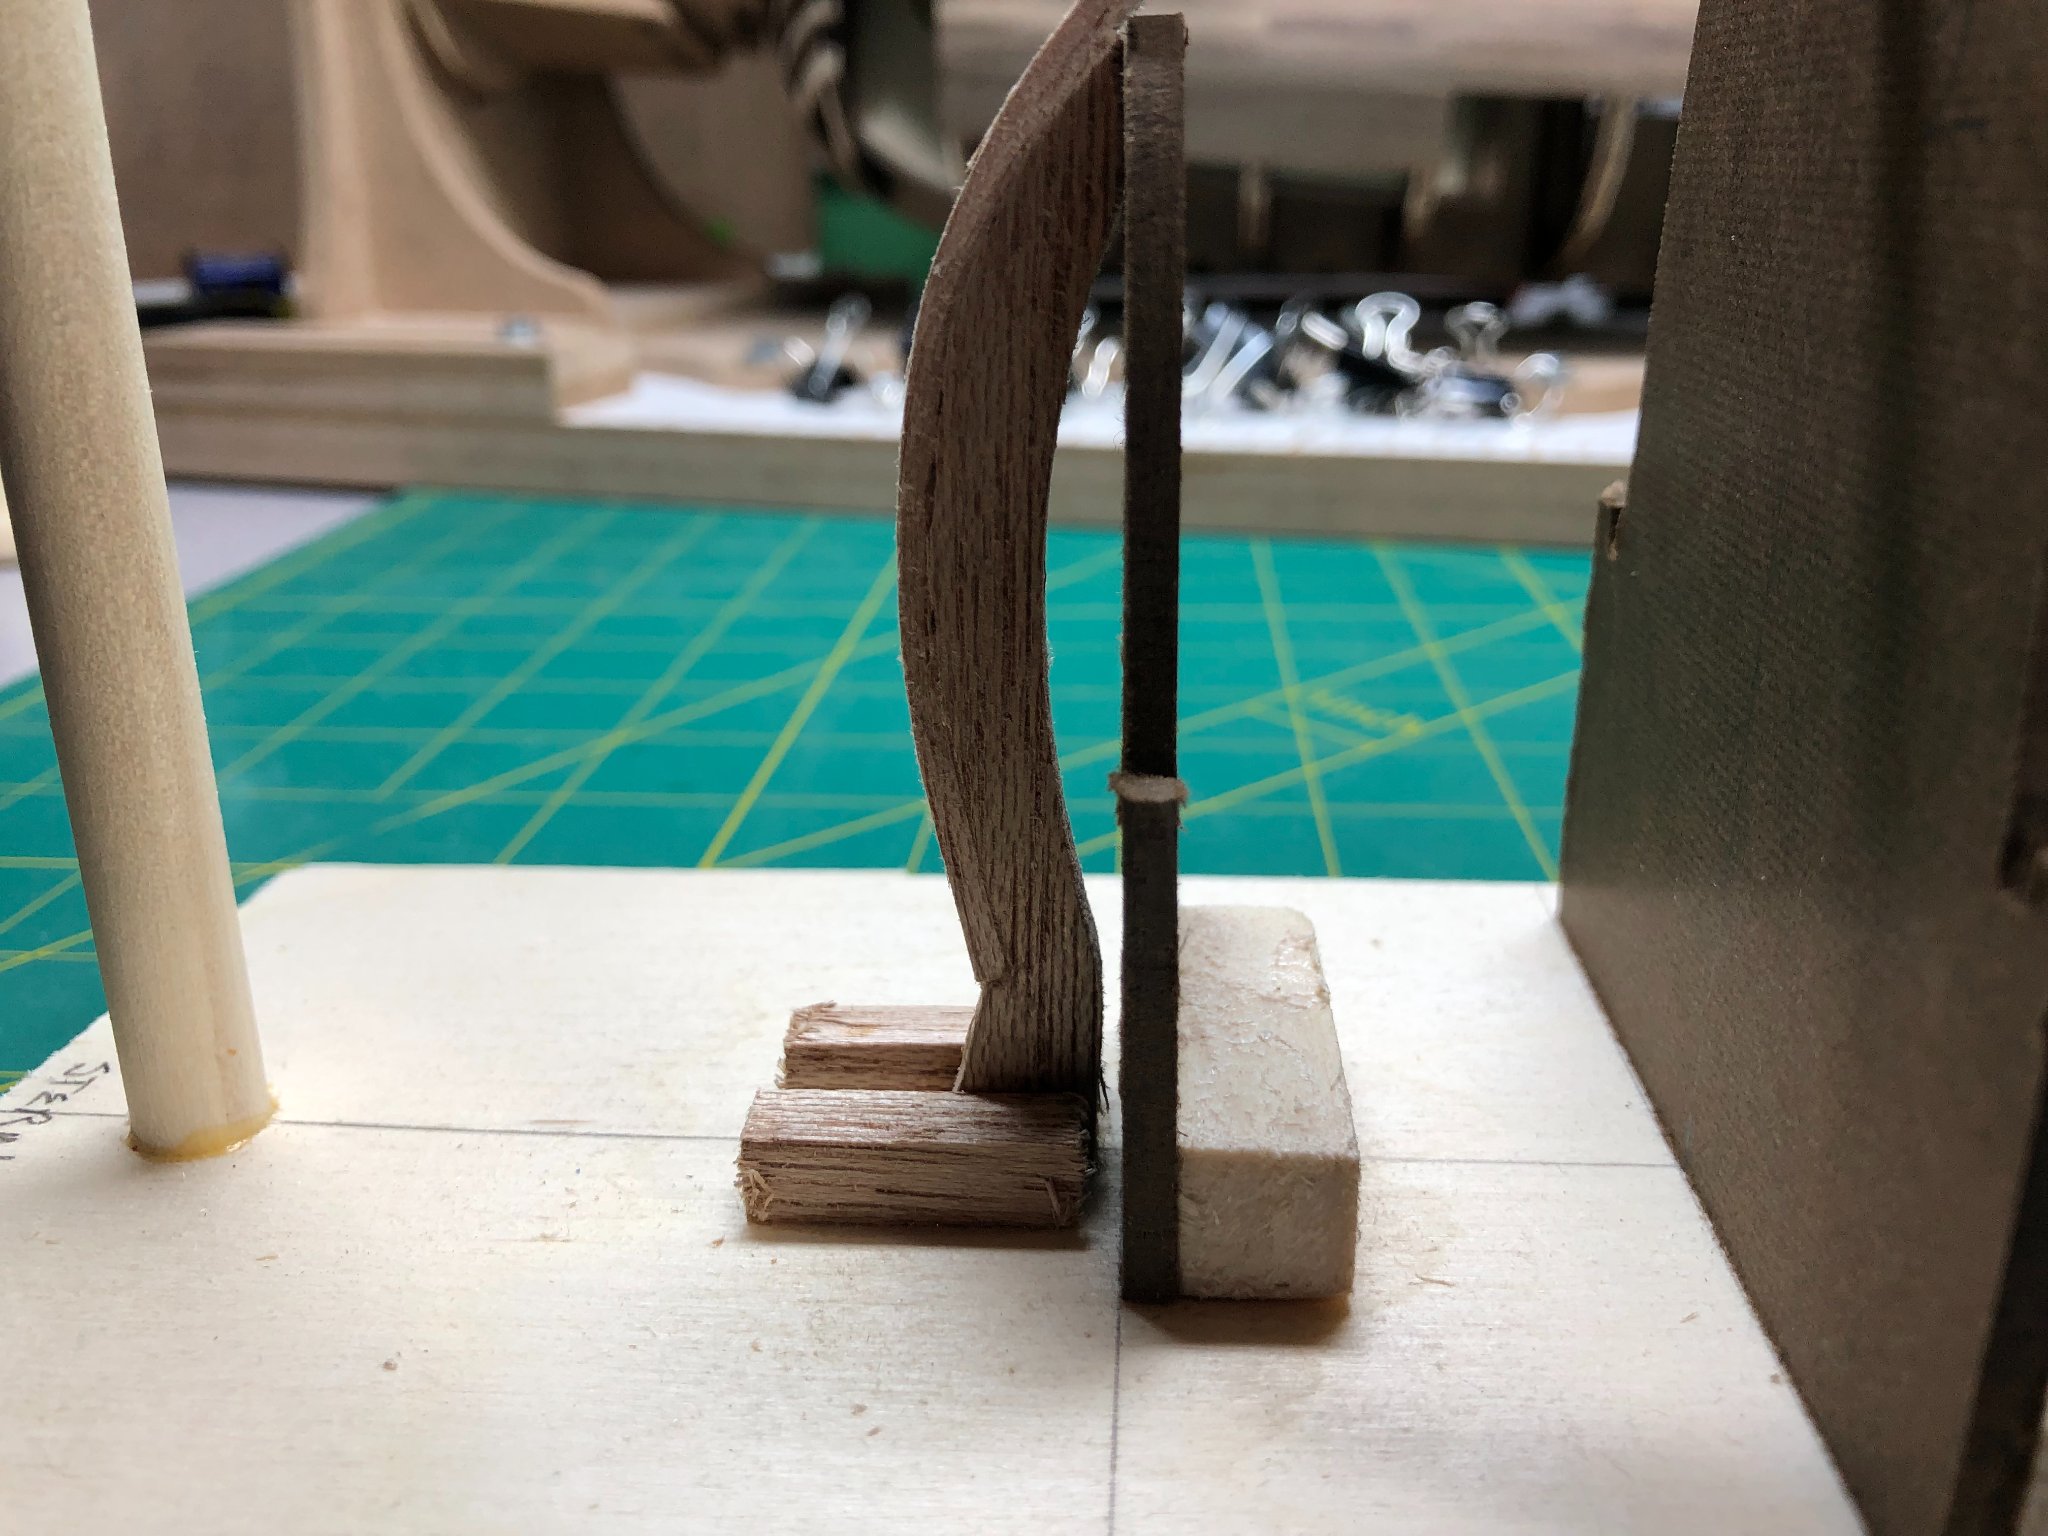
The sternpost is glued to the board and the scrap blocks are glued to the post and the board. When it is time to remove the boat from the strongback, I'll simply cut the post even with the blocks (per the instructions).
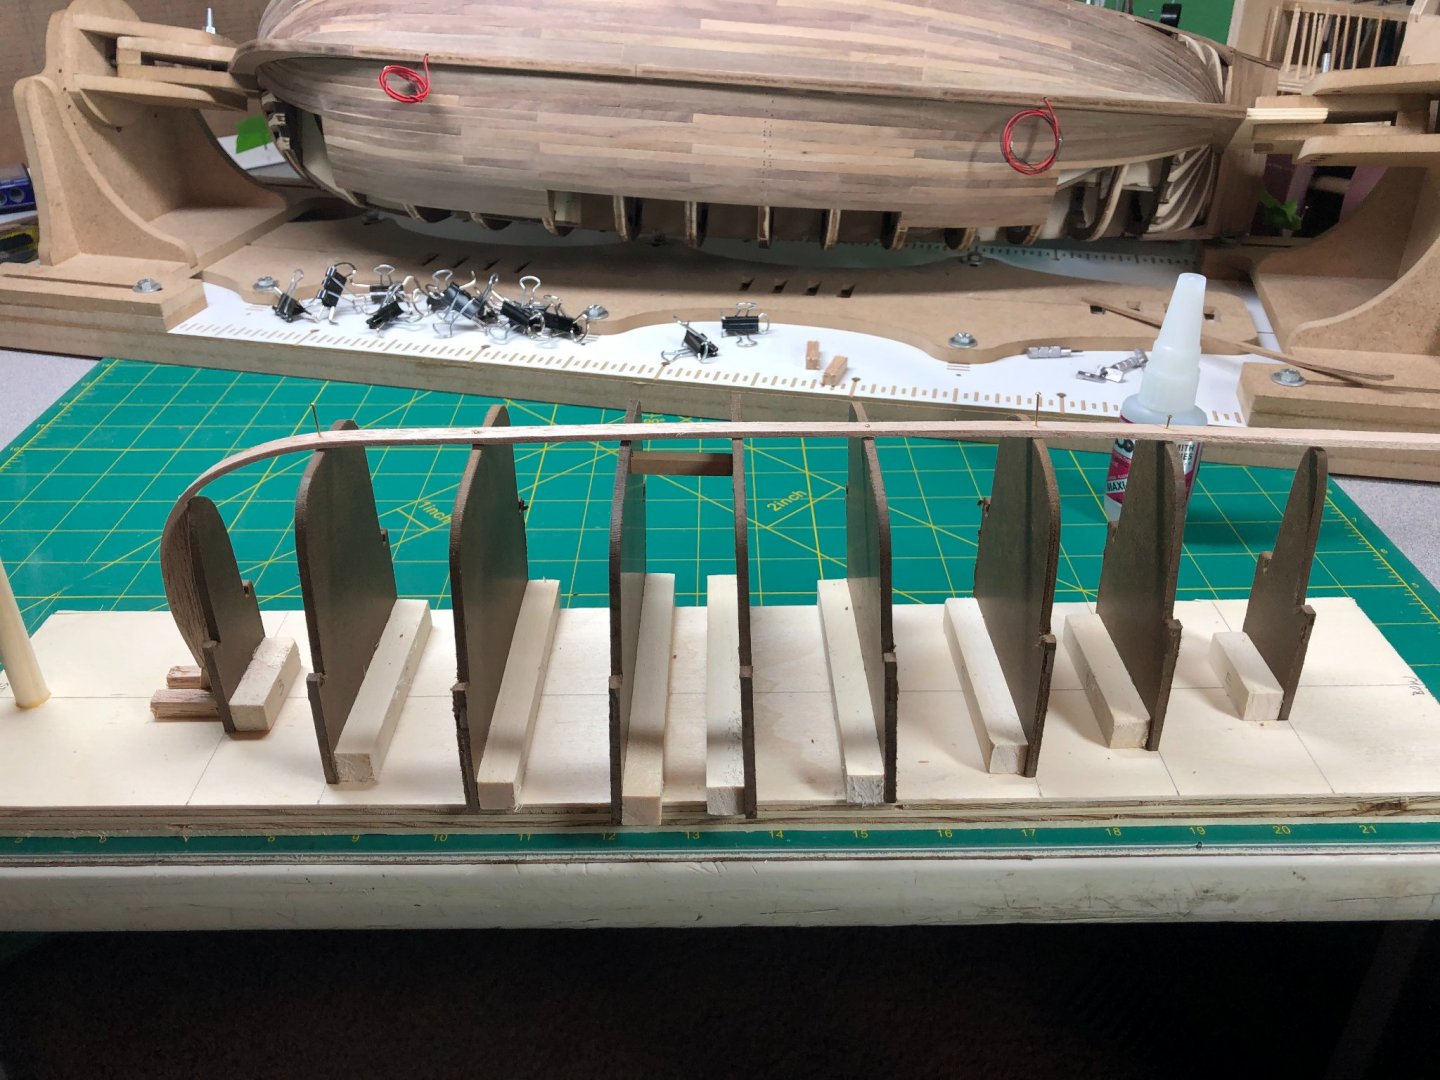
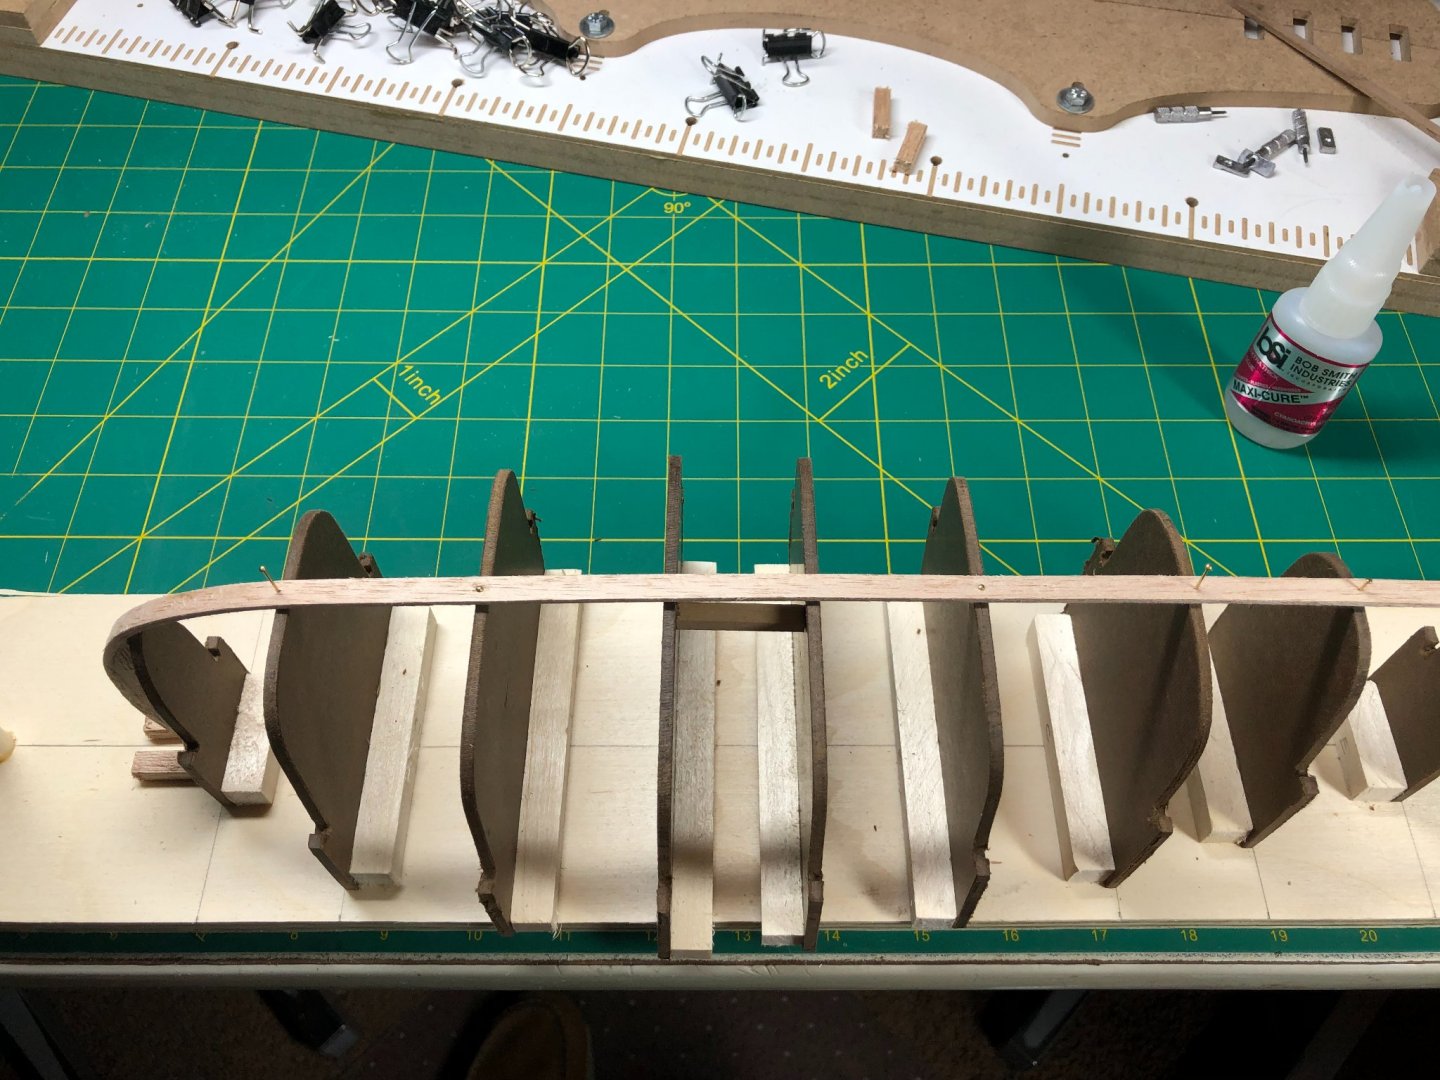
I used a few nails to ensure the keel ran straight over the centerlines of the forms.
And then added the bow section using the same method as the stern:
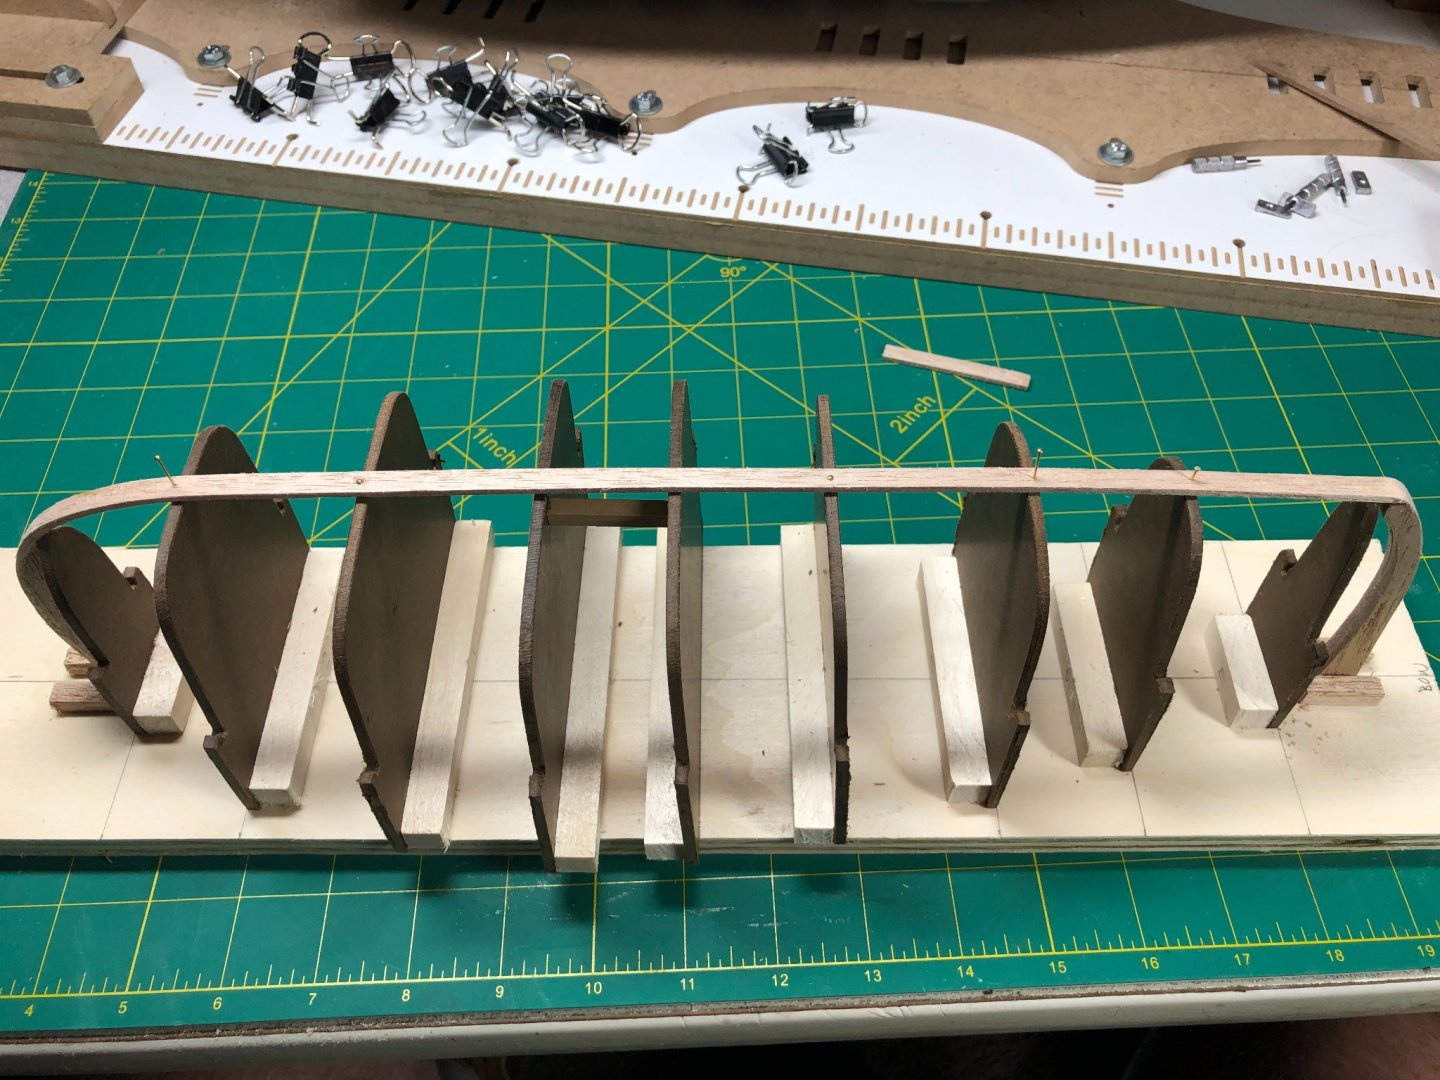
So far, so good!
Next I'll be laying the first planks.
- TOM G, thibaultron, Chuck Seiler and 3 others
-
6
-
-
Weekend plans cancelled... bad weather!
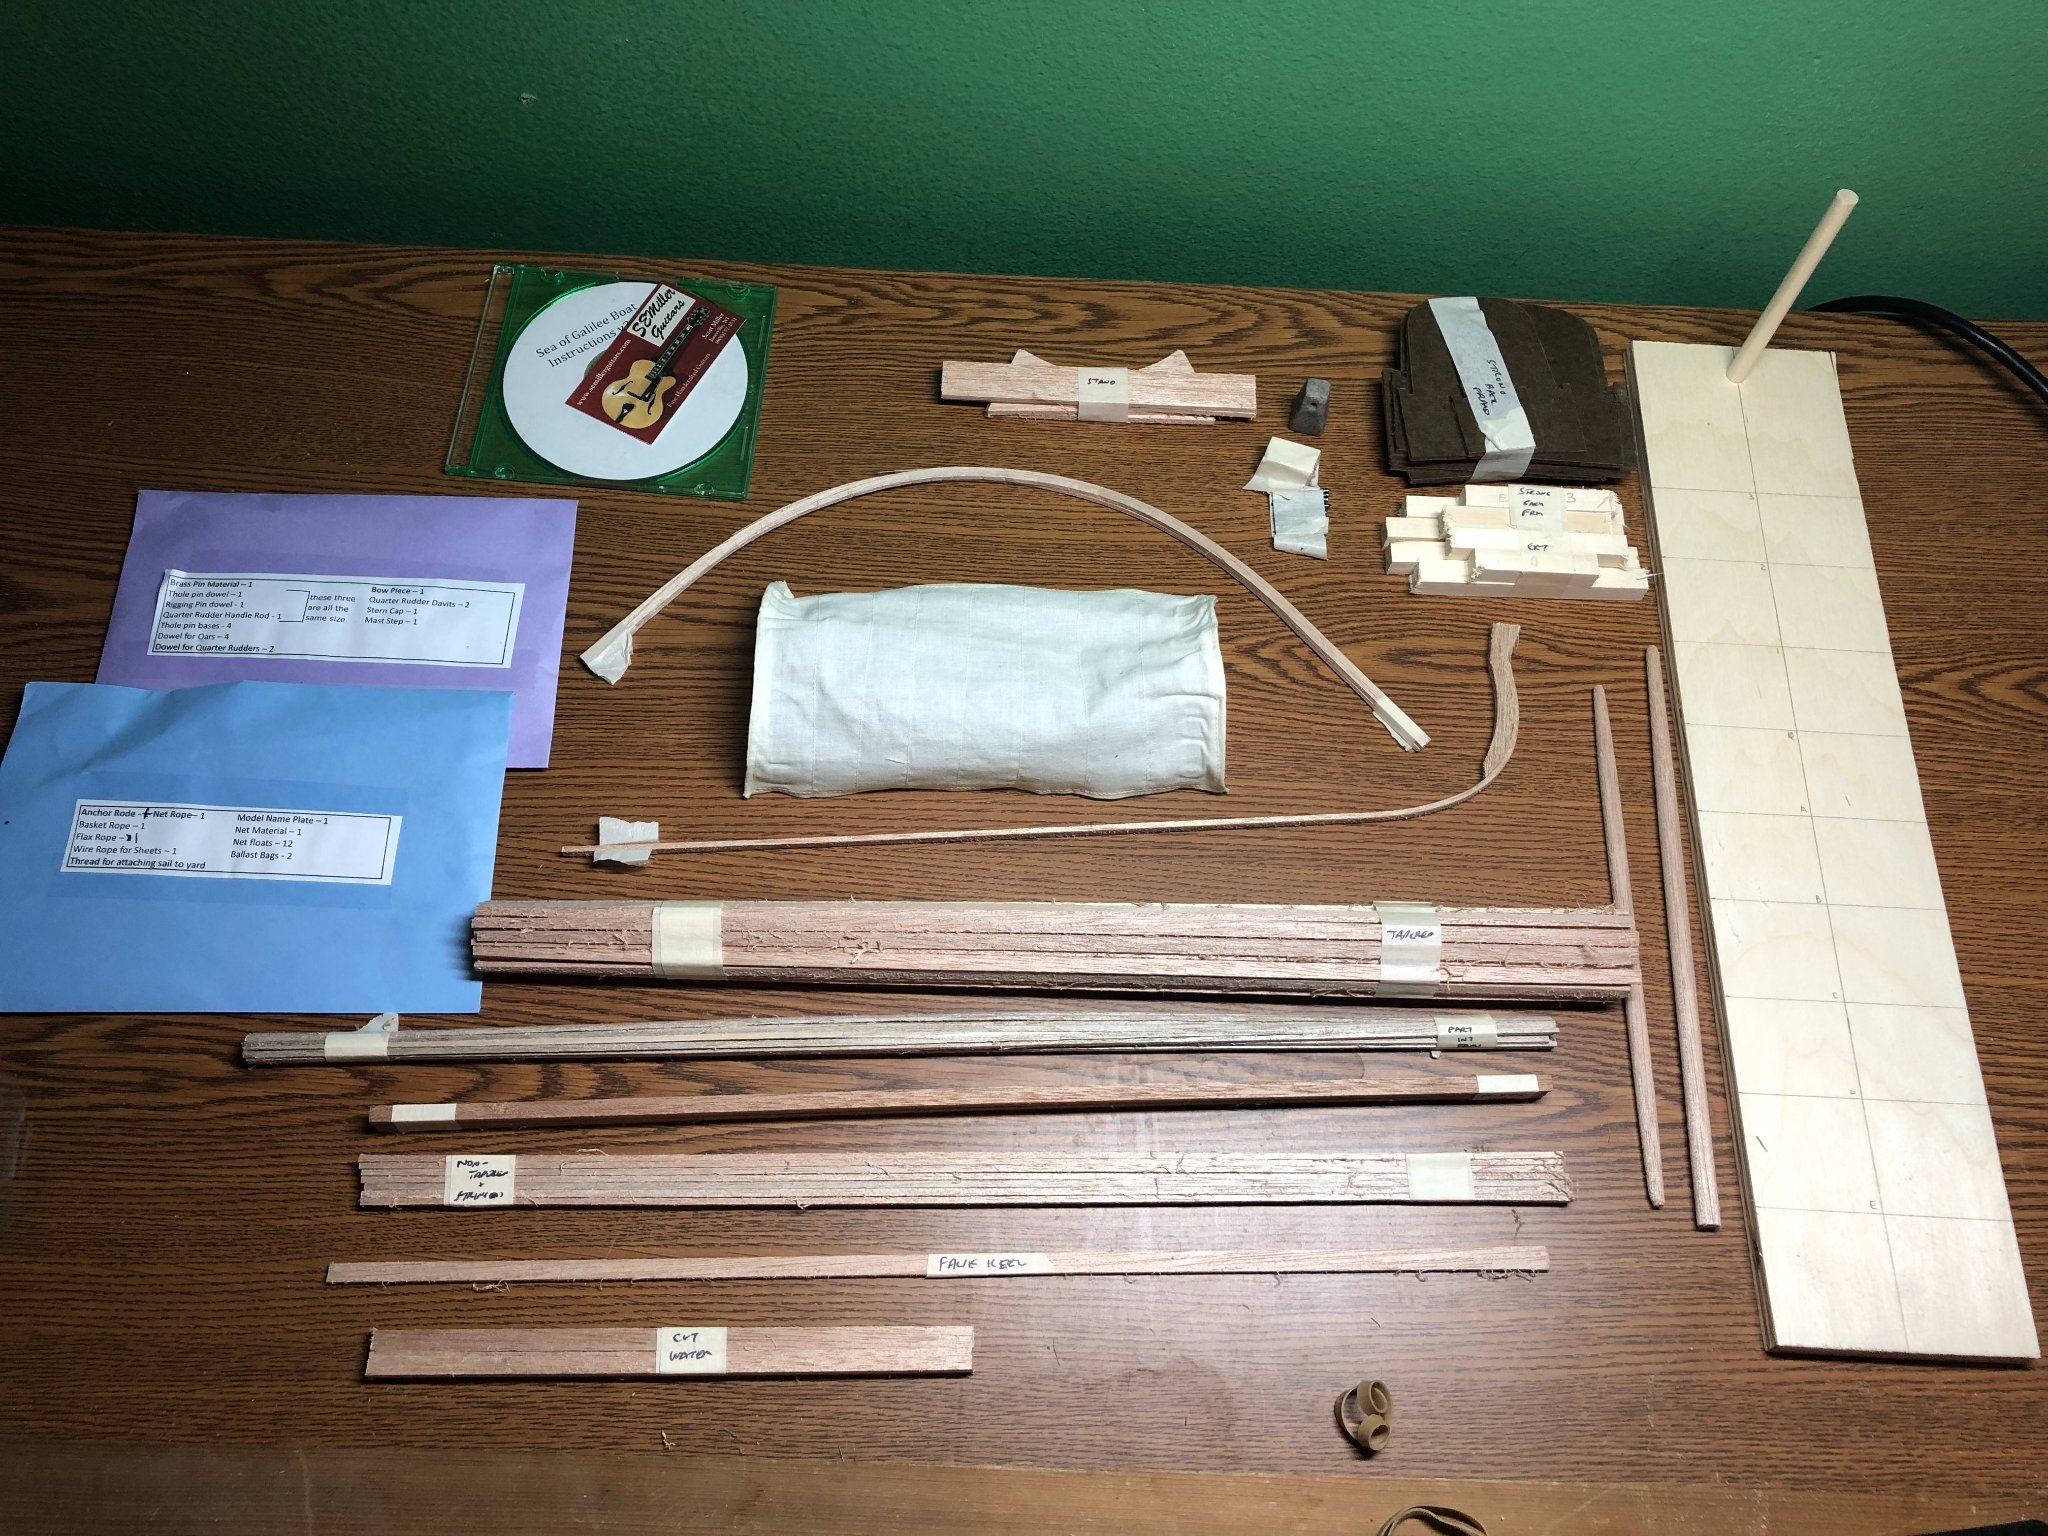
The kit did arrive today!
It was packed fairly well in a USPS priority mail tube (triangular shaped):
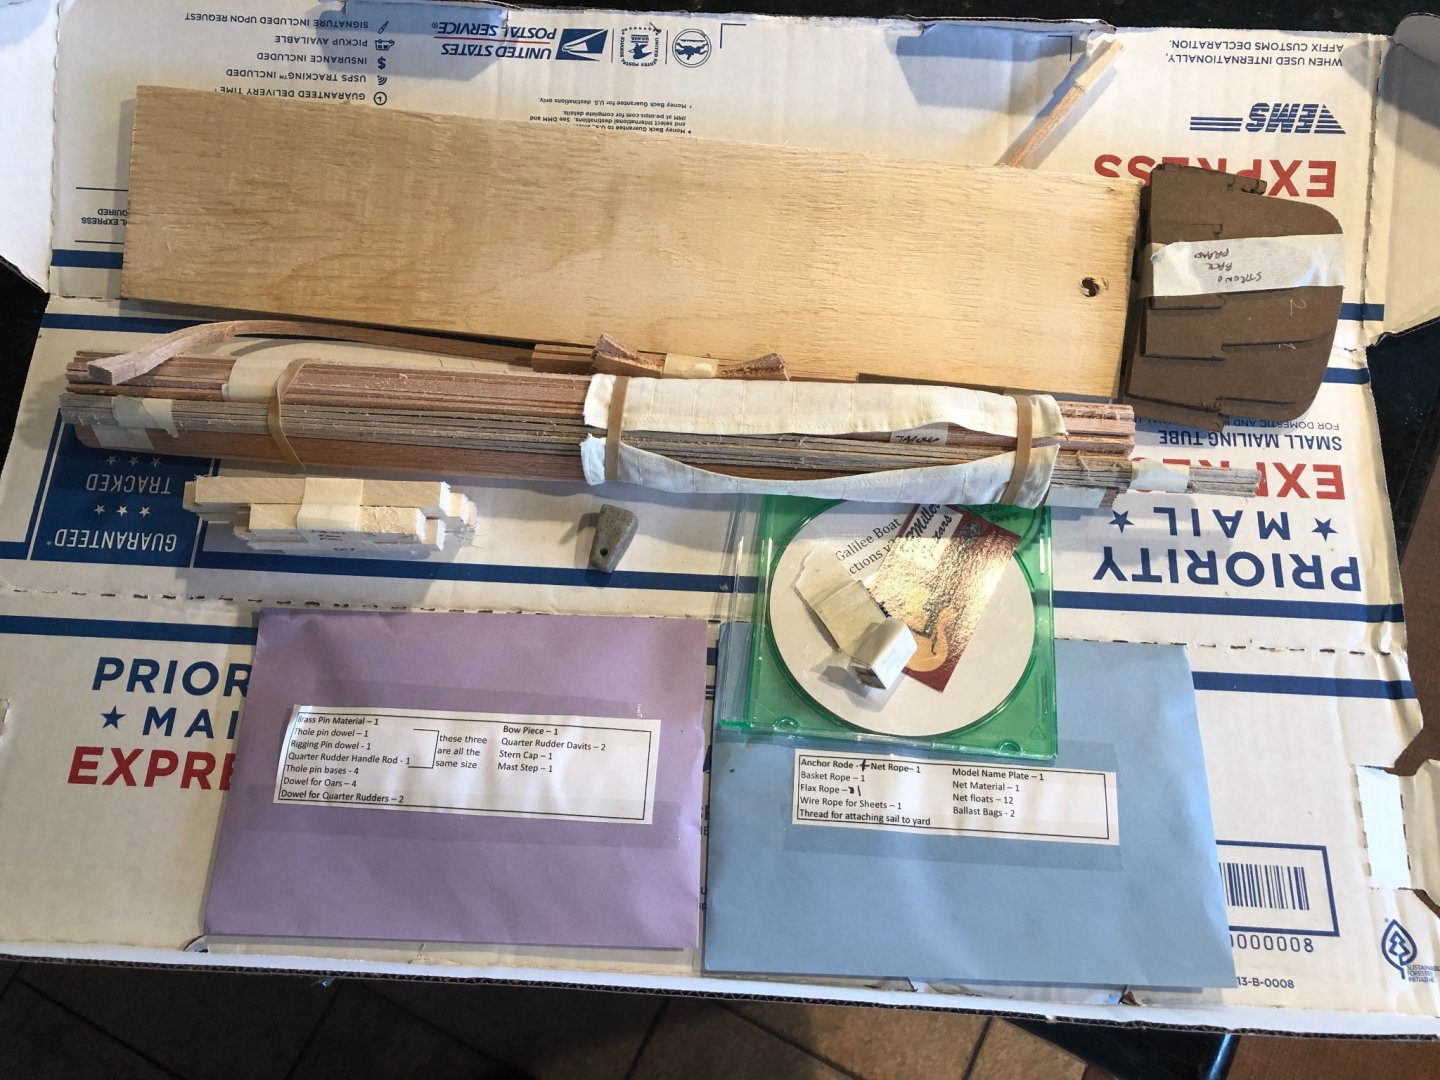
Everything is divided into taped together bunches... all marked with writing on a piece of tape:


The CD has the instructions... 54 pages with lots of pictures and pretty concise directions. I've read them all the way to the rigging section and found it to be easy to follow with the exception of a couple places that will probably be clearer when I get to it!
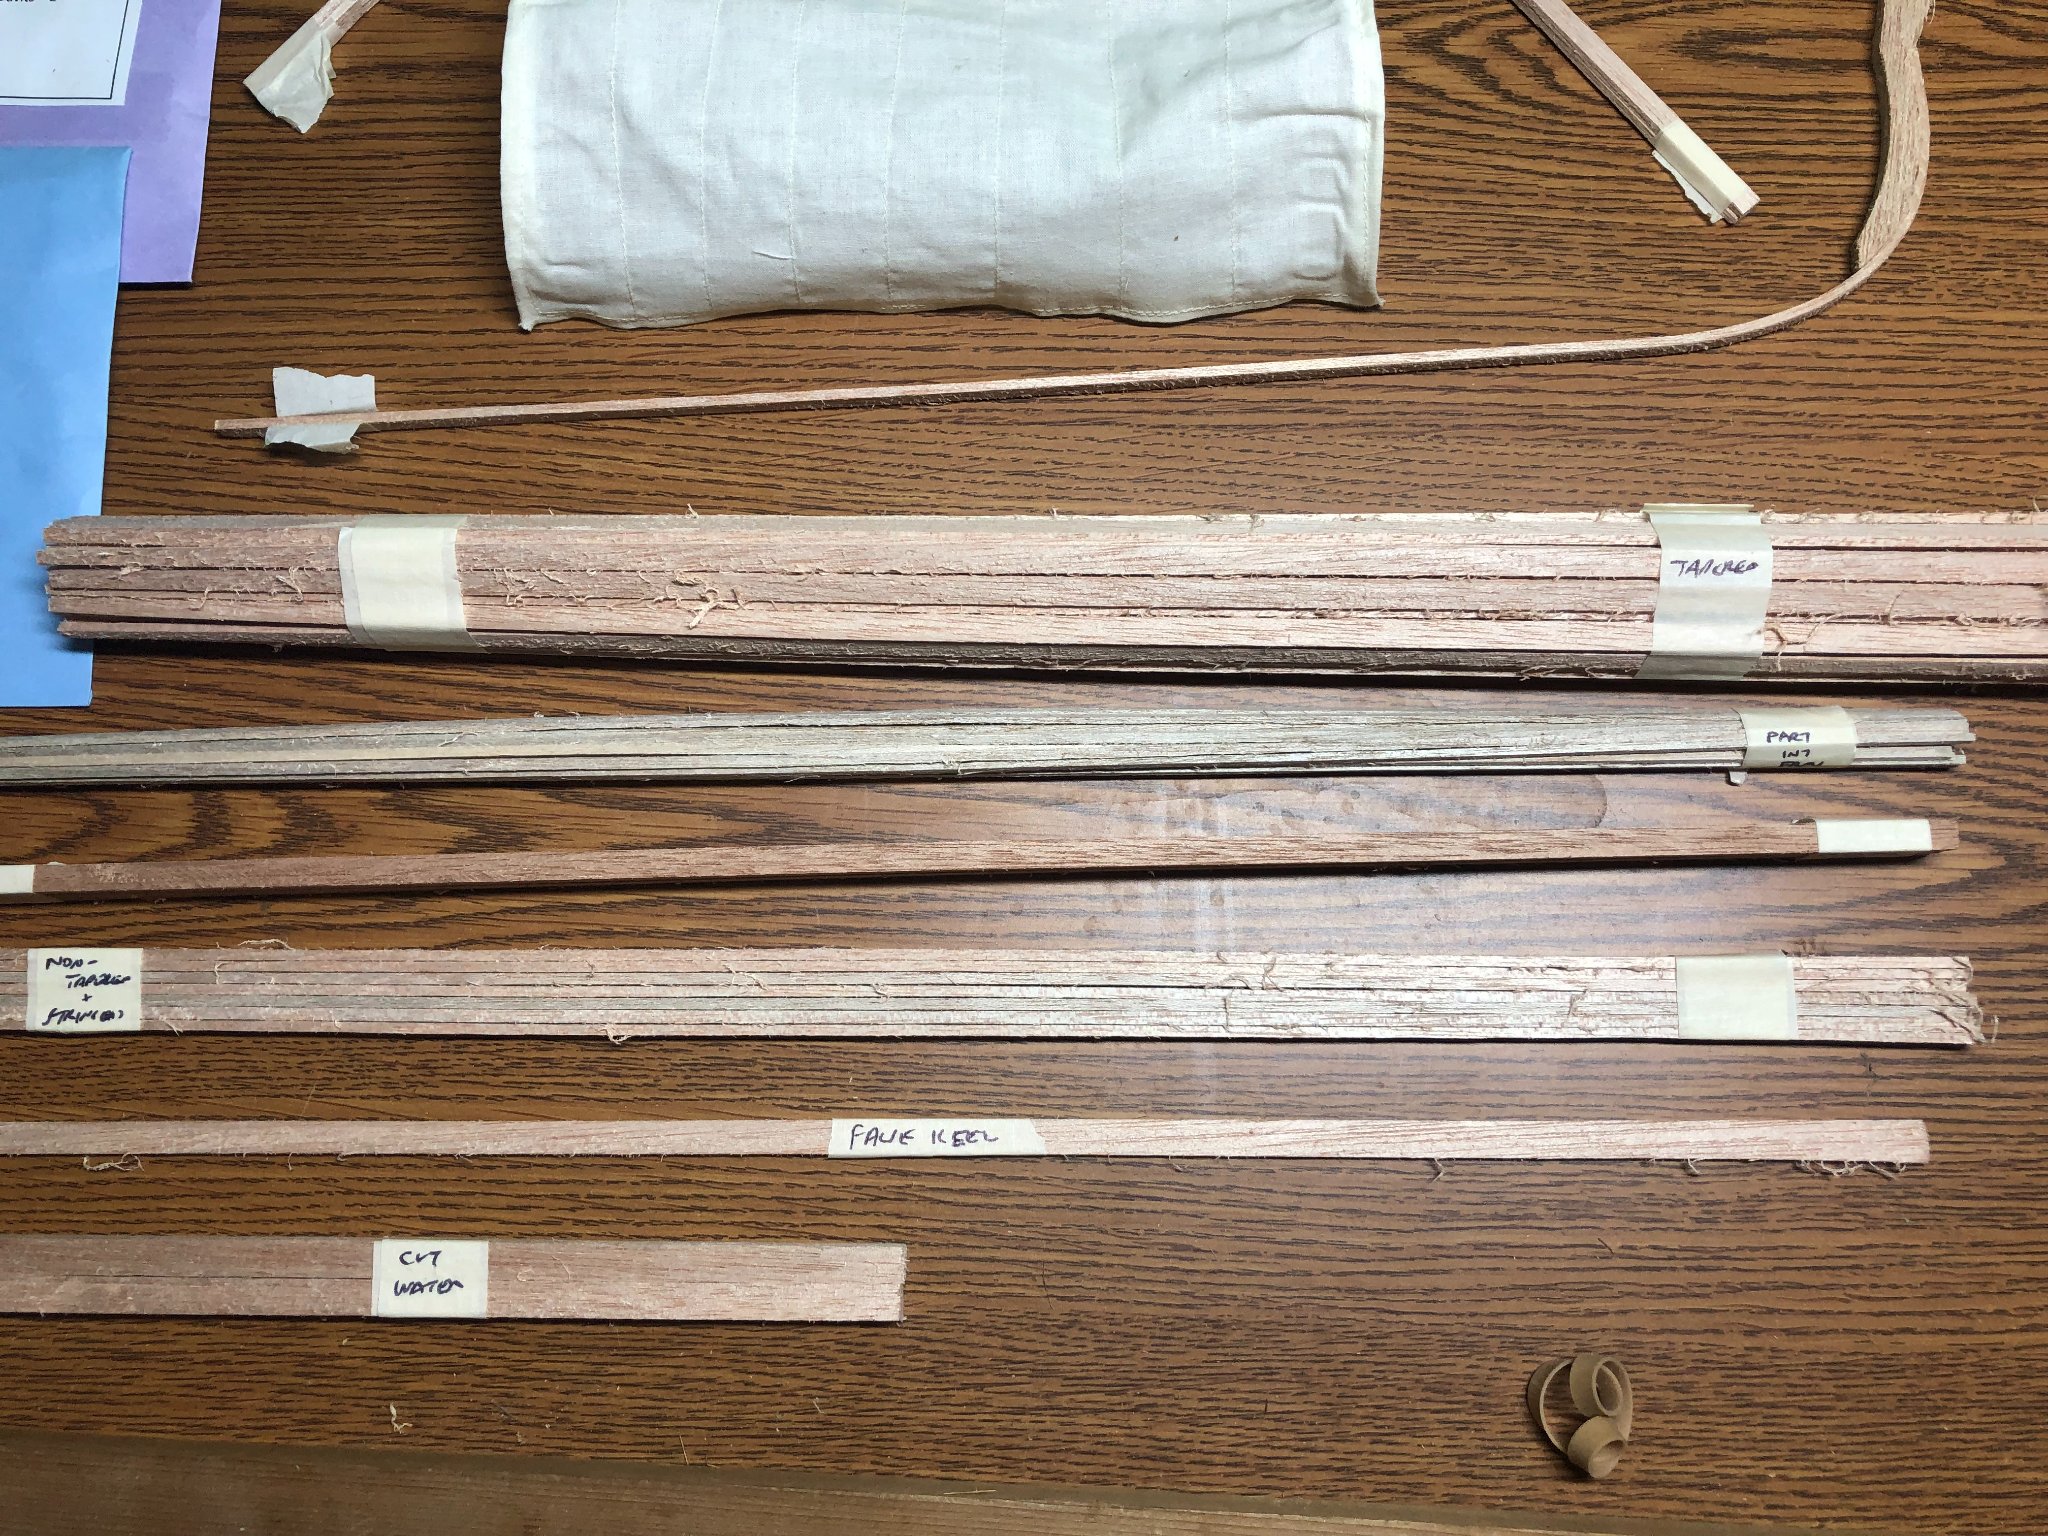
The first real noticeable thing is that the wood is all rough cut! It is a soft wood and will sand very easily... So, not a big deal for me.
The wood is a light Mahogany and Boxwood.
The strongback pieces are clearly marked and the positions of the forms are already marked on the base board:
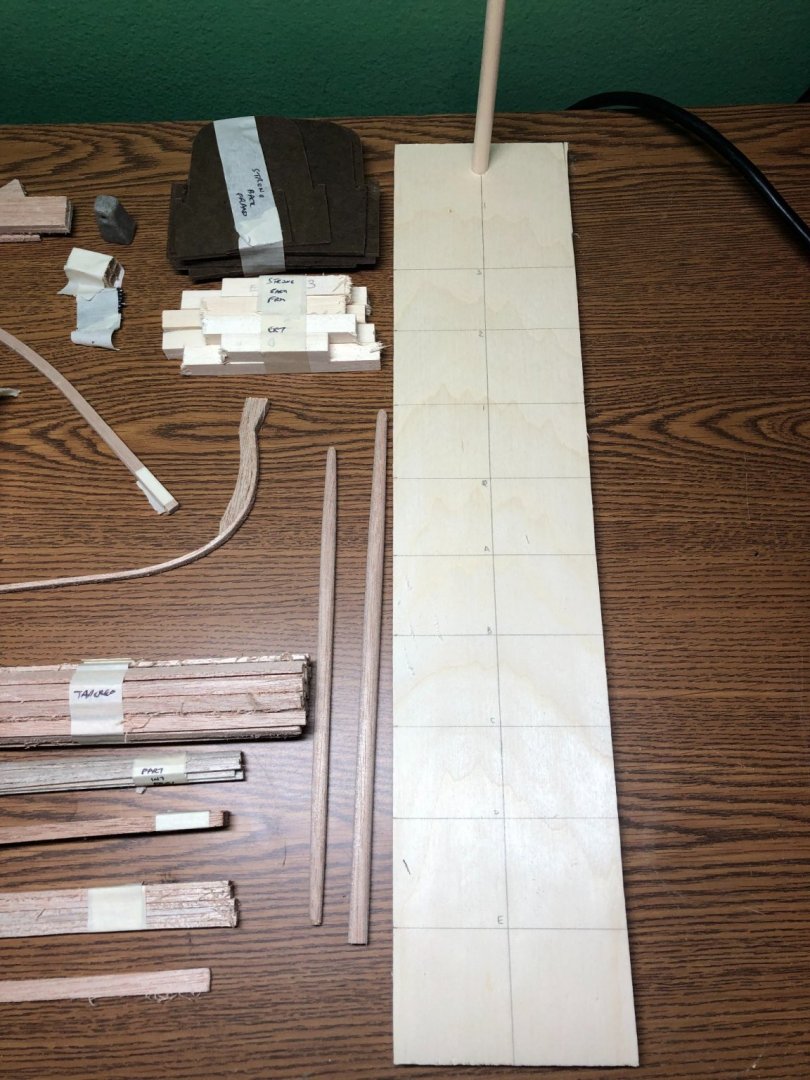
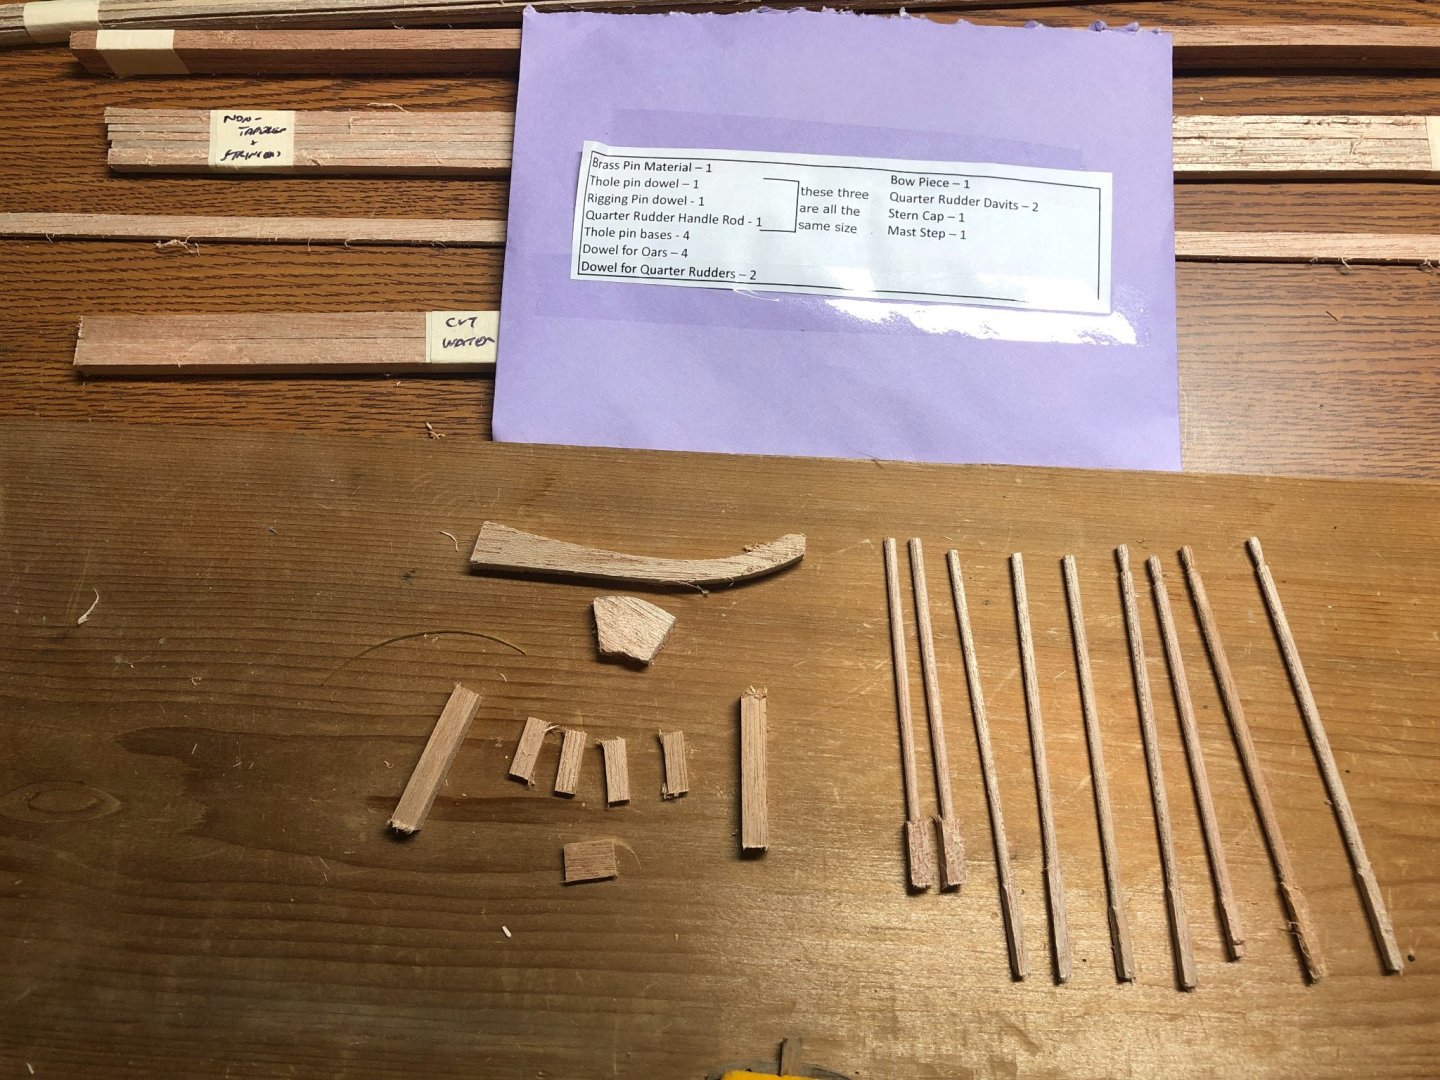
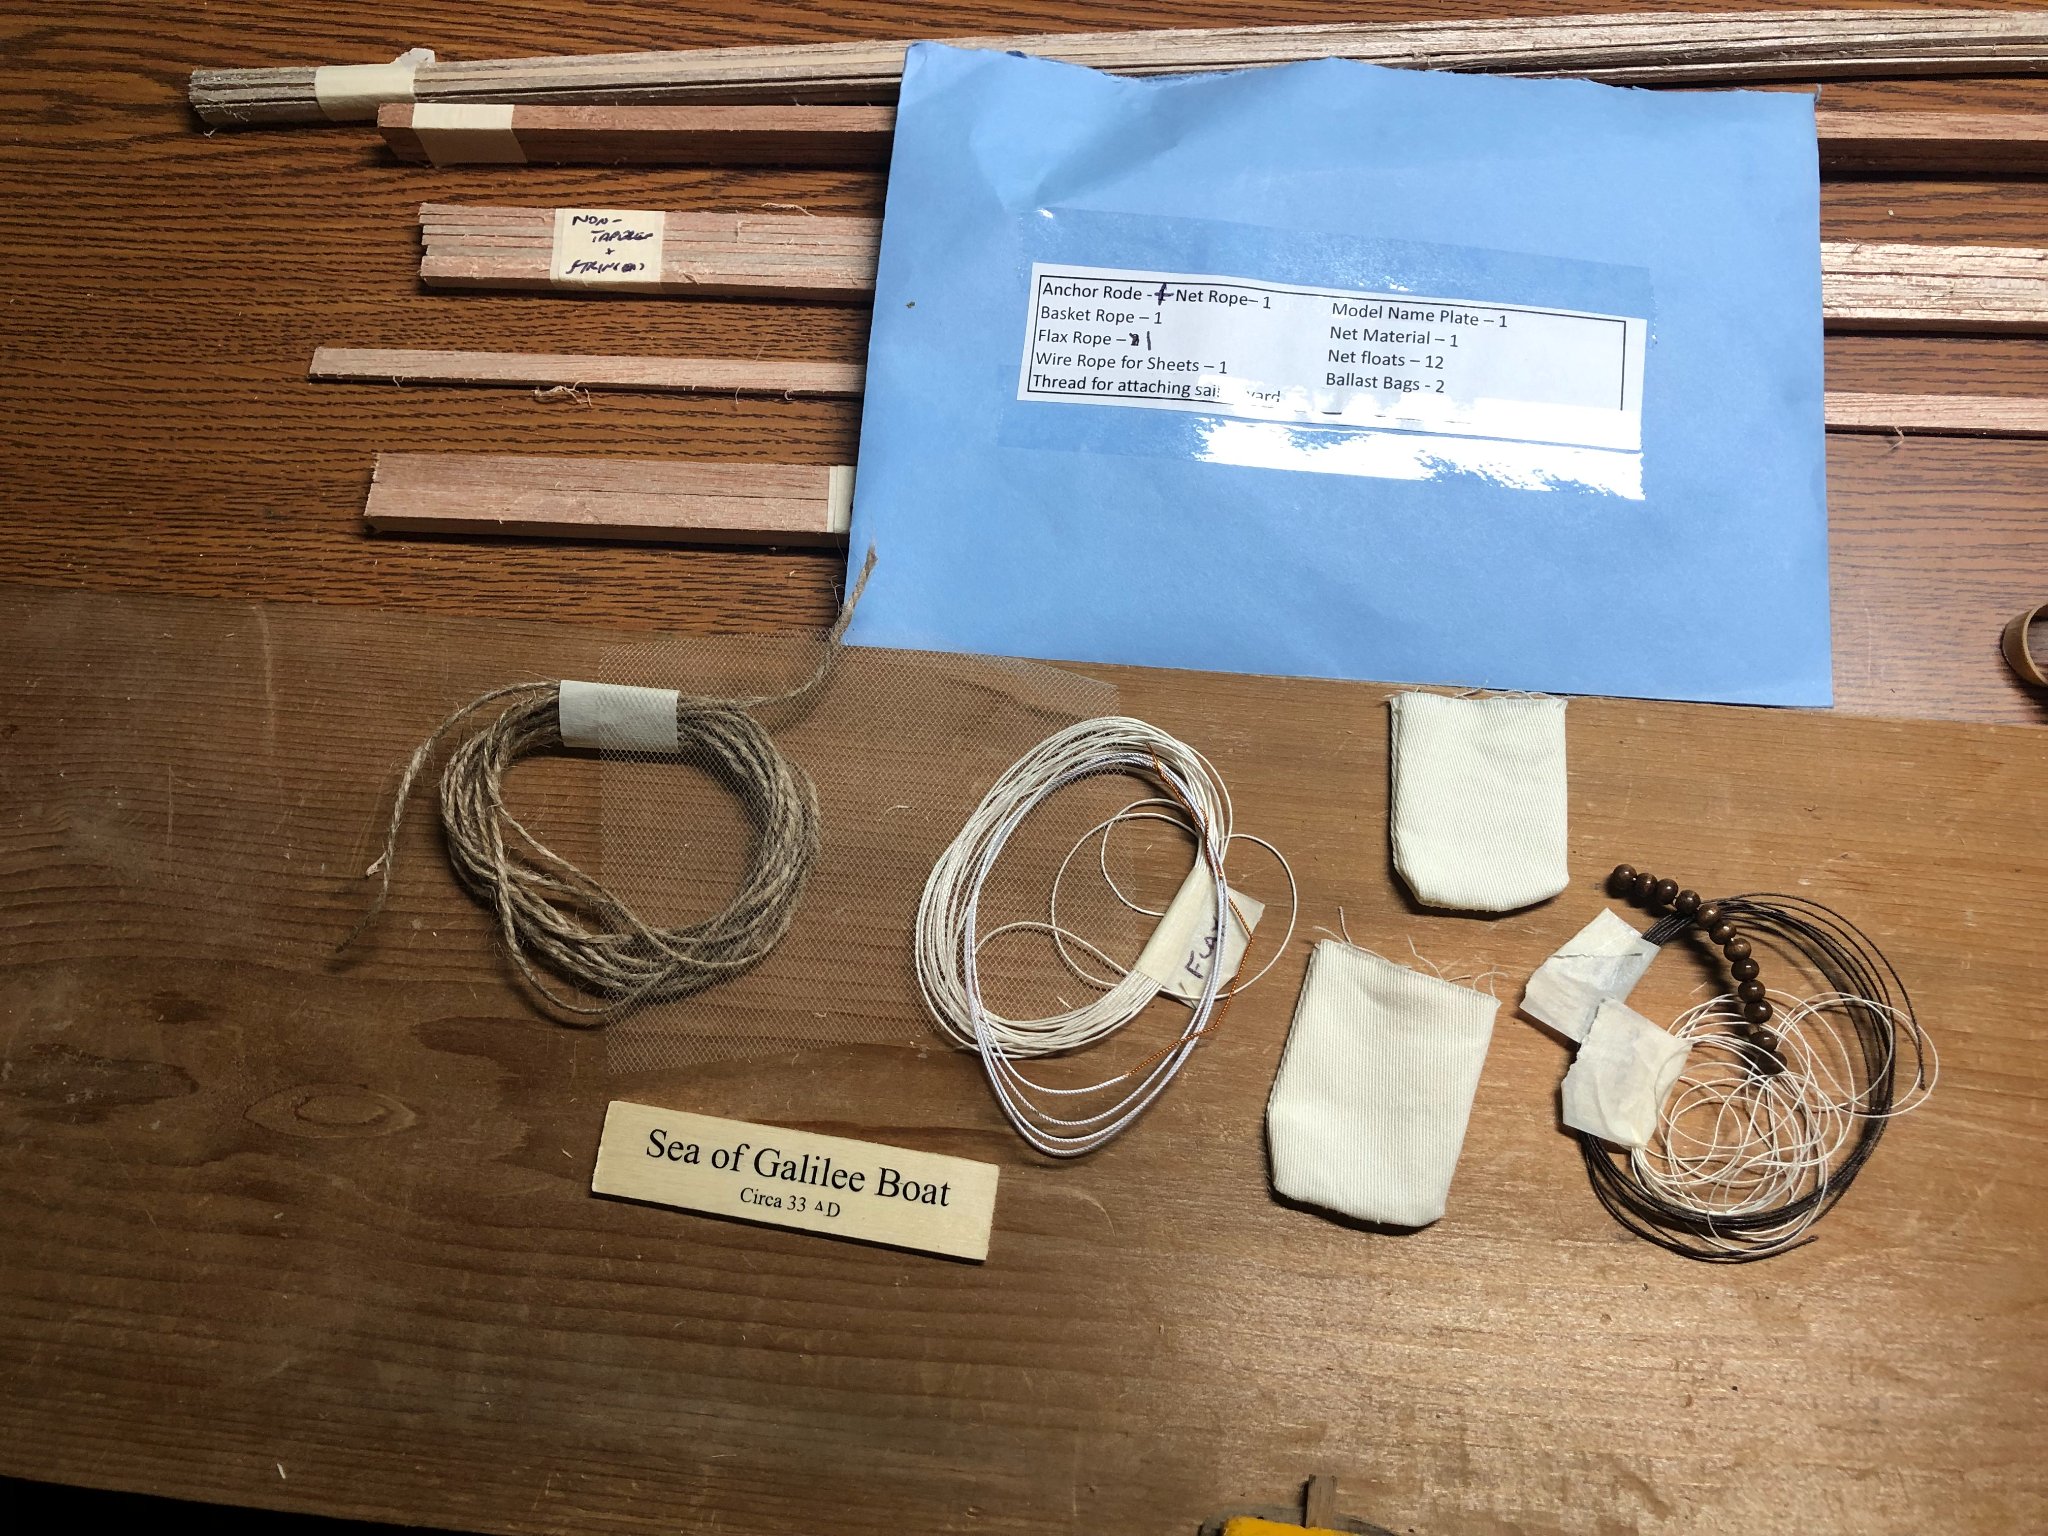
The envelopes have various pieces for the finish work... rope, fish net, oars, anchor, etc.:

Tomorrow I'll do a proper inventory and get the strongback assembled. Hopefully a few planks too!
I have a pretty decent supply of wood and will more than likely replace some pieces to embellish the model just a bit.
I've never done this style of build and am looking forward to it... more in a day or two!
- VTHokiEE, Chuck Seiler, thibaultron and 2 others
-
5
-
Good news... The tracking number shows the kit will be delivered today...
Bad news... I'm gone for most of the weekend!
Hoping it will arrive before I leave. Knowing USPS, it's nearly a foregone conclusion that it won't!
- thibaultron and Chuck Seiler
-
2
-
On 5/24/2021 at 6:44 PM, LyleK1 said:
Interesting question. I have not questioned the scale of my kit. Just assumed it would be accurate (more or less). Now you've got me wondering too!
I'll do some checking and let you know.
Well, I did some measuring and indeed the scale is off a bit but really it's not too bad.
Not much you can do about a kit build but to go with it!
-
19 minutes ago, Chuck Seiler said:
Asked and answered. The Excavations of an Ancient Boat from the Sea of Galilee by Shelly Wachsmann, 1990 states it was a square sail. The Migdal Boat Mosaic from first century CE indicates this as well.
Correct! I’m reading the book now!
- Chuck Seiler and mtaylor
-
2
-
-
Did you include the include the two strakes in your first belt?
It's been awhile since I did this project but as I recall the two lower strake planks are much wider and are not part of your lower belt.
In my signature below is a link to my build log... might be some help there.
Good luck!
-
1 hour ago, TOM G said:
I think you will have it completed before his birthday. 👍
Maybe... if USPS can actually deliver it!
It was due yesterday and now the tracking says "It's arriving late" but no date...!
...control the things you can and don't worry about the other things, right?
I'll update the log as soon as it arrives.
-
3 hours ago, Tim Moore said:
Impressive job on the Bounty planking Lyle - really meticulous work, you’re going to have a fantastic result.
Thanks Tim!
Working the Victory? Do you have a build log too?
-
6 hours ago, AJohnson said:
Good luck with your Dad's birthday present build, I hope you do better than me for hitting the deadline! I set out to do the same, building HMS Orestes (Caldercraft HMS Mars) and sailed past his birthday by four years in the process 🤣 - He is happy with it now he finally has it - phew.
Fortunately, it's not a complicated build (Famous last words!). I'm not sure I'll make his birthday but will try!.
We shall see!
-
I ran across this kit totally by accident when I purchased some books from Scott Miller. He has some history with MSW.
His version of the boat discovered in 1986 intrigued me from the first time I saw it and I just had to build one!
It has a history that is both mysterious and timeless with implications of biblical references (after all, it was found in the Sea of Galilee!).
This will be a birthday present for my dad. He turns 86 in mid-August.
So, my time is limited and it may be impractical of me to try and build it in two months... We'll see!
I'm also reading the book of the same name written by Shelley Wachsmann. I just started it but it has some good background on the discovery and recovery of this boat. I enjoy learning the history of each vessel I build.

The kit is scheduled to arrive tomorrow.
The unveiling will happen next!
- Moab, thibaultron, Chuck Seiler and 2 others
-
5
-
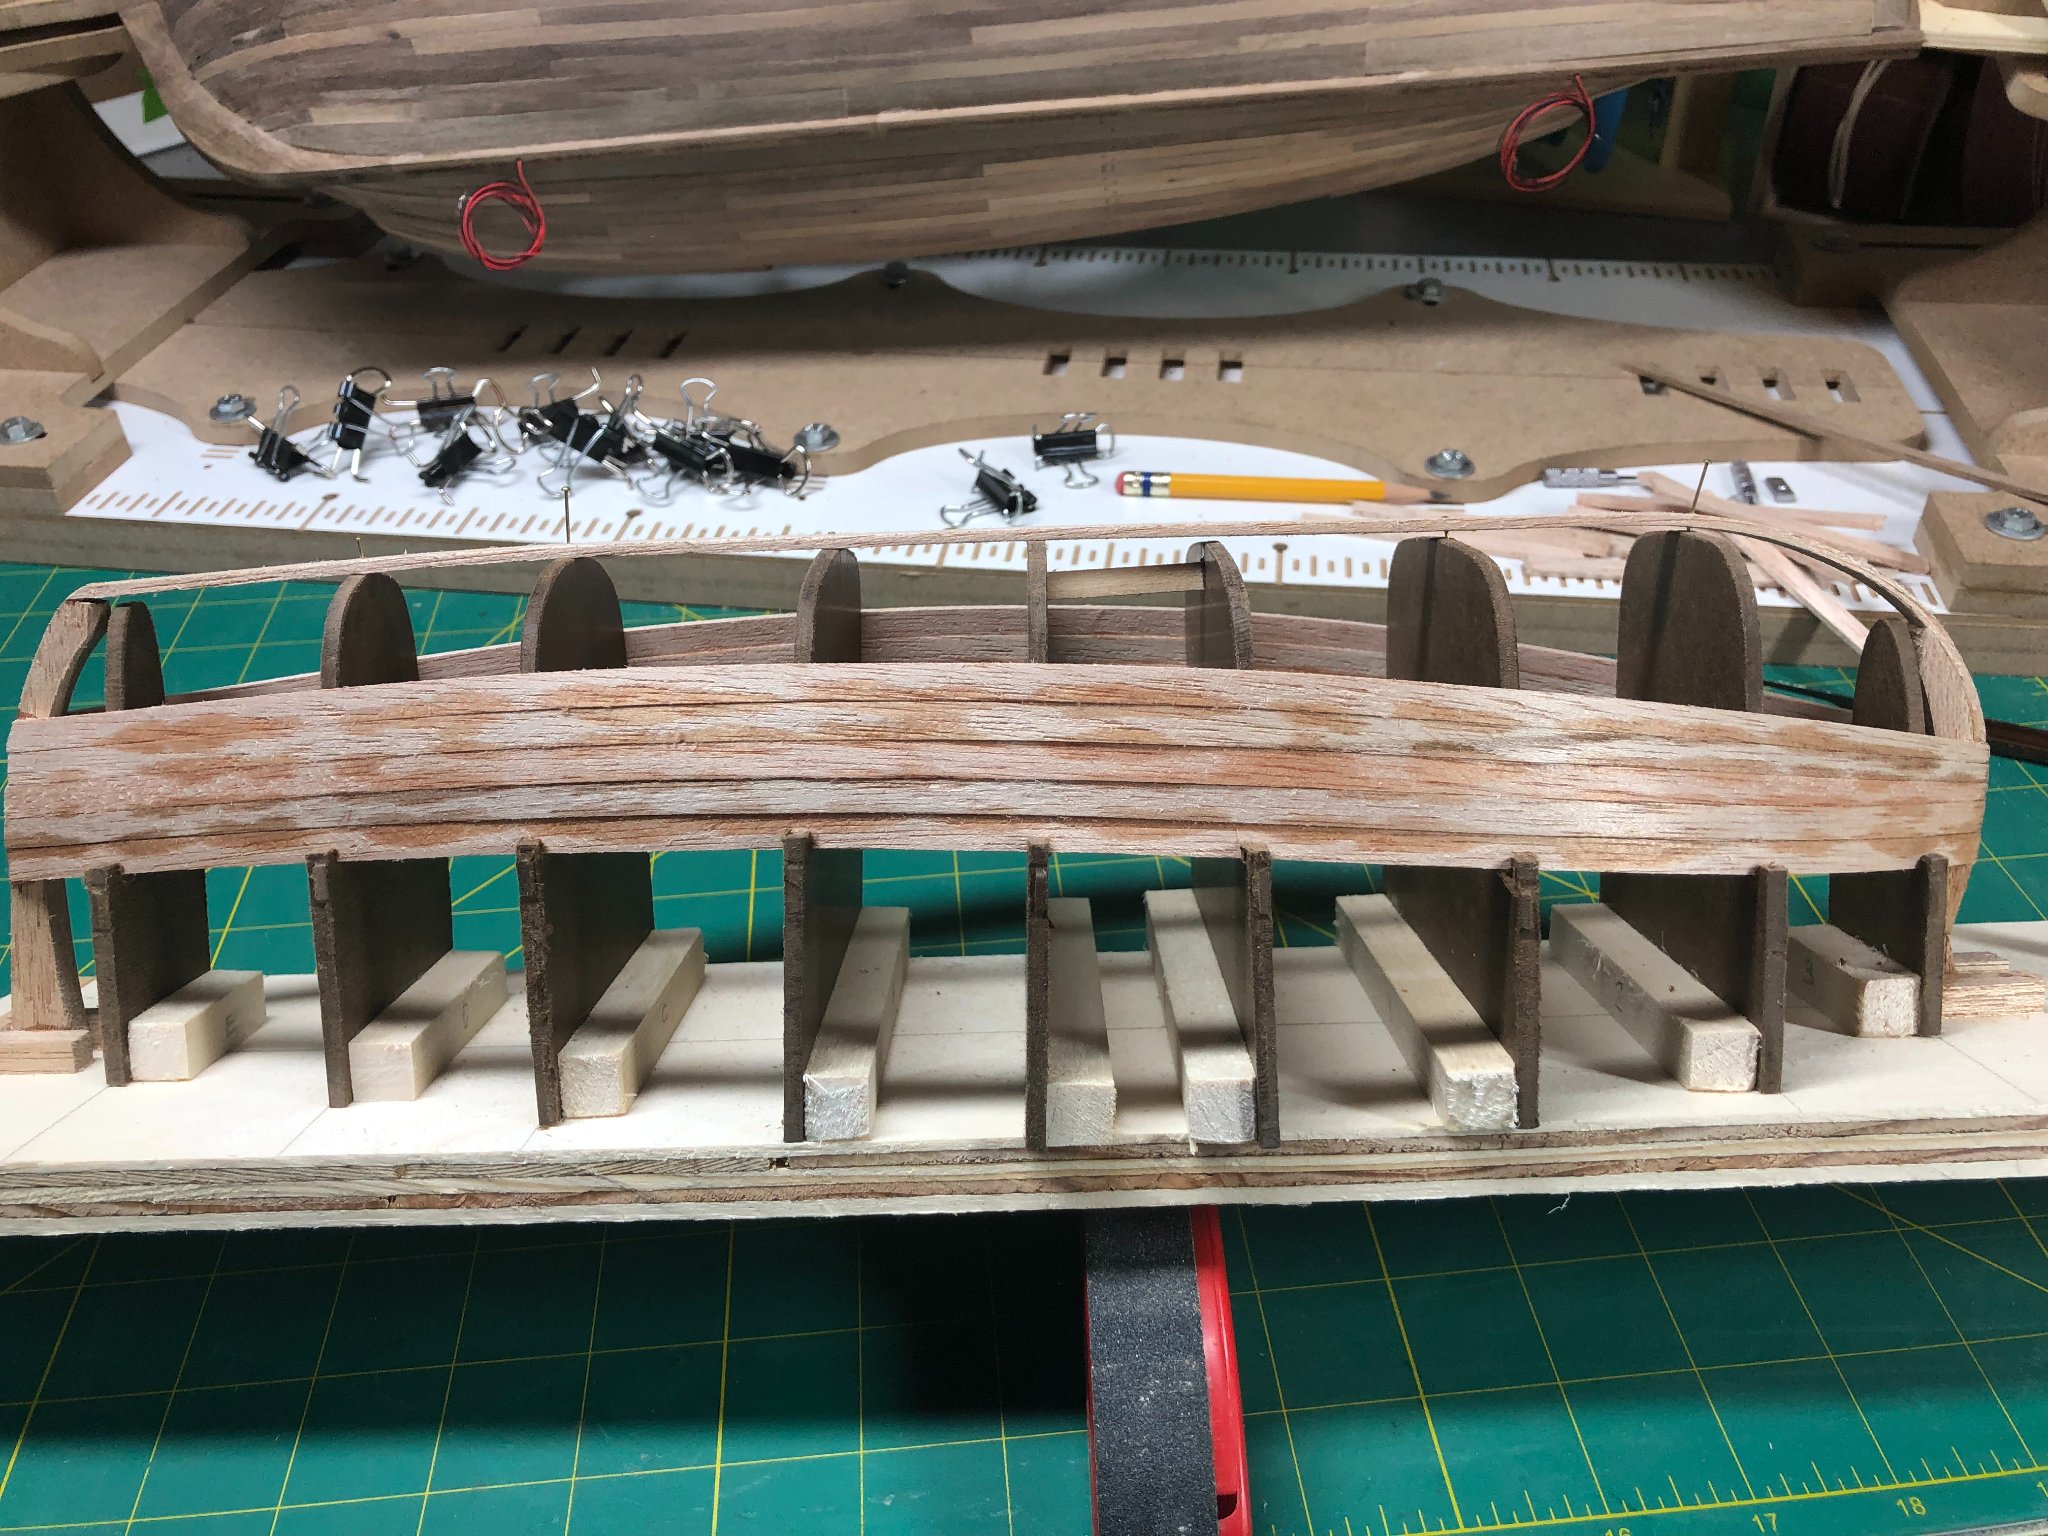
Made some decent progress this week.
Got in some sanding on some of the lower planks and around the bow... lots more to do.
Also, did my first stealers plank at the bow:
Turned out pretty good... I had to make the piece 3 times because every time I tried to bend it, it would break! Very frustrating!
Walnut is very unforgiving. Finished piece in place:
The stern is coming together fairly well too. No sanding yet or very little:
Overall, about 2/3rds done... to the wales:

I'll keep plugging away!
I will be starting another build later this week. My dad turns 86 in August and I am building the "Sea of Galilee boat" for his birthday. Not sure if I can finish it in time but I'll give it a try!
Hoping to work both models at the same time but will definitely be pushing the Galilee boat to finish on time.
If you're interested in following that build log, watch for the link in my signature below.
-
"How do you usually deal with the tops of the planks when you find a defect? Do you carve them in place? Or do you remove them and and just make another?
Making each of these planks is a time-consuming process (at least the way I'm doing it) and it seems that, no matter how carefully it's done, defects appear when the plank is actually glued in place. Is there any way to adjust them in place? I know I can't add any wood to a plank that's been carved too aggressively, but it seems like I can remove wood from one that needs trimming."
For me the key was in the tracing of the line below the plank you're making. Be meticulous about it, use a real sharp pencil and make sure the tape is shaped properly and tight. If you take enough precautions, just some light sanding will fix any minor gaps or errors.
I'm no expert but this was a fun project but definitely a challenge!
oh... And you it takes a long time to fit each plank! I'm doing the same on my current model (HMS Bounty) and I literally spend 45-60 minutes on planks. Especially, at the bow and stern.
Good luck!
-
44 minutes ago, Signman said:
What is the name of the manufacturer of the kit and can I possibly find one?
Here is a link to his website:
http://www.semillerguitars.com/sea-of-galilee-boats/
Good luck!
- Knocklouder and mtaylor
-
2
-


Sea of Galilee Boat by LyleK1 - FINISHED - SE Miller - 1/20 scale
in - Kit subjects built Up to and including 1500 AD
Posted
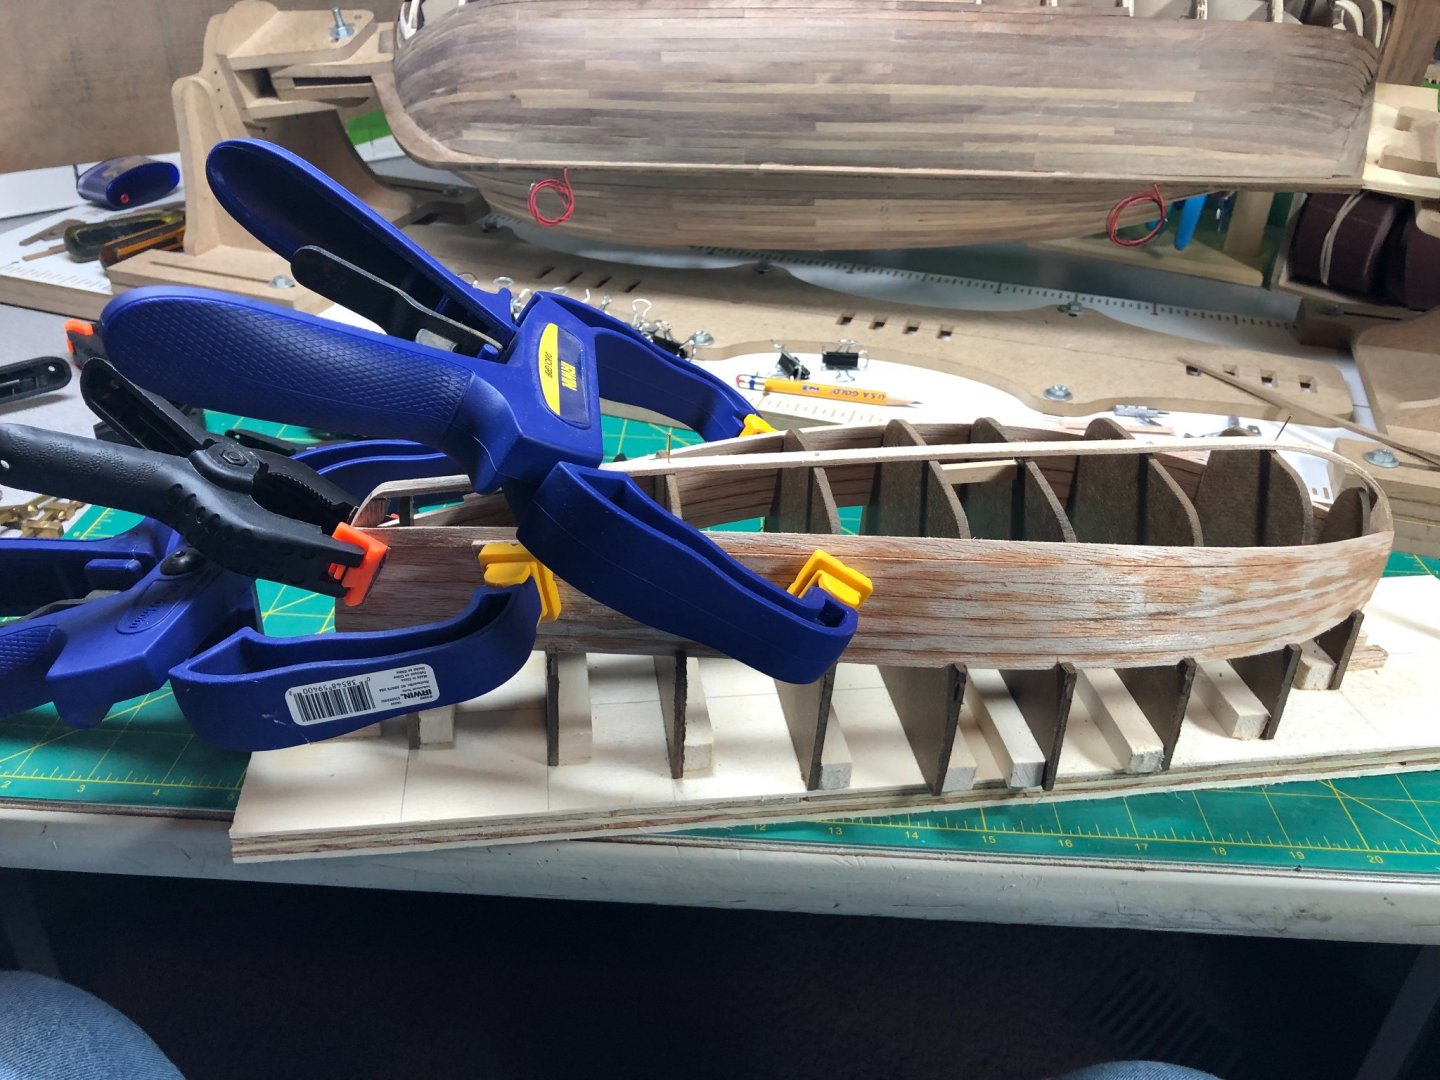
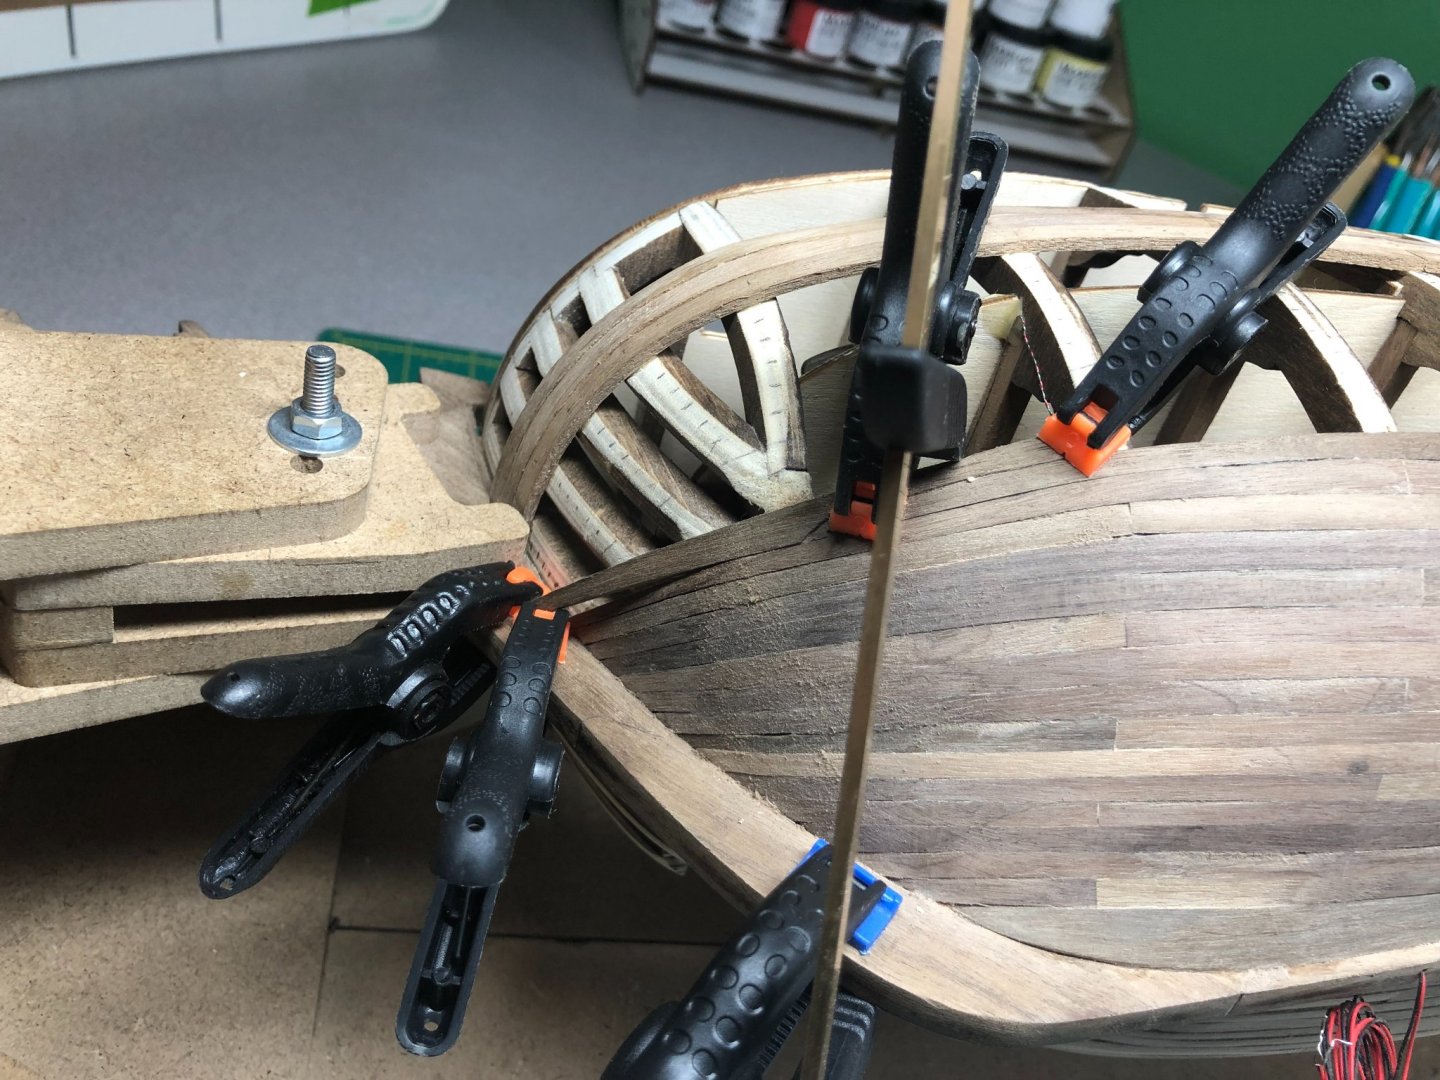
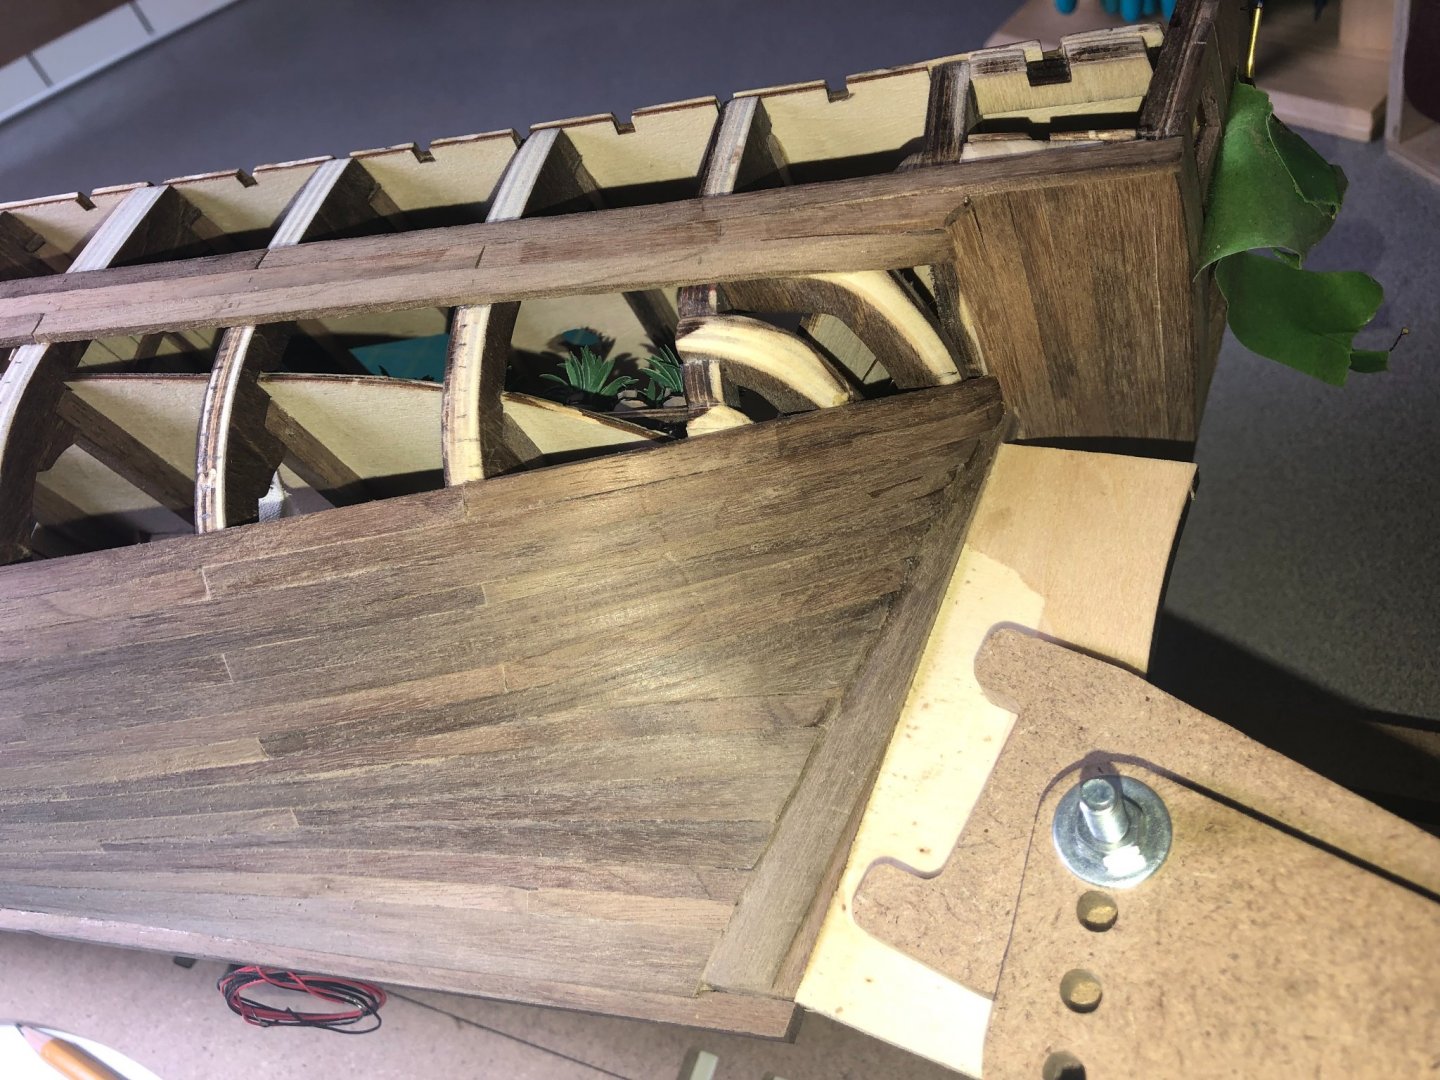
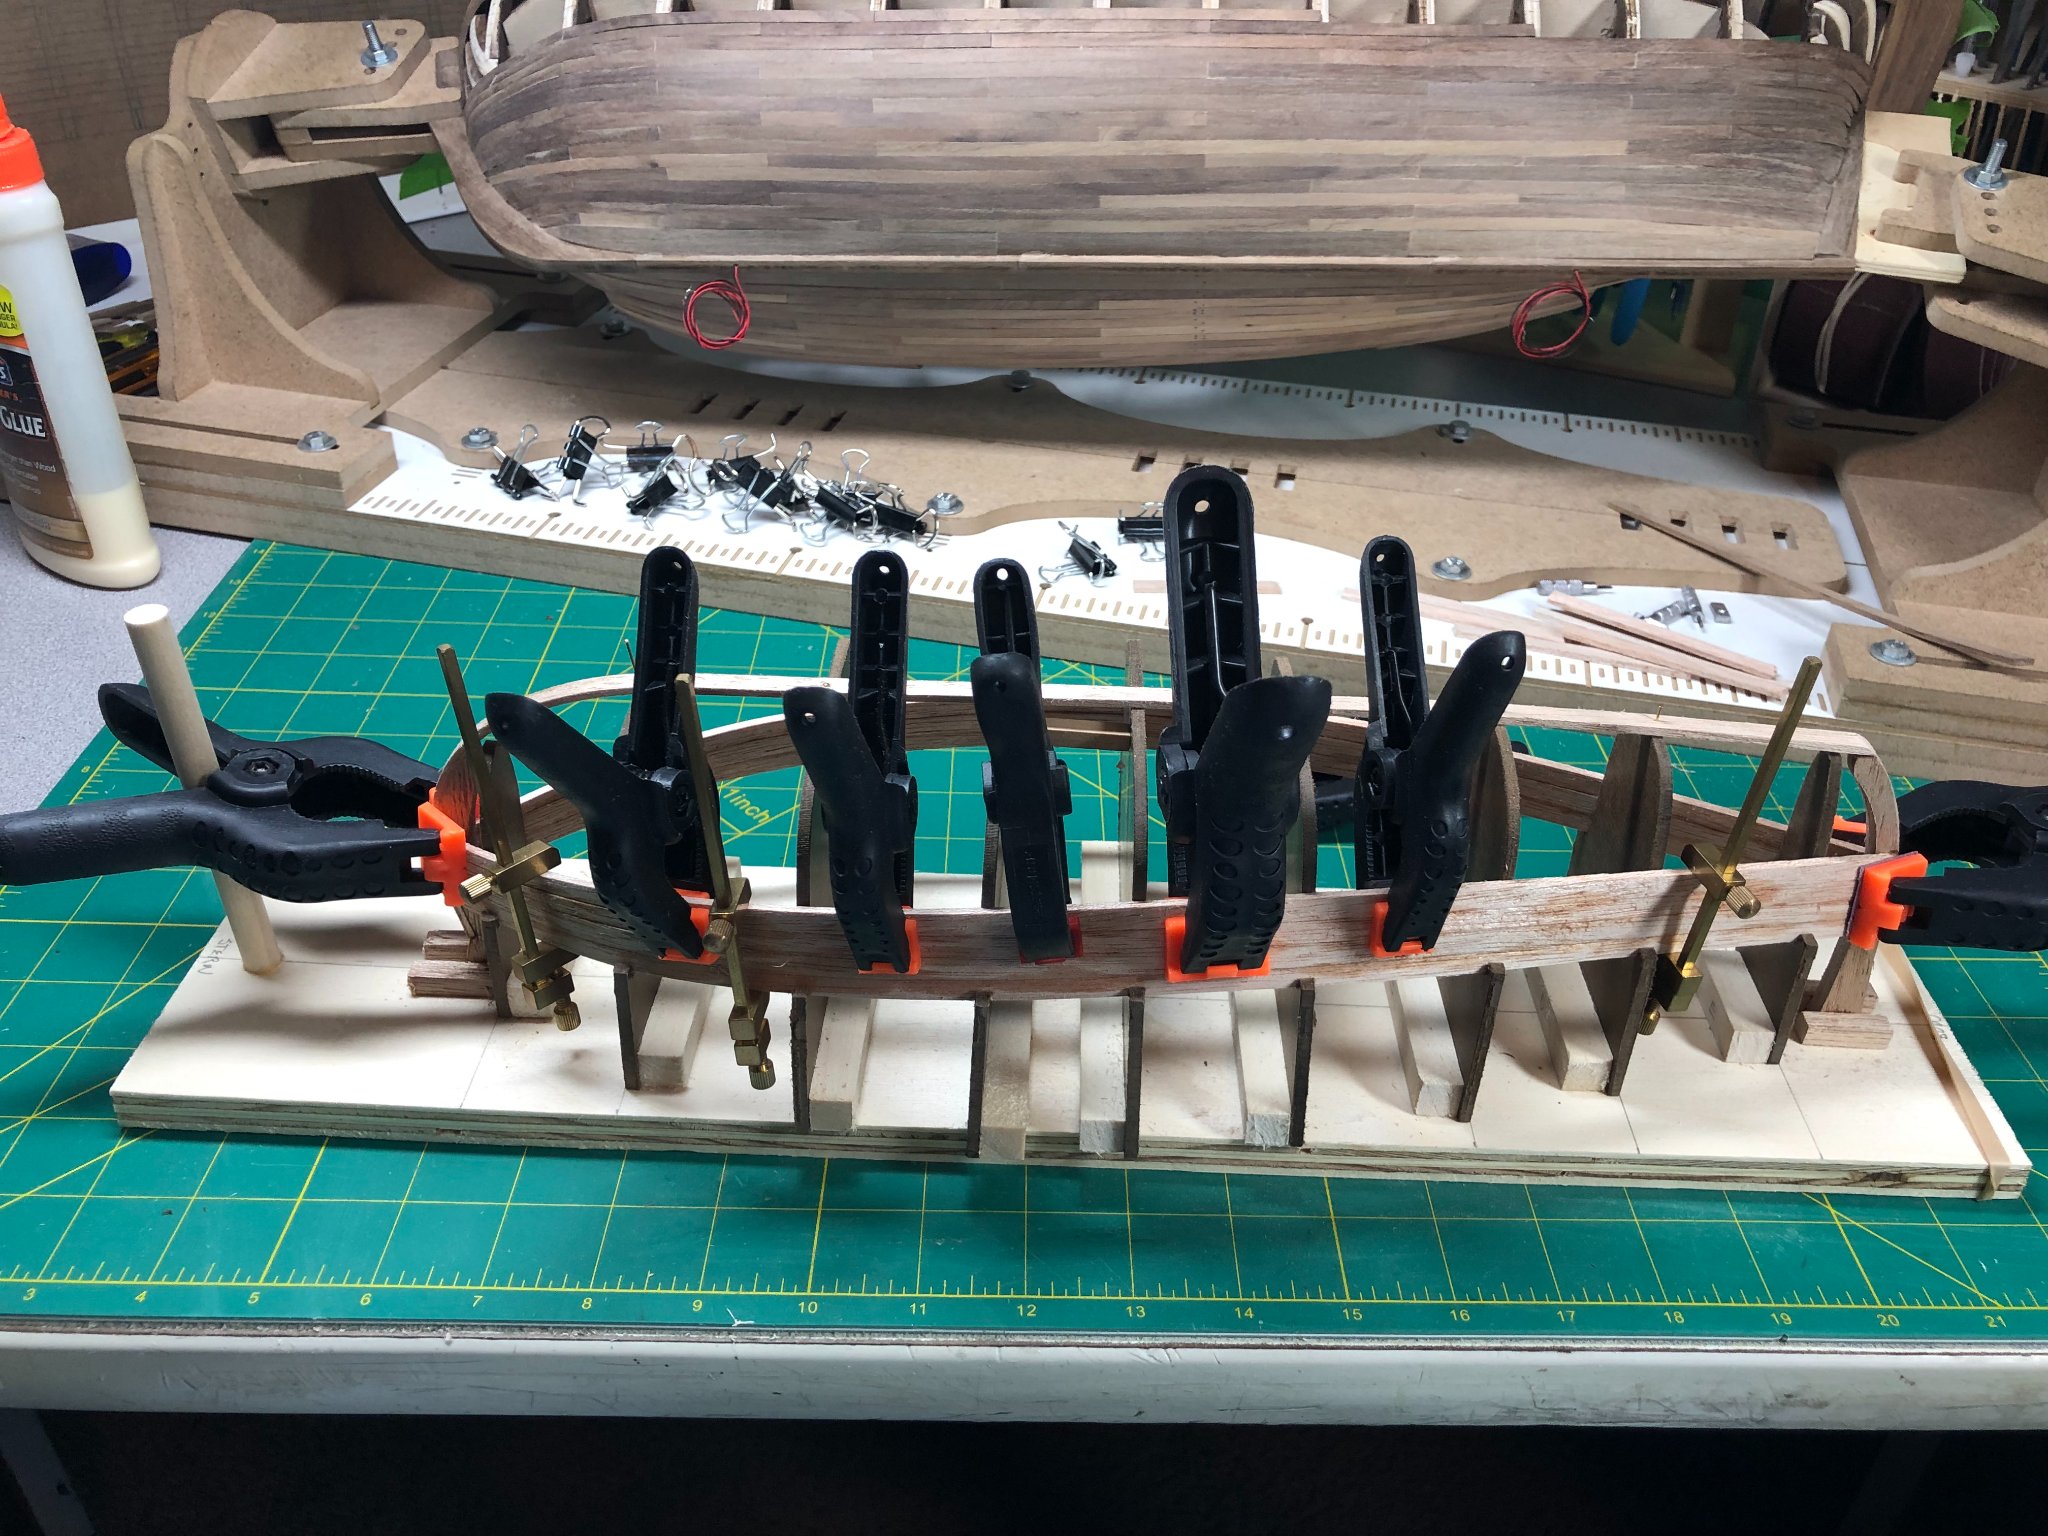
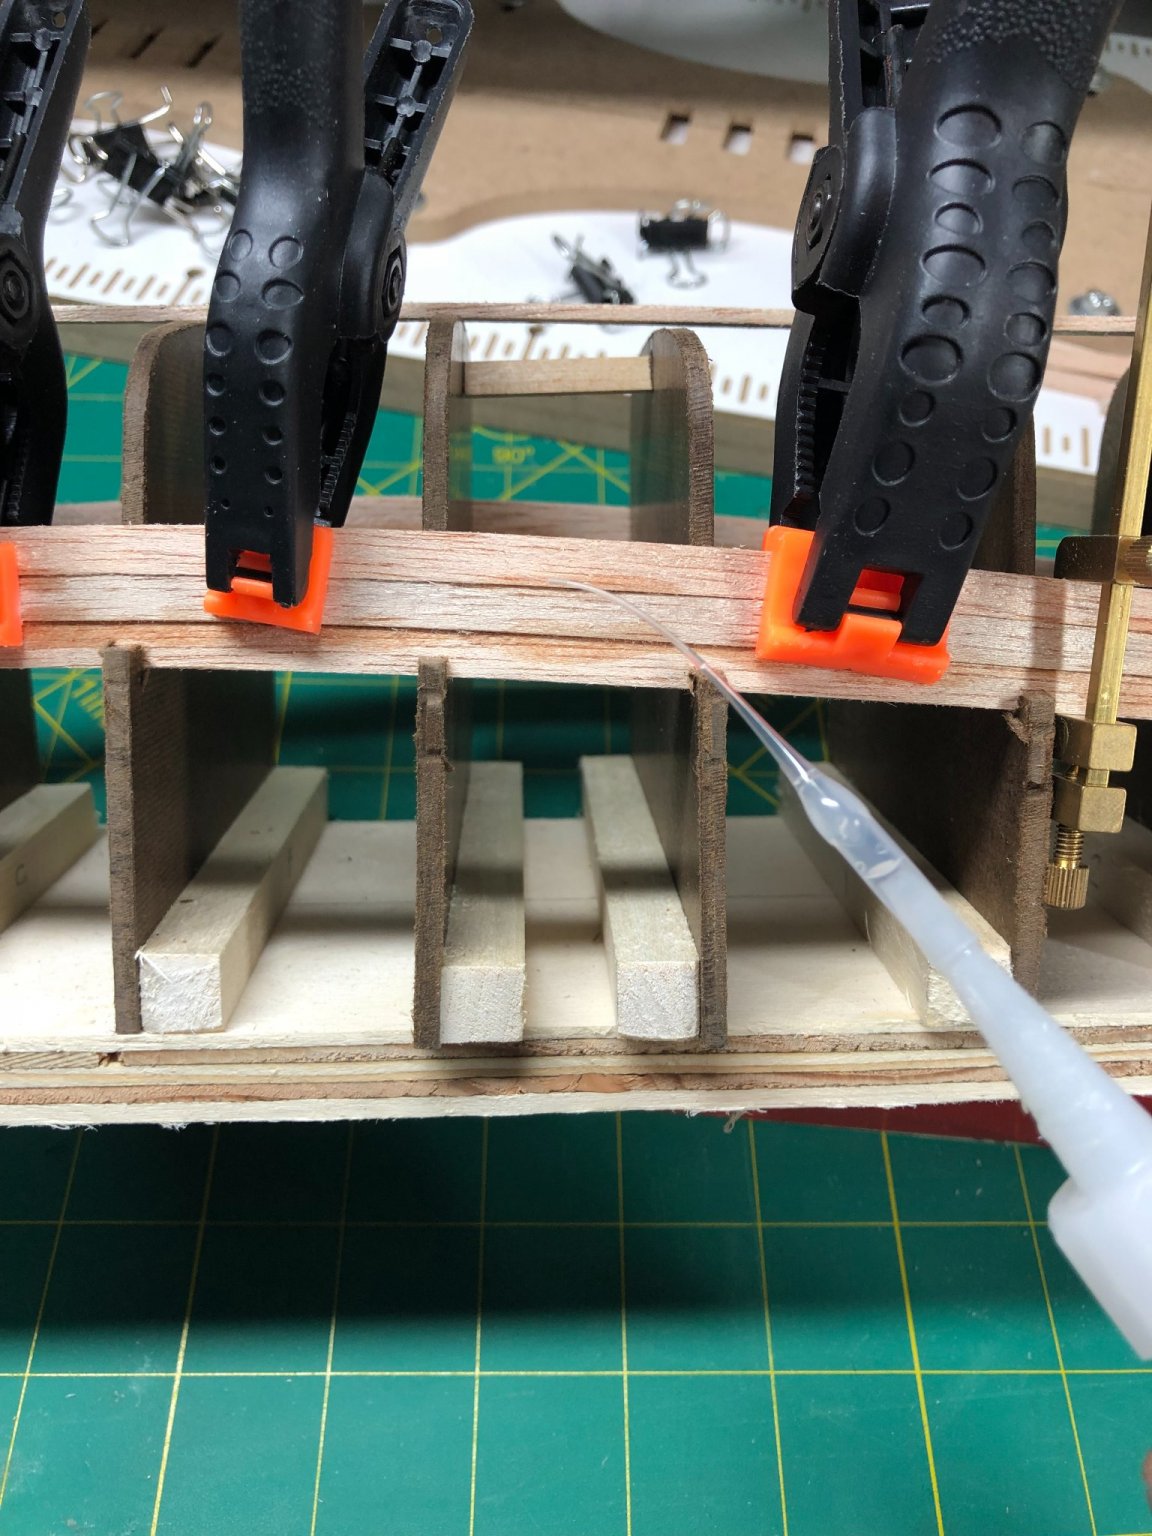
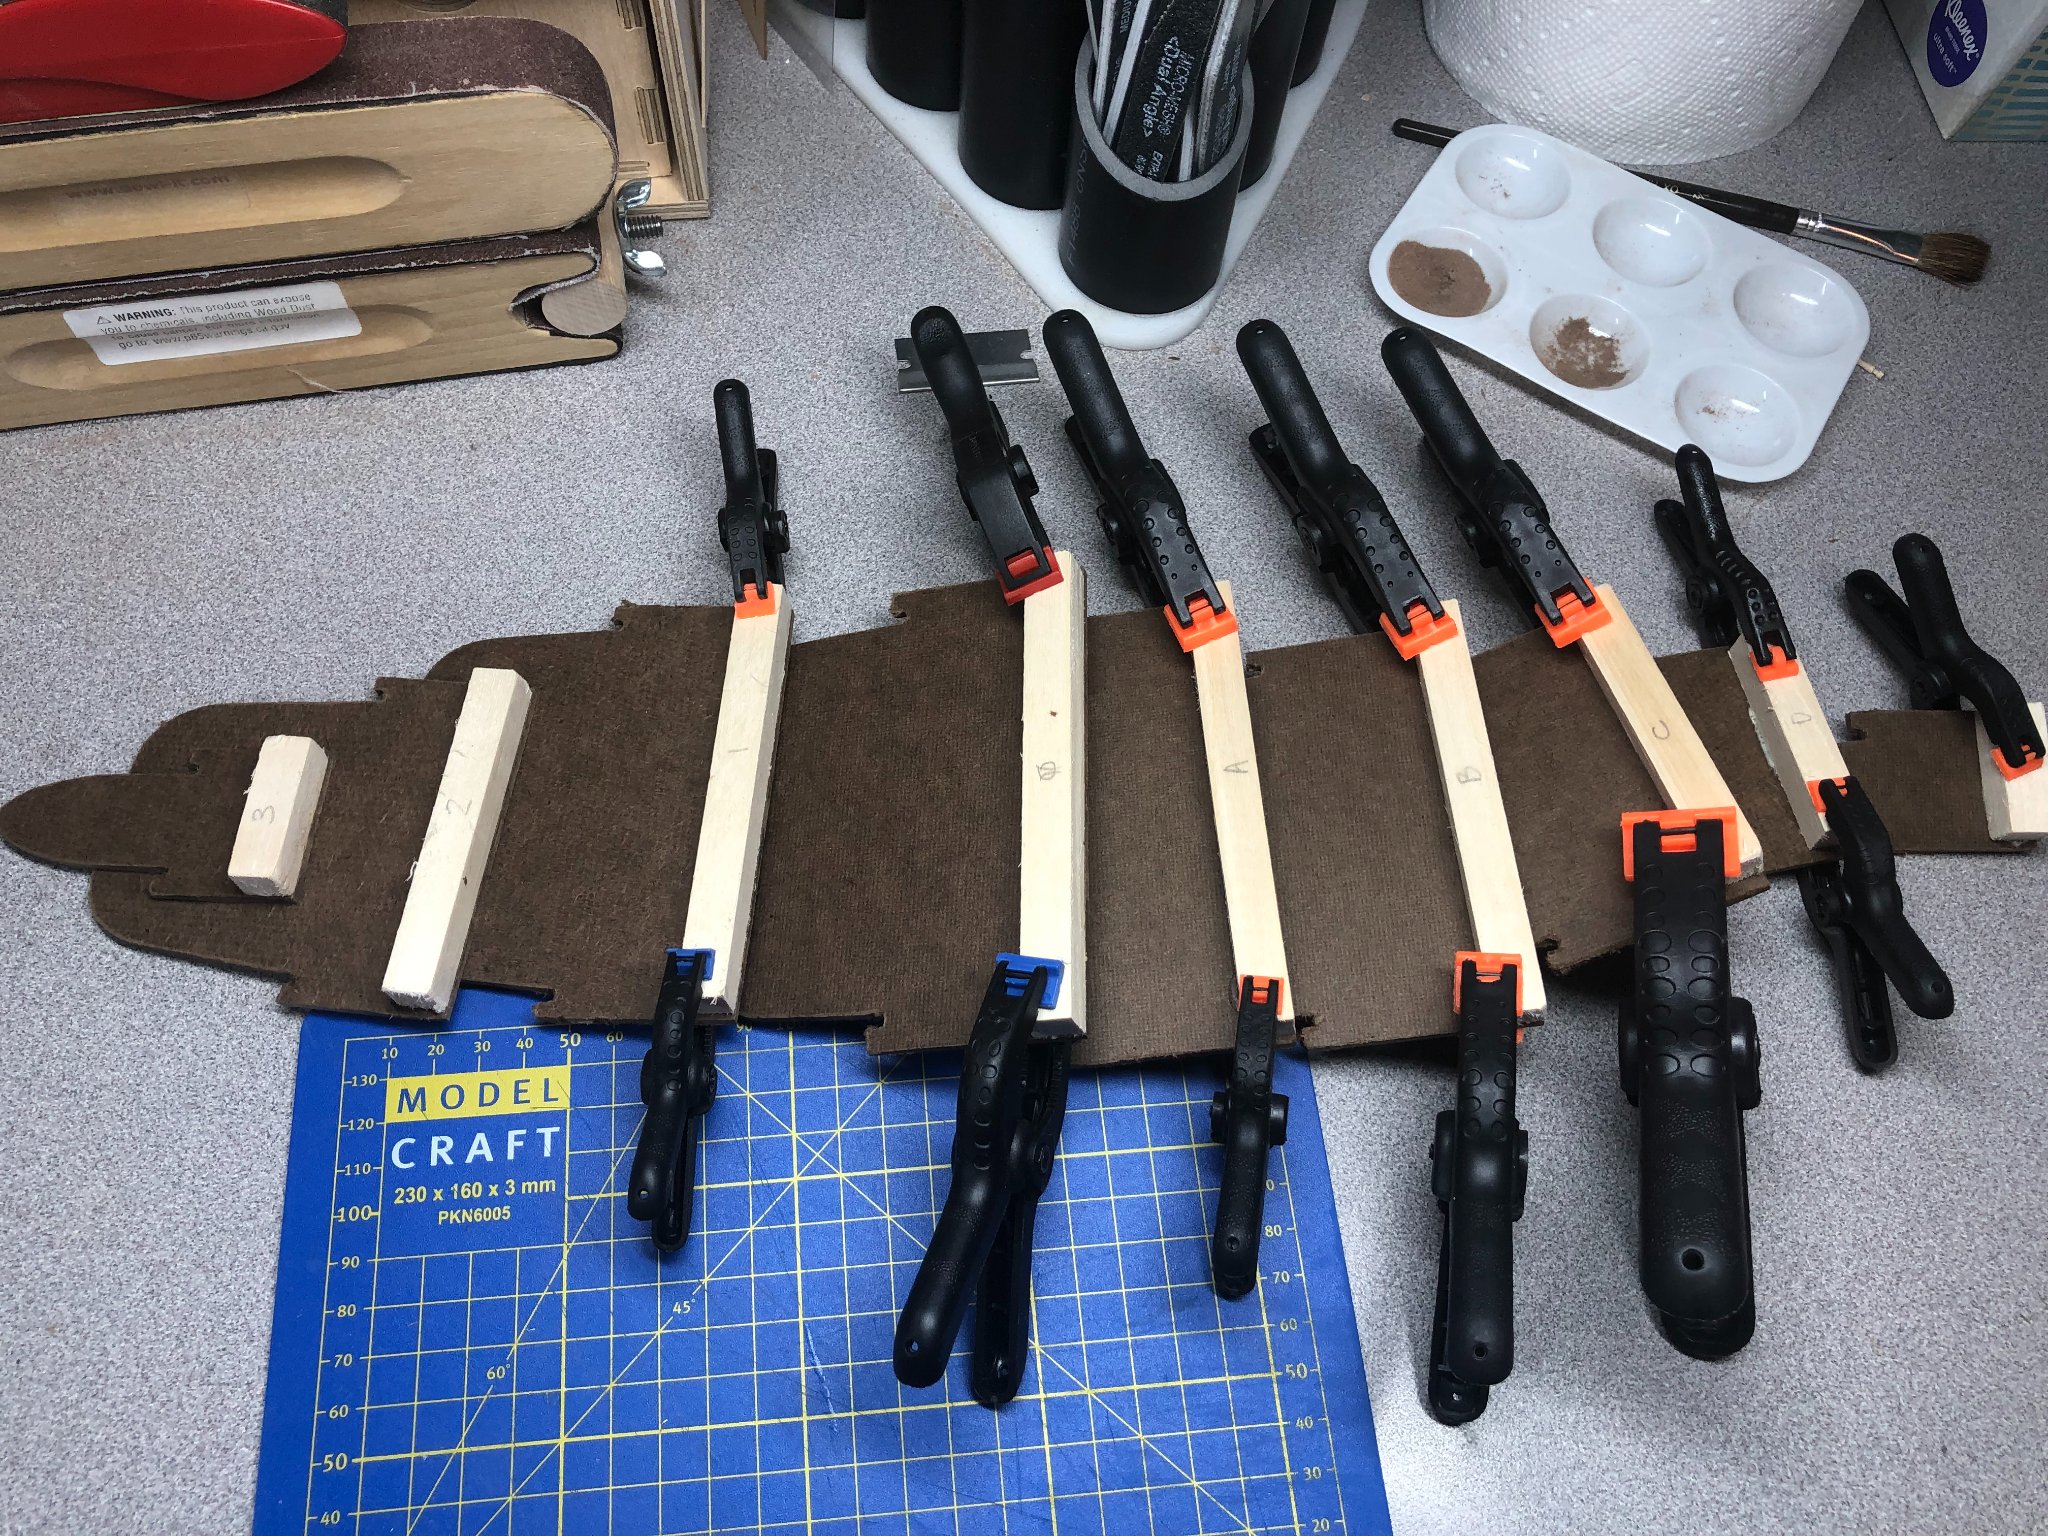
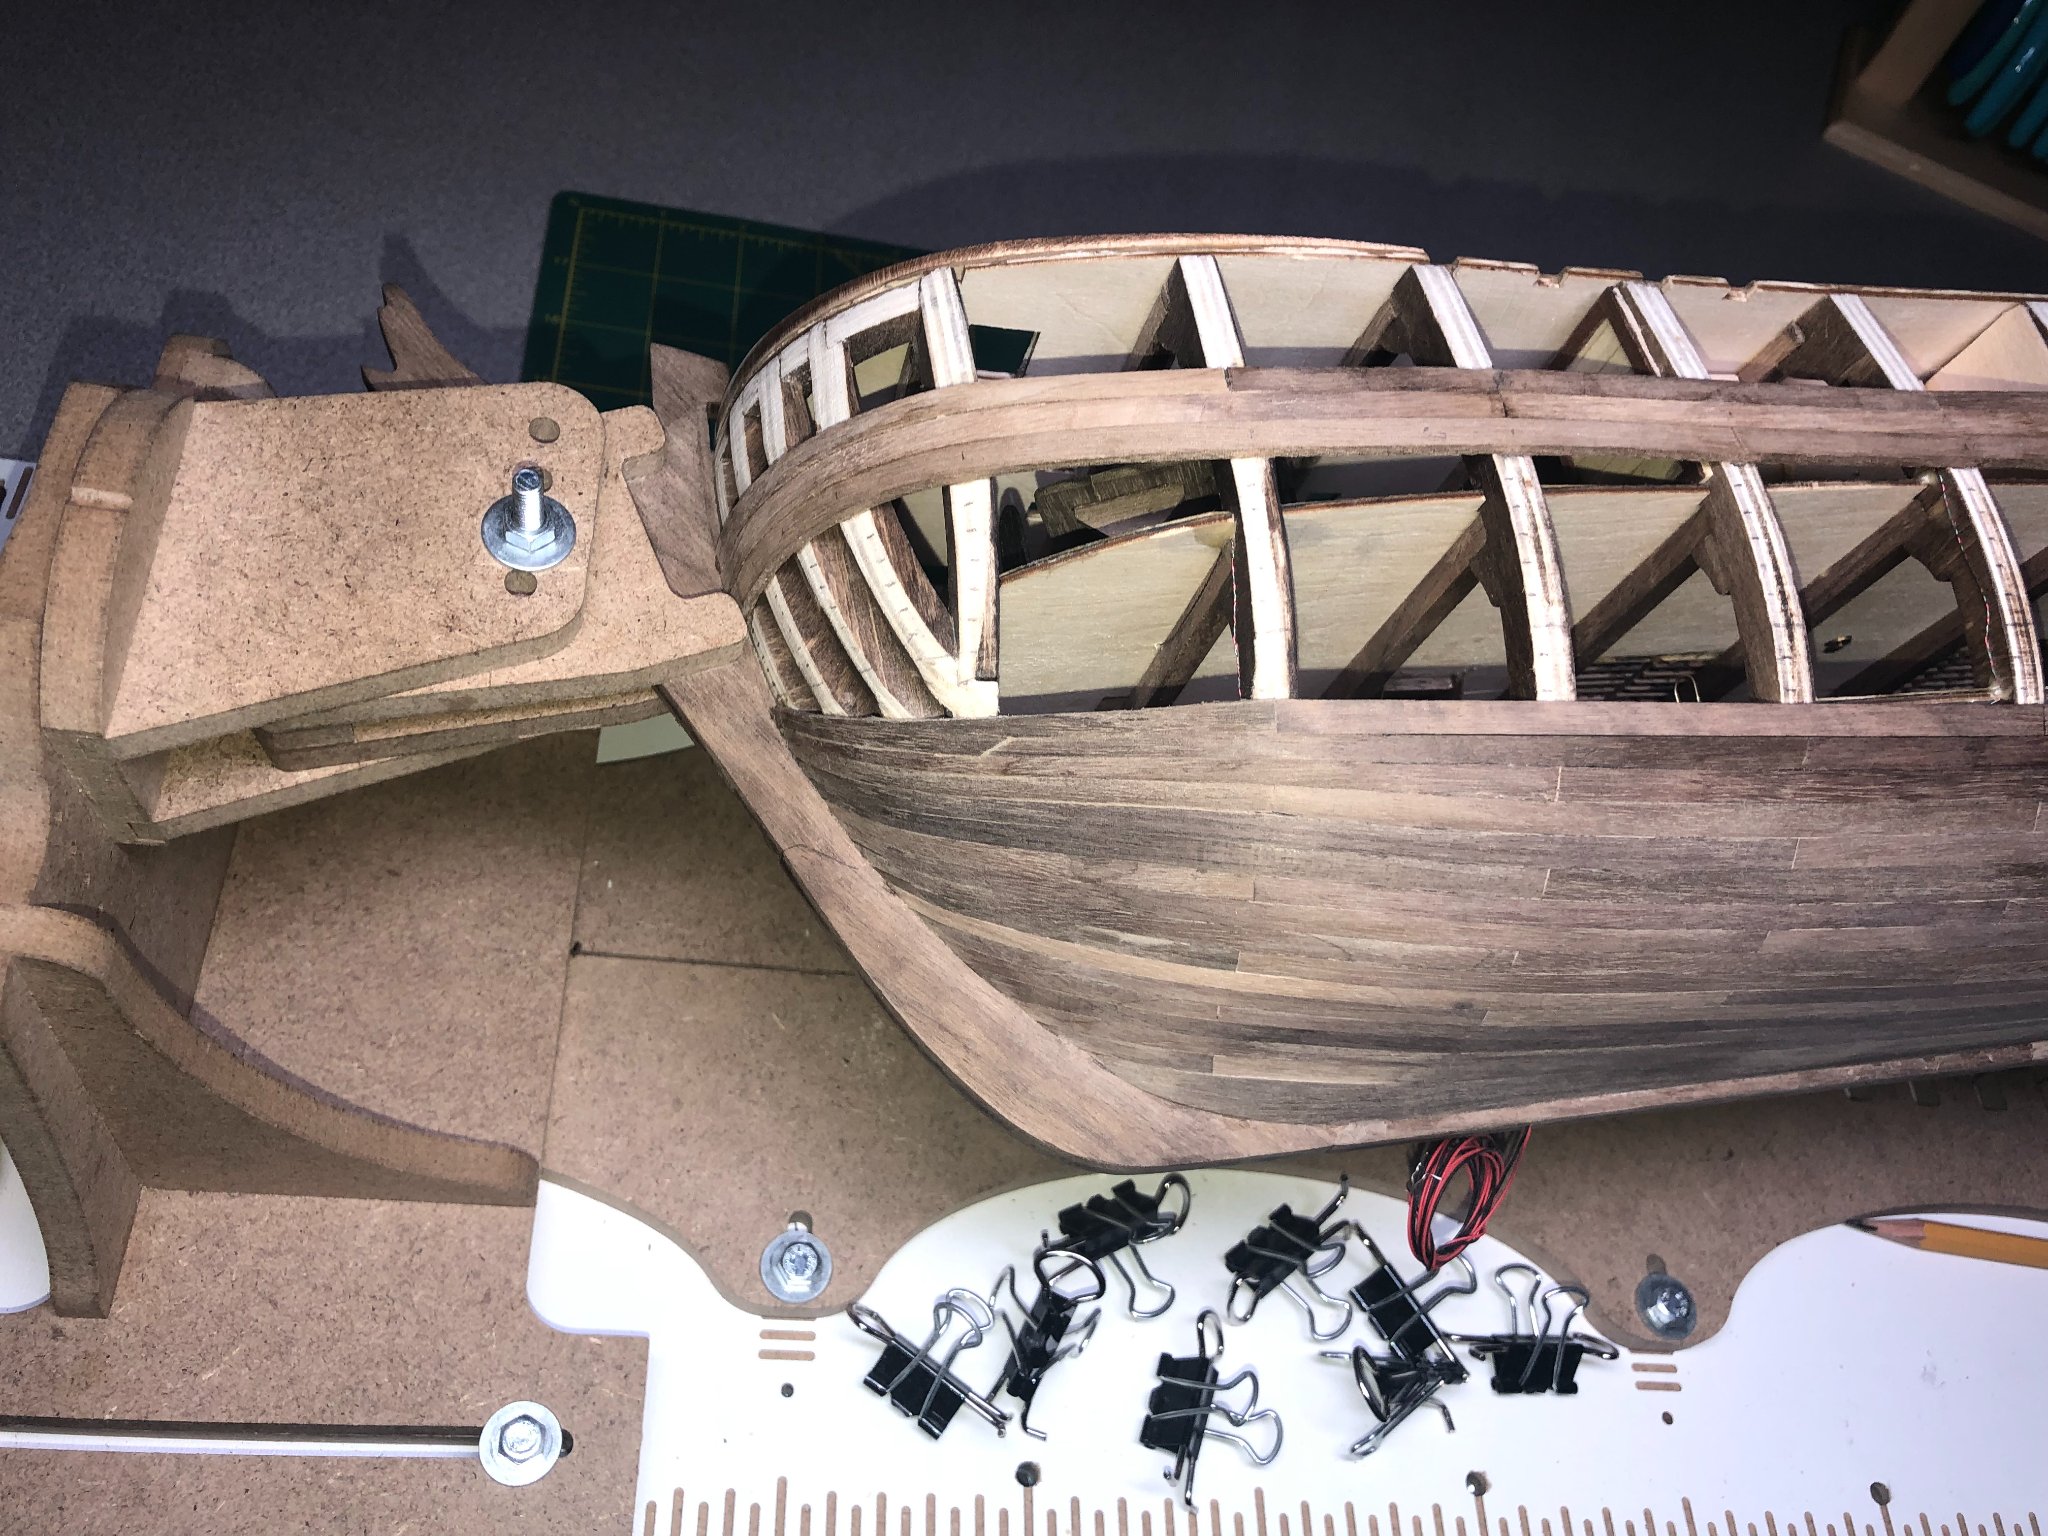
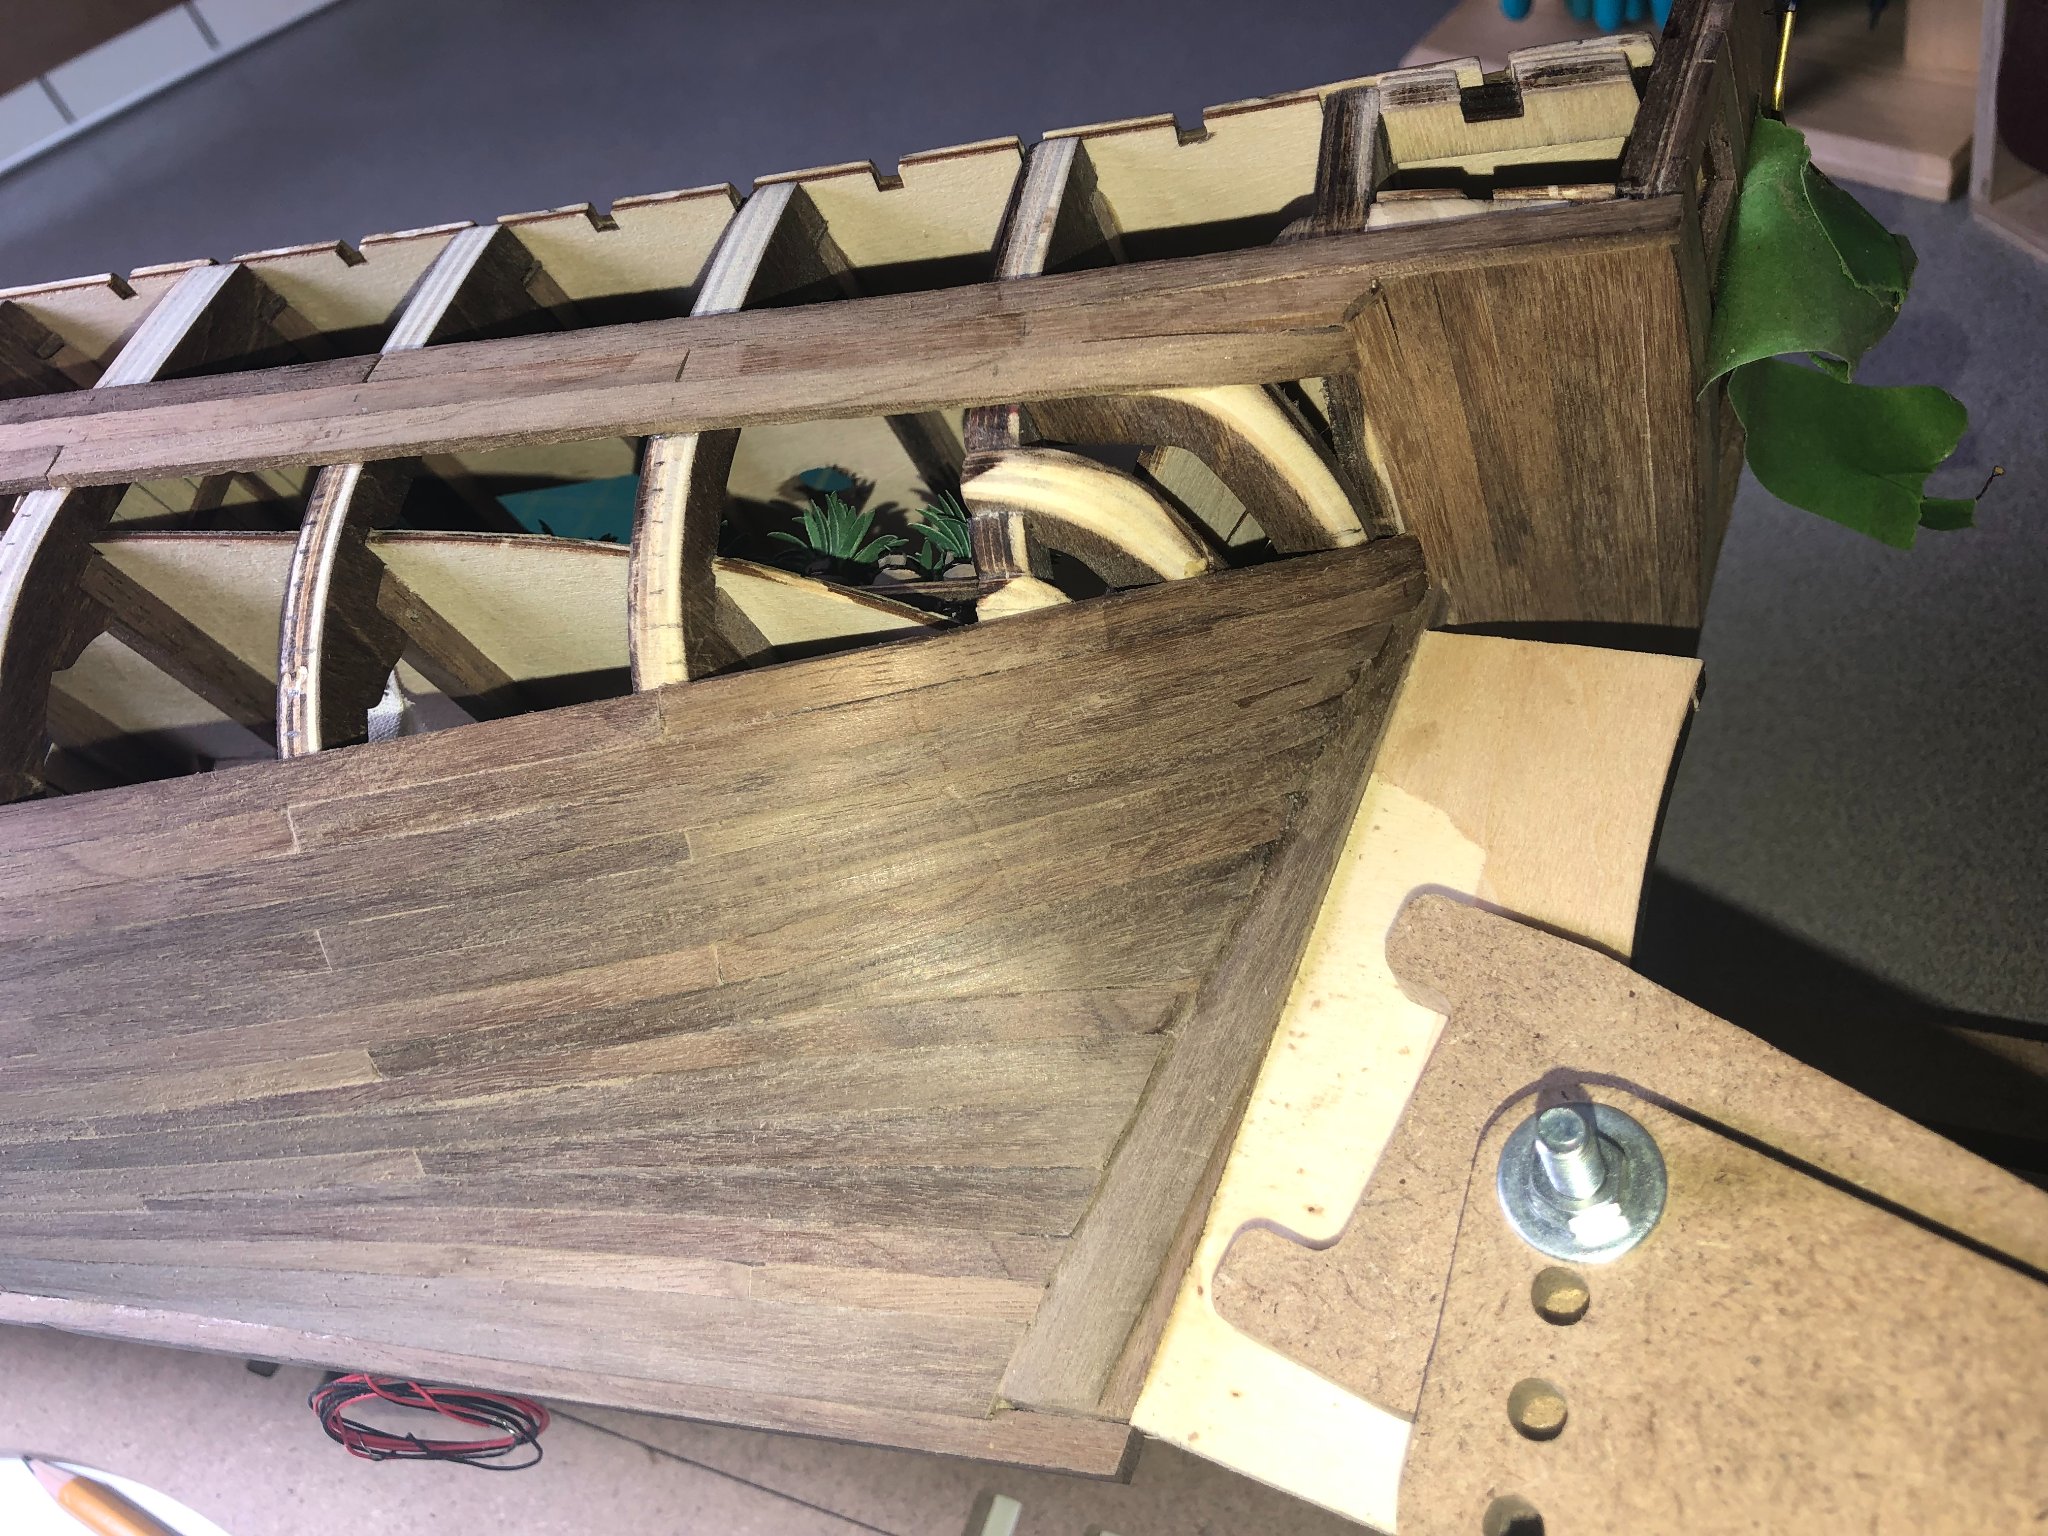
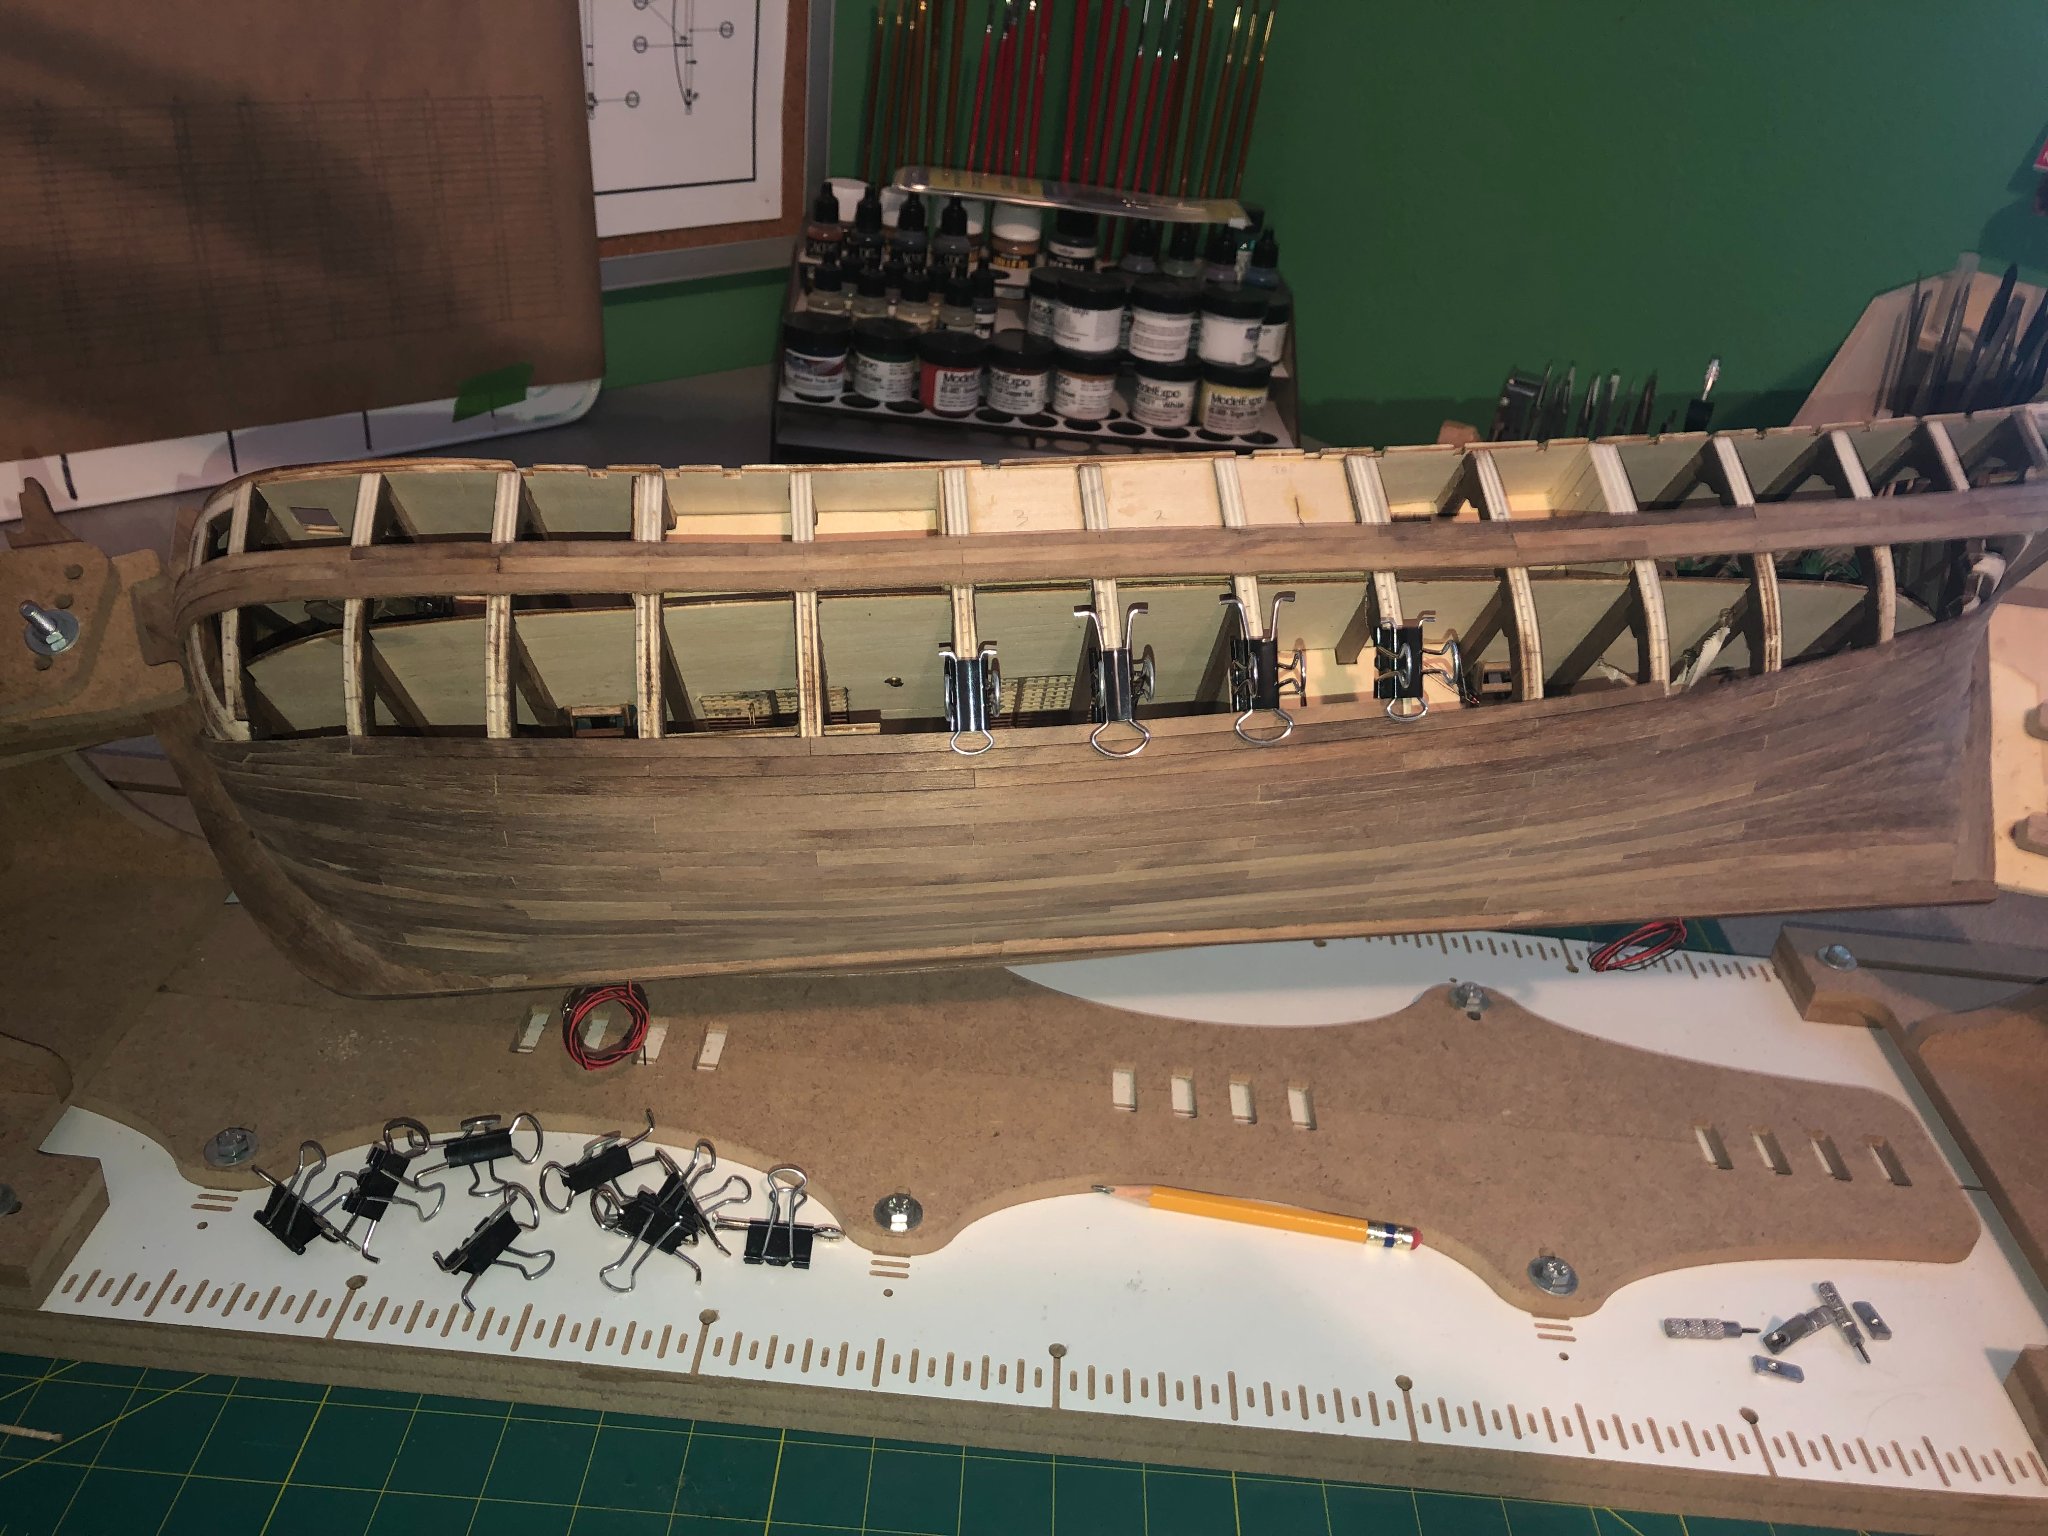
The next several planks need to be carefully bent/twisted and sanded to meet the very sharp curve of the hull.
As I mentioned above, this wood is much softer than what I'm working with on the Bounty (Walnut). It's very easy to shape. Especially, if you soak it a few minutes. I used my hands to make the bends and twists. Once the shape is close, I beveled the edge butting into the next plank by sanding. Also, I'd clamp the plank to the forms to let it completely dry while clamped in place.
Here's a few pictures of the progress:
It has taken a lot of clamps to hold the shape while the glue dries. Making the turn to bottom of the hull is quite sharp.
Gonna try to get out on the big boat this weekend!
So, I'll get back to this next week.
BTW, I just finished reading the book mentioned in the first post of this log.
If you're interested about the possible histories of this boat and the region in general, it's worth the read. I enjoyed it and gained a lot of insight on the history too.